|
|
|
Oct 16, 2022 17:51:42 GMT
|
A big mistake that people make on these is doing major work on it with the body off the frame. And/or with no bracing inside to keep it square. That is obviously what happened here, and its the reason it wouldnt sit flat on the chassis. I can fix it. ( why would I think I could get away with a shortcut anyway...  ) |
| |
|
|
|
|
|
|
|
Oct 16, 2022 18:10:26 GMT
|
|
Where do you start? Build an accurate steel frame to measure off?
|
| |
|
|
|
|
|
Oct 16, 2022 19:35:44 GMT
|
|
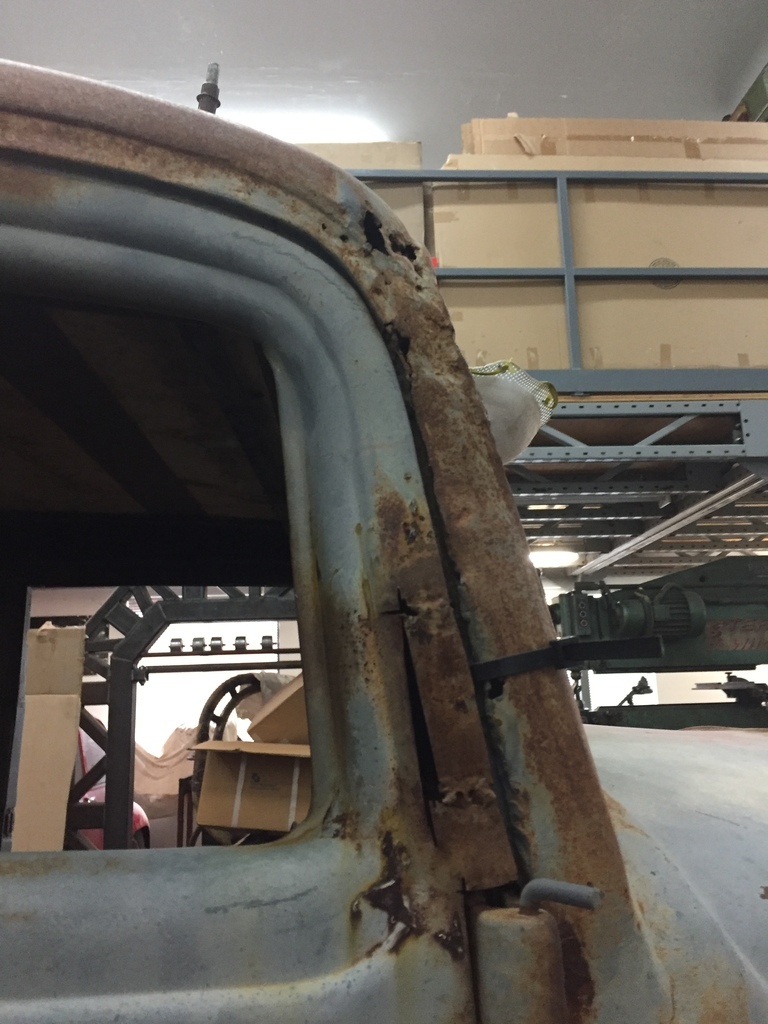
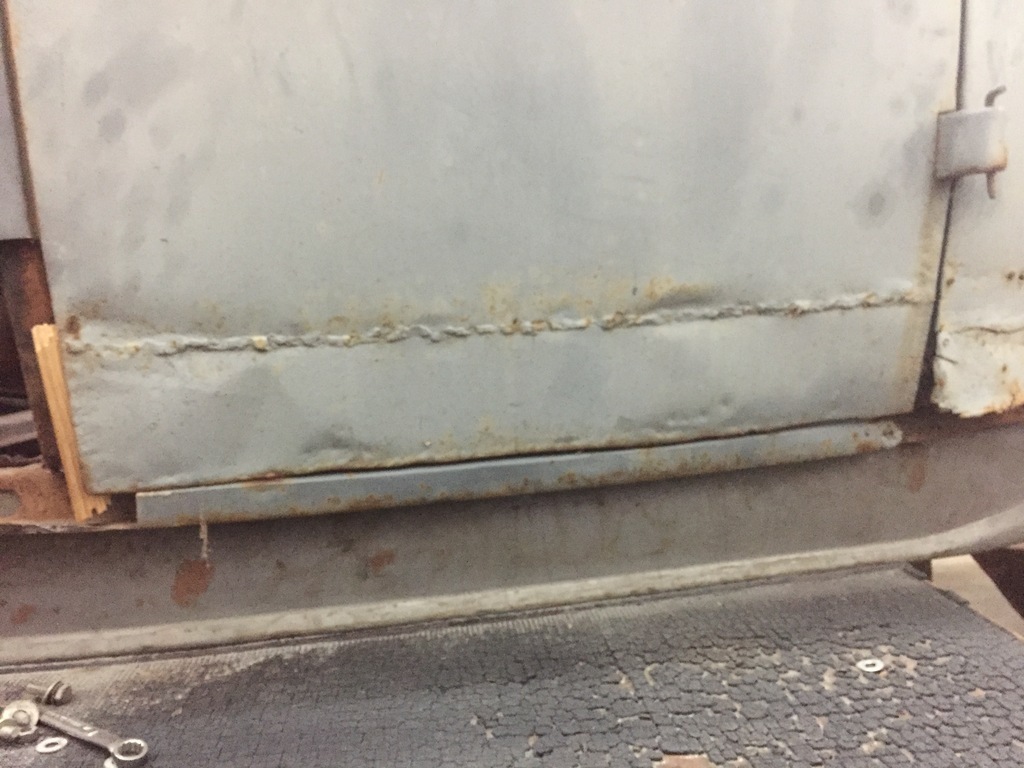
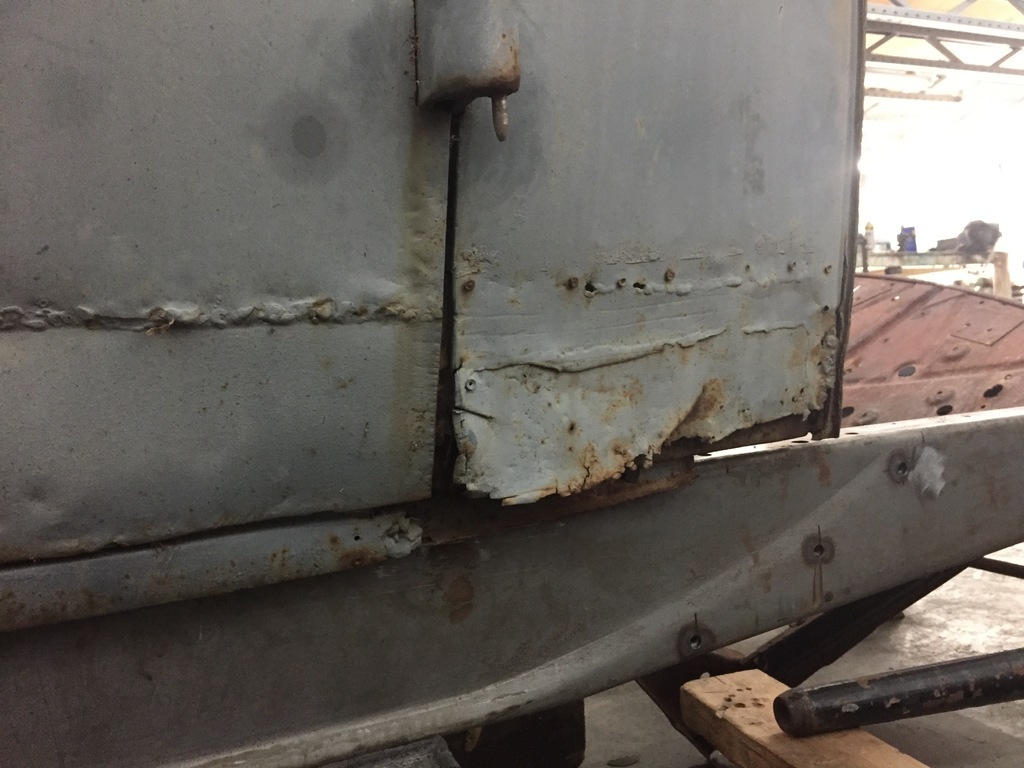
Right hand side is the worst.
I had to cut away the patch they put in the 1/4, plus about 3" of original metal above it, just to get the body to sit on the chassis.
There was some sort of a patch on the inside that went from the subrail to the B pillar and the inside of the patch.
When that was gone, the b pillar was no longer attached to the subrail.
That gets a little scary, because you get close to loosing all reference points...
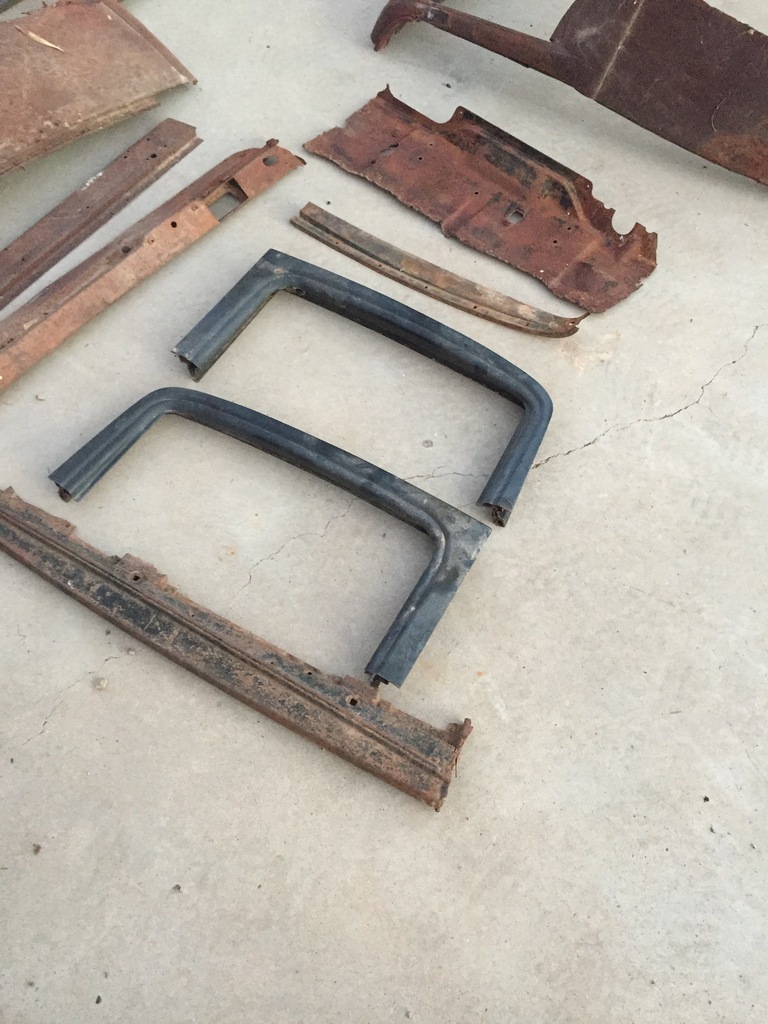
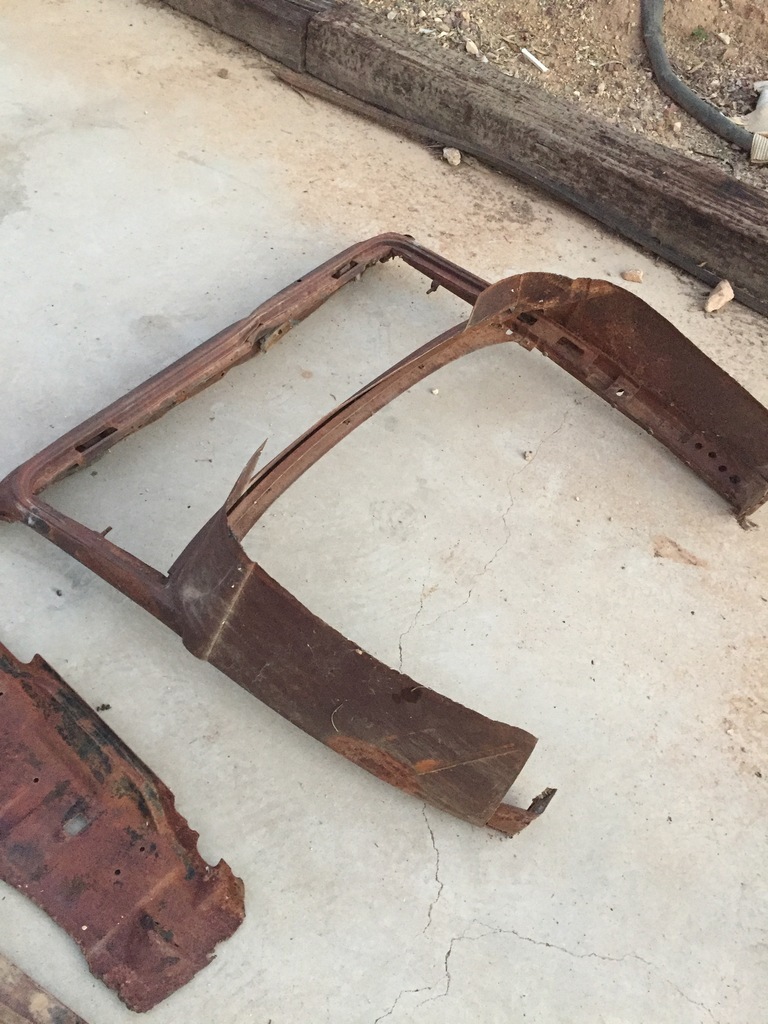
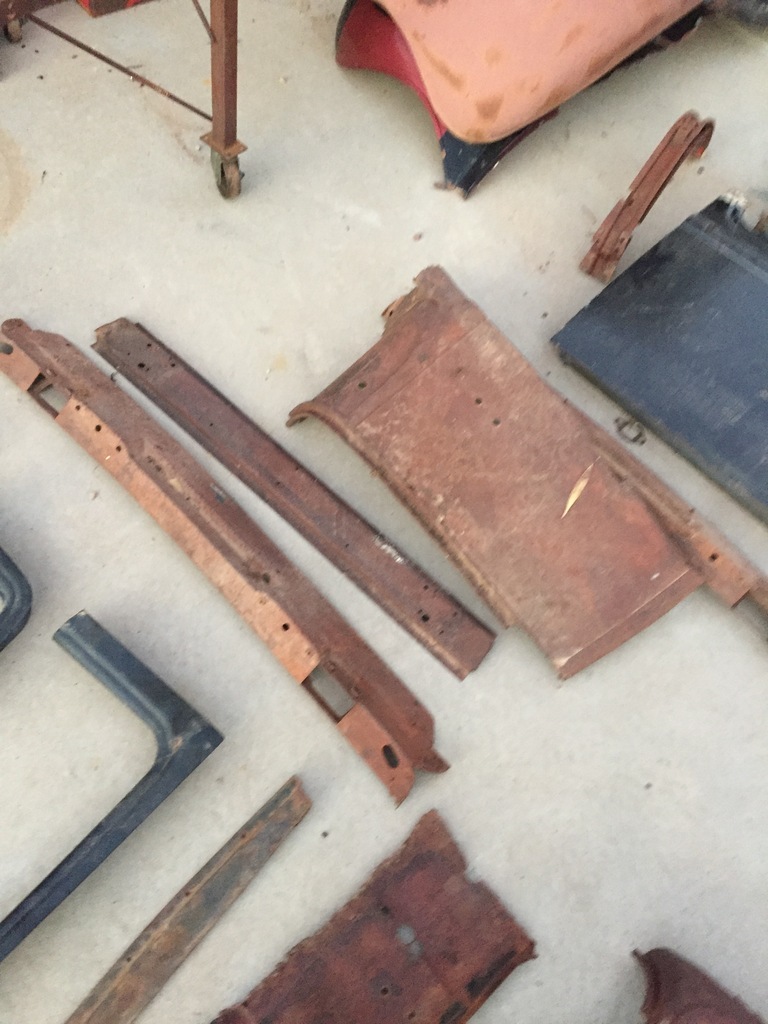
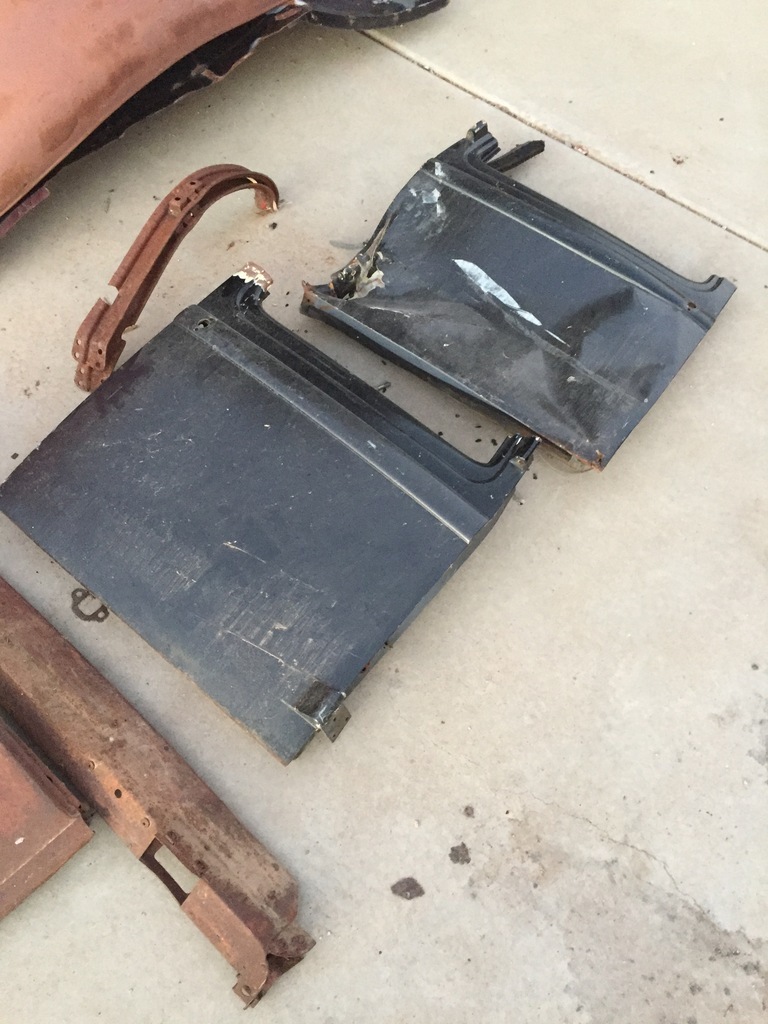
So first job is to dig out all the sheetmetal pieces I've collected over the years, and see what will ( or might ) work.
Next is to cut out more sheetmetal ( the RHS wheel well for sure, but maybe more)
I have a original 1932 gastank here that belongs to a buddy, and the decklid that came with the body.
Those will give me more reference points I will need.
Between that and the LHS sheetmetal, I'll hopefully be able to get the RHS where it needs to be.
But I'll also have to check the angles of the A pillar, B pillar, and C pillar areas.
There is a good chance they warped that as well, and given it a lean to one side, or a twist along the whole body.
( That is pretty likely, actually...)
If so, I'll have to correct that.
And put in temporary bracing that can come back out when the body is strong enough again to hold its shape.
I'm hoping I can do all the repairs to the main body before I correct the chop.
Again to not loose too many reference points at the same time.
( and also because it can get really floppy when you cut everything at the same time )
But again.. That may be wishful thinking.
We'll see...
|
| |
|
|
|
|
|
Oct 16, 2022 19:41:49 GMT
|
|
Usually, I try to build these cars from the A pillar out.
Check the fit of the door to the A and B pillar, and then forward to the cowl and rearward to the 1/4, and beyond...
One more thing to keep in mind is that these cars were built in the very early stages of assembly line production, and they were built down to a price.
So besides all the damage that has happened to it in the 90 years after it was made, there might be some problems it has had from day 1...
And also, eventhough most of the sheetmetal pieces I have are original 1932 ( also known as original Henry steel ) , they are not pieces off the same car.
|
| |
|
|
|
|
|
|
|
A new repro steel rear fender is about $750. A really nice original is at least that. This one was $60. But it does need some repairs...  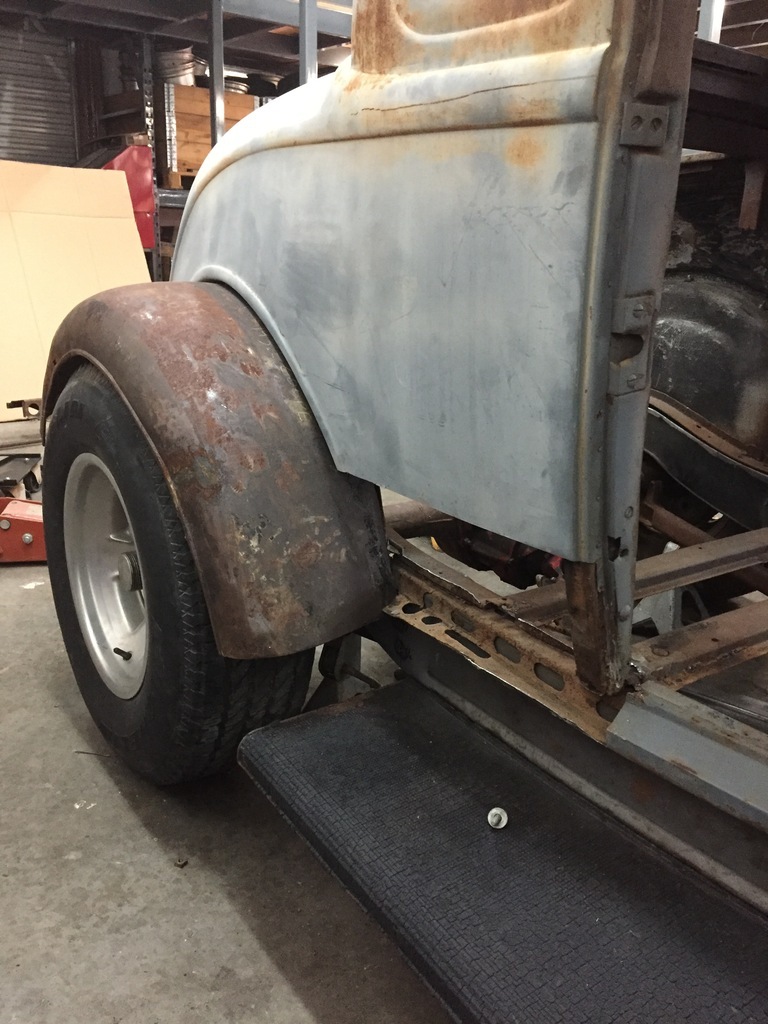 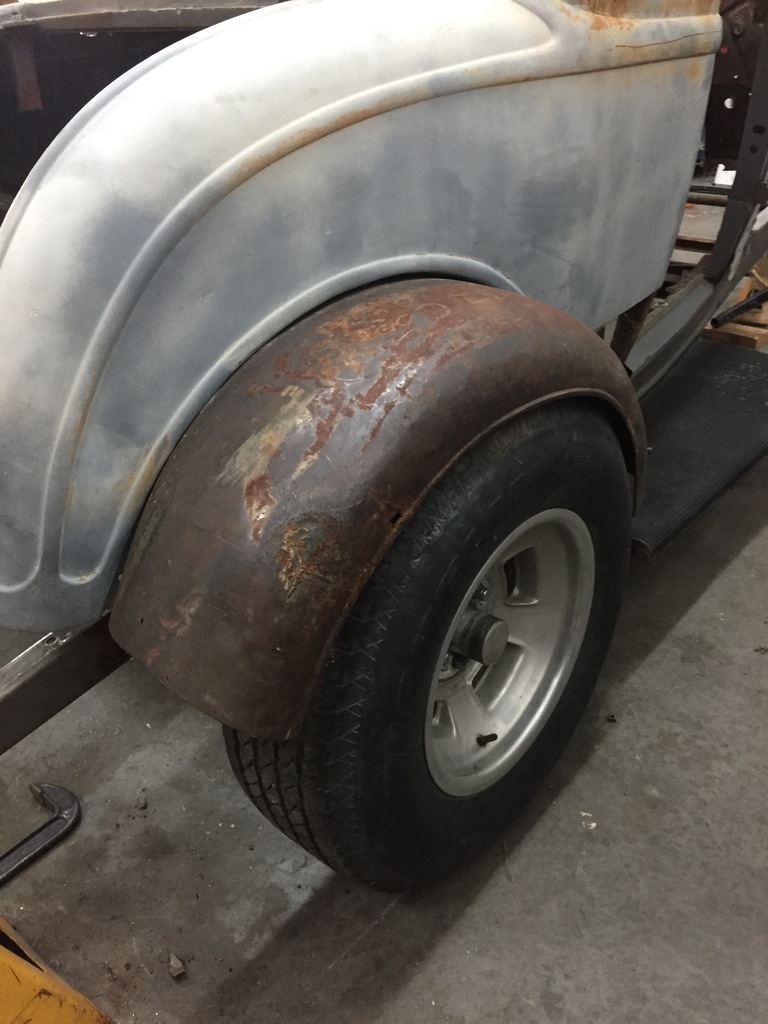 OK... A lot of repairs. |
| |
|
|
|
|
|
|
|
I cut out the rear wheel well. 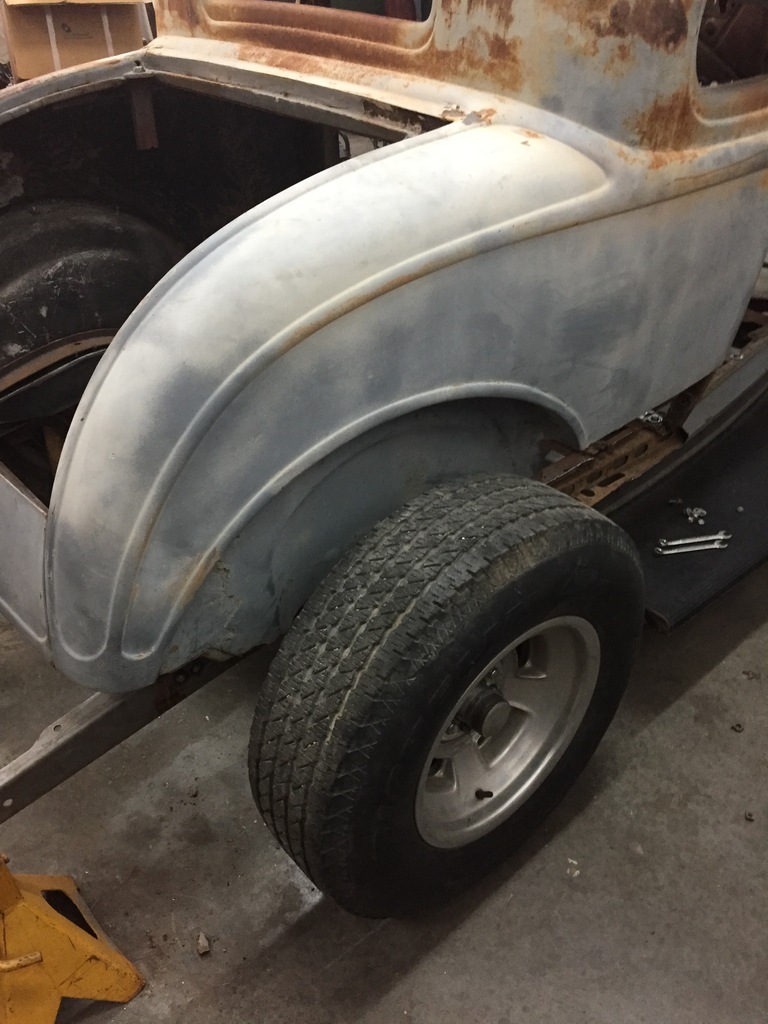 Forgot to take a "after" pic... And took a good look at the RHS door gaps. 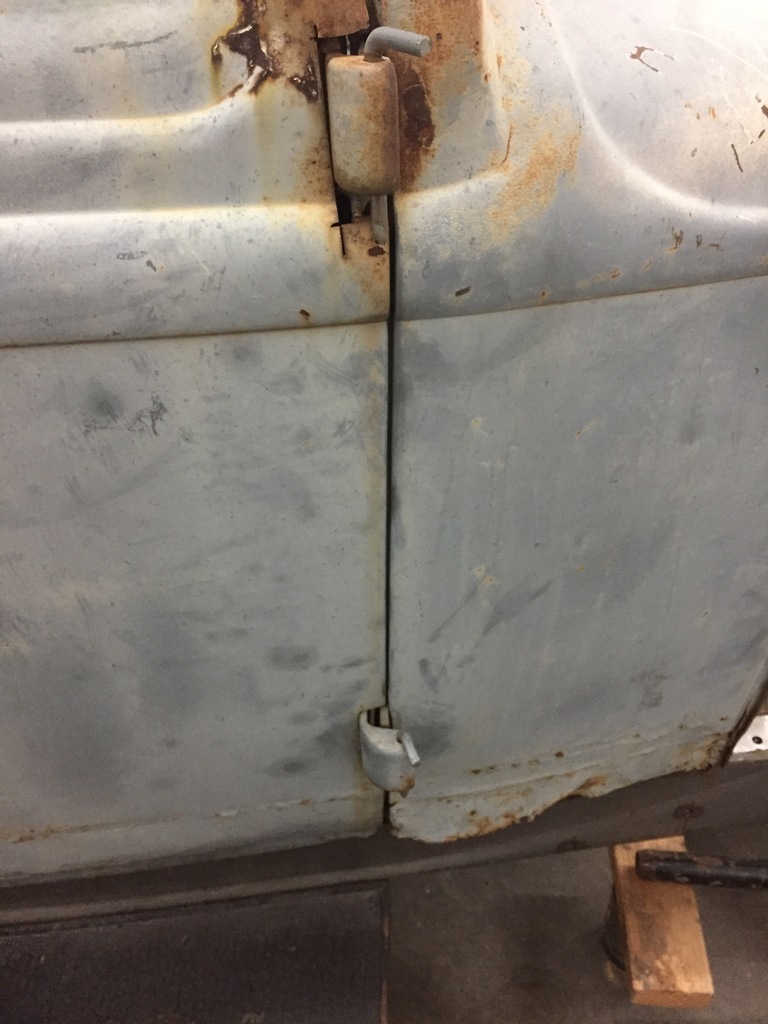 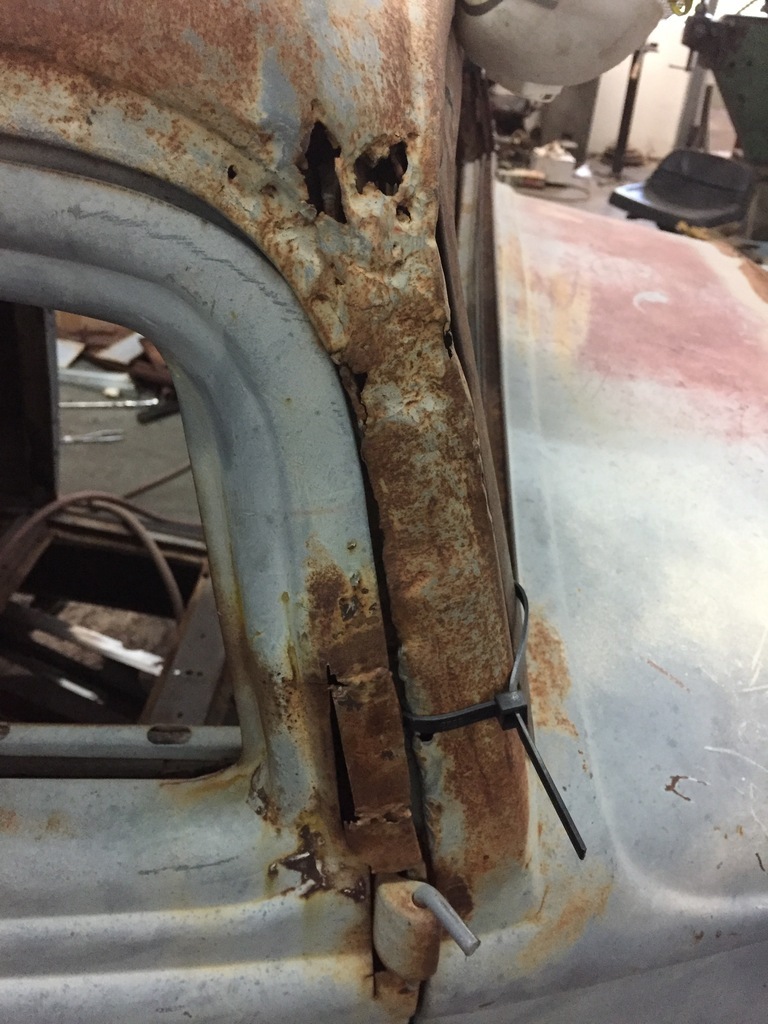 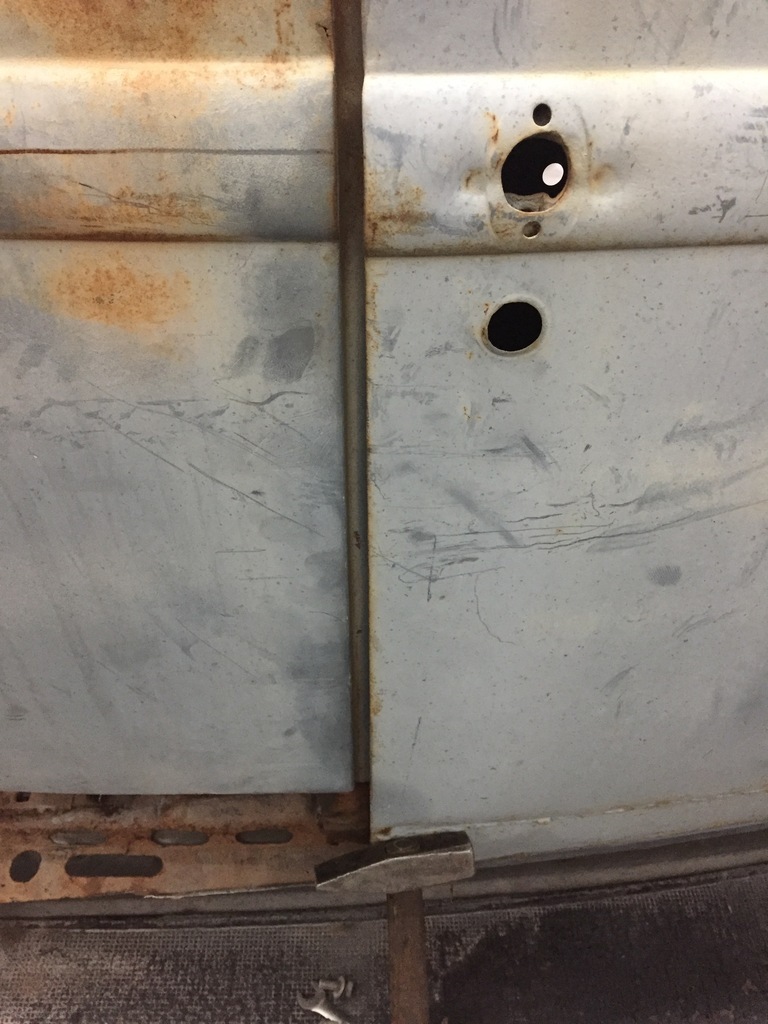 |
| |
|
|
|
|
|
|
|
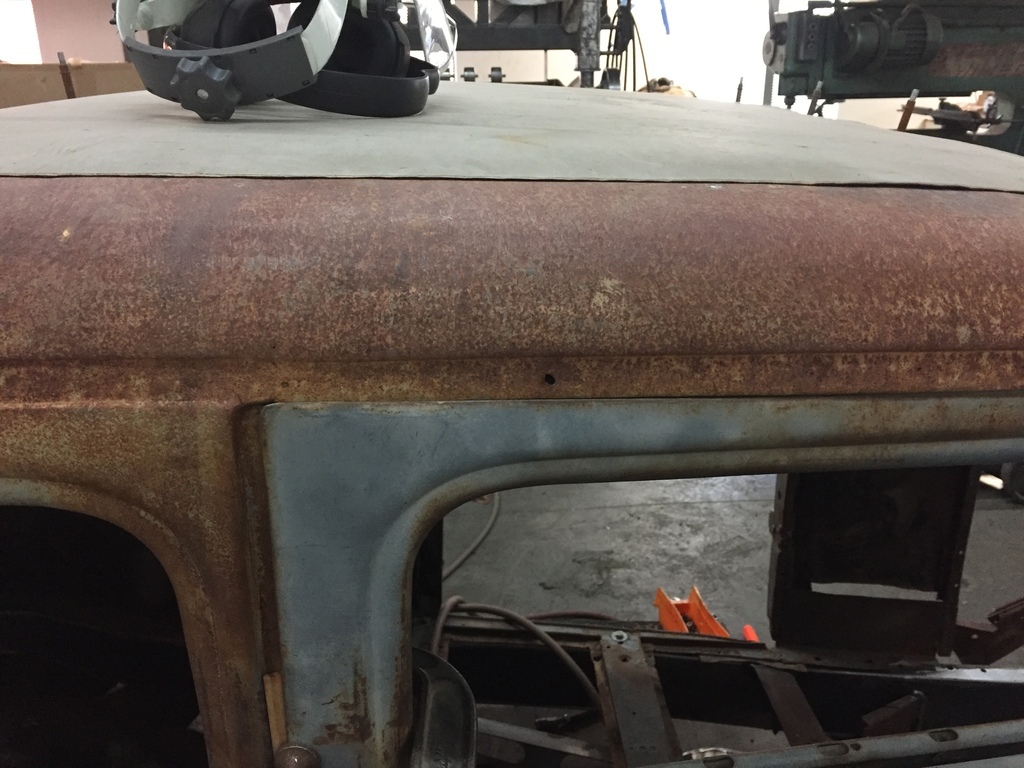 And start to correct it. Because of how bad it is, I'll have to do it in stages. 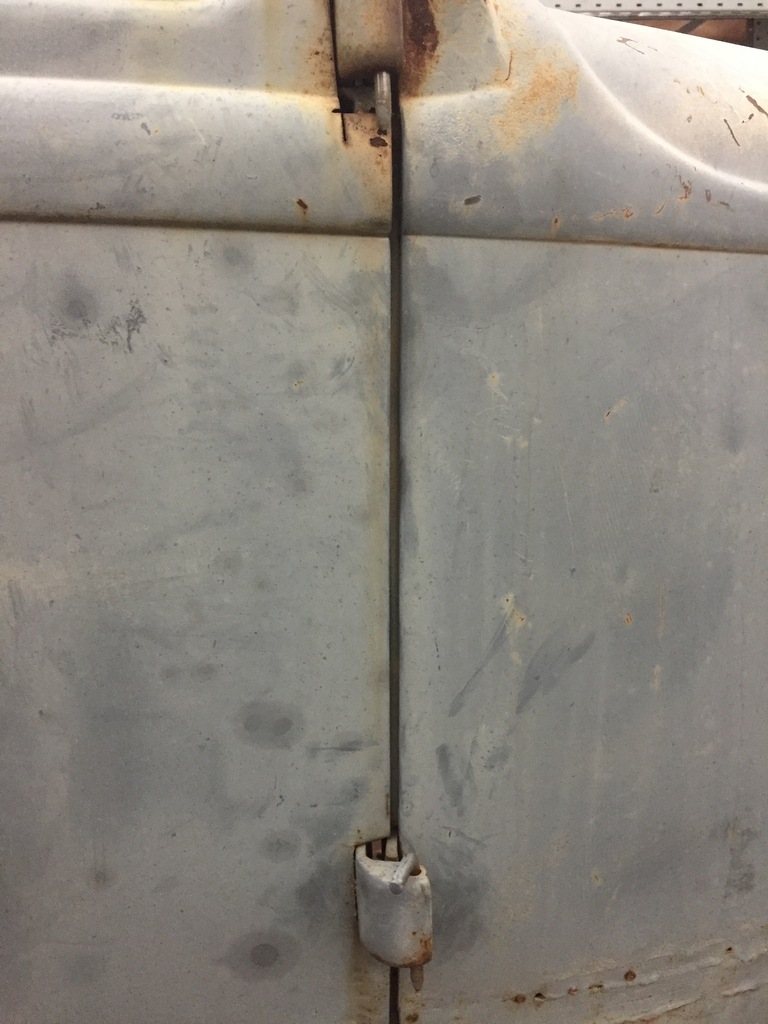 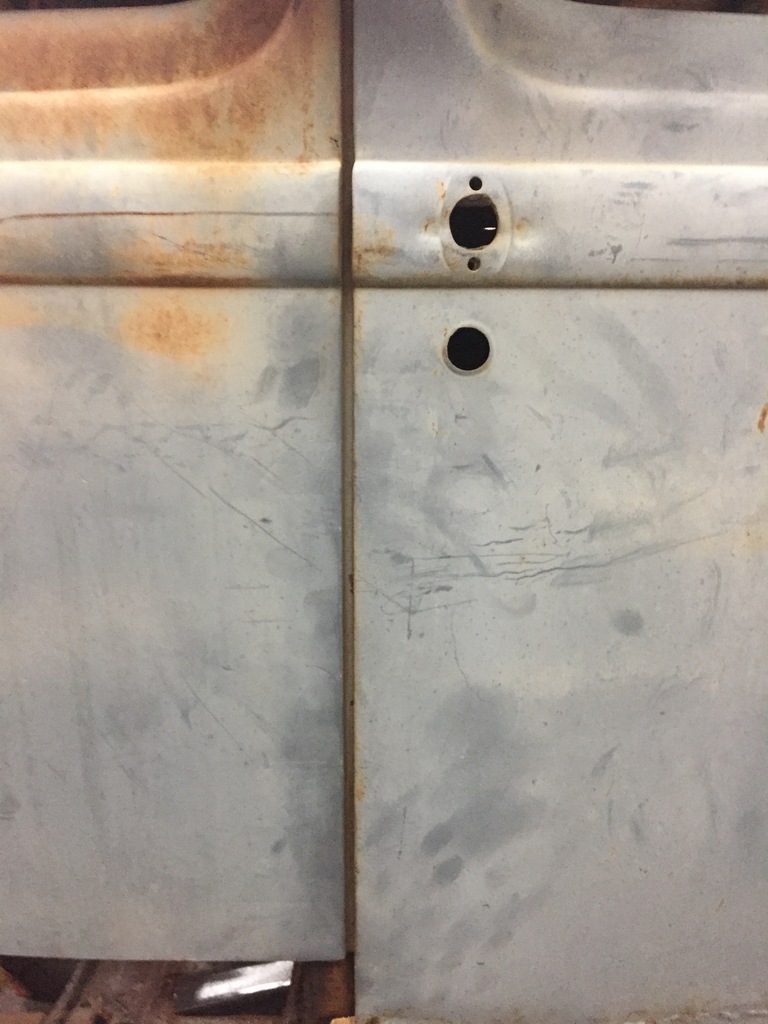 |
| |
|
|
|
|
|
|
braaap
Posted a lot
  
Posts: 2,743
|
|
|
|
|
OMG!
May I ask: do You still work for a living? Or do Your days have more than 24 Hours?
|
| |
|
|
|
|
Paul Y
Posted a lot
  
Posts: 1,951
|
|
|
|
You are a better man than me Gunga Din! But look at the positive, if it had been straight and true then where would we have got our entertainment from over the winter..... Good luck Sir! P.  |
| |
|
|
|
|
|
|
|
braaap, Yeah, but I am slowing down a bit and taking a bit more time for my own stuff. paul Y, if it was straight and true, I wouldn't have been able to afford it...  Thanks guys.
|
| |
|
|
|
|
|
|
|
|
All the likes I clicked today were in sympathy and support, you are a clever guy, brave too, but that is a lot of work.
However, no doubt you will fix it right.
|
| |
|
|
|
|
|
|
|
|
|
|
Calling those repairs is being generous!
Looking forward to seeing this live again.
|
| |
Proton Jumbuck-deceased :-(
2005 Kia Sorento the parts hauling heap
V8 Humber Hawk
1948 Standard12 pickup SOLD
1953 Pop build (wifey's BIVA build).
|
|
|
|
|
|
|
|
I feel your pain, getting door gaps even close on a flimsy shell is bad enough.
Trying to do it to a shell that was never intended to be that good from the factory is on another level.
It looks like it's in capable hands though.
|
| |
|
|
|
|
|
Oct 17, 2022 11:01:03 GMT
|
|
As those that have commented already, it is in very capable hands. Looking forward to seeing the results - and the journey there.
It's going to be a bumpy but fascinating and informative ride.
|
| |
|
|
|
|
|
Oct 17, 2022 17:07:23 GMT
|
Thanks guys.  |
| |
|
|
|
|
|
|
|
When you chop a top like this you can do one of 2 things to compensate for the miss alignment of the windshield area. You can keep the A pillars at the same angle and lengthen the roof, or keep the roof the same length and angle the windshield back. Leaning the windshield back seems like the quick and easy way to do it, and I guess it can be. But because the upper door hinges are on the A-pillar, when you change the angle of that pillar the hinge has to move down. Or the door wont open. To do that right is a huge amount of work ( on my car the hinges were moved, but it wasn't done right...) 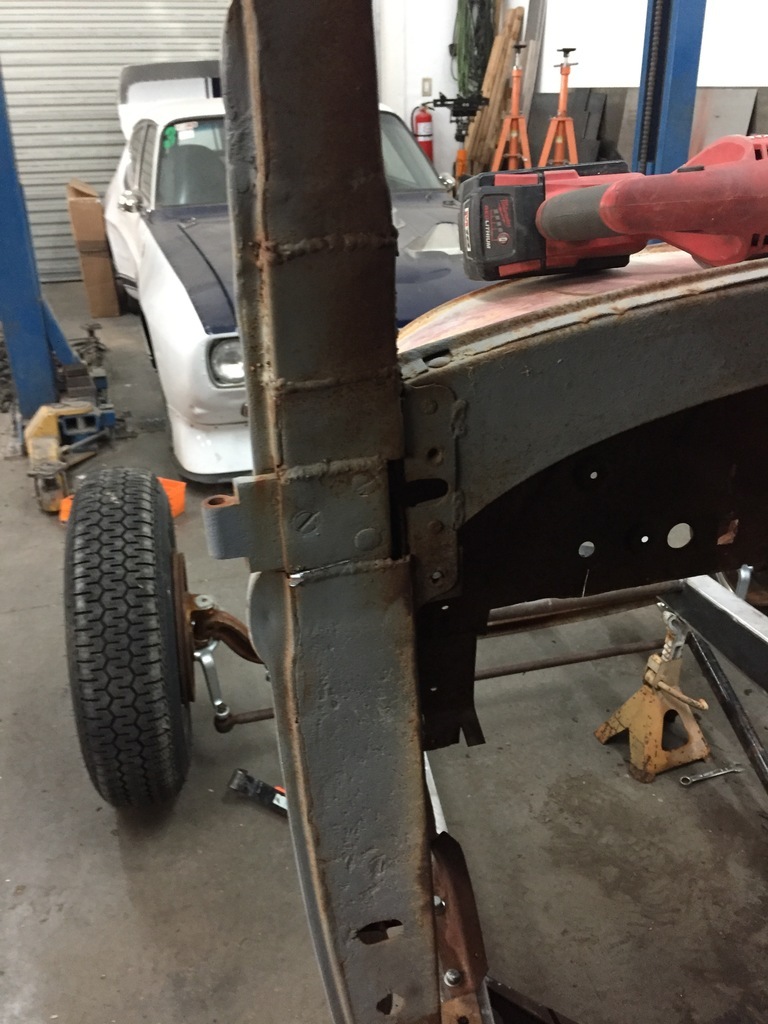 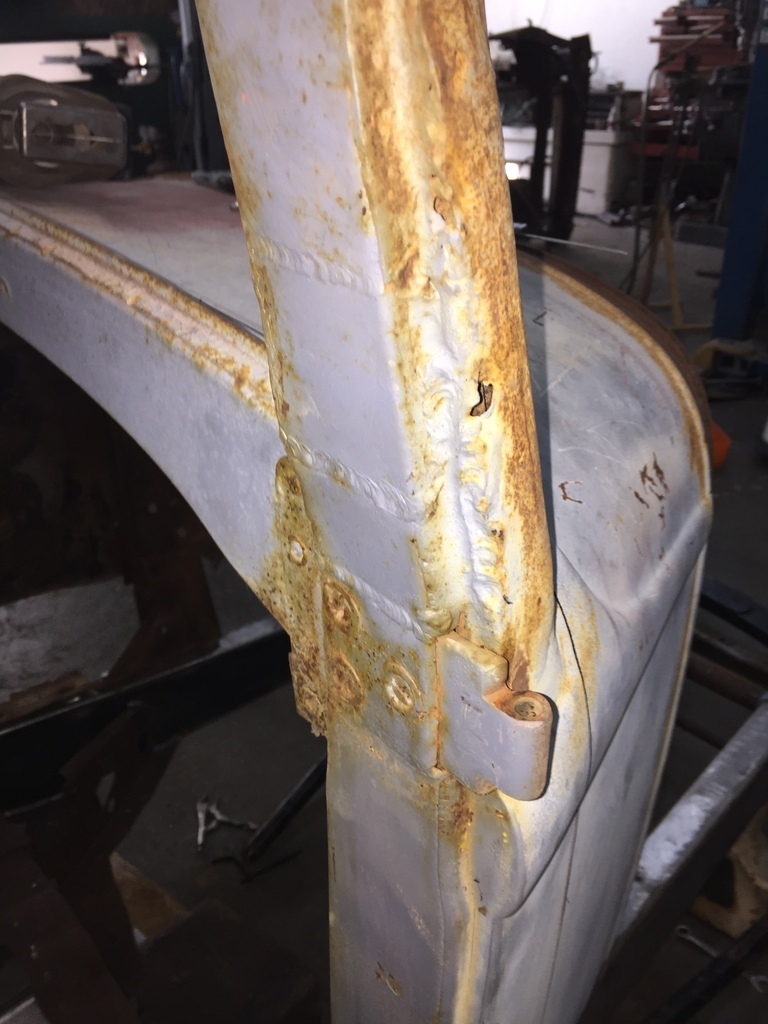 Also, the lower edge of the windshield isn't flat & straight, so when you lean it back you have to re-do the edge of the cowl that meets the windshield frame, or it wont close right. So eventhough I really like the aggressive Bonneville Racer look with the angled back windshield, I decided to go for the stock angle with a lengthened roof. Another problem with the A post area of my car is that the lower attachment points are gone ( cut out when they did the repairs to the lower cowl area). I have a spare cowl that is pretty decent in the A post area, but it is damaged and incomplete. So I cant use the whole cowl, just parts of it. First came the labor intensive job of taking the cut off hinges out of the spare cowl, and the good hinges out of the cowl in the car. And then put those in the spare cowl. 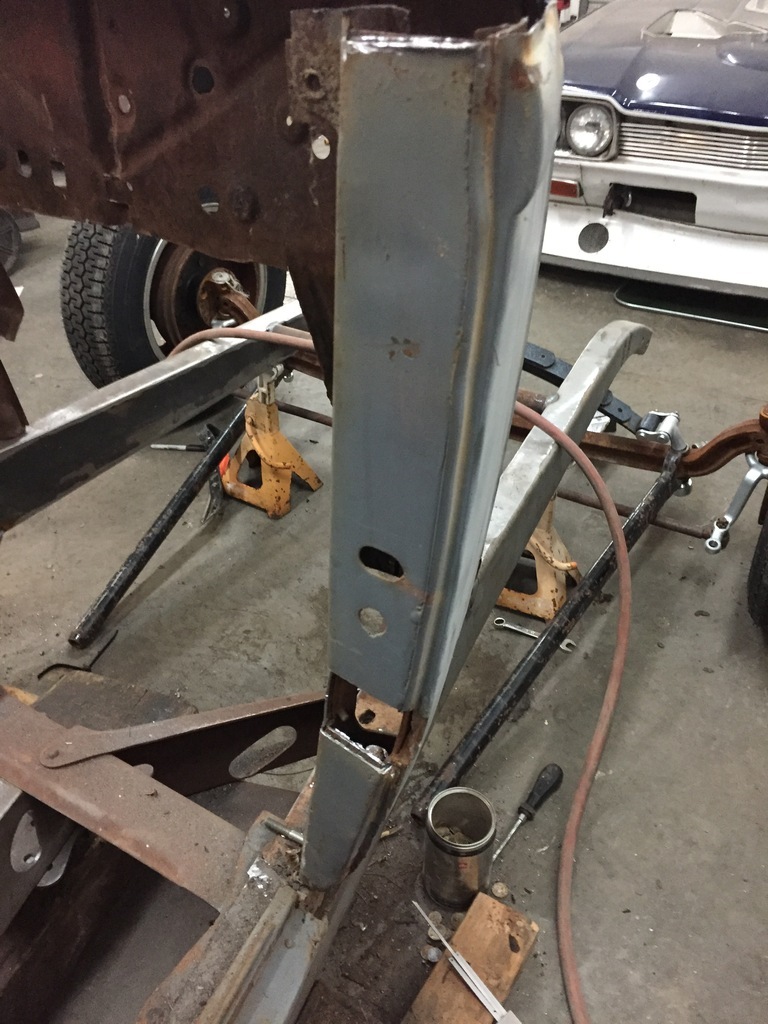 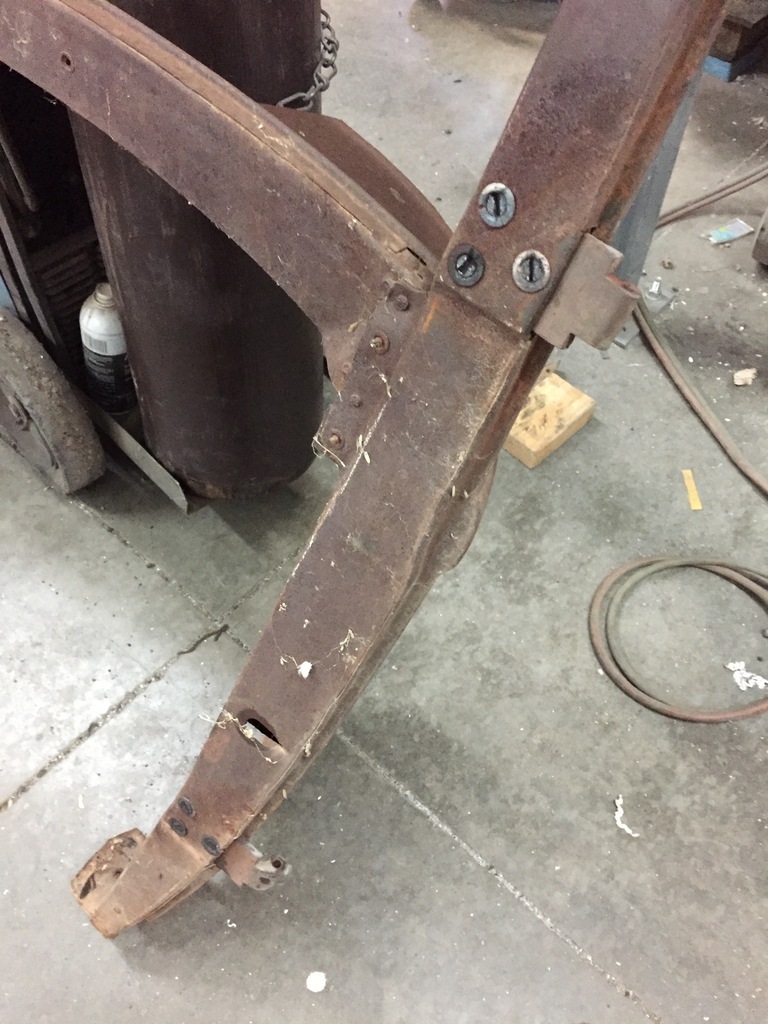 |
| |
|
|
|
|
|
|
|
Then take a deep breath, and start cutting... 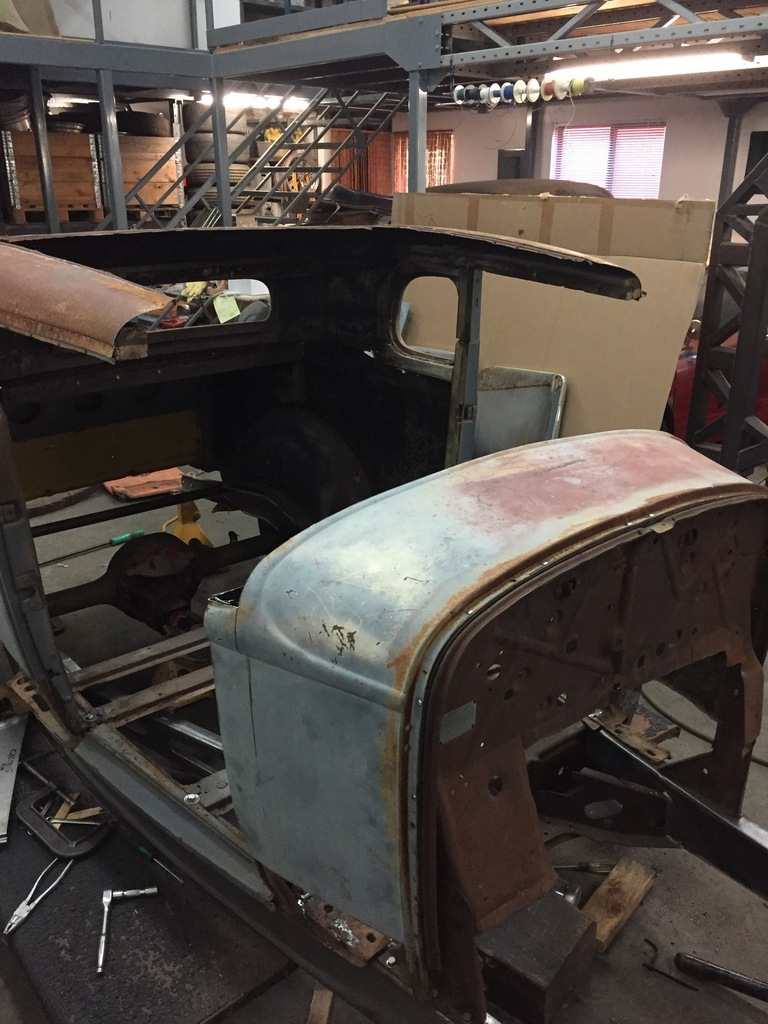 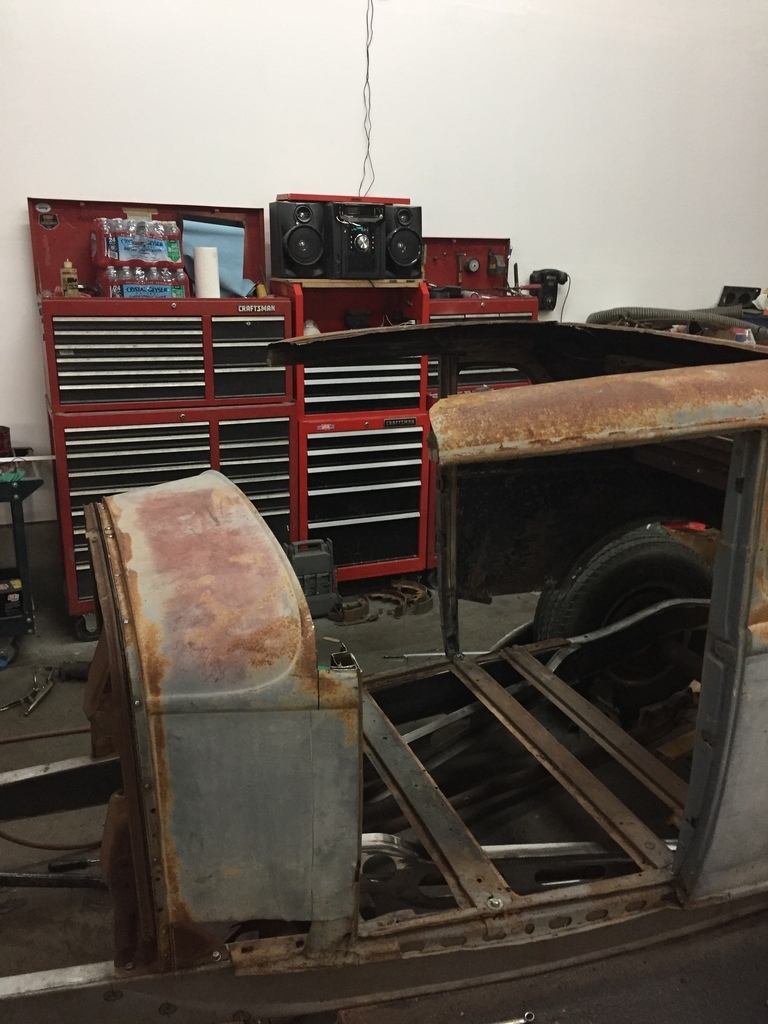 And start to move the new cowl in place. 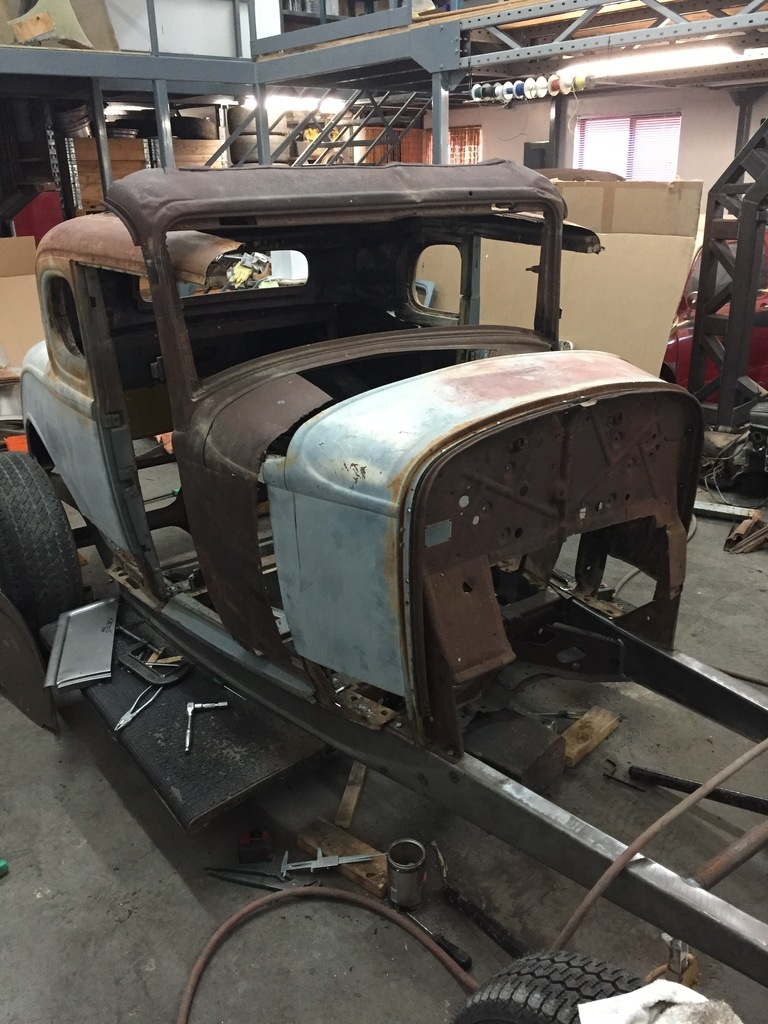 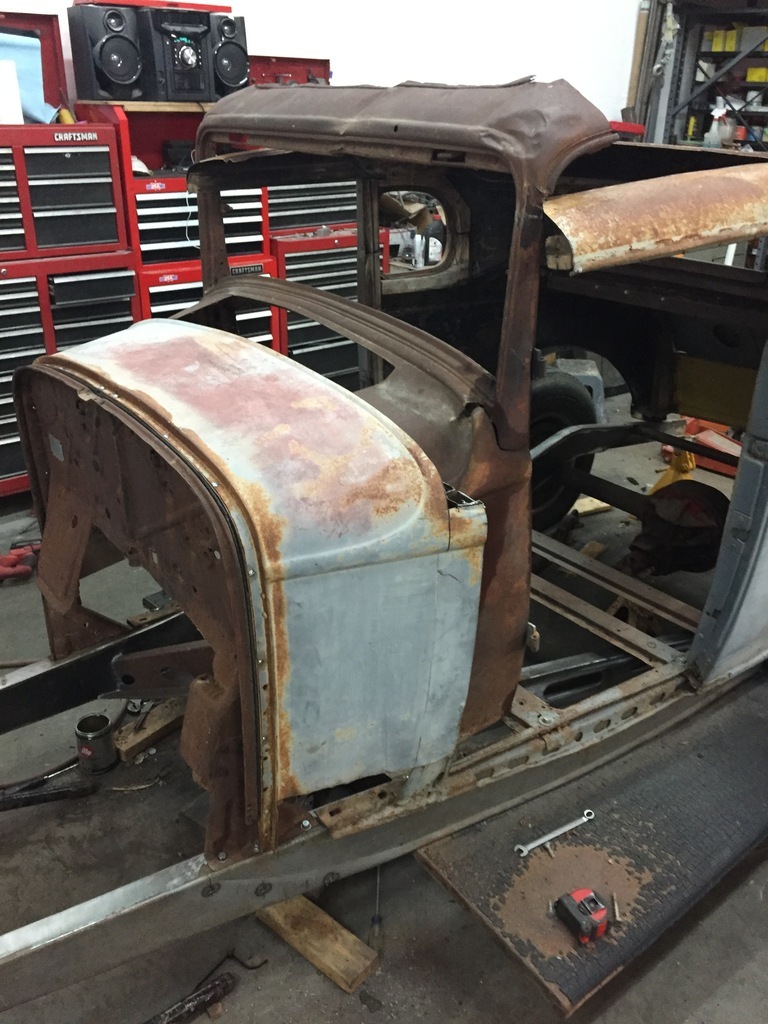 And starting to trim it ( to measurements & markings I made earlier) 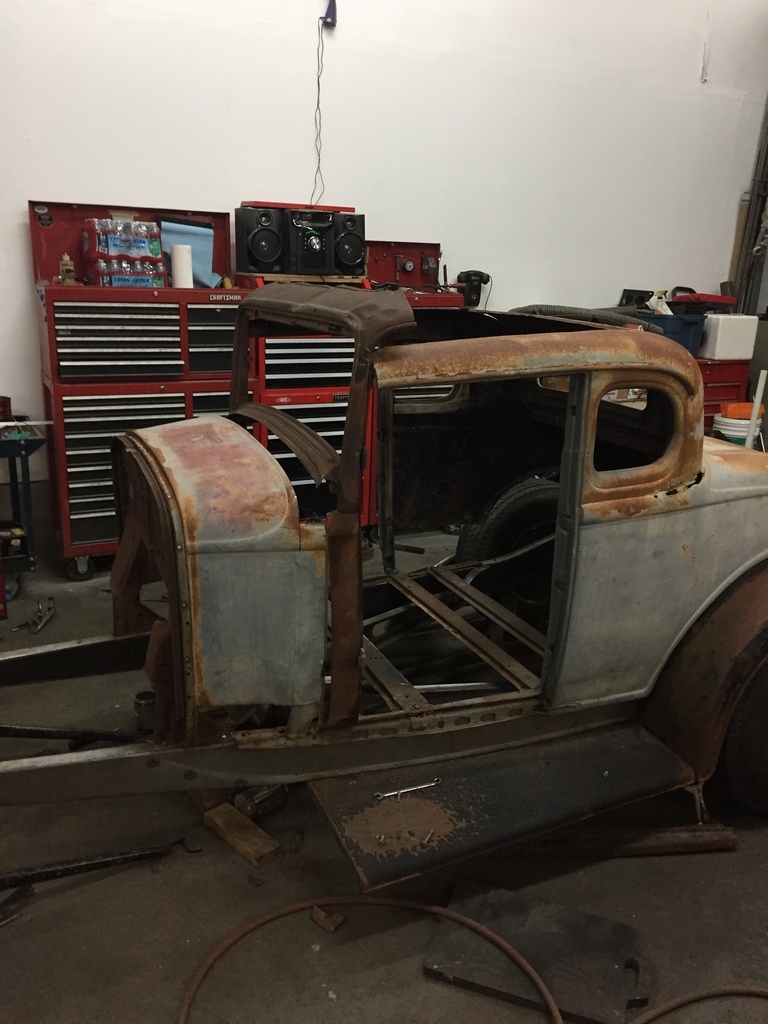 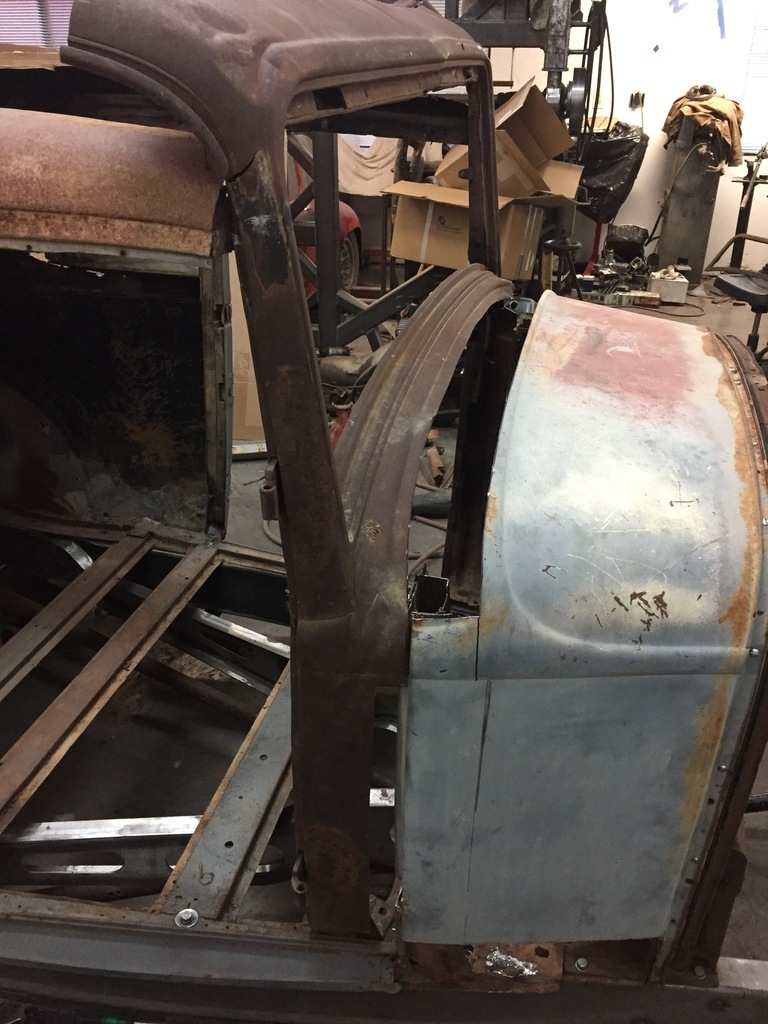 Still a long way to go... |
| |
|
|
|
|
 )
) )
)


