What a weekend it's been. So much coolant on the floor... and so much progress.
It was time. Lucas was getting the 3.9 engine fitted.
The first job was Friday night after work; I pulled Lucas into the garage and began stripping the 3.5 engine down.
This was the last time Lucas would be driven with the 3.5 engine, and the last time this particular engine would ever be started again.
Due to the length of the car, and my garage, the only way this job was going to work was to have his

hanging out of the garage.

I started by draining the coolant and pulling out the radiator assembly. With the fan and hoses removed, this comes out as one big assembly by removing the two bolts that secure the upper "slam" panel.

This uncovered the additional transmission cooler a previous owner had fitted. It's probably an ok cooler, but it's been bodged into place and wasn't really that good. It was out of the main airflow, and the aux electric fan sandwiched between the cooler and radiator was wired to run at key on (disconnected when I first got the car).

It turns out the lower hose had also been trapped between the radiator and the sharp edge of the plastic undertray, which had caused it to slowly weep fluid, coating everything in a coating of trans fluid and mud. See damp spot on the plastics.

I'm going to remove the cooler and run the hoses straight into the cooler built into the radiator, as it should be (this loop was still fitted, so it went from trans, to radiator, to cooler and back to trans). I'm not going to be using this as a heavy-hauling tow car, so I'm sure it will be fine.
It wouldn't be my car if it didn't look like this at some point

Little did I know it was going to be so much worse.
Next, it was a case of removing everything else from the engine.
*snaps fingers*

The inlet manifold came off, to reveal a suspiciously clean pair of heads. Clean like, brand new, not even any muck in the ports.

This also confirms they are carb heads, as they don't have the small cutouts in the top of the ports for the injectors

vs the heads on Effie

Under the valve covers was spotless too, with only some baked on oil on the rocker gear giving away its true history

Interestingly though I did notice this on one head; the center head bolt has been removed and replaced with a stud, some washers and what appears to be a (used) wheel nut.

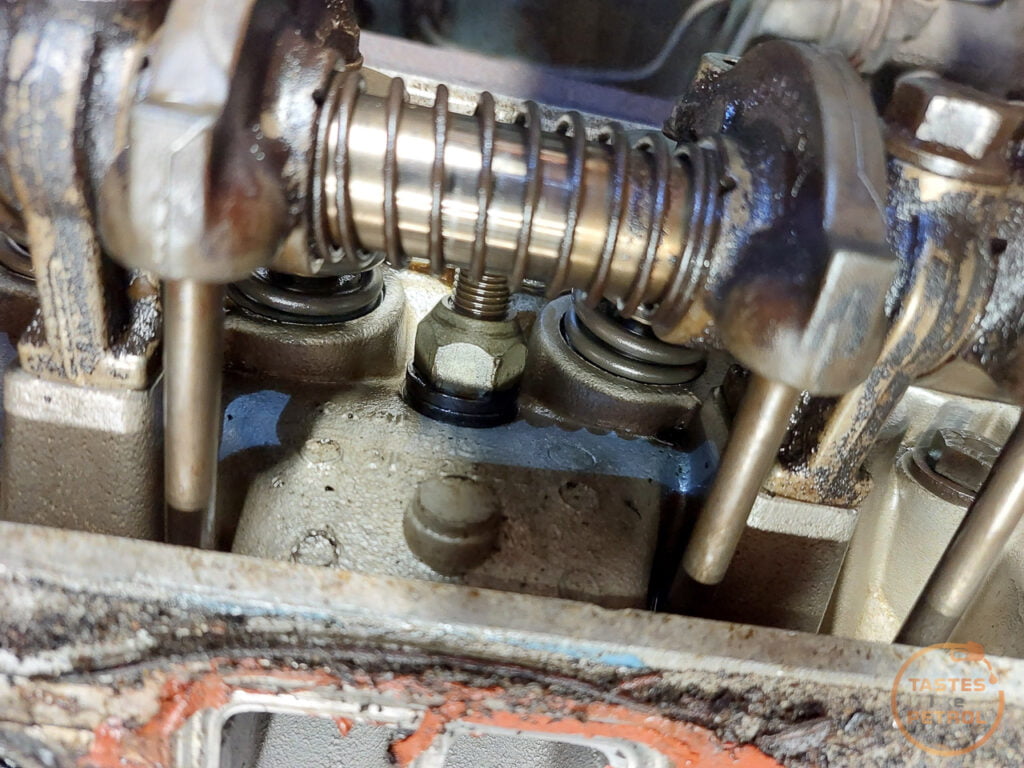
It'll be very interesting to pull this engine down and see what's going on. Nothing was immediately obvious.
It's no wonder the valve cover gaskets were bucketing oil everywhere. On the one side I removed, the gasket had shrunk or got pinched and pulled away at the back of the cover. It wasn't even trying to seal.

Speaking of the inlet, it came off in one lump, and appears to be in decent shape. I did a bunch of new hoses on it recently, so they will be reused.

The injector hoses appear ok for now, so they will be left, but I will fit new injector seals and feed/return hoses on the rail. This whole assembly is being fitted to the 3.9 basically as is.
Once all the ancillaries were removed, I pushed Lucas back into the garage and called it a night.
Tomorrow was the big day.
I managed to rope in a friend to help with the big part of the job, which was a huge help, I'd hate to have tried it solo. He also brought another friends engine crane with him, which was kinda handy.
There aren't too many photos of the actual work as we just smashed on through, and it was a hard and dirty job, so we only stopped at certain points.
We started the day by doing the under-car stuff that I had left the previous day (and wish I had done, as now I was rolling in coolant...). I disconnected the downpipes, unbolted the lower bellhousing and sump plate, disconnected the starter wiring and removed the torque converter bolts.
Up top, while I did this, the exhaust manifolds were being removed, and the lifting eyes were fitted.
With the under car work done, we lowered the car down again and removed the bonnet. My lovely wife jumped in to help here too, as it took two people to hold the bonnet and one to undo the bolts.
With the bonnet now carefully placed on some underlay on the roof, we slid the crane under the car and took up the weight of the engine. The remaining bellhousing bolts were then removed, as were the engine mount bolts.
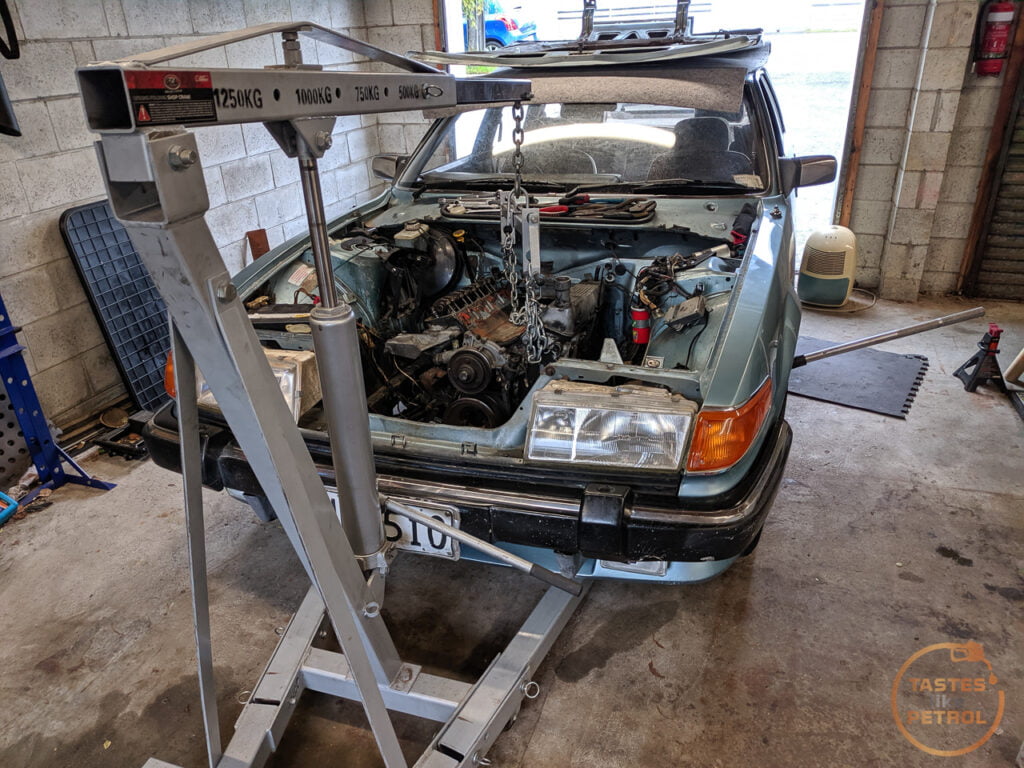

Using a jack under the trans pan, I gently took the weight of the trans, and then we used a pry bar to carefully separate the engine and trans. This came apart easy enough, and then suddenly the engine was up in the air and out of the car.

Almost too easy. We had it out by lunch time.

It's been asked a couple of times, "can you remove the engine without the trans?". Well yes, you can, and it's quite easy. Just make sure the torque converter doesn't slip forward, otherwise it's just like any other engine to remove. We didn't even need the leveller on the crane for removal, just refitting. The engine happily cleared the crossmember.
We had a break for lunch, and then got stuck into converting the two engines.
The sump, windage tray and oil pickup were removed from the 3.5 (including the long stud still fitted on the rear bearing cap, you need that too).

into the drain pan it went

And with the 3.9 conveniently upside down on the engine stand, the old sump was removed (and fitted to the 3.5) and the 3.5 parts were fitted

Before the sump could be fitted, the front cover had to be swapped over.
I started by removing the 3.9 cover. This was easy enough, it's just a series of bolts hidden under years of oil and muck and then it comes off.
This then revealed the timing chain, which after much inspection, was one tooth out on the timing.
The red and orange lines should perfectly line up. The pointer on the lower (really the upper; the engine is upside down) should line up with the tooth that has the square cutout on it. The hole in the big gear is a casting mark, not a timing mark.

There was also some slack in the chain. Thankfully I had a new chain and a pair of genuine gears to fit. I removed the old ones, carefully rotated the crank so the teeth were in line, and fit the chain and gears.

The orange line shows that the pointer and square line up nicely

The new chain is taught, with no slack in it. Due to the length of the chain, there is no tensioner. This also reinforces the misconception about timing chains never needing service.
The old gasket was scraped off, and then we set upon the old 3.5 to remove the cover.
One "Pro-Tip" I will say now, is to open the block drains and drain the block. I didn't, and I swear there must have been a thousand litres of coolant in the block, either that, or it was generating it, as it never stopped pouring out.
With the front cover removed from the 3.5 we had access to the timing gear on that and by golly was it bad!

The chain was so slack it was barely on the crank gear

Wiggly wiggly wiggly

Interestingly, it had a solid steel cam gear, instead of the nylon gear it should have fitted. There were big wear marks on the teeth, so it was trash anyway.
My worst fears were confirmed too. The oil pump housing was damaged.
There was clear scoring on the walls. Most of it was so fine you couldn't feel it, but there were a couple of scores that could catch a nail, and some embedded chunks in the wall.
In this photo I had carefully taken some super fine 5000 grit sandpaper and wet-sanded (with oil) on the LH side, which made a huge difference. It took very little to clean it up, but you can still see a couple of the deeper marks.

A close up. of the other side before I gave it a quick tickle up.

Both sides ended up looking ok in the end, but far from ideal. From the state of the gears, which were in decent shape, I can only presume the damage was done when the old engine failed and no one thought to clean the housing up.
The base has some wear, but nothing I'm too worried about. Despite its appearance, it's quite smooth.

I removed the pressure relief valve, which moved nice and freely. Cleaned it, oiled it up and refitted it with a new copper washer.
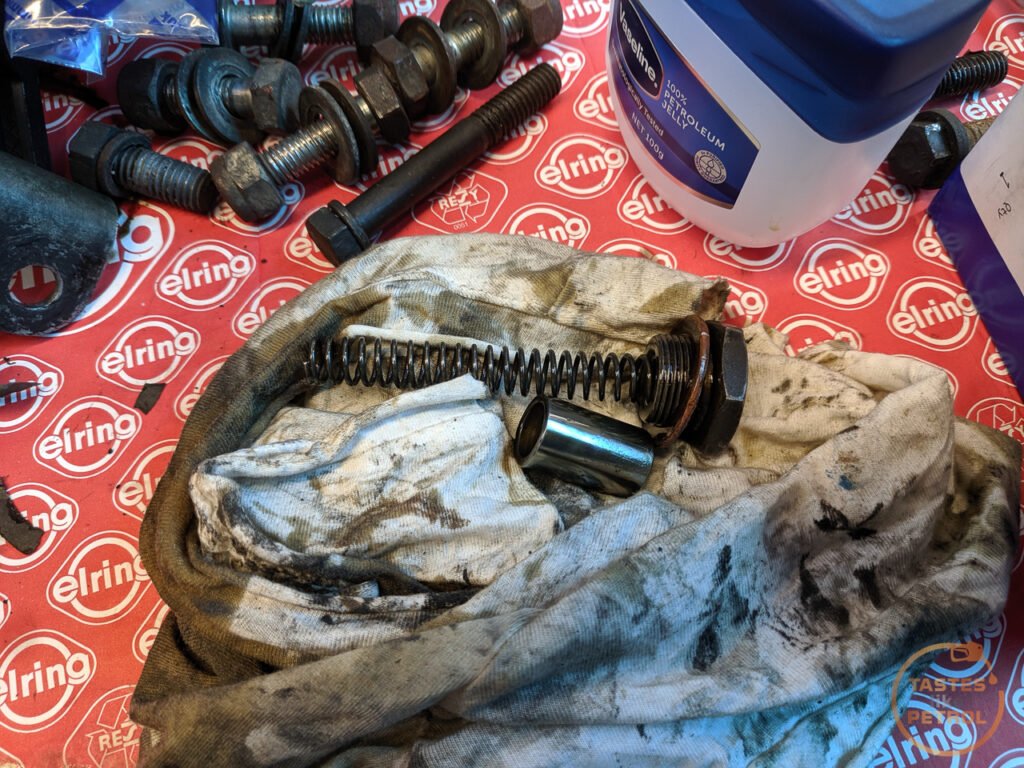
I have no doubt that if I have low oil pressure on the new engine it's probably due to the housing. I tried to get a replacement front cover but really struggled, so I'm stuck with what I have for now. The oil system is meant to be low pressure high flow, so I can live with a slightly lower pressure as long as it's otherwise happy.
The front cover had a new front crank seal fitted, as the old one was like plastic that had been set in the sun for a million years, and fitted to the 3.9.
A pair of new gears were fitted, along with half a tub of Vasoline, to help the pump prime.

A new gasket was fitted, dry, as I had heard there is such a fine tolerance here that even sealant can affect the operation of the pump, and the base refitted.
Now it was time to fit the sump. Whilst I was messing around with the front cover this was given a good clean to get the old sealant and gasket off it.

Unlike Tess, the sealing surface appeared to be in reasonable shape, with minimal warp (but in hindsight I should have checked with a straightedge at the time).
The block was given a thin coating of sealant, the gasket set in place and the sump fitted and tightened to hand tight. It should be 14nm but the gasket was reacting badly at just hand tight and starting to squish out (and in the end actually split anyway, so now I'm going to replace the gasket again this week).

With the 3.9 almost ready to go, the 3.5 was dropped off the crane onto the floor, where it proceeded to dump yet another couple of litres of coolant on the floor, soaking the cardboard it was meant to be on, before we kicked it off to the naughty corner to think about what it's done. Remember kids, block drains are great.
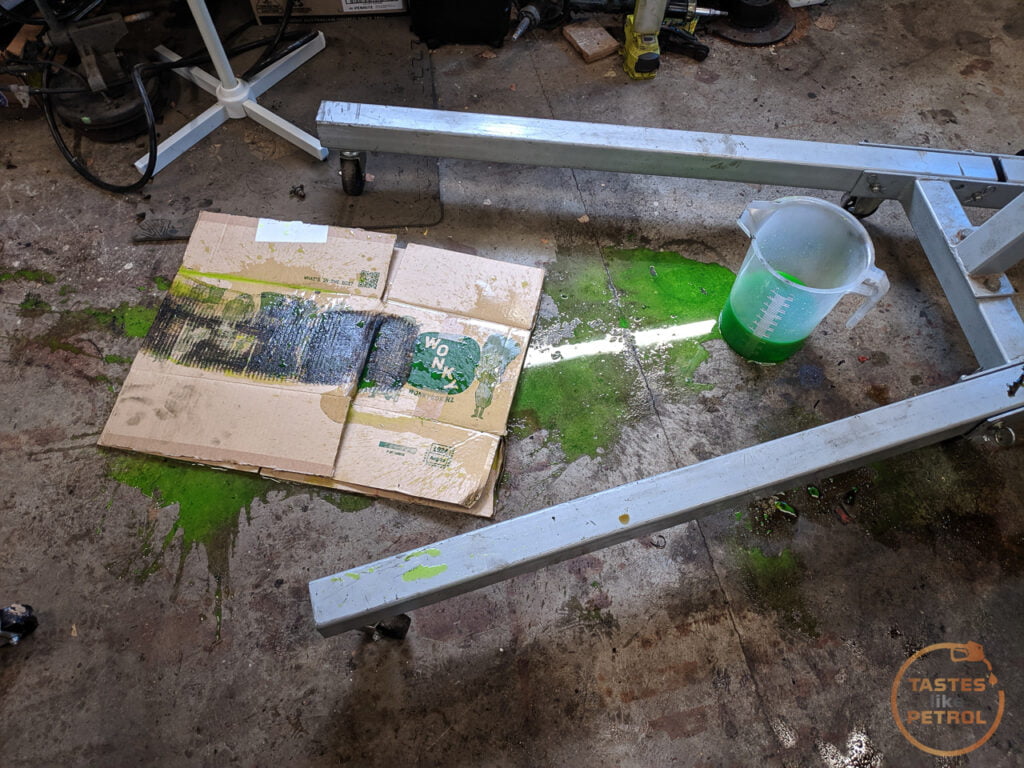

And that's about where we wrapped up for the day. We lowered the trans onto a creeper with a couple of quickjack blocks on it, and rolled Lucas back into the garage.

He had some mad reverse rake going on

My friend departed for the night, and I was left to clean up the coolant and remove the intake manifold from the 3.9, ready for fitting the next day.

The old 3.5 got an upgrade

The next morning, we were back into it again.
I started by realising there was a pilot bushing in the end of the crank, which was missing on the 3.9, so had to pop out and buy a puller to get this out as I didn't have a spare.
The puller was obviously designed for bushes that are flat in the crank, not protruding, as I quickly ran out of thread to pull the bushing once it started to come free. It was suggested that I use a wrench as a spacer, which worked a treat

I had tried the thing where you fill it with grease and hammer an extension into it to hydraulic the bush out, but all that did was make a mess.

I then replaced the rear crank seal on the 3.9. This was in really bad shape, with clear signs of leaking, and it was hard as a rock. We started by drilling it and screwing screws into it, but could not get them to bite hard into the seal, so they pulled out. In the end, I used one of the holes I drilled to jam the seal removal tool into and levered it out that way.
Fitting the new one was fun. The inner lip of the seal is smaller than the outside of the crank, so you couldn't just push it in place. There is a special tool, which I lacked, so out came the water bottle and knife, to make a sleeve to get the seal into place. You wrap the bottle around the end of the crank, and slide the seal onto the bottle which slides it over the end of the crank.


This worked a treat, allowing me to use the old seal as a driver to hammer the new seal in. The pilot bush was hammered into the crank too.
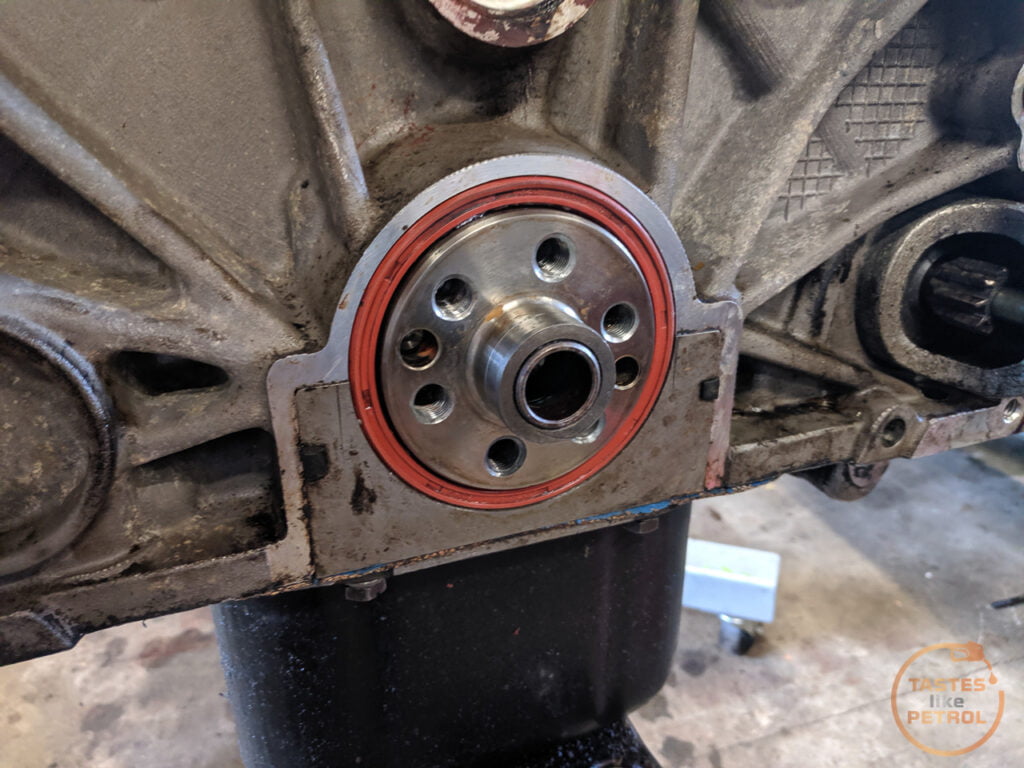
With those jobs done it was time to fit the flex plate. This was torqued to the required torque, on the crane, using a prybar on the ring gear to keep it from turning.
Now it was time to get the engine off the stand and swing it ominously over the car

Which suddenly, after much wiggling about, ended up with it being in the engine bay, bolted in place, and being at one with the car.


That was cause for some celebration. Almost 24 hours since the engine came out, the replacement was in the hole; we were done by lunch time.
The old 3.5 was hoisted up onto the engine stand and pushed out of the way, and then the bonnet refitted and the car pushed back into the garage.


I'll be honest, I could be a lot further forward in the project if I had kept going for the rest of the day, but I was tired. Everything hurt, and I just wanted a rest. Thankfully all the heavy and hard bits were done, so my friend went on his way with the crane in tow, and now I'm left to do the rest of the reassembly over the next week. To make it to the work day on the 21st, the car NEEDS to be running next weekend.
Stay tuned for the next exciting instalment of "man takes broken engine out, and puts the unknown engine in its place - will it start?"


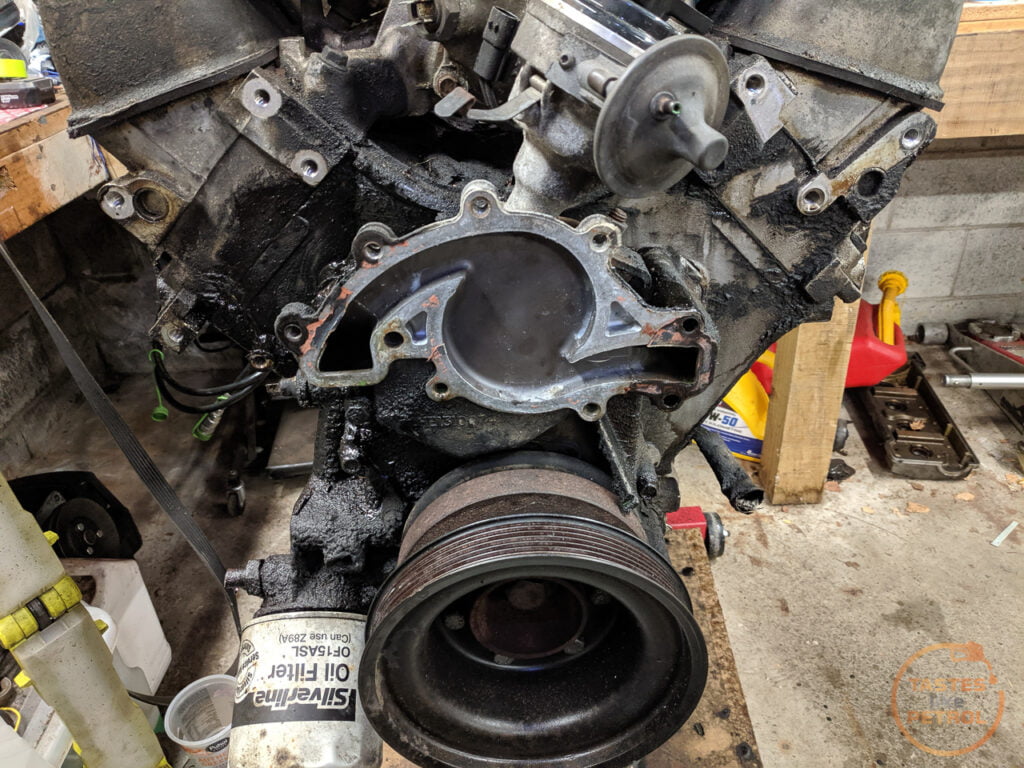


 hanging out of the garage.


