|
|
|
Sept 28, 2023 12:48:51 GMT
|
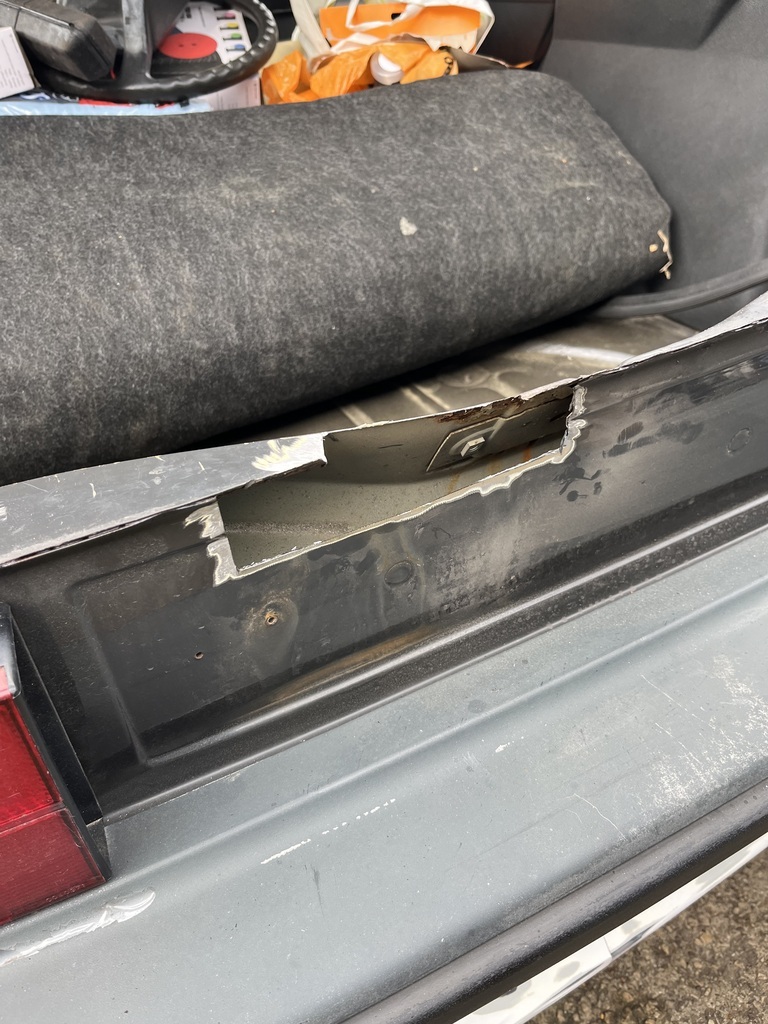
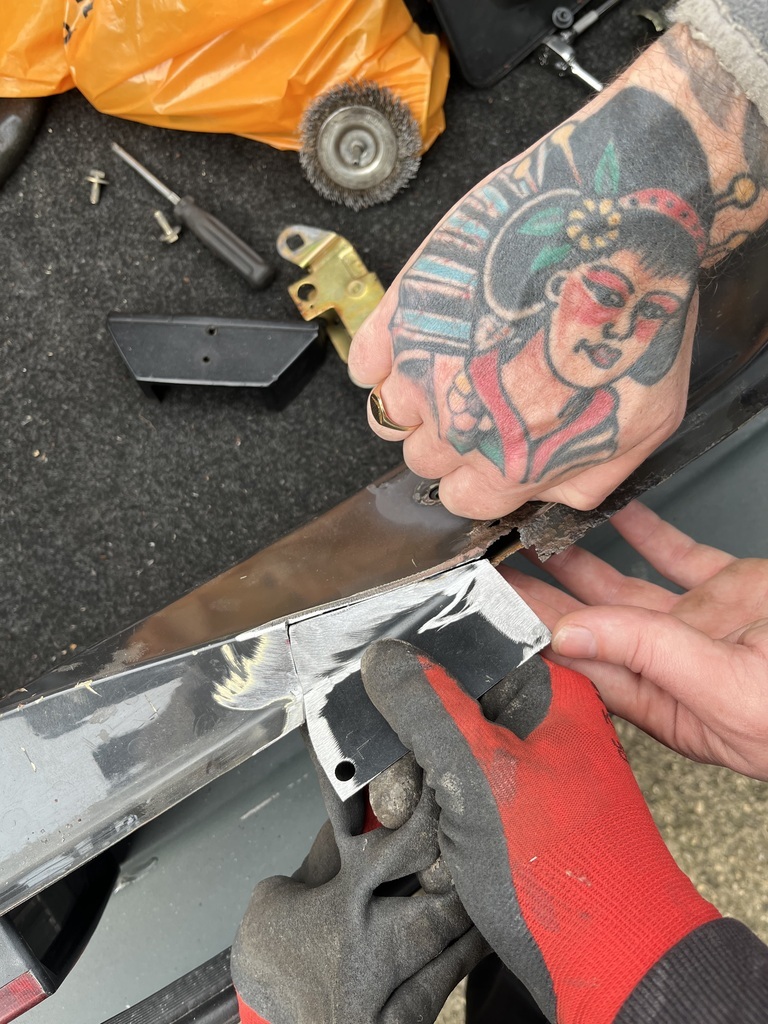
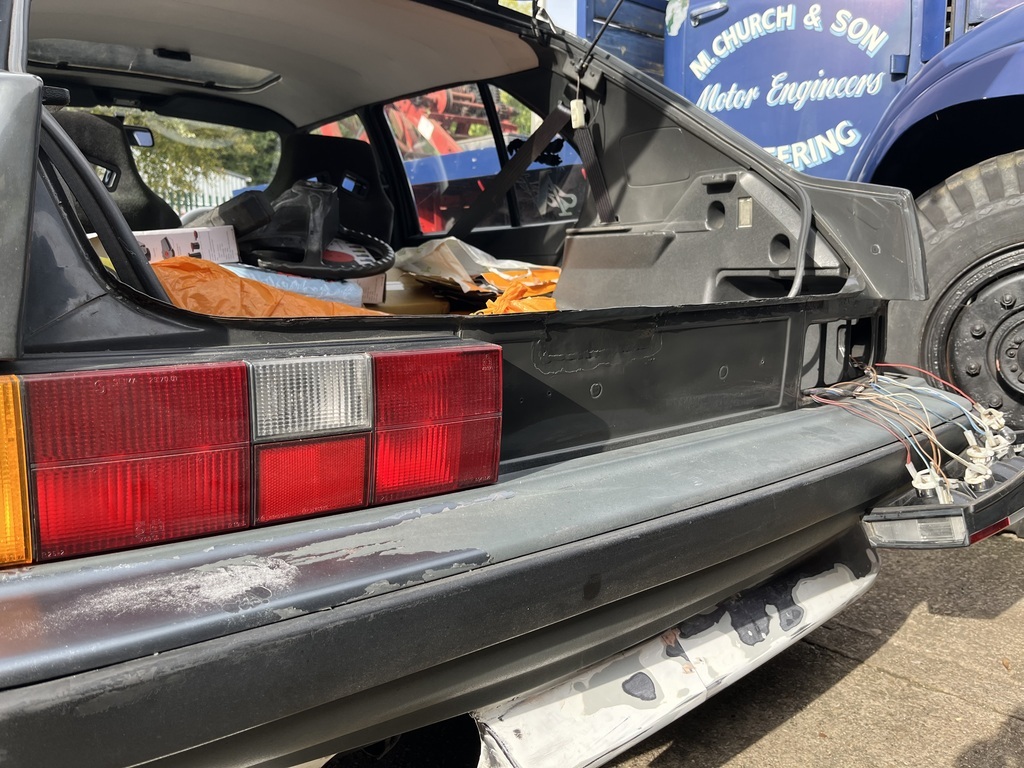
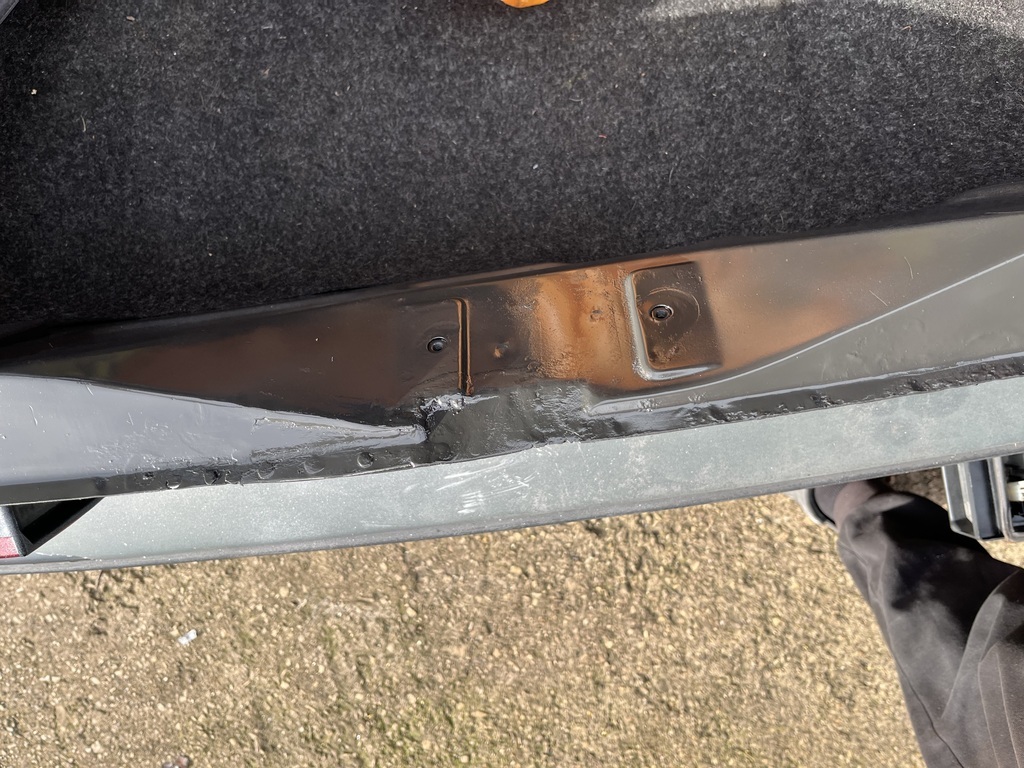
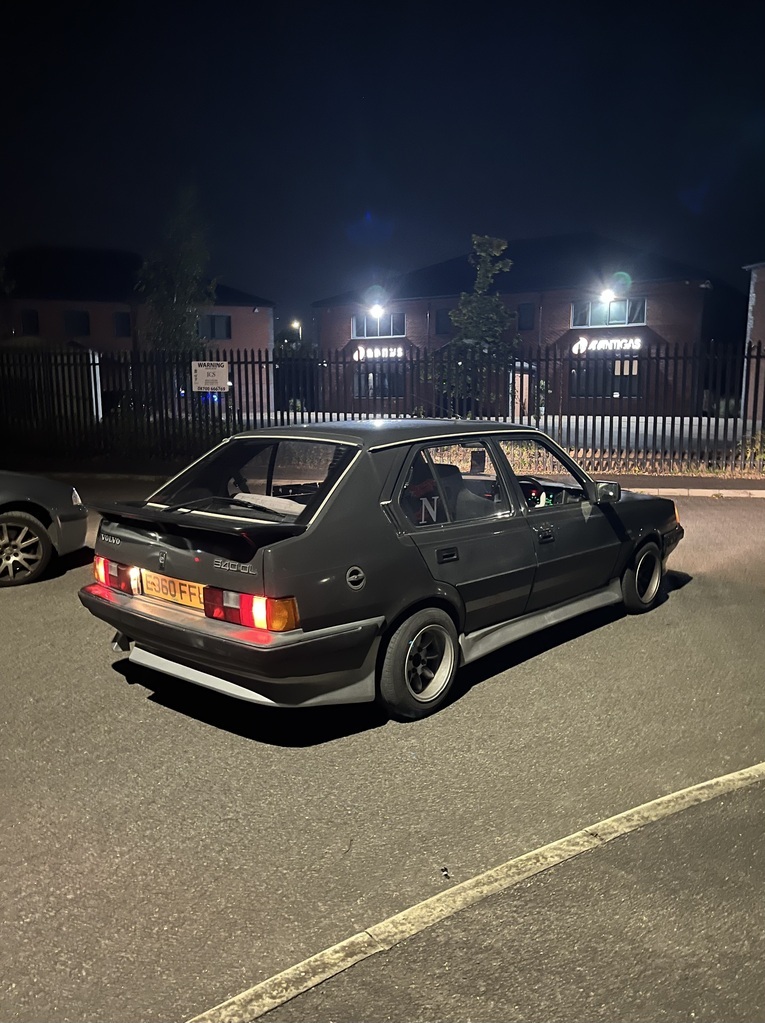
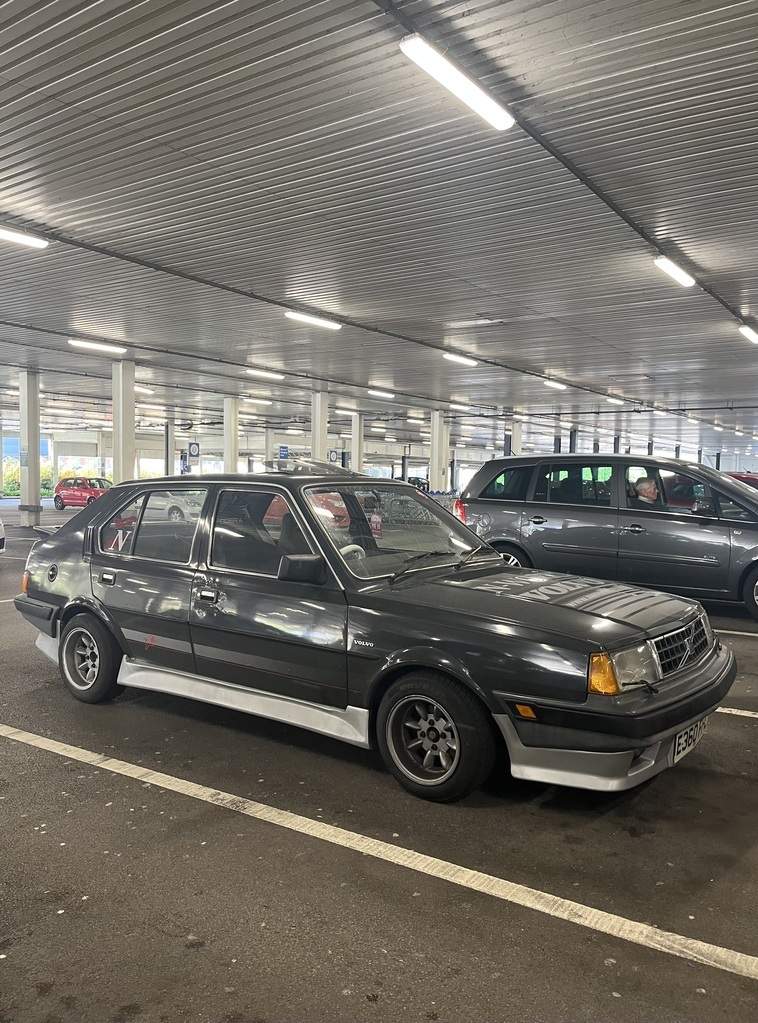
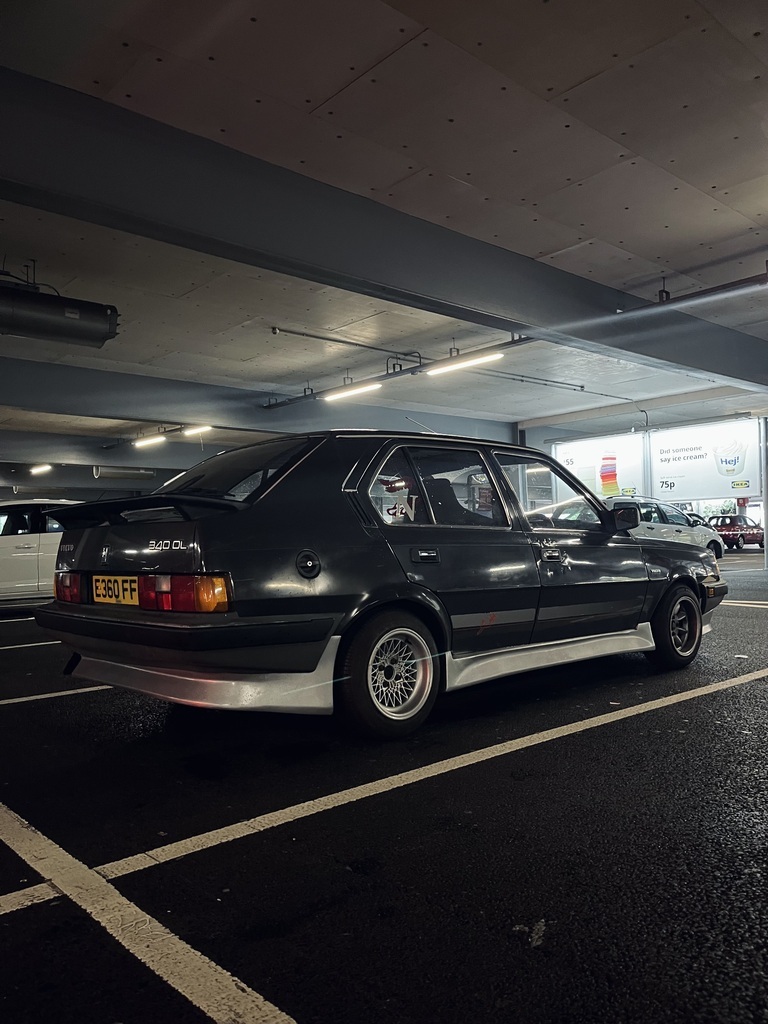
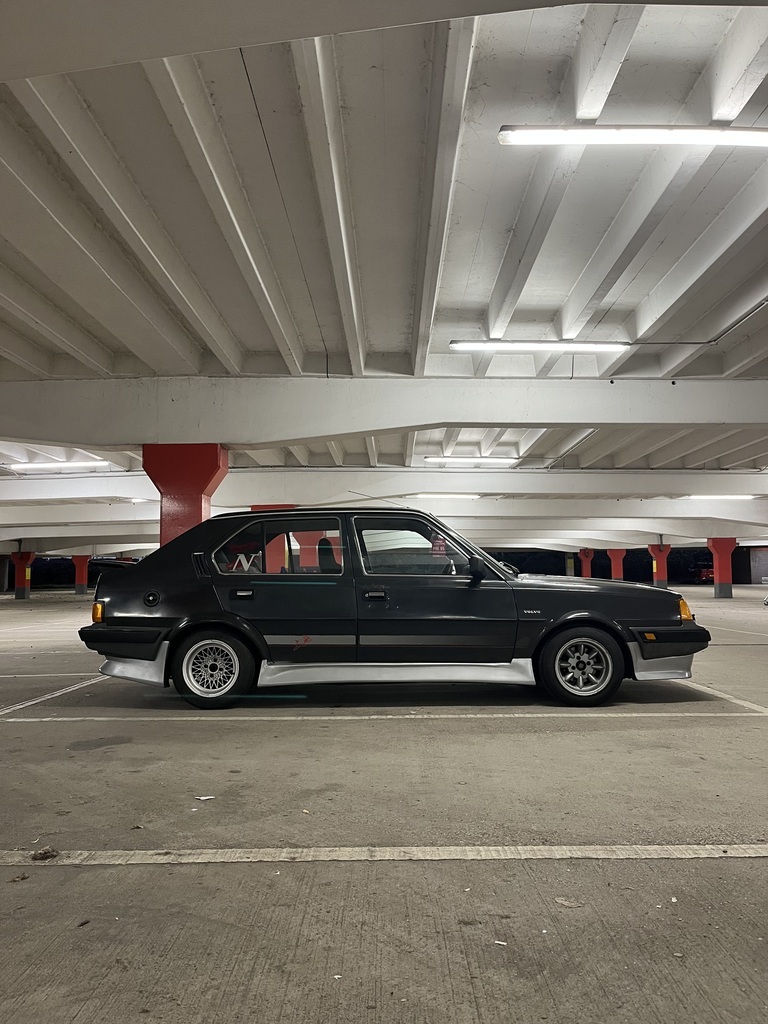
Last outting for the Nissan at the weekend, got it cleaned throughly on Tuesday and tucked away in the corner of a storage unit I’ve been offered to store the car over winter. 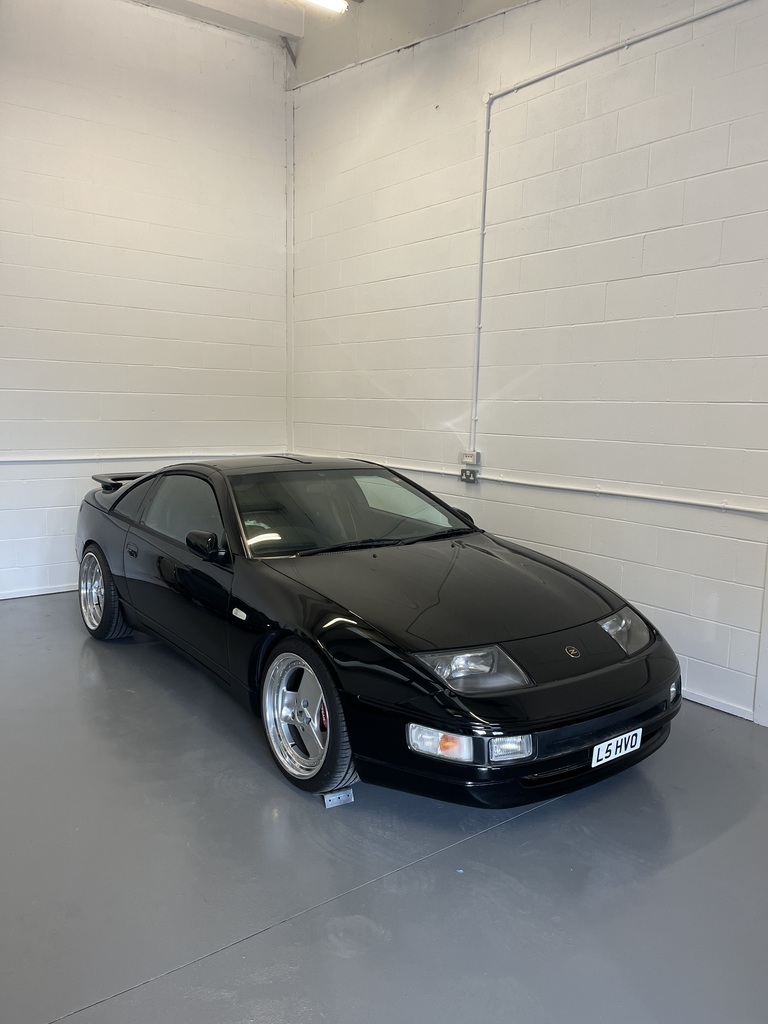 Will focus on the Volvo as I drive it over winter, get the kit finished, sort a little rust and get it ready for its MOT in January Cheers! Lou |
| |
|
|
|
|
|
|
|
|
|
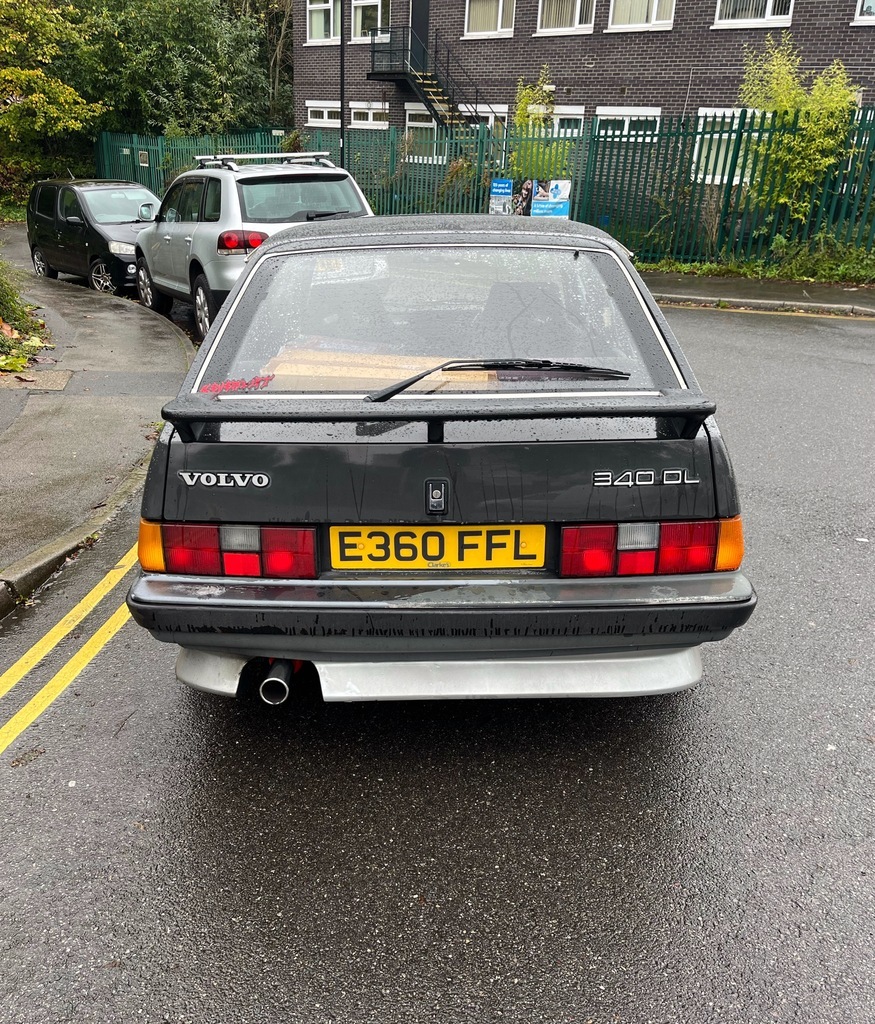
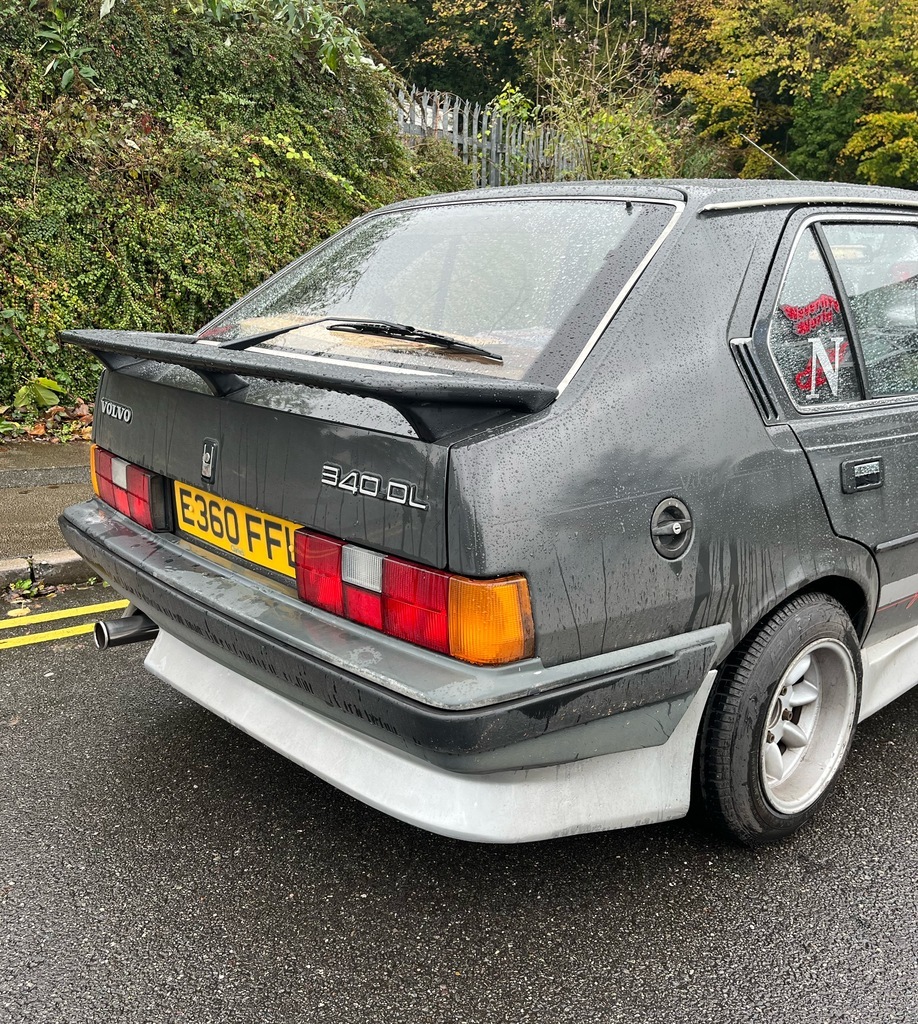
Hi all. Decided now would be a good time to crack on finishing off the rear lip/body kit for the Volvo. I’ve spend the last couple of days chopping, measuring and working out the best plan of action for this free s14 rear bumper I got given to make something out of. I’m about £50 in in materials/cheap (curse word paint - like the rest of the kit) so not too bad an investment but would like to make it work out. Spend the first evening working out what and where I was sectioning the bumper and how I wanted it to tuck up and look. Here’s what I ended up with: 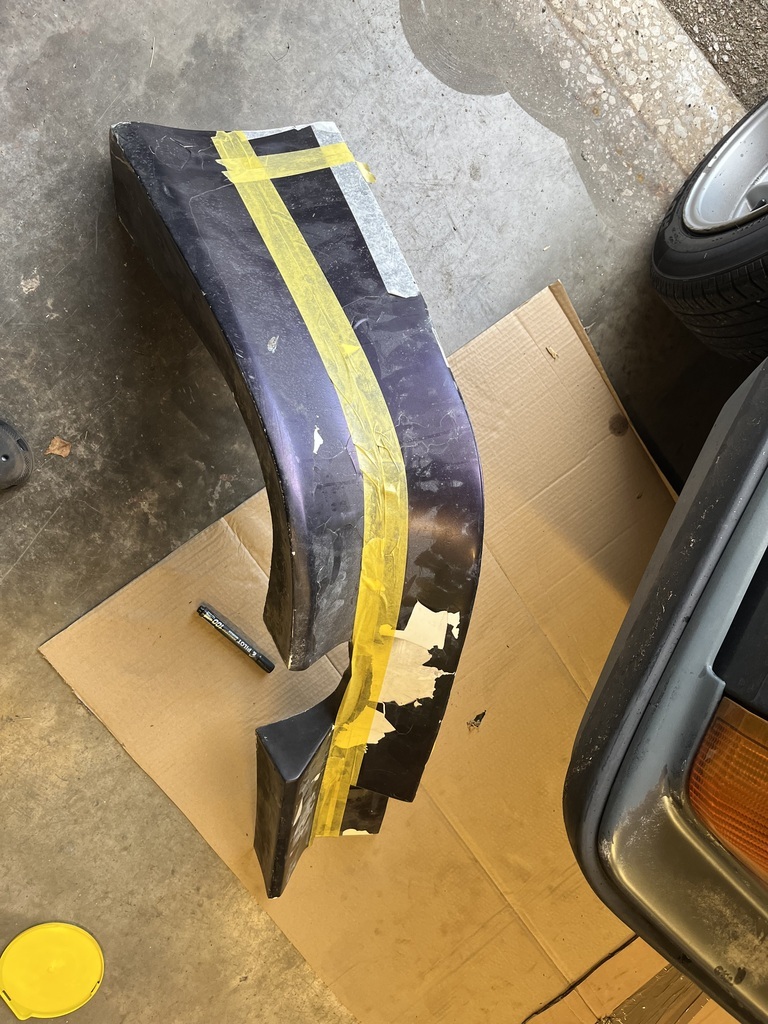  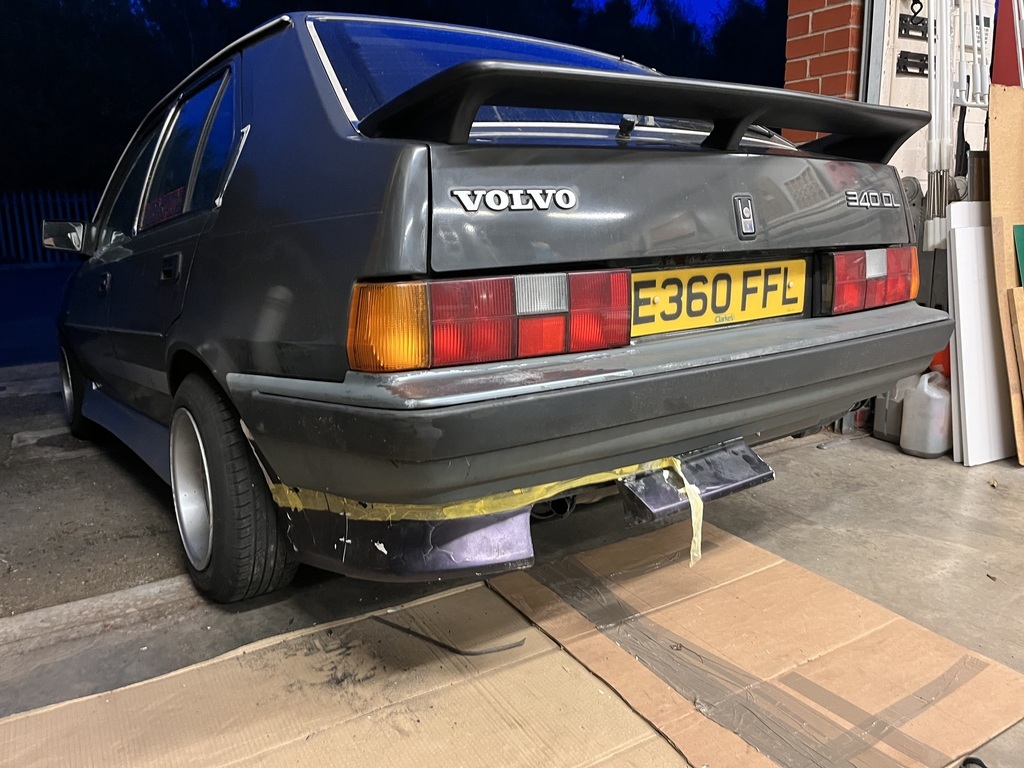   Second night I measured and sectioned the side the same as the passenger side to match then looked at where the would overlap and join in the middle. 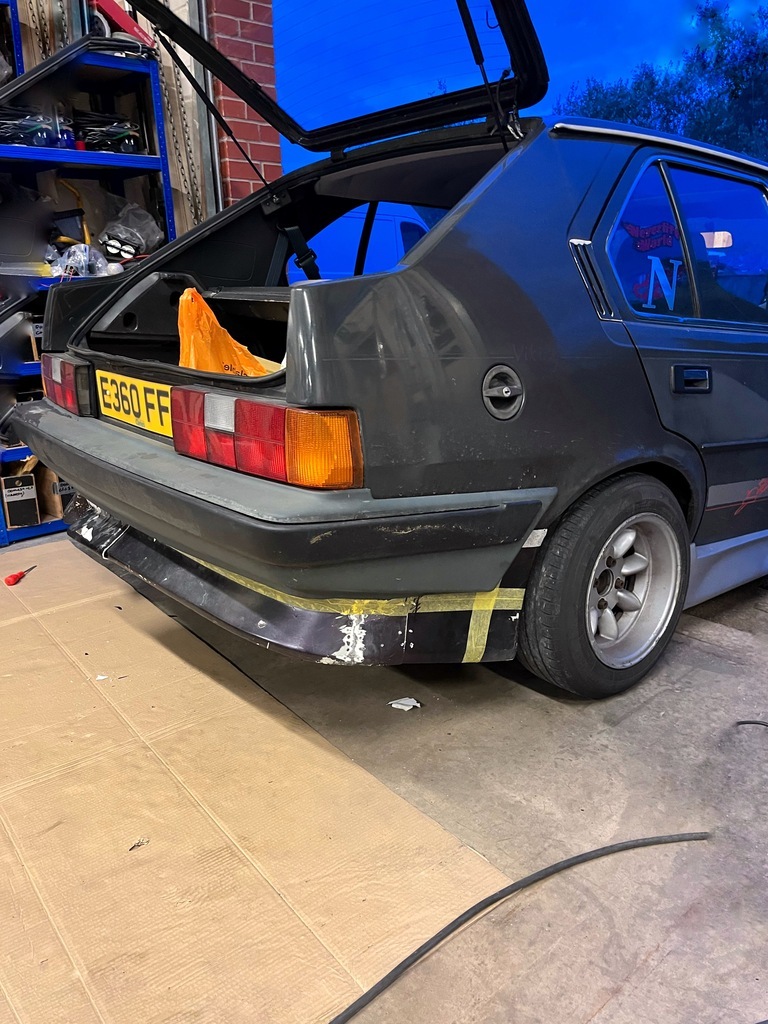 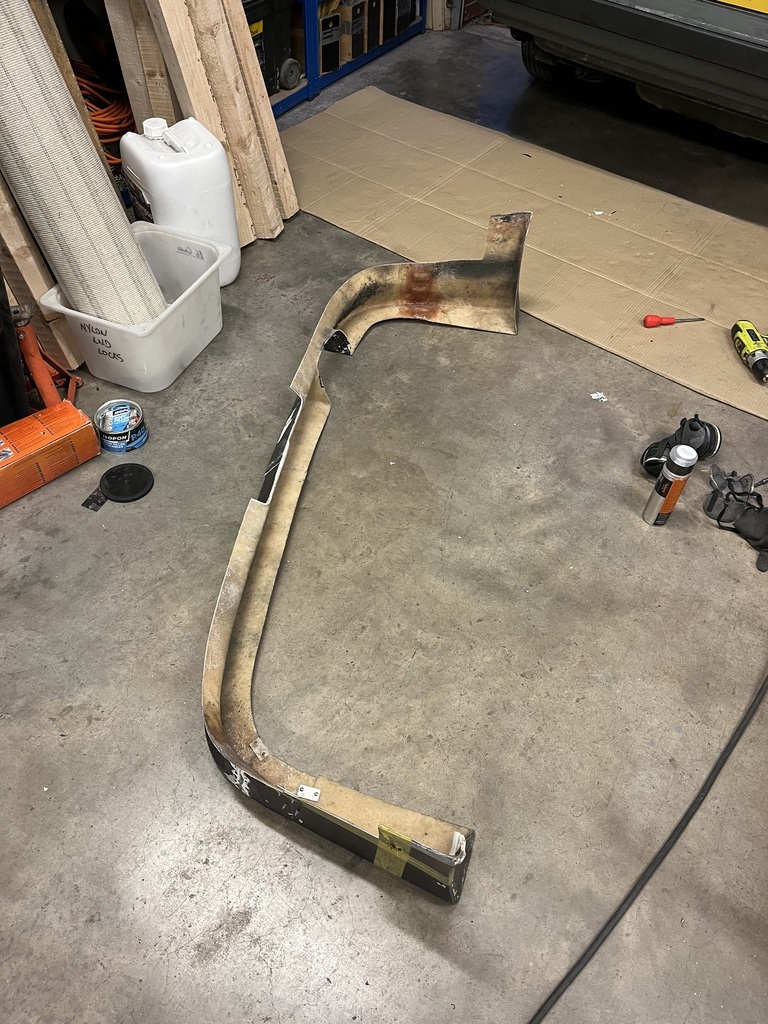 Drivers side was a little trickier as I’ve got a little less flex having had to fully repair the corner of the bumper where it was completely broken in 2 before I chopped to top off it so it stayed together, this has make it a lot more rigid where the other side has a little flex to bend/tuck under the back bumper easier. 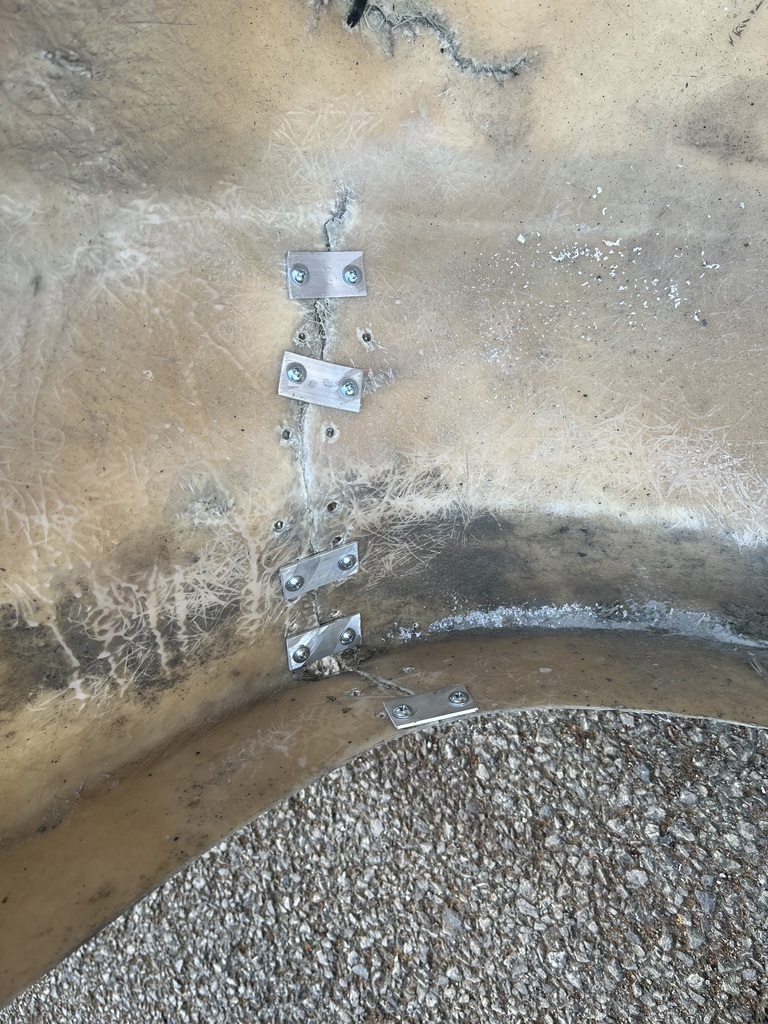 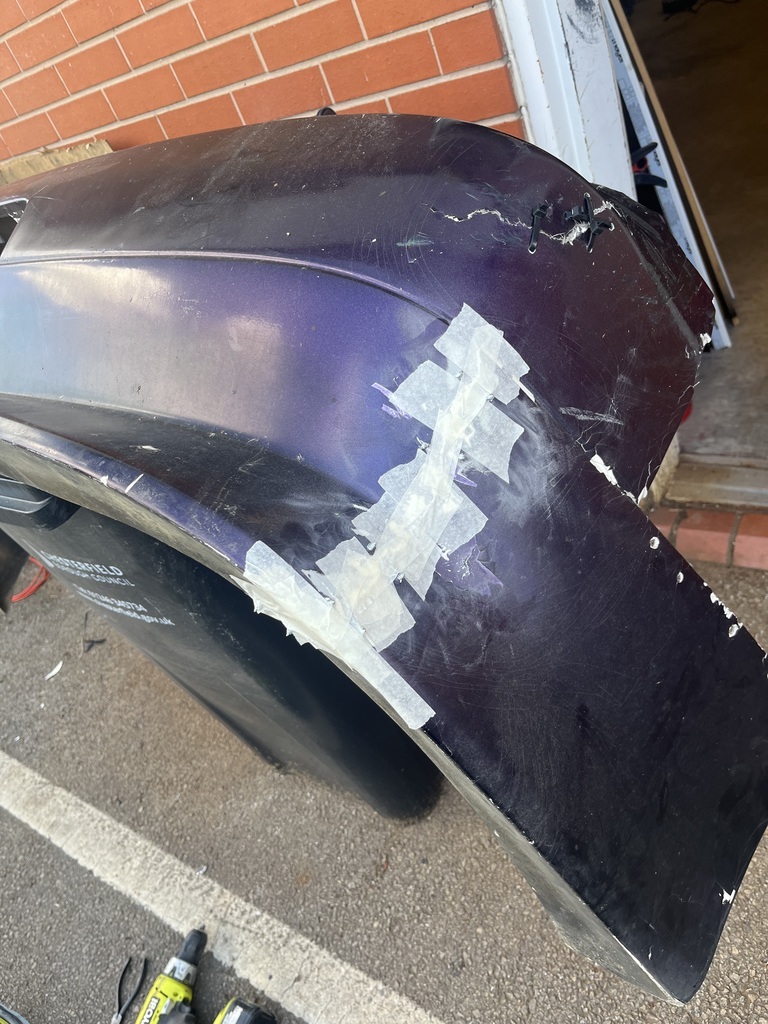 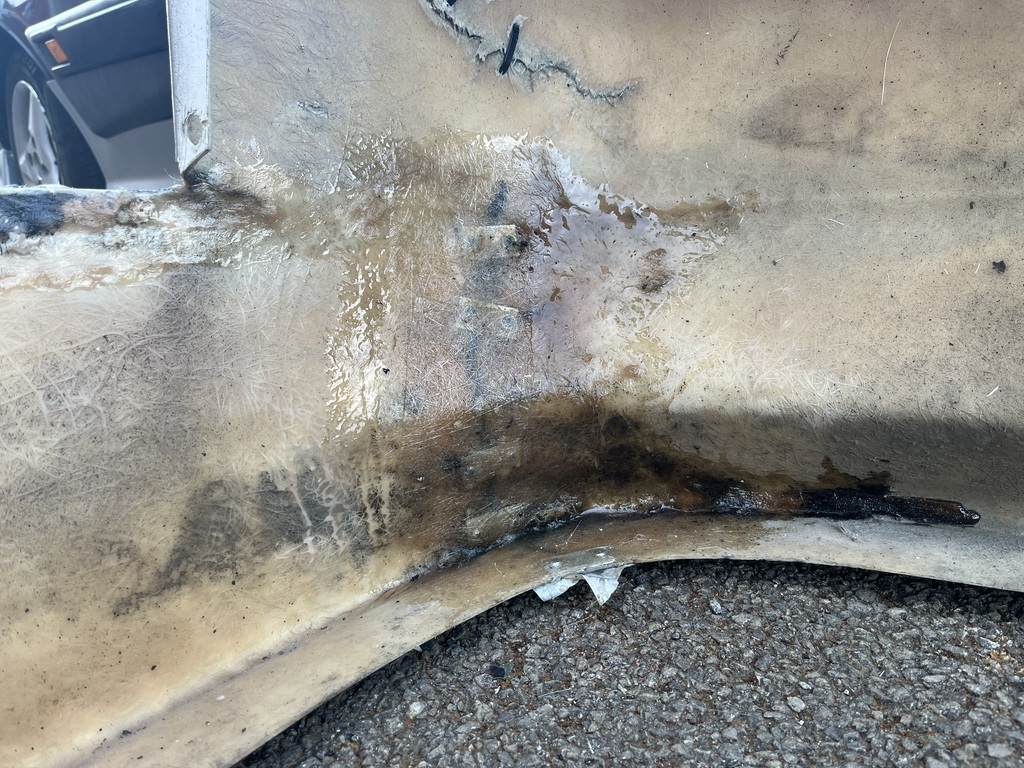  Hoping to join the middle tonight and see where I’m at the day after in terms of it still tucking under the bumper to fit. Cheers! |
| |
Last Edit: Oct 5, 2023 10:24:41 GMT by louishavo
|
|
|
|
|
|
|
|
|
| |
Last Edit: Oct 9, 2023 9:13:42 GMT by louishavo
|
|
|
|
|
|
|
Oct 14, 2023 11:48:25 GMT
|
|
|
| |
|
|
|
|
|
|
|
Hello all, Few bits to report. Nissan is still parked up, nothing to report on that front from the owner of the gaff it’s in so I’ve ive not even checked up on it myself. It’s sat there gathering a nice layer of dust.  The compomotive wheels I got one of them was porous so they’ve gone to a new home for free as wall art (big sad). Decided I wouldn’t be happy with the styling unless I got some really cool (I think) miss-match Japanese wheels in 14s with proper size 165/65 tyres on again. Went on the hunt and came up with a set of Dunlop javelins and advan a3a. 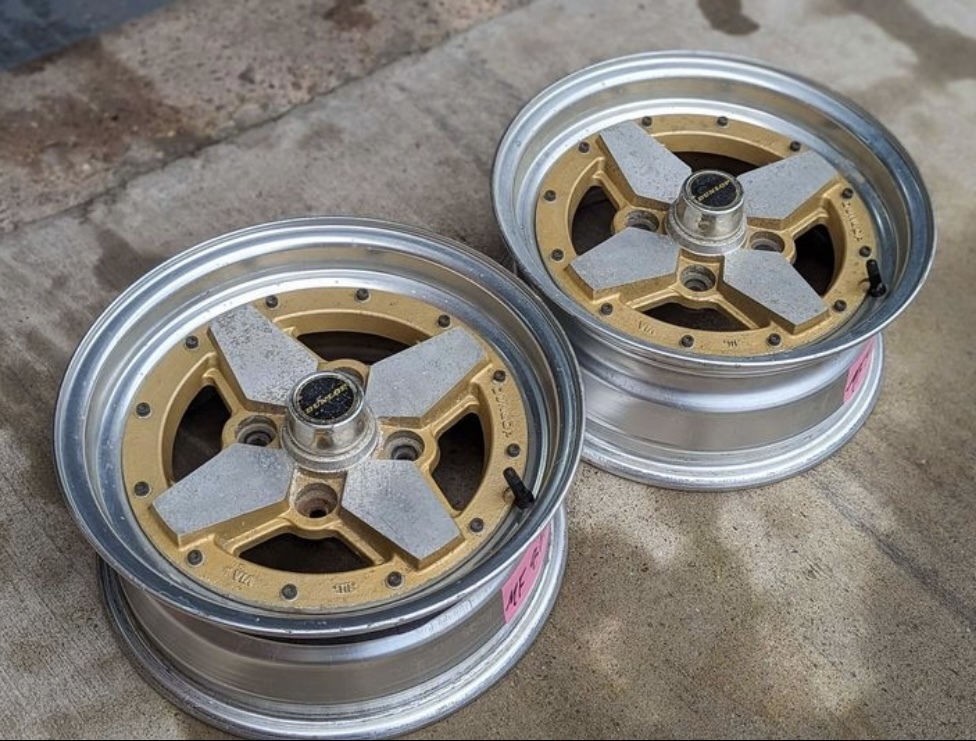 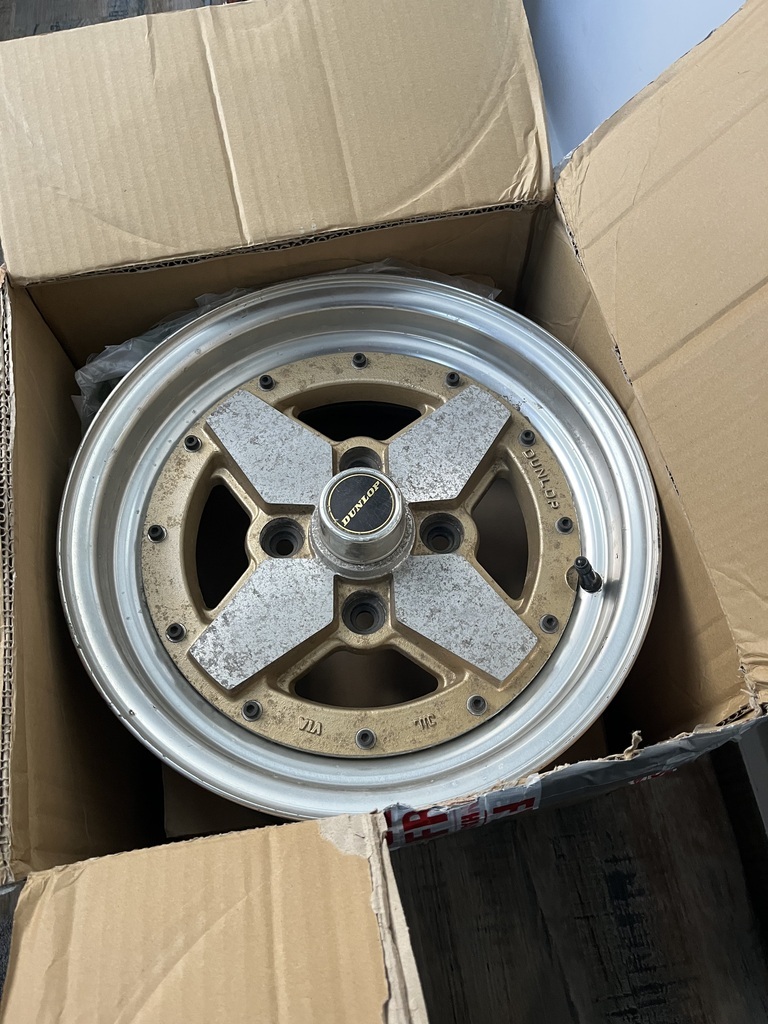 Javelins are staying exactly as they are now cause I can’t get enough of the factory caps and orginal paint/patina. The advans needed a lick of paint but are equally as used/worn. Which I’m actually happier with as these will be more in keeping with the car too with the scrapes and scuffs but perfectly usable. 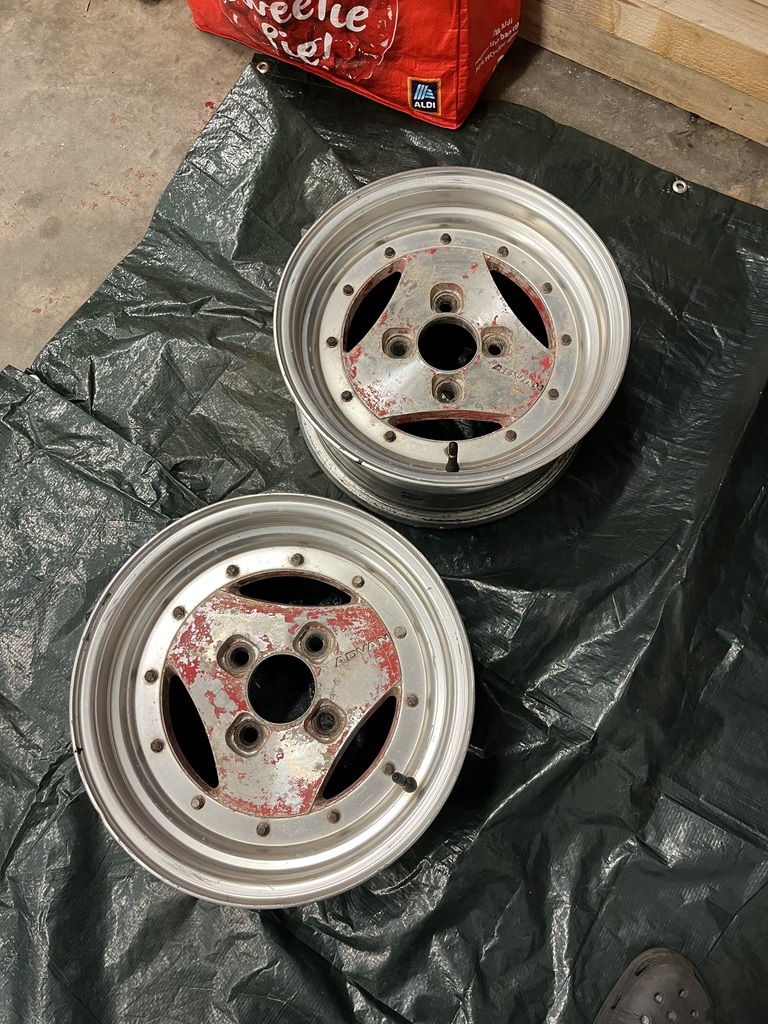 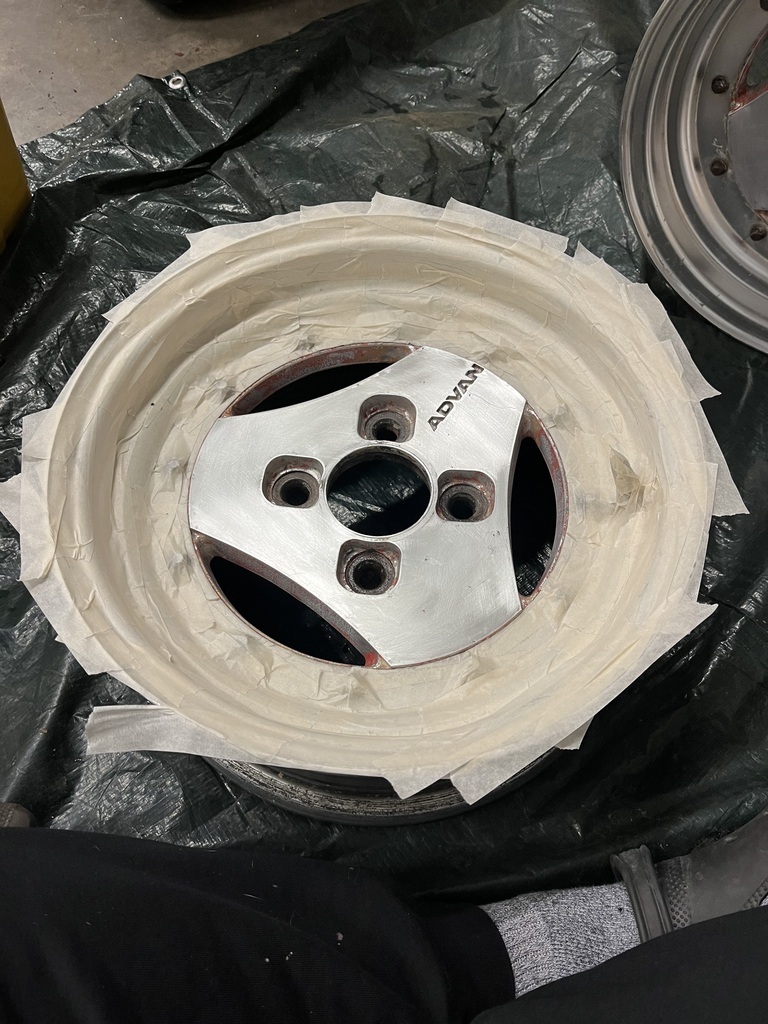 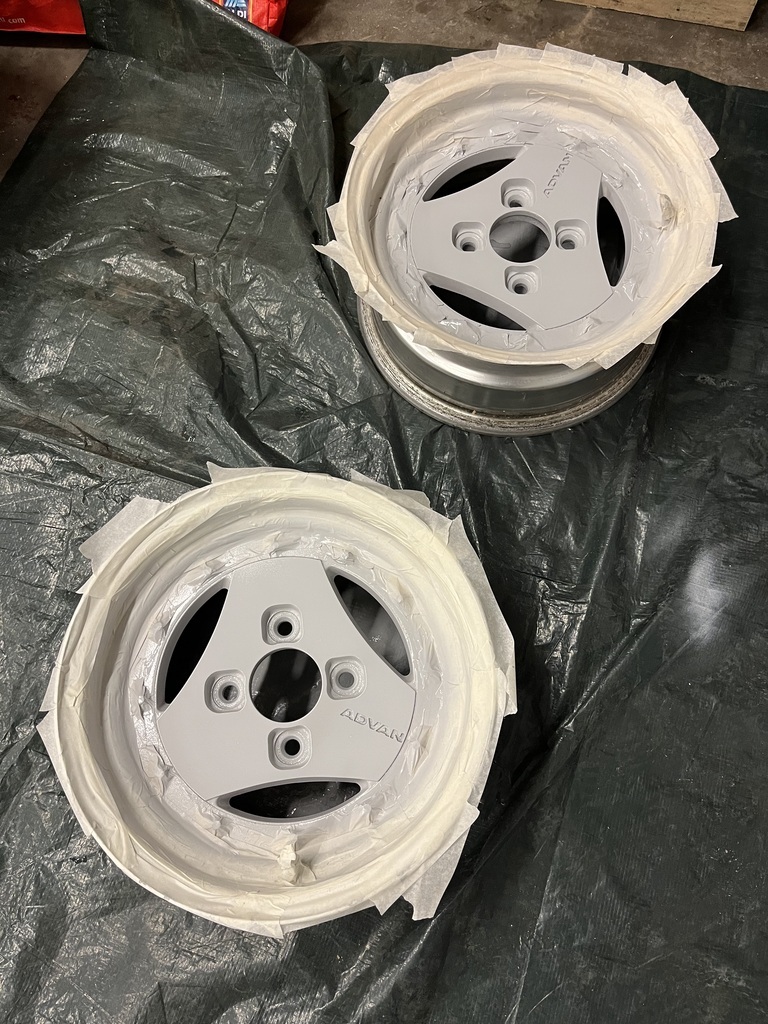  Chose to just use enamel paint for an older looking finish after the etch primer. Nipped to hobby craft a couple days after got my small pot of black enamel, syringe and fine tips and sorted the letters out too  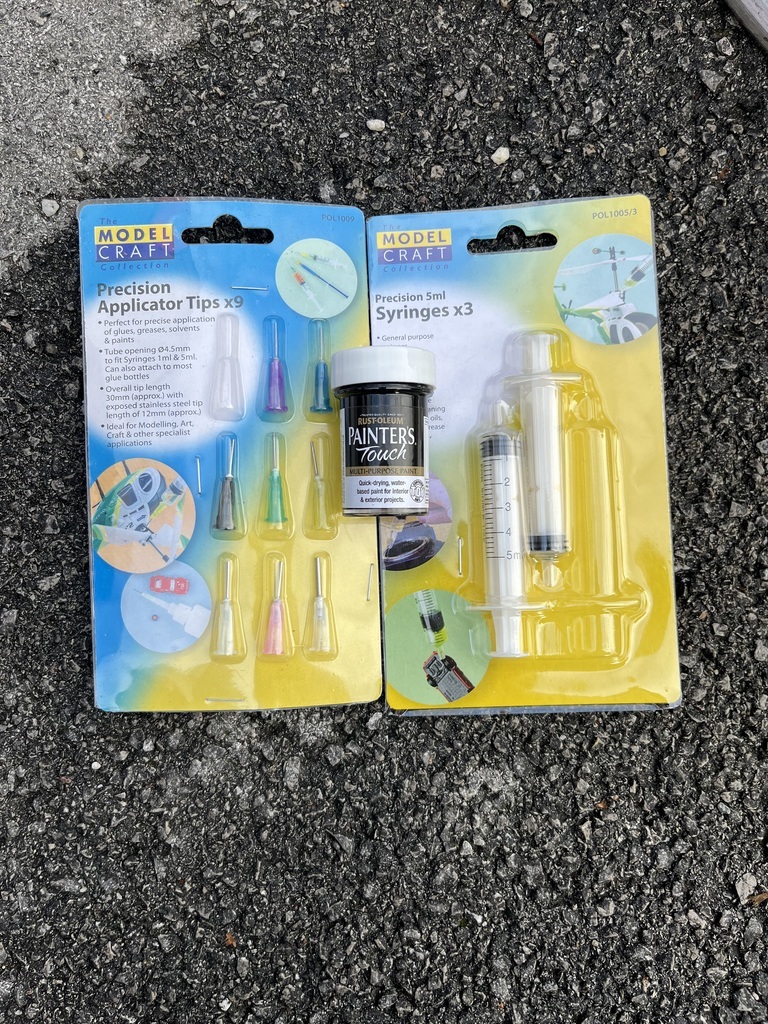 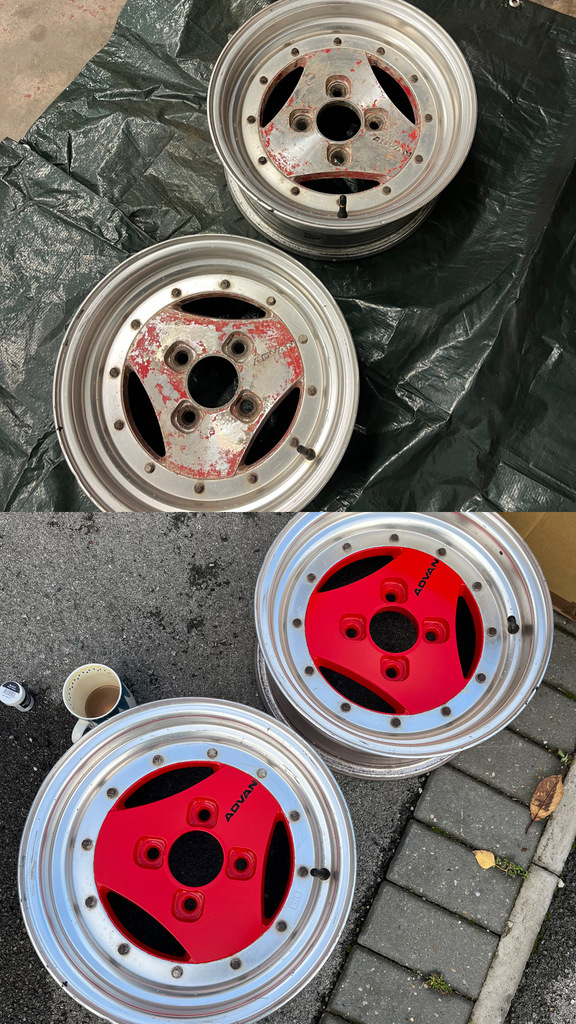  Got lucky and found some 3D printed caps off a mate too so I’ll paint them silver and then do the logo red I think to keep the continuity/style there. 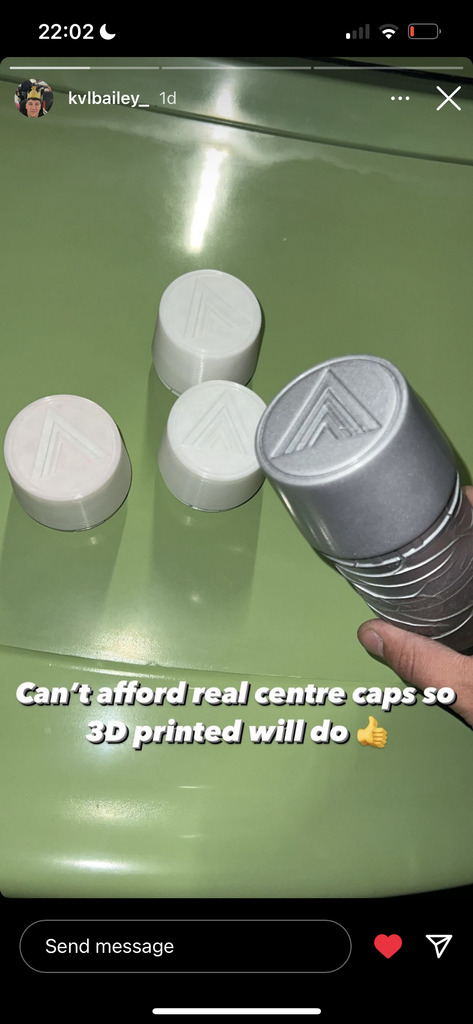 Adaptors and tyres next month! Thanks again Lou |
| |
Last Edit: Nov 8, 2023 21:24:16 GMT by louishavo
|
|
zeberdee
Club Retro Rides Member
Posts: 1,038  Club RR Member Number: 2
|
|
|
|
|
Very cool rims , definitely a fan of mismatched wheels as well .
👍
|
| |
|
|
|
|
|
|
|
Very cool rims , definitely a fan of mismatched wheels as well . 👍 Thank you mate! Excited to get them on |
| |
|
|
|
|
|
|
|
|
|
|
Nice,
I had a pair of those on my TR6 (straight piped otherwise,) many years ago,
It sounded fantastic but would make neighbours windows rattle when I revved it, 😁🤣😁🤣
Nigel
|
| |
BMW E39 525i Sport
BMW E46 320d Sport Touring (now sold on.)
BMW E30 325 Touring (now sold on.)
BMW E30 320 Cabriolet (Project car - currently for sale.)
|
|
|
|
|
|
|
|
|
Nice, I had a pair of those on my TR6 (straight piped otherwise,) many years ago, It sounded fantastic but would make neighbours windows rattle when I revved it, 😁🤣😁🤣 Nigel Hahaha that sounds like great fun, unfortunately that’s the exact thing I was worried about when I have to turn the car on a 7 to drive it to work when it get a bit colder and it’s sat idling. Luckily it’s only a tad noisier than it was with the original box on 🙏🏻 |
| |
|
|
|
|
|
Nov 12, 2023 18:29:36 GMT
|
Ticked the last jobs off on the advans ready for ceramic coating before they go on for the winter. Masked them up and used the sealant I use on all my split rims as insurance where they’re welded, probably doesn’t need it but at £8 a tube it’s a no brainer. 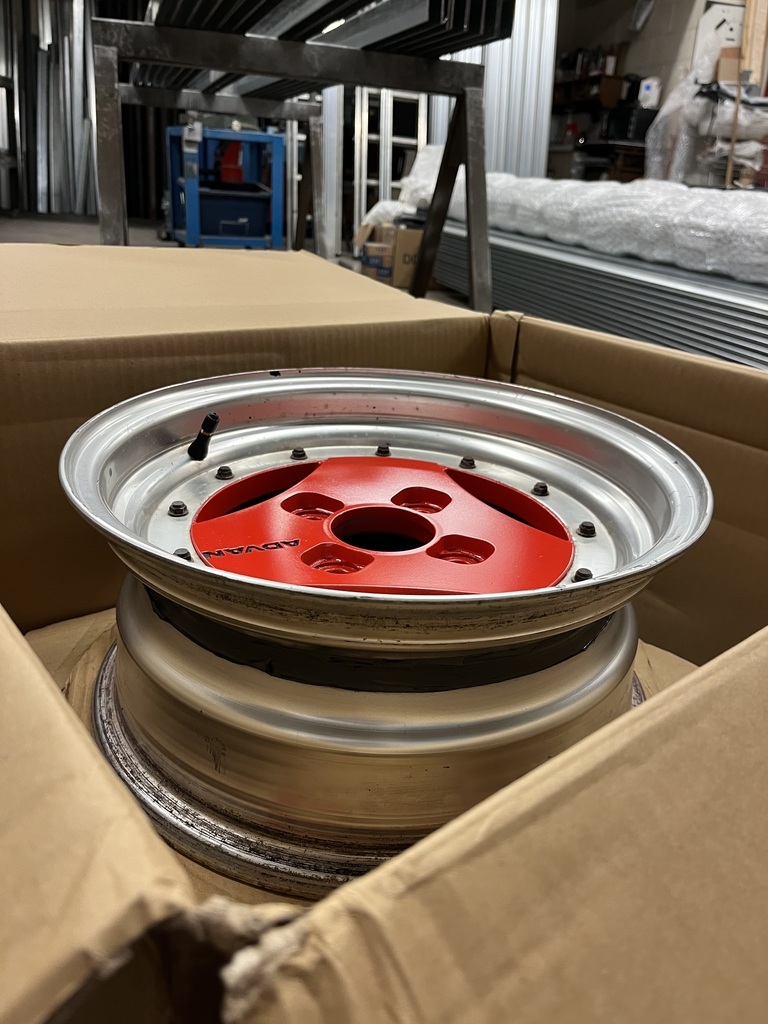 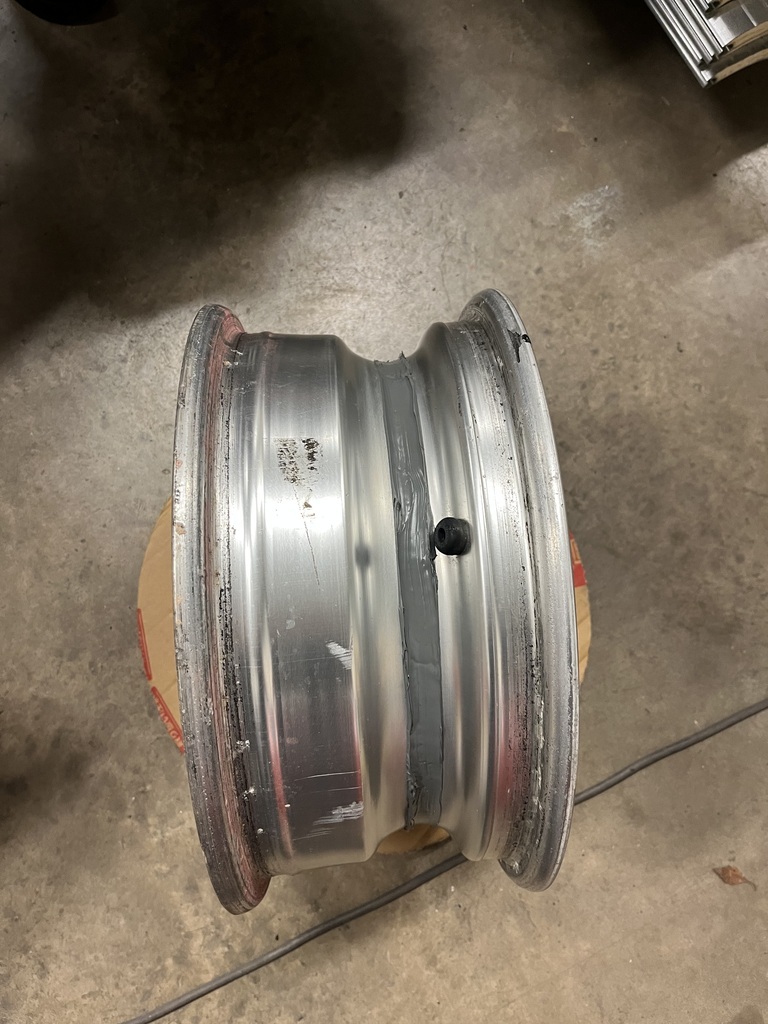 Also painted the 3D printed Centre caps that arrived in the post. I really couldn’t be bothered to get the print lines out of them but kinda wish I’d have just done it for the extra 5 mins with some 80 grit.  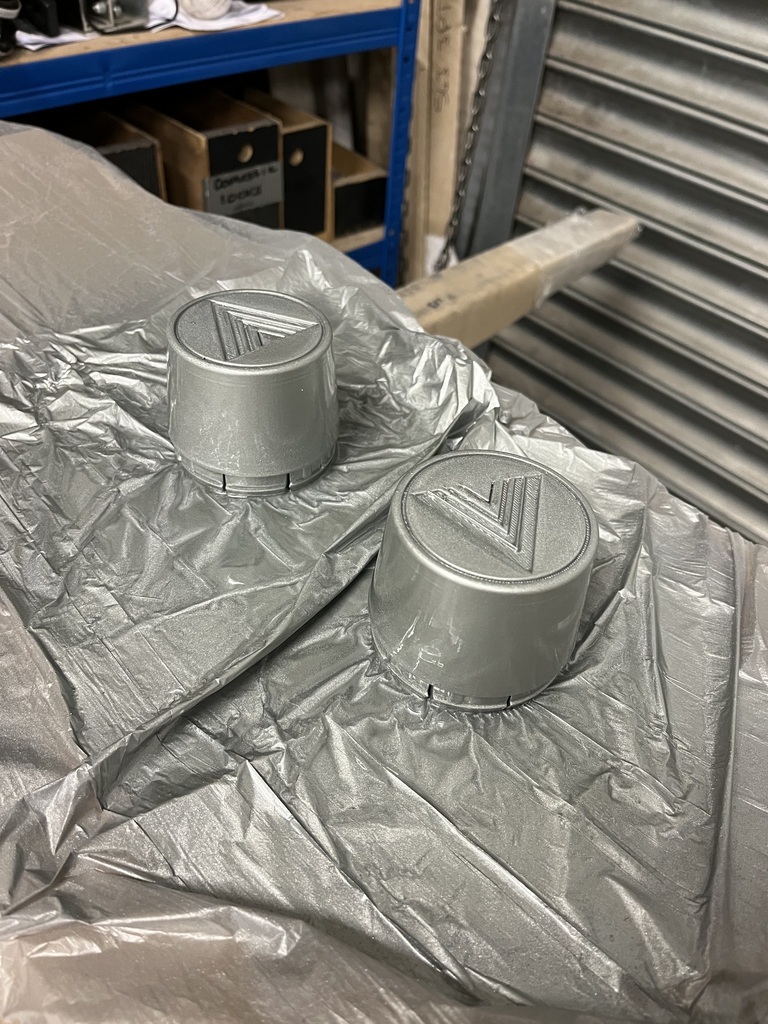 Also picked up some more enamel and got the syringe out again to pick the logo out in the middle 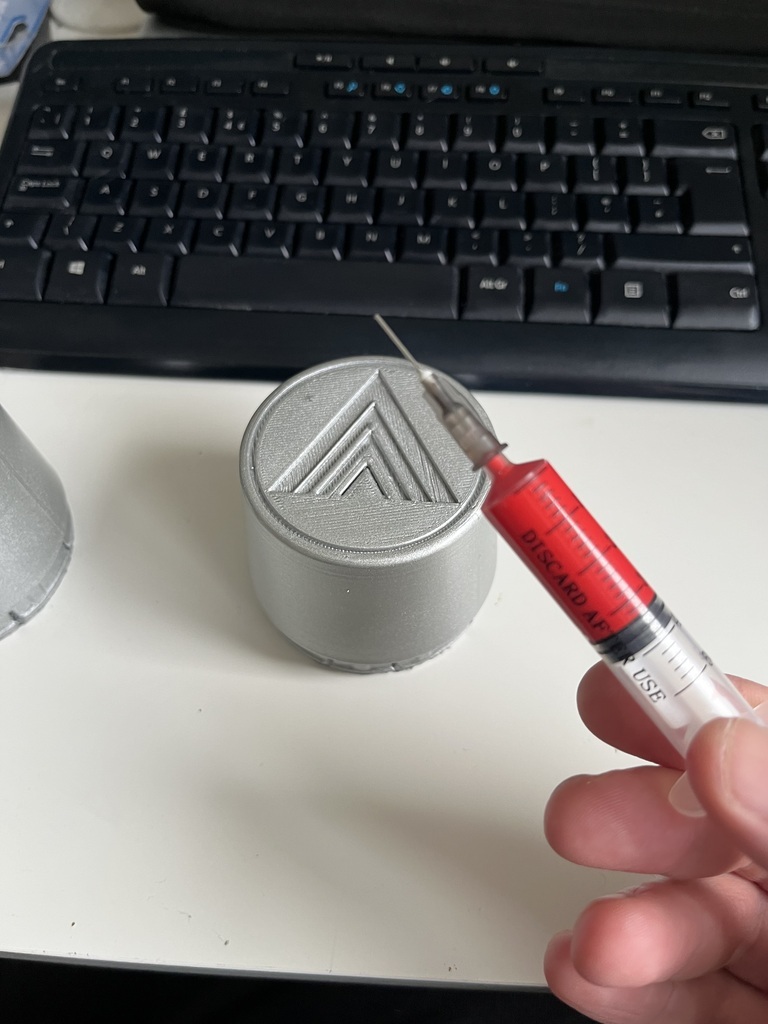  Just got the degrease them and ceramic coat them and they’ll be ready to go on. Cheers! |
| |
|
|
|
|
|
Dec 11, 2023 10:57:44 GMT
|
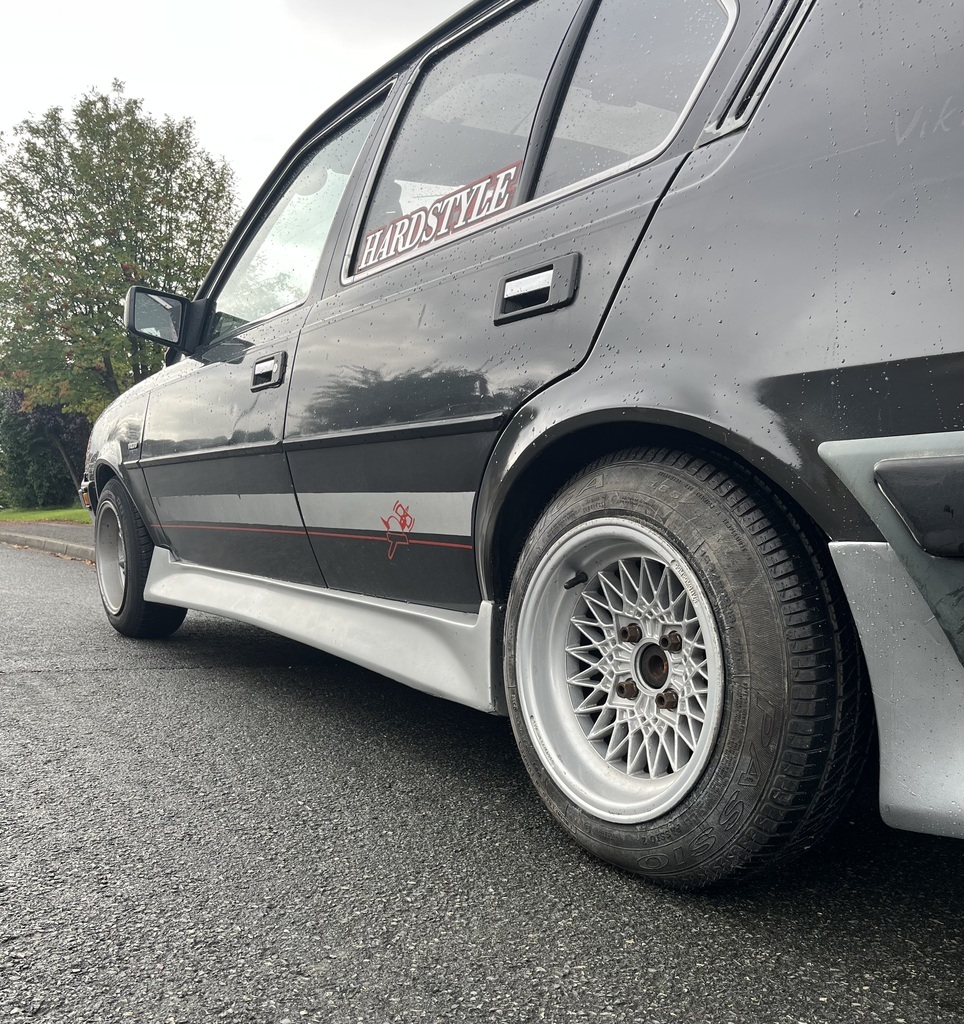
Hi all, Finally managed to get the wheel nuts sorted and studs cut down for the adaptors. Trimmed the nuts down to size (14mm still) and have the tops of them a quick paint, added some loctite to the studs when the adaptors went on and torqued them up cause they’re not coming off anytime soon 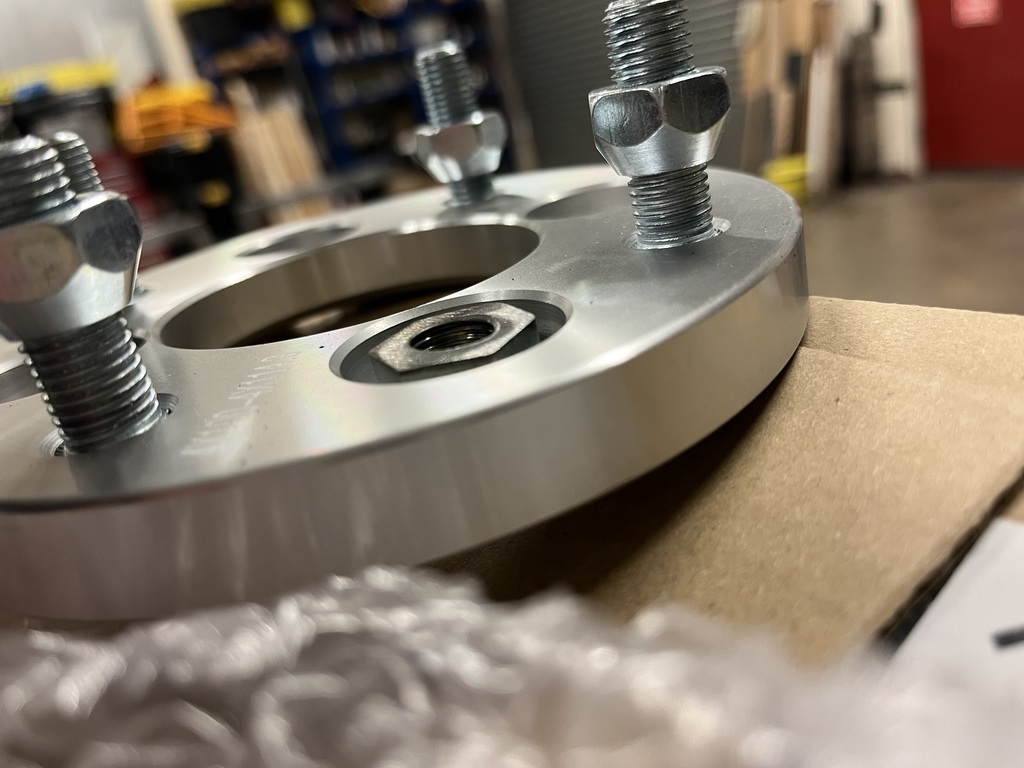 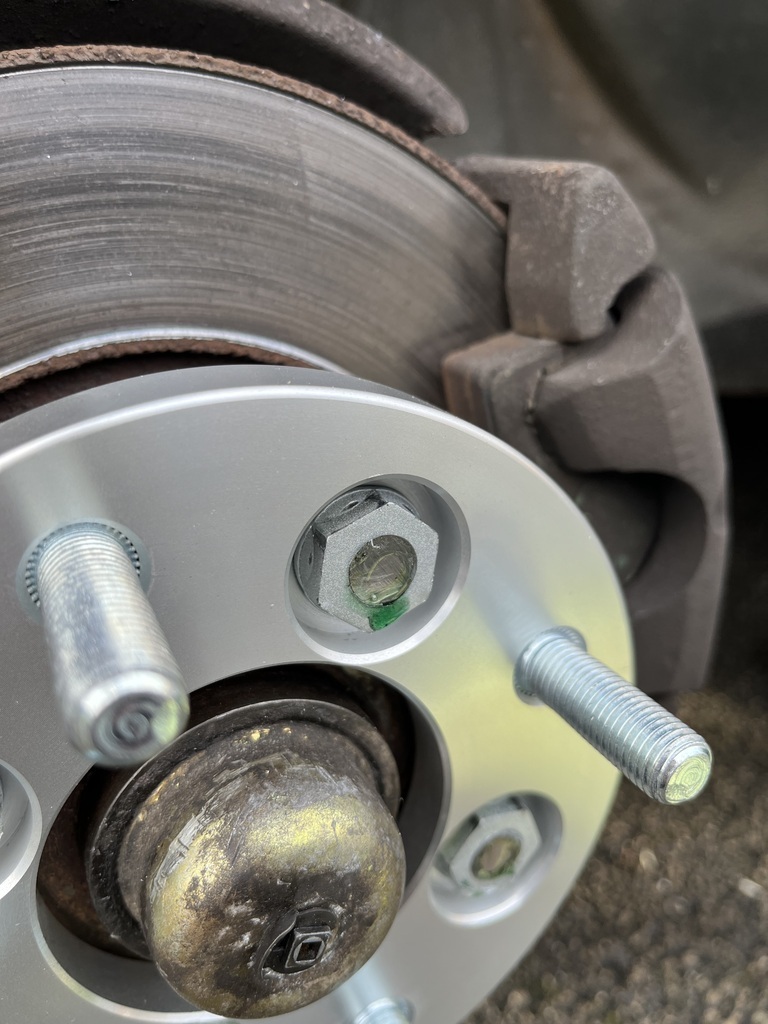 Triple checked everything and drove it round for a few hundred miles over the weekend and rechecked everything with the torque wrench and it all seems good! Then went out with my brother for him to take a few nicer pics for me 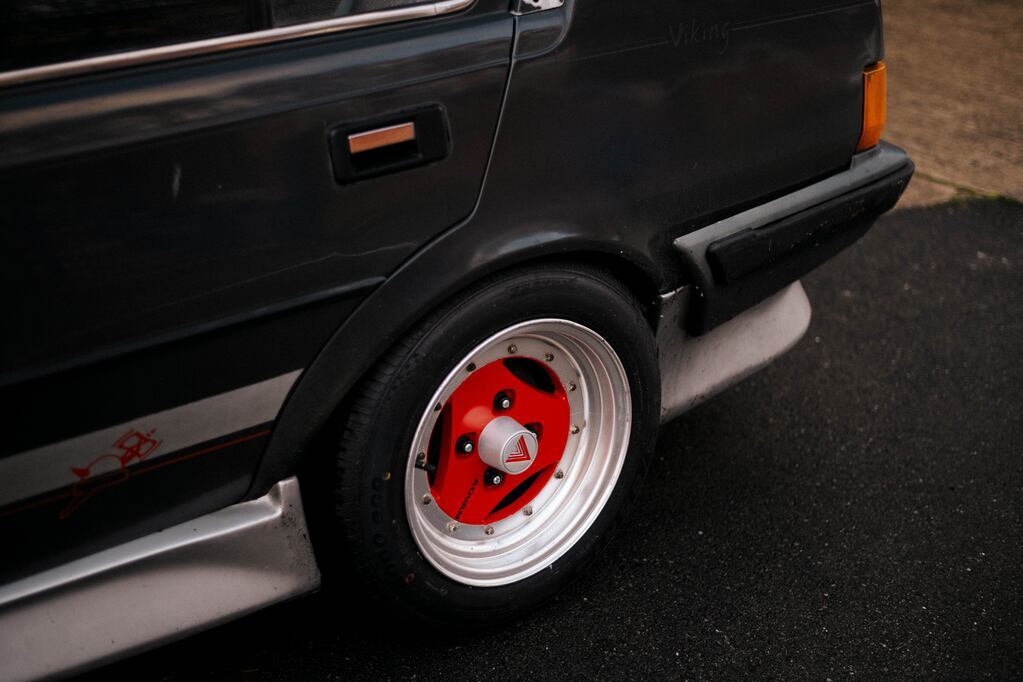 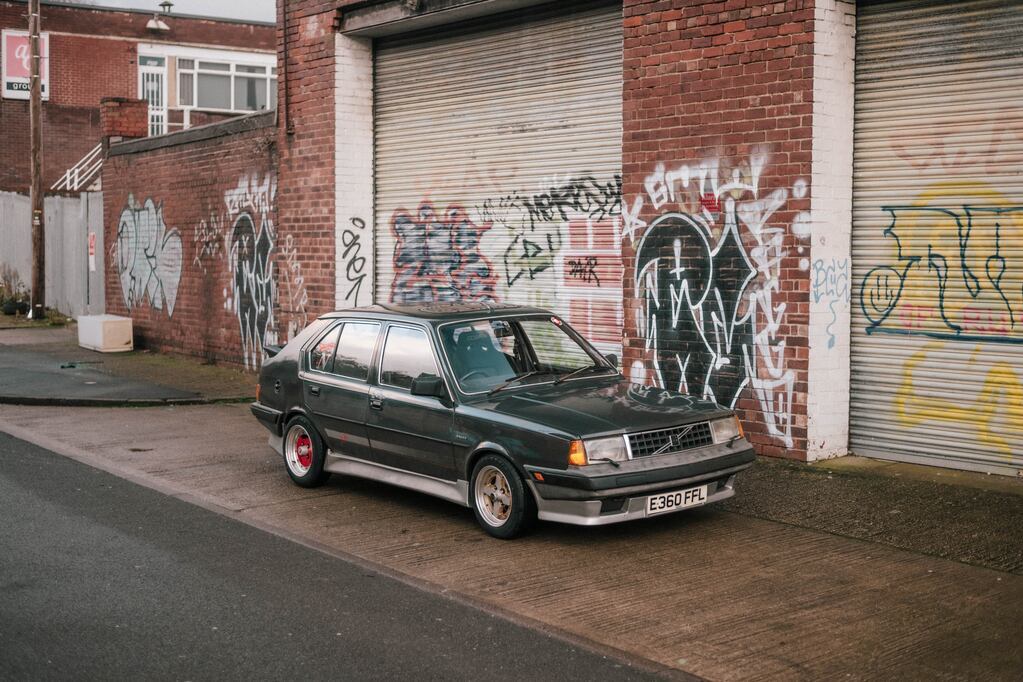  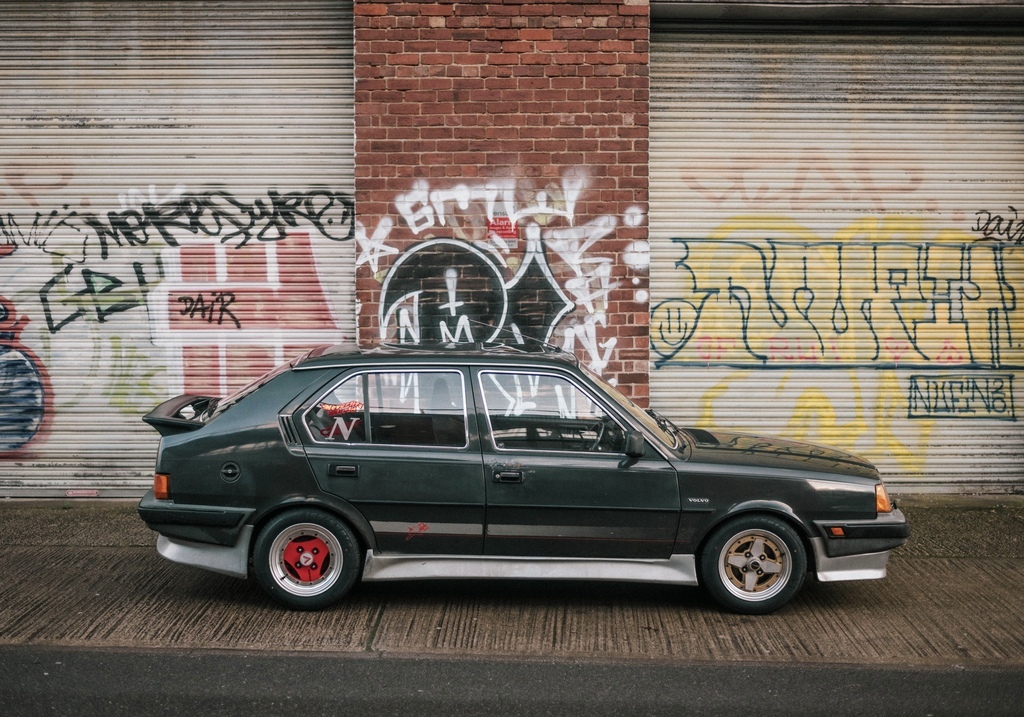 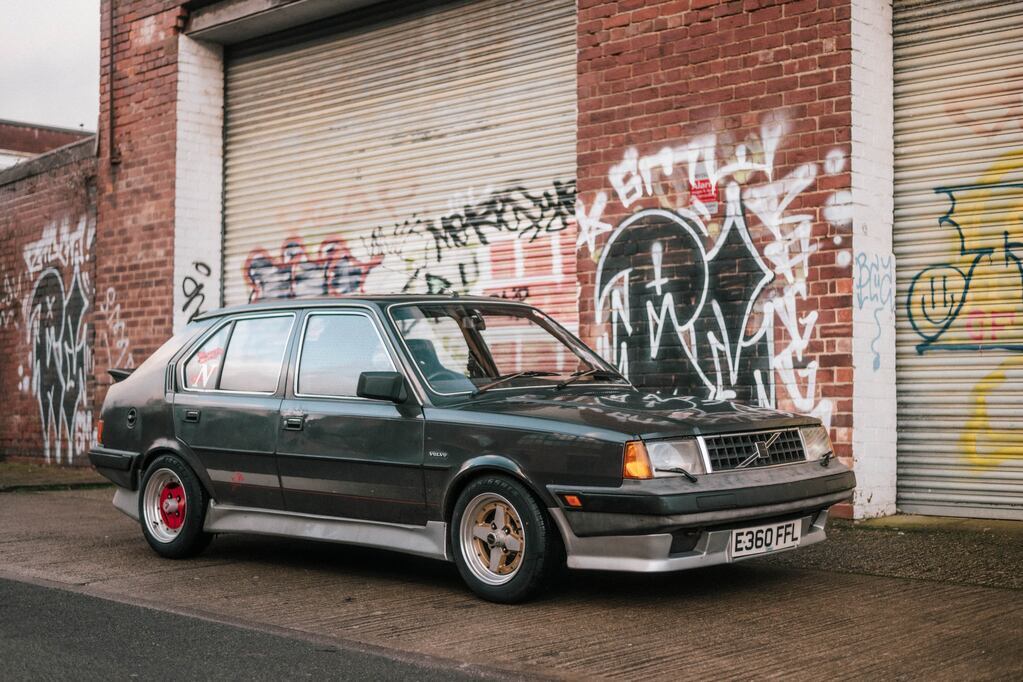 Cheers! |
| |
|
|
zeberdee
Club Retro Rides Member
Posts: 1,038  Club RR Member Number: 2
|
|
Dec 11, 2023 11:10:52 GMT
|
|
Looking good !!
Quick question ,
What do you use to ceramic coat your wheels & would an idiot (me 😂) be ok doing it ?
I ask as i’m in the process of stripping a set of split rims to rebuild in time for summer & want some recommended protection for them .
👍
|
| |
|
|
|
|
|
Dec 11, 2023 12:39:32 GMT
|
Looking good !! Quick question , What do you use to ceramic coat your wheels & would an idiot (me 😂) be ok doing it ? I ask as i’m in the process of stripping a set of split rims to rebuild in time for summer & want some recommended protection for them . 👍 Hey mate, any dedicated wheel ceramic coating by gyeon or gtechhniq would do it (though I’m not convinced they’re different to body paint ones). yeah you would be perfectly fine, degrease the wheel with something like gyeon prep (pink bottle), make sure you’ve got gloves on and apply it to the wheel with a dedicated applicator or cotton makeup pad. With gyeon stuff you wait for the product to “sweat” before wiping it off (usually 10-30s) but others are a rainbow effect (depends on the product). All you’re doing is leveling off the product with the microfiber so you don’t get any darker high spots when it’s cured. Give it a good wipe round and leave it 24 hours once and you’re all good. my explanation will make way more sense if you watch a few YouTube videos too. Honesty if the wheels clean and prepped it’s EZ PZ. ta! |
| |
|
|
zeberdee
Club Retro Rides Member
Posts: 1,038  Club RR Member Number: 2
|
|
Dec 11, 2023 13:16:52 GMT
|
|
Cheers bud .
They’ll be freshly built , new powder coat & new lips , so nothing major to clean off first .
I best get watching some vids .
👍
|
| |
|
|
|
|
|
Dec 11, 2023 17:32:52 GMT
|
Cheers bud . They’ll be freshly built , new powder coat & new lips , so nothing major to clean off first . I best get watching some vids . 👍 Yeah they should be mate, get a good quality coating and study the instructions and you’ll be fine. Don’t second guess how long the coating has to be on there, get a nice layer on and give it a buff off. Genuinely is that easy! |
| |
|
|
|
|
|
|
|
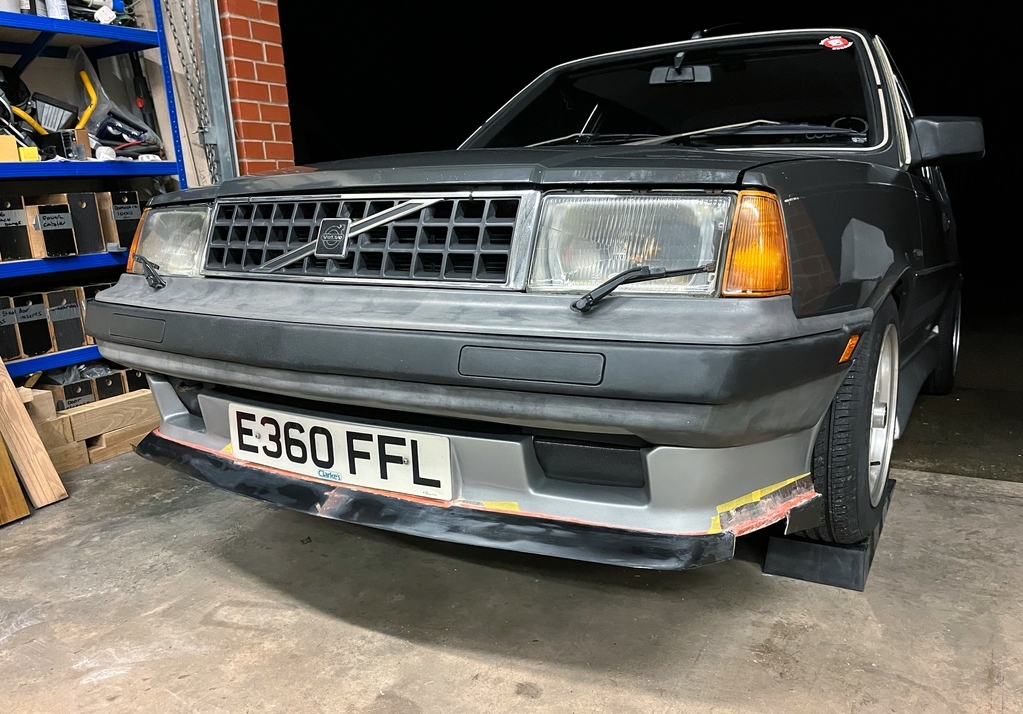
Hi all, Bit more progress on the Volvo as the Nissans still hibernating till April time. Decided that the front needed to be balanced out a little more so went on the lookout for a suitable style splitter to sort it out Found an ae86 fibreglass rep one for £175  Or an e36 m3 rep one for £80 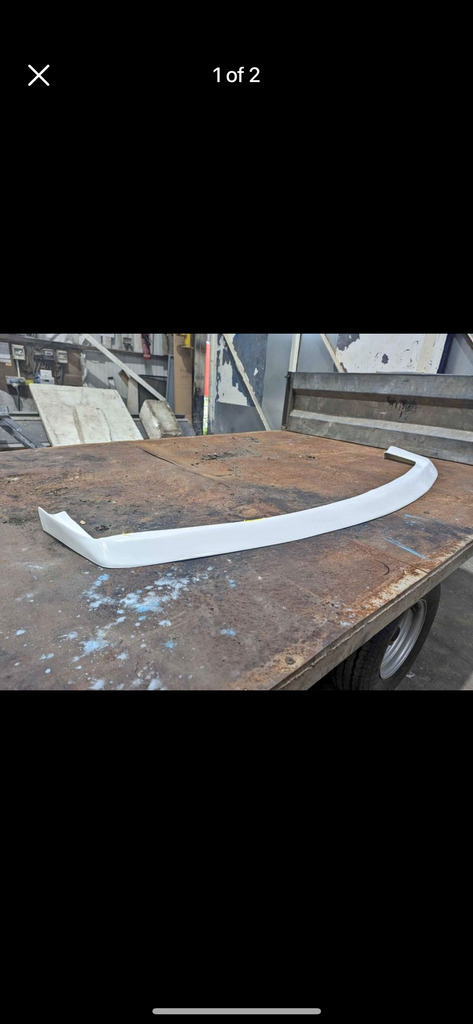 Decided one the cheaper m3 one as I’d have to chop it up to work anyway 🤷🏻♂️ When it turned up it was far too long in the middle and car too short in the sides so got it chopped 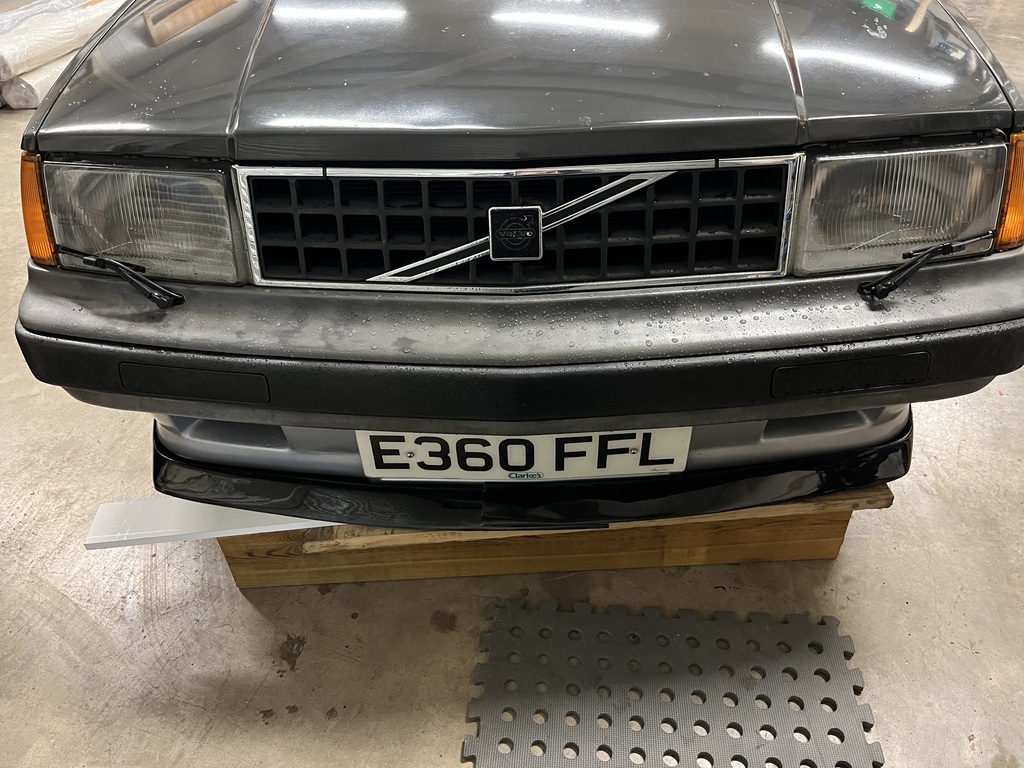 Got enough out the middle and joined it back together, then decided it needed to clear the number plate cut out on the car 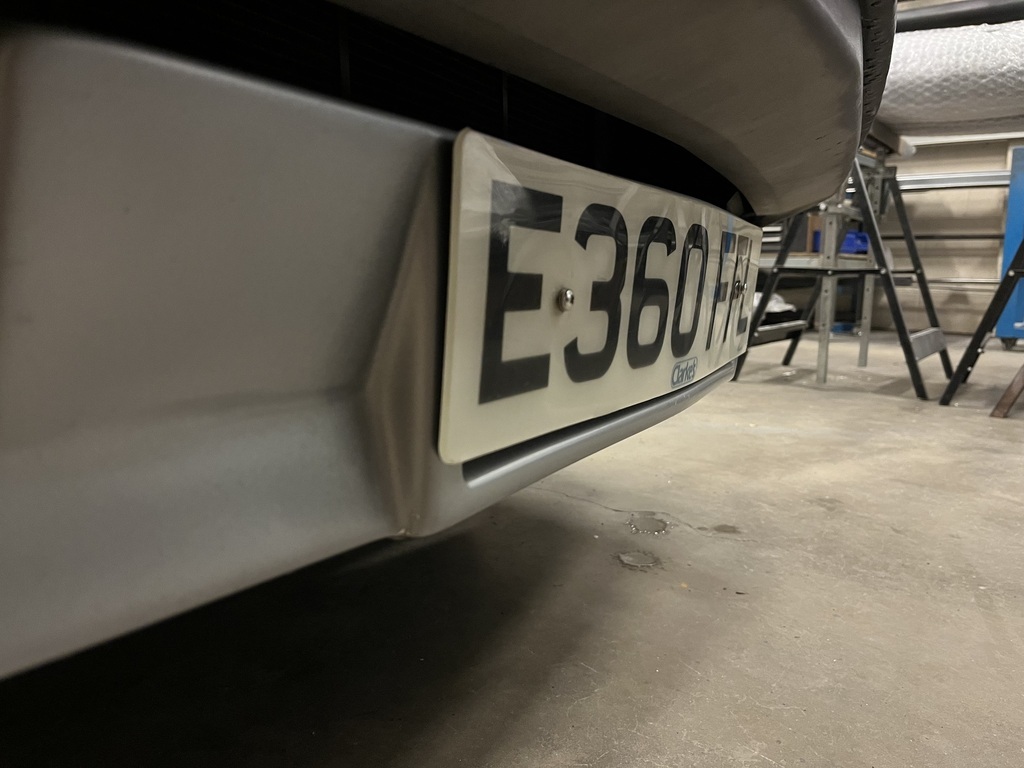 Once I’d joined it back together I got a letter box cut out the middle to clear the plate box, got a support back in there after it was flimsy and had to get some strength back in it while clearing the box. Made a cardboard mould and wrapped it in foil tape. 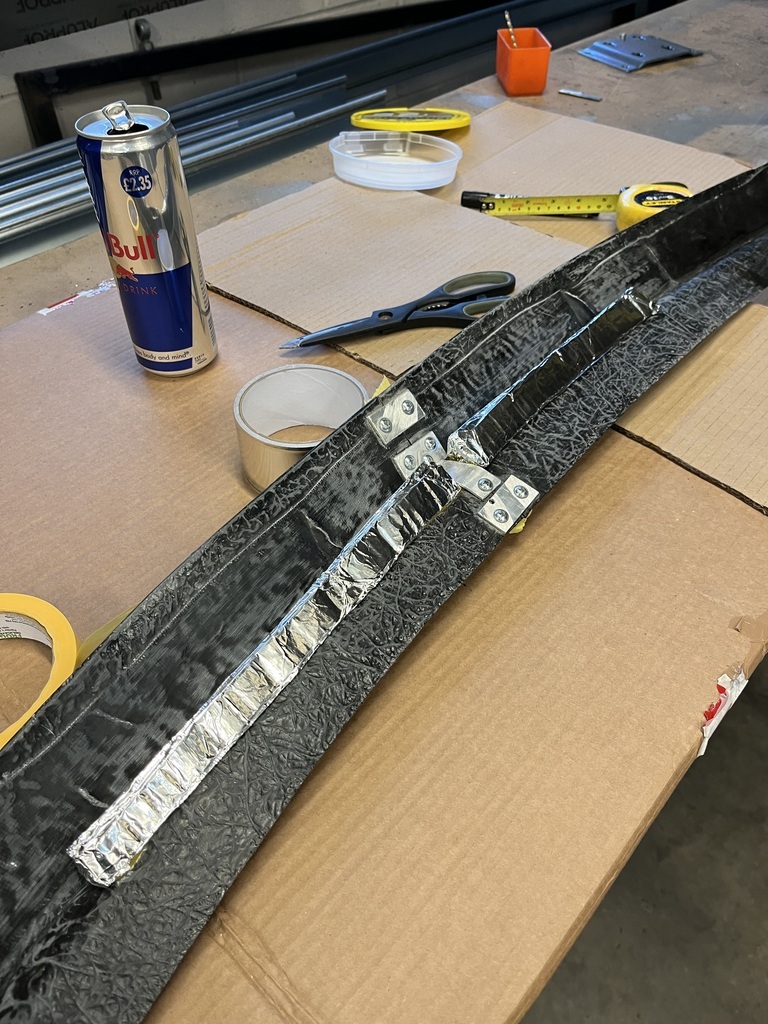  Taped the back up and covered it in fibre glass 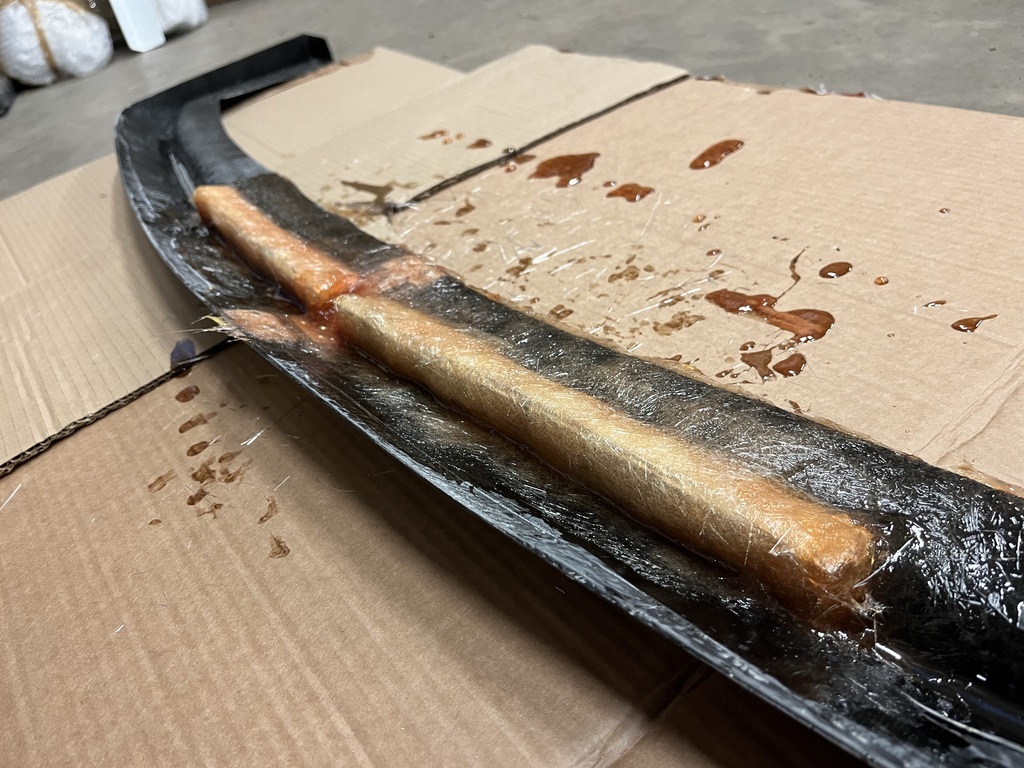 Once this had dried I got the middle support cut out and also the moulds pulled out and the edges tidy  Then got the sides cut off and extended the current peices with fibreglass over the top (no pics of this), so here’s how the front fits to the car so far  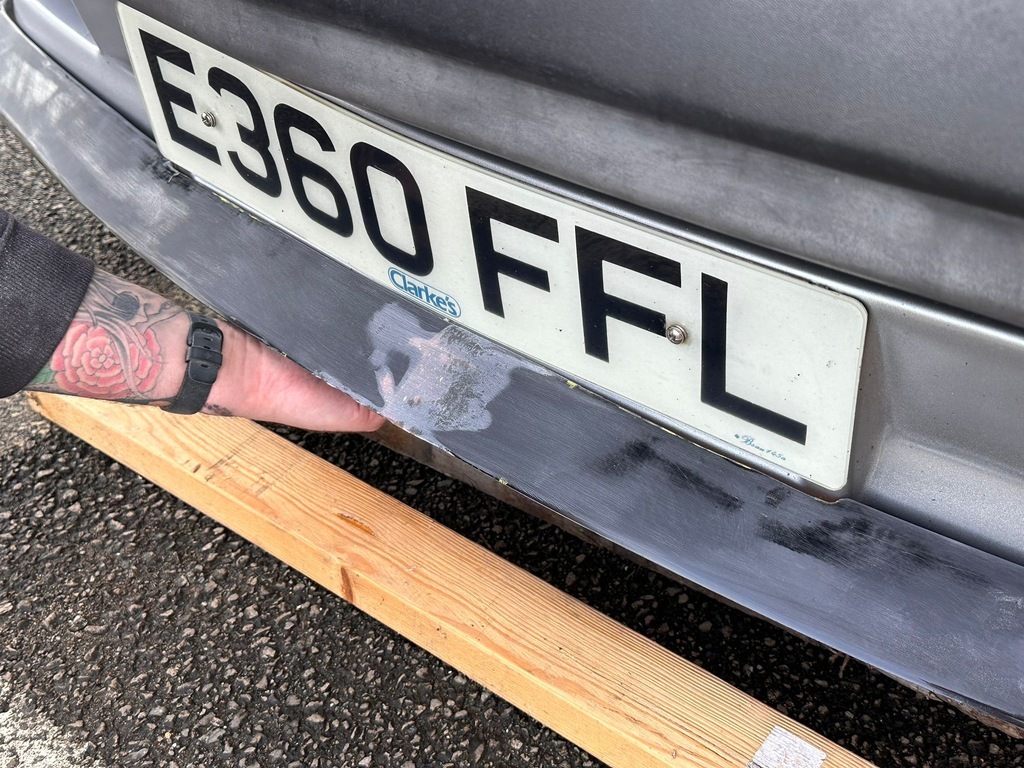 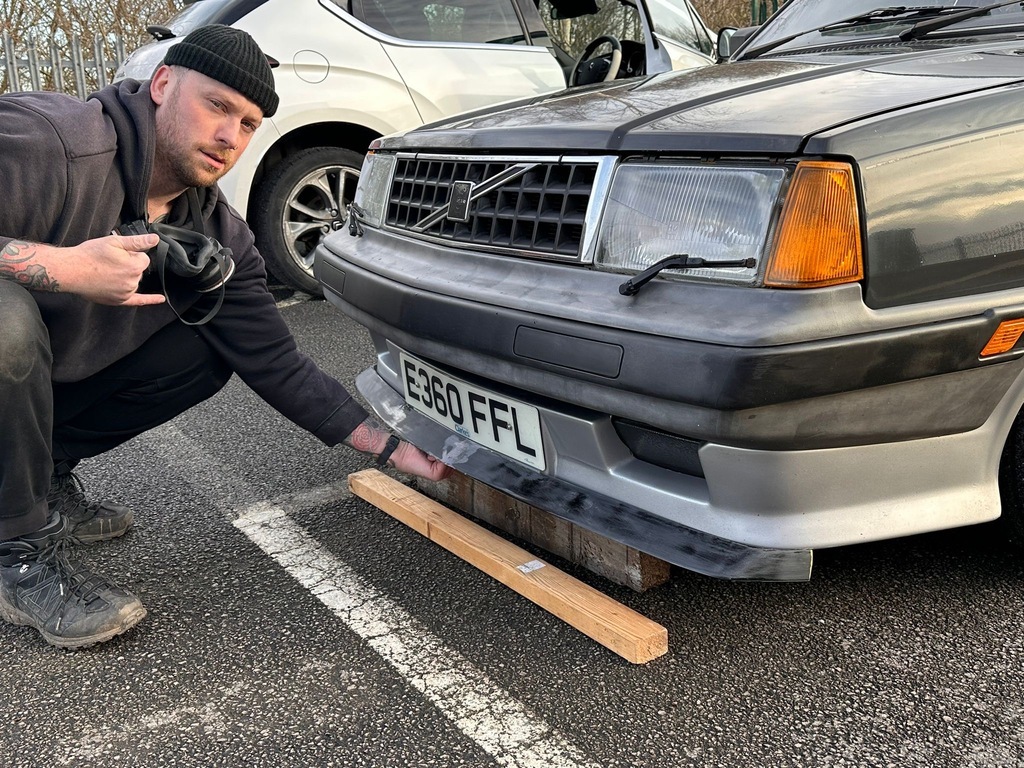 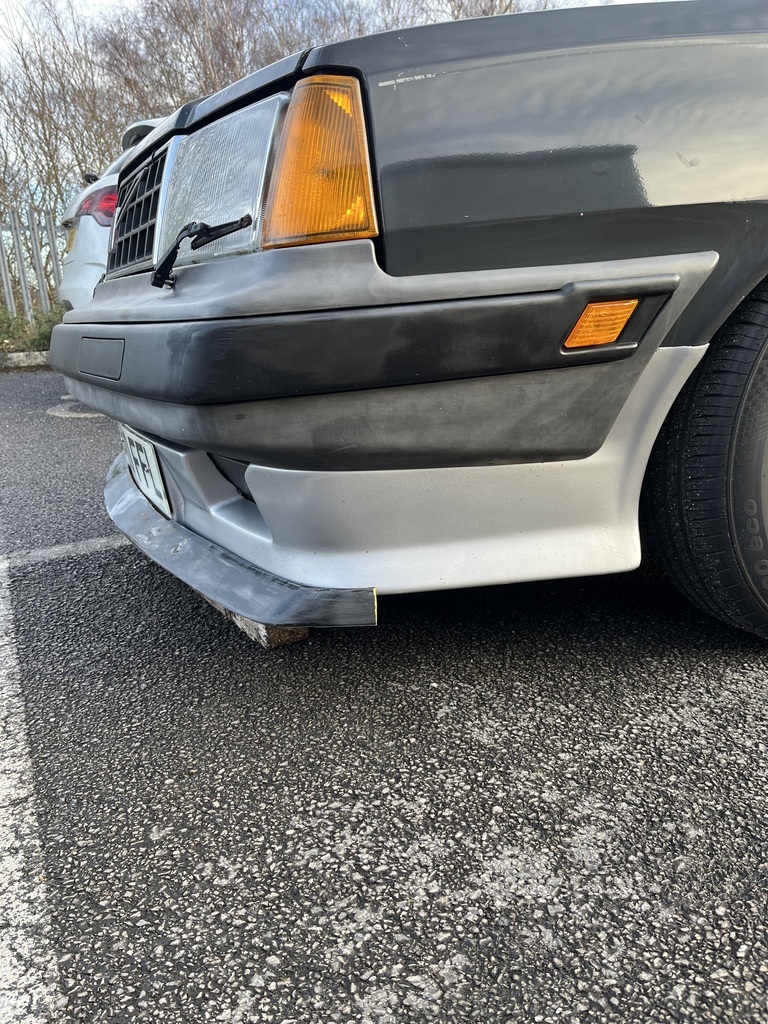 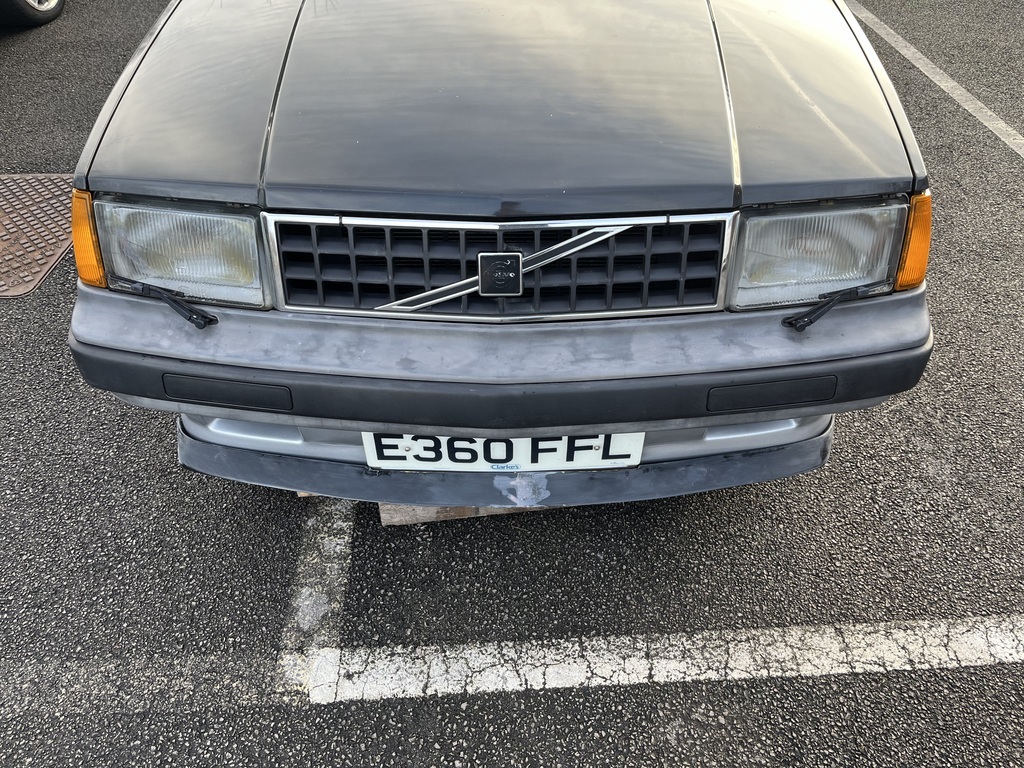 That’s where I’m up to so far, going to mask the bumper and full some small gaps with filler so it fits nicer then move on to making the sides. Thanks! |
| |
|
|
|
|
|
|
|
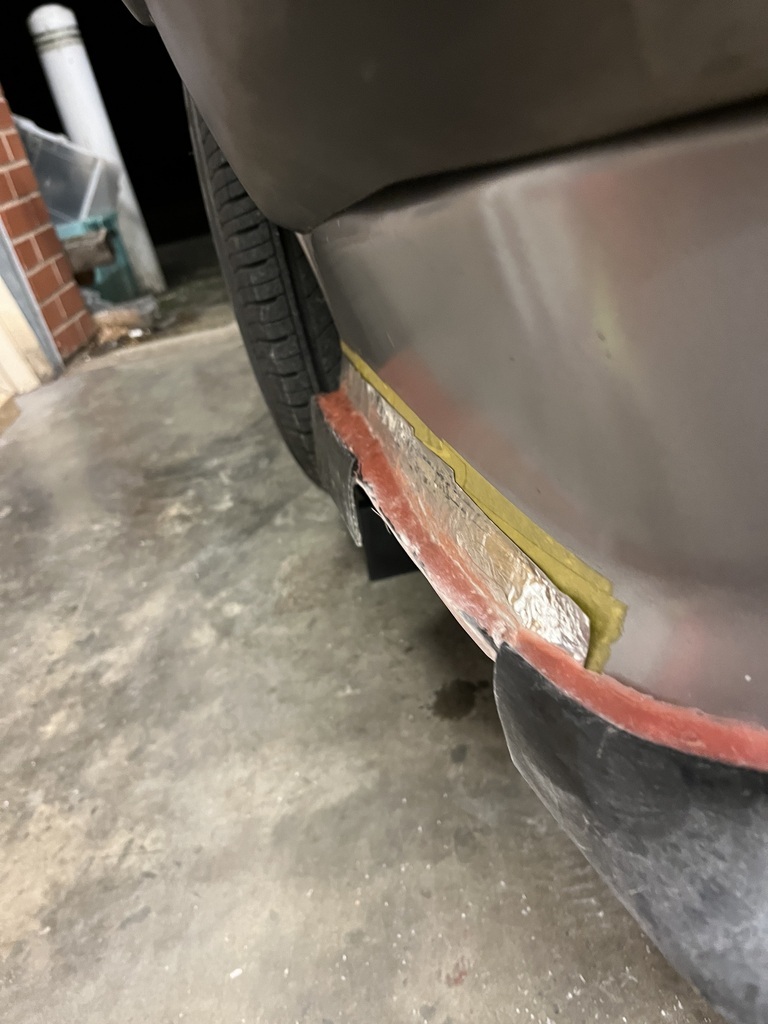
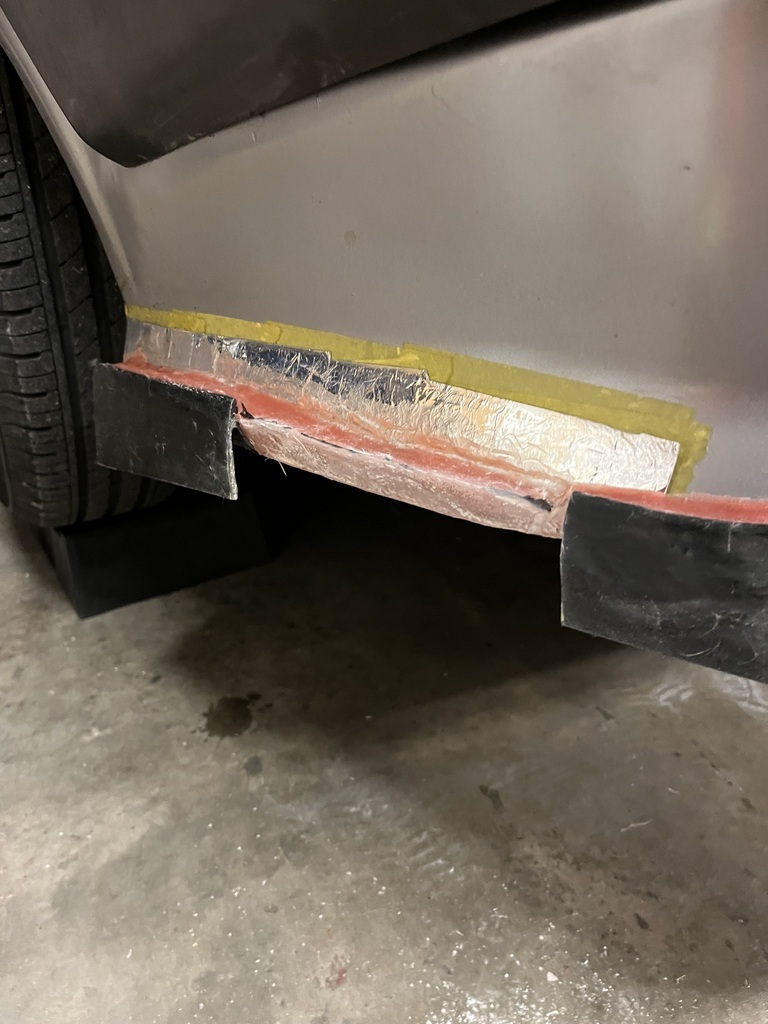
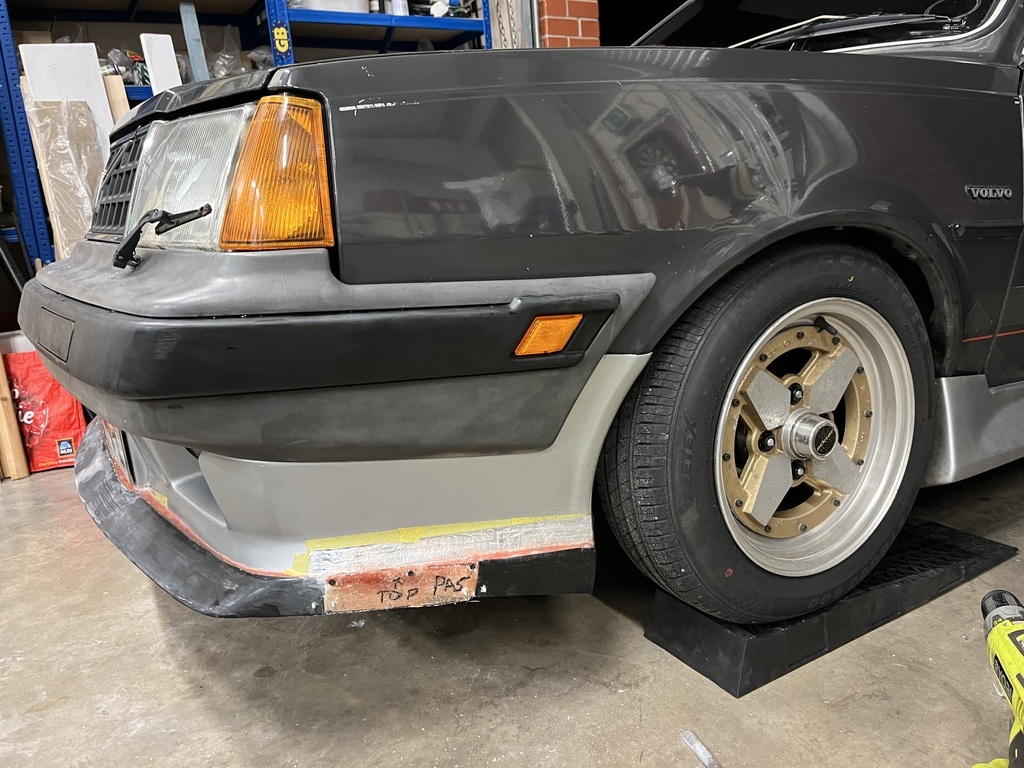
Bit more progress on the front lip, got the current lip taped up and the new extension fit in place with some screws, to make it a nicer fit in going to fill the small gaps in so it touches the current bumper then use polyurethane sealant to bond it on for good. Then I can body work it all in one and just repaint it silver again. 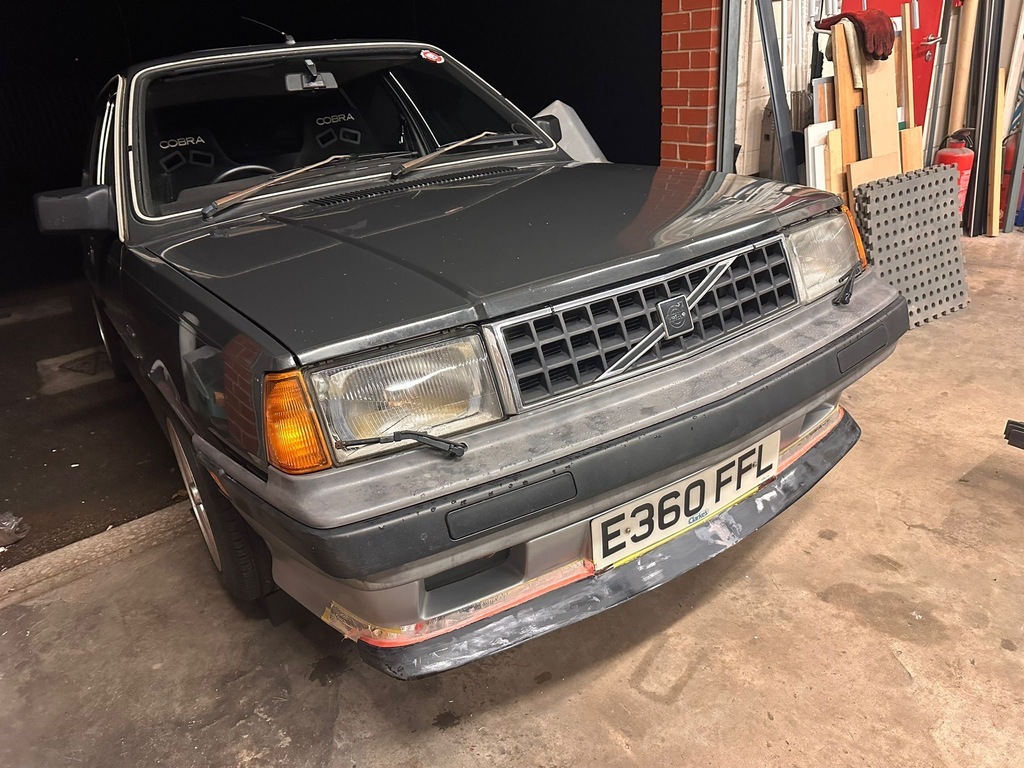 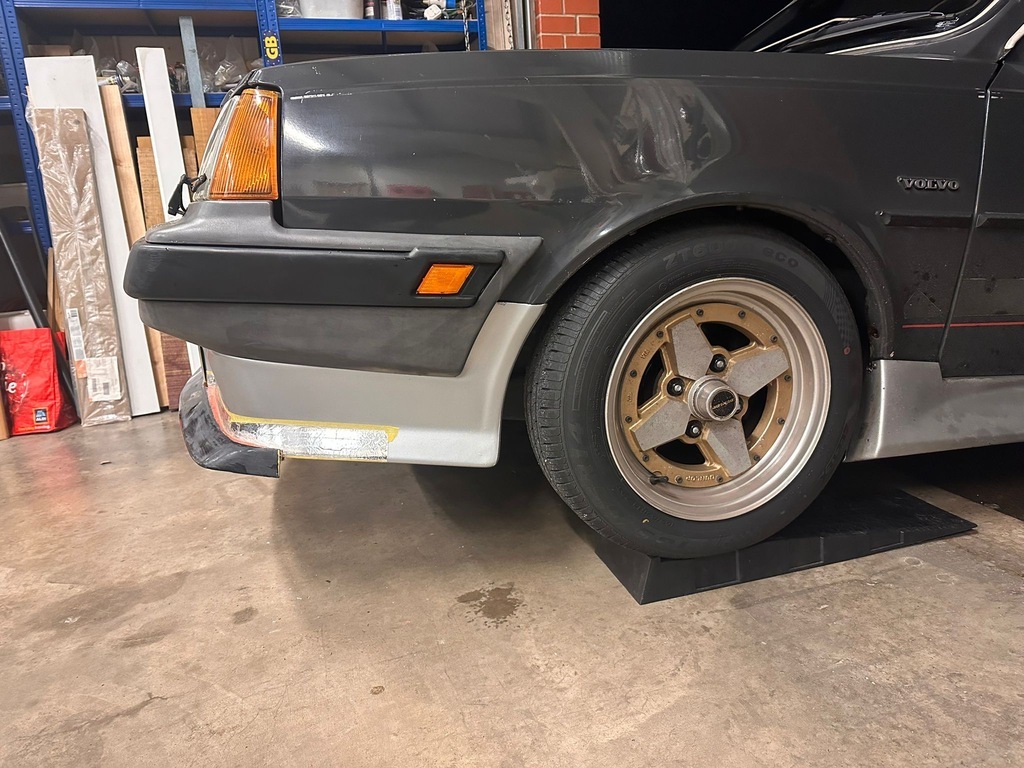 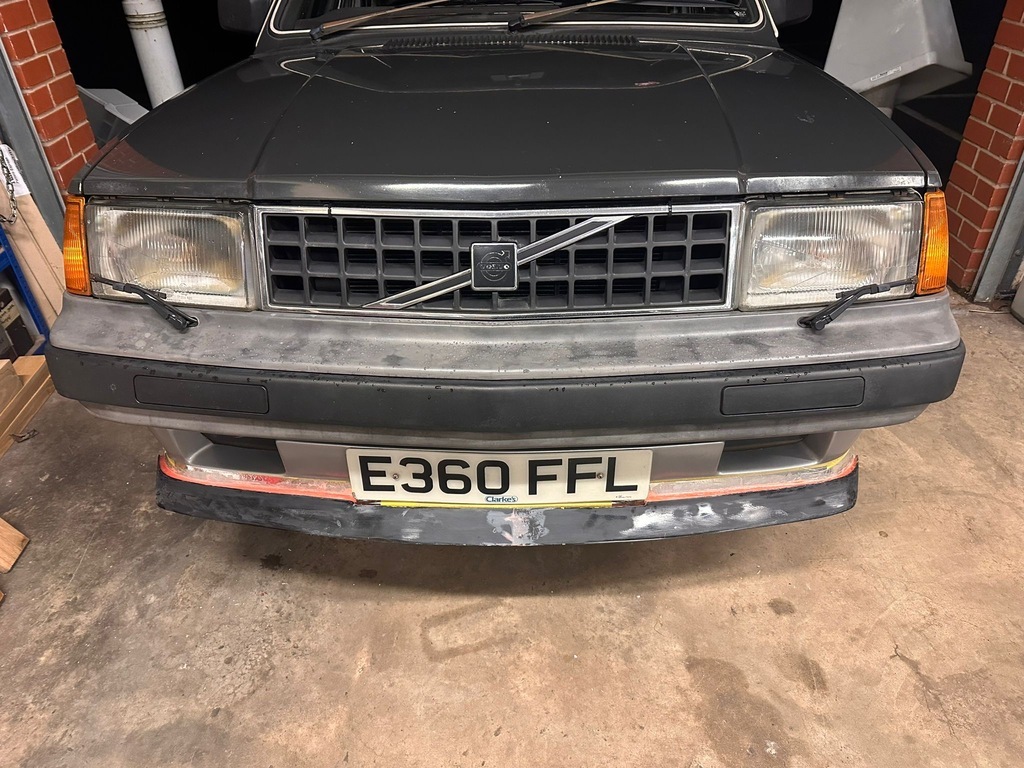 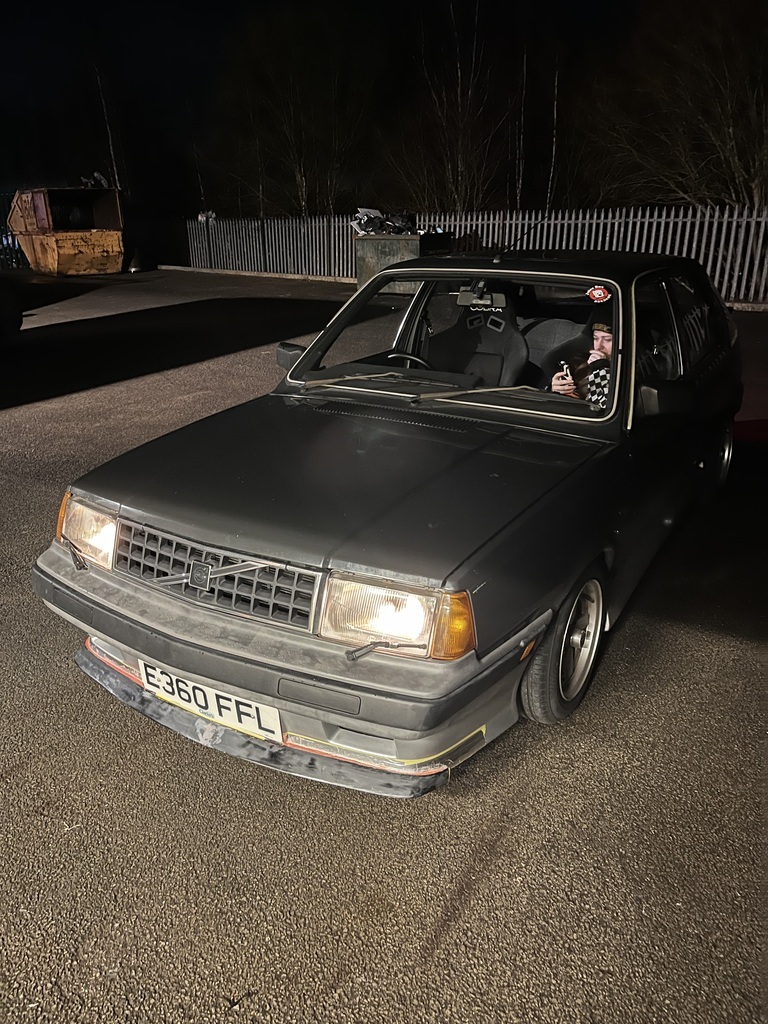 Going to look at attaching the side peices to extend them over the weekend and hopefully get it all bonded on/peiced together. Then it’ll just be lots and lots of sanding Cheers! |
| |
|
|
|
|
|
|
|
|
|
| |
Last Edit: Jan 7, 2024 19:22:02 GMT by louishavo
|
|
|
|


