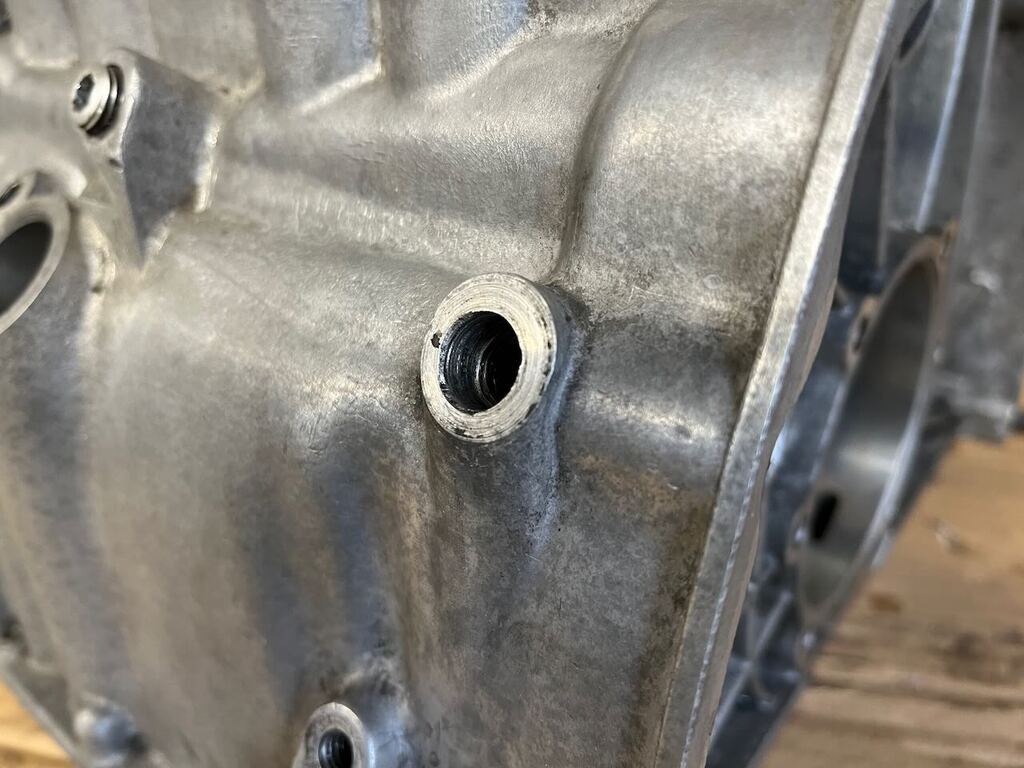
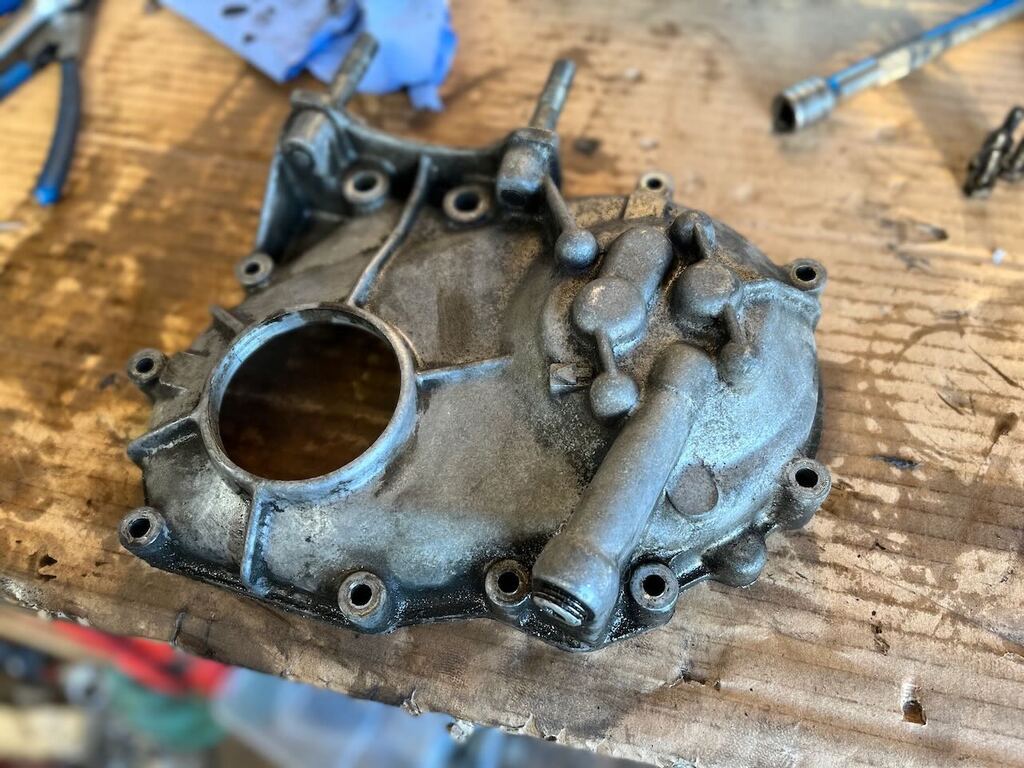
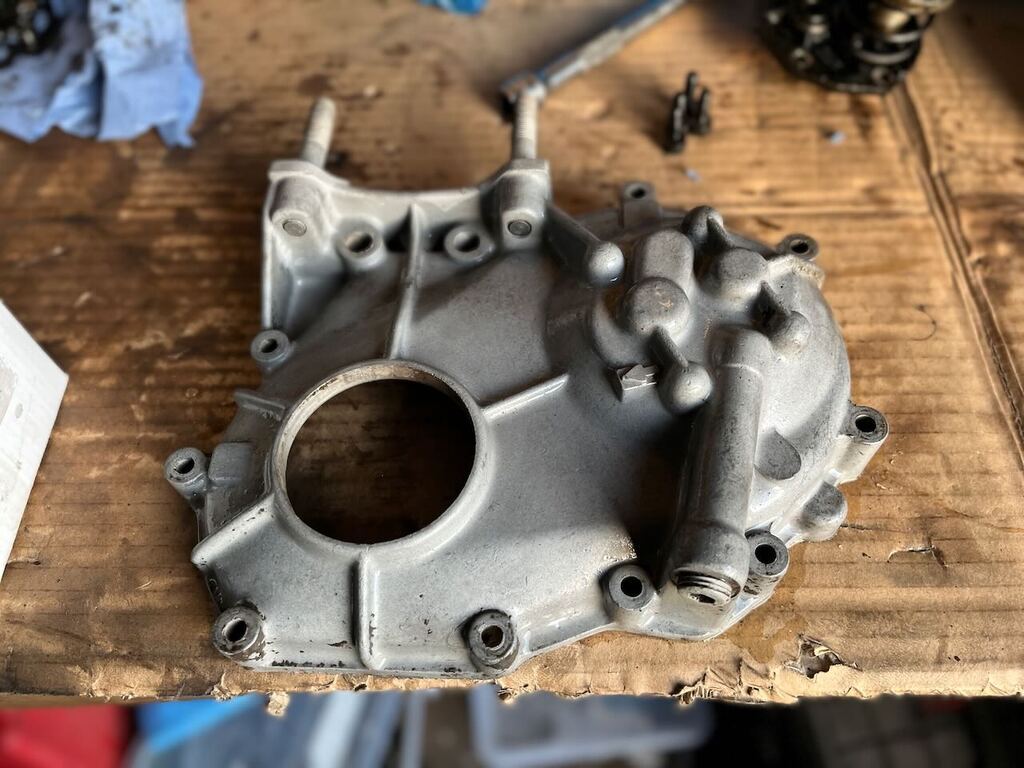
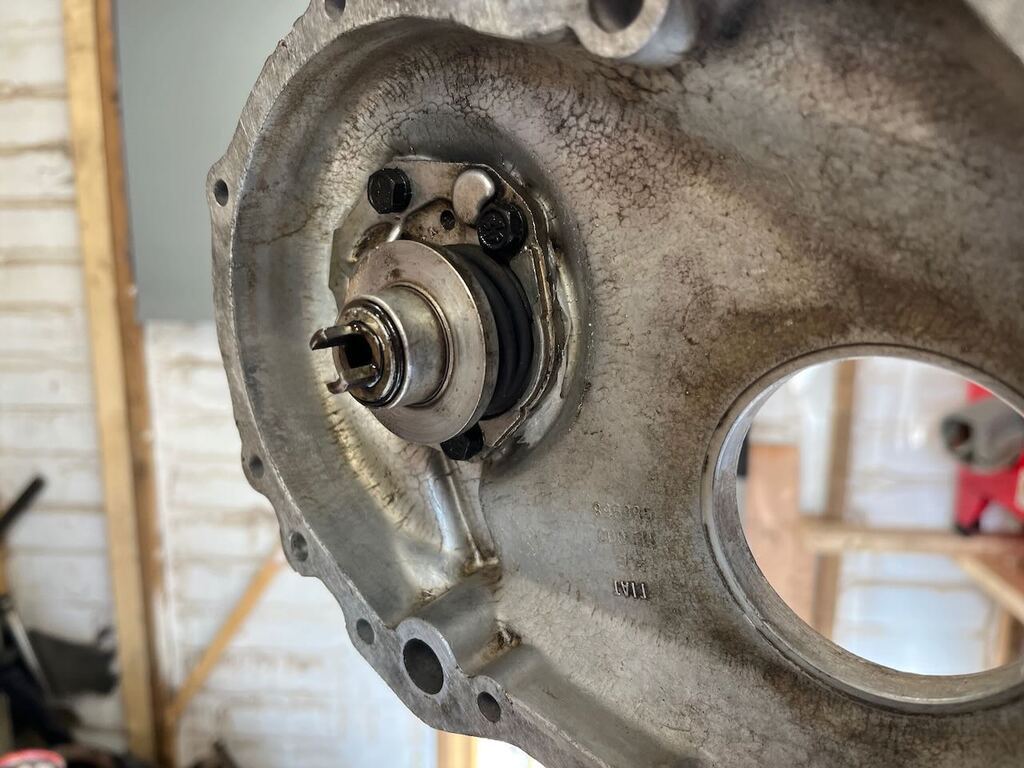
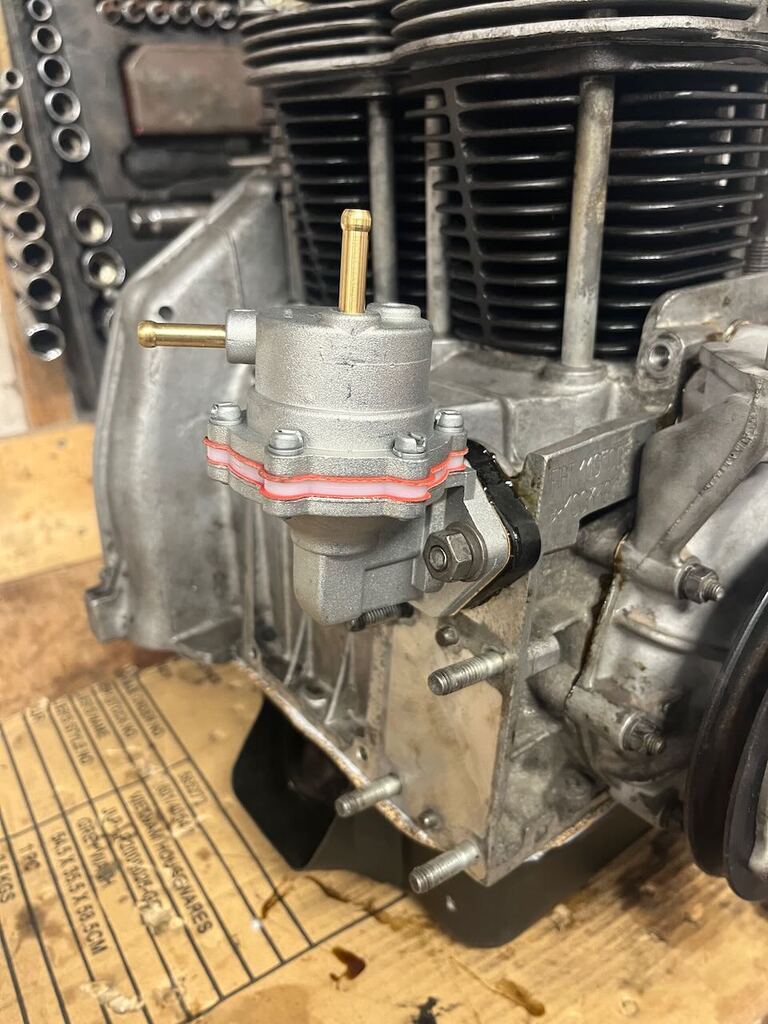
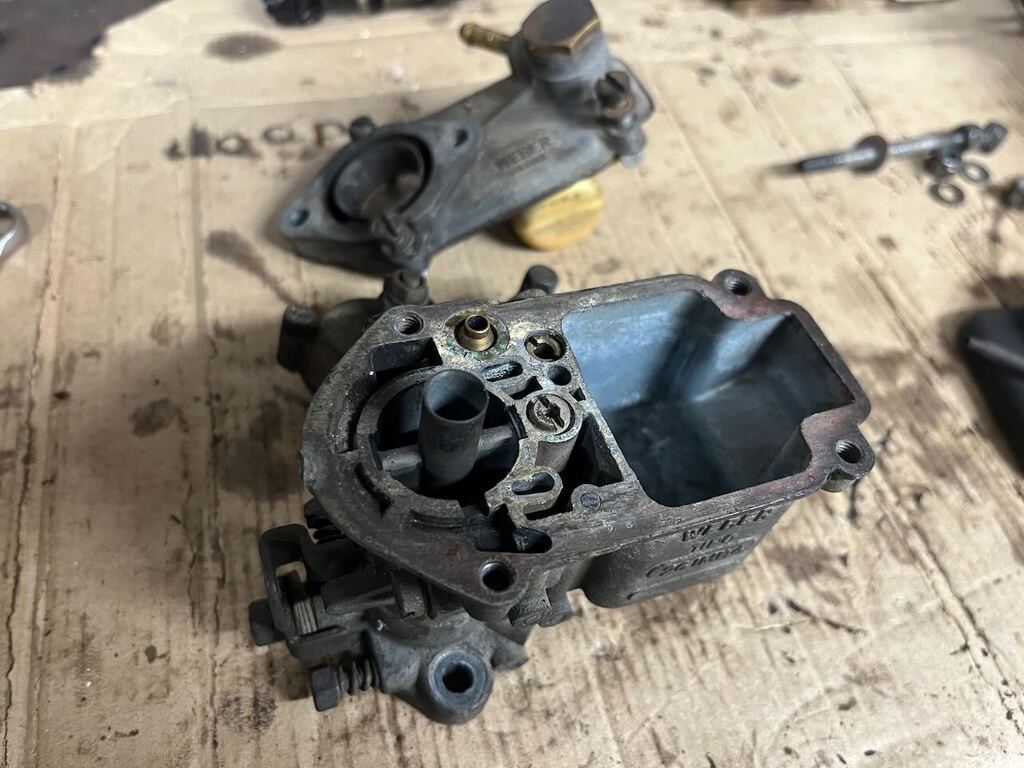
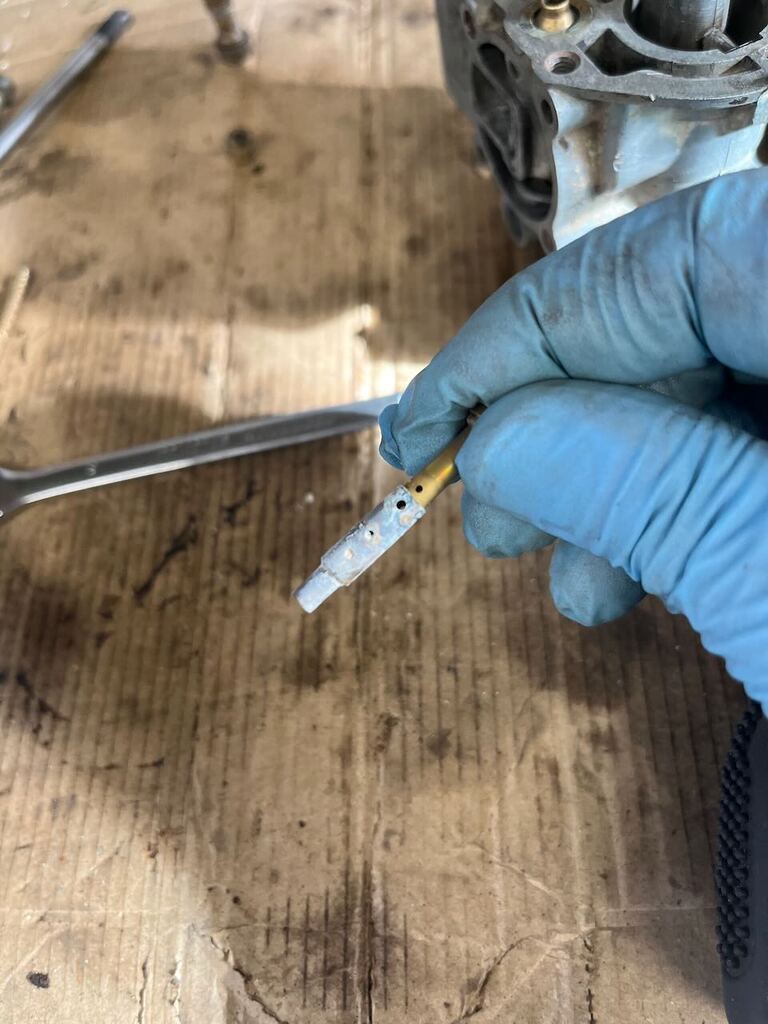
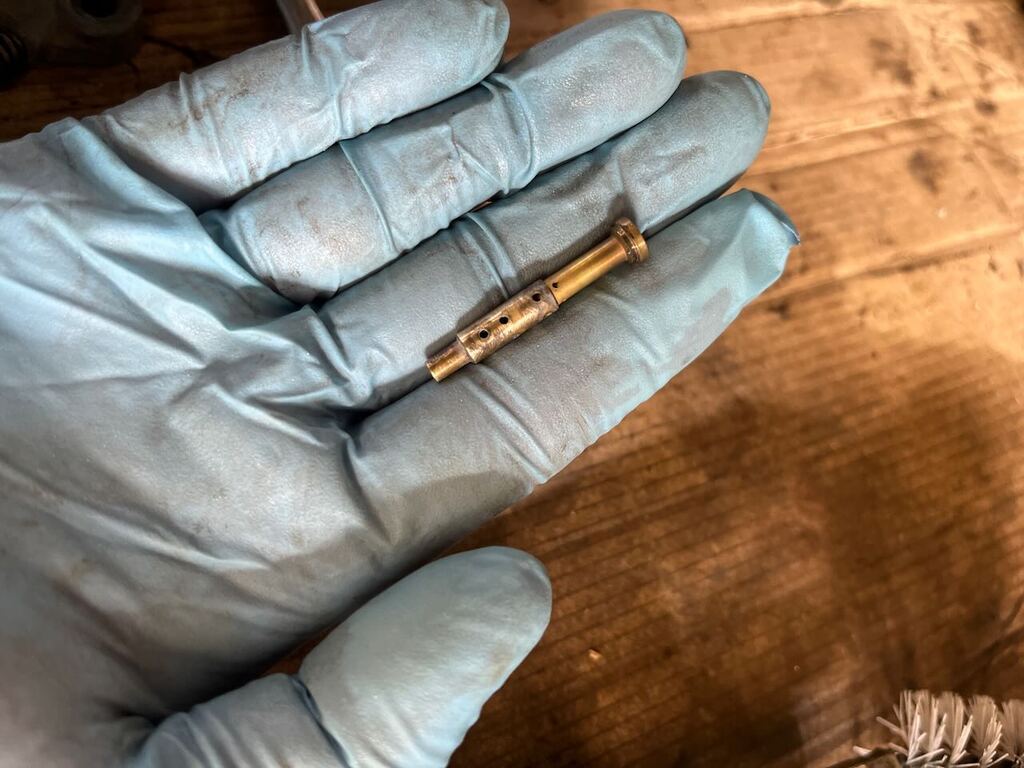
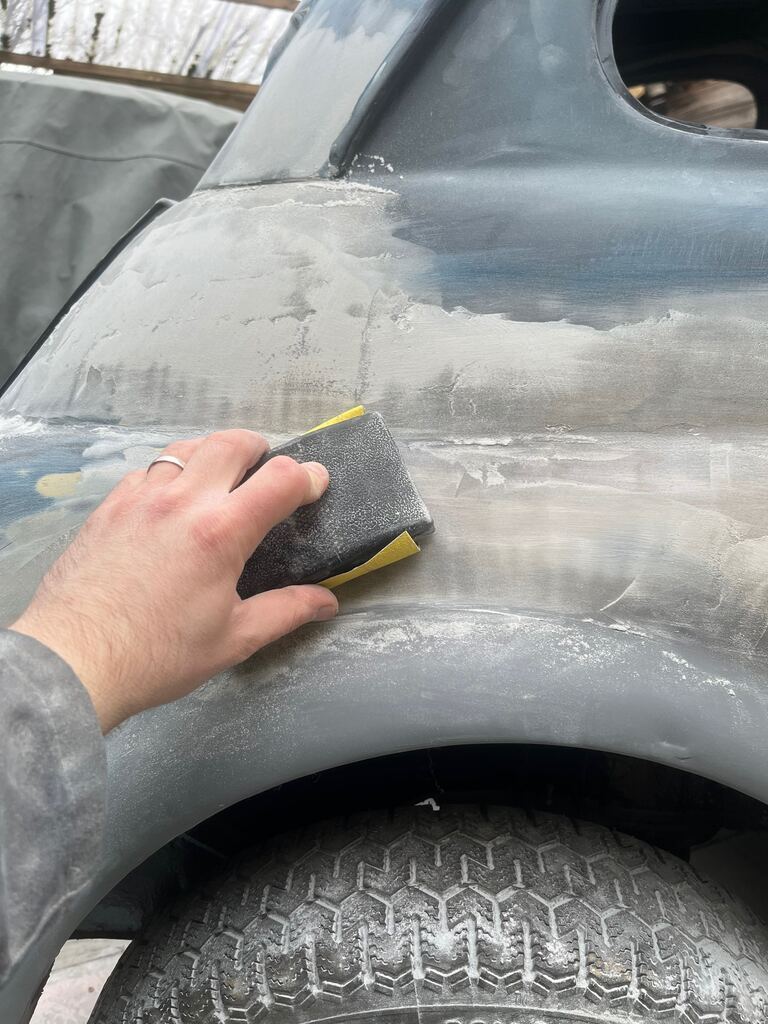
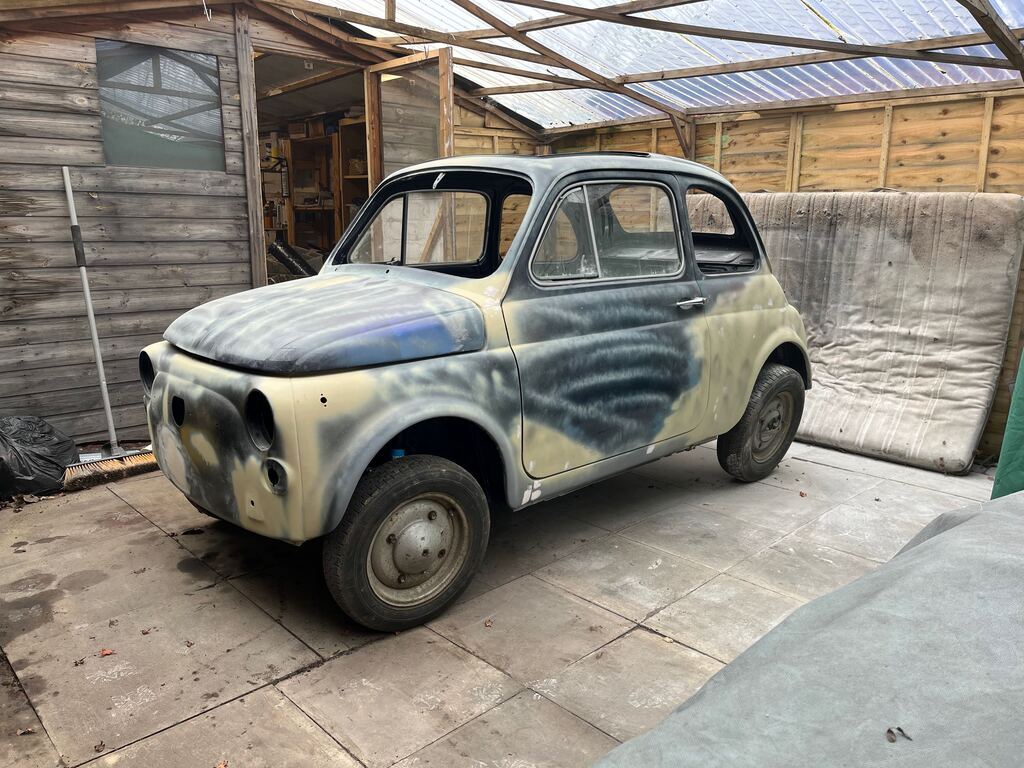
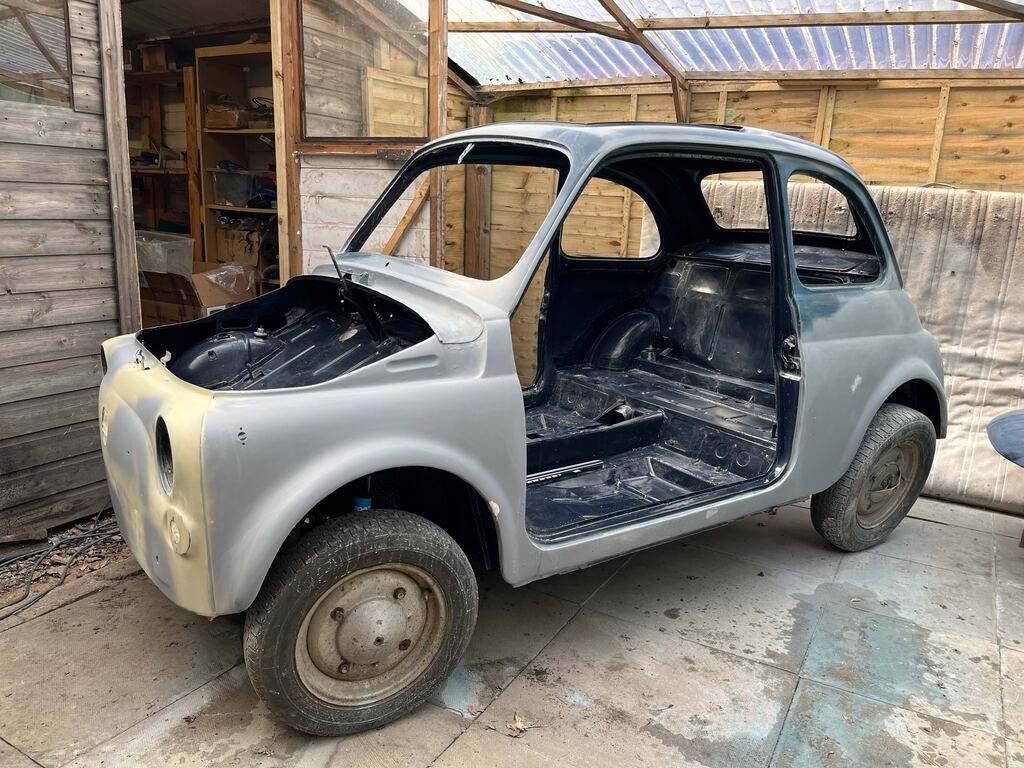
Engine autopsy time! Always interesting, often a bit depressing for the wallet! haha.
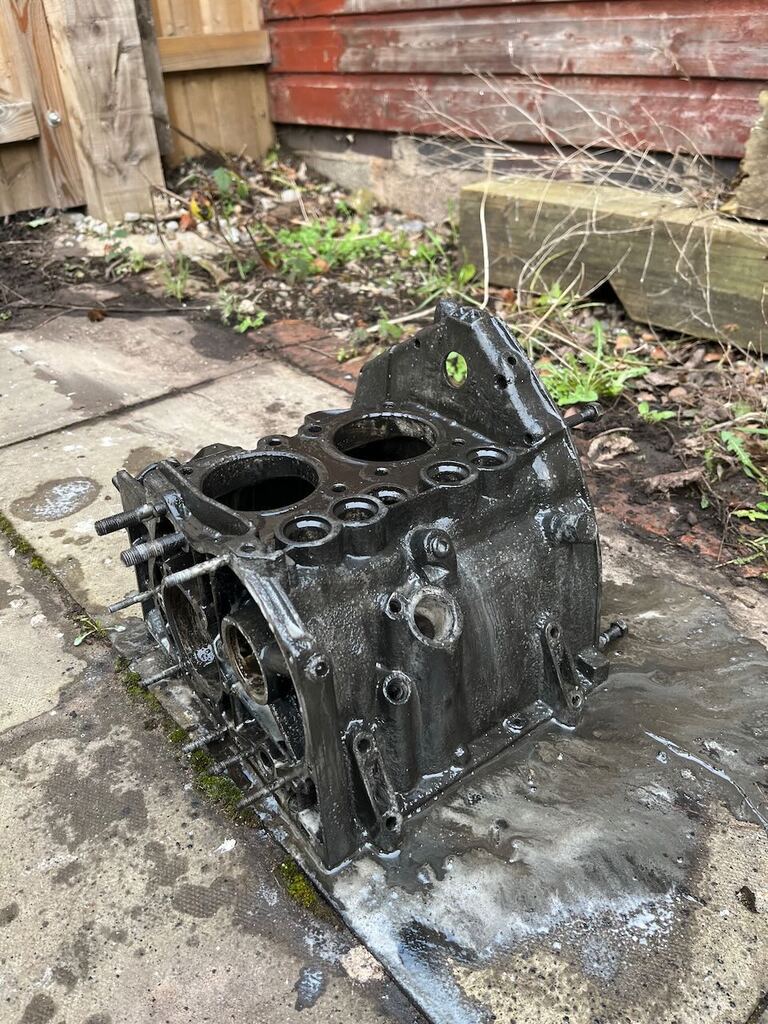
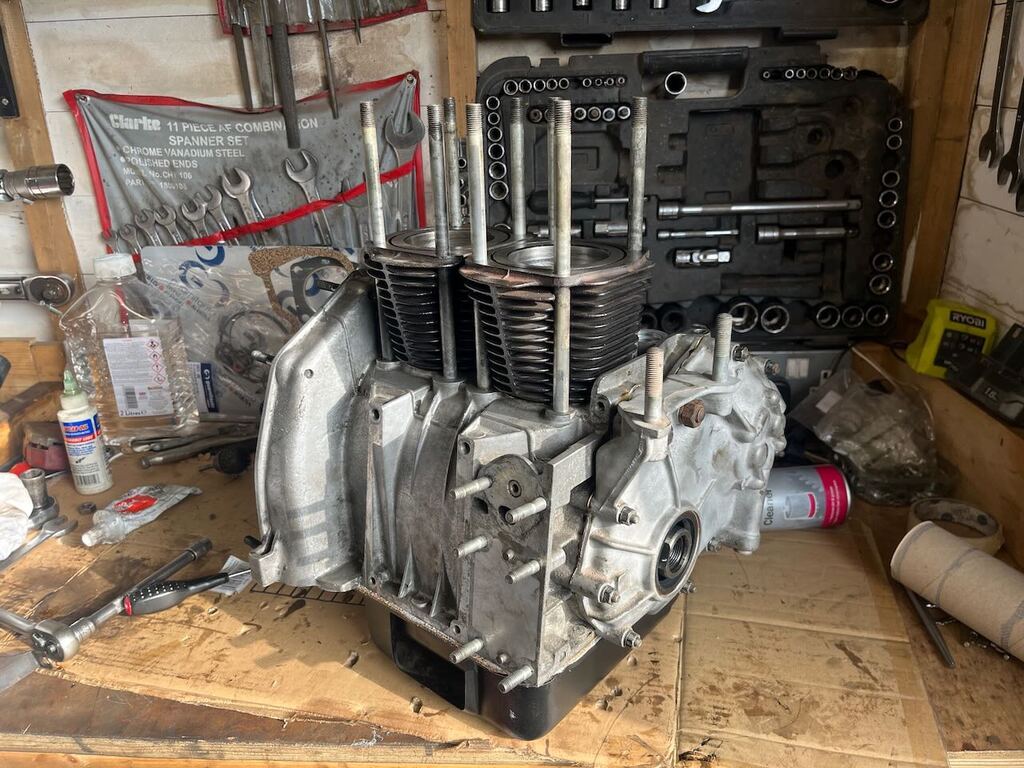
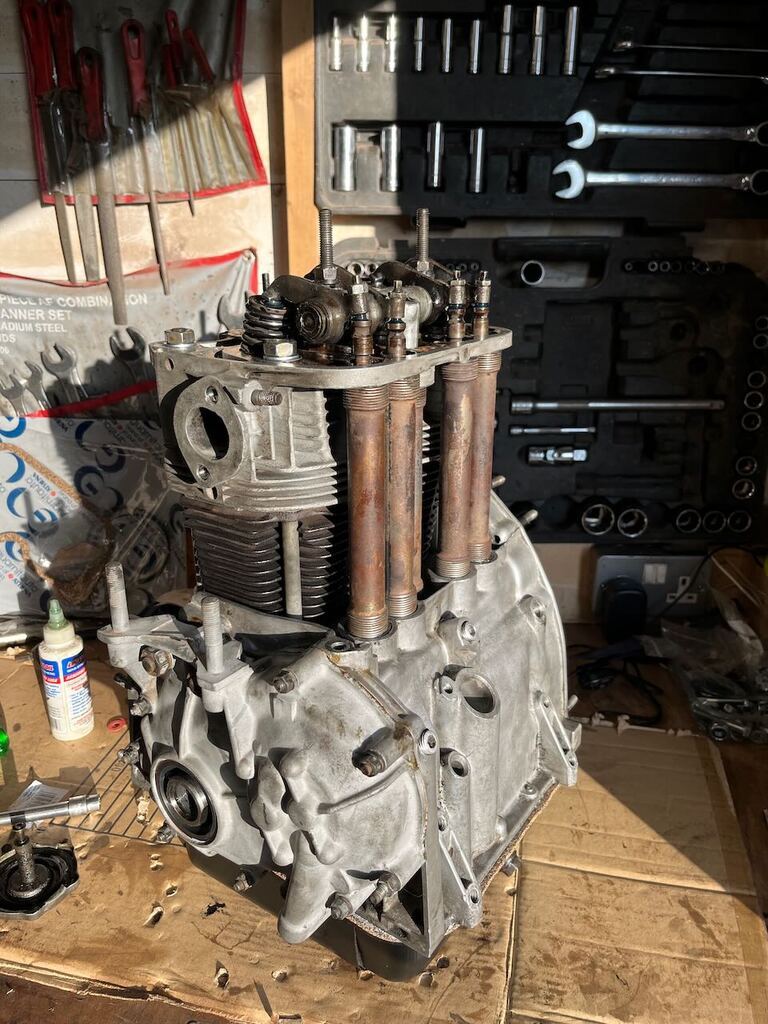
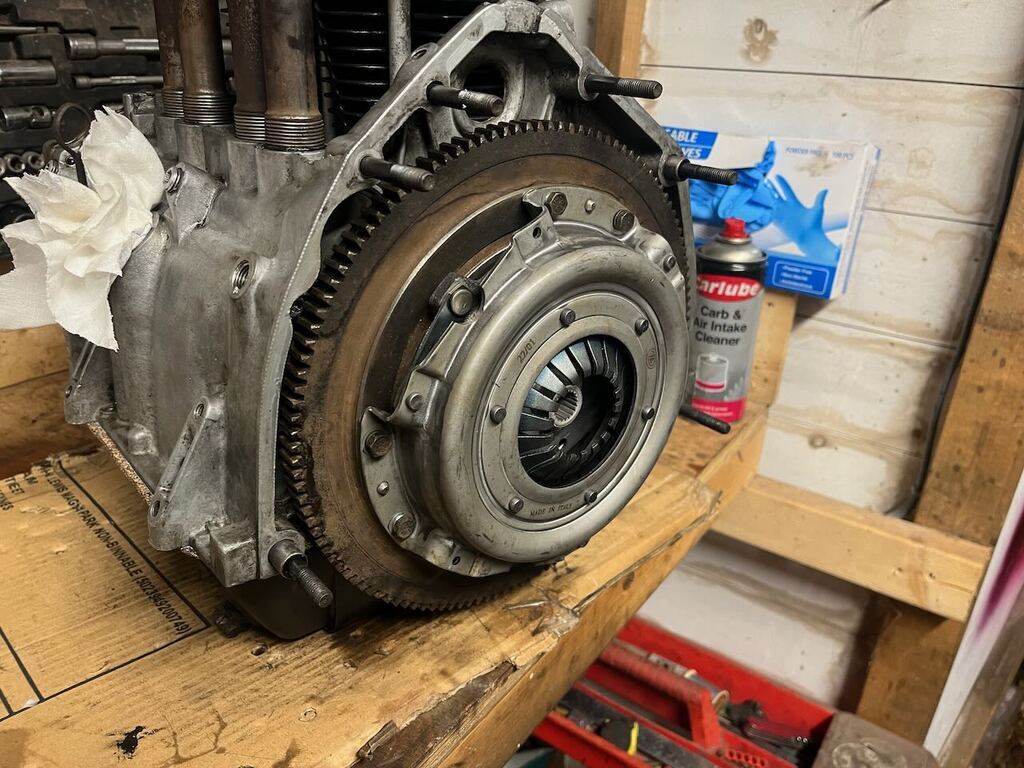
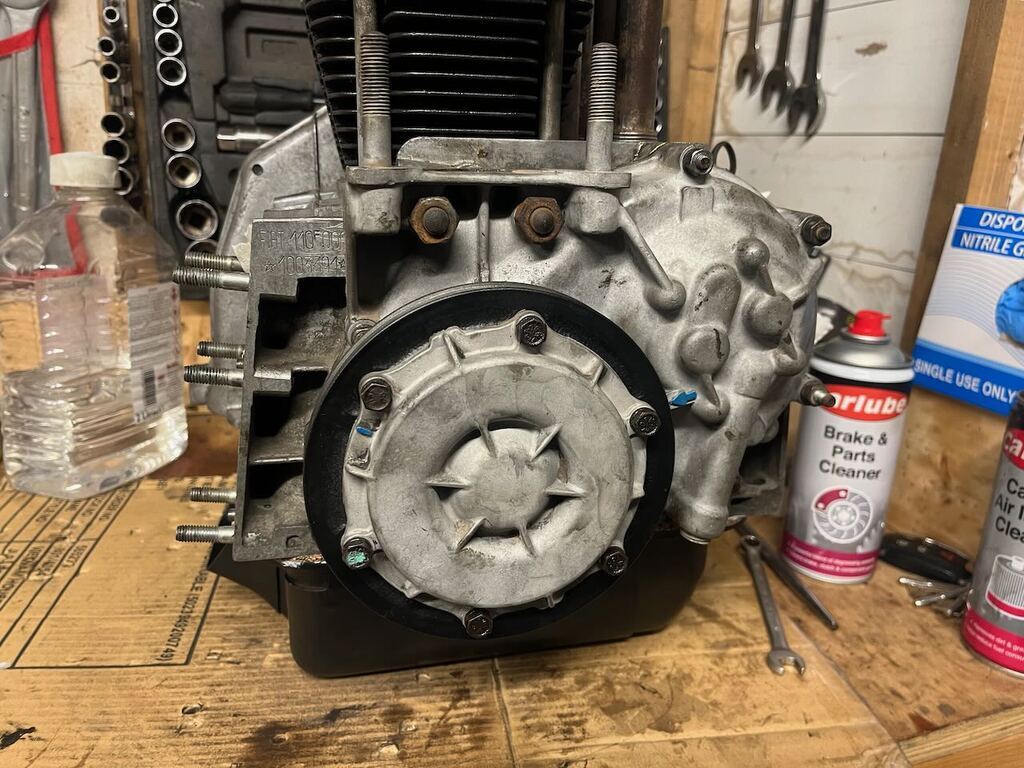
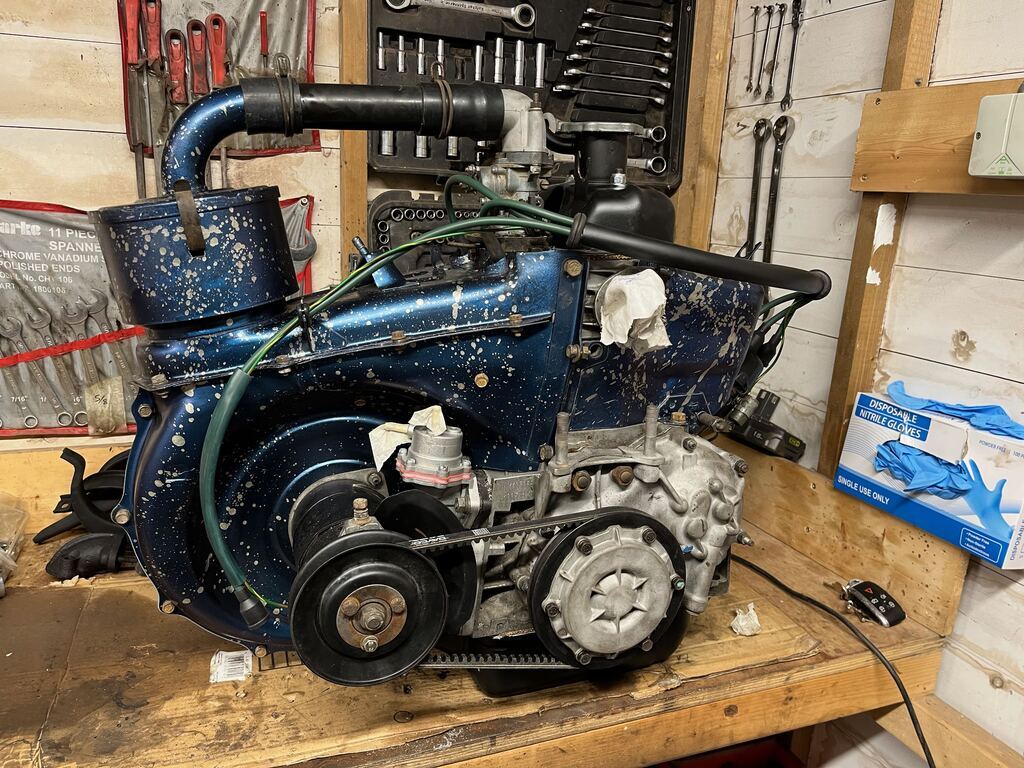
So here is the 'new' engine, I bought last year. It was 'a good runner' when removed but you never know how these things are stored, and it was under a tarp in a garden when I picked it up...
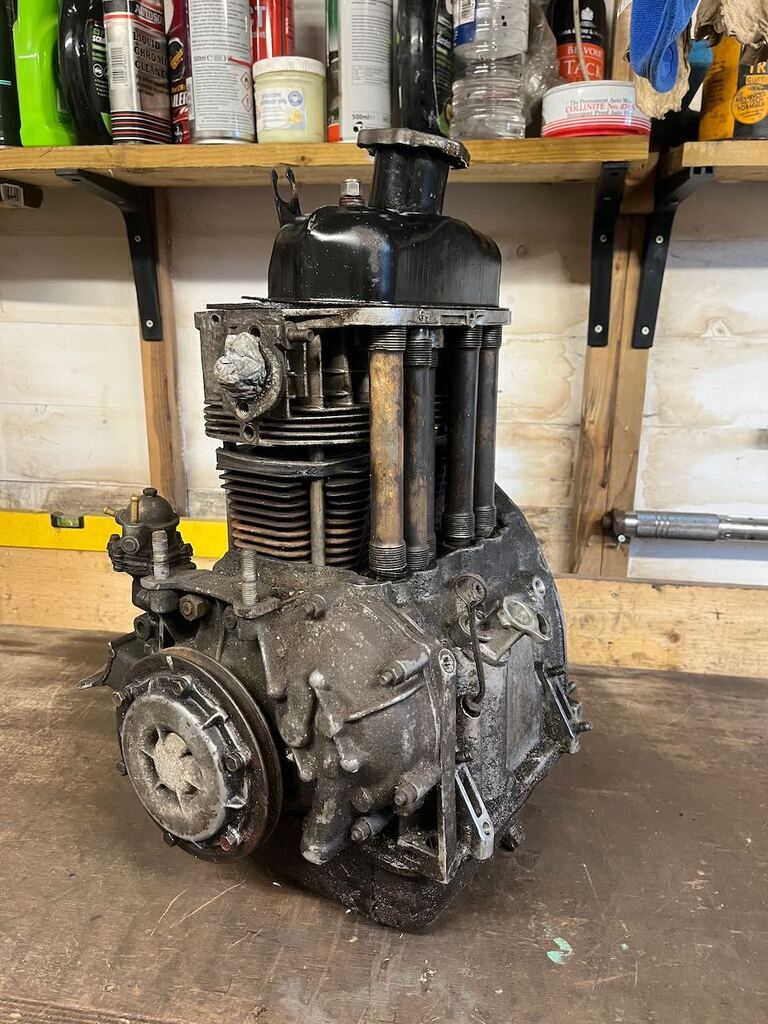
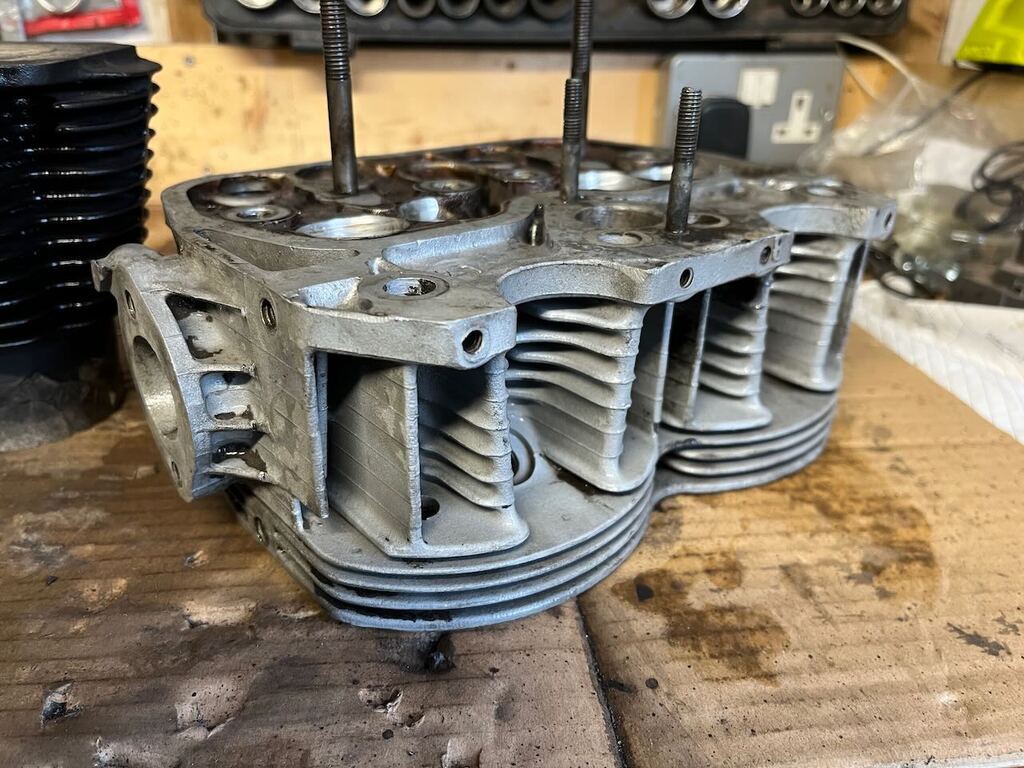
Let's start by pulling the head and looking for any obvious problems.
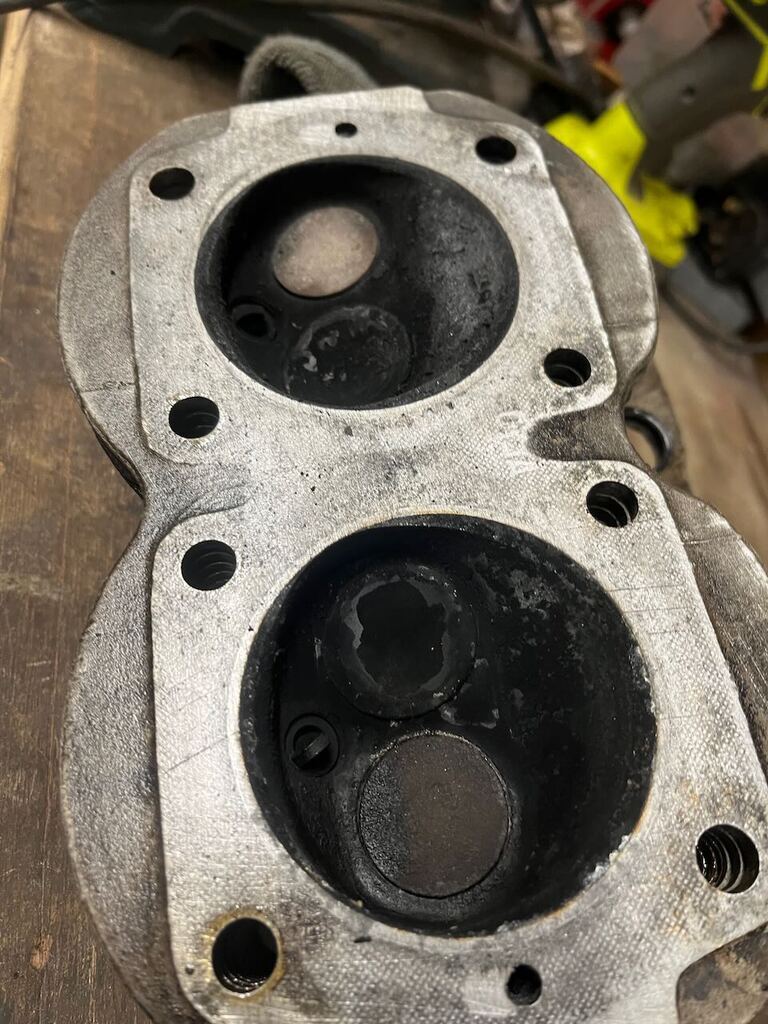
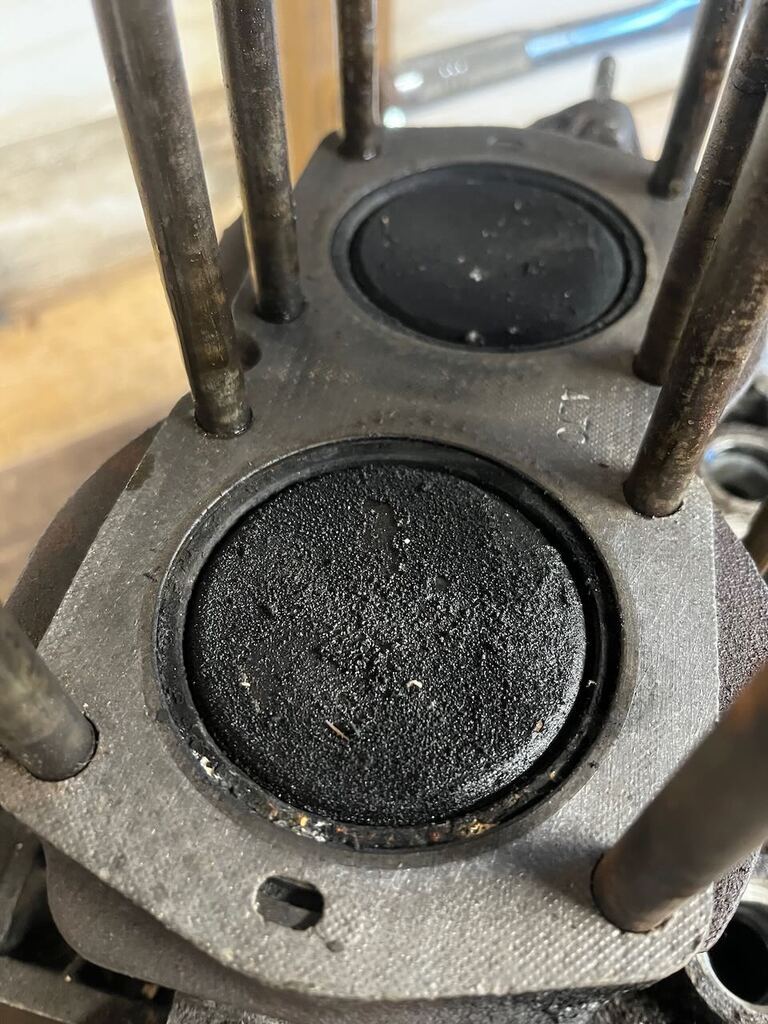
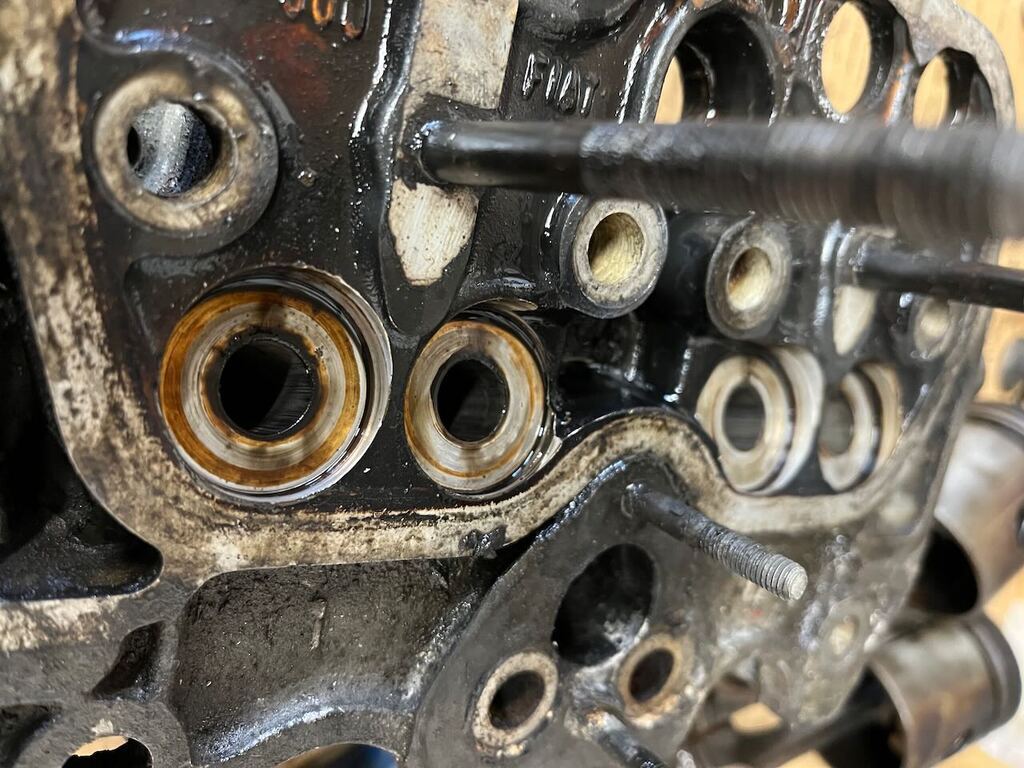
I think we've got a bit of an oil burner here, especially on the cylinder nearest camera. Not a great start. Disassembling the head I found that there were no valve stem seal o-rings, along with a reasonable amount of valve guide wear. So that could well the be culprit of the oiling.
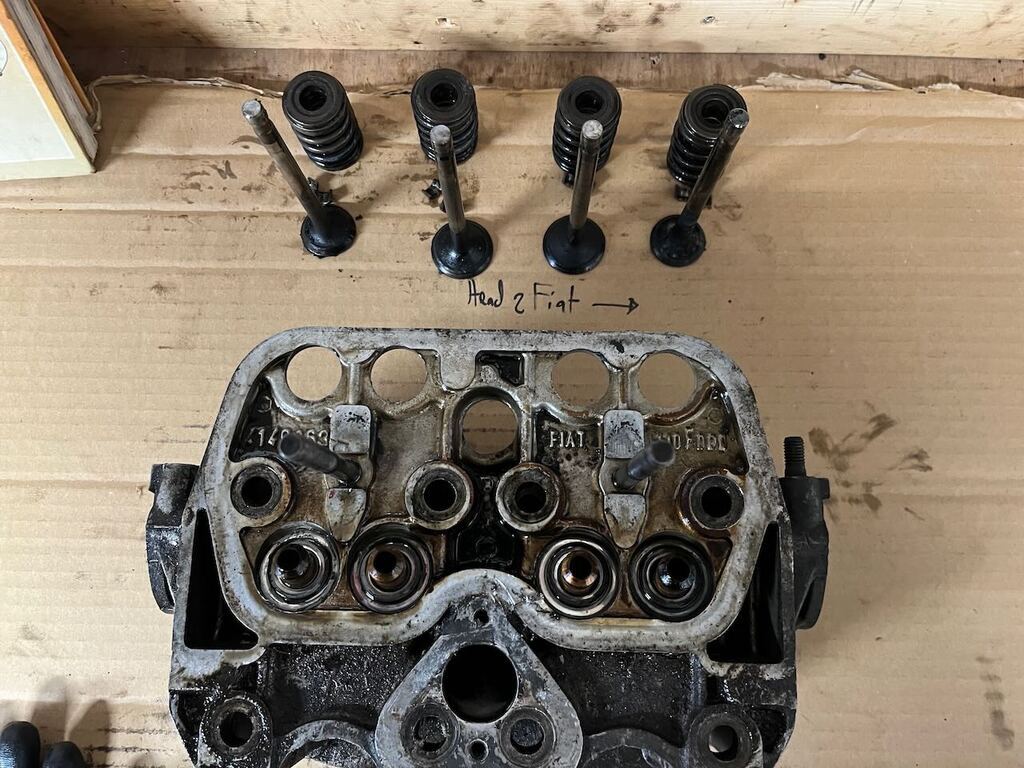
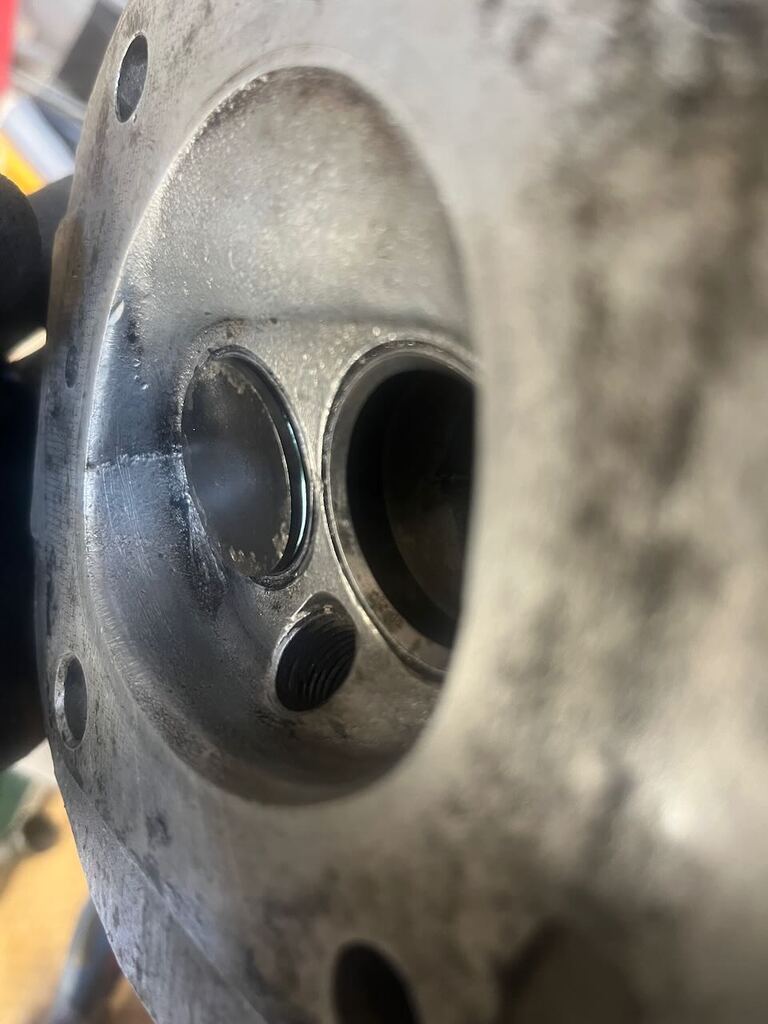
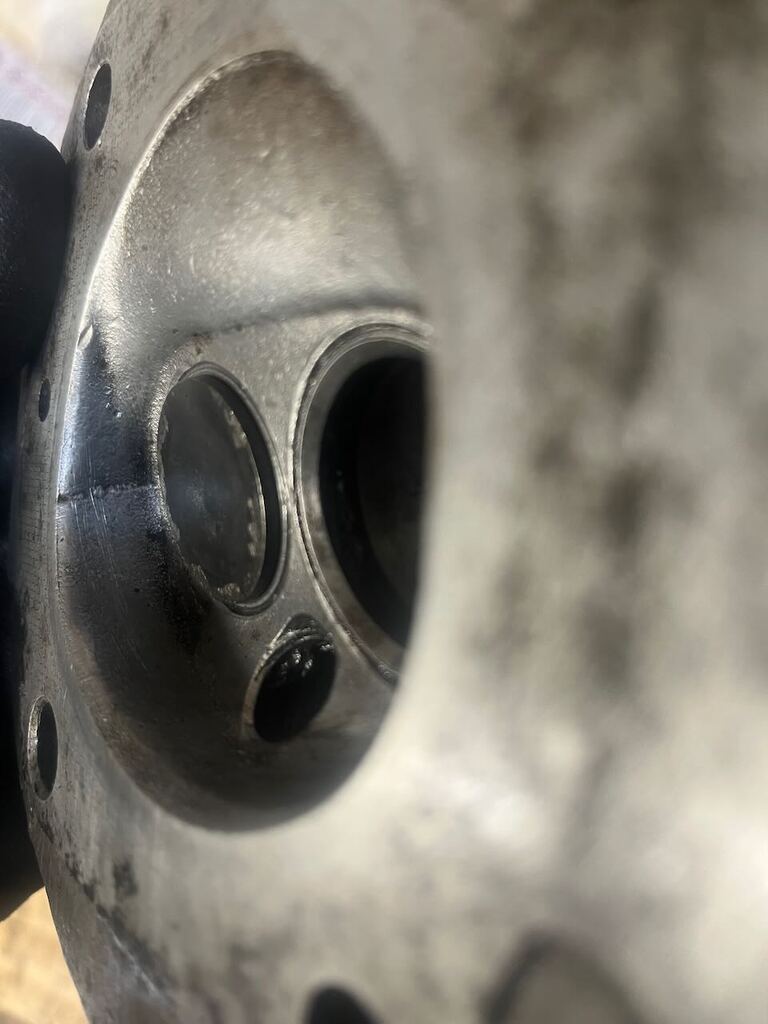
Flipping the head over and we can see that one of the cylinders has eaten something at some point as theres some good dents / marks in the combustion chamber. There is also signs of minor cracking between the valves in both chambers, which I've read is common on these engines to the point where most cylinder heads would have some level of it if removed and inspected. I gather some people are concerned that the cracking can cause the valve seats the loosen and drop out, with obvious catastrophic results, and if the cracking gets bad it will go deeper than the valve seat and allow air to leak between the intake and exhaust ports. Comparing this to images online, this is very minor cracking, and having cleaned the carbon off the port just behind the valve seat I can confirm that the cracks do not extend past the seats.
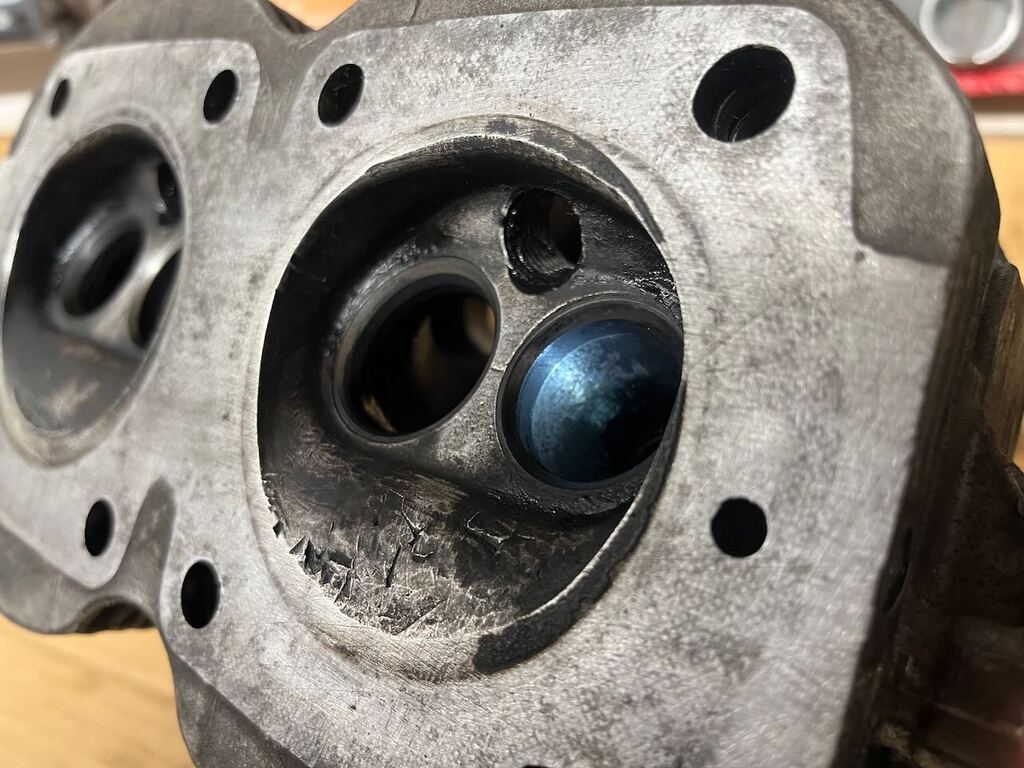
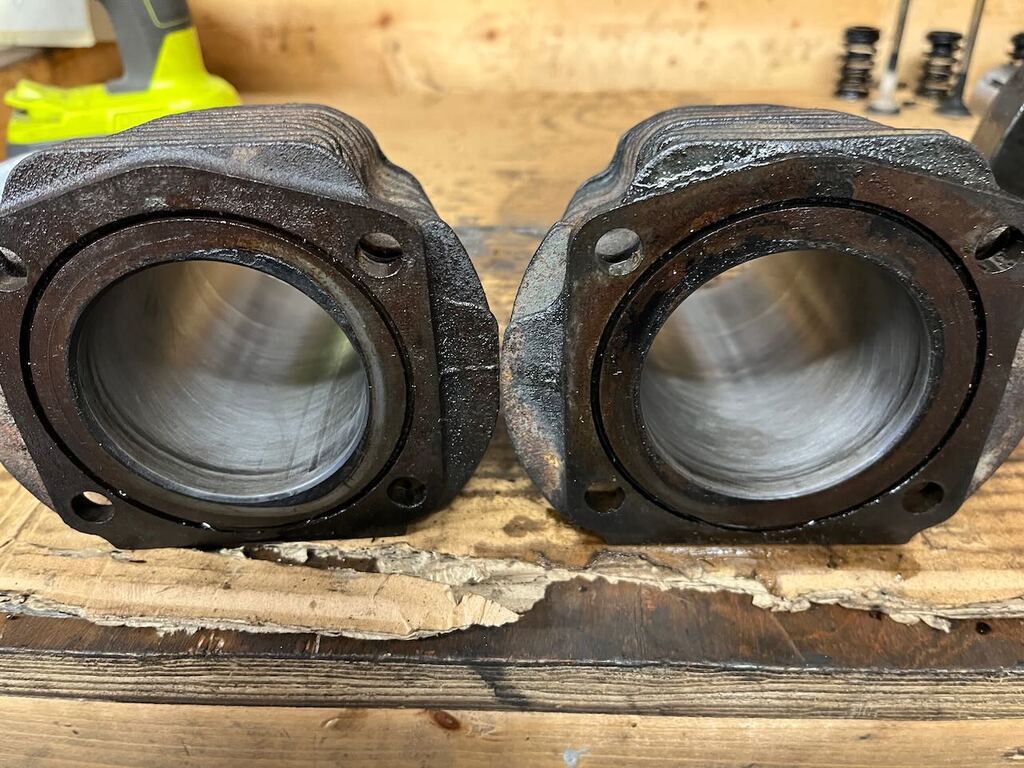
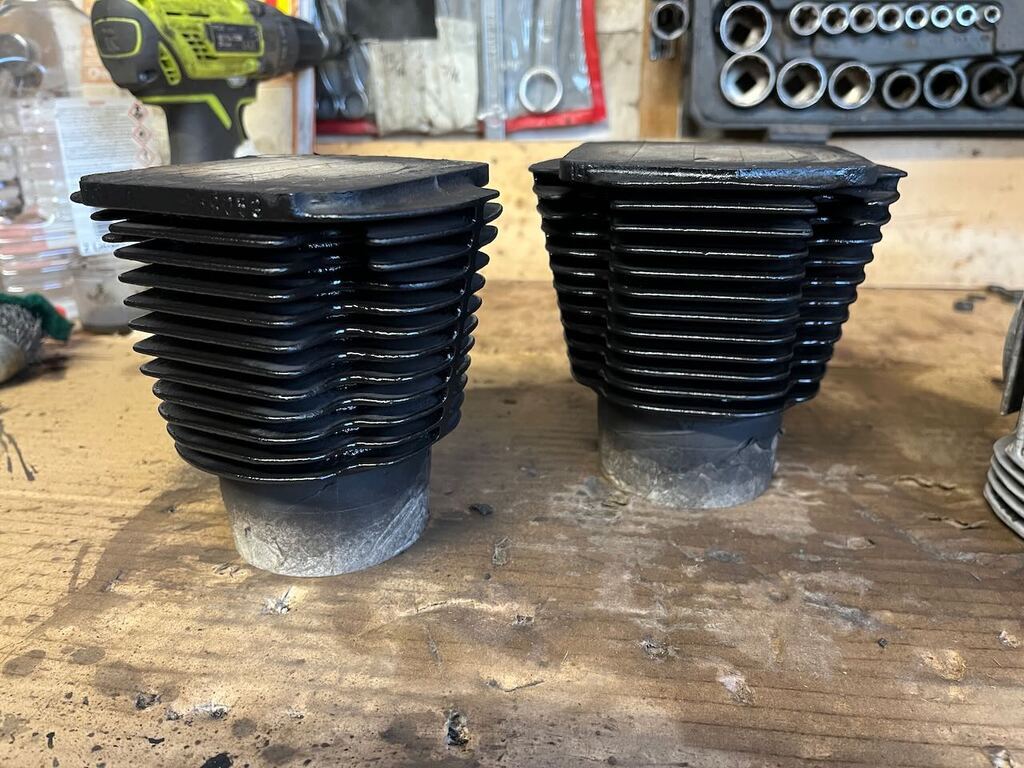
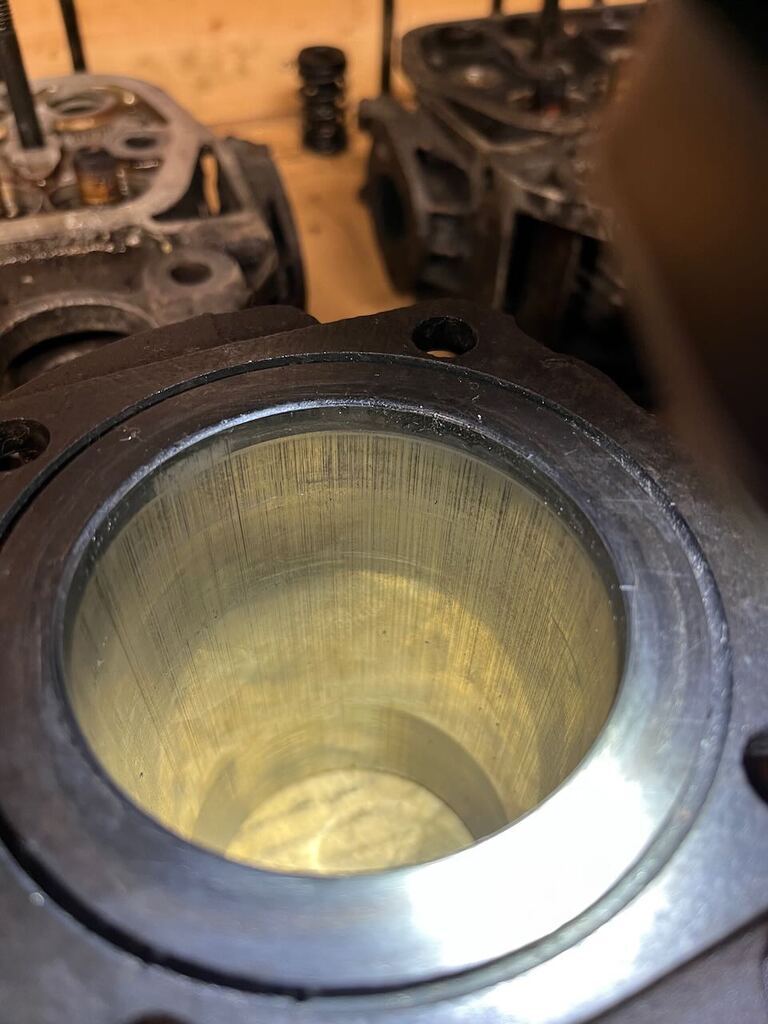
Working our way down the engine. The barrels/bores have got plenty of vertical scratches / scoring, they also appear to be over bored to 68mm, from the standard 67.4mm. So this engine has done some miles and had some previous work I think.
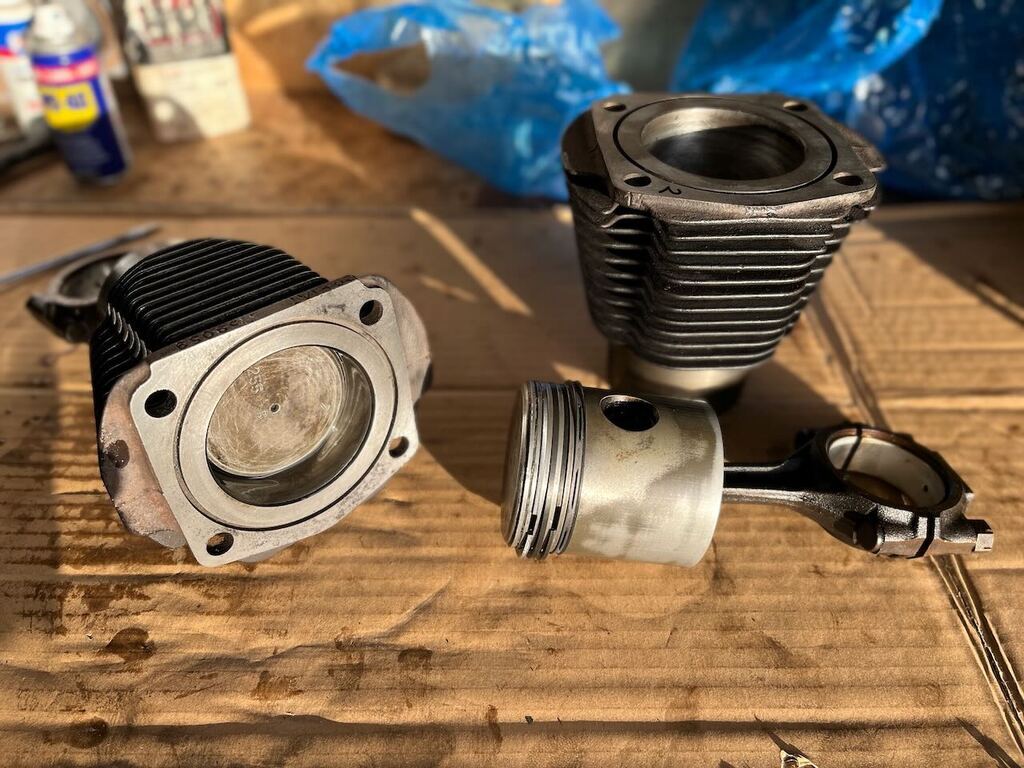
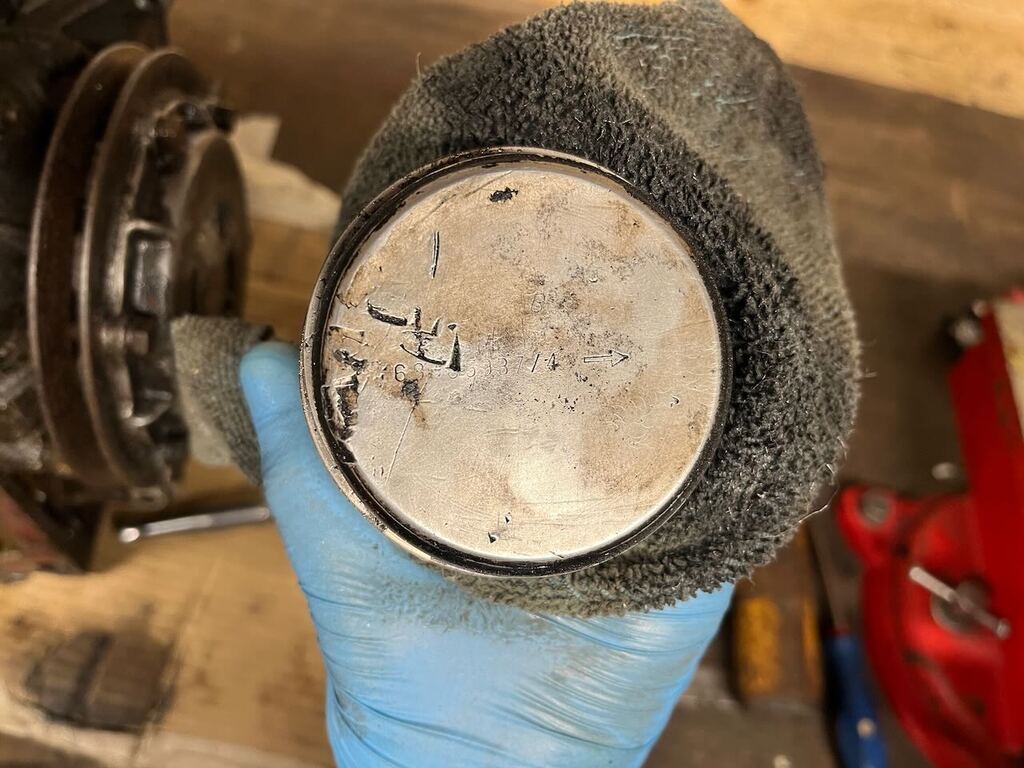
I gave the piston tops a quick clean up and found matching foreign object damage on top of the one piston. A quick check of the top ring gap showed it to be 0.65mm, which is past the 0.5mm suggested wear limit in the manual.
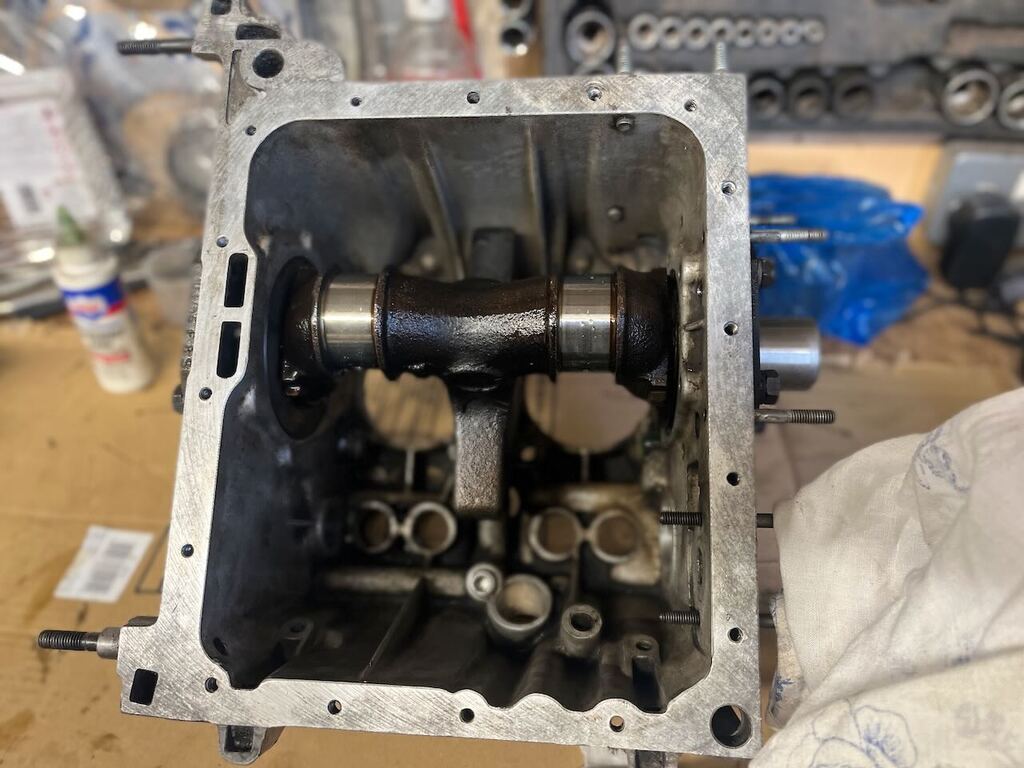
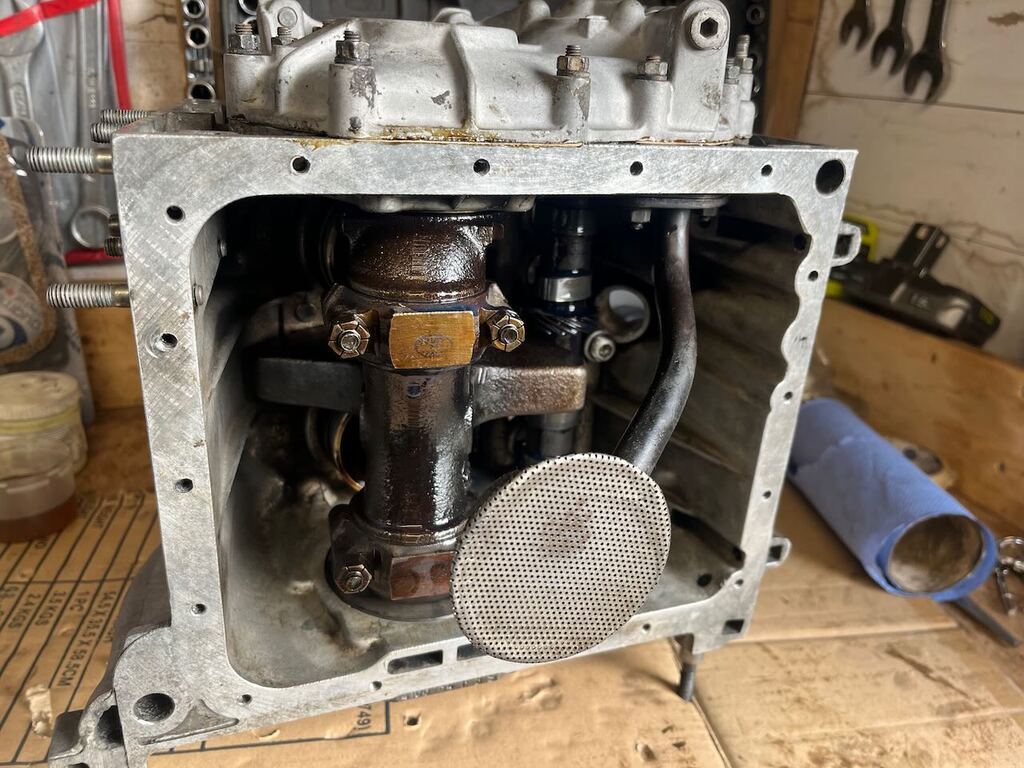
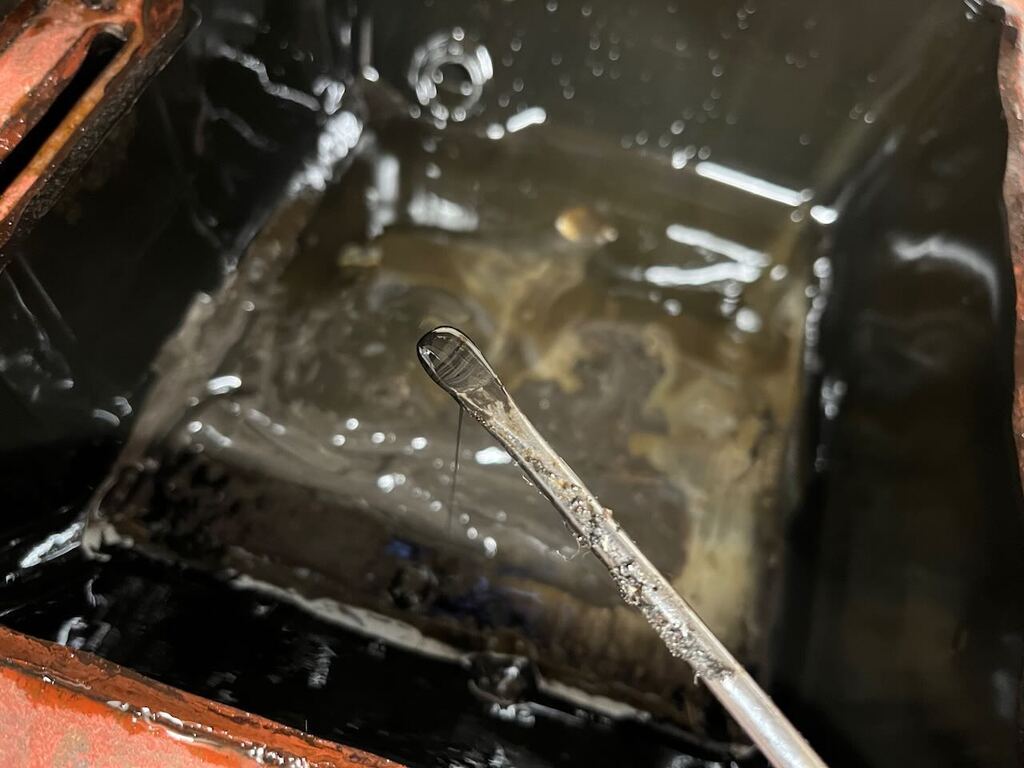
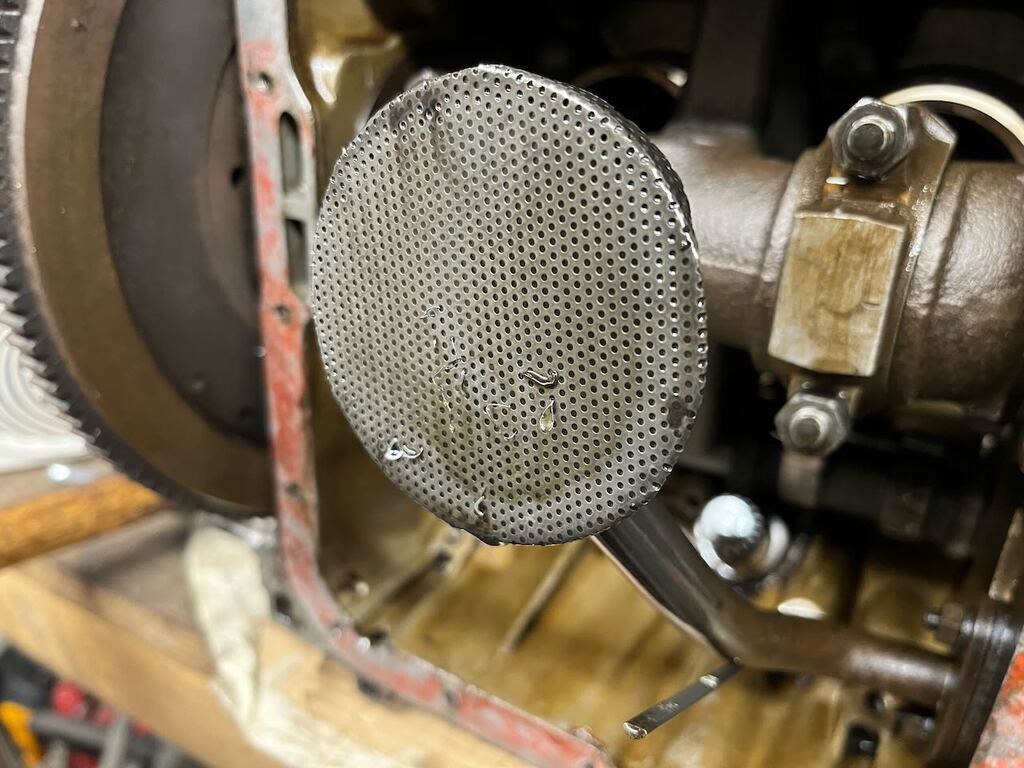
Moving on to the bottom end, pulling the sump I unsurprisingly found a bunch of sludge. this was fairly dirty / gritty at times and there were some little bits of what looked like coarse wire wool, both in the sump and stuck I the bottom of the oil pick up, not promising!
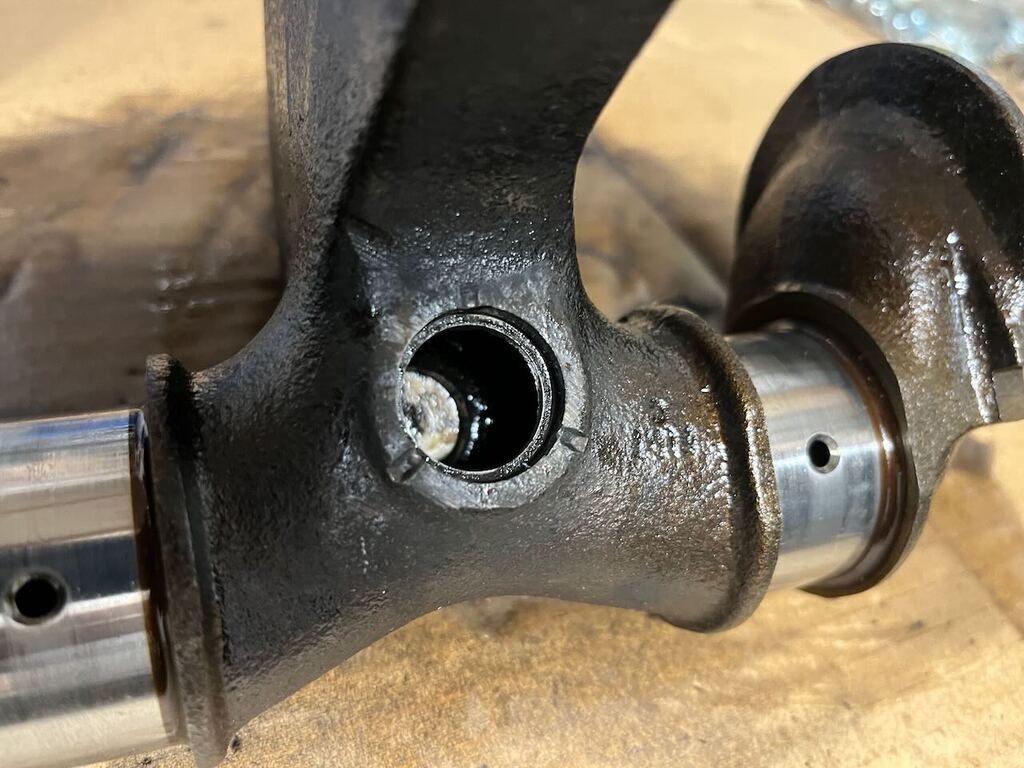
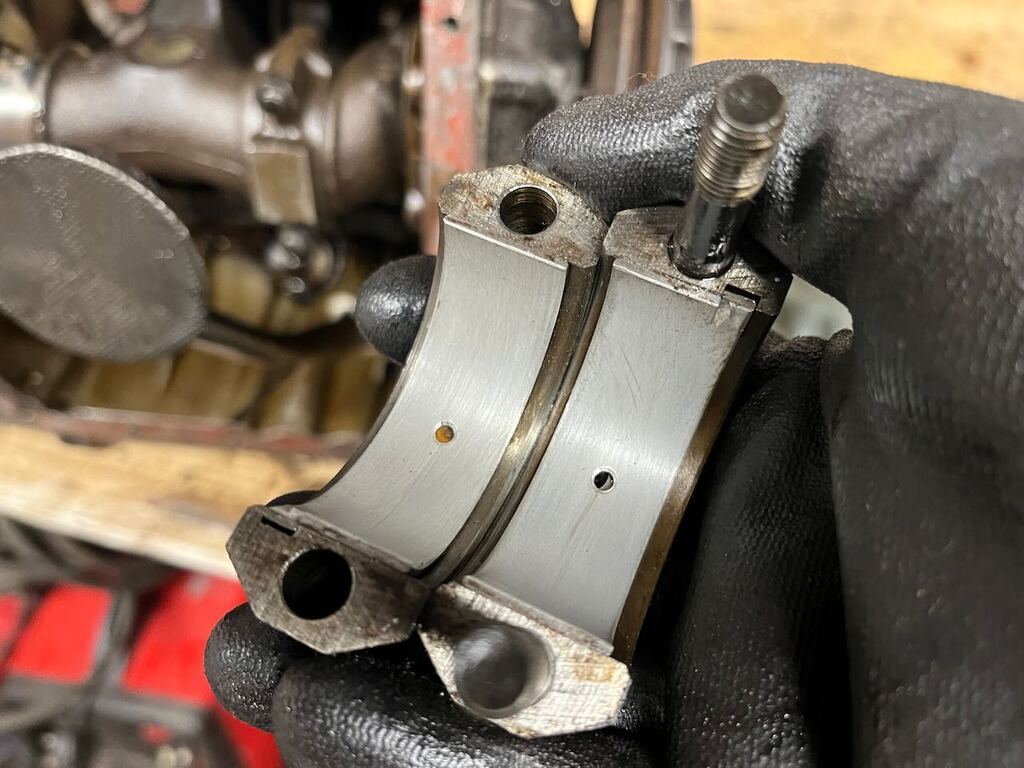
Fearing the worst I pulled the rods and was surprised to find that the rod bearings looked really good (to my amateur eyes, happy to be corrected!)
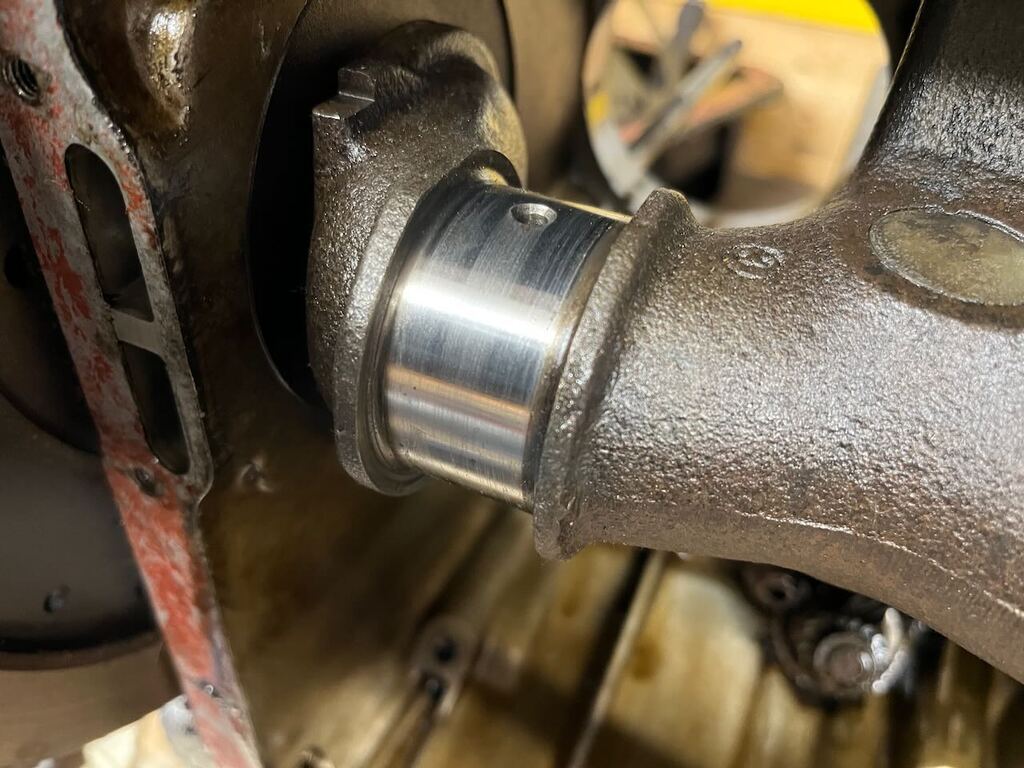
The rod journals on the crank too looked good, better than any of the ones on my Daimler crank did...
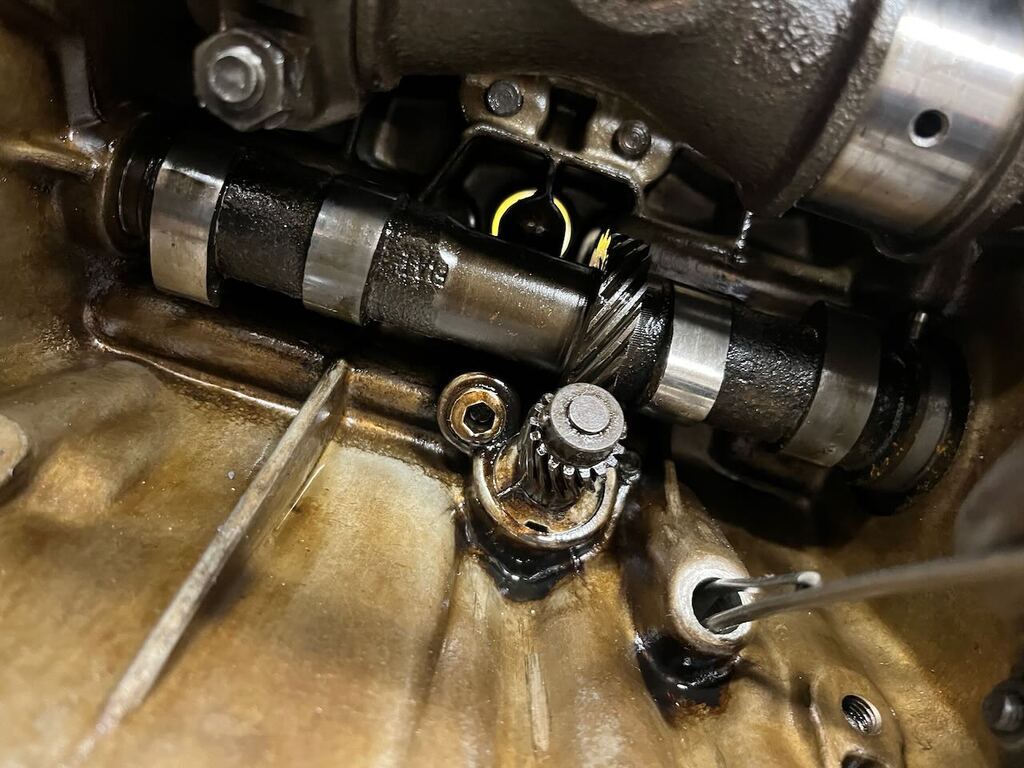
... and I was pleased to see no signs of scoring or damage on the cam.
At this point I thought it worth a pause to collect my thoughts and also to go back and compare these findings to my original engine. So far I'm not seeing anything catastrophically wrong with this engine, but it's looking like its lived a fairly hard life!
So back to the original engine. I had already seen some signs of cracking between the valves in the head (which I now think I was over reacting to) and knew the top piston rings were broken with some scoring in the one bore, fearing the worst this is why I'd bought the replacement engine, but what else would I find?
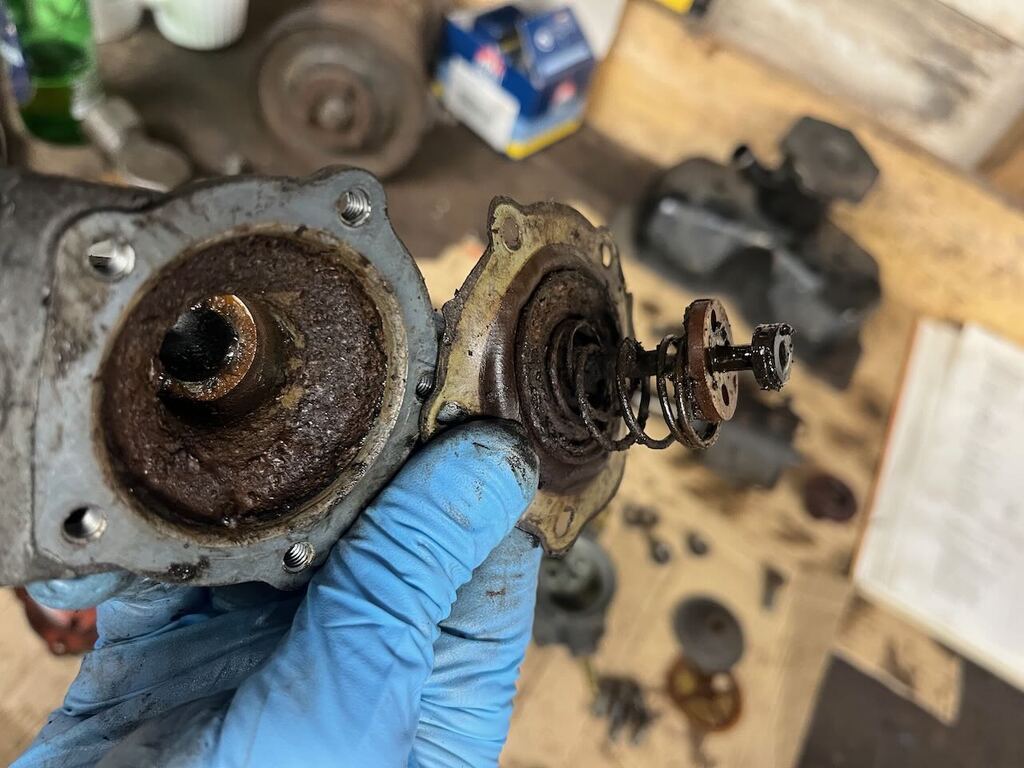
Starting at the top, under the cap in the valve cover I found this disintegrating oil vapour filter. It's filled with wire wool type material... this was missing from the other engine so I presume it had been previously removed due to it falling apart. Another reason for the oily piston if the engine is breathing a lot of oil vapour back into the intake...
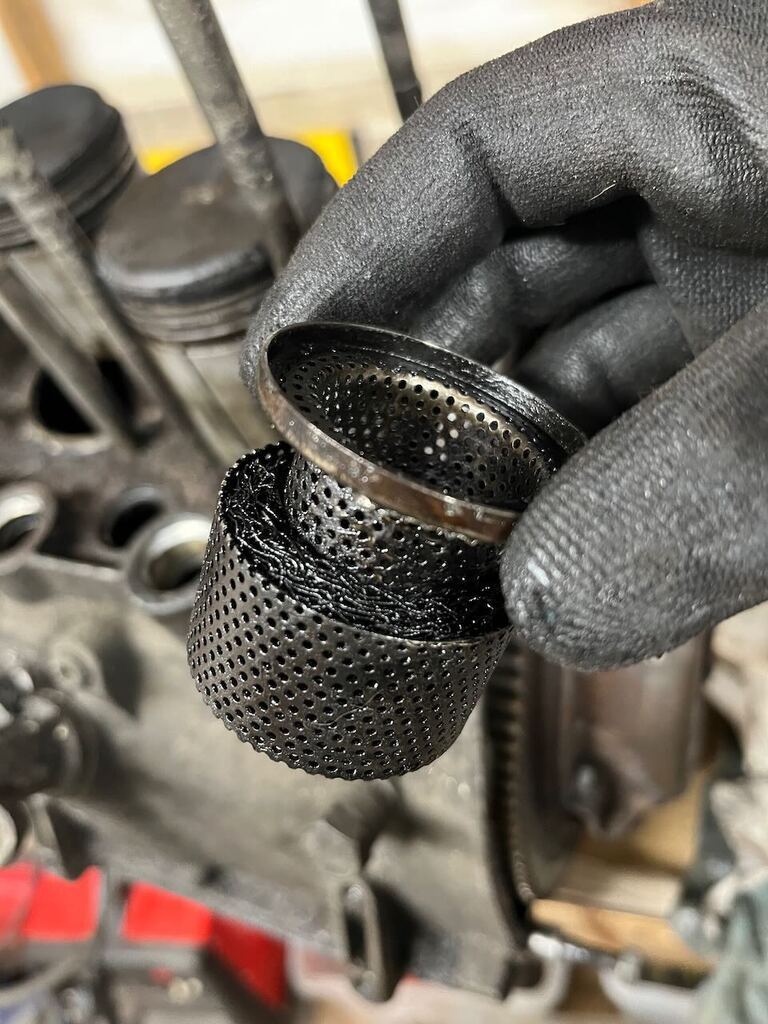
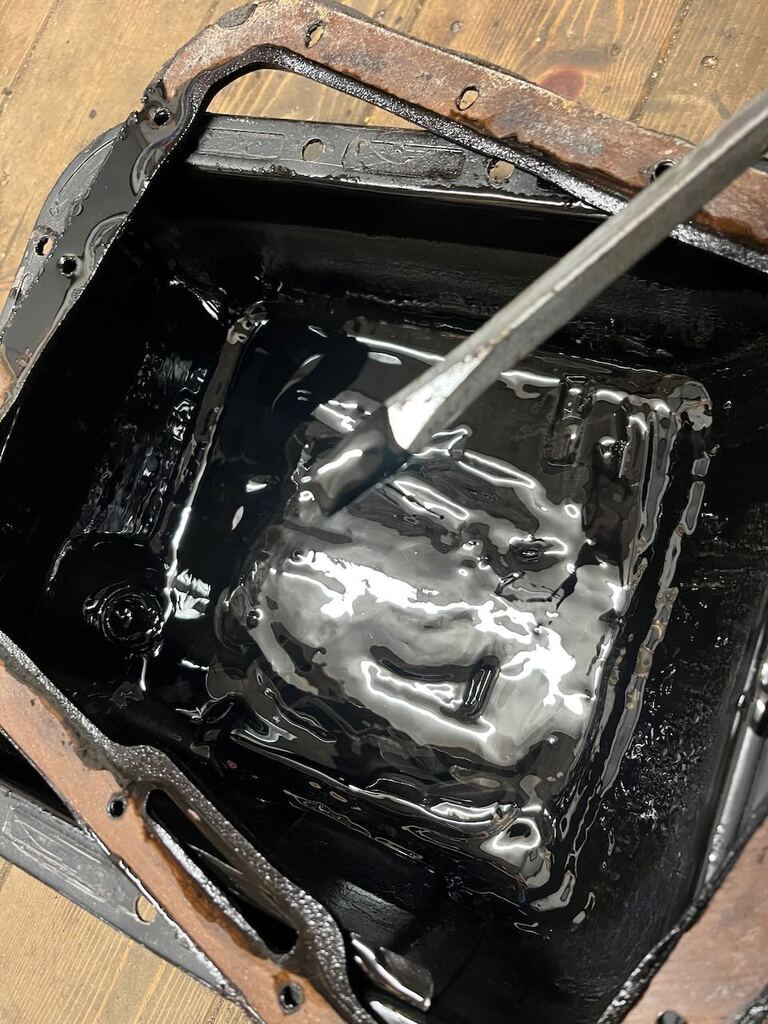
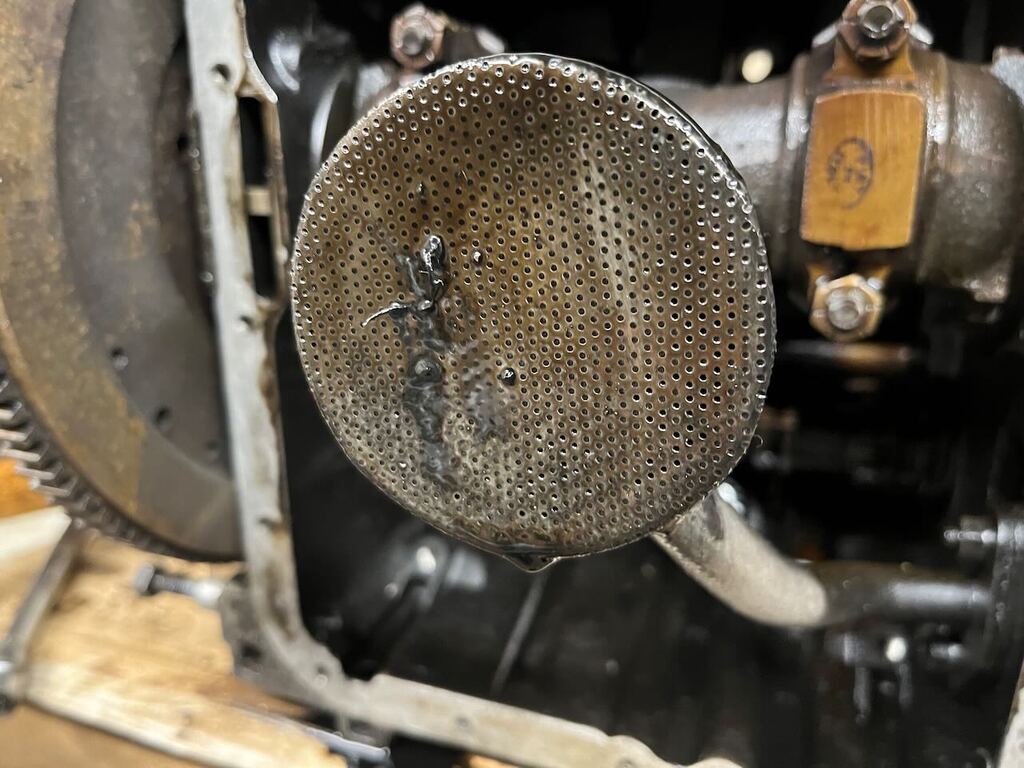
And so checking the sump I also found bits of the same wire wool type material in the pick up. A lot more black sludge in this pan, generally the inside of the engine is covered in a much deeper coating of carbon, but it was smooth and not gritty like the other engine.
Anyway, we were looking at the heads. Comparing the combustion chambers, only one of the chambers in my original head has a crack in it, and again it's small and doesn't extend below the seat.
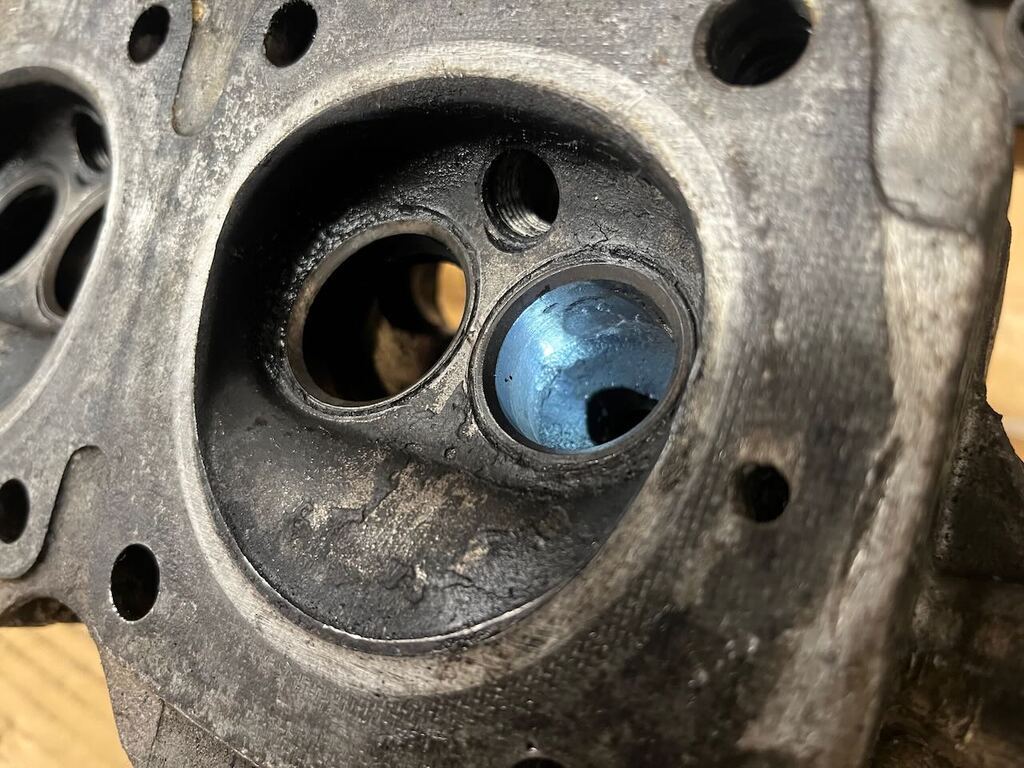
The seats themselves are noticeable less worn, suggesting the other head had had them recut / lapped and done more miles. The valves are still sloppier in the guides than I'd like but they are better than the other head. You can also see more of a lip at the edge of the combustion chamber in this head, suggesting the other has been skimmed in there past (or at least skimmed more than this one?!)
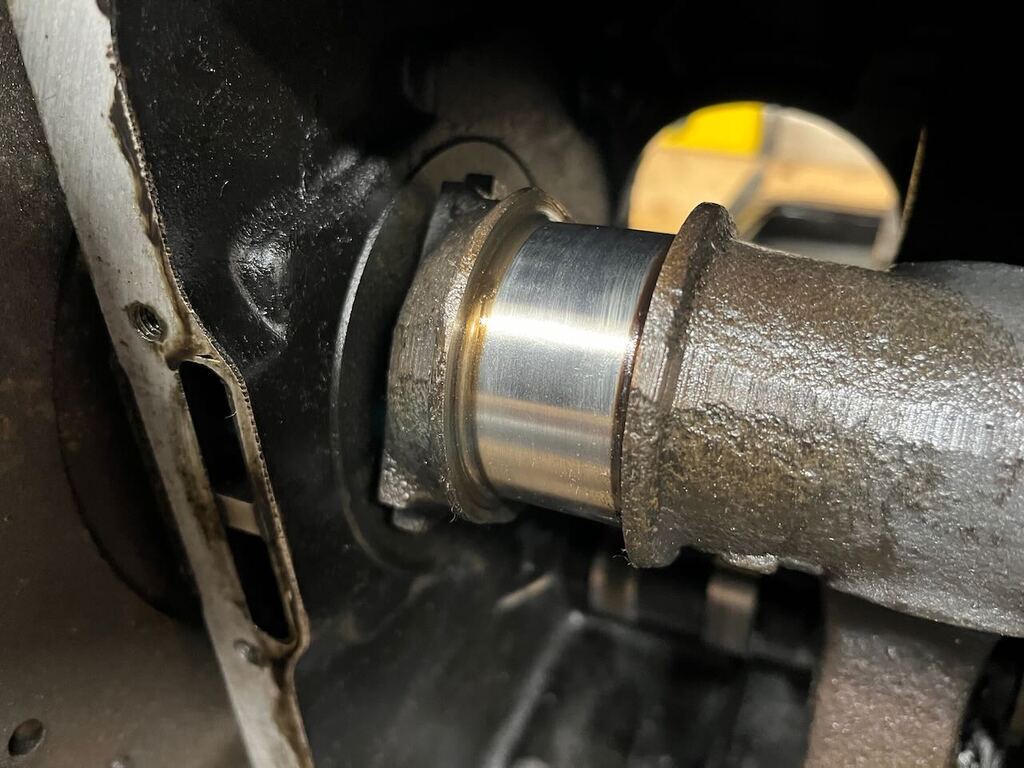
The rod bearings, rod journals and cam looked pretty identical to the other engine, you can see the layer of carbon covering the inner of the engine here in this picture of the rod journal.
Revisiting the bores, they appear to be stock size, and the scoring in the one bores actually doesn't look too bad now I've got the piston out and wiped it down
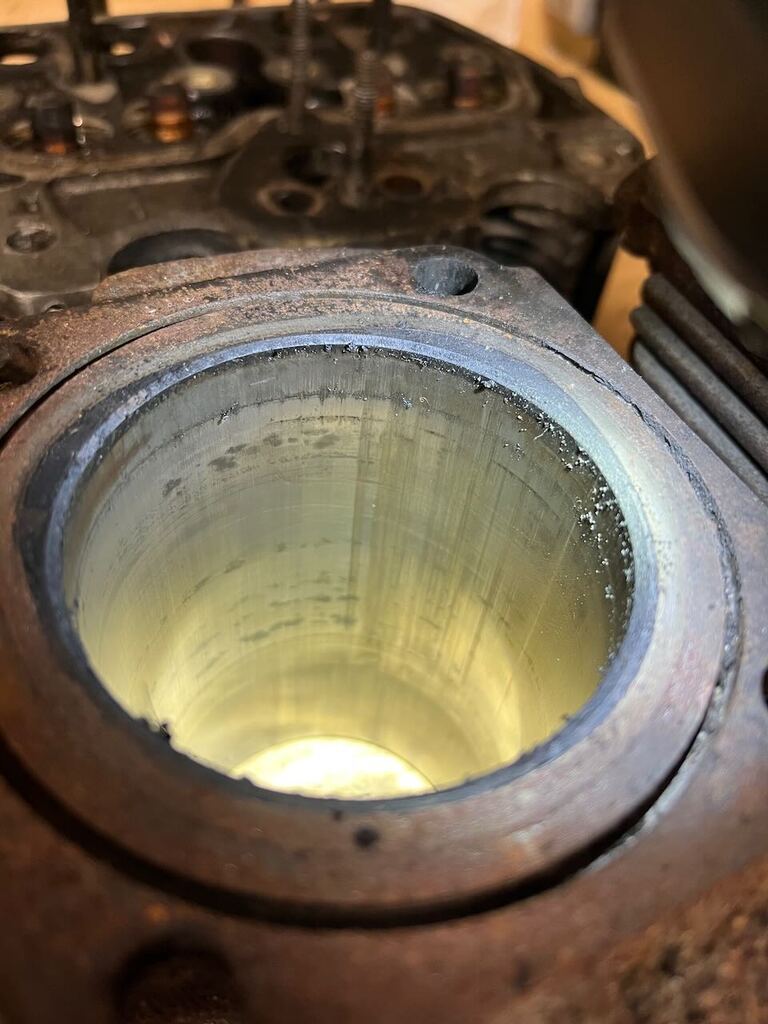
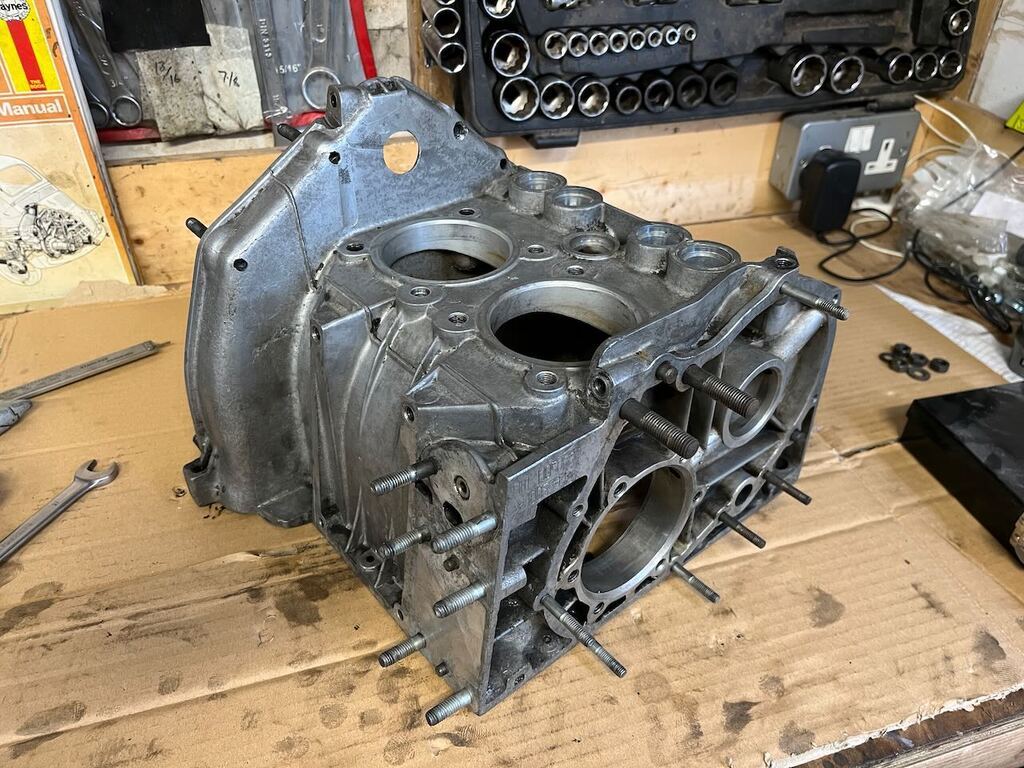
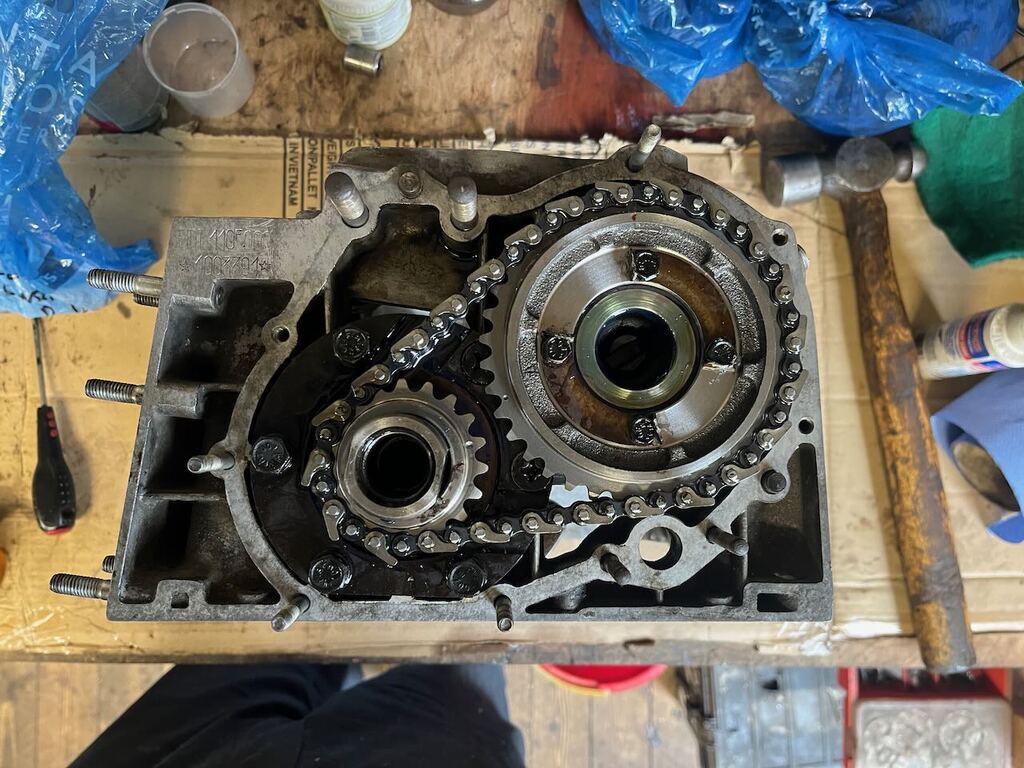
As the original engine is actually looking better now than the replacement, I carried on and completely stripped this down, only really the crank and timing gear left to remove anyway!
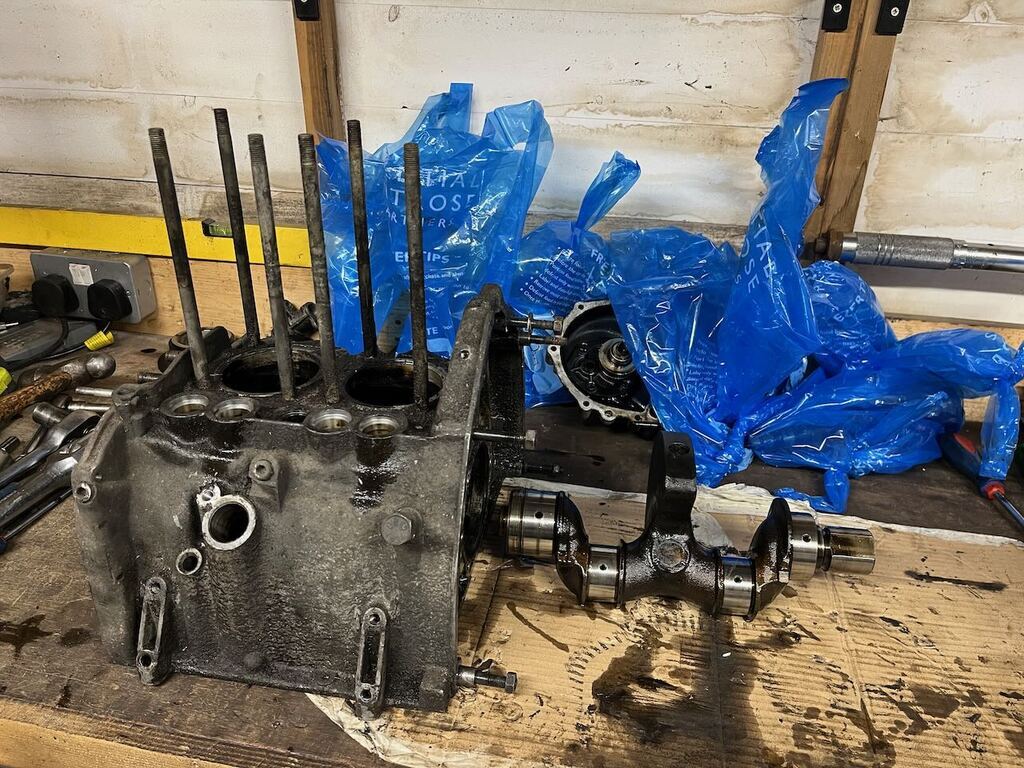
I didn't photograph it, but the timing chain seemed fairly slack to me, so one to replace I think. The rear main bearing and the cam followers both looked great to me, which is good news.
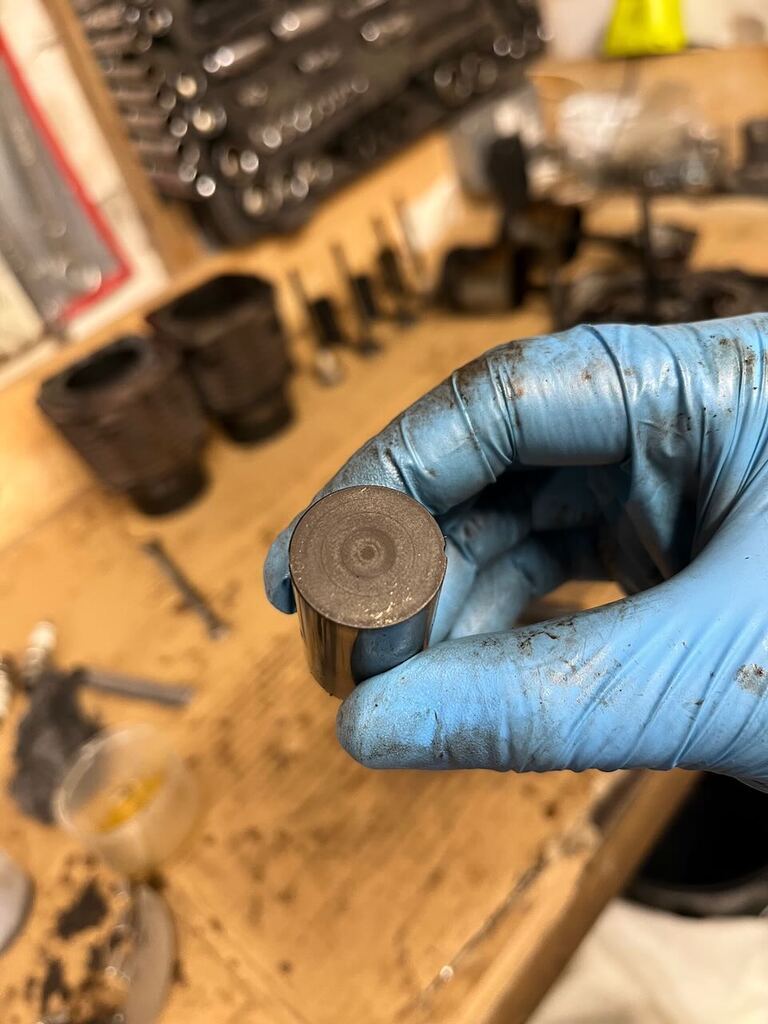
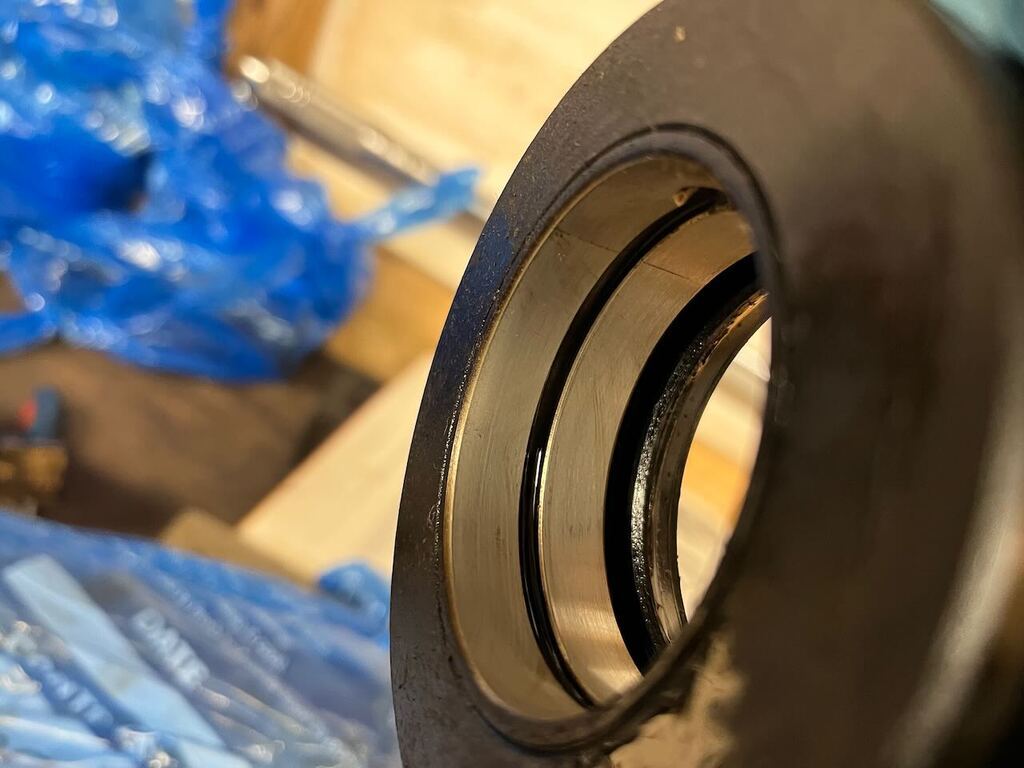
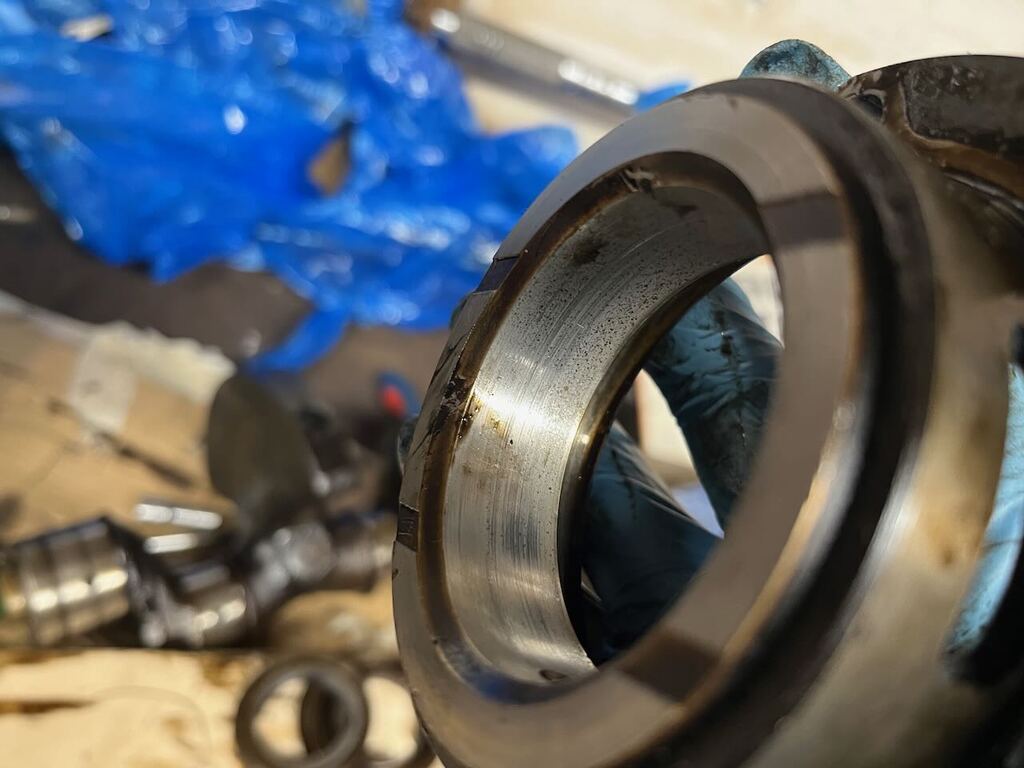
The front main bearing is the only one really showing any signs of wear. It's lightly scored with a fair amount of ingrained dirt. It's worth remembering these engines only have a centrifugal oil filter, so as the first bearing to receive oil from the pump I guess this is the one that bears the brunt of that.
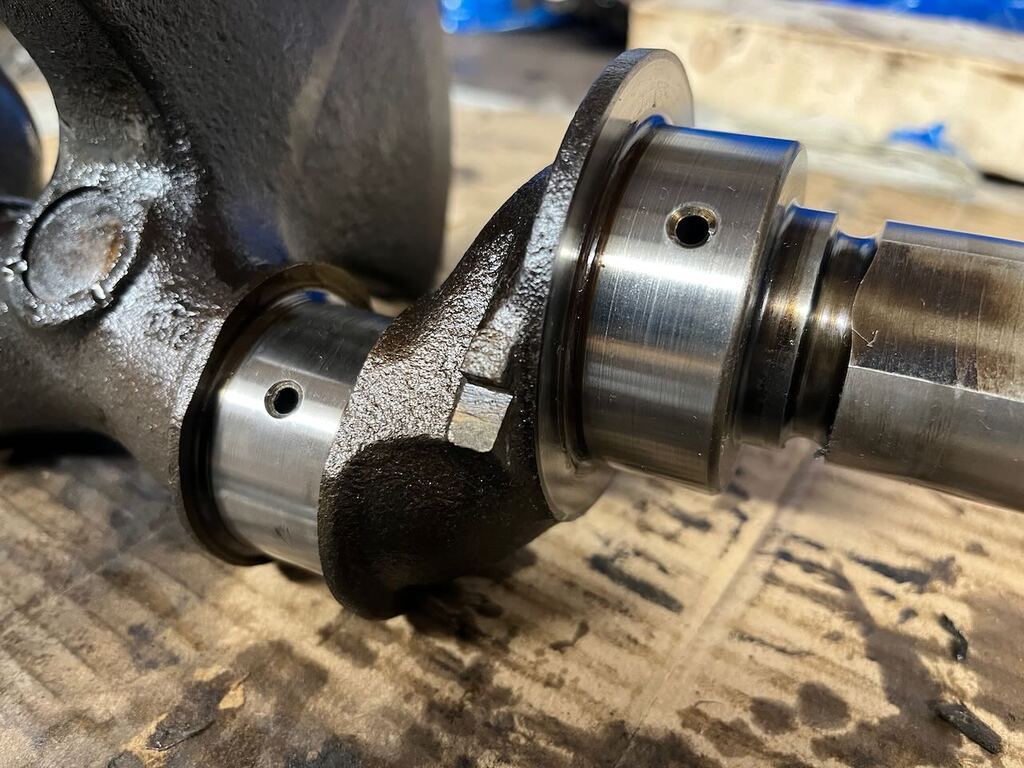
The front main journal on the crank was also lightly scored but again probably less so than all of the journals on my Daimler crank and that's happily done 5,000 miles since I put it back together.
So lots to take in there, but once again good news of nothing really horribly wrong, just some wear and tear.
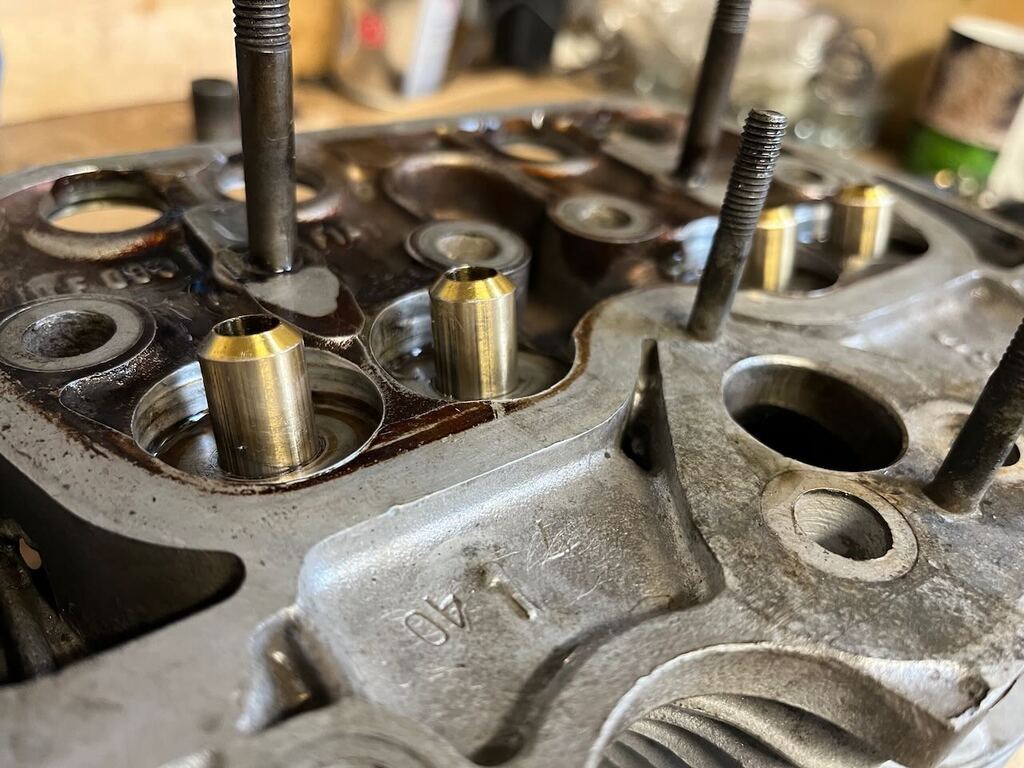
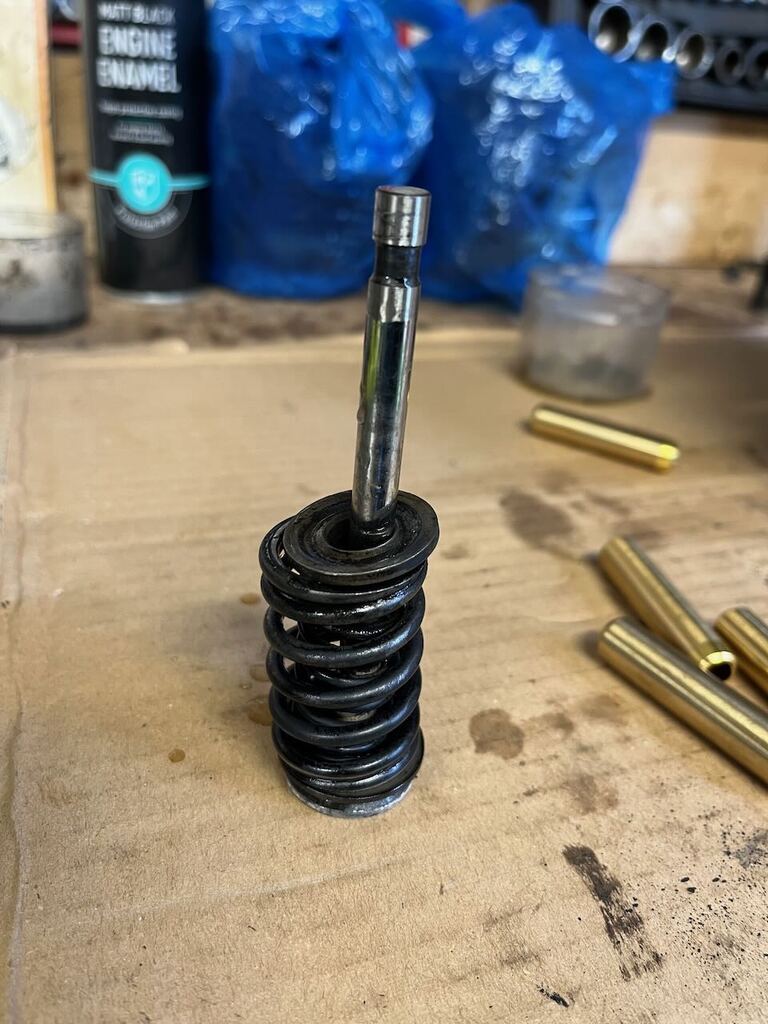
I think my plan will be to do a budget rebuild on my original engine. I will clean everything up and then reassemble it with a minimum of new parts to get me out on the road. It will obviously need a set of rings, I'll give the bores a light DIY hone and a new timing chain & sprocket set makes sense. I'm not sure what to do about the front main bearing, my first step will be to finish stripping the new engine incase that bearing is better but I'm not holding out any hopes? Otherwise I could put a new one in, which is probably the sensible non cheapskate move, or just clean this one up and say 'it's probably been like this for year's it'll be fine'. I’m also on the fence about changing the valve guides, I’ve seen some videos about changing them at home, so may give that a try…
Either way, I'm going to try and not get carried away and just focus on getting an engine together that will get me out of the road this summer and then I have got a complete spare engine here in need to rebuild which can get the full works and performance improvements for the future.
I gave to say it’s been a pleasure working on this little engine. It reminds me of working on a motorbike engine, so much easier than dealing with the bulk and weight of a ‘normal’ car engine, certainly so than the v8 I last rebuilt!
So here is the 'new' engine, I bought last year. It was 'a good runner' when removed but you never know how these things are stored, and it was under a tarp in a garden when I picked it up...

Let's start by pulling the head and looking for any obvious problems.


I think we've got a bit of an oil burner here, especially on the cylinder nearest camera. Not a great start. Disassembling the head I found that there were no valve stem seal o-rings, along with a reasonable amount of valve guide wear. So that could well the be culprit of the oiling.

Flipping the head over and we can see that one of the cylinders has eaten something at some point as theres some good dents / marks in the combustion chamber. There is also signs of minor cracking between the valves in both chambers, which I've read is common on these engines to the point where most cylinder heads would have some level of it if removed and inspected. I gather some people are concerned that the cracking can cause the valve seats the loosen and drop out, with obvious catastrophic results, and if the cracking gets bad it will go deeper than the valve seat and allow air to leak between the intake and exhaust ports. Comparing this to images online, this is very minor cracking, and having cleaned the carbon off the port just behind the valve seat I can confirm that the cracks do not extend past the seats.

Working our way down the engine. The barrels/bores have got plenty of vertical scratches / scoring, they also appear to be over bored to 68mm, from the standard 67.4mm. So this engine has done some miles and had some previous work I think.

I gave the piston tops a quick clean up and found matching foreign object damage on top of the one piston. A quick check of the top ring gap showed it to be 0.65mm, which is past the 0.5mm suggested wear limit in the manual.

Moving on to the bottom end, pulling the sump I unsurprisingly found a bunch of sludge. this was fairly dirty / gritty at times and there were some little bits of what looked like coarse wire wool, both in the sump and stuck I the bottom of the oil pick up, not promising!


Fearing the worst I pulled the rods and was surprised to find that the rod bearings looked really good (to my amateur eyes, happy to be corrected!)

The rod journals on the crank too looked good, better than any of the ones on my Daimler crank did...

... and I was pleased to see no signs of scoring or damage on the cam.

At this point I thought it worth a pause to collect my thoughts and also to go back and compare these findings to my original engine. So far I'm not seeing anything catastrophically wrong with this engine, but it's looking like its lived a fairly hard life!
So back to the original engine. I had already seen some signs of cracking between the valves in the head (which I now think I was over reacting to) and knew the top piston rings were broken with some scoring in the one bore, fearing the worst this is why I'd bought the replacement engine, but what else would I find?
Starting at the top, under the cap in the valve cover I found this disintegrating oil vapour filter. It's filled with wire wool type material... this was missing from the other engine so I presume it had been previously removed due to it falling apart. Another reason for the oily piston if the engine is breathing a lot of oil vapour back into the intake...

And so checking the sump I also found bits of the same wire wool type material in the pick up. A lot more black sludge in this pan, generally the inside of the engine is covered in a much deeper coating of carbon, but it was smooth and not gritty like the other engine.


Anyway, we were looking at the heads. Comparing the combustion chambers, only one of the chambers in my original head has a crack in it, and again it's small and doesn't extend below the seat.

The seats themselves are noticeable less worn, suggesting the other head had had them recut / lapped and done more miles. The valves are still sloppier in the guides than I'd like but they are better than the other head. You can also see more of a lip at the edge of the combustion chamber in this head, suggesting the other has been skimmed in there past (or at least skimmed more than this one?!)
The rod bearings, rod journals and cam looked pretty identical to the other engine, you can see the layer of carbon covering the inner of the engine here in this picture of the rod journal.

Revisiting the bores, they appear to be stock size, and the scoring in the one bores actually doesn't look too bad now I've got the piston out and wiped it down

As the original engine is actually looking better now than the replacement, I carried on and completely stripped this down, only really the crank and timing gear left to remove anyway!

I didn't photograph it, but the timing chain seemed fairly slack to me, so one to replace I think. The rear main bearing and the cam followers both looked great to me, which is good news.


The front main bearing is the only one really showing any signs of wear. It's lightly scored with a fair amount of ingrained dirt. It's worth remembering these engines only have a centrifugal oil filter, so as the first bearing to receive oil from the pump I guess this is the one that bears the brunt of that.

The front main journal on the crank was also lightly scored but again probably less so than all of the journals on my Daimler crank and that's happily done 5,000 miles since I put it back together.

So lots to take in there, but once again good news of nothing really horribly wrong, just some wear and tear.
I think my plan will be to do a budget rebuild on my original engine. I will clean everything up and then reassemble it with a minimum of new parts to get me out on the road. It will obviously need a set of rings, I'll give the bores a light DIY hone and a new timing chain & sprocket set makes sense. I'm not sure what to do about the front main bearing, my first step will be to finish stripping the new engine incase that bearing is better but I'm not holding out any hopes? Otherwise I could put a new one in, which is probably the sensible non cheapskate move, or just clean this one up and say 'it's probably been like this for year's it'll be fine'. I’m also on the fence about changing the valve guides, I’ve seen some videos about changing them at home, so may give that a try…
Either way, I'm going to try and not get carried away and just focus on getting an engine together that will get me out of the road this summer and then I have got a complete spare engine here in need to rebuild which can get the full works and performance improvements for the future.
I gave to say it’s been a pleasure working on this little engine. It reminds me of working on a motorbike engine, so much easier than dealing with the bulk and weight of a ‘normal’ car engine, certainly so than the v8 I last rebuilt!


