|
|
|
Oct 25, 2022 19:33:24 GMT
|
|
Yes, thank you for that. I too have tilted the radiator on other cars and it seems to work fine. In this case, I'm not going for a tapering nose and having the radiator standing vertically won't be a problem.
Like you, I have, on a number of cars, had no choice but to fit radiators undersized for the job because they were the largest I could get in. Modern fuels run hotter and make the problem worse. But in this case, I have sufficient room to be able to have the luxury of the correct radiator for the job with loads of capacity in hand. How nice will that be never having to worry about overheating when stationary in a traffic jam in sweltering temperatures.
|
| |
|
|
|
|
|
|
|
Oct 25, 2022 19:59:07 GMT
|
I had a similar thought with borrowing from a manufacturer for the same reason that they do a lot of testing, have good reserve capacity. I also considered that obtaining spare parts like replacement radiators would be cheap and easy. I took mine from a BMW MINI. The cooling fan is very shallow. Here is sizing things up:  This is how much space there is[n't] - I had to modify the front engine mount a lot.  All sort-of fits together  |
| |
|
|
|
|
|
Oct 25, 2022 20:25:39 GMT
|
|
I'm loving the progress on the body.
That cooling pack will be sized to drag around 3 tons of focus and trailer up an alpine pass in 40 something degrees celcius ambient, if you want something smaller a Puma one will be more than enough.
|
| |
|
|
|
|
|
|
|
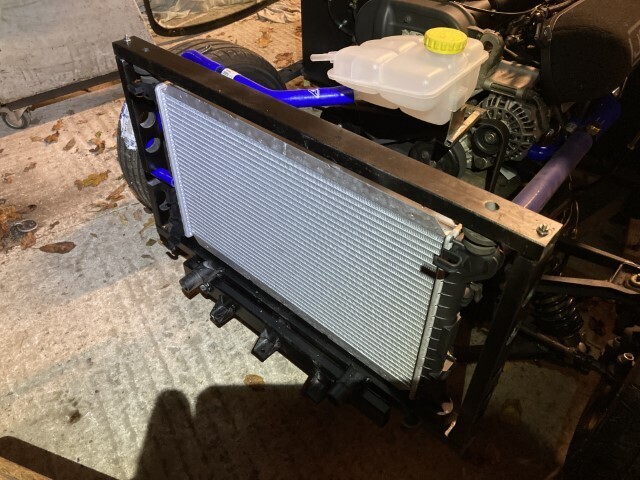
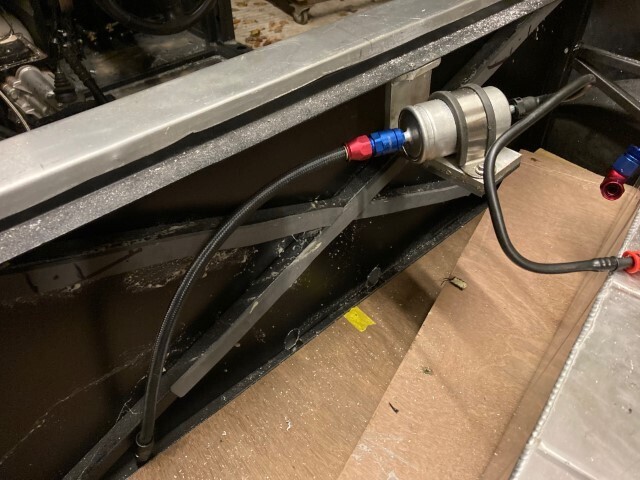
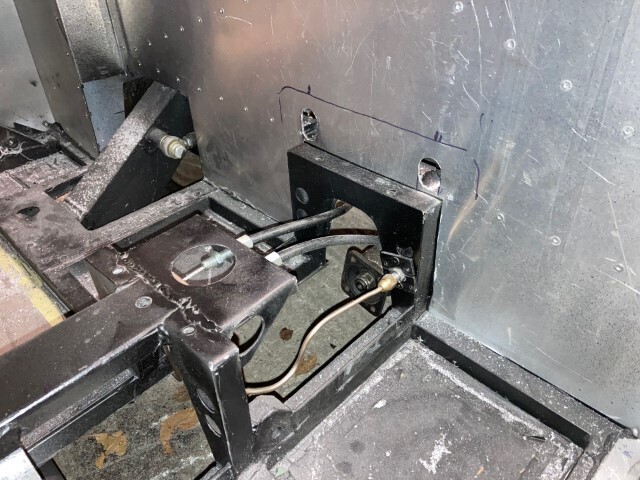
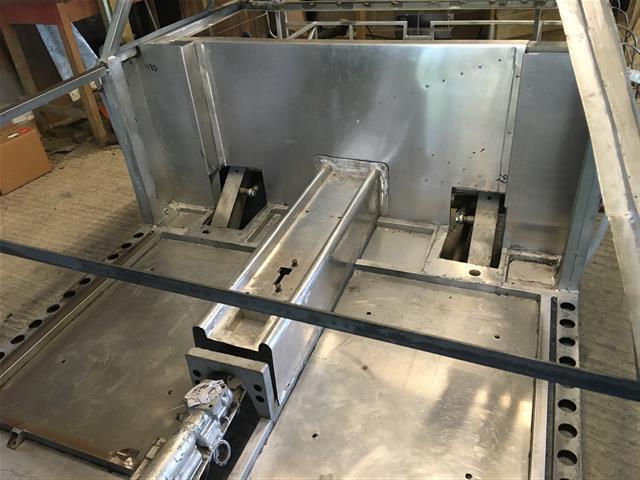
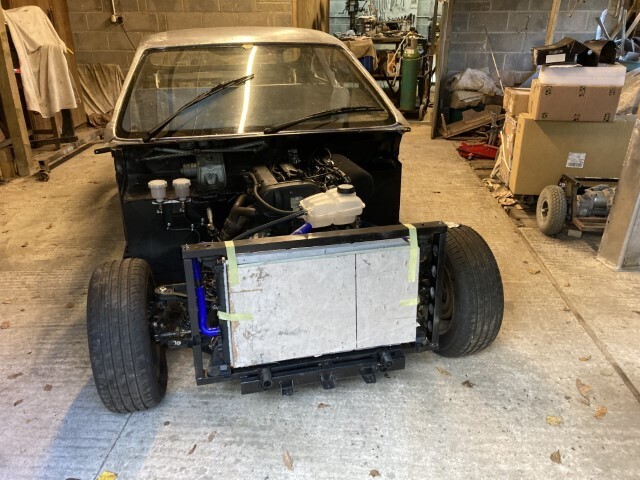
Although there is an asymmetric problem with the roof which will need to be dealt with, I'm leaving that for now to concentrate on getting the engine started. So the first job is the plumbing. The fuel lines are braided PTFE lined using AN fittings. Although not essential, I have purchased the assembly tools which are making life much easier. So far, the fuel rail and the regulator are piped up. 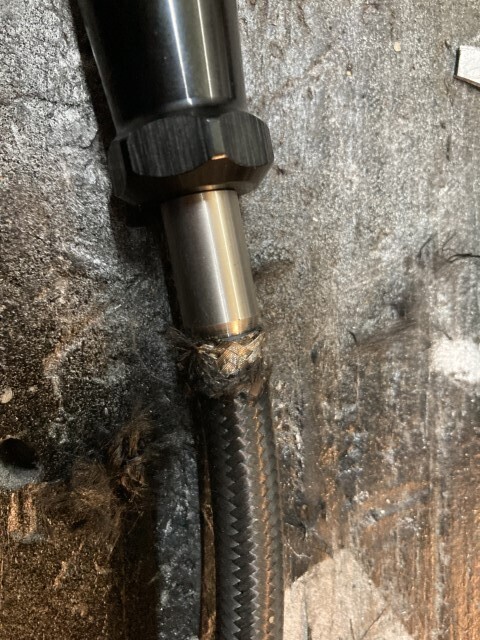 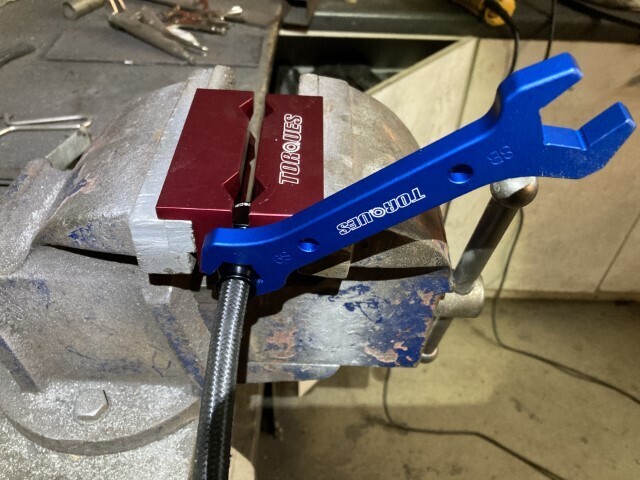 And the airbox arrived from Jenvey, actually made by Pipercross. 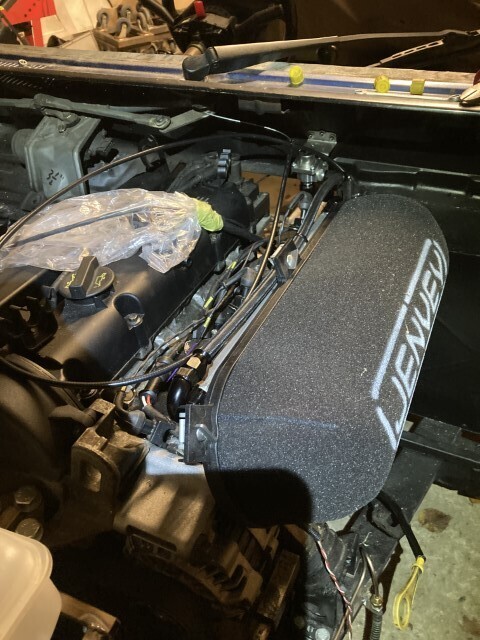 The radiator mounting frame is now complete. 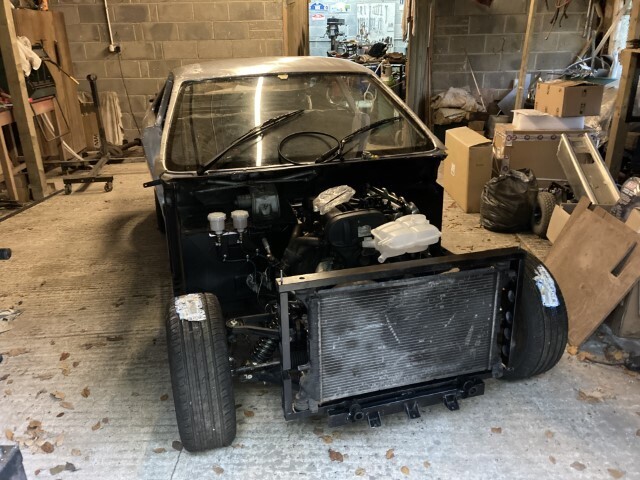 |
| |
|
|
|
|
|
|
|
|
|
|
|
|
Build threads like this remind me why Retro Rides is somewhere I find myself coming back to, I’ve just spent a fair chunk of time reading through the progress thus far.
I didn’t know what to expect when reading the title, I certainly wasn’t expecting the level of craftsmanship that’s on display here. The form of the car so far is evocative of those low volume obscure sports cars from the 60s, whilst looking at the curvature of the roof I got Zagato vibes.
This will certainly be a thread that I’ll keep an eye on.
|
| |
|
|
|
|
|
|
|
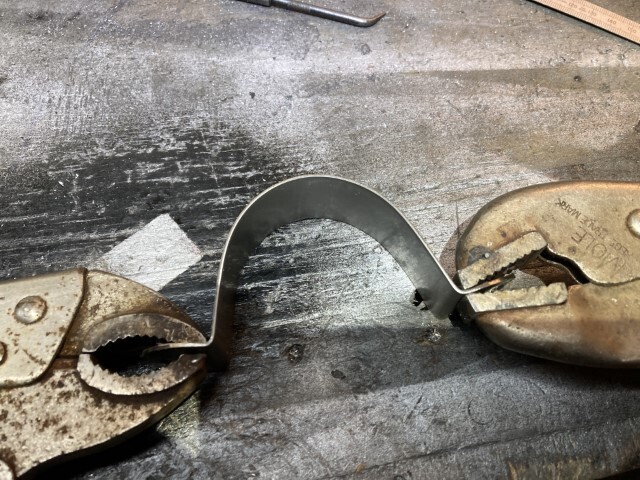
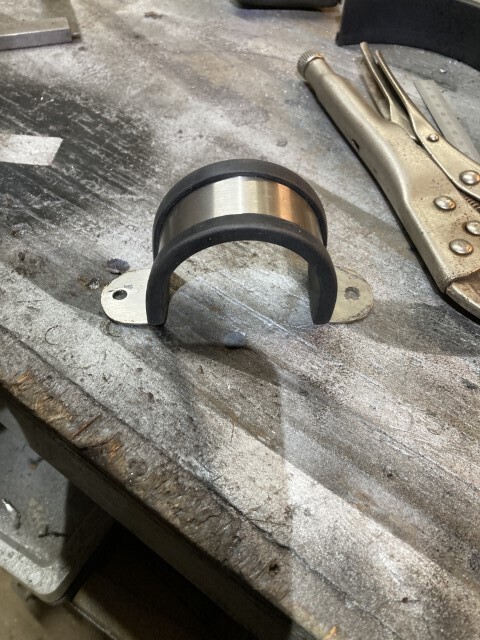
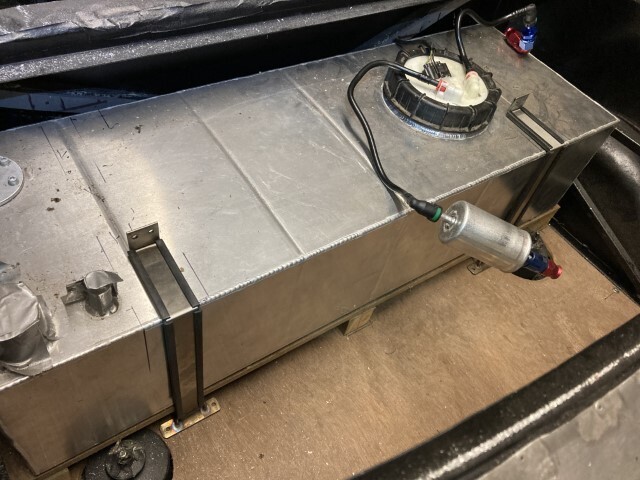
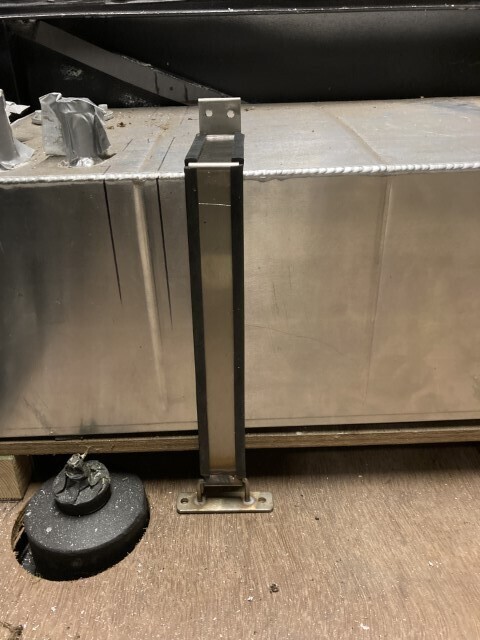
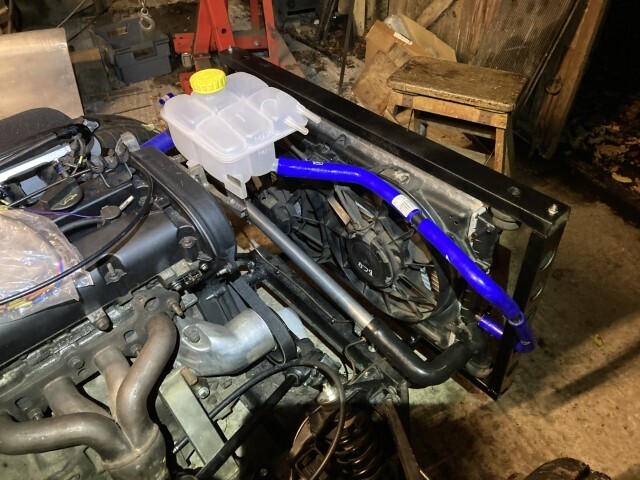
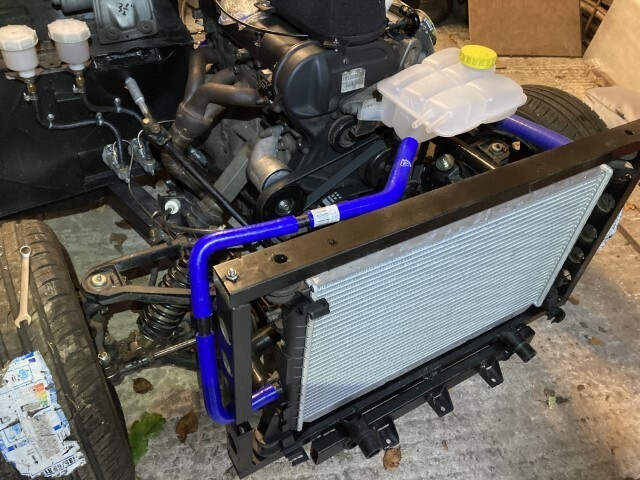
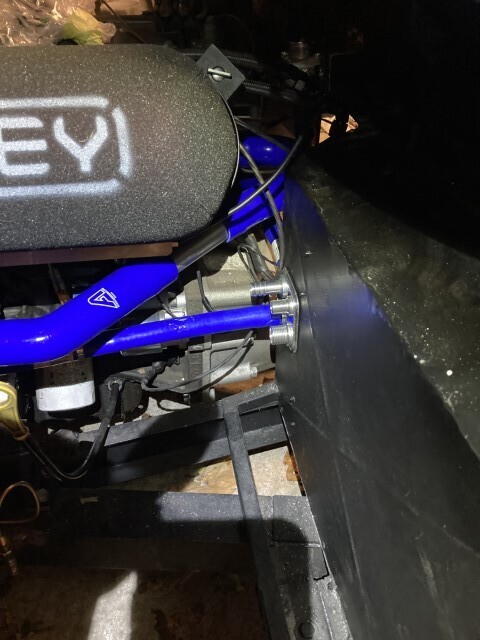
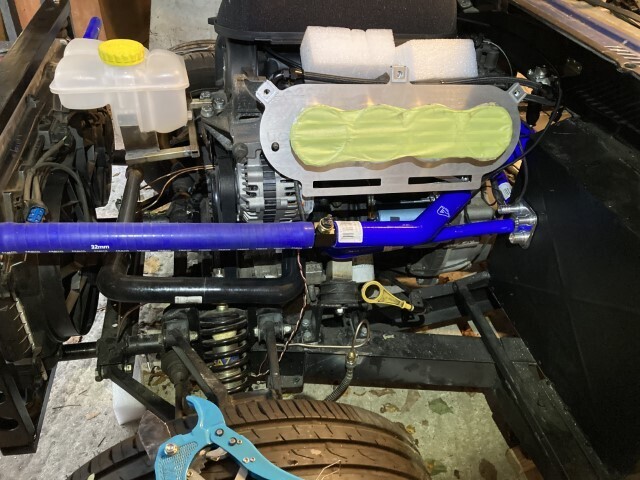
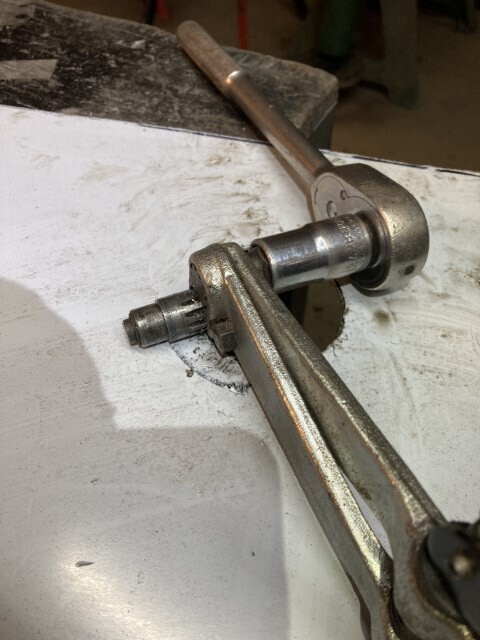
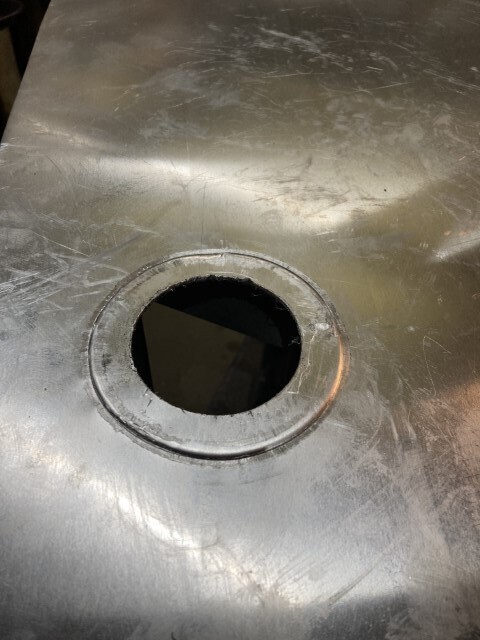
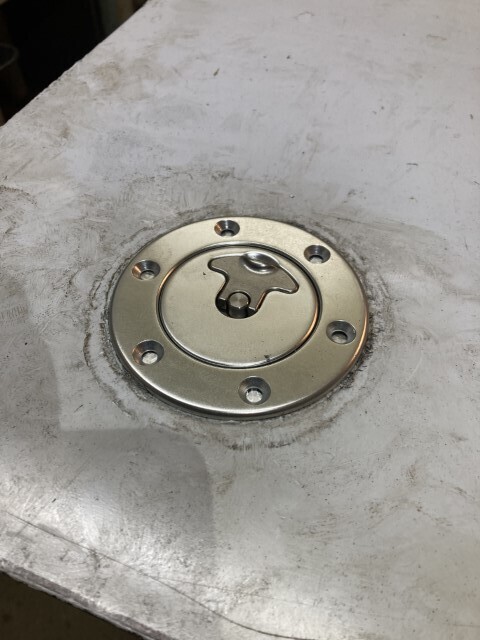
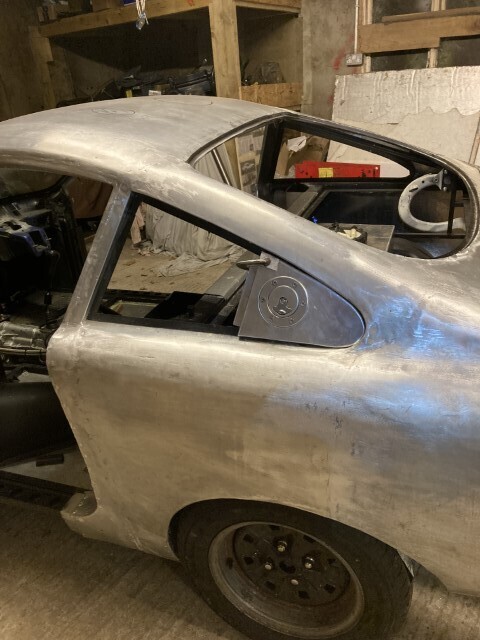
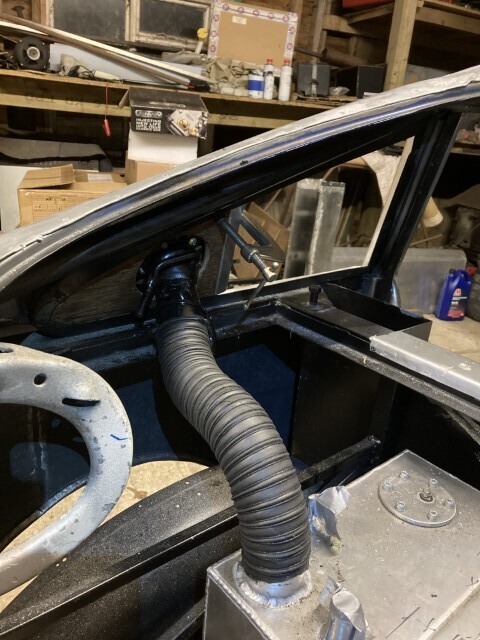
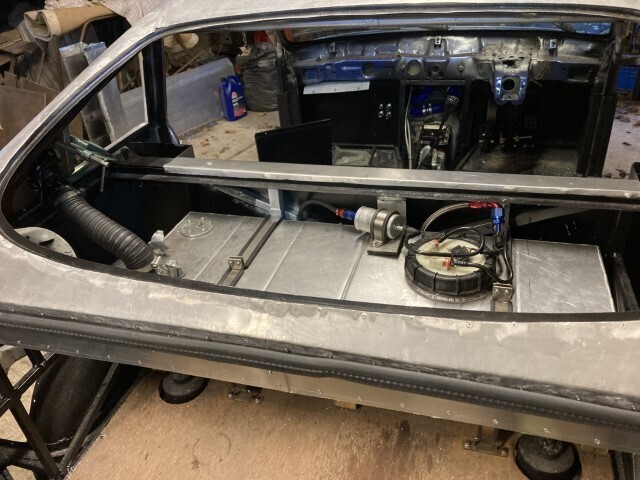
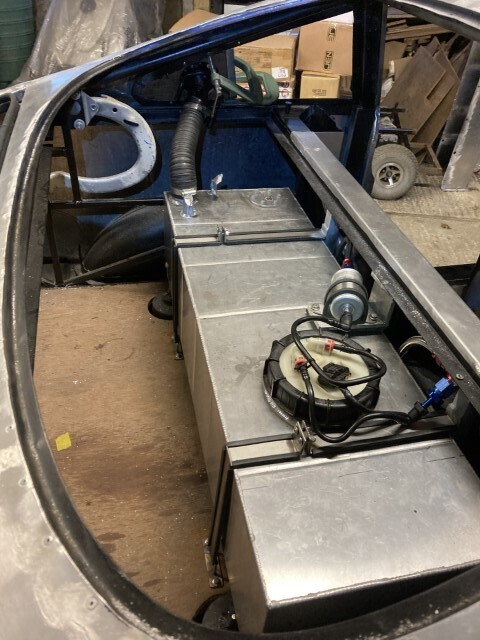
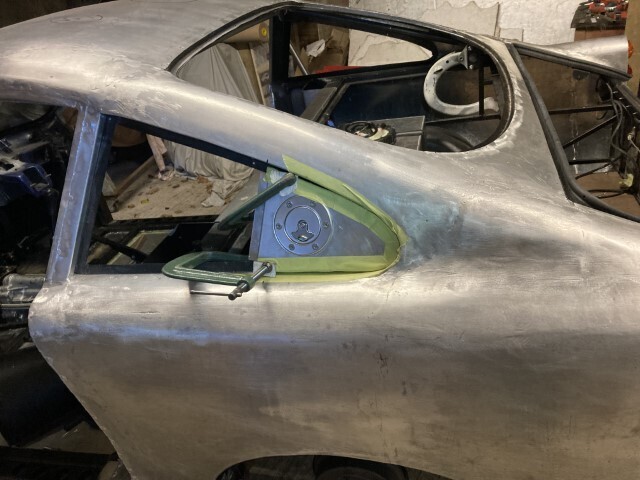
That's really kind of you, thank you. You have no idea what a boost a few words of encouragement give and I really appreciate the time so many folk have taken to respond to my posts to push the project forward. I'm still working on the plumbing, both the coolant and the fuel pipes and the job is nearly complete now. I have found Auto Silicone hoses and Torques UK very helpful and good to deal with. The clips just need to be fitted to the coolant pipes but whilst waiting for them I've provided supports for the hoses where needed. 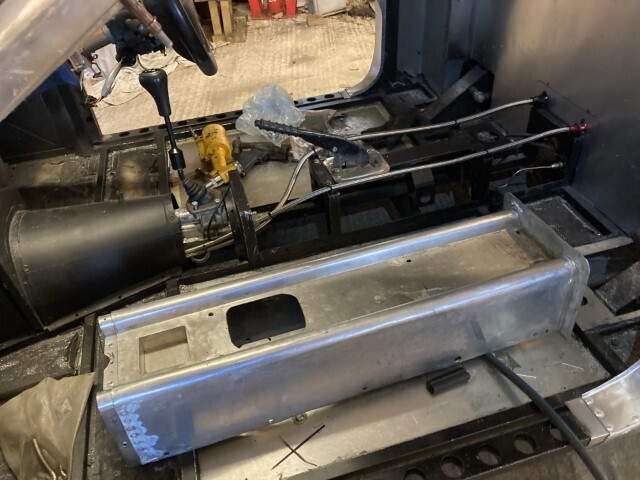 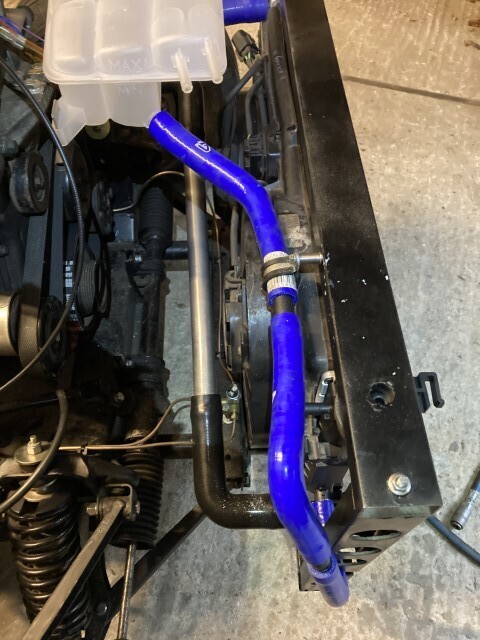 The fuel 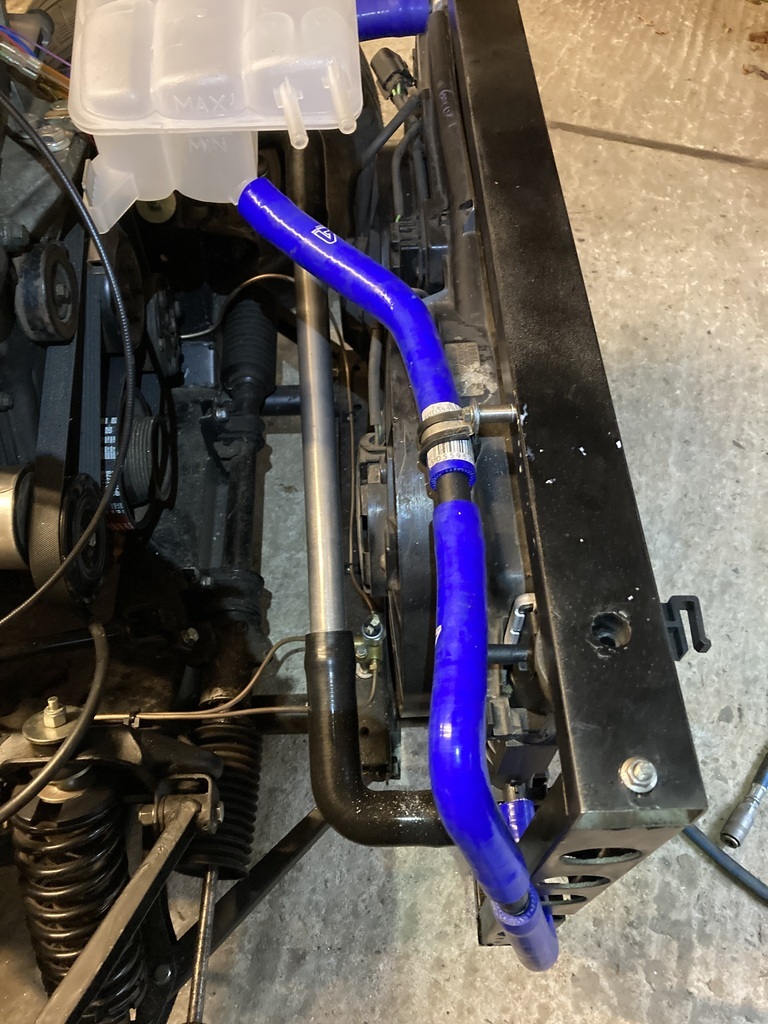 The fuel filler has just arrived, chosen because of sheer laziness in avoiding making up breather fittings. The only place it can go is in part of the rear quarter light but that came as no surprise and hopefully won't look too bad there. 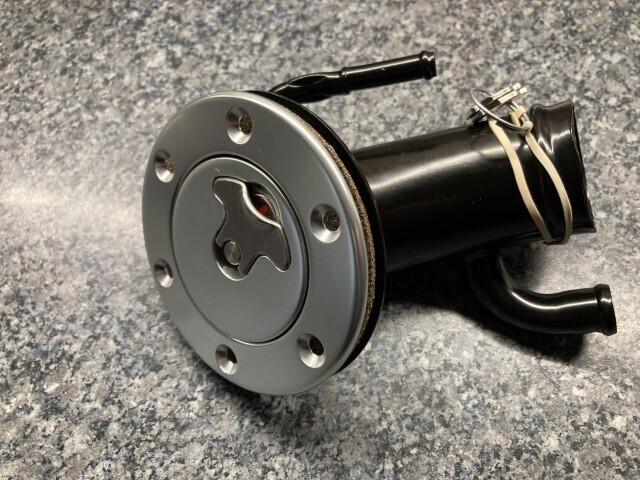 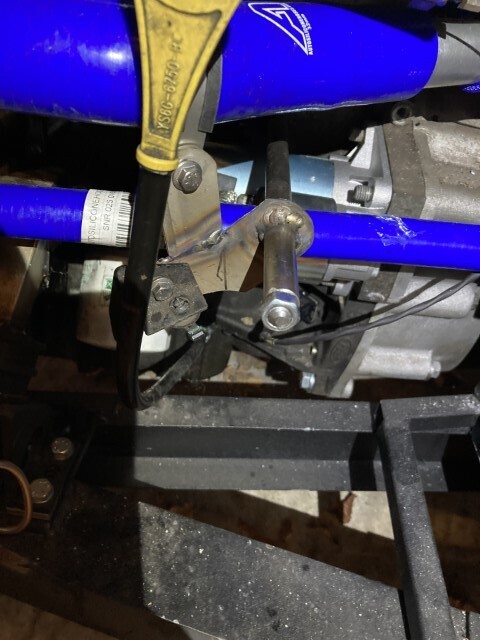 Apologies for messing up the photo uploads |
| |
|
|
|
|
|
Nov 15, 2022 12:08:04 GMT
|
|
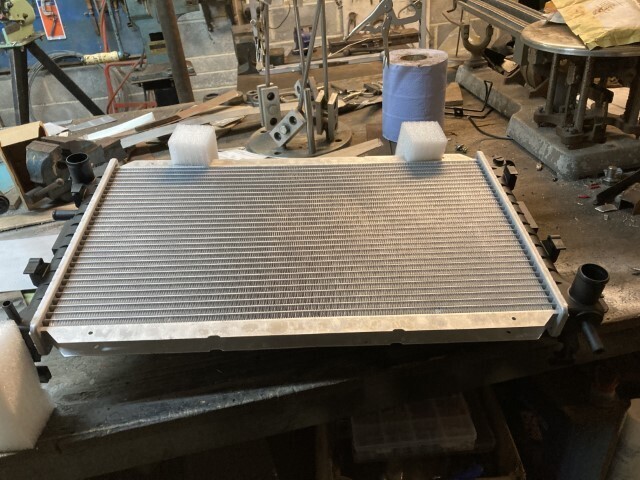
Veey nice! Now put a big piece of card, spaced out with some closed cell foam in front of the radiator until you've got the front on.
|
| |
|
|
|
|
|
Nov 15, 2022 13:11:59 GMT
|
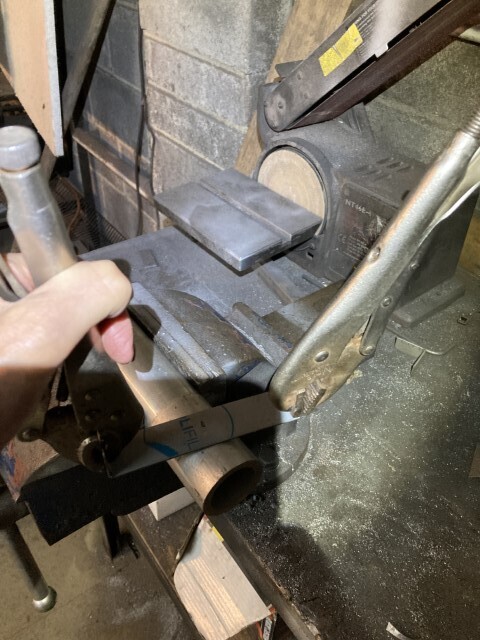
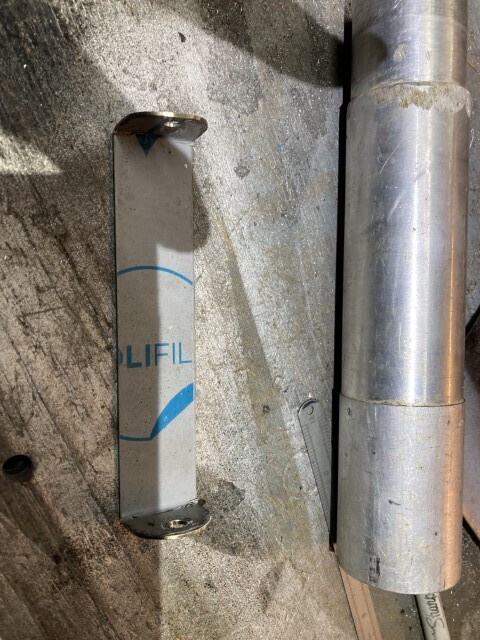
Veey nice! Now put a big piece of card, spaced out with some closed cell foam in front of the radiator until you've got the front on. Great advice and something I have been meaning to do and this is the nudge I need. I shall also be removing the airbox for safekeeping. I'm just about there with the coolant pipes just waiting for the clips for the 16mm pipes. Having offered up the filler the outlet angle is all wrong for my set up and although it grieves me to butcher it there is no other option. Cut'n'shut to give a better lead-in to the vertical tank filler tube. 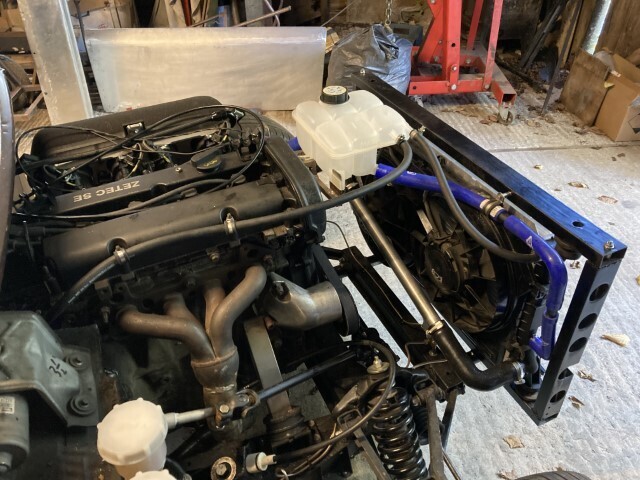 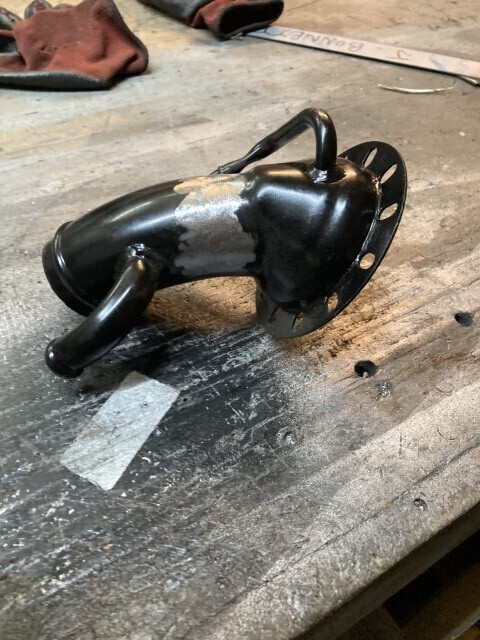 |
| |
|
|
|
|
|
Nov 17, 2022 13:53:56 GMT
|
|
|
| |
|
|
|
|
|
Nov 17, 2022 18:15:24 GMT
|
|
|
| |
|
|
|
|
|
Nov 21, 2022 17:50:19 GMT
|
|
|
| |
|
|
|
|
|
Nov 30, 2022 17:33:01 GMT
|
The only thing standing in the way of start-up is the wiring so I have been making a concerted effort to identify the circuits needed from the Fiesta loom. Everything looks a bit chaotic in the photo but believe it or not, I now have a clear understanding of the Fiesta circuitry and have identified everything I want to retain. There are a number of very important positives in using an OE loom not the least being the safety of having so many fuses and relays to prevent any potential smoke ups. As an aside I could never understand why Fords at one stage never fitted any fuses and many manufacturers only three, all of 20 Amp rating. Instrument wiring was never 20 Amp and was always the first to start smoking in the event of a short. 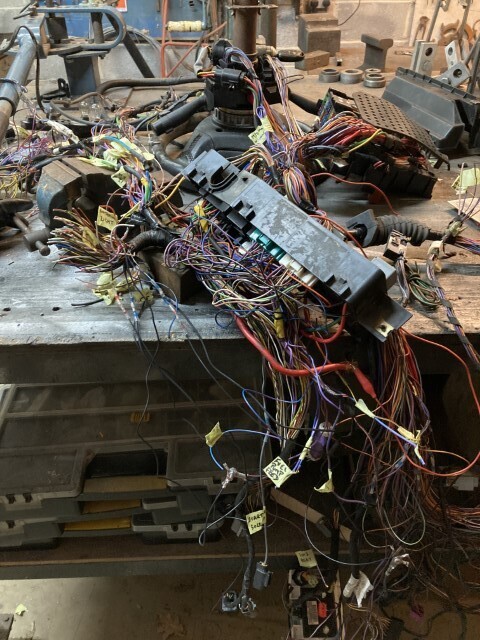 I should be able to reduce a lot of the bulk by removing all the cables not needed. Most of the original harness tape will need to be removed in order to trace the unwanted cables back to source for their removal but once that's done and new harness tape added the whole loom should be a lot neater and very much more manageable. Mounting it will be a bit tricky and not something I'm looking forward to. When I rebuilt the G15/BMW I used an Odyssey sealed battery and was very impressed both by its size and performance. So, on the strength of that, I have stayed with the firm and gone for another, albeit a bit larger and of a higher capacity. 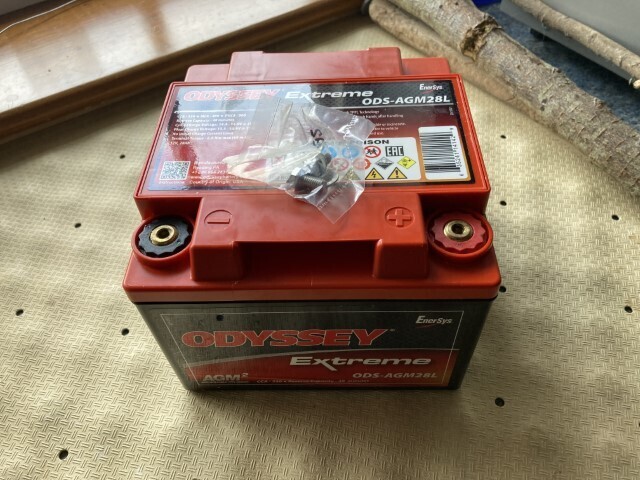 |
| |
|
|
|
|
|
Nov 30, 2022 18:00:24 GMT
|
|
You probably already know this, but don't retape the loom until you know it fits the car!
|
| |
|
|
|
|
|
Nov 30, 2022 18:16:05 GMT
|
|
What I do is replace the loom tape with tie straps as I remove it avoids a birds nest but allows to to remove and add cables as required.
|
| |
|
|
|
|
|
Nov 30, 2022 18:23:51 GMT
|
What I do is replace the loom tape with tie straps as I remove it avoids a birds nest but allows to to remove and add cables as required. That is such good advice. How many times have I wrapped a loom only to discover that I needed to add another cable or two. Thank you for reminding. |
| |
|
|
|
|
|
Nov 30, 2022 18:29:55 GMT
|
What I do is replace the loom tape with tie straps as I remove it avoids a birds nest but allows to to remove and add cables as required. That is the way I do it too. And I use them for the final installation too. ( I see it as a contemporary version of the wax cable lacing twine ) I think it looks tidy, and it makes later modification and fault finding much easier. |
| |
|
|
|
|
|
|
|
|
Unfortunately, I've made a fundamental error with the fuel tank design which is so obvious I cannot think why I was oblivious to it. Before sealing the engine bay with the front part of the transmission tunnel I thought it a good idea to pump some fuel around the system and check for leaks. Accordingly, I put a couple of gallons of top grade fuel in the tank and after switching on the pump, found that it wasn't pumping. The reason was that there was an insufficient level of fuel to cover the pump intake. This in an in-tank Focus pump. By jacking up one side of the car it worked. There was one major leak between two union connectors that I had forgotten to tighten and they were of course in the most inaccessible place by the block and would have been impossible to fasten with the tunnel in place.
The obvious solution for the tank is to sit the pump in a cylindrical chamber welded to the base of the tank and this would double as a swirl pot. This is a modification that definitely needs to be done but I'll leave it for the time being so that I can press on and get the engine started.
|
| |
|
|
|
|
|
|
|
|
A sump for in tank pumps is pretty much a must have in my opinion. My tank is stainless, I used a stainless wine cooler from a charity shop chopped up.
I'm sure you'll sort it with your usual skill.
|
| |
Proton Jumbuck-deceased :-(
2005 Kia Sorento the parts hauling heap
V8 Humber Hawk
1948 Standard12 pickup SOLD
1953 Pop build (wifey's BIVA build).
|
|


