|
|
|
|
|
|
Rewiring a car from scratch is indeed a long slog. But my task of rewiring my Spitfire was made infinitely easier, and ultimately successful by the custom wiring diagram that you sent me John. I have that diagram, heavily annotated, framed on my garage wall as a reminder of your kindness and generosity to a fellow old car nut.
Adrian
|
| |
|
|
|
|
|
|
|
|
|
|
I feel your pain John
I used the full MX5 wiring loom in my last build. 3 weeks of unwrapping, removing wires and extending/ shortening
I was lucky to find almost perfect diagrams online.
I was amazed it all worked with no smoke first time!
I'm sure you will get there and get back to metal bashing soon
|
| |
|
|
|
|
|
|
|
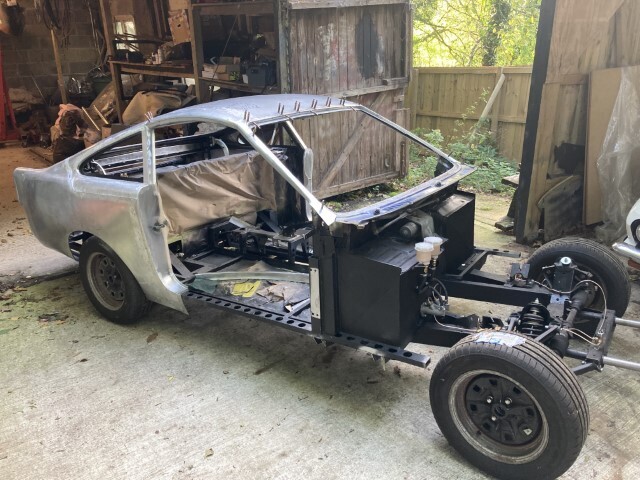
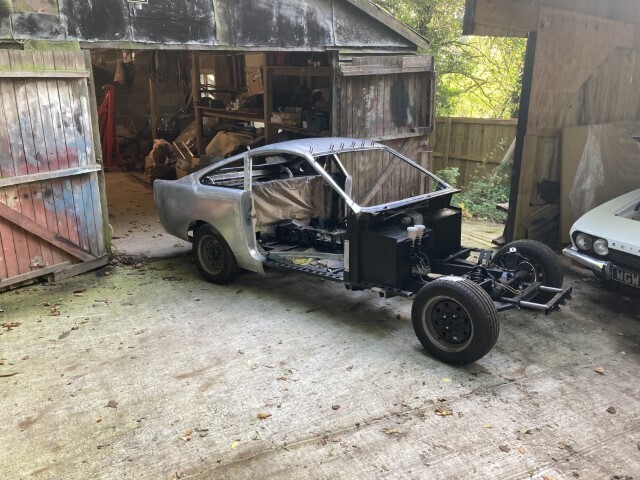
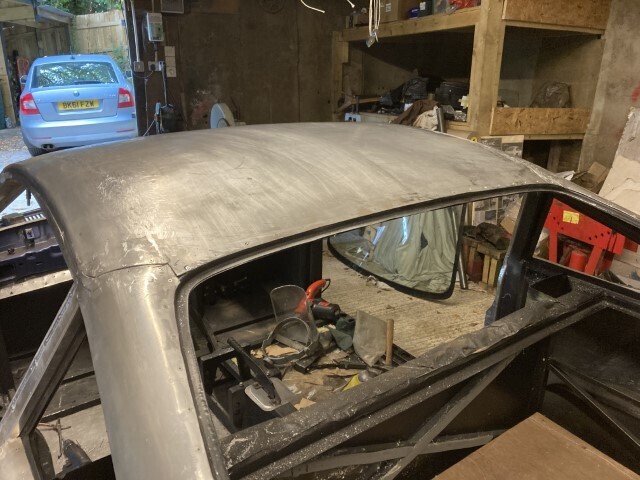
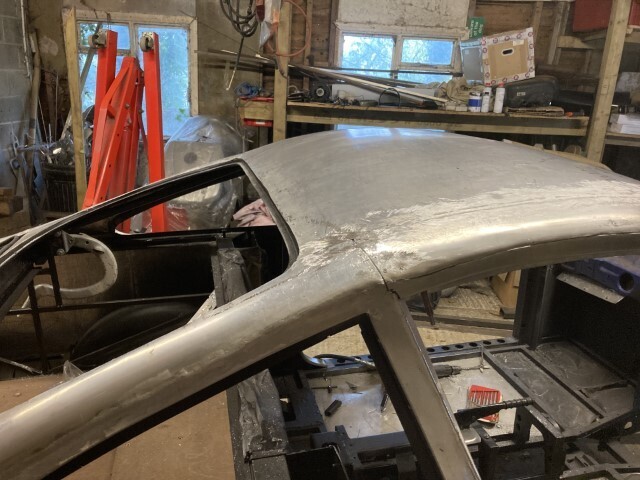
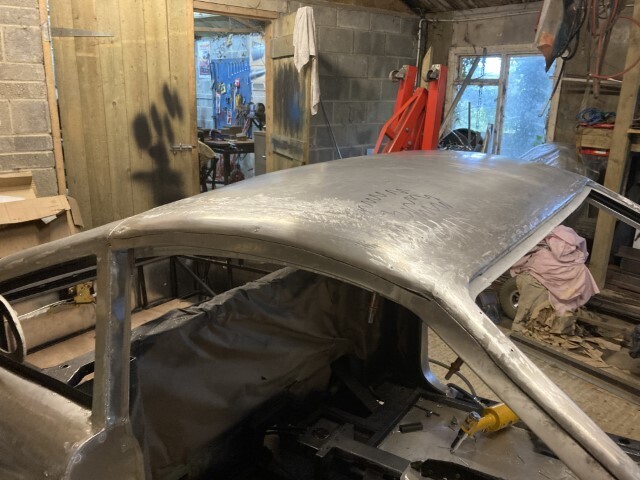
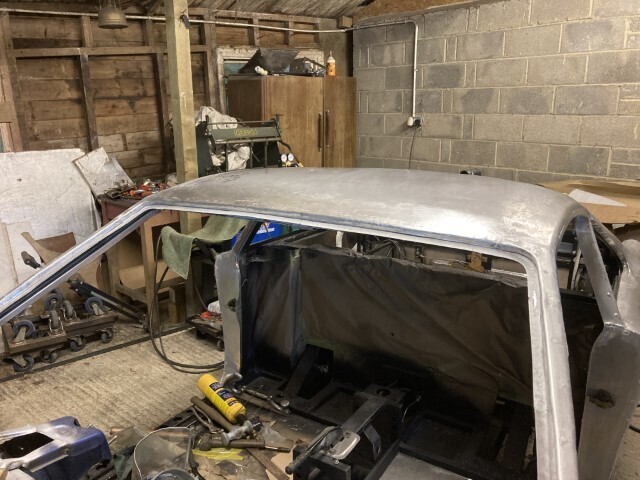
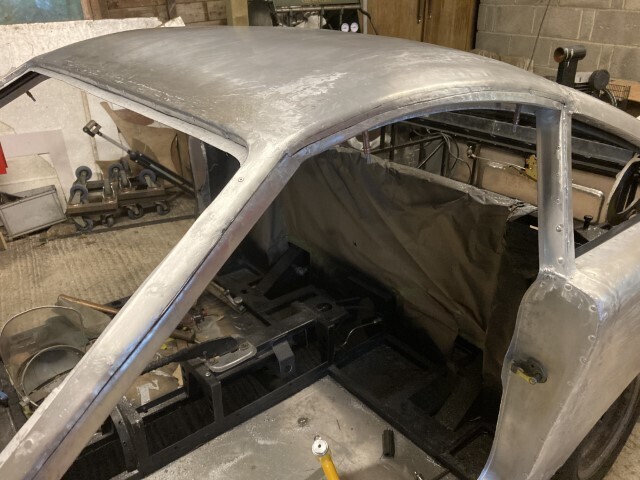
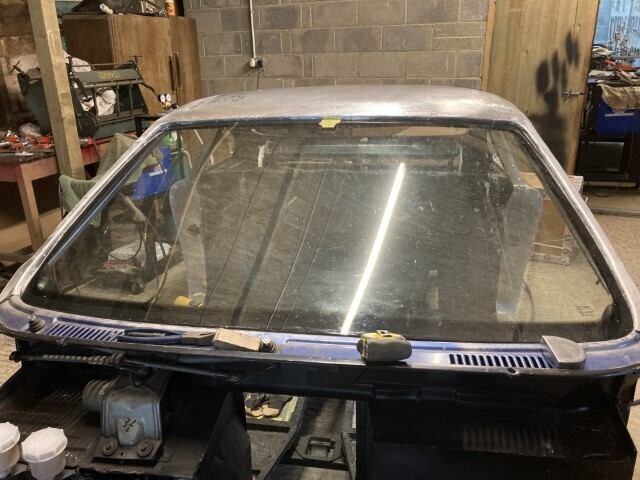
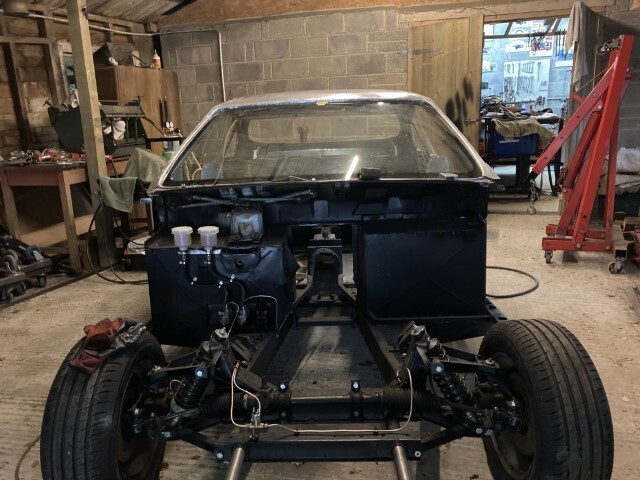
Thank you Roger. It's really good to have support from people who have been there before me and appreciate the difficulties. Fortunately, I'm only dealing with circuits containing switches relays and fuses. None of that there CanBus nonsense. Actually I know it's not nonsense and if I could afford a couple of PDMs I'd certainly try to get my head around it and enjoy all the benefits. The problems I have encountered have been the variation of colour coding from the Haynes manual and the oddball engine bay fuse box that the donor was fitted with. So there has been what an electronics friend would describe as "Poking and hoping" with the resulting blowing of a few fuses. Ford in their wisdom seem to have used a number of colours for their earths in addition to black. Very often earths in other colours have a black tracer but sometime they are not earths at all. But the multimeter has been a good friend and great for identifying which cables go back to earth. Things become a bit more of a head scratcher when a couple of relays are interlocked. But, we're getting there. I know I said earlier that I'd have to butcher the newly covered dashboard for access to the main fuse box but I've decided to go back on that and put it in the engine bay where it will be readily accessible next to the wiper motor. I'll have to fabricate a waterproof cover because the module was designed to be in the car in the dry. There are about 28 cables from the column switches that will need to be extended which sounds a lot but actually won't be too bad once I make a start on it. On the metal work side, the door apertures are now finished and trimmed along with the windscreen surround and everything is ready for the roof to be welded permanently in place. 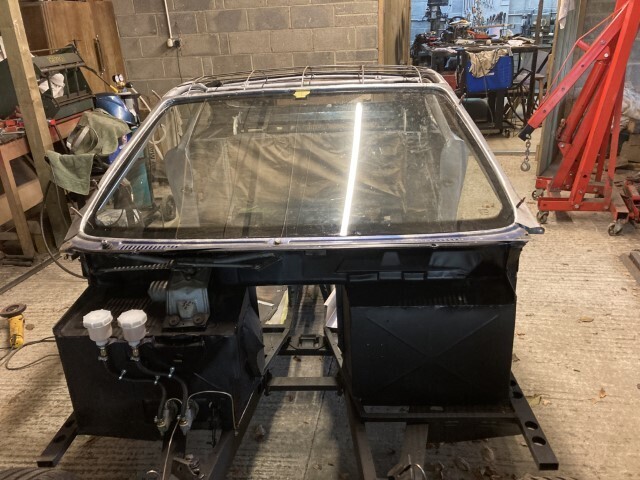 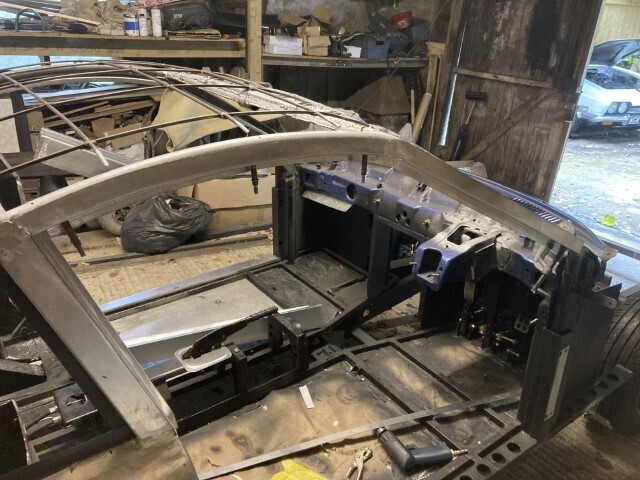 |
| |
|
|
|
|
Darkspeed
Club Retro Rides Member
Posts: 4,882
Club RR Member Number: 39
|
|
|
|
|
That's coming along along rather splendidly - very nice - and I can appreciate the amount of effort its taken to get there.
|
| |
|
|
|
|
|
|
|
|
absolutely love it Jon, it does have the style that you were aiming for, well done
|
| |
|
|
|
|
|
|
|
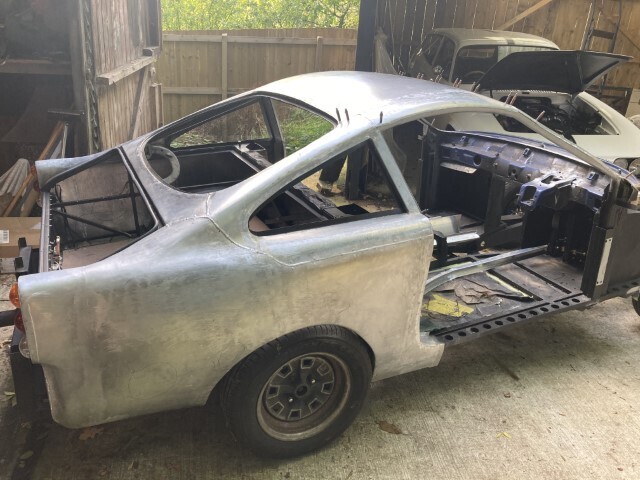
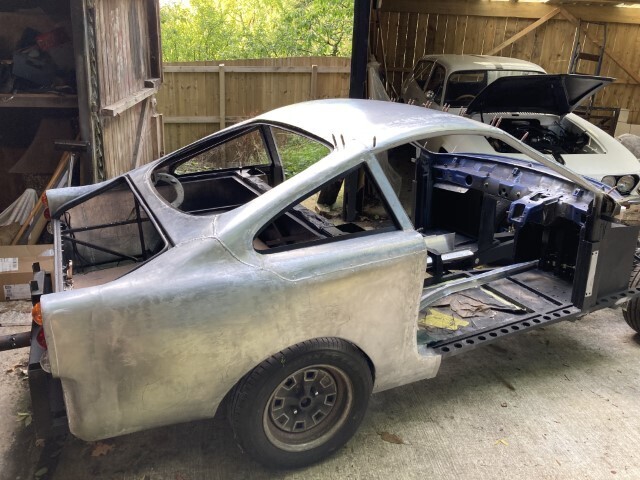
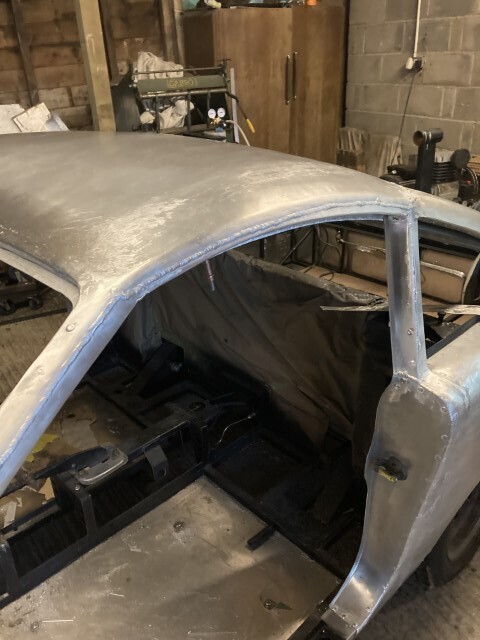
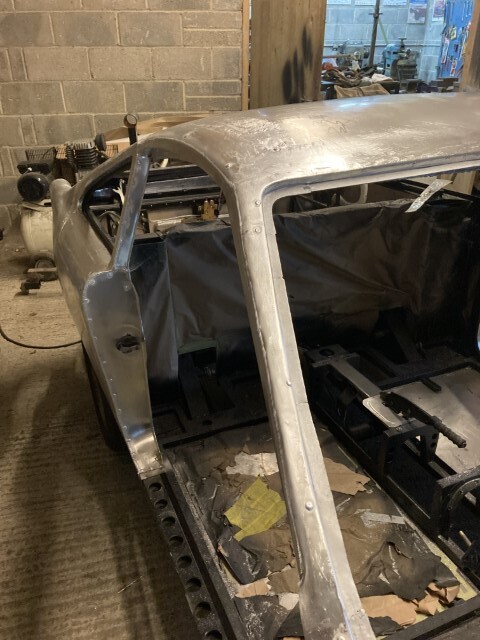
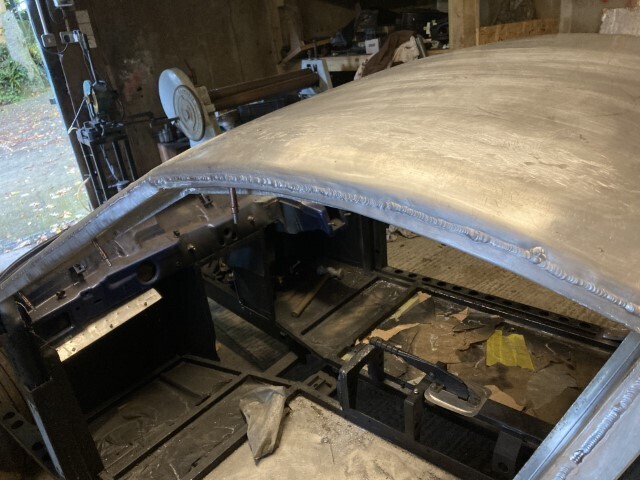
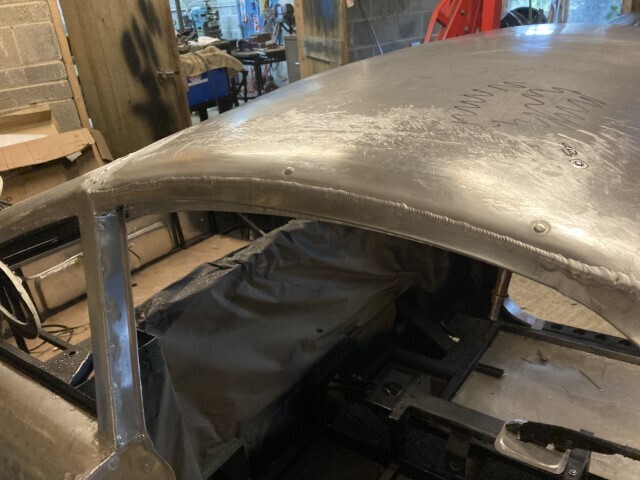
Neil came over and welded the return onto the roof panel and gave a demonstration of some beautiful welding in an uncomfortable position. The quality of the weld is evidenced by the full and even penetration on the underneath. Metal finishing started. 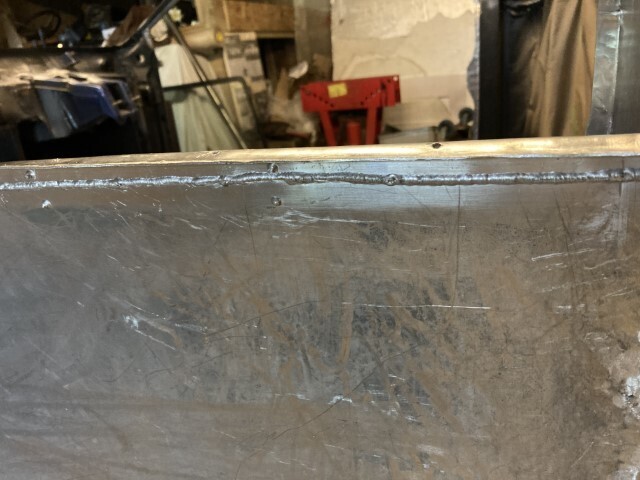 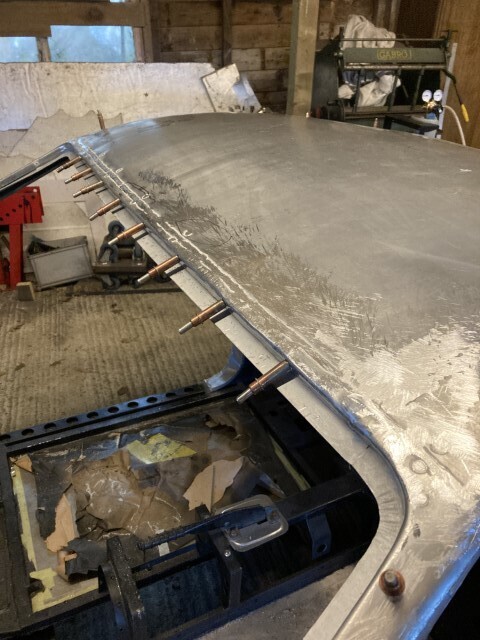 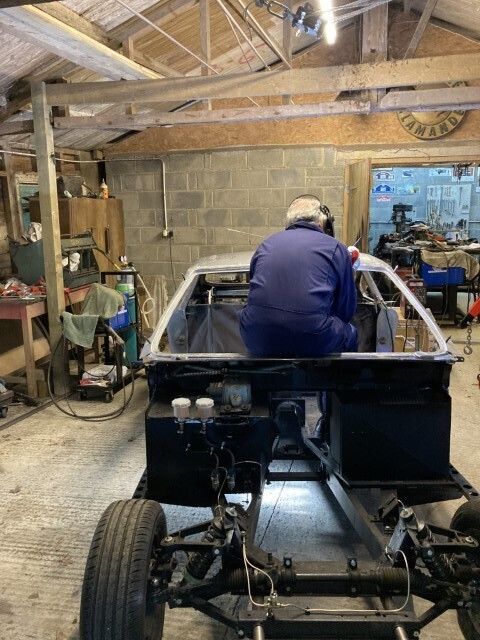 |
| |
|
|
|
|
|
|
|
|
Every time I’ve welded aluminum car bodywork I’ve had to weld both sides as it always leaves a crevice on the back of the weld. Any idea how he’s managed to get it right in one pass?
|
| |
|
|
|
|
|
|
|
Every time I’ve welded aluminum car bodywork I’ve had to weld both sides as it always leaves a crevice on the back of the weld. Any idea how he’s managed to get it right in one pass? Ha ha. The short answer is he is a coded welder and has done it all his life but that isn't terribly helpful. But I know exactly what you mean and I have done precisely the same as you to ensure the weld doesn't crack or fall apart by putting in a fusion weld on the back. I think part of our problem is the fear of burning a big hole so we are either not using enough amps or moving along too quickly, either way, the result is insufficient penetration. But at times, a bit like discovering the Lost Chord, I have produced welds like Neil's and wondered how on earth did I do that? In the end it comes down to practise practise and more practise until you have complete control over the weld pool and feed the filler in at precisely the right time. Watching him yesterday it was amazing to see how easily the metal flowed, producing such an even width and height weld bead. All done in a less than ideal welding position. Things I have picked up. Distance of the tungsten from the metal is super critical and 3mm is max. to prevent oxidation. Retract the tungsten well into the shroud so that you can, if you wish, run the edge of the cup along the weld or very close to it to make it easier to keep keep the gap constant. Don't feed in any filler until the weld pool is like chrome and melt the filler in the weld pool and not the arc. Set the controls to 70% cleaning which is -ve and work on about 100 Herz. Clean both pieces with a stainless steel wire brush to remove oxide, run a dedicated file along the joint edges and clean all wire brushed surfaces with acetone. Maybe the best starting point is to burn a hole or two and work back from that rather than the other way round, increasing power. But having said all that, the Americans, including Wray Shelin whom I revere, weld on both sides and in the end as we all know, there is no right or wrong way, just find one that works for you. |
| |
|
|
|
|
|
|
|
|
Are you sure about the cleaning % John? 70% is very high, 40 to 50 is normal. Unless you have one of the Chinese tigs that have the settings backwards.
Project is looking great, your execution of your vision is impressive.
|
| |
Proton Jumbuck-deceased :-(
2005 Kia Sorento the parts hauling heap
V8 Humber Hawk
1948 Standard12 pickup SOLD
1953 Pop build (wifey's BIVA build).
|
|
|
|
|
|
|
Are you sure about the cleaning % John? 70% is very high, 40 to 50 is normal. Unless you have one of the Chinese tigs that have the settings backwards. Project is looking great, your execution of your vision is impressive. I'd like to say I threw that in to see how many people were awake but I cannot lie can and only offer my apologies. You are quite right and I have absolutely no idea why I typed in that figure. Sorry  |
| |
|
|
|
|
|
|
|
Here are the actual rather than the fictional settings I use which work for me. 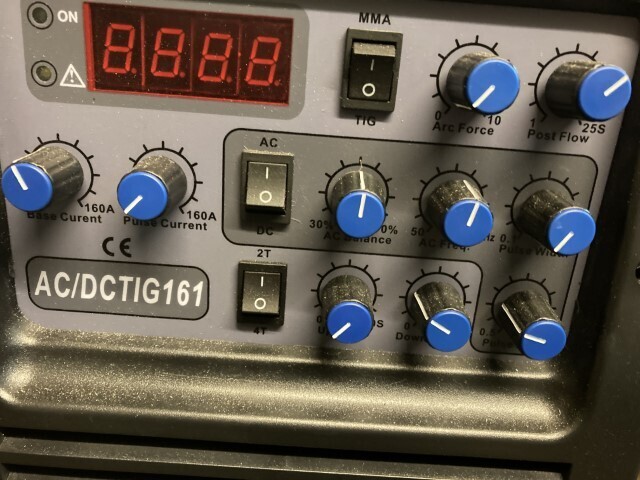 |
| |
|
|
jonomisfit
Club Retro Rides Member
Posts: 1,790
Club RR Member Number: 49
|
|
|
|
|
Same welder as me. I shall compare them to my settings and see how I get on.
|
| |
|
|
|
|
|
|
|
Every time I’ve welded aluminum car bodywork I’ve had to weld both sides as it always leaves a crevice on the back of the weld. Any idea how he’s managed to get it right in one pass? Ha ha. The short answer is he is a coded welder and has done it all his life but that isn't terribly helpful. But I know exactly what you mean and I have done precisely the same as you to ensure the weld doesn't crack or fall apart by putting in a fusion weld on the back. I think part of our problem is the fear of burning a big hole so we are either not using enough amps or moving along too quickly, either way, the result is insufficient penetration. But at times, a bit like discovering the Lost Chord, I have produced welds like Neil's and wondered how on earth did I do that? In the end it comes down to practise practise and more practise until you have complete control over the weld pool and feed the filler in at precisely the right time. Watching him yesterday it was amazing to see how easily the metal flowed, producing such an even width and height weld bead. All done in a less than ideal welding position. Things I have picked up. Distance of the tungsten from the metal is super critical and 3mm is max. to prevent oxidation. Retract the tungsten well into the shroud so that you can, if you wish, run the edge of the cup along the weld or very close to it to make it easier to keep keep the gap constant. Don't feed in any filler until the weld pool is like chrome and melt the filler in the weld pool and not the arc. Set the controls to 70% cleaning which is -ve and work on about 100 Herz. Clean both pieces with a stainless steel wire brush to remove oxide, run a dedicated file along the joint edges and clean all wire brushed surfaces with acetone. Maybe the best starting point is to burn a hole or two and work back from that rather than the other way round, increasing power. But having said all that, the Americans, including Wray Shelin whom I revere, weld on both sides and in the end as we all know, there is no right or wrong way, just find one that works for you. Thanks for the explanation. I’ve got a Thermal Arc set and use similar settings. I guess a lot of it is, like you say, experience and technique. My father was a coded welder but didn’t show me how to weld, probably because I new it all 😁 |
| |
|
|
|
|
|
Oct 12, 2022 15:21:55 GMT
|
|
|
| |
|
|
jimi
Club Retro Rides Member
Posts: 2,236 
|
|
Oct 12, 2022 18:56:00 GMT
|
|
|
| |
Black is not a colour ! .... Its the absence of colour
|
|
|
|
|
Oct 14, 2022 13:10:32 GMT
|
|
|
| |
|
|
|
|
|
Oct 16, 2022 16:51:57 GMT
|
Some good progress over the weekend. I have started metal finishing the roof to door aperture welds and it's not looking too bad. 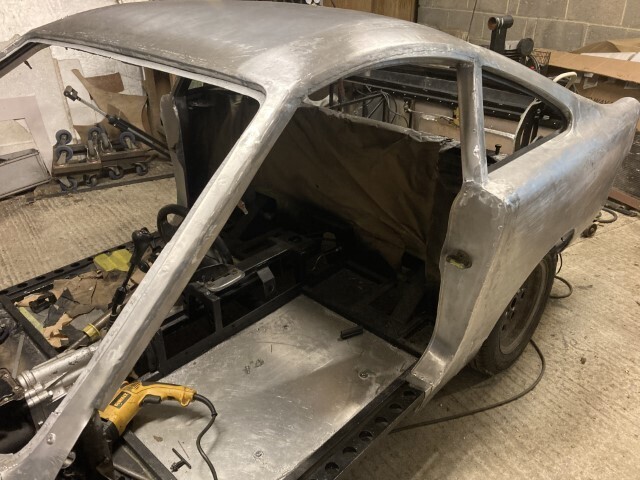 The engine and gearbox then went in really easily without any additional help. I found the load leveller really useful. 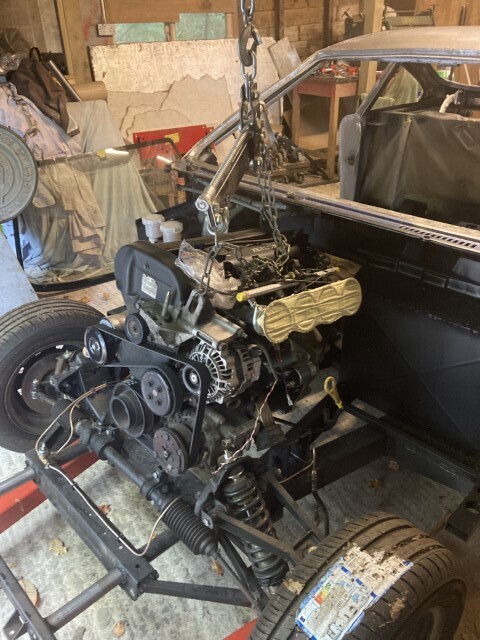 The throttle linkage then went in followed by the heater/aircon bulkhead fitting. 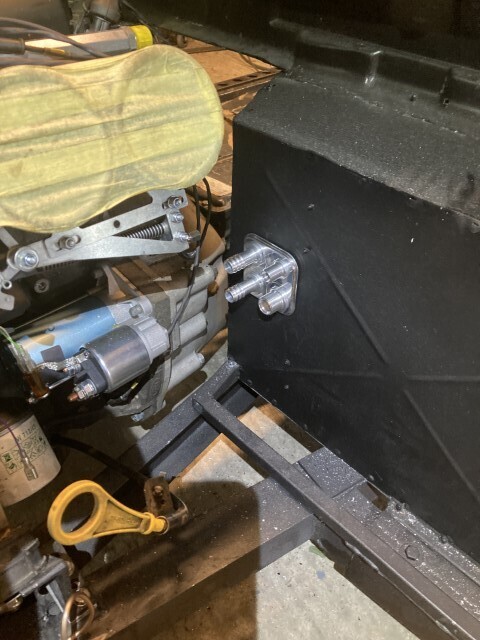 Next came the clutch cable and the exhaust manifold. 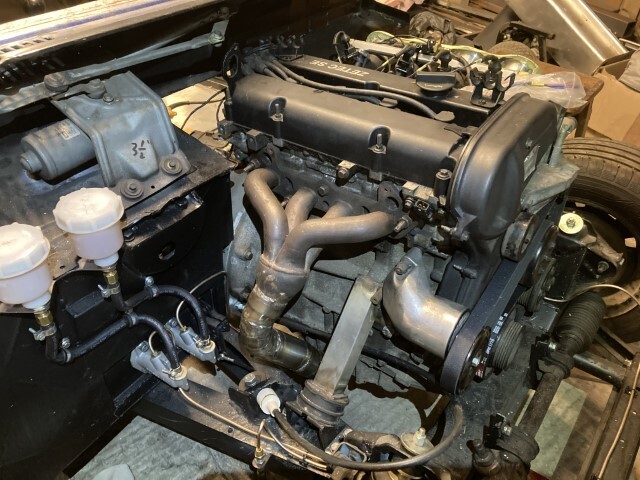 Followed by the lower steering column 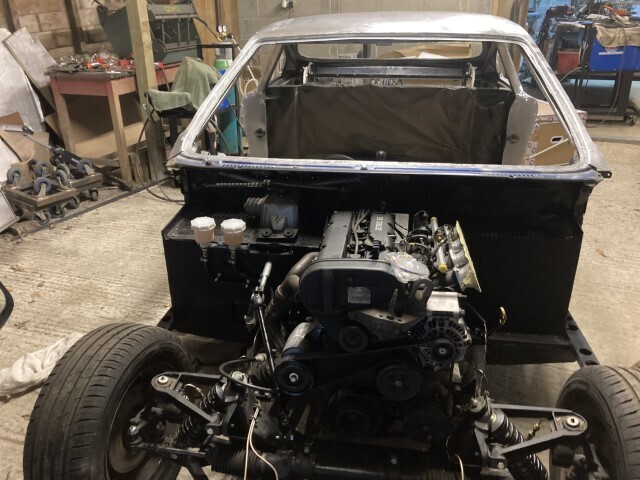 |
| |
|
|
|
|
|
Oct 25, 2022 18:20:27 GMT
|
It's all getting exciting now that the engine is in because start-up is becoming a reality. I'm using a Focus radiator and condensing radiator chosen because they match the engine but having offered up the radiator it looks enormous, but there is sufficient space so it's not a problem. I know mainstream manufacturers field trial their vehicles in extreme conditions so I imagine that there is plenty of spare cooling capacity even on the hottest of days. It will be a new experience not to be worried by ever increasing coolant temperatures. 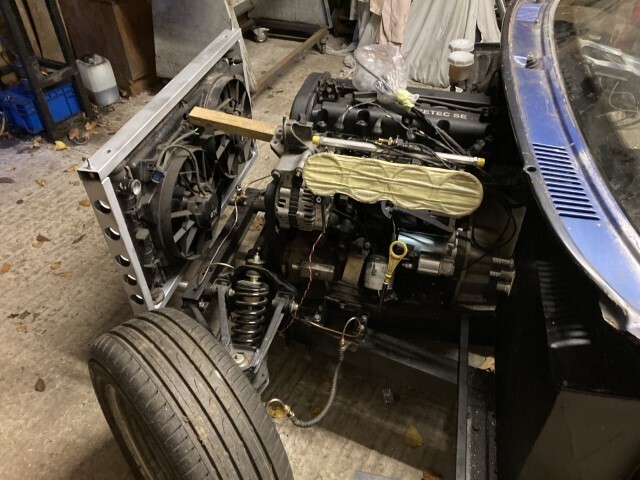 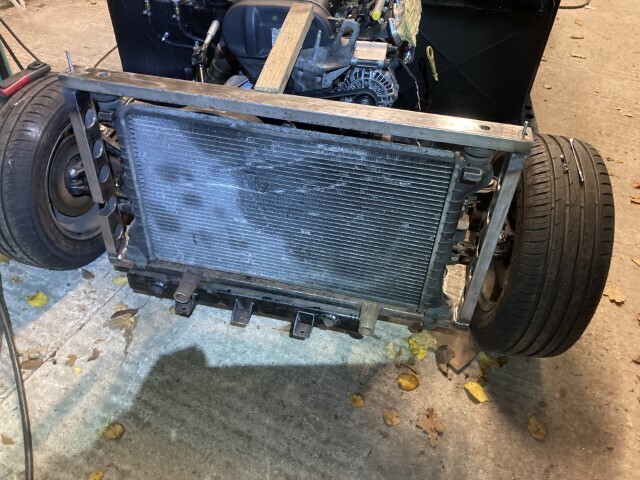 I'm also using an expansion tank from a Focus for the same reasons and I was expecting that the bores of the cooling pipes would match up but not so. For example, the outlet on the tank is 22mm but the fitting on the radiator is16mm just to complicate matters. 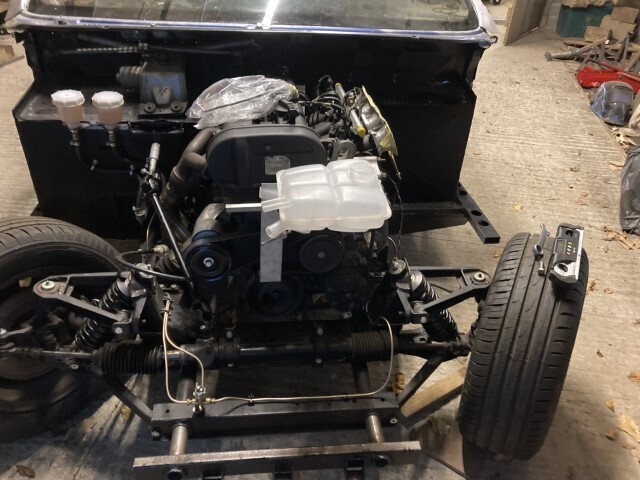 Tomorrow is going to be a big purchasing day ordering all the fuel fittings I shall need together with coolant hoses and an airbox for the Jenvey throttle bodies and not forgetting a new radiator. |
| |
|
|
|
|
|
Oct 25, 2022 19:17:00 GMT
|
|
You can always tilt the radiator down to something like a 30 degree angle. Done a lot on sports / racing cars with low bonnets.
My car has always overheated as long as I've had it. It was put together by someone else and I've spent years trying to get it to run cooler.
It seems to me like there's a threshold where if the capacity of the cooling system isn't sufficient there is nothing you can do to keep it cool and it'll overheat eventually.
|
| |
|
|


