|
|
|
Mar 15, 2022 23:47:47 GMT
|
|
Too late now but if you ever have to do something like that again, buy some 'cold front' putty.
This is designed to be applied right next to a weld and it soaks up heat like magic. Amazing stuff, I've welded right next to finished topcoat and the weld was only about 5mm away from the paint edge with no damage at all.
|
| |
|
|
|
|
gazzam
Part of things
 
Posts: 741 
|
|
Mar 15, 2022 23:53:28 GMT
|
|
I wonder whether that would work on aluminium. I’ve had problems with cracking of the weld if it cools too fast.
|
| |
|
|
|
|
|
Mar 16, 2022 19:29:19 GMT
|
|
Not sure, it does not cool the weld exactly - but heat just does not go past where the putty is. It just blocks the heat from travelling any further.
|
| |
|
|
eurogranada
Europe
To tinker or not to tinker, that is the question...
Posts: 2,556
|
|
|
|
|
This is a work of art in the level of detail and attention. I love following the progress!
|
| |
|
|
gazzam
Part of things
 
Posts: 741 
|
|
Mar 19, 2022 10:33:00 GMT
|
Thanks Alex, very good of you to say. Air filters are the next project. I wasn’t very happy using the original pancake filters. Because they’re not really filters. More like rock deflectors. Steel wire is the media.  Not only are the difficult to paint - they can’t really be pulled apart, the top is crimped over the base - they’re impossible to clean. But the worst of it is that the 70 year old mesh inside is starting to fatigue and break up. And those bits will go straight into the engine. 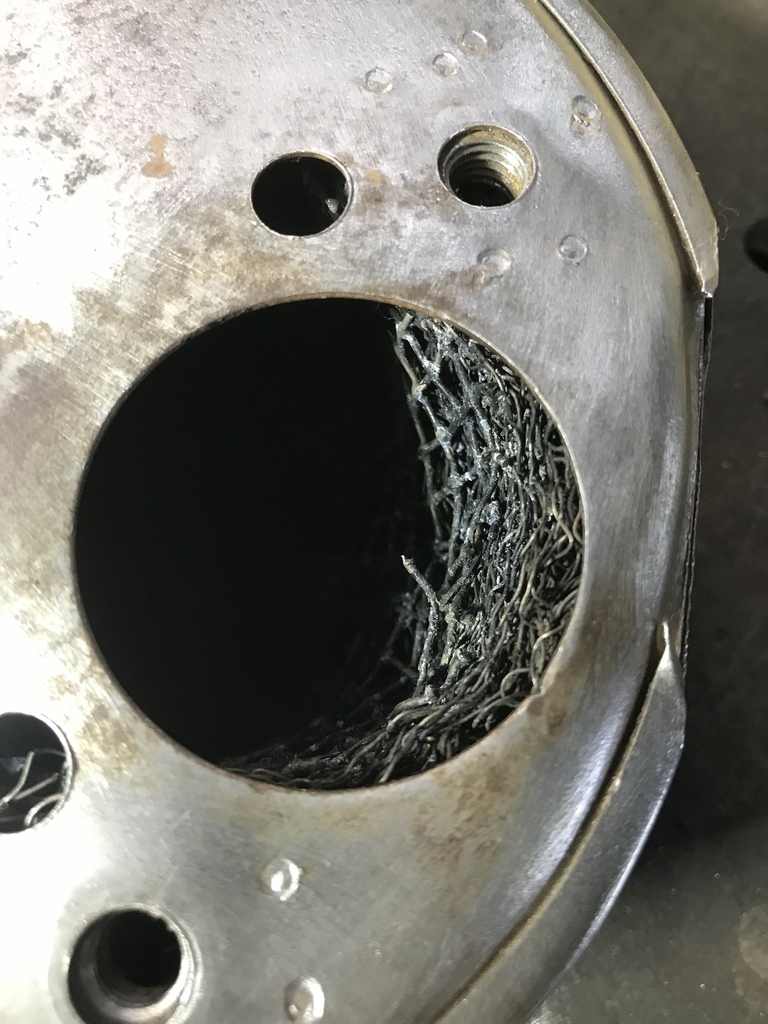 So I gently opened up the crimped edge and got it apart. 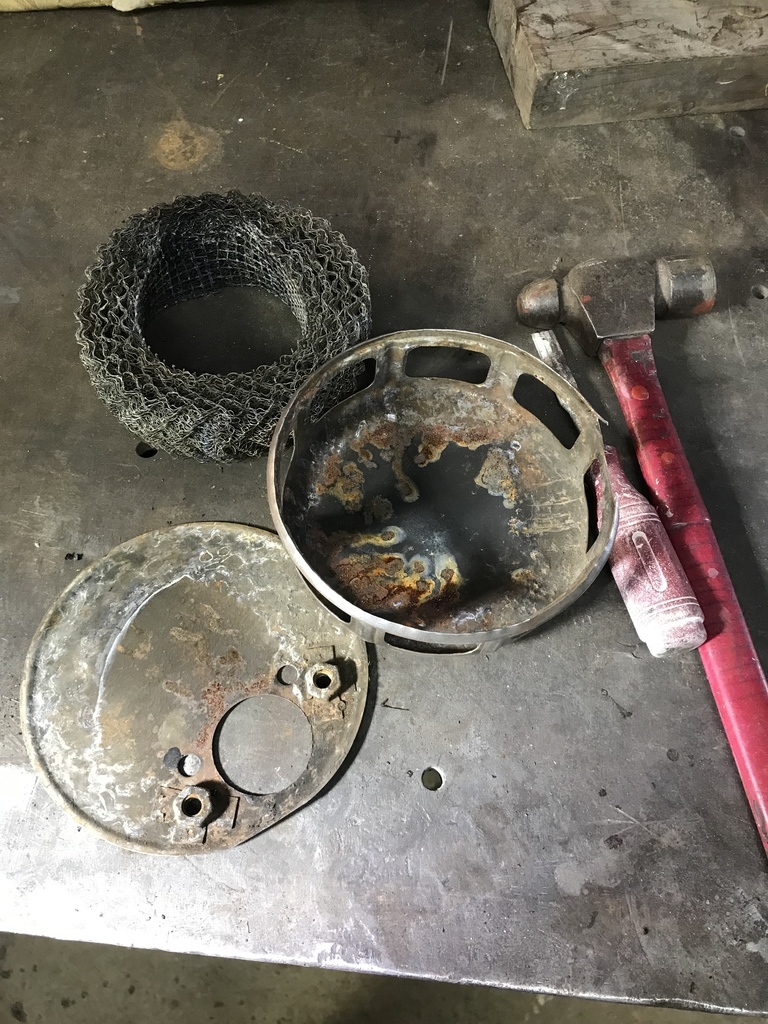 The plan was to weld studs to the inside of the convex outer shell. These would poke through holes made in the carb side and allow the filters to be opened up when needed. The carb side would remain bolted to the carb, and the rest held in place by dome nuts. Which I might add went totally against my previously stated law by existing in plenty. Normal would be one less than the number needed. And oiled foam filter put in place of the steel wool. Holes drilled in carb plate with studs and dome nuts in place. Just to mark where the studs needed to be welded to the convex outer. 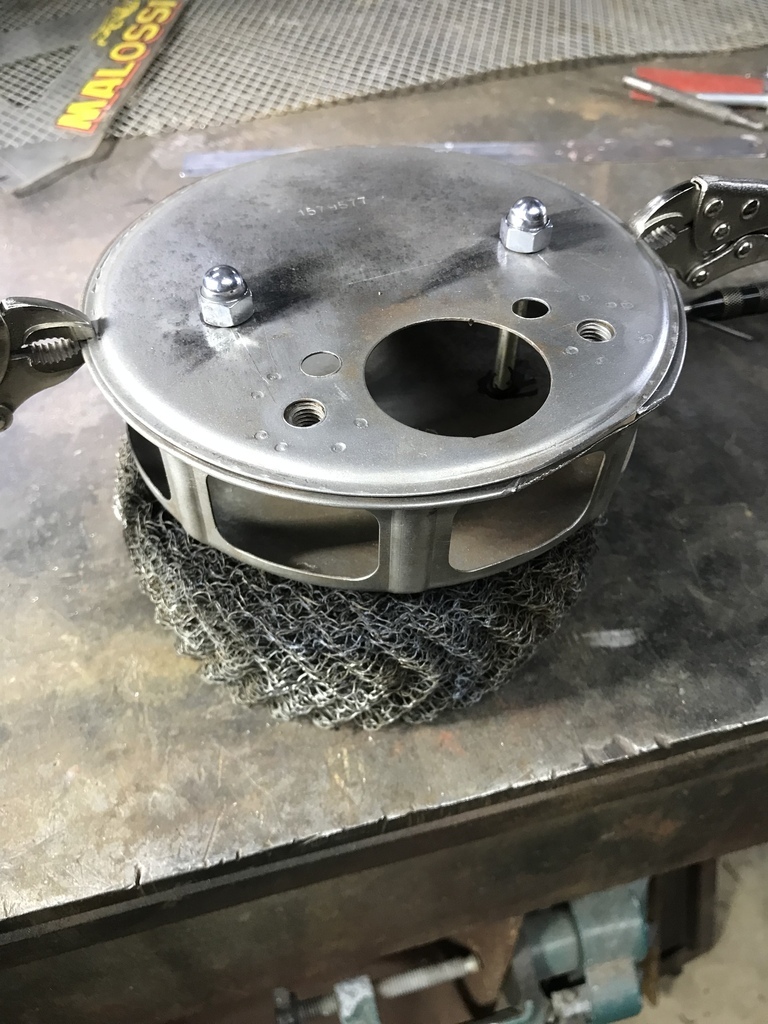 Holes drilled in cover to weld through to the studs. I hope this makes sense. I’ve also added some mesh to contain the foam. 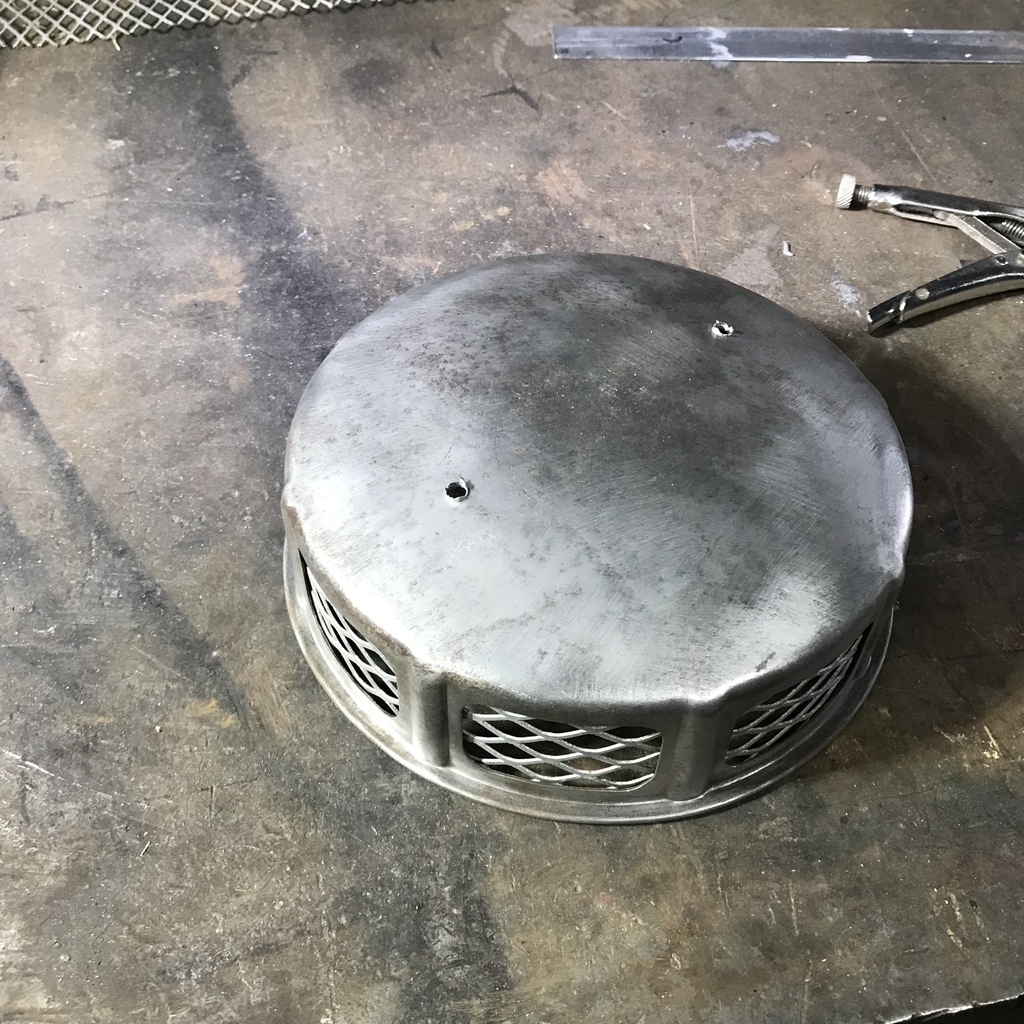 One stud welded. 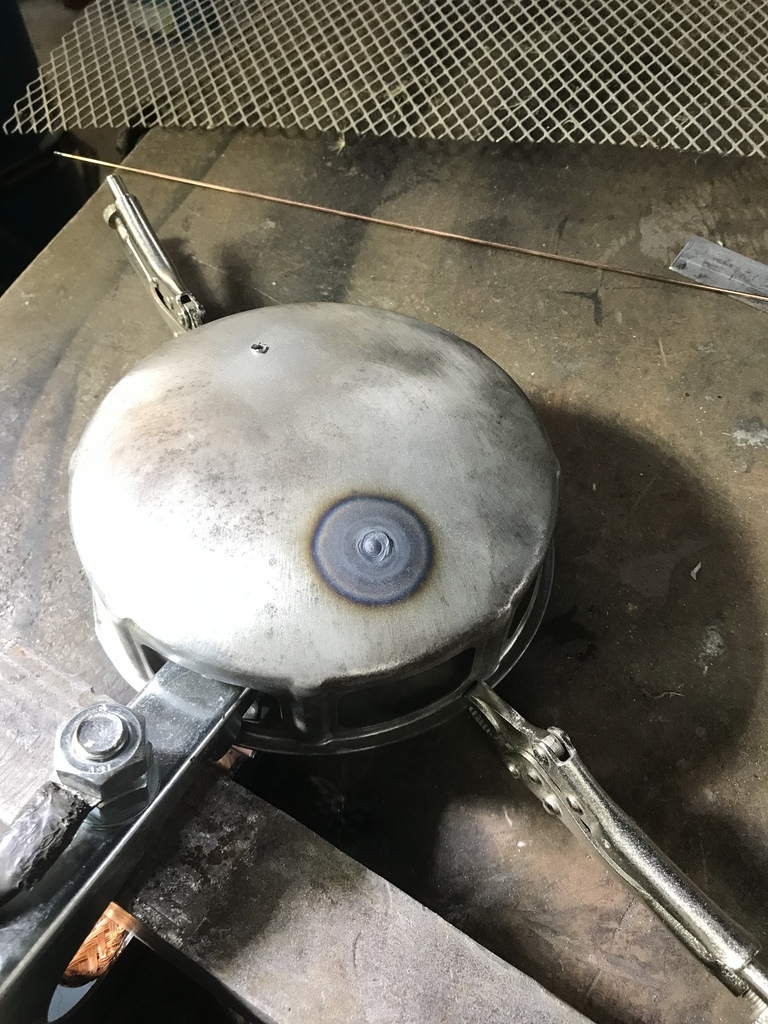 Both studs welded in. The view from inside the filter. 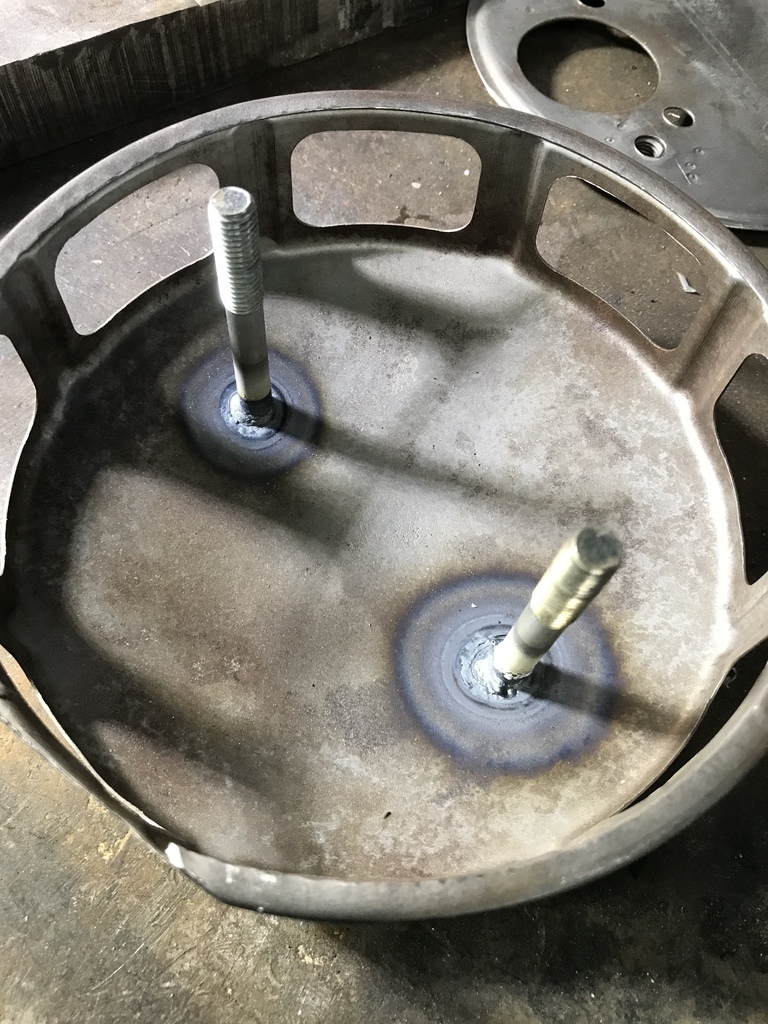 Completed filter, other than the foam and paint. 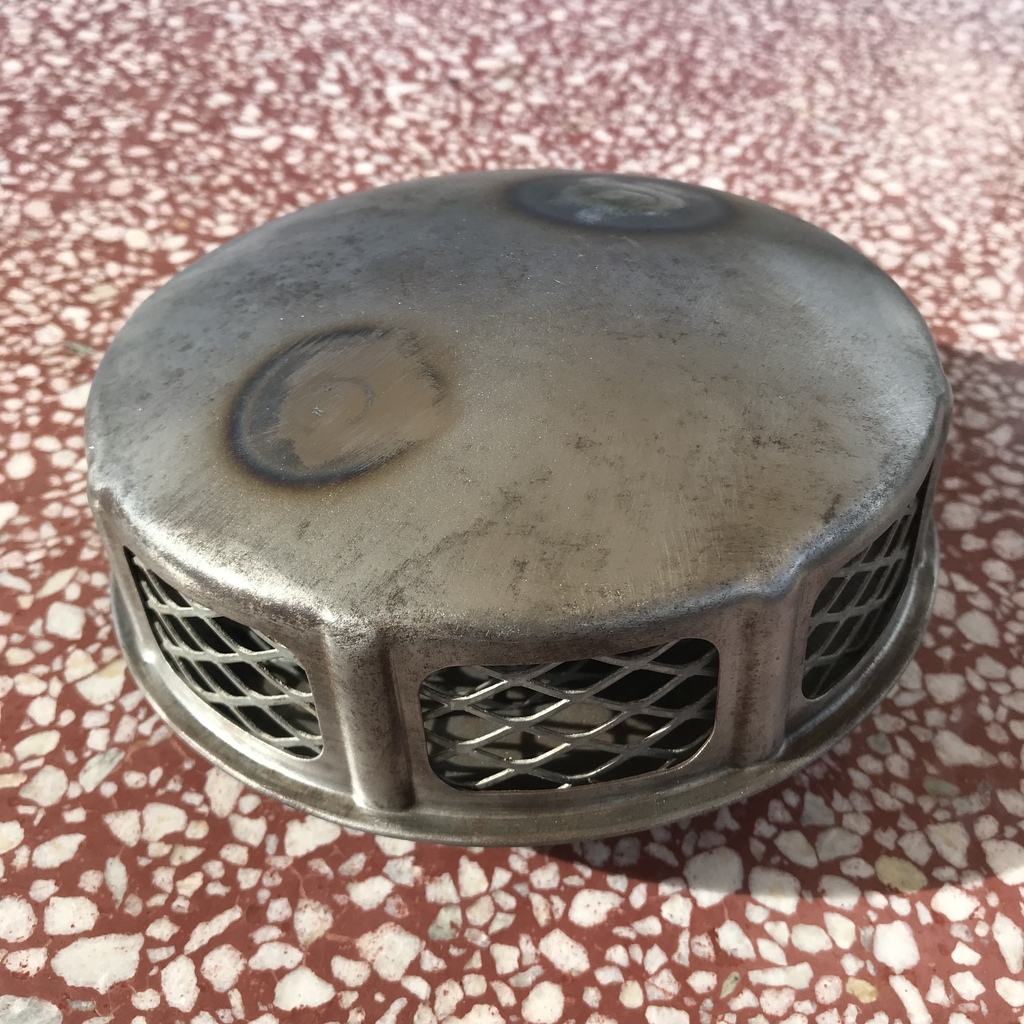 Carb side.  Painted  Need to order some proper air filter foam. I’m thinking 15mm thick and an inner cylinder of the same mesh. Which is from an old truck air filter Just hoping the foam isn’t more restrictive than the old stuff. That’s all for now. Comments etc etc. |
| |
|
|
|
|
|
|
|
|
Nice modification to make things a bit more practical.
I wonder if some motorbike filter would work? They come in various shapes usually with a hole in the middle already, and usually preoiled. Generally about the right thickness too.
They used to sell them at Supercheap but not sure if that's the case anymore.
|
| |
|
|
|
|
|
|
|
|
Unifilter have a good range of foam elements, I guess another option would be to find a round paper element that’s the same dimensions
|
| |
|
|
gazzam
Part of things
 
Posts: 741 
|
|
Mar 21, 2022 11:00:56 GMT
|
Agreed, a bike filter would work. Finding the dimensions is difficult though. So I ordered a 400x300 sheet of dual layer air filter foam. Won’t need nearly that much but I couldn’t find any smaller. Lots of little jobs on the menu at the moment. Wiring is getting close to complete. Waiting on some screws to fit the p clips I made a while back, then I can finalise the position of the harness. These cars originally had two 6 volt batteries in series. I decided to go with two small 12 volt in parallel. Should have plenty of cranking power. Made a pair of clamps from 5mm ally to hold them in place.  Waiting on some battery terminal clamps so I can make some leads. Needed some long dome nuts for the rear bumpers. Got some joiner nuts and removed the zinc plating. 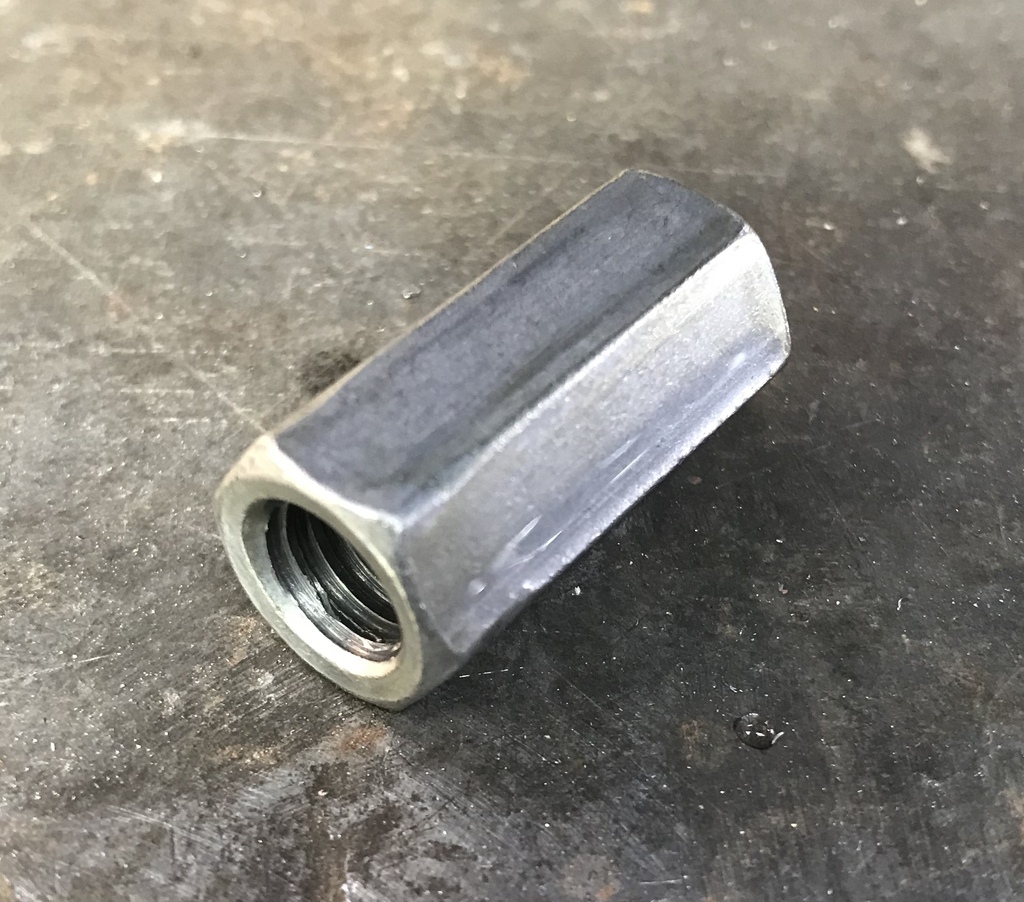 Then brazed one end closed. 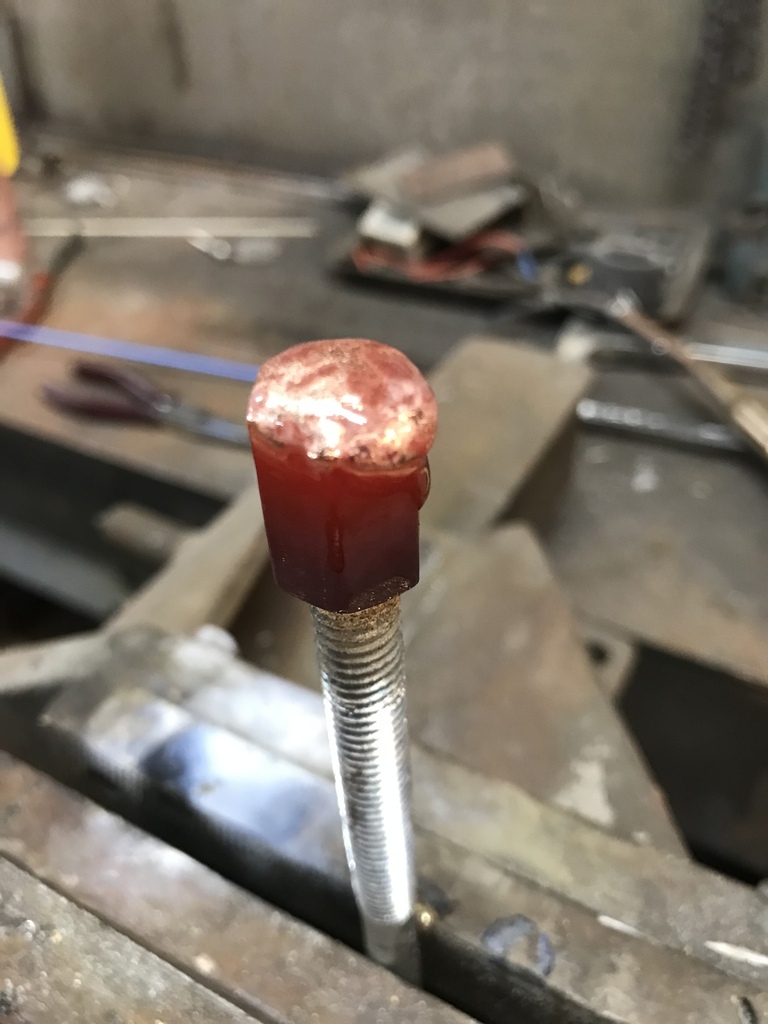 Spun them in the lathe while shaping the end with a flap disk in the angle grinder. Then sanded with 320, then 600 grit. 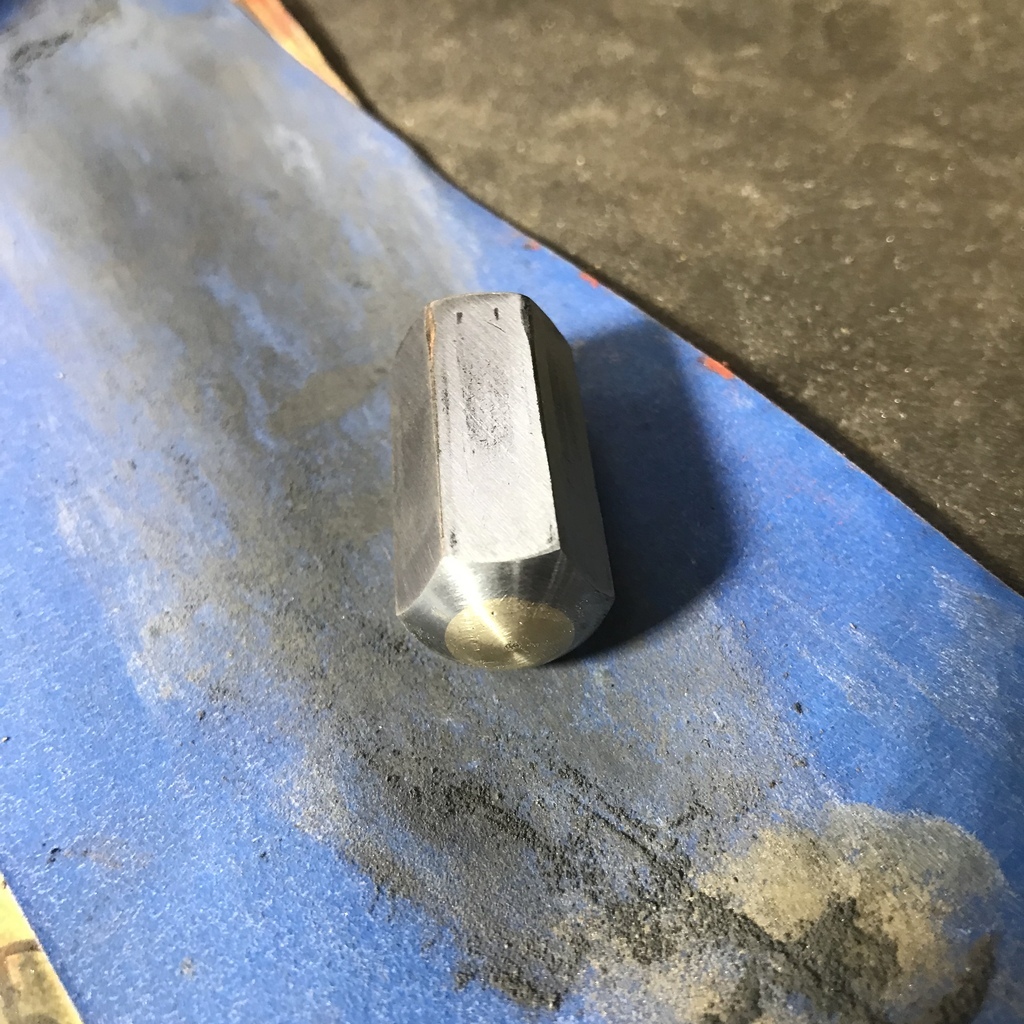 After polishing. 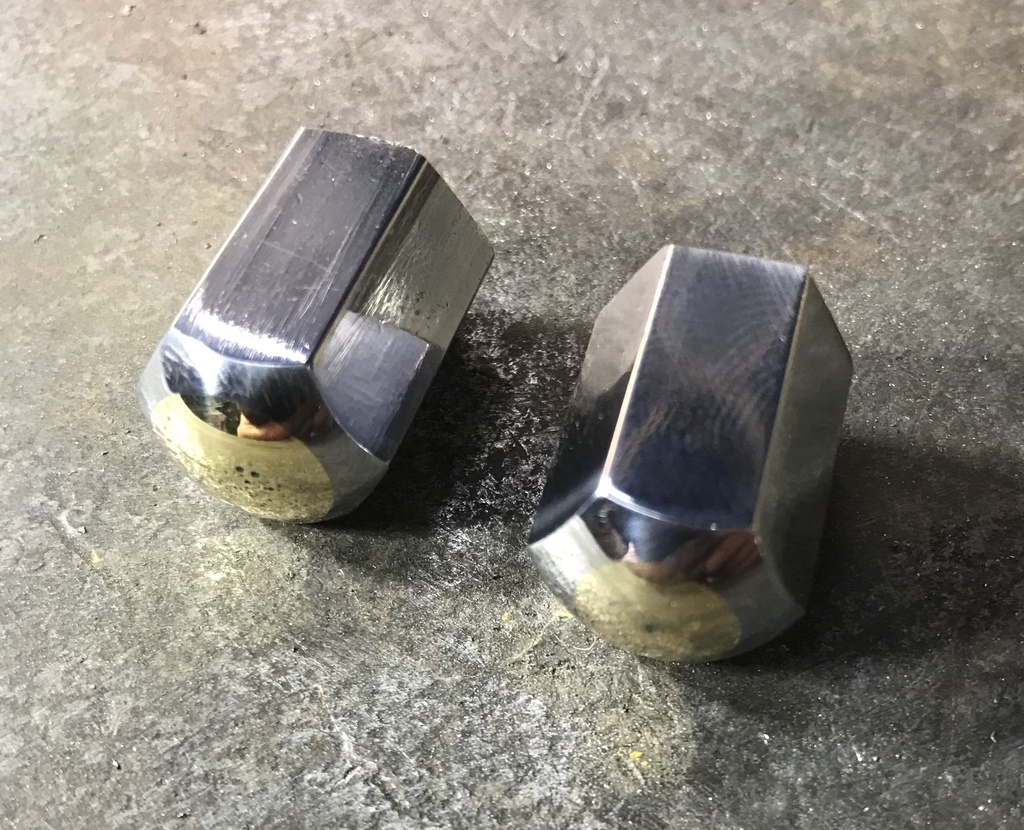 And plated.  Also got the spare tyre area finished. 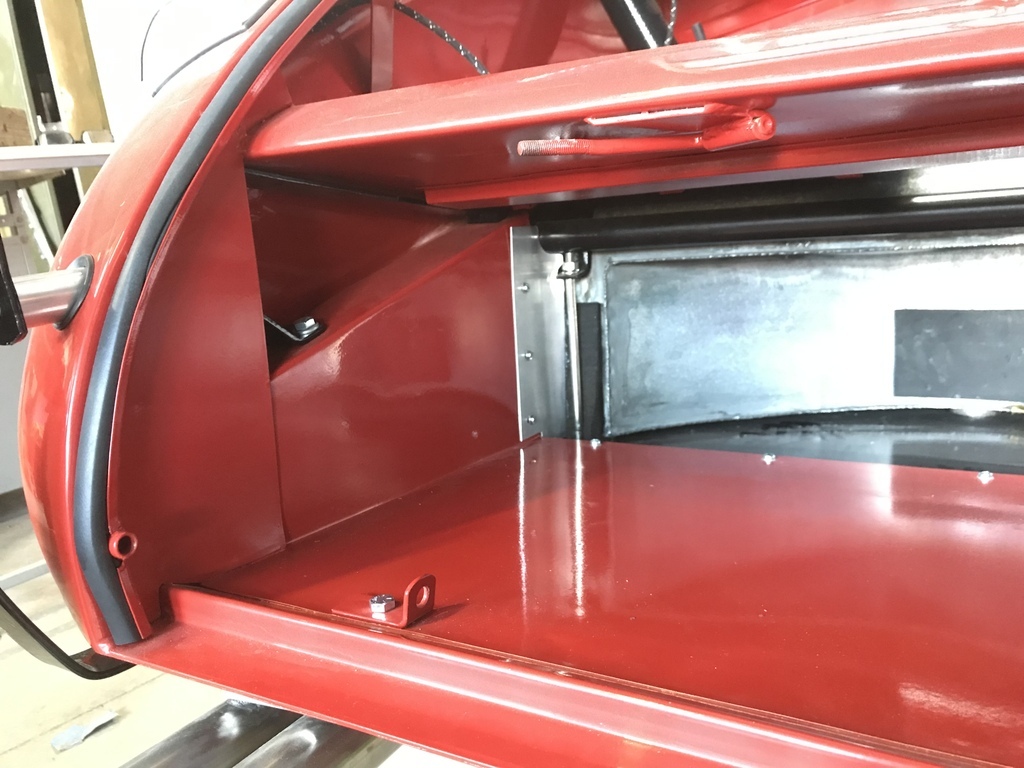  That’s all for now. Comments, suggestions and queries welcome. Cheers. |
| |
|
|
|
|
|
Mar 21, 2022 13:12:08 GMT
|
|
Stunning work as usual.
|
| |
|
|
|
|
|
Mar 21, 2022 17:08:48 GMT
|
|
Old news now, but I'm glad that your thumb is working OK. I think we have all picked up wounds in the course of our interests! But stunning work, as ever, on your car.
|
| |
|
|
|
|
gazzam
Part of things
 
Posts: 741 
|
|
Mar 25, 2022 10:39:01 GMT
|
Thanks Mark, Phil. Much appreciated. More back end work. Boot floor is two pieces of plywood, I think because it would be impossible to get it in if it was only one piece. Fuel filler hose and breather. 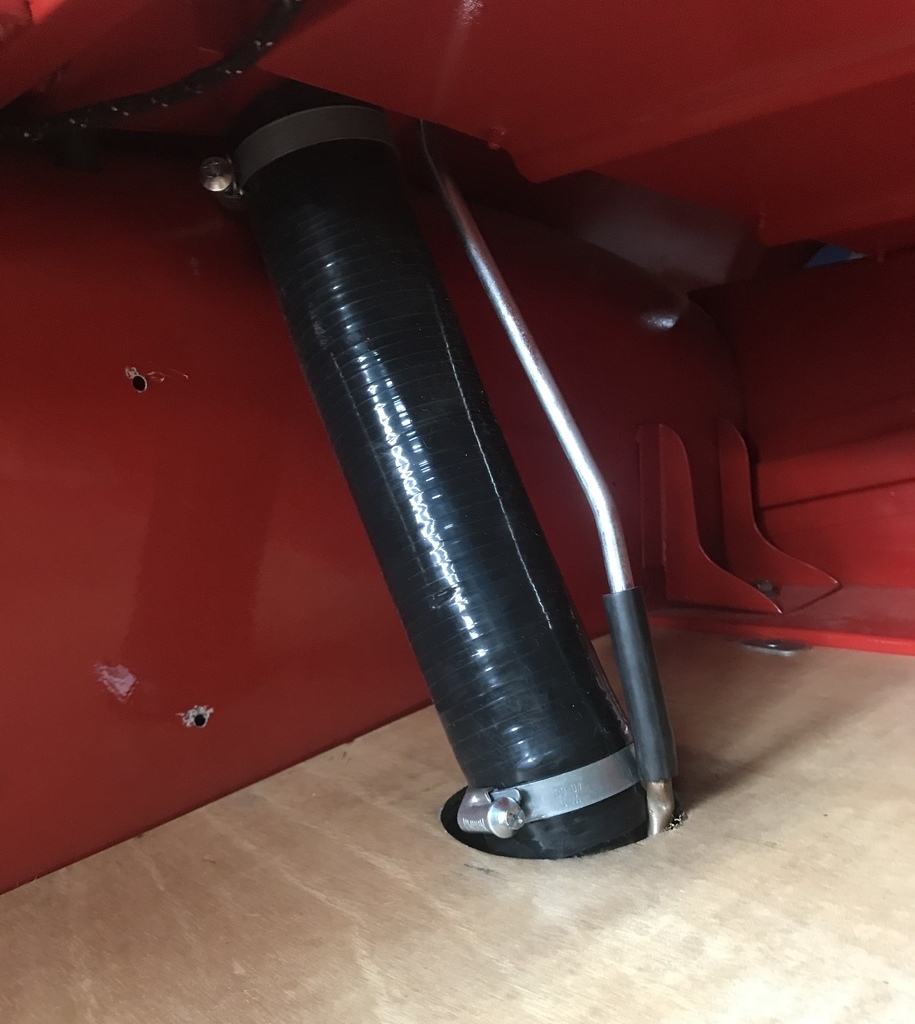 First piece of ply in, along with filler hose cover.  And second piece of ply.  Carpet. I do love reassembly time. 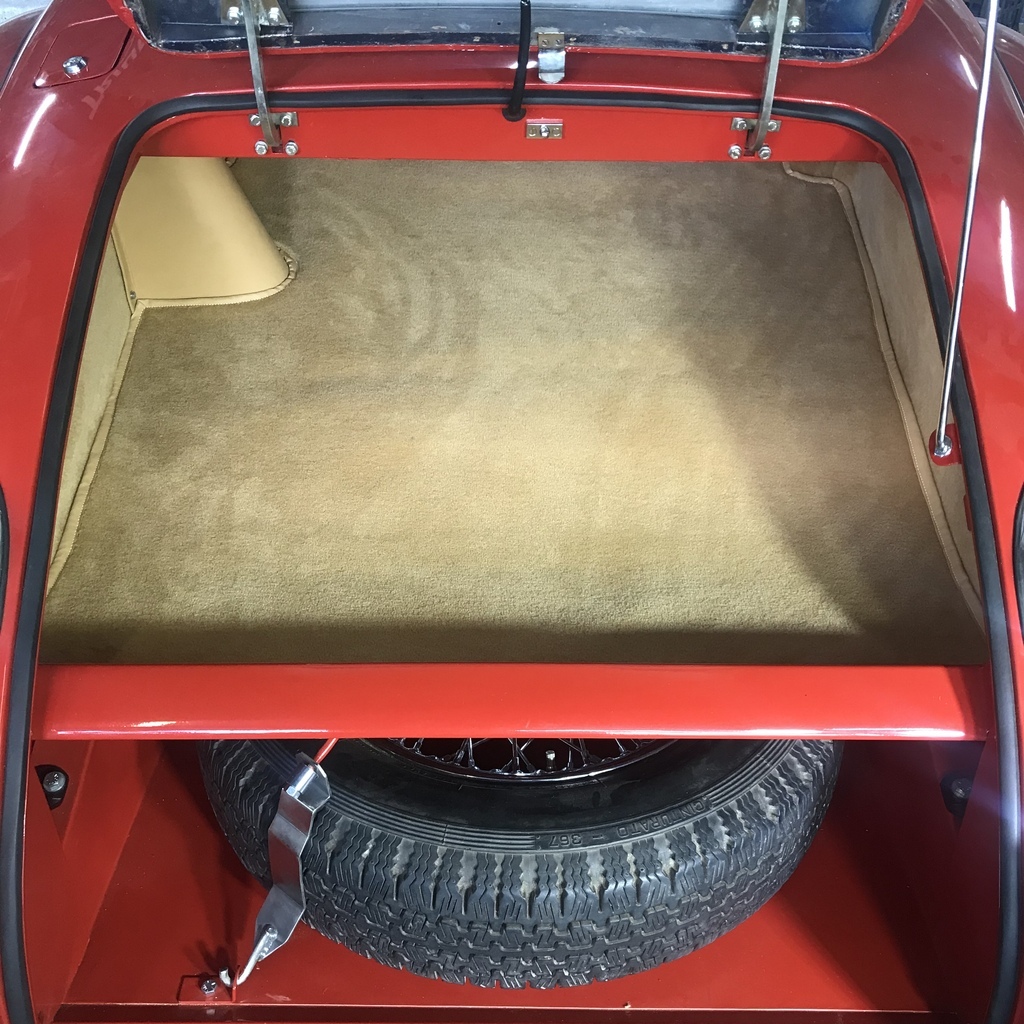 Now that I have the spare tyre in place I can try my boot trim. You may remember that it’s made from the old boot skin. I wanted to try it because I reckon it’ll look better than the usual boot trim. Factory boot trim only covered this area. 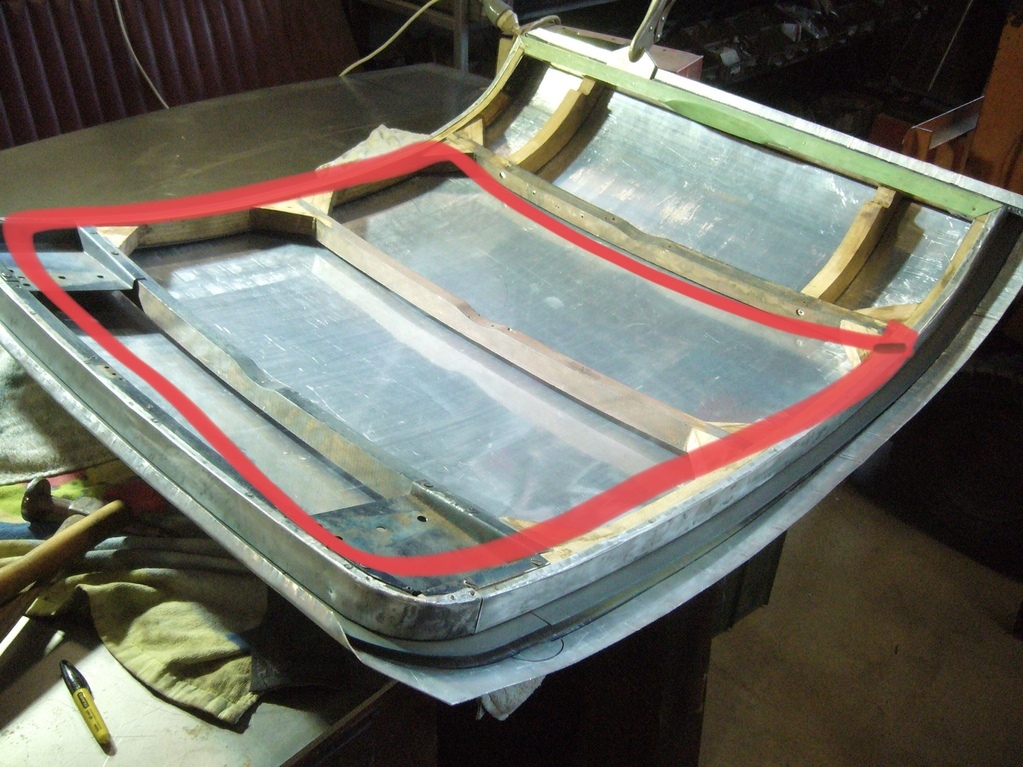 And looked like this. (Not my car)  The unfinished area was to leave clearance for the spare, maybe because the millboard was thicker and wouldn’t bend as tightly as the aluminium. The old ally boot skin in place. Lots of fettling to get to this point! 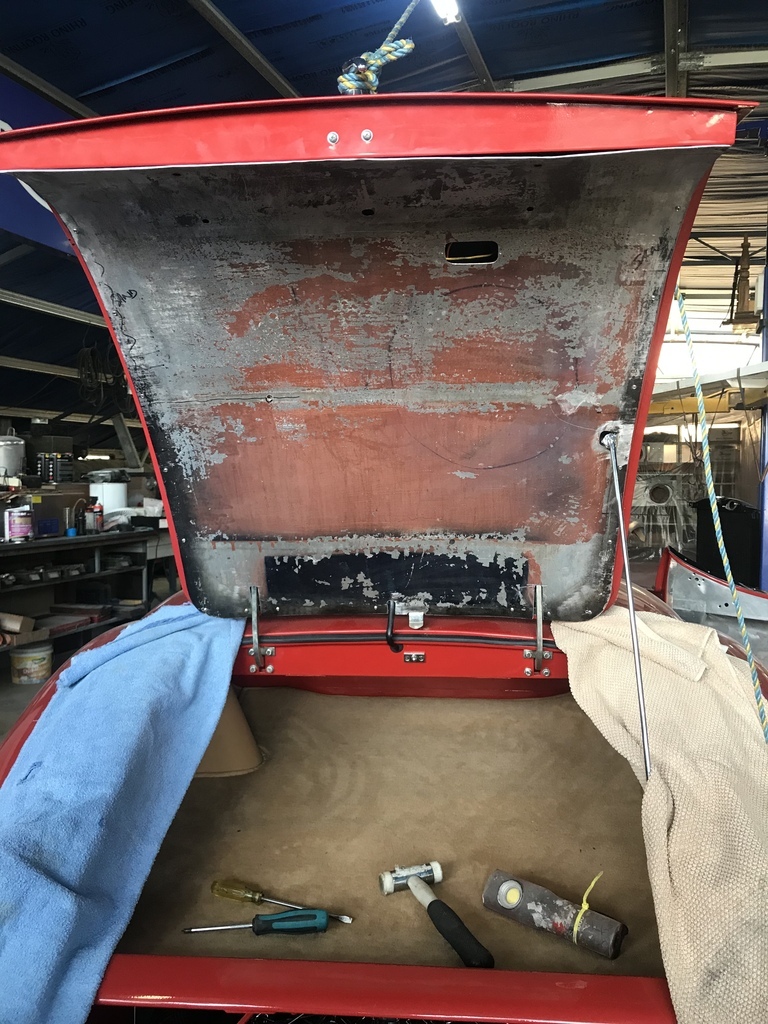 Proof that it will clear the spare. By millimetres! Cameras in phones can be handy. I did scrub the spare, but obviously not well enough.  I must have had a brain fade as I thought I had the vinyl to trim it, but no. So it’s been ordered. That’s all for now. Comments etc etc. Cheers. |
| |
|
|
Duggy
Part of things
 
Posts: 129 
|
|
Mar 25, 2022 11:12:18 GMT
|
|
Going to be a real beauty once you've put it back together.
Just the thing for sunny days on back roads.
|
| |
|
|
|
|
gazzam
Part of things
 
Posts: 741 
|
|
Mar 29, 2022 10:40:33 GMT
|
Thanks Duggy, 75. Much appreciated. Air filters are done. Sheet of dual layer foam arrived. Cut a 50mm strip and reassembled. Piece of cake. Would have preferred that the outer layer of foam was black, but you can’t have everything…  The crash or D rolls are the next project. These look like they’re going to be challenging. The red line shows them on this pic from the web. 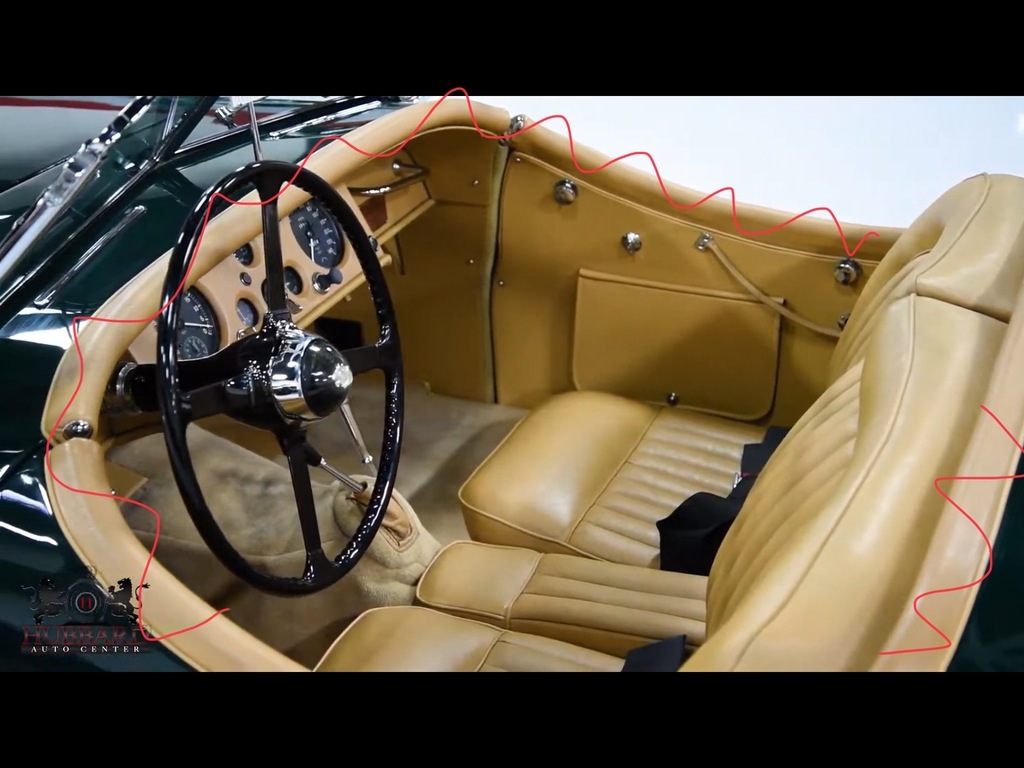 They’re called D rolls because the rubber that they take their name from has a D section. They go right around the cabin, four pieces in total. All similar construction but all different shapes. Quite complicated. Also right in view, so important to get them right. That’s all for now. Comments etc. Cheers |
| |
Last Edit: Mar 31, 2022 10:53:08 GMT by gazzam
|
|
TessierAshpool
Club Retro Rides Member
Posts: 520
Club RR Member Number: 168
|
1952 Jaguar XK120 restoration TessierAshpool
@tessierashpool
Club Retro Rides Member 168
|
Mar 29, 2022 11:25:34 GMT
|
|
That looks tricky, are you making from scratch or do you have old ones to take useful templates and hardware from?
|
| |
|
|
|
|
|
Mar 29, 2022 12:31:55 GMT
|
Air filters match the car colour at least  |
| |
|
|
nze12
Part of things
 
Posts: 193
|
|
Mar 29, 2022 16:27:01 GMT
|
Air filters match the car colour at least  What he said. If you knew nothing of this thread and saw those filters you would think wow - attention to detail.  |
| |
Last Edit: Mar 29, 2022 16:27:24 GMT by nze12
1986 BMW E30 refreshed to original spec
1973 BMW E12 520 converting to Motorsport 530
1982 XJS V12 converting to 5 speed manual
Many landscaping projects overriding above!
Cogito cogito ergo cogito sum!
|
|
gazzam
Part of things
 
Posts: 741 
|
|
Mar 31, 2022 11:14:17 GMT
|
Thanks for the suggestion Duggy, but I’ve got the original d roll rubber. The rest is just leather, glue and bits and pieces. I didn’t really consider that the colour of the foam would be a thing, when I ordered it. Lucky it wasn’t a colour that stood out but didn’t work. Boot trim is trimmed. Pleased with how this turned out. 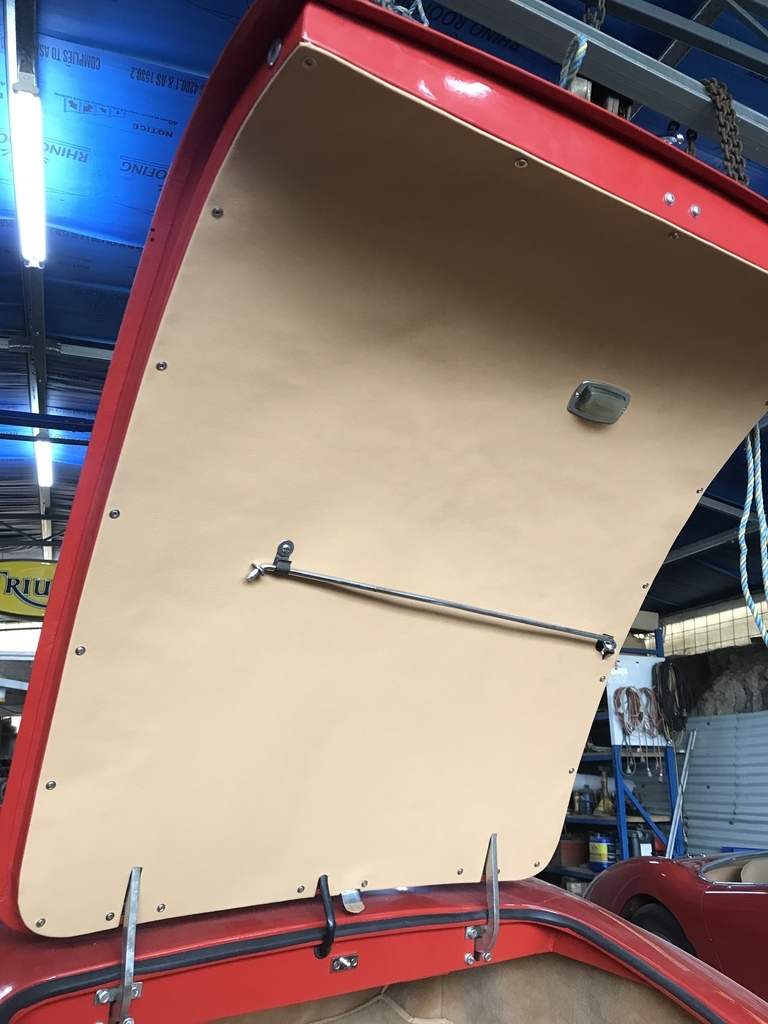 Now for the d rolls. Made up of a few bits, but fairly complicated to put together. This is a drawing I did when I removed them, so I’d know how they were done. This wasn’t actually the door, it was the scuttle. The leather was just wrapped around and glued, not stapled.  Also needed is something attached to the body to staple the leather to. On the doors it’s a piece of 3mm mdf screwed in place. 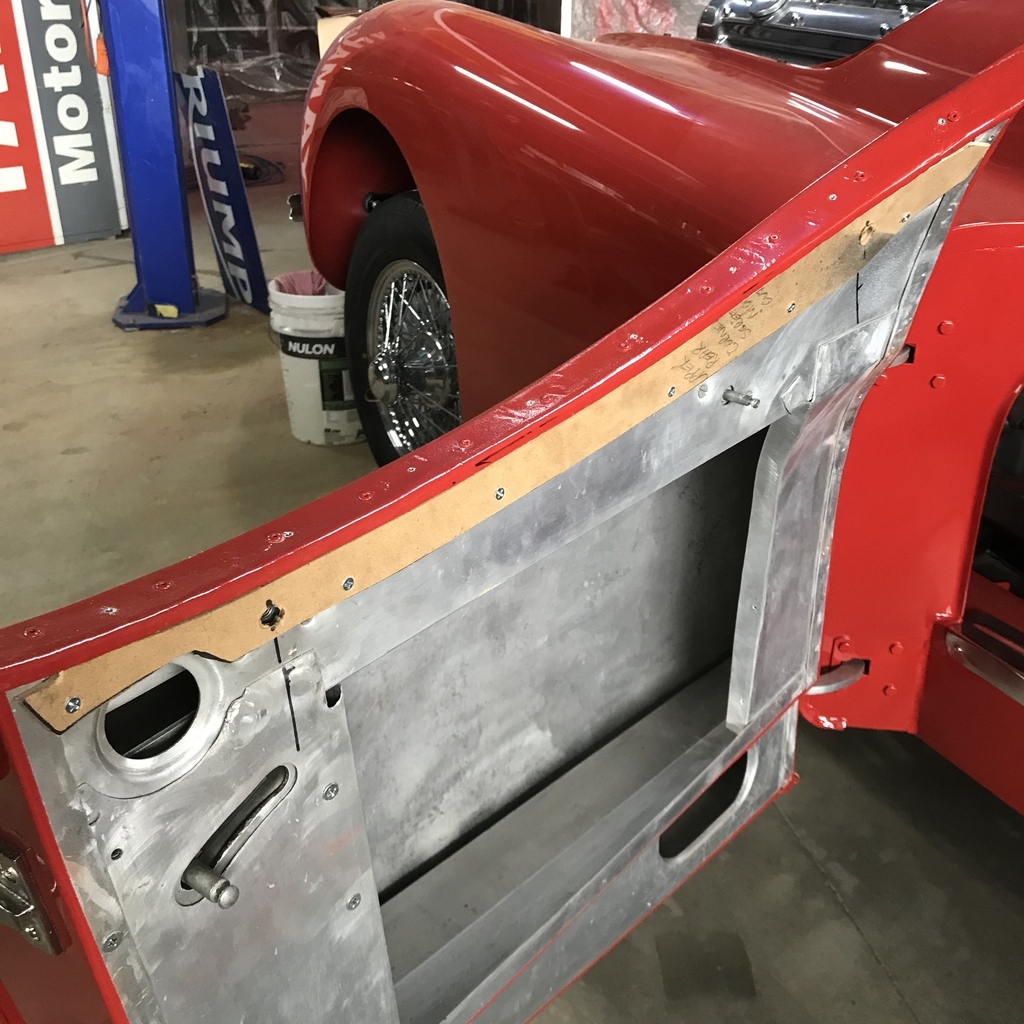 The tonneau has these pieces. Were originally bare metal, now painted with black gloss. Note semi healed thumb!  Then a piece of ply is screwed to them, to which the leather can be stapled.  The leather will be stapled to pieces of 18mm mdf fixed behind the edges of the scuttle and the tonneau. Here a length is clamped in place to mark the shape. 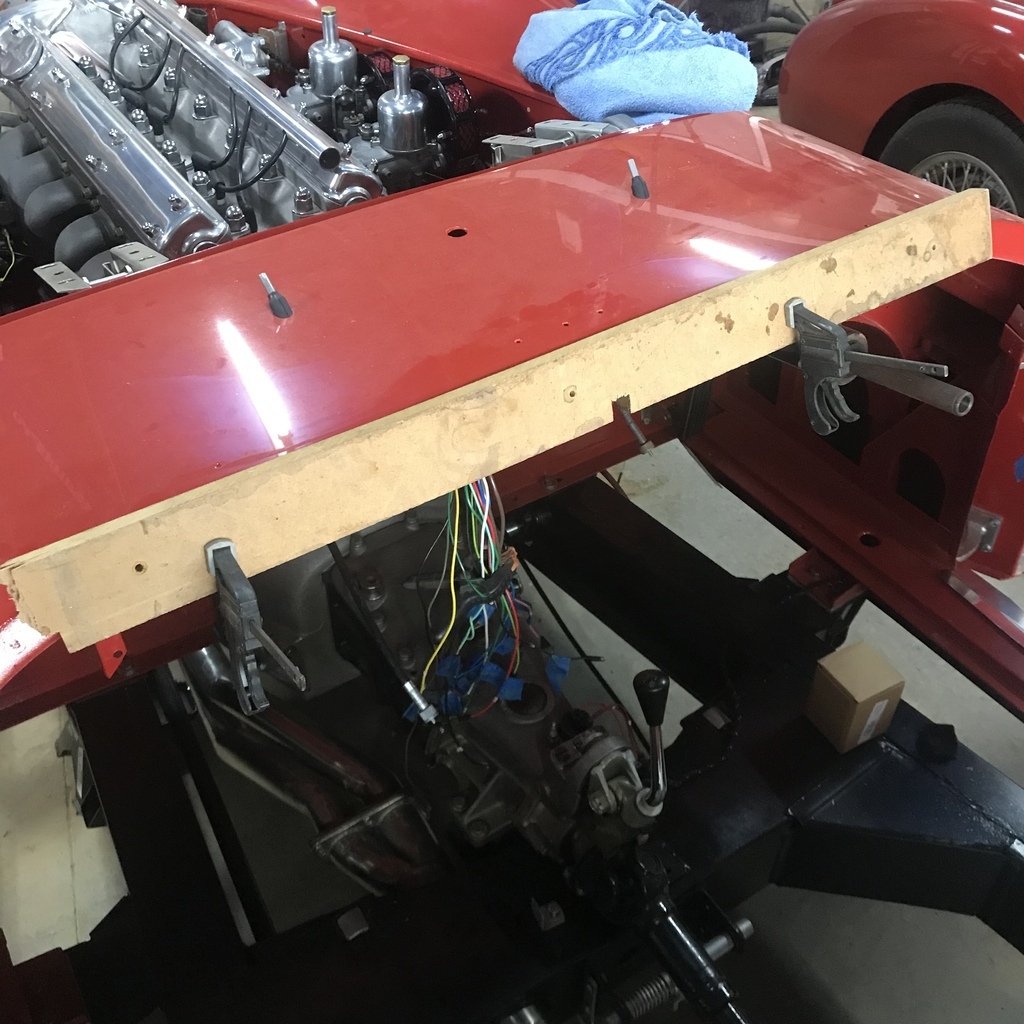 One of the smaller side pieces ready to fit. These bits are fixed with countersunk self tappers. 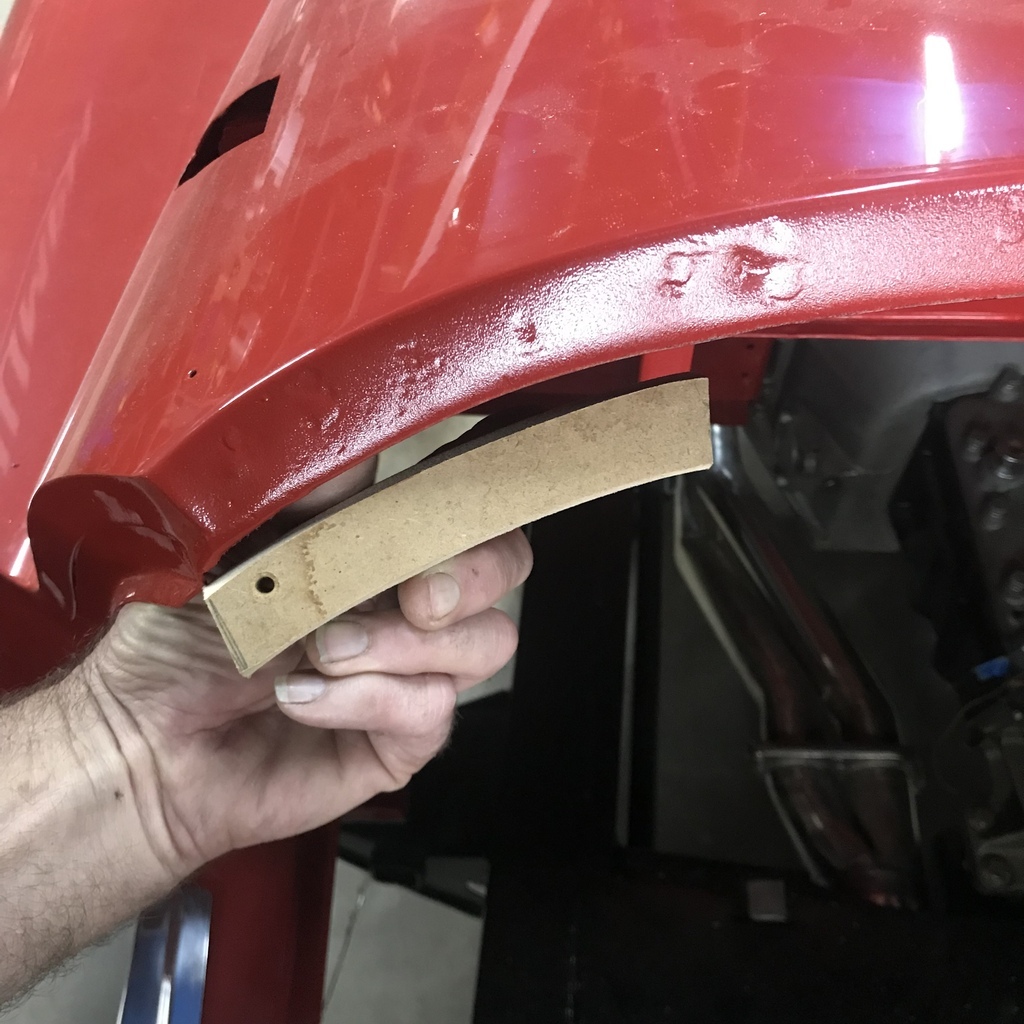 There’s a strip of (usually ) ply screwed to the top of the doors ( or the tonneau, or the scuttle) I’m using my favourite sign board instead. It’s easy to work and totally weatherproof. A fair bit of adjustment to get it to fit nicely. Should have used countersunk rivets on the door construction, but grinding small recesses allowed the strip to sit flat. Held on with countersunk screws.  Next sew up a piece of piping. Then a piece of leather and it are glued to the underside of the strip 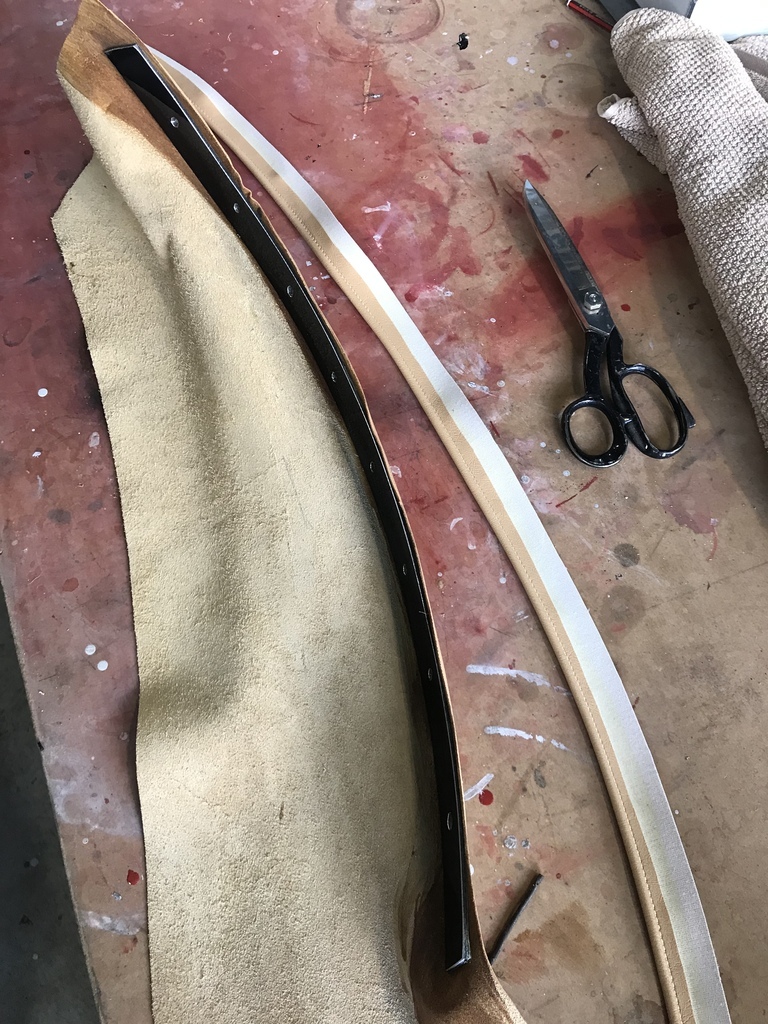 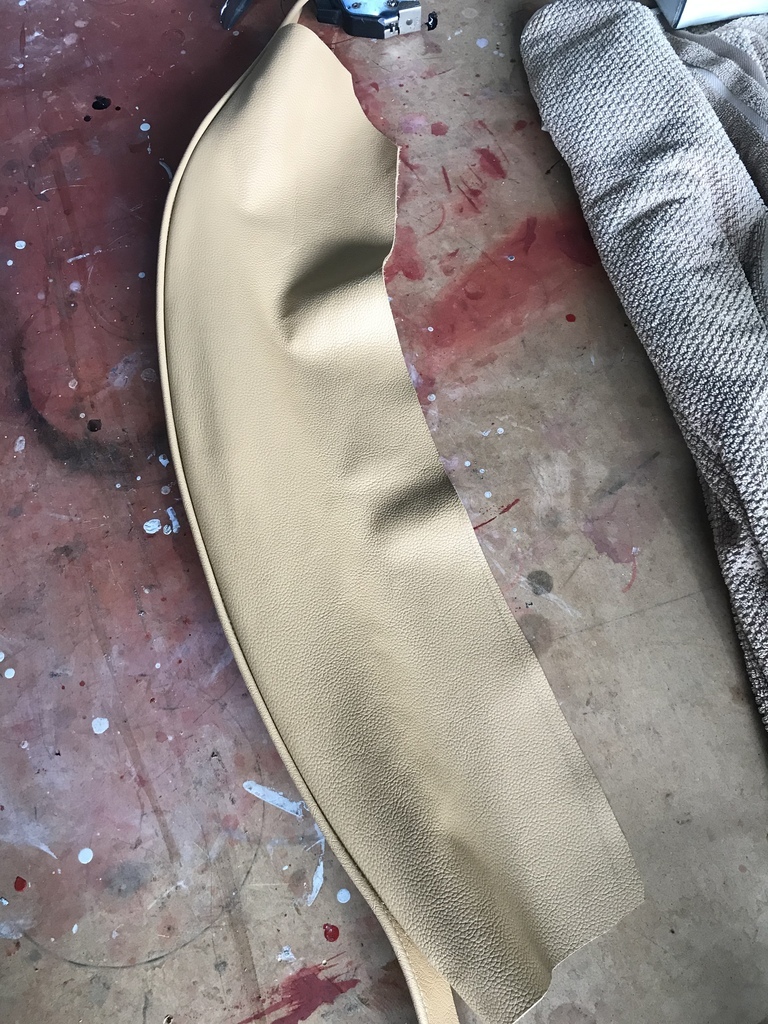 And the lot screwed in place. 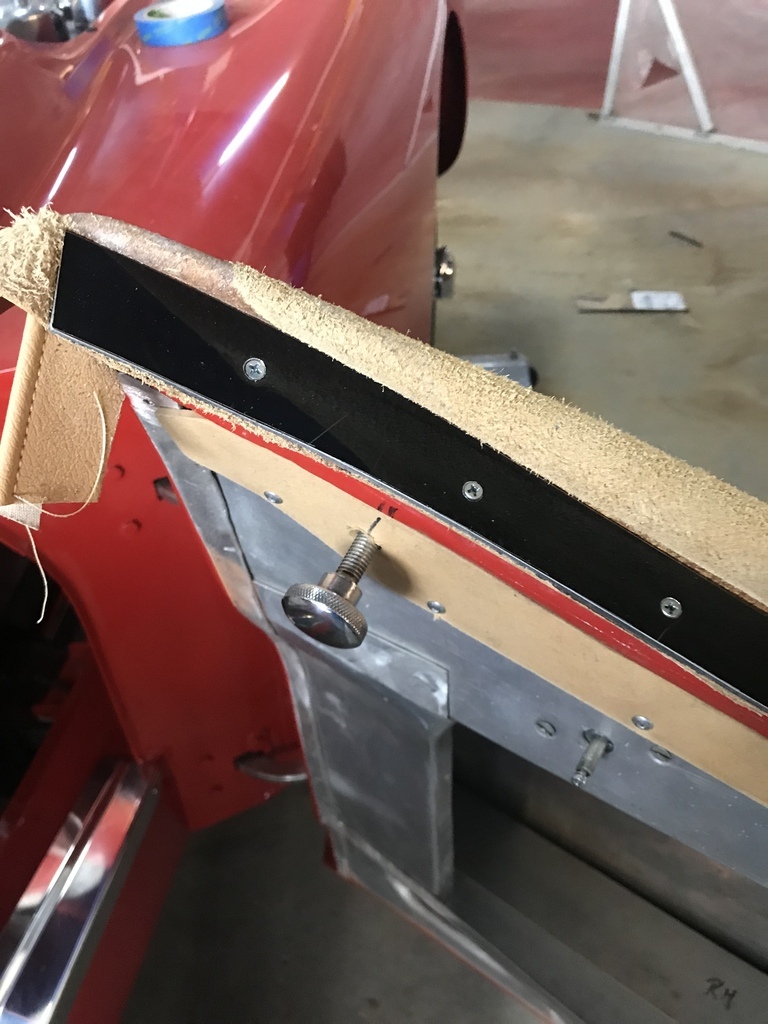 Two doors, scuttle and tonneau - plenty to do. That’s all for now. Etc. Cheers |
| |
|
|
gazzam
Part of things
 
Posts: 741 
|
|
Mar 31, 2022 11:16:45 GMT
|
That looks tricky, are you making from scratch or do you have old ones to take useful templates and hardware from? Sorry, missed this earlier. I hope I’ve answered in the post above. Cheers |
| |
|
|
|
|
|
Mar 31, 2022 11:59:15 GMT
|
|
Beautiful work as usual,
Can I ask, is the MDF "weatherproof" or can rain or damp never actually reach it ??
Nigel
|
| |
BMW E39 525i Sport
BMW E46 320d Sport Touring (now sold on.)
BMW E30 325 Touring (now sold on.)
BMW E30 320 Cabriolet (Project car - currently for sale.)
|
|
|
|


