|
|
|
Oct 19, 2021 12:04:58 GMT
|
|
It's always a major mojo boost to get it in one colour & primed.
Modern fillers are quite happy to be built up way thicker than 1.5mm so don't sweat it if you have to go thicker.
|
| |
|
|
|
|
|
|
|
Oct 19, 2021 12:13:41 GMT
|
|
Milestone indeed 🙂
Looks great.
Nick
|
| |
1967 Triumph Vitesse convertible (old friend)
1996 Audi A6 2.5 TDI Avant (still durability testing)
1972 GT6 Mk3 (Restored after loong rest & getting the hang of being a car again)
|
|
75swb
Beta Tester
Posts: 1,052
Club RR Member Number: 181
|
1952 Jaguar XK120 restoration 75swb
@75swb
Club Retro Rides Member 181
|
Oct 20, 2021 18:58:07 GMT
|
|
What an exciting step! Testament to the hard work put in thus far. Looks great
|
| |
|
|
|
|
eurogranada
Europe
To tinker or not to tinker, that is the question...
Posts: 2,556
|
|
|
|
|
That must be a huge mojo boost! Looking great!
|
| |
|
|
gazzam
Part of things
 
Posts: 742 
|
|
Oct 29, 2021 10:40:44 GMT
|
Thanks for the nice words. They are much appreciated. The mojo boost of having it one colour didn’t last long. I skimmed body filler over the places I could see, then left it for a couple of days. I do this as a sort of shrinkage avoidance measure. Don’t know if it’s valid or not. Filling and sanding. Repeat. Repeat… Will it never end? Well, hopefully yes. That’s what I’ve been up to the last week or so. None of it was worthy of a photo apparently, as I didn’t take any. But I’m on the home straight now. I went all over the shell. I want it to look pretty much like no bodywork has been done on it. Even in places that will be covered by carpet etc. Or where it’s only seen if it’s on a hoist. Body filler is a bit addictive. It’s so easy just to wipe a little here, a little there. Somehow while I’m spreading it on, I never consider that 90% of it must be sanded off. But sanded off it must be. And for the most part it is. A few pics of the shell, on the rotisserie, in the booth, just before a coat of .epoxy primer. 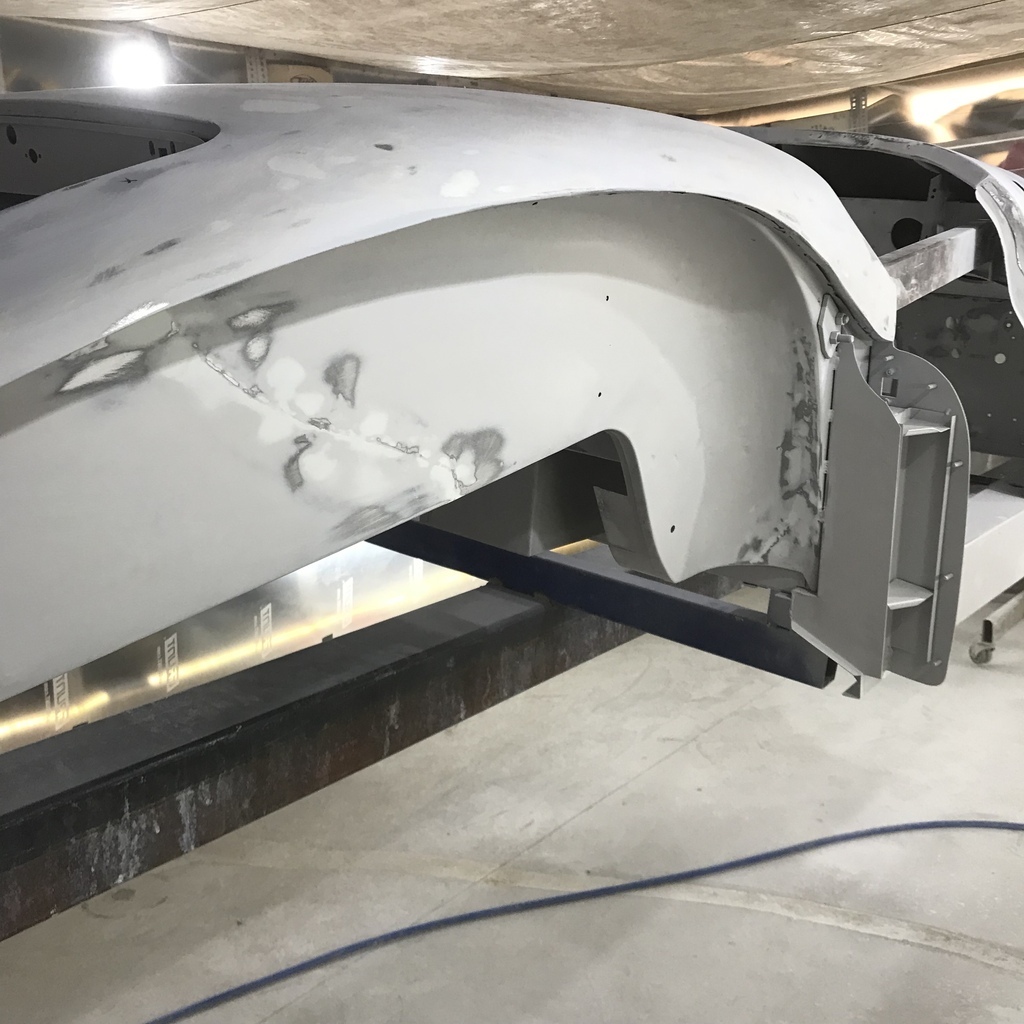 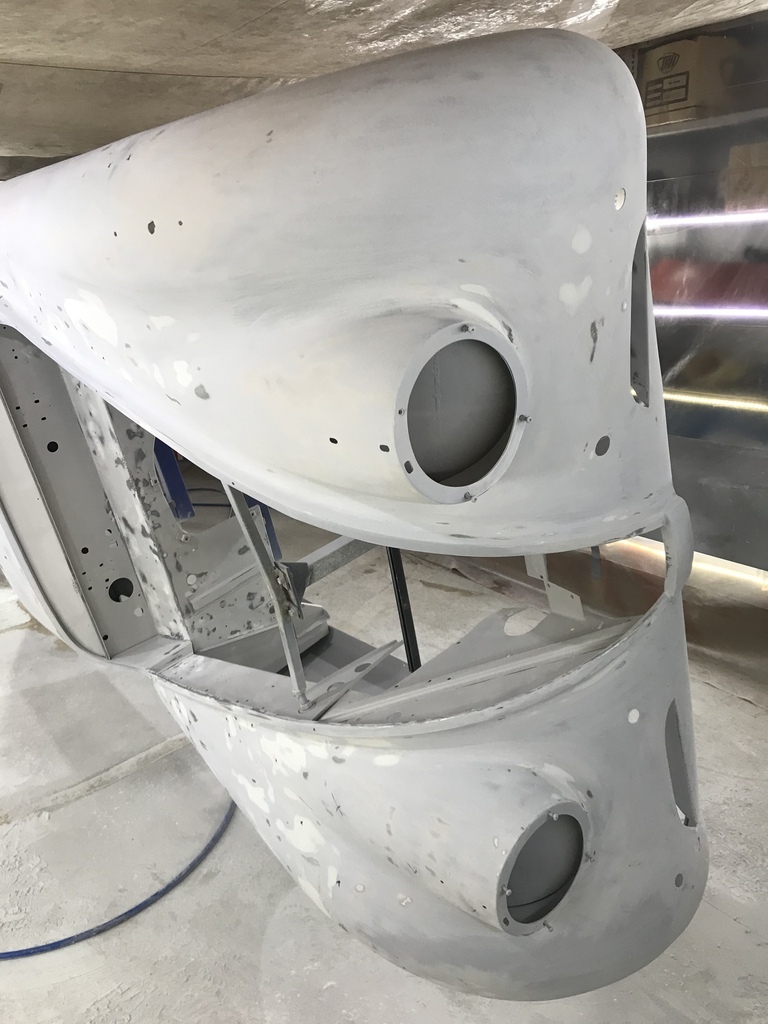 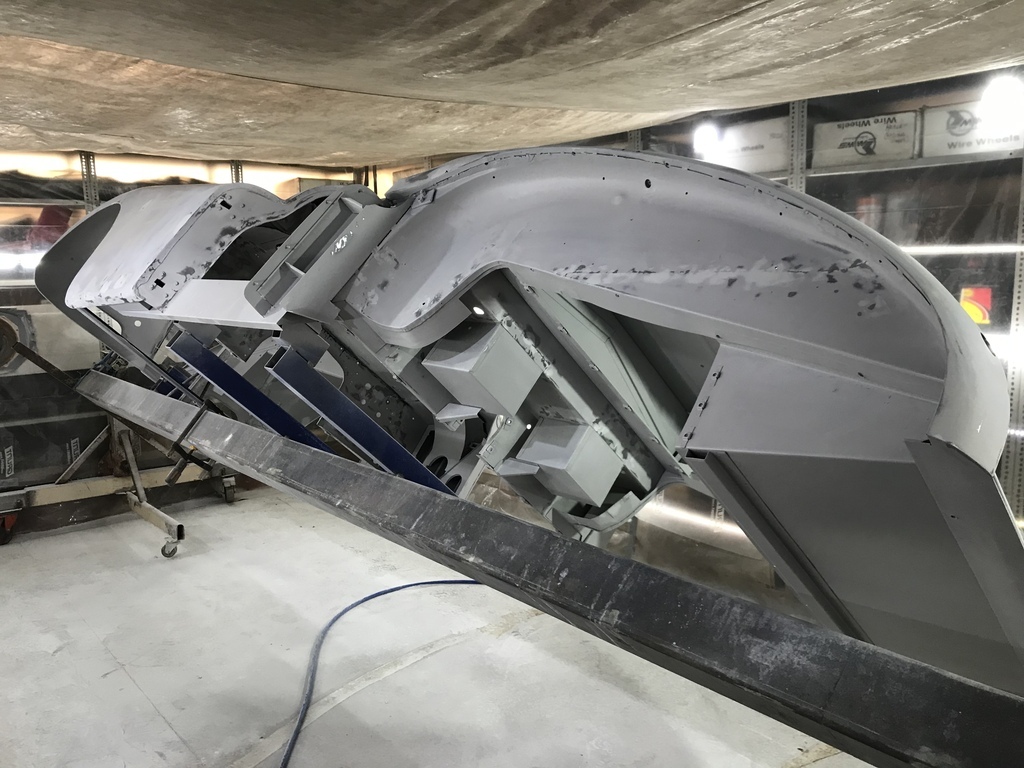 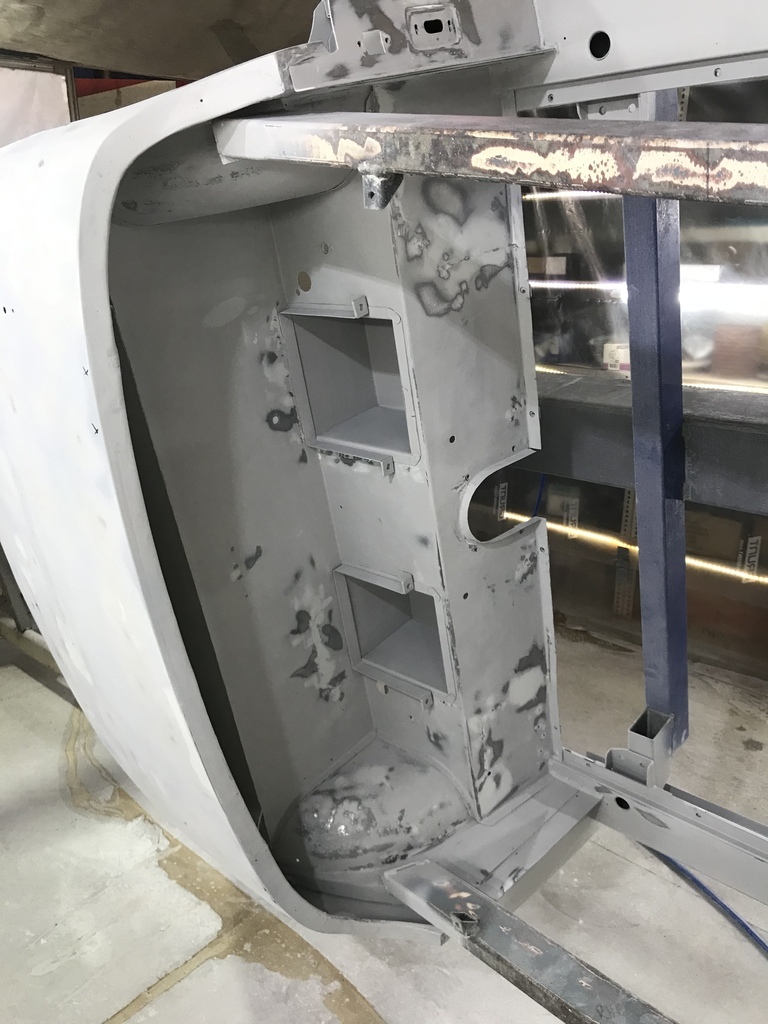 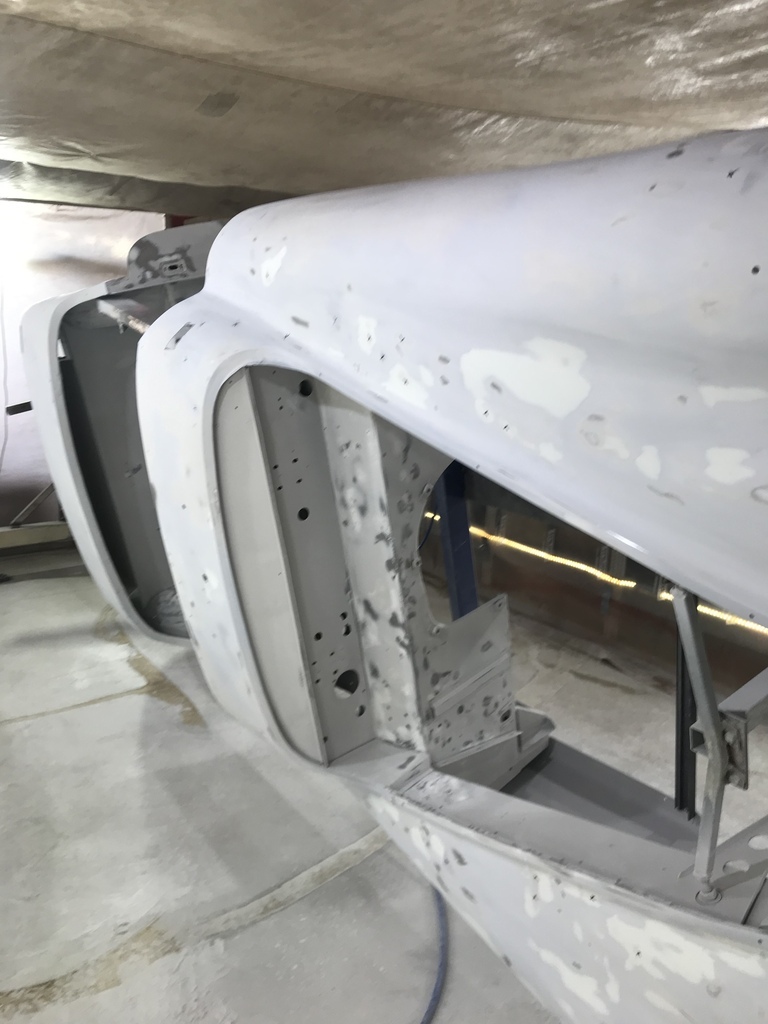 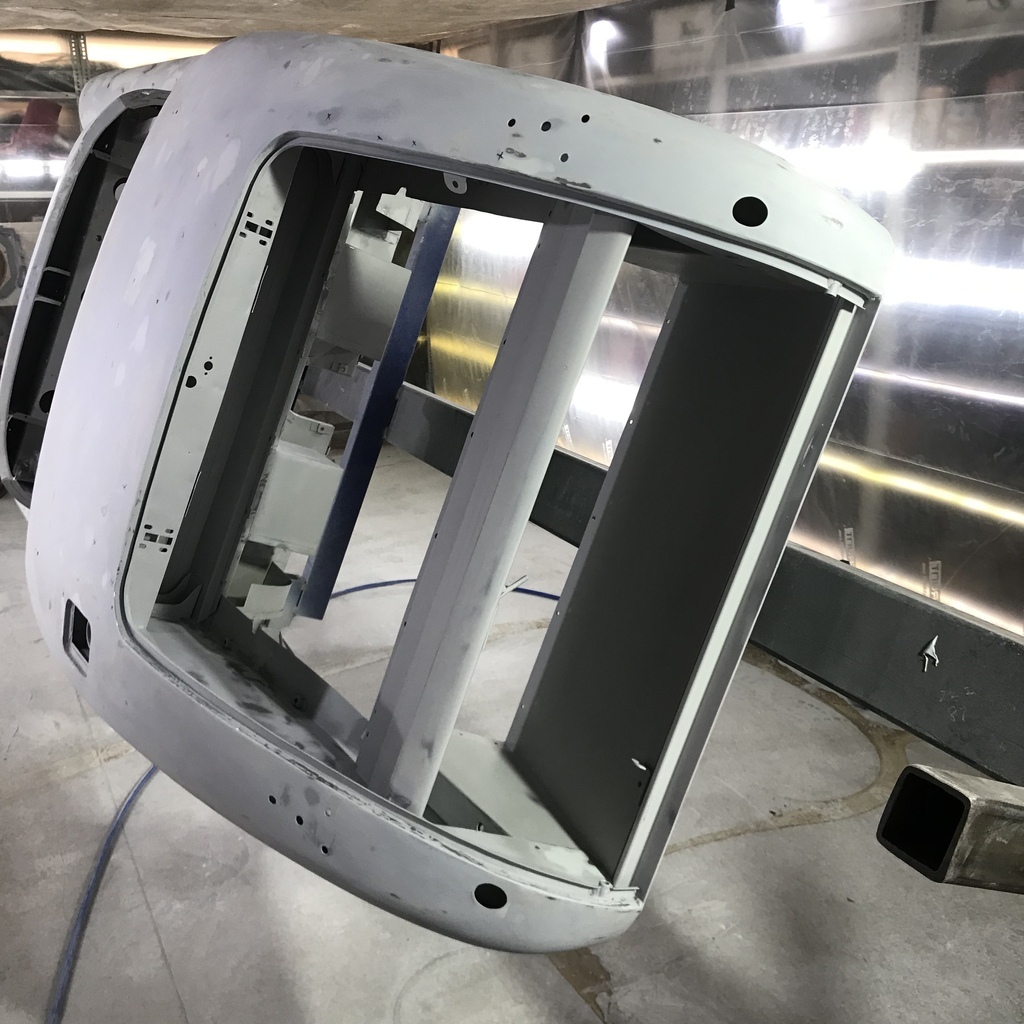 It’s now had another coat of epoxy primer to seal the bare metal and body filler areas. Tomorrow it will see some hi build and then I’ll let it sit for a couple of days before sanding starts again. Hoping there will be no need for any more body filler, ie that the remaining low spots will be filled by the hi build. Thanks for looking. Comments, queries and suggestions always welcome. |
| |
|
|
|
|
|
Oct 29, 2021 12:03:39 GMT
|
Ah, the joys of perfectionism  Good bodywork always demands huge amounts of prep time. |
| |
|
|
gazzam
Part of things
 
Posts: 742 
|
|
|
|
A few after shots. IE after a new coat of epoxy primer. 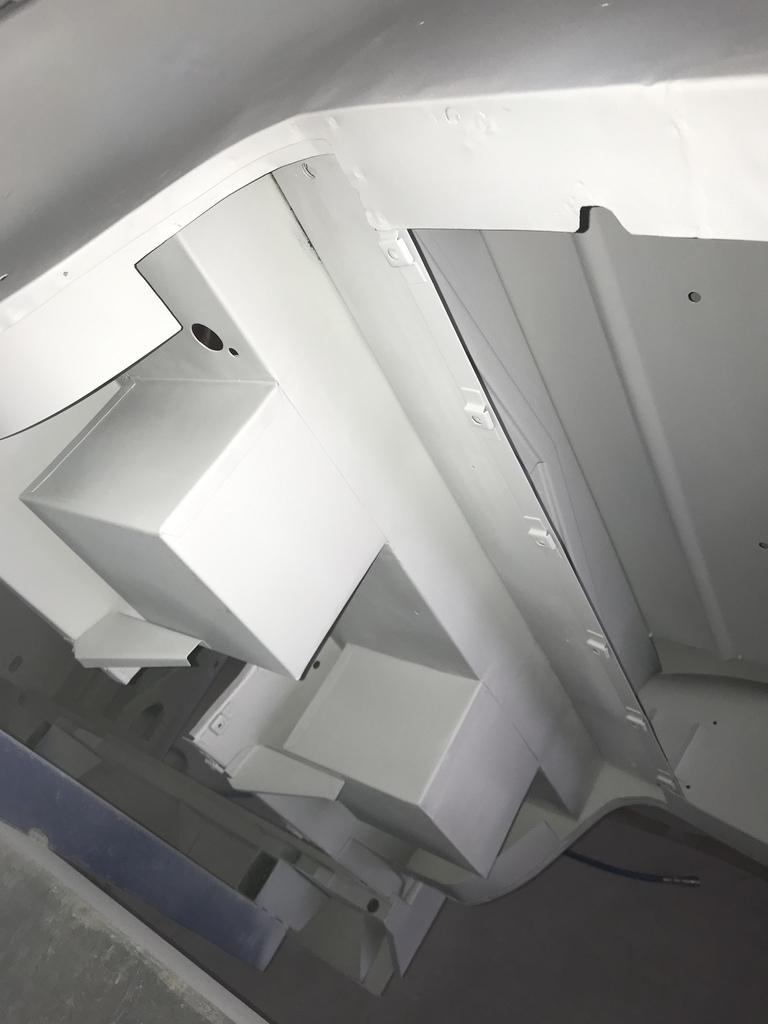 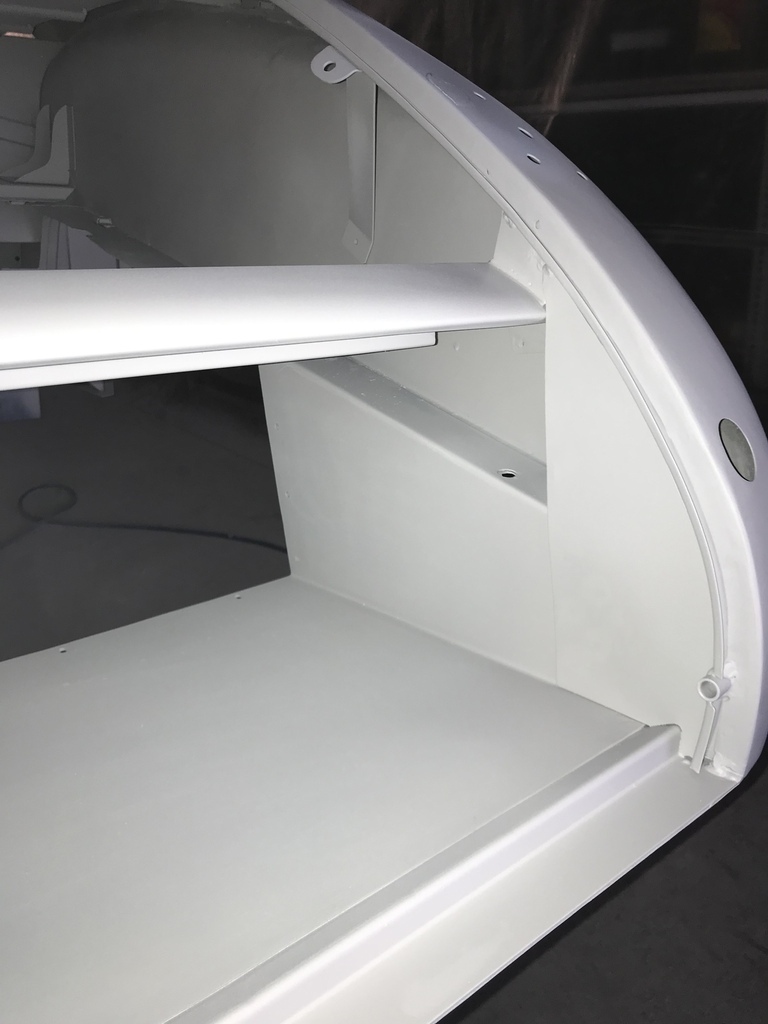 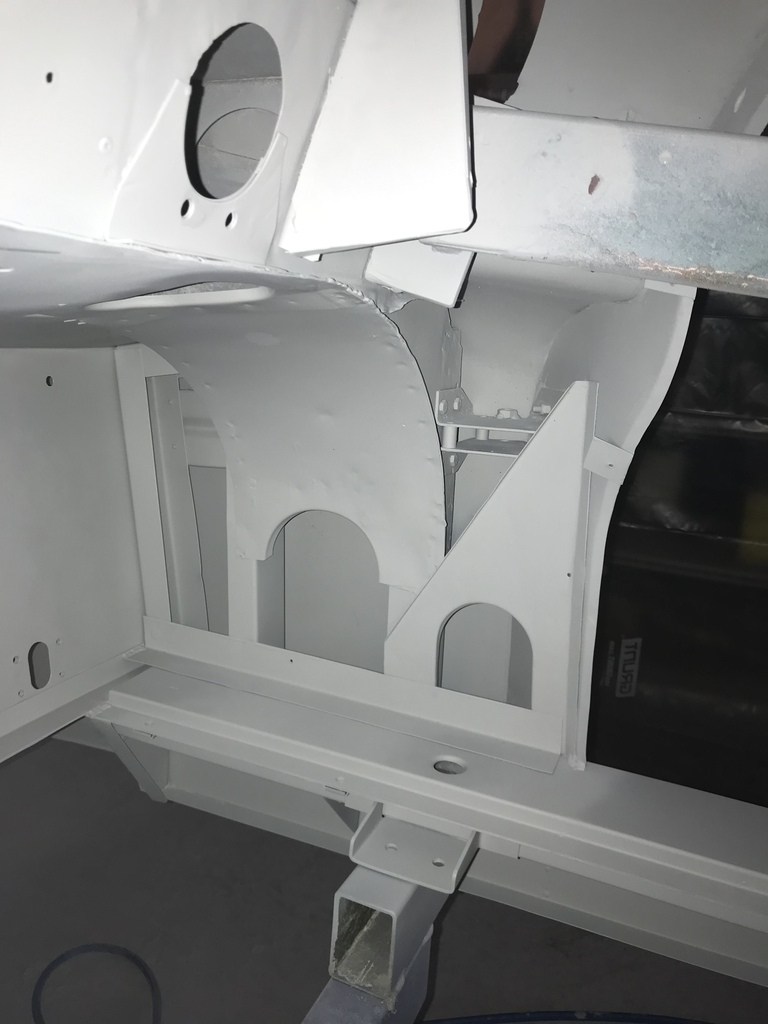 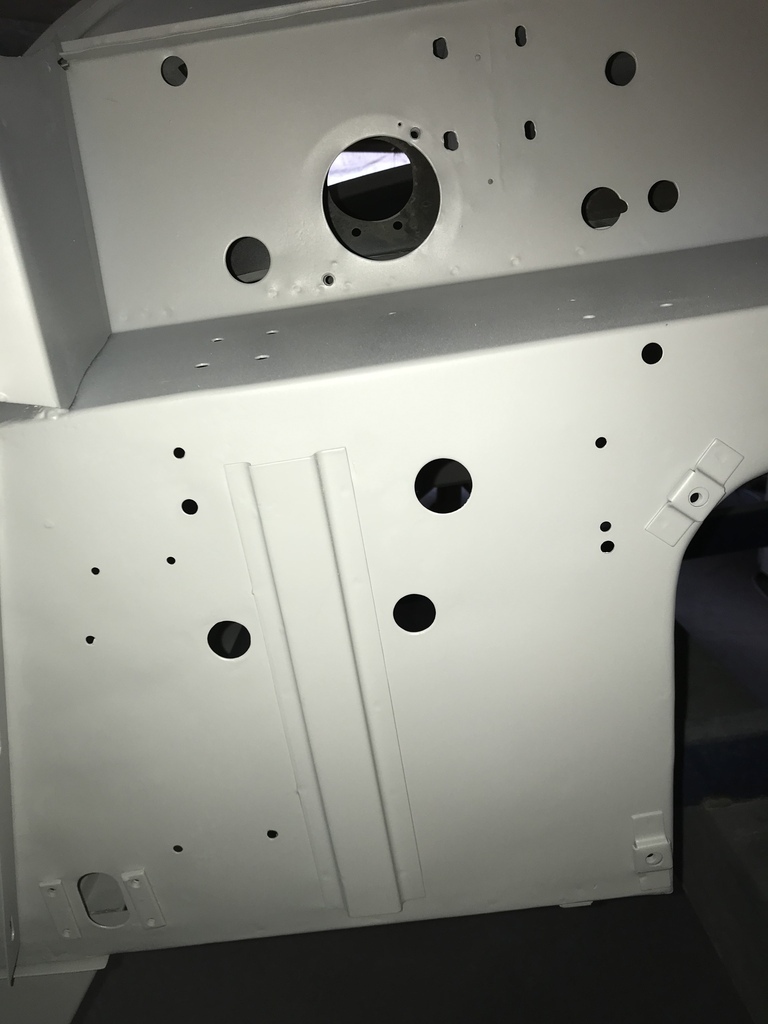 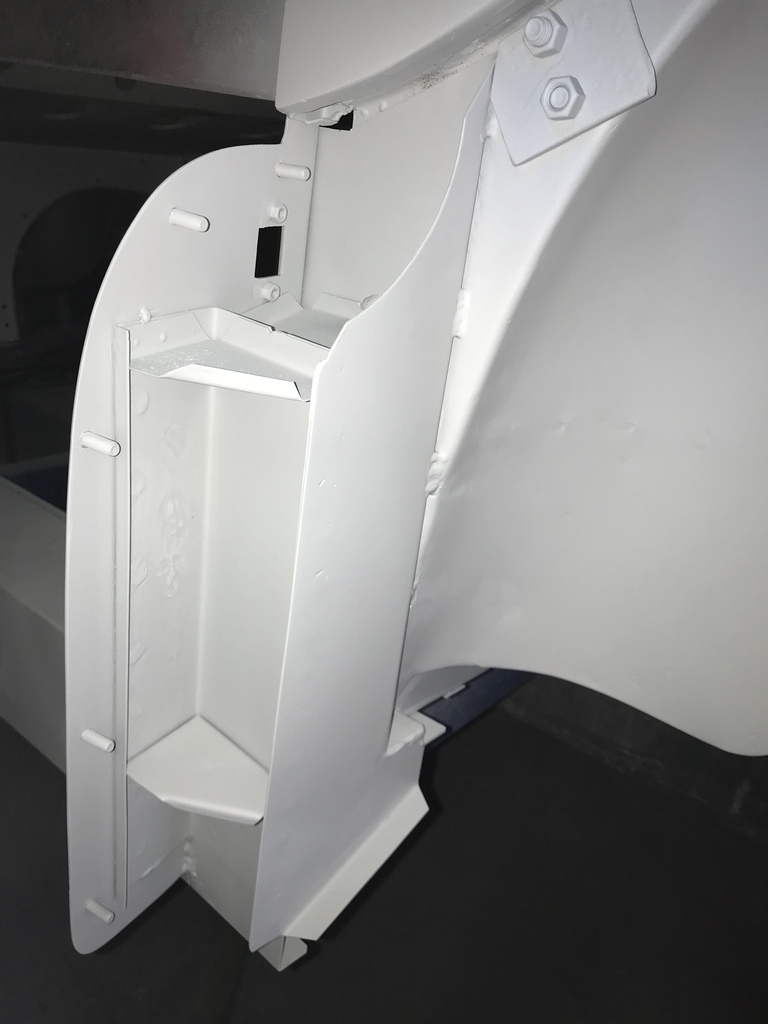 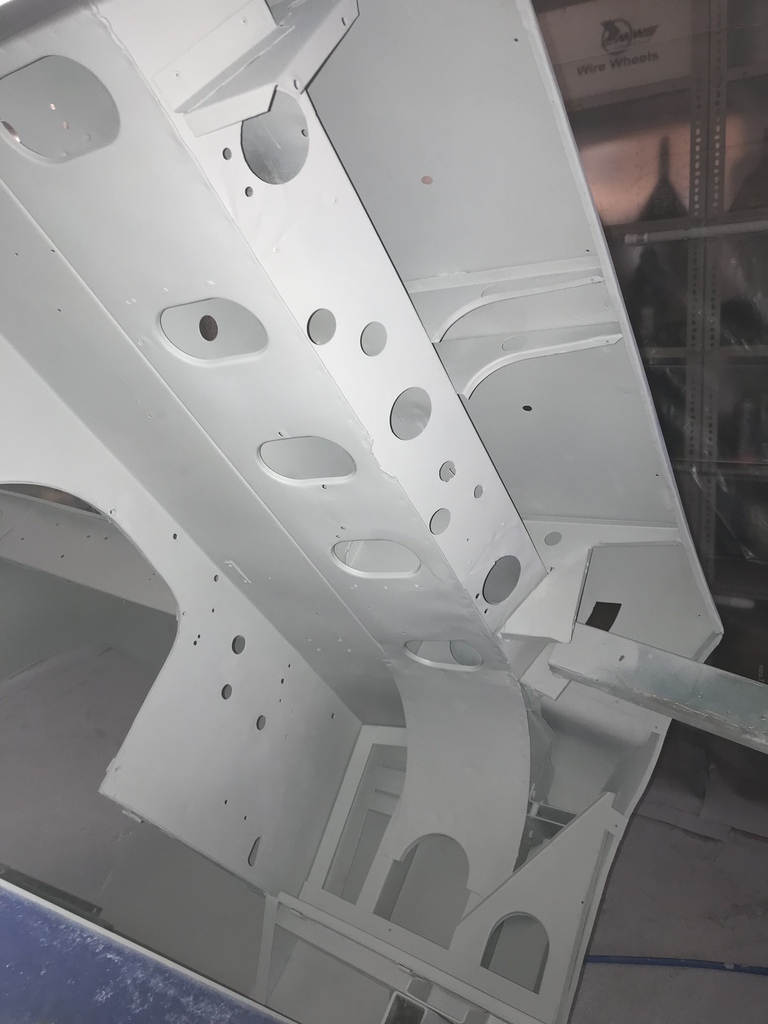 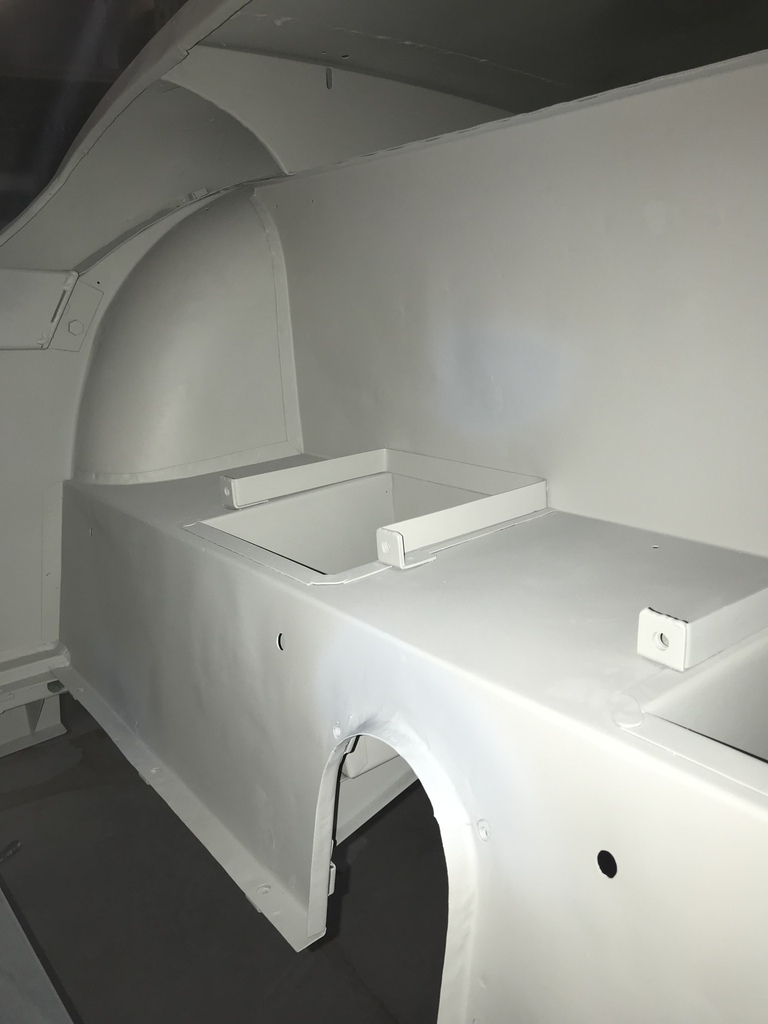 I’m getting really keen to see this in final paint. Fair bit to do before that though. Thanks for your interest. Comments, suggestions and queries welcome. Garry |
| |
|
|
|
|
|
Oct 30, 2021 10:20:49 GMT
|
|
....As I said before - this is better than Jaguar ever made! Well Done!
|
| |
|
|
gazzam
Part of things
 
Posts: 742 
|
|
|
|
Thanks very much Phil. More for my own failing memory than others entertainment, I want to record just how much of this car I have had to make. All the bits with the yellow arrows aren’t Jaguar. 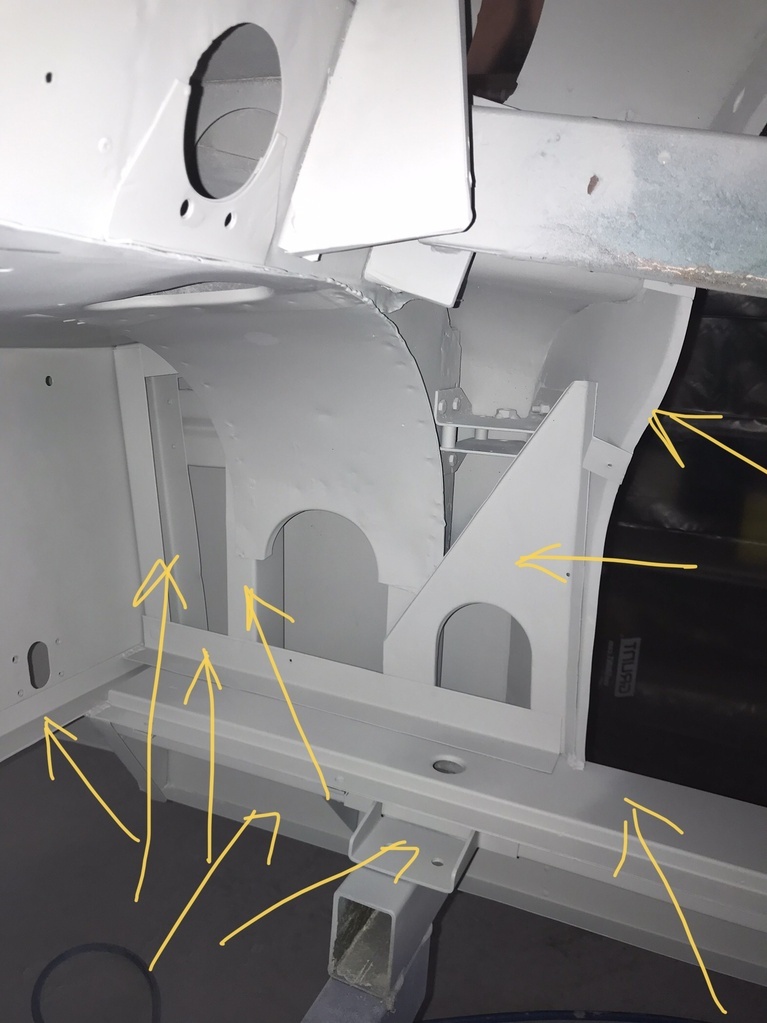 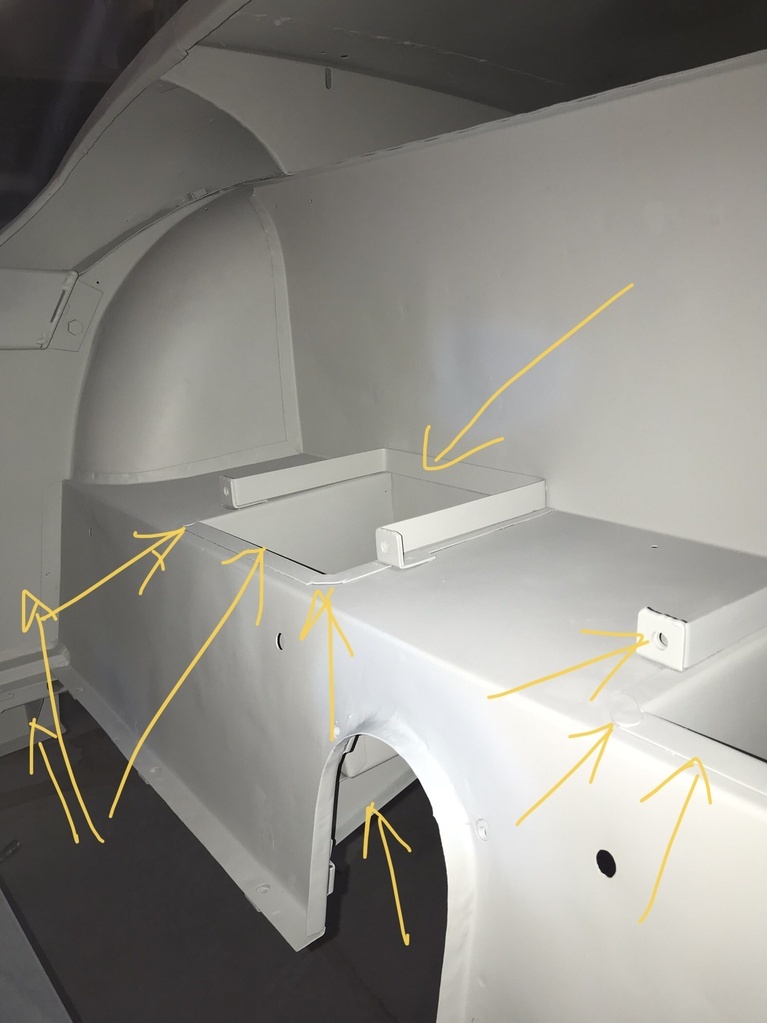 In these next two, the green line shows a join. The cross is the bit I made. 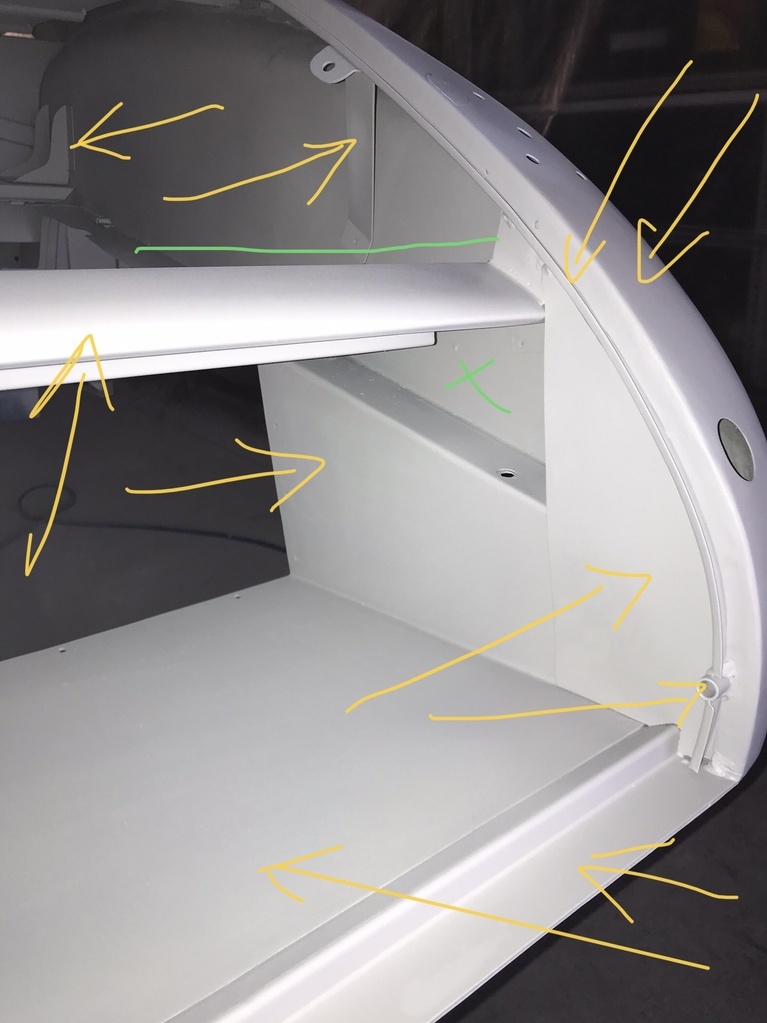 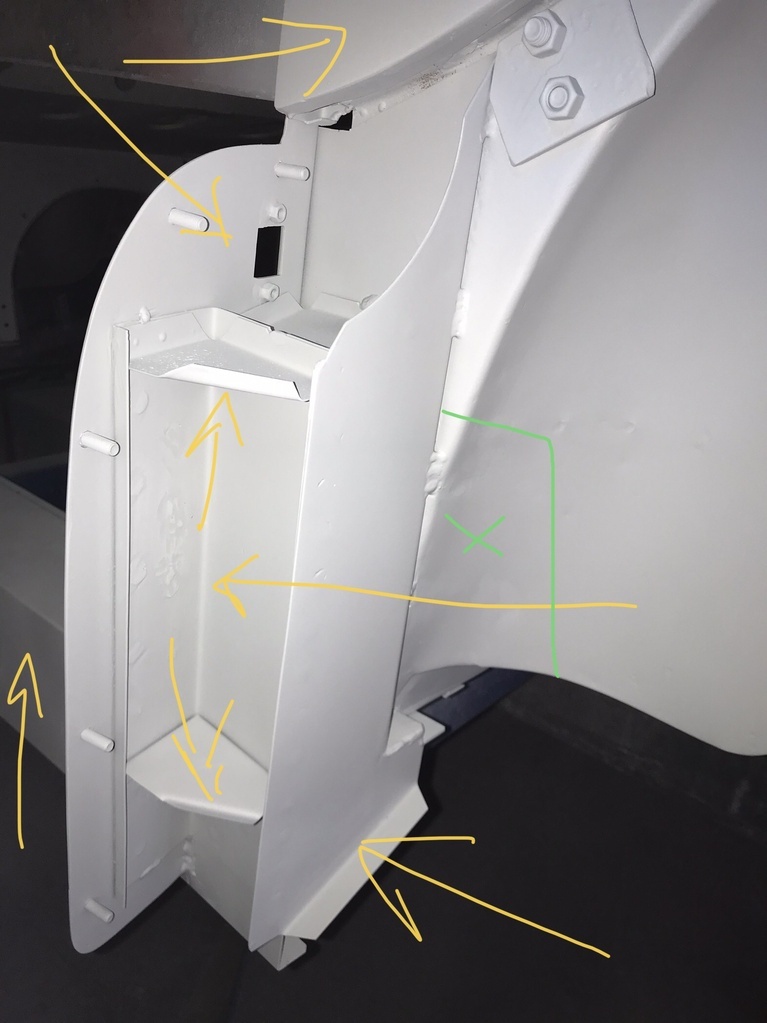 Thanks for indulging me. As always, comments, suggestions and queries welcome. Garry |
| |
|
|
|
|
gazzam
Part of things
 
Posts: 742 
|
|
|
|
Something was needed to make painting the rear guards easier. They’re fairly big and quite floppy. And they have to be painted on both sides. So I thought a mini rotisserie might work. I have a couple of engine stands, so that’s a fair bit of the construction sorted. Basically a piece of pipe (or something) between the two engine stands with some brackets welded on to hold the guards. This is how it turned out. 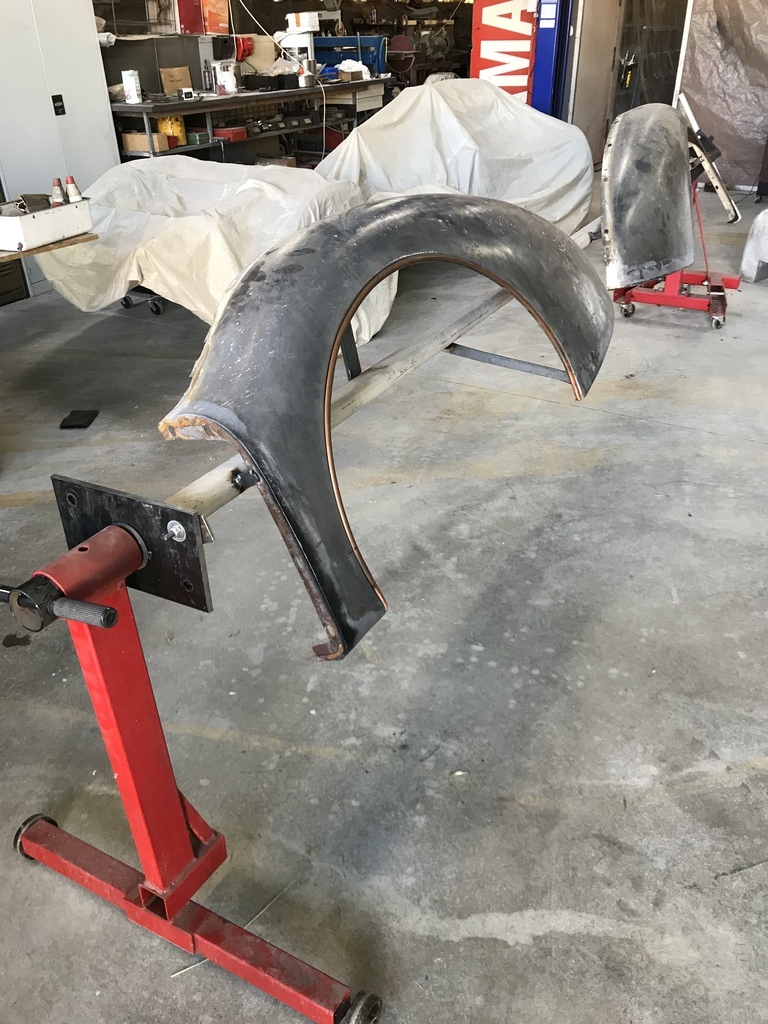 Small brackets circled, so you know it’s supported at four points. 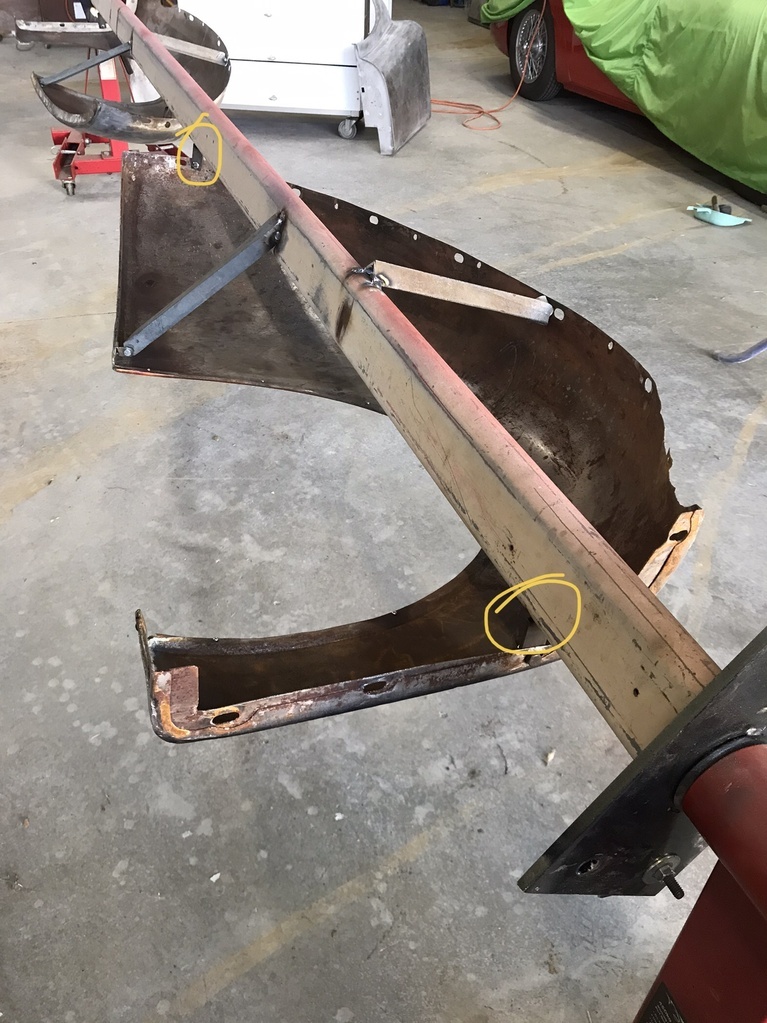 Once the guards were mounted on this they were a lot easier to work on. So I gave them a final once over and got them ready fo primer. This meant a detail sandblast then treatment with a metal conditioner. Same with the fuel tank support and inner valences. Bonnet and doors are aluminium and only needed a light scuff with 80 grit and a wire brush in the corners etc. Some bits needed masking and then it was into the booth for epoxy primer. 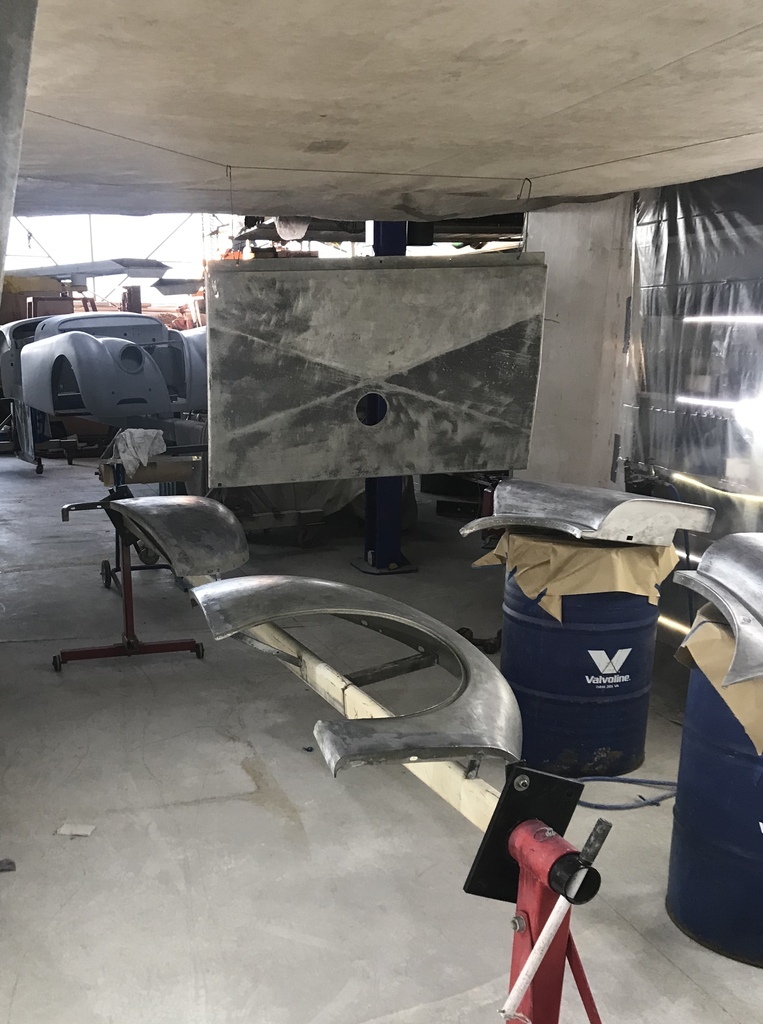 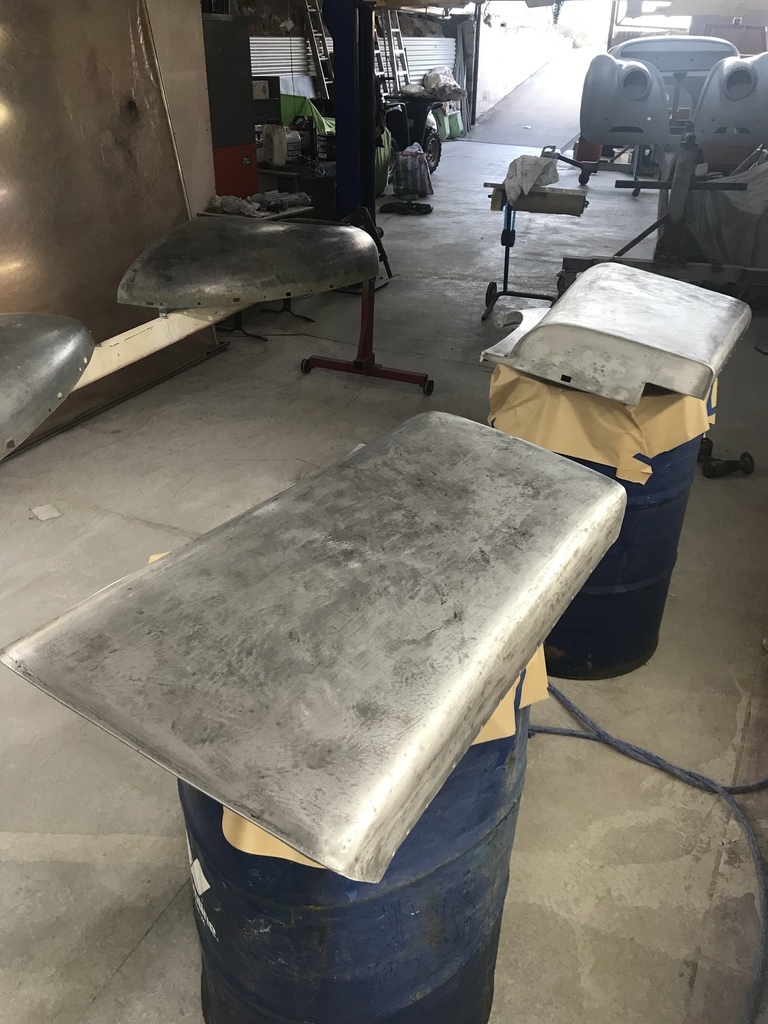 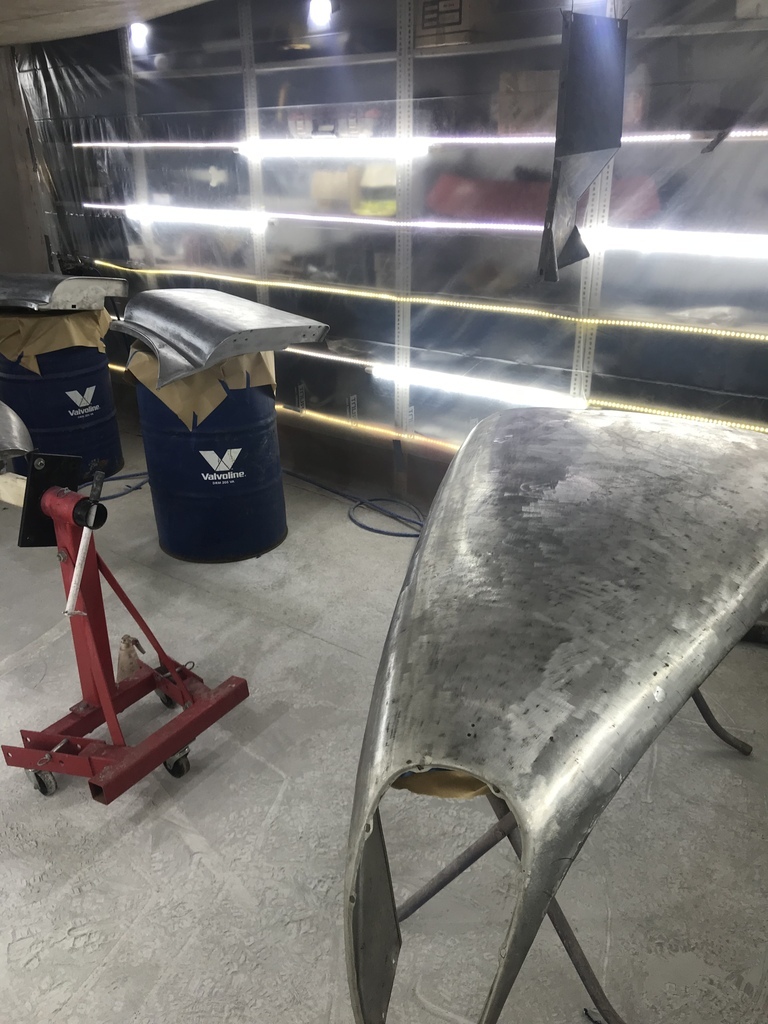 After primer, I gave it a few hours and then skimmed some body filler over the places that I knew were too deep for the high build primer to fix. 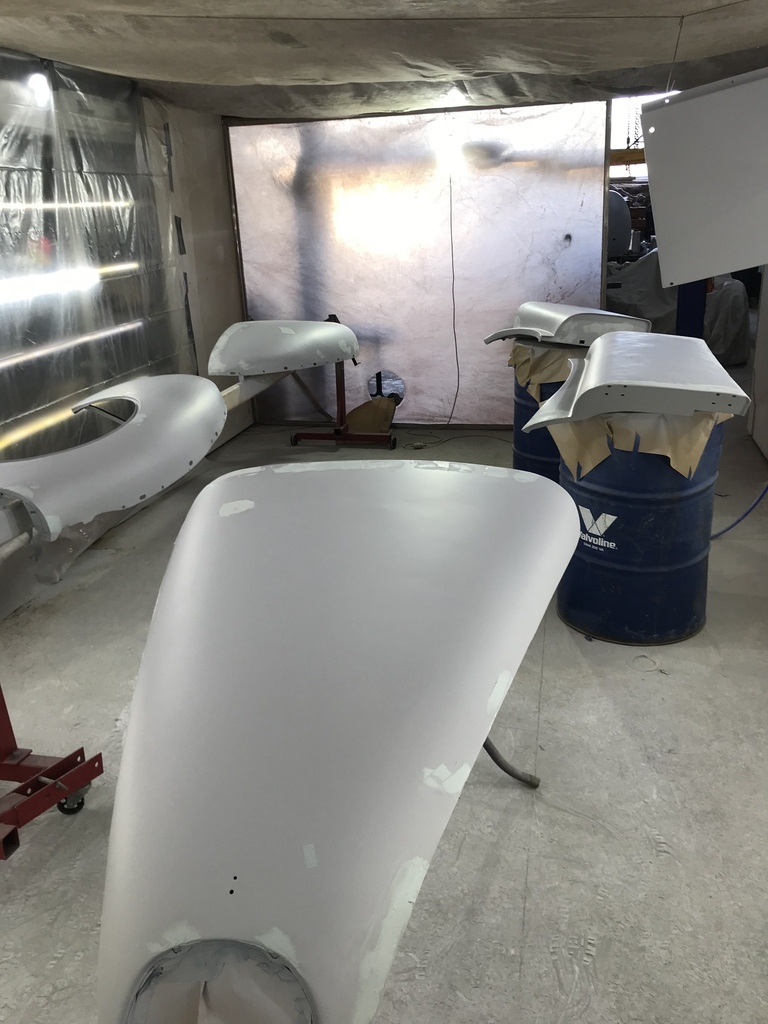 We’re expecting rain for the next 3 or 4 days, so I wanted to get the body filler sealed. I gave it a couple of hours to set and then gave it all a coat of high build. 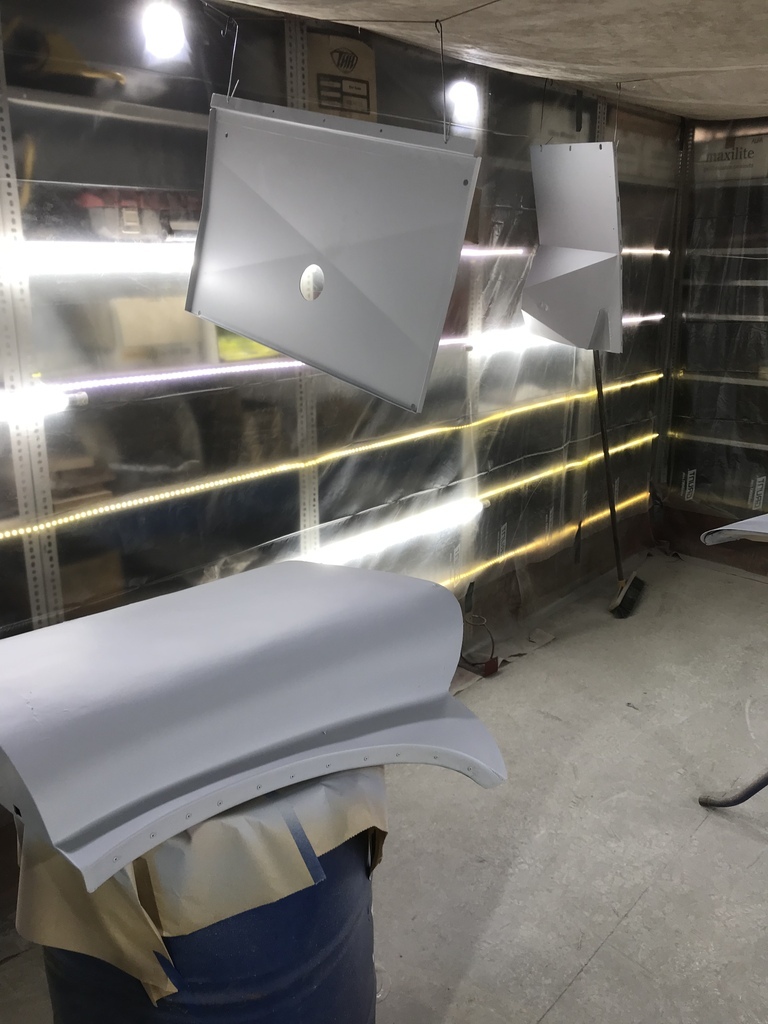 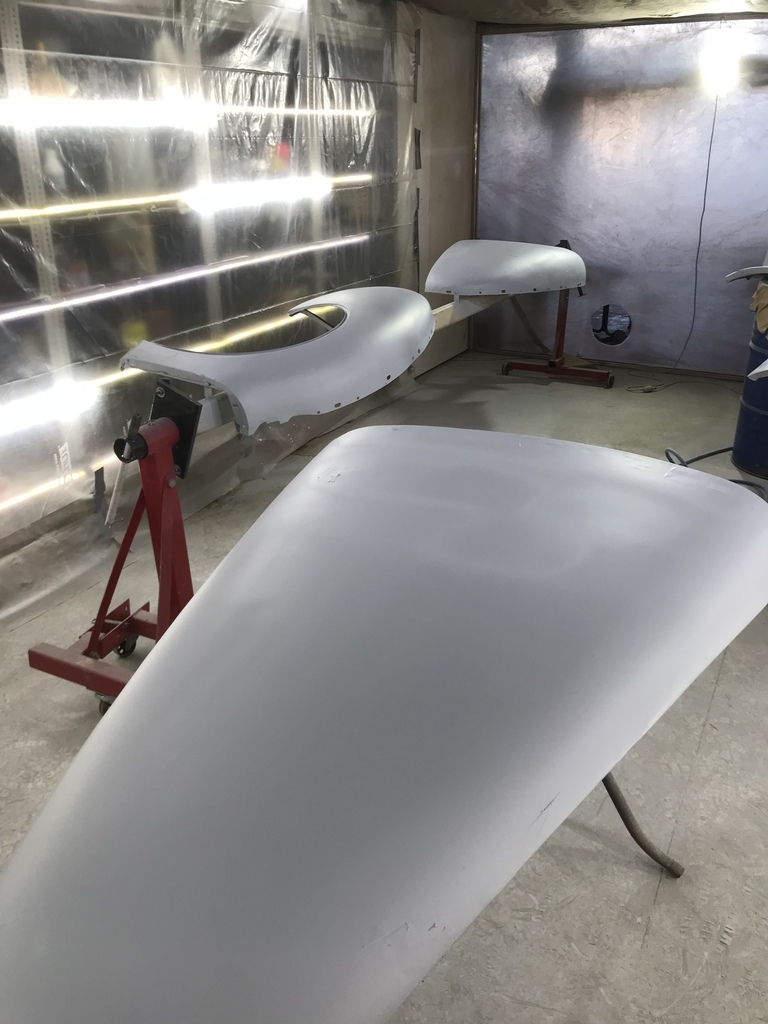 So that’s the state of play at the moment. They can have a few days to cure and the it’s sanding time again. Thanks for looking. |
| |
|
|
|
|
|
|
|
All the bits with the yellow arrows aren’t Jaguar do you reckon jaguar aficionados would be able to tell ? or if you are too humble to answer that, lets say someone else restored the car to your level of skill, could you tell they weren't jaguar panels ? |
| |
|
|
gazzam
Part of things
 
Posts: 742 
|
|
|
|
Cheers Darren I can’t answer that with a simple yes or no. My aim, just like every restorer, is that there is no difference from the original. Once it is painted it will be very difficult to pick from an original car. Mind you, I doubt there are many original cars left. However if you were to take it back to bare metal it would be another story. Most of the pieces that have been replaced are folded sheet metal. These would be pretty much identical to original. However the welds would give it away. The original was spot welded, where my replacement pieces have been rosette welded. No real practical difference, but there is a slight visual one. Easier to pick would be the front guard and the ‘legs’ of the tonneau. Originals would not have the same welds as mine. They were made of fewer pieces and therefore fewer joins. There are people that have the skill to make to make the joins undetectable - unfortunately I’m not one of them. I had no idea the car needed this amount of work - I wouldn’t have bought it if I did. That said, I don’t regret it. If it was priced a bit more according to the condition, that would have been good. But I was always going to restore it, so that’s spilt milk. It’s not like there were a dozen to pick from either, it was the only one for sale at the time. My first real restoration was the Healey I did prior to this. It had a few small rust repairs, just enough to give me a taste for metalwork. When I discovered how bad this car was, it was too late to do anything other than get stuck in. And the Healey gave me the confidence to do it. I made the terrible mistake of joking that after the Healey, I could fix anything. Boy did that come back to bite me! And while I would love to be able to make that guard so it was undetectable even in bare metal, I’m happy if it’s undetectable when painted. That will pass most inspections it’s likely to get. I will probably be it’s toughest critic. Whew, talk about a drawn out response. I hope it is an answer. If I need a boost I have a look at some of the before photos. Cheers me up quick smart. Even though all these particular areas will be hidden, I know they are now pretty nice. And I know that the bones of the car are sound. 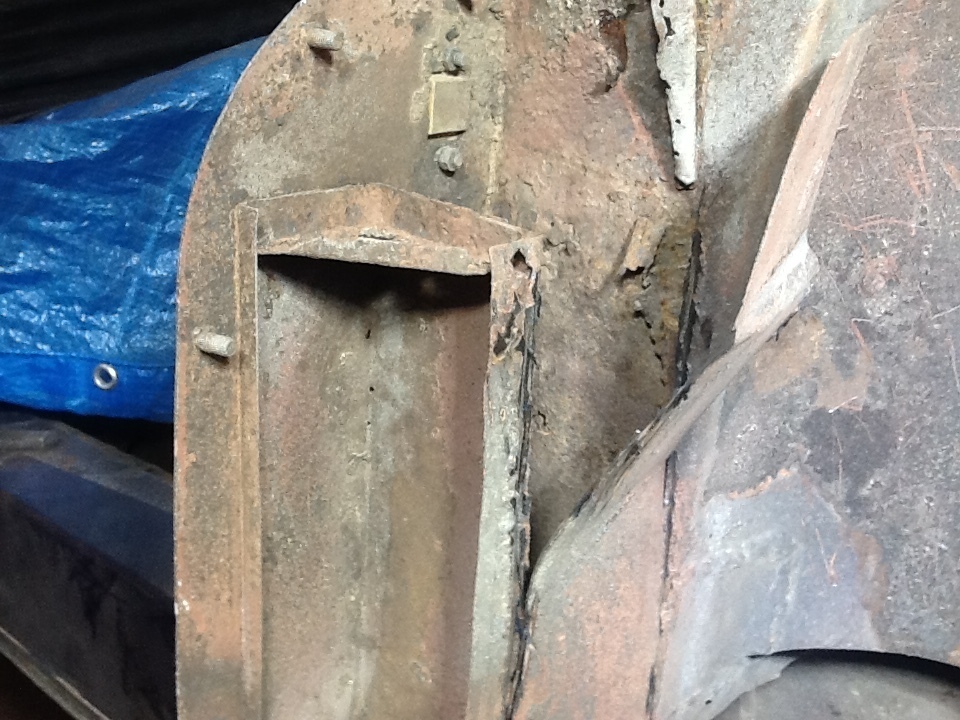 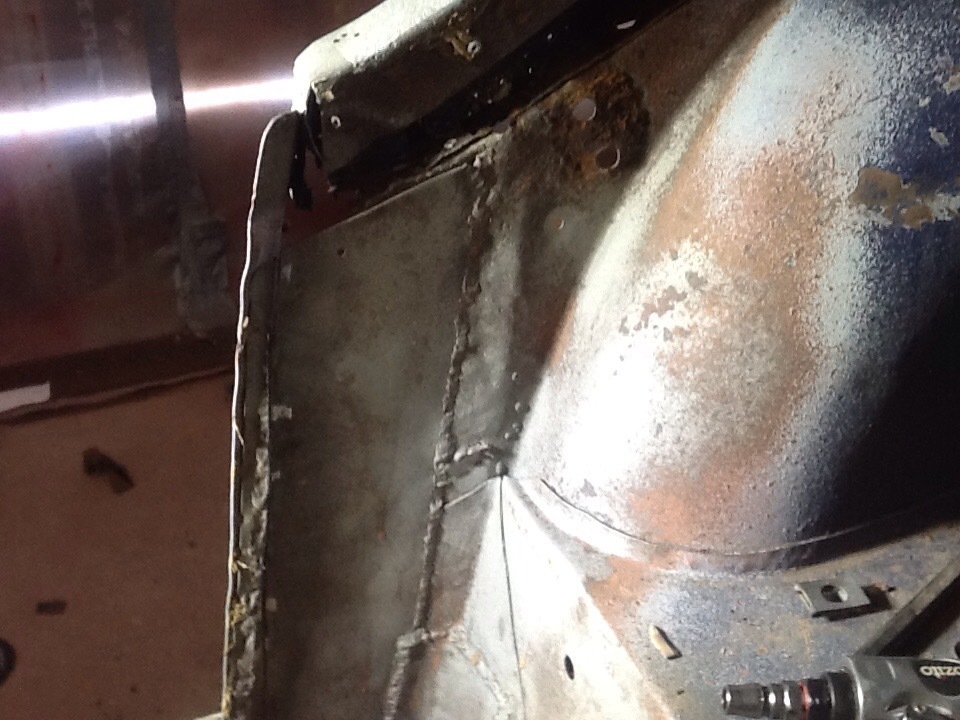 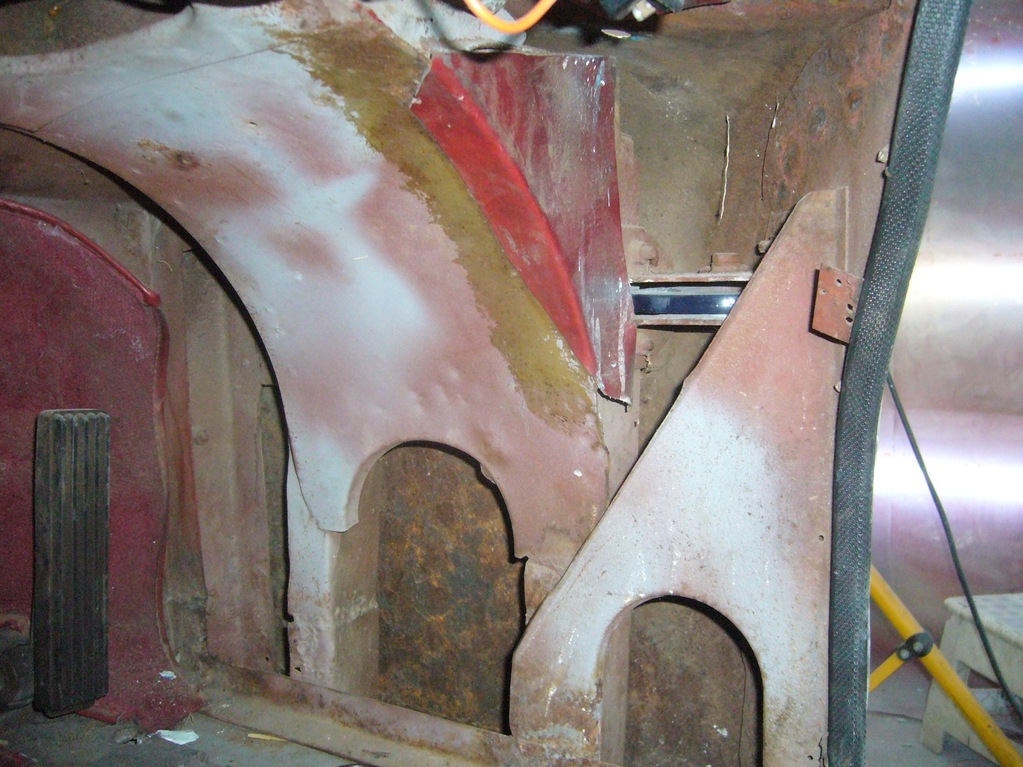 Thanks for the interest and pushing me to get these thoughts recorded. Garry |
| |
|
|
|
|
|
|
|
|
Reckon you have proved your remark about being able to fix anything right. Even if there has been a bit of enforced learning along the way.
Assume all is possible until proven otherwise!!
Nick
|
| |
1967 Triumph Vitesse convertible (old friend)
1996 Audi A6 2.5 TDI Avant (still durability testing)
1972 GT6 Mk3 (Restored after loong rest & getting the hang of being a car again)
|
|
gazzam
Part of things
 
Posts: 742 
|
|
|
|
Don’t know how I missed it before, but there is a spot on the guard ( my guard! ) that stood out like dog’s goolies. I suppose the primer made it more obvious. The curve needed a bit of massaging. 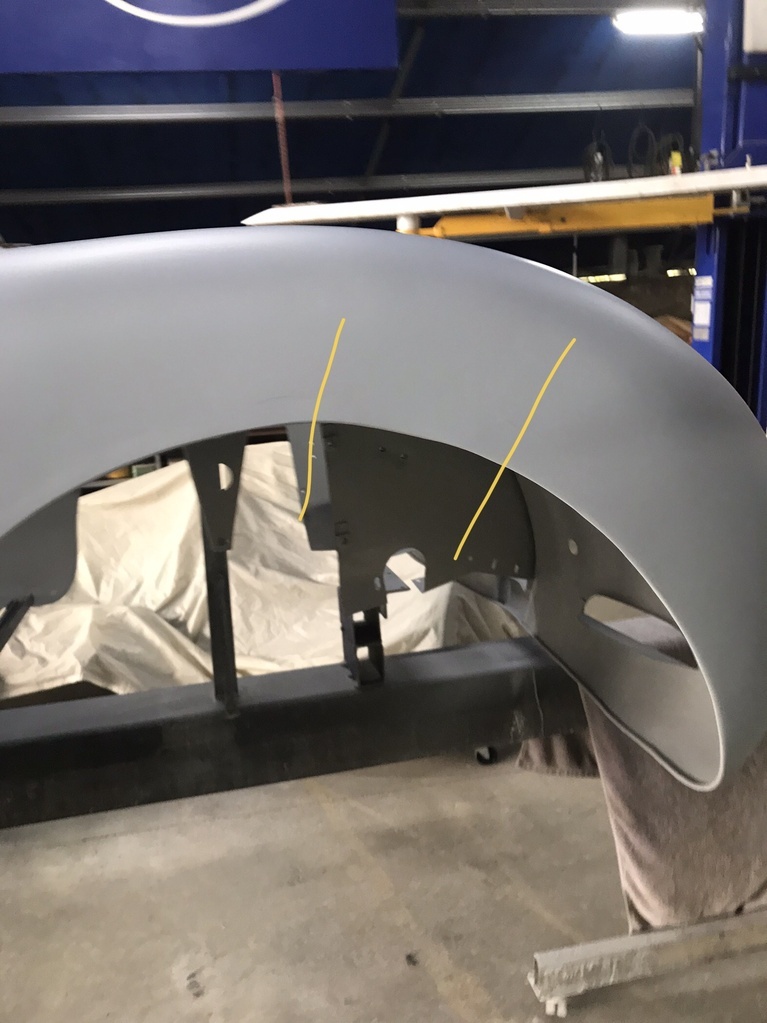 A piece of scrap 50 x 6mm, with the correct curve cut into it made a good dolly. 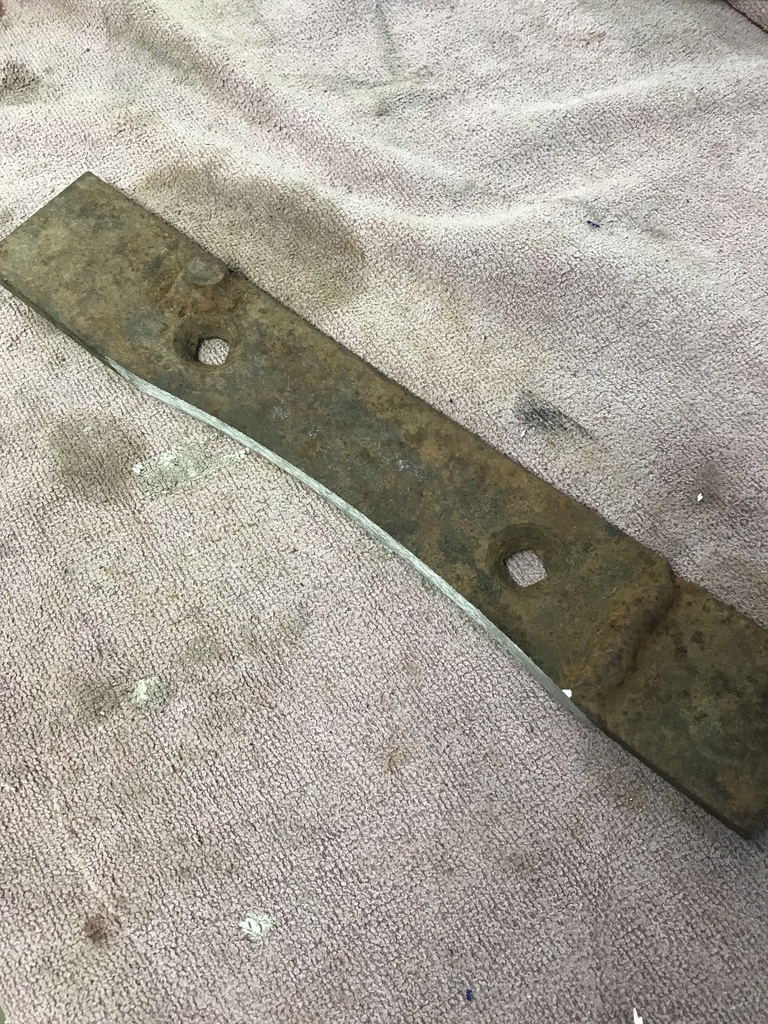 It needed a bit more mass, so I welded this chunk to it. 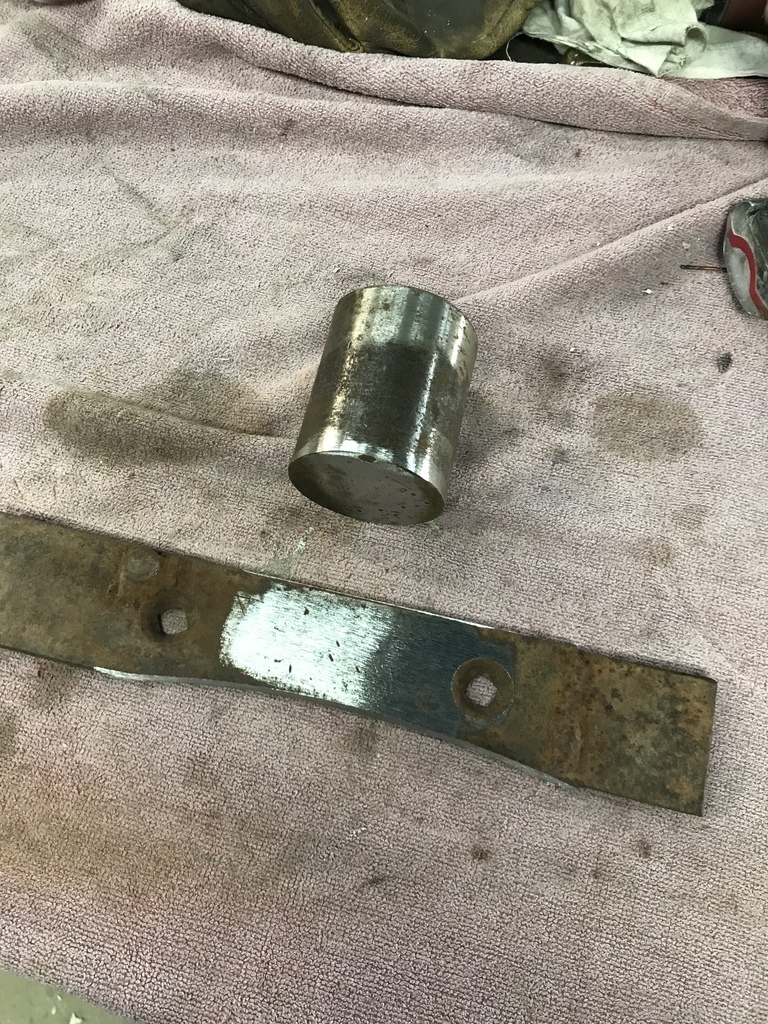 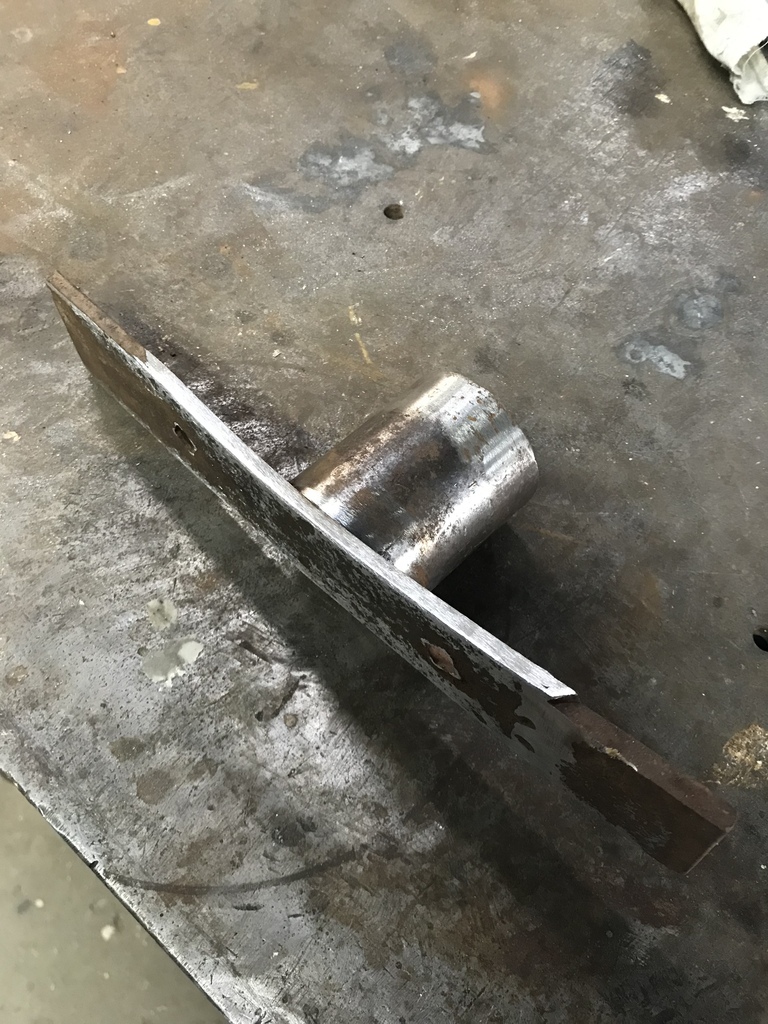 It was pretty easy to get the curve right. Would have been just as easy before the primer, but there’s still plenty of prime/sand cycles to do so it won’t make much difference. It looks like we are going to have a flood, so I covered the exposed metal with some spray can black to keep any rust at bay. Once the weather improves, I will get back to the epoxy. That’s one big disadvantage of 2 pack paint - small amounts are a nuisance. 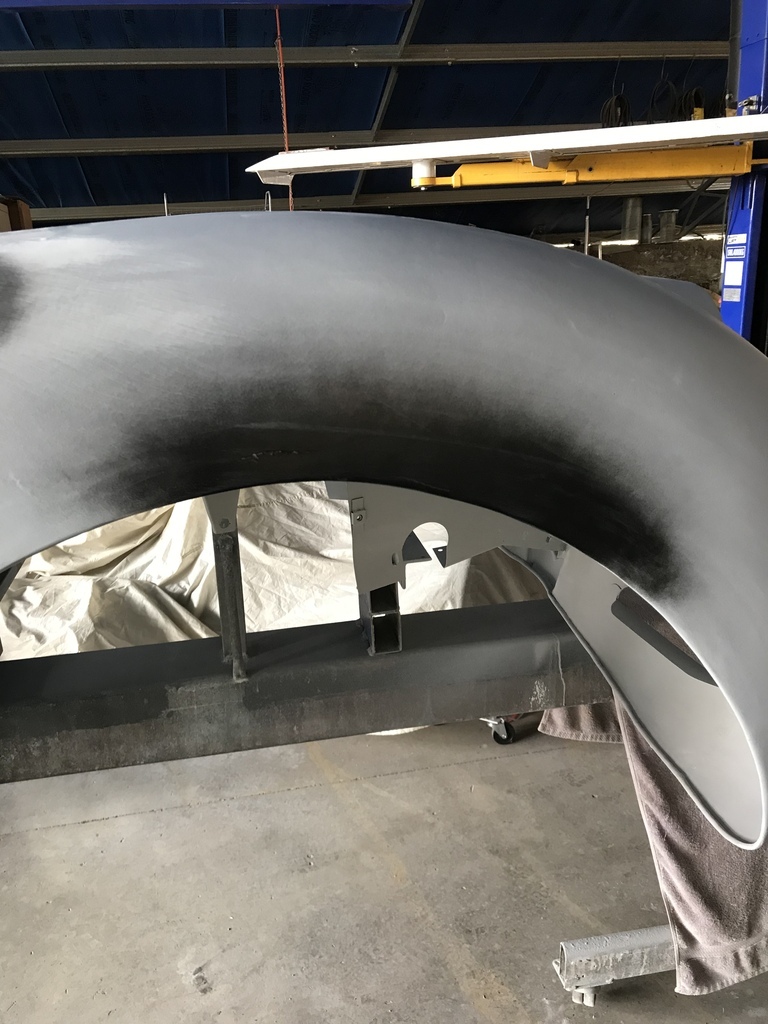 Also painted a few of the bits around the bonnet latch area. The paint used, Bill Hirsch chassis, actually dries quicker with high humidity. The bits had to be blasted first. 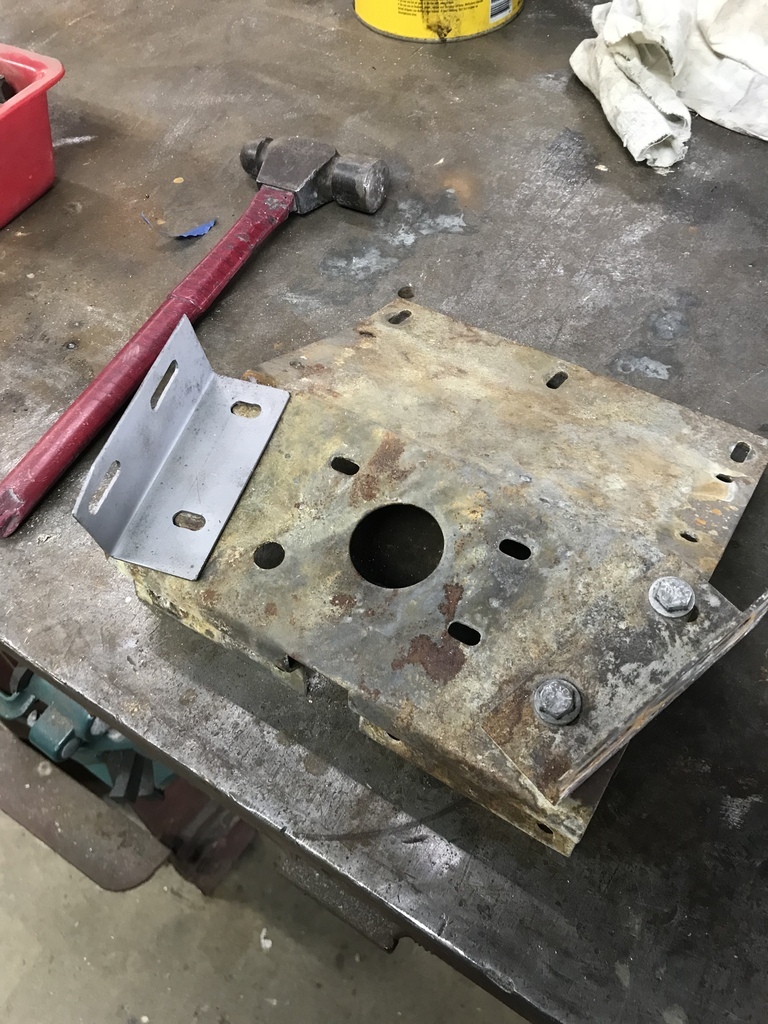 Then a brush coat, followed by a wet spray coat a few hours later. 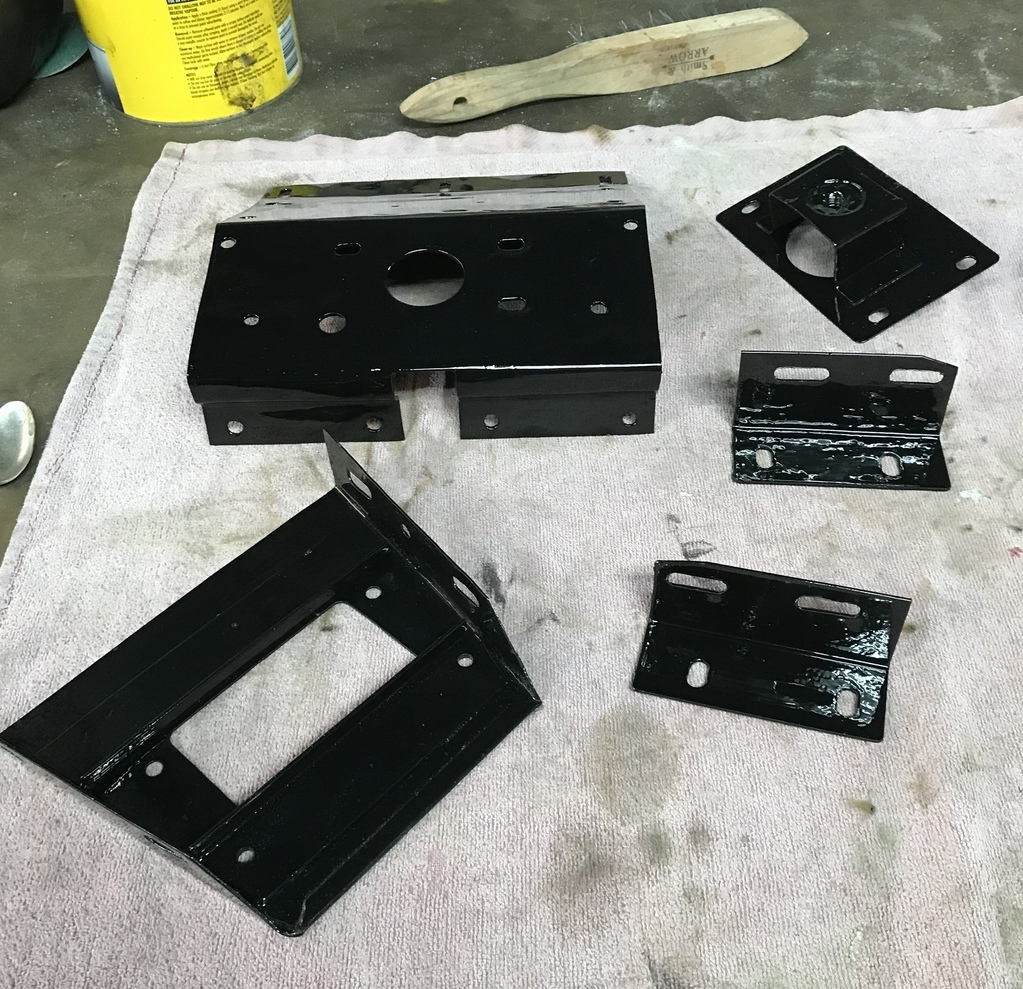 We had a warm sunny day yesterday, so I took the opportunity to get some primer on the two gearbox tunnels and the inner splash shields. The main gearbox cover was a bit rusty along one bottom edge. 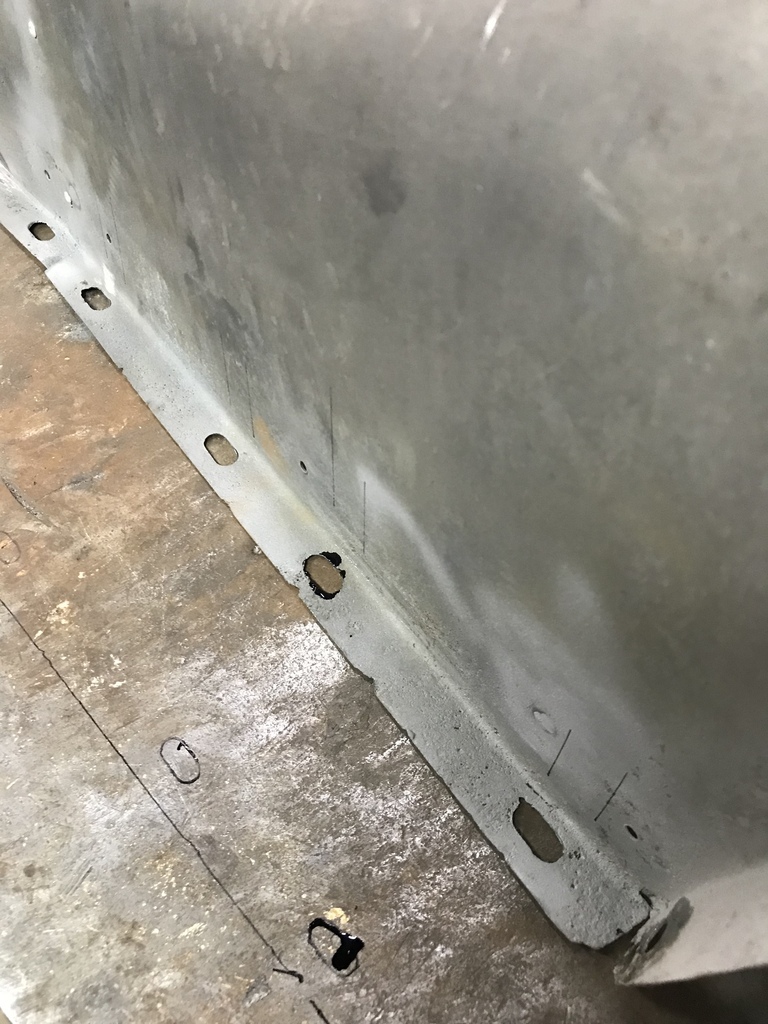 The marks on the welding table are so there was a better chance of getting the mounting holes in the right place. As are the lines on the tunnel itself. A bit of belt and braces! I cut the manky piece off, going just high enough to miss the small holes. I didn’t want to have to replace those factory holes. 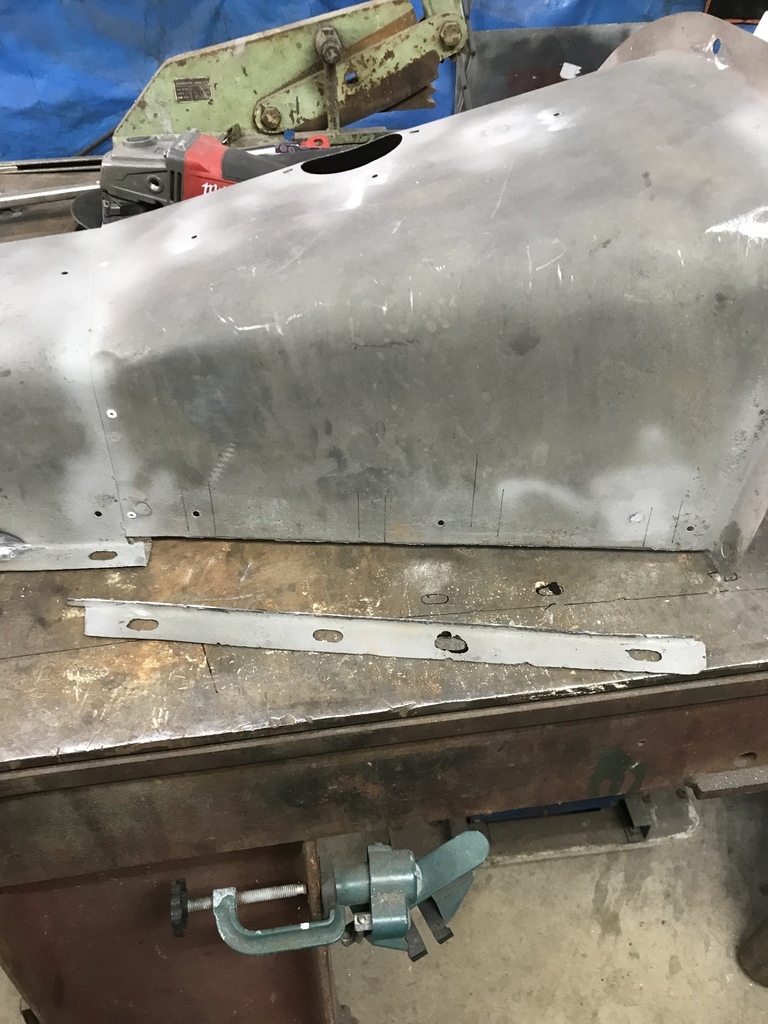 Folded up a piece of 20# and drilled/filed the elongated holes. 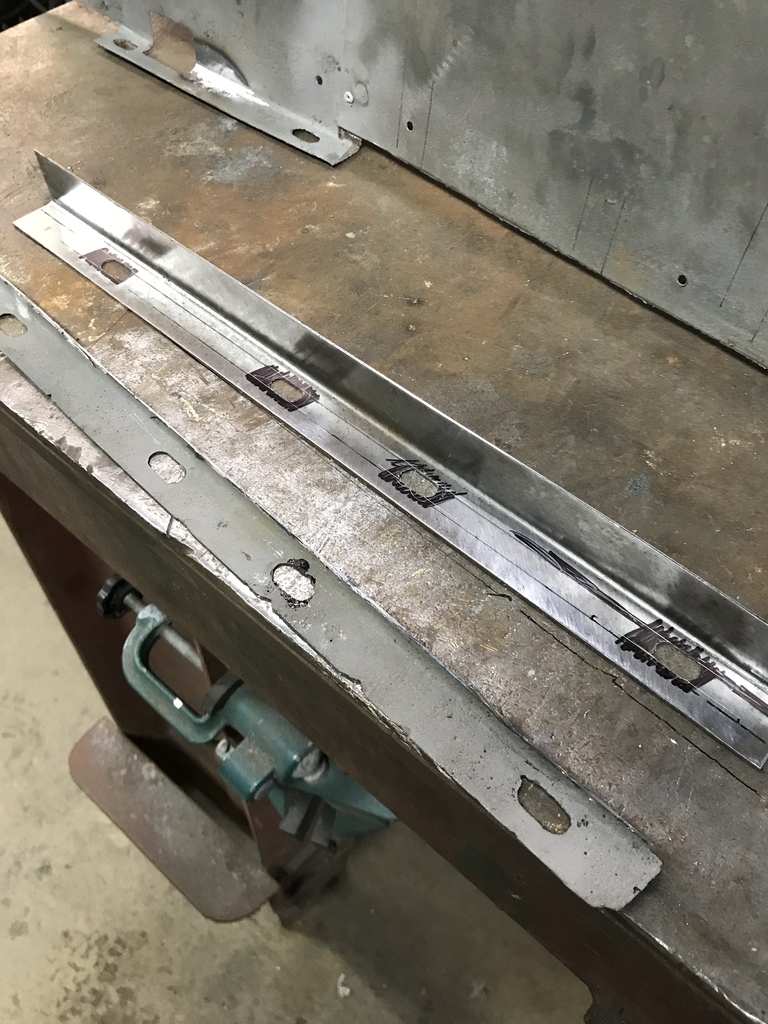 Partly tacked in place. 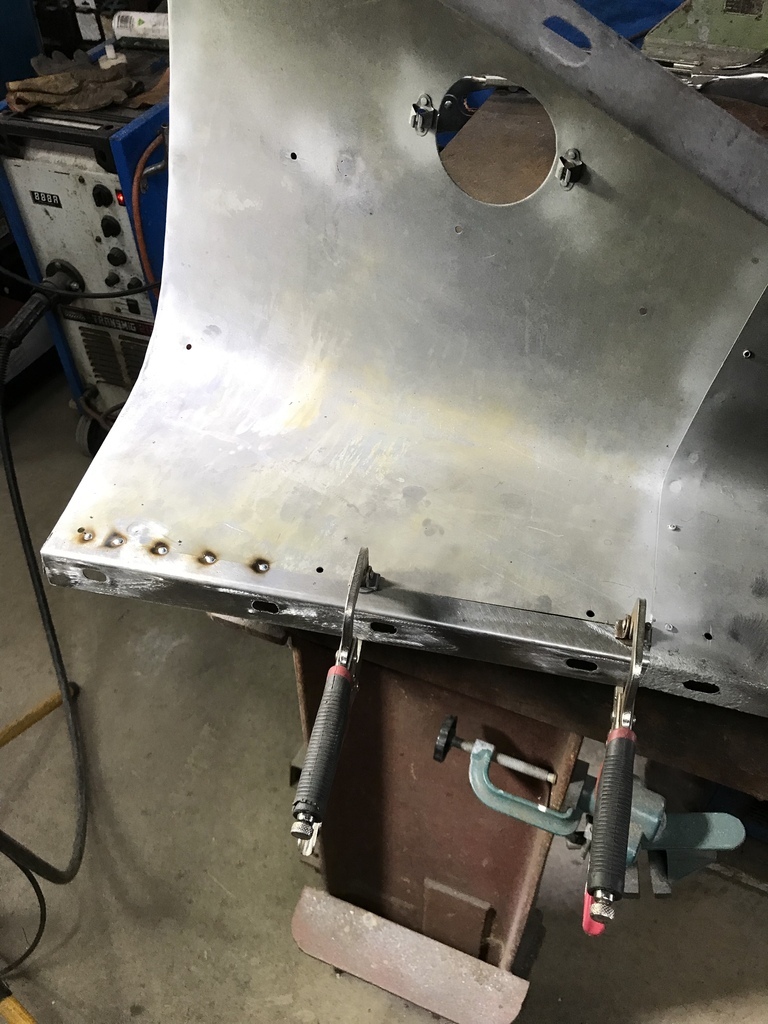 Fully tacked with the mig, ready to be cleaned up and run the tig along the other side. 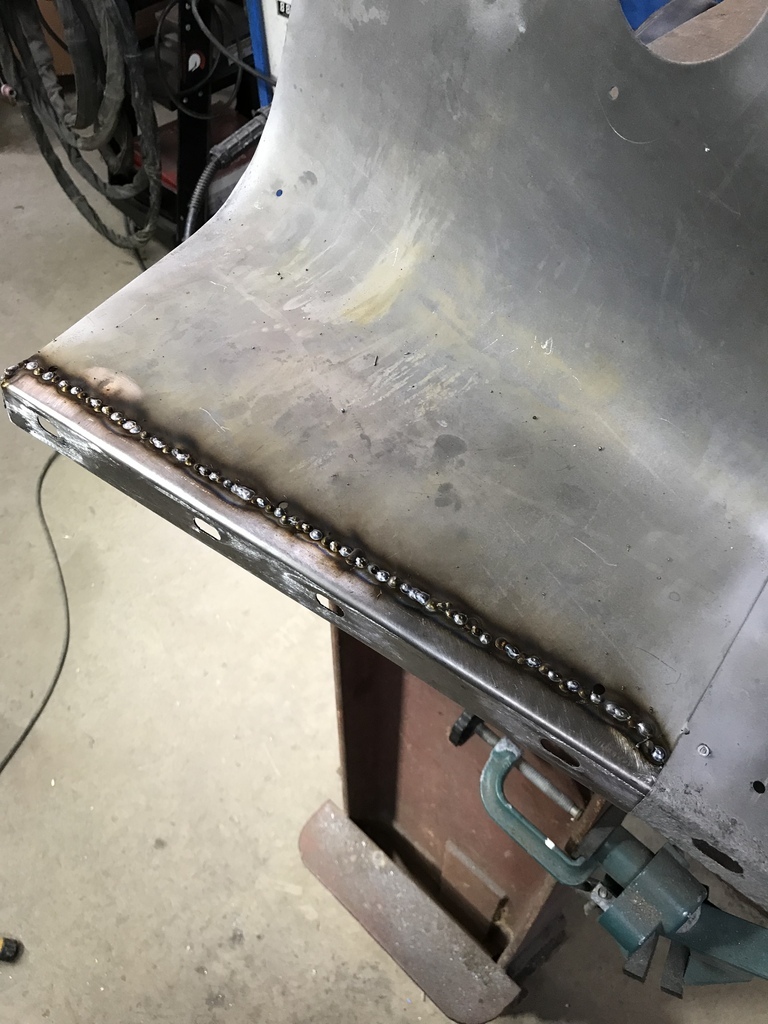 Tigged and sanded, ready for primer. 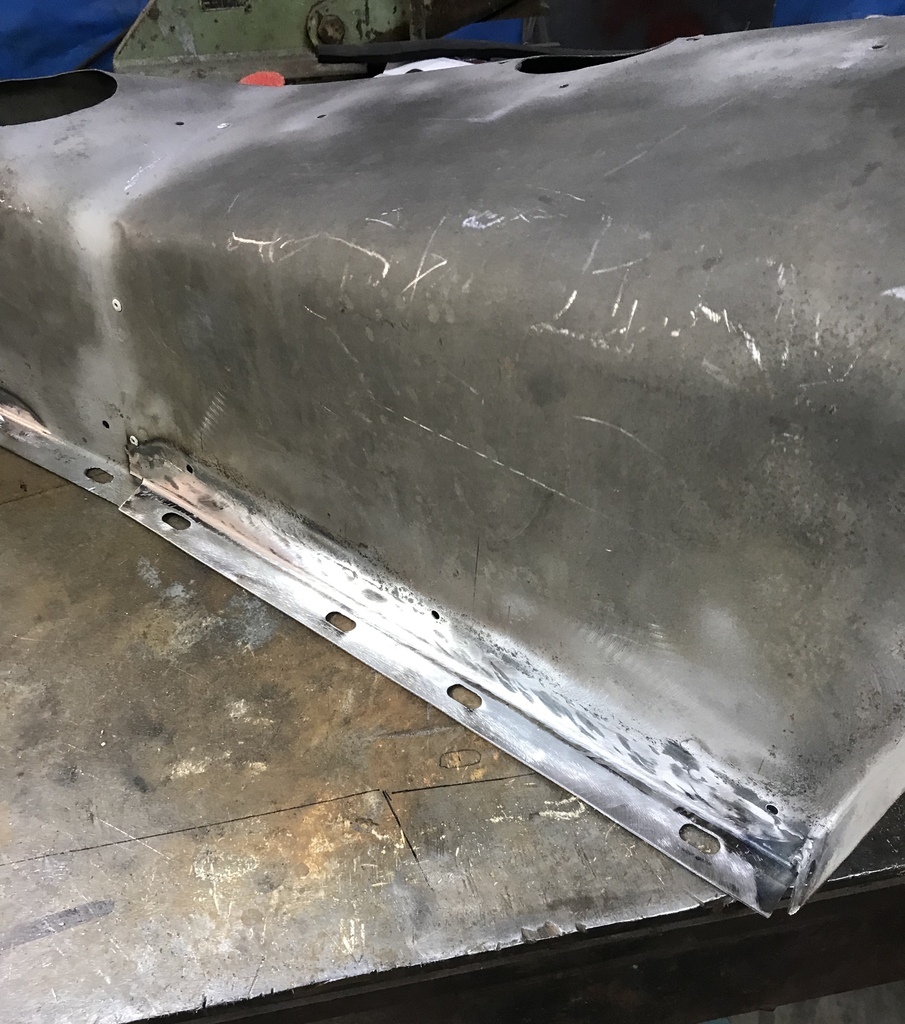 That’s all, got the primer on but forgot to take a photo. Comments, suggestions and queries welcome. Cheers. |
| |
Last Edit: Nov 15, 2021 10:22:41 GMT by gazzam
|
|
|
|
|
|
|
|
Do you use a suction or gravity fed gun?
I do small bits with my touch in gun (1mm tip) I just add a little more epoxy thinners to it. Yuo can mix by volume easily - I've even made very small mixes up using a teaspoon as a measure. 1 spoon of paint to half spoon of hardener & a drop of thinners.
It sets fine and does not seem to be fussy about the mix not being super accurate, as long as you add enough hardener it seems fine.
|
| |
|
|
gazzam
Part of things
 
Posts: 742 
|
|
|
|
|
Gravity gun.
It’s probably more the cleaning up. Single pack stuff, you can leave in the gun.
I usually wait till I have enough to paint to justify the cleanup.
|
| |
|
|
|
|
|
|
|
|
Fair enough.
I have heard that if you put the gun in the fridge that you can use the paint the next day, having left some paint in the mixing pot overnight and it was still runny the next day I think this is probably true.
I'm not about to try it though as I care about my spray guns too much!
|
| |
|
|
gazzam
Part of things
 
Posts: 742 
|
|
Nov 11, 2021 19:38:23 GMT
|
|
Yep, as much as I dislike cleaning sprayguns, I dislike the thought of hardened two pack in one even more.
|
| |
|
|
gazzam
Part of things
 
Posts: 742 
|
|
Nov 15, 2021 10:34:30 GMT
|
Well we didn’t get much rain, but it was fairly moist for 3 days last week, so didn’t get any bodywork done till the weekend. I’m paranoid about moisture bubbles (in the finished paint) so I like to have everything sealed up if the humidity is high. I had a good run over the weekend and got the rear guards, doors and bonnet very close to ready for ( hopefully ) the final round of sanding. They got a coat of epoxy primer and a couple of hours later some hi build. I’ll leave them for several days while the body gets some attention. As they look at the moment: 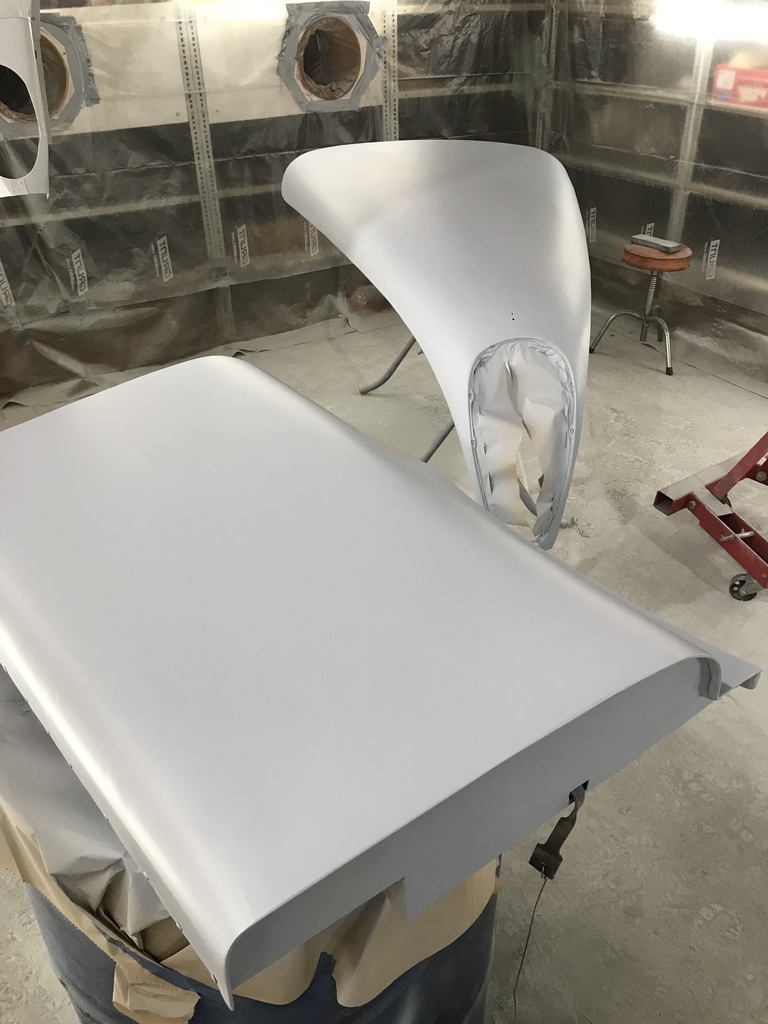 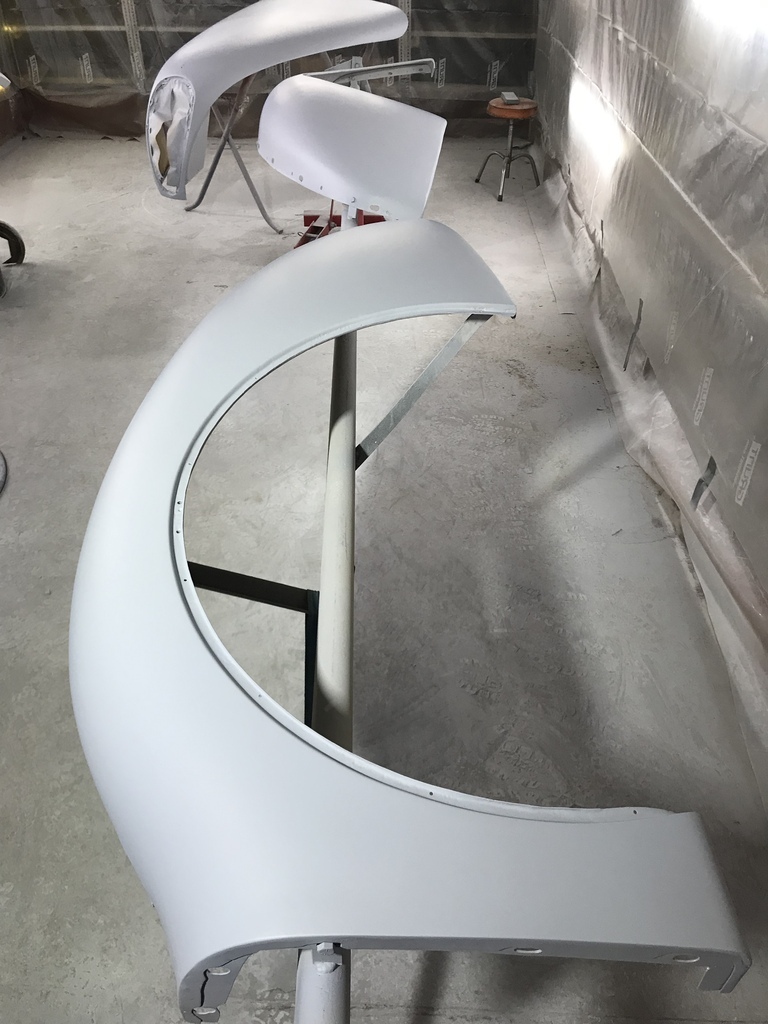 Having the doors on 44 gallon drums was less than ideal - both sides need paint. So I thought the rotisserie that held the rear guards might be modified. My ever useful scrap metal stash provided some pipe to slip into the “back” of the engine stand pivot. A couple of light brackets hold the door nice and securely. It doesn’t need to be real strong - I’d guess at about 6 to 7 kgs per door. 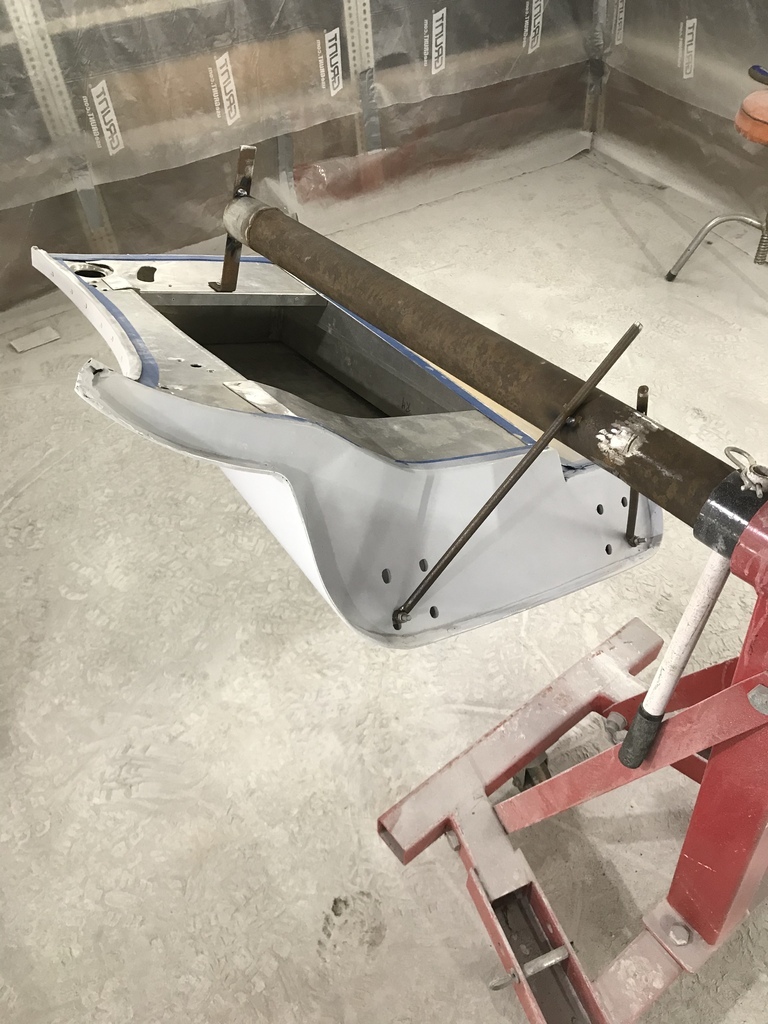 The contraption is pretty long but will just fit in the booth. 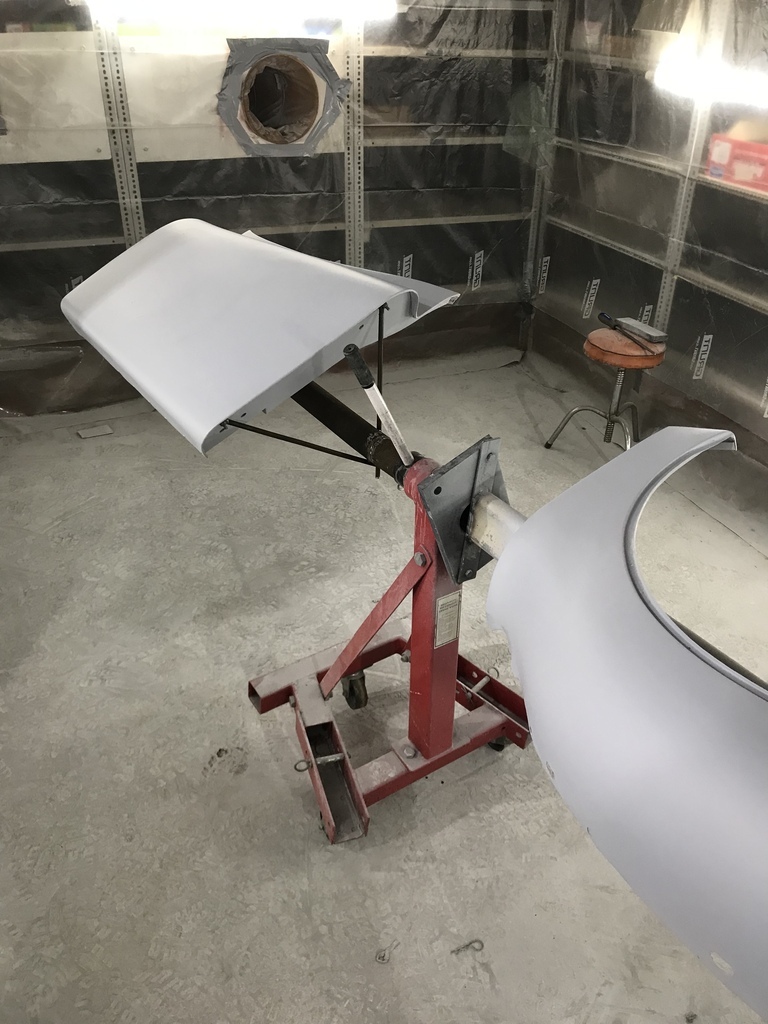 Also got the final coat on the pieces that I’d primed previously . These are the only bits that aren’t body colour. It’ll be good to put the somewhere safe when they’re dry - I’m sick of bumping into them. 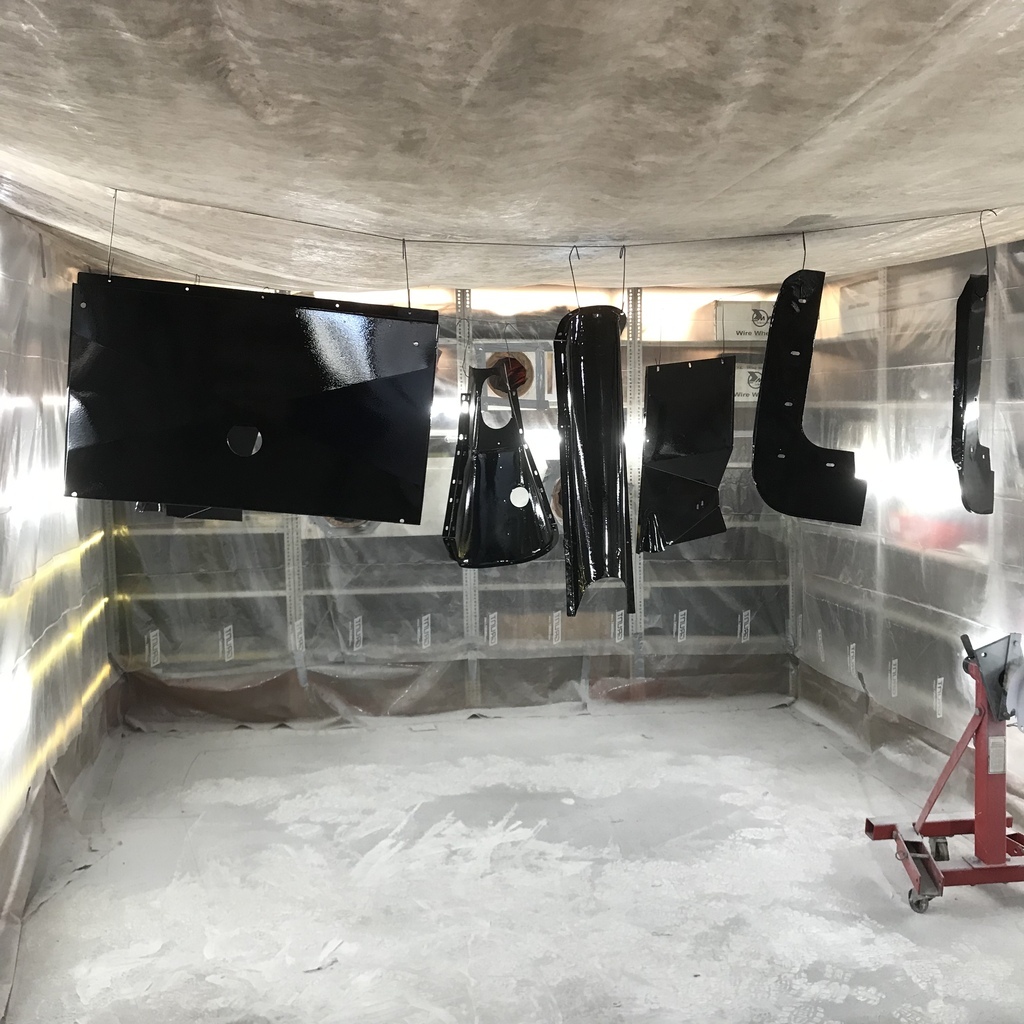 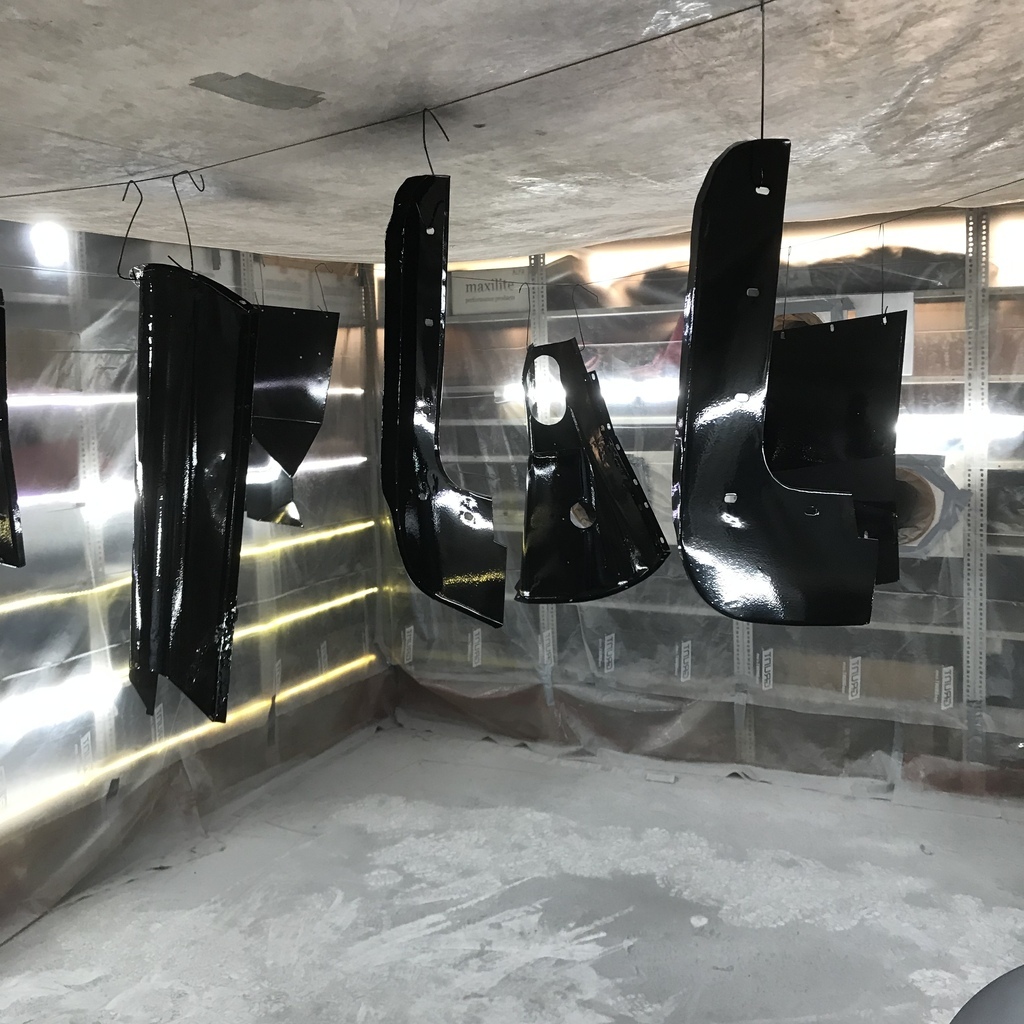 That’s all for now, Comments, suggestions and queries welcome. |
| |
|
|
|
|


