boffer8
Club Retro Rides Member
Posts: 91  Club RR Member Number: 75
|
|
|
|
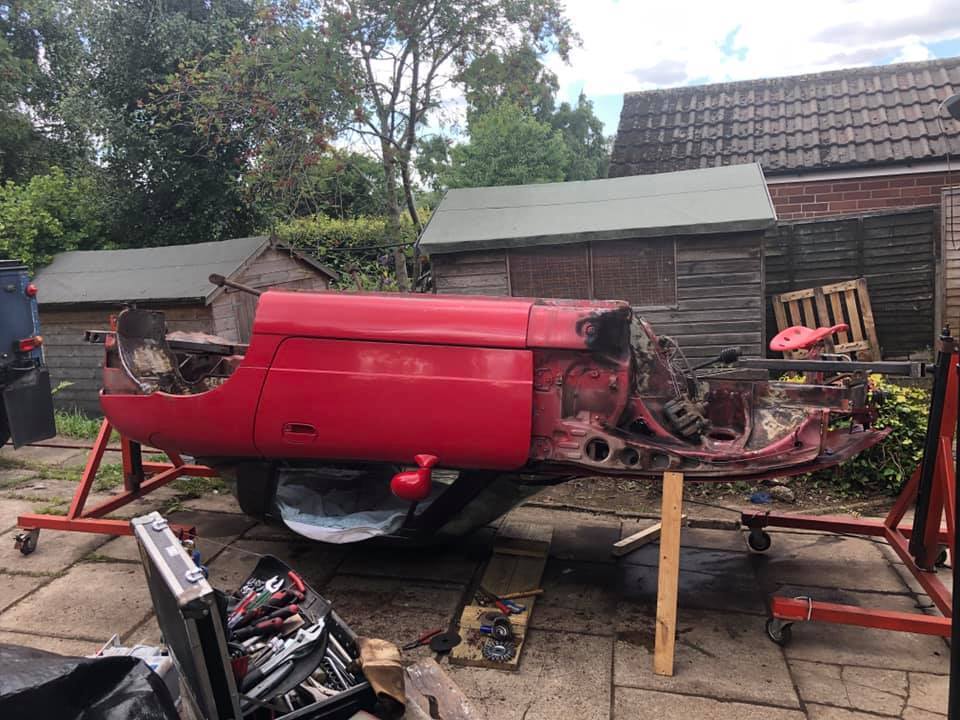
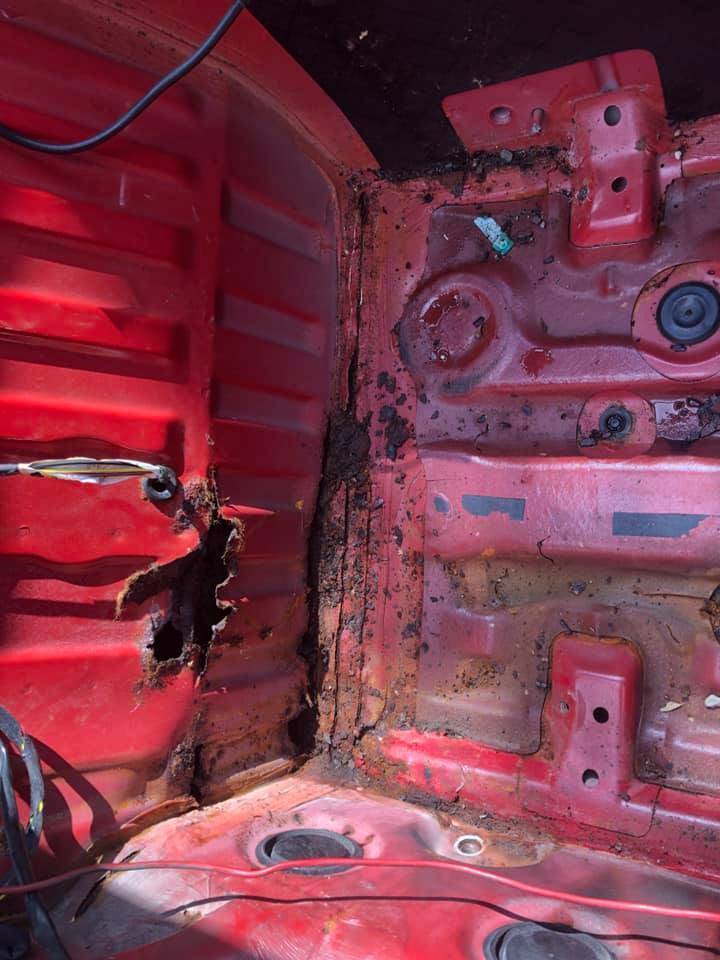
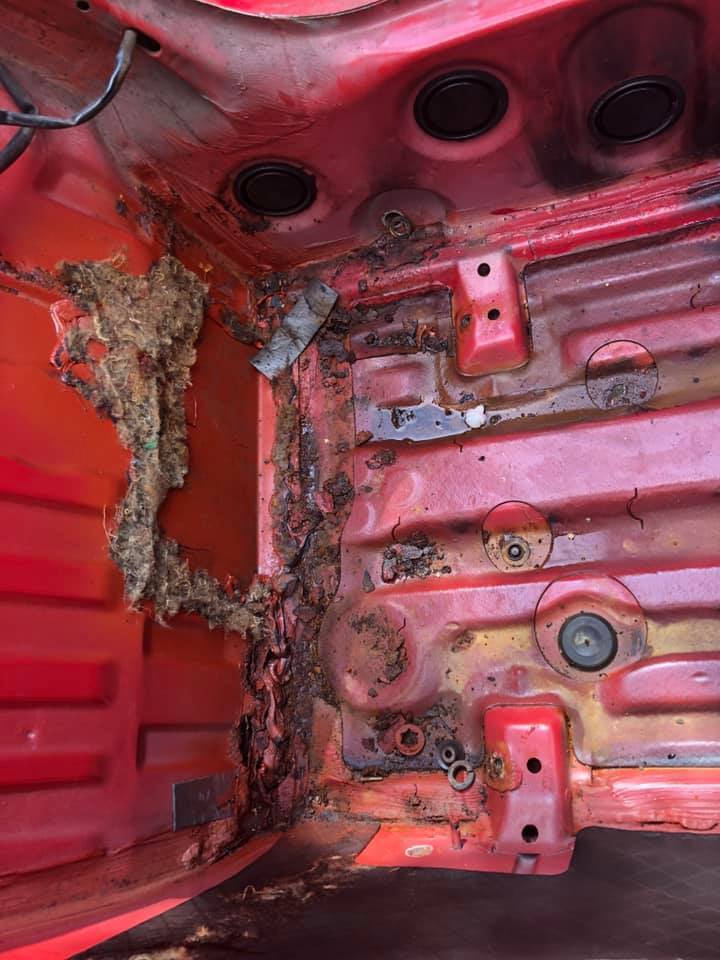
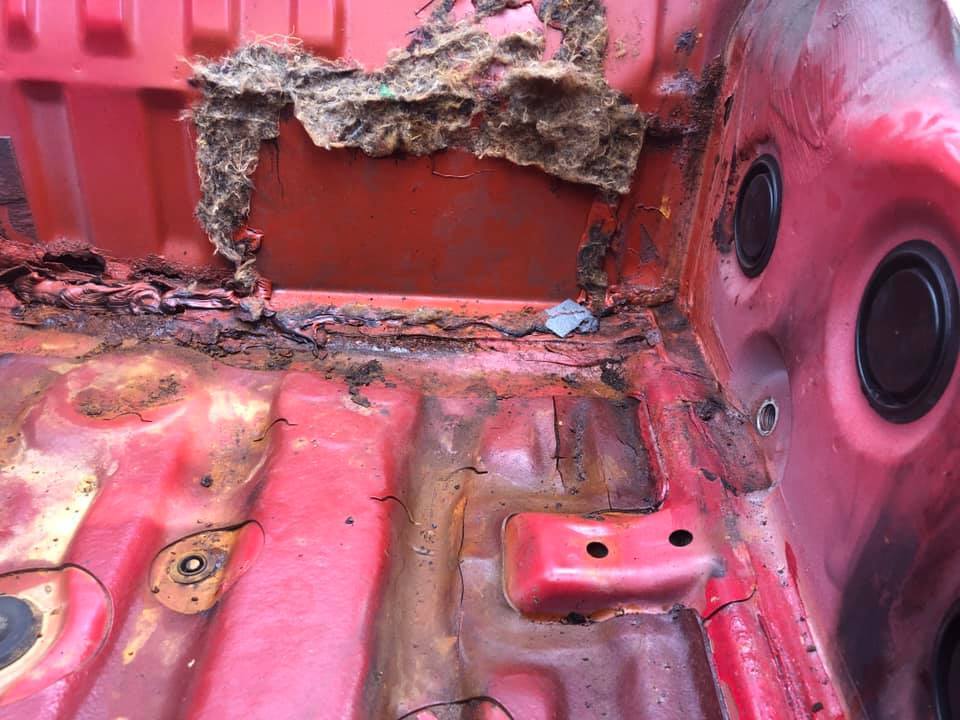
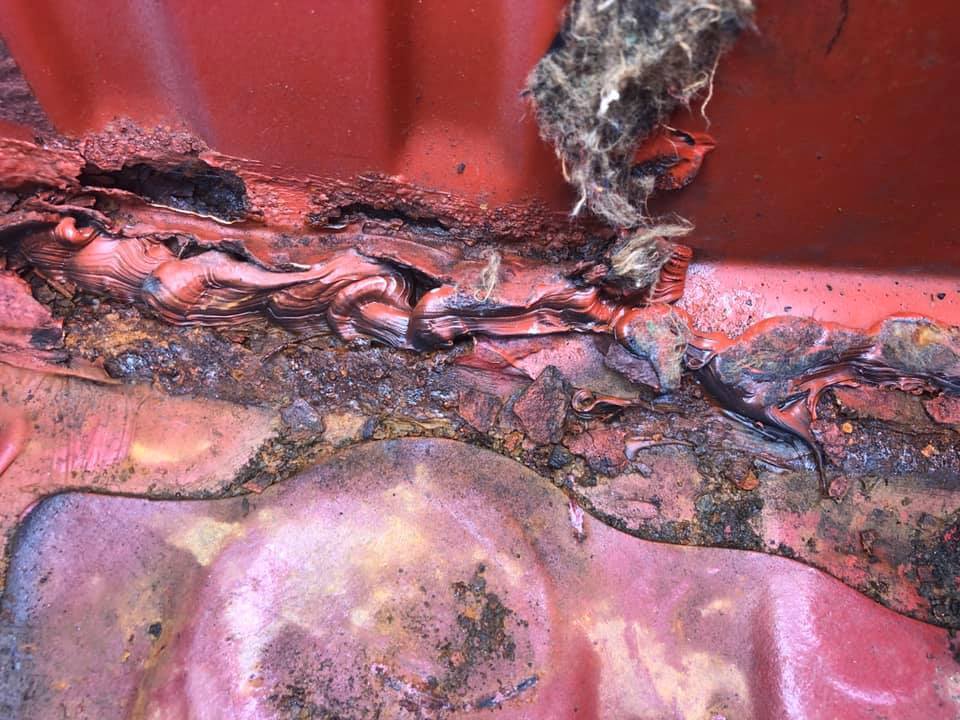
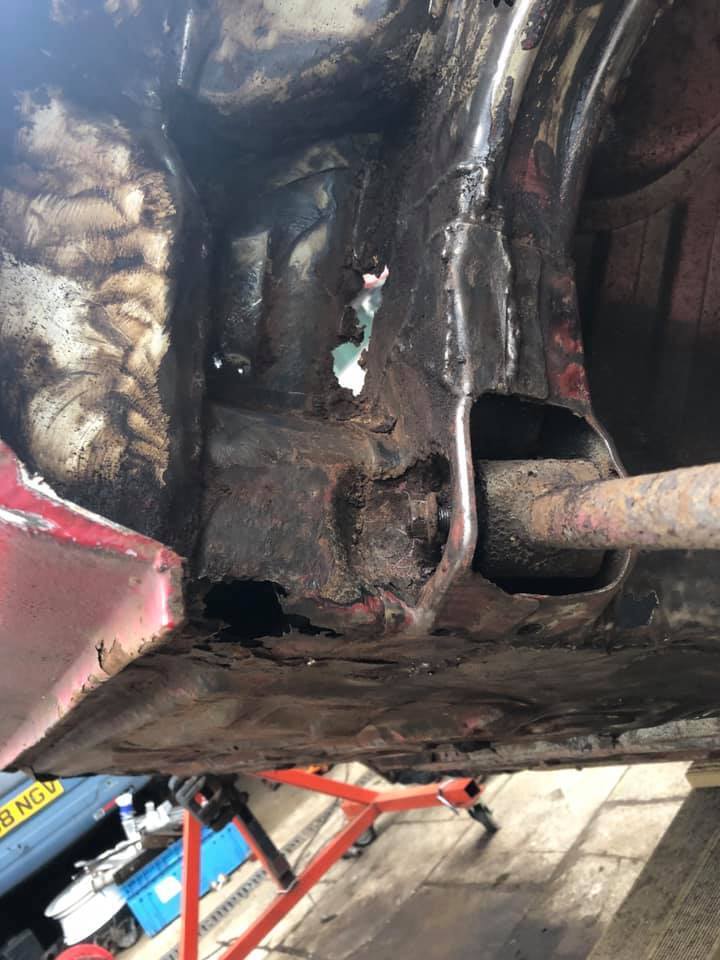
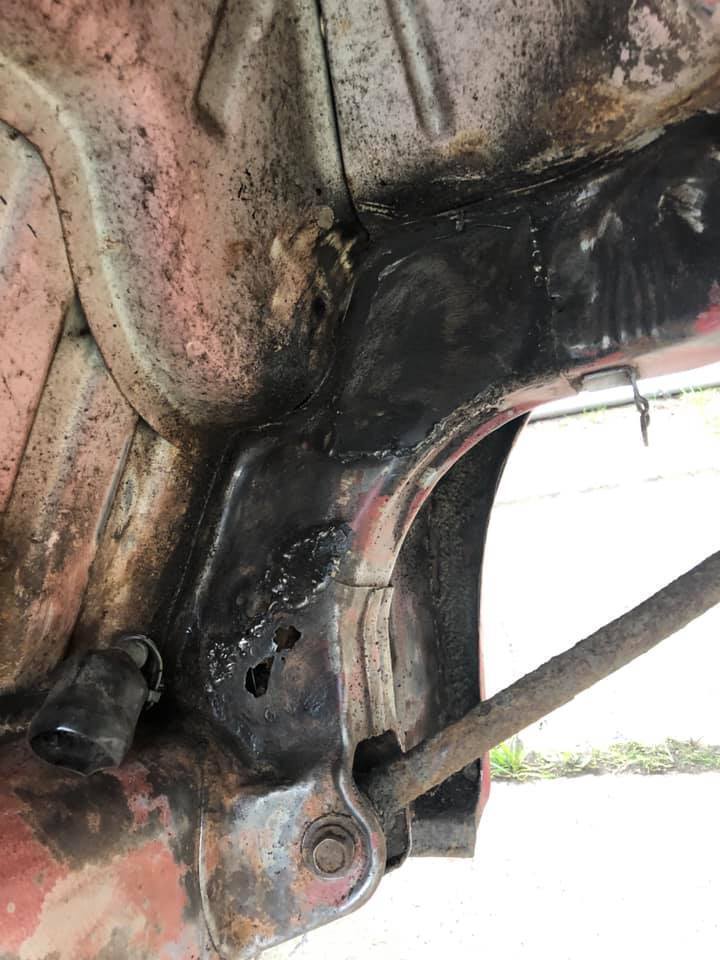
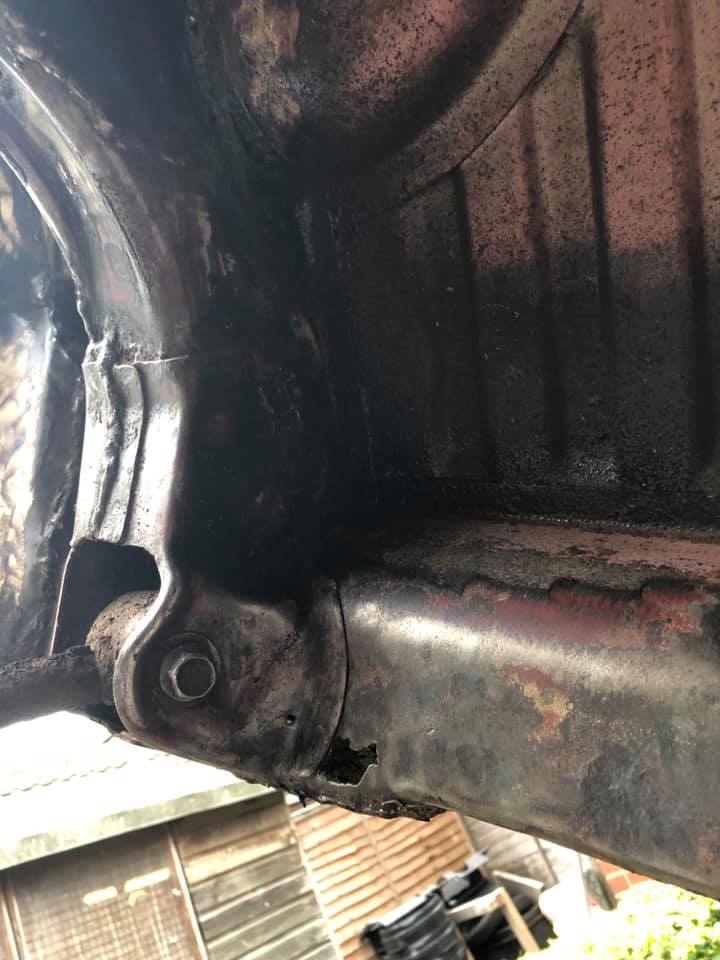
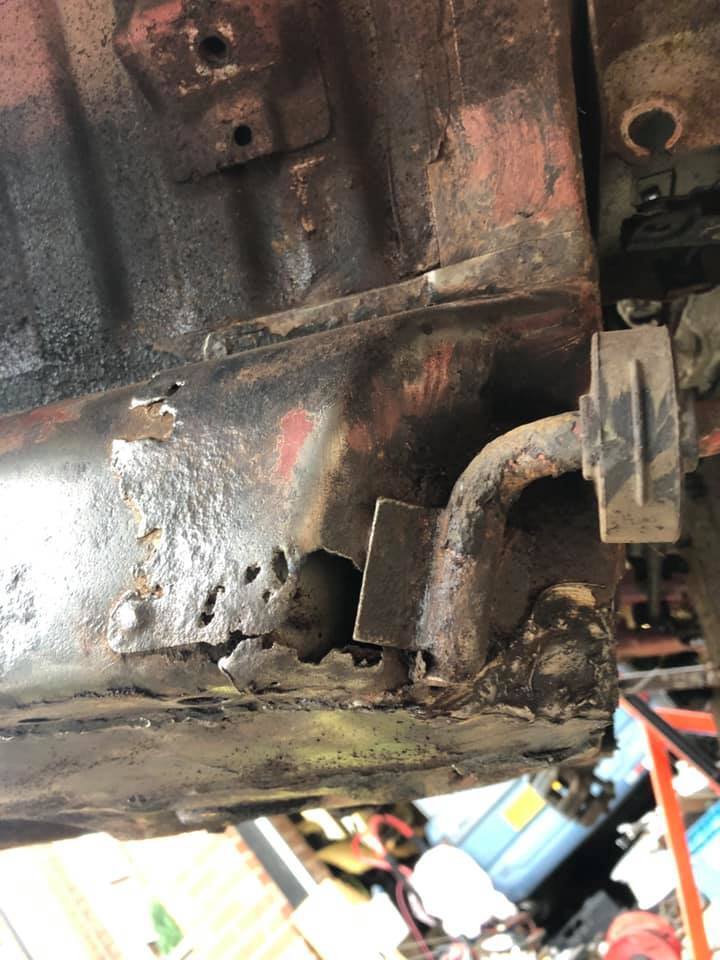
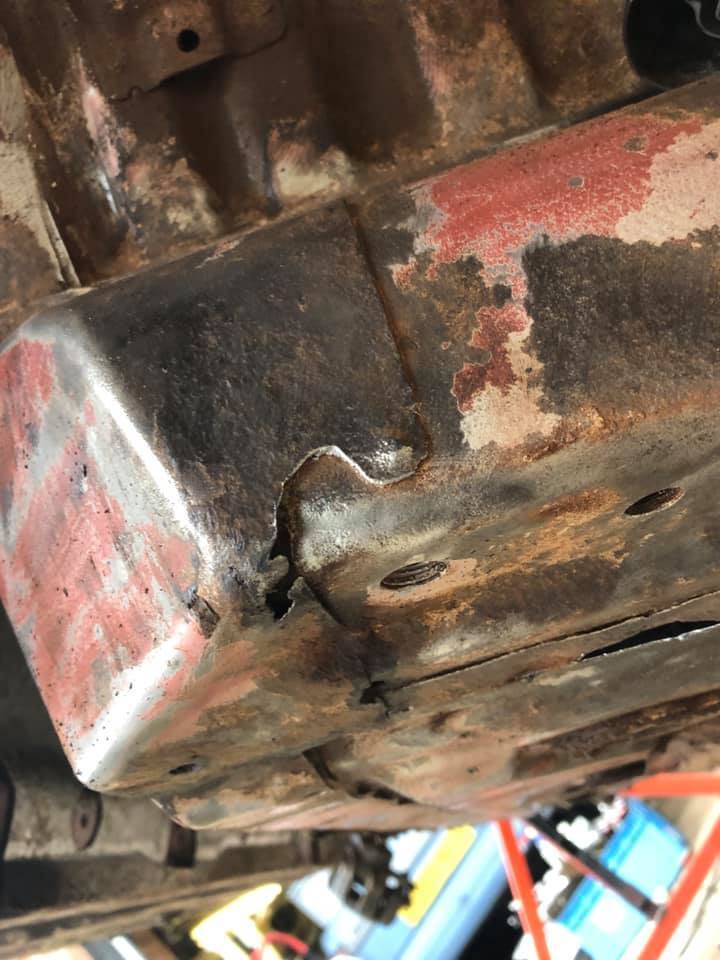
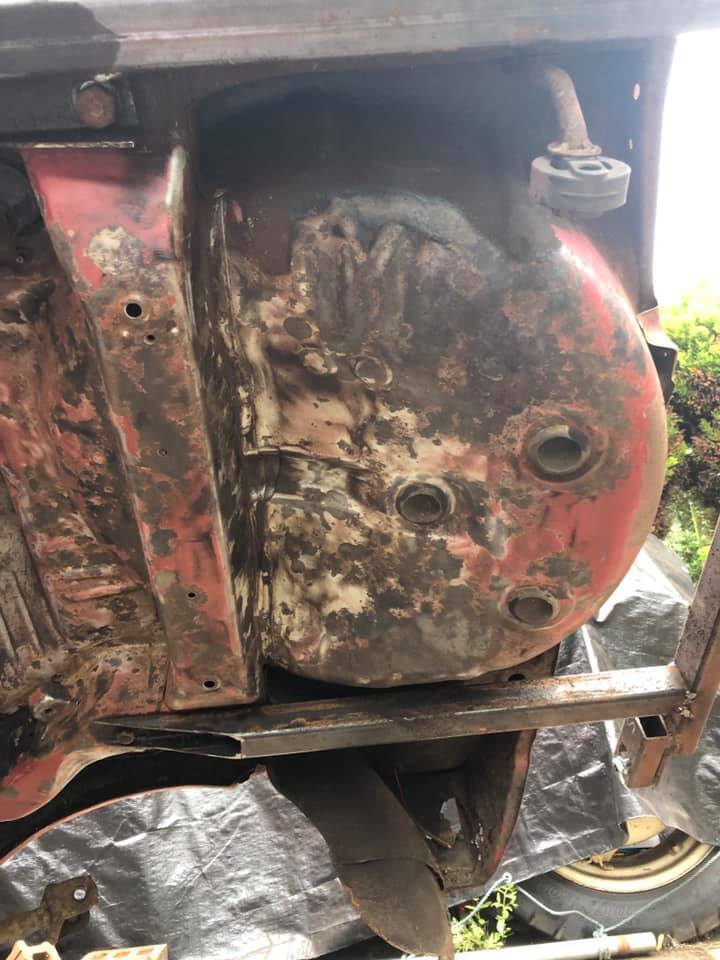
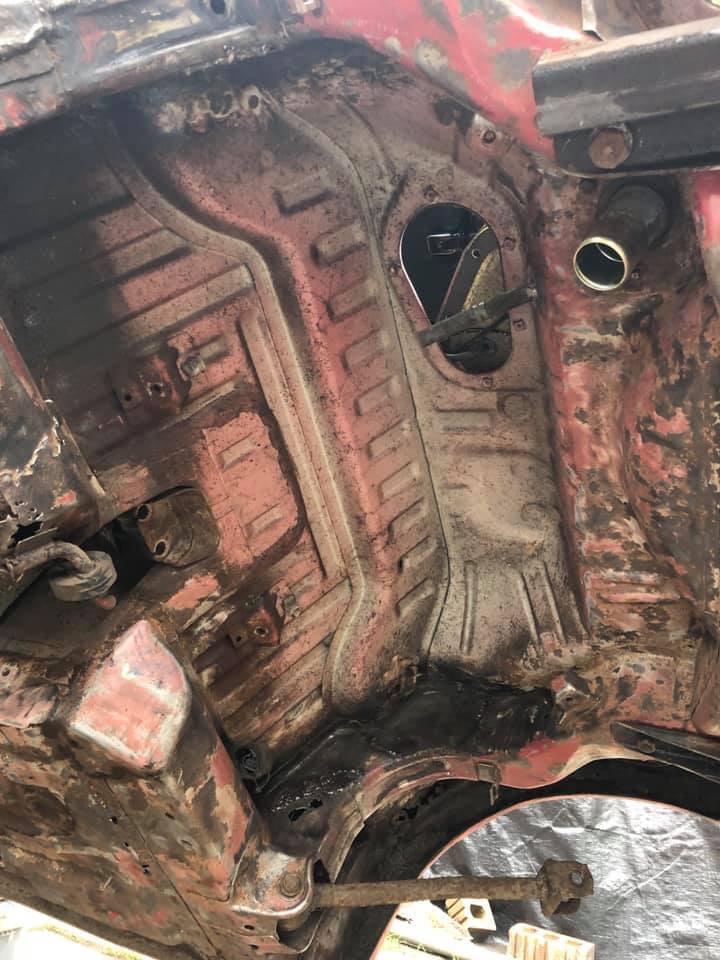
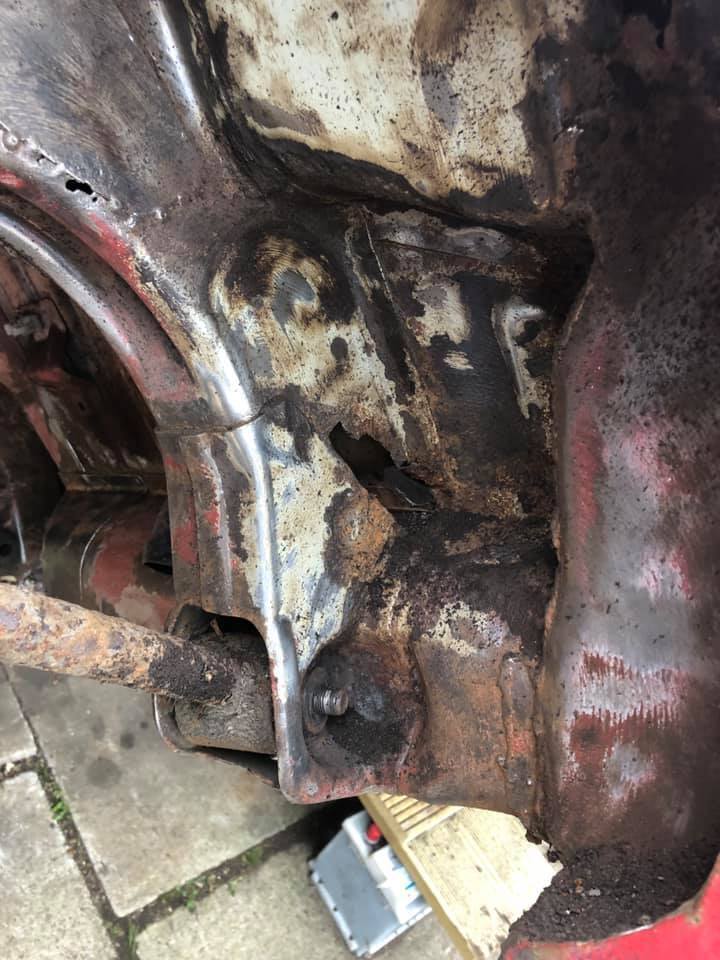
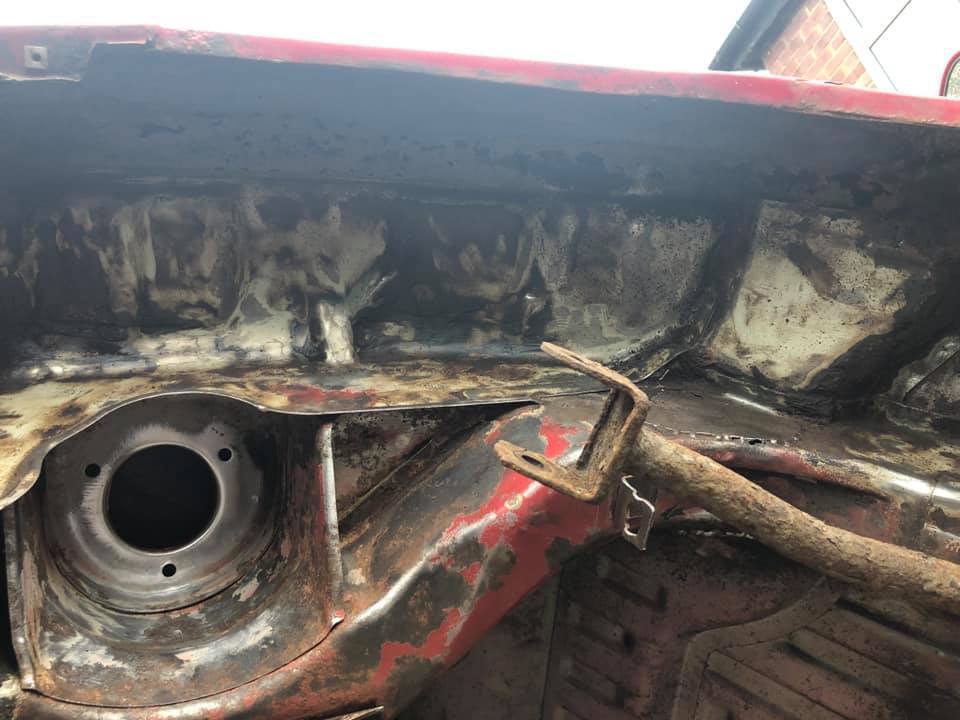
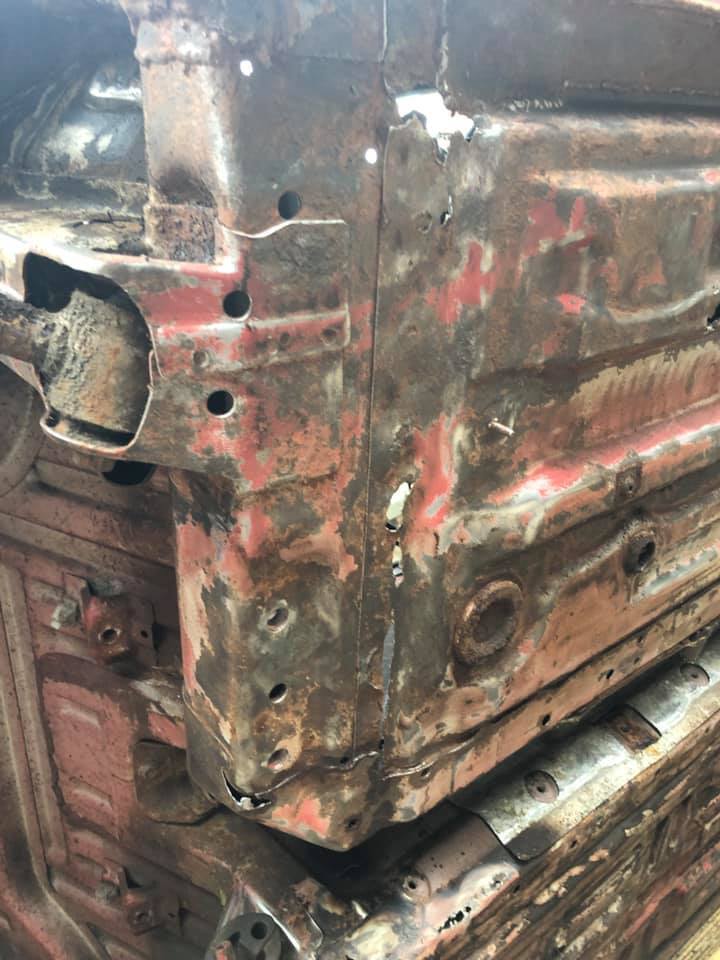
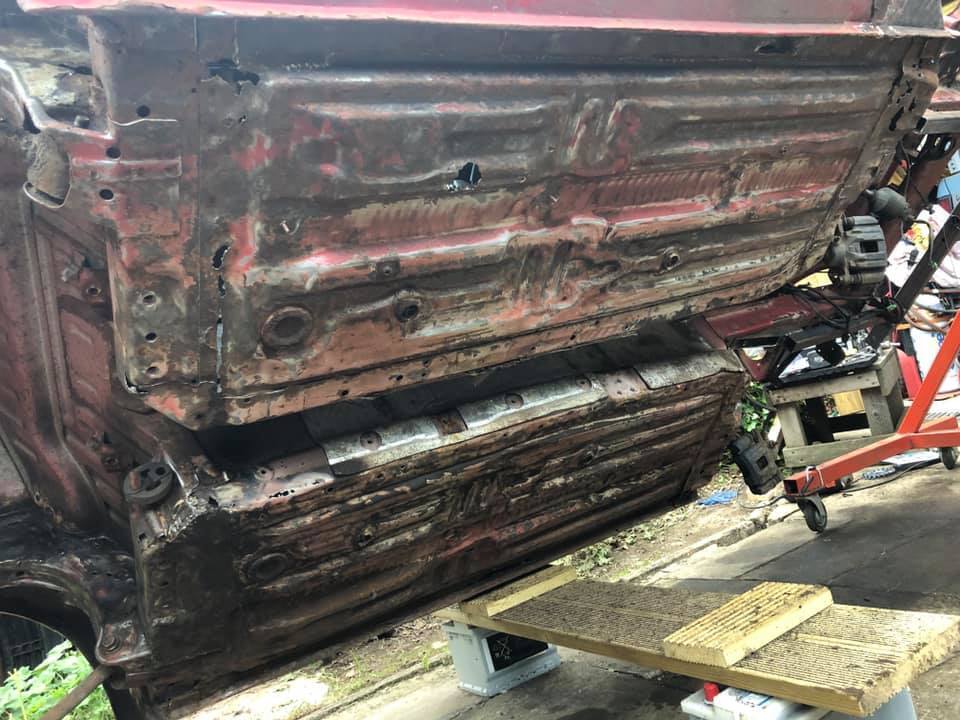
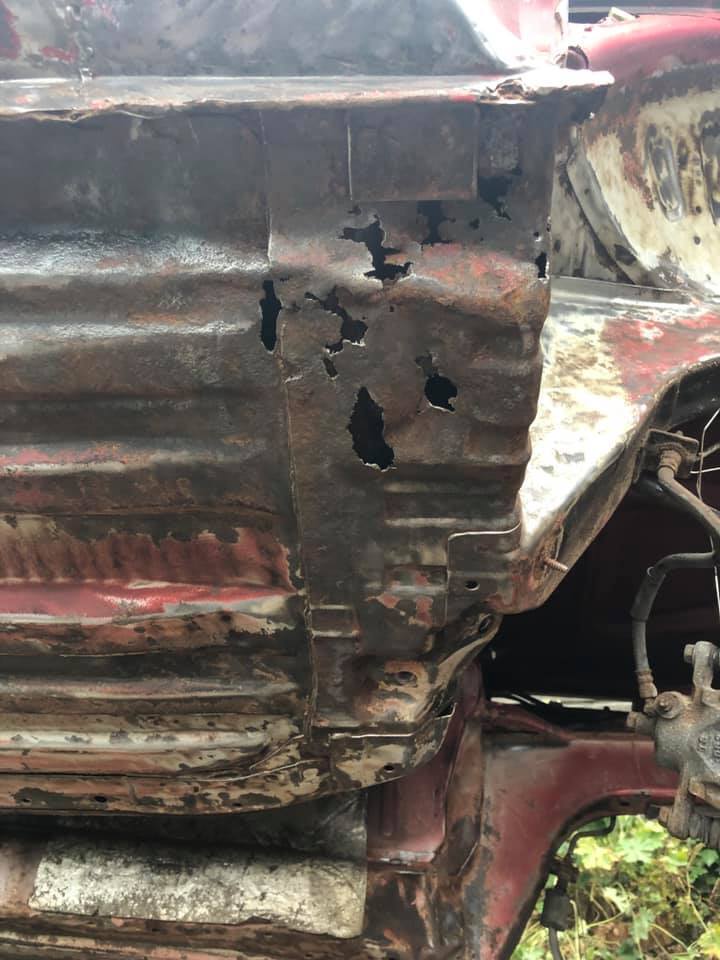
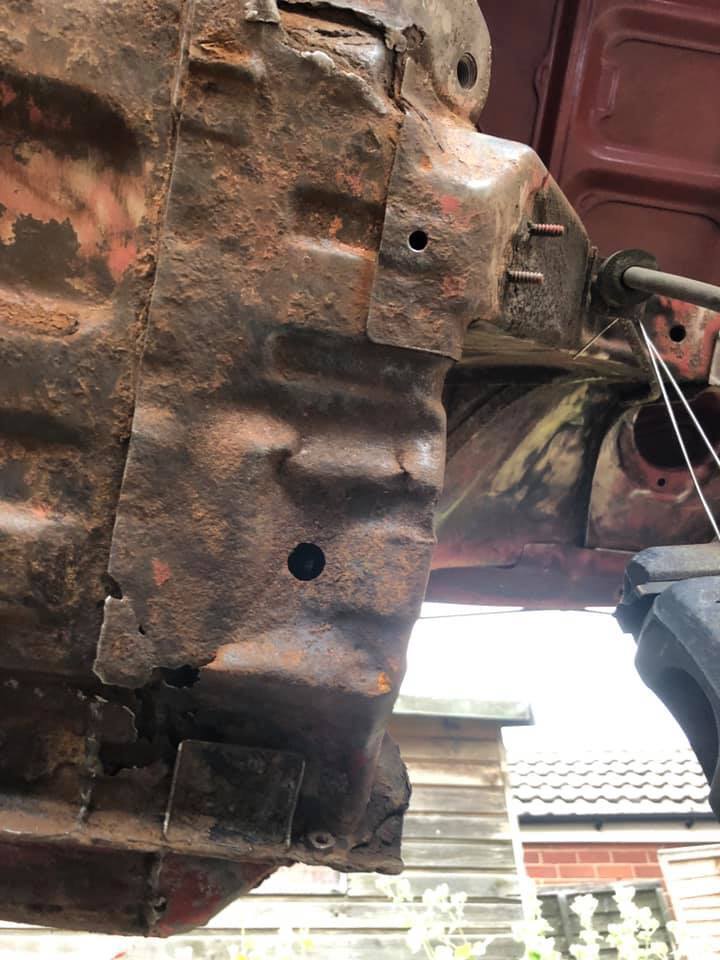
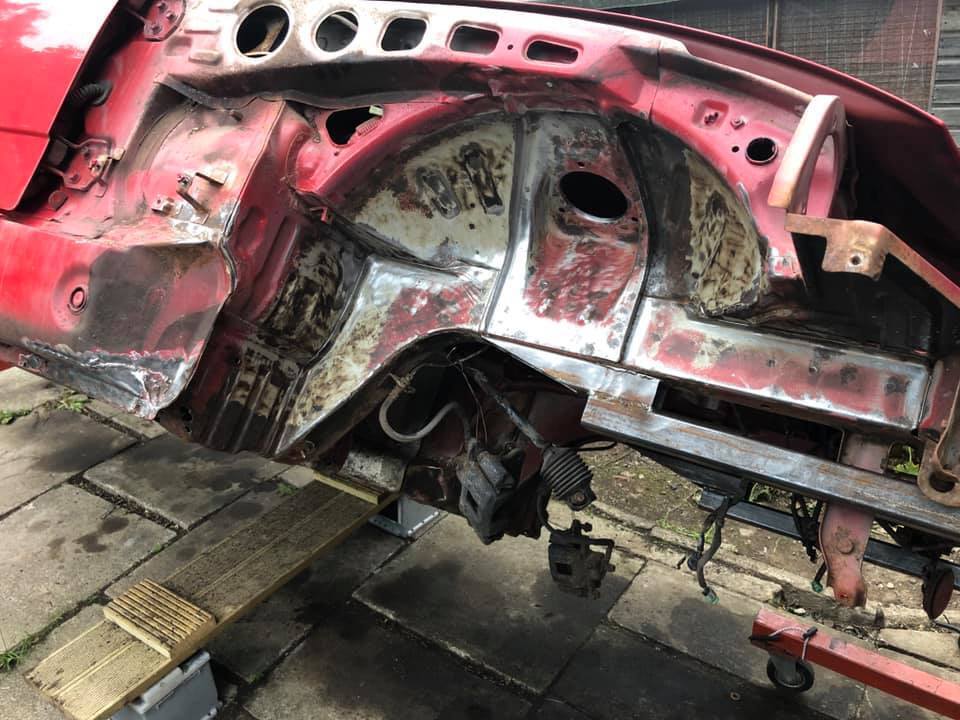
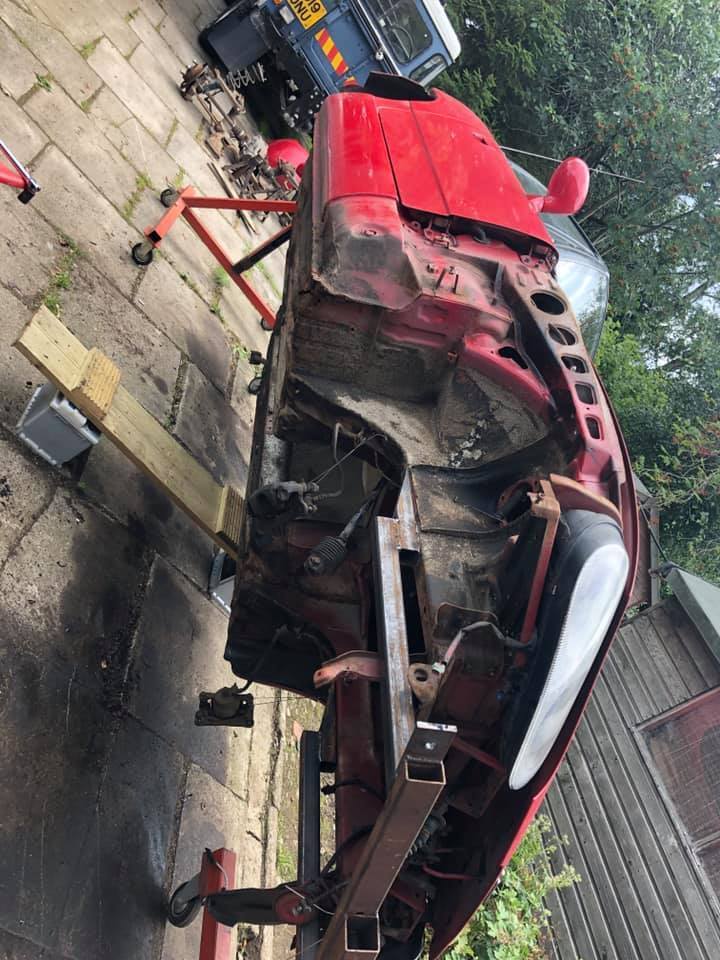
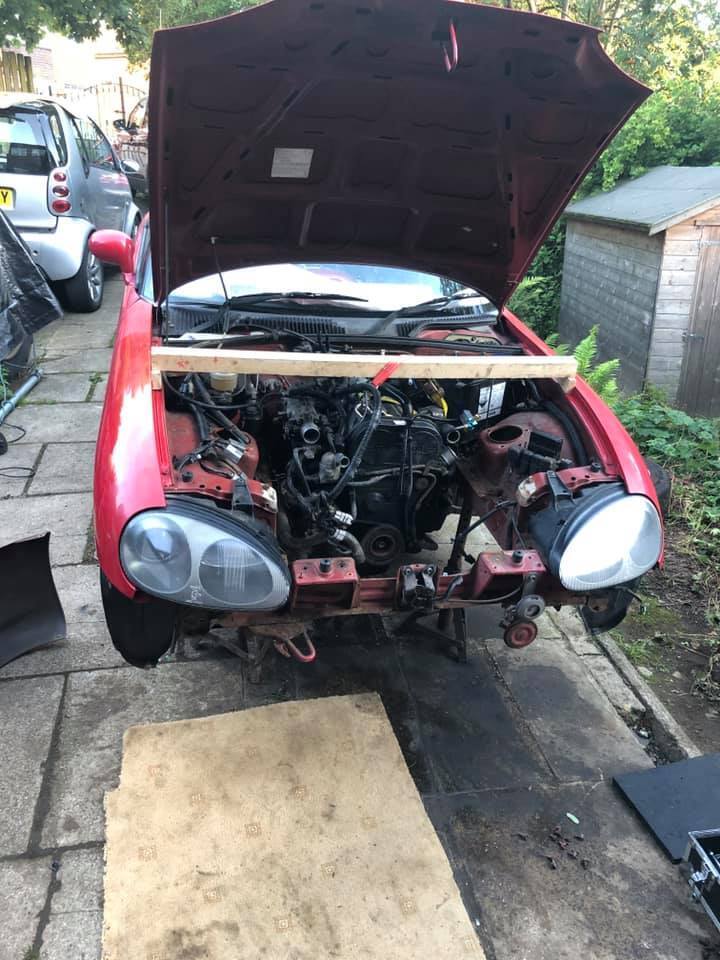
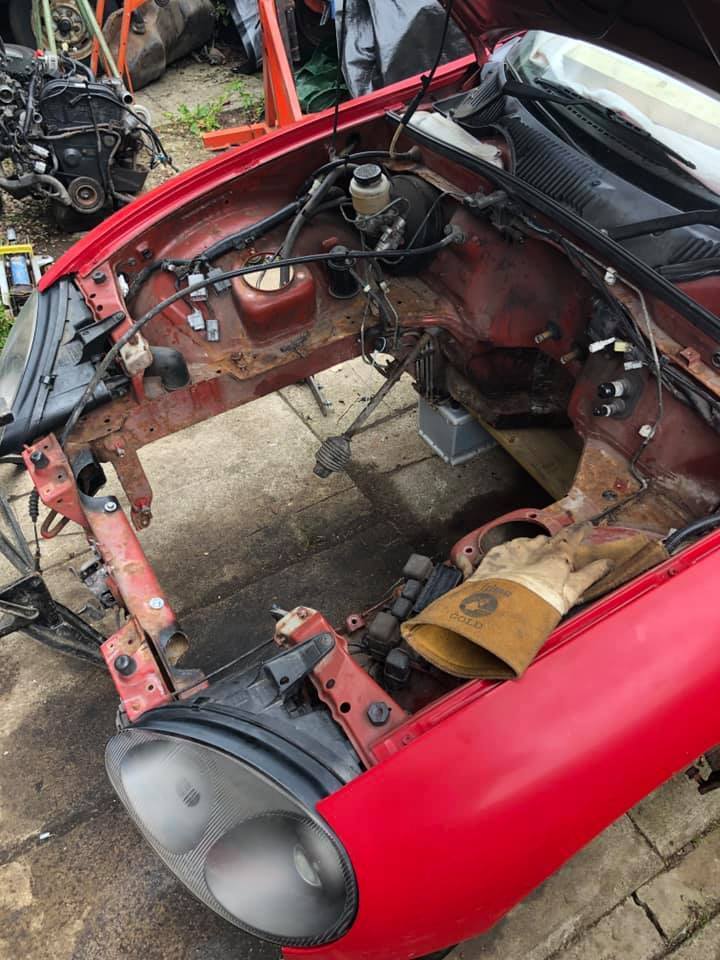
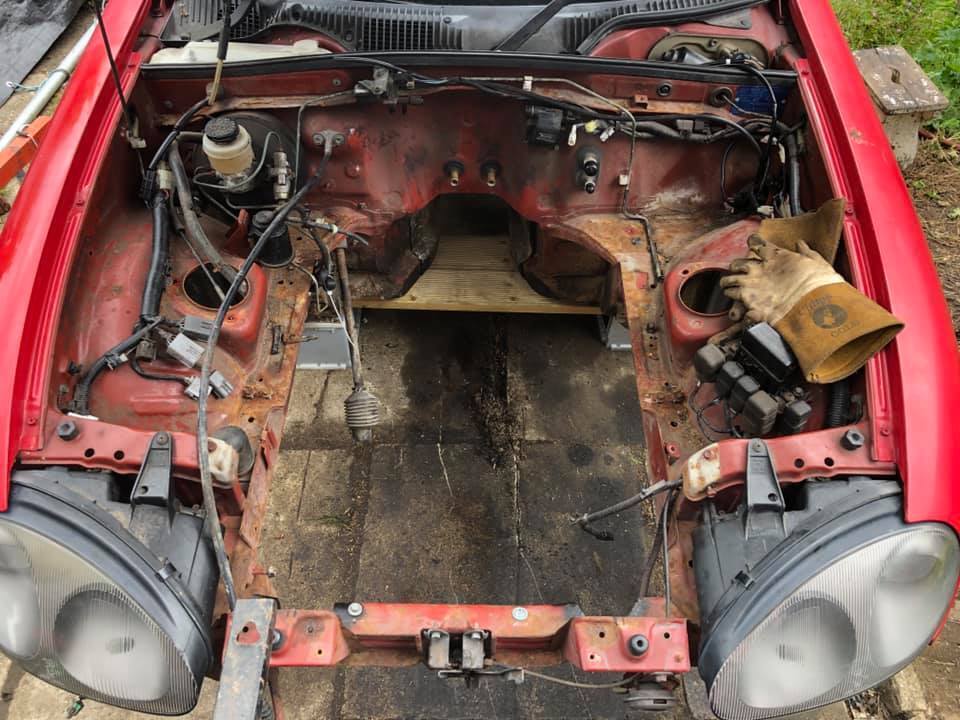
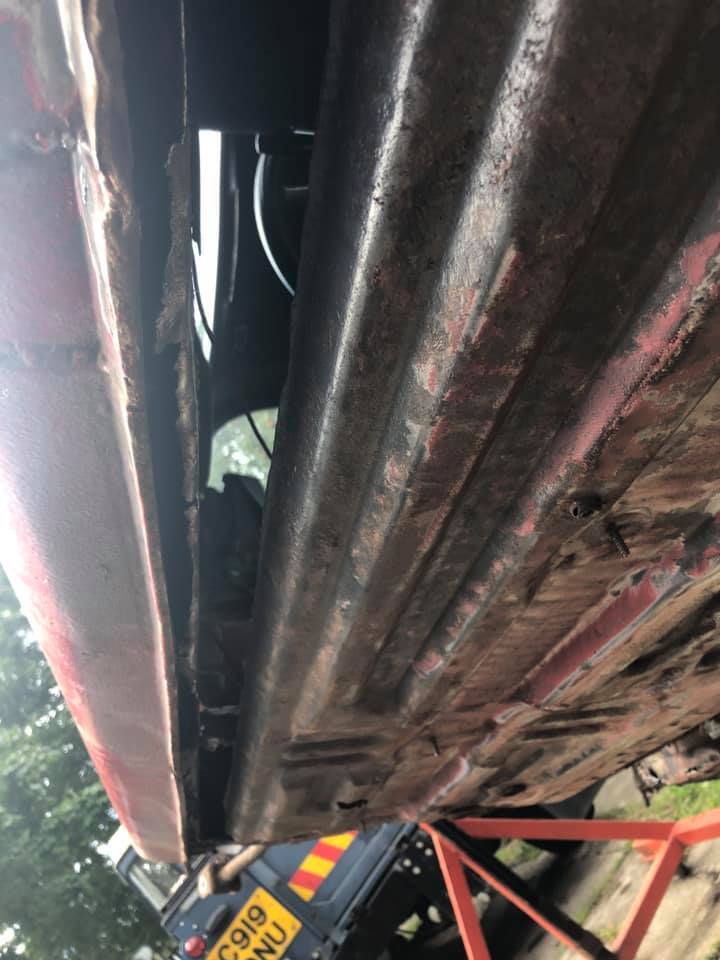
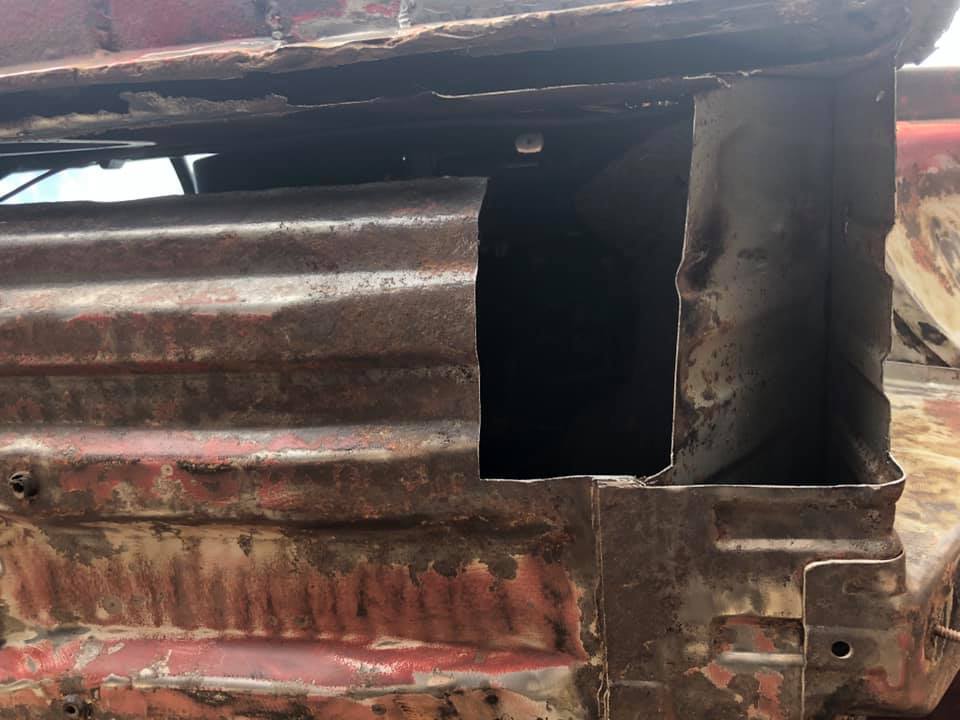
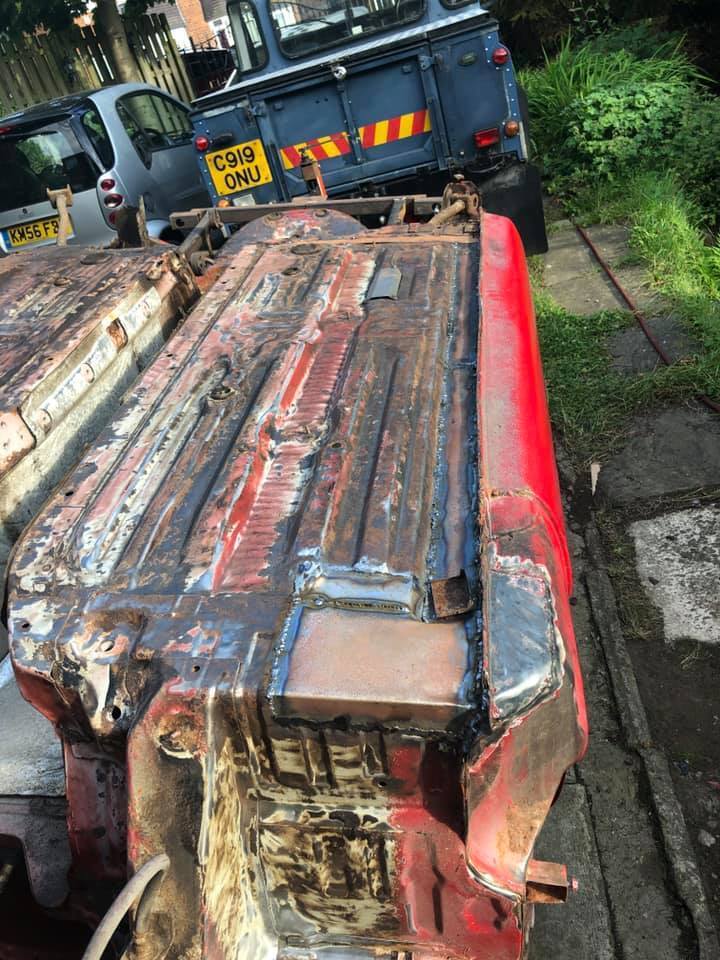
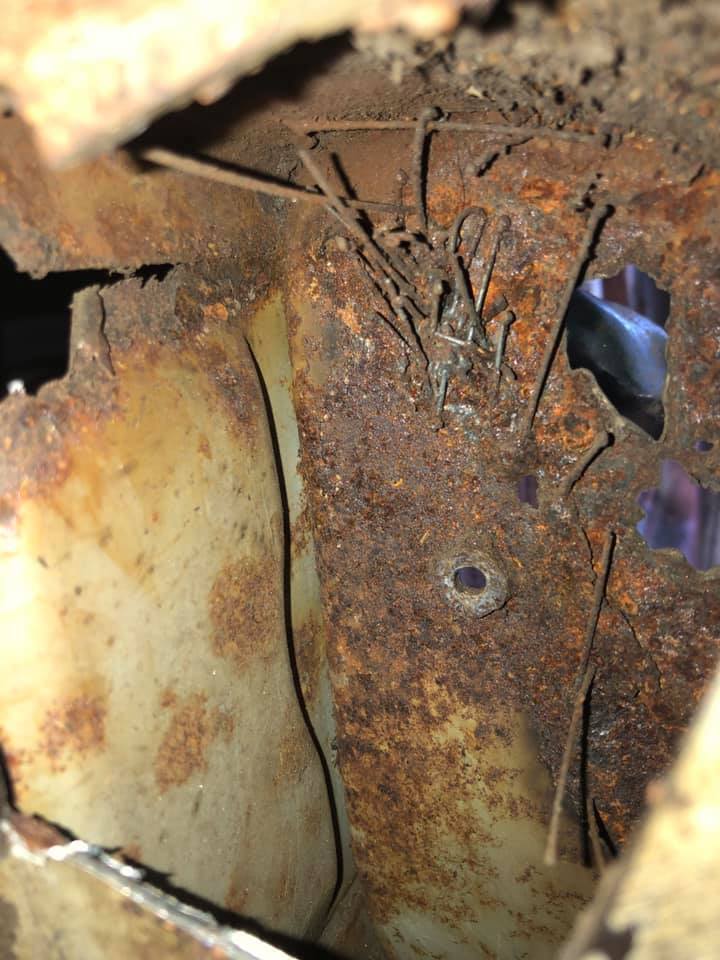
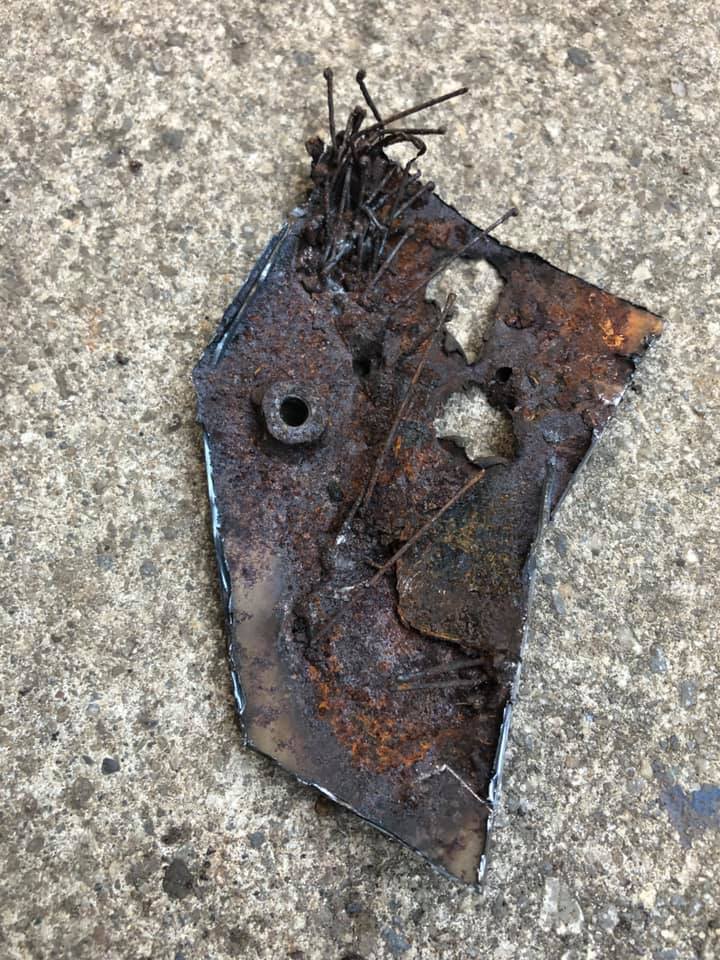
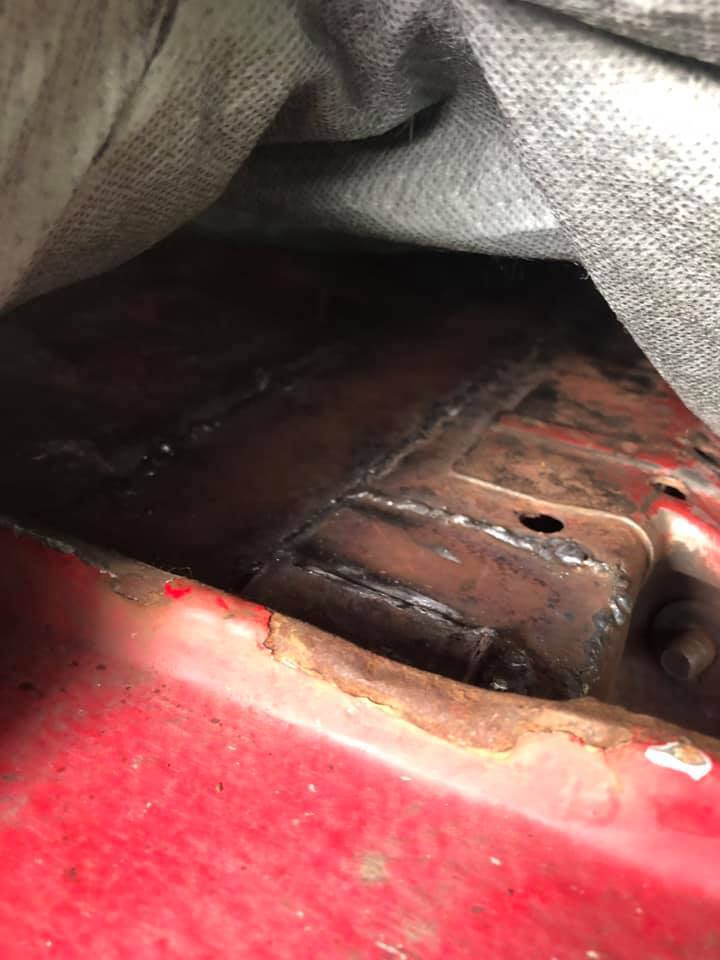
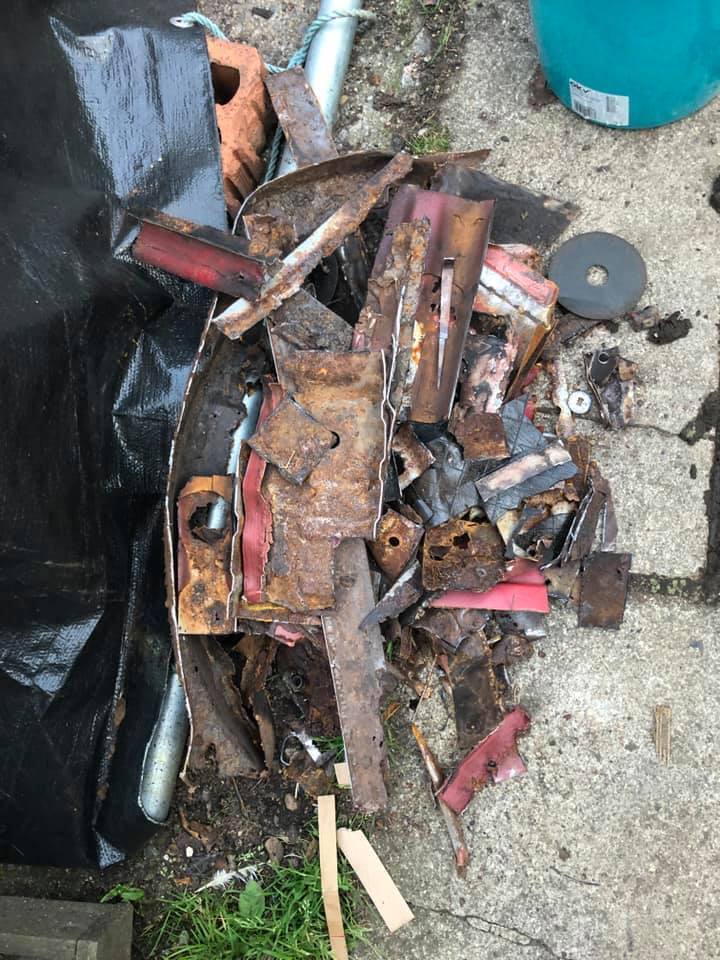
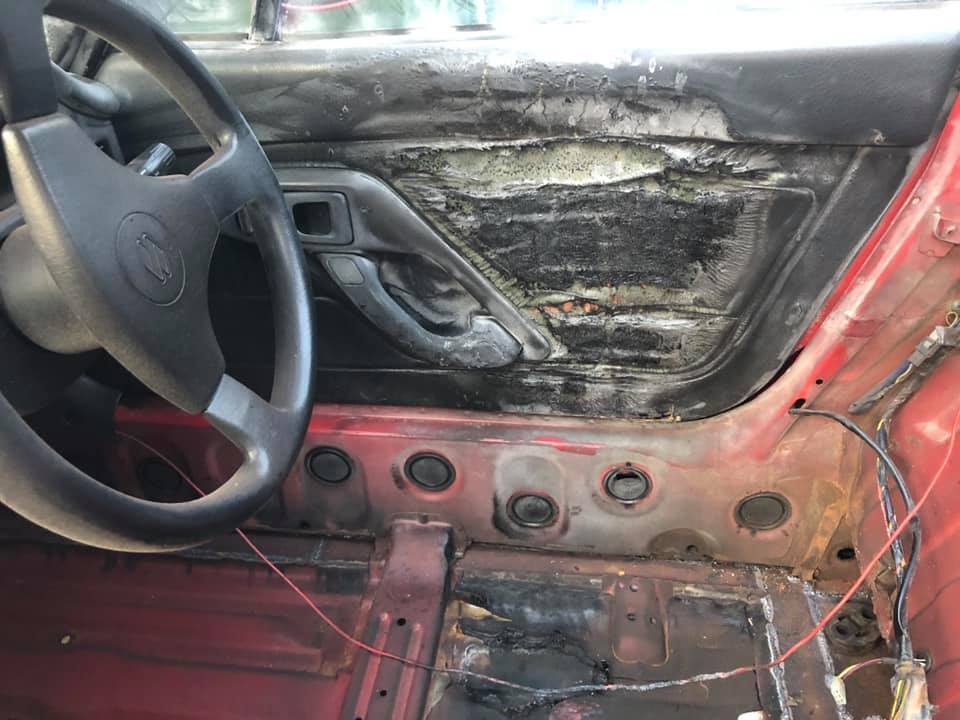
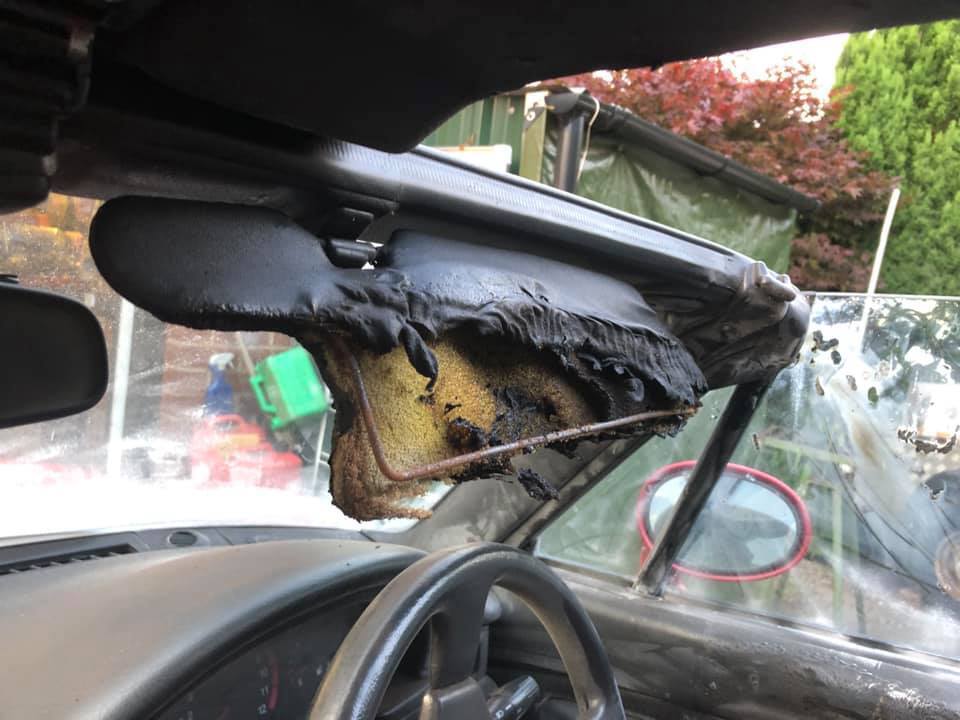
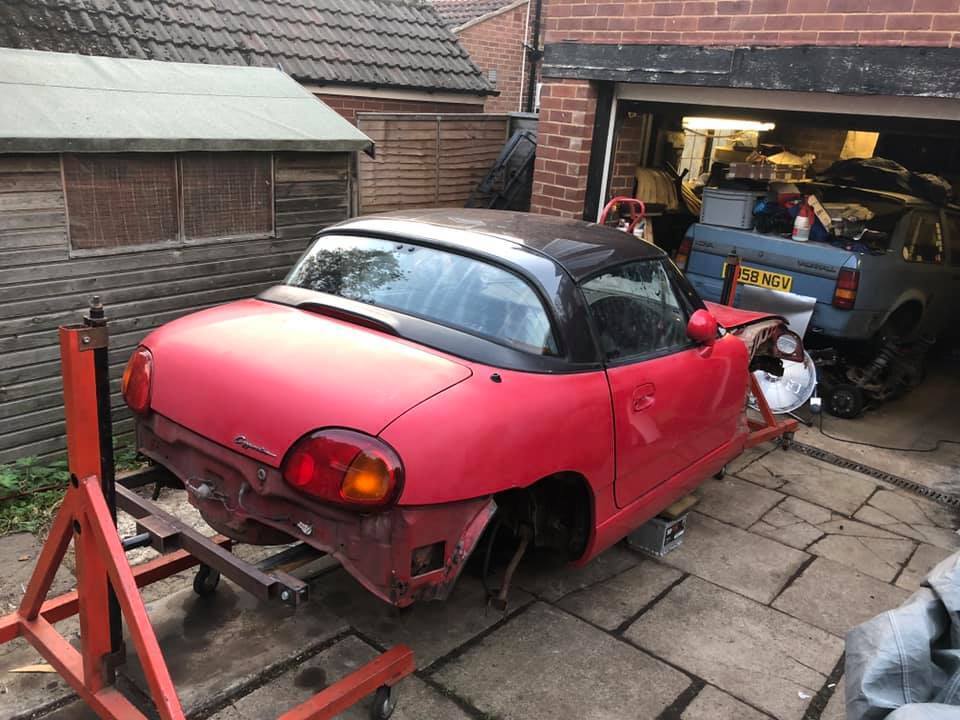
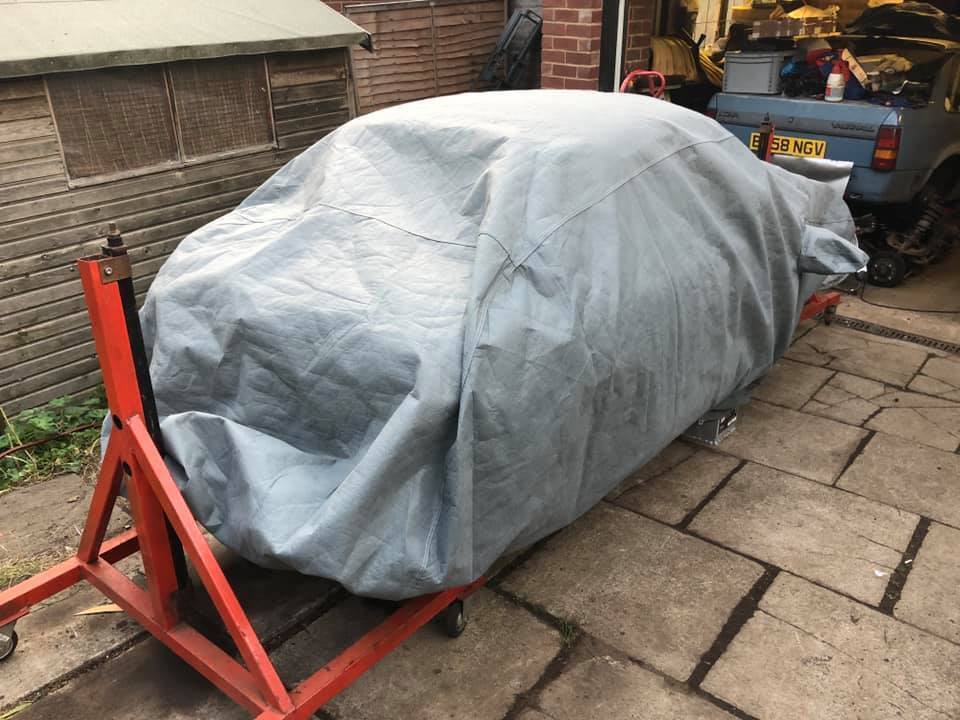
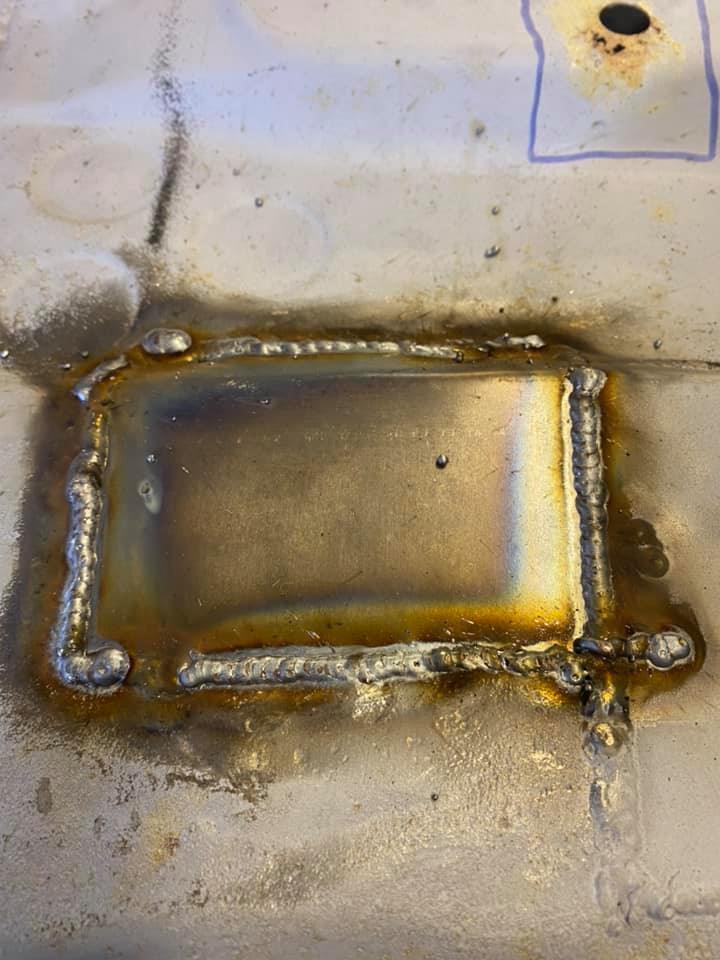
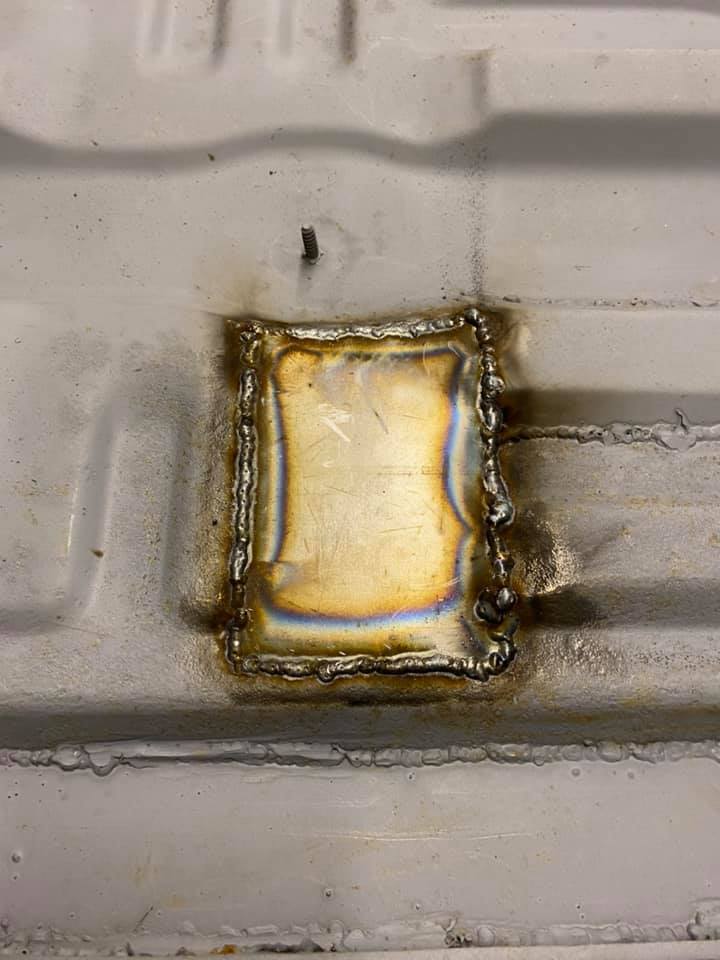
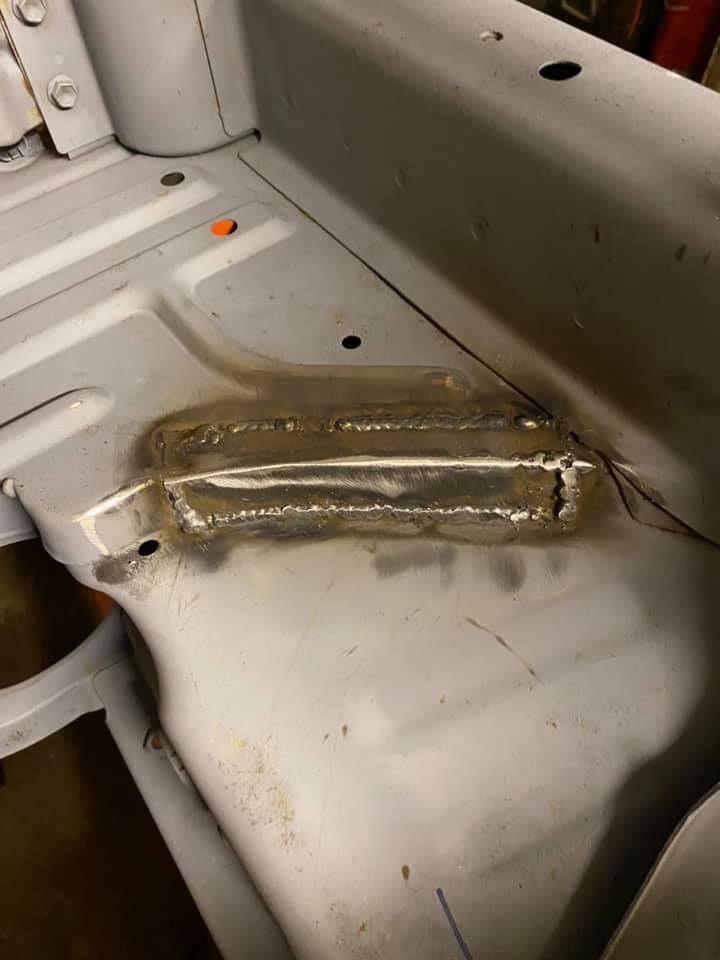
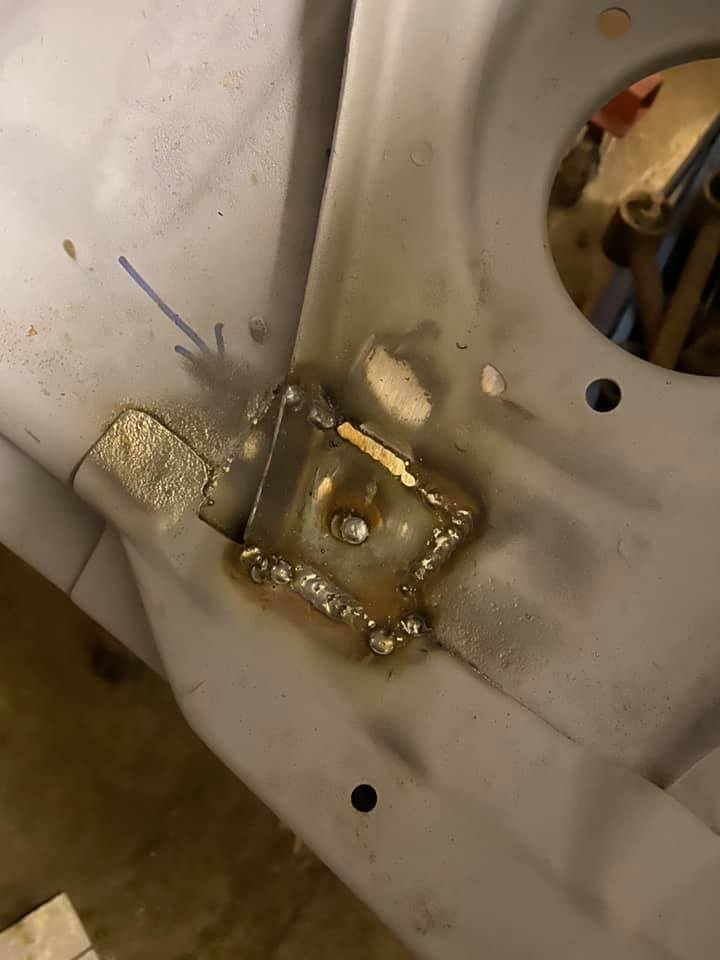
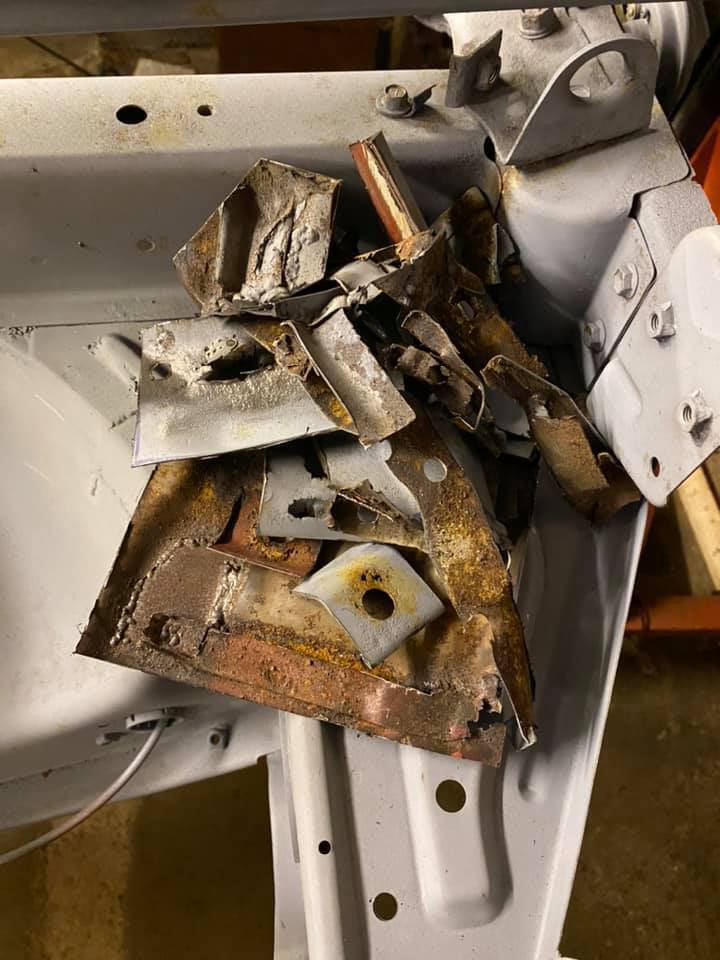
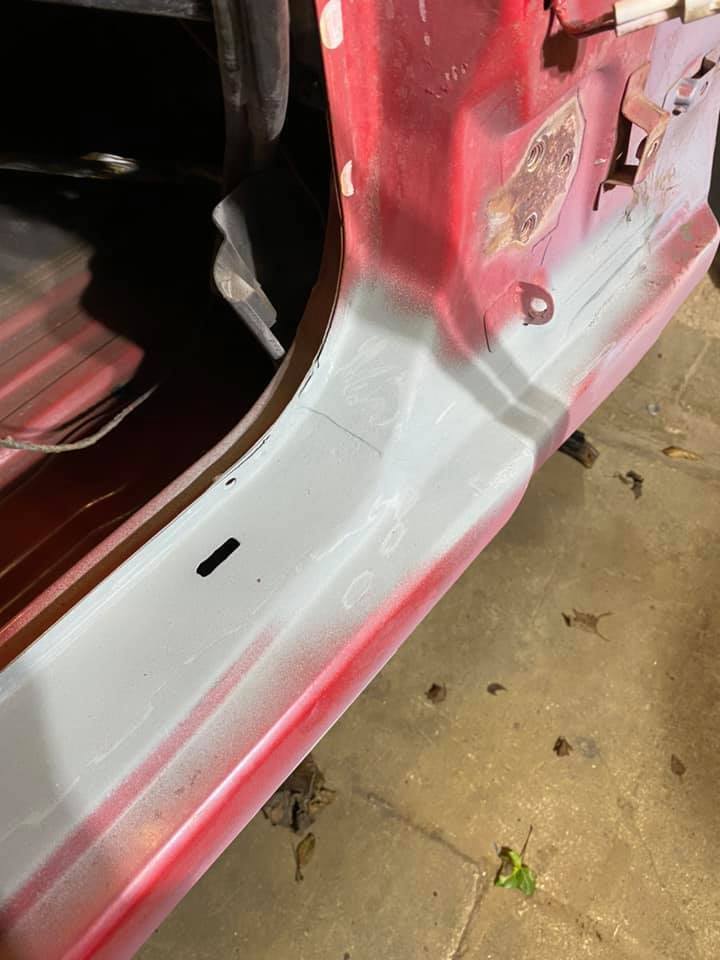
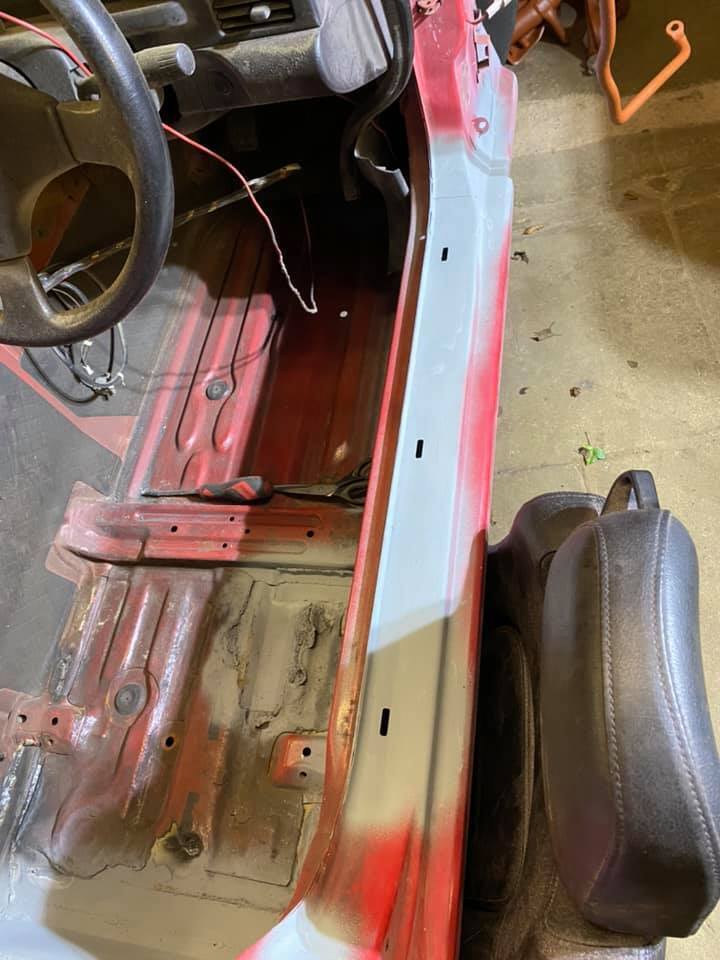
Afternoon all, So I've pretty much near as got to the end of doing this build now but had the full intentions of getting something up on here to document it a bit better than just a folder on my phone. So here goes..... First off, this is my first resto, i didn't go into it knowing the full extent of how bad the rust was on it, i guess now very naively. I bought the car in late 2018 with the majority of the MOT left thinking that would give me enough time to address the small parts i could see it needed. How wrong was I! The car has a very interesting history (well i think so), it was purchased new by a lady who was a nurse in Cyrpus with the army and she used to run round the bases and local areas in the late 90's. She told me that when she came back to the UK with her husband, that the car came back in the back of a Hercules with some more cars that were destined to be returned as she drove with her husband in a shogun from Cyprus all the way back to the UK where she met back up with it. From this point on she had used it to commute occasionally to various bases in the UK and more often on her main commute from near Cheltenham up to Kineton (near Gaydon Warwickshire). She had eventually decided to sell after seeing my wanted post in a facebook cappuccino group and withe her now having a CLK had used the cappuccino even less. It had had some extensive repair works done on it in the previous few years to clear a lot of the rot but she knew it needed some TLC to keep it going. I picked the car up on the 14th November 2018 and happily used the car up until June 2019 when i drove it back up to home to evaluate some of the repairs i was going to have to do. Within a few hours i got the impression is was going to be a bit more than i had thought and so quickly snowballed into nearly a 2 year rebuild. I work in the midlands and my main garage with all mine and my grandads kit is back up in Leeds so nearly every weekend was a trip back up north to keep the project moving forward. Only when towards the end have i managed to have it with me in the midlands as id moved house and gained a garage space to enable some evening work as and when i could. I suppose now is a good time to get into the pictures of work. As said before, this is my first "restoration", i'm mainly from a Vauxhall background, especially novas, so this being my first JDM rwd didn't really have a clue as to how it would all proceed... 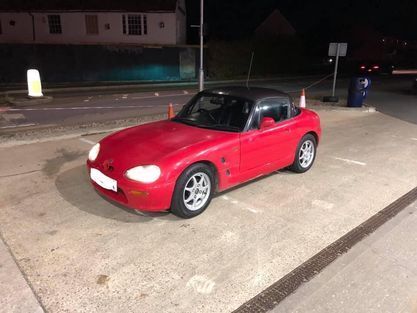 |
| |
Last Edit: Apr 6, 2021 13:46:31 GMT by boffer8
|
|
|
|
boffer8
Club Retro Rides Member
Posts: 91  Club RR Member Number: 75
|
|
|
|
|
|
| |
Last Edit: Apr 6, 2021 13:12:28 GMT by boffer8
|
|
boffer8
Club Retro Rides Member
Posts: 91  Club RR Member Number: 75
|
|
|
|
|
|
| |
|
|
boffer8
Club Retro Rides Member
Posts: 91  Club RR Member Number: 75
|
|
|
|
|
|
| |
|
|
Paul
Posted a lot
  
Posts: 2,014
|
|
|
|
|
Always had a soft spot for these, and there's one up for grabs in the F/S section on here but it's well beyond anything I'd be able to fix.
You have big cojones my friend.
|
| |
|
|
boffer8
Club Retro Rides Member
Posts: 91  Club RR Member Number: 75
|
|
|
|
|
|
| |
|
|
boffer8
Club Retro Rides Member
Posts: 91  Club RR Member Number: 75
|
|
|
|
|
|
| |
Last Edit: Apr 6, 2021 13:49:29 GMT by boffer8
|
|
boffer8
Club Retro Rides Member
Posts: 91  Club RR Member Number: 75
|
|
|
|
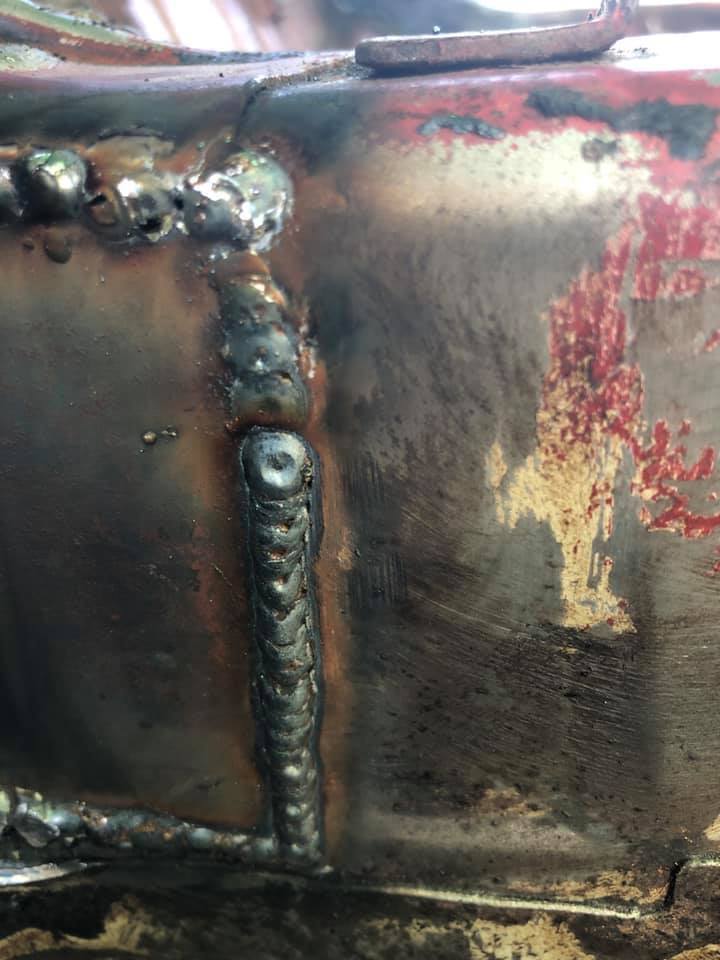
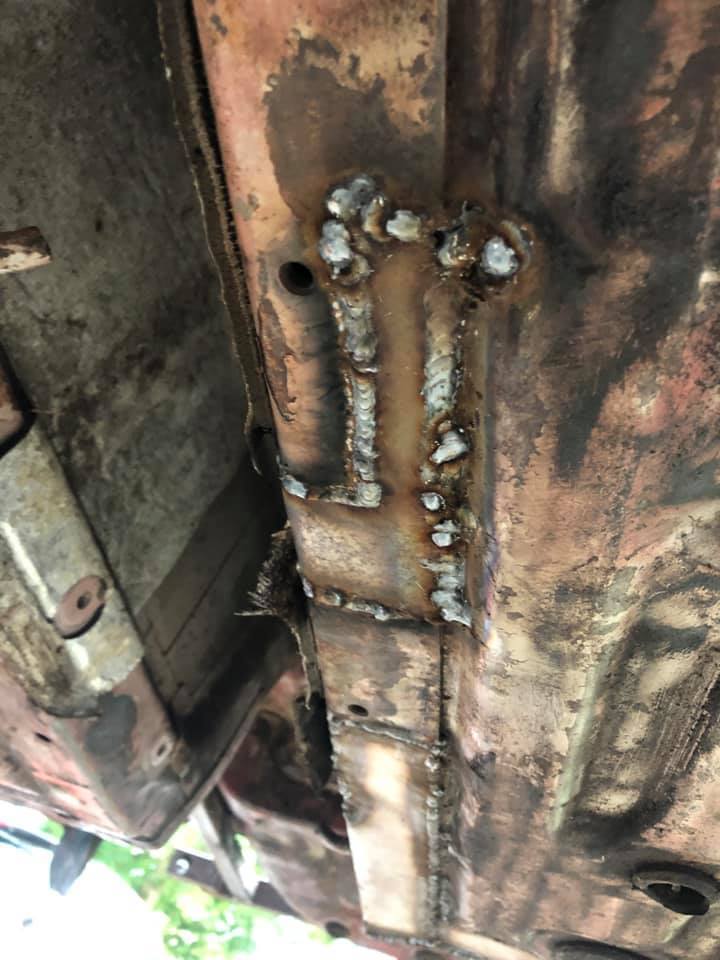
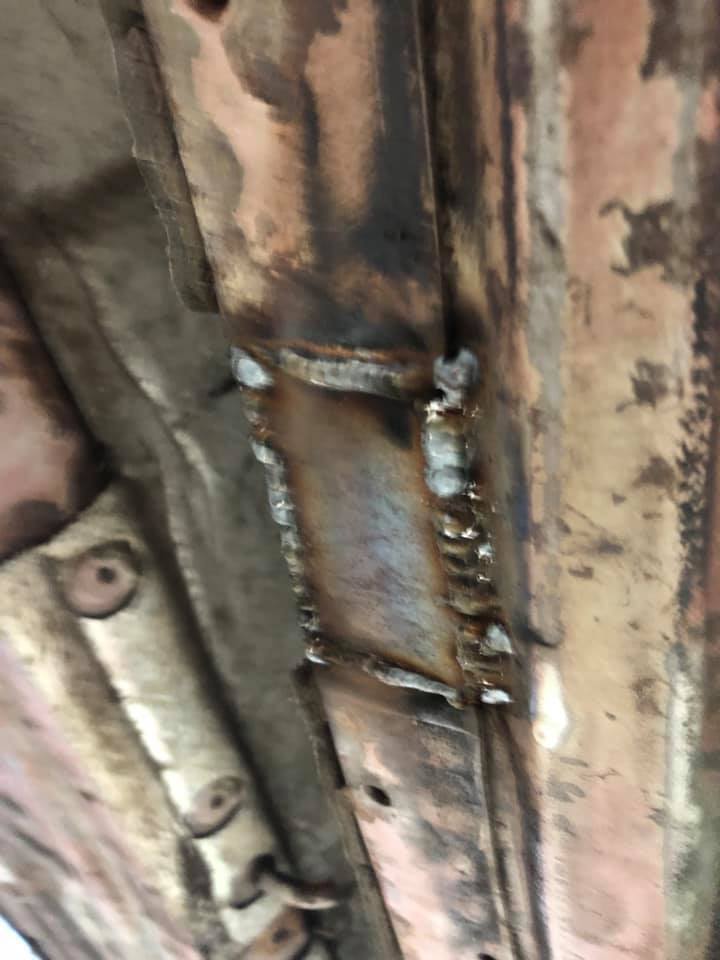
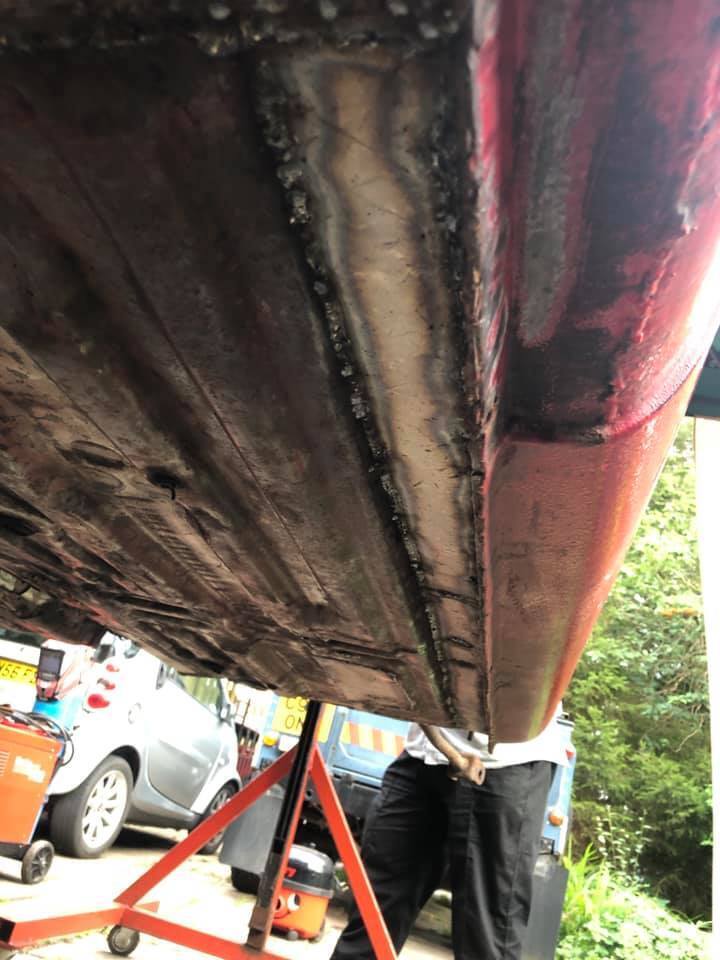
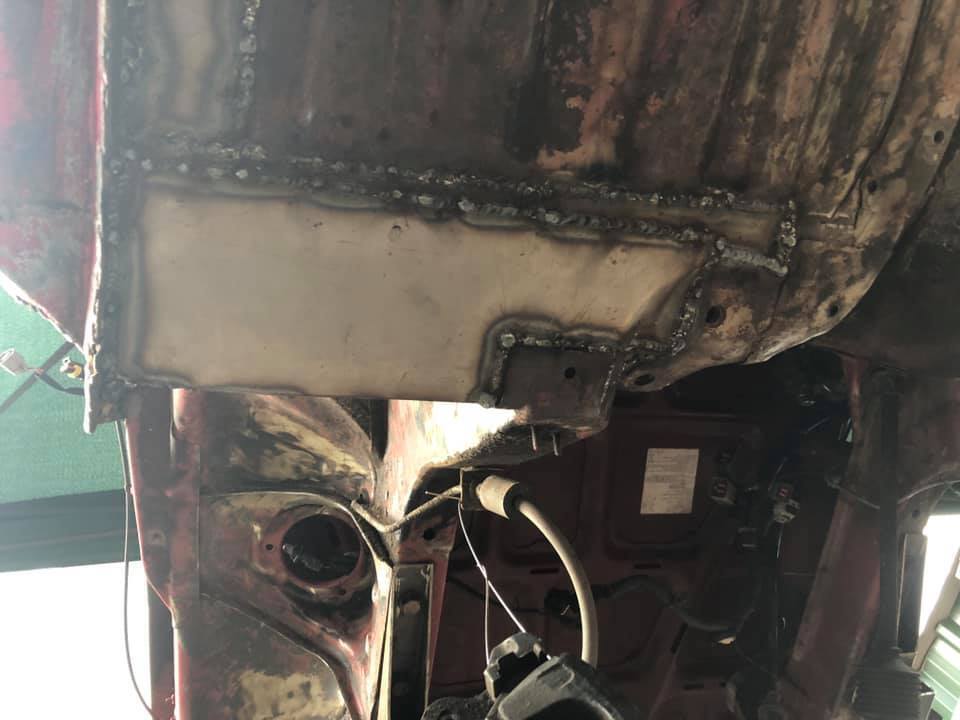
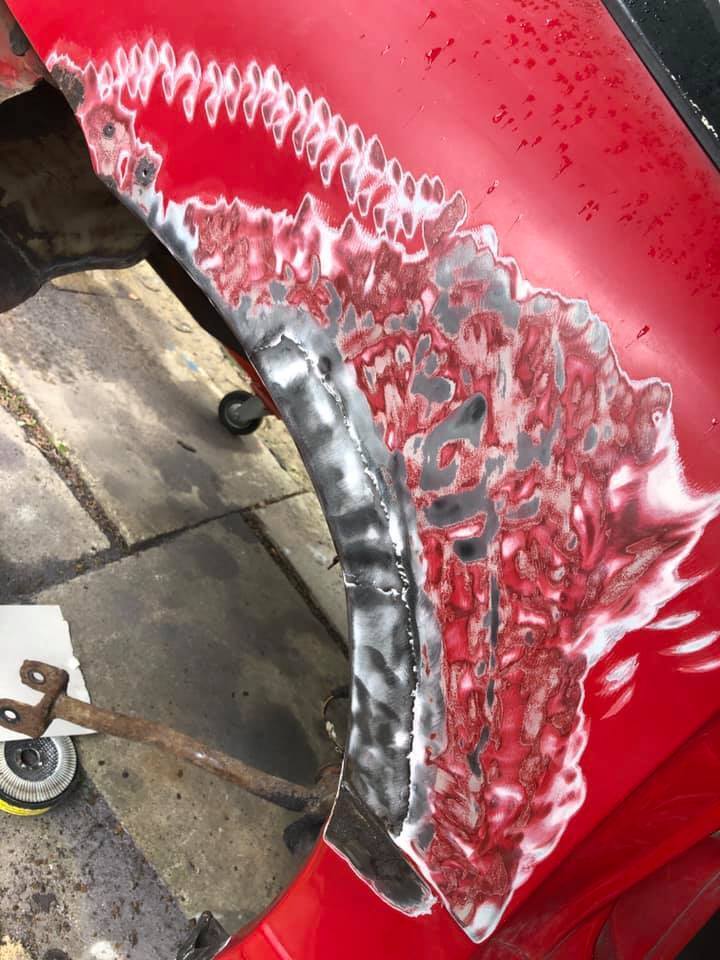
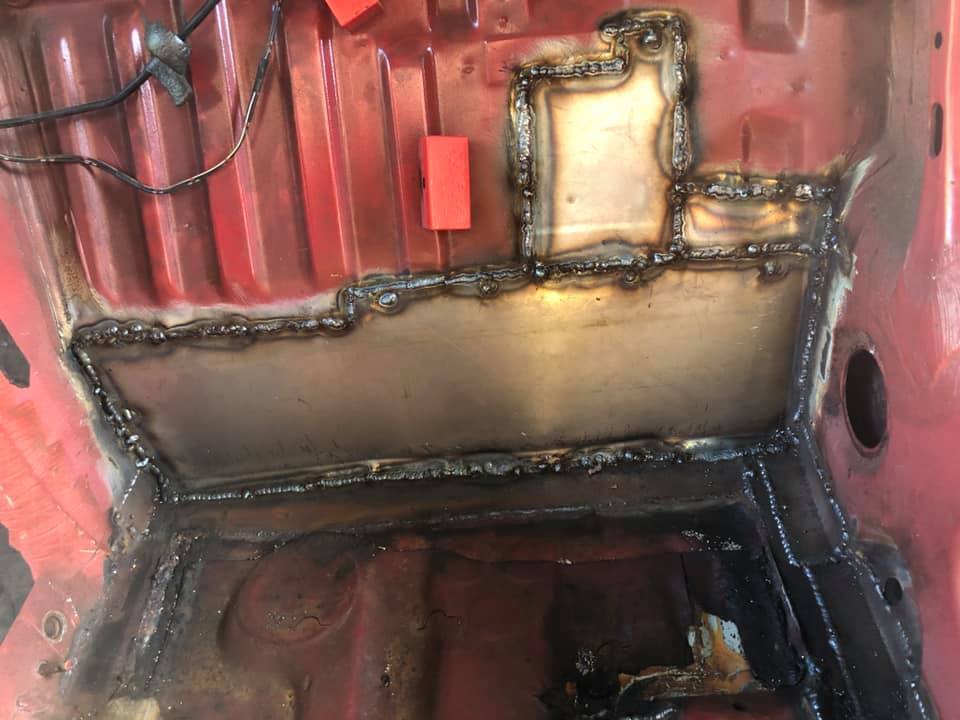
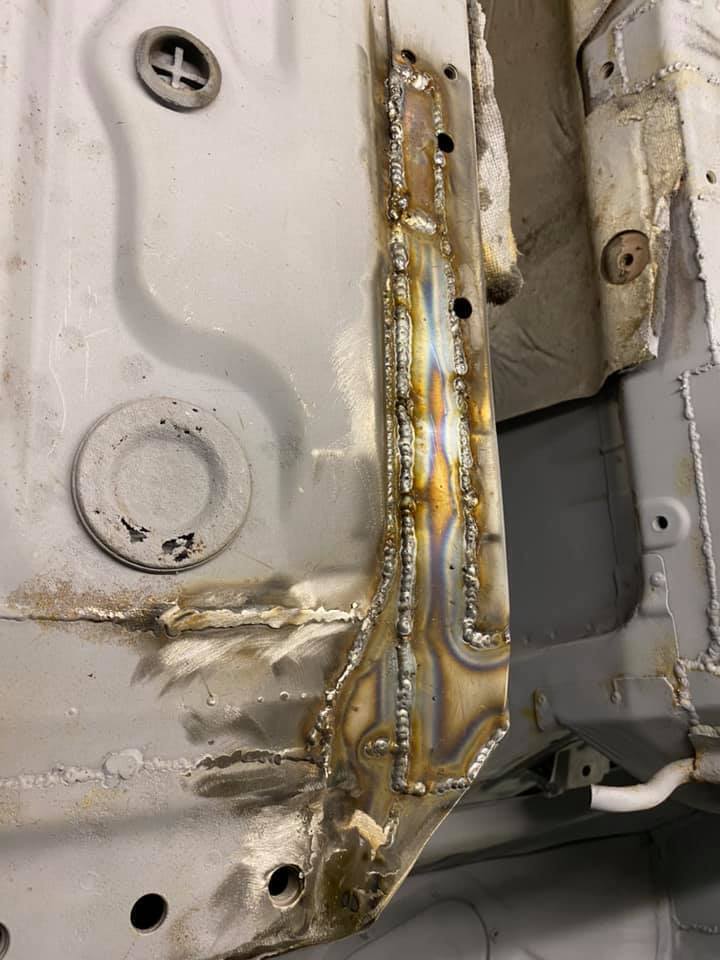
Following weekend and had spent most of the week trying to find something even close that would work to match the shape of the arch to get in there. Most of the panels for a cappuccino are no longer available hence why patching properly and making most other things would have to do. But because of the shape and angles of the arch i wanted to see if i could find something that was going to do the job a lot better than i could. The hunt continued.... In the meantime i got on with the drivers rear bulkhead lower which was horrifically siliconed in with about 3 or 4 tacks. The cavity behind seems to be a major water trap so a mental not to ensure that its well sealed/protected was made for a lot later down the road. 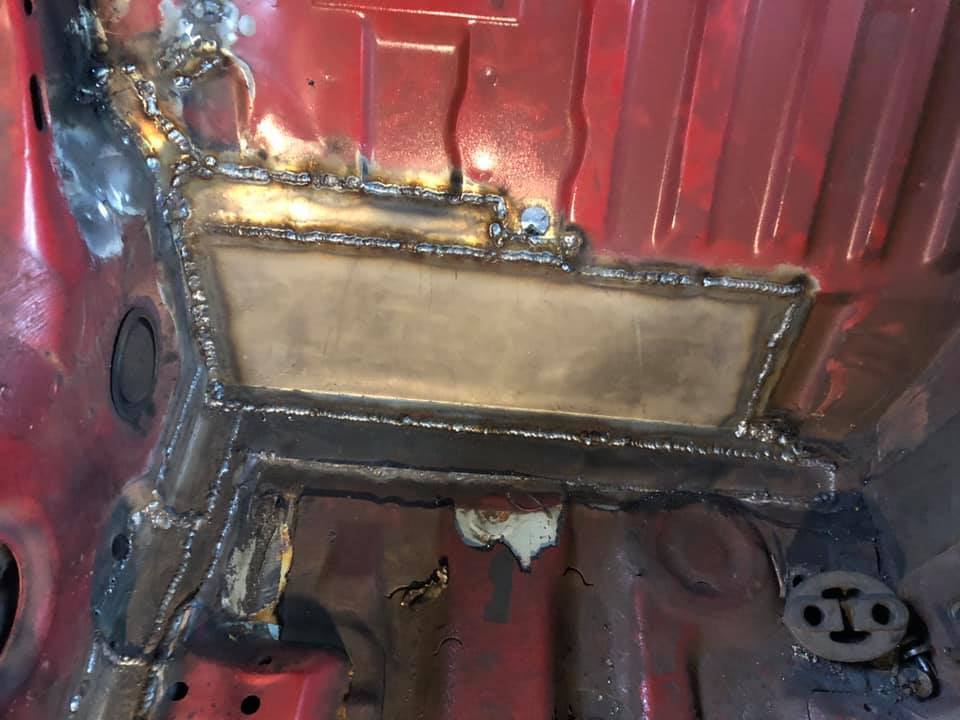 Next was to buy a piece of kit to enable me to do the sill to floor joins the best i could do, Stakesy's to the rescue 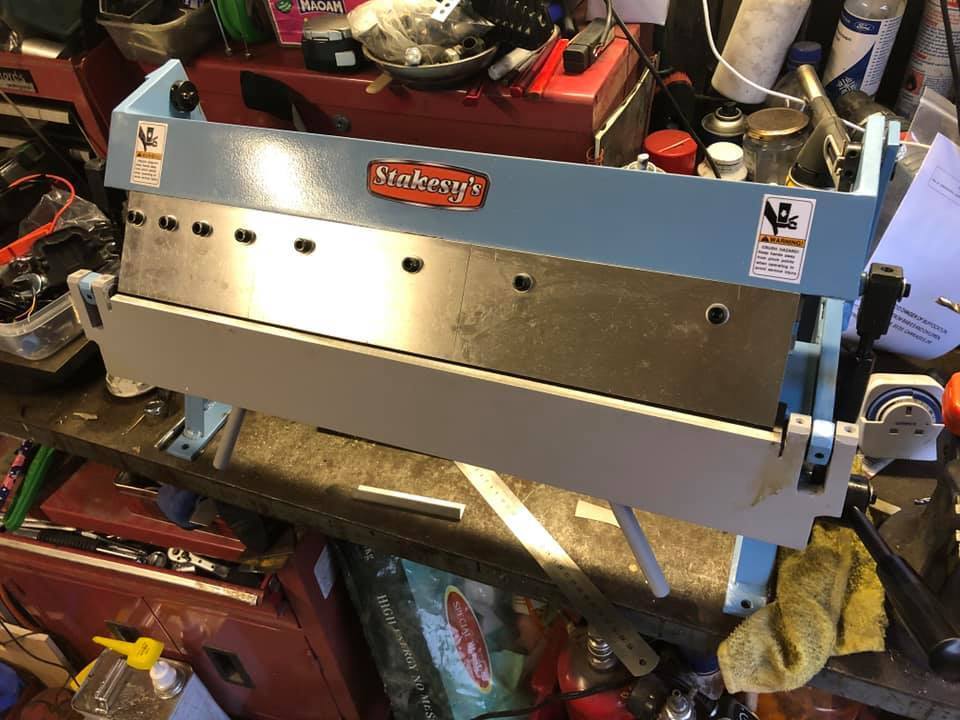 And within this now firmly clamped to the only available space in the garage was bending sections to do away with the rust once again... 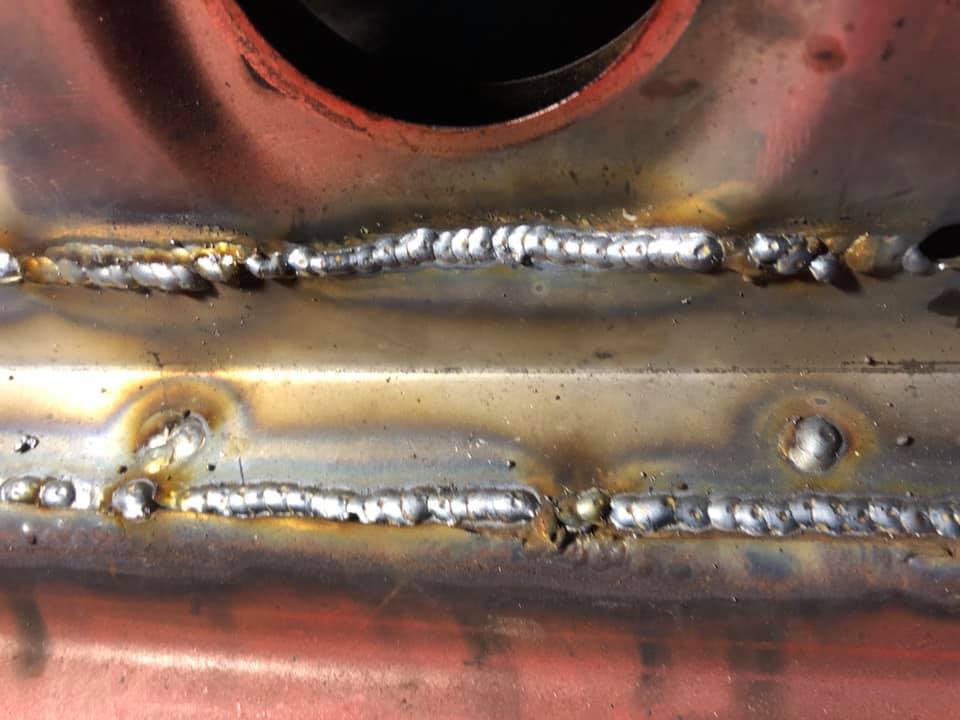 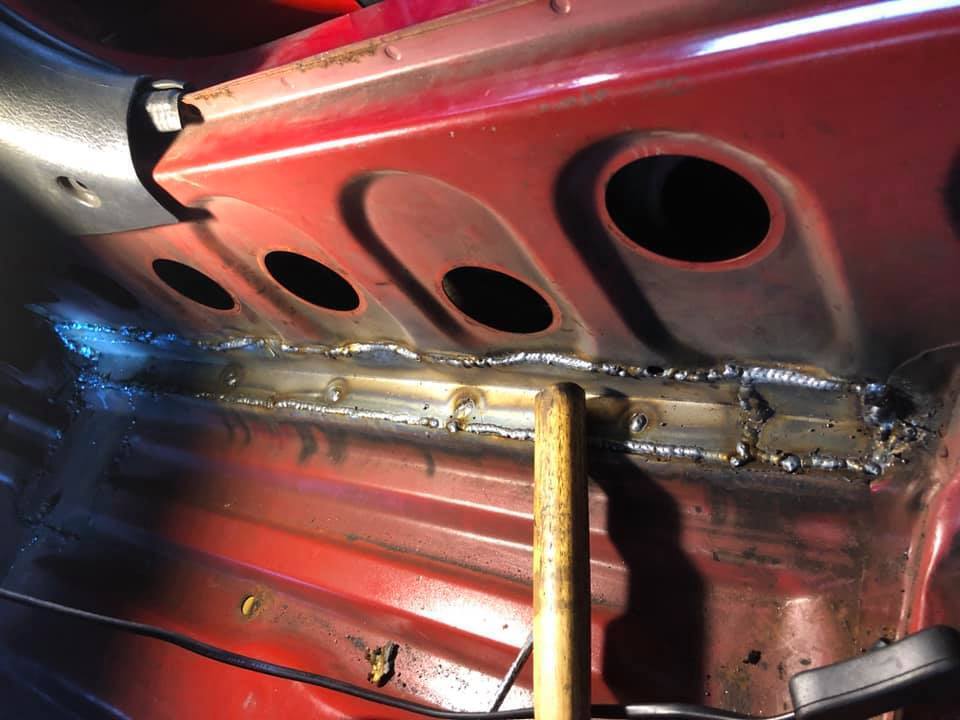 The next week also after a mammoth search across the entire globe, resulted in finding the last 2 inner rear arch panels, one from Suzuki France and the other from stock in Japan. These would turn out to be a life saver in that area later down the road 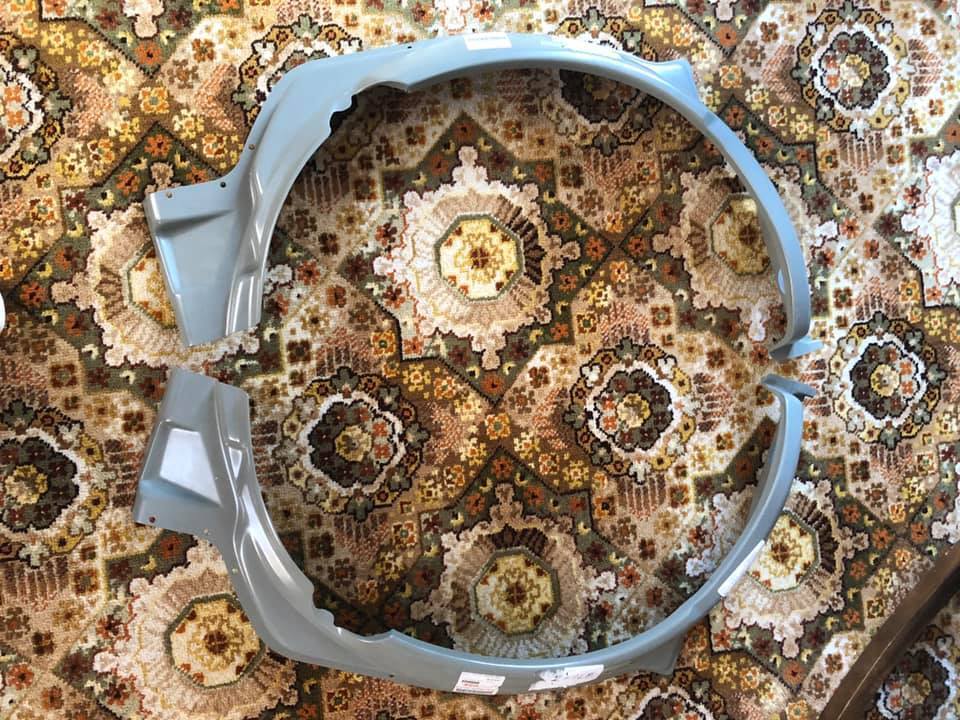 |
| |
|
|
boffer8
Club Retro Rides Member
Posts: 91  Club RR Member Number: 75
|
|
|
|
|
|
| |
|
|
boffer8
Club Retro Rides Member
Posts: 91  Club RR Member Number: 75
|
|
|
|
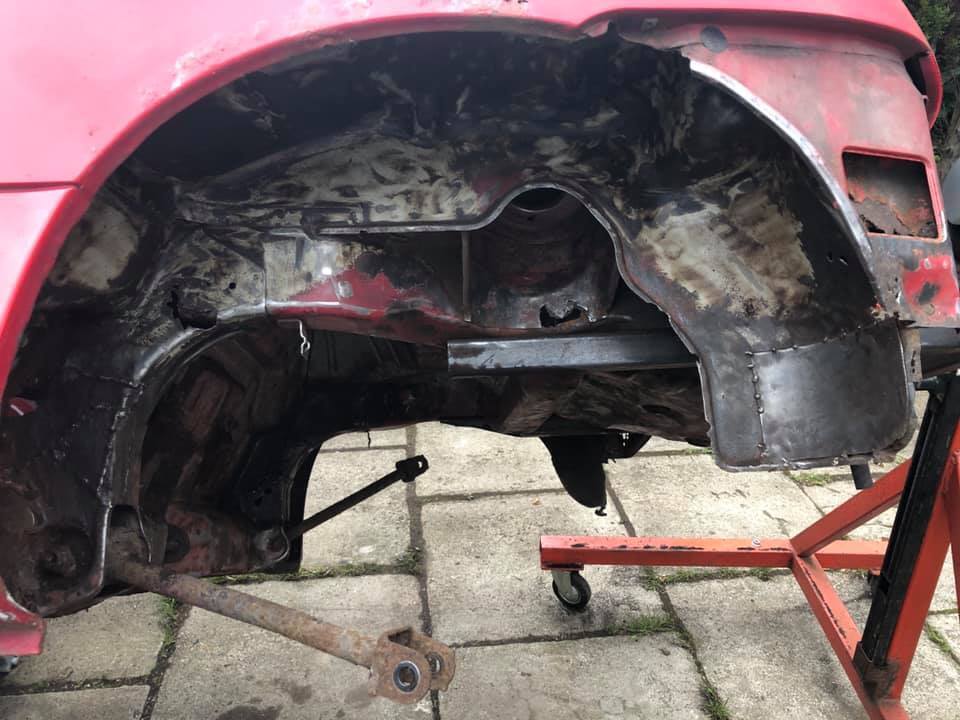
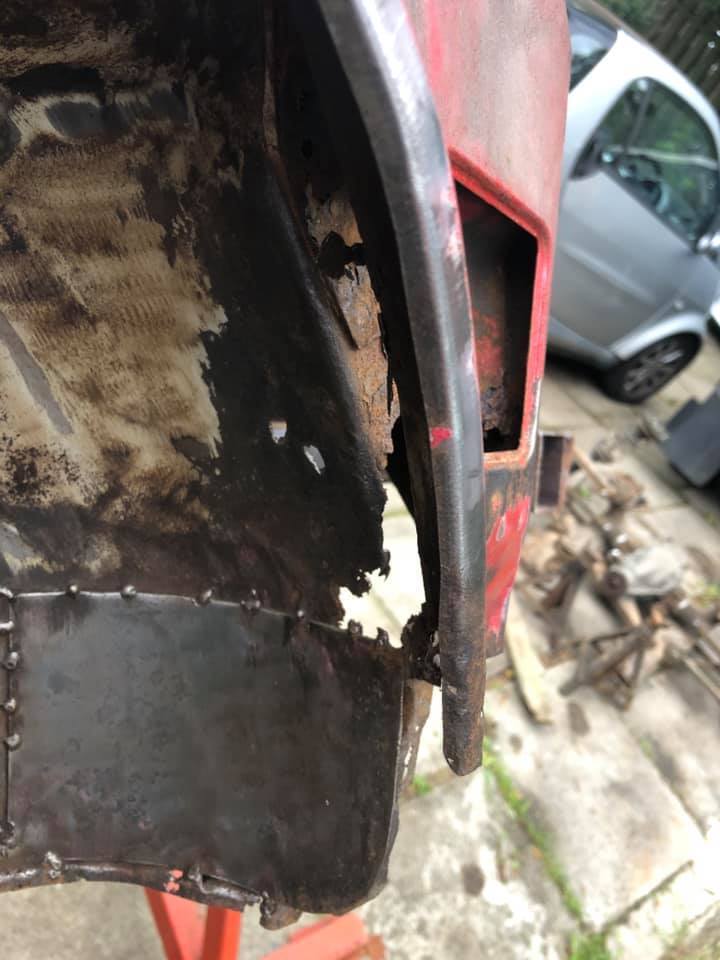
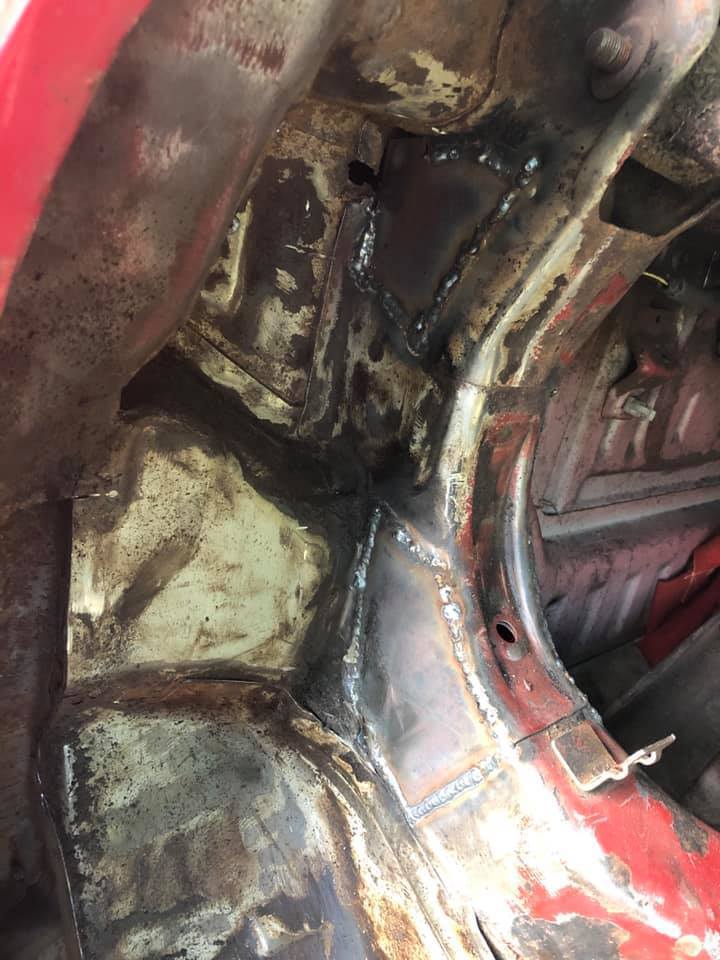
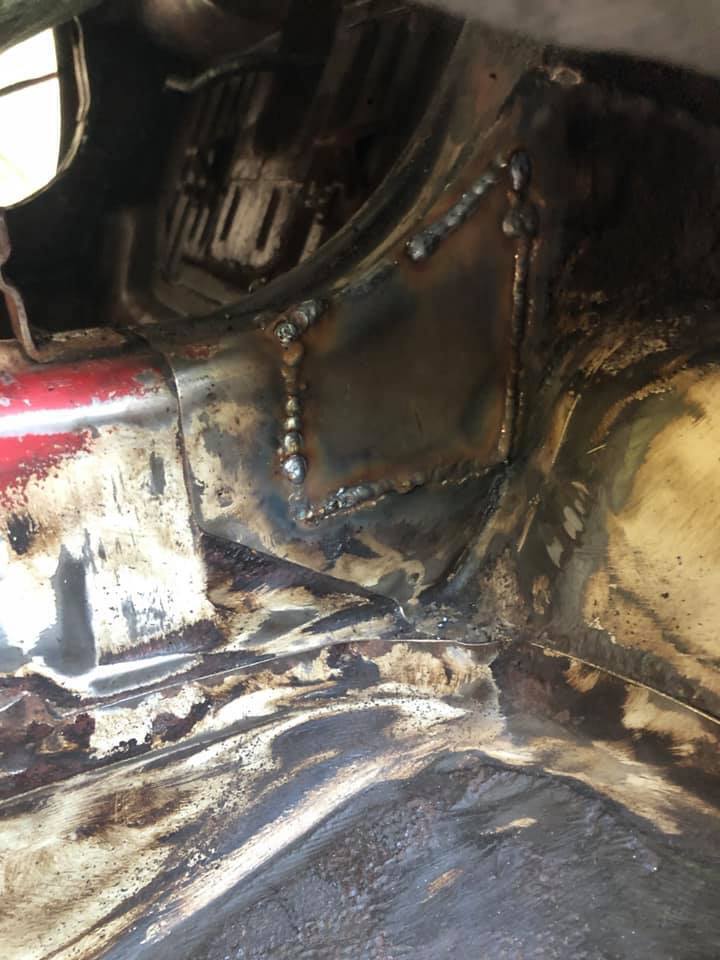
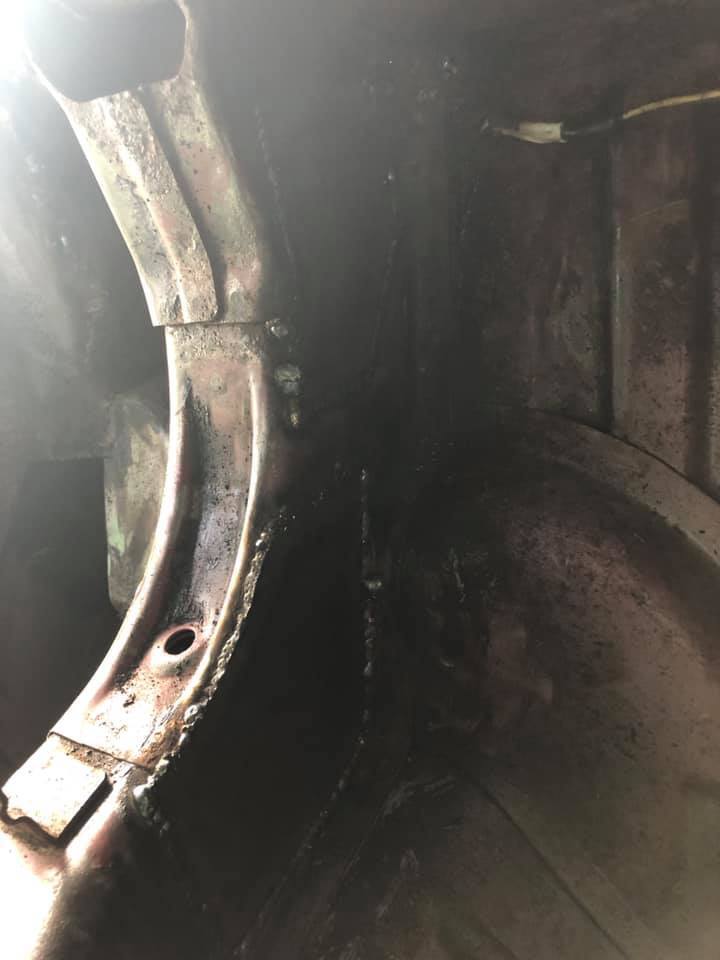
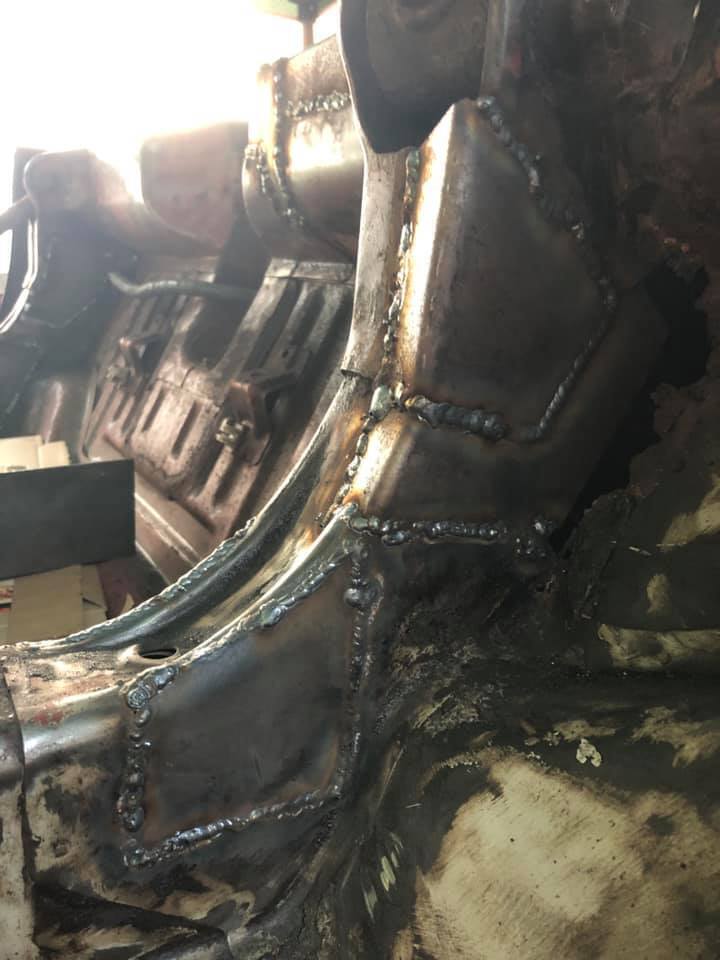
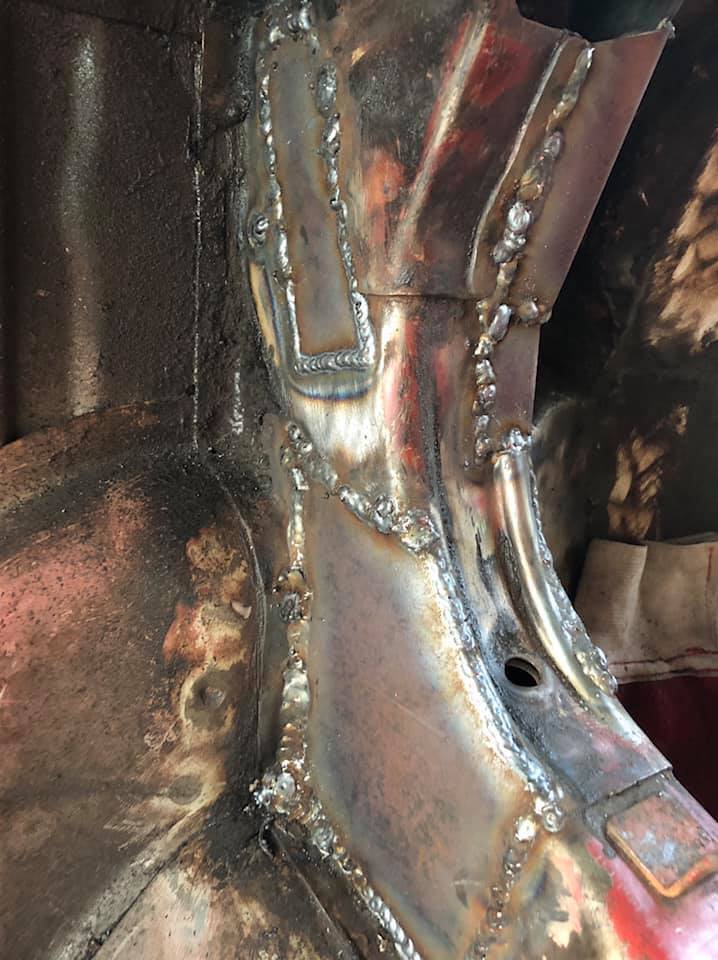
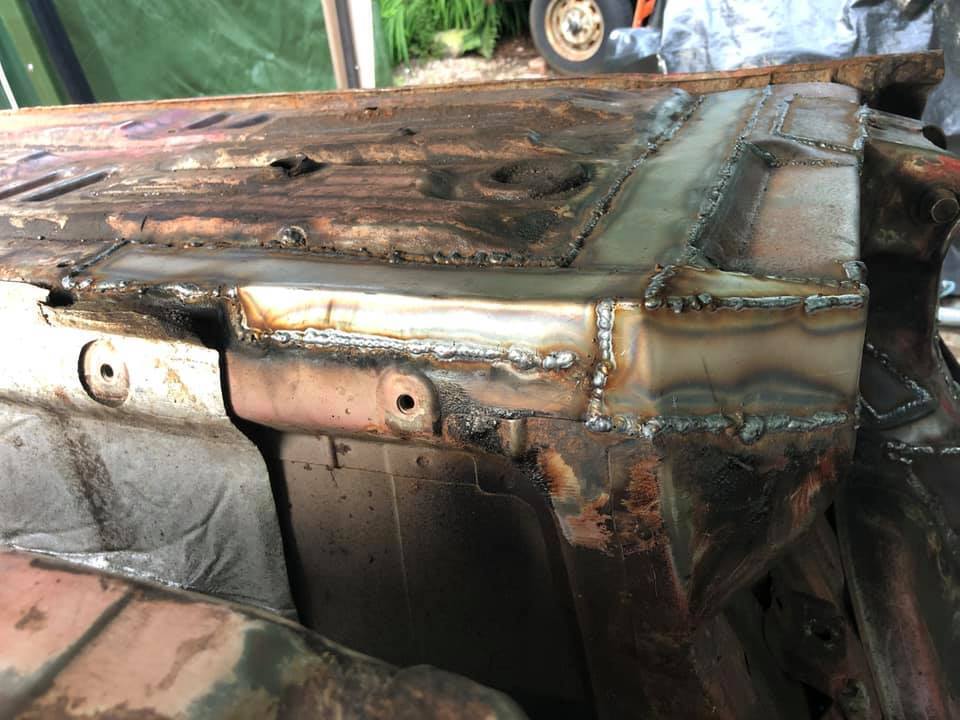
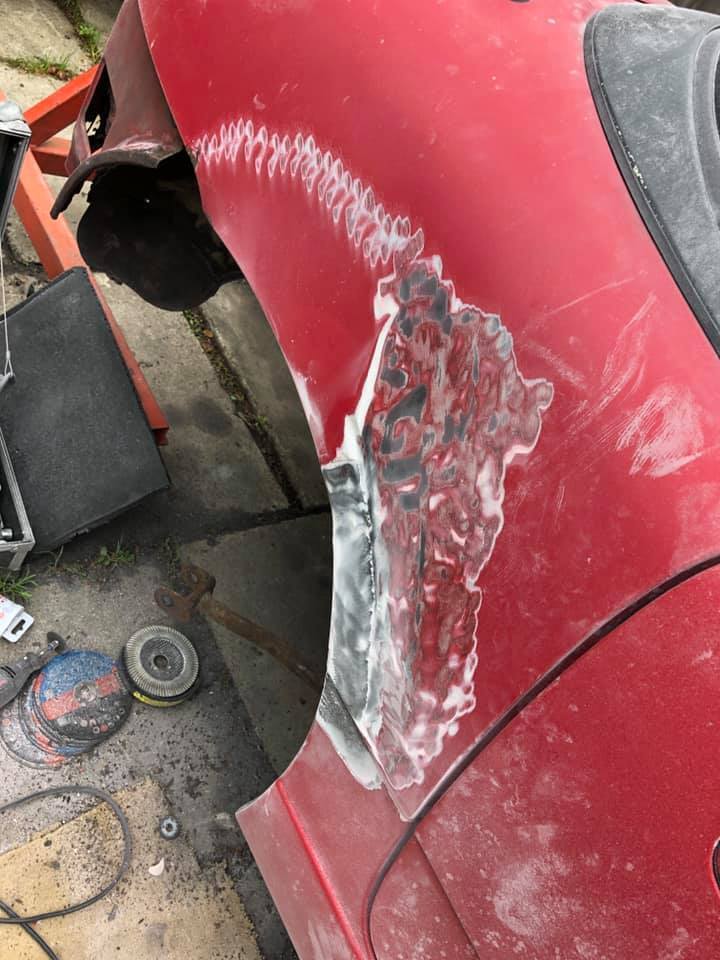
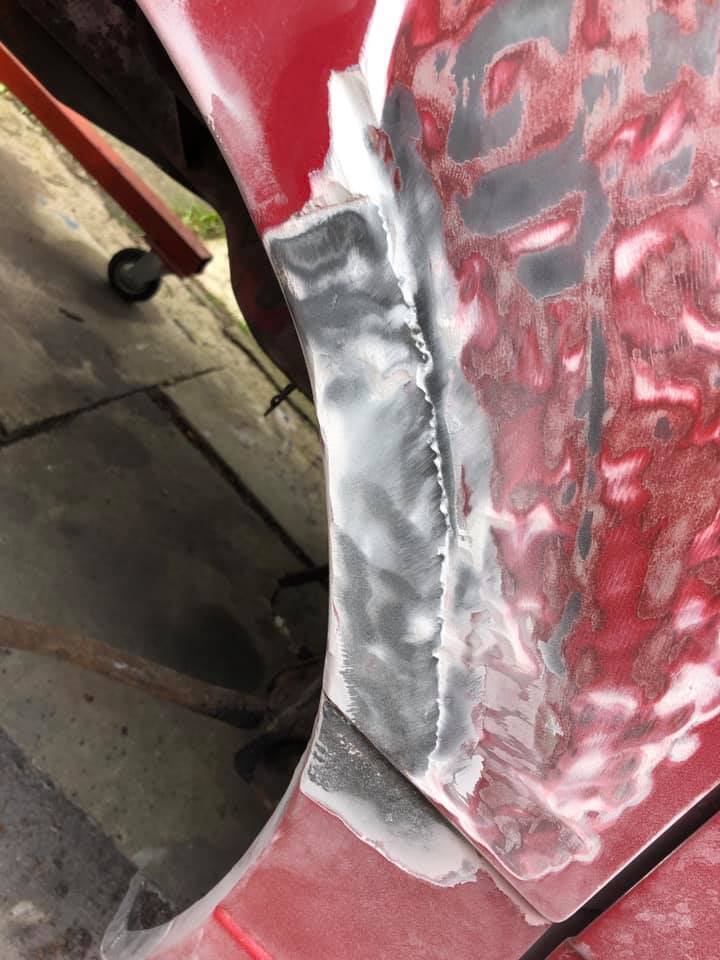
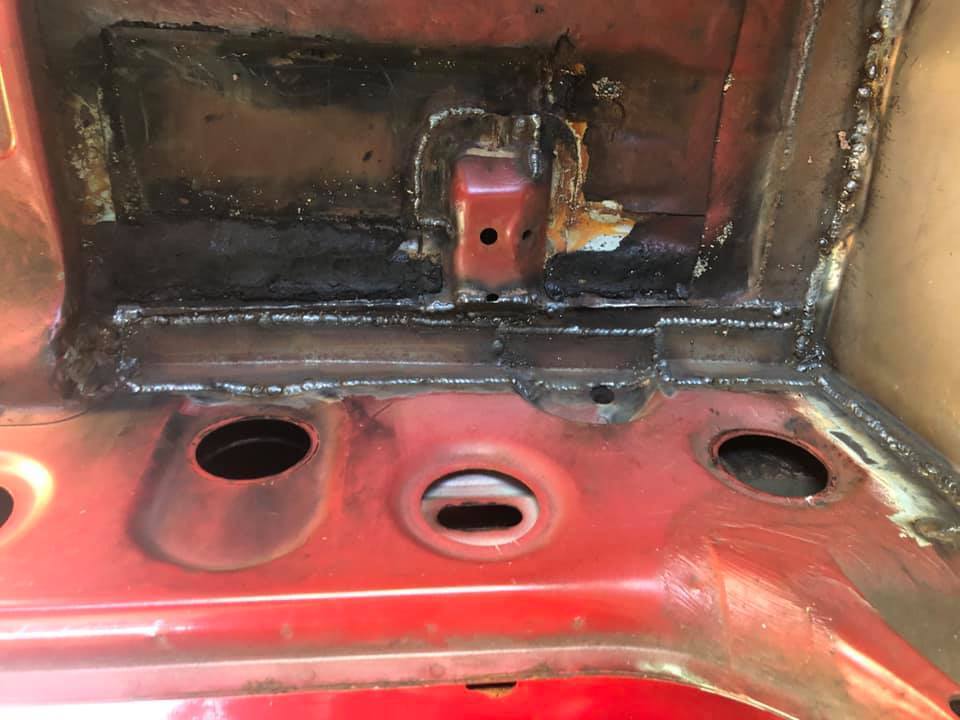
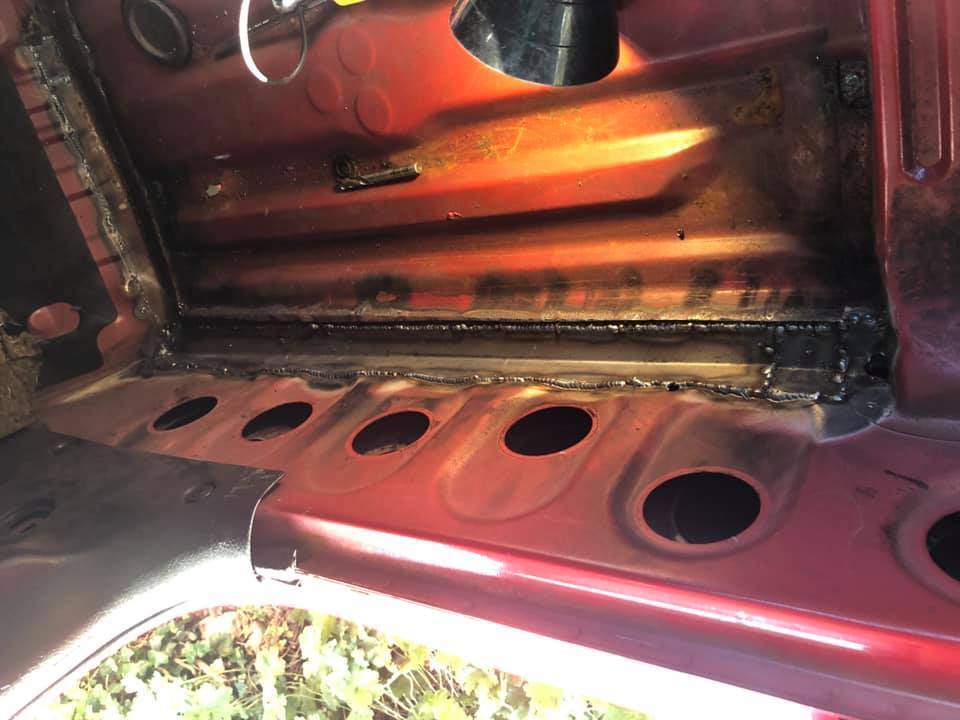
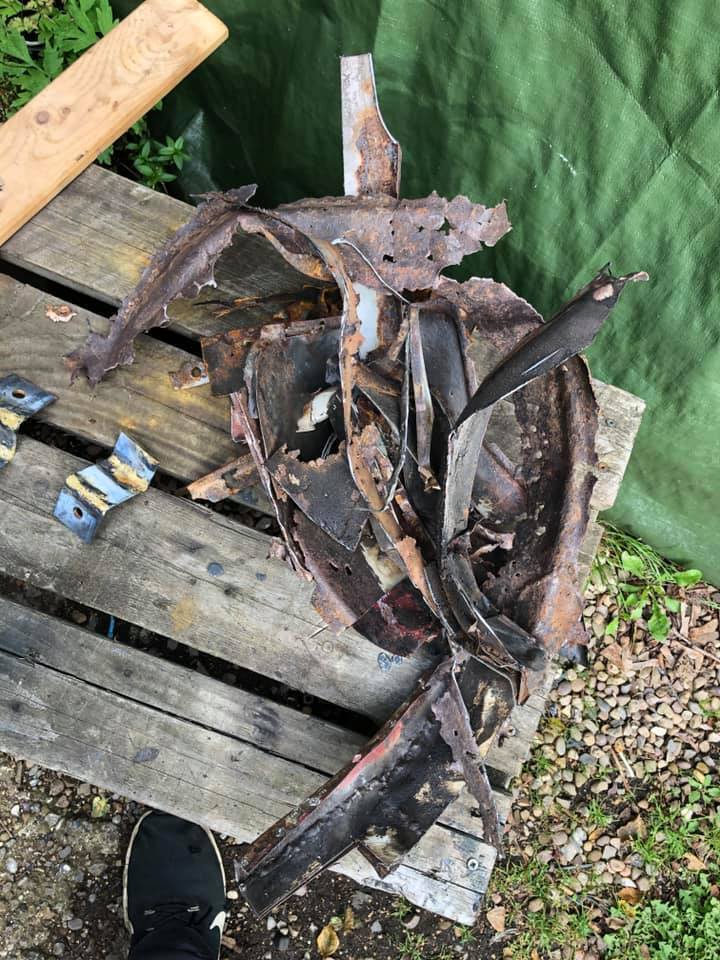
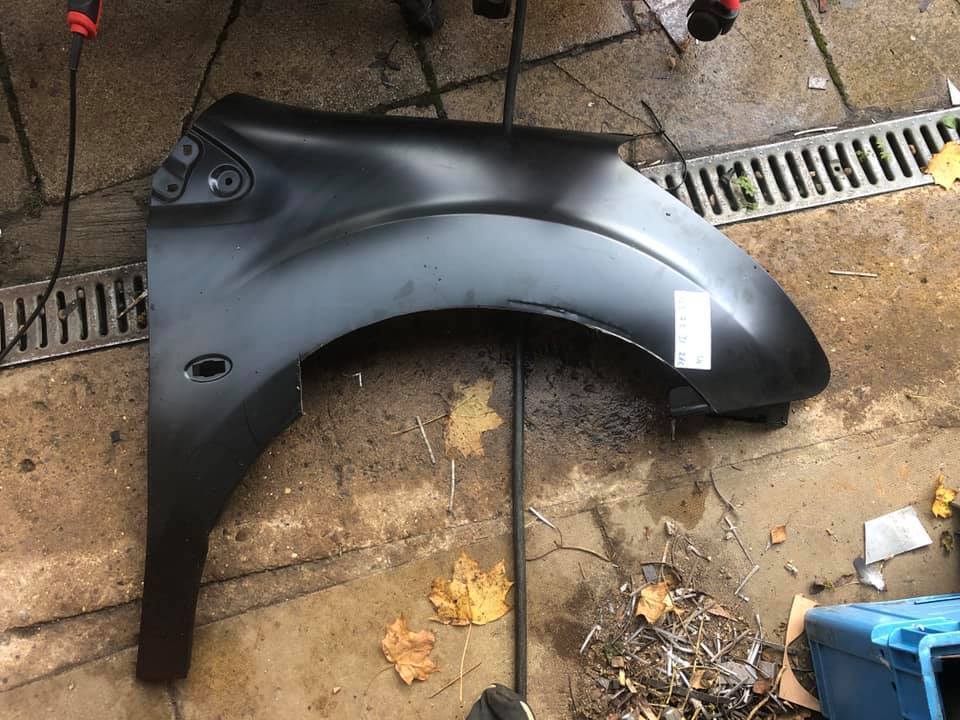
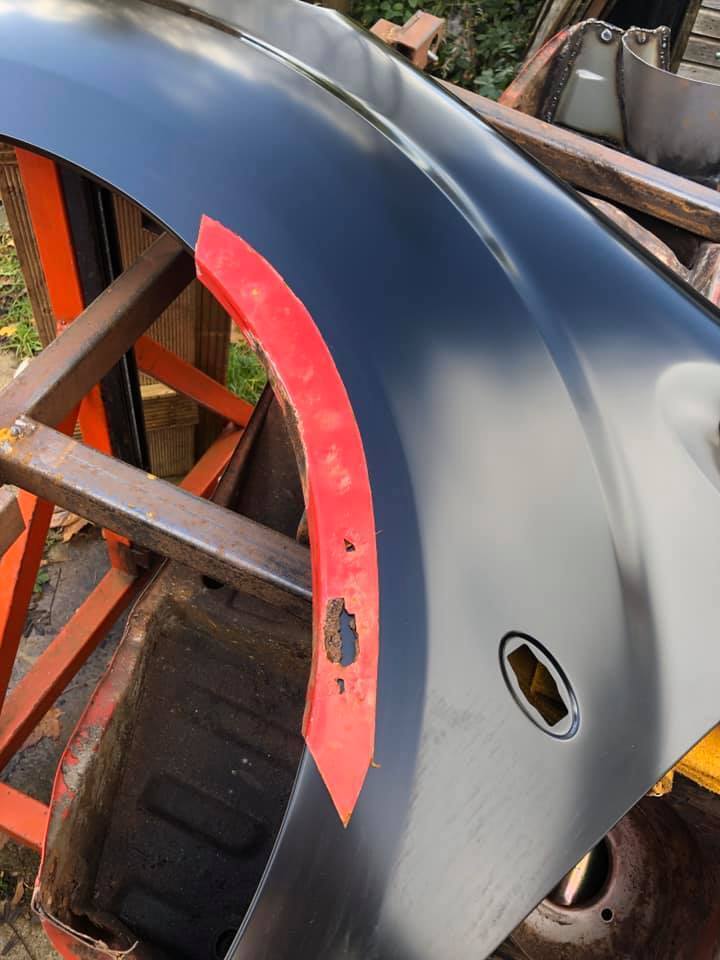
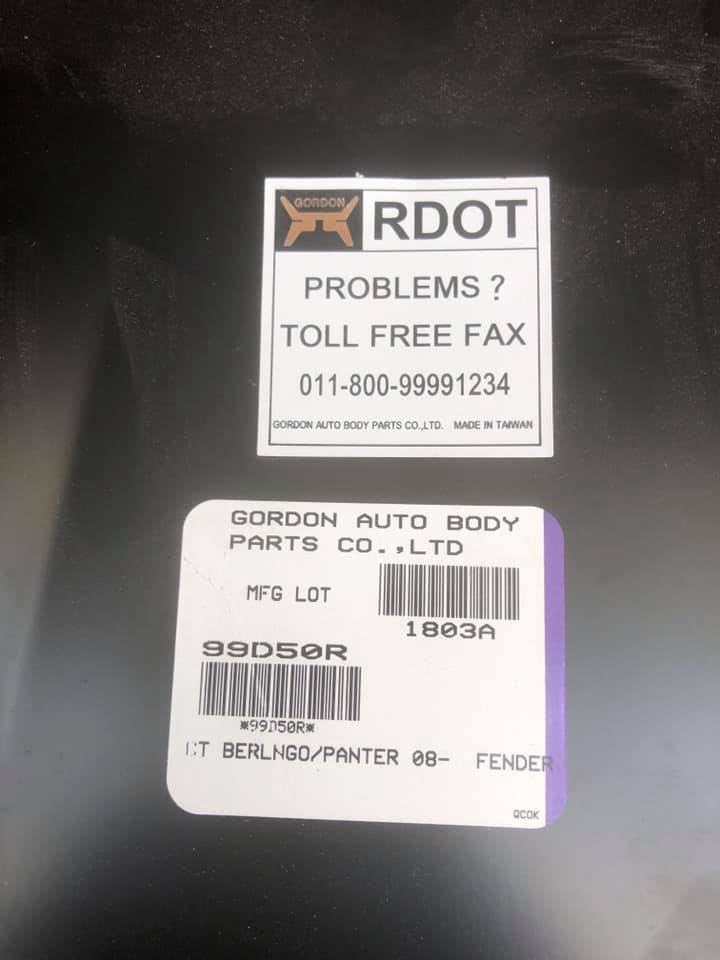
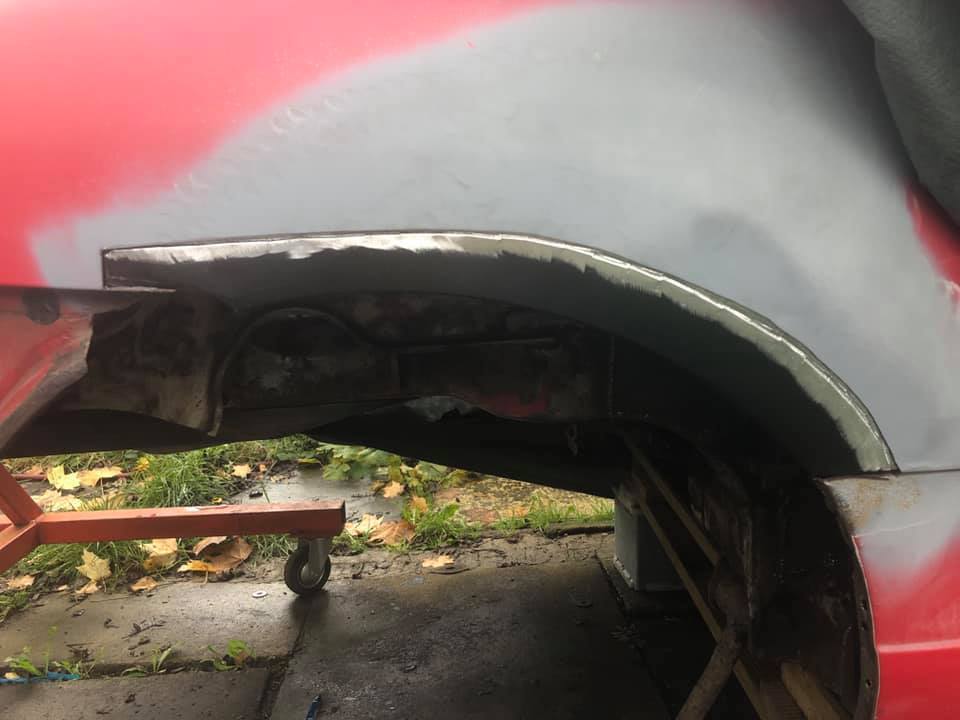
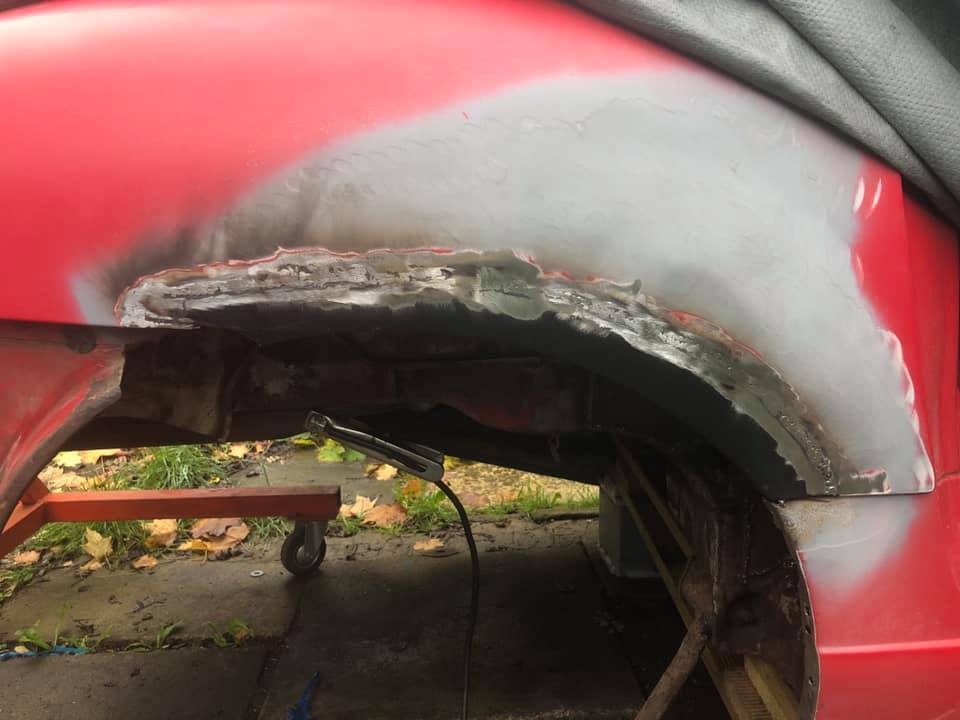
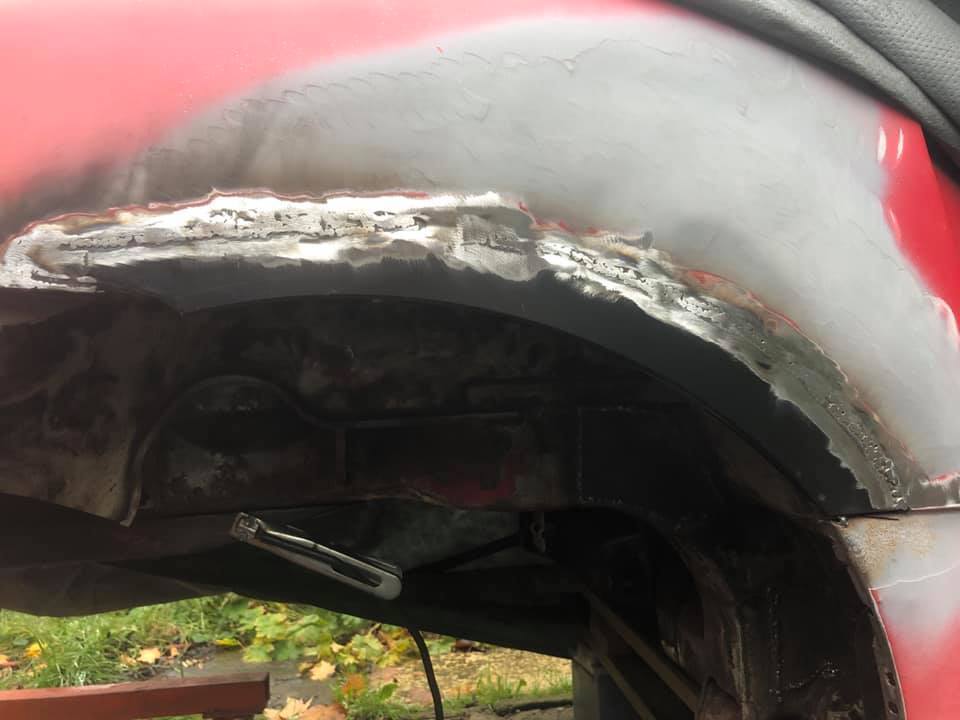
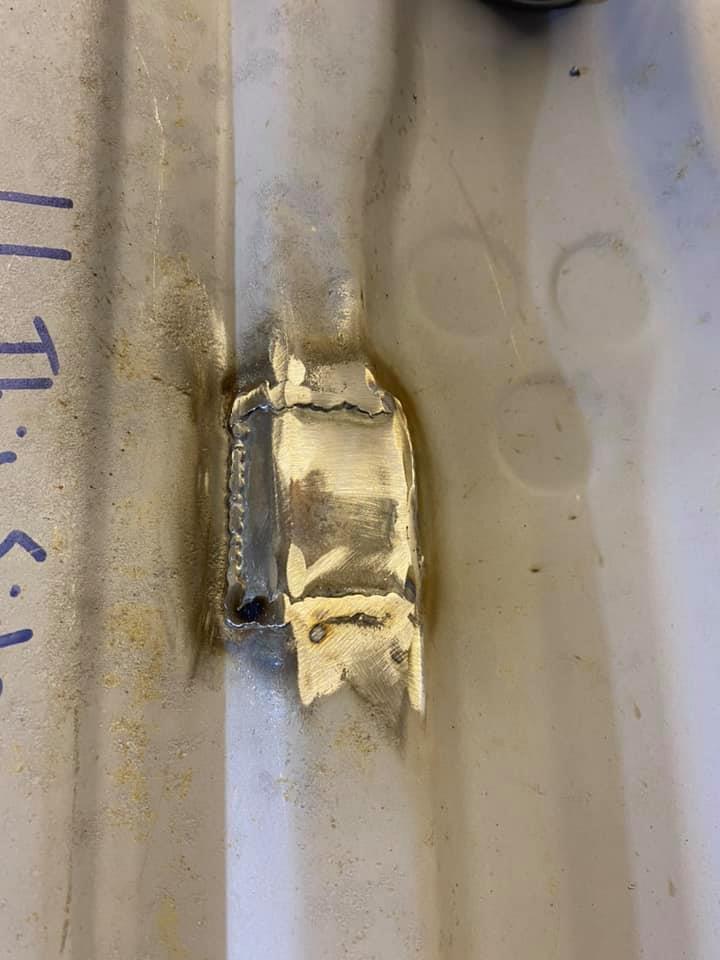
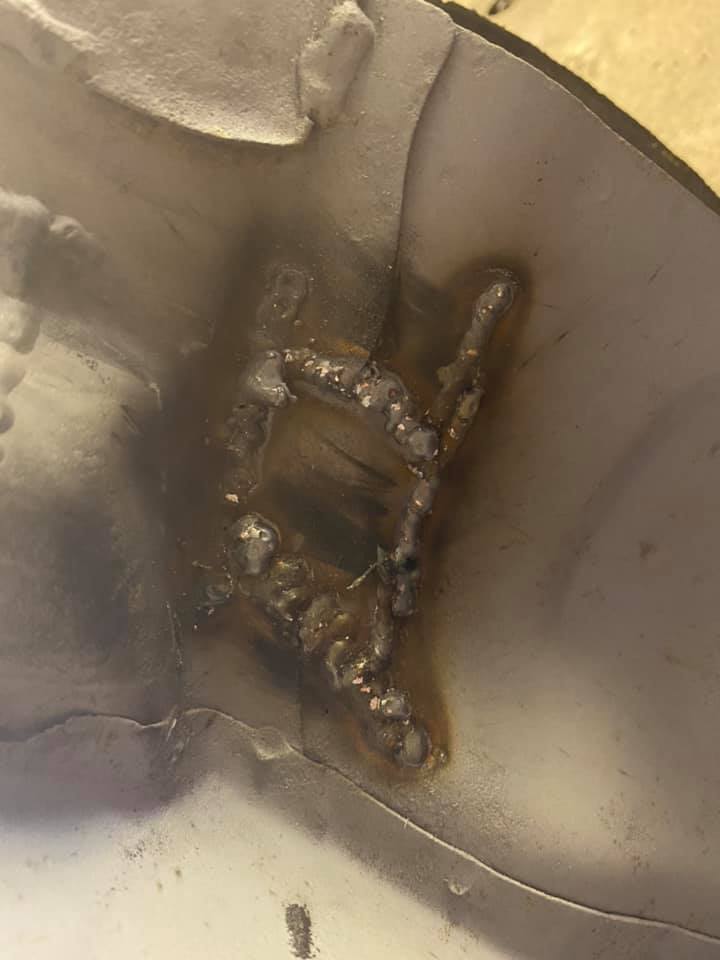
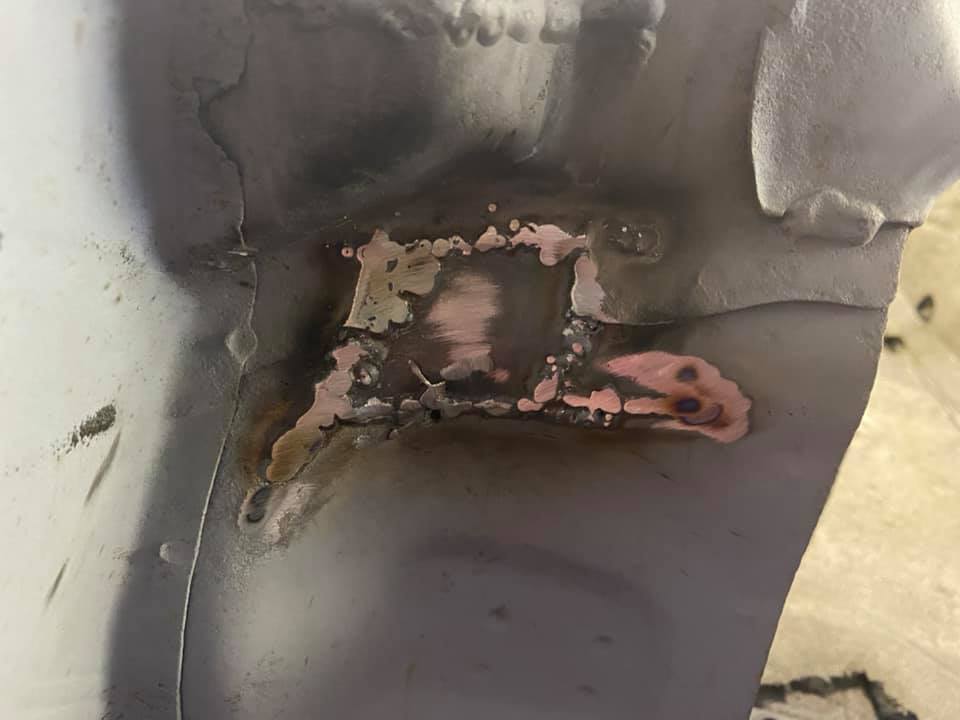
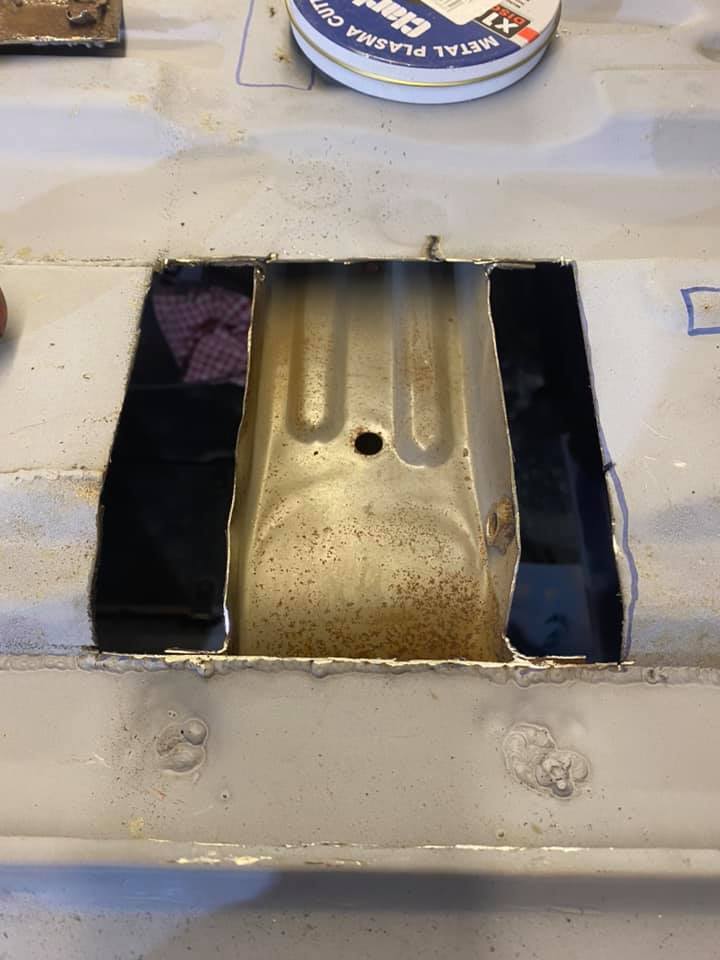
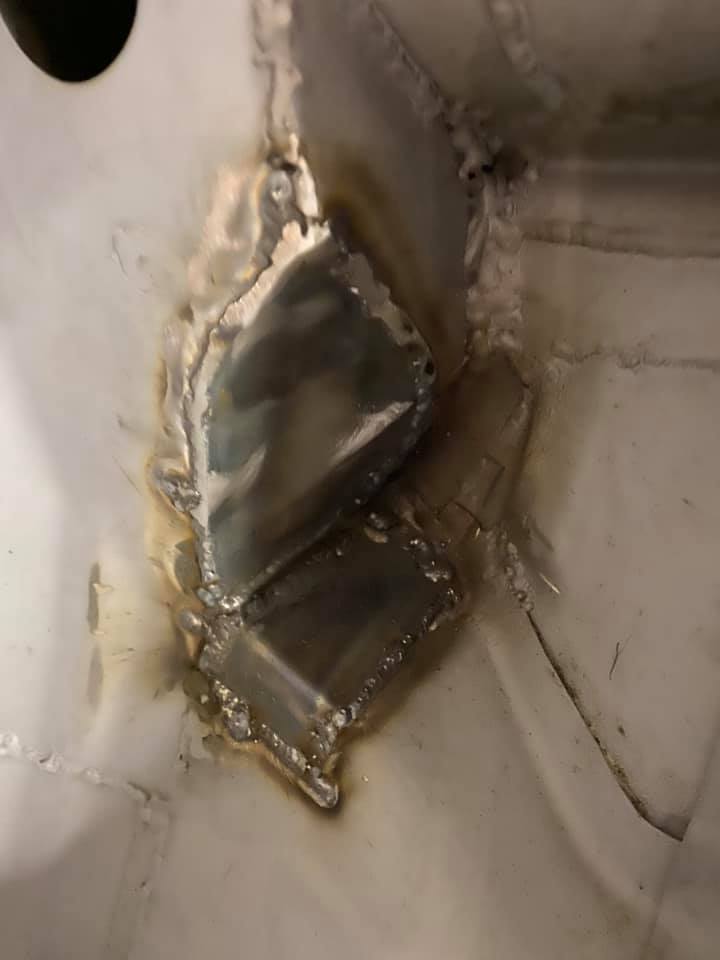
Another weekend, another section, this time in the engine bay. The tops of the suspension turrets had bubbled between the layers resulting in a horrible blistery mess, chop it all out, clean it all up, weld a new section in, rinse, repeat... 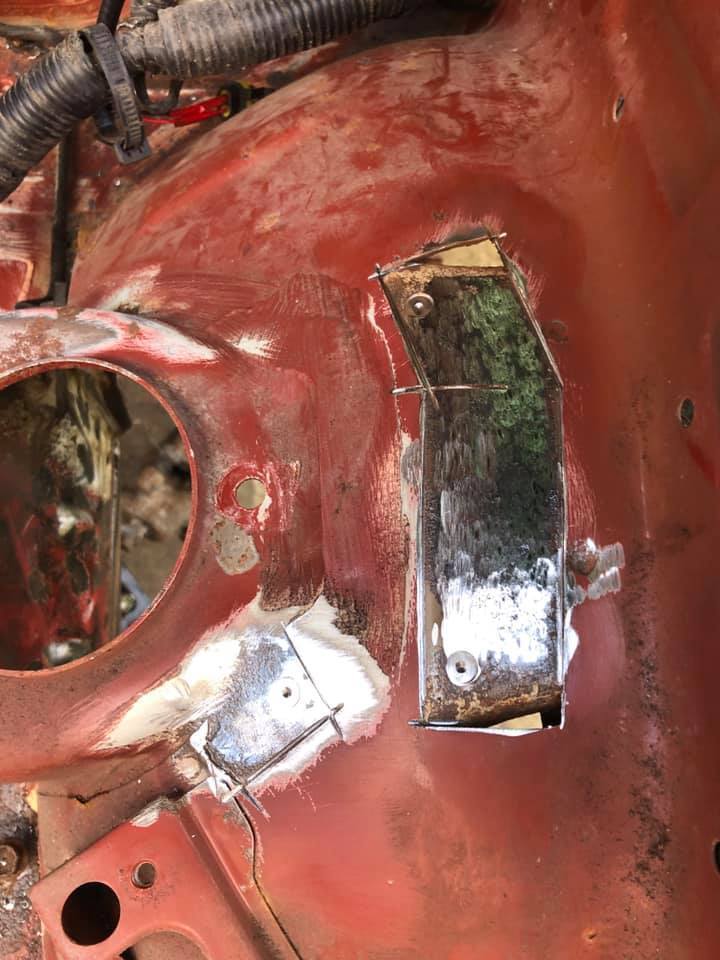 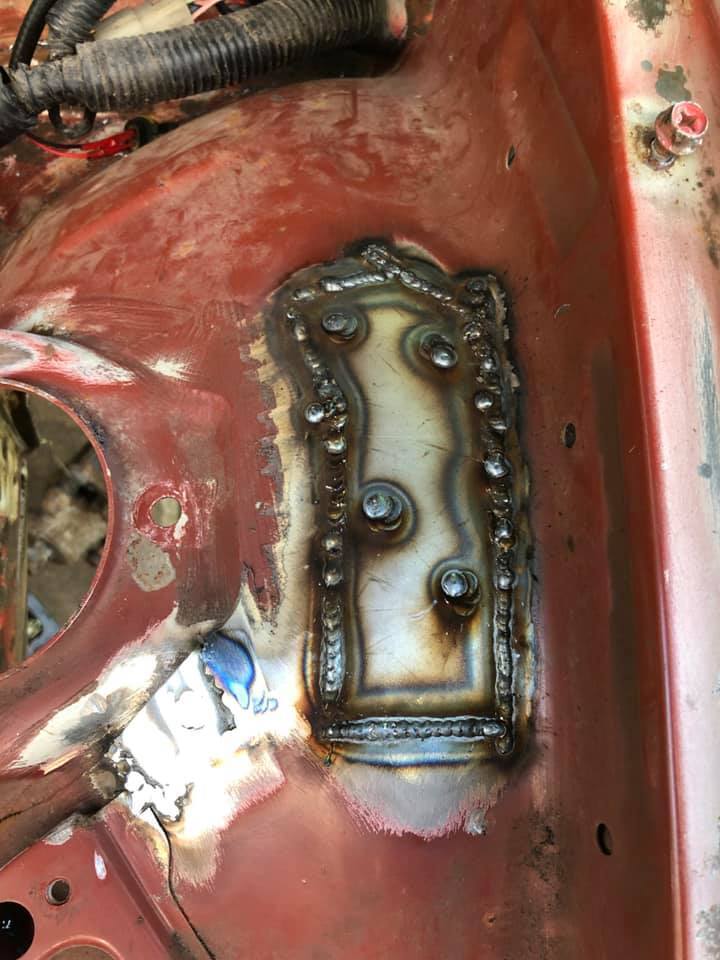 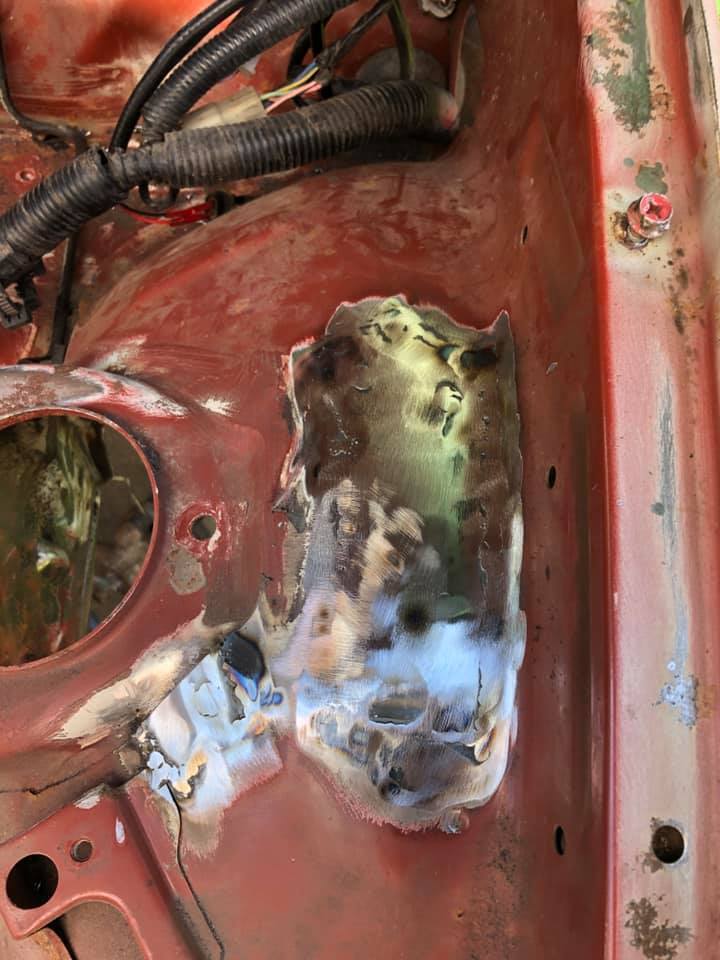 And onto the other side 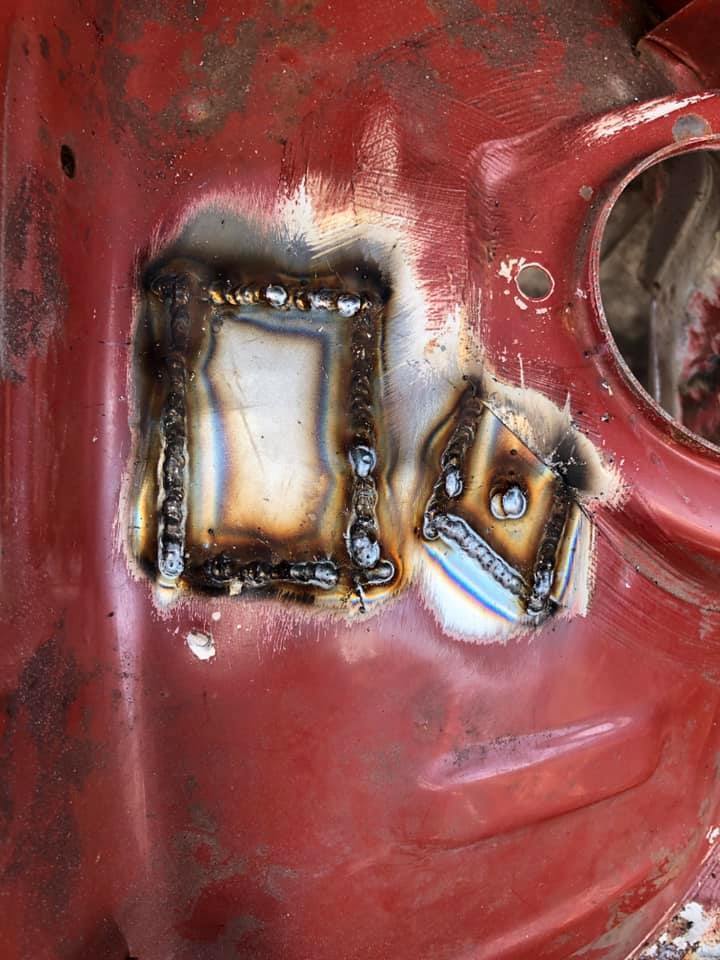 As i said above, i wanted to try and find an arch form that sat as well as can be to weld in at the back. I ordered some "Cappuccino rear arch repair panels" on ebay that said they were made to do the job, turns out they were hand formed and million miles off the curve so would have looked stupid. So i got the grinder out, cut out the section that was worst affected but still genuine metal from the passenger side and went to Mount Panels in Leeds who stock a lot of repair panels, kind of a dying trade these days but they allowed me to have a look around there stock room to match up the section i had to a pattern wing or rear arch etc. After about 1/2 hour i stumbled on what can only be described the CROWN jewels.... There on the floor in a pile of second wings (wings with dings and marks so no good for body repair shops etc) was a wing from a 2008 on Citroen Berlingo, what a match it was! £15 was dropped on the desk and i made off sharpish with a massive smile on my face. When i got home, a quick ebay search and the opposite wing was had for £20, perfect matched pair to weld in the next time i was home, happy days. |
| |
Last Edit: Apr 6, 2021 14:00:56 GMT by boffer8
|
|
|
|
boffer8
Club Retro Rides Member
Posts: 91  Club RR Member Number: 75
|
|
|
|
|
|
| |
|
|
boffer8
Club Retro Rides Member
Posts: 91  Club RR Member Number: 75
|
|
|
|
|
That'll do for now, more progress inbound, will upload some more tomorrow
(ref 84)
|
| |
|
|
The Doctor
Club Retro Rides Member
Posts: 3,449
Club RR Member Number: 48
|
|
|
|
|
Oof, what a project! I know exactly how bad they can rust. Mine was similar, but luckily for me I found that out before I invested too much time and money in the car. I might still have some small parts left (steering wheel and roof bags for sure), so if you need anything, I can have a look. Definitely don't have door cards though.
|
| |
|
|
|
|
|
|
|
|
Some really nice work here,
Love to see the work undertaken, especially to such a high standard,
Looking forward to seeing future updates,
Nigel
|
| |
BMW E39 525i Sport
BMW E46 320d Sport Touring (now sold on.)
BMW E30 325 Touring (now sold on.)
BMW E30 320 Cabriolet (Project car - currently for sale.)
|
|
|
|
|
|
|
|
Wow, that is some amount of rust repair you have done on that wee thing. Good quality repairs too should see it good for a few years from now.
Always been interested in these cars but everyone I have seen seems to have rust issues. Good to see you getting stuck in and making it all solid once again.
Soul destroying to see but once metal is being added back in it fair cheers you up from my experience.
Nice one
Cheers
Col.
|
| |
|
|
boffer8
Club Retro Rides Member
Posts: 91  Club RR Member Number: 75
|
|
|
|
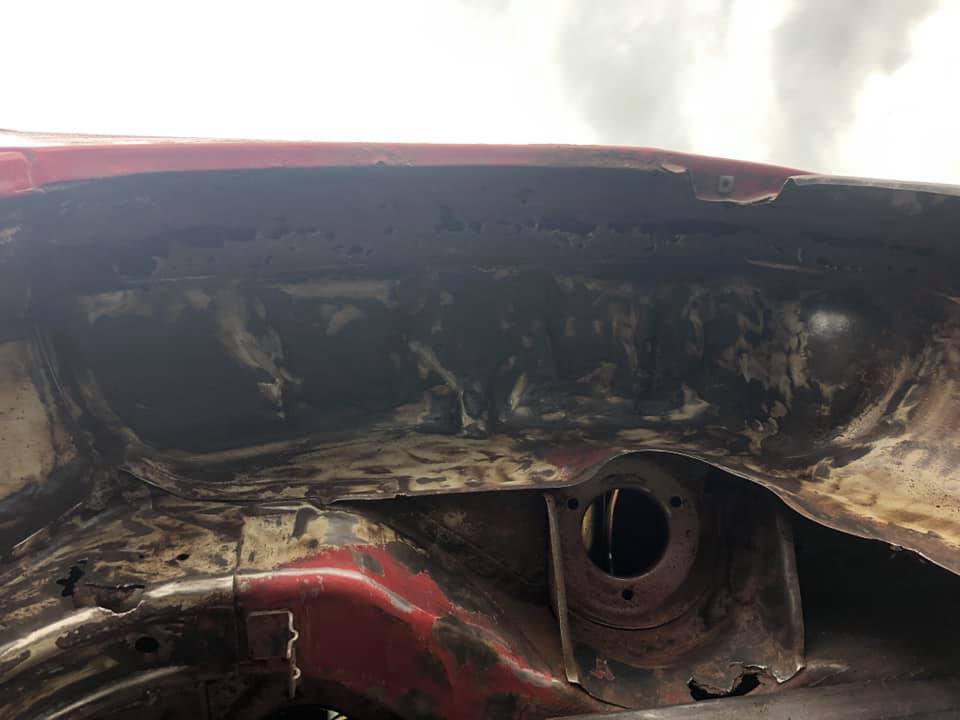
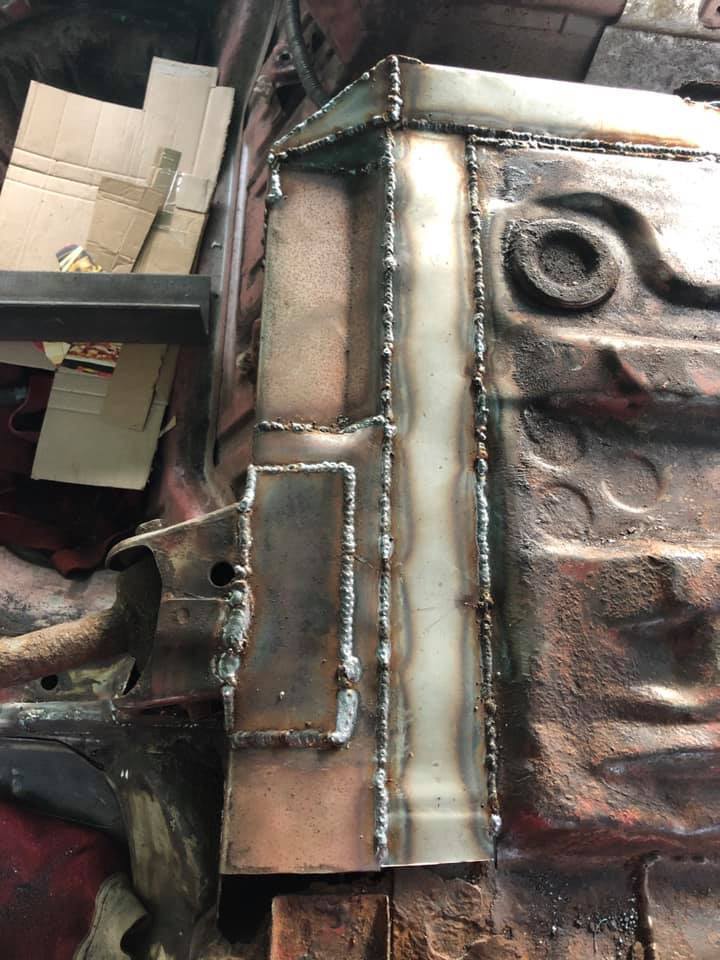
The Doctor if you could that would be great, i already have a set of bags but always interested in anything people have left over! Cheere for the comments guys, i try my best but some stuff i wont be happy with, i like to make things the best i can do but its not always possible for either cost or equipment restrictions.. So on with the next section, the inner rear arches. Now i had got the outers in it was possible to then back fill up them knowing they were the right contours for the external view. Because the way the body was made it was impossible to get the new suzuki panels in behind so had to chop them into 3 sections and put them in like that. Not the ideal way, but the only way with out removing the whole rear quarter. I also did some of the sections behind the rear bumper that were very thin. 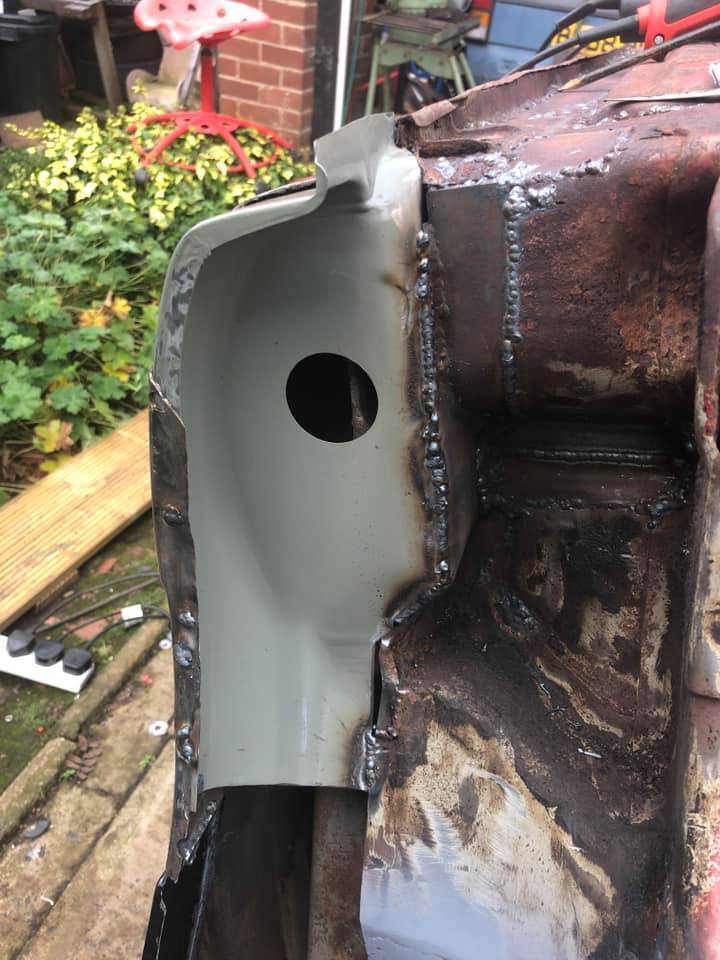 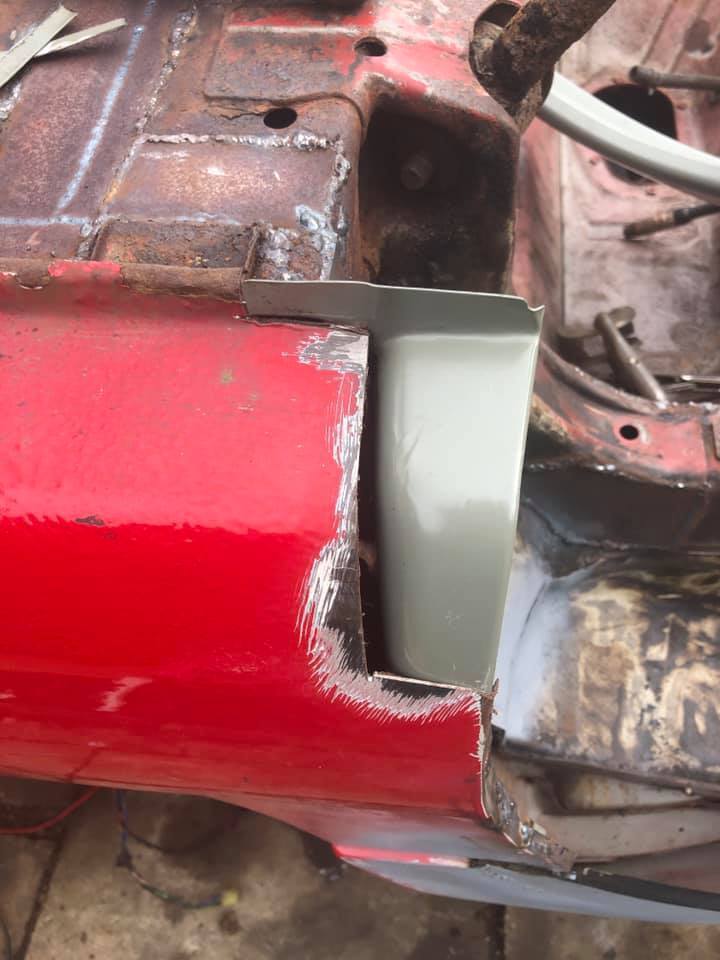 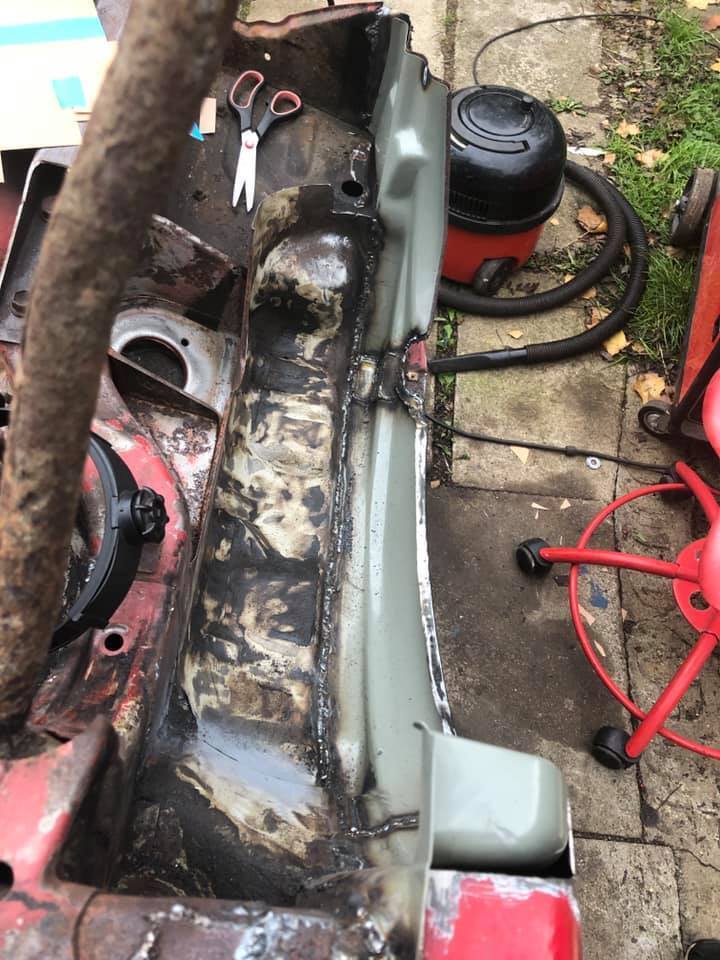 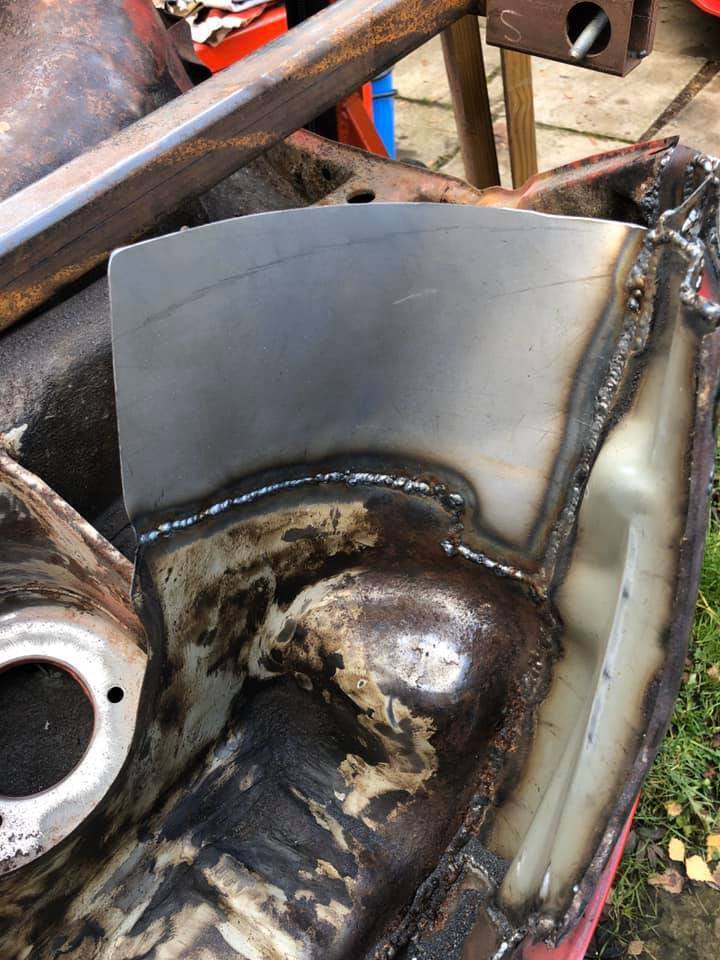 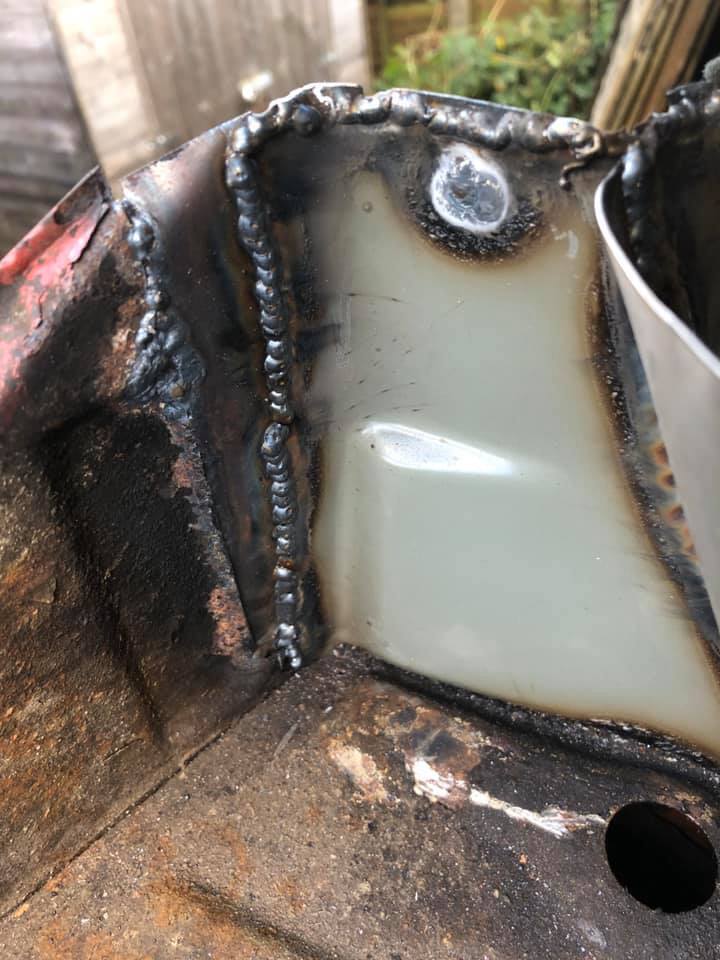 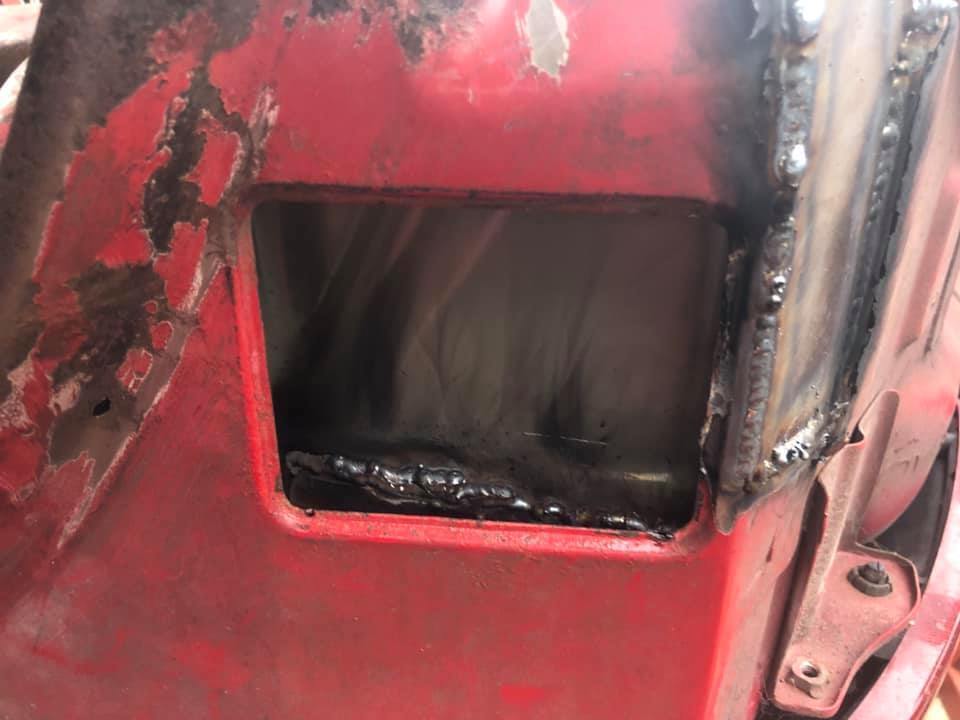 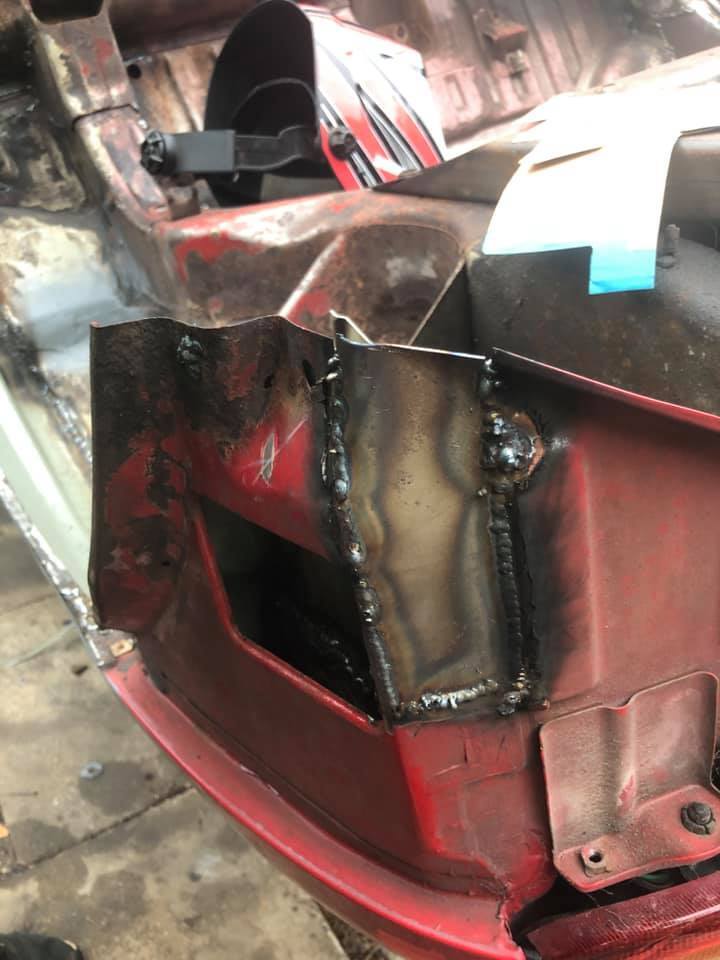 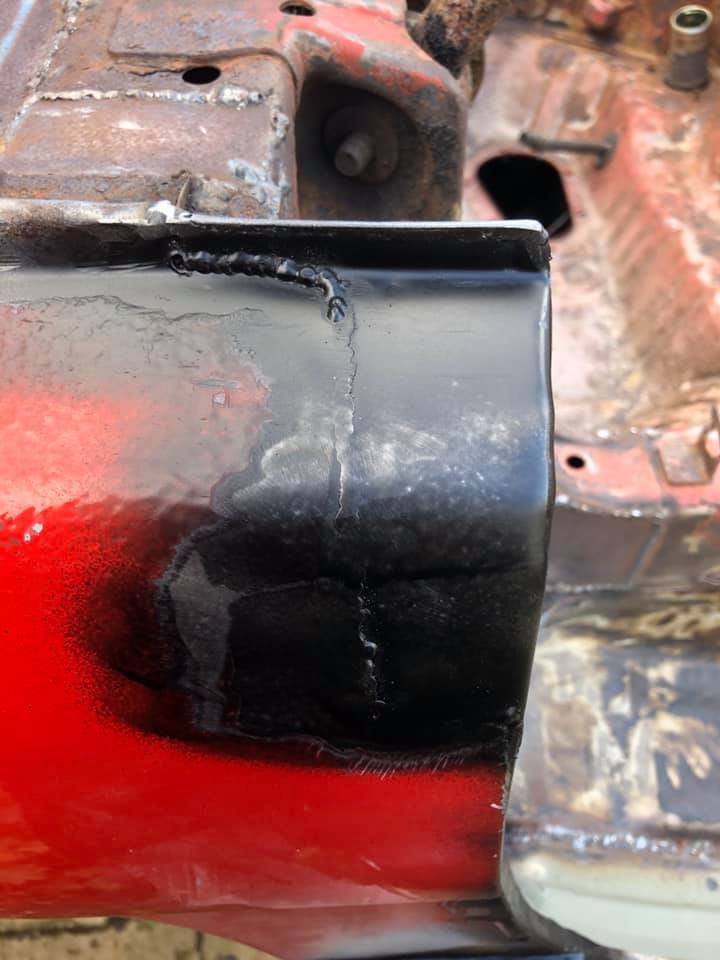 It was also time to make something that resembled the rear splash guard also, a section that drops down at the back of the arch. With nothing to go off of, it was a case of guess and make. Put it where i thought would be best in height wise away from the chassis legs 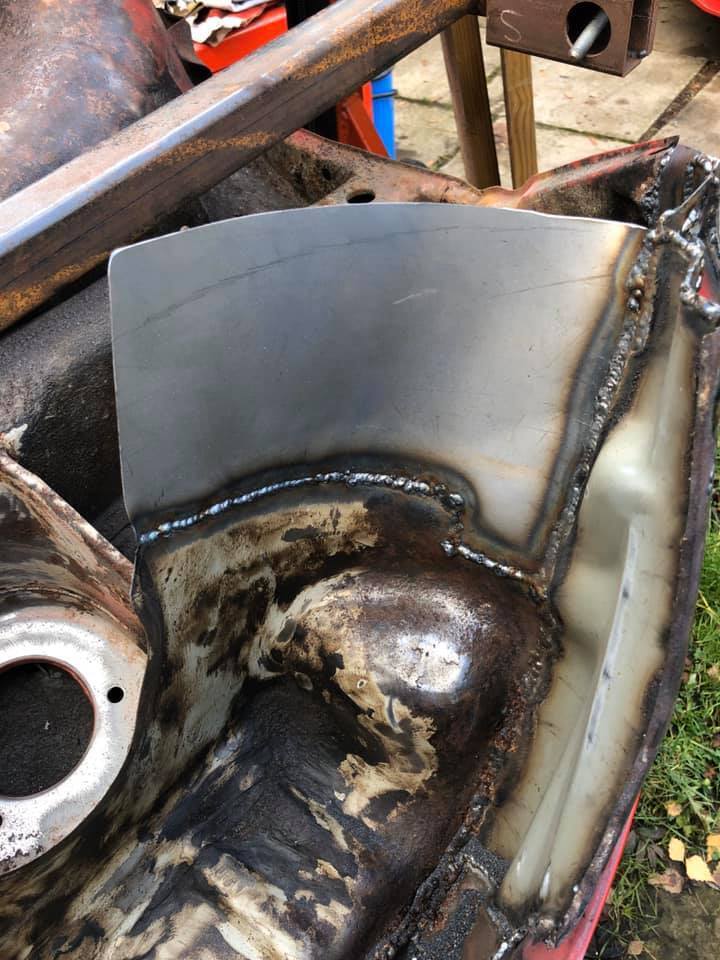 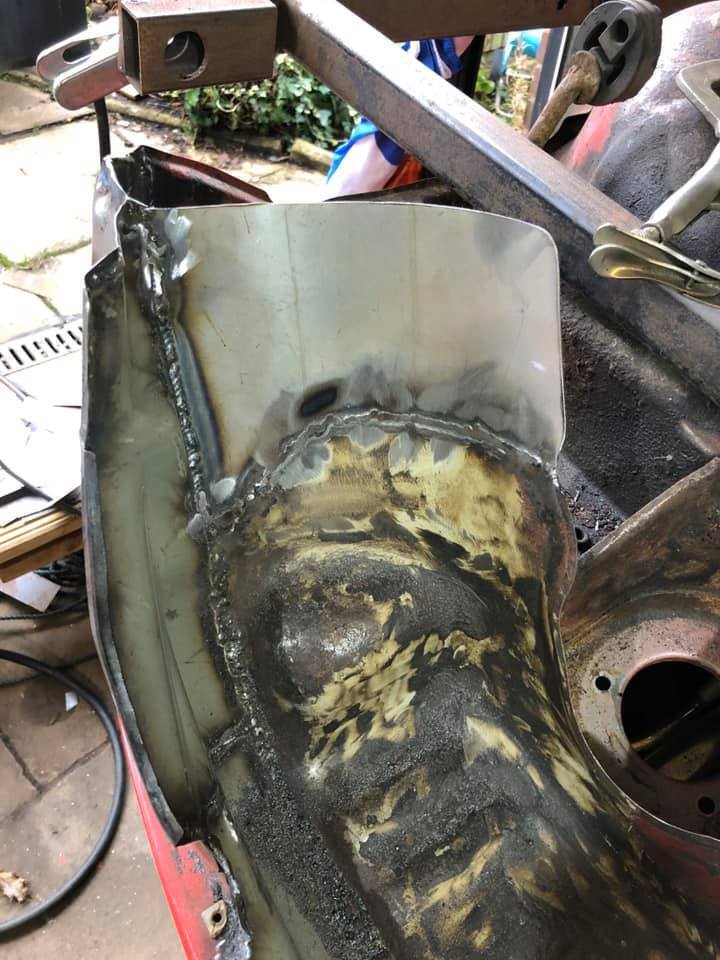 The outer section on the pass side was a nightmare, i couldnt get the shape right at all and ended up with the oxy bottles out to "massage" it in to shape as best i could, followed by a few slits and welds again to get it to sit about right 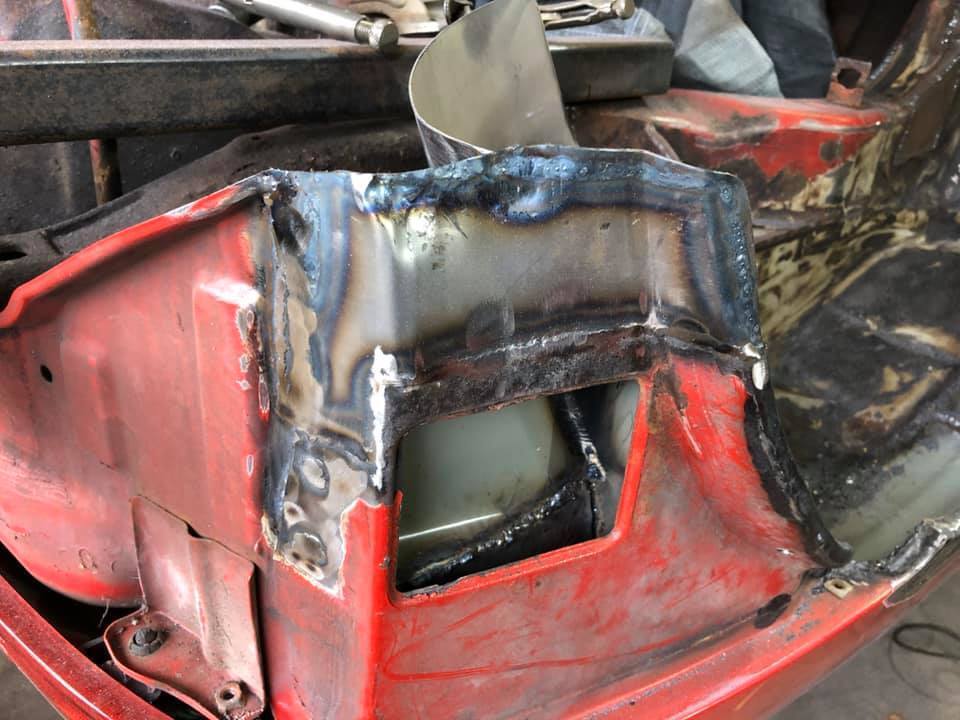 The car was then loaded up to take to a local place that does body blasting, i wanted the floor and the arch areas fully blasting now i had got the majority of the repairs done to see if there was any other thin areas or places that have been pin holed
|
| |
Last Edit: Apr 7, 2021 13:49:02 GMT by boffer8
|
|
boffer8
Club Retro Rides Member
Posts: 91  Club RR Member Number: 75
|
|
|
|
|
|
| |
Last Edit: Apr 7, 2021 14:00:44 GMT by boffer8
|
|
boffer8
Club Retro Rides Member
Posts: 91  Club RR Member Number: 75
|
|
|
|
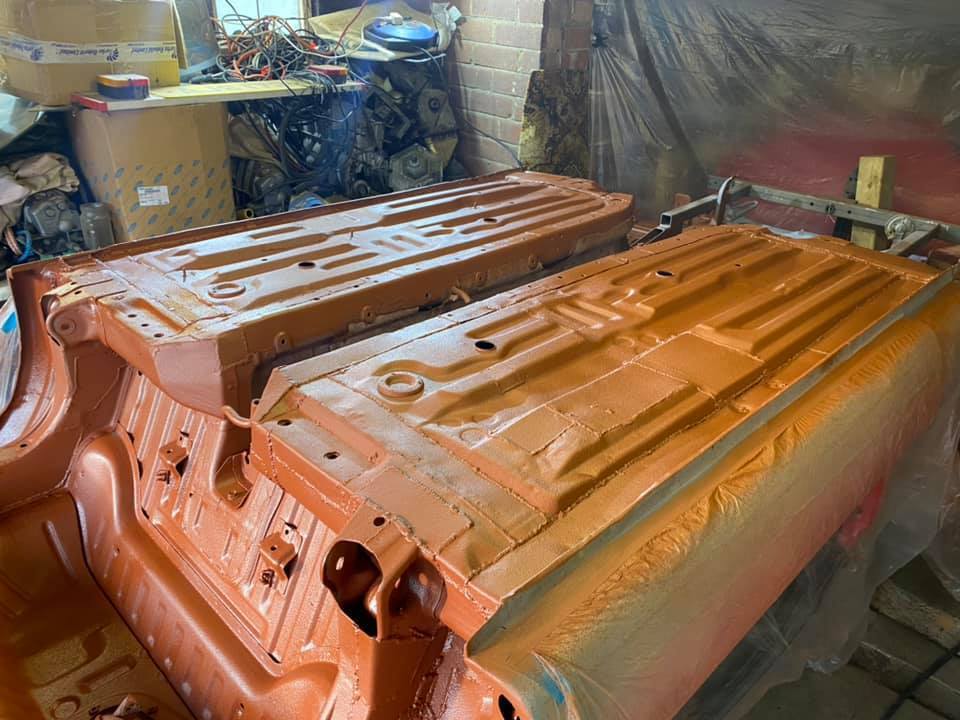
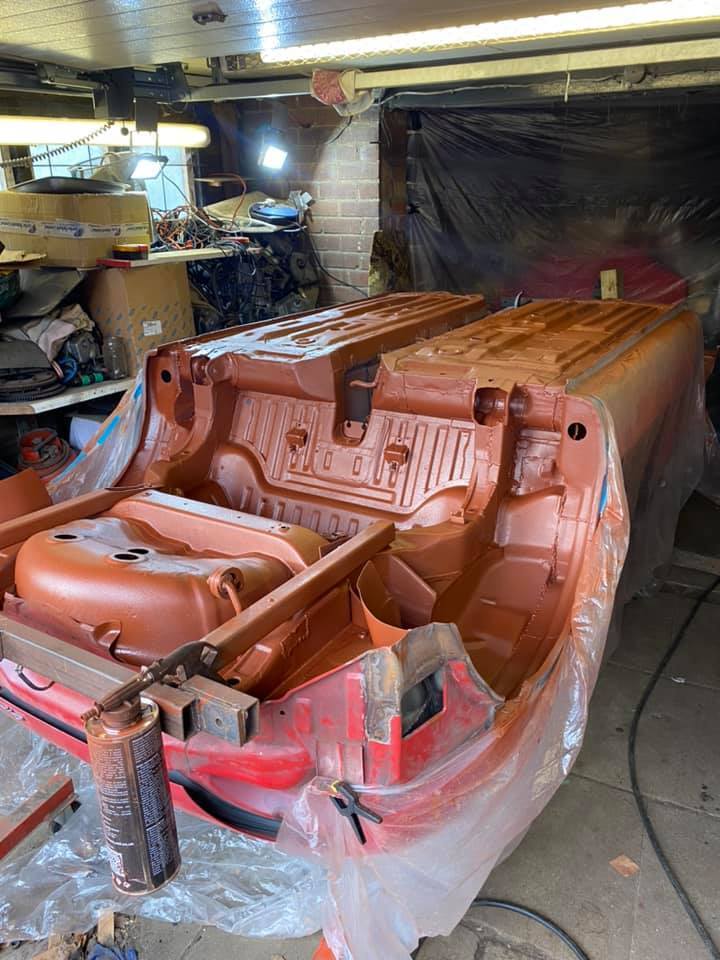
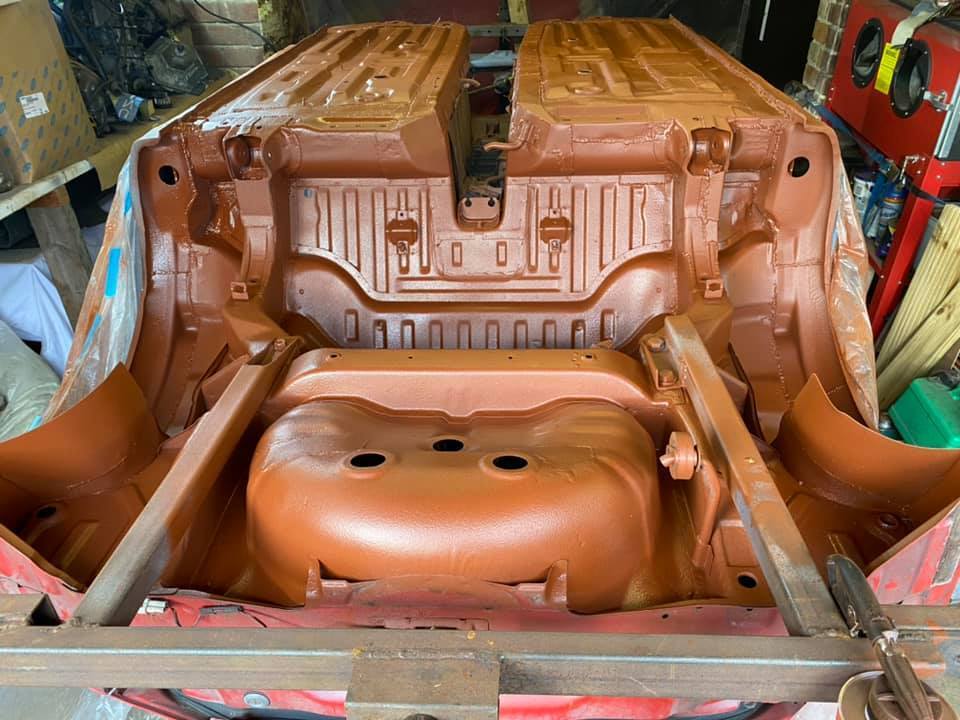
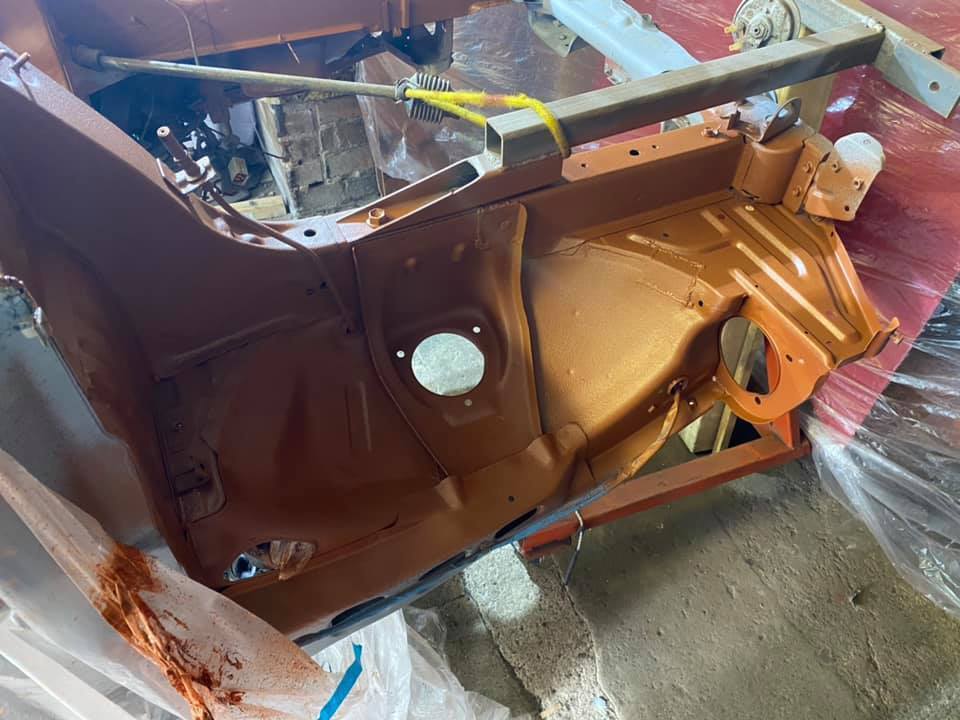
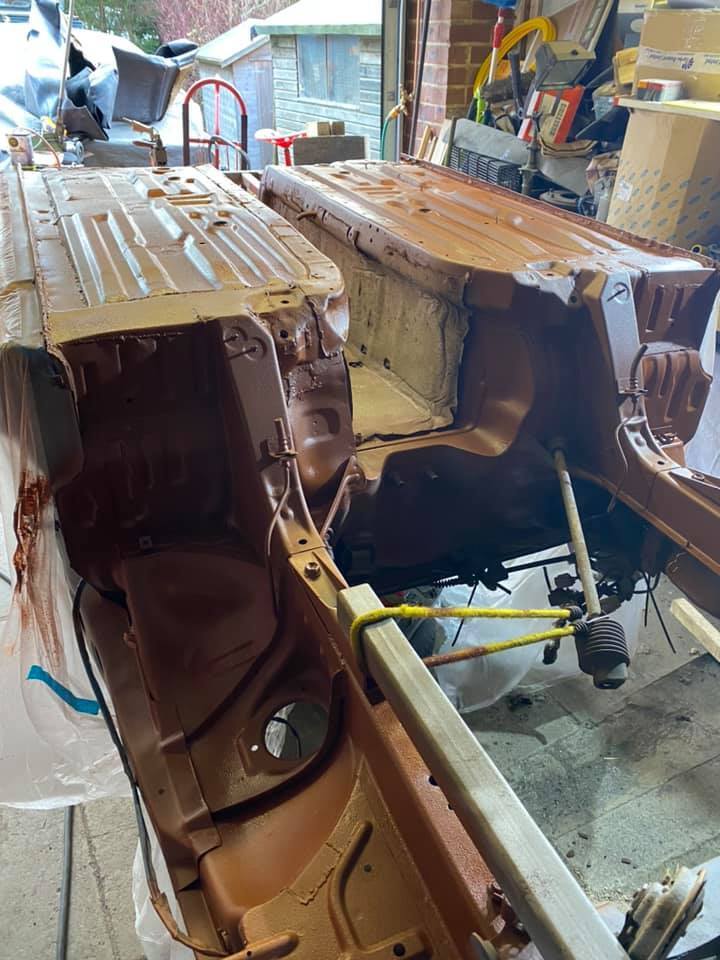
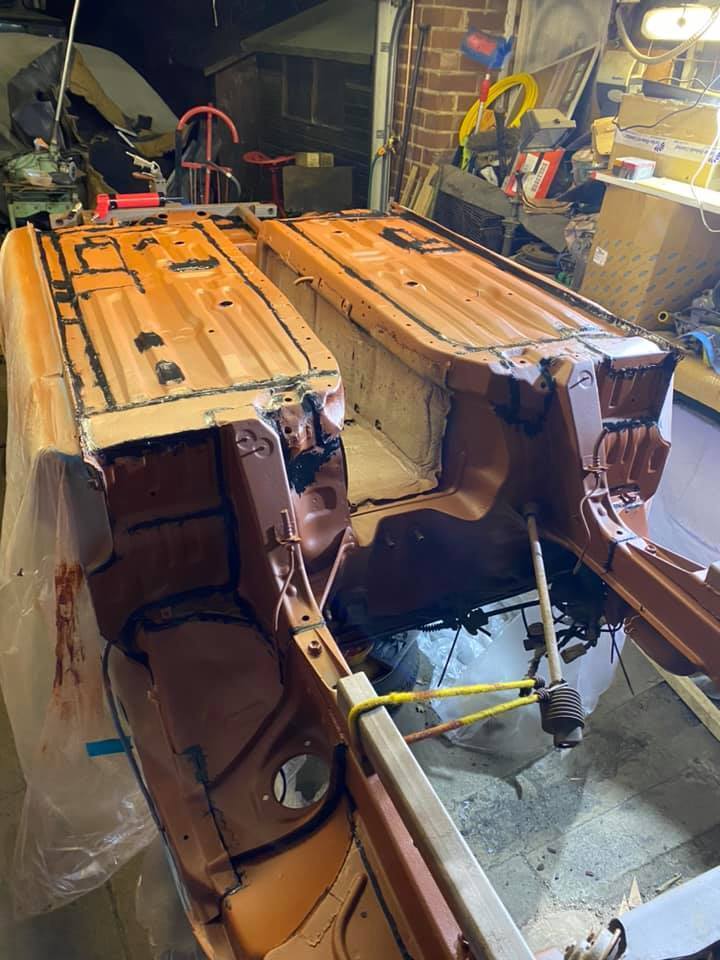
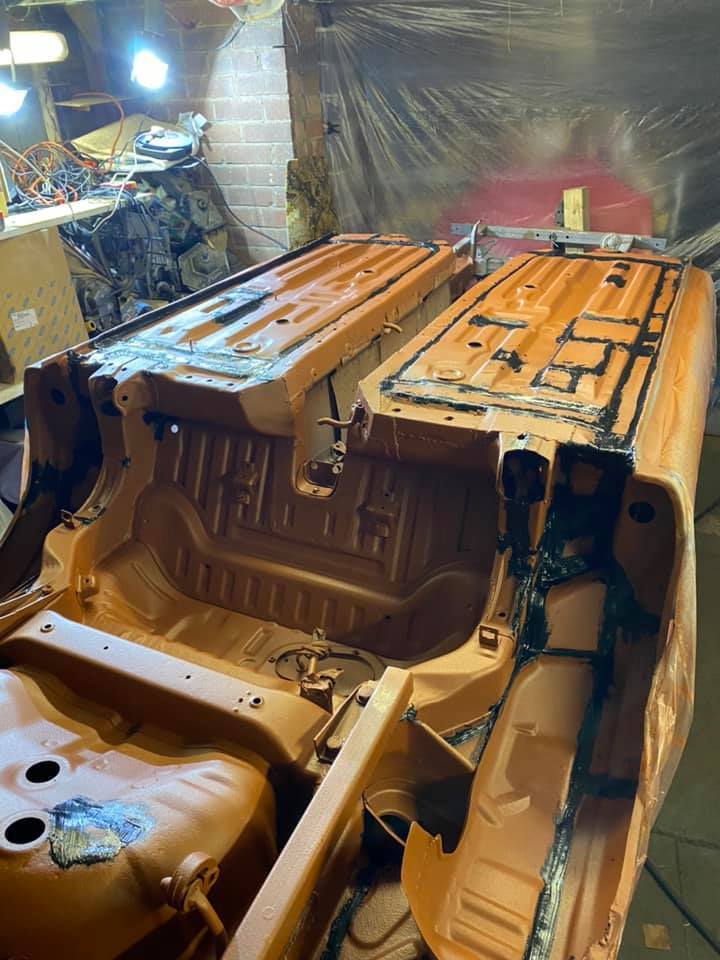
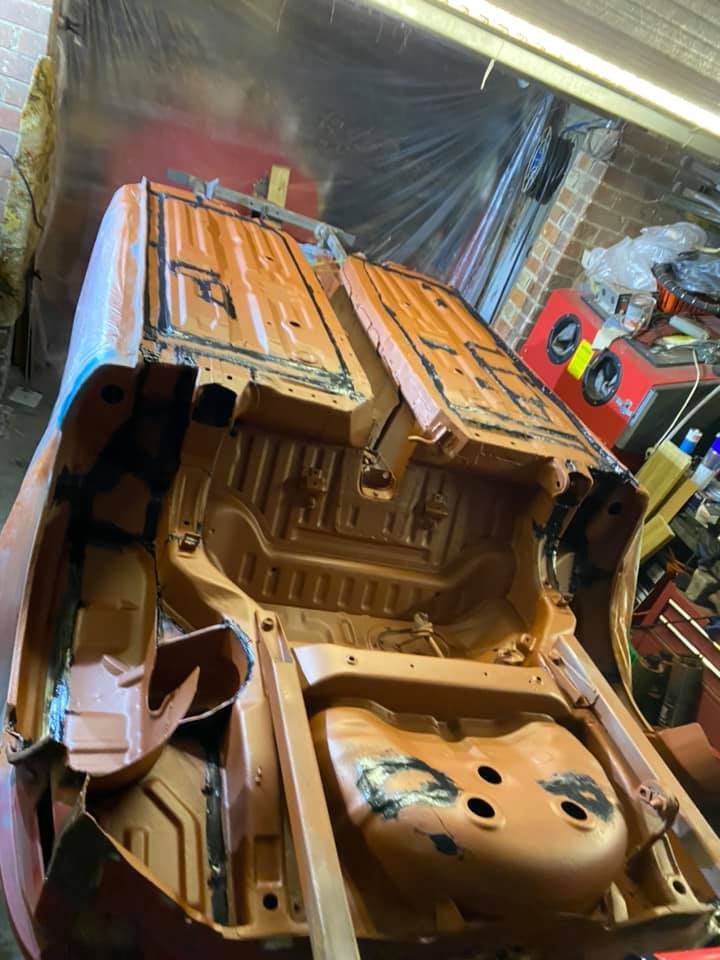
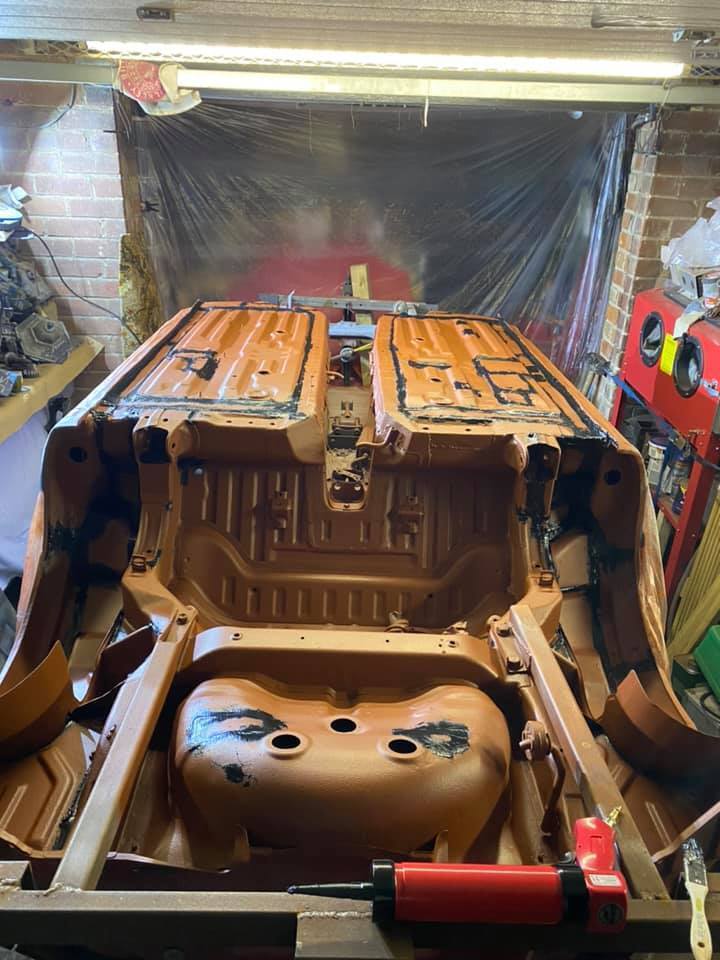
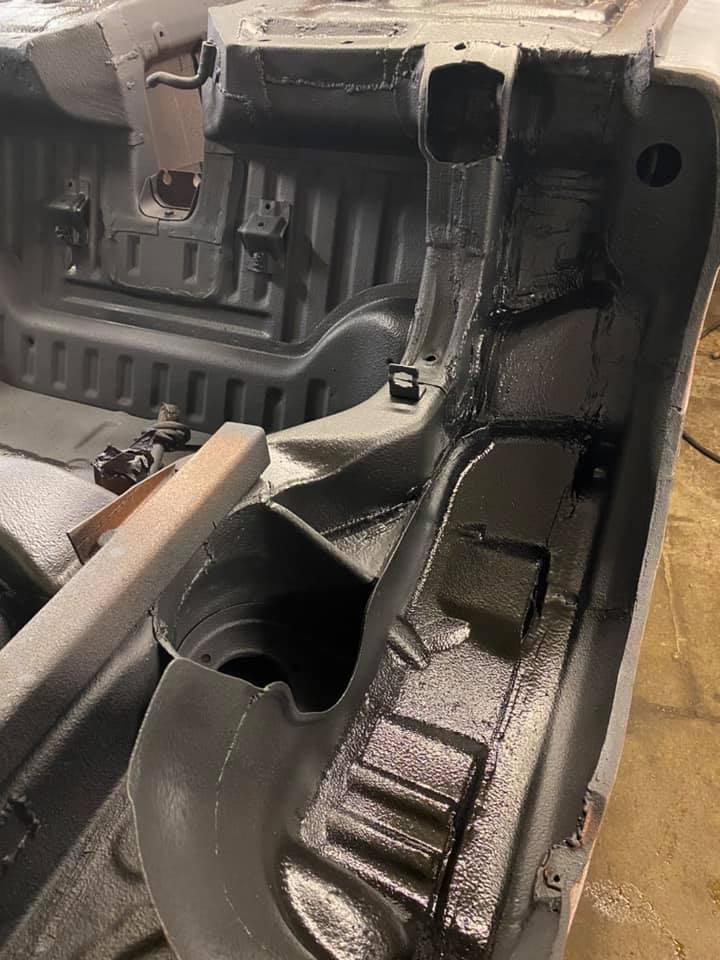
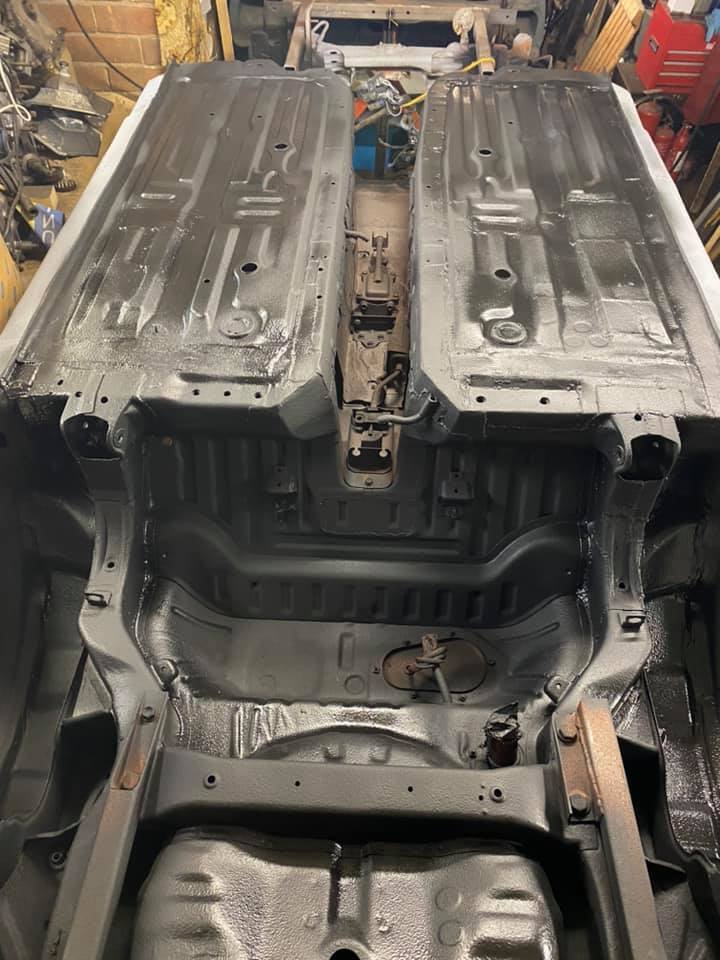
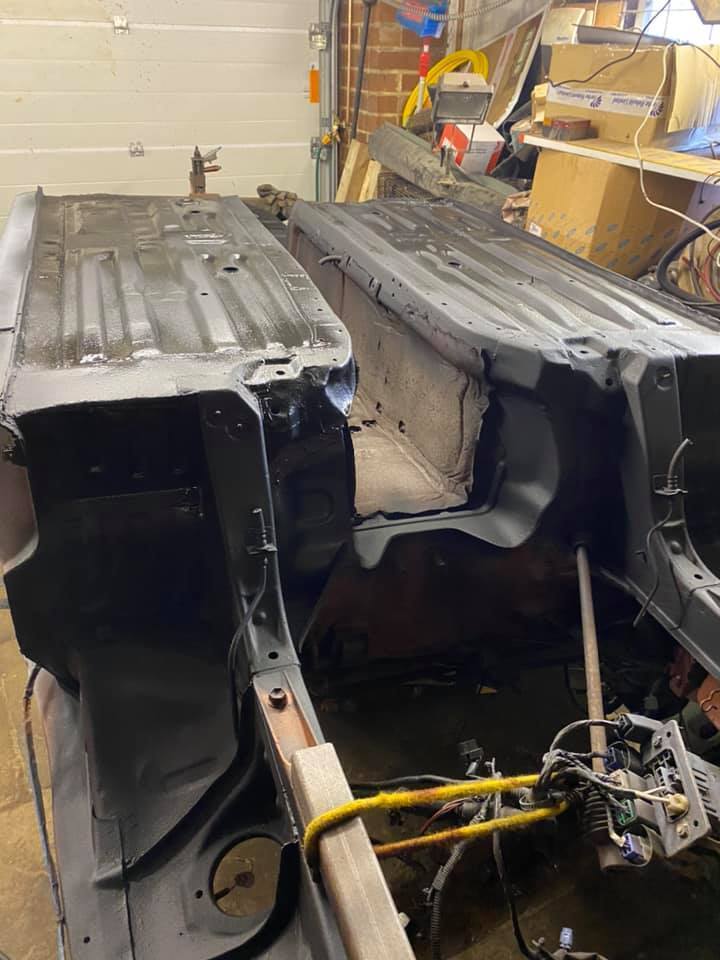
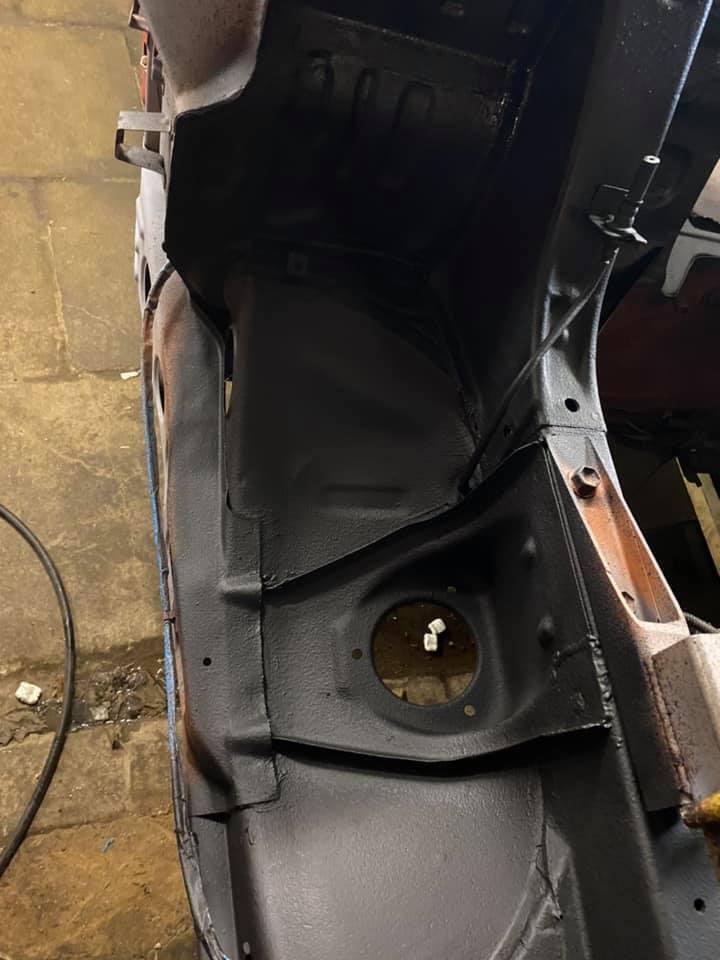
Whilst the shell was at the blasters, it gave me the opportunity to start on the running gear. I stripped the sub-frames entirely and then took them to the blasters to get stripped off back to bare metal and powdercoated. This was at the point that COVID was really starting to take hold and everyone had rushed work into them to get done before the impending lockdown in March 2020. I spoke with the blasters and they said it would be 2 weeks before they could even get round to coating them even though they had blasted them by that point. I agreed therefore to go and collect the parts and store them until they knew they could do it. Luckily i did as 3 days later lockdown hit and they closed! I had to make a decision then as what to do, i dint want to wait and loose time as back then no one knew exactly how long the lockdown would last for. I spoke to a couple of friends who had done similar things to this before and to a pal who does a lot on Land Rovers and asked what he uses on the chassis and suspension parts to give a good durable finish. he recommended Buzzweld products in a certain order to give good protection, i thought if they can take the hammer that he gives his stuff off roading then it should be fine for a road queen like this. I spoke to Buzzweld and got some of there Rust Encapsulator and WAR on order to do the full subframes and suspension arms plus all the floor. The product came in Shultz type cans and application was dead easy. Into the the gun goes the bottle, hooked up to the compressor and spray it on, i laid it quite thick to give a good coating and then went round the edges to stripe them ensuring that they had a good thick coat on also. Certianly further down the road i would think about getting another full suspension and subframe set up from another car and get them blasted and powdercoated to give a smoother finish, but for now these will do. I've clattered tools into them and jacked the car up during assembly and the coating hasn't moved, so in that perspective, i'm happy that its gives a good protective coating. Here you can see the Rust Encapsulator on all the frames and arms. 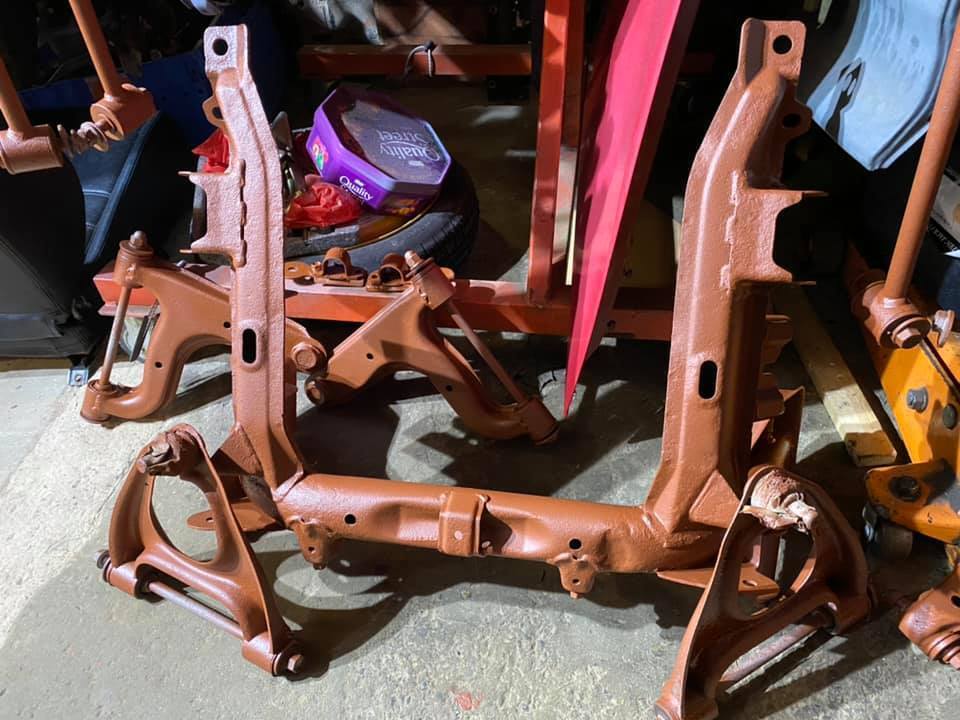 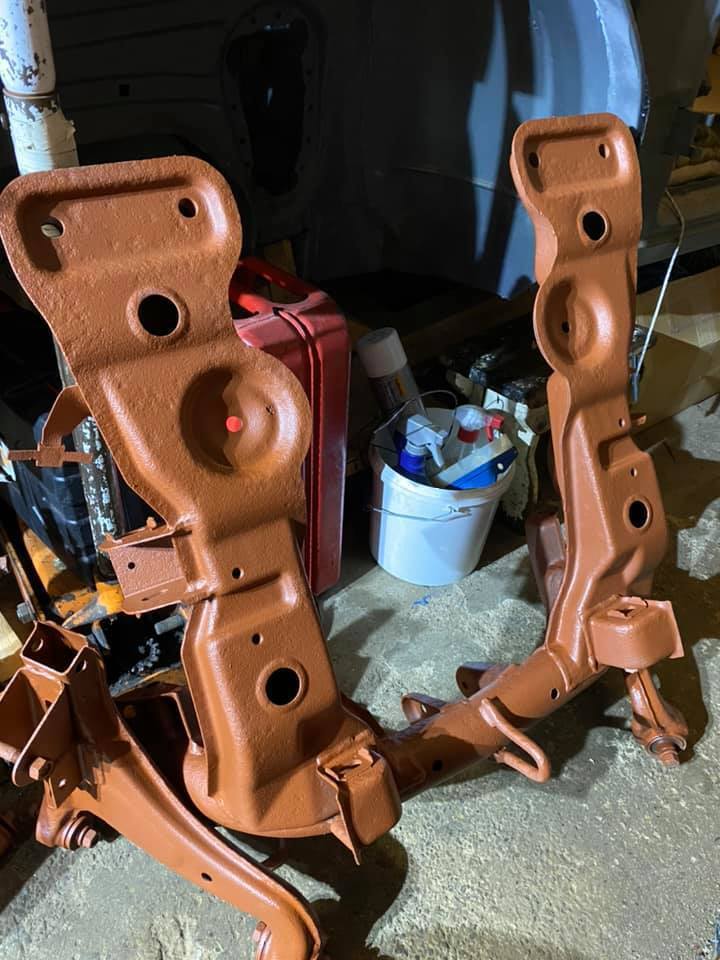 I took a few close ups so you can see the finish it gives (the bushes i removed after and renewed, will come to that later) 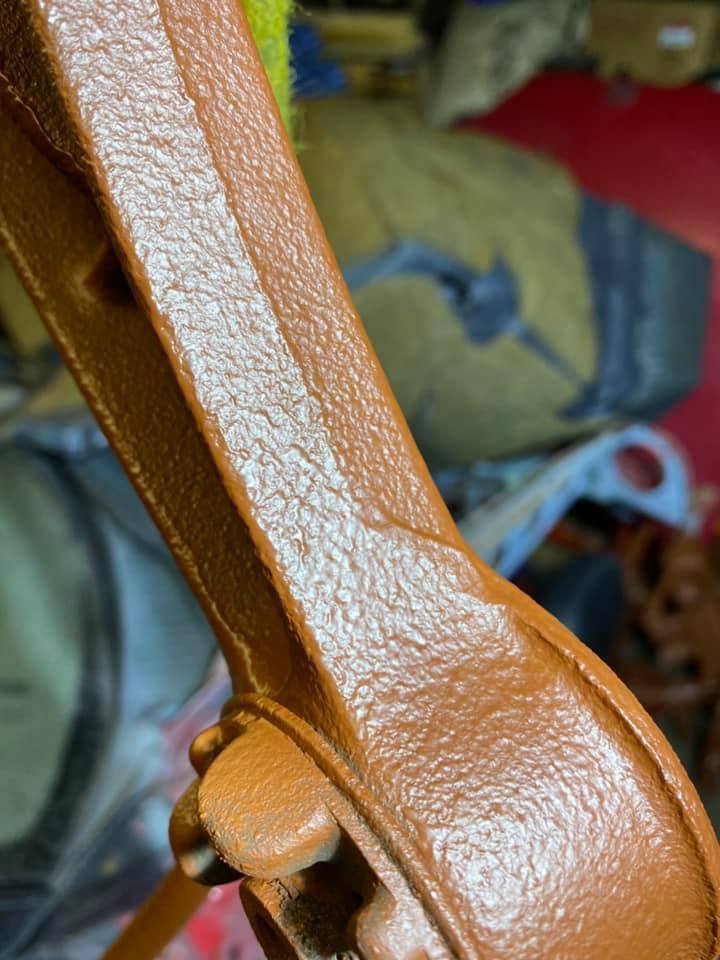 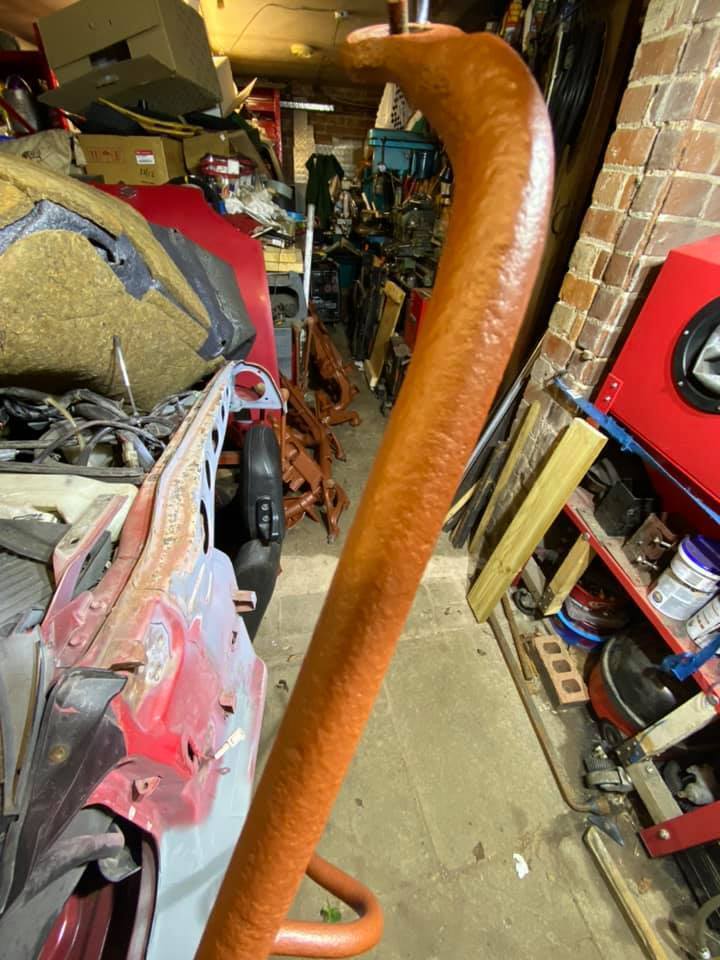 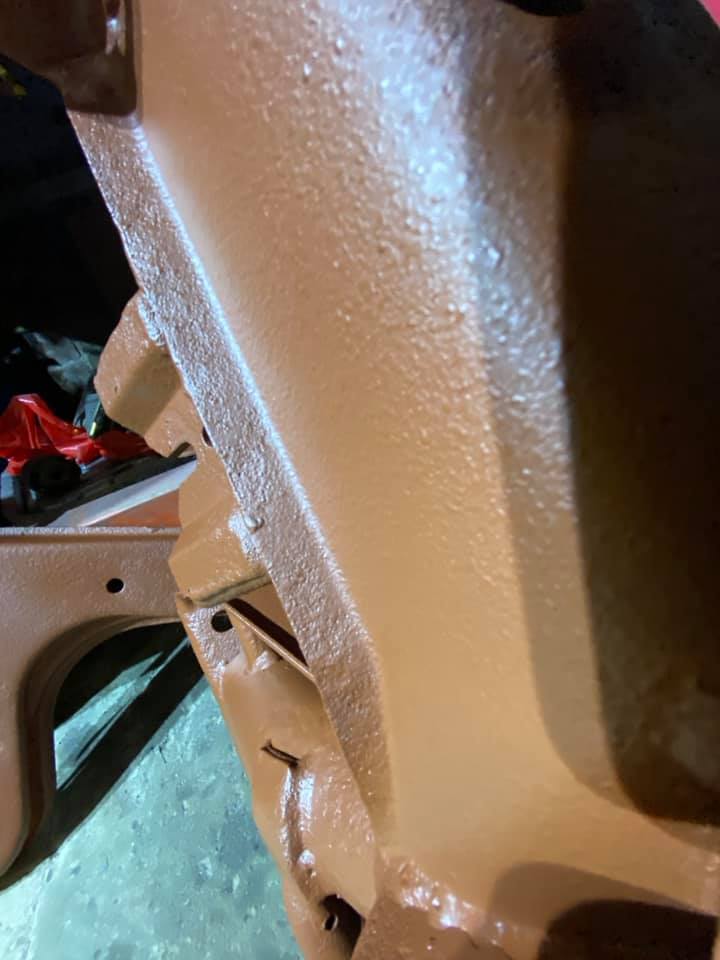 |
| |
|
|
boffer8
Club Retro Rides Member
Posts: 91  Club RR Member Number: 75
|
|
|
|
|
|
| |
Last Edit: Apr 7, 2021 14:30:36 GMT by boffer8
|
|
boffer8
Club Retro Rides Member
Posts: 91  Club RR Member Number: 75
|
|
|
|
|
That's today's updates added, still more in the bank ill get round to tomorrow
(ref 136)
|
| |
|
|
|
|


