jmsheahan
Club Retro Rides Member
Posts: 689
Club RR Member Number: 121
|
|
Feb 21, 2023 15:47:59 GMT
|
Retro fitting heated elements sounds great! Mind me asking where you got them from? Think they were just eBay specials. Two heat modes and just fitted the switch alongside the seat adjuster switches. Amazing, thanks! Actually far more reasonably priced than expected! It might be worth getting a bottle of Captain Tolley's creeping crack cure for the windscreen leak. Thanks for the suggestion! Indeed it's pretty good stuff! I've been mulling over the windscreen situation for a while. I need to paint the inside of the scuttle and to do it properly the screen needs to come out. I think I will kick myself if I don't especially after the carnage the leaking one before caused. We'll see how the side window fitting goes for practice! |
| |
Last Edit: Feb 21, 2023 16:06:18 GMT by jmsheahan
|
|
|
|
jmsheahan
Club Retro Rides Member
Posts: 689
Club RR Member Number: 121
|
|
Feb 21, 2023 16:02:25 GMT
|
Chipping away with small bits of progress as and when time/weather allows. The front grille area has now had a couple of coats of Epoxy Mastic: 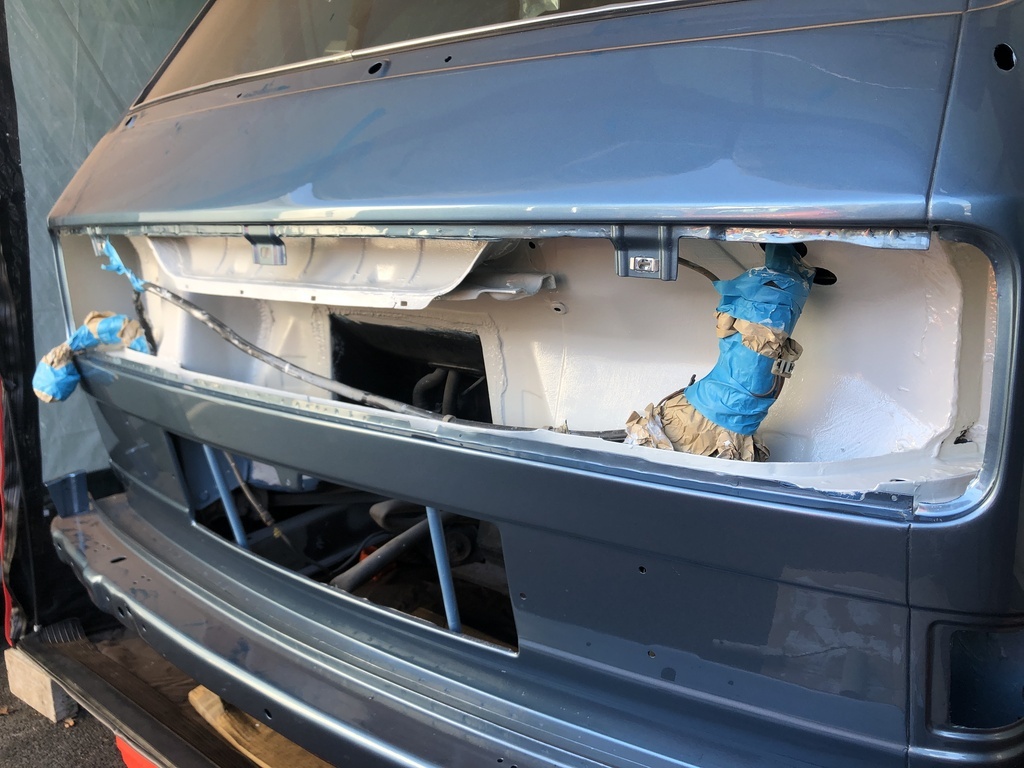 I've also been collecting bits to push towards making the van watertight. Quite a few seals are required for the front doors - lots of detective work with manuals/ETKA to figure out what goes where and what I' m missing (the downside to me not removing it all). I sourced some excellent replacement quarterlights from a company called NLA Parts. As you can see the vans originals looked just a tad beyond repair... 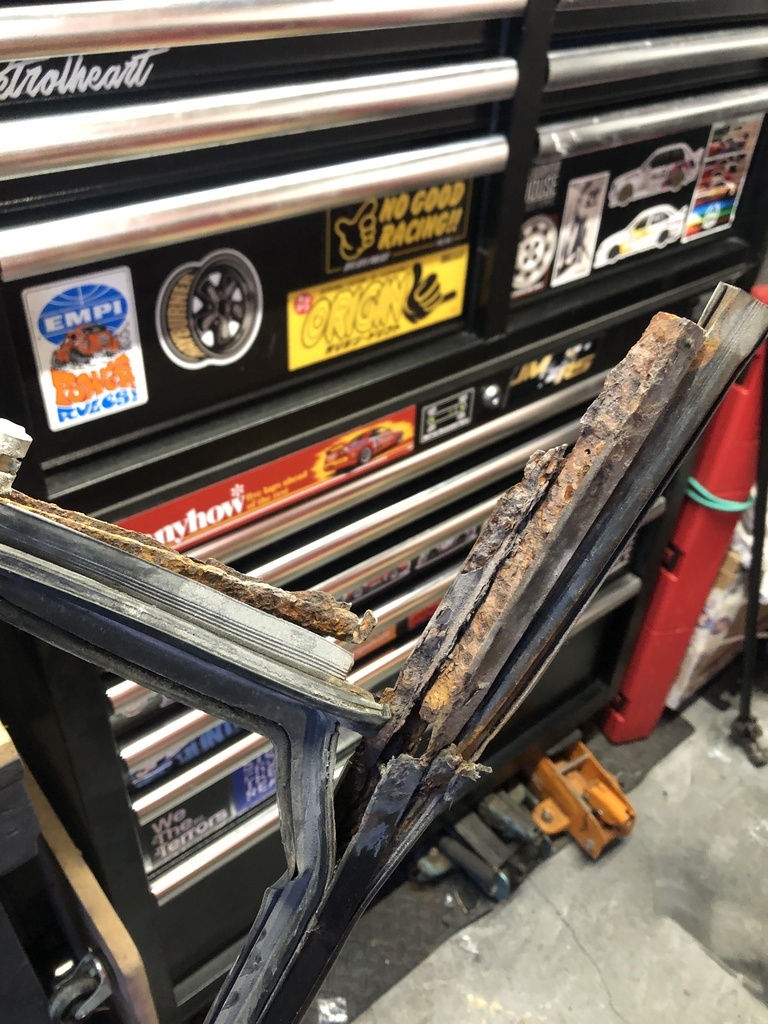 Old vs New. The new are aluminium with stainless fixings so figures crossed they won't rot like that last. 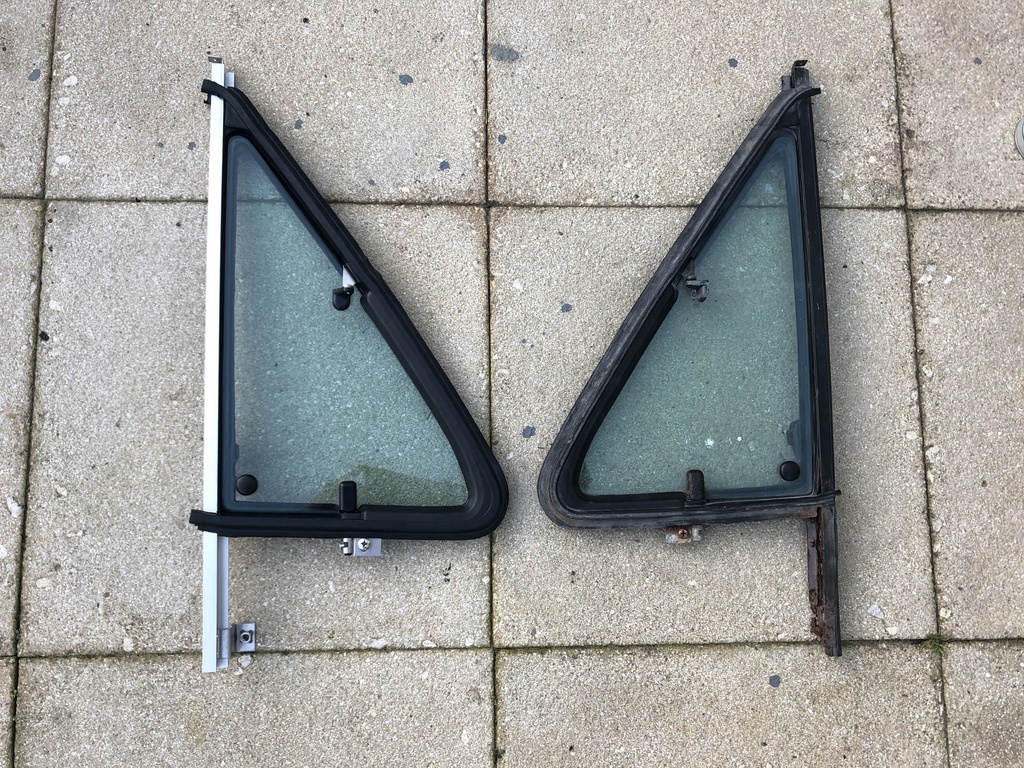 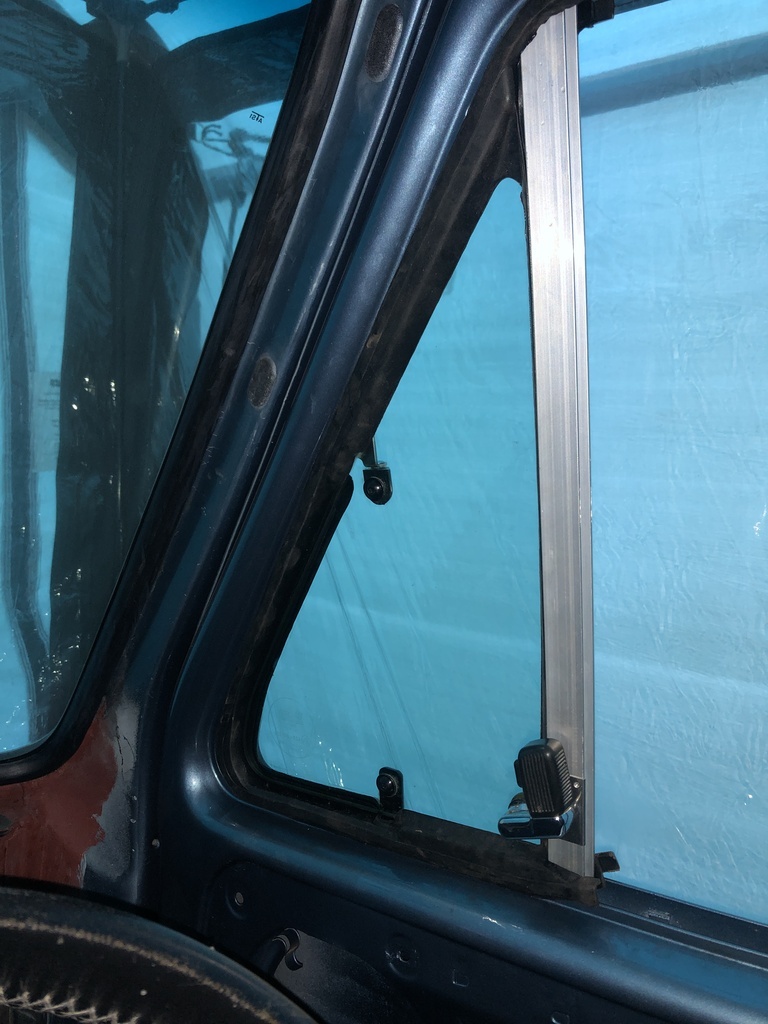 This lot arrived today. Highly recommend Scofields VW. Everything aftermarket I've bought from them has been of a good quality when the OEM item isn't available. 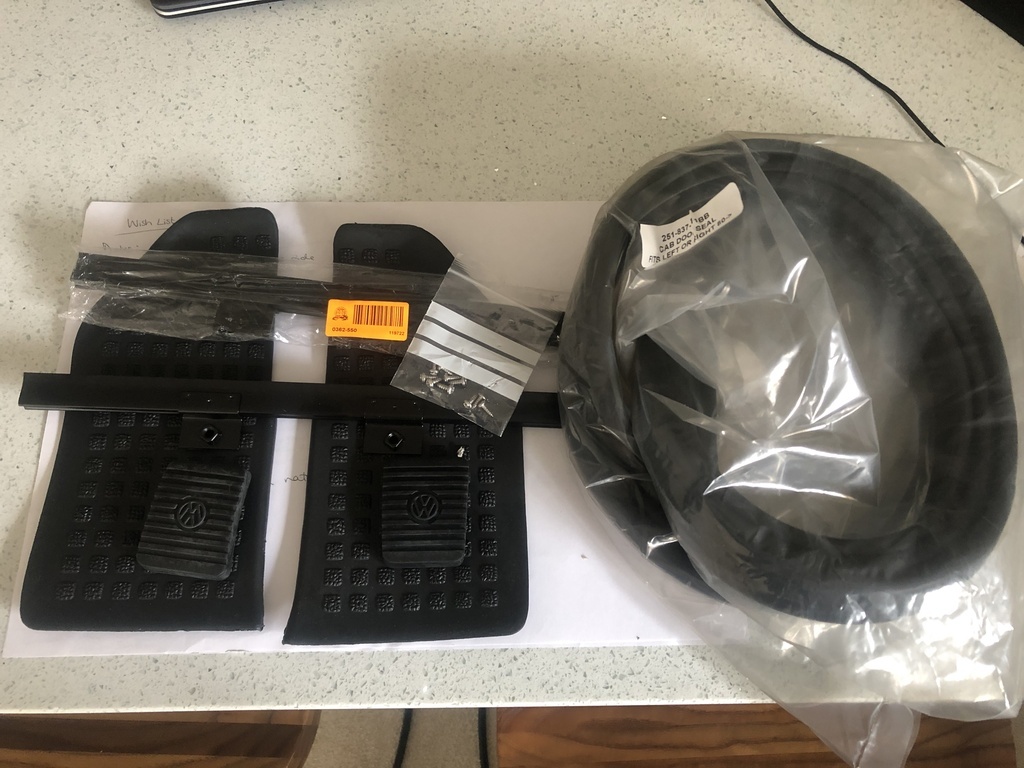 Figures crossed I now have everything to reassemble the front doors. I did notice today that the motor is missing from one of the window regulators... was it ever there? Who knows! Would explain why that window never worked though  'Window delete bro!' |
| |
Last Edit: Feb 21, 2023 16:05:36 GMT by jmsheahan
|
|
jmsheahan
Club Retro Rides Member
Posts: 689
Club RR Member Number: 121
|
|
Apr 23, 2023 12:25:47 GMT
|
Daaang another 2 months without an update. Enthusiam is strong...free time on the other hand is not. I had a week off of work recently but ended up spending most of it sorting my wife's Golf out  Goal is still cracking on with the underside refresh - strip, epoxied and Raptor'd plus suspension refresh by the end of the summer. So what's been happening? Well... step into my office: 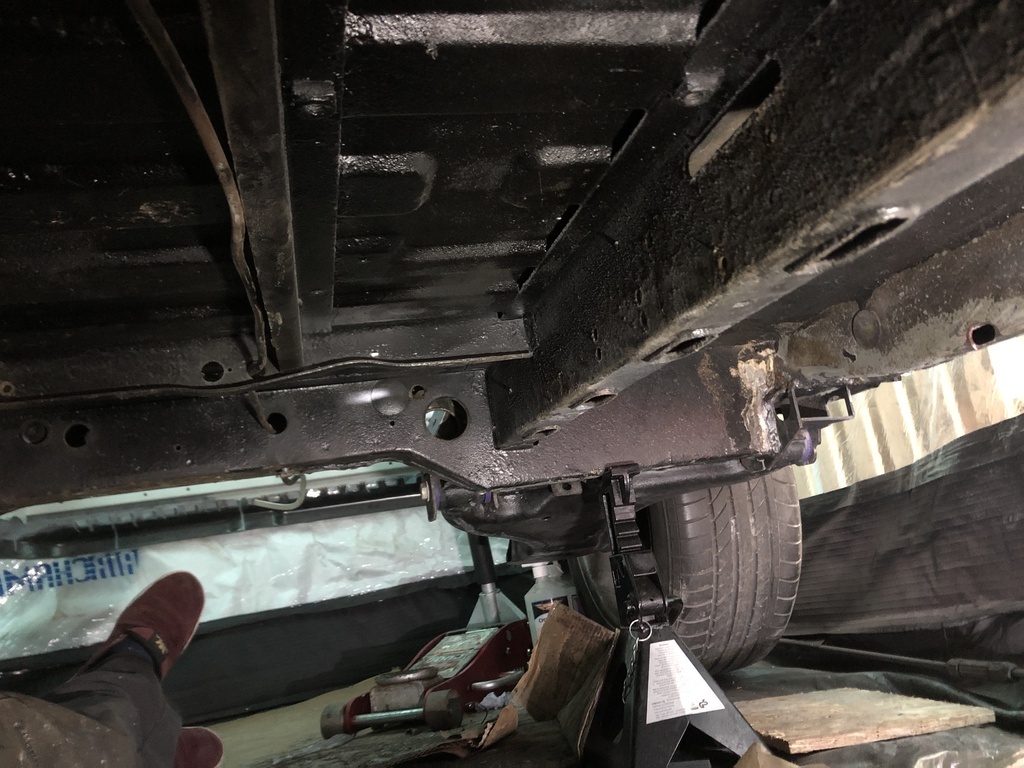 I can JUST lift the rear wheels off of the ground whilst it's contained in the carcoon. Not ideal but I'll take every inch I can get (achem that's what she said). Under here is a mix of curse word to scrape off. The infamous VW beige underseal, grease and dinitrol style waxoil and stonechip. Fist things was to get a bunch of fixings out of the way, handbrake cables, hoses, brake lines etc. 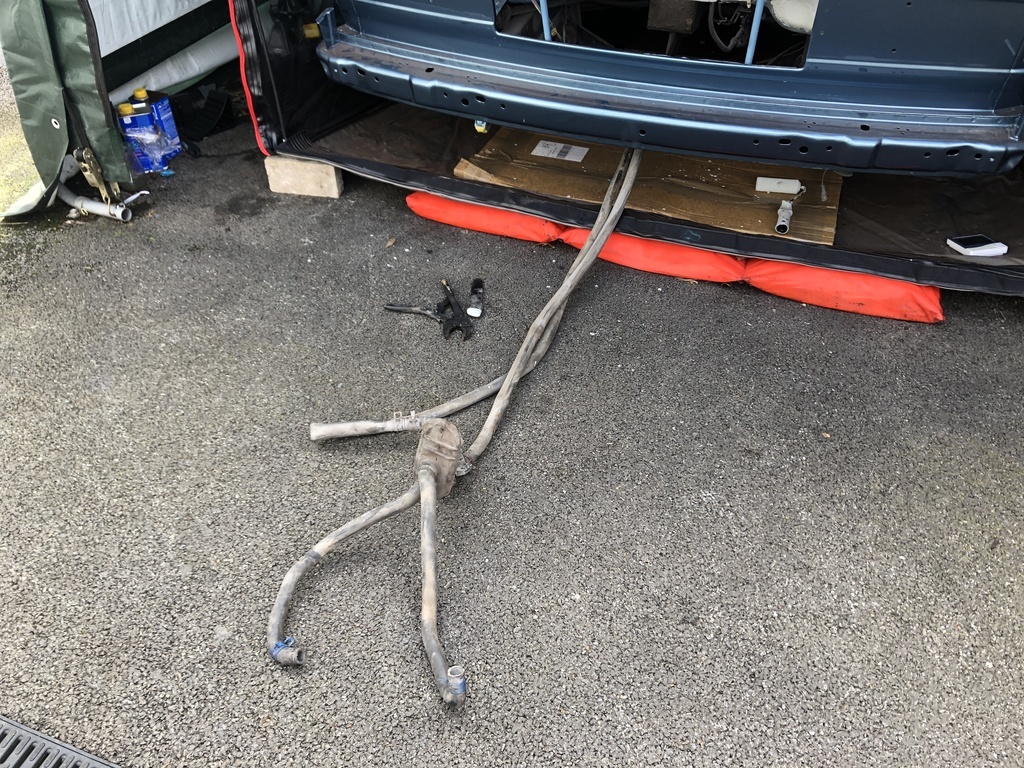 After many hours of scraping we were left with this: 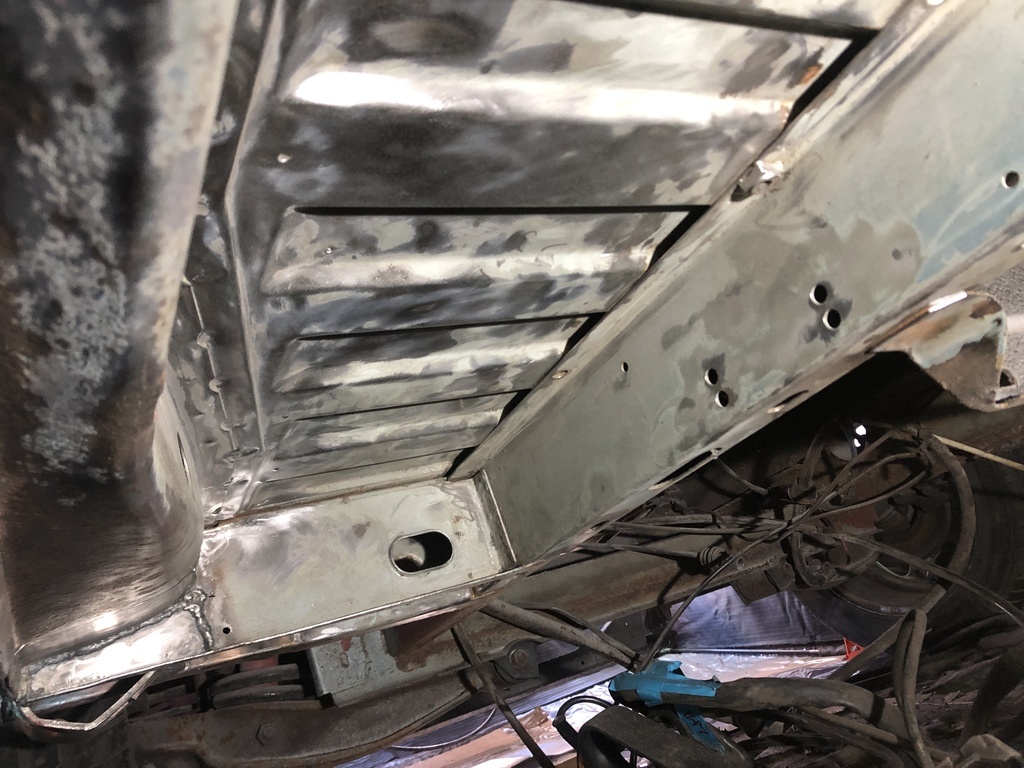 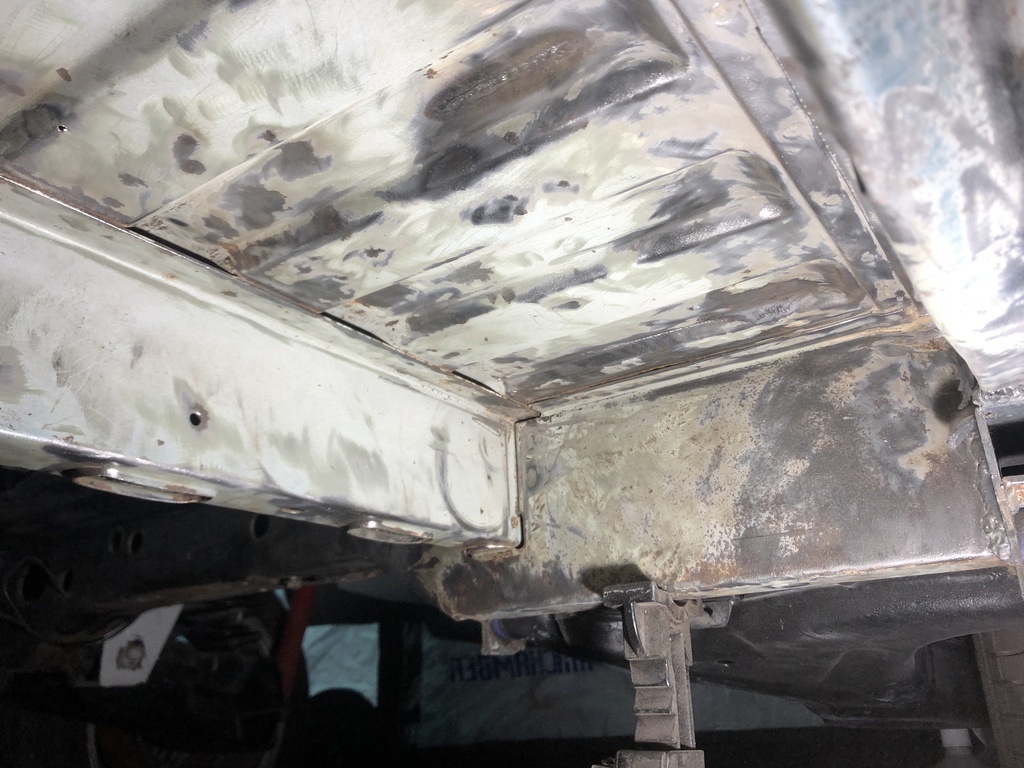 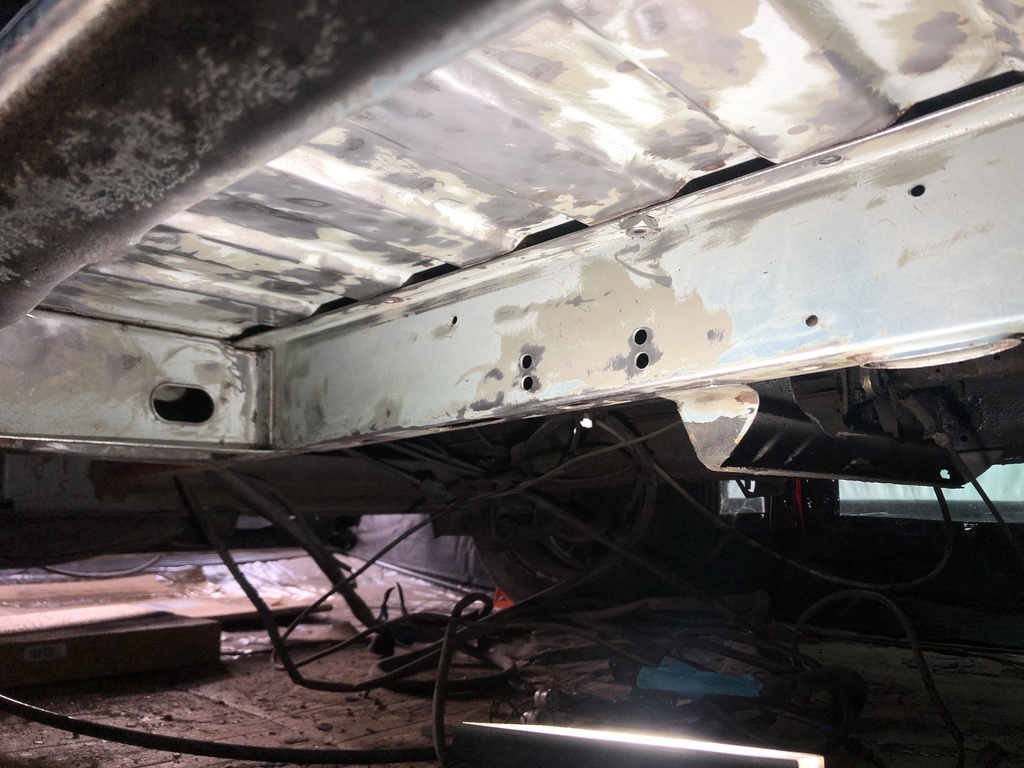 More Phosphoric Kleen B: 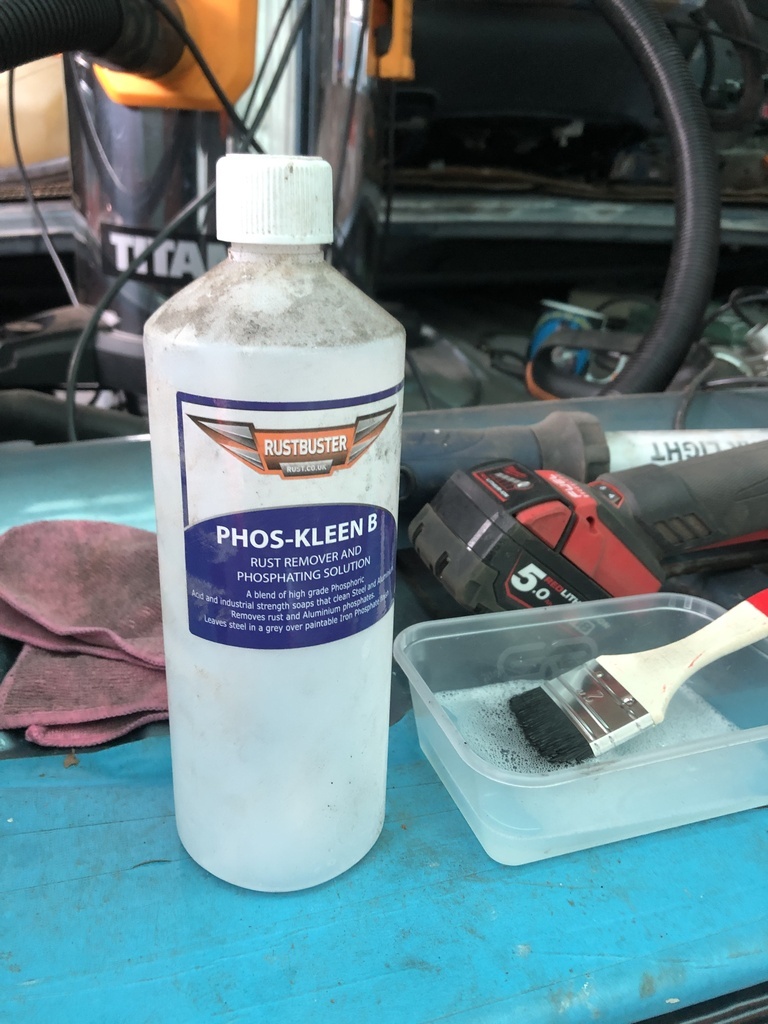 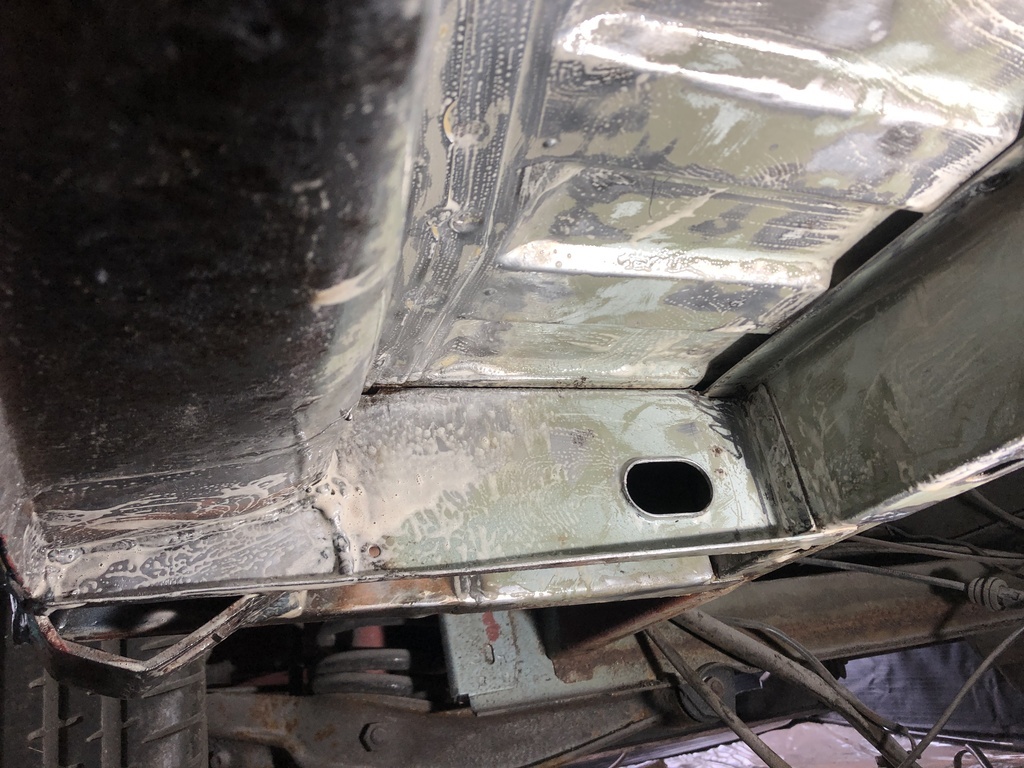 Which when dry, leaves a sort of etched finish after neutralising: 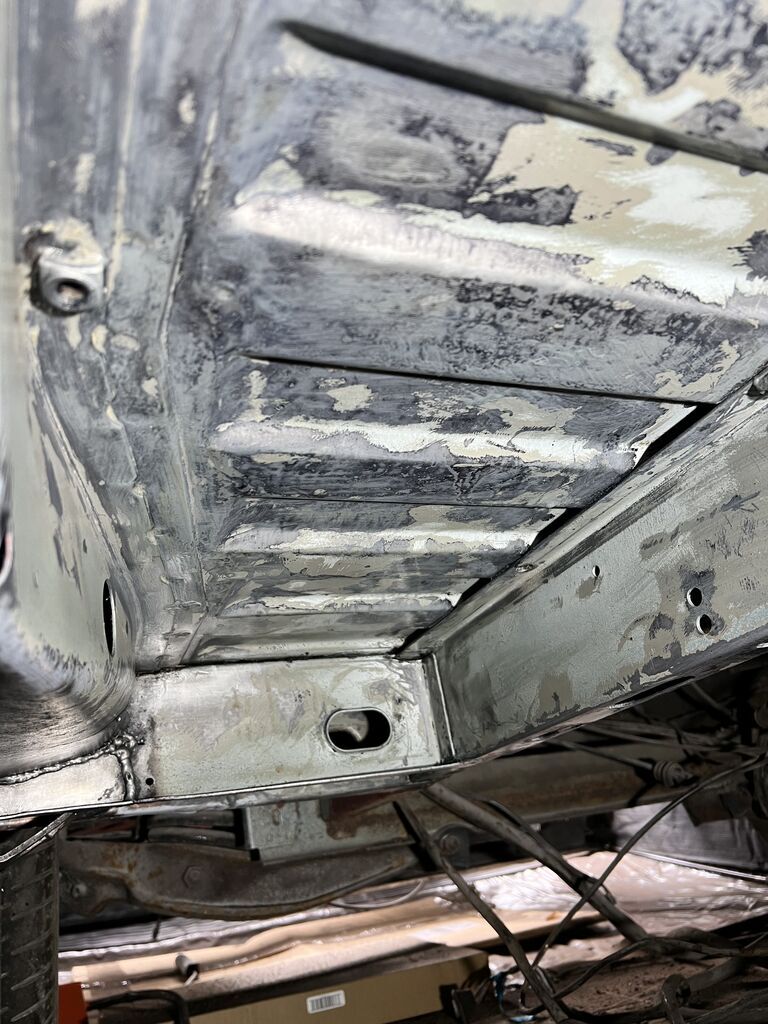 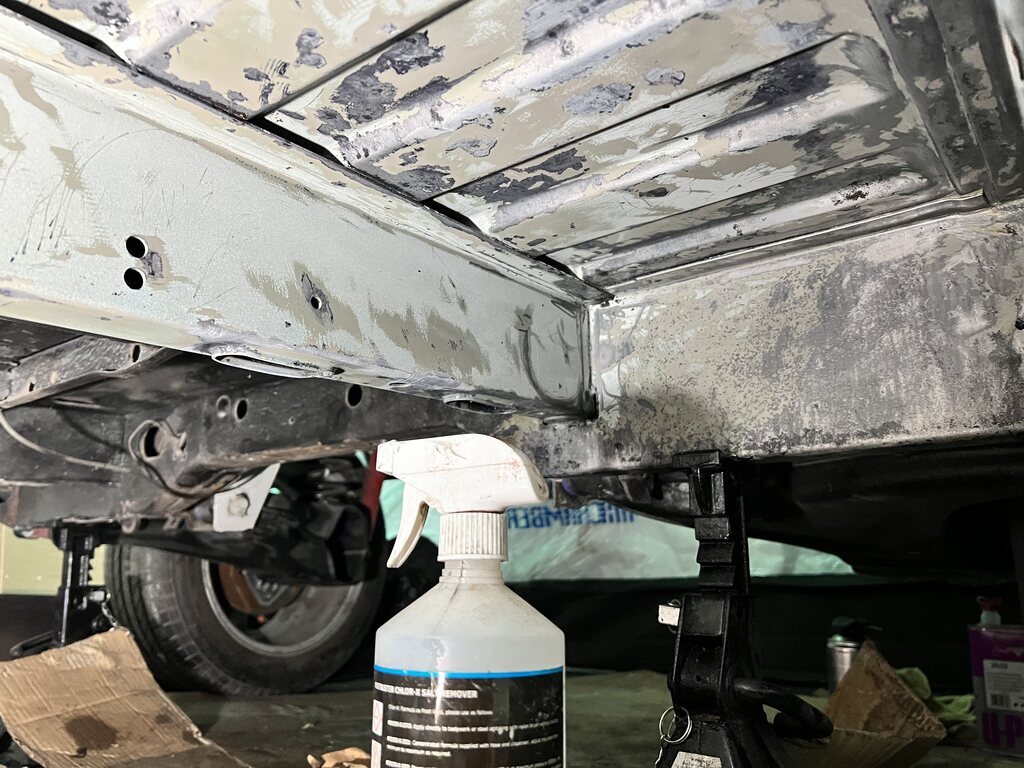 Followed by a first coat of Epoxy Mastic. It's stuck like the proverbial and its such a motivation boost seeing parts in one colour. I chose white as I was hoping it would brighten the work area and be easy to see any bits I've missed! Body colour will be going over this later. 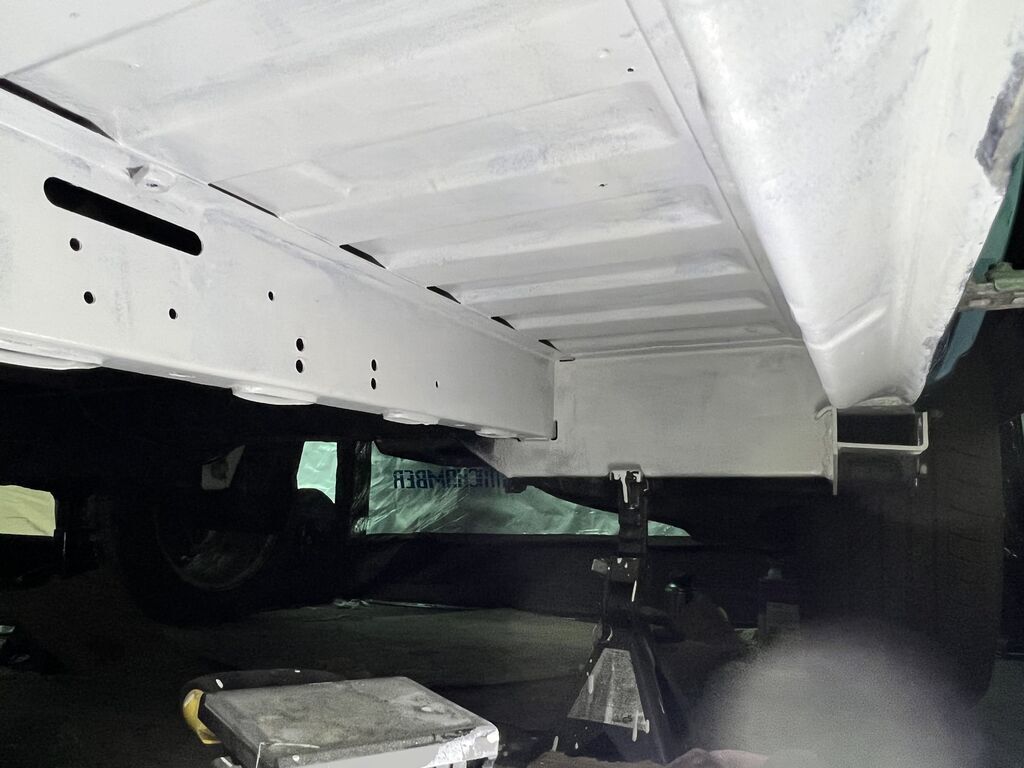 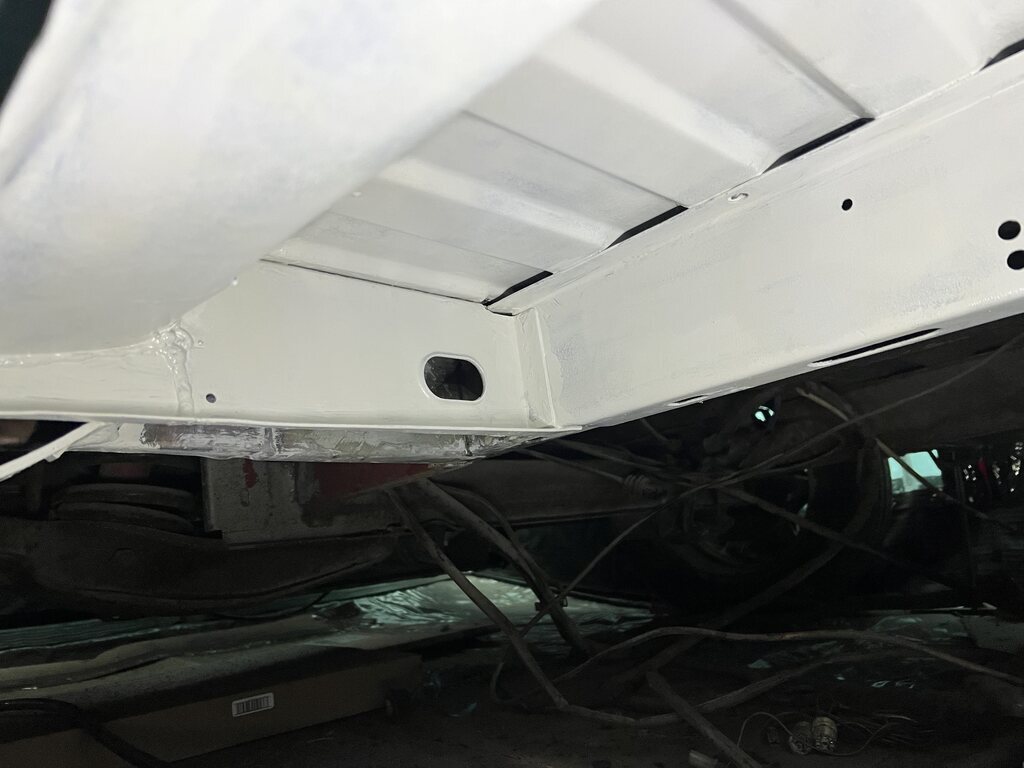 Stolen image from the Samba, but you can see how much there is to do. Trying to break it down into sections, white being the bits I've done: 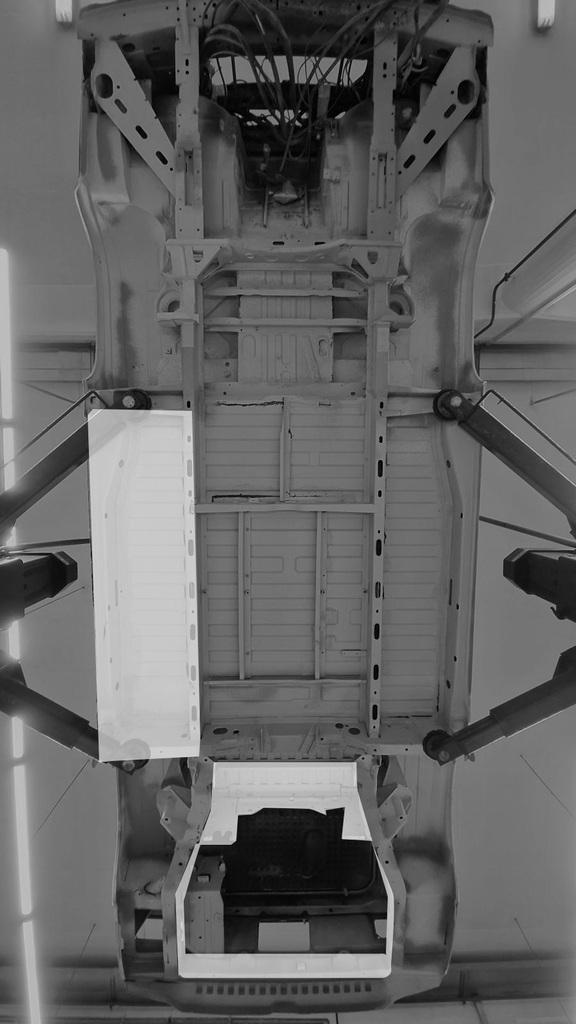 Bored of rust, I set about seeing if I could save the front indicators. Untouched on the left, cleaned, polished and wet sanded on the right. Not bad but I'll probably still buy some new lenses. 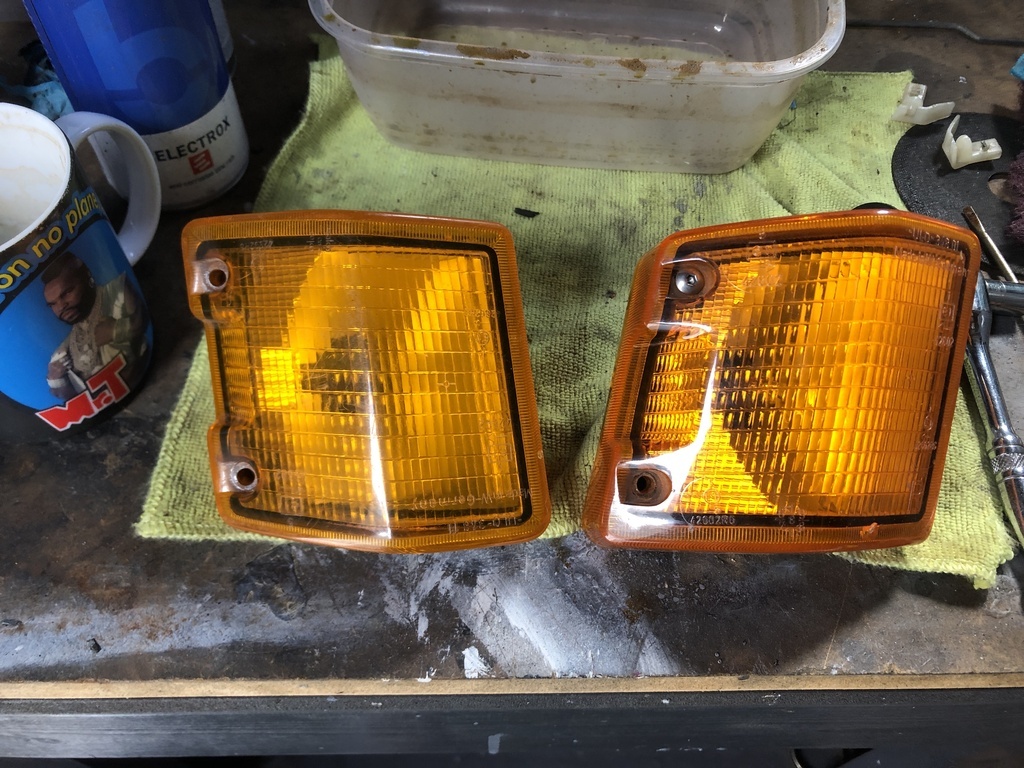 Both front windows and associated mechanisms are now back in. Not going to lie, both of these took me hours of messing about. So so fiddly with a multitude of different seals and fixings in a specific order (non of which I knew as I didn't dismantle!) but got there in the end! 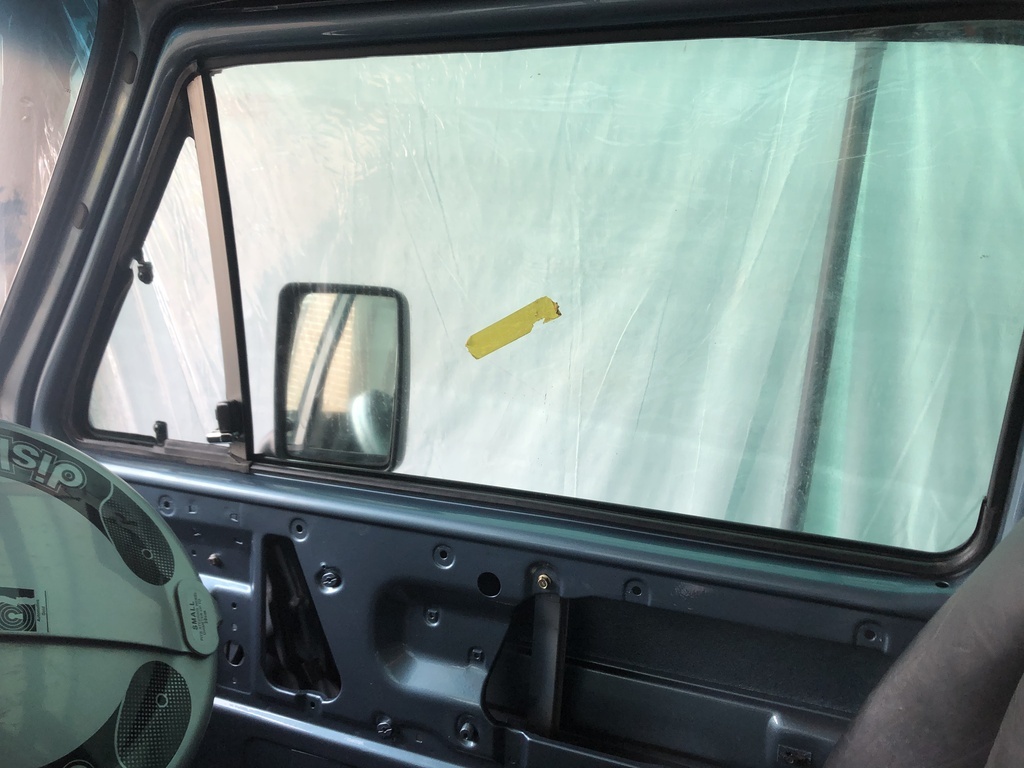 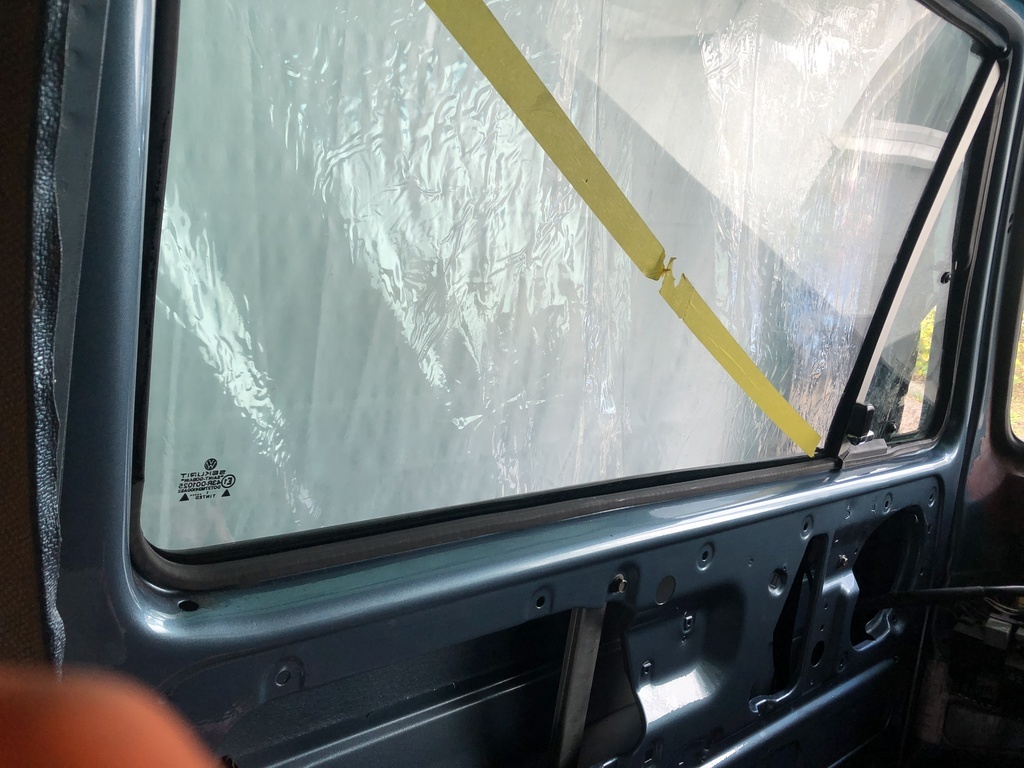 In other news myself and a mate did a trackday recently - both in our dailies, his mini and my Clio 182 Cup. I'm really missing driving my MK2 GTI and as it's unlikely to see the road this summer due to being blocked in by the T25, this helped address my fun car fix! 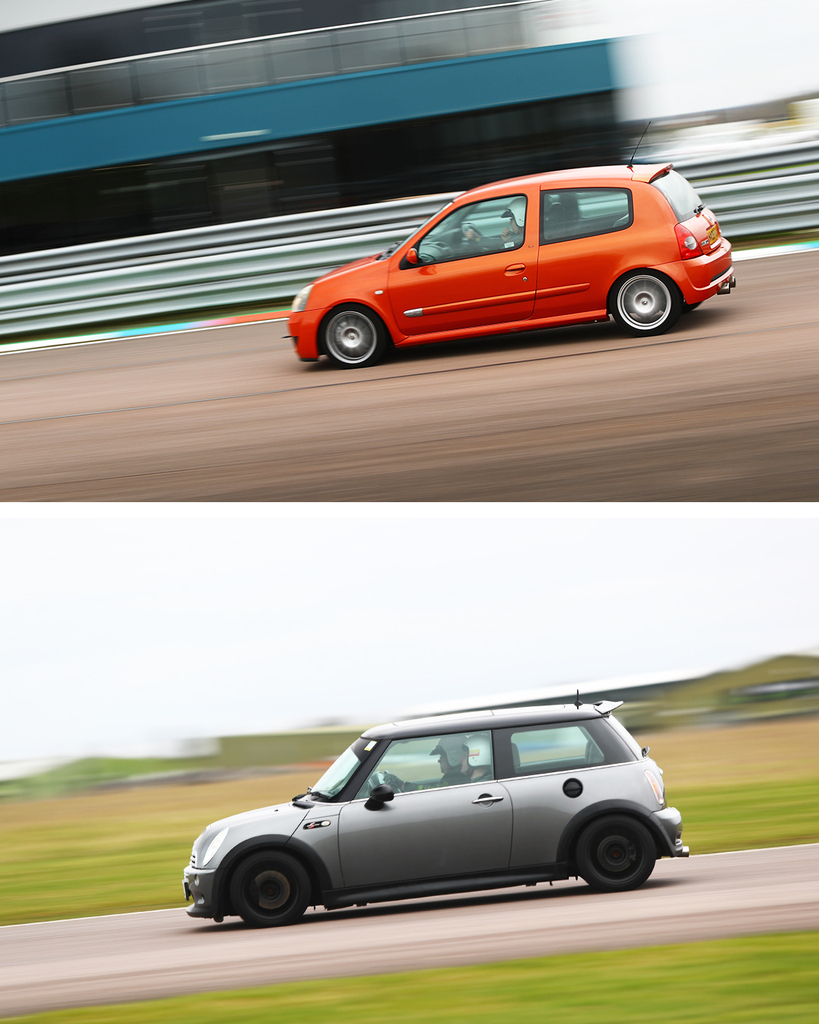 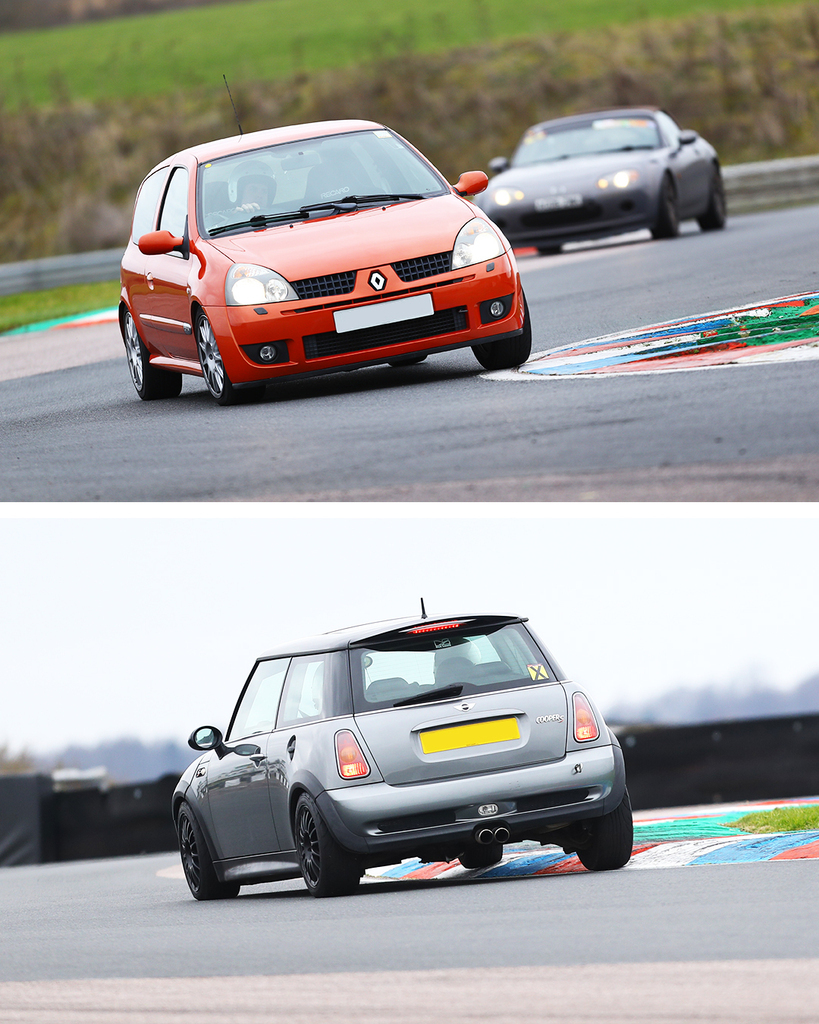 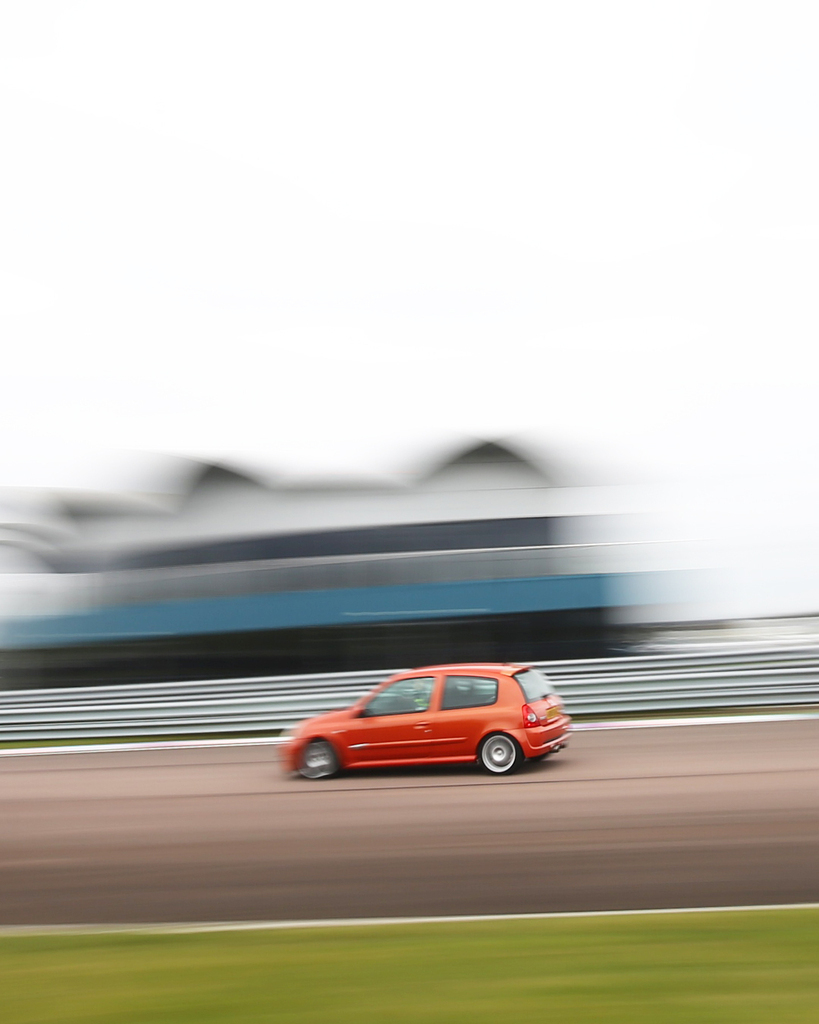 |
| |
Last Edit: Apr 25, 2023 11:27:12 GMT by jmsheahan
|
|
teaboy
Posted a lot
   Make tea, not war.
Posts: 2,125
|
|
Apr 23, 2023 13:23:18 GMT
|
|
That underside looks remarkably good.
|
| |
|
|
|
|
|
Apr 23, 2023 19:13:35 GMT
|
|
Indeed, it looks amazing and must have taken many hours getting to look so sanitary. As with your Mk. 2 Golf, superb work.
Question, when you guys say “Epoxy Mastic”, is it two part epoxy primer (American terminology) or does have additional properties? Maybe because mastic rhymes with elastic I’m creating an image in my head of something with flexible characteristics, but that doesn’t sound very likely.
Best, John
|
| |
|
|
jmsheahan
Club Retro Rides Member
Posts: 689
Club RR Member Number: 121
|
|
|
|
Thanks guys! jjeffries Yeah, it's just a two-part epoxy primer but by my understanding it's of a slightly thicker build and more suitable for chassis work where it doesn't need to be a showcar finish. It's this stuff which if you do some digging is supposedly a rebadged Jotun product - LINK |
| |
Last Edit: Apr 24, 2023 9:18:12 GMT by jmsheahan
|
|
jmsheahan
Club Retro Rides Member
Posts: 689
Club RR Member Number: 121
|
|
May 31, 2023 10:08:38 GMT
|
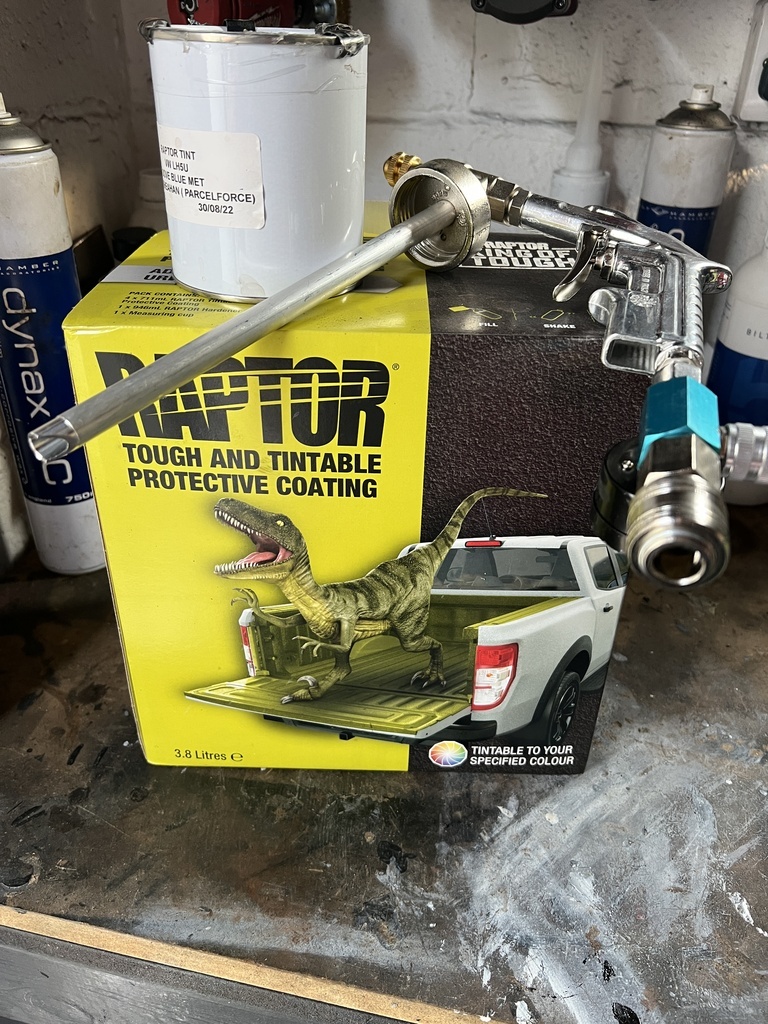
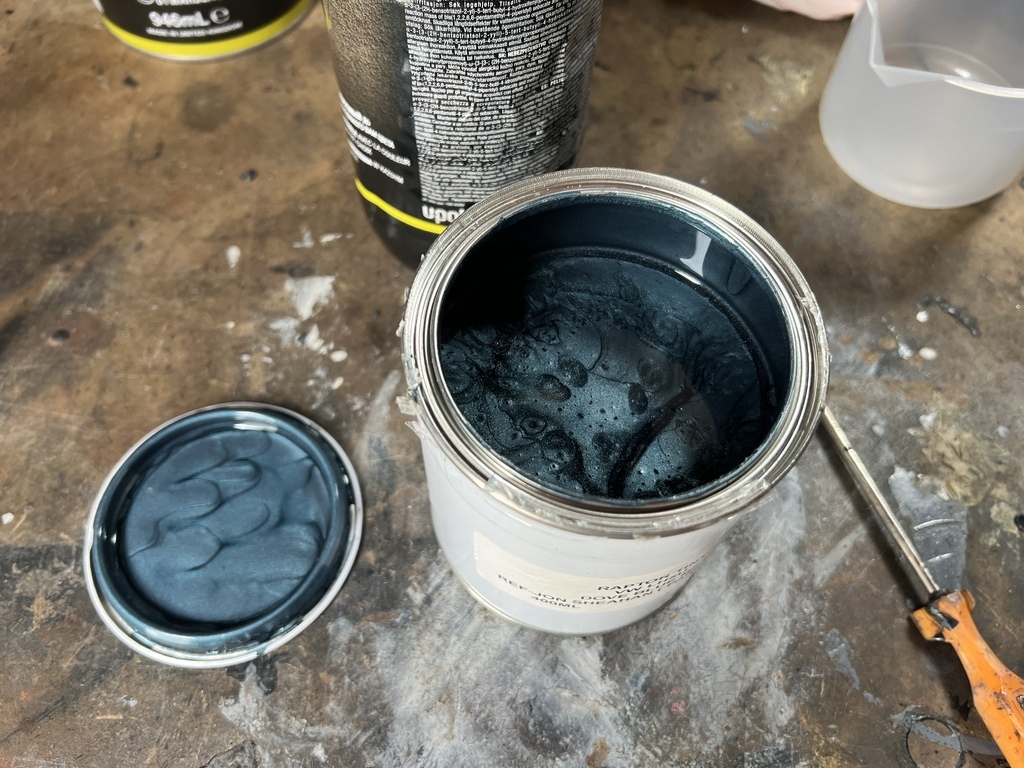
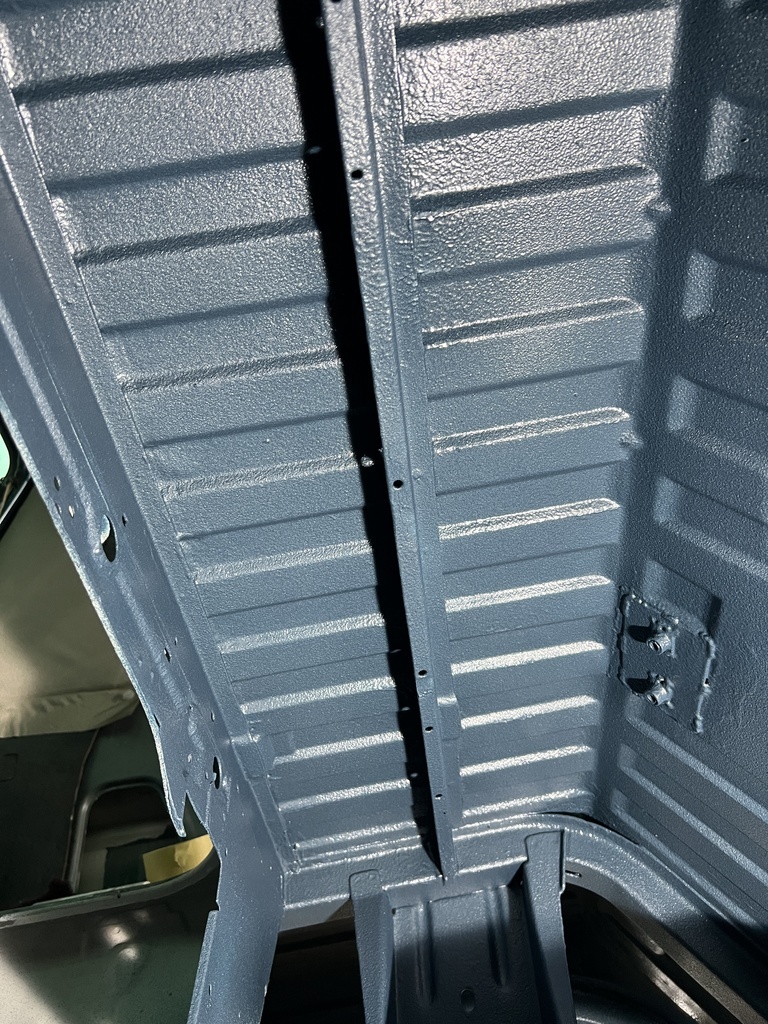
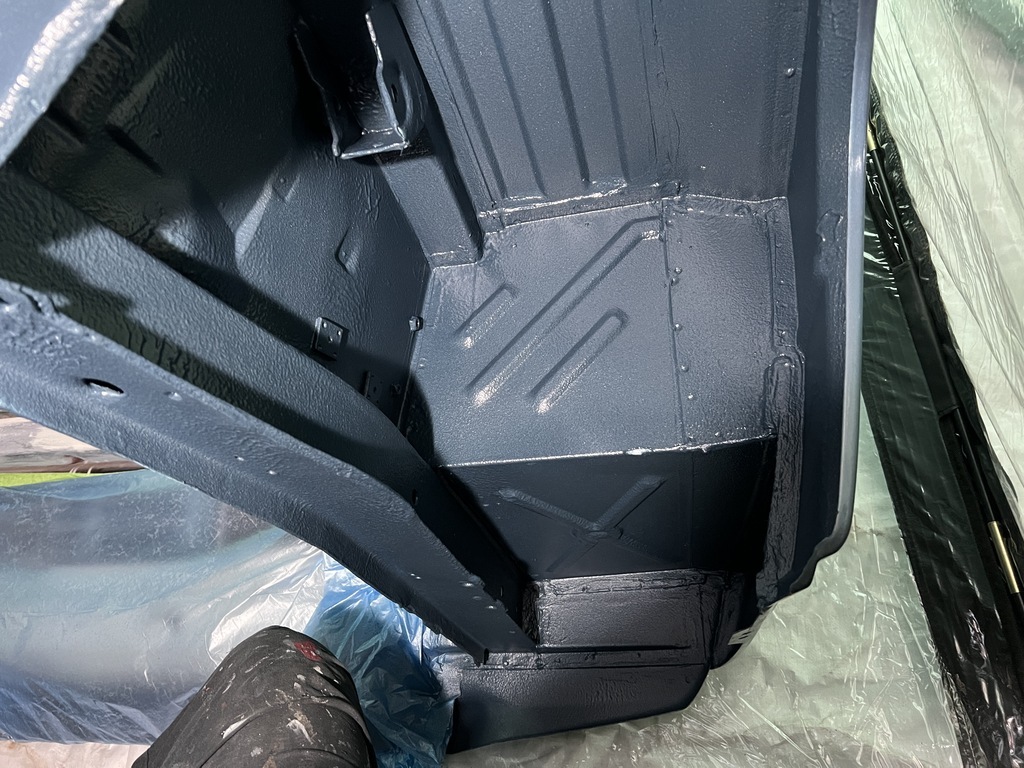
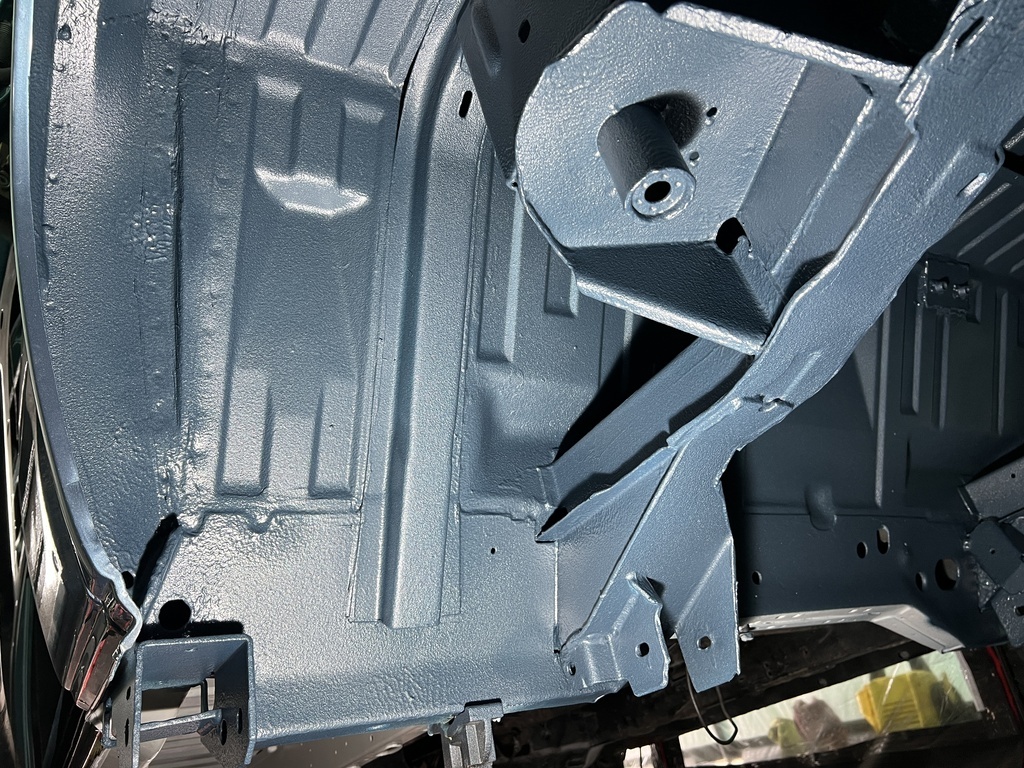
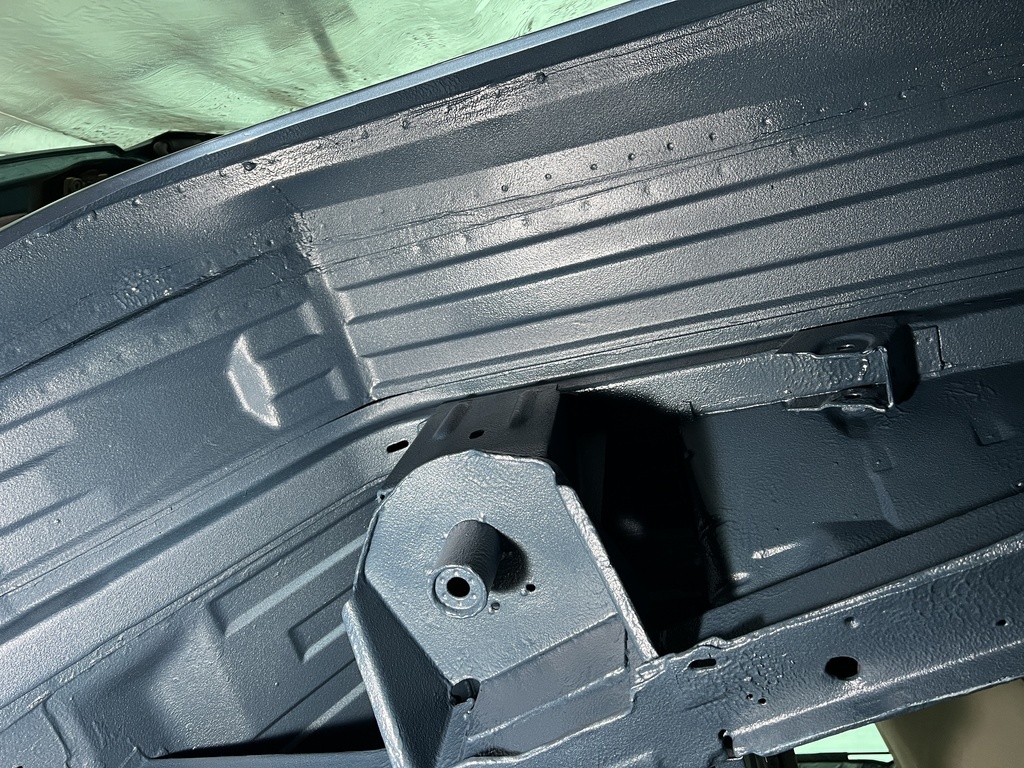
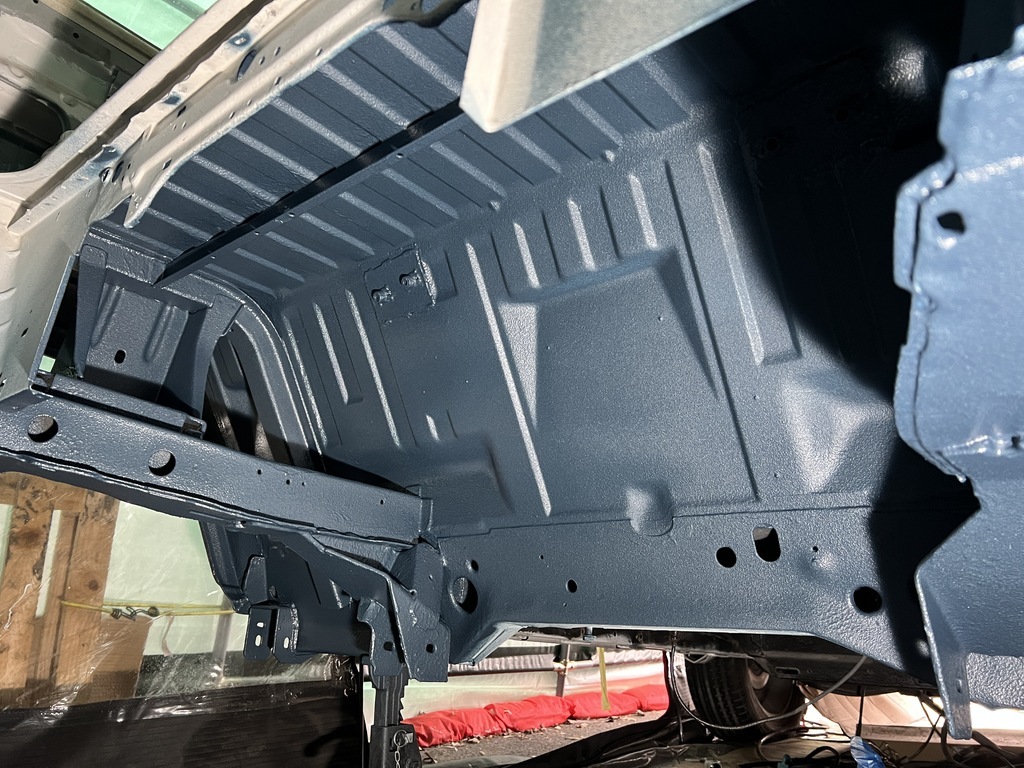
Hope everyone had a great bank hol - how awesome was it to have 3 days of solid sunshine! Prying myself away from the beers and bbq’s, I managed to earmark a decent block of time to work on the van. Pleased to say the rear third is now stripped, treated in the usual fashion and coated in epoxy primer. Progress is good but maaaan it’s slow going. Leaving this a week or so to fully harden then it’s on with seam sealer and some colour on at least the suspension mounting areas. There are a few runs from using a brush but my focus was on stripe-coating the seams to the best of my ability. It'll all be covered in Raptor anyway. Some serious hours went into getting it to this stage! Side note - shorts and a t-shirt is NOT the one when painting epoxy upside down… lets just say my arms and legs aren’t going to rust anytime soon  Hello old friend/nemesis 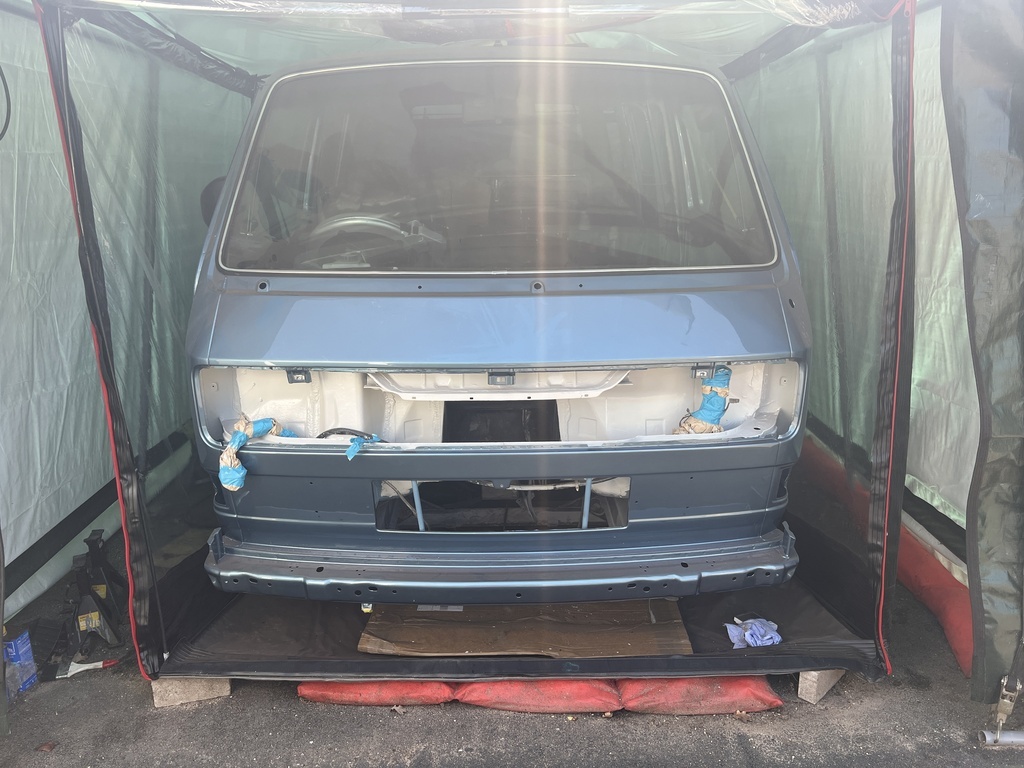 VW beige sealer of hell 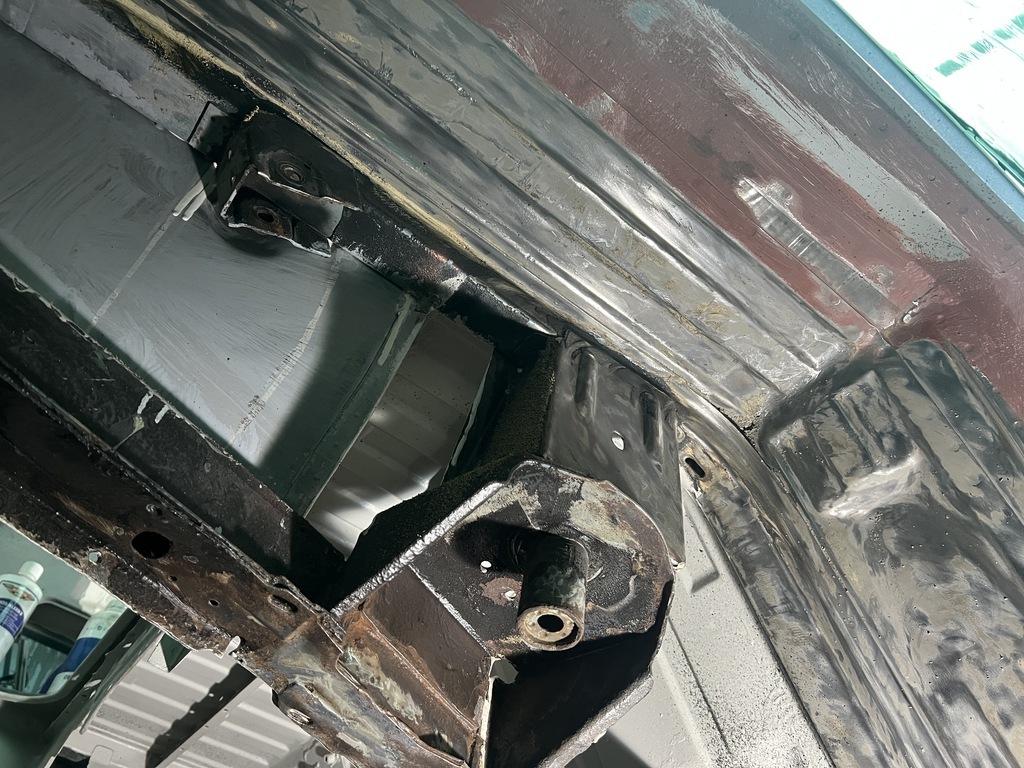 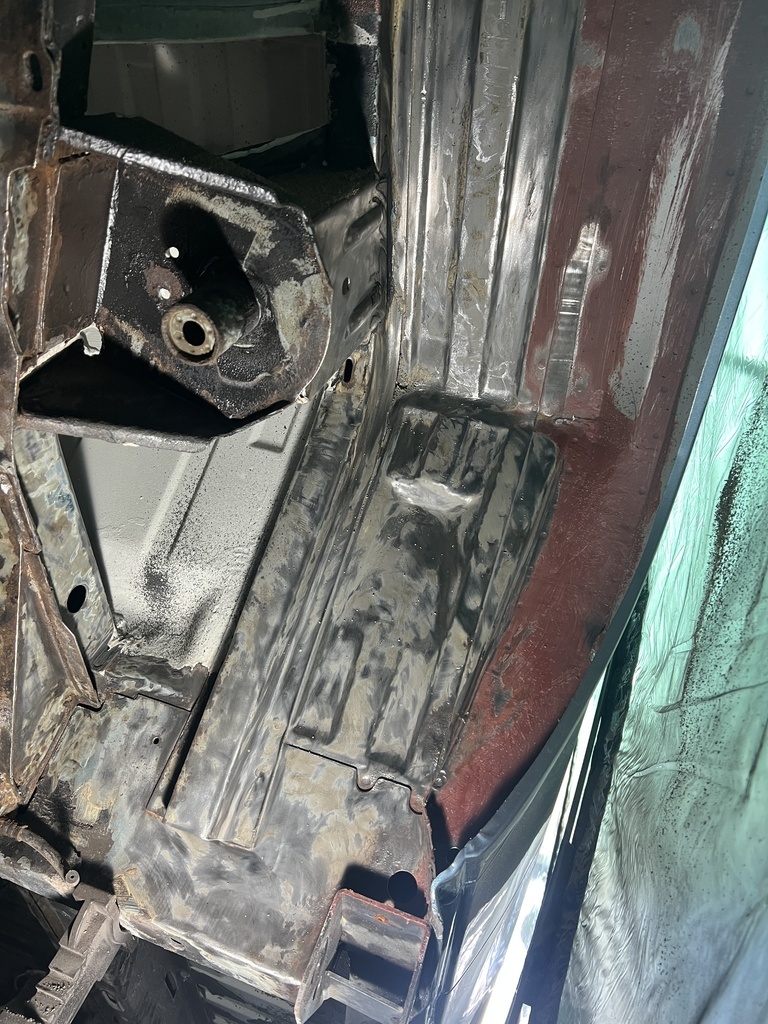 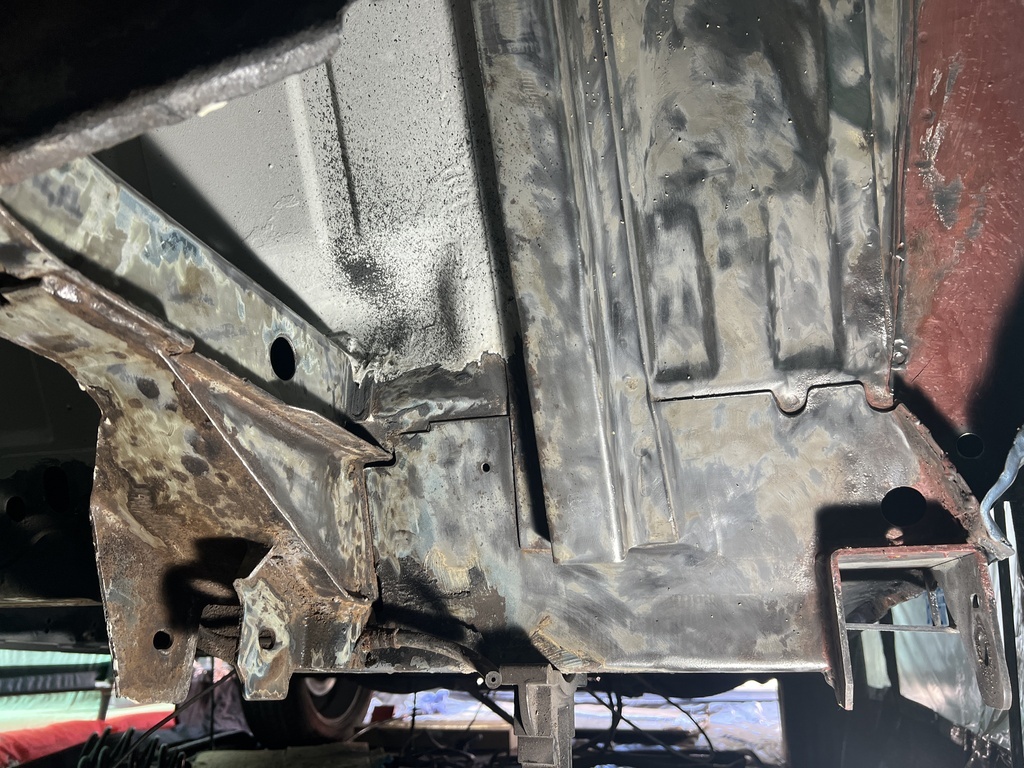 Bleugh 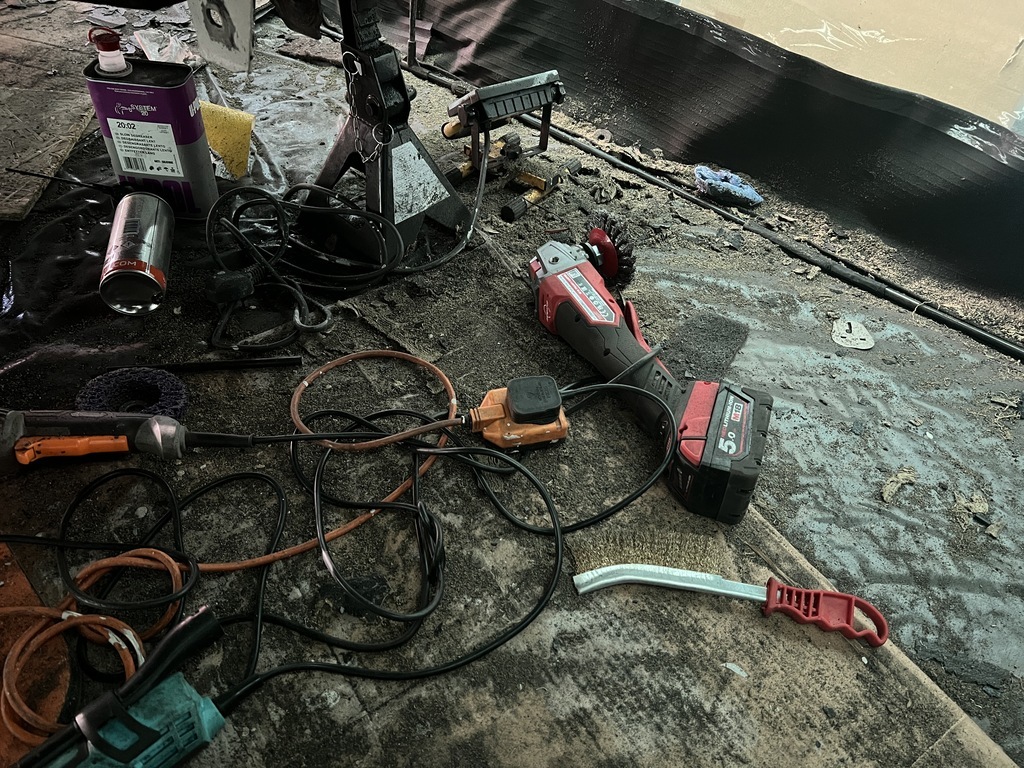 After phosphoric acid treatment and clean up, on with the primer 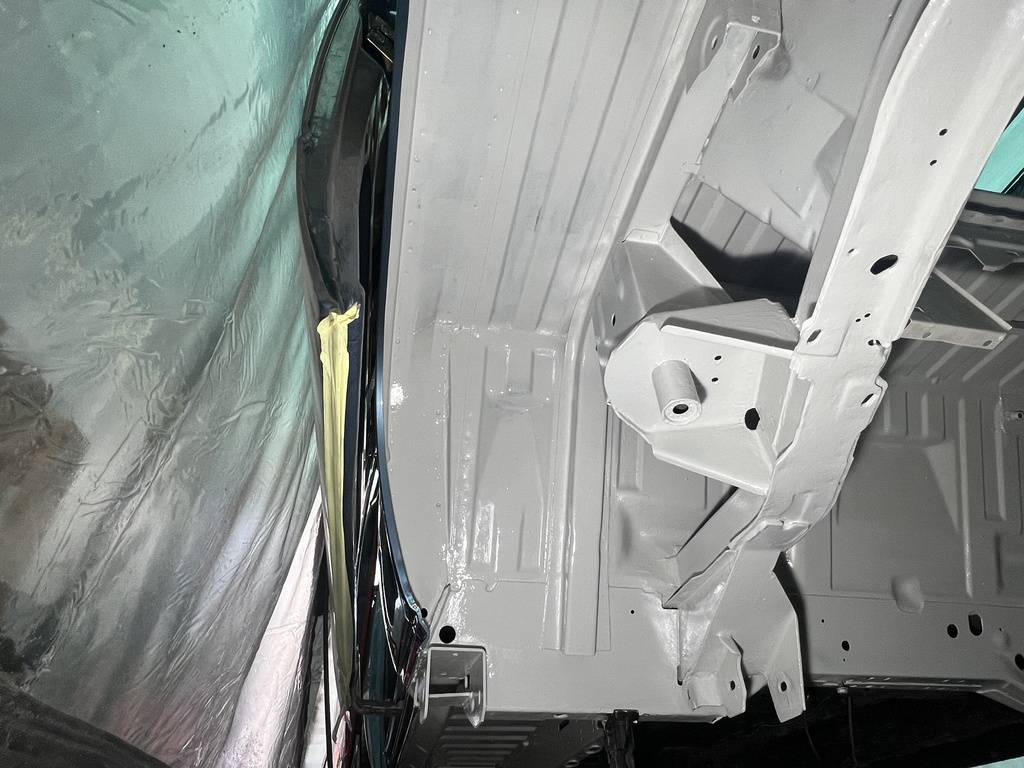 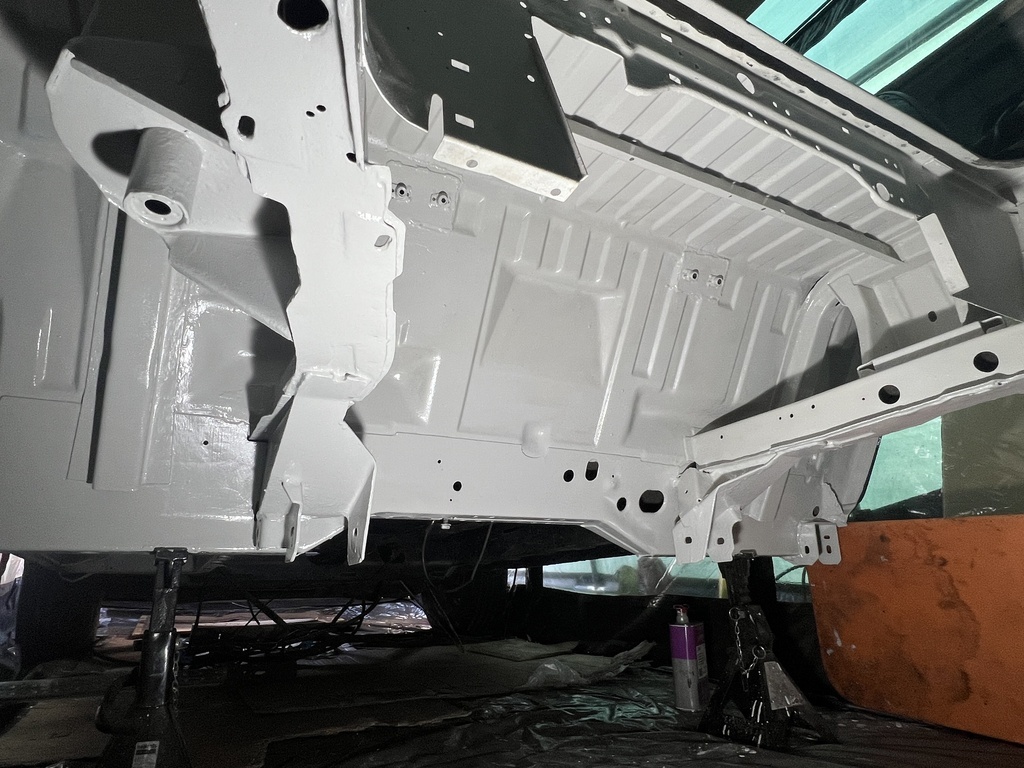 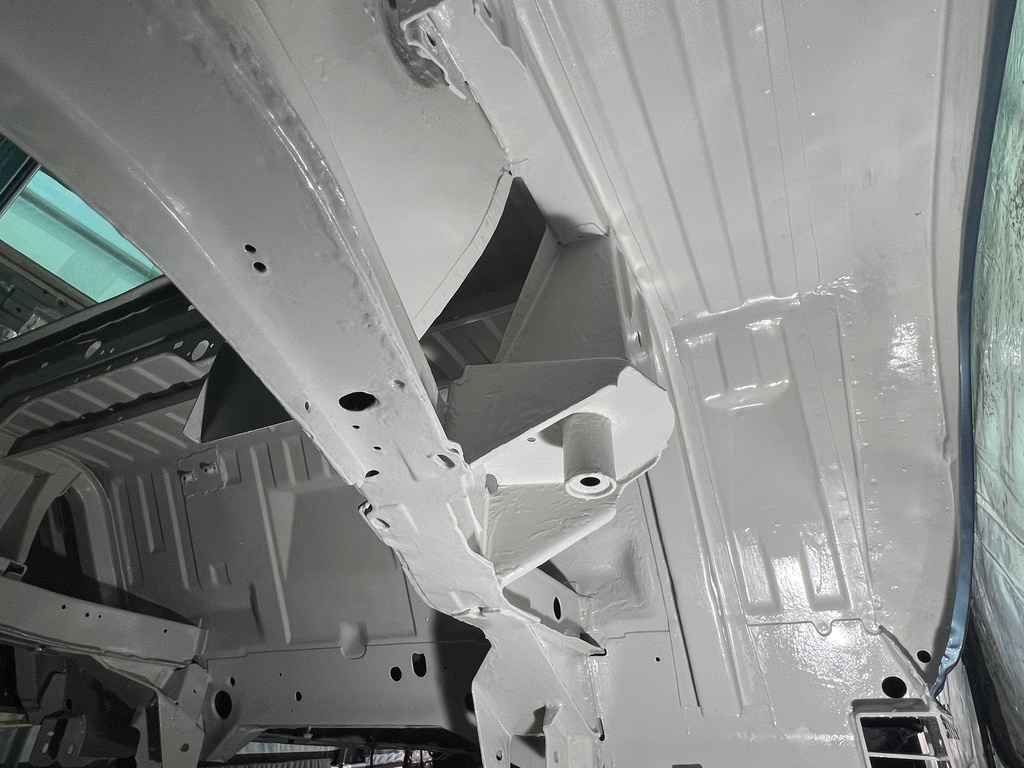 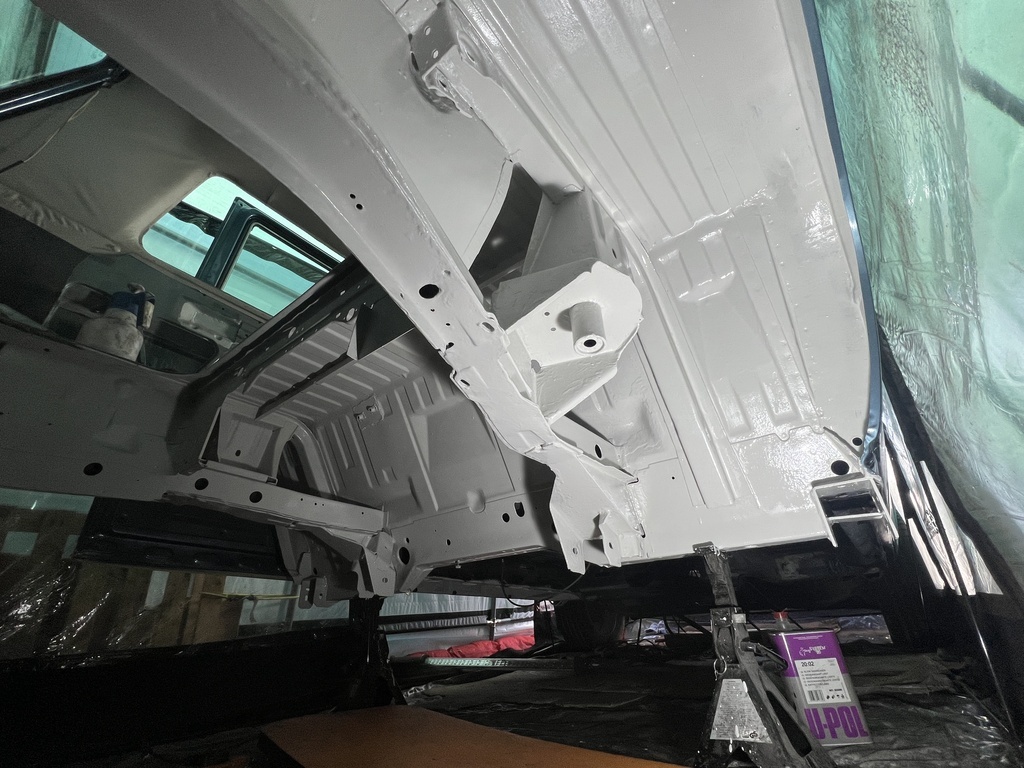 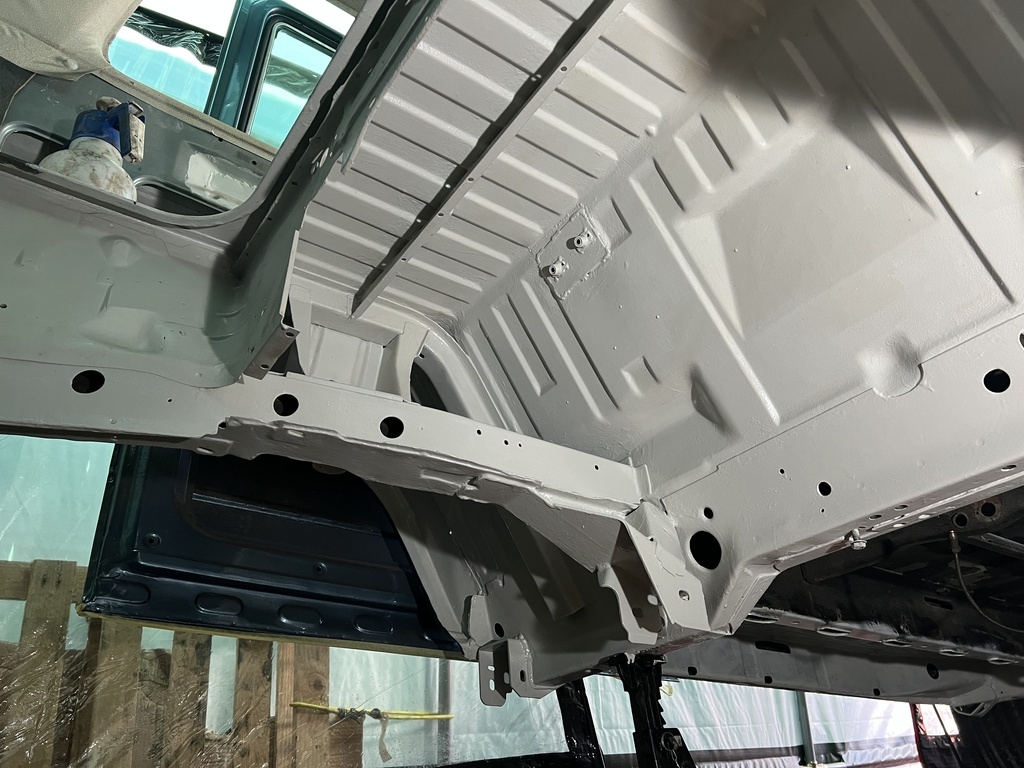 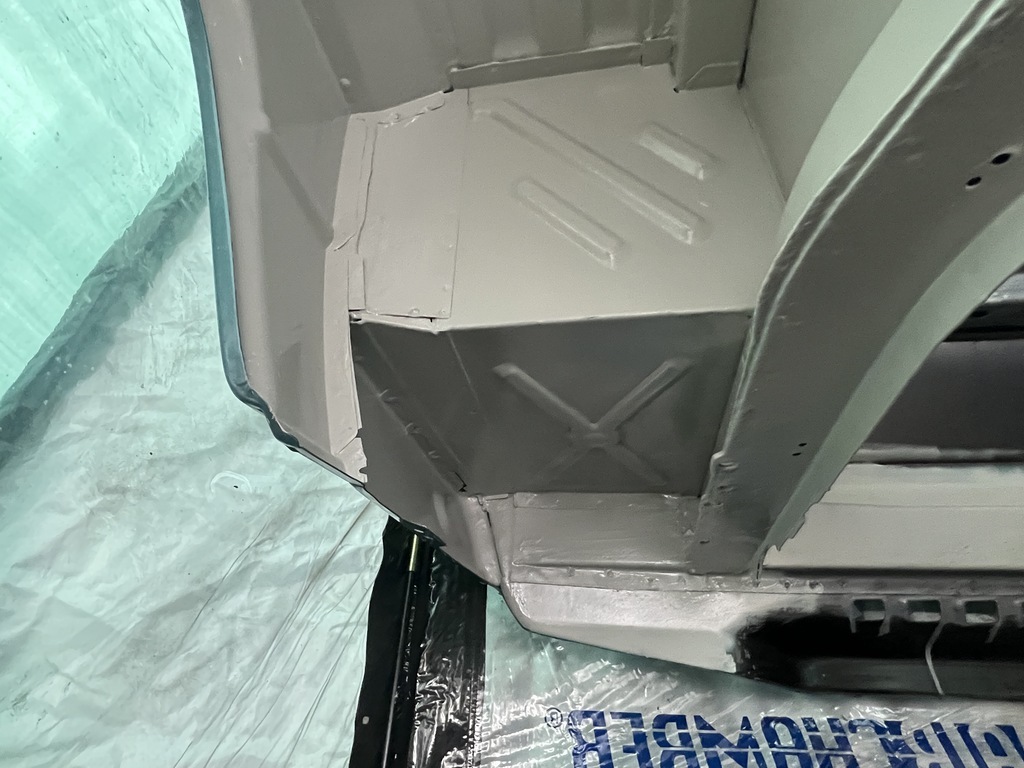 As the weather was beaut, I treated myself to a new spray gun to lay down some topcoat for suspension components. Unfortunately, something happened to my epoxied trailing arms whilst in the bodyshop. No fault of the shop, and the coating hasn’t been compromised in any way but the overall finish had been. Possibly while being baked in the booth or simply due to the fact Epoxy isn’t UV stable, not sure. Either way no real stress, a top coat of 2 part Rustbusters UVR got them looking good again. Really nice paint to use and it lay down with no problems despite my low-capacity air compressor and outdoor setup. Gun was nice to use too, especially for a budget-friendly tool. 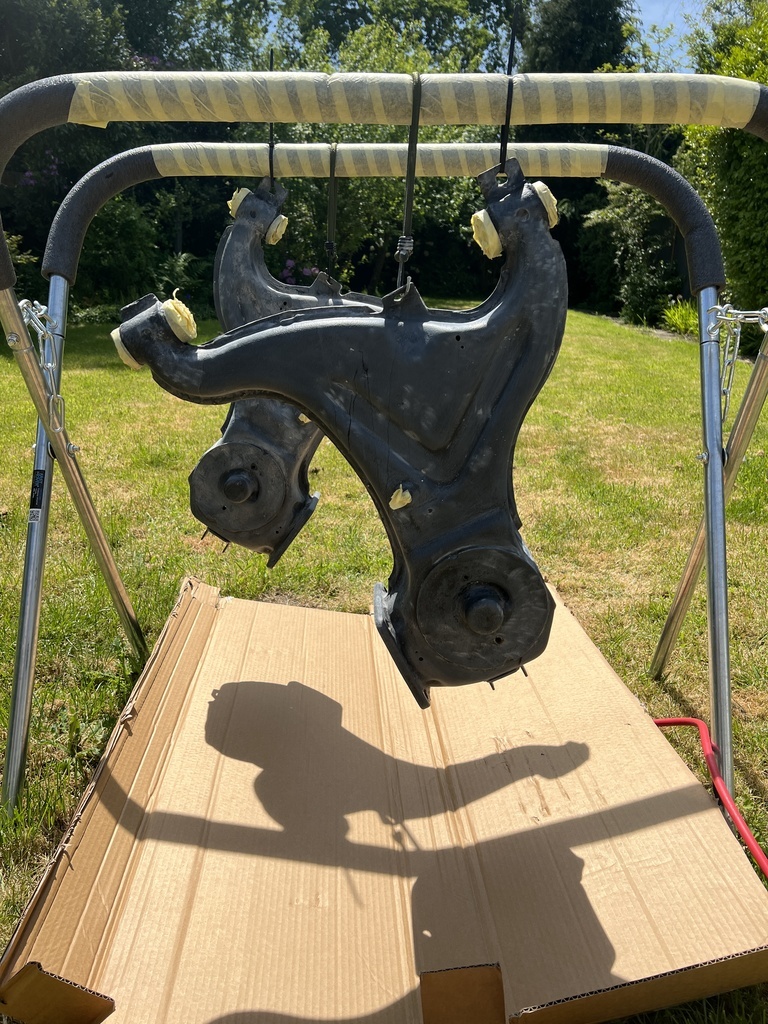 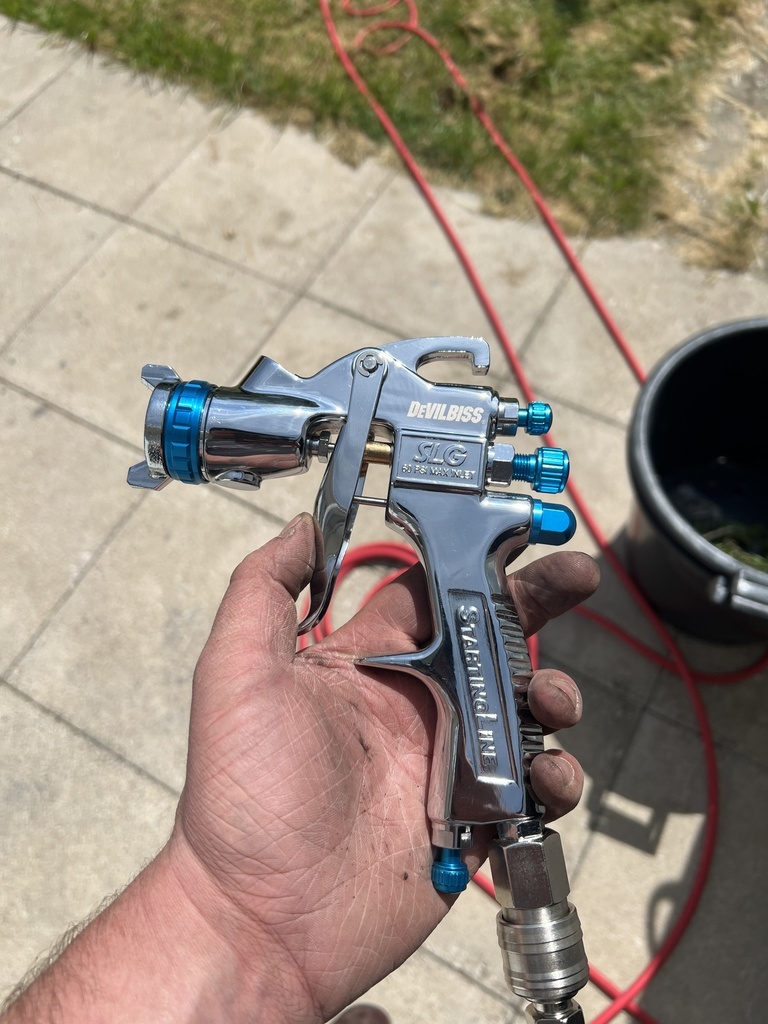 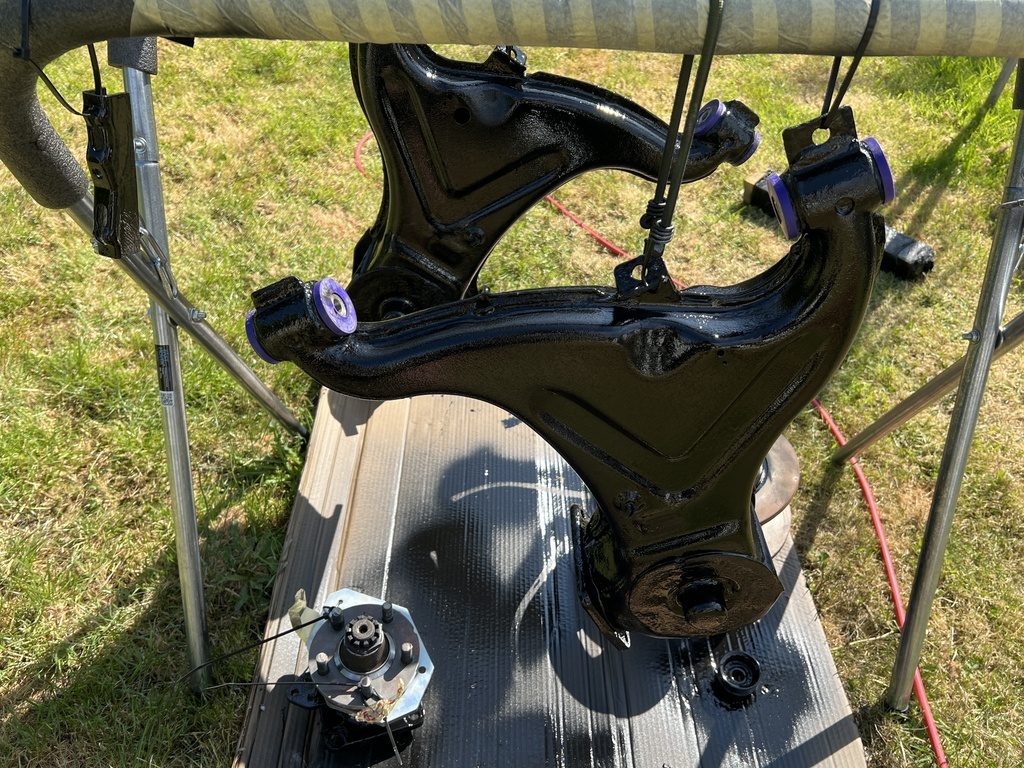 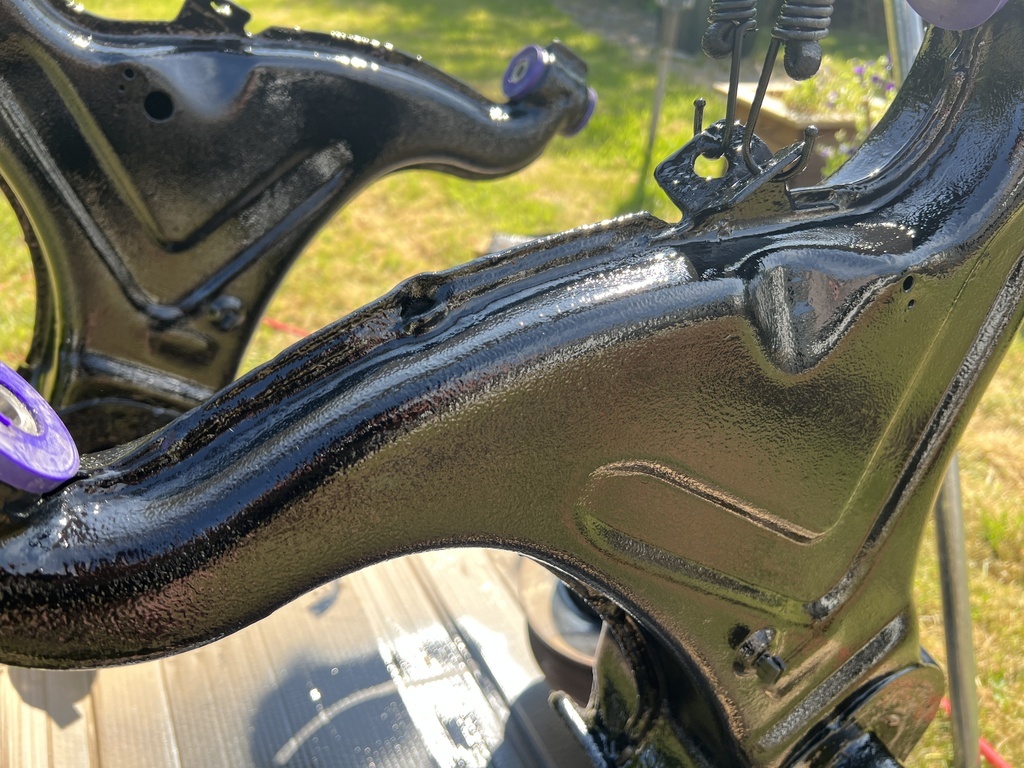 |
| |
Last Edit: May 31, 2023 16:05:39 GMT by jmsheahan
|
|
jmsheahan
Club Retro Rides Member
Posts: 689
Club RR Member Number: 121
|
|
|
|
|
|
| |
Last Edit: Jun 22, 2023 15:10:53 GMT by jmsheahan
|
|
glenanderson
Club Retro Rides Member
Posts: 4,353
Club RR Member Number: 64
Member is Online
|
|
|
|
|
I really wish VW had done a proper job of protecting these vans from the factory. Actually, I really wish all manufacturers had.
Brilliant work, looking very smart.
|
| |
My worst worry about dying is my wife selling my stuff for what I told her it cost...
|
|
jmsheahan
Club Retro Rides Member
Posts: 689
Club RR Member Number: 121
|
|
|
|
|
Thanks Glen!
Haha, true that. These vans do suffer badly from rot.
I have a real love/hate relationship with the sealer VW used. On the one hand, it did a great job of keeping late 80’s/early 90’s cars on the road (my GTI is a testament to that), but in contrast, the van definitely didn’t get the same level of protection from the factory and its overall construction is full of potential rust traps.
It’s a great sealer when new but it's layered on so thick that you have no idea what it’s hiding beneath. It’s also HORRID stuff to remove.
Being realistic, I’m never going to remove ALL the rust as a driveway restoration but I’ll do my damn best and seam seal all the outer body panels from the inside too to give a fighting chance of stopping it rotting inside out as all T25’s do.
I’ve got the Epoxy Mastic as the main rust prevention and then the Raptor despite being tough as nails, has a high rubber content so remains a little flexible. It was hard to crack when I bent my test piece of metal. If anything goes dodgy, a heavy hit of a knot wheel will take things back to bare metal, and the raptor is easy to repair/touch up.
I'll also fill any box section with BH Dynax when I'm done although I'm contemplating whether to go straight in with this or try some sort of neutralising product first.
Time will tell!
|
| |
Last Edit: Jun 12, 2023 9:42:06 GMT by jmsheahan
|
|
|
|
|
|
|
Jun 12, 2023 10:23:38 GMT
|
|
I guess most commercial vehicles are worn out before they rot that badly, so there's probably no financial imperative for manufacturers to go OTT with the anti rust ungents.
Great project, watching this thread with utmost interest.
|
| |
Last Edit: Jun 12, 2023 10:23:55 GMT by BritBrick
2005 Volvo C70 2.4T Convertible. 40k miles, FVSH, one prior owner. My toy.
2010 Mini JCW Convertible. Wife's toy.
1991 Yamaha FZR600, one of only 20 Kocinski edition models.
MINI Cooper S Electric '3' - My daily scoot.
Peugeot 2008 HDi120 - Dog van.
Polestar 2 - Wife's daily.
Dacia Jogger Extreme hybrid dog van replacement ordered, due Jan '24.
|
|
jmsheahan
Club Retro Rides Member
Posts: 689
Club RR Member Number: 121
|
|
Jun 21, 2023 14:25:54 GMT
|
Terrible photos but a productive 30 min lunch break. Trailing arms, hubs, Bilstein B8 short shocks, H&R lowering springs all back on with new fixings. 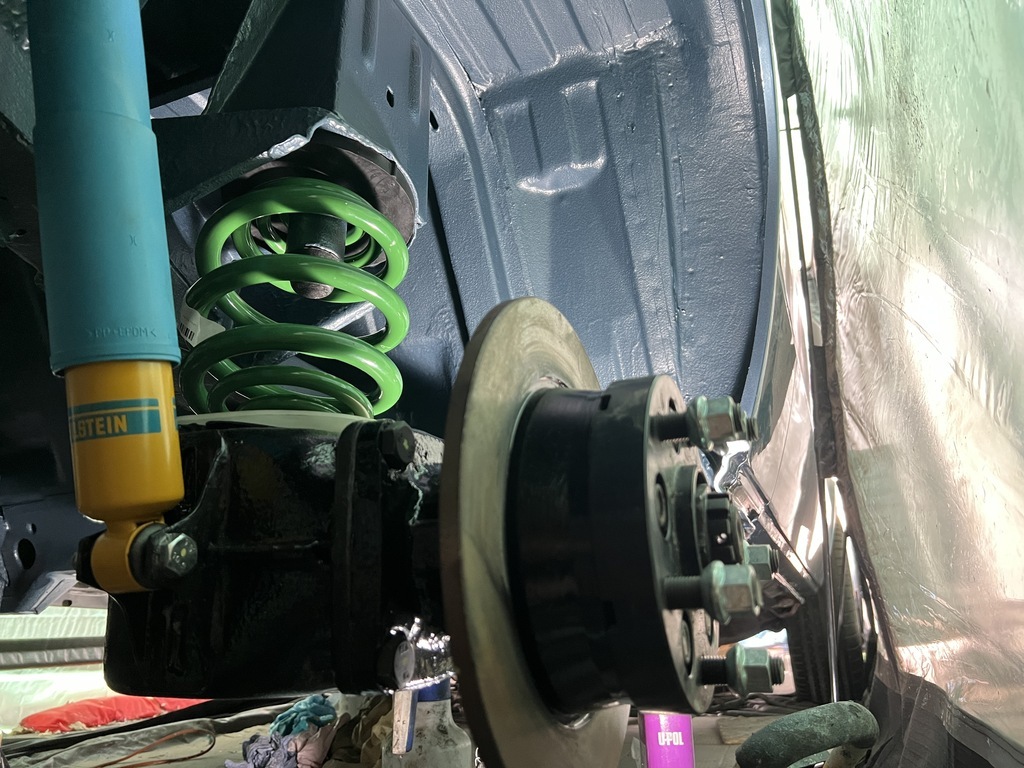 Quite a difference in build/height to the springs that were fitted. H&R's look of a far sturdier construction! Previous ride height was good but the ride quality was not - I also have no idea what the springs were as they aren't marked, nor do I know their age or how much they lower by. So trying the H&R's as a guess and if they prove to be too low I'll have to look for something else. 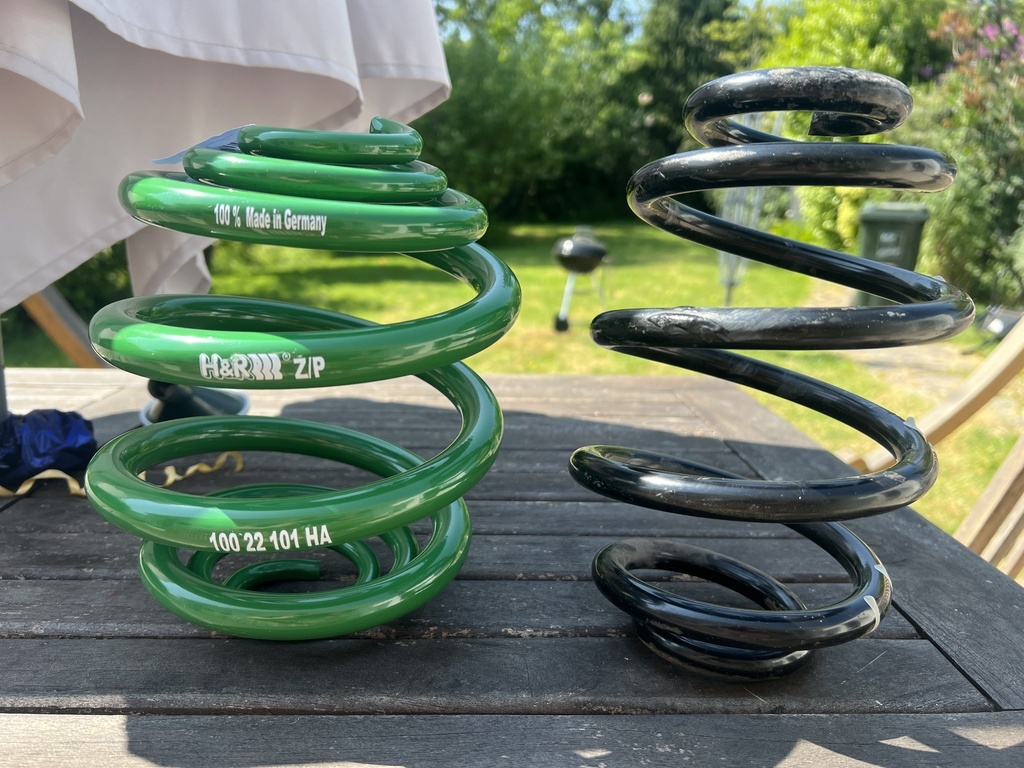 Noticing in the photo I've fitted the spring upside down whoops! (don't think it makes a blind bit of difference but the logo is the wrong way up  - will fix at the weekend!) 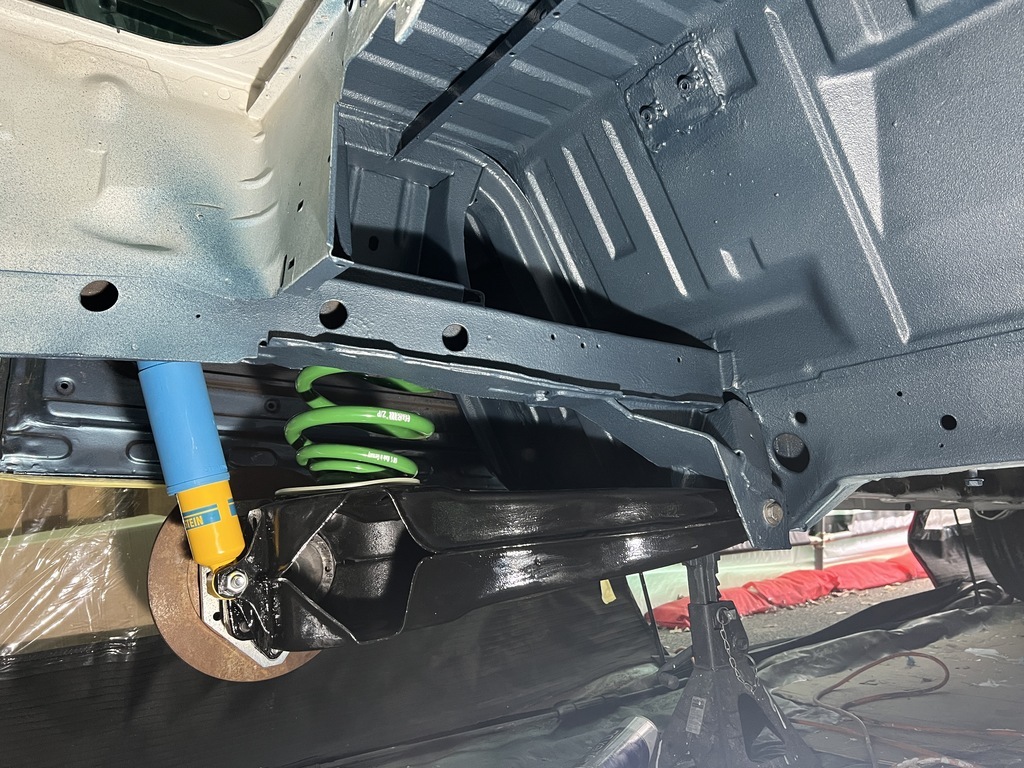 |
| |
Last Edit: Jun 21, 2023 15:11:24 GMT by jmsheahan
|
|
jmsheahan
Club Retro Rides Member
Posts: 689
Club RR Member Number: 121
|
|
|
|
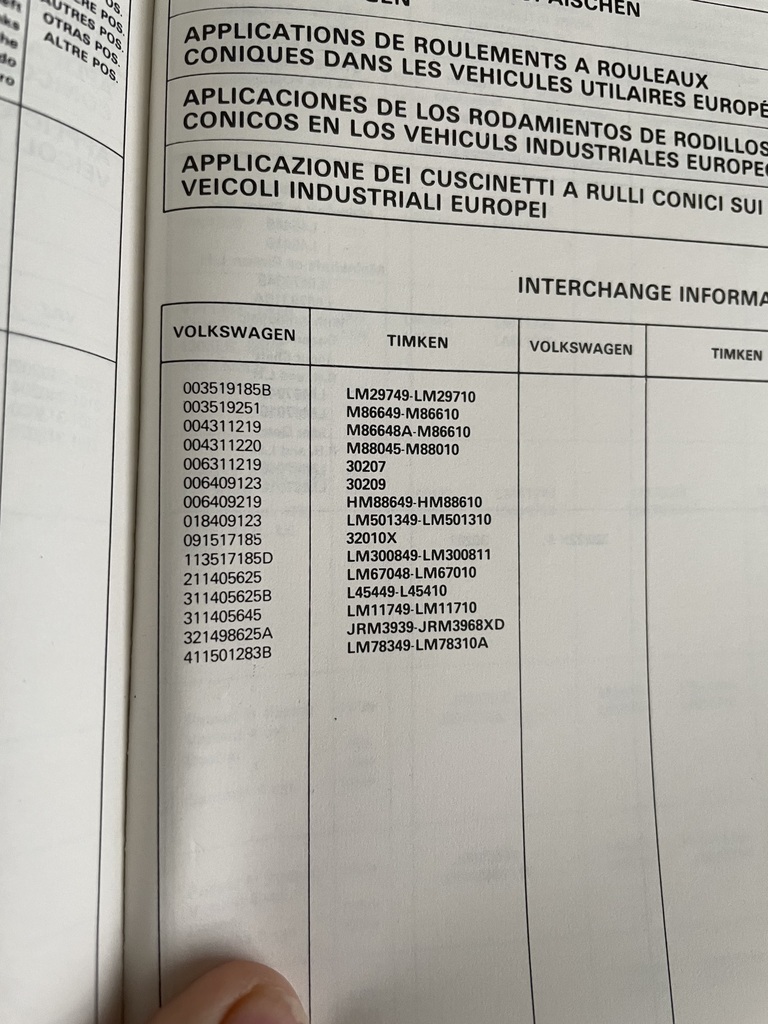
3 weekends of the usual grind, sand, phosphoric acid, grind, rinse and repeat completed! Starting to get there though; this is now the middle section stripped. There were a few areas that despite grinding and treating with acid, I just couldn’t get as clean as I would like - these were coated with BH’s Hydrate80 as a hopeful failsafe. 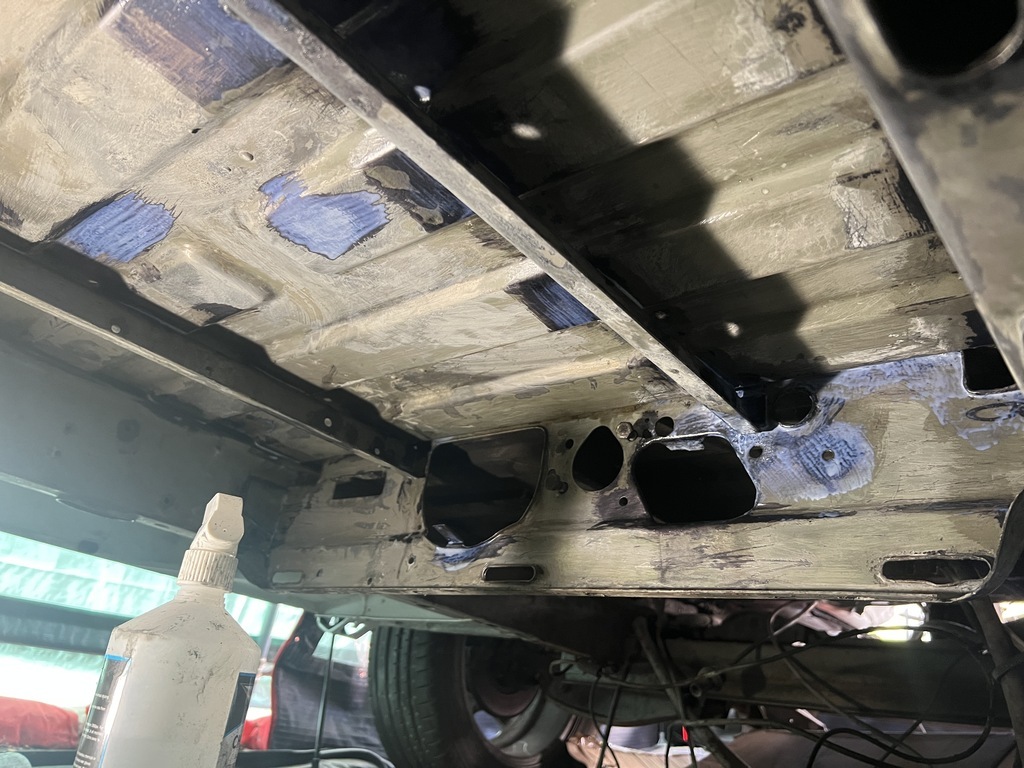 I’m normally a big advocate of BH products however I had an absolute mare with the deox gel. It did sweet FA to the rust and instead, despite being wrapped, dried solid and was a complete pain to remove. Never again! The deox powder is great though. Time to get some epoxy down and then make a start on the front. Speaking of the front, parts are slowly being gathered for the suspension rebuild including these rather nice Epytec hubs and caliper adapters. We won’t talk about import duty…thank you Brexit. I’m switching to these to A: run the 911 calipers and B: run a more modern setup of having the bearing pressed into the hub rather than the disc. The kit came with wheel bearings marked ‘Maxgear’. Has anyone experienced this brand? I usually favour SKF. Wondering whether to use em or chuck em! 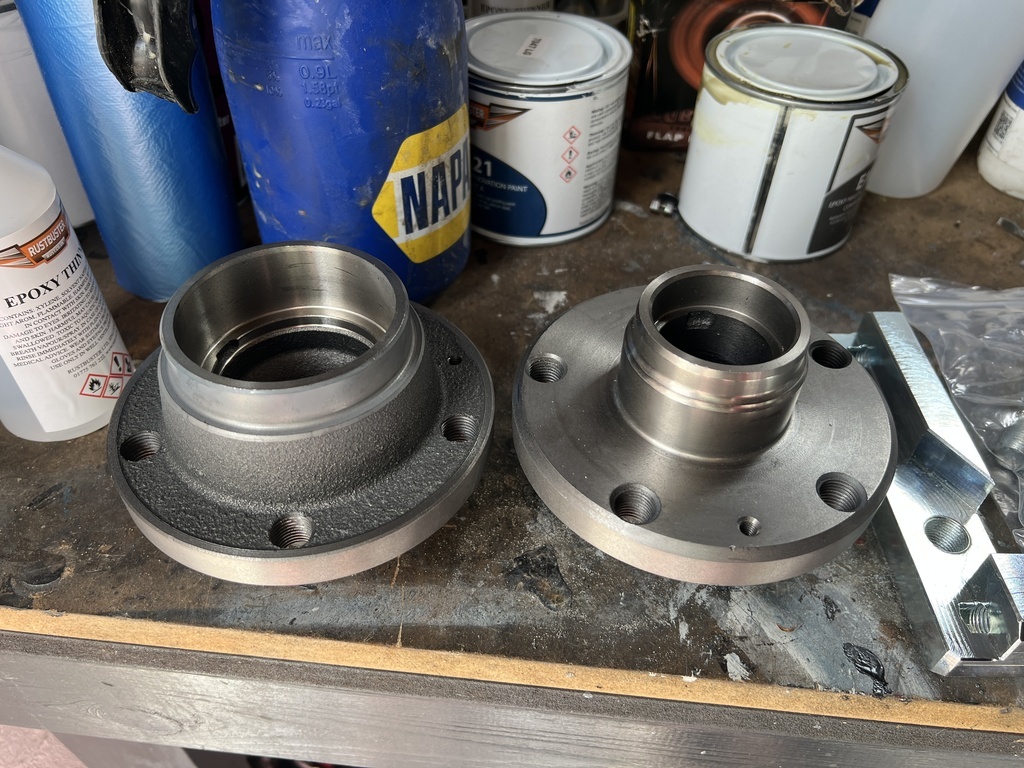 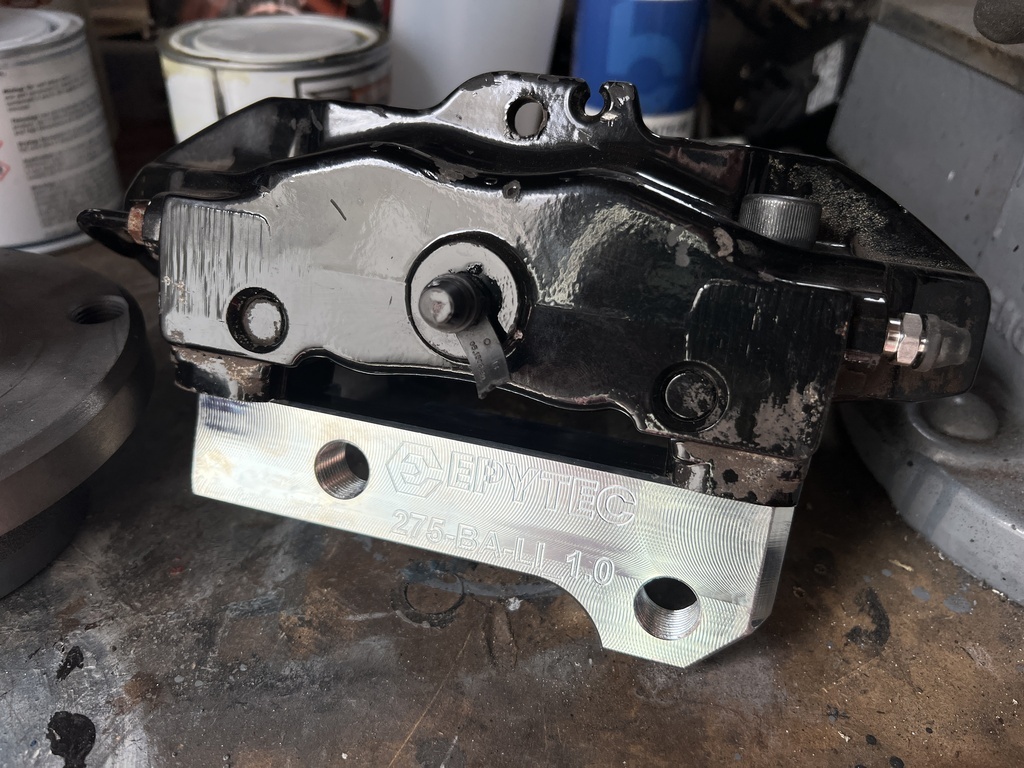 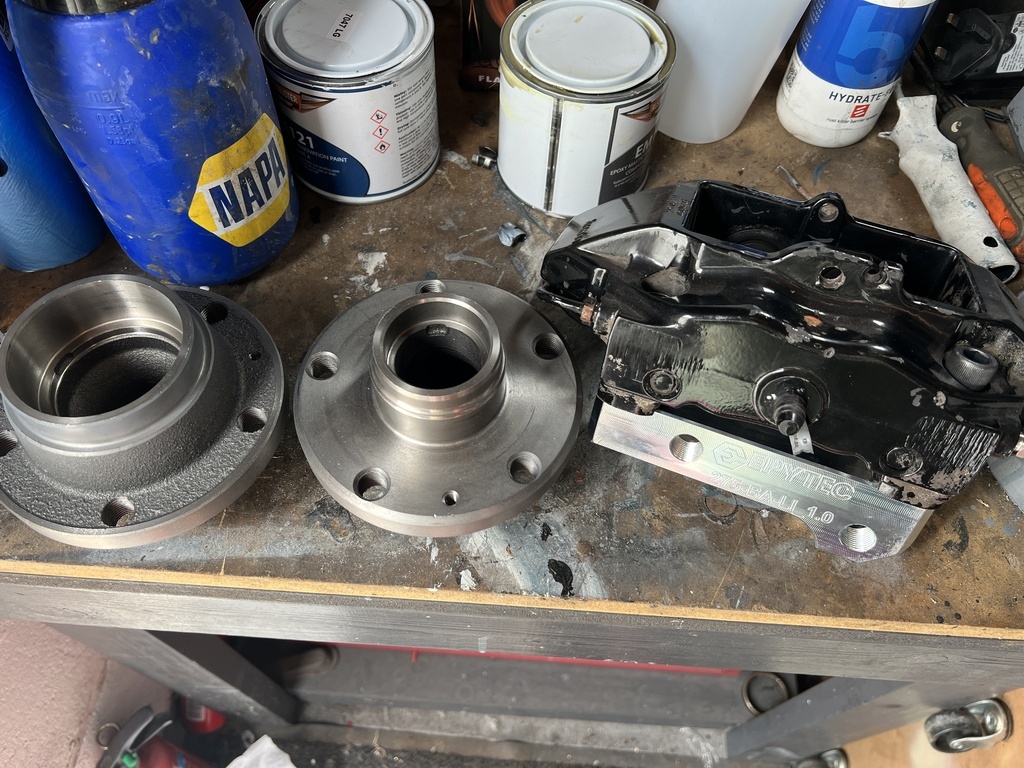 |
| |
Last Edit: Jul 10, 2023 9:39:17 GMT by jmsheahan
|
|
jamesd1972
Club Retro Rides Member
Posts: 2,921  Club RR Member Number: 40
|
|
|
|
|
Use them as even if not as good as SKF they should have a few years in them ? Not a high mileage track car…
How much are the SKF ones? Helps the decision making I suspect.
Looks great under there, nice work.
James
|
| |
|
|
misteralz
Posted a lot
   I may drive a Volkswagen, but I'm scene tax exempt!
Posts: 2,495
|
|
|
|
|
^^^That. I've used Maxgear stuff before when it was the only option in stock back when I used to use autodoc. No problems so far.
|
| |
|
|
jmsheahan
Club Retro Rides Member
Posts: 689
Club RR Member Number: 121
|
|
|
|
Use them as even if not as good as SKF they should have a few years in them ? Not a high mileage track car… How much are the SKF ones? Helps the decision making I suspect. Looks great under there, nice work. James ^^^That. I've used Maxgear stuff before when it was the only option in stock back when I used to use autodoc. No problems so far. Cheers guys, appreciate the input  I'll use them then, just didn't want a false economy of having to change them a few K down the line. SKF's are £25 a corner but largely out of stock. Finding supply issues with a lot of higher-quality bearings, ball joints etc actually. Luckily I don't need them just yet. Who knows, there may even be some salvageable suspension parts to reuse... (doubt it  ) |
| |
Last Edit: Jul 11, 2023 9:22:25 GMT by jmsheahan
|
|
|
|
jmsheahan
Club Retro Rides Member
Posts: 689
Club RR Member Number: 121
|
|
Jul 12, 2023 10:03:41 GMT
|
|
|
| |
|
|
jmsheahan
Club Retro Rides Member
Posts: 689
Club RR Member Number: 121
|
|
Jul 18, 2023 11:43:59 GMT
|
Been putting a few hours in here and there recently. Swapped ends - rear is back down on the ground and the front begins! Gutted that Goodwood FOS got cancelled Saturday (guess what day I had tickets for...) so made the best of the time and began tearing the front suspension apart. 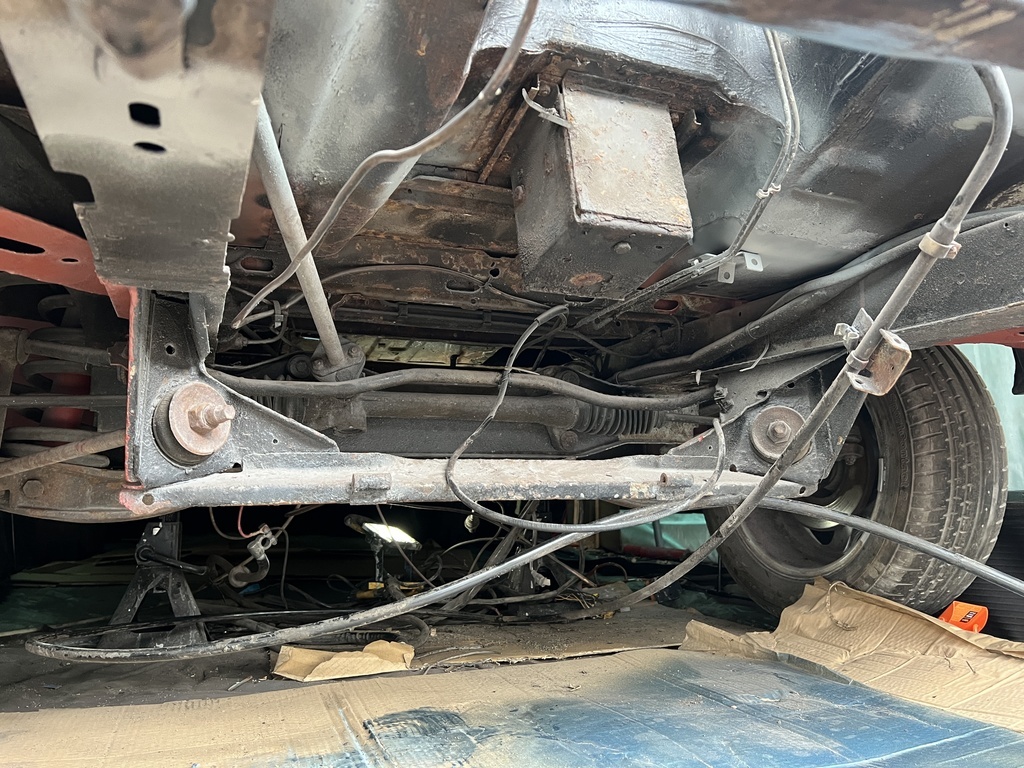 Underside up front is crusty but looks largely like cosmetic surface rust and flaking underseal. We'll see what it all looks like once a knot wheel and phosphoric acid have done their thing. There may be a few areas that are too thinned and in need of welding, but we'll cross that bridge if/when we come to it. No idea what this 'earth' is for but I doubt it's doing its job anymore  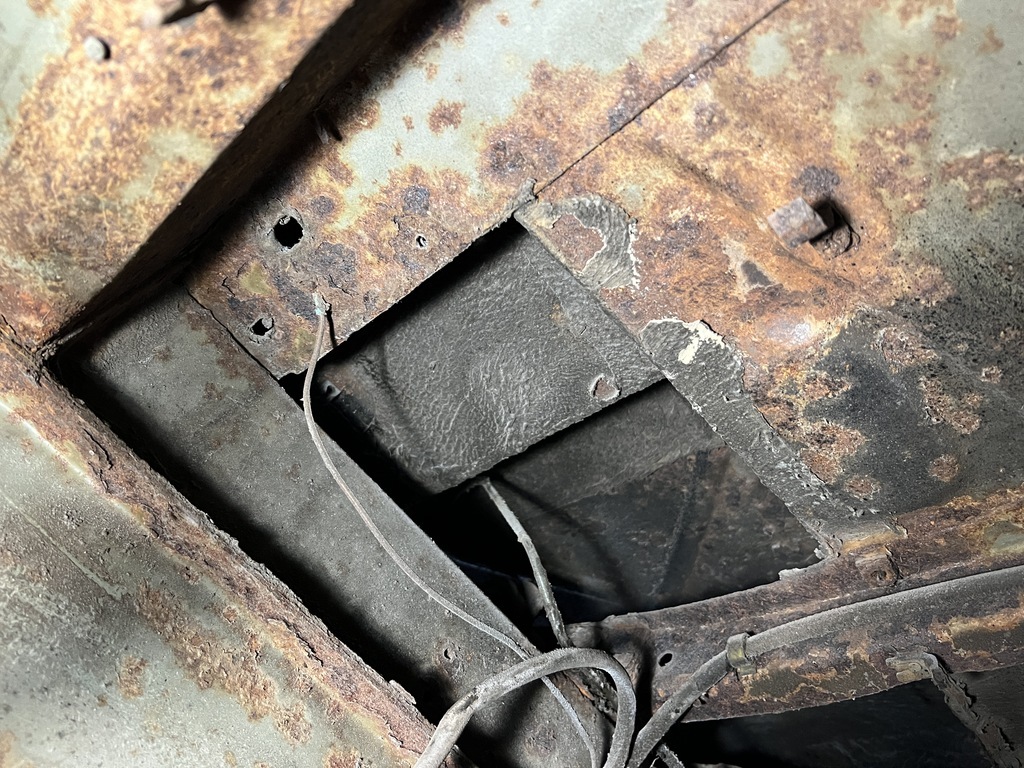 I was hoping there would be some parts that were salvageable but predictably it's all pretty worn and scabby. On the plus side, I can reuse the steering rack and lower ball joints, which are hard to find as mentioned above. I think I'm the first to tear this apart as it's all largely OEM VW stuff which is cool even if it is FUBBARD. 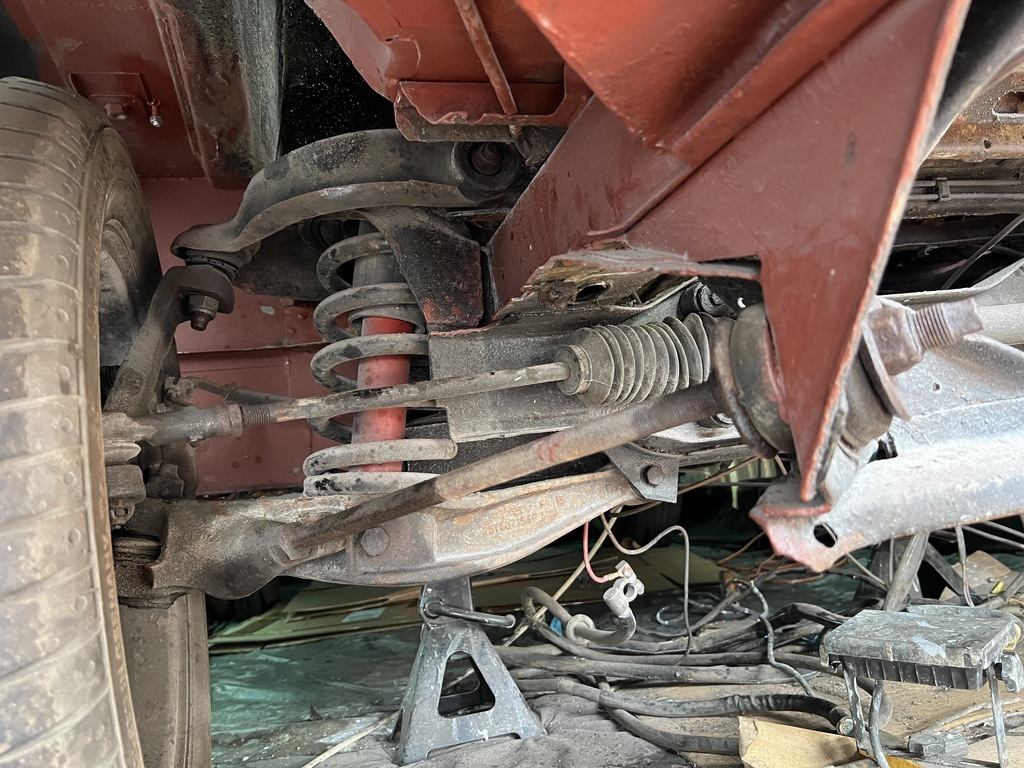 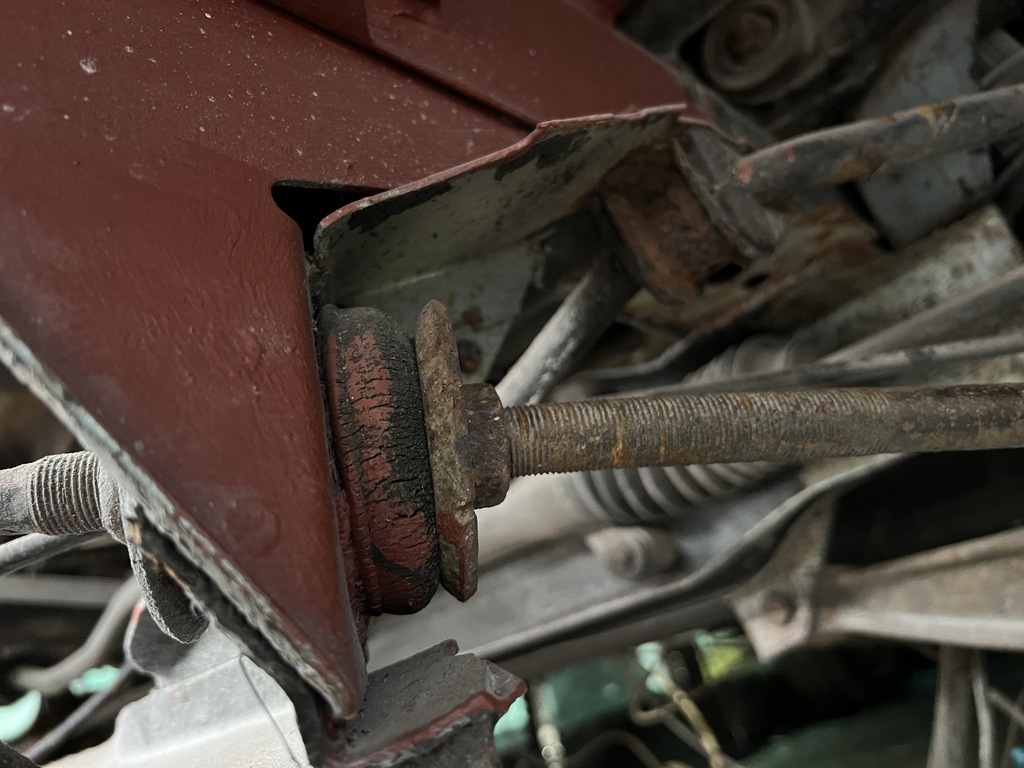 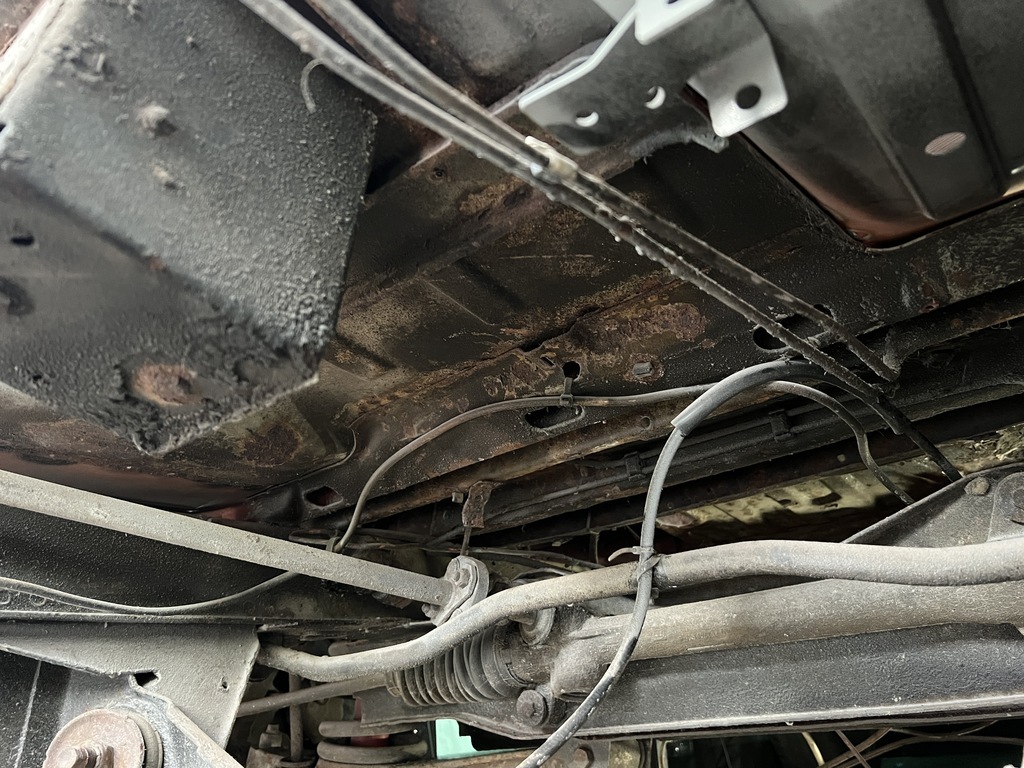 Everything needs to come off so let's get cracking! Gear selector housing has seen better days! This is redundant as I'm going Subarugears which will have its own box and linkage. 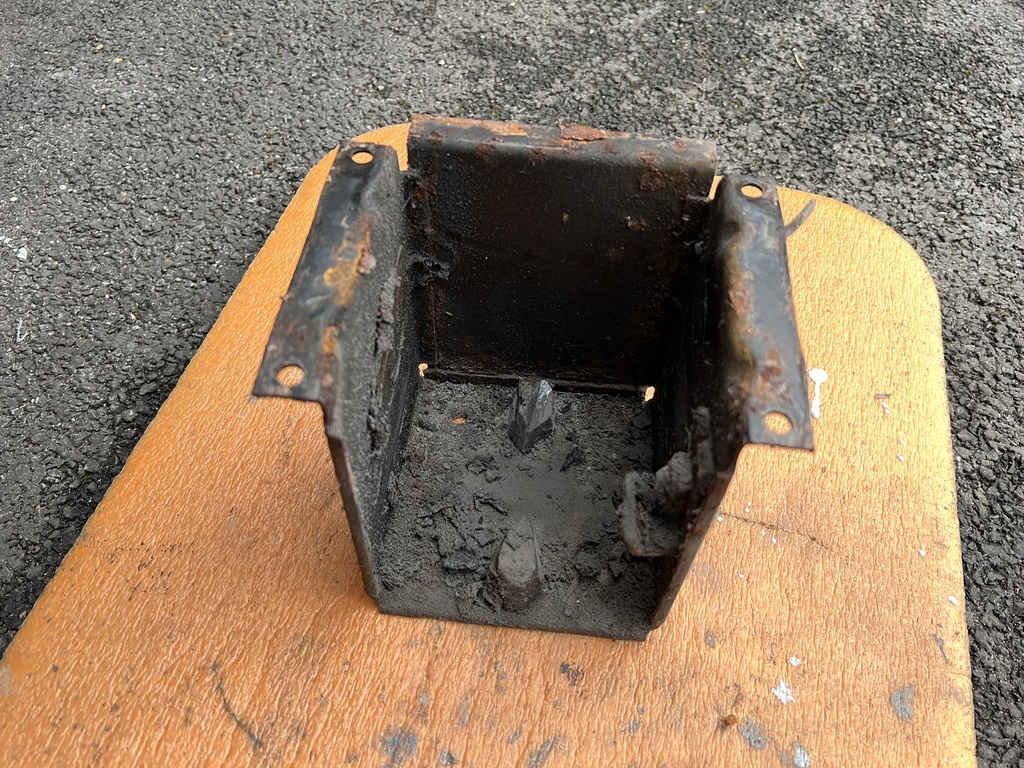 ARB came out without too much fuss. Again, all OEM parts but toast. 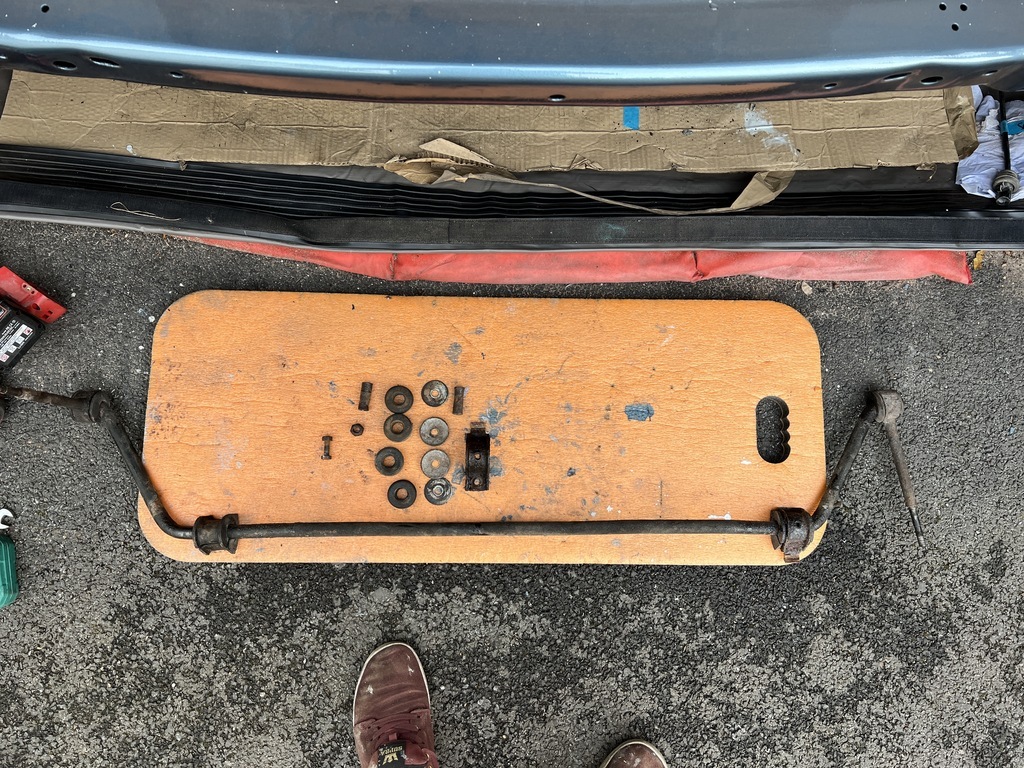 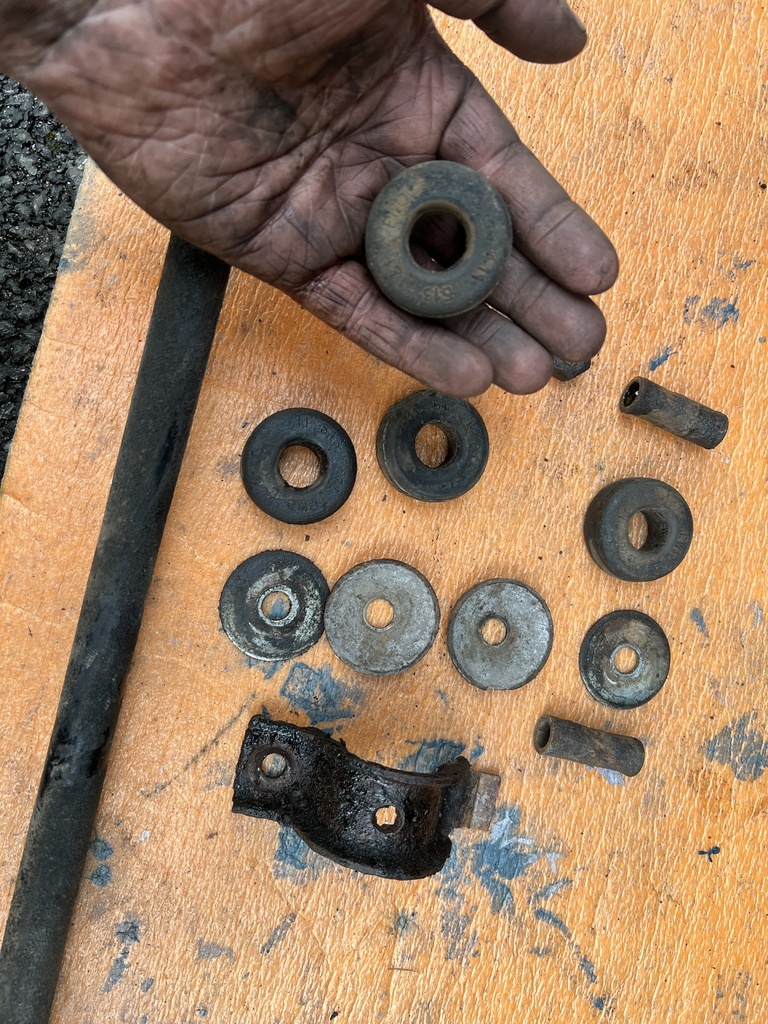 Looks like the van has the thickest ARB bar from factory (21mm) so that's nice. The droplink is scrap but hopefully, I can save the ARB if it's not thinned too much. 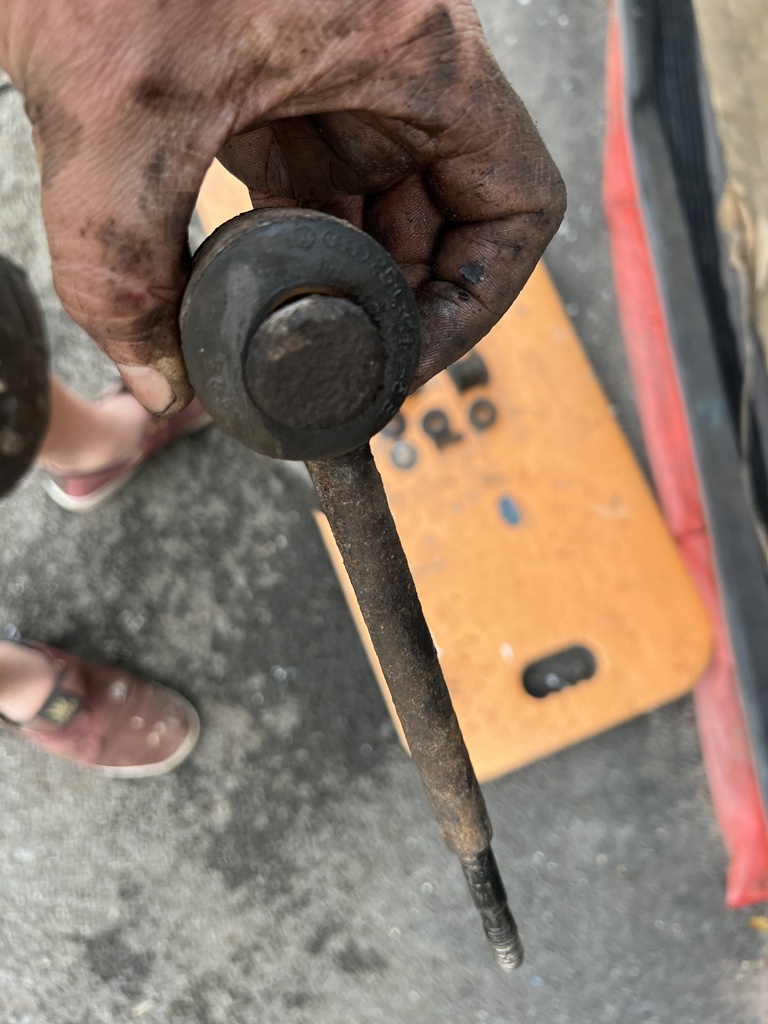 The remaining haul from the passengers side! 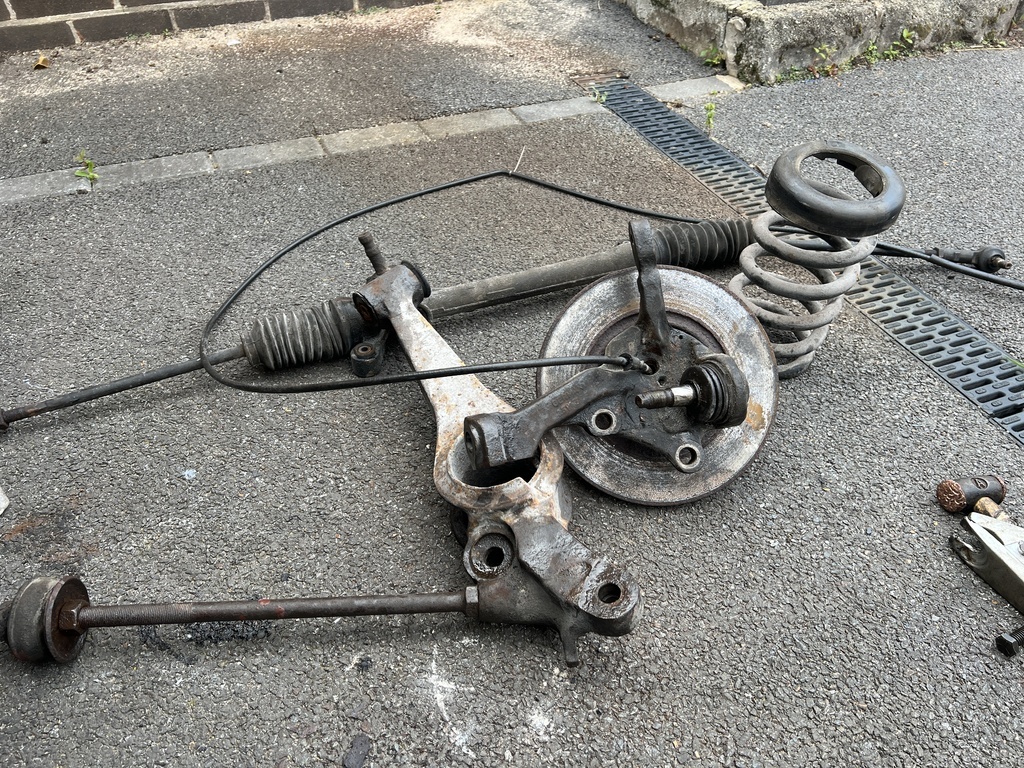 How I left things end of play. Upper wishbone bolts soaking in Plusgas. Shock absorber is probably going to need cutting off but that's for another day. 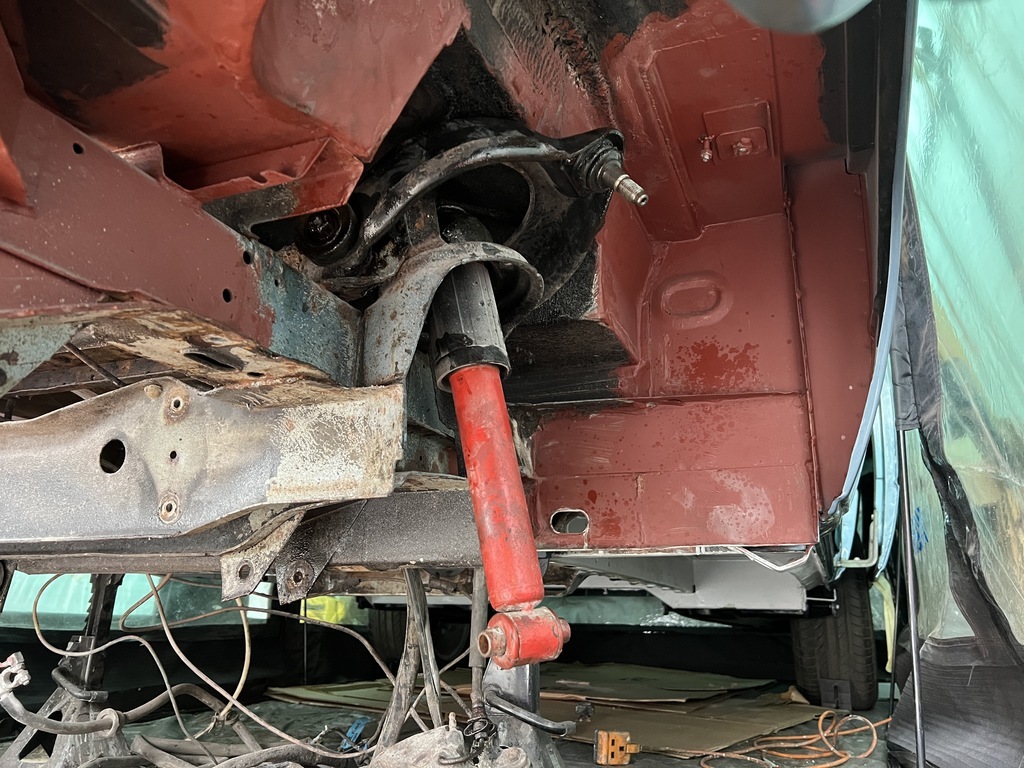 Radius rod is well and truly welded in. I've left this soaking and here's hoping some heat will get it to free up. If not, thinking cut the rod and get an impact socket on the end? I don't need the rod but I do need the control arm! 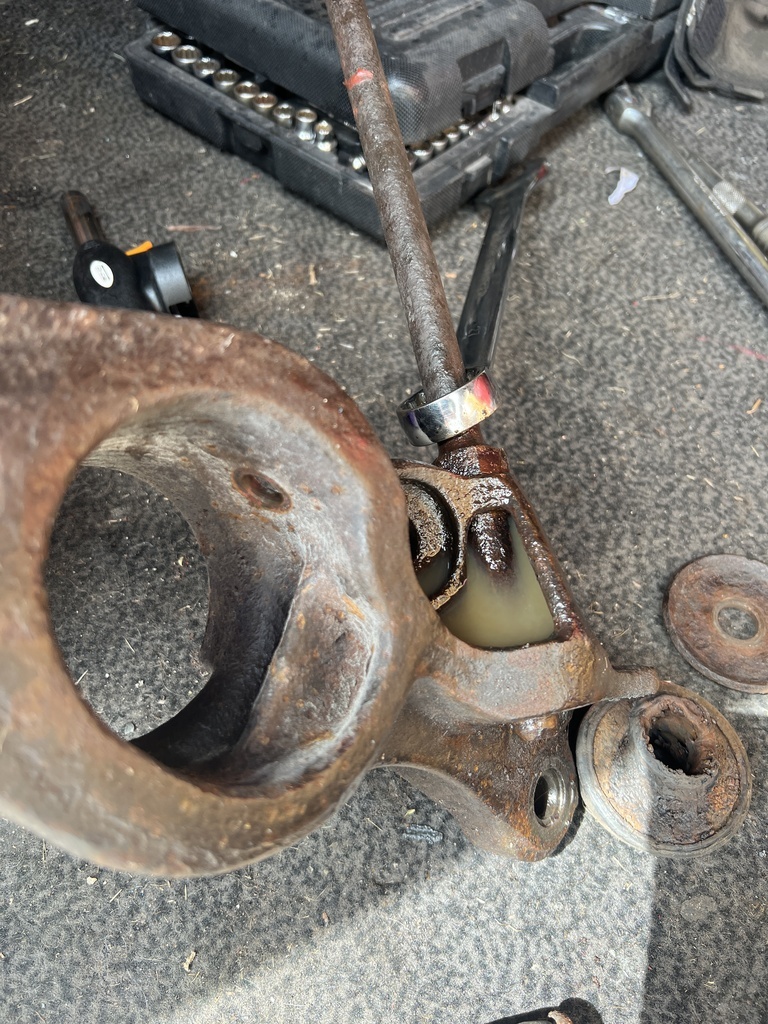 More rusty shenanigans soon! |
| |
Last Edit: Jul 18, 2023 13:44:13 GMT by jmsheahan
|
|
|
|
|
Jul 18, 2023 21:51:02 GMT
|
|
Rust sucks.
Yeoman’s work you’re doing, as ever. How’s your doggie doing?
John
|
| |
|
|
|
|


 'Window delete bro!'


