doshy
Part of things
 
Posts: 33
|
|
|
|
Not at all. I spent the first few pics trying to spot the repairs through the tools. Kept me quiet for ages. A kind of welding, "Where's Wally?"  Moving along nicely now. Excellent, thank you! Best not play where's wally trying to find decent welds though, you'll be there for e long time lol!! Glad you're enjoying it anyway, and thanks for the kind words. |
| |
|
|
|
|
doshy
Part of things
 
Posts: 33
|
|
|
|
Nice to see progress, the a pillars on ours are 'on the list' but going la la la for now ! Good to see how other people approach them in the meantime. James I was surprised at how easy (not sure that's the right word...) they were to do- I did the same as you for about six months before diving in. All i'd say is to accept the inevitable and buy the biggest chunks of new steel you can find, as trying to patch and save old panels was a pain in the proverbial.. |
| |
|
|
|
|
|
|
|
|
I'm along for the ride. Just bought my first Defender. It's currently in a similar state to your Series.
|
| |
|
|
|
|
|
|
|
I'm along for the ride. Just bought my first Defender. It's currently in a similar state to your Series. Ooh, enjoy! 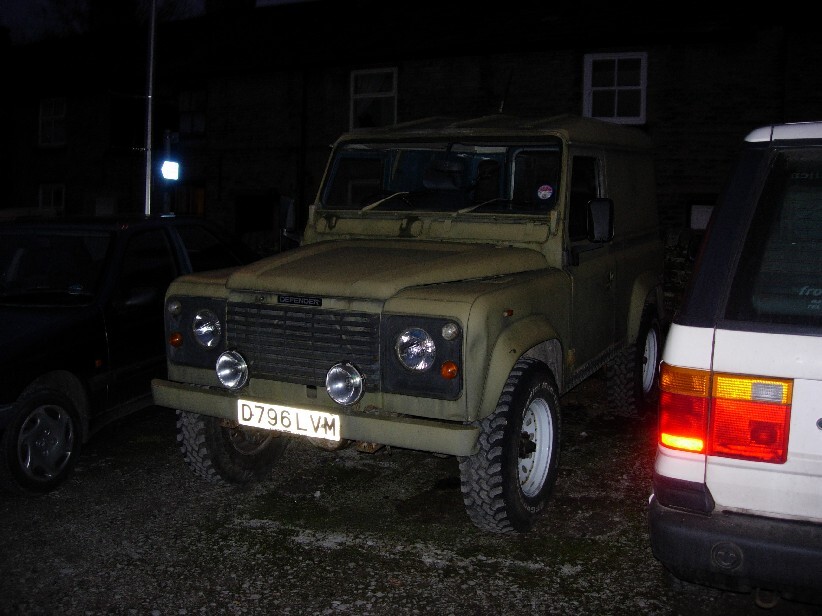 Shabby as hell, but mint underneath. Loved it!  |
| |
|
|
glenanderson
Club Retro Rides Member
Posts: 4,355
Club RR Member Number: 64
|
|
|
|
|
I seriously considered a V8 for my 109" before deciding to stick with the tdi and rebuilding my spare one. I've been involved with a few Land-Rovers with Rover V8s in over the years, and if you get a good engine they're lovely.
|
| |
My worst worry about dying is my wife selling my stuff for what I told her it cost...
|
|
doshy
Part of things
 
Posts: 33
|
|
Nov 21, 2020 22:14:49 GMT
|
Evening all Seems i blinked and a few months have passed... apologies, have some update pics to make up for it! First up, a reminder of why the chassis got swapped: 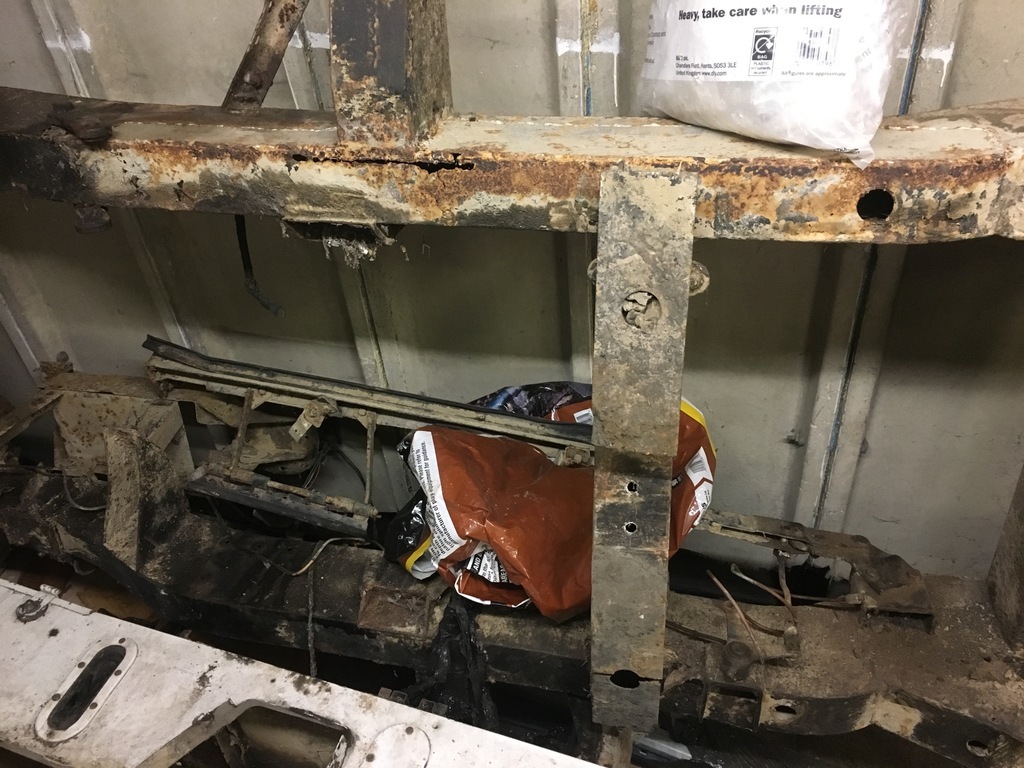 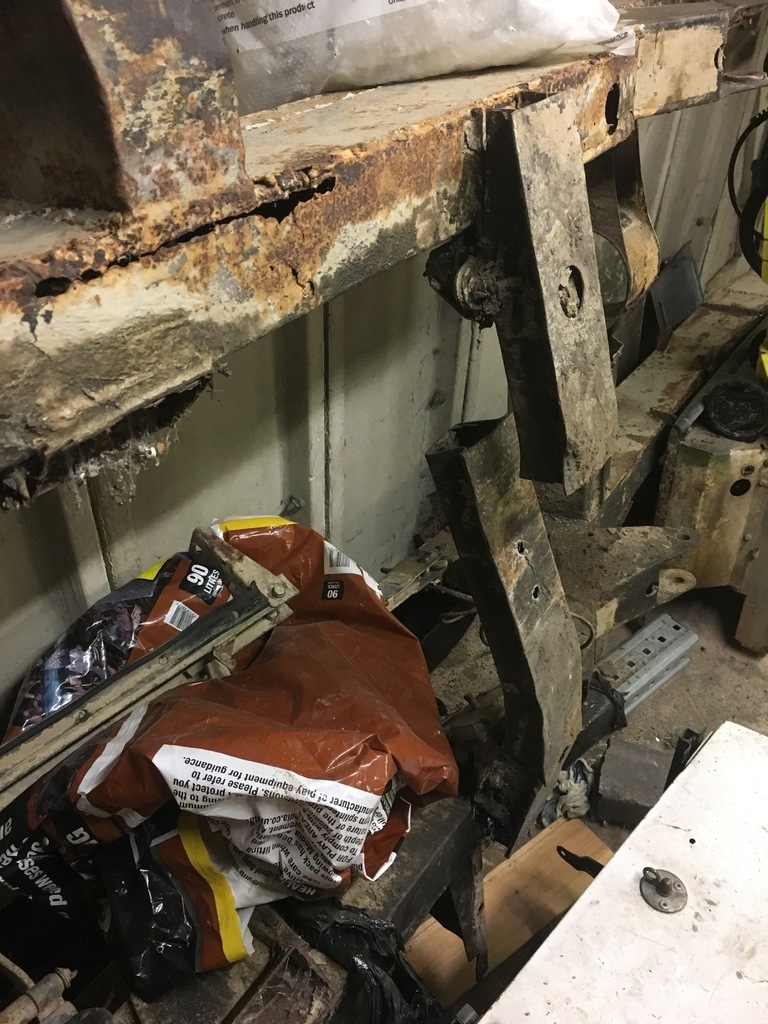 Now I'm sure that with lots of time and love that could have been fixed, but the replacement was infinately better and cost less that a new rear crossmember.. at some point it's had a new rear half chassis too, so all being well it should last long enough for me to get it on the road. It needed a couple of little patches: 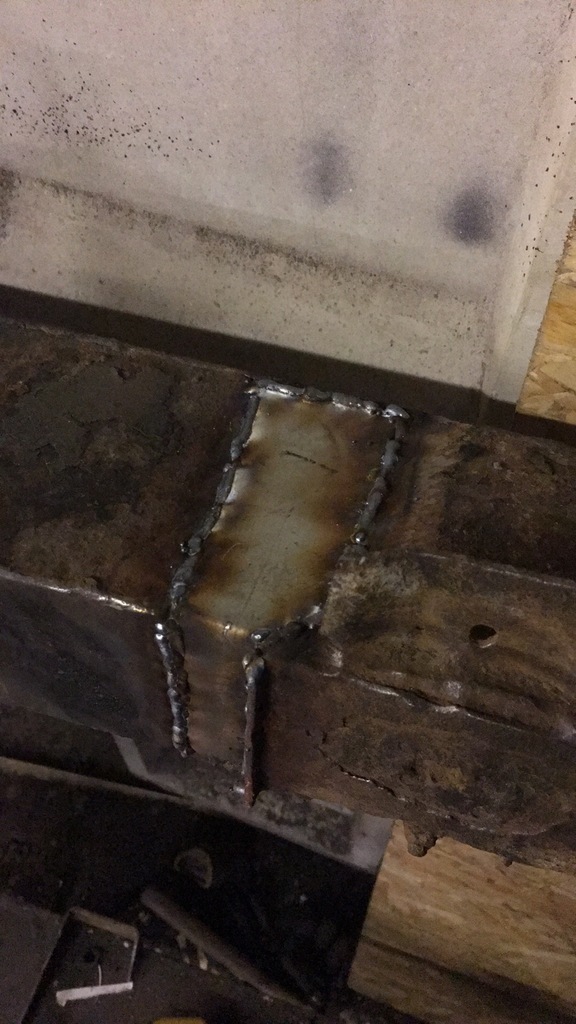 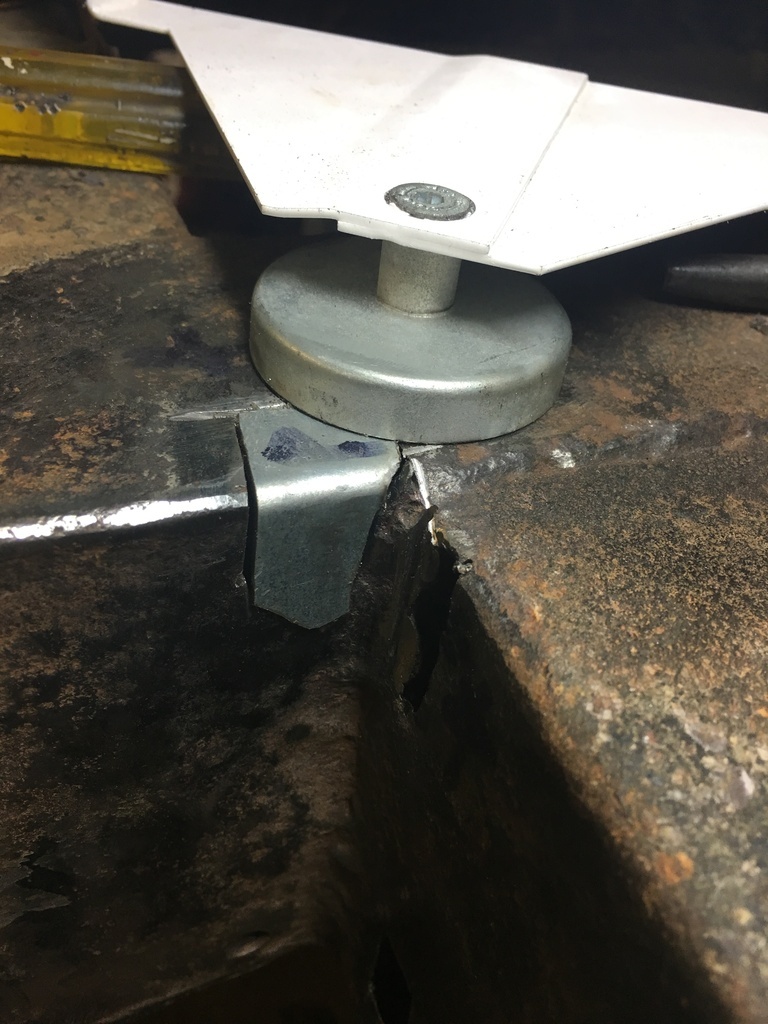 but was a million miles better than what was there before (and yes, don't worry the other stuff visible in the shots got sorted too). oh and weirdly the bottom of the centre crossmember has rotted along it's seem, but by a stroke of luck the one on the old chassis was ok so that got swapped over too: 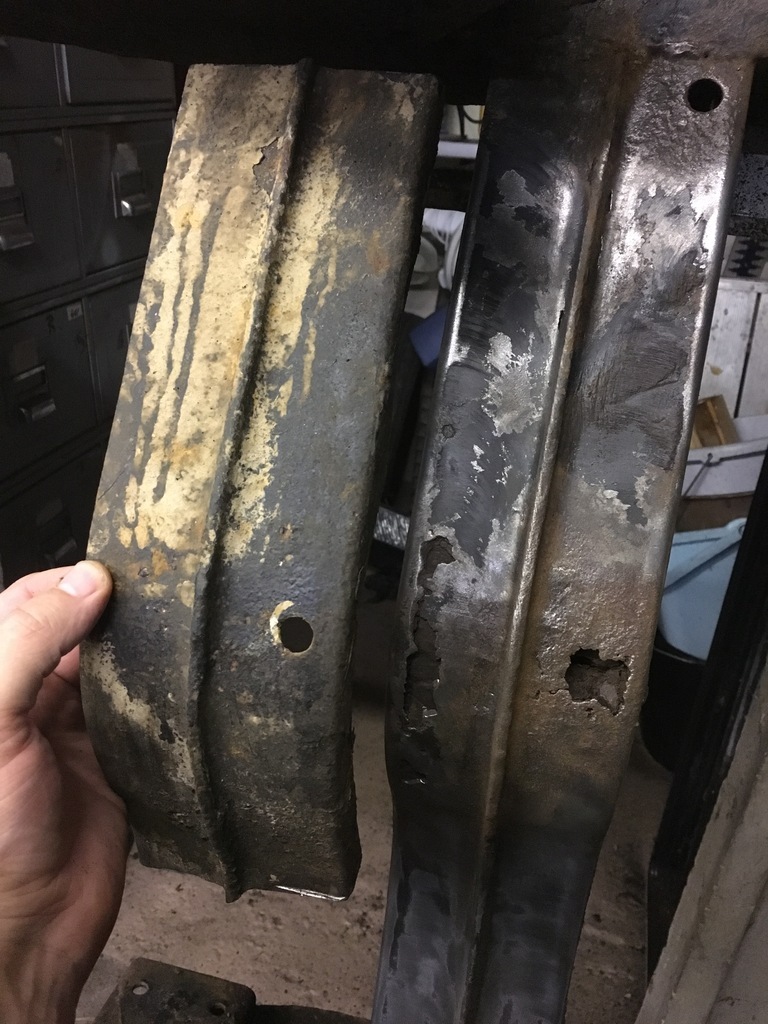 Once that was done, i threw it back together, to try and tidy up as much as anything. I knew i needed to do something with the garage and having one big lump in the way was much better than tripping over a load of different lumps. That and it's stablemate's return was imminent.. I don't have a lot of pics of this stage, but given how many times it's been rebuilt in tis thread already, i doubt there will be many complaints!! 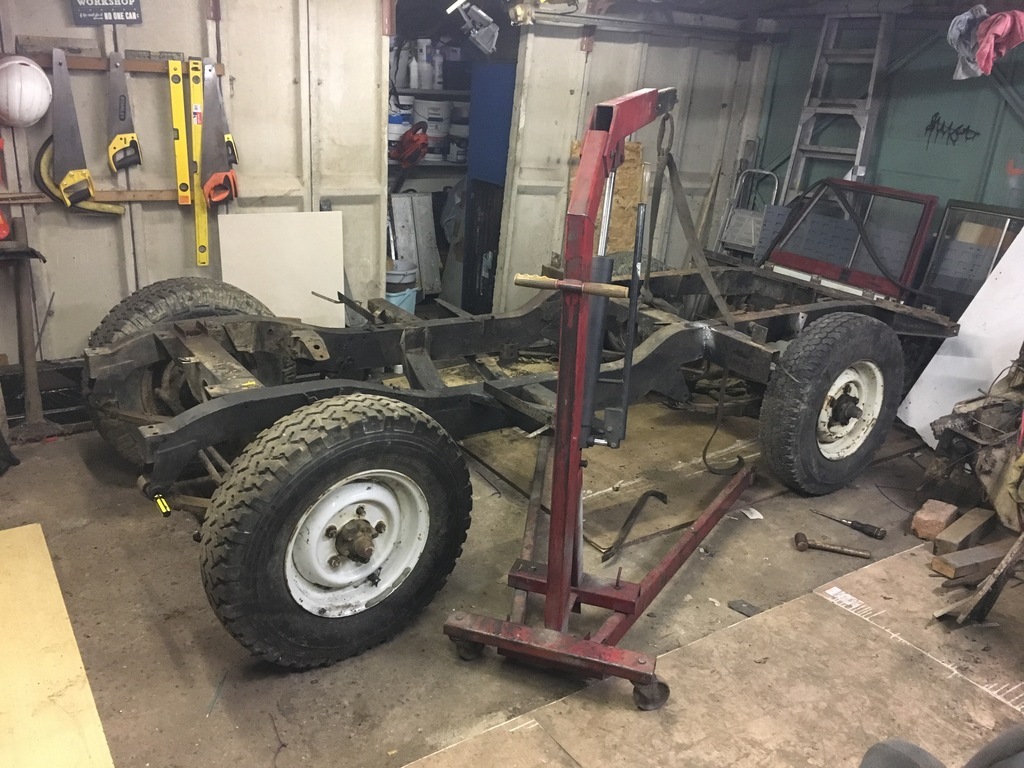 Obligatory V8 shots: 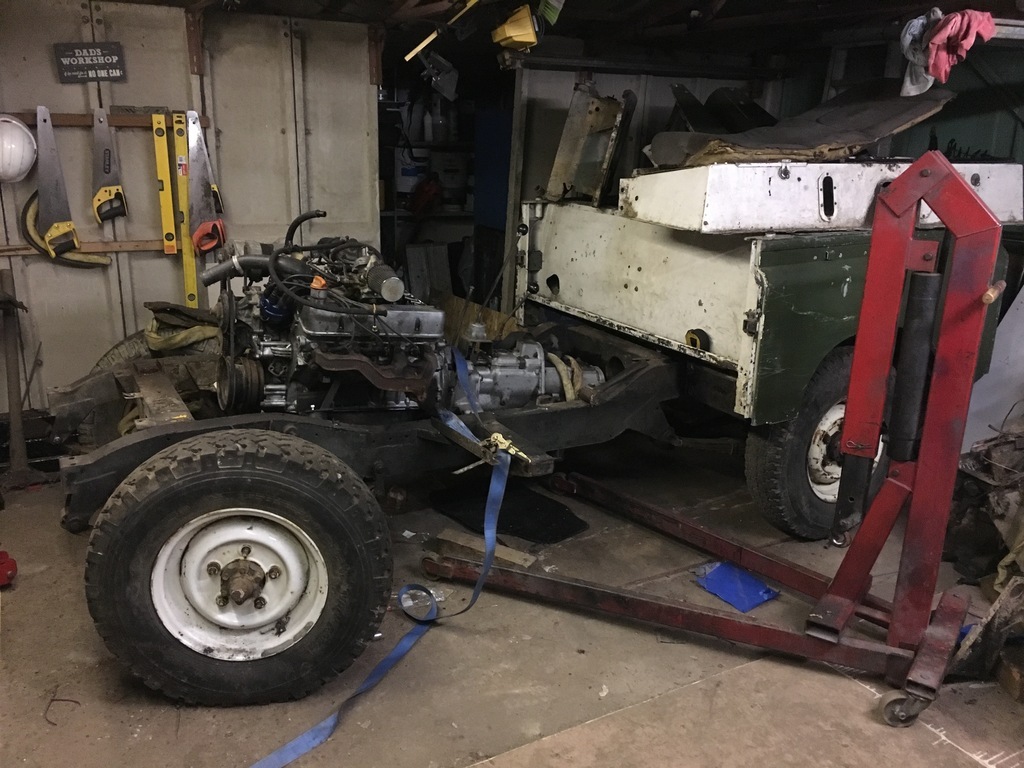 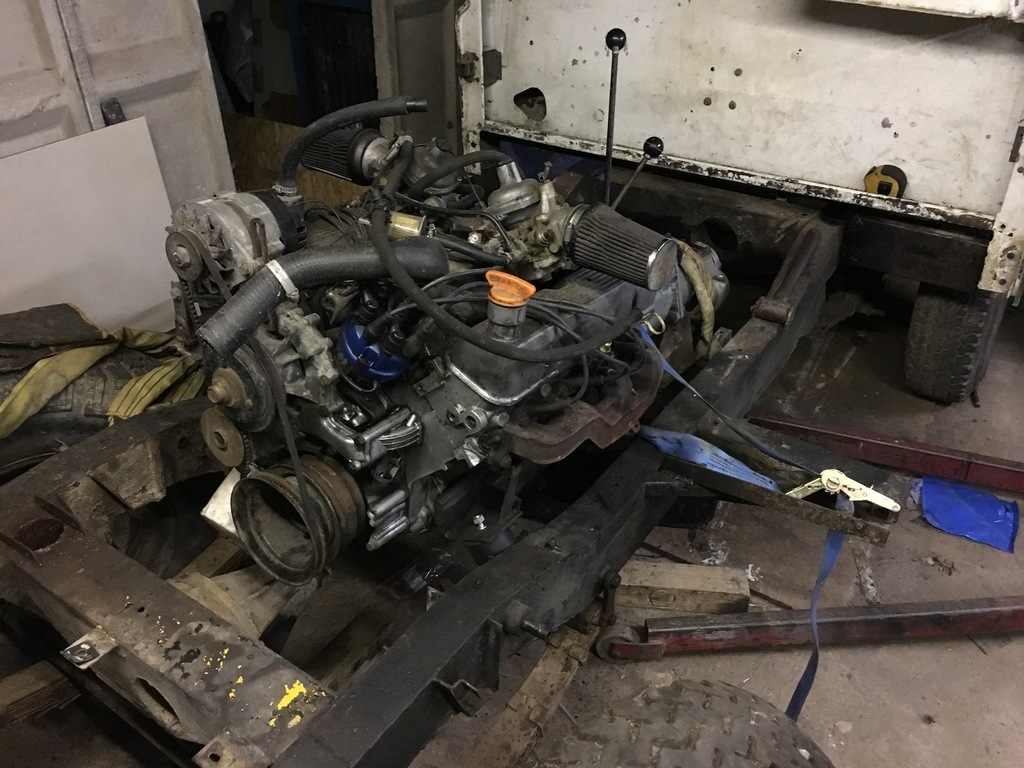 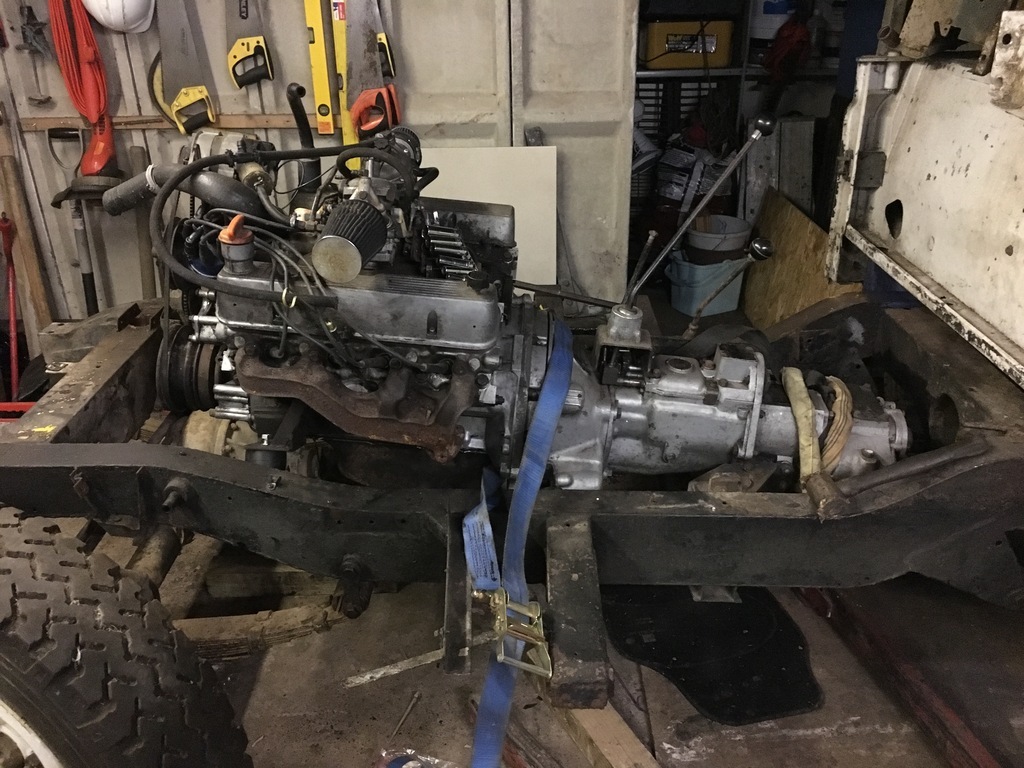 It fits.. Not brilliantly, but it fits. The mounts aren't brilliant, but they'll do for now. It also sat a fair bit better when i realised i'd got the n/s and o/s geabox mount brakcets mixed up and swapped them. Although there's no photo showing it, the bulkhead and front tinware went on at the same time, which brings us to within a year of up-to-date. On the to-do list for the next few months, i've got the brakes and wiring, and finishing off the fuel system. Oh and since it's that time of year, i'll finish off with a fesitve reindeer, brunmmie style: 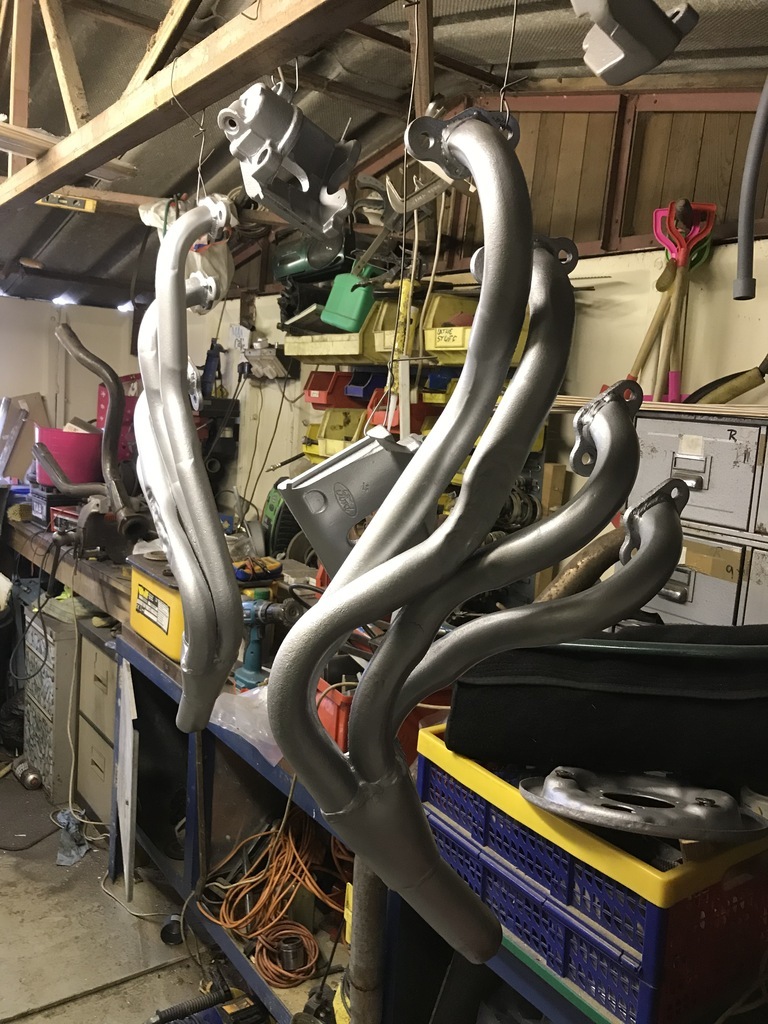 If anybody's done a v8 series conversion, is it normal to need to stick a bolt in bellhousing crossmember to give space for the exhaust??? I tried a range v8 exhaust and it clashed, then tried the reindeer above (which came out of a series v8) but both aim squarely at the crossmember. I'm reliably informed that "they all do that, get the grinder out" but thought i'd float it on here just incase... Anyway, thanks for reading, more to come soon. by soon, i mean sooner than i left it this time.... |
| |
|
|
|
|
|
Nov 21, 2020 22:40:39 GMT
|
|
Great work, ticks all the right boxes!
Green - check
SWB - check
V8 - check check!
|
| |
|
|
glenanderson
Club Retro Rides Member
Posts: 4,355
Club RR Member Number: 64
|
|
Nov 21, 2020 22:53:58 GMT
|
|
No, as far as I am aware, it’s not necessary to cut anything other than a bit of the passenger footwell away. There are lots of V8 manifold options, you just need to get the right one.
|
| |
My worst worry about dying is my wife selling my stuff for what I told her it cost...
|
|
doshy
Part of things
 
Posts: 33
|
|
Nov 21, 2020 23:45:16 GMT
|
|
Thanks Glen, I was kinda hoping someone would say that.. The cast manifolds hug the block quite nicely so I might have another go making the range exhausts thread through
|
| |
|
|
doshy
Part of things
 
Posts: 33
|
|
Aug 21, 2021 20:21:32 GMT
|
Right, it's axles time. Although there's nothing really wrong with series brakes, I figured a bit more stopping power wouldn't be a bad thing. Also, with a v8 in the front, longer legs from higher ratio diffs would make it a bit more easy going. So I set out to do the sensible thing- replicating a stage one V8 brake setup, new gaskets, brake lines etc, and diffs from a later defender. Started by dropping the old diff out so i wouldnt break my back lugging the axle around: 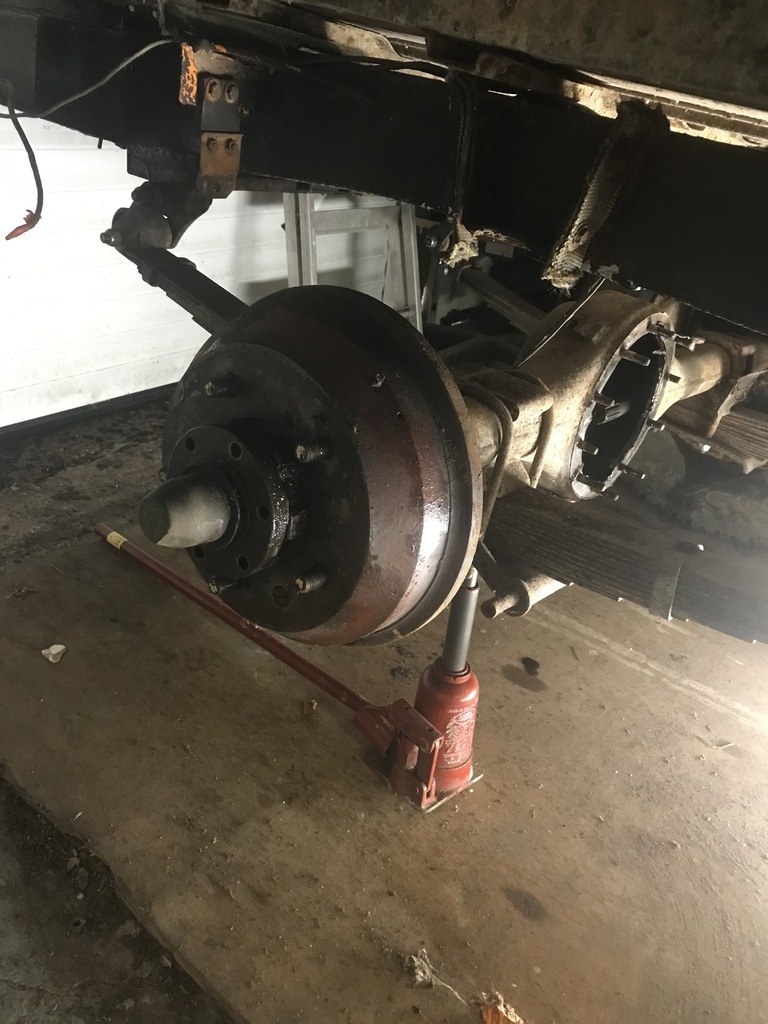 Next, dropped the axle out and threw it on the bench: 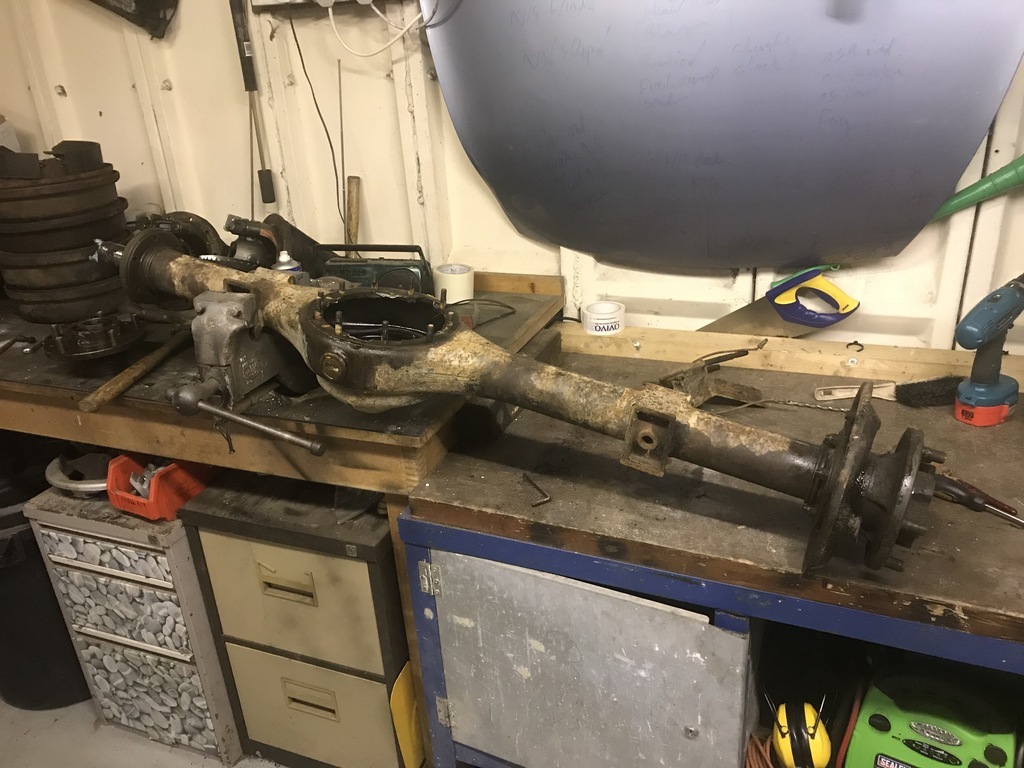 Stripped it down (which wasn't difficult, the brakes had been gutted a long time ago), wire brushed and chucked some bilthamber over it: 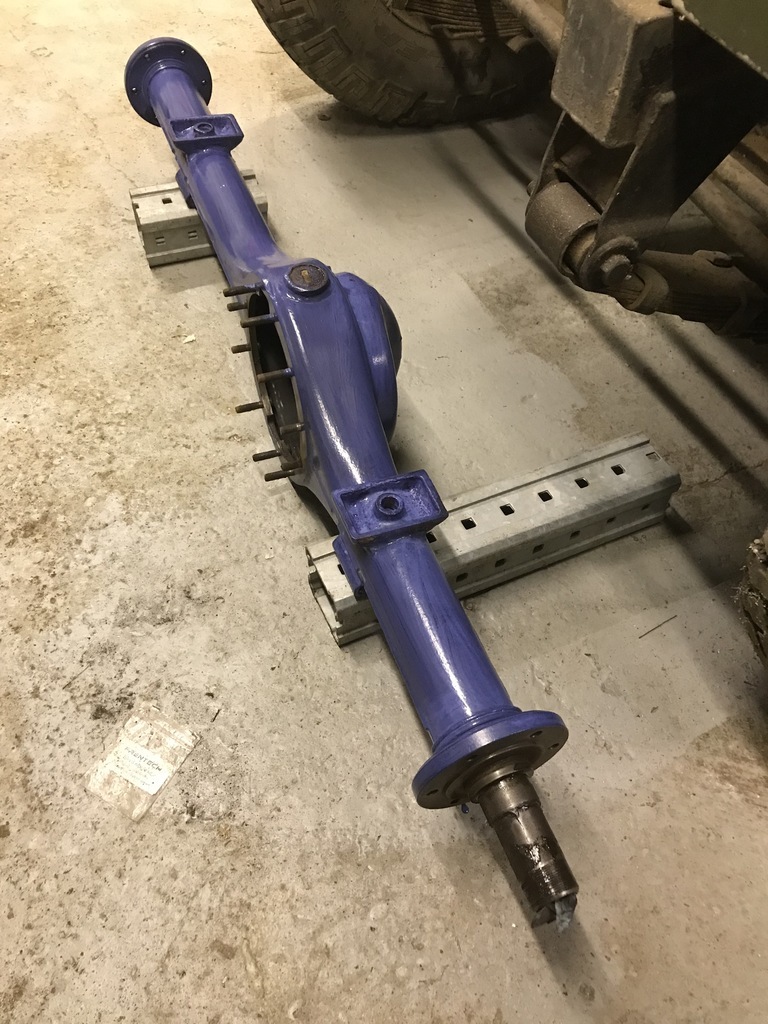 Next up, the obligatory "paint washing line" pic as the chassis paint goes on: 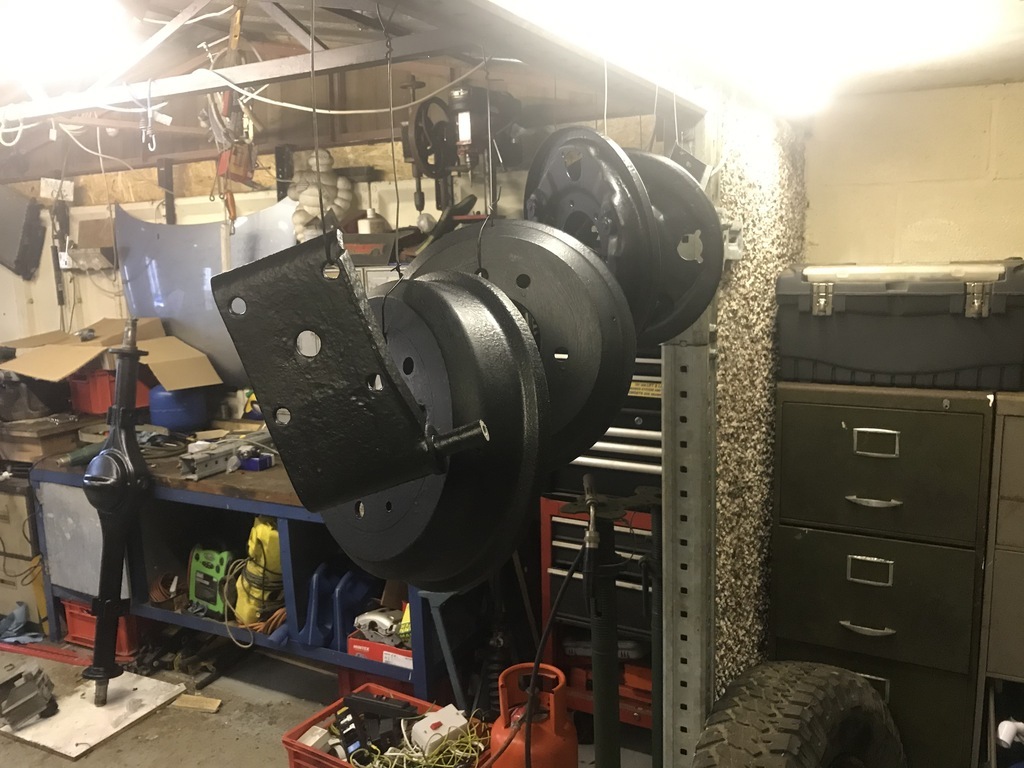 Cleaned the mating faces up again, then trial built with new cylinders and three-way connector so i could run some new lines in the right (hopefully) place: 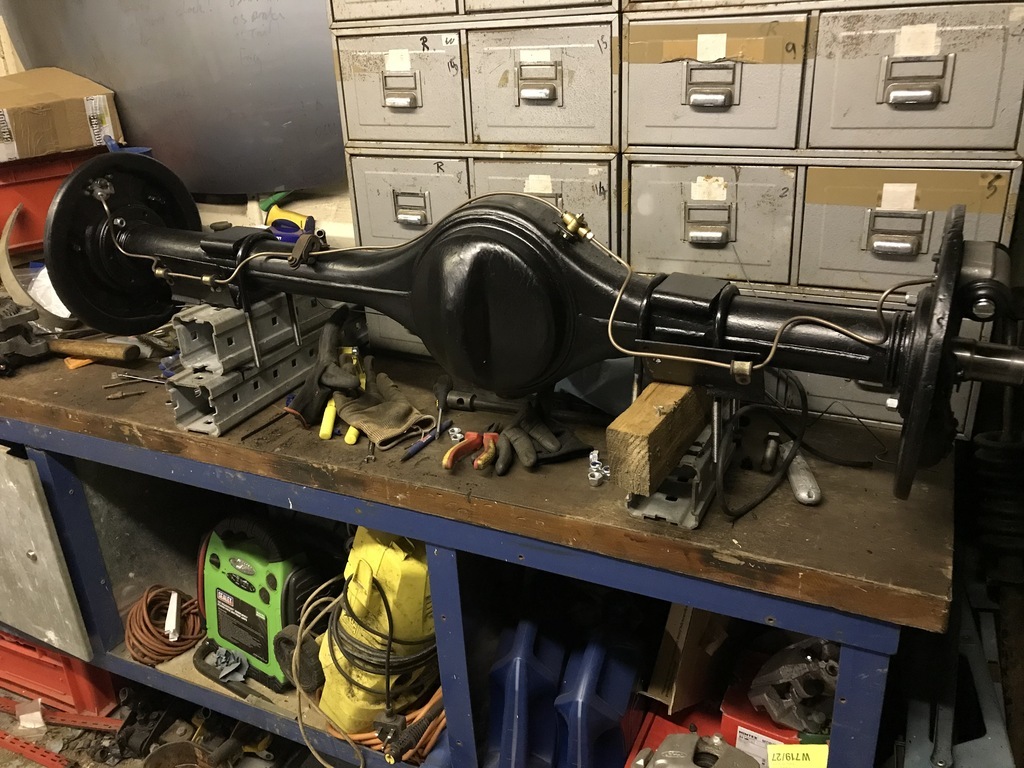 The bearings were Timkens and had very little wear so were cleaned, re-greased and went back in. Then i bought some shiny bits. Couldn't resist a set of parabolics so these went on first, followed by the axle case: 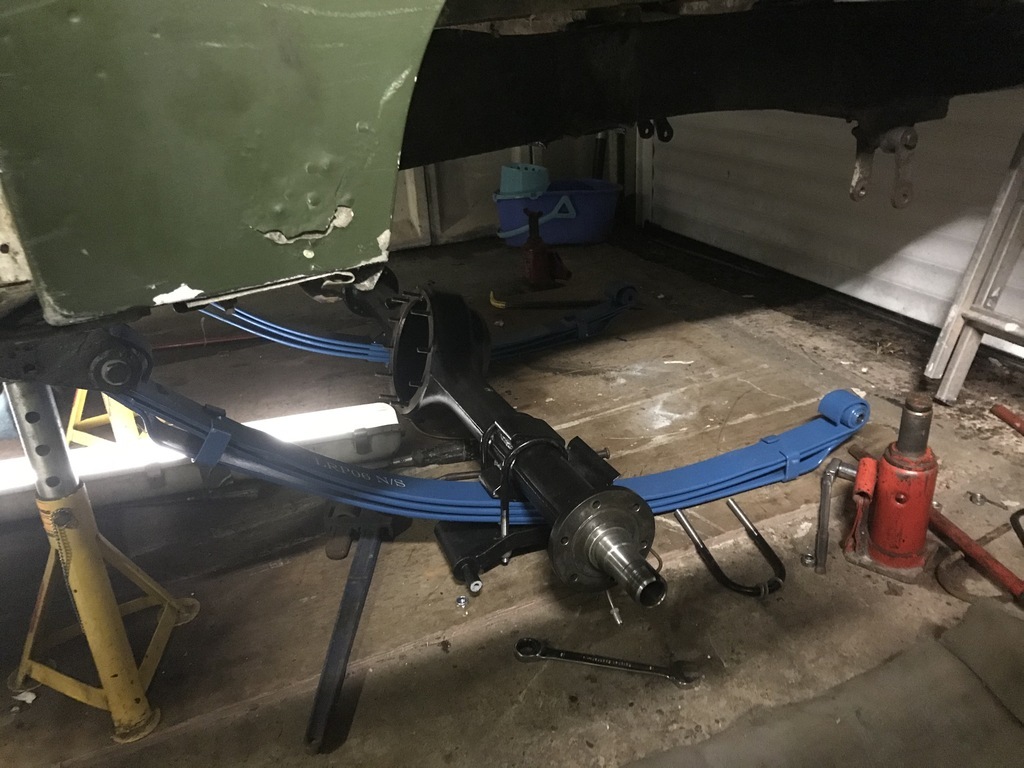 One of the defender diffs got a lick of paint 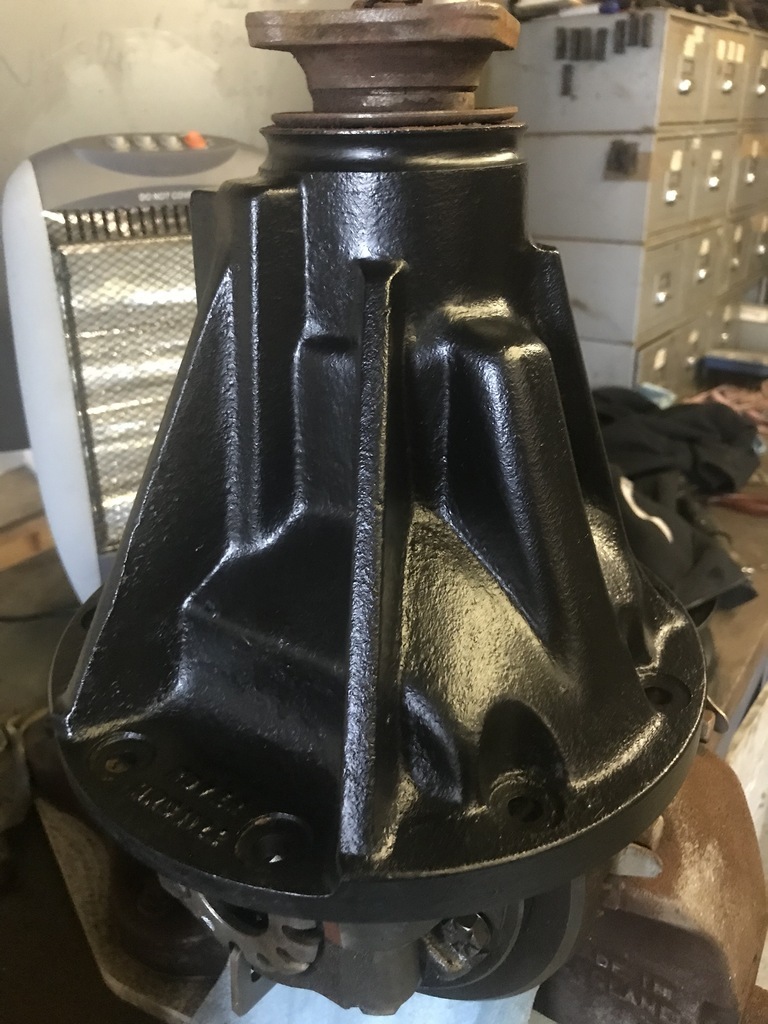 Then I reminded myself how much of a pain it is reassembling drum brakes.. I tried one on the car, another on the bench and it was a pain both ways. All the time i was doing it, I was looking at these aftermarket brake parts thinking that i'd probably be doign the same thing again after a few thousand miles. That kinda stuck with me and would lead to a bit of a change of direction later on. For now though, lets indulge in pictures of shiny painted parts: 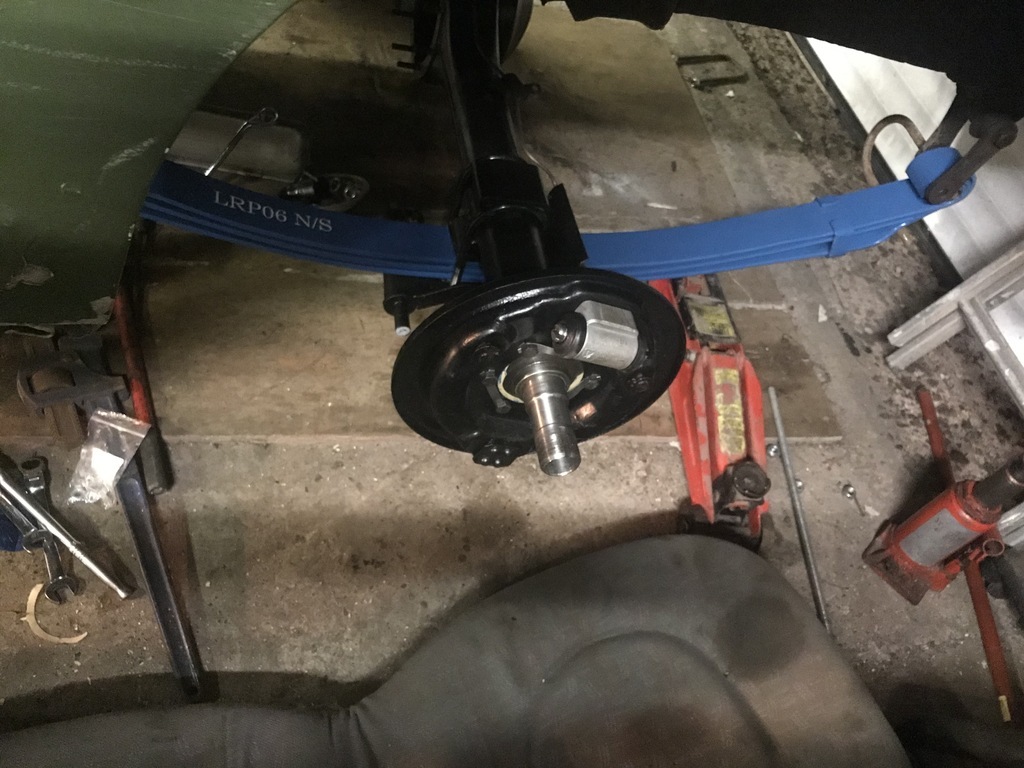 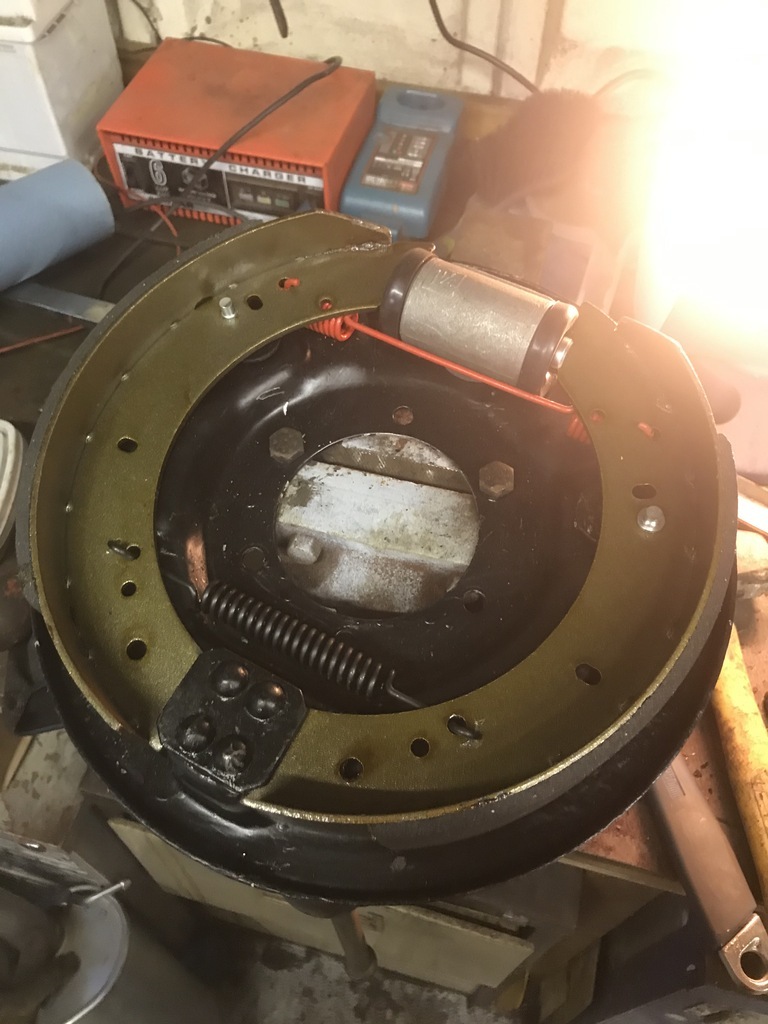 Finally, I'd had the drums skimmed so these went on. 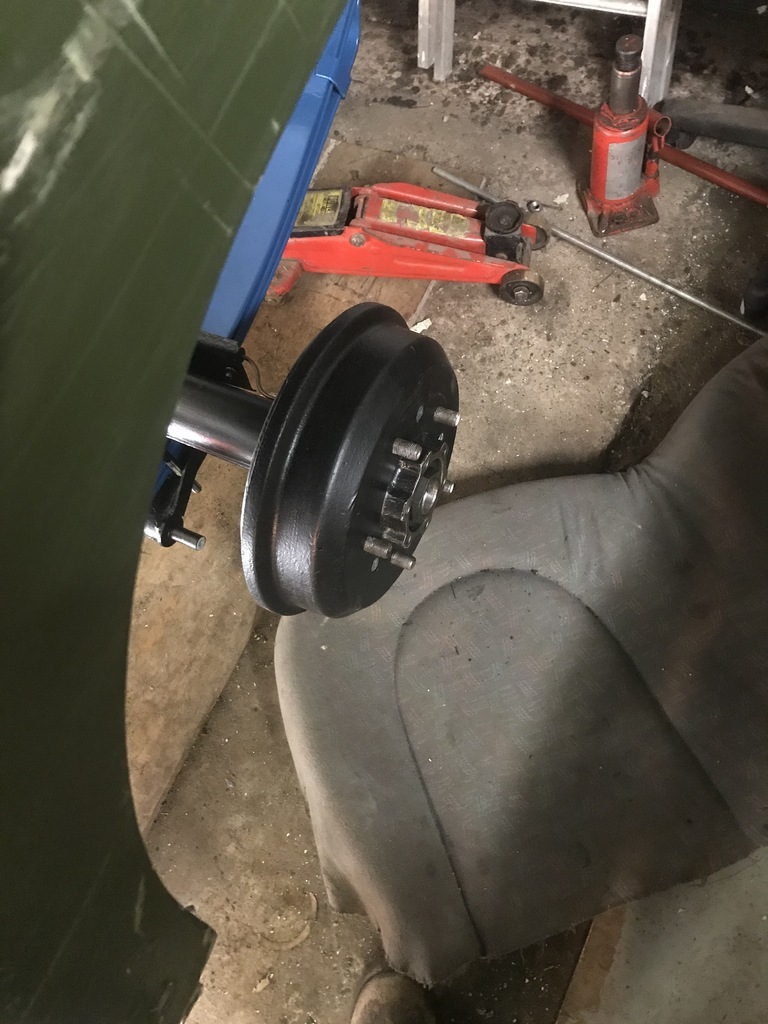 So there you go, refreshed back end with upgraded brakes, better ride and longer legs. Front axle next.. |
| |
Last Edit: Aug 21, 2021 20:24:00 GMT by doshy
|
|
|
|
doshy
Part of things
 
Posts: 33
|
|
Aug 22, 2021 21:51:08 GMT
|
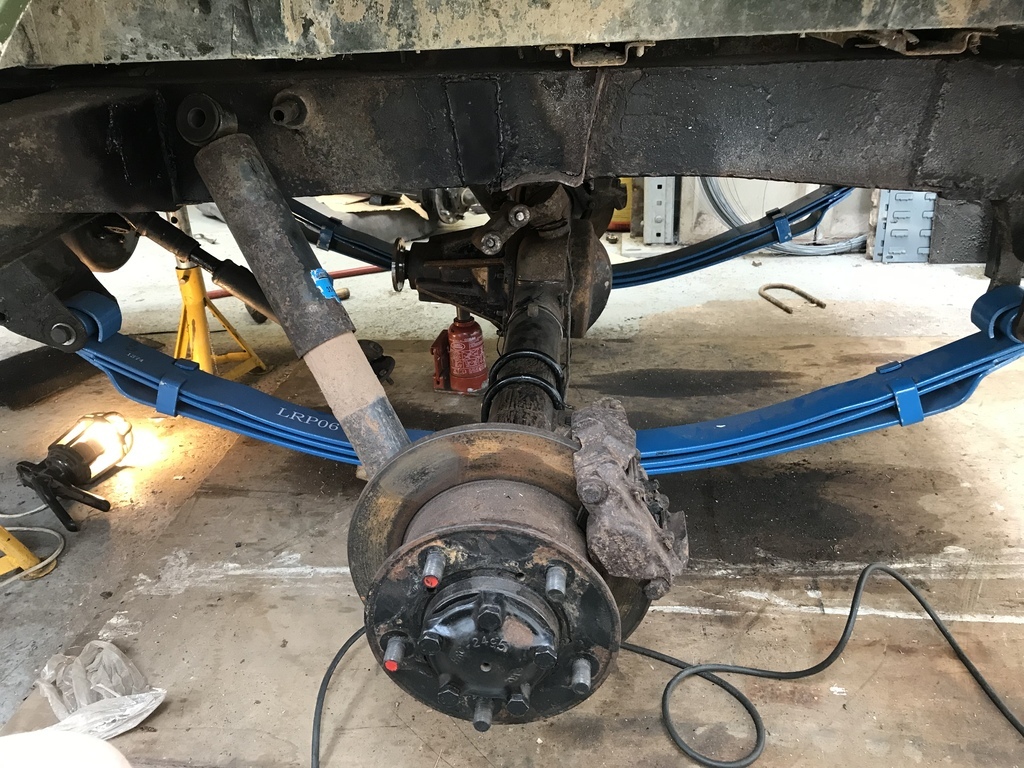
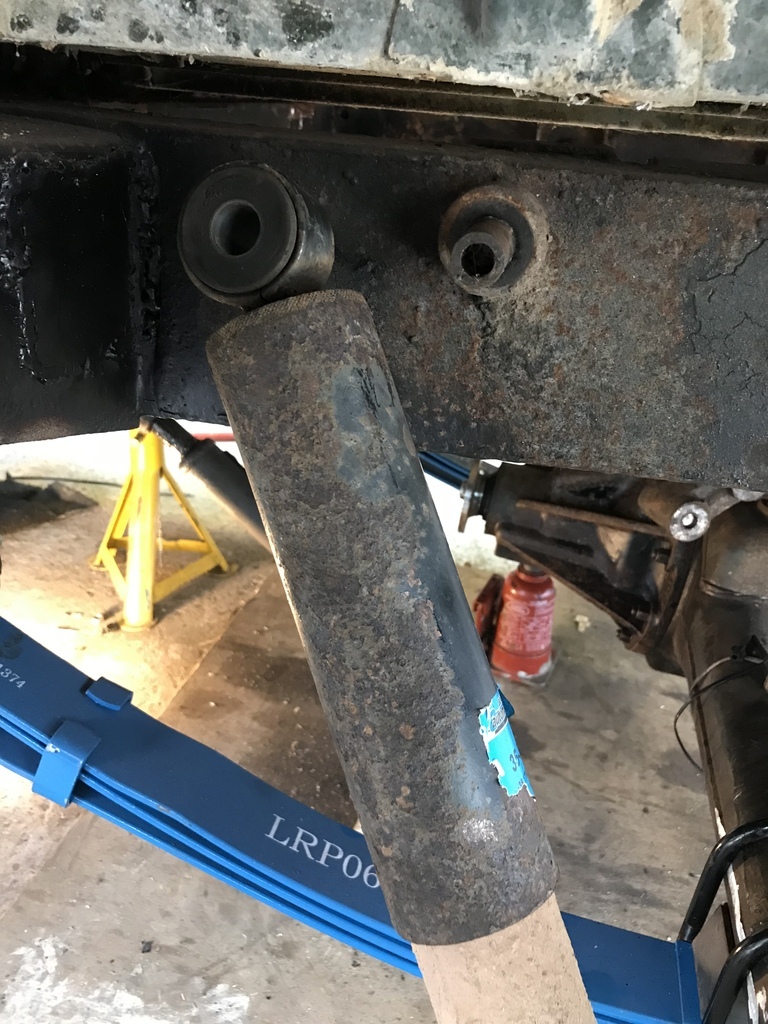
This isn't going to be the best update in the world as it's very much still a work in progress. It willl bring the project up to date (ish) though. I'd said in the last one that I really wasnt happy with the quality of some of the parts on the market for the series axles and while it wasn't too much of an issue at the back, the front was a bit of a step too far. I'd thrown a couple of hundred quid at it just on seals, gaskets, new nuts, cylinders, shoes, track rod ends and various other odds and ends, which got me to this point: 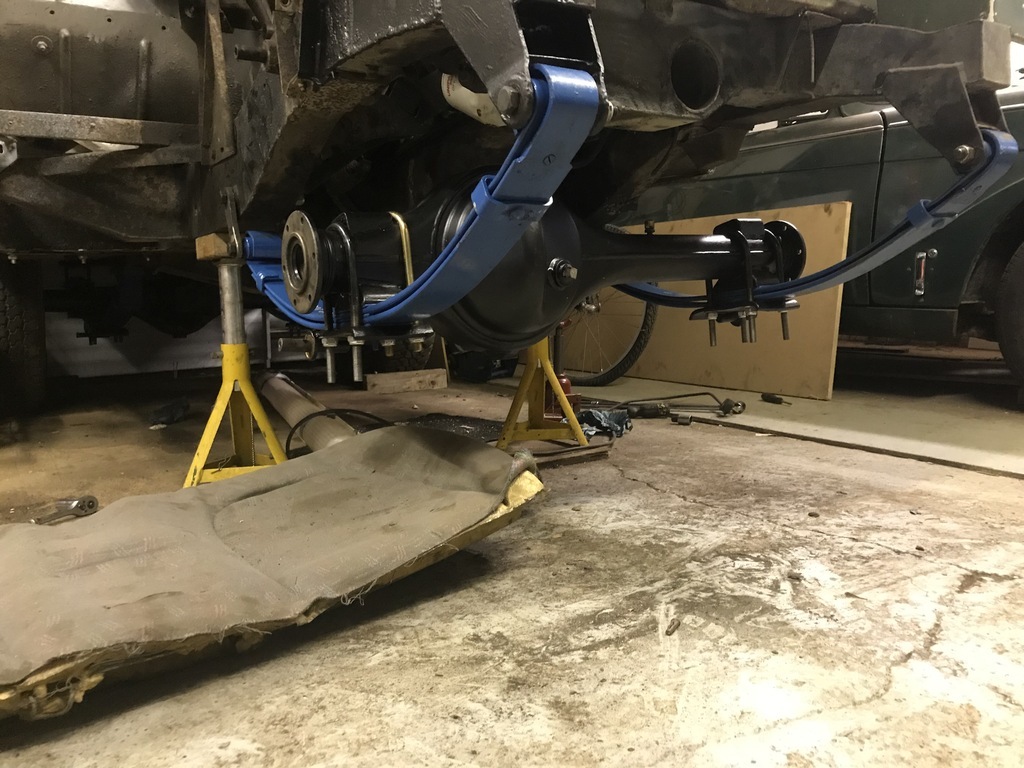 Although i didn't get a photo, i'd also rebuilt the one side with the v8 backplate and cleaned all of the gunk out of the housing and hub. But in reality it needed a load more spending and in the end, i'd have drum brakes which some people say are a bit snatchy on an SWB, others say go out of adjustment and other people insist are fine because they were fine years ago. Rather than keep chucking money at it and hoping for the best, i chucked the front end together, parked the project for a bit and focussed on the garage for a bit (oh and holiday and other stuff). So a bit of this for a while:  With a clear head, I placed an order for some small bits of steel from YRM, which arrived a few days later: 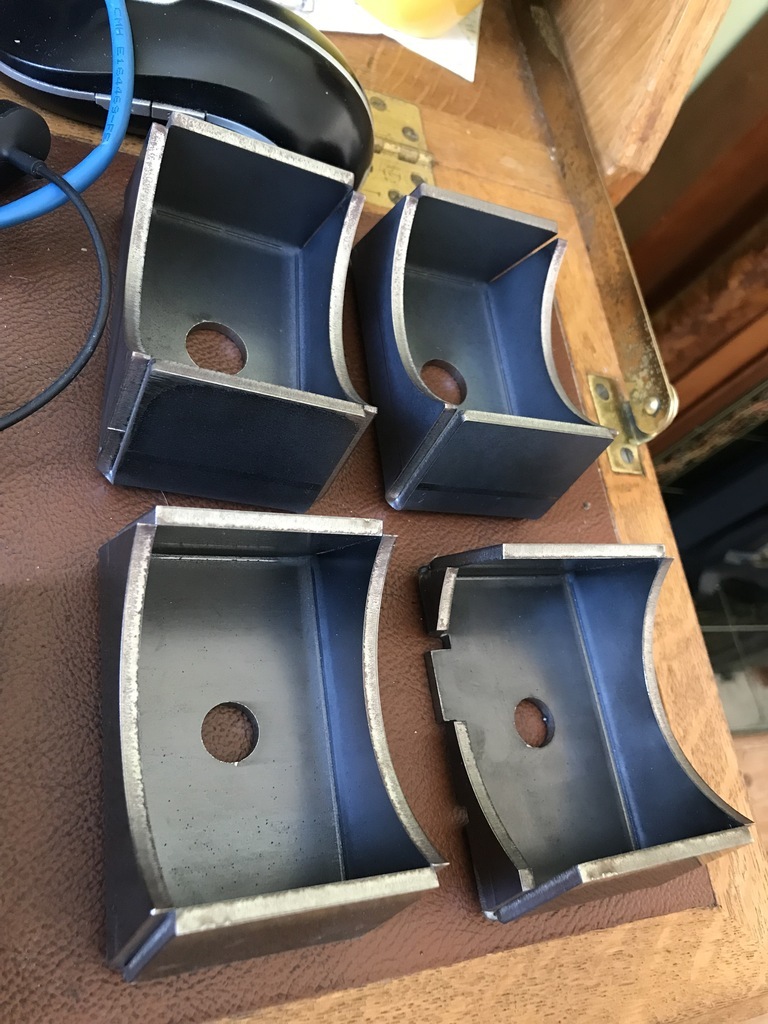 For those that don't know, these are brackets designed to be fitted between series leaf springs and coil sprung axles from a defender or discovery. So despite having one and a half rebuilt and shiny axles sitting under the landrover, these appeared: 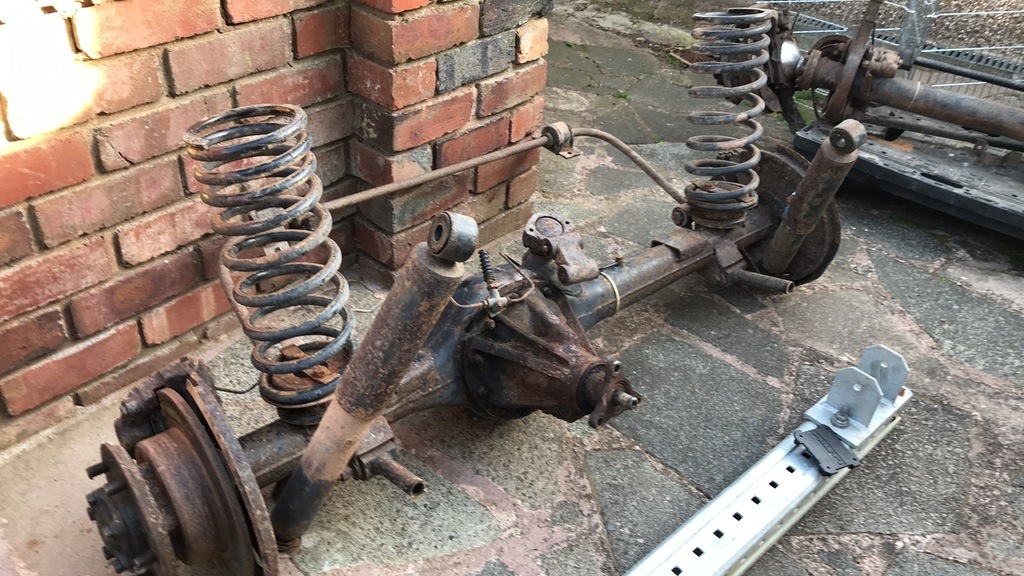 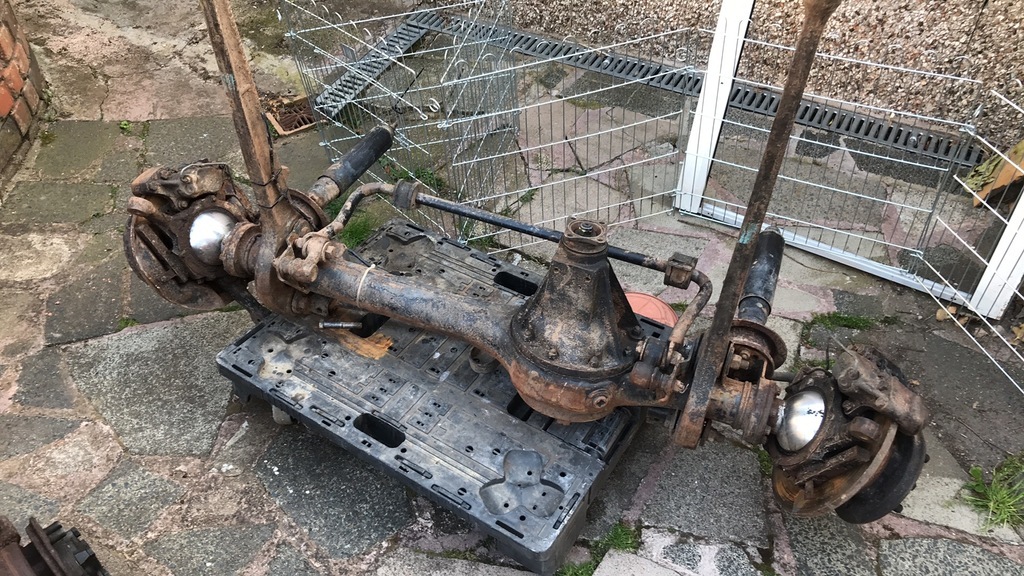 Yep, some crusty and manky, but solid 300TDI discovery axles, complete with 24 spline shafts. In other words, axles that are as sturdy as the engine and have discs all round. Most importantly, you can buy decent quality service parts for not-very-much money, although ironically they probably wont need very much.. First job was to rip off the coils, arms, shocks and anti roll bars, and give them a bit of a scrub up: 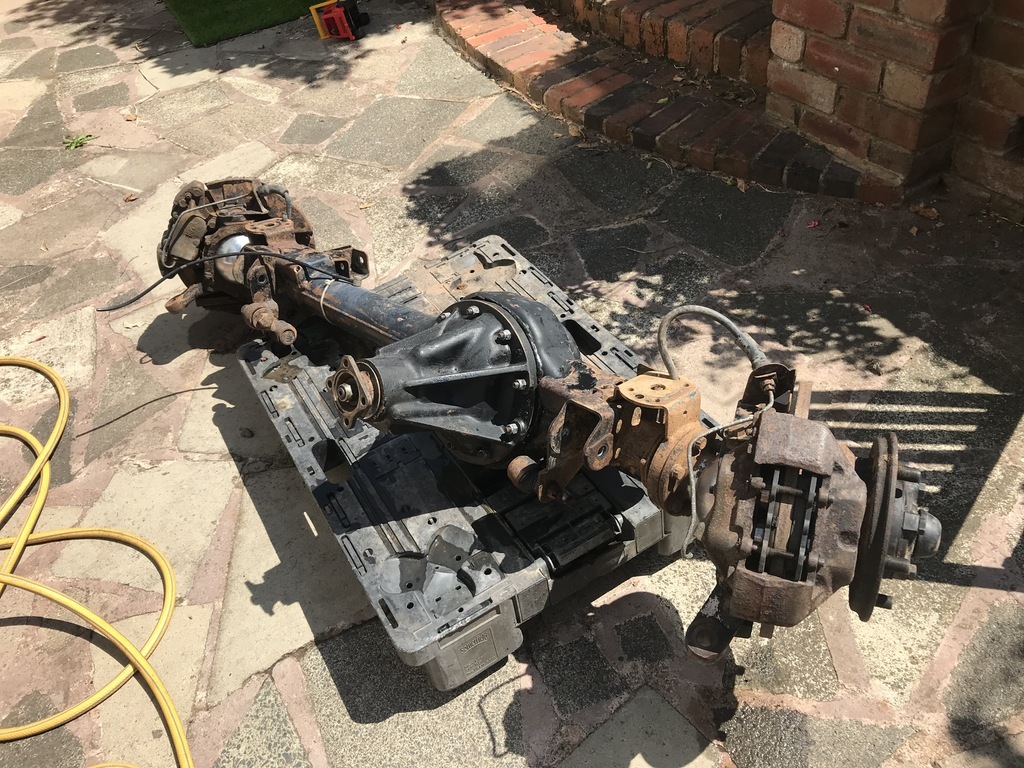 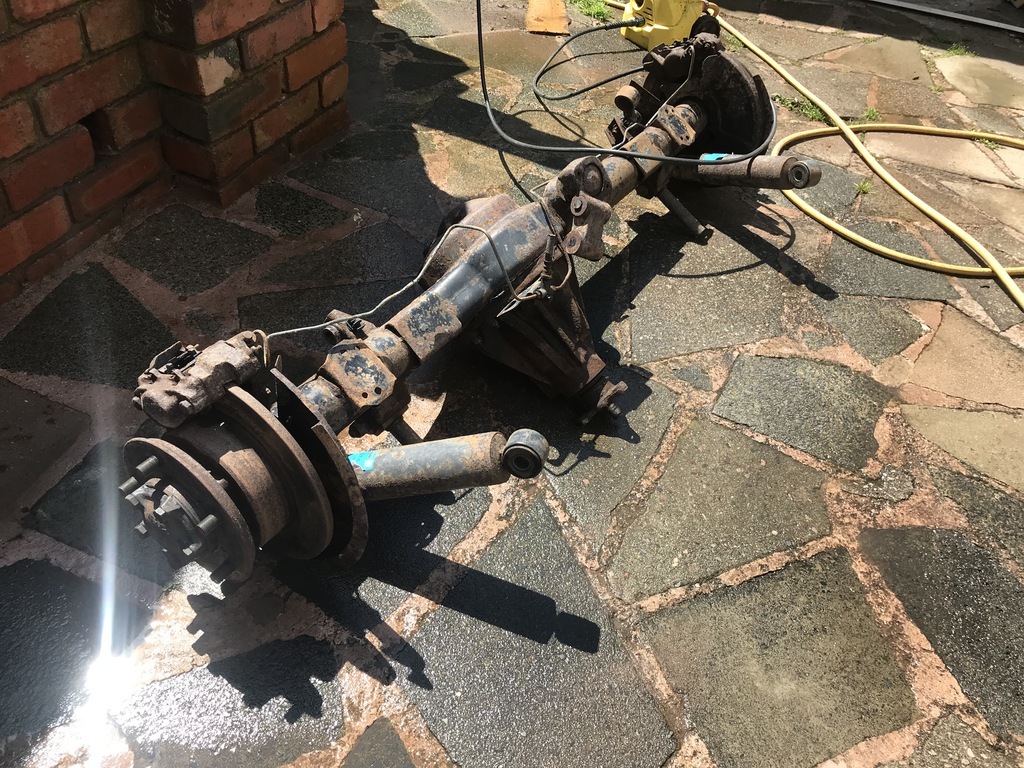 Looking better already, i got them on the bench. The rear prop on a discovery has a rubber joint which I wasn't keen on incorporating, so I converted to the traditional four bolt version. 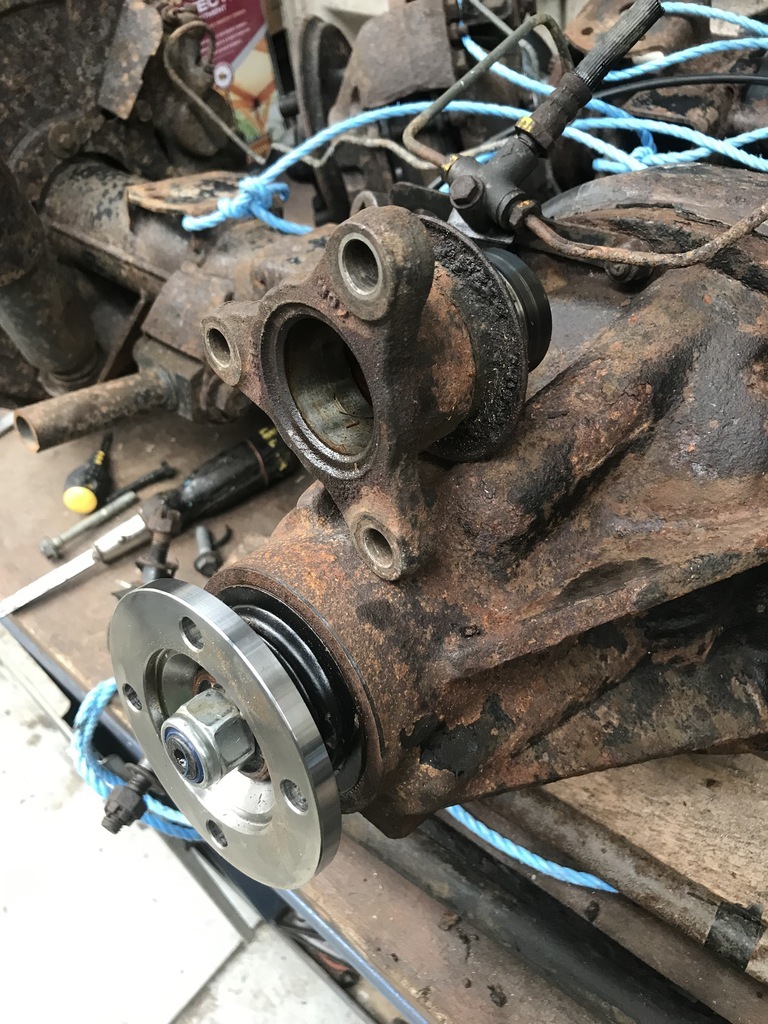 Next up, some weight loss by removing the redundant bracketry. Don't underestimate this, it's not a five minute job. I got through half a dozen decent quality cutting discs on the rear axle alone. 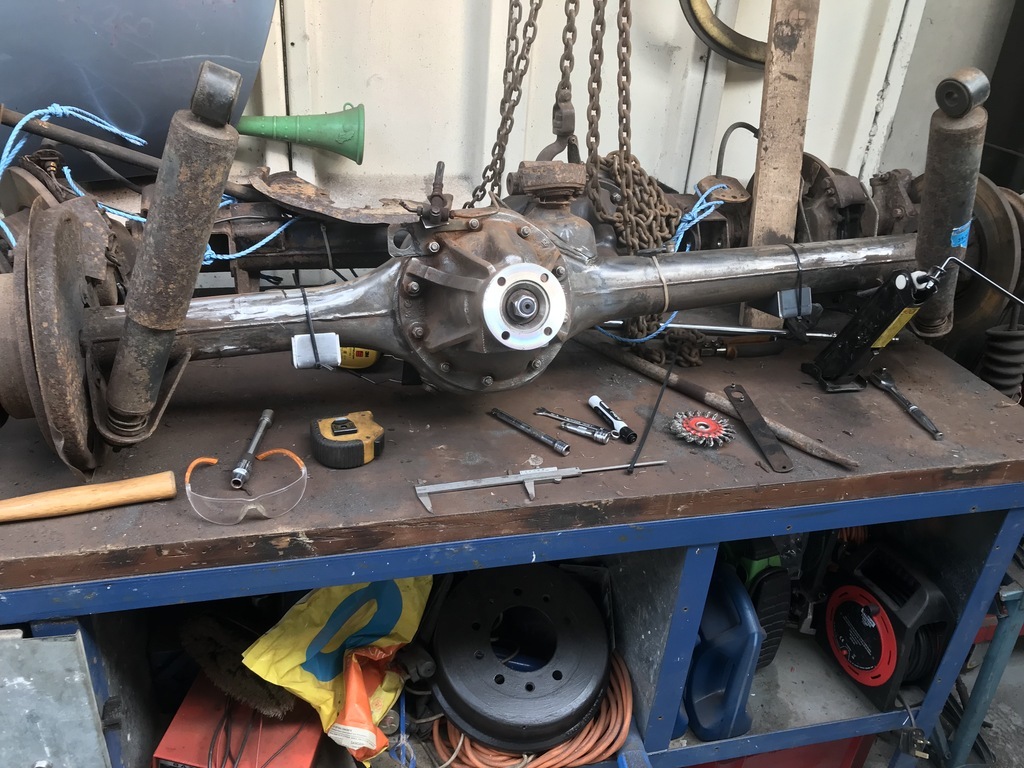 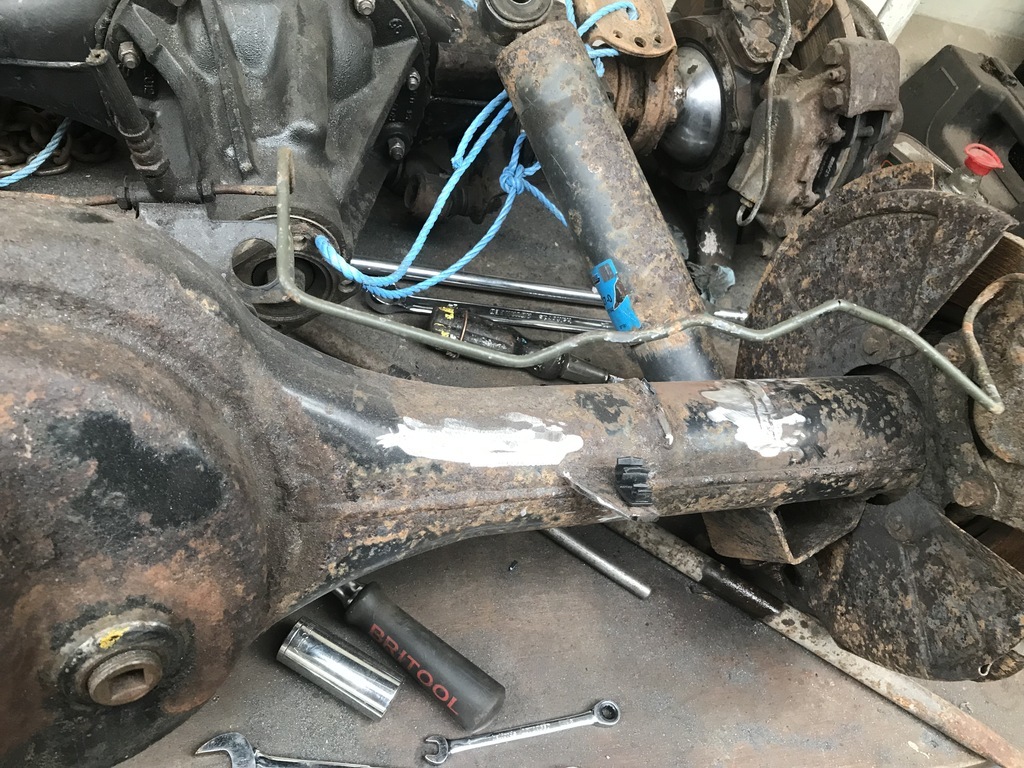 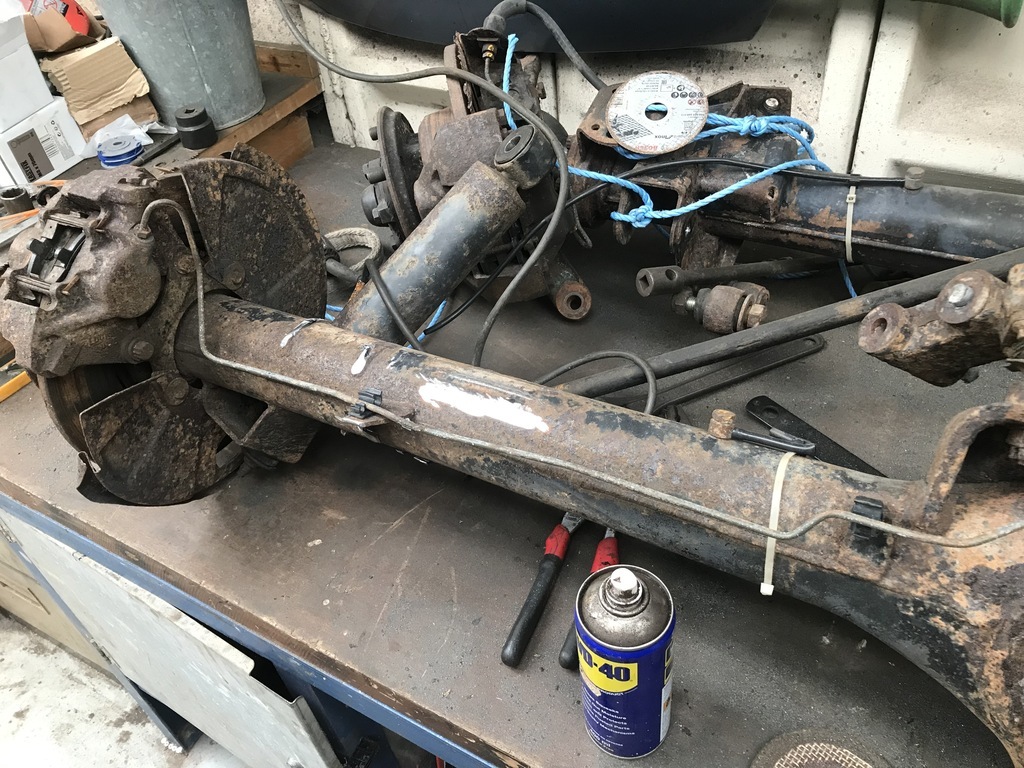 You can just about see the YRM brackets cable tied into place on the last photo, as i wanted to see where the springs were going to sit in relation to the shocks on the rear axle. I'm hoping i can retain the discovery items and mount some defender top mounts to the series chassis, to get a bit more travel on the back end. So there you go, a new direction and potentially, some big shiny doorstops have been created... |
| |
|
|
doshy
Part of things
 
Posts: 33
|
|
Dec 22, 2021 16:13:14 GMT
|
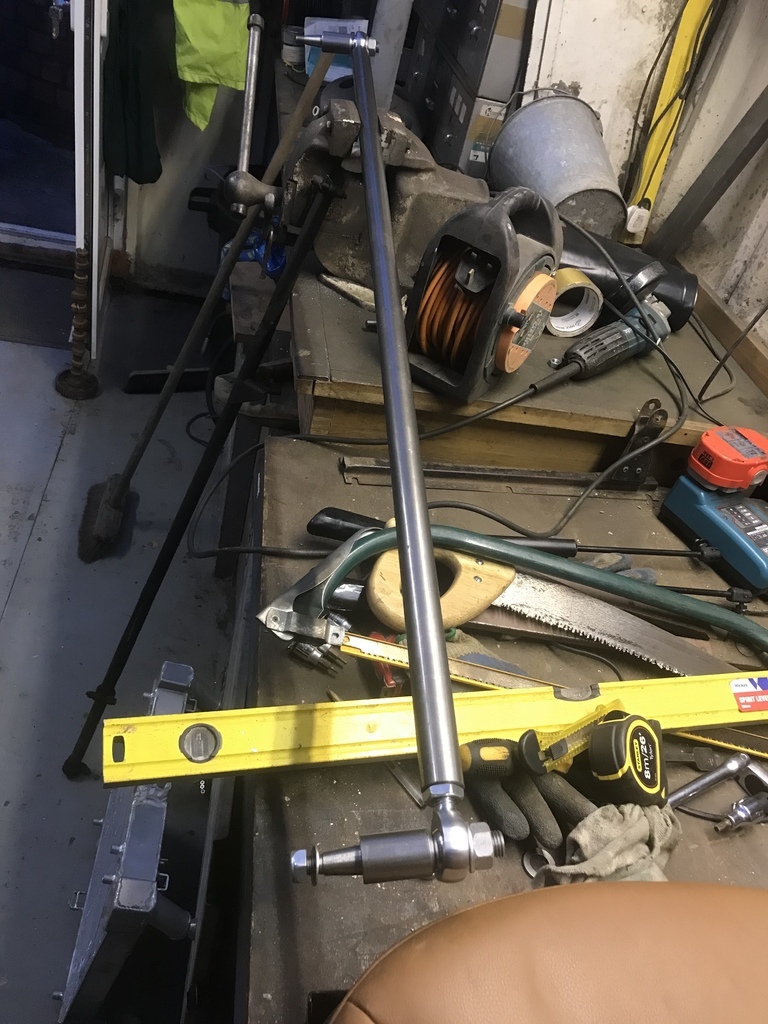
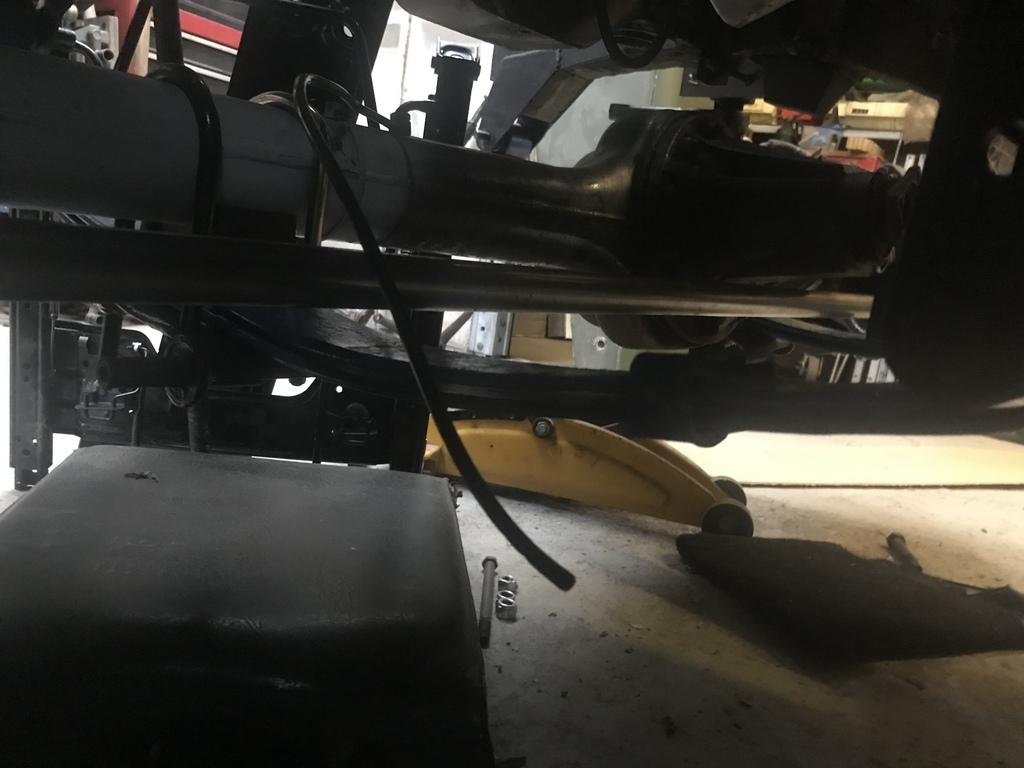
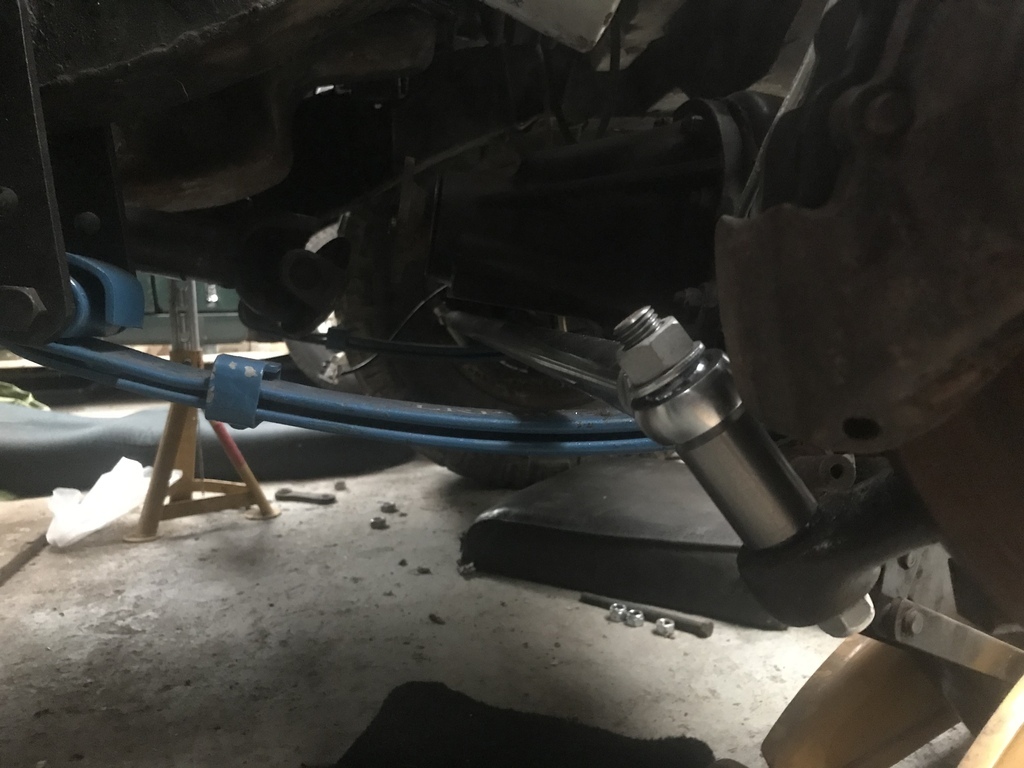
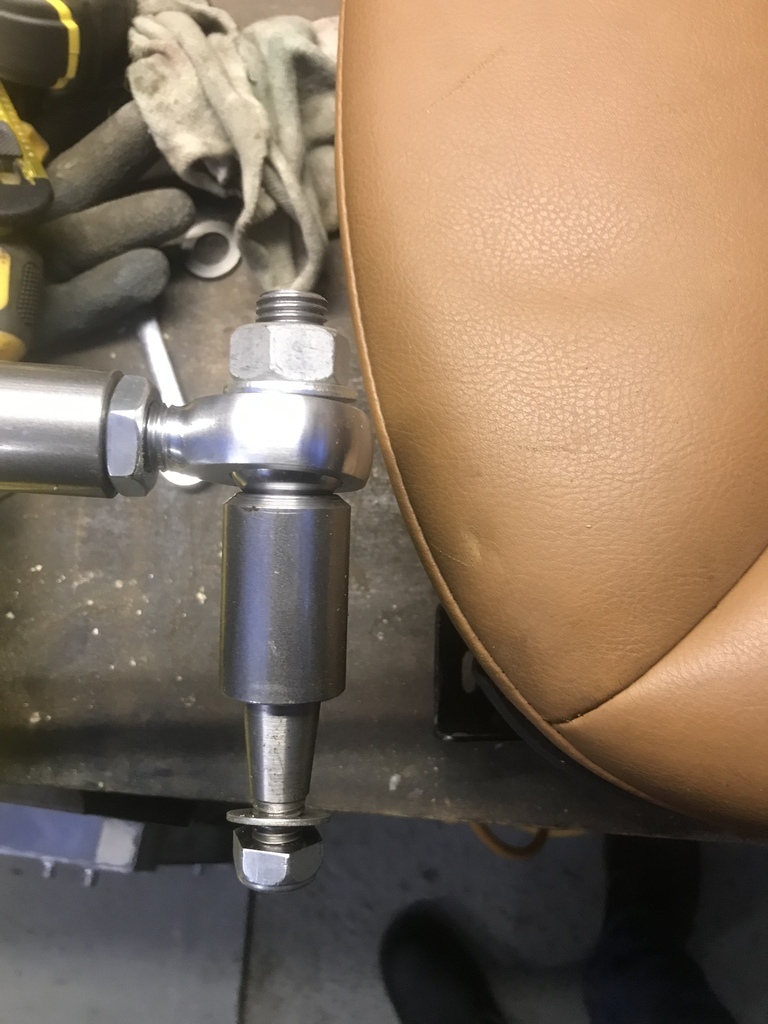
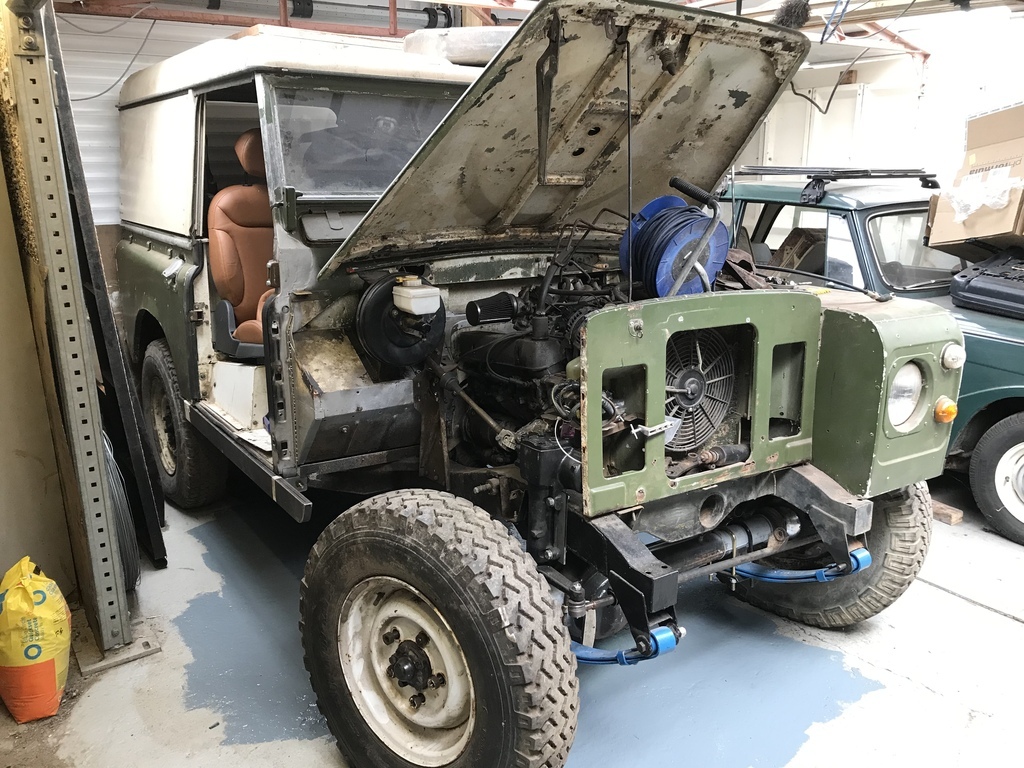
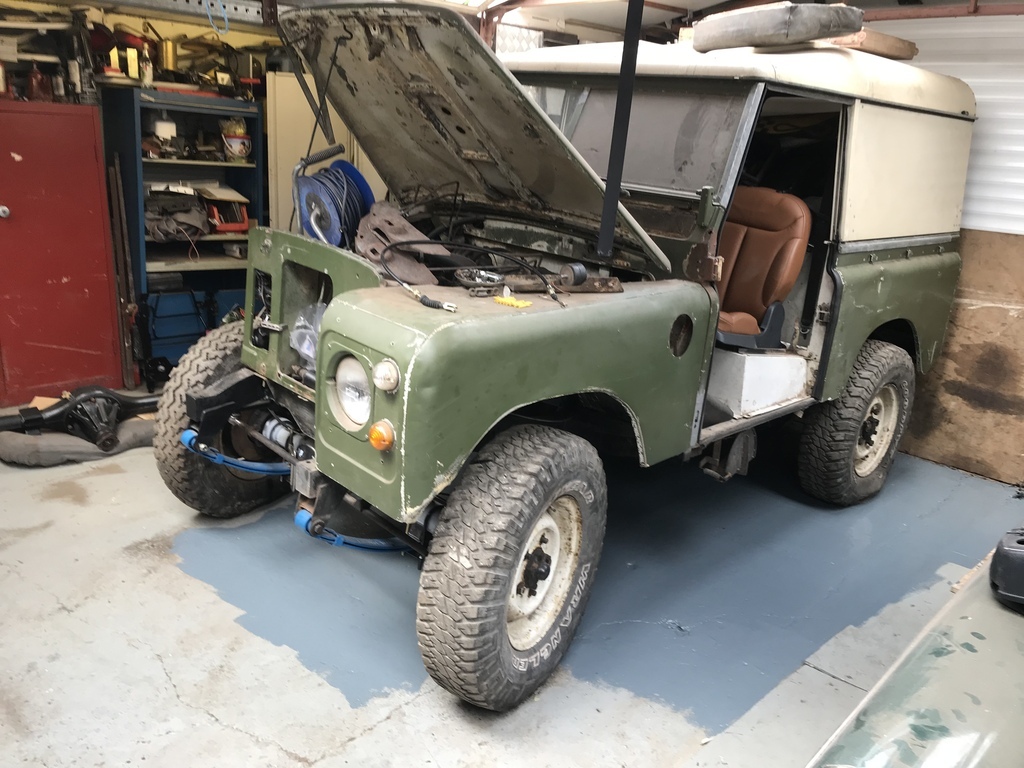
Small update on the front end this time, but before that a minor success. I threw a door in the gap for the first time since bolting the landrover together and found the gaps, although far from perfect, aren’t too bad! The other side’s about ½” longer, obviously, but given how much this thing’s been messed about with in the last few years I’ll take this as a victory!! 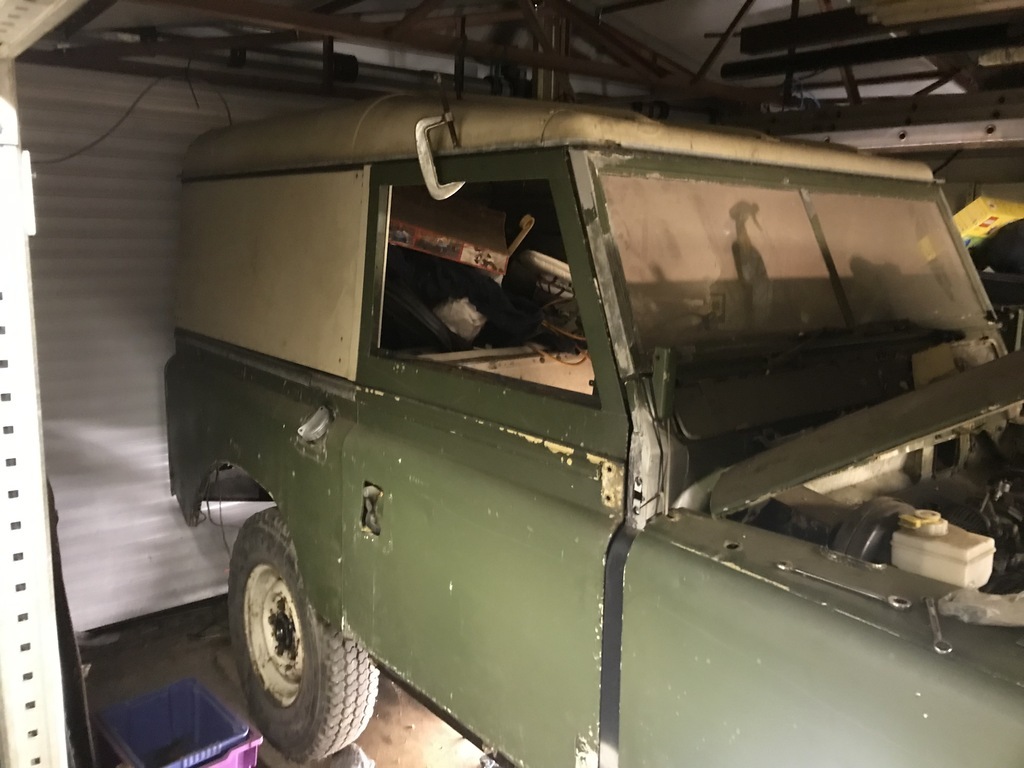 Anyway, onto the front end. There are a few balls in the air at the moment so apologies if this bounces about a bit. Got all the redundant brackets trimmed off (ignore the a frame mount on the back axle, there aren’t enough slitting discs in the world to get that off) and made a start mocking up. To make life easy while putting it in for the first time, I threw it in with the diff vertical. This meant I could just use one of the squared off u-bolts to stop it rotating. More on that later EDIT- these seem to have come out in the wrong order, so you'll need to use you'r imagination / scroll a bit. brakes off, old out, new in.... 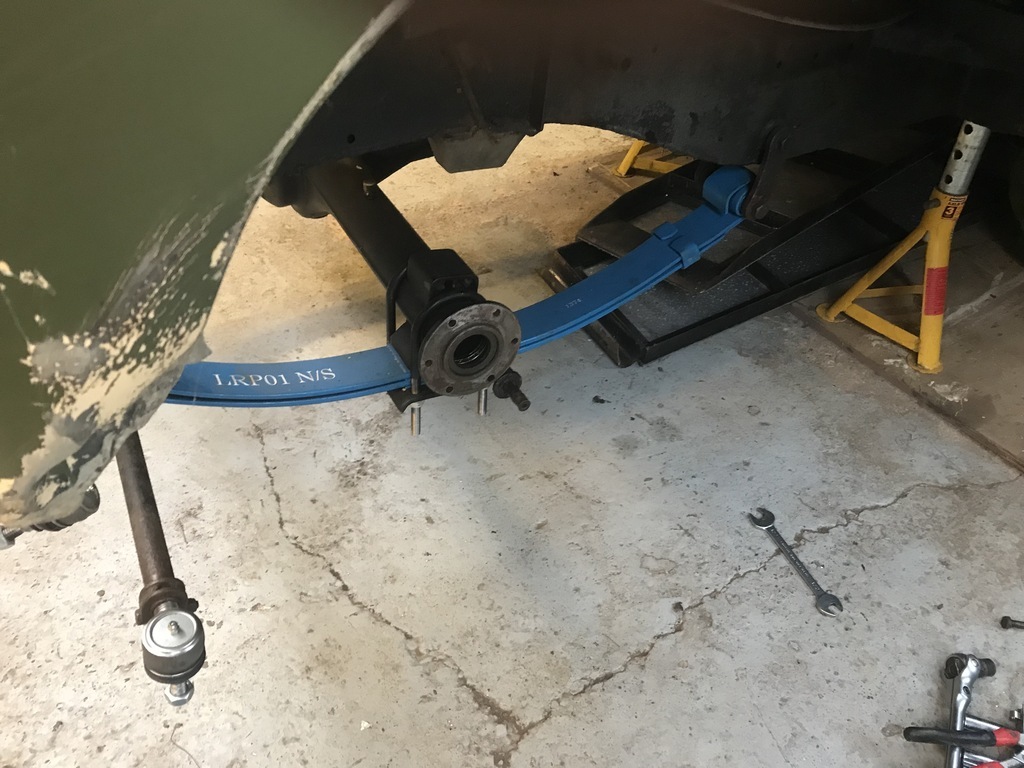 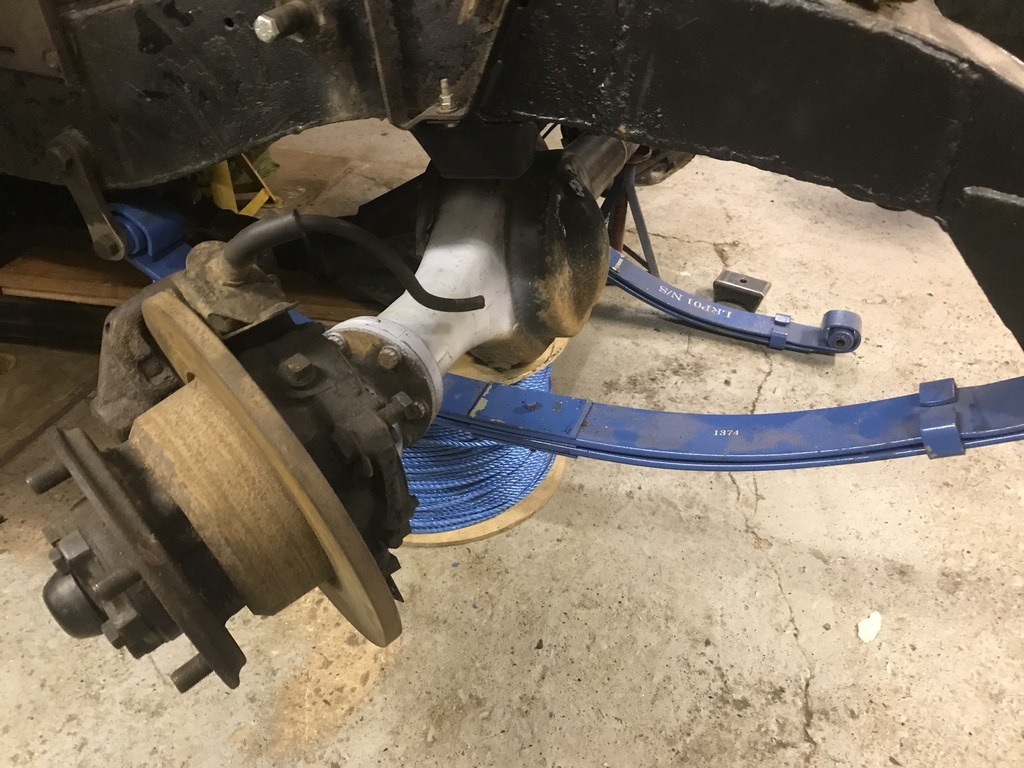 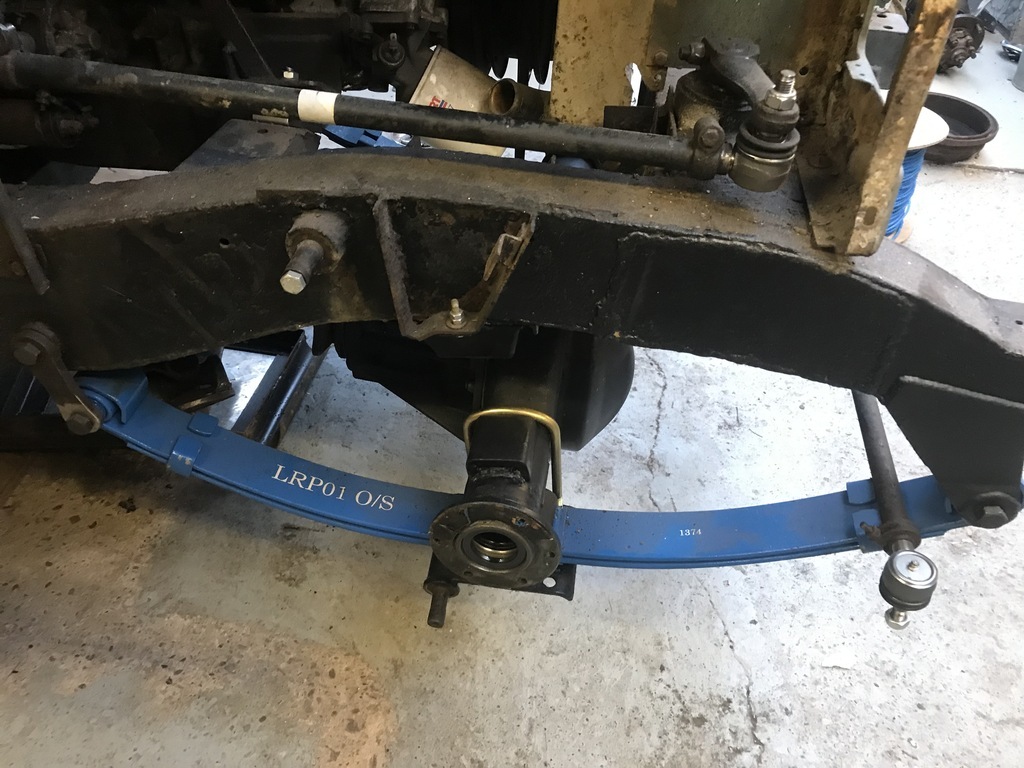 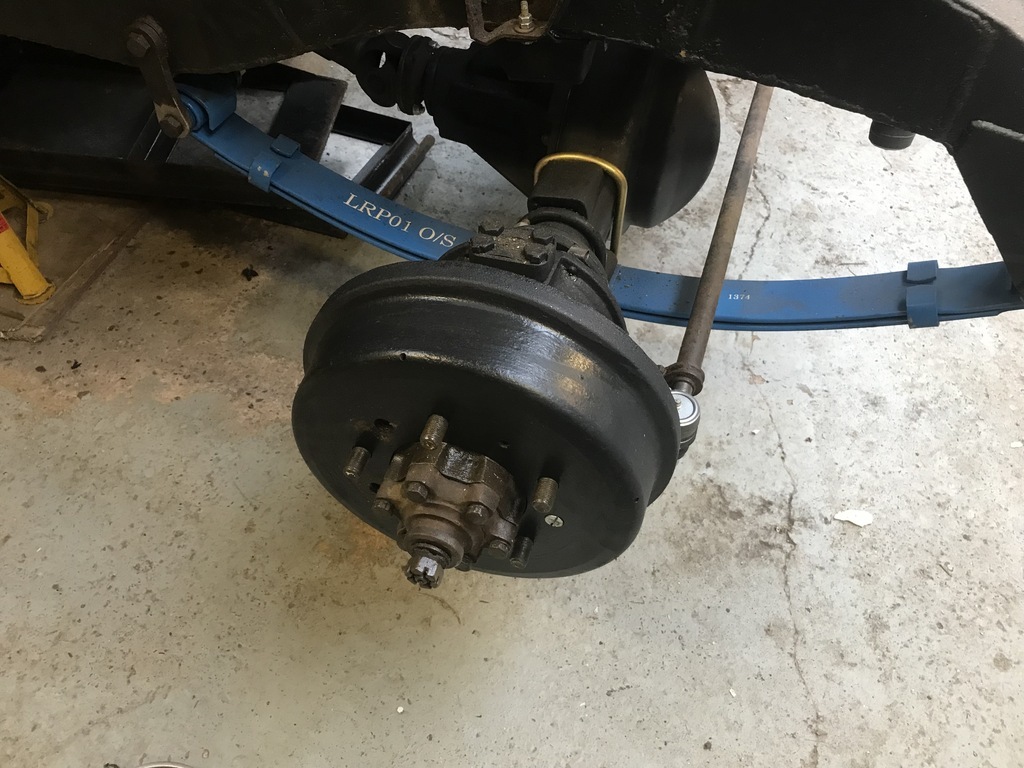 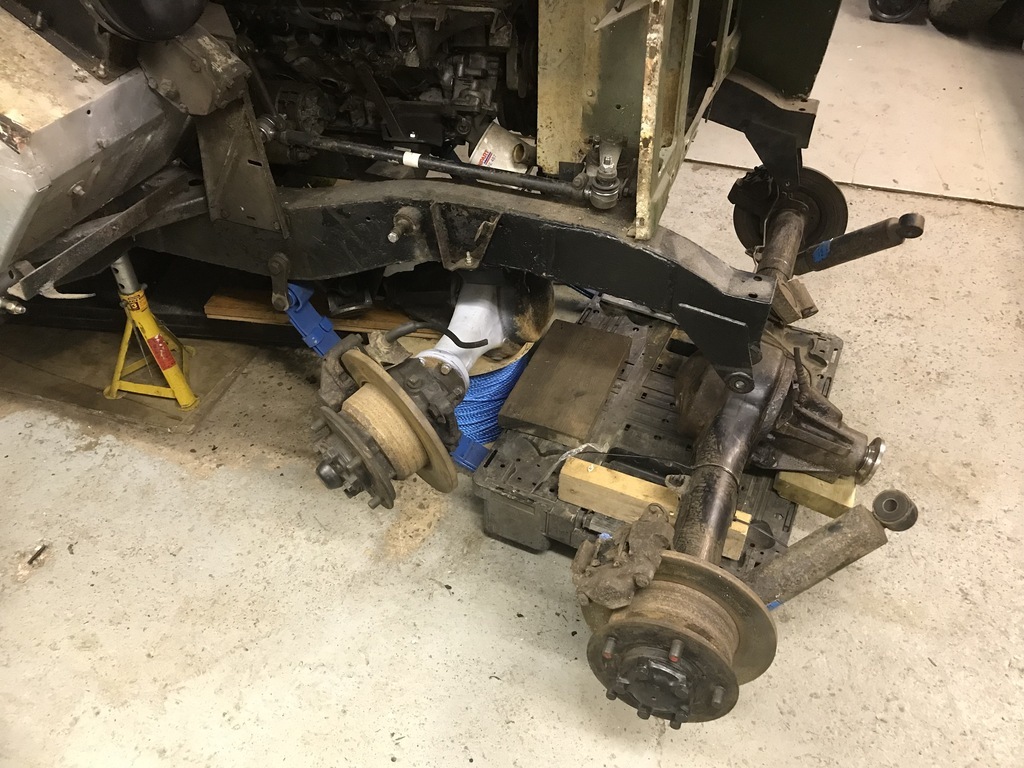 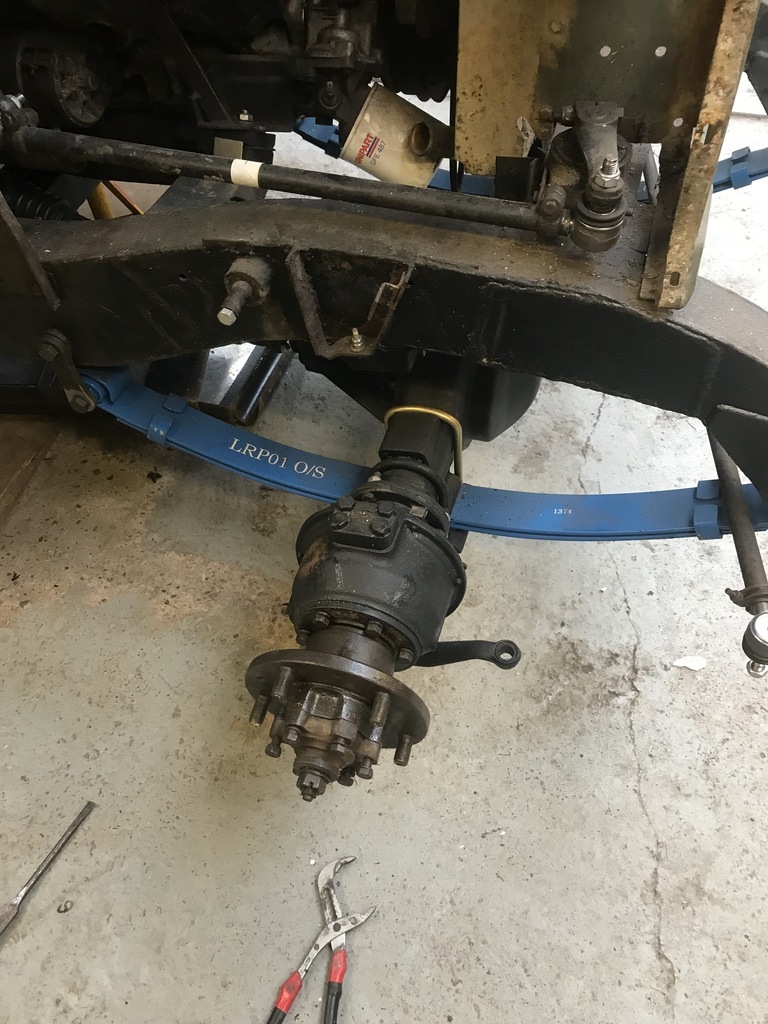 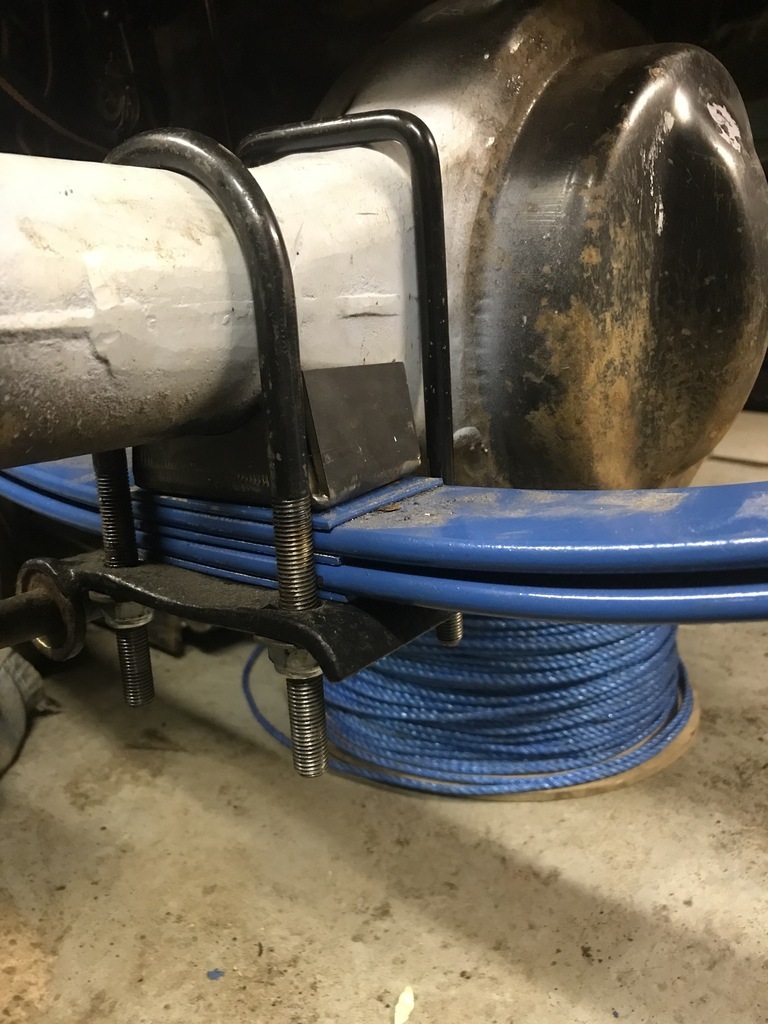 Dropped it down on it’s wheels with the axle loosely bolted in place to see how it was going to sit on the Binky-wheelarch scale. Hopefully, this fits into the “Cheeky” category, rather than “taking the….” category. If it does end up looking like there’s too much sidewall sticking out, I might take their lead and get a band on the inner face of the wheel to stretch the tyre back inwards a bit. We’ll see though. 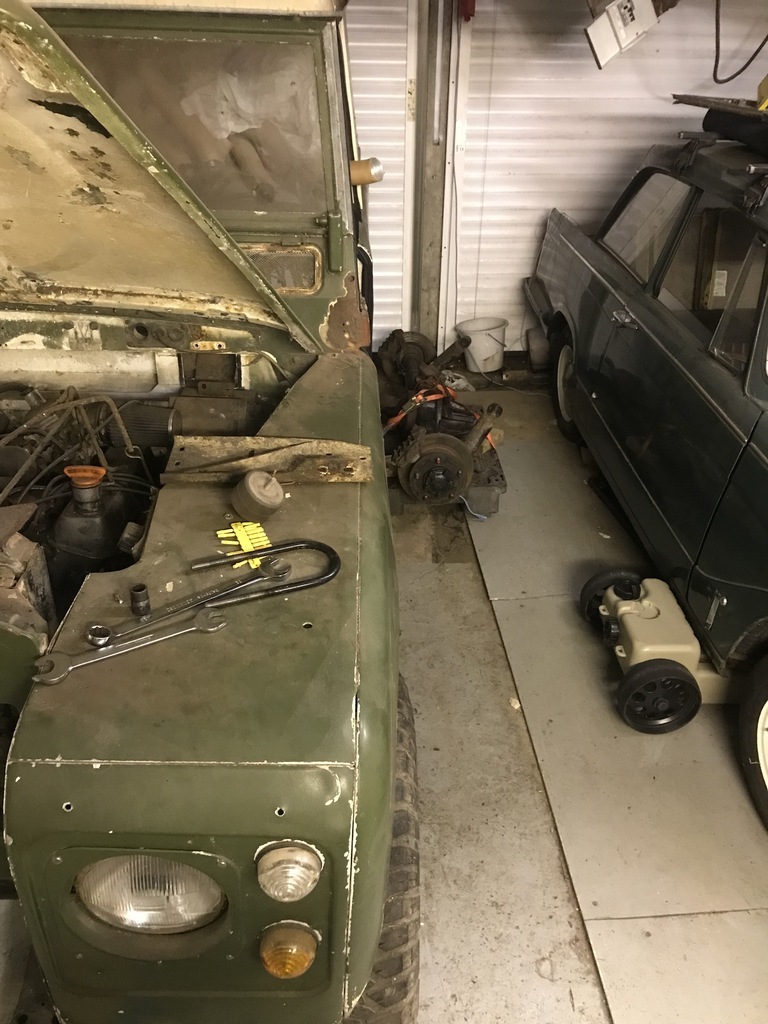 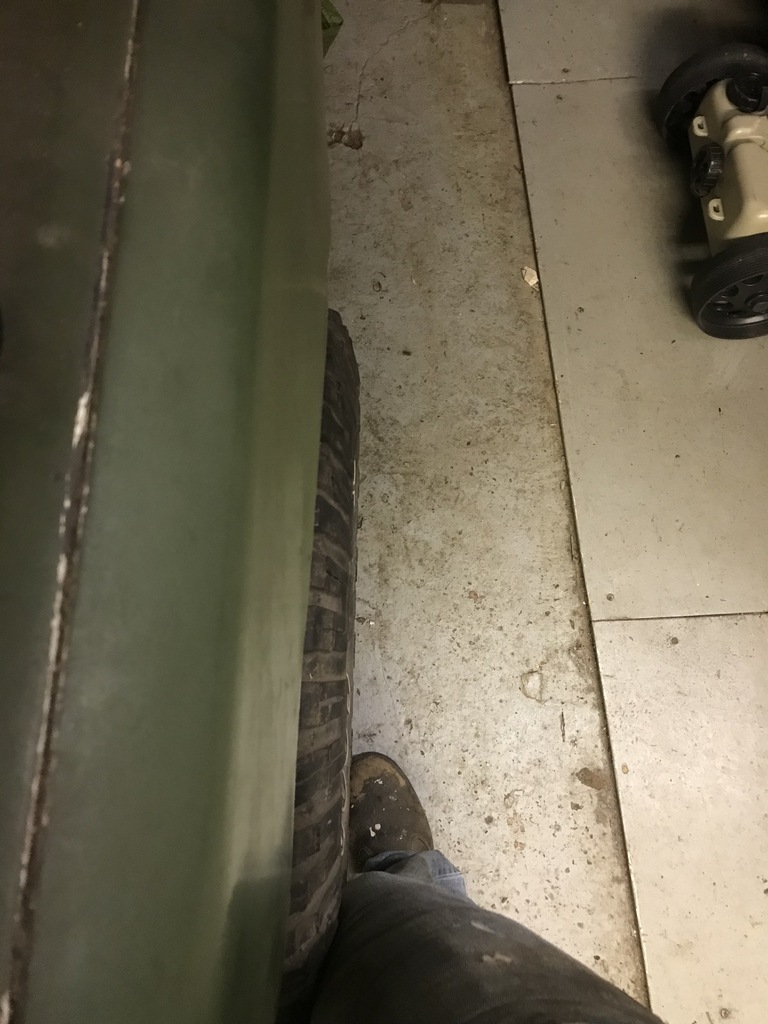 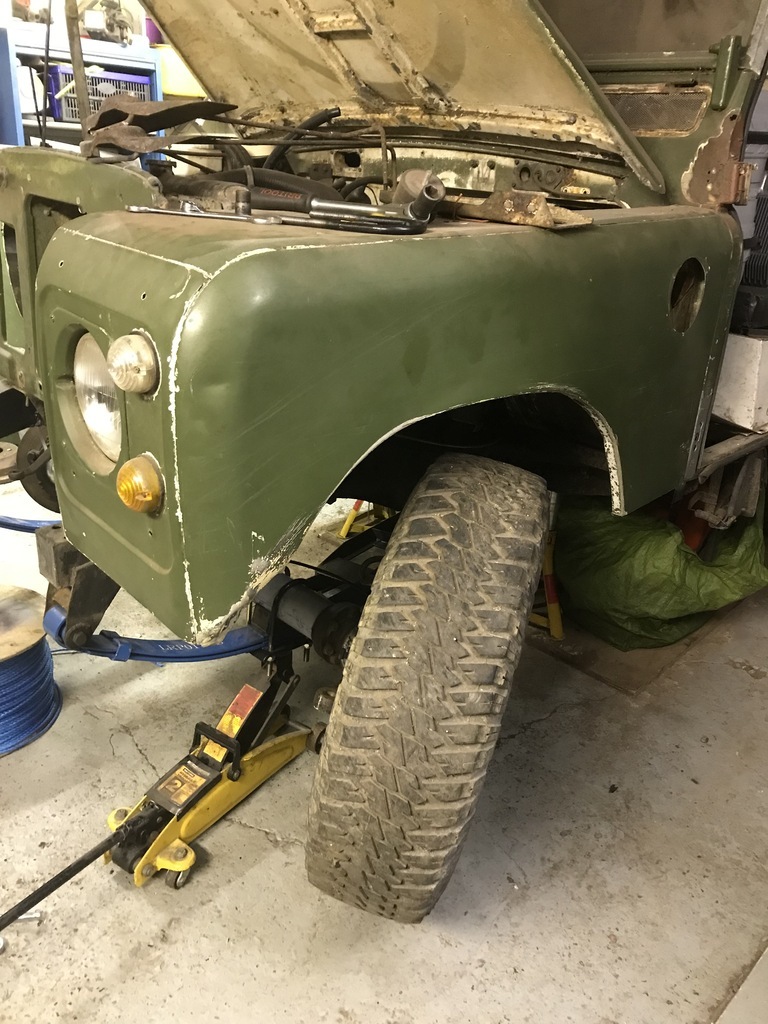 Next up, castor angle. If you read up on this conversion, you’ll hear people saying that castor angles are badly compromised, due to people lifting the back of the diff up too much when fitting, to avoid the rear track bar sitting too low/clashing with the leaf springs. You’ll then see people saying it’s not an issue. As I cant go and test drive one, next step is to have a look see how much of an issue it looks in the metal. I set the axle to avoid track bar-leaf spring interference and to be fair, it does mean the axle ends up sitting at a jaunty angle on it’s perches. In an ideal world, the pinion is supposed to be 11-12 degrees from the vertical, which gives the apparent ideal 3 degree castor setting. I don’t have degree calibrated eyes, but to me the pinion’s sitting a fair bit more than that from the vertical (most obvious when you look at the angle of the square u-bolt compared to the leaf / floor). That’s before the track rod ends are tightened, and the bar is hard on the leaf springs (to the extent that I couldn’t turn right as the adjustors would hit the springs). 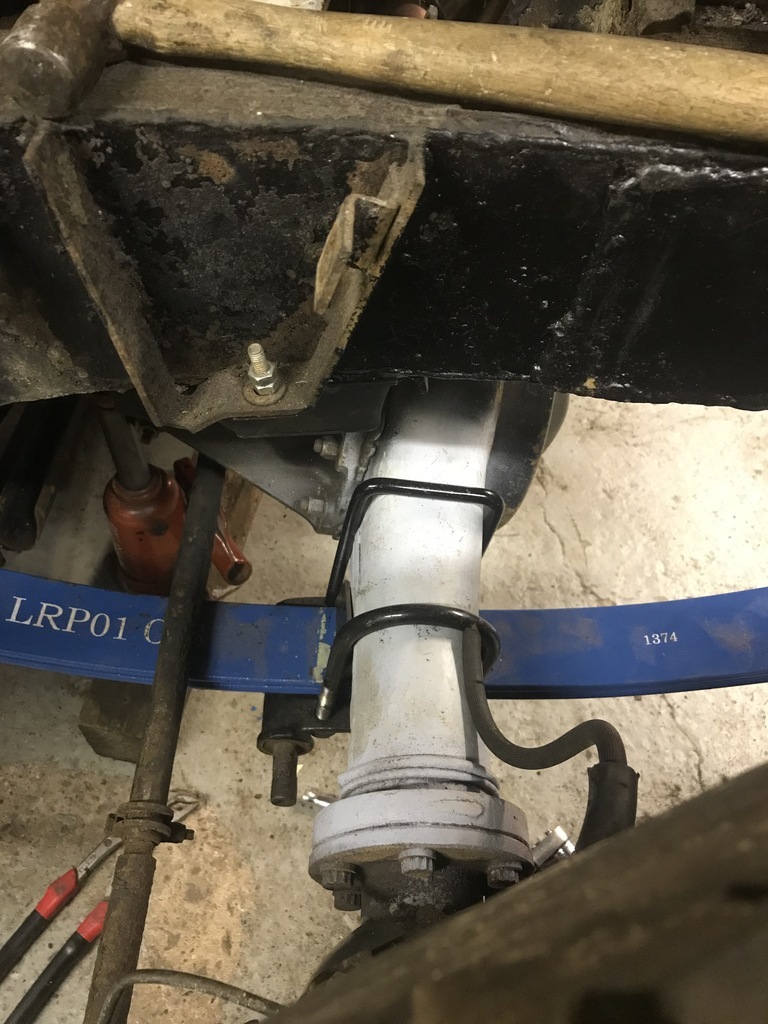 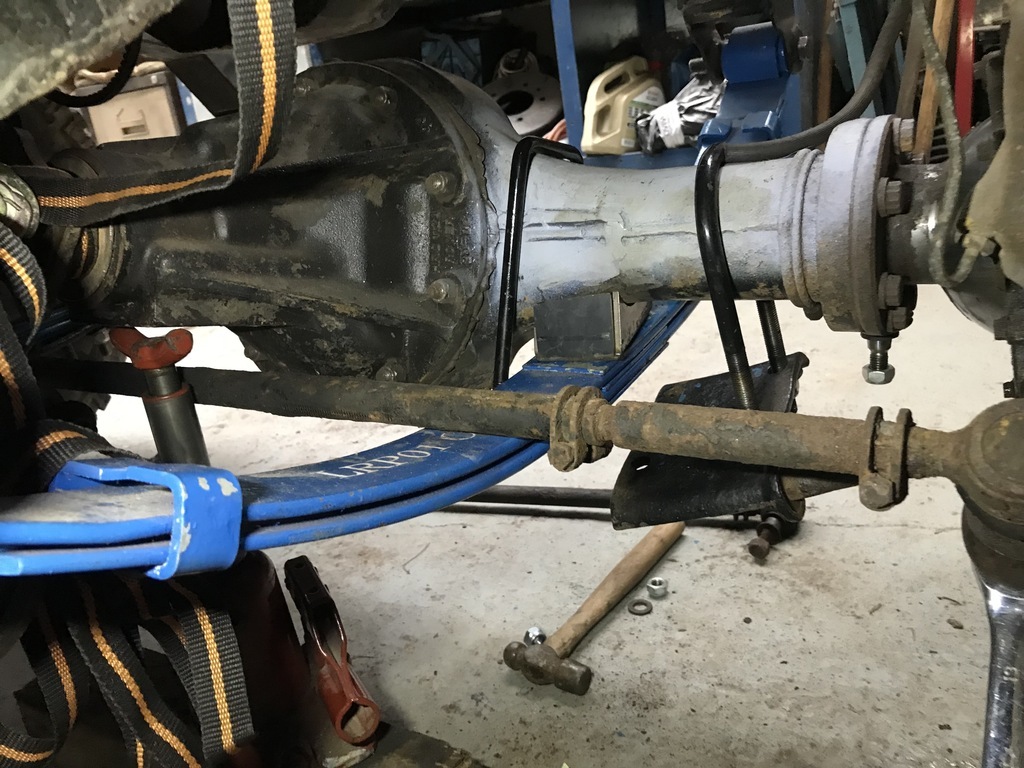 Is this partiular point going to make it a death trap? Probably not, and given that it’s a modified 1940s design, jacked up and with a v8 stuffed in the front it’s all a bit subjective anyway. However, in the words of Ron Dennis, it’s sub-optimal, so I at least need to have a go at making it better. Obviously, there’s not a lot I can do about the leaf, nor the cast swivel housing, which leaves the track rod ends and track bars. In an ideal world, I need track rods that stand taller off the tapered interface, bringing the track bar up away from the leaf, without going so far up that the track bar hits the diff. The ideal situation then, is a taller TRE and a track bar that’s no fatter than standard. Easy I thought, there will be someone that had to live with the high bending moment induced for whatever reason, and made such a beast. Except it seems they didn’t. Funnily enough, everybody hugs their track rods down as close as possible to the steering arm (because it’s good practice). Add to that, the fact that large swathes of the market don’t list taper angles and the odds of finding something off the shelf from the motor trade get pretty slim. Going to the opposite end of the spectrum, complete fresh start, gave this- big bolt, rod end and spacers (including a taper spacer): 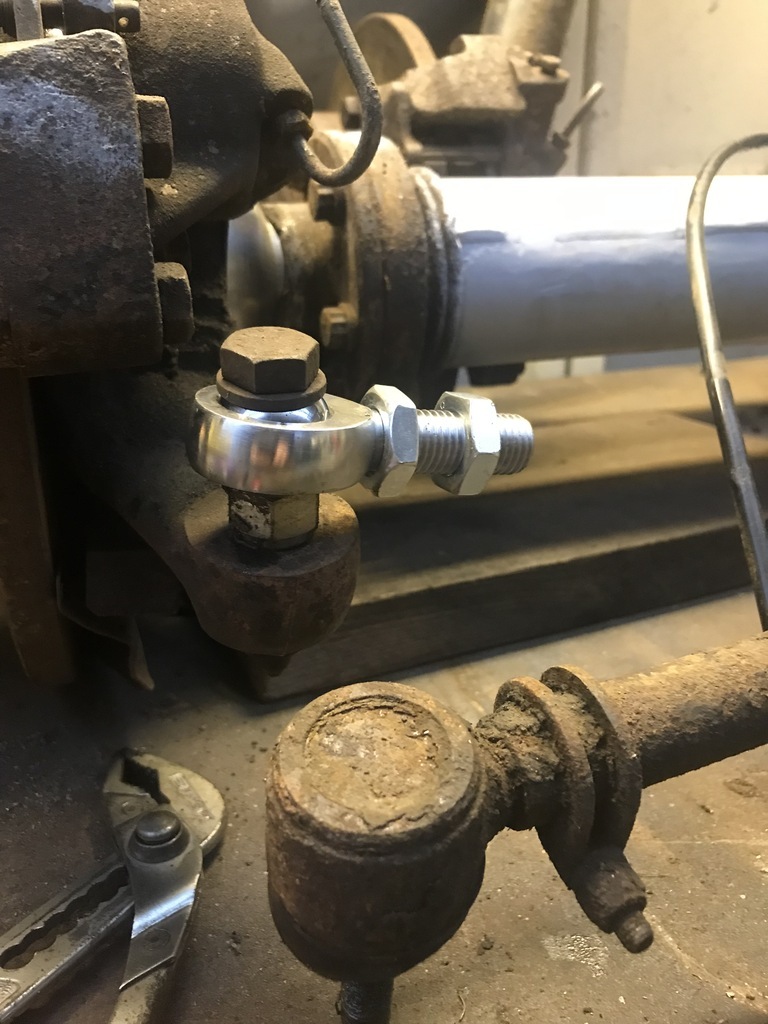 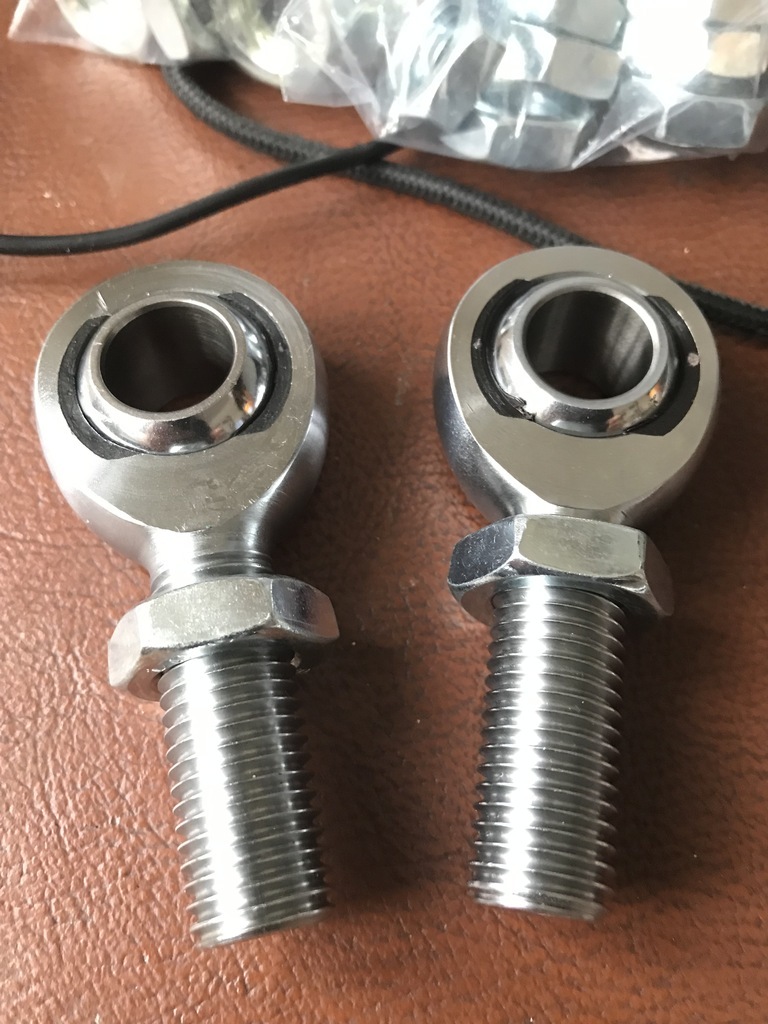 Technically, this would have worked, but I wasn’t comfortable with it. I’d be relying on the shear strength of the bolt and that’s limited by the bore in the steering arm (M12). I needed a middle ground. Options for modified steering components are, quite rightly, thin on the ground but it seems the drift & rally crowds are game for a laugh so have developed some options: 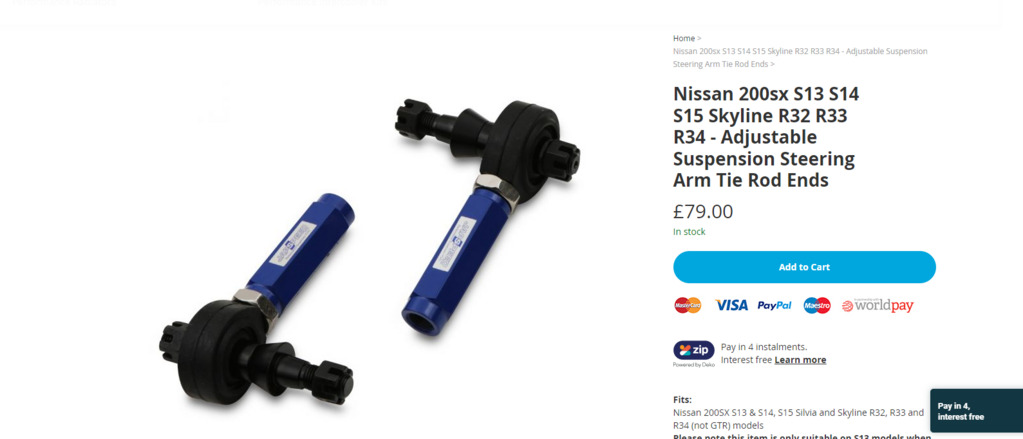 www.japspeed.co.uk/nissan-200sx-s13-s14-s15-skyline-r32-r33-r34-adjustable-suspension-steering-arm-tie-rod-ends?gclid=EAIaIQobChMIl_yAtND39AIVBLDtCh1aZw-HEAQYAyABEgJIpvD_BwE www.japspeed.co.uk/nissan-200sx-s13-s14-s15-skyline-r32-r33-r34-adjustable-suspension-steering-arm-tie-rod-ends?gclid=EAIaIQobChMIl_yAtND39AIVBLDtCh1aZw-HEAQYAyABEgJIpvD_BwEand : 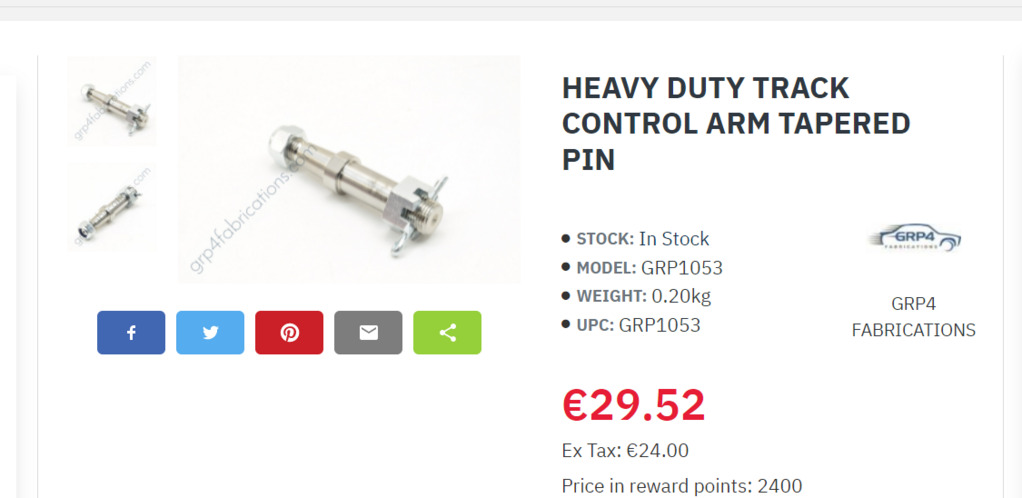 www.grp4fabrications.com/hd-tca-tapered-pin www.grp4fabrications.com/hd-tca-tapered-pinAlthough I cant lay my hands on the link anymore, there’s a company in the US selling generic versions in 6 and 10 degree flavour for about 50p too Obviously I cant use either of these, as they’ll invariably be slightly wrong in every dimension and / or wont be robust enough for a landrover. Incidentally, that last comment is directed at the US option which was clearly for lightweight hotrods, the UK ones in the links actually look quite nice. However, most importantly it validates the concept, so I broke out my lathe-stig (father in law) and set him to work. The idea was to replicate the taper adaptor concept in the links, but to suit the M16 rod ends I had in hand and the taper on the landrover swivels. After a couple of trial runs to get the taper right, we’ve ended up with this. 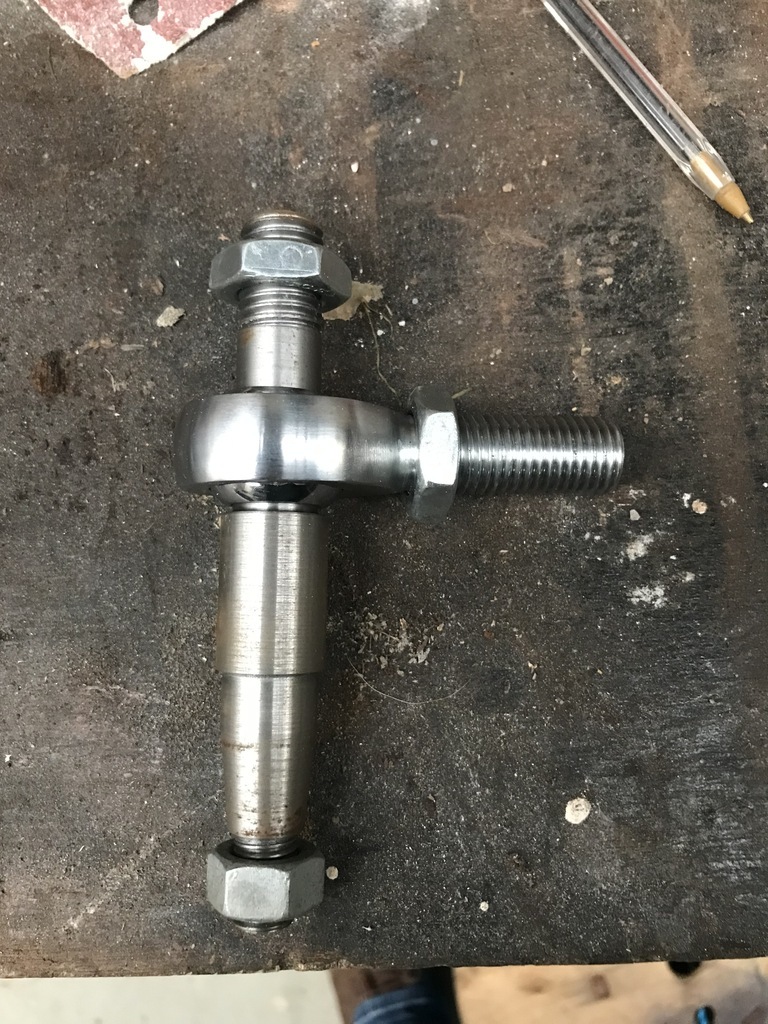 The excess length at the top end is there so I can set the offset with washers for now. Once I’ve got the ideal setting we’ll increase the shoulder to suit and replicate in something like EN8 (don’t want to go too tough as I’d rather bend than snap…) The plan is to have a session with a digi level with the car on the deck and the nose of the diff on a jack to see if I can find a nice compromise. That’s if postman pat doesn’t bring me the missing bit in the steering column puzzle, or any of the other stuff that might get in the way over the next week… |
| |
Last Edit: Dec 22, 2021 16:17:37 GMT by doshy
|
|
|
|
|
|
|
|
Hi, Nice job so far. With regards to the clearance problem: if you replace the trackrod for a defender one, you won't have the clamps to contend with; these have only got clamps at the ends, so should make your problem smaller. Another thing you can do is to fit longer shackles; this moves the spring down where you need it and you can rotate the axle away from the hot spot. I have seen several conversions like you did, without the need for special parts.
Daan
|
| |
|
|
doshy
Part of things
 
Posts: 33
|
|
Dec 23, 2021 10:30:36 GMT
|
|
Thanks Dan
I’d heard about the military shackle option and to be honest, I don’t know why I hadn’t put more value on it. I’ve got some suitable bar floating around so will give it a go. They’re about 40mm longer aren’t they?
|
| |
|
|
|
|
|
Dec 23, 2021 10:46:07 GMT
|
|
|
| |
|
|
|
|
|
Dec 23, 2021 11:52:10 GMT
|
 to be fair, just by replacing the track rod for a defender one, I'd say you are good to go. Daan |
| |
|
|
doshy
Part of things
 
Posts: 33
|
|
Dec 23, 2021 18:13:37 GMT
|
|
I’ll see if I can lay my hands on one sharpish then. Thinking ahead, using the discovery item with the adjuster removed on the drag link duty could be an easy way of getting a steering damper on there too. On that subject, there’s a bit going on with the steering at the moment-p38 box and zafira pump..
Thanks again Daan, appreciated
|
| |
|
|
doshy
Part of things
 
Posts: 33
|
|
Sept 3, 2022 13:37:33 GMT
|
|
|
| |
|
|
|
|
|
Sept 4, 2022 20:02:30 GMT
|
Well, to be fair a lot of that went right over my head. I sort of followed, but I'm happy that you seem to know what's what, so crack on, it's all looking good!  |
| |
1968 Mini MkII, 1968 VW T1, 1967 VW T1, 1974 VW T1, 1974 VW T1 1303, 1975 Mini 1000 auto, 1979 Chevette, 1981 Cortina, 1978 Mini 1000 1981 Mini City, 1981 Mini van, 1974 Mini Clubman, 1982 Metro City, 1987 Escort, 1989 Lancia Y10, 1989 Cavalier, 1990 Sierra, 1990 Renault 19, 1993 Nova, 1990 Citroen BX, 1994 Ford Scorpio, 1990 Renault Clio, 2004 Citroen C3, 2006 Citroen C2, 2004 Citroen C4, 2013 Citroen DS5. 2017 DS3 130 Plenty of other scrappers!
|
|
|
|
|
|
|
|
Great to see it's still progressing. I think the tyres fill the arches well. not taking the pi$$ at all.
|
| |
|
|
|
|


