|
|
|
Apr 14, 2023 21:45:08 GMT
|
As I mentioned in the last post the IAT's will now be under reading on the OBD live data. Since I haven't got a larger I.C. yet, I reckoned it would be good idea to keep an eye on the real IAT's. I ordered a standalone gauge which I'll temporarily mount it on the dash beside the boost gauge. 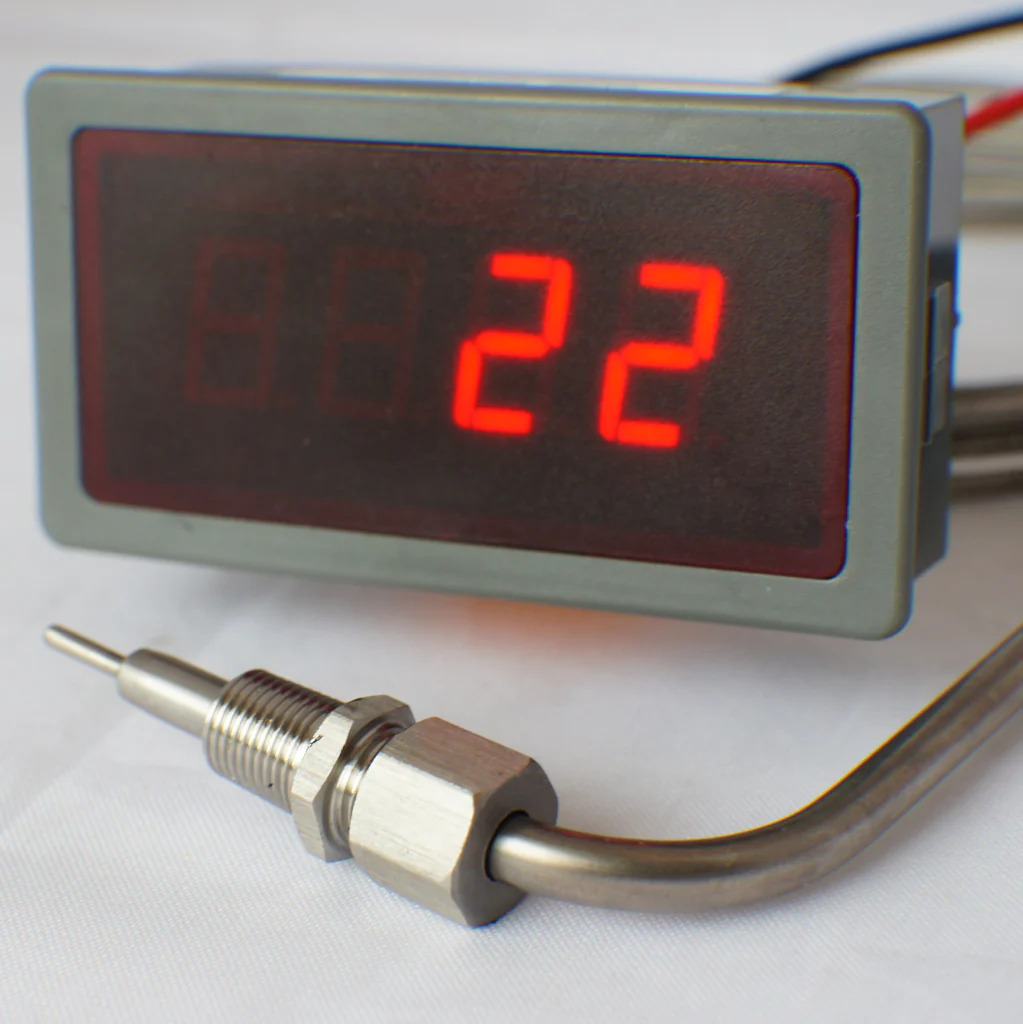 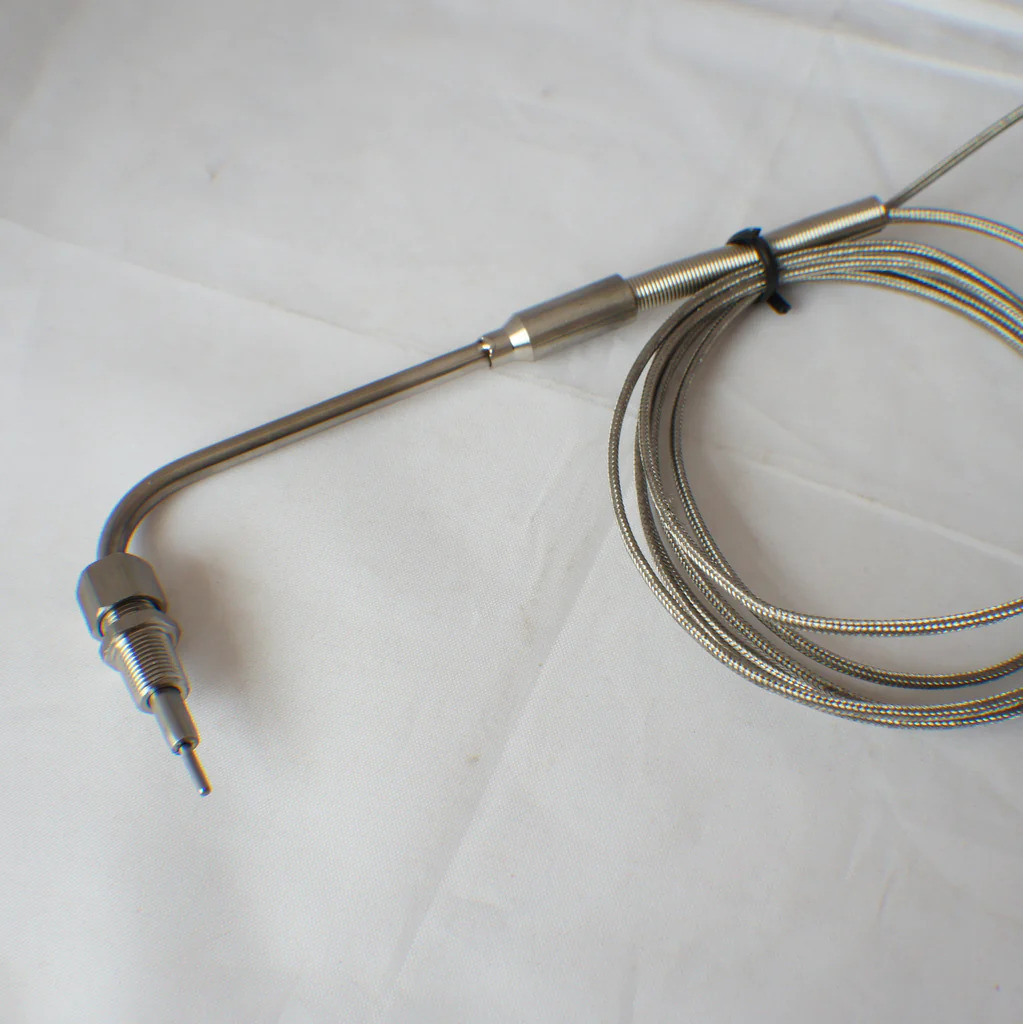 Next up, I got around to cleaning up the underbody, mainly the front and rear suspension arms as these suffered from a lot of superficial rust over the last few weeks while doing some road testing in the wet. Usually, the damp and wet weather doesn't really cause much of an issue but I was putting the car back into the garage each time and forgetting to leave a window open for ventilation, this caused a lot of condensation due to the hot engine and exhaust. I'm not into all the detailing stuff, simply haven't got the interest but if I can keep things looking o.k. I'll put in a bit of effort. Washed down all of the suspension and subframe, let it dry and treated anything looking rusty with Owatrol oil initially. I'll let it dry for 48hrs and then the black parts will be painted in Owatrol black and the subframe touched up with a white oil based paint. The front suspension and cross member got the same treatment. Why you my ask am I bothering with superficial rust? The truth is I had all paint & oil left over from my overhaul of the suspension three years ago and for a nice change I didn't have to sent any money.  The same went for the insides of the wheels, just cleaned with wet & dry 600 & 1500, standard grey primer and several coats of lacquer, thist should make it easy to clean them in future. When my new Yoko's arrive I'm sure the tyre fitter will be amazed that 25 year old wheels are actually spotless. 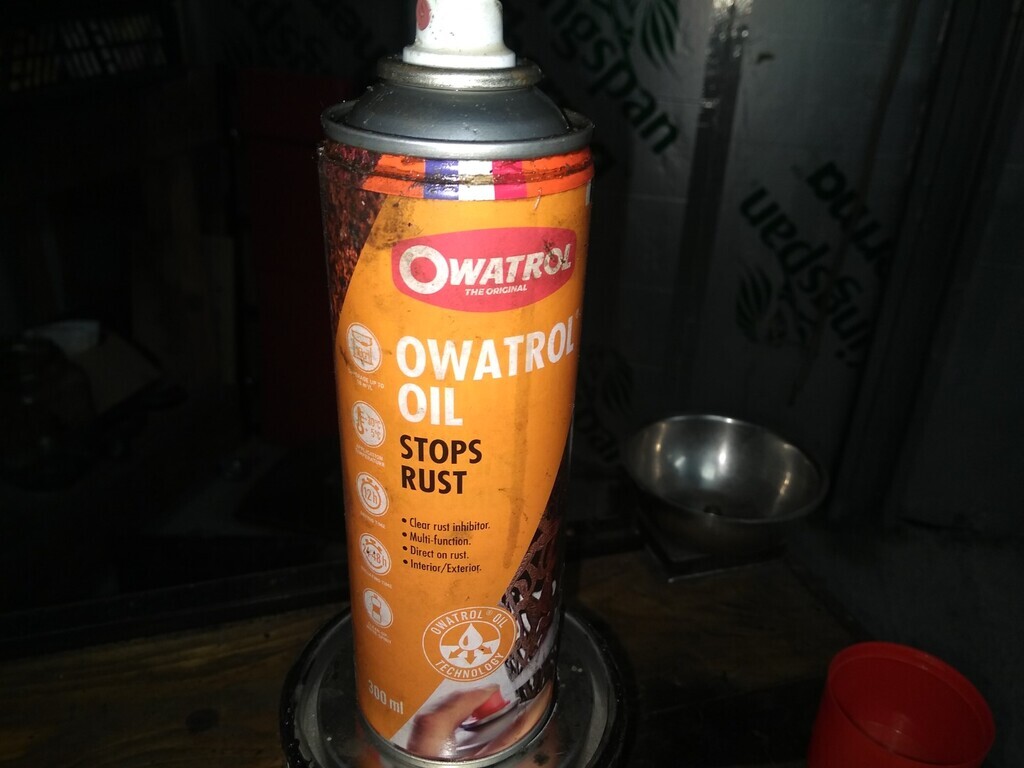 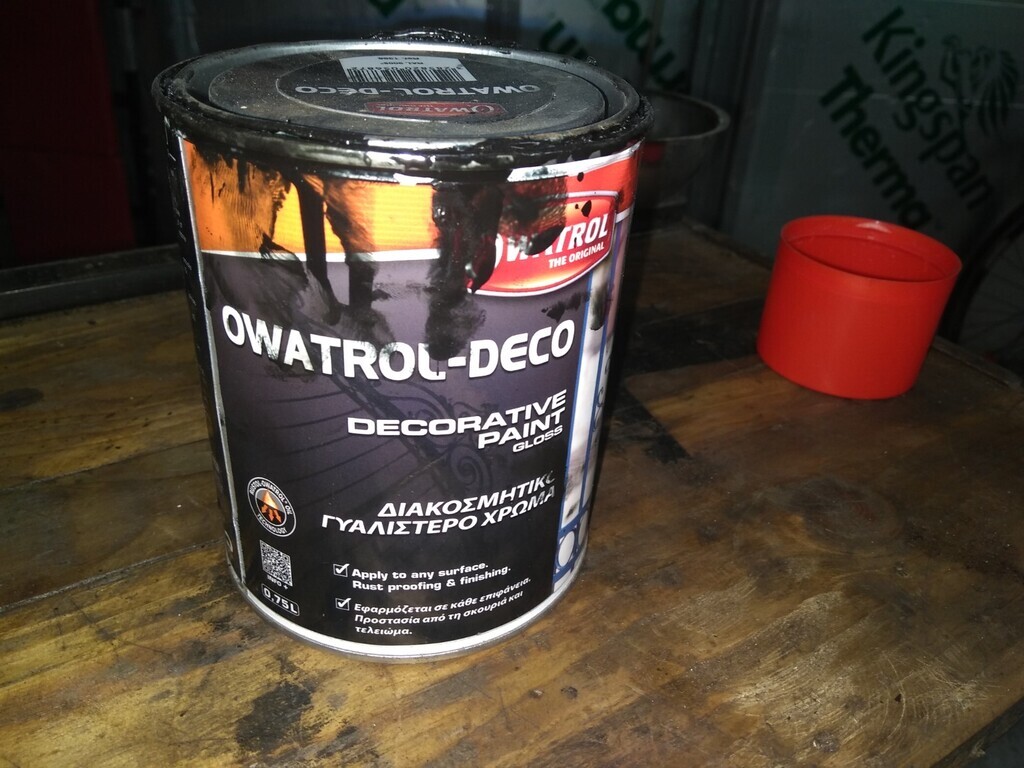 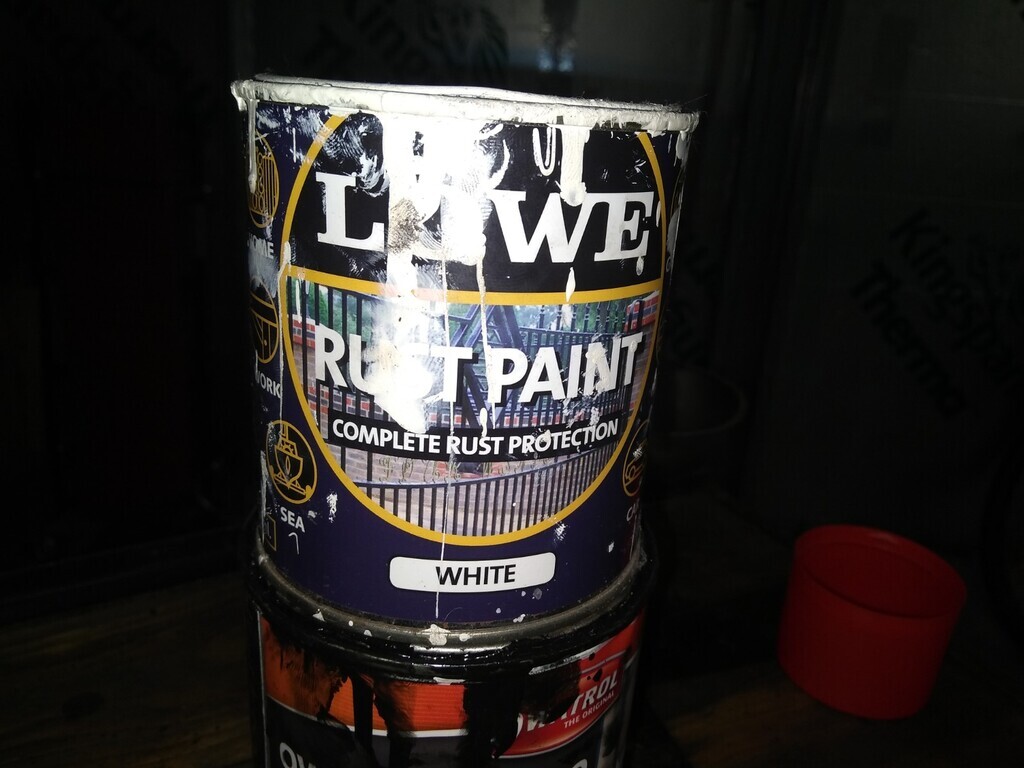 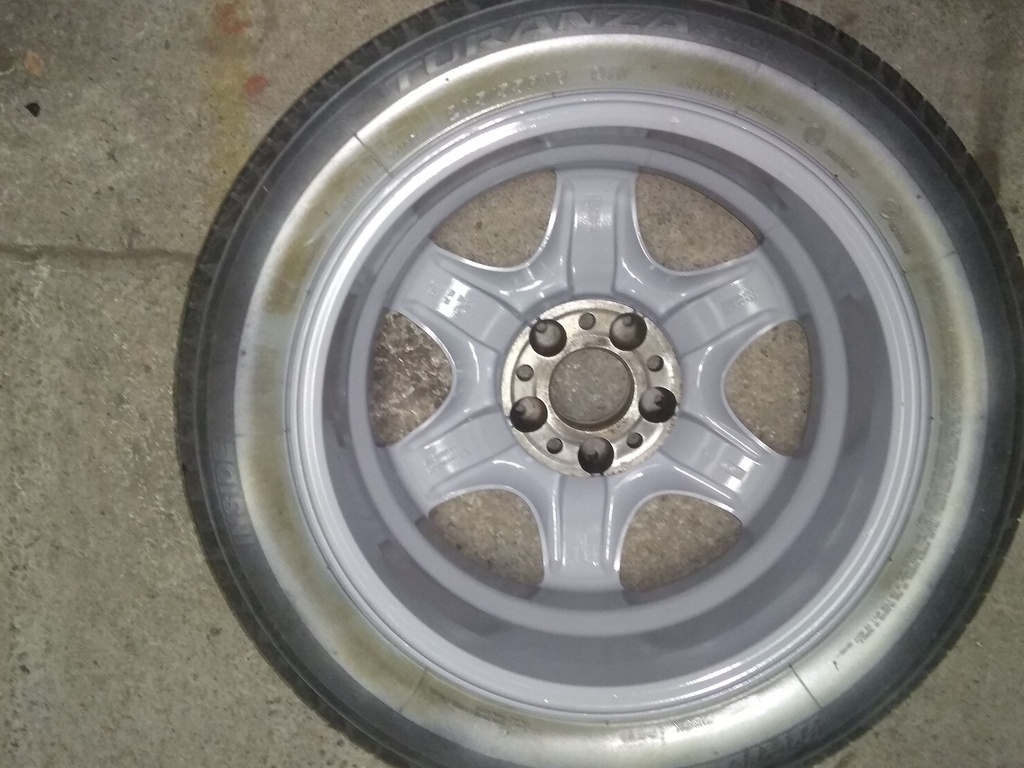 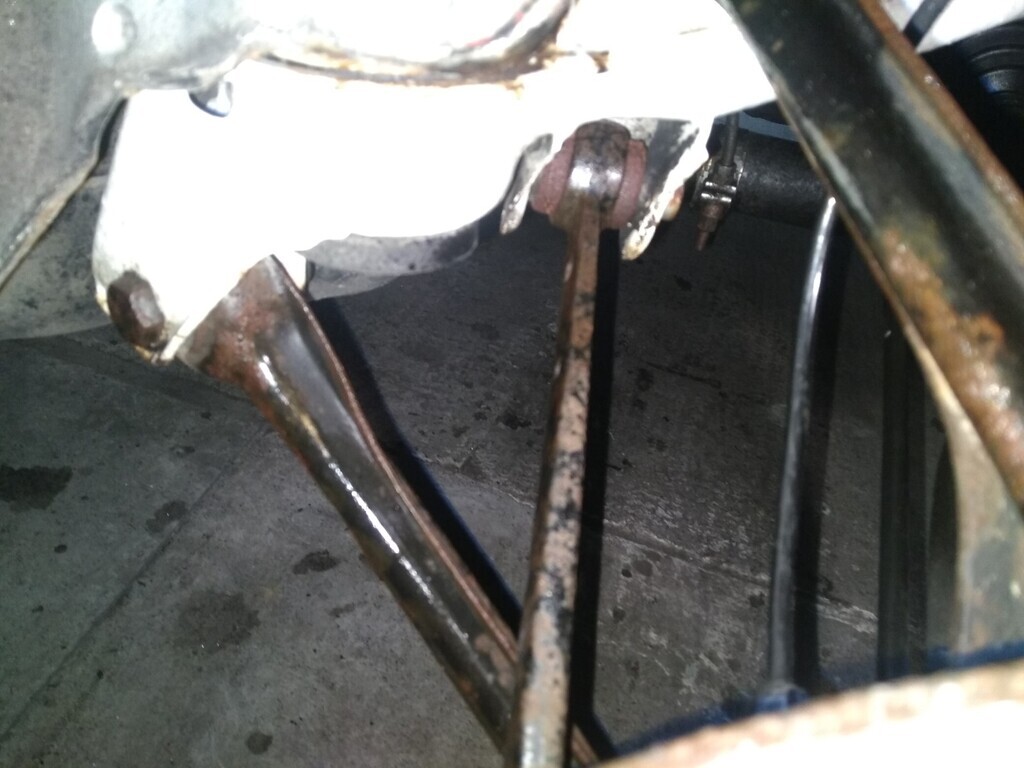 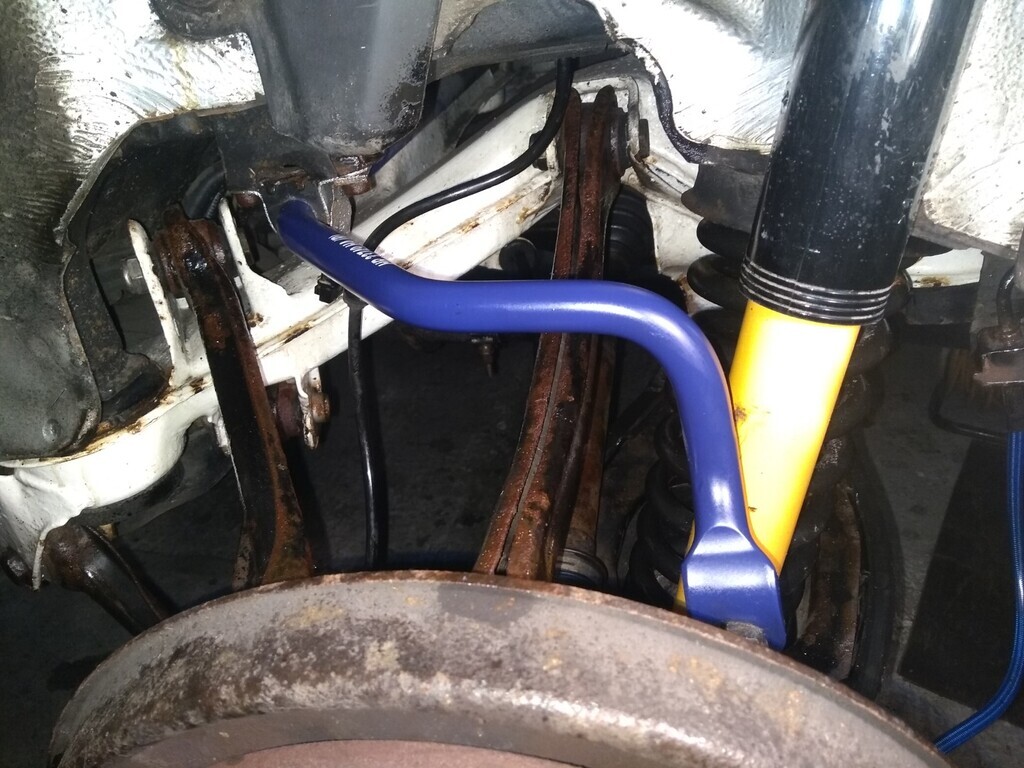 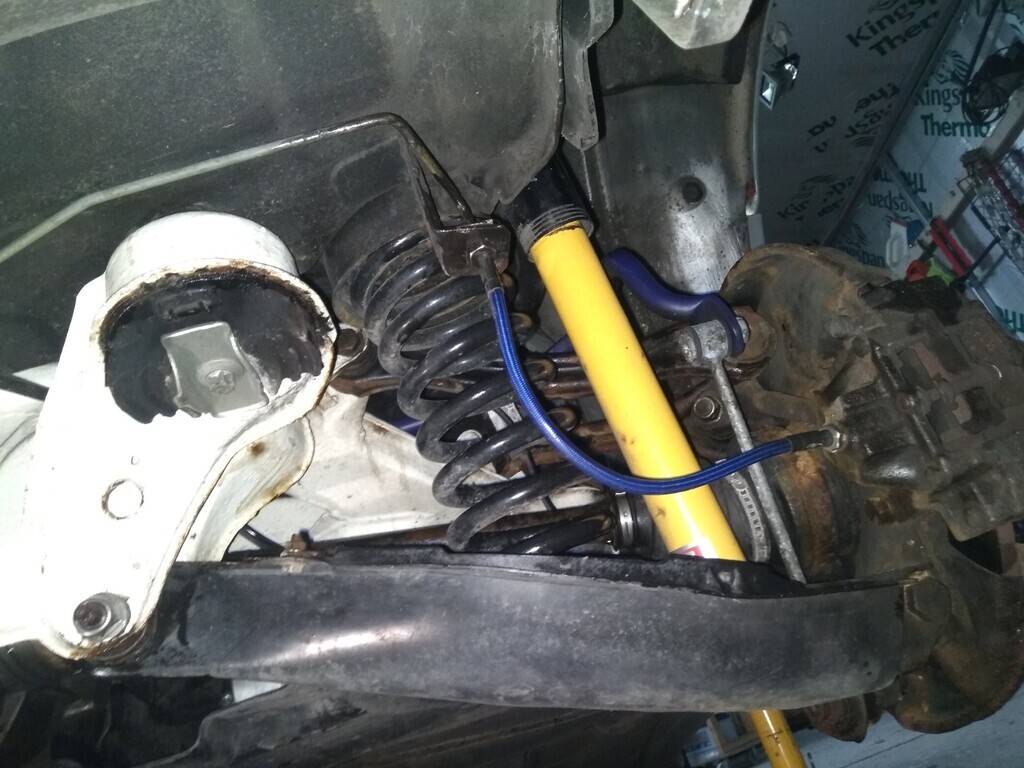 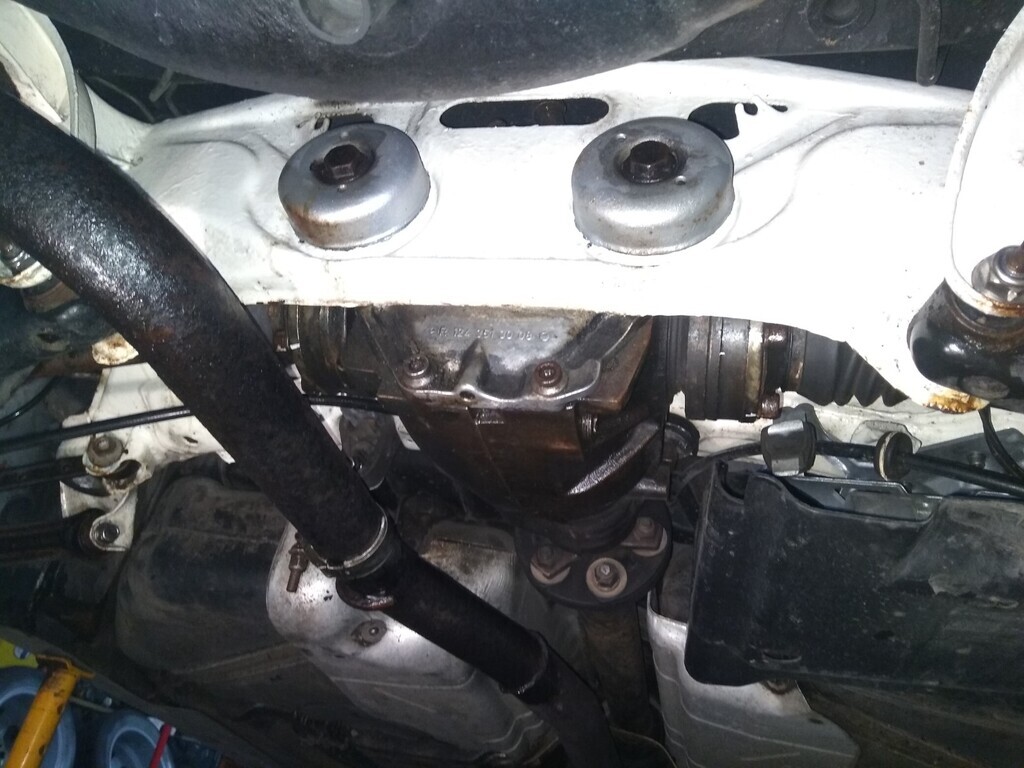 |
| |
Last Edit: Apr 14, 2023 22:21:15 GMT by Woofwoof
Still learning...still spending...still breaking things!
|
|
|
|
|
|
|
Apr 25, 2023 21:32:31 GMT
|
Just about completed the list of bits & pieces to have the car ready for the road on 1st May. I got the second pair of new rear tyres fitted, when back to Yokohama Advan Sport 105's. I'll advertise the new Kumho's as their no good to me, even if I get a few bucks back it will be better than a kick in the ass. 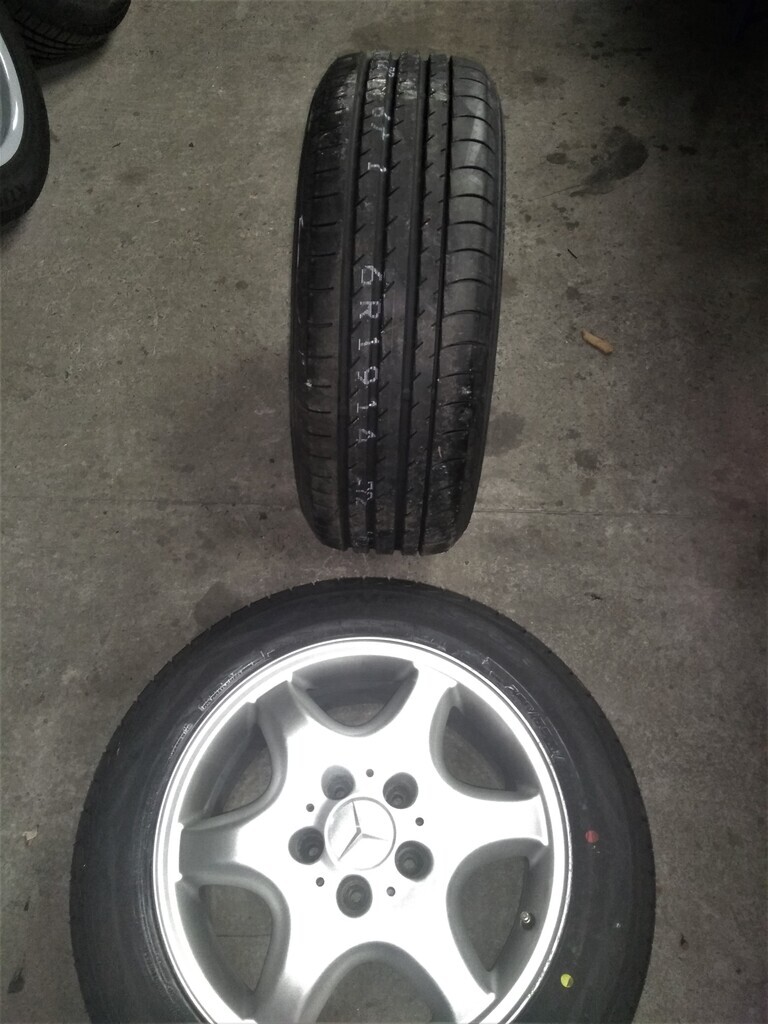 I also finished cleaning up the rear suspension on both sides and subframe. Yeah, it's an old Merc and worth darn all but it's just nicer having everything clean and fresh. 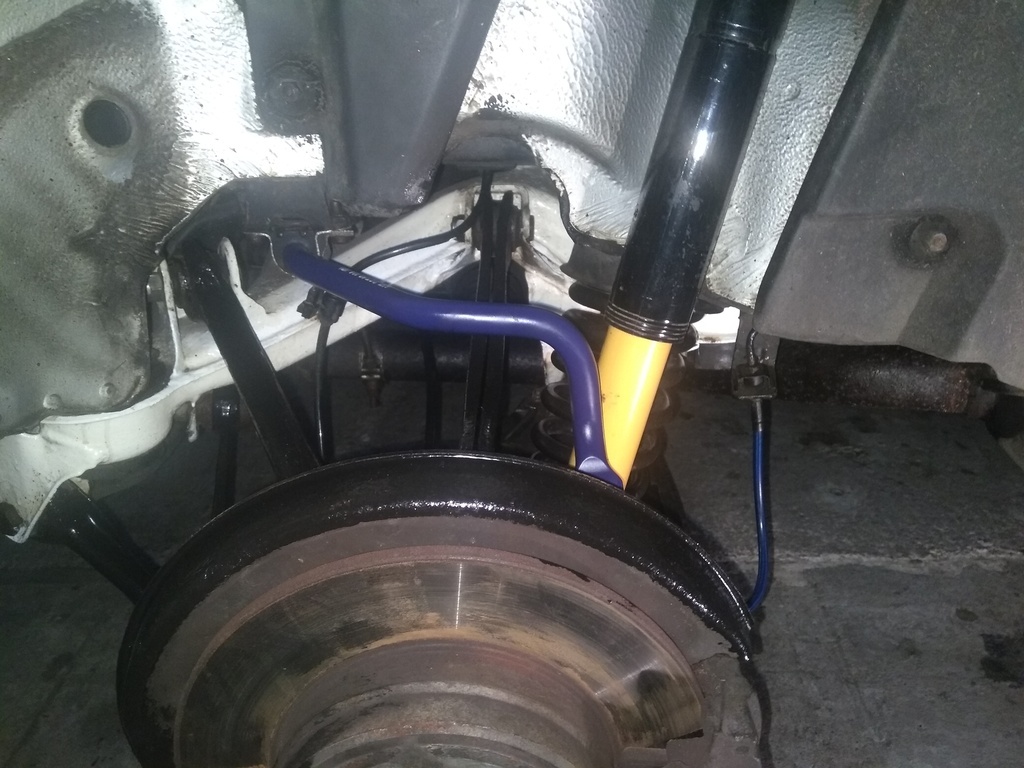 The last item to do is fit a self sealing hose adapter to the inlet hose for the I.A.T gauge. The adapter is due to be delivered tomorrow. 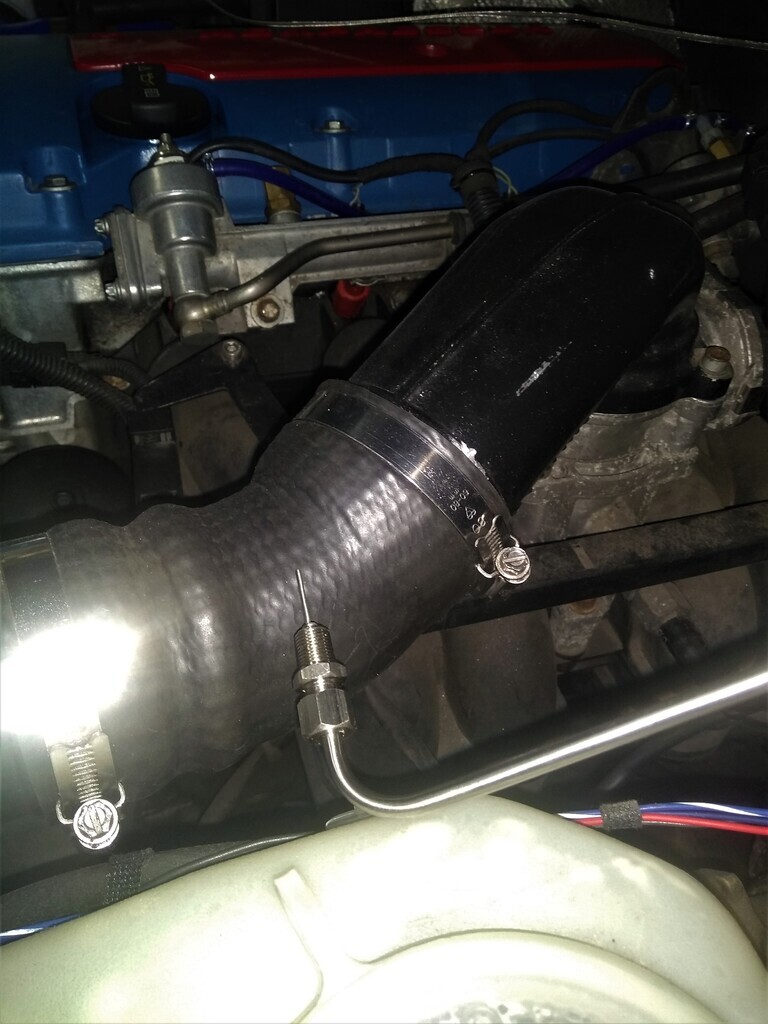 |
| |
Still learning...still spending...still breaking things!
|
|
|
|
|
|
|
IAT standalone gauge connected up and working. The only downside is it does not react to temp changes as quickly as the live data via the OBD. But, it told me what I needed to know - the resister fitment into the IAT signal in the MAF is working as intended. When the live data read out states 25C, the gauge reads 35C which is bang on the money. Boost & IAT gauge temporarily mounted with double sided tape. I need to find a permanent suitable location. 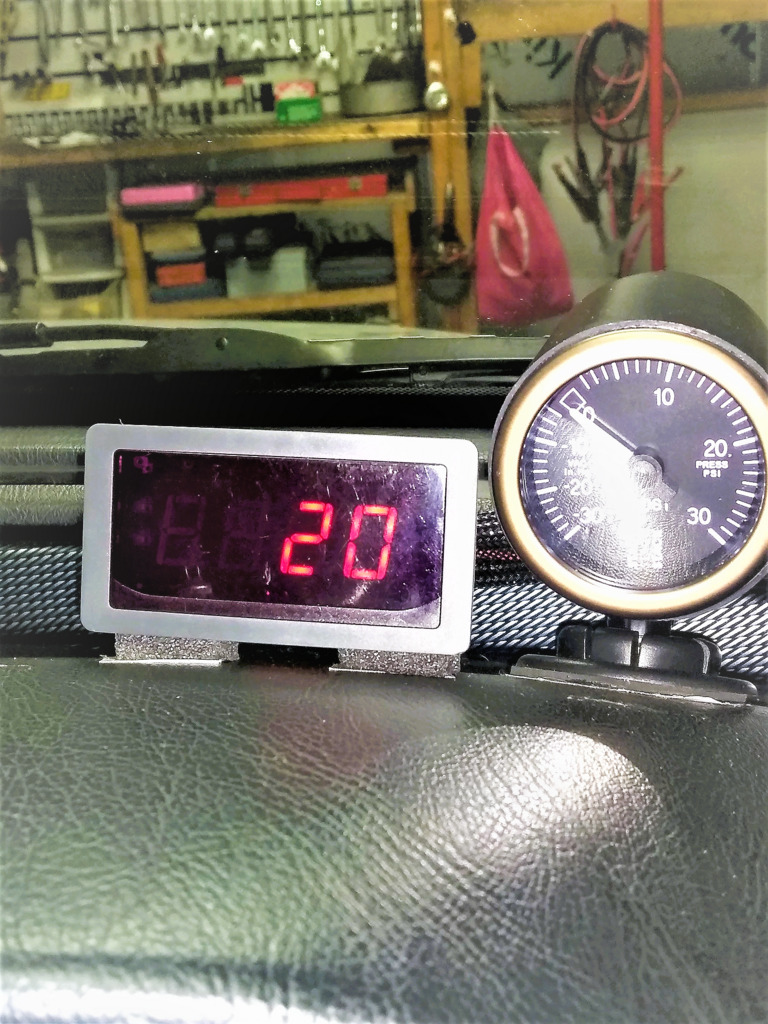 Temp probe plumbed into inlet hose. 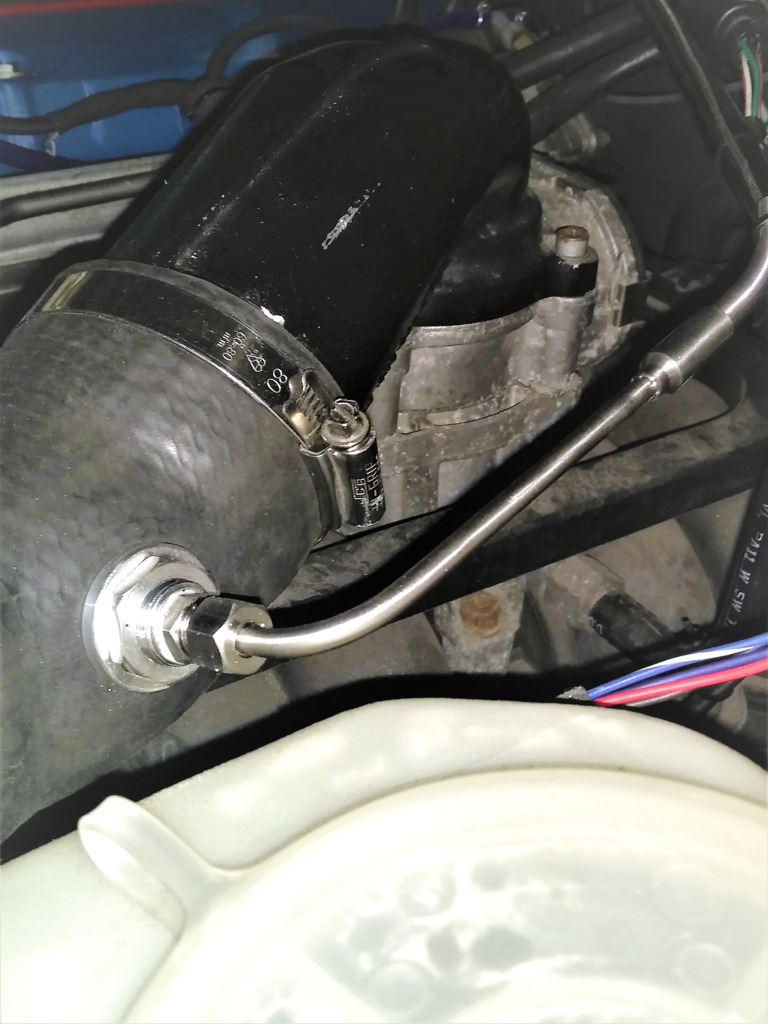 |
| |
Still learning...still spending...still breaking things!
|
|
|
|
|
May 19, 2023 21:14:31 GMT
|
I got tried of the noise from the ported & overdriven S/C even with the sealed air box & ITG cone filter. I had lined the box with insulation foam sheets, all sides including the lid but it was still too loud. Here on the left. 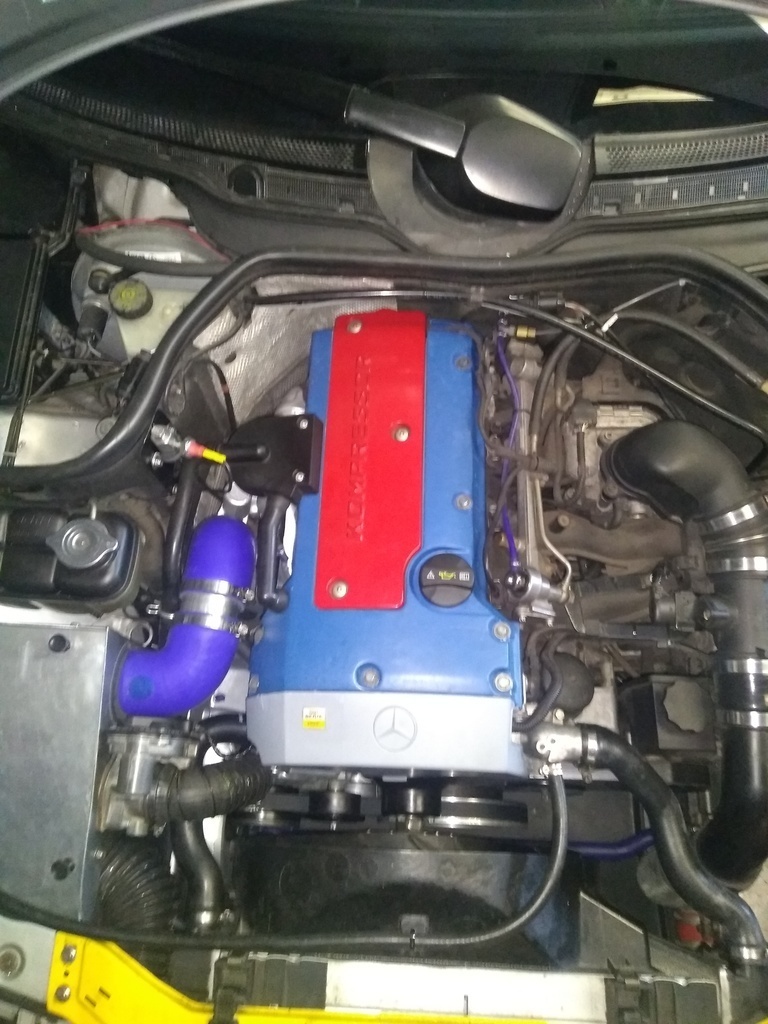 What to do? The stock air filter housing is well designed and keeps the stock S/C noise levels very well suppressed, but it becomes a restriction and flow is maxed out when hitting above 250 bhp. In actual fact if the engine is tuned for 270 bhp or more the filter housing will cost 15-18 bhp at max rev's. Now, I'm at approx 250 bhp refitting the stock housing shouldn't cause a lost in max power but may not give the best throttle response, but I'm unsure about that. Since I was using 75mm diameter hoses for the inlet & outlet of the homebrew sealed air box I decided to use the same on the stock air filter housing rather than stick with the original 63mm. A few mod's later to the filter housing including removing the interior baffling at the inlet and outlets and job done. What a different from a noise perspective, along with no noticeable lost in throttle response or outright power and LTFT's and AFR's haven't changed. Inlet, basically the same as I used with the sealed air box but larger that the original stock inlet. 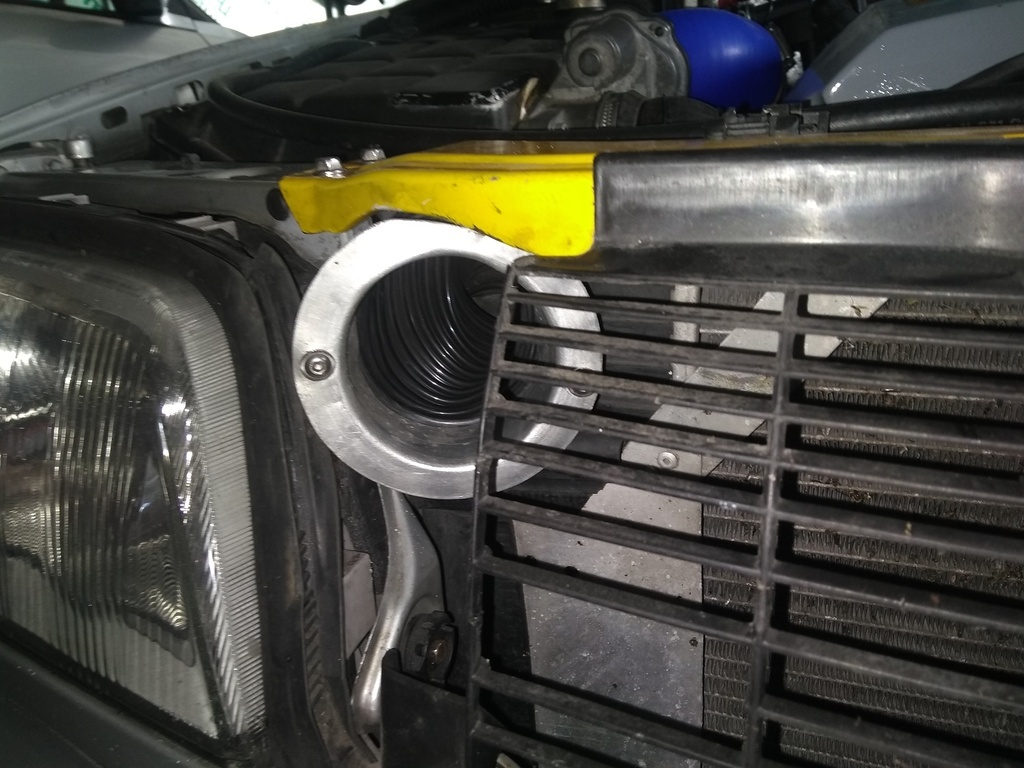 Outlet, removed the 63mm built in flange and fitted a 75mm aftermarket flange, sealed with epoxy glue - messy but great stuff. 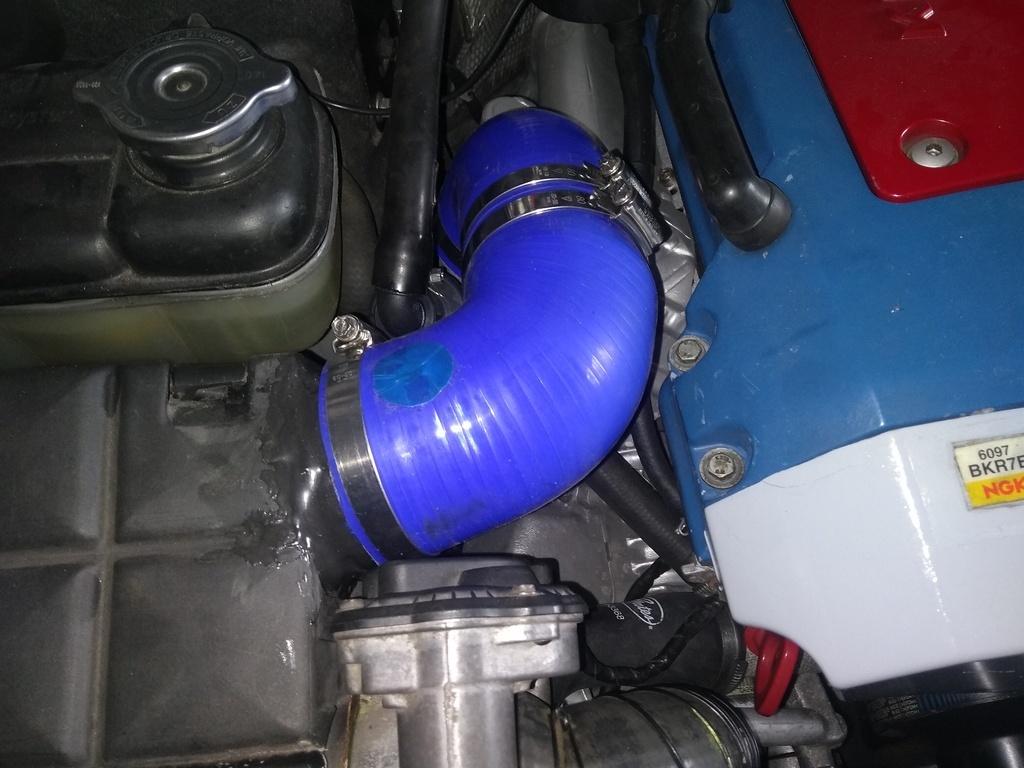 Inlet connected into air filter housing. Nice and smooth alloy pipe right into the housing. 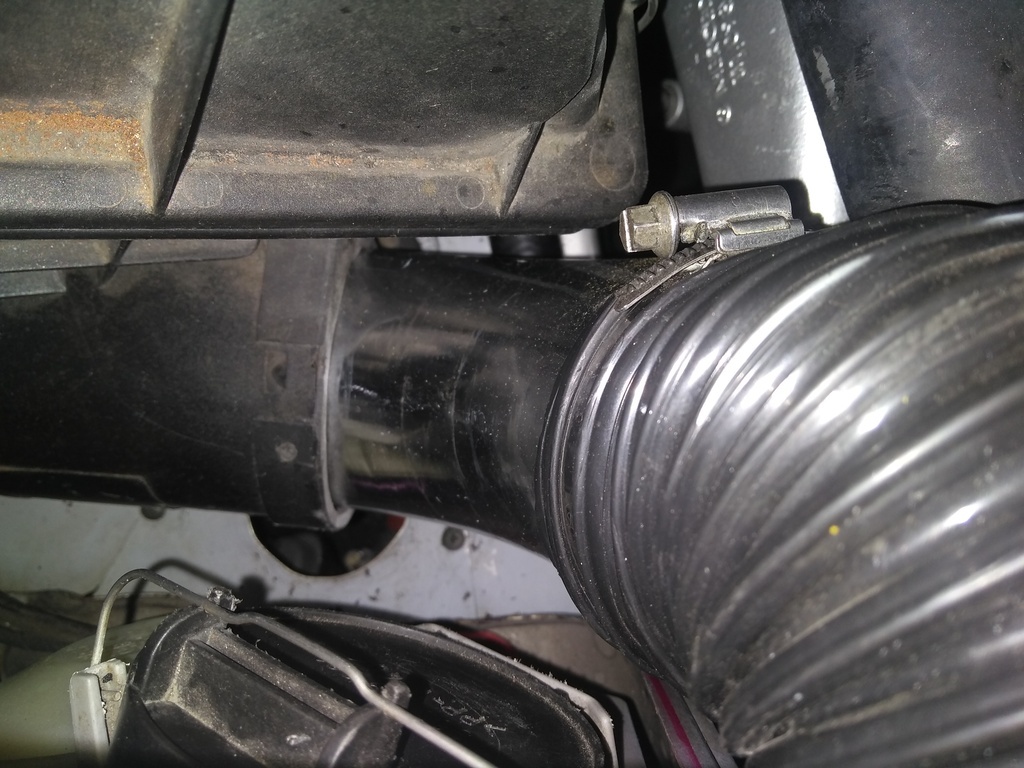 |
| |
Last Edit: May 20, 2023 12:37:38 GMT by Woofwoof
Still learning...still spending...still breaking things!
|
|
|
|
|
|
|
Just to remind myself of what I've done recently. Coming up: Fitting V3.0 Ported S/C. Replacing the MAF (originally replaced in March but failed). Gaining 50bhp with a Pipercross panel filter! Removing the new standalone I.A.T. gauge. Replacing the plugs. And maybe I'll wash the car and post a photo  |
| |
Still learning...still spending...still breaking things!
|
|
|
|
|
Jun 18, 2023 22:51:41 GMT
|
So, what's happened in the last three weeks? A few things... As I mentioned I had a three month old Bosch MAF fail, ordered another and fitted it. That lasted all of c.10 miles after I when wide open throttle! Almost all engine power lost, the usual fault codes and misfires on several cylinders. Refitted an old Bosch MAF I had, it worked but there was engine flat spots @ 3 & 5000 rpm. Fitted my spare Pierburg MAF but disconnected the MAF voltage clamp and left the IAT resistor in place. All good, the car pulled like a champ. I've since covered 250 miles and still good. Doing a 340 mile round trip next week, the car will get a proper workout then. My main concern was why two new genuine Bosch MAF's failed, both failed after I fitted the third version of a S/C but this could be coincidence. There's five possibilities I can think of: 1. Some engine coolant/debris found it's way into the inlet hose of I.C when changing over the S/C's, possible but doubtful. 2. Some left over alloy flakes were still lodged in the S.C intake pipe after I ported it, again possible but doubtful, I really did make sure I had cleaned out the pipe after grinding and polishing it. 3. Some excess grease from the S/C rear bearings got to the MAF's. I did make sure there was enough grease but nothing excessive. 4. The Bosch MAF's didn't like the voltage clamp, thus they failed rather quickly. Again, doubtful as nobody has reported MAF clamps causing MAF failure. Now, Bosch has redesigned their MAF's and just maybe this has something to do with it. Photo below. 5. I use oiled air filters, had a cone fitted and then changed over to a modified stock air filter box with an oiled panel filter, excess oil could damage the MAF but I've never had an issue on that front, ran the oiled cone for 8,000 miles+ and have used them previously in other cars without any problems. Now, people have had issues but every time it was caused by over oiling the filter. Best course of action was to remove the I.C., boost hoses & pipes and remove the outlet cover from the S/C and inspect. Everything was as clean as whistle, including the S/C rotors. I found no debris, alloy flakes/dust or dirt etc. Cleaned everything anyway, washed out the I.C twice and both the water and brake cleaner came out clean. Having said that, debris could have been there and by the time I checked everything it had been digested by the engine and there was no evidence left? I wish there was, at least then I know I screwed up and what caused two MAF's to fail. On a positive note, I made a warranty claim against one of the MAF's which was accepted and I received a full refund. New Bosch design MAF in the foreground. 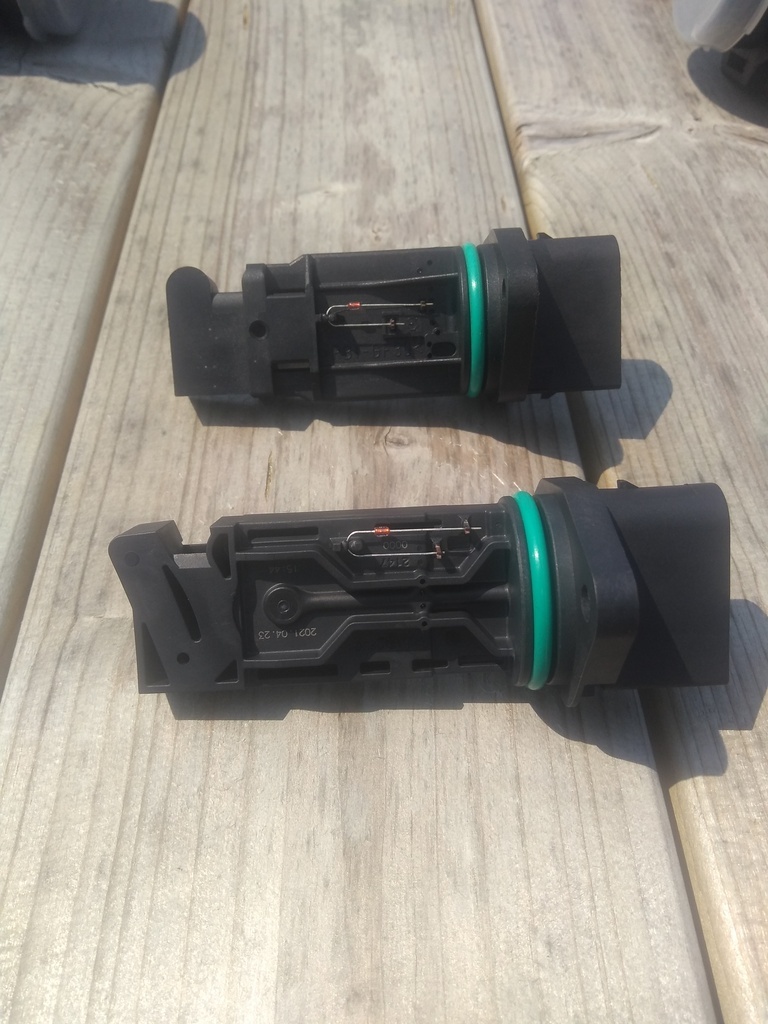 Checked the spark plugs, nice color on all but managed to crack the insulator on one because while taking it out I was not paying attention. They'd covered 10,000 miles so fitted a new set. The engine idle was rough on cold start up and was progressively getting worse. The usual suspects are a vacuum leak, MAF, engine temp switch etc. I had, as good preventive maintenance replaced the temp switch about 40,000 miles ago with a Beru switch. Reckoned, it was no harm to refit the original switch and bingo cold start idle back to normal. I'll order a new switch soon. I ordered a new Pierburg MAF to replace the old one I have currently fitted and I bought a Pipercross oiled panel air filter to replace the old stock paper filter. The Pipercross may not flow a whole lot better but I reckoned it better to have than not. It has defiantly changed the induction sound but not made the sound more intrusive. 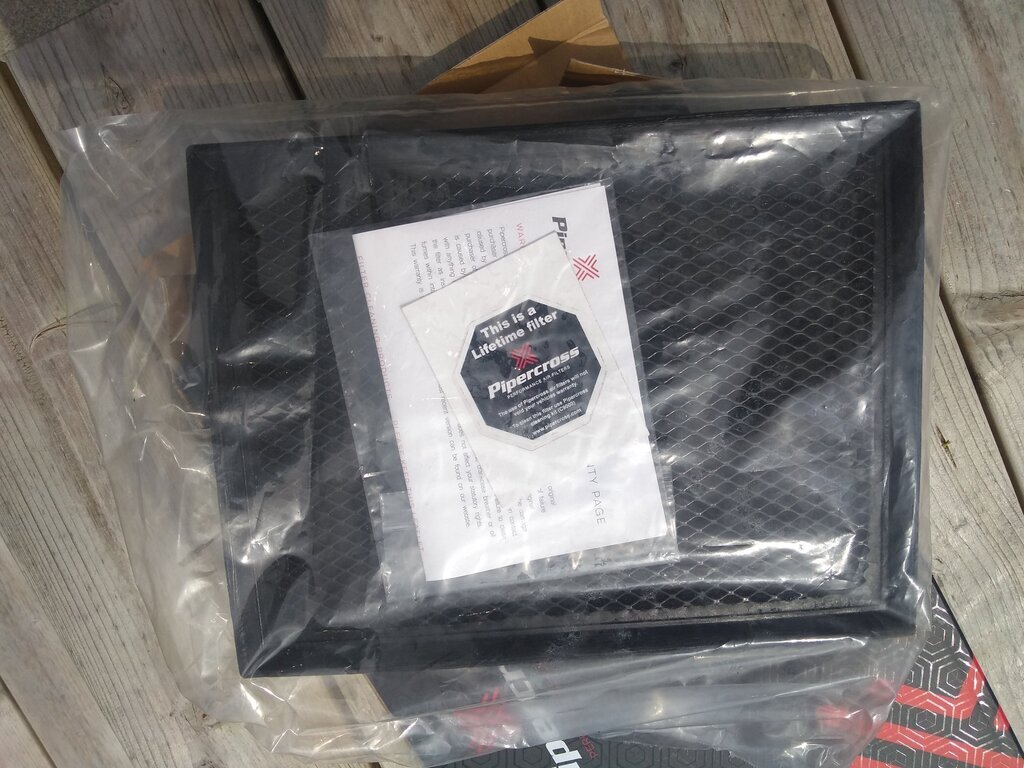 I removed the standalone IAT gauge, it worked but didn't react quick enough to my liking. I may refit at some stage. And last but not least I've had a slight vibration in the steering wheel, suspecting front wheels need balancing I decided to just check and adjust the wheel bearings and then had the wheels balanced, that sorted the issue. So, there you have it, a busy three weeks and annoying at the same time too. Oh, I rarely post photos of the old machine, don't look too close. Still it would look o.k. to a blind man on a galloping horse! 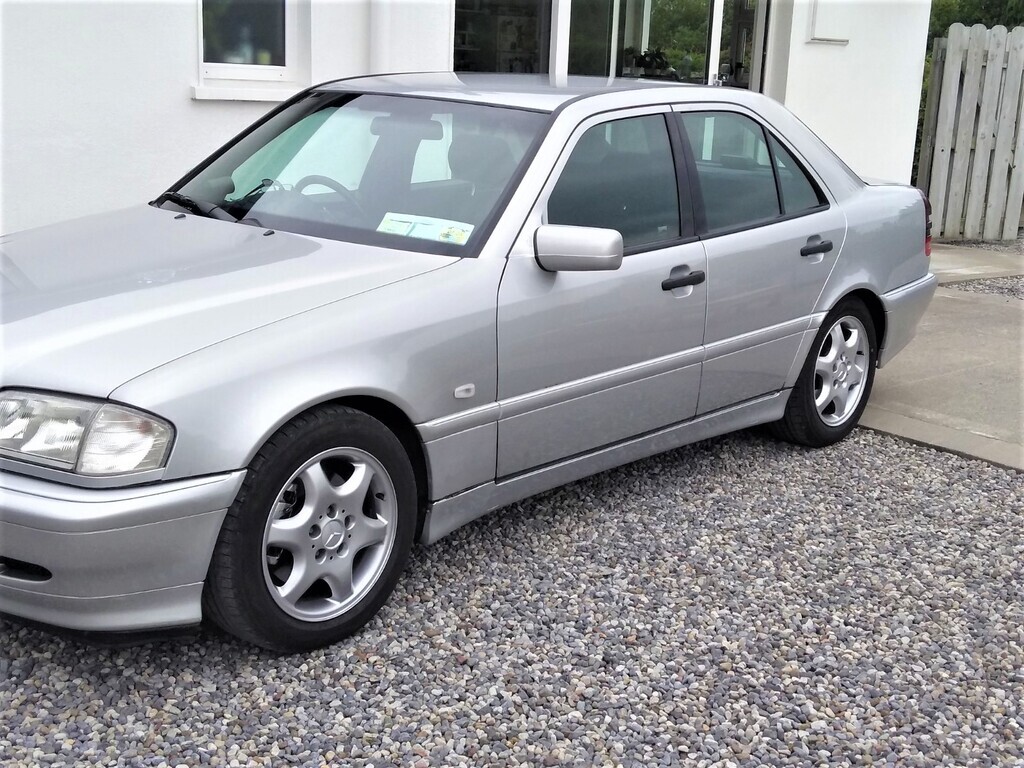 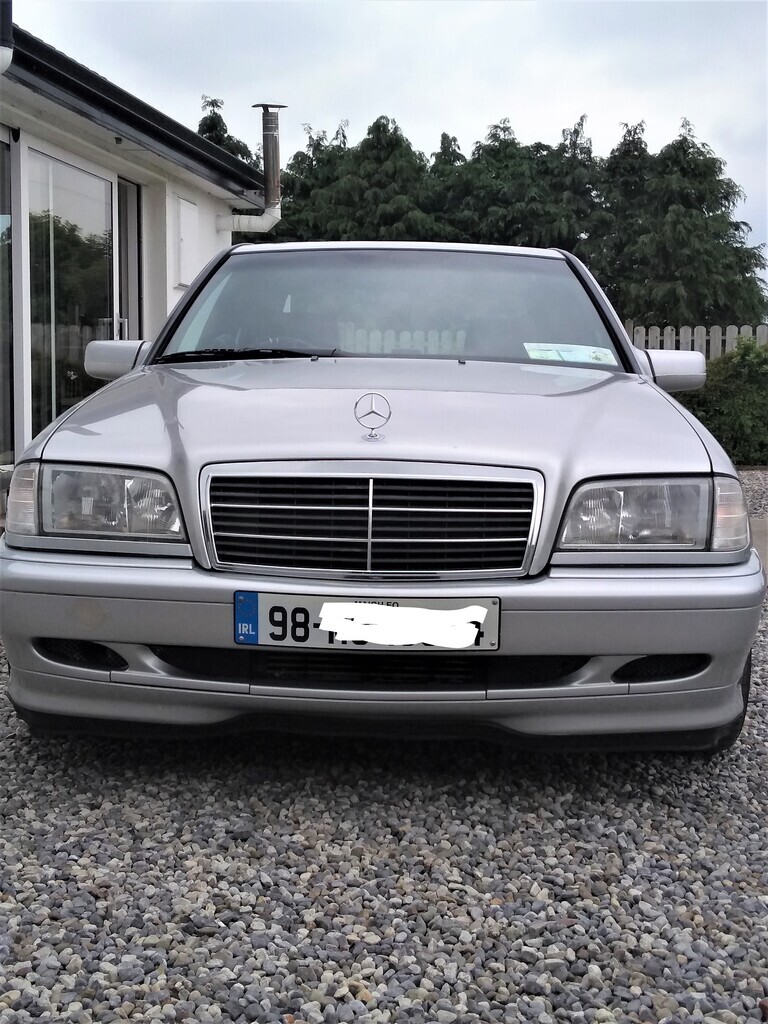 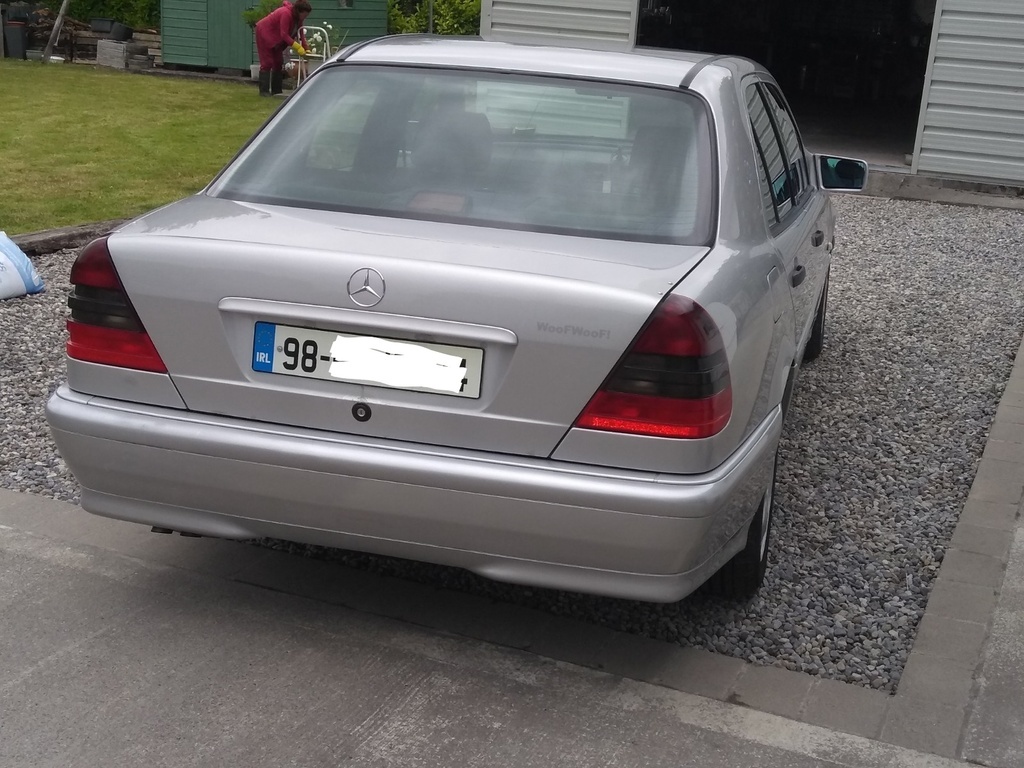 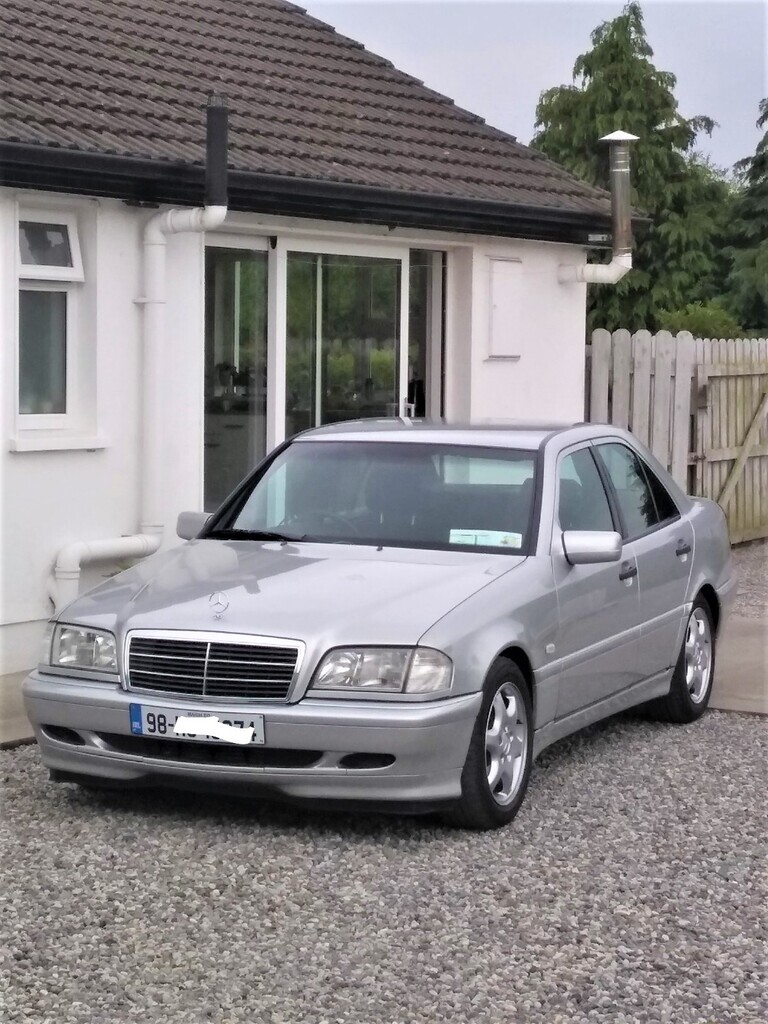 |
| |
Last Edit: Jun 19, 2023 8:11:56 GMT by Woofwoof
Still learning...still spending...still breaking things!
|
|
|
|
|
Jun 18, 2023 23:04:40 GMT
|
S/C V3.0 Ported inlet pipe, before and after. It did get a good polishing too. 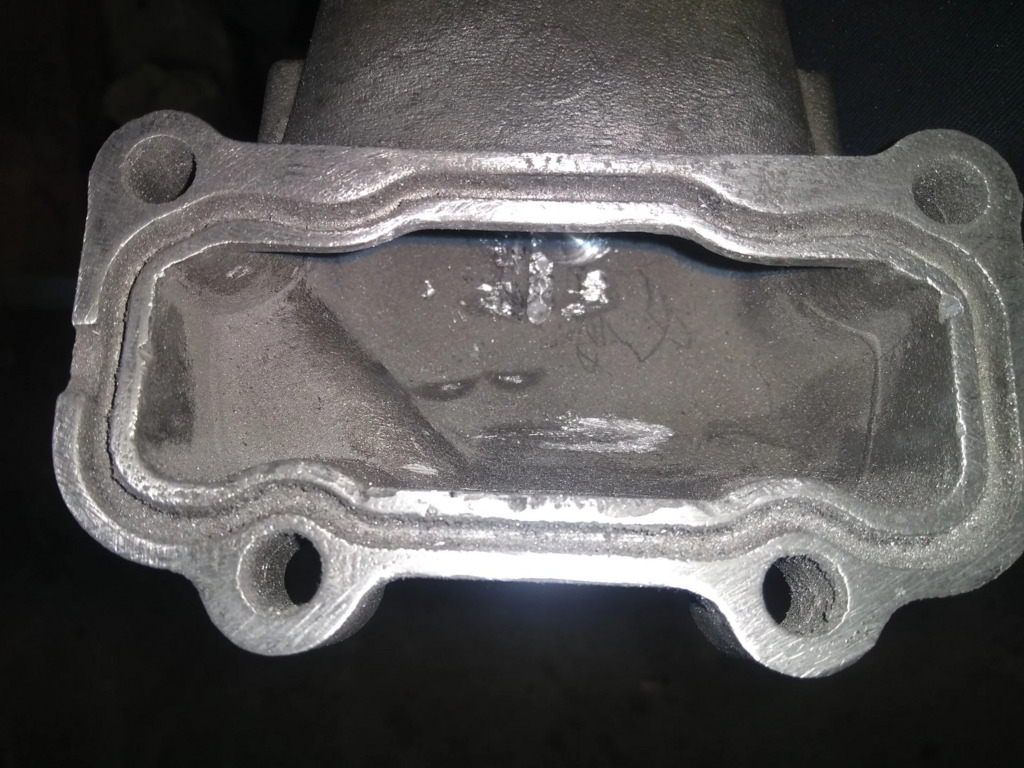 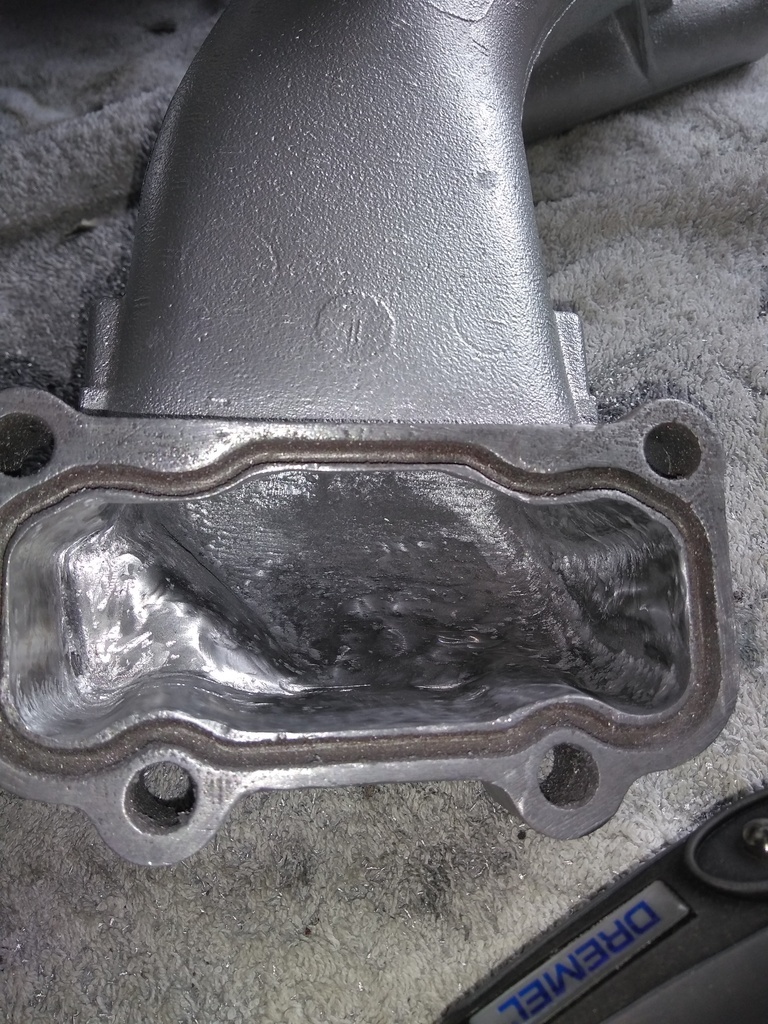 Ported S/C inlet after (was polished too) and before. 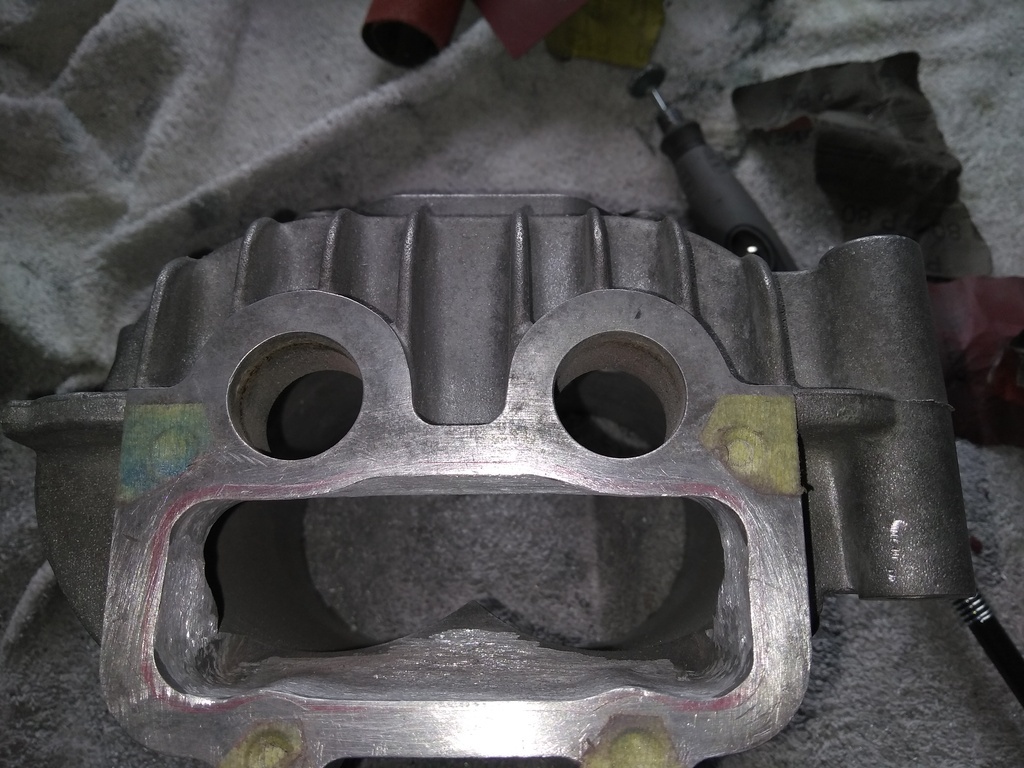 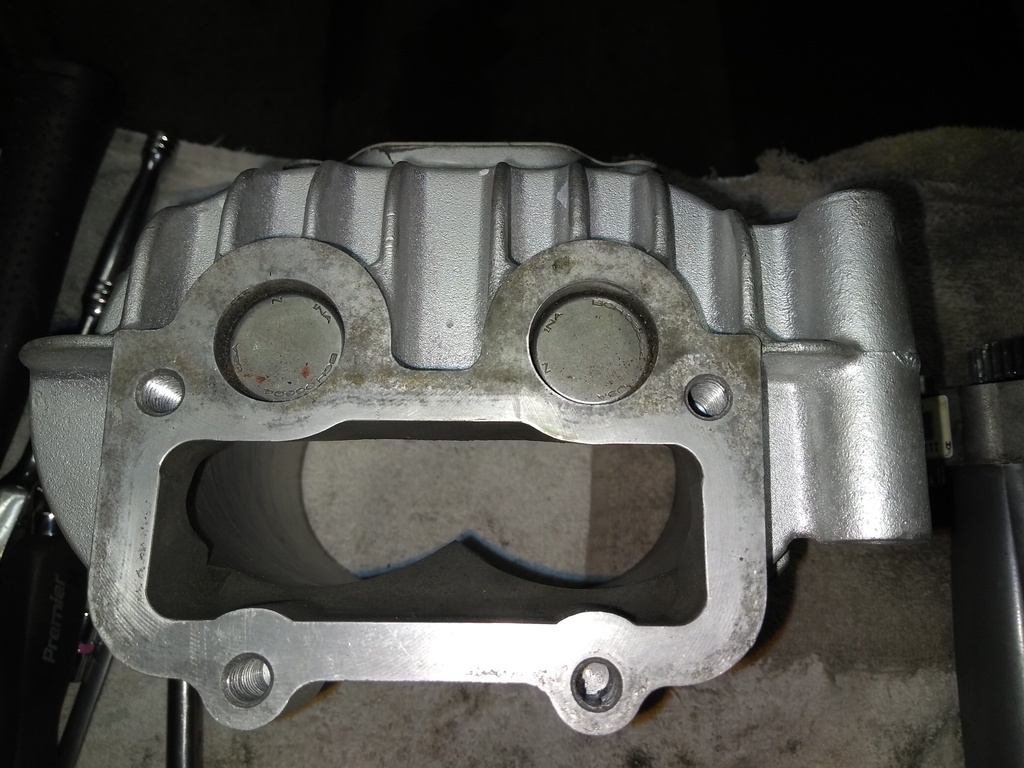 Original with air flow guide still fitted 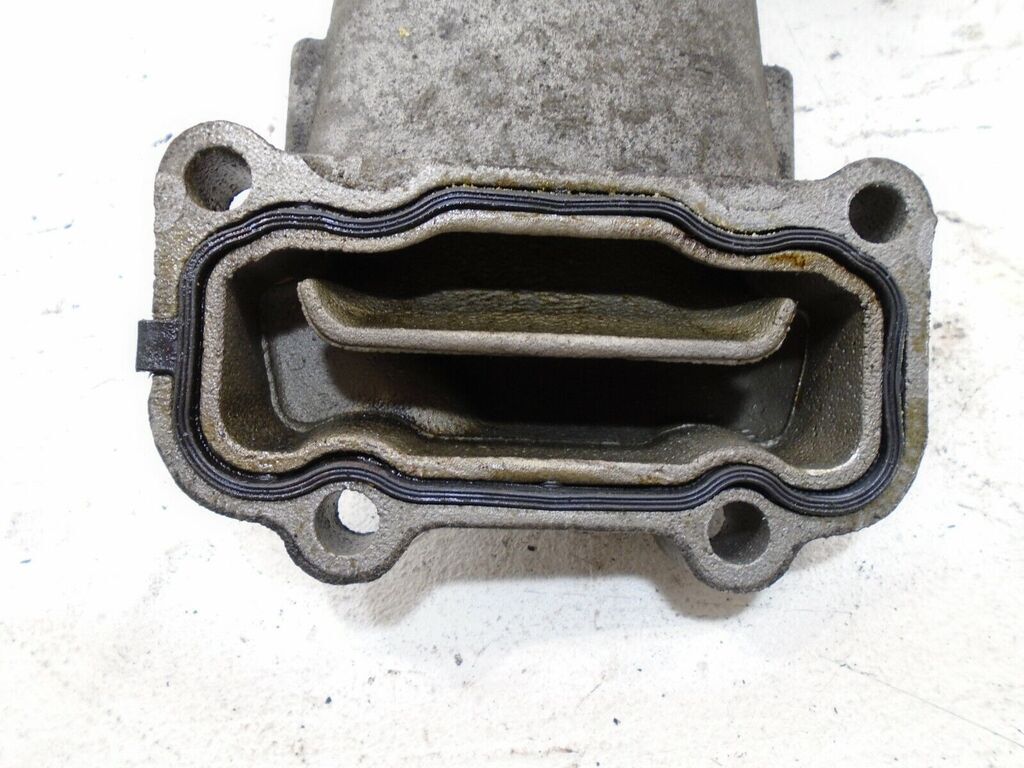 Stock S/C 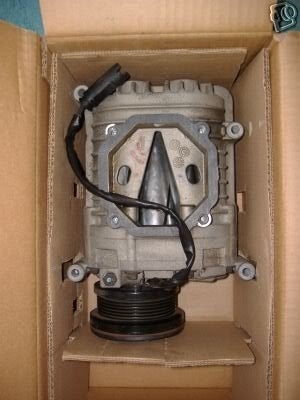 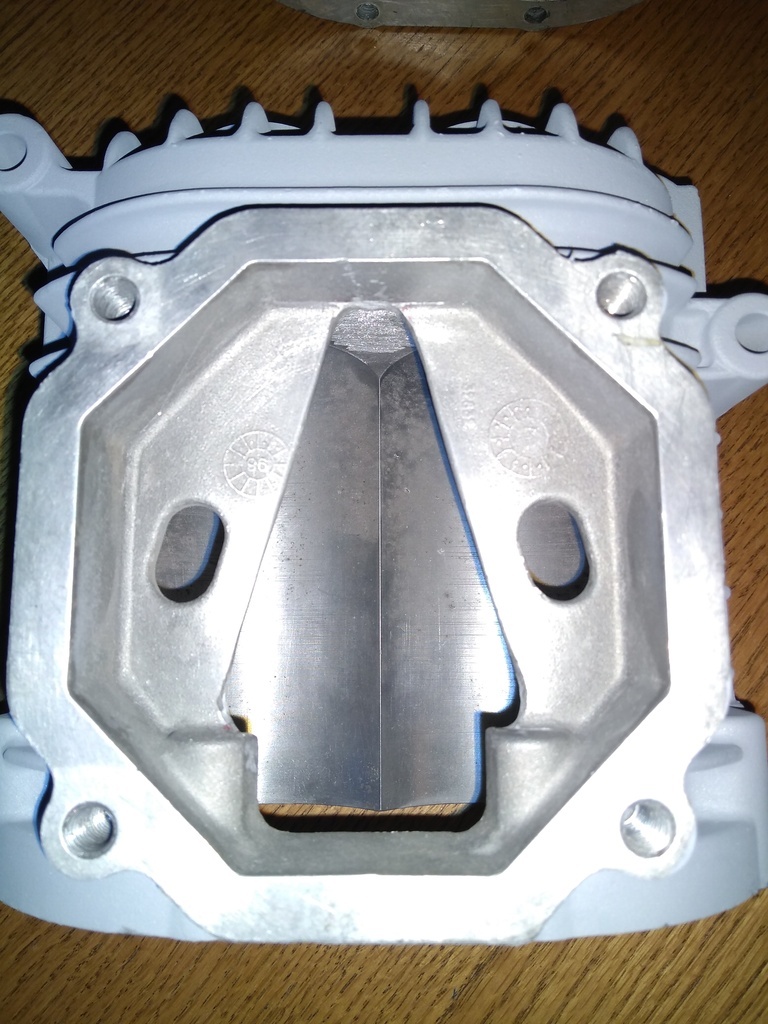 Now ported less aggressively than the V2.0 I had previously (photo posted back in this thread somewhere) . The reason for this is simply I wanted a little more boost pressure low in the rev range, the downside is increasing parasitic loses closer to max rev's along with an increase in IAT's. Everything is a trade off! |
| |
Last Edit: Aug 4, 2023 20:34:56 GMT by Woofwoof
Still learning...still spending...still breaking things!
|
|
|
|
|
|
|
A small update. New Pierburg MAF fitted, fuel trims and timing look spot on and the car is pulling like train. It's definitely got the 200bhp @ wheels that I always wanted, possibly more according to people that know about these engines. Being candid, I don't really care as it's driving great and feels like it's producing c.250BHP, not that I'll ever be happy with max power, could always do with a bit more!  Fitted a spare used engine temp switch, cold start idle is now back to normal and carried out an engine oil and filter change, usually done between 4-5000 miles. Also replaced a h/lamp bulb and dash illumination bulb. Booked an N.C.T. (MOT) and it passed with no advisories. I've ordered a new engine temp switch, a Bosch MAF it's scaled differently to the new Pierburg currently fitted, it will be interesting to see if there's much between them. Also coming is a spare Bosch crank position sensor, rear brake pads and a spare oil filter. So, in a nutshell not much to report, thankfully.  |
| |
Still learning...still spending...still breaking things!
|
|
|
|
|
Sept 8, 2023 21:42:15 GMT
|
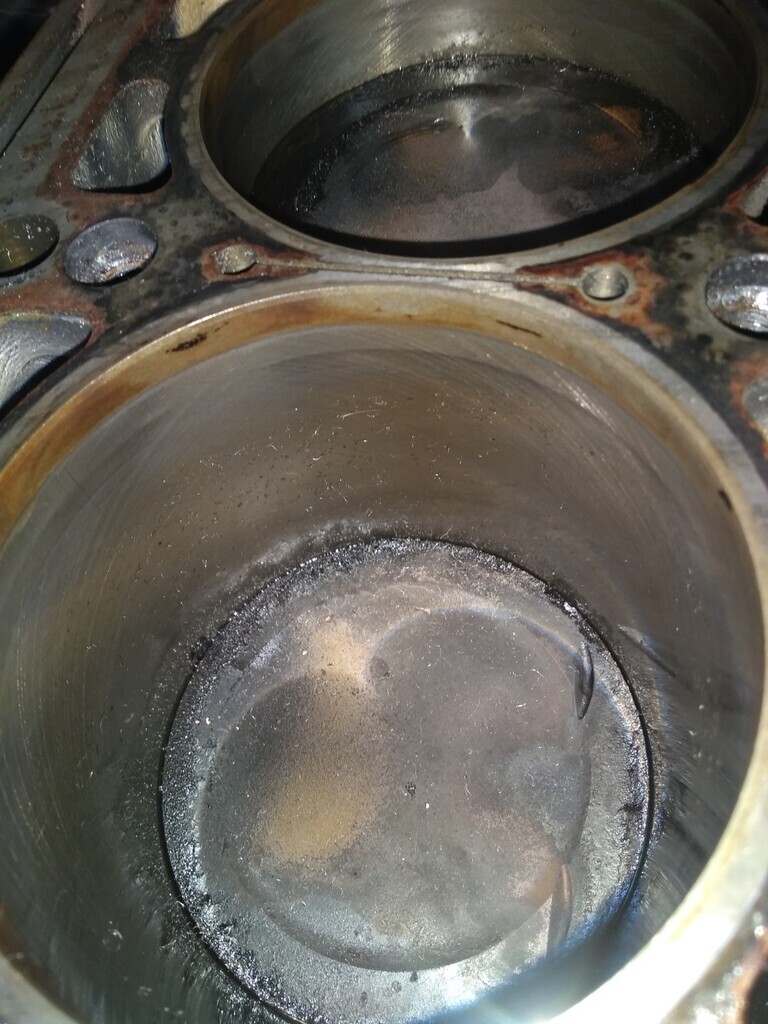
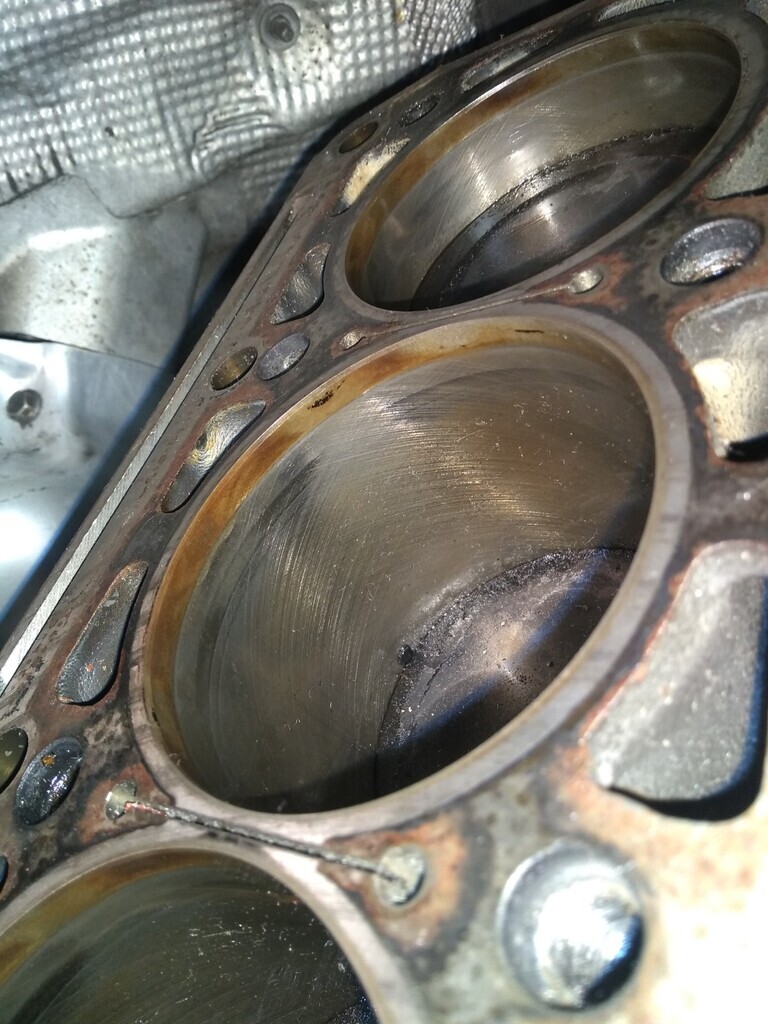
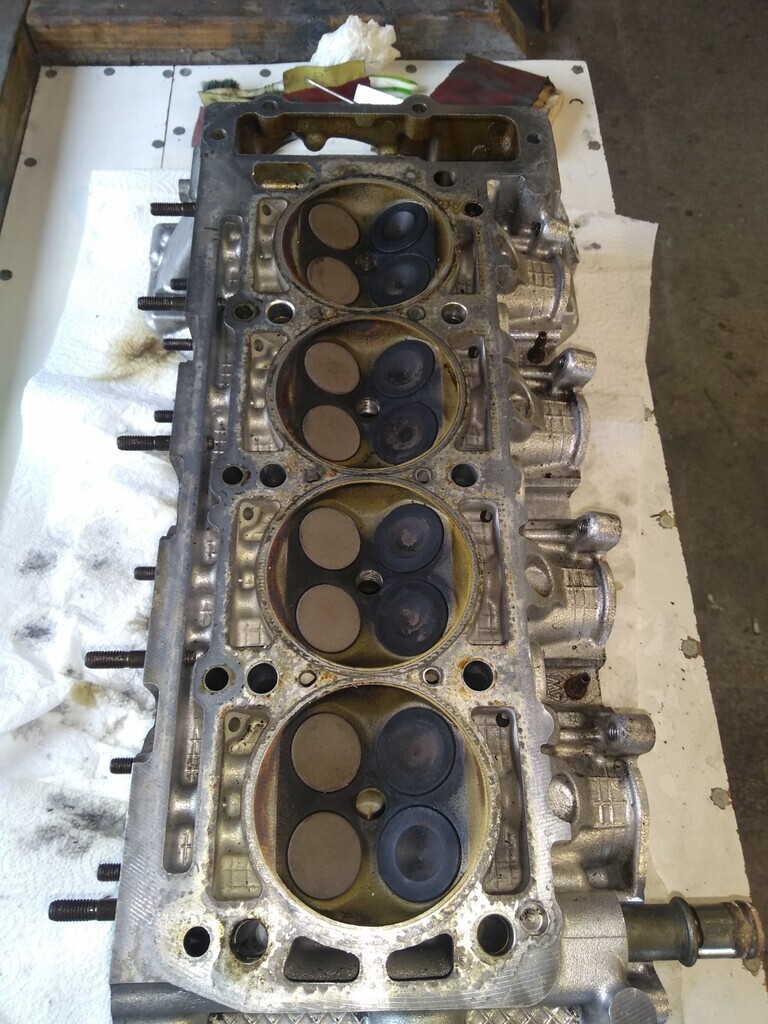
And this happened! 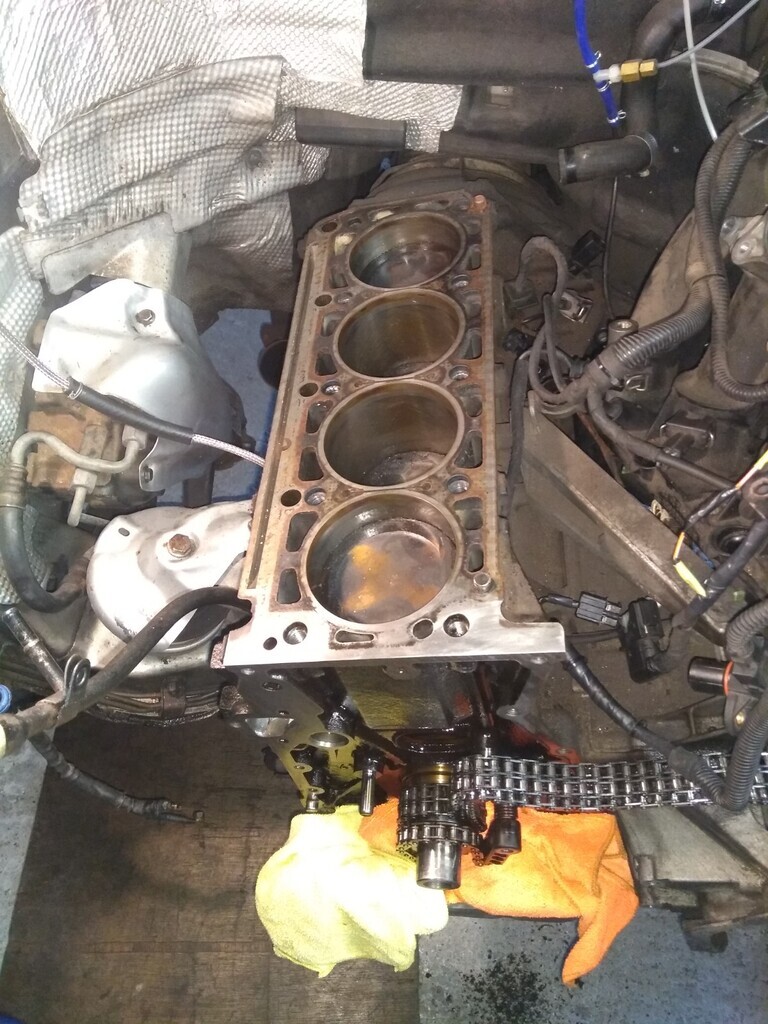 Major oil leak between the cylinder head and the timing chain housing. The head and gasket sit on top of the housing. Not uncommon on these M111 engines and it's sister engine the M104 at high mileage. I'm actually not put out by this at all really, I've been expecting the head gasket to go pop for the last couple of years anyway, and I wanted to replace the T-chain and guides. There's 7 degrees of chain stretch, which is costing c.20 bhp on this engine. The max limit is 5 degrees from memory. The head, cams and carriers are all in great condition and the bores too. Cross hatching clearly visible and no lip on the bores either. So, that's my project sorted for the darker months ahead. |
| |
Last Edit: Nov 8, 2023 0:04:29 GMT by Woofwoof
Still learning...still spending...still breaking things!
|
|
|
|
|
Sept 9, 2023 20:25:55 GMT
|
|
|
| |
Last Edit: Sept 9, 2023 20:28:58 GMT by Woofwoof
Still learning...still spending...still breaking things!
|
|
|
|
|
|
|
Sept 11, 2023 21:16:36 GMT
|
Doing a major job like this does bring it's rewards when inspecting everything. I got onto looking at the valve lifters, time to strip, clean and lube. Everyone of the sixteen were semi seized! Hard to believe this engine has oil changes every 4-5000 miles. Oh, and you need eyes like a hawk to see the smaller of the two springs, it's tiny. Basically, if I hadn't used a magnet I'd have been in real trouble. 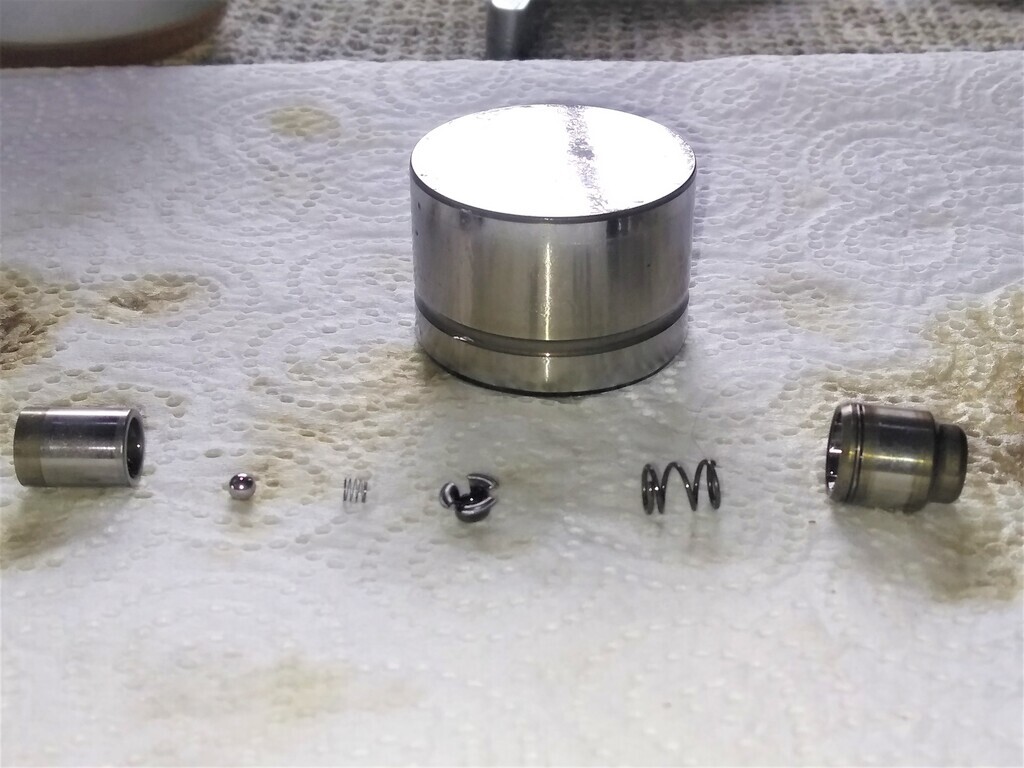 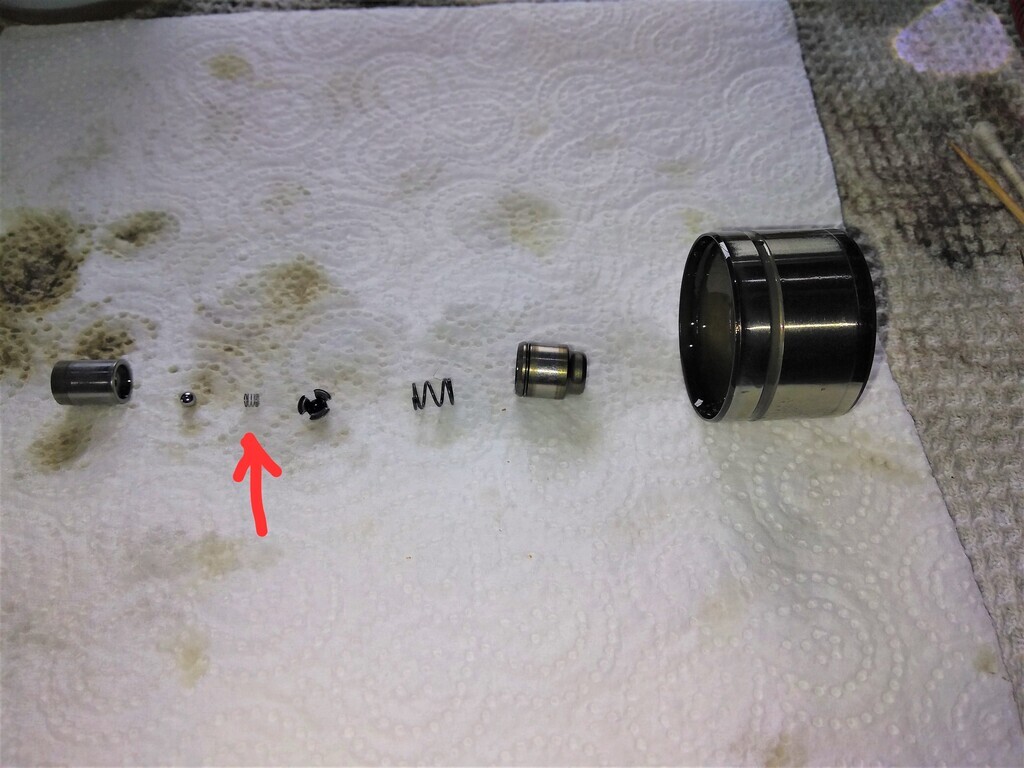 |
| |
Still learning...still spending...still breaking things!
|
|
|
|
|
Sept 12, 2023 21:08:09 GMT
|
|
|
| |
Last Edit: Sept 12, 2023 23:16:33 GMT by Woofwoof
Still learning...still spending...still breaking things!
|
|
demag
Part of things
 
Posts: 30
|
|
Sept 13, 2023 3:49:49 GMT
|
|
Whenever I lap valves in I use a drill. If you can reach the stem with the chuck, just put some electrical tape around the stem and grab it with the chuck. If you can't reach it use some tubing as an extension, slip one end over the stem and put a bolt or something in the other end and put that in the chuck. I hold a large ball bearing against the valve and let the drill do all the work.
|
| |
|
|
|
|
|
Sept 13, 2023 9:00:18 GMT
|
|
Demag, appricate the info but I'm just not a fan of drill method even if I've use it in the past. Also, I've the luxury of not being under pressure time wise. I'll stick with the stick!🙂
|
| |
Still learning...still spending...still breaking things!
|
|
|
|
|
Sept 15, 2023 14:59:06 GMT
|
demag Guess what? You're right, the drill it is. Fcuk that hand lapping, I'll use the drill for course paste and the stick for fine. I know I'm copping out using the drill but honestly life is too short.🙂
|
| |
Still learning...still spending...still breaking things!
|
|
demag
Part of things
 
Posts: 30
|
|
Sept 16, 2023 2:32:21 GMT
|
|
I started doing it by hand, it's the proper way, the way everyone who knows what they're doing does it. After 5 minutes, sod this, I'm using the drill.
|
| |
|
|
|
|
|
Sept 16, 2023 20:24:46 GMT
|
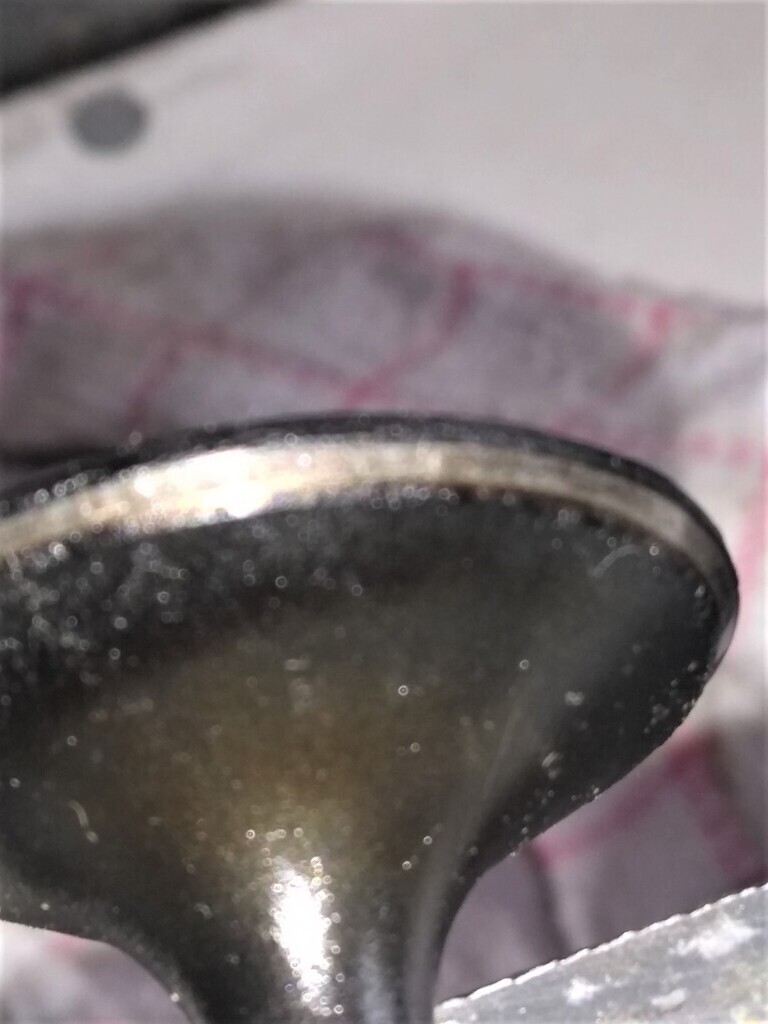
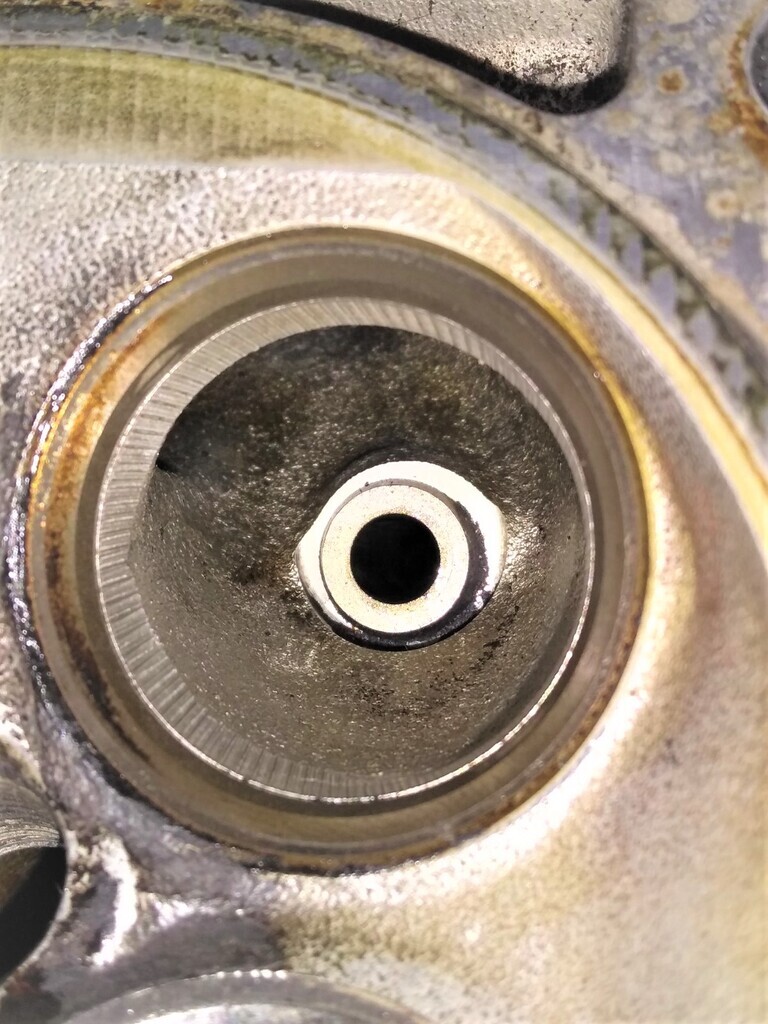
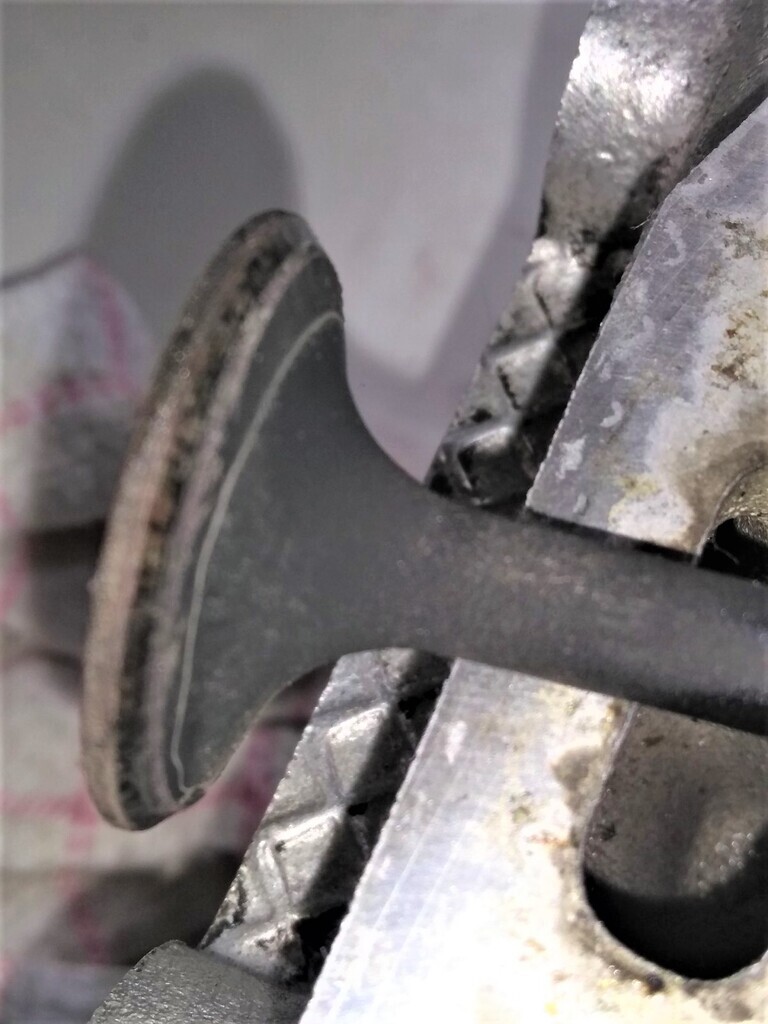
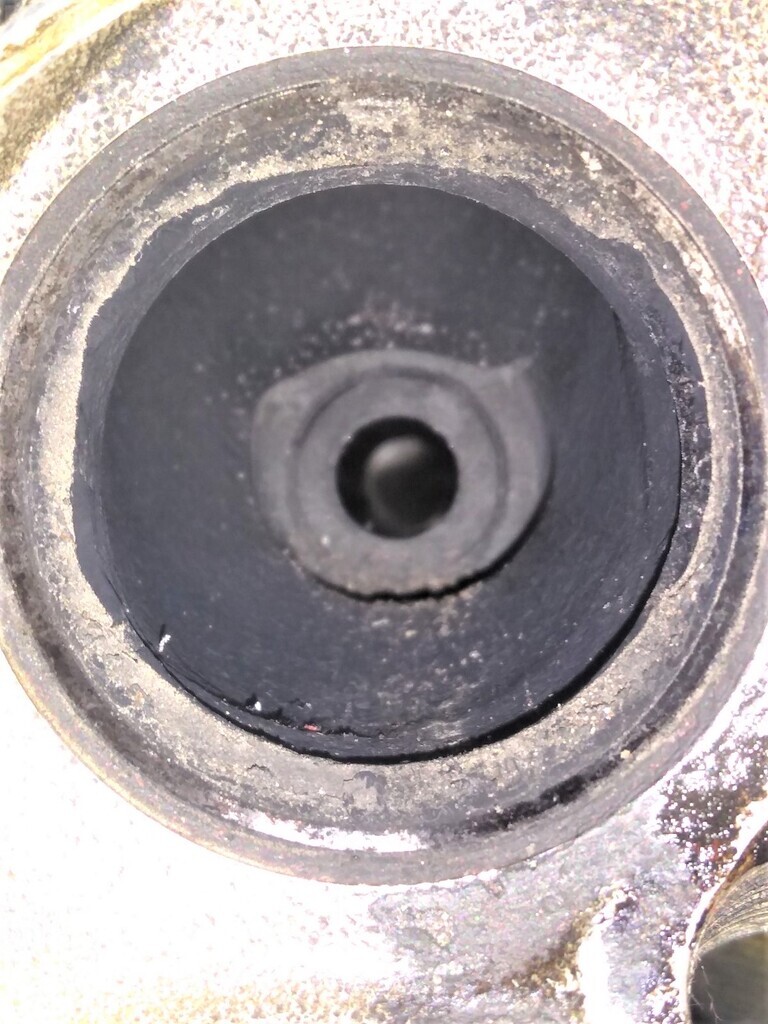
One of the exhaust valves and it's seat, vast improvement even if I did this by hand lapping. 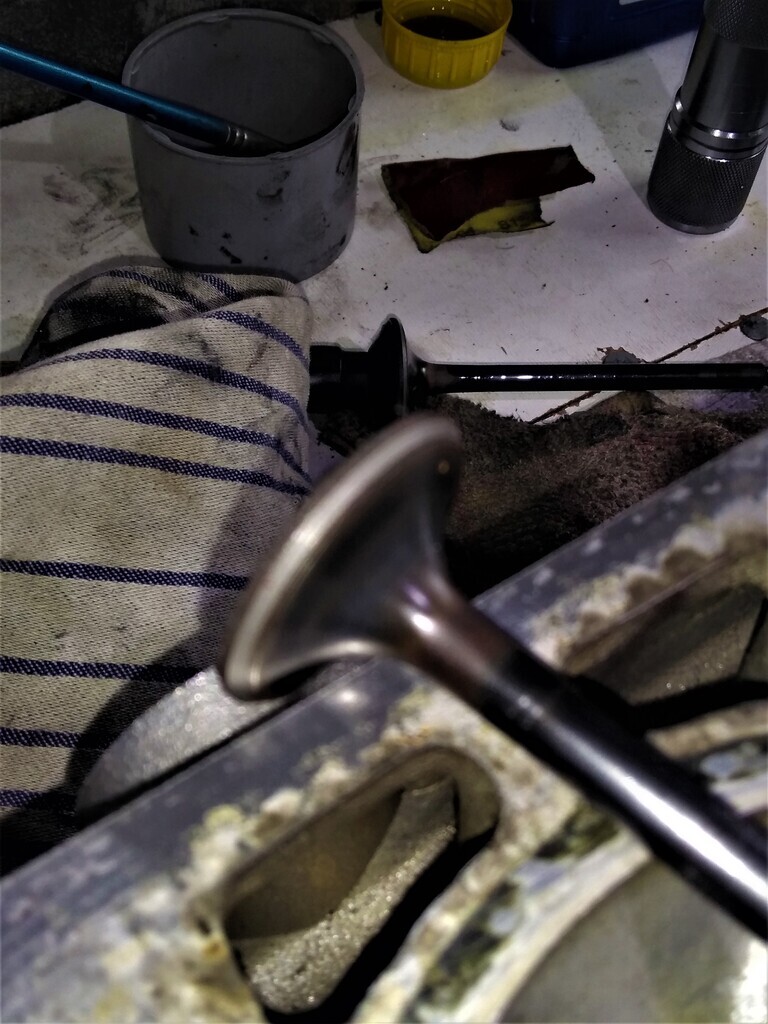 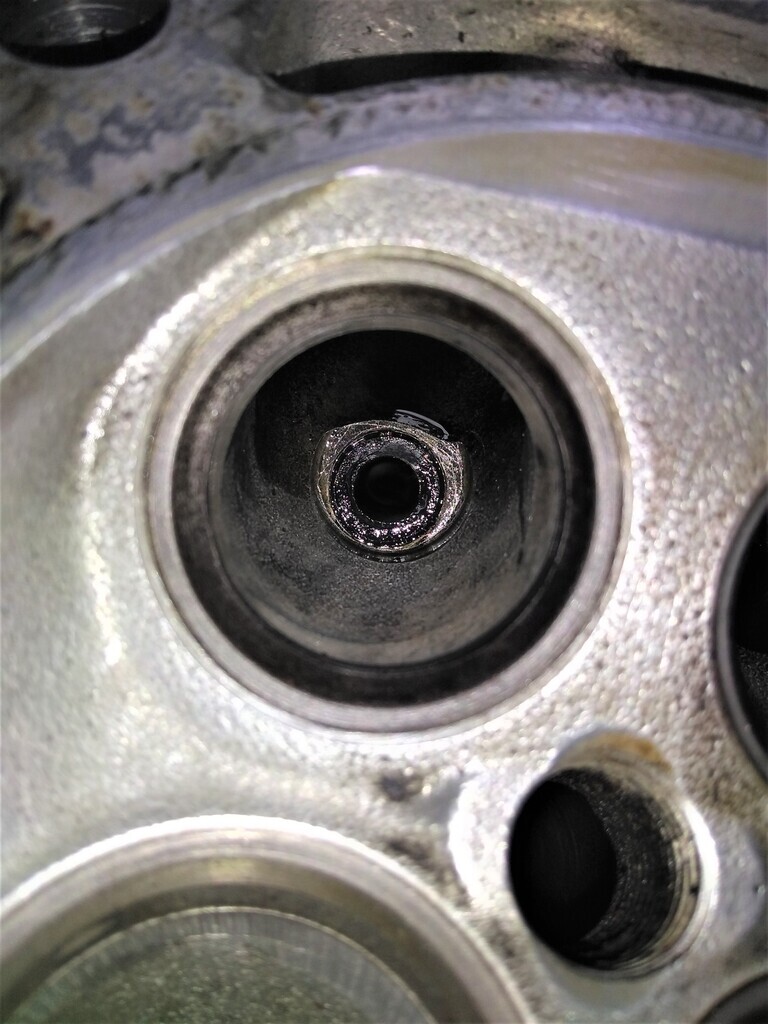 |
| |
Still learning...still spending...still breaking things!
|
|
|
|
|
|
|
Good to see you're still at this yoke. A bit of a sleeper, especially with the MO plate  |
| |
|
|
|
|
|
|
|
Good to see you're still at this yoke. A bit of a sleeper, especially with the MO plate  Ha,ha. Thanks. Yeah, still at it mainly in the winter time, helps to kill these early dark evenings. It is a bit of a sleeper alright nobody has a clue, common consensus is it's a C180/200 or more likely a 220 diesel with the MO plate.  Being candid that suits me fine and better again I don't get any notice when travelling from one coast to another while making quick progress. Sometimes I upset eagerly driven 320 or 520D's without trying, I've had few laughs. Hopefully it will be back to it's best or better than ever after I finish up with the head job and few other modifications. 250-260 @ the fly but anything over my original target of 200+ @ the wheels, I'll be a happy bunny. The torque spread should be as good as ever too. |
| |
Still learning...still spending...still breaking things!
|
|
|
|
|
|
|
Here's a photo of how far the timing was out. That's 27 degrees, from the factory it should @ 20 degrees. 15-20 bhp right there! 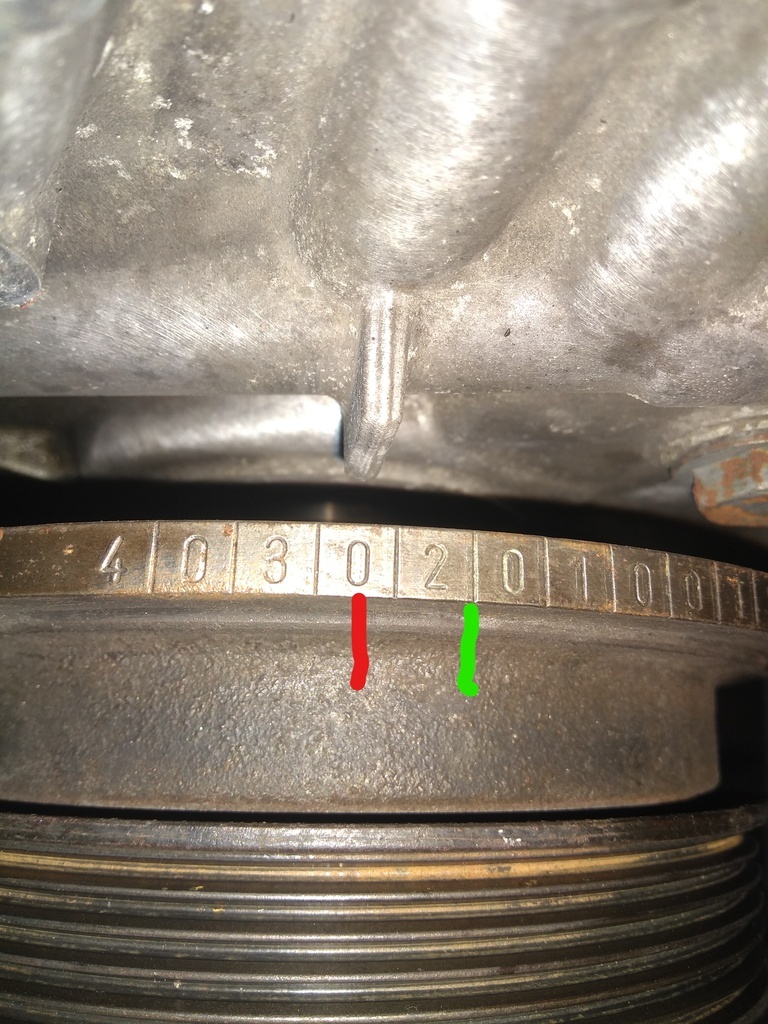 I had a look at the exhaust manifold, not great being candid. The pipes are welded from inside the flange rather than the usual welding on the outside. Possibly done like this to make the manifold stronger as these don't tend to have an issues with cracking. This is typical photo of all the exhaust ports, protrusions into the pipe and well past the manifold gasket. 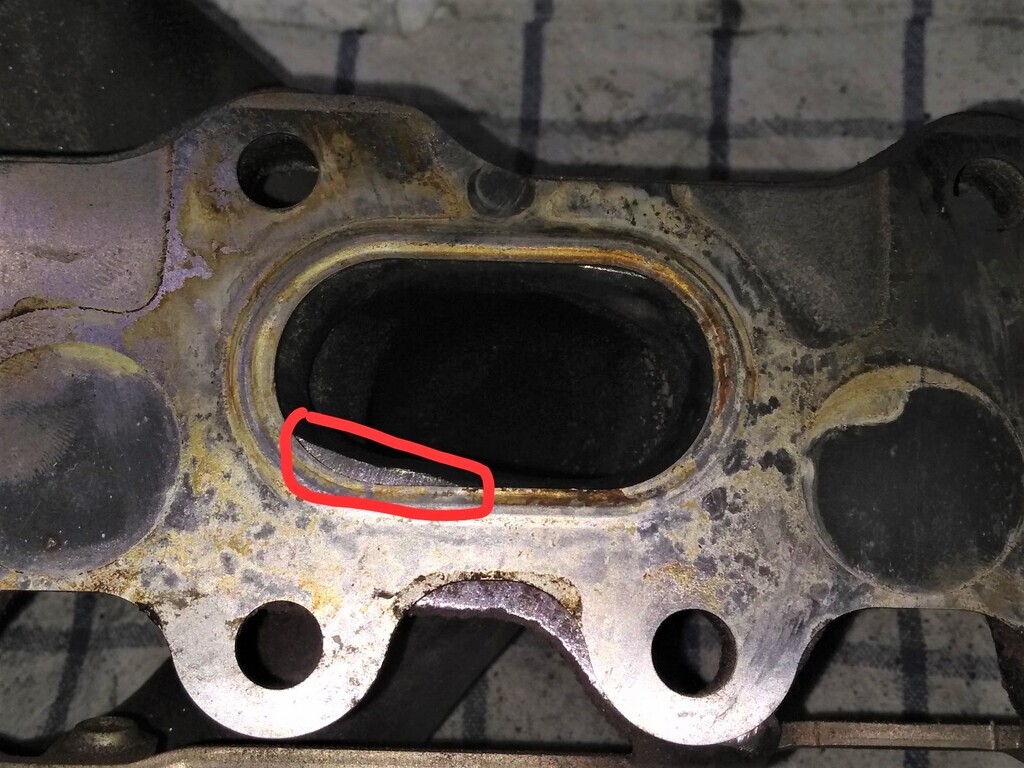 Another issue with the manifold its pinch point at the flange to the downpipe, no great especially when running more power. But there's little I can do about it myself other than buy an aftermarket manifold of unknown quality. So, I'll leave well alone. 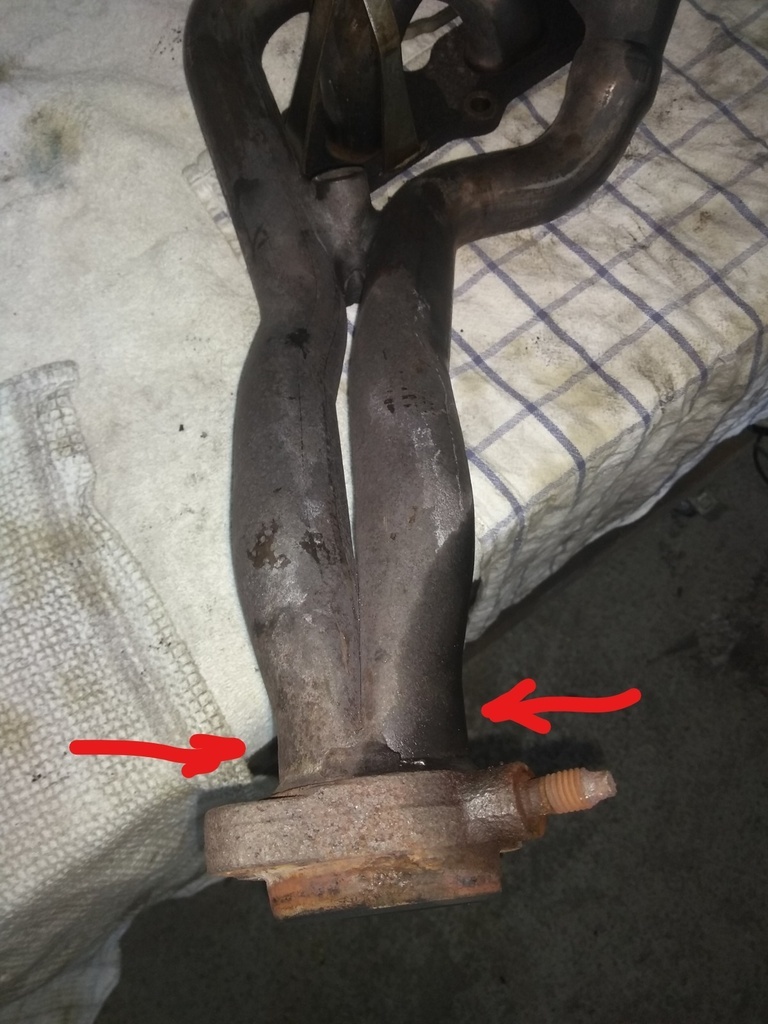 After doing some die grinding (a bit more to do) I made some progress on manifold exhaust ports, matched to the gasket but still just inside the pipes the welds can be clearly seen. 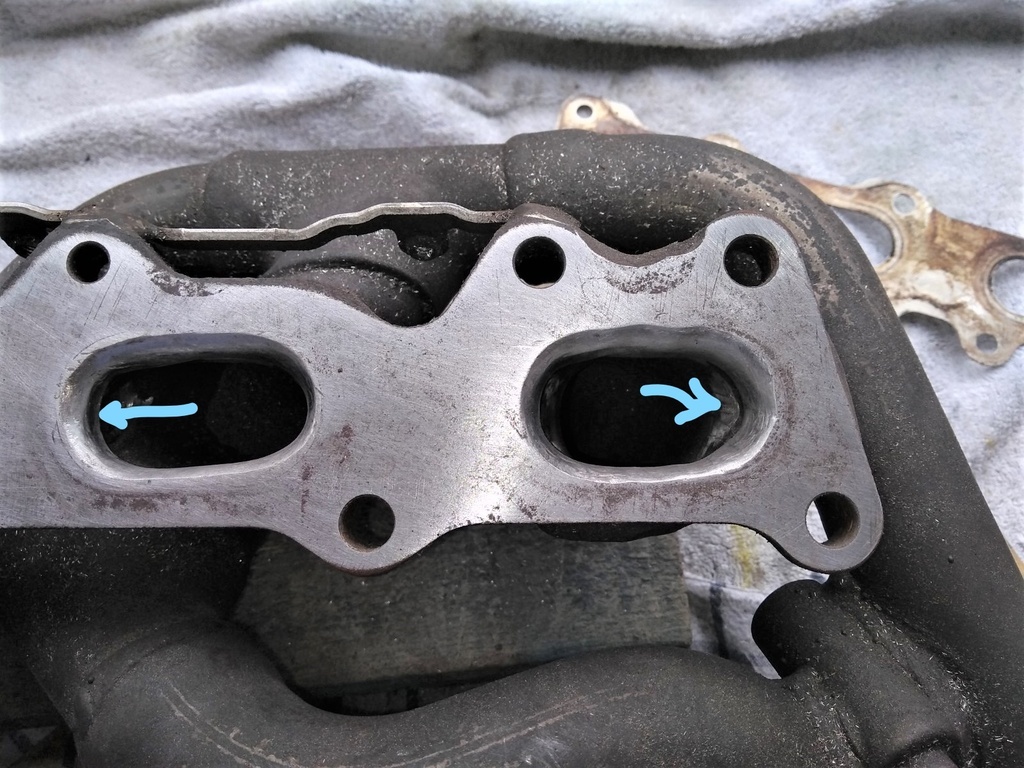 The only option to really clean up the ports is to have the pipes welded to the flange from the outside and then die grind away the excess inside. I'll think on it. 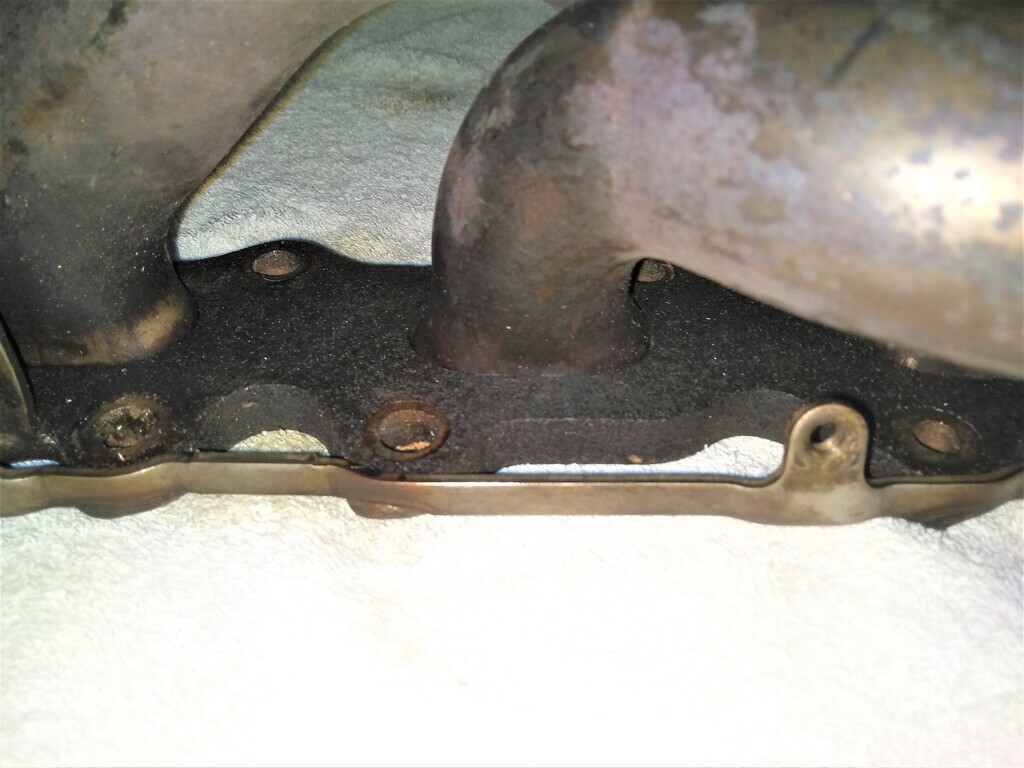 |
| |
Last Edit: Nov 9, 2023 22:22:24 GMT by Woofwoof
Still learning...still spending...still breaking things!
|
|
|
|


 The same went for the insides of the wheels, just cleaned with wet & dry 600 & 1500, standard grey primer and several coats of lacquer, thist should make it easy to clean them in future. When my new Yoko's arrive I'm sure the tyre fitter will be amazed that 25 year old wheels are actually spotless.


 The same went for the insides of the wheels, just cleaned with wet & dry 600 & 1500, standard grey primer and several coats of lacquer, thist should make it easy to clean them in future. When my new Yoko's arrive I'm sure the tyre fitter will be amazed that 25 year old wheels are actually spotless.


