johnthesparky
Posted a lot
  
Posts: 3,522
Club RR Member Number: 6
Member is Online
|
|
Jun 21, 2022 16:21:35 GMT
|
|
Nothing at the mo, since engine and box are coming out was going to sort something then.
Will probably be a rubber boot or something but was ignoring until I have a clear space.
|
| |
|
|
|
|
johnthesparky
Posted a lot
  
Posts: 3,522
Club RR Member Number: 6
Member is Online
|
|
Jun 26, 2022 18:16:01 GMT
|
The white van has been welded… well hopefully all of the MOT welding has been done 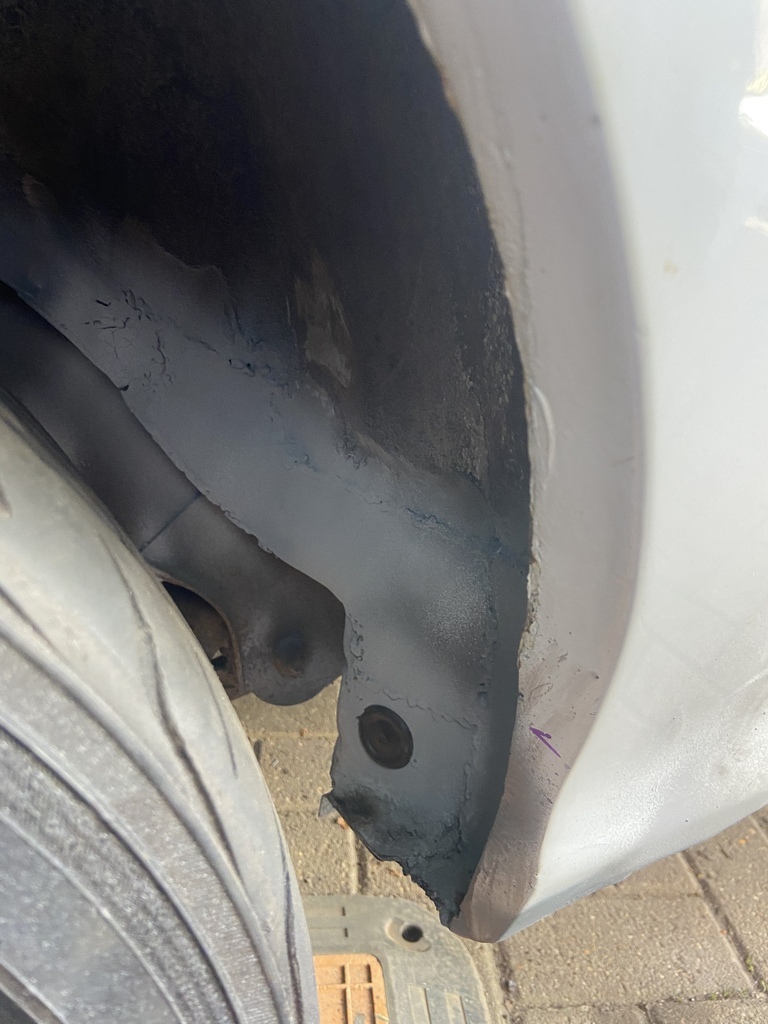 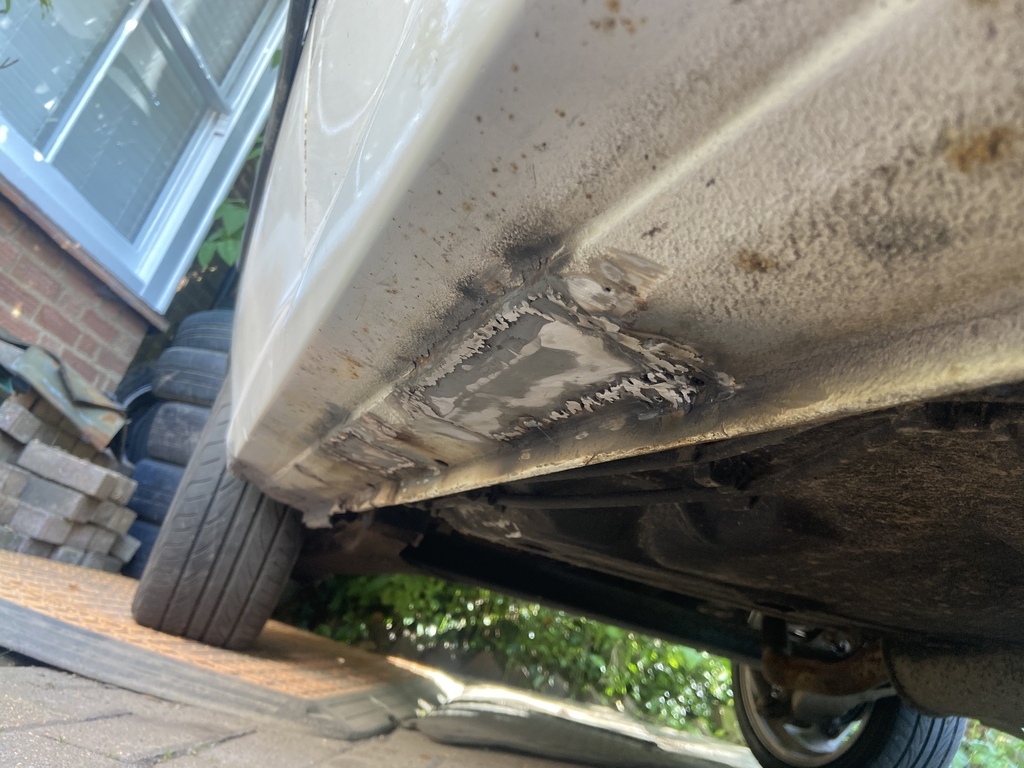 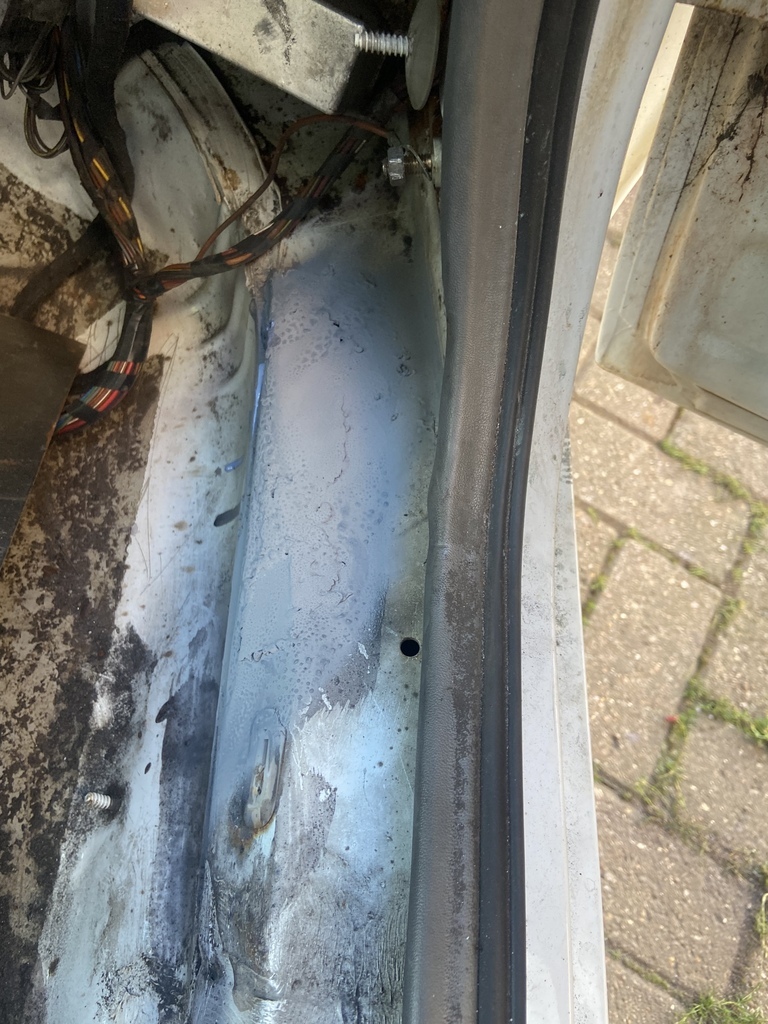 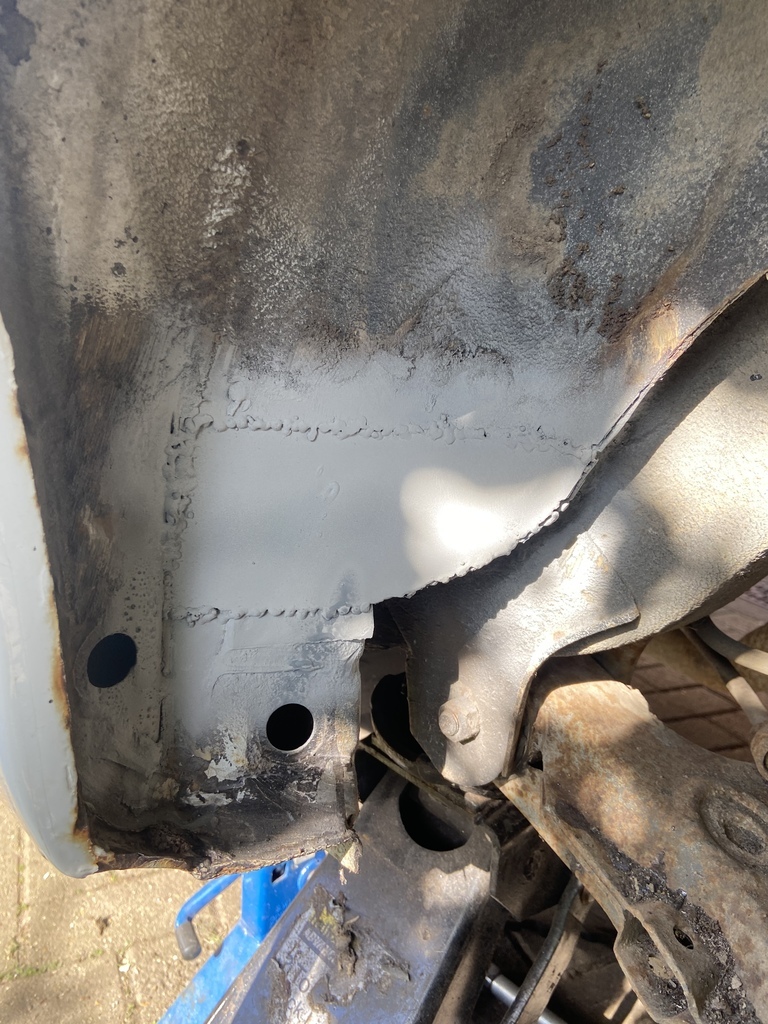 And the footwells/floors got some white hammerite afterwards, I ran over them with knotwheel in the grinder and hoovered them before paint, but they aren’t great and the wind managed to blow other lodged dust  but they are good enough for now, passenger footwell will need a bit more work anyway as there are a couple of bits I ended up patching because they were under the seat frame and partition of cubbies behind the seats. But I’m thinking about using the VRS seats, so the seat frame will probably come out, and the partition may come out too 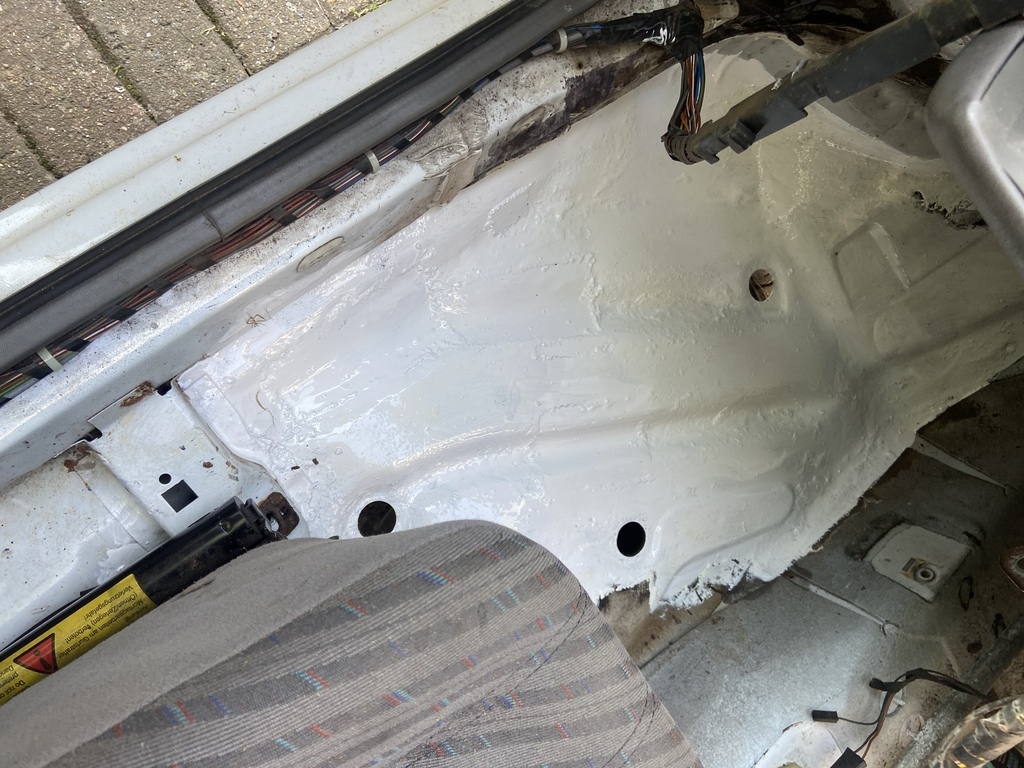 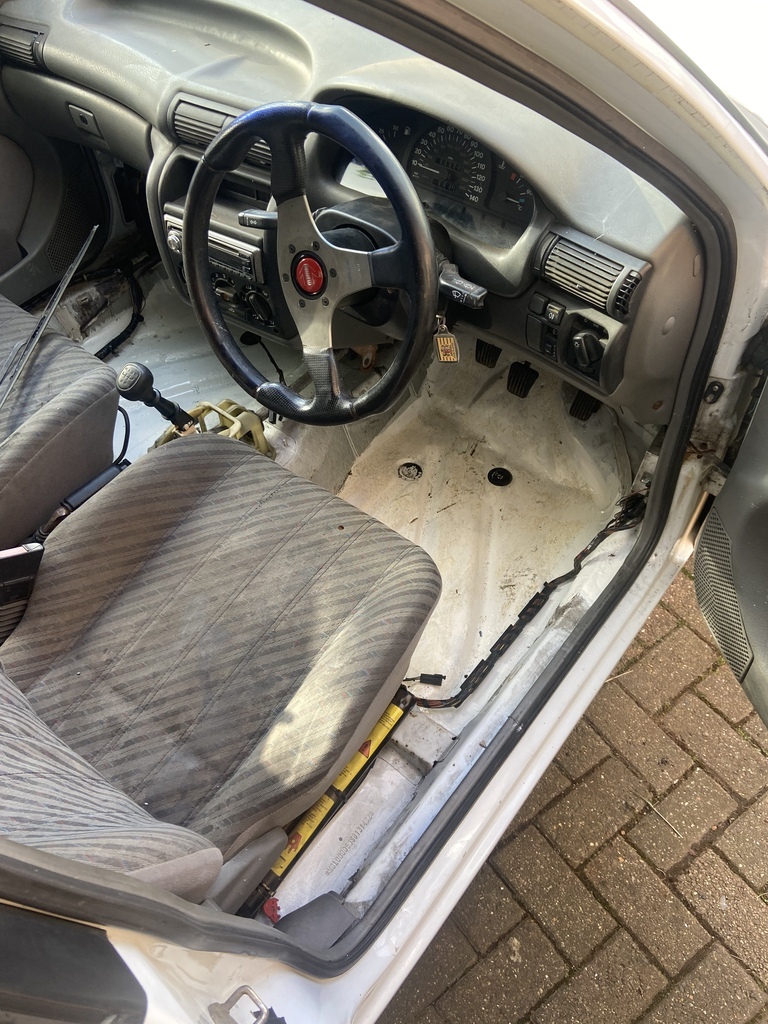 I tried the clutch, and unsurprisingly it didn’t work. But it did at least have enough clutchiness to allow me to park up in a better spot 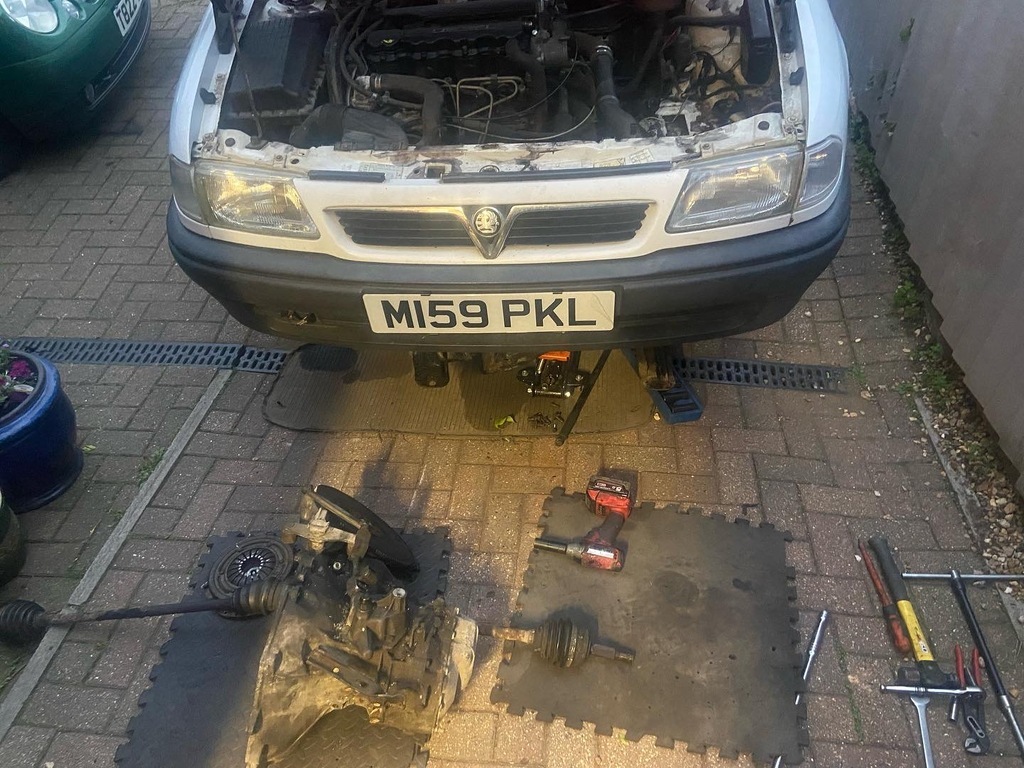 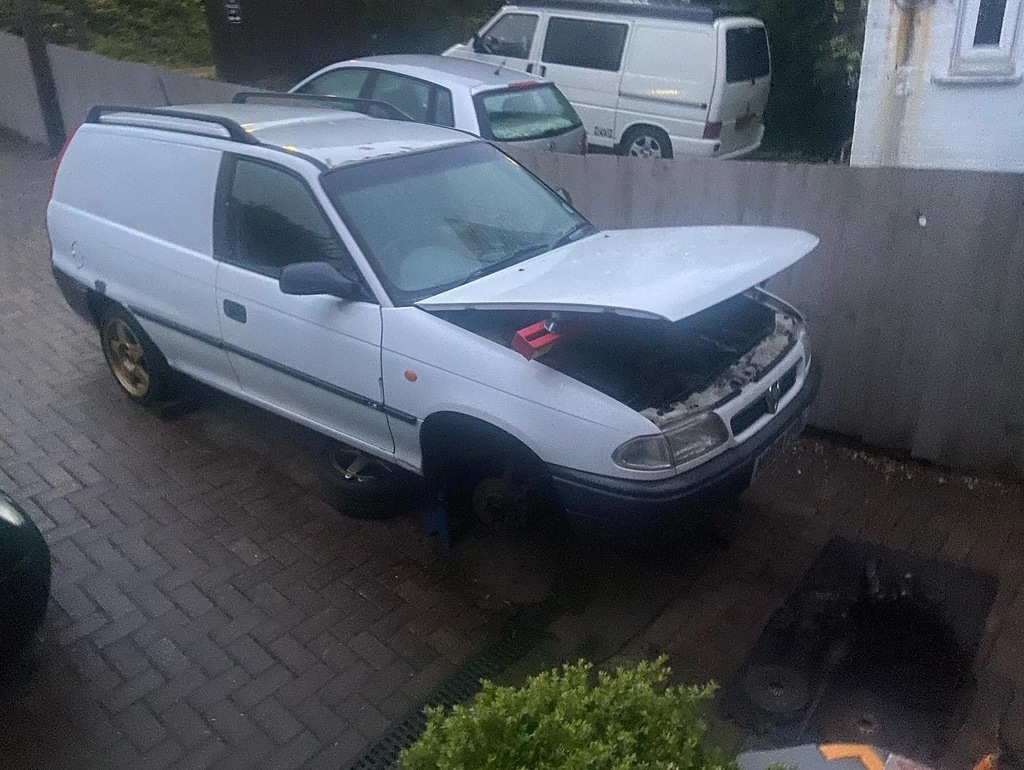 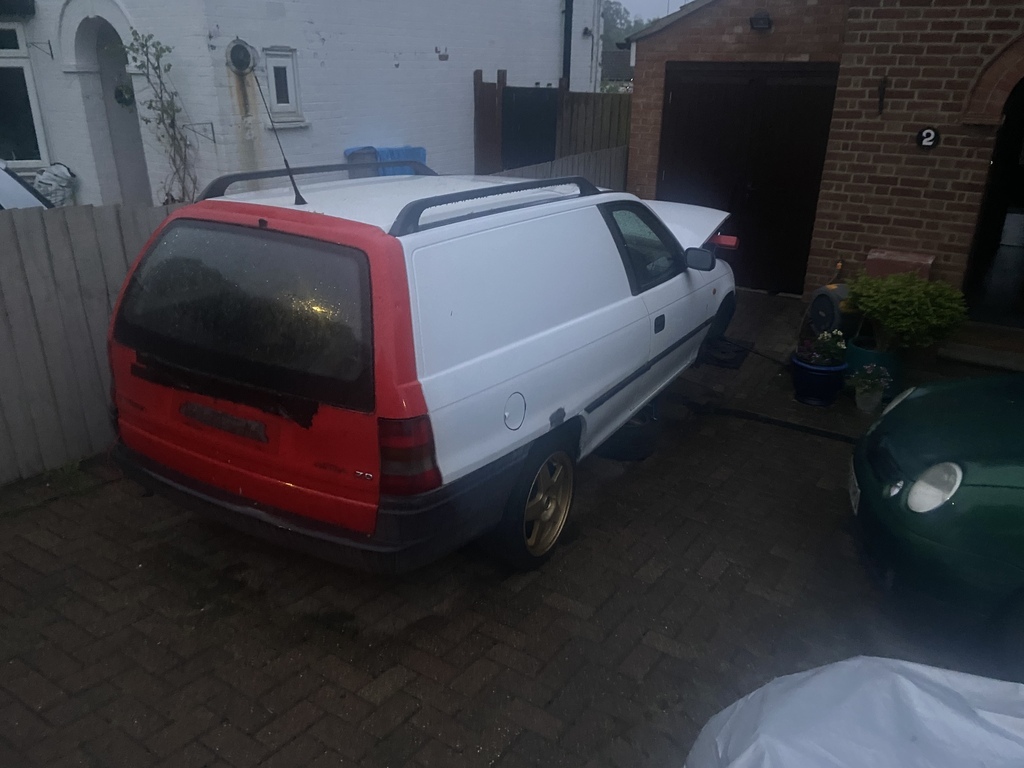 So a rock and roll Friday night was spent dropping the subframe and gearbox again  Saturday I grabbed the spares from the shed and fitted the flywheel from the red van That flywheel is the potted one though, not a flat type that I was lead to believe low blows had 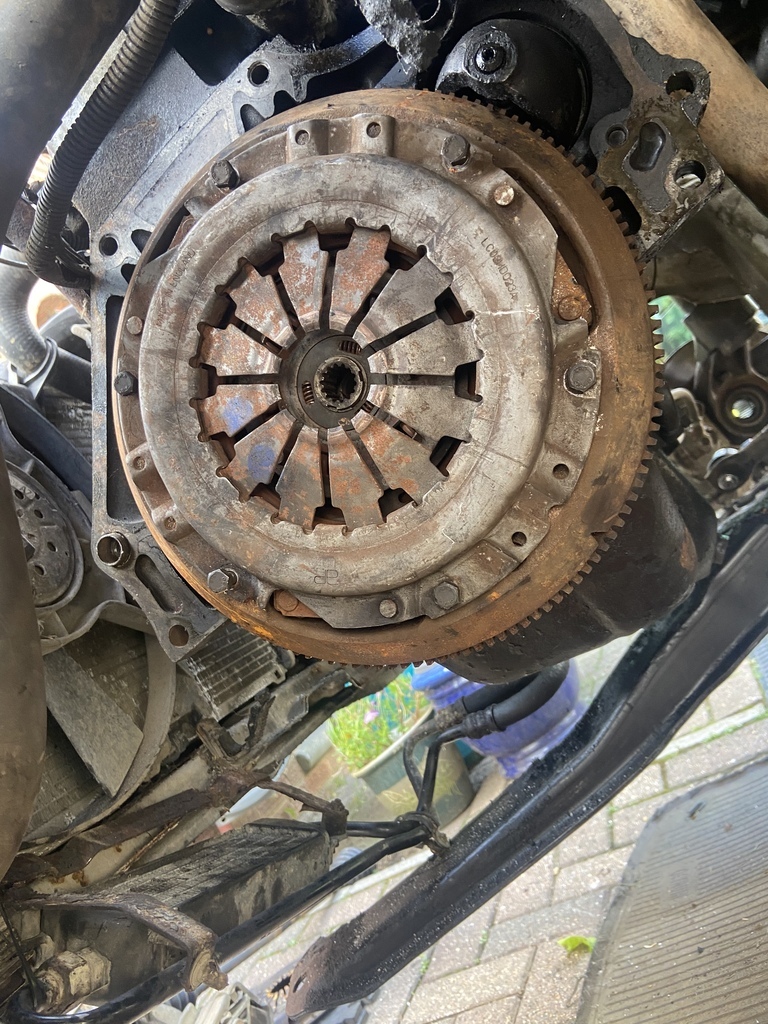 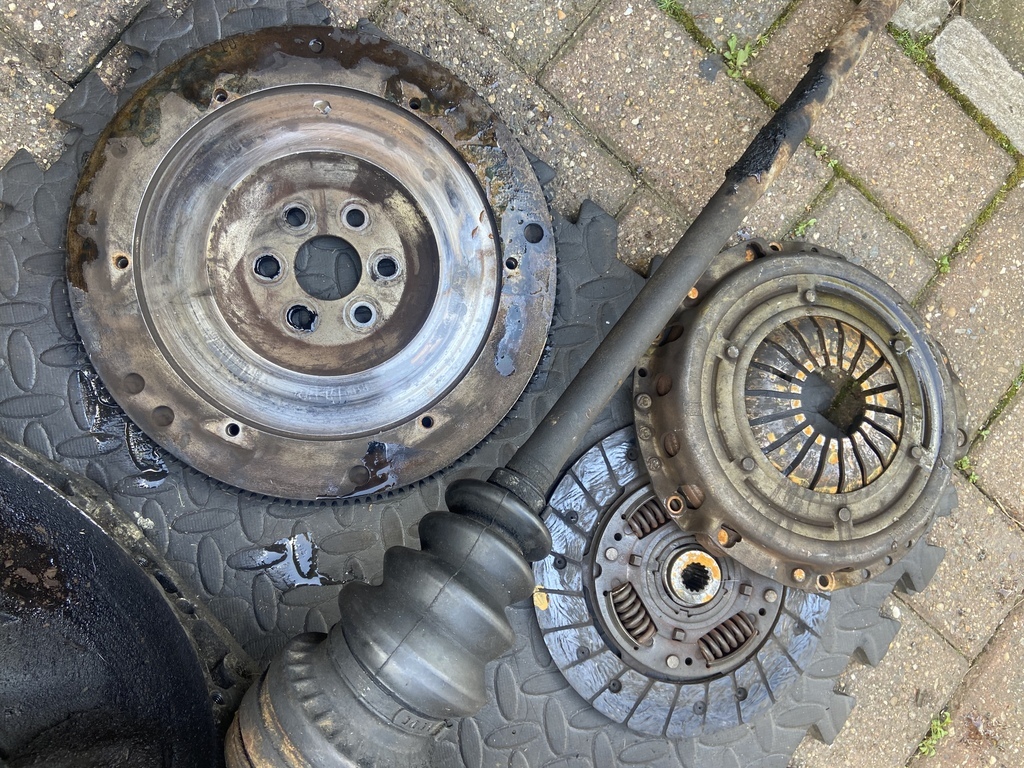 Also whilst up the shed I grabbed the other spare tailgate and fitted that 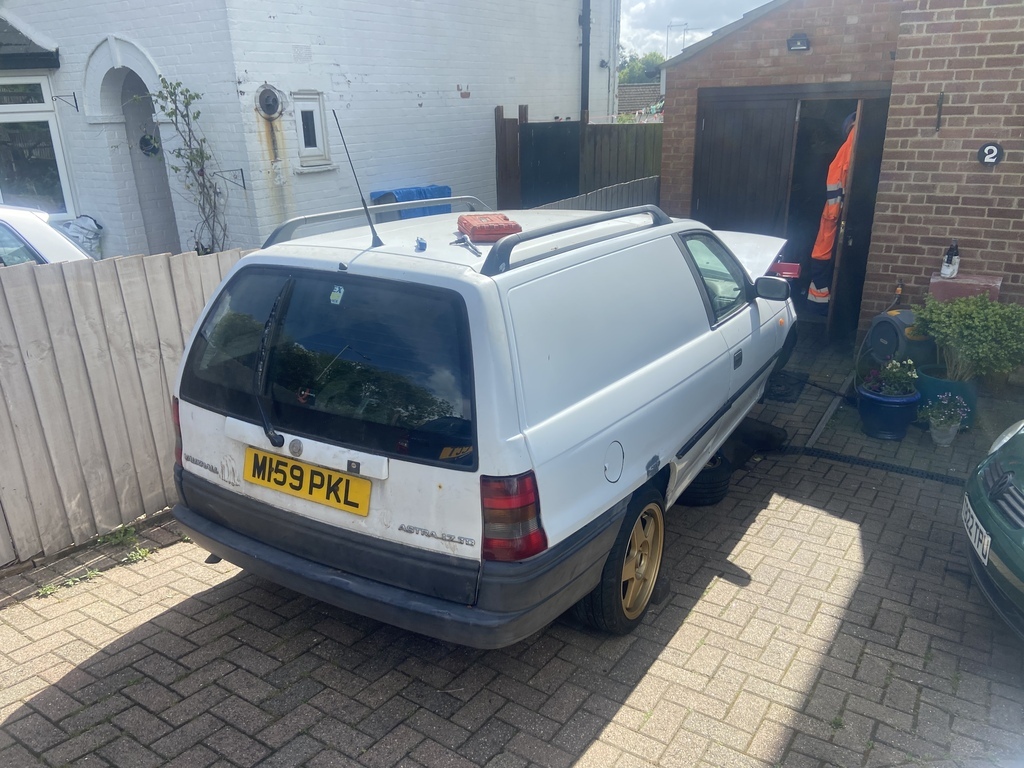 I gave the inside of the box a cursory wipe and started refitting 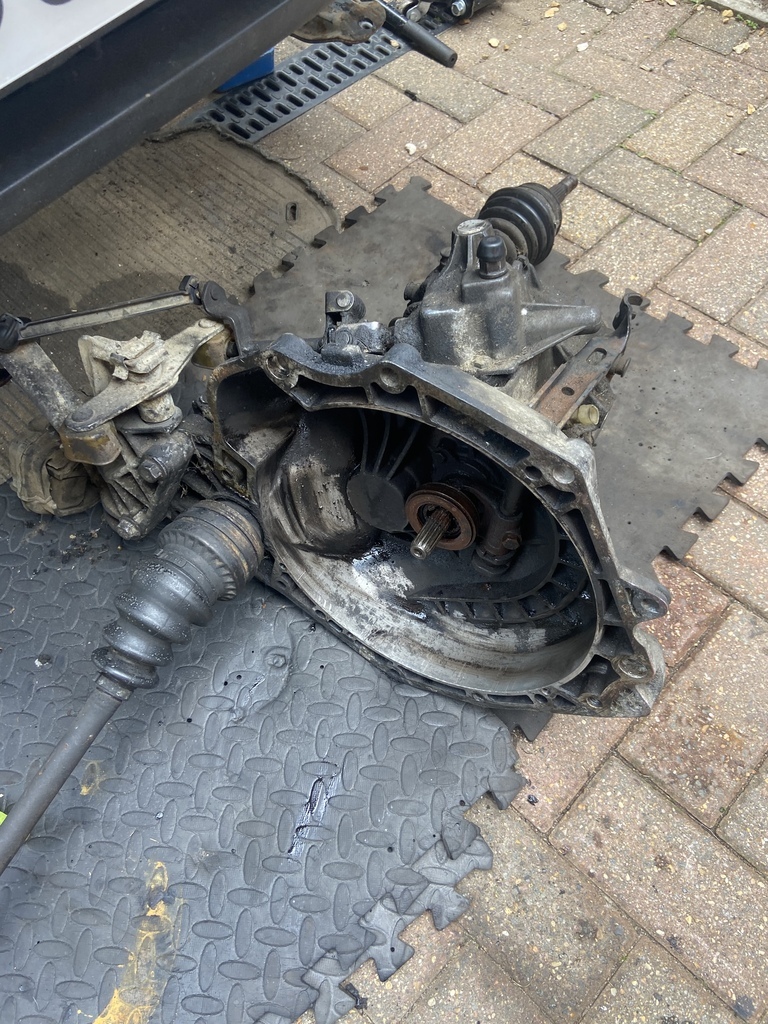 Then Steve turned up and it got a lot easier  but no further photos got taken until we tested it up the drive. Steve went, I carried on tinkering, I’d damaged a brake line under the floor so fixed that and started to bleed the brakes… then Lucy came home so we went and got curry  This morning, I tried to open tailgate.. and realised i haven’t got the keys here… doh So swapped the rear springs and checked the dampers, they damp so can wait until I strip stuff down. Swapped wheels about, bled the brakes again, fitted the seats, the horn and steering wheel cowl. Had a quick go at the tracking, and then gave it a decent wash 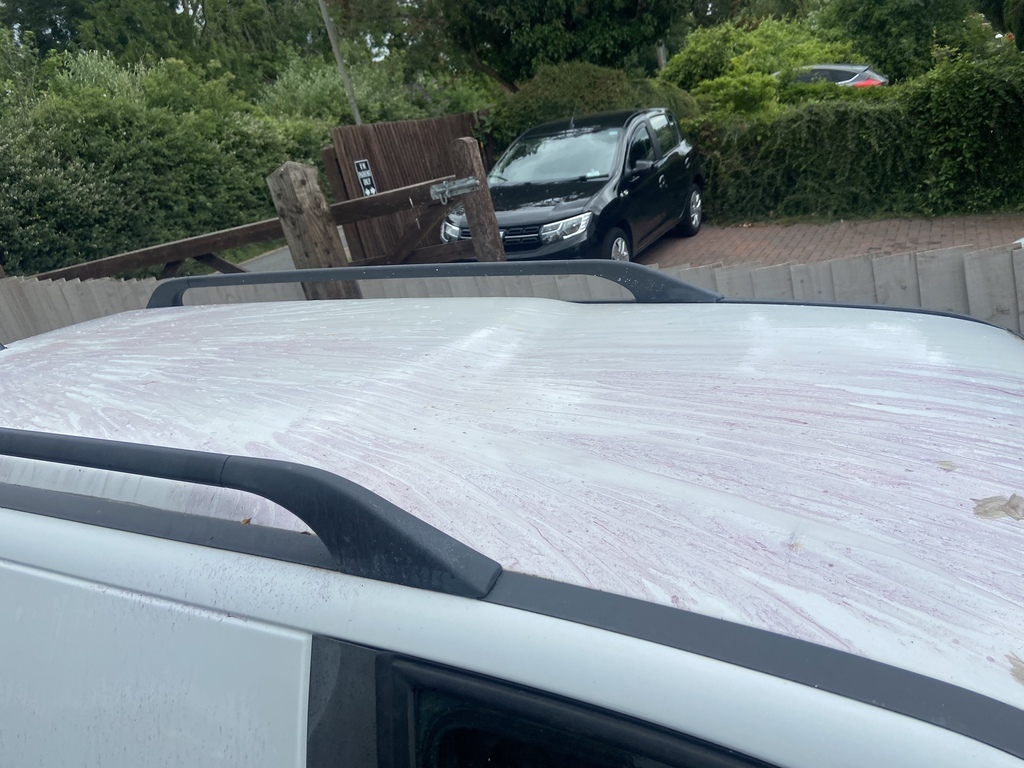 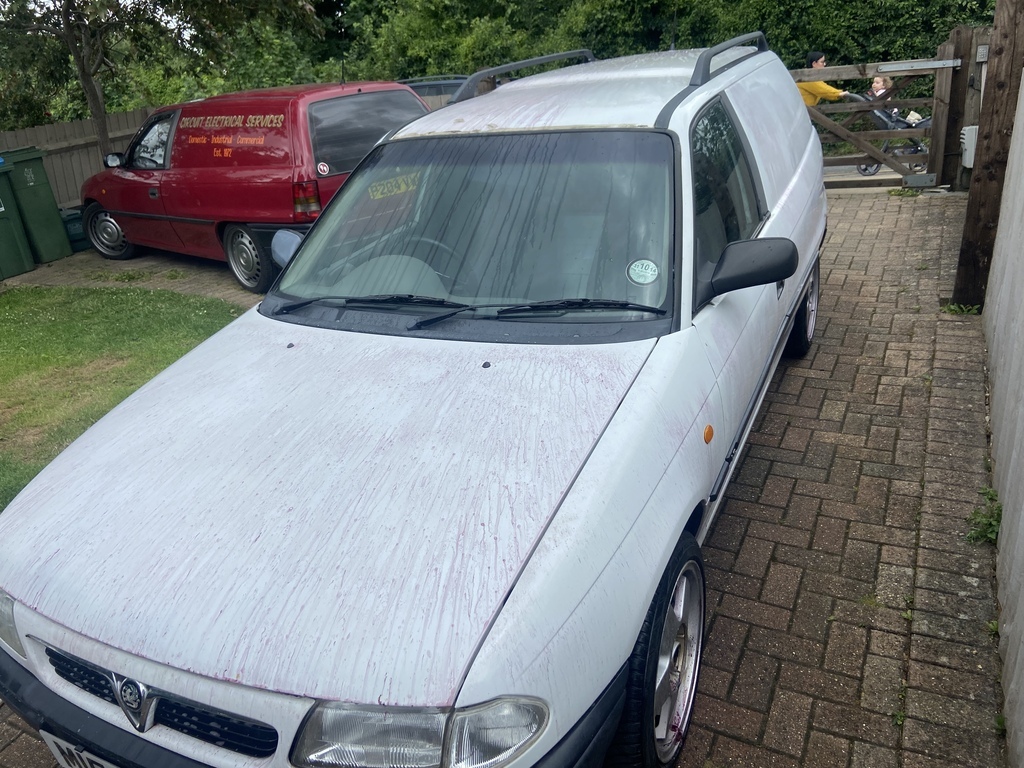 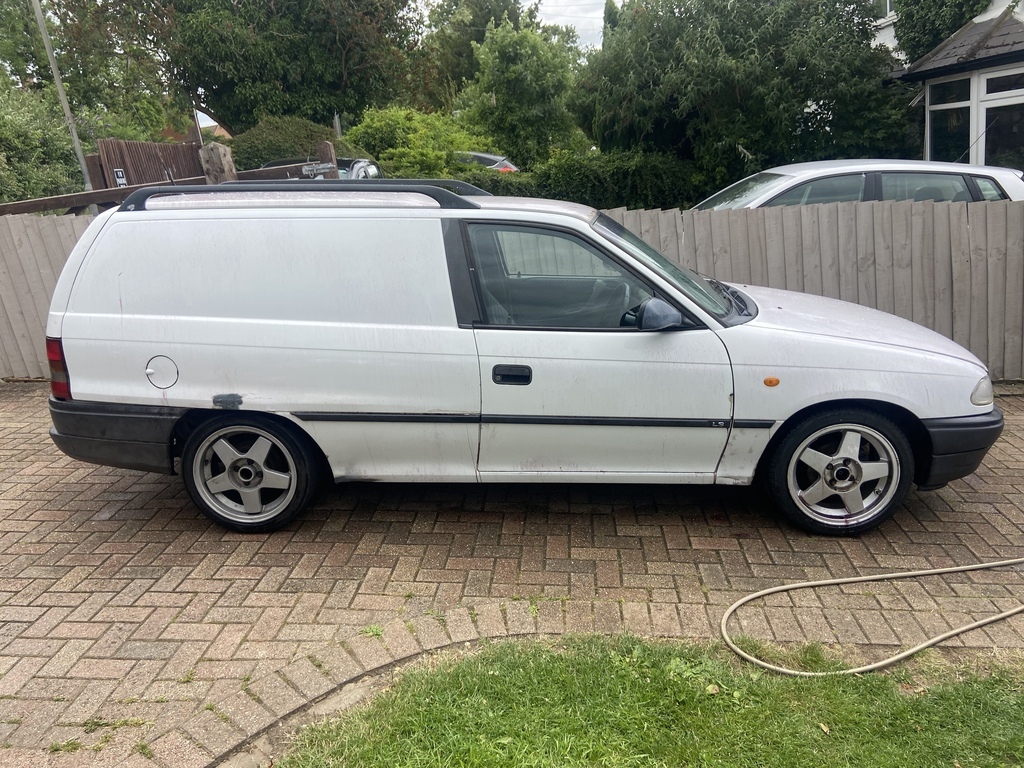 Went up the shed, so dug out the estate locks, took them off the doors, found the column and then had to search for the ‘safe place’ I put the keys  so I can have it on a single key at some point 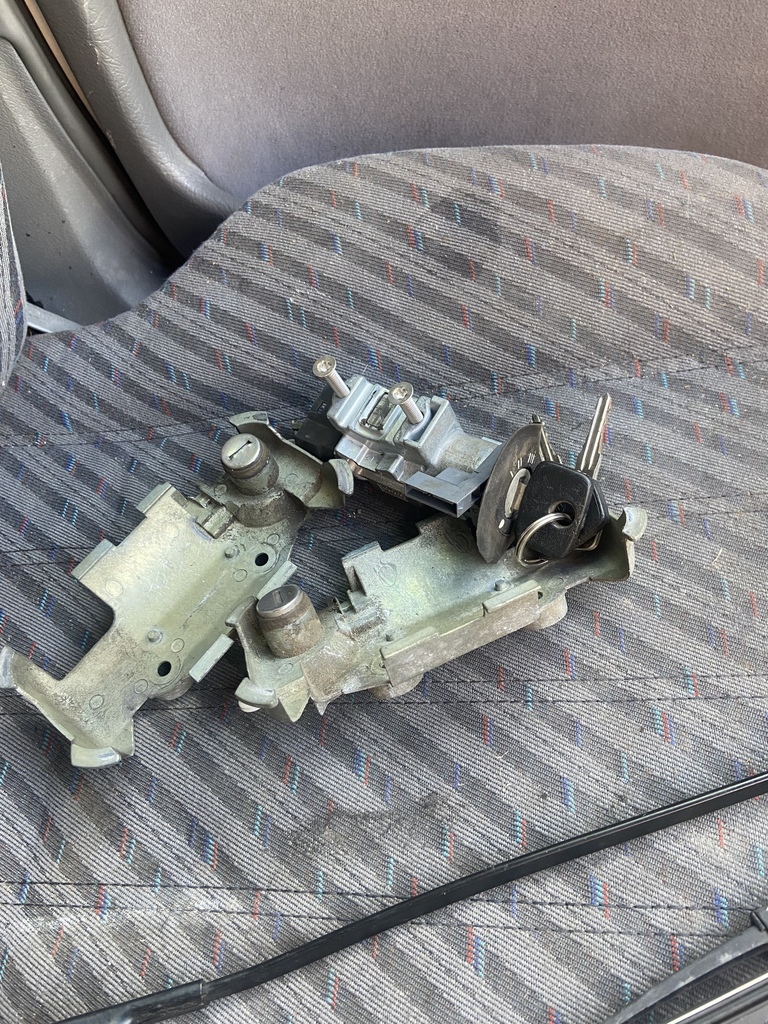 Went to turn it around and park back in the drive in it’s normal place, and it ran fine, then lost power, then after a minute ran fine again (except for being smoky)… so I’ve ordered a pela pump to suck the 8 year old diesel out. Few more things to do, pushed some more air about so brakes need bleeding again then try for an MOT It would be nice if it passes, but if I get a fail only on the engine then I’d be happy, and at least I’ll know what needs doing whatever happens But it looks fairly respectable now (even with just some white hammerite daubed on the rear arches) well from 10yds it does  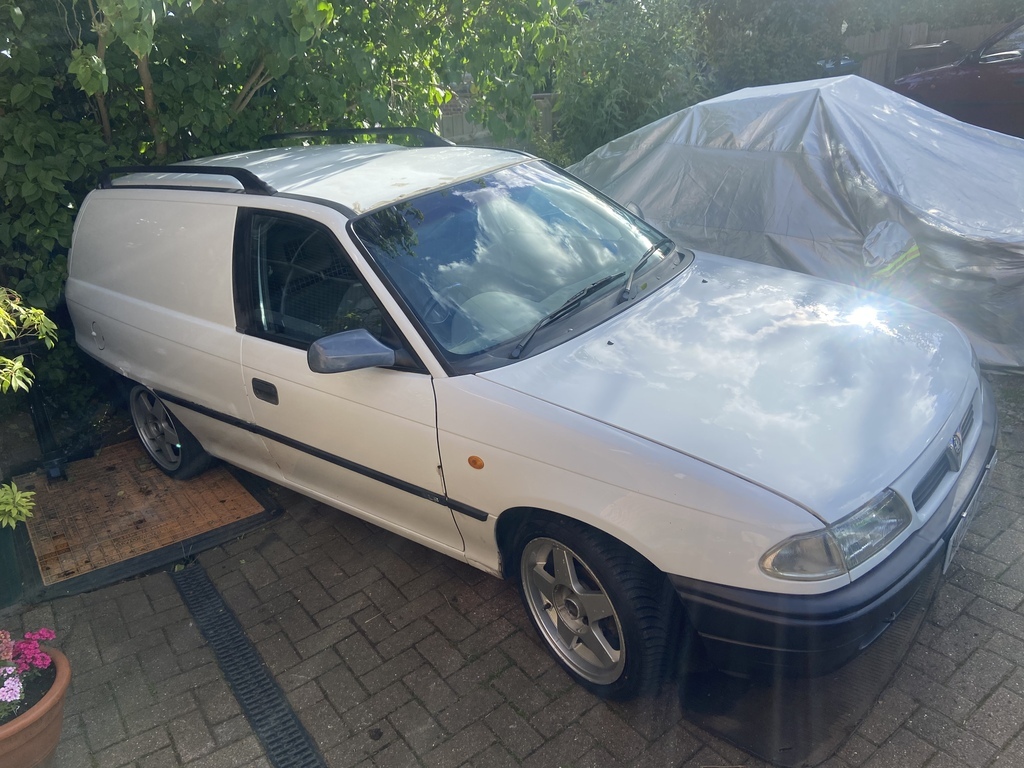 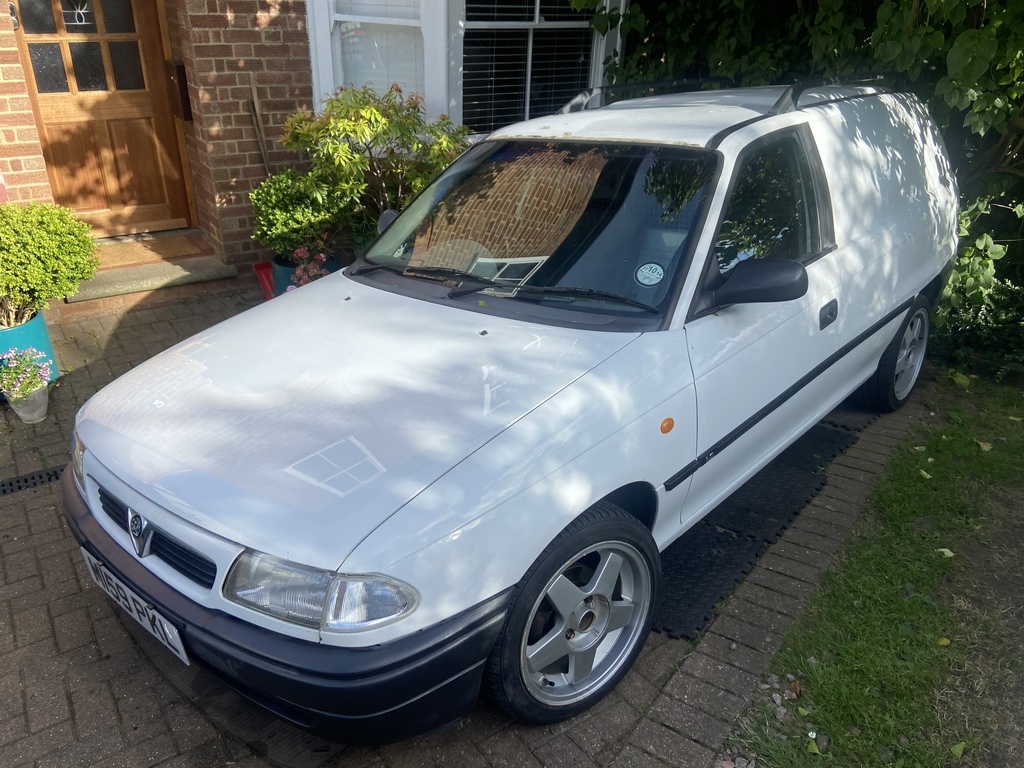 |
| |
|
|
johnthesparky
Posted a lot
  
Posts: 3,522
Club RR Member Number: 6
Member is Online
|
|
Jul 15, 2022 17:47:49 GMT
|
Racevan (tm) now has MOT!! Drained the tank, added a gallon of fresh diesel and some additives. Drove to the MOT, and it passed!! Few advisories and had a better look underneath, some bits I need to look at to preserve it… To thank me for the work, the brakes started to squeal on the way home, pulled over and they were fine until used again… that’ll be the servo sticking And it was a bit smoky, but on the only hill it lost power and really smoked when I got it going, could be a bit of ropey fuel that got sucked up, or something breaking… will give it another try once the brakes work  But I only really need to get it a mile or so, and it has mot!!! 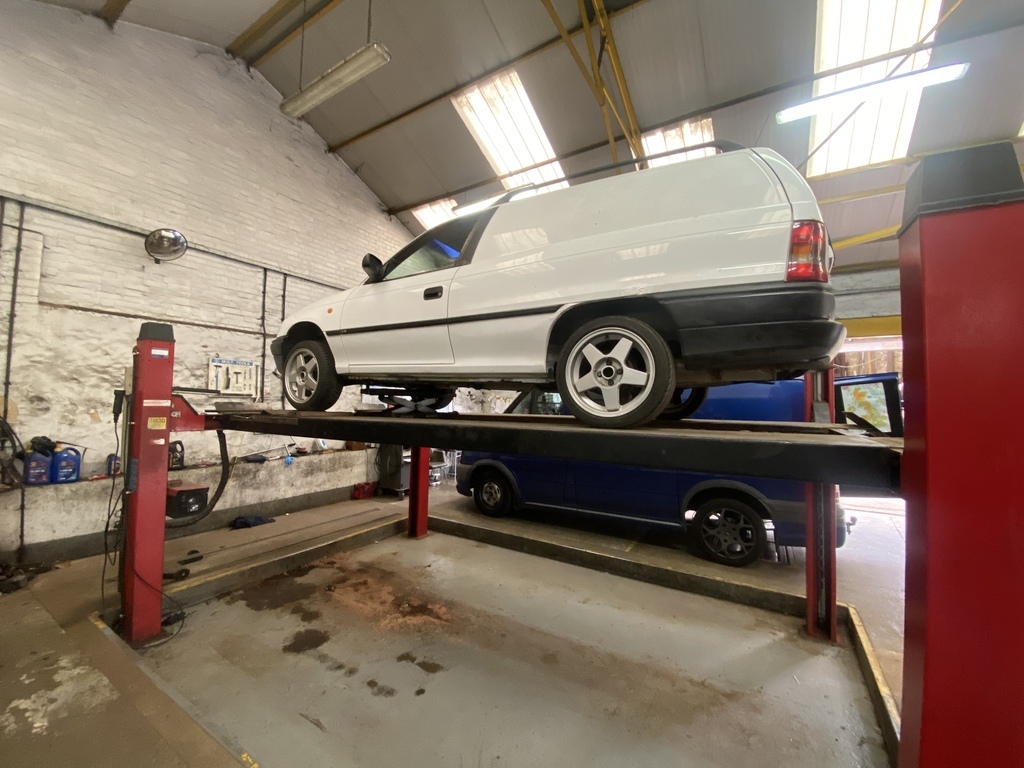 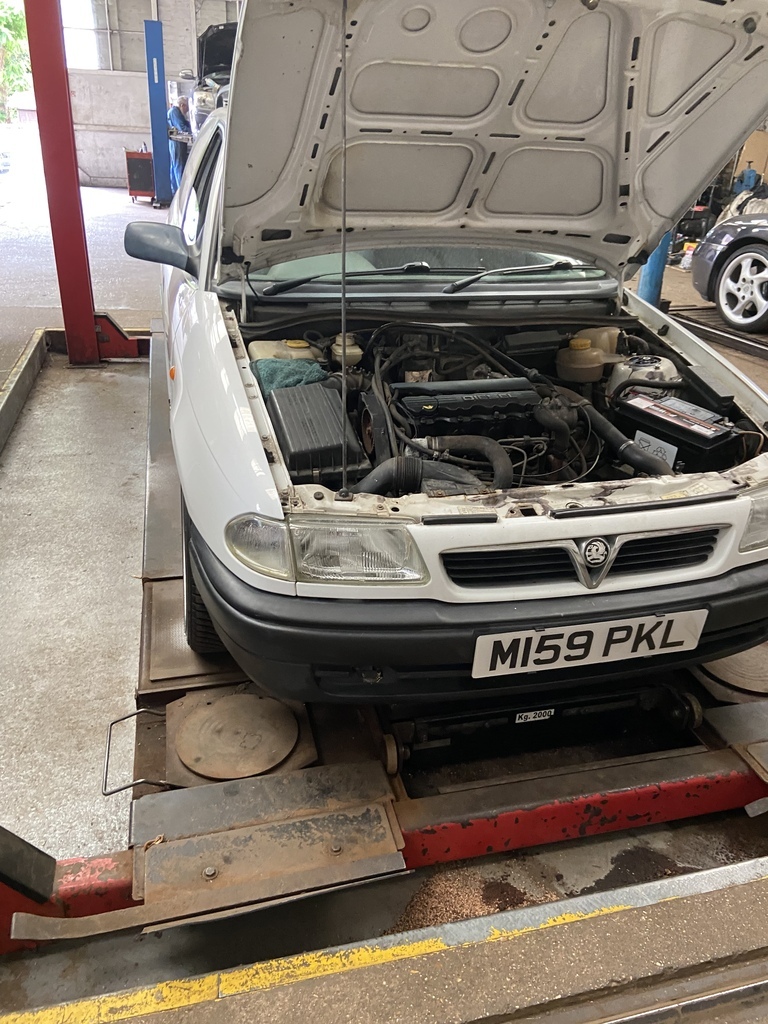 |
| |
|
|
zeberdee
Club Retro Rides Member
Posts: 1,037  Club RR Member Number: 2
|
|
Jul 15, 2022 18:00:18 GMT
|
|
Good work !!
Looking forward to the engine swop & the racing .
👍
|
| |
|
|
johnthesparky
Posted a lot
  
Posts: 3,522
Club RR Member Number: 6
Member is Online
|
|
|
|
Since MOT not a lot has been done, Week after MOT we had bugjam, which we went to on Thursday and did RWYB on the Friday. On the Monday we went away for a weeks holiday… around that was running around trying to finish jobs etc Workvan stoically continues to do its thing Racevan has been collecting parts, I started rebuilding GSi brakes, the twist with this one is the colour 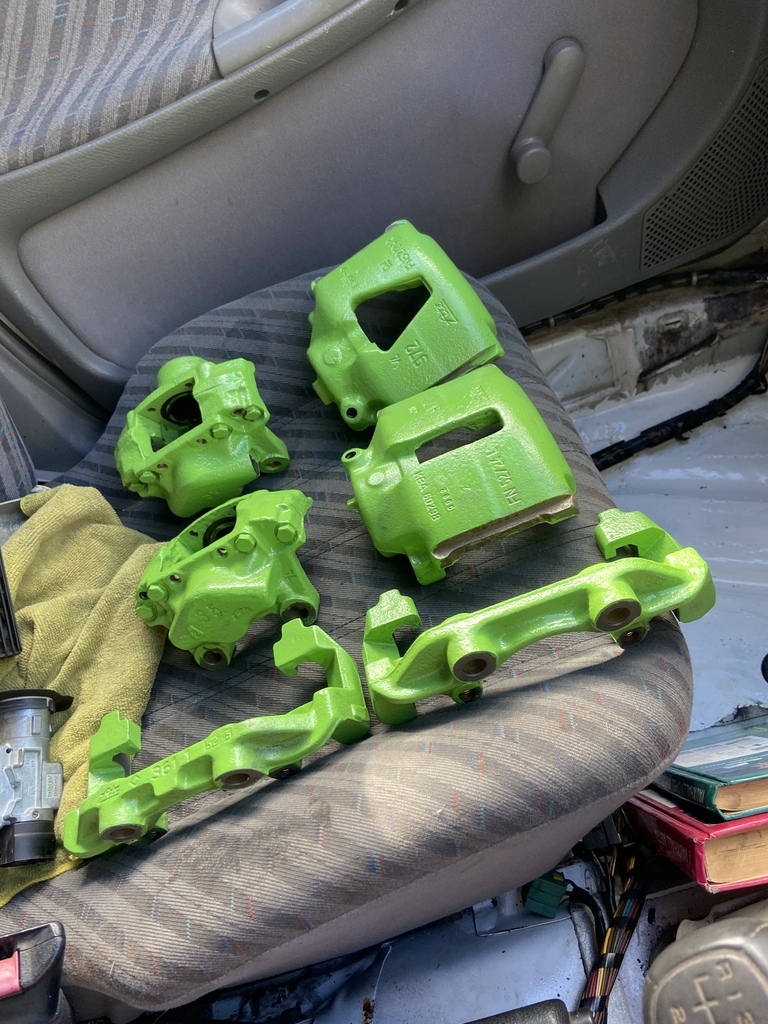 Painting them VRS green to embrace the Skodaness of the build Also got another servo/master cylinder 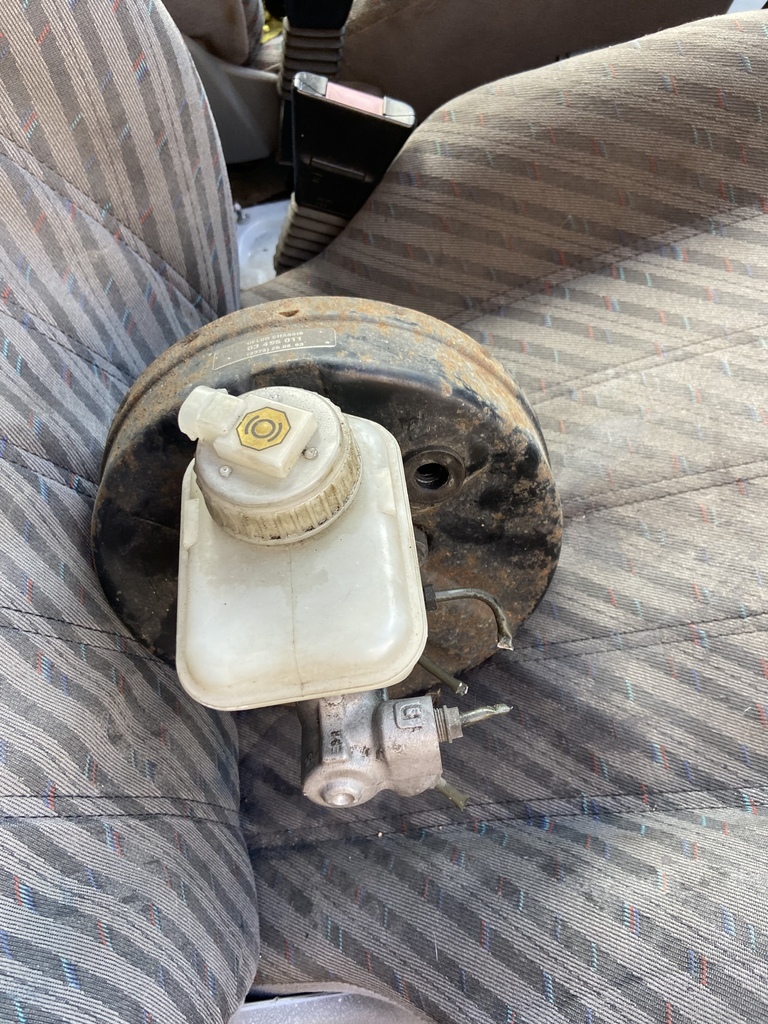 Fitted that today 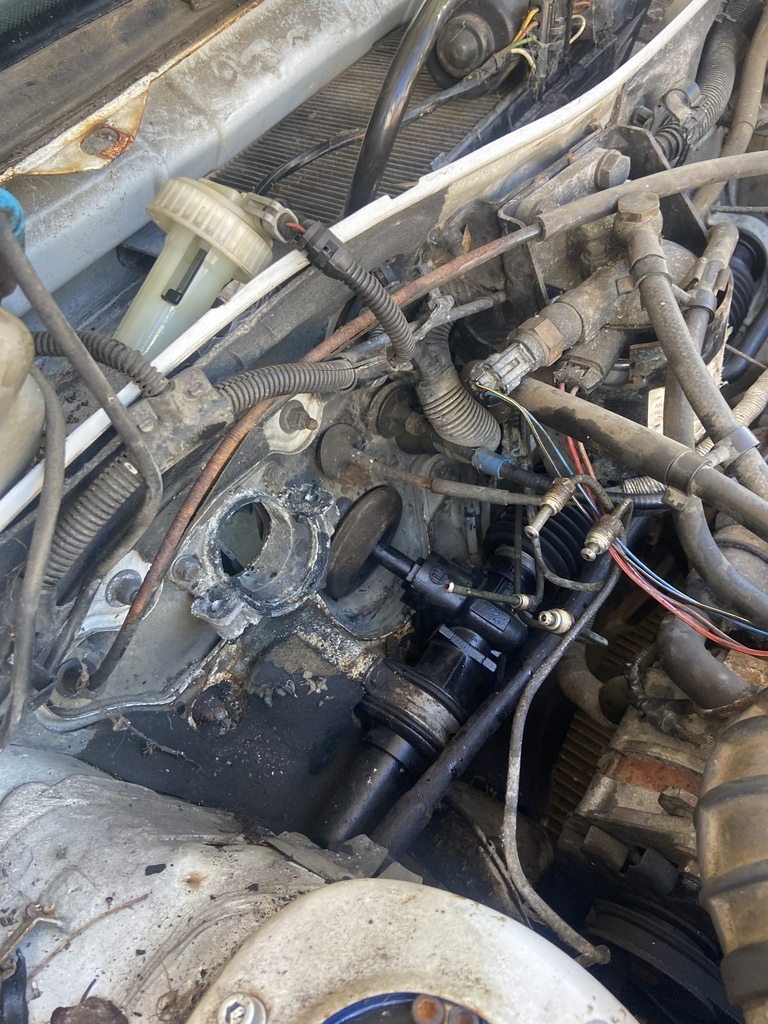 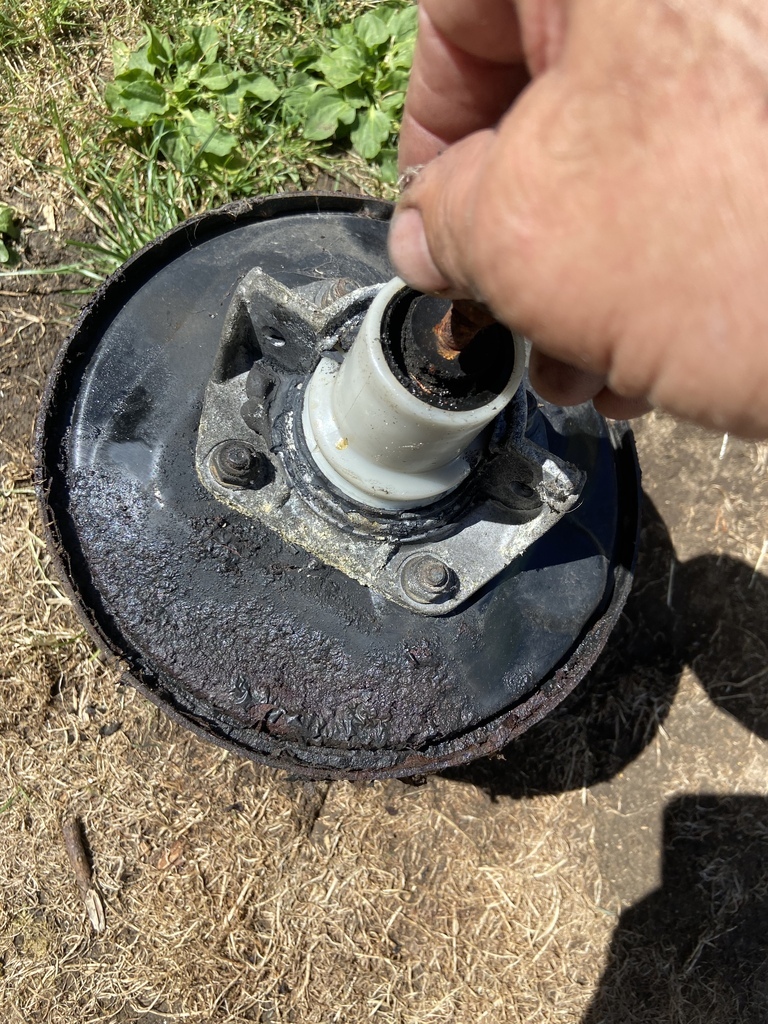 And could see wet and mess on the backside of the servo Bled the brakes and thought I’d see how it ran. Insured and taxed it and as Lucy had popped to her folks trundled over there. 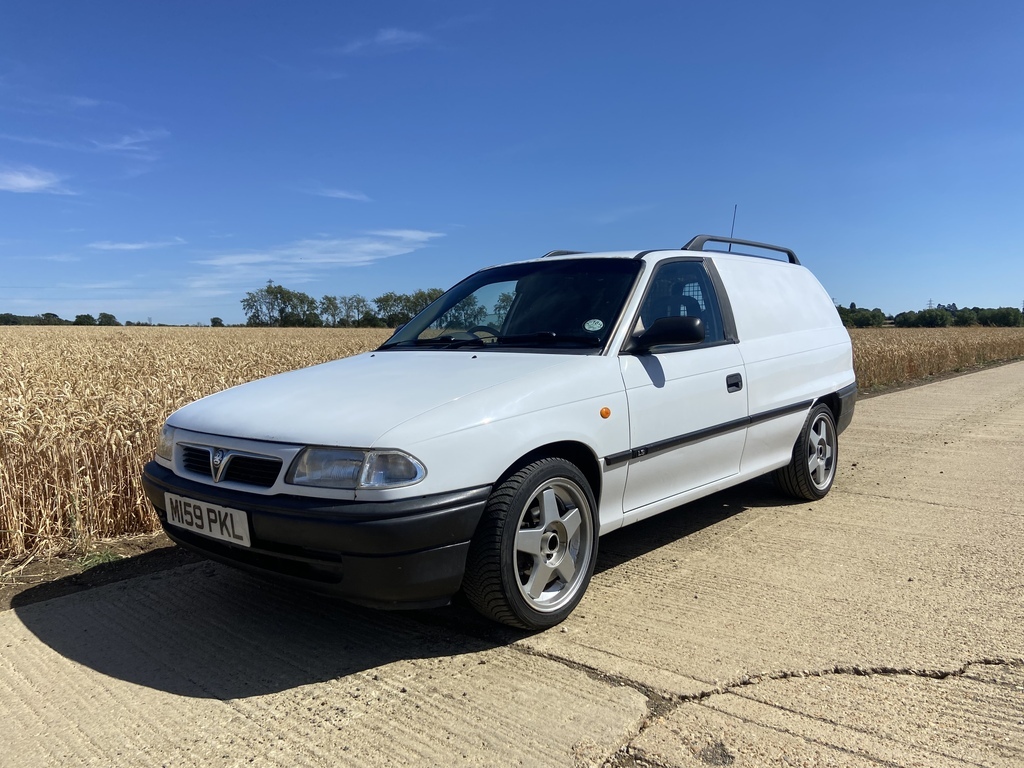 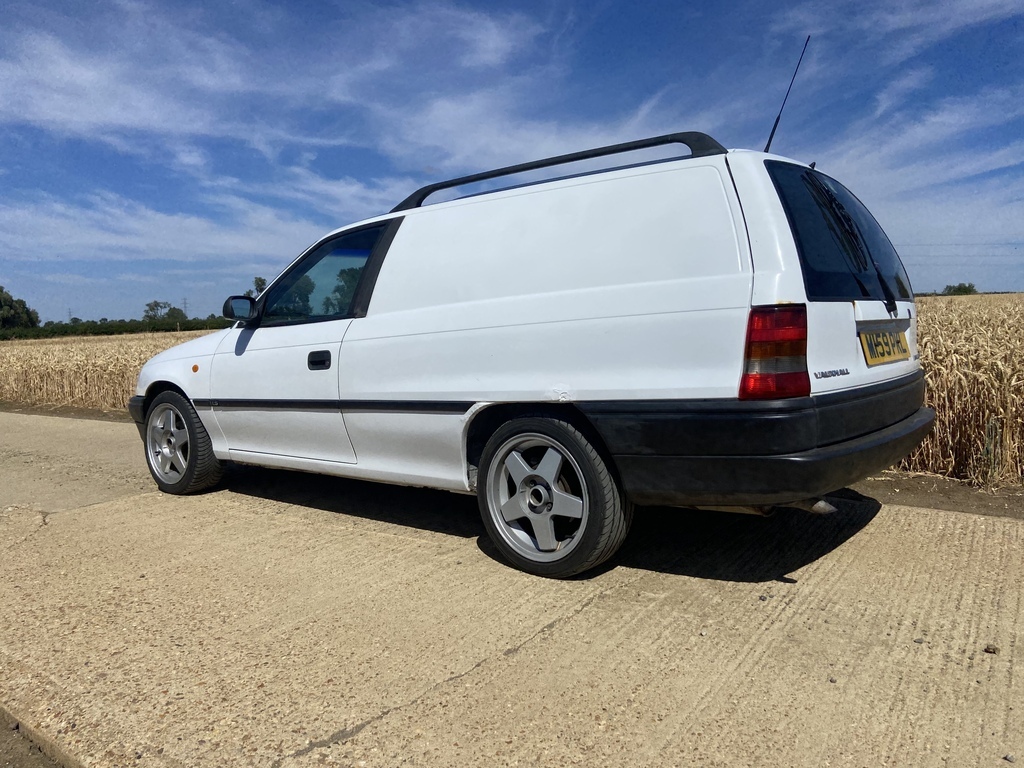 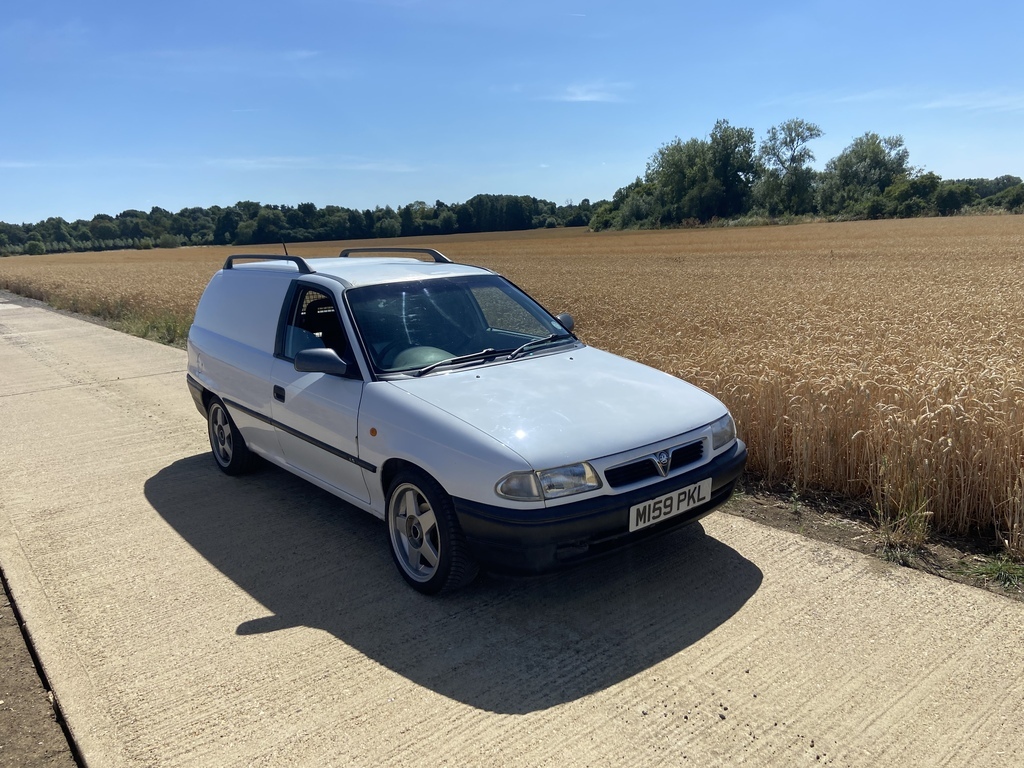 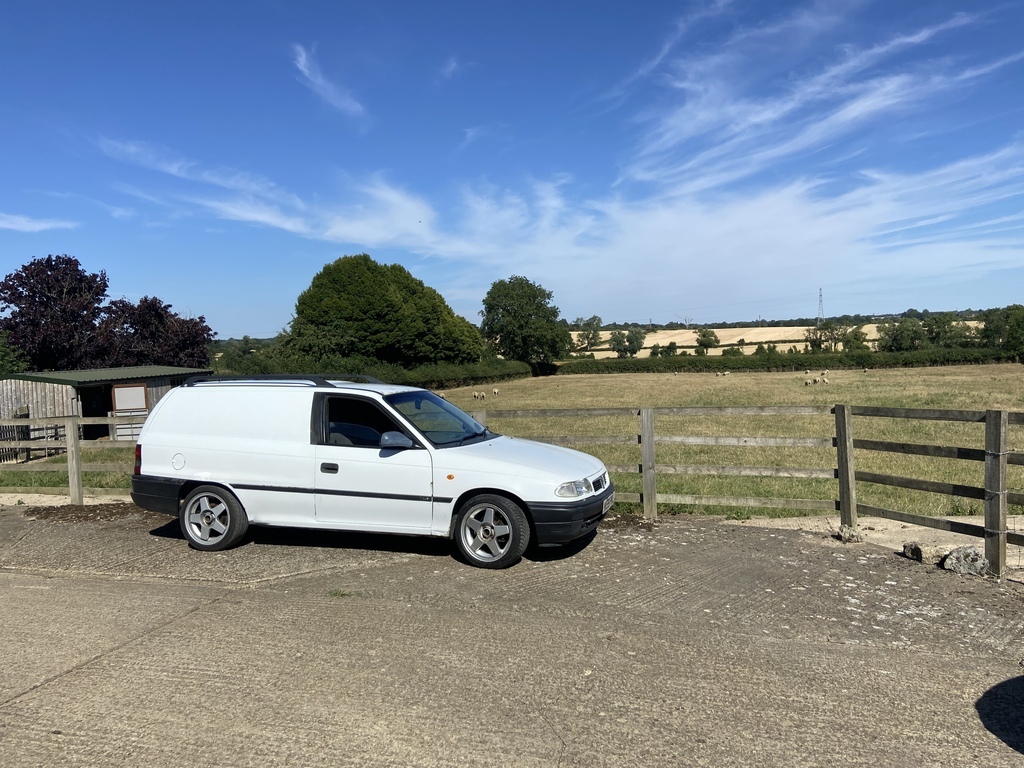 Brakes squealed on the way over, stripped and checked it before the return journey sorted that, then it wouldn’t rev, the accelerator cable (that isn’t an accelerator cable because it’s a diesel… but well, you know) had slipped as the clip had broke, so a bit of copper wire fixed that (should have been a cable tie, but didn’t have one in my pocket  ) So managed to drive about 20 miles, and it’s ok, will do a few more miles until the short term insurance runs out. |
| |
|
|
johnthesparky
Posted a lot
  
Posts: 3,522
Club RR Member Number: 6
Member is Online
|
|
|
|
*The engine is in the bay, that’s not a lie… it’s not installed though  Drove the white van around for the week, but only a few short journeys really. Swapped it over with the Fug in the shed, it fits, we parked the white estate in there 18months ago, but it’s tight. So removed the mirrors and pushed it in backwards as I want access to the engine bay. Then waited, the yard the sheds on isn’t huge and therefore didn’t want to start anything until they’d finished harvest. So now harvest is finished I could make a start. So pulled the engine from the white van 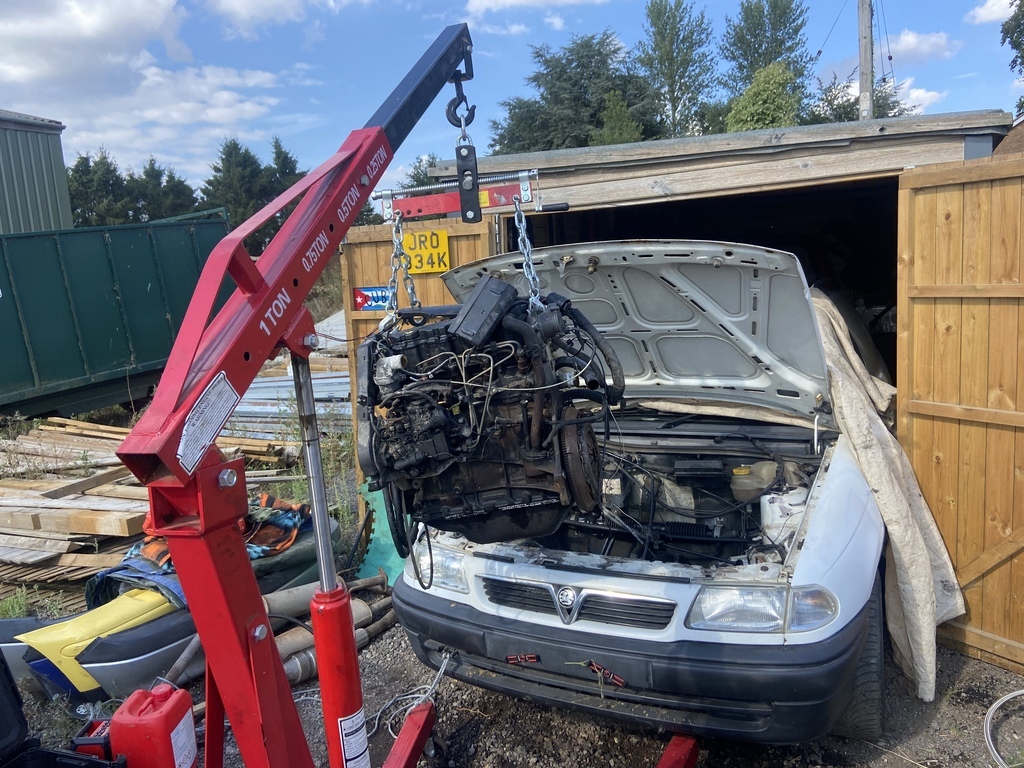 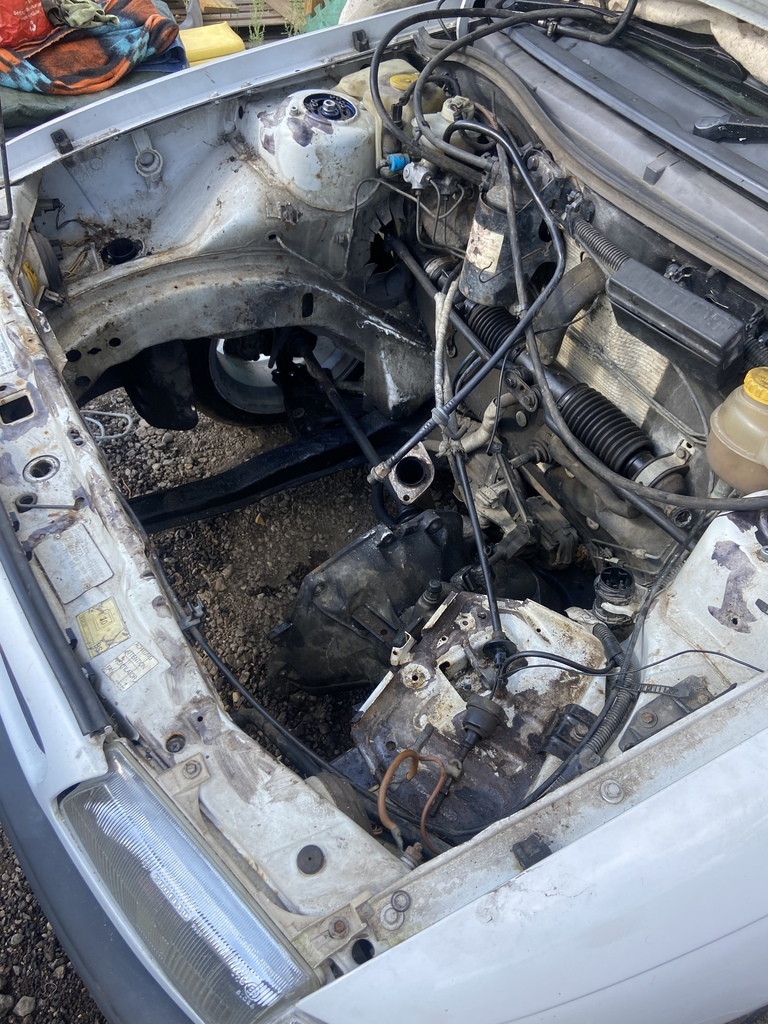 And then the gearbox, which I managed to do leaving the shafts attached, so didn’t need to drain the oil. I swapped that with another mk3 owner Andy, I got an F18 as a spare, he’ll get this F13. Then we stripped the front off of the octy 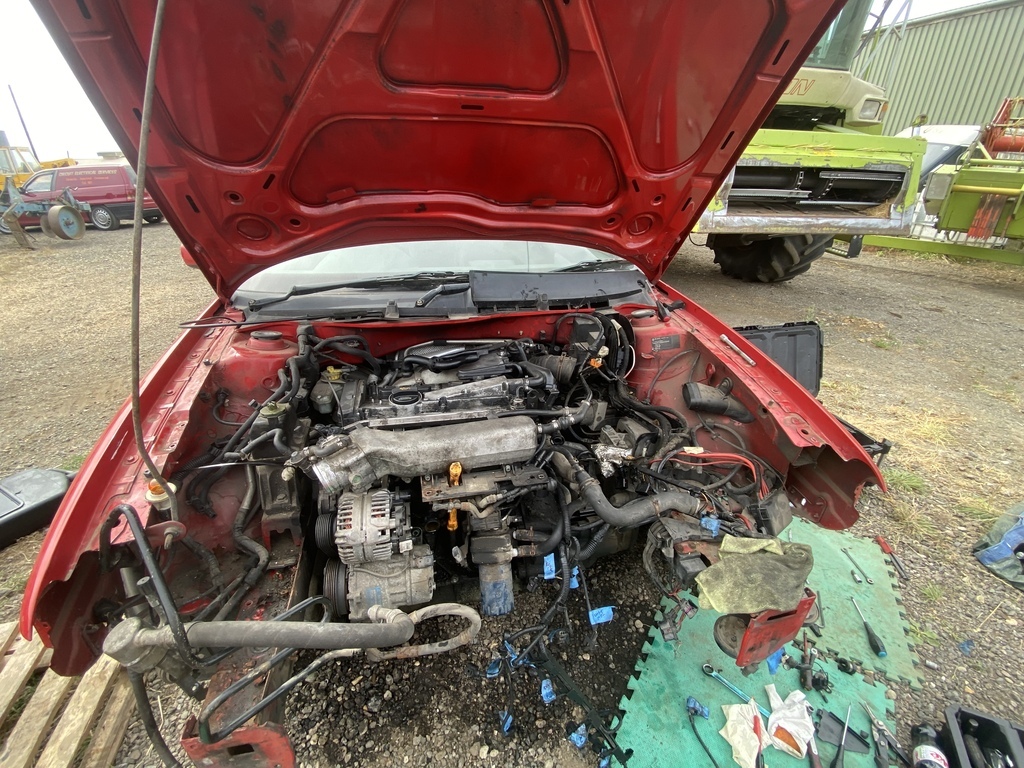 And whilst in there found out another reason it smelled so bad 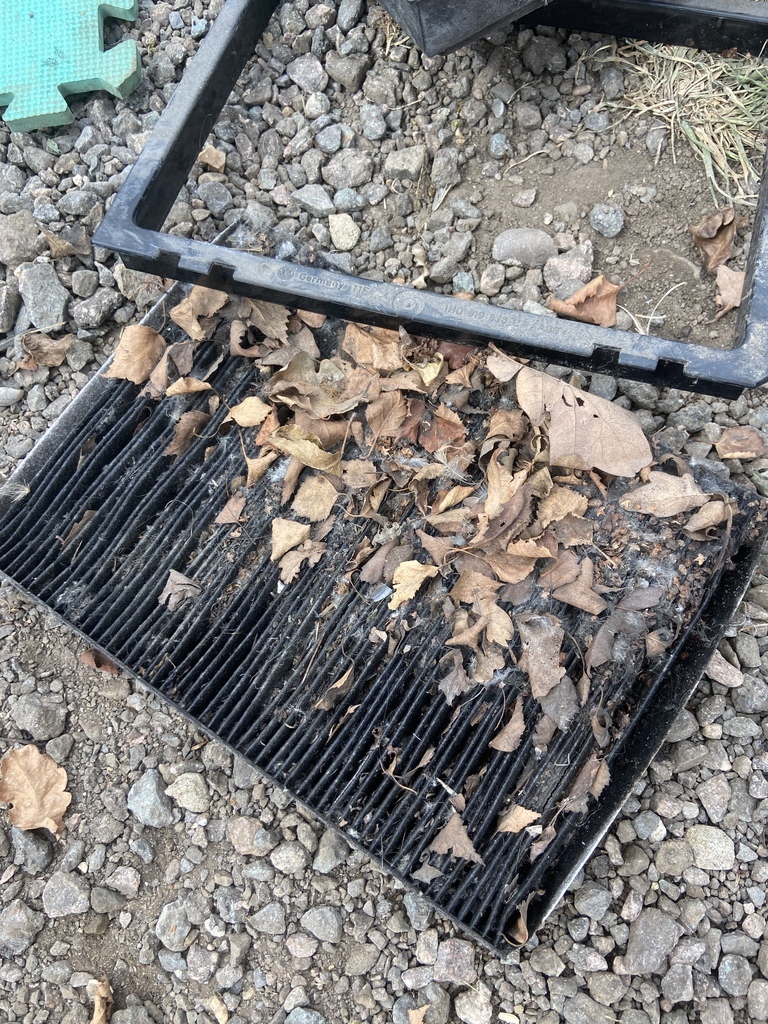 Then pulled the engine and box as one 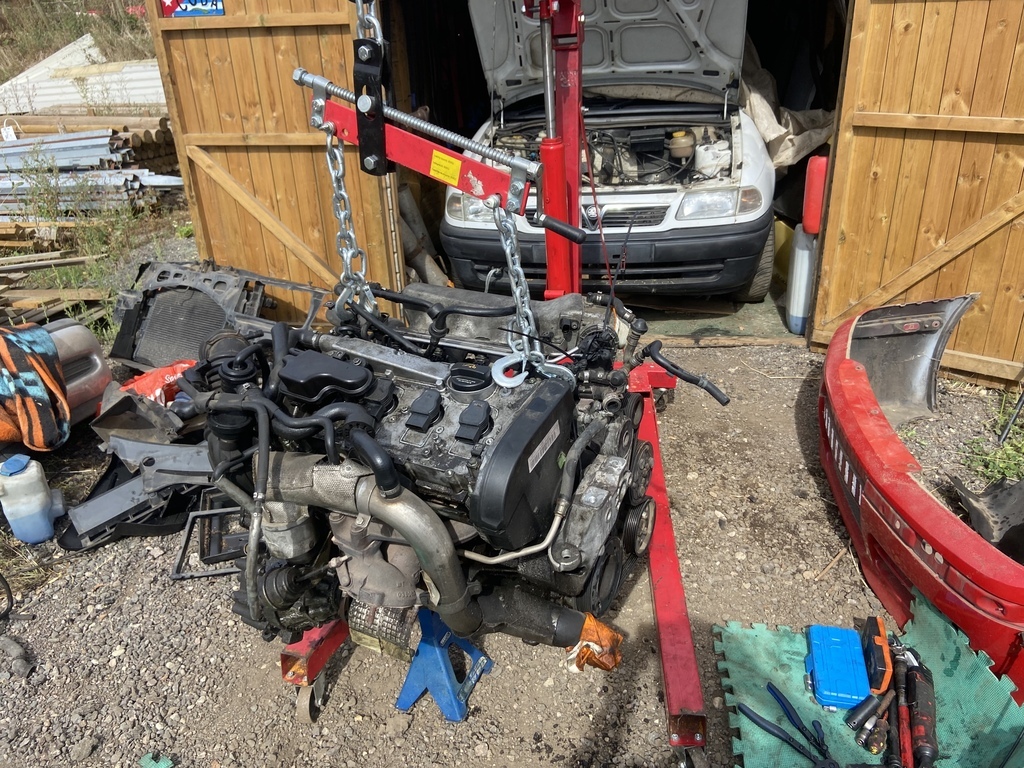 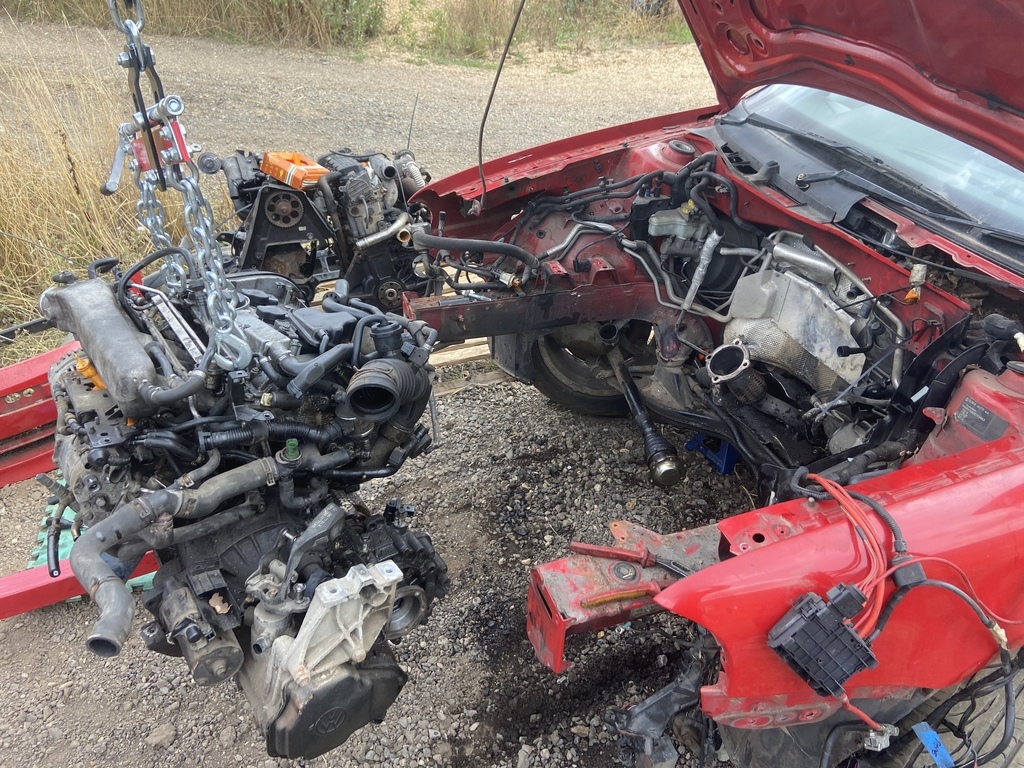 And dropped them into the van 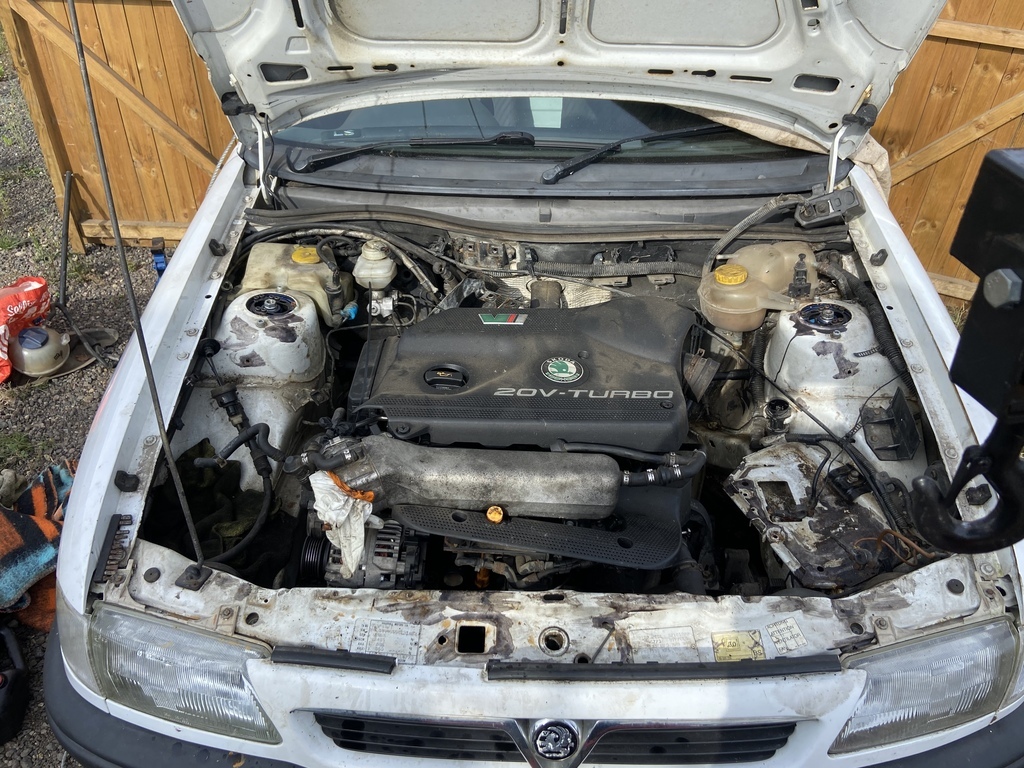 That sounds really easy, but on a loose gravel/planings yard it’s a fair bit of lifting and dragging. But looks really good in there so it was worth it It’s sat on the subframe, so it’s high, which means the bonnet won’t shut 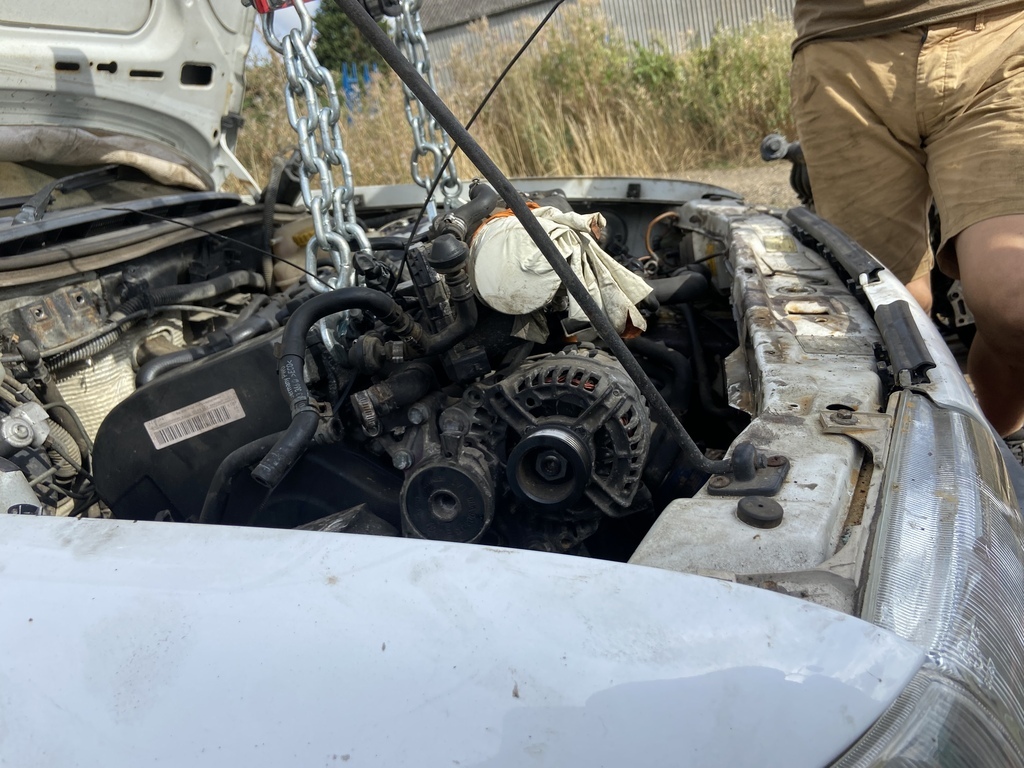 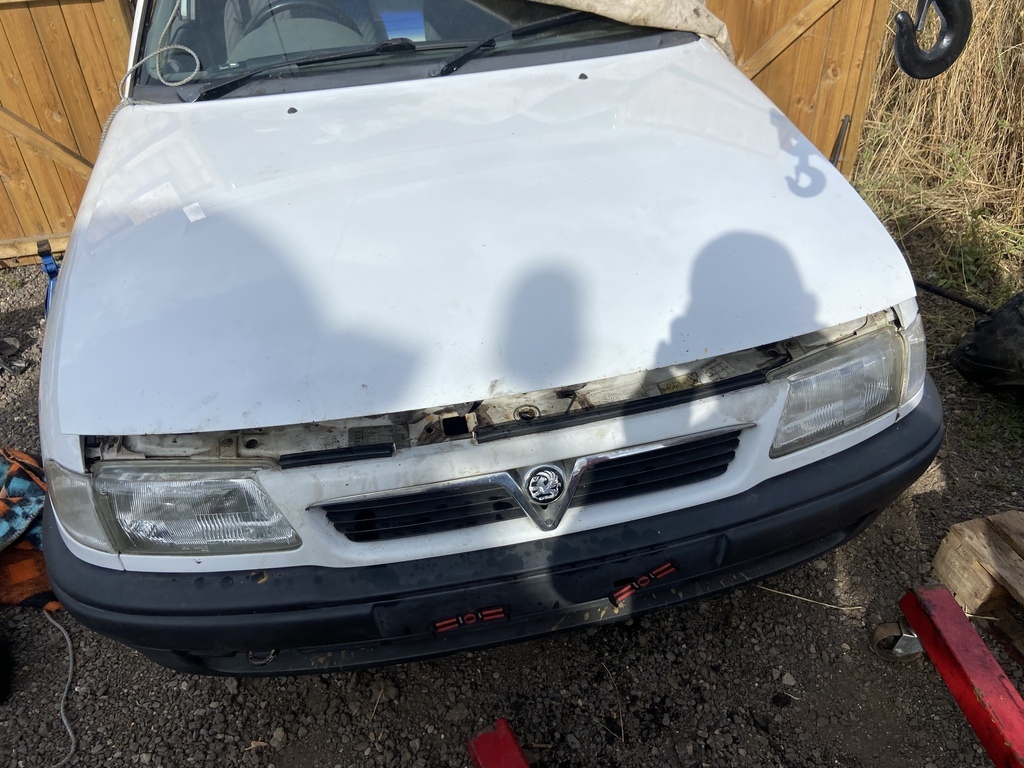 I believe there is a low profile steel sump for these, which will give me about 40mm and then look at where the engine and subframe interfere. Luckily the subframe is bolted in, so not part of the monocoque.. so can be modified. So not really achieved much, except cleared some space and checked that it fits in the hole. Next up is lots of measuring and start stripping the octy |
| |
|
|
427za
Part of things
 
Posts: 32
|
|
Aug 29, 2022 11:23:55 GMT
|
|
Looking good John, that actually looks really at home in there.
If you ever need a spare pair of hands you know where to find the gang!
|
| |
|
|
Sammo
Club Retro Rides Member
Posts: 1,461  Club RR Member Number: 103
|
|
Aug 29, 2022 11:38:14 GMT
|
|
The shallow sump is standard on a 20v turbo Beetle.
|
| |
Follow Me On Instagram - @parttimecartinkerer
|
|
johnthesparky
Posted a lot
  
Posts: 3,522
Club RR Member Number: 6
Member is Online
|
|
|
|
Not much to report Work van got another oil change 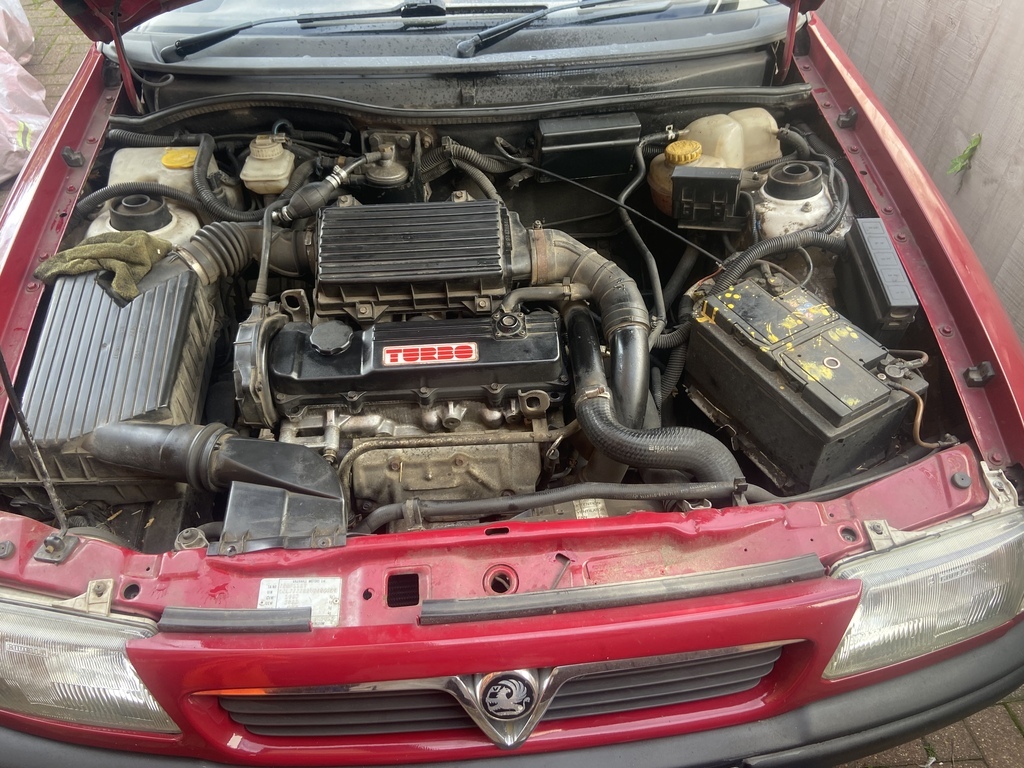 And an MOT, which it passed no drama 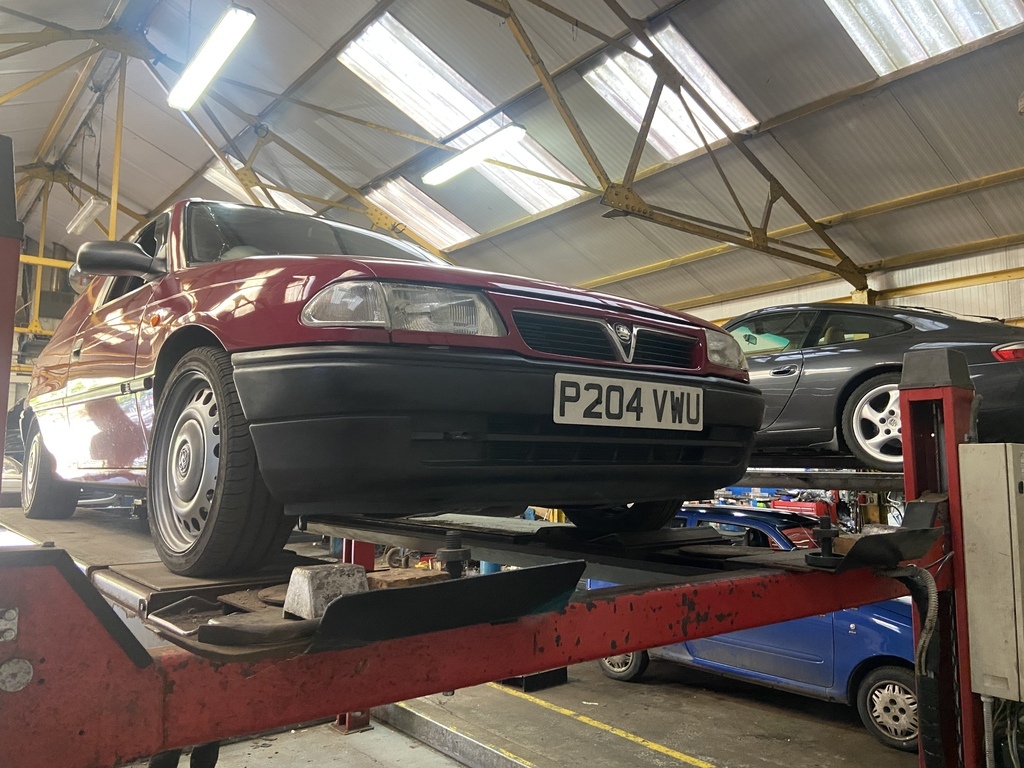 Ive added just over 37k miles to it now, it’s starting to get some rust bubbles low down, and a bit on the front of n/s rear arch will need looking at soonish. I ordered a few cans of Montana black to see if I could get a close-ish match for race van. 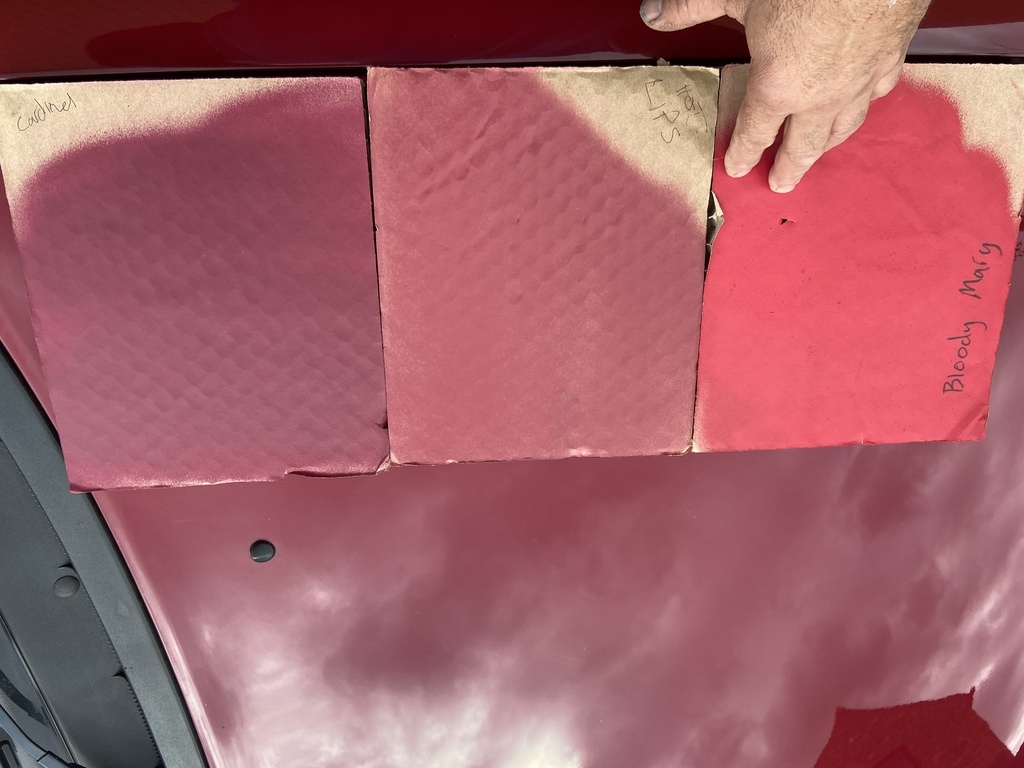 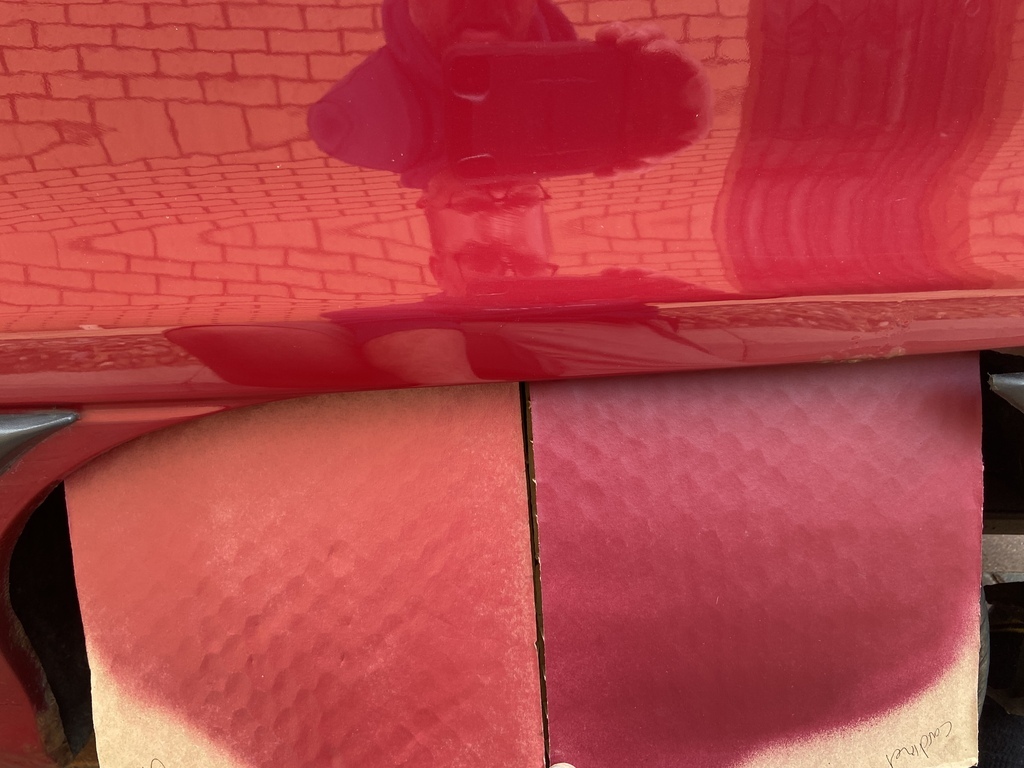 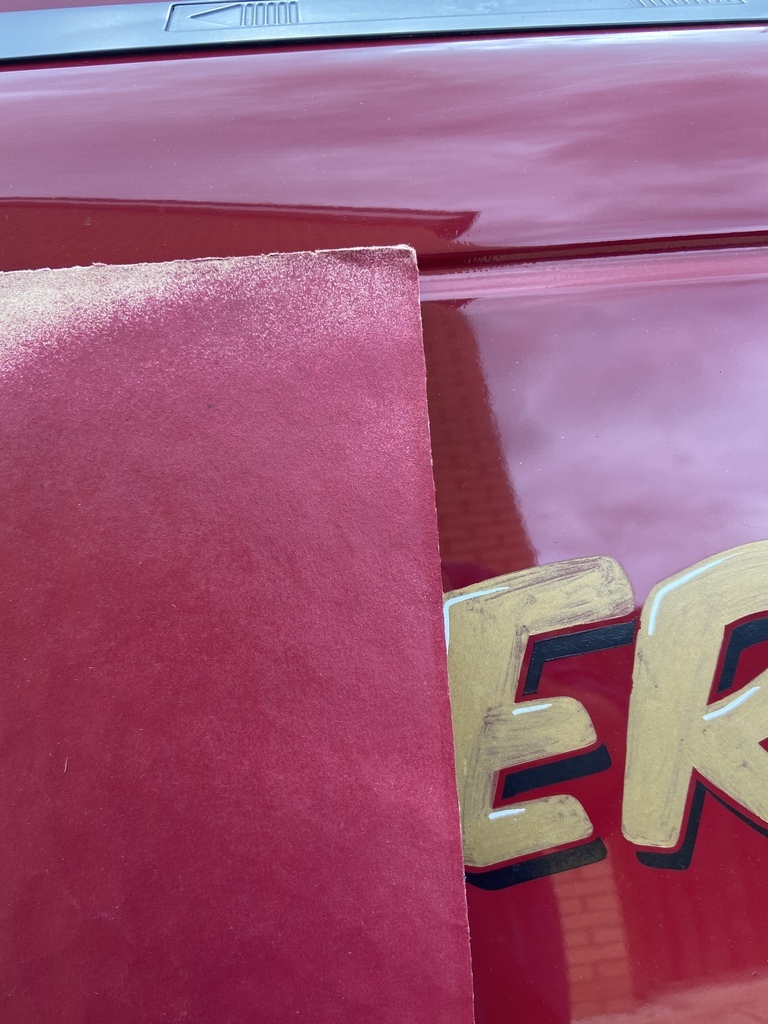 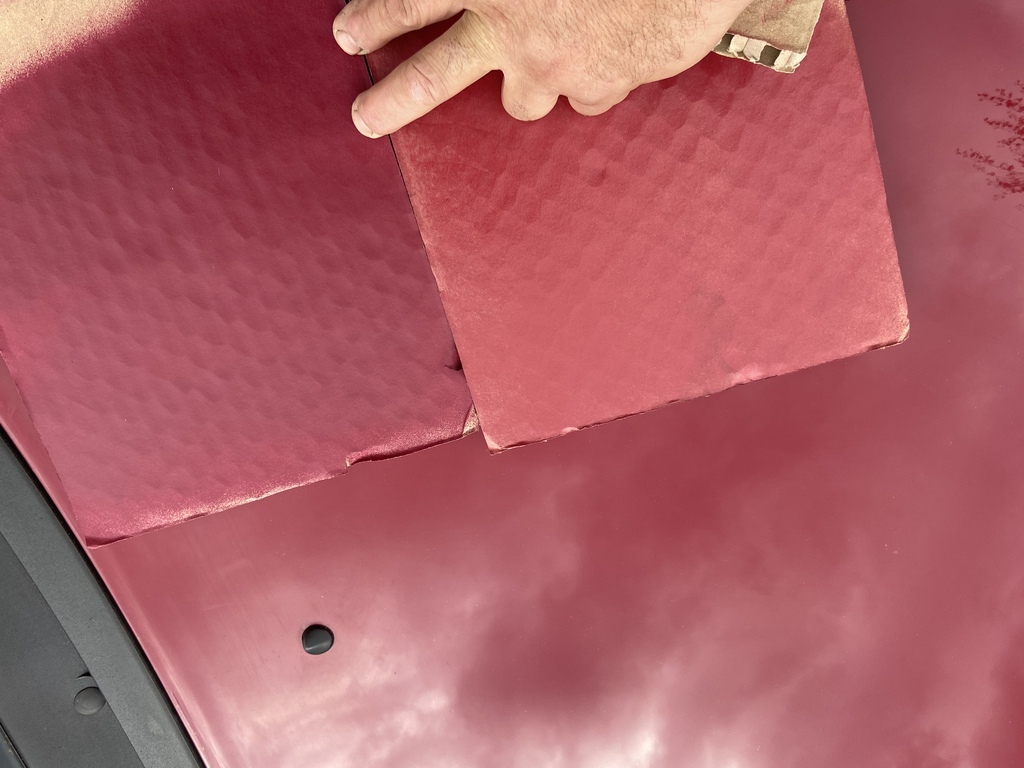 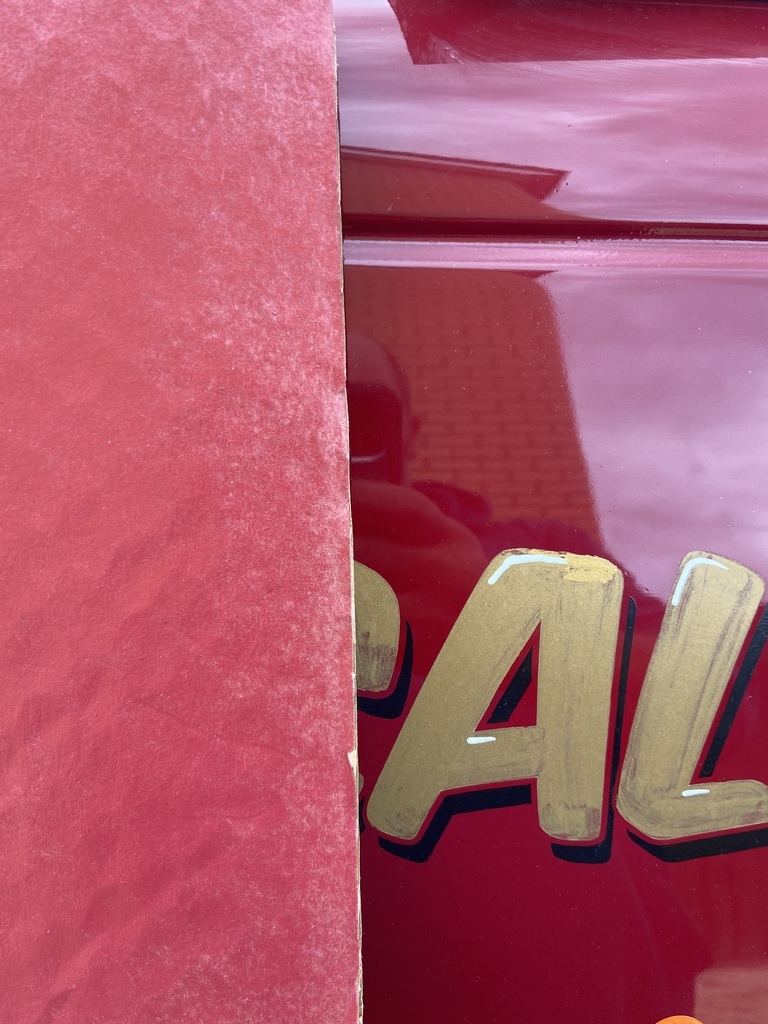 Bloody Mary is much too light, Hot lips is a bit too light Cardinal is a bit too dark But I think Cardinal will look closest to work van, it doesn’t have to be exact, and I like spraying with Montana, can touch up with cans when I sort arches etc, so the difference in colour is ok Not sure how many cans I’ll need for the whole van though? Other than that I’ve been working on wiring 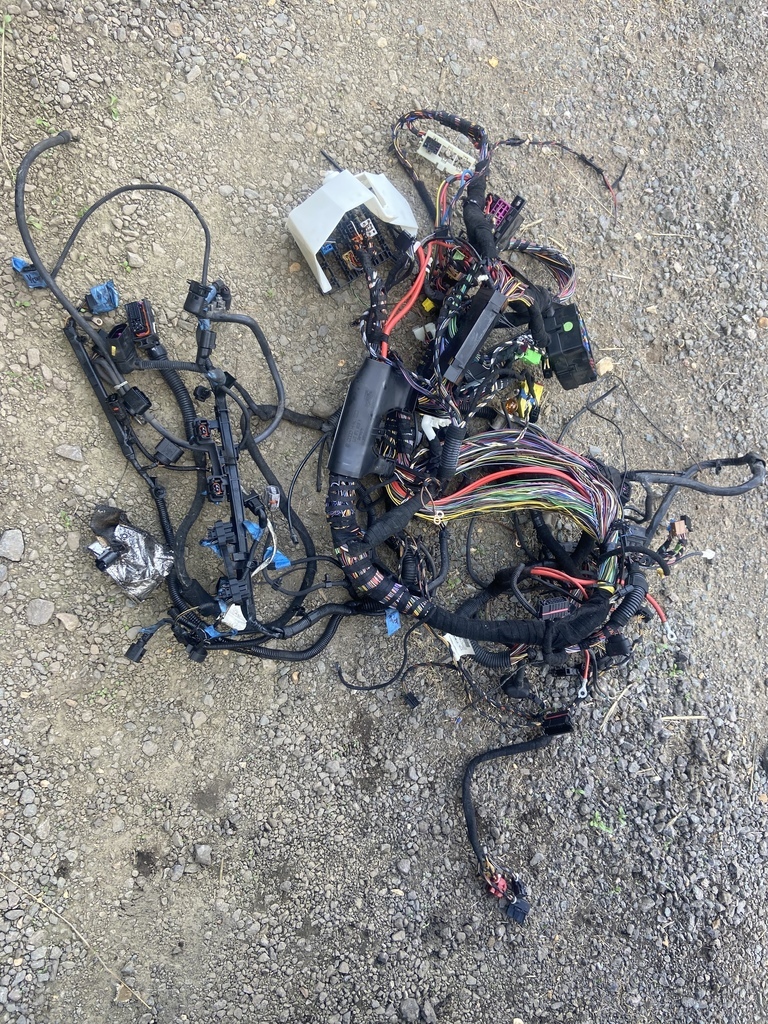 |
| |
|
|
johnthesparky
Posted a lot
  
Posts: 3,522
Club RR Member Number: 6
Member is Online
|
|
Nov 14, 2022 21:46:17 GMT
|
Just over a month since last post, I started writing something and then managed to delete it  So wrote this elsewhere… apologies if it’s a bit too wordy Originally was going to use the octavia loom with the ecu, this would mean i would have to use quite a lot of the octy, including the pedals and clocks. I started by unwrapping the loom and paring out the unwanted cables for lights etc. it all got a bit overwhelming though, there was a lot of extra wiring/complexity I didn’t need And since I had the speeduino, that seemed the way to go Having made that decision the whelm-ratio was restored. I took the bits of the loom I now needed; Coil wiring Injector wiring Inlet air temp sensor Coolant sensor Crank position Throttle body (though this needed a different plug) The AUQ is drive by wire which won’t work with speeduino, but an AGU cable throttle body bolts straight on, currently I’ve only wired the position pins I made a bit of a loom at home, because I’m doing it all wrong (like normal  ) I couldn’t make a proper loom as I don’t know where I’m going to route stuff, so I just connected stuff up leaving the wires as long as possible. I pulled the engine and box out of the van and dropped on a pallet just in front of the octavia, connected my loom, connected the fuel lines and wired the fuel pump and tried to get it to run…. Which it wouldn’t, I had no spark  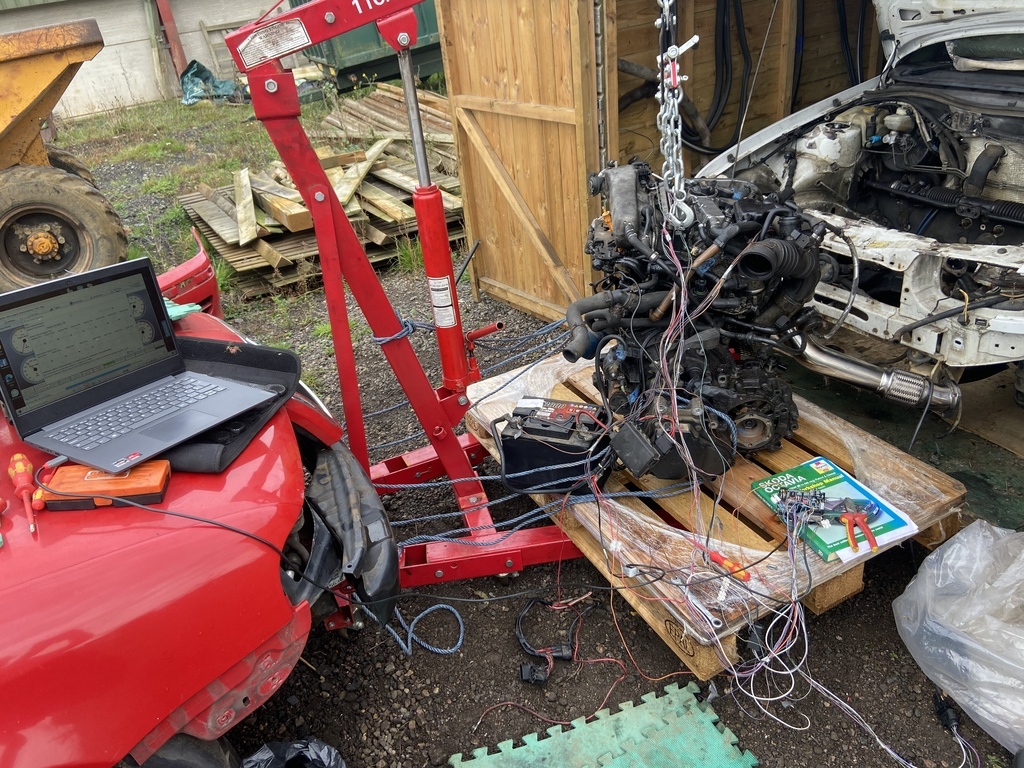 So having spent most of my available time moving the engine and box with no space around it in the shed I packed up for the day. When I bought the speeduino kit I also bought the speedy sim test board, I checked my ecu again and I was definately firing the coils on the test board, so I got the impression it was something silly but couldn’t find what. 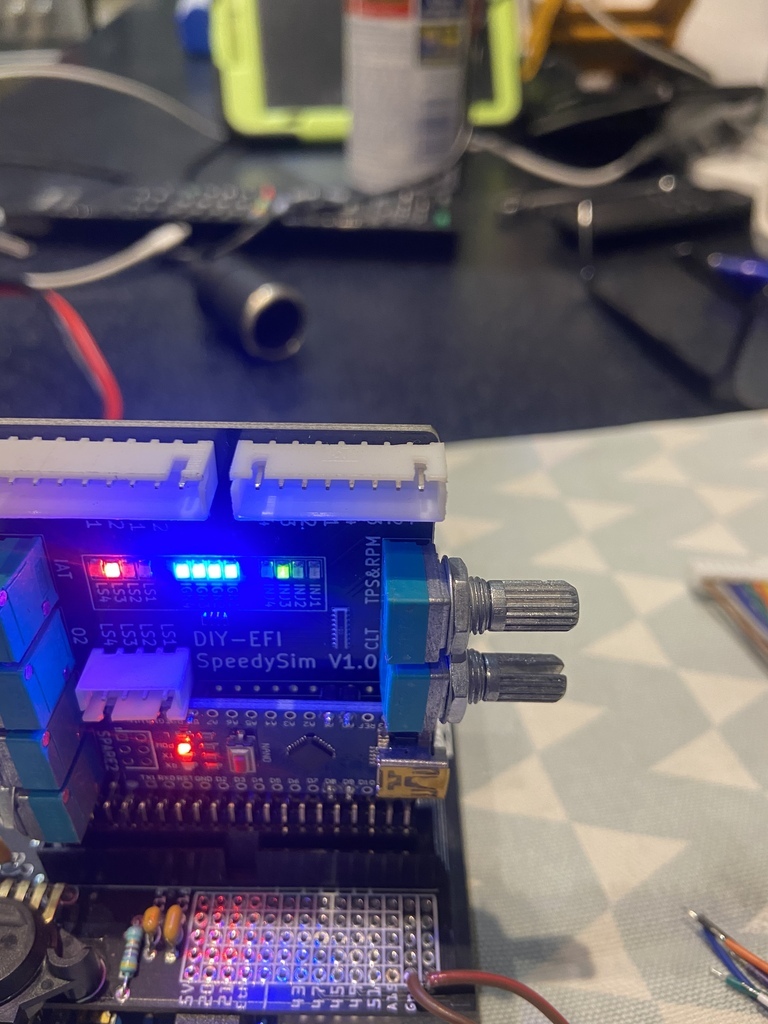 Tried again on the Sunday, a bit of testing showed the 5v to the coils was floating, I could see 5v when coils were disconnected but it went as soon as I plugged a load back in. Then it rained, biblically! 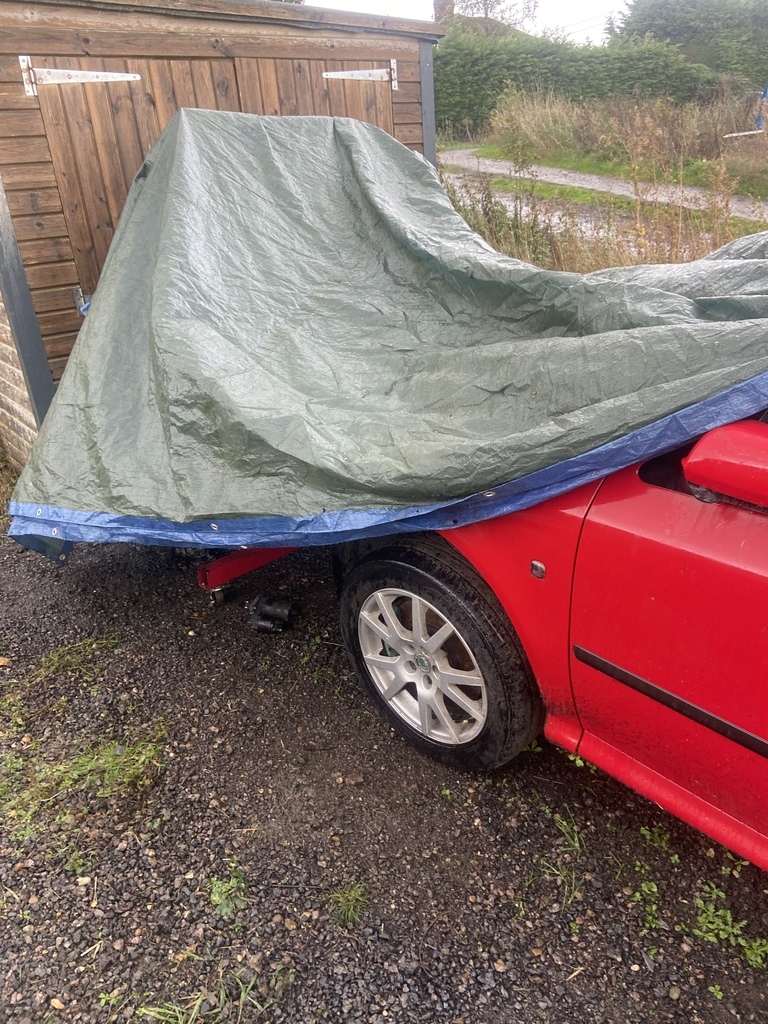 So that was that. In the week I had a look at the speeduino, I was thinking I’d probably got a dry joint or something, but whilst checking noticed jumper j1 was missing. Which is the jumper to tie the coil outputs to 5v or 12v I then used the speedysim and pinned the coil part of the loom to double check, which could still be done inside, in the warm, with tea  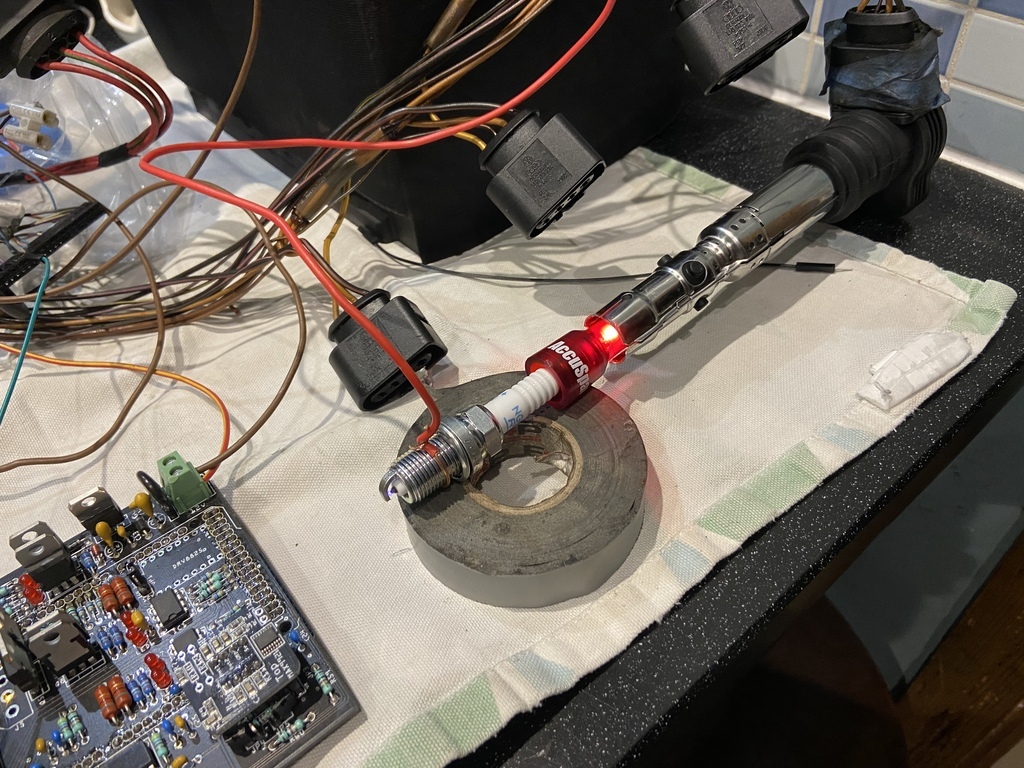 And then at last I actually got a time/weather window and had another go With the engine/box now home I used the fuel pump on the Fug, with return back into the filler I’ve not put a map in for this, just set the engine characteristics in tuner studio, obviously the map needs work. I’m going to add cam sensor and then I can get it to run sequentially instead of batch fire and wasted spark as it is currently, have modified the cam wheel, but need to work out when it will see the edge 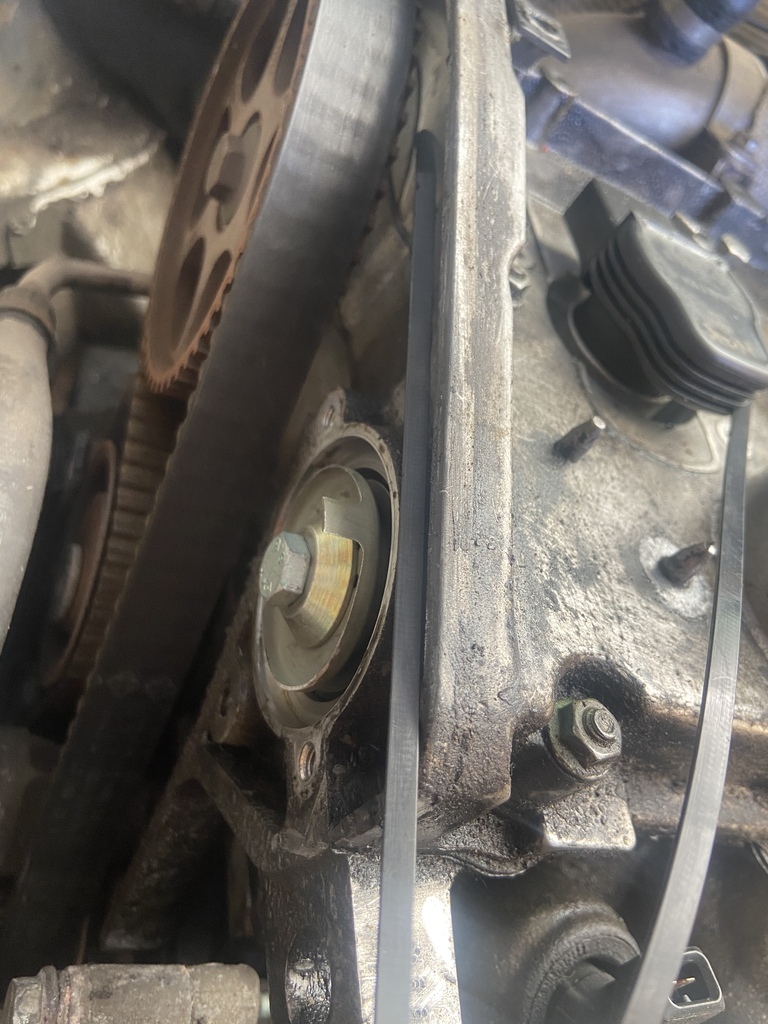 also need to sort map sensor and boost control. But it’s a good start  |
| |
|
|
|
|
jimi
Club Retro Rides Member
Posts: 2,220 
|
|
|
|
|
Video link isn't working ☹️
|
| |
Black is not a colour ! .... Its the absence of colour
|
|
johnthesparky
Posted a lot
  
Posts: 3,522
Club RR Member Number: 6
Member is Online
|
|
|
|
Video link isn't working ☹️ Works for me, but maybe this will? |
| |
|
|
jimi
Club Retro Rides Member
Posts: 2,220 
|
|
Nov 16, 2022 10:28:57 GMT
|
Works for me, but maybe this will? 👍 That one works 😎 |
| |
Black is not a colour ! .... Its the absence of colour
|
|
johnthesparky
Posted a lot
  
Posts: 3,522
Club RR Member Number: 6
Member is Online
|
|
|
|
It’s been a while, with working outside and life distractions (and when it’s windy or raining or sun zero even imaginary distractions sometimes work  ) progress has been slow. I removed the front lawn and replaced with stone so I can park the white van in the only place that allows me to be get it level-ish 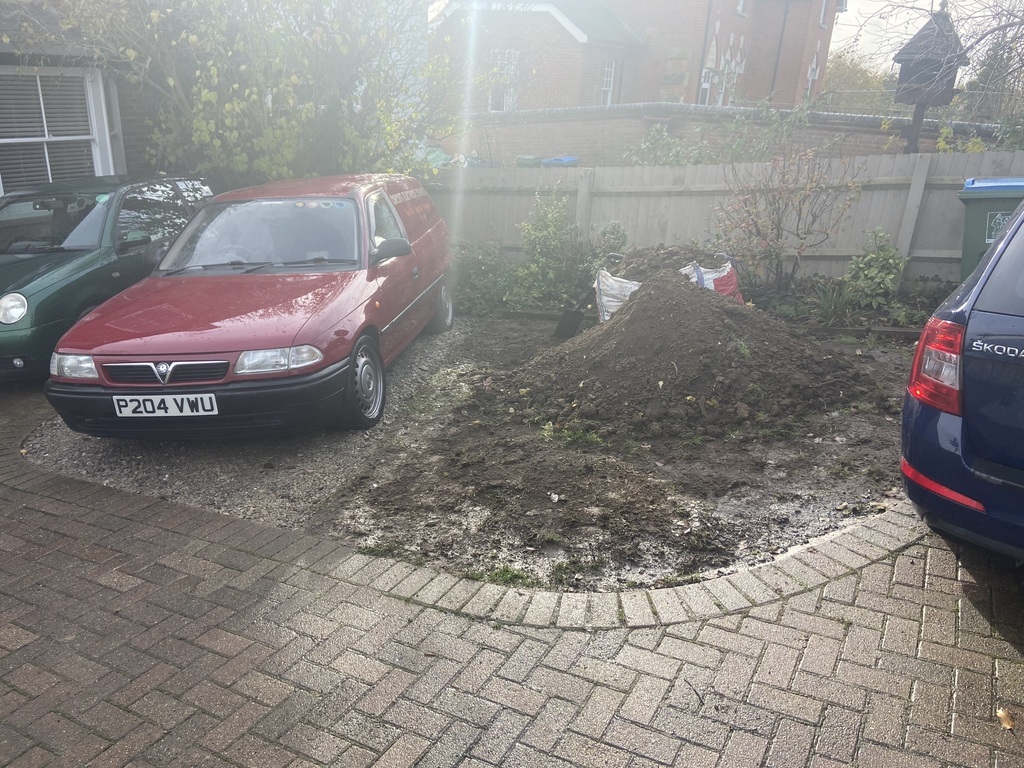 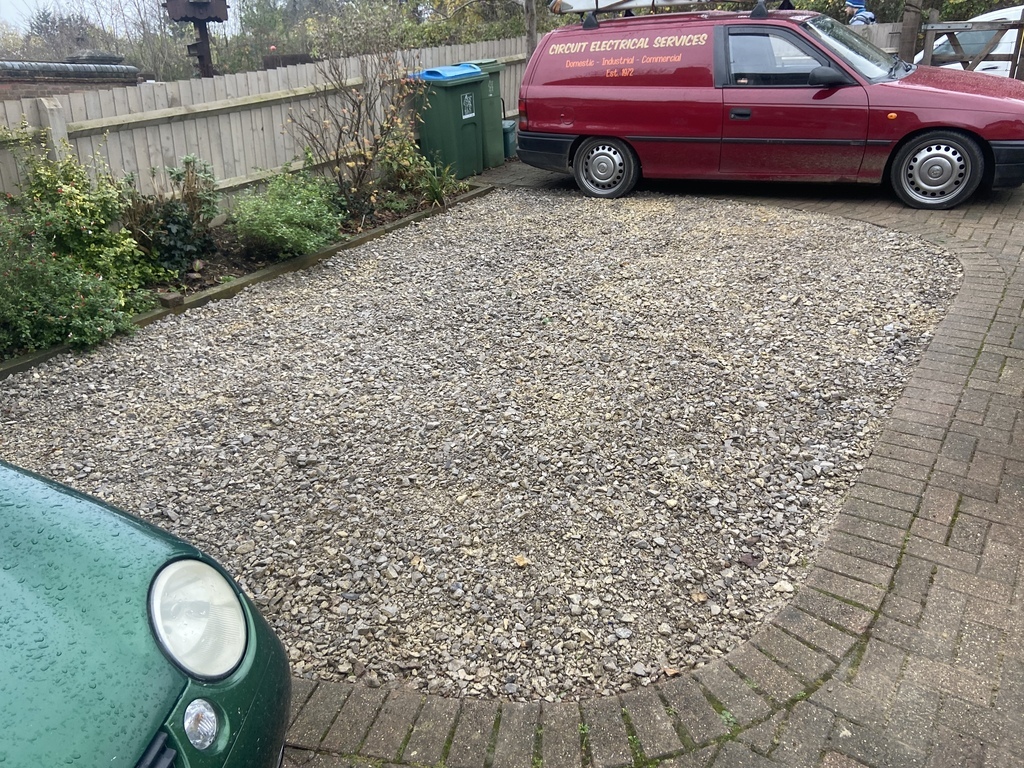 Which means I can park work van where it doesn’t dig holes in the garden. Struggled with the work van starting when it was really cold, went through the glowplug system and have currently ended up with a small momentary switch operating the glowplug relay (and the entire Isuzu glowplug ecu has been bypassed. I also bought a Ford mondeo/escort td glowplug relay to reinstate in its place. This is simpler, with 6 connections; battery, glowplugs, ignition, starter, glowplug light and gnd. It holds the glowplugs and light on for 15secs, and then holds the glowplugs on for another 15secs after starting (or hopefully it will when I got it) 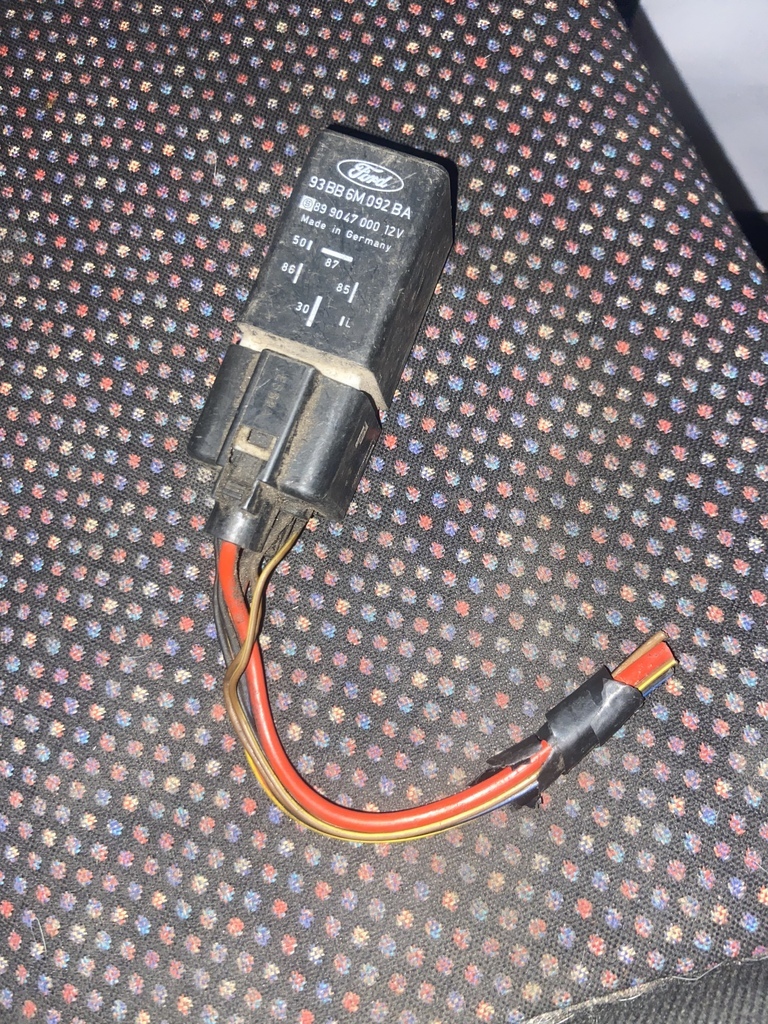 Have been working on racevan, got the engine in, and dropped the subframe and clearanced it to get the engine in the right place. Got hold of some 5mm steel plate and some engine mount bobbins but not got around to making them yet. Also when positioning the engine, the turbo would foul on the steering rack, so I bought the cheapest tubular manifold I could find (because it will need modifying anyway) and at £76 for brand new, I knew it would need work. It appears this is for a Passat so the positioning is different. I need to sort the engine mounts and then I can sort position. But looks like if I move the turbo down a bit, it will work. Even with the internal wastegate 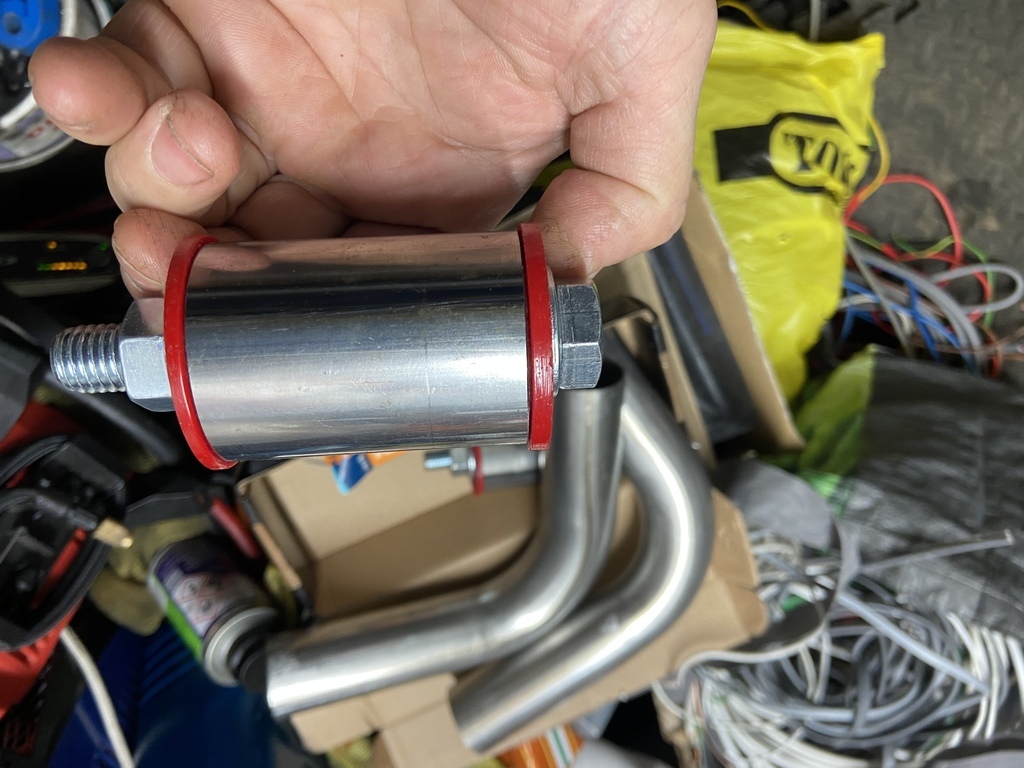 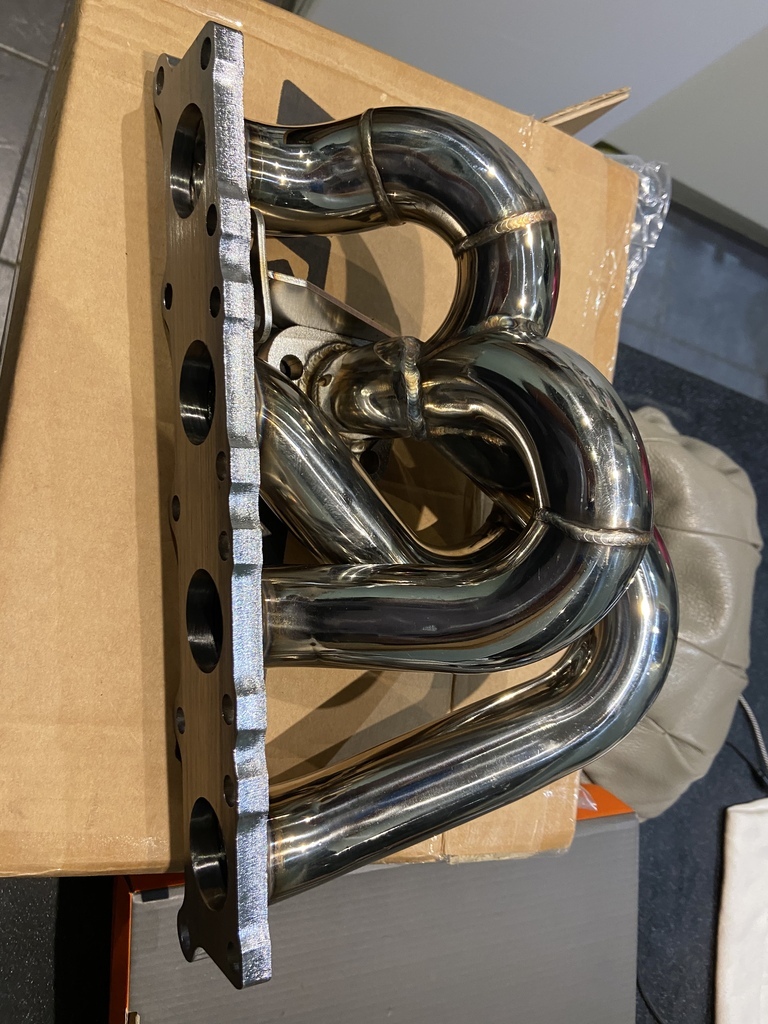 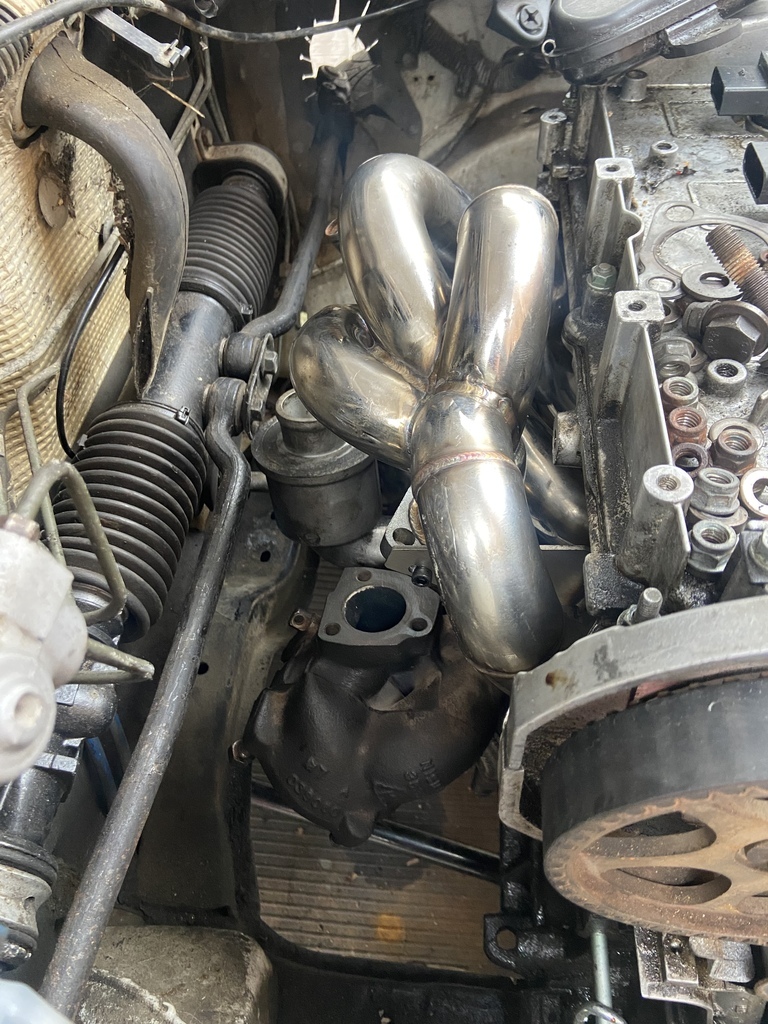 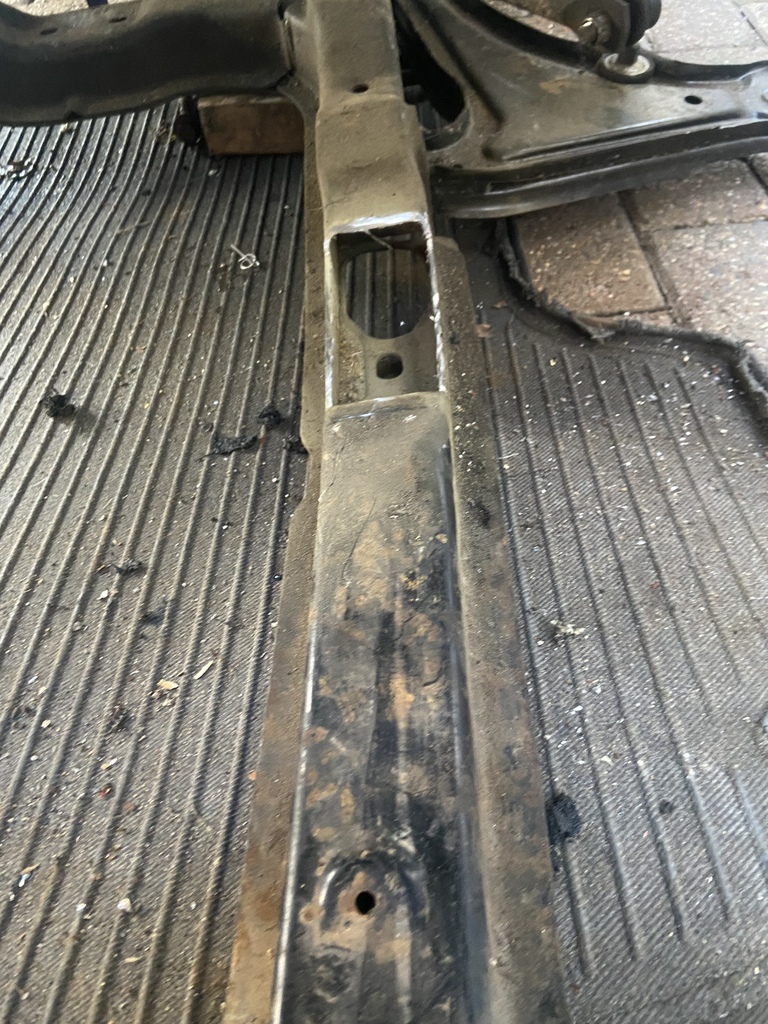 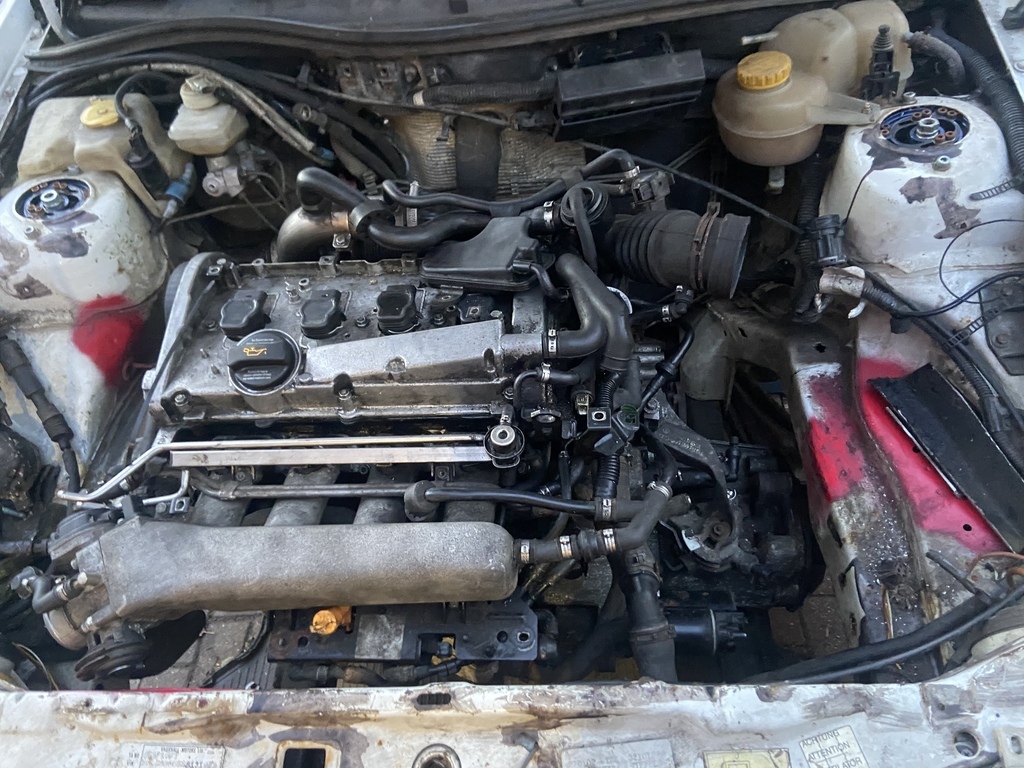 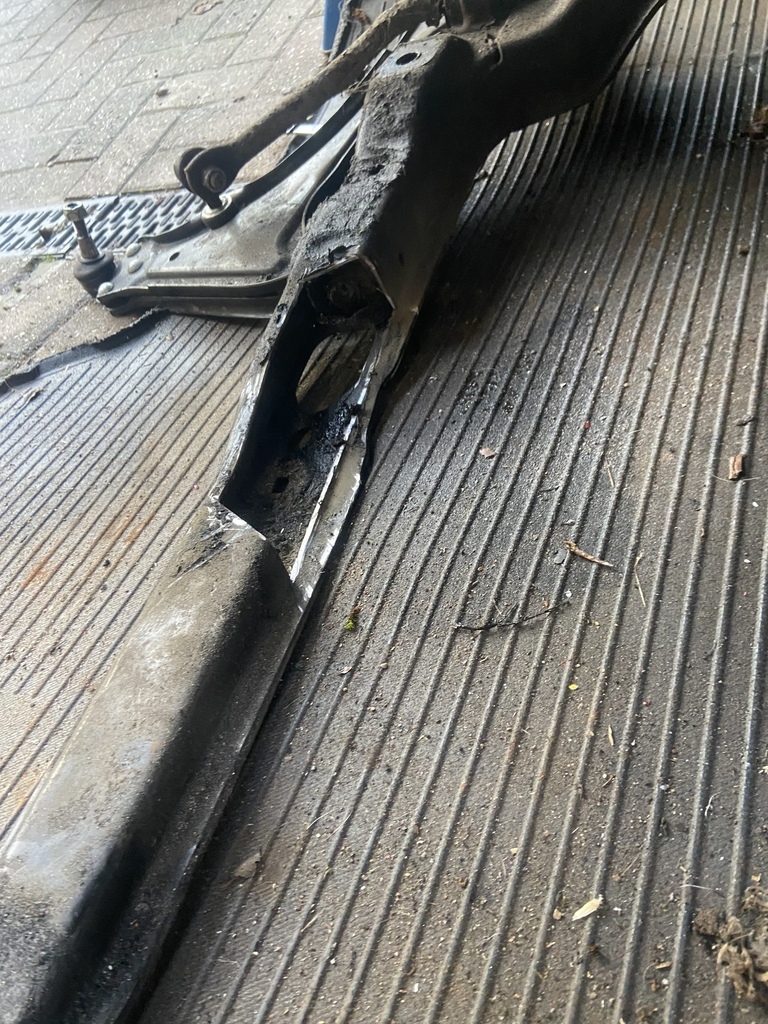 Workvan has been trundling along, the tyres on the 16s really didn’t inspire any confidence when it got icy, so fitted some winter tyres to the alloys, and really happy with how it looked for the winter 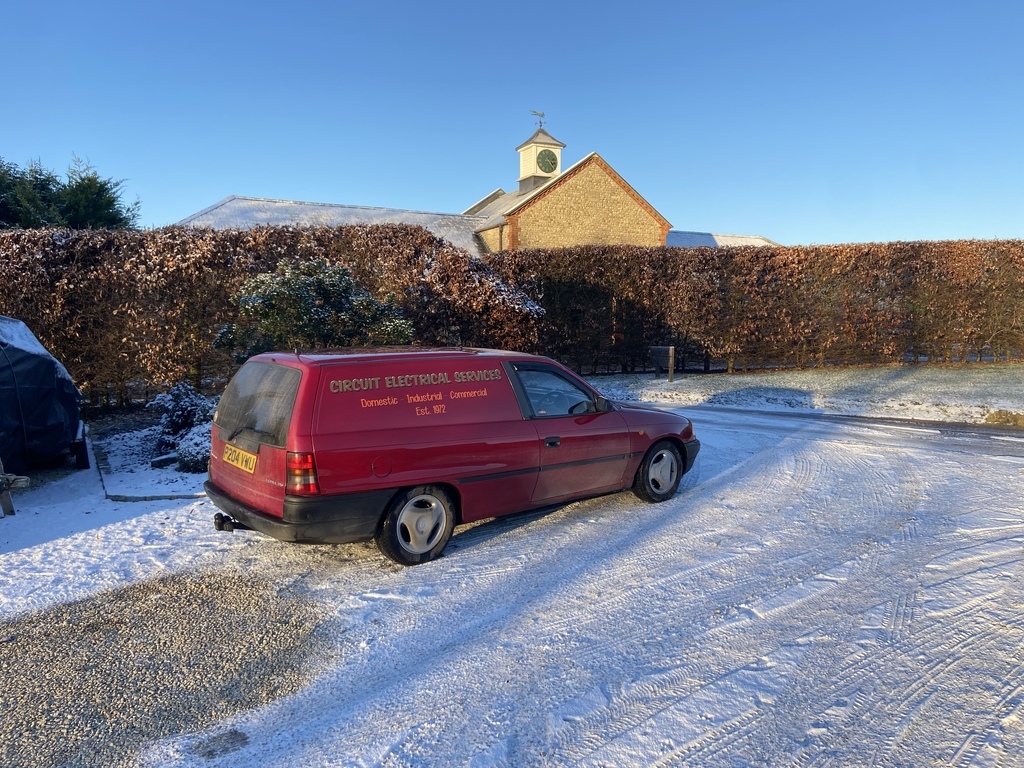 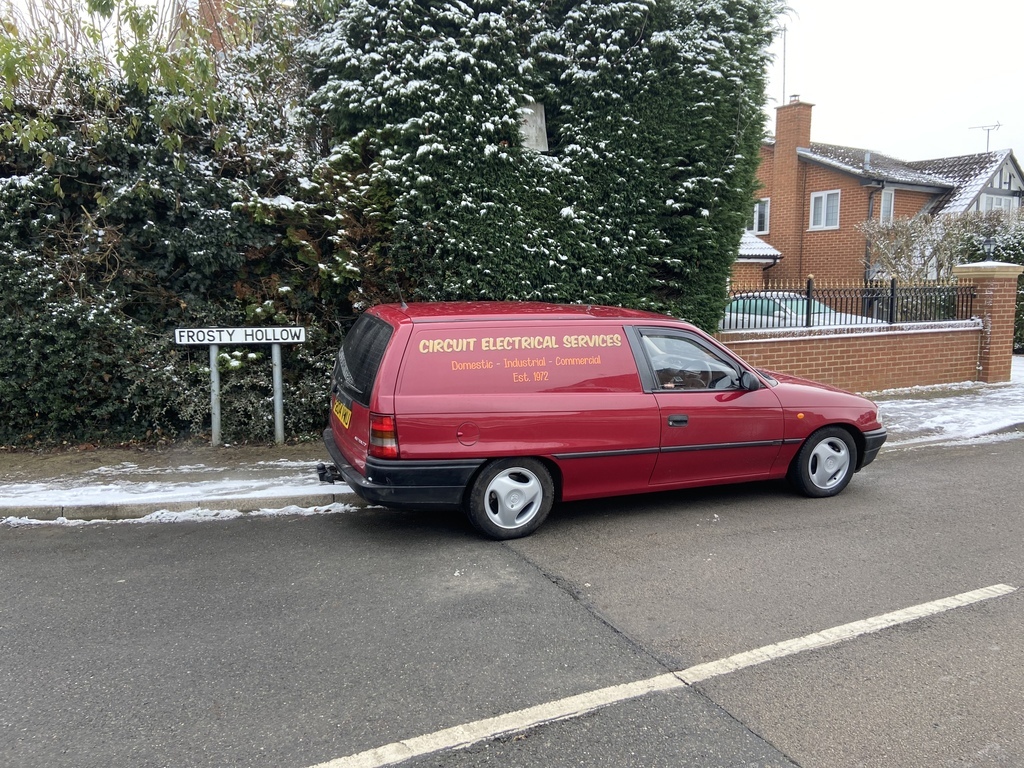 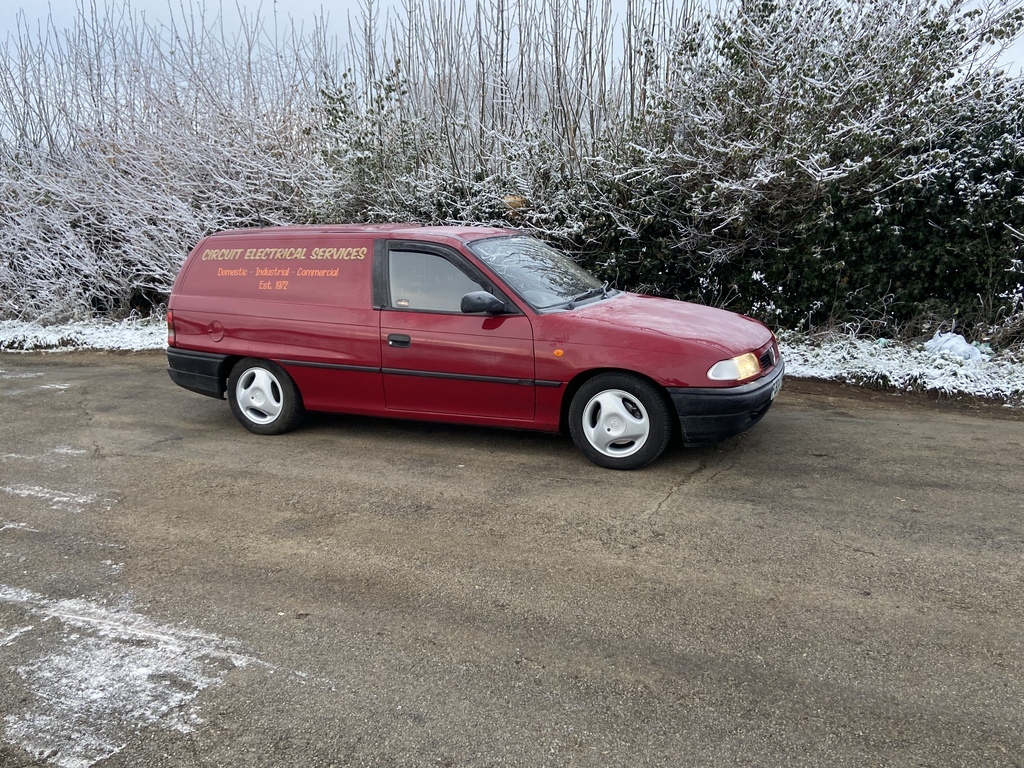 The stereo kept playing up and not connecting Bluetooth, so I’ve replaced that with another Blaupunkt ;the same as the one in the lupo) and I bought a replacement dab aerial too as the one fitted snapped in the extreme cold we had in December. Then last Thursday, I pulled away from a roundabout and the car alongside in lane 2 decided to merge into me  He didn’t admit liability, so had to start going through the motions with my insurers, the underwriters assigned a garage in Acocks Green (about 2 hours away) who wanted to come and collect the van. I ignored them But I’ve now been contacted by the 3rd party insurer accepting liability and wanting to sort with me directly. I’m now waiting to speak to the engineer/assessor to sort things. But I’m going to need a new door and to try and find the door and side panel moulding trims… which may prove tricky! 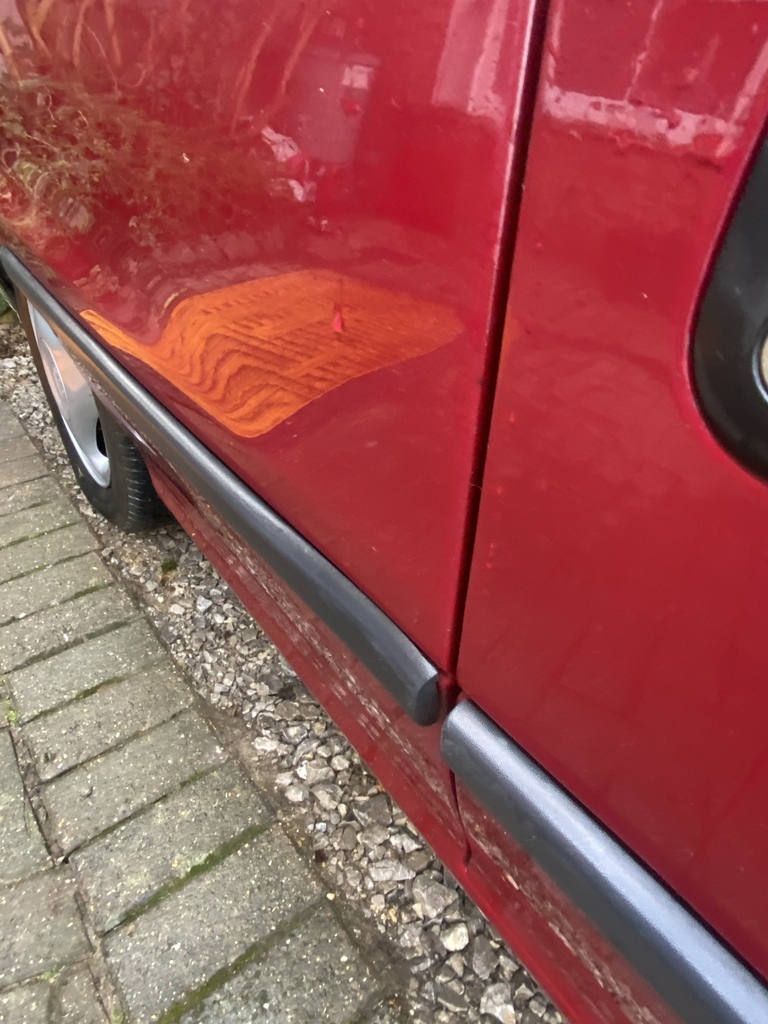 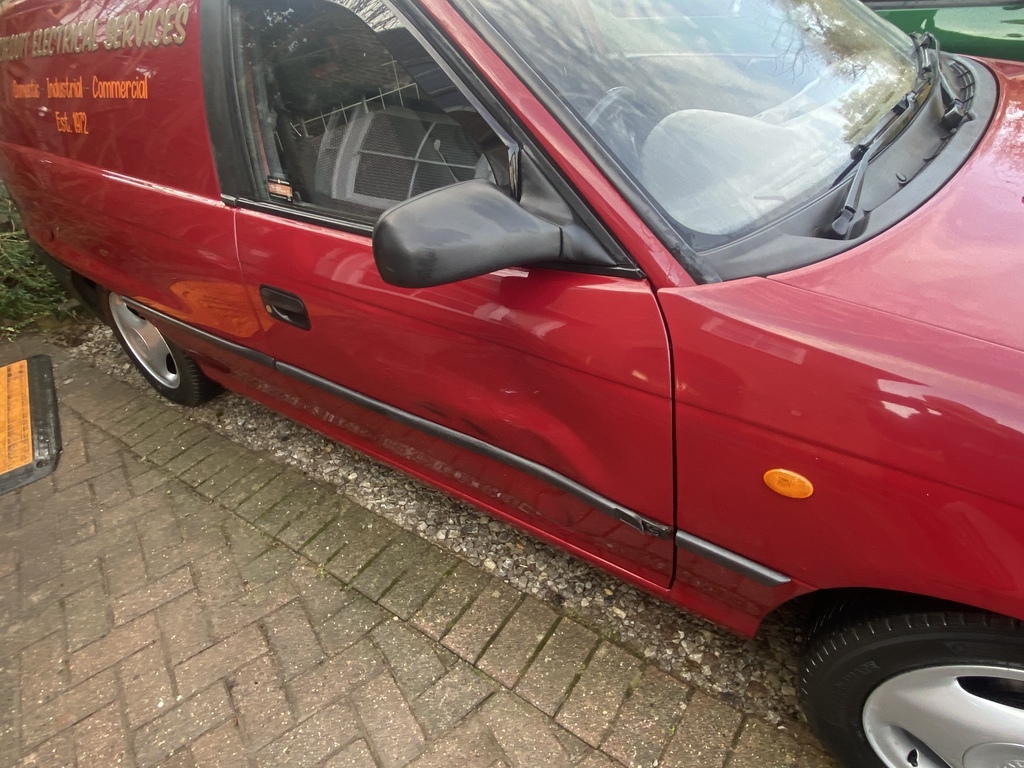 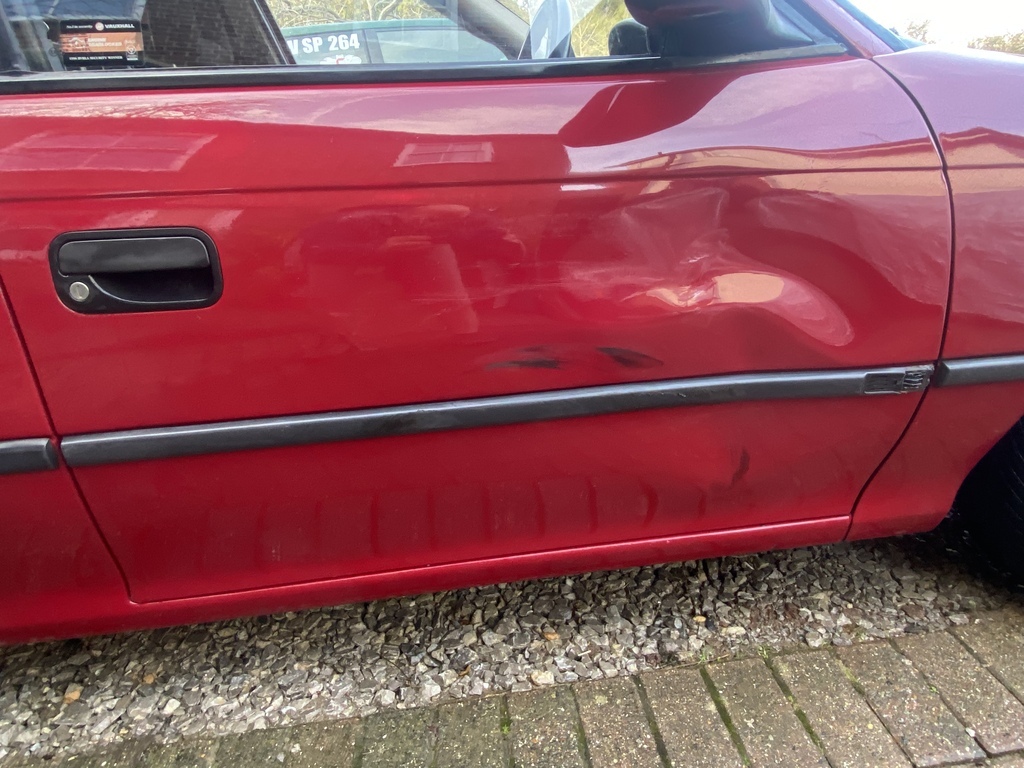 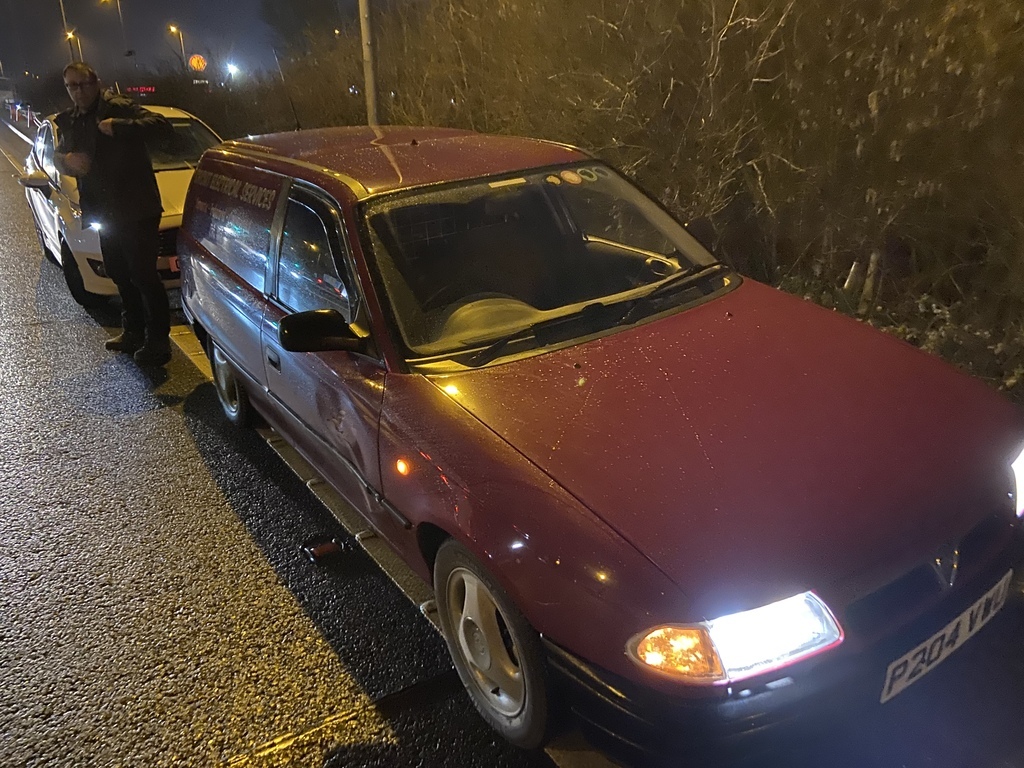 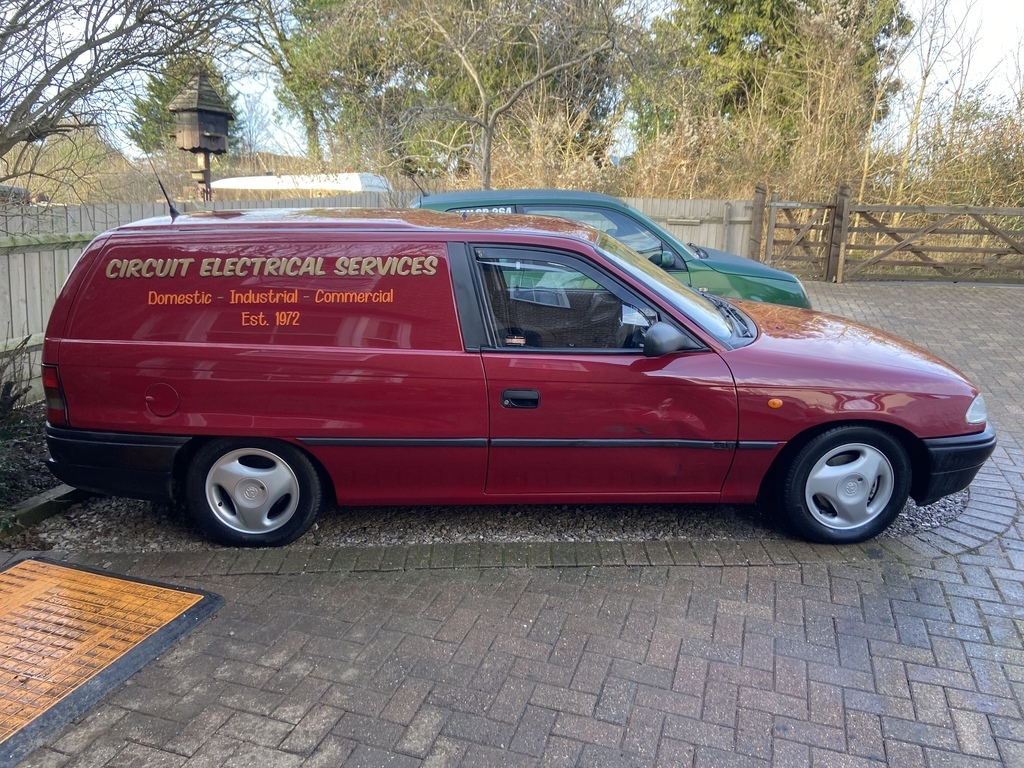 |
| |
|
|
zeberdee
Club Retro Rides Member
Posts: 1,037  Club RR Member Number: 2
|
|
|
|
|
Good progress on the race van , looking forward too seeing it run !
Make sure there’s plenty of heat barrier between the manifold & rack , although i’m sure your already well aware of that .
Again , gutted about the daily , fingers crossed you find all the bits & it’s back to it’s former glory soon .
👍
|
| |
|
|
jamesd1972
Club Retro Rides Member
Posts: 2,921  Club RR Member Number: 40
|
|
|
|
|
Bum hats on the bump, progress everywhere else.
Be careful dealing directly with their insurance company- once yours are involved probably best to go with them. Finding somewhere local who you trust and getting a price might work.
How far away is he who cannot be named ? If it’s just the door then sourcing one and having sit painted up ready to fit might be a day trip?
James
|
| |
|
|
|
|
|
|
|
|
Doesnt look like ive got a door but do have a new door skin if that helps?
|
| |
|
|
johnthesparky
Posted a lot
  
Posts: 3,522
Club RR Member Number: 6
Member is Online
|
|
|
|
Bum hats on the bump, progress everywhere else. Be careful dealing directly with their insurance company- once yours are involved probably best to go with them. Finding somewhere local who you trust and getting a price might work. How far away is he who cannot be named ? If it’s just the door then sourcing one and having sit painted up ready to fit might be a day trip? James My insurance assigned a repairer in Acocks Green (about 2 hours away) who wanted to collect the van and agree repairs with my insurance company and do the work. My thoughts on that are, it’d get taken away, shunted round the yard for a month while people worked out that the bits needed would require some effort to source (by now the inflated hire van costs would exceed the repair costs) panic, realise it’s also picked up some damage in their yard and write it off! The 3rd party insurance have agreed to work with me (so far). So my thought is, the cost to strip and rebuild a door will be the same similar, the cost to prepare and paint may be a little higher (as there will probably be storage dings to sort, but they should also have a cost for reworking a panel etc) and the cost to fit will be about the same. So if I can find the approximate cost of the bits before Monday then it should be relatively easy to agree. Secondhand/old stock bits is X Standard repair costs Y Well that’s my thought anyway? gtviva has a door skin, or I’ve seen a whole door on eBay. Hoping I can find a good secondhand door molding strip…. if not a new one, as they were used on the hatches, estates and vans But the rear 1/4 one is going to be elusive as they are van specific The cars had a relief at the front for when the door opens 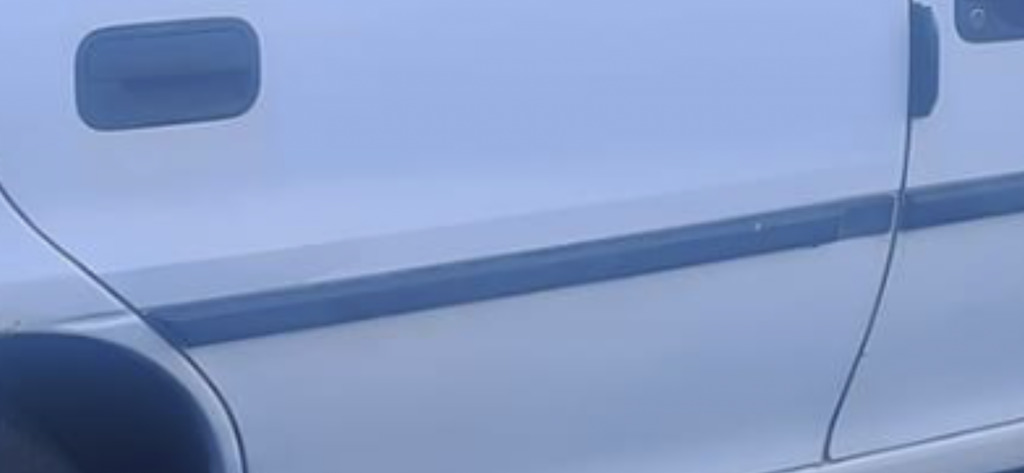 The vans don’t 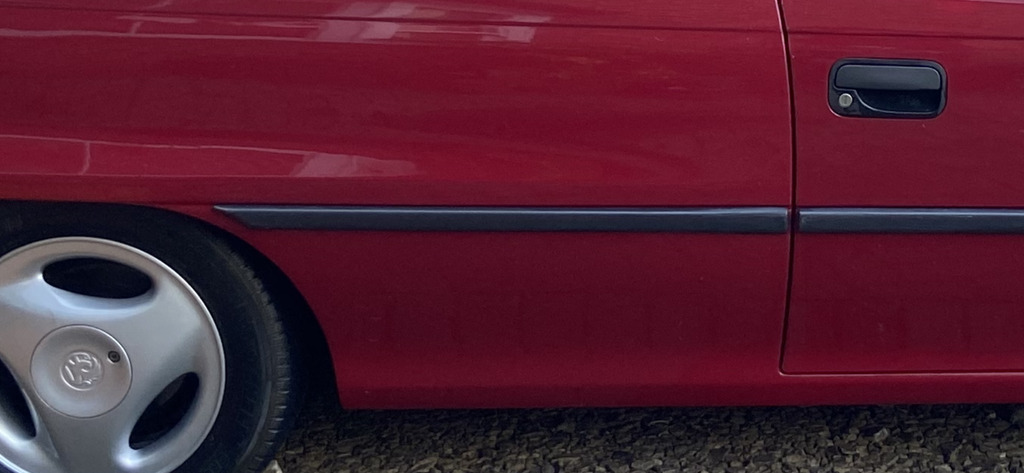 |
| |
|
|
|
|
jamesd1972
Club Retro Rides Member
Posts: 2,921  Club RR Member Number: 40
|
|
|
|
|
Yeah, that's a pain to deal with, see where you can get the bits sorted but don't forget to bill them for your time in any calculations !
Once you work out what it will cost to repair you could request for payment in Lieu of repair.
I think you are right once its taken away the risk of never seeing it again is reasonably high, so don't let it happen.
As a working van can you insist on sending assessors out to you or billing them at your standard hourly rate if you need to take it somewhere ?
Not your fault and don't want to be out of pocket in time either.
Good luck.
James
|
| |
|
|
|
|


 but they are good enough for now, passenger footwell will need a bit more work anyway as there are a couple of bits I ended up patching because they were under the seat frame and partition of cubbies behind the seats. But I’m thinking about using the VRS seats, so the seat frame will probably come out, and the partition may come out too


 so I can have it on a single key at some point


 So wrote this elsewhere… apologies if it’s a bit too wordy


