|
|
|
|
|
|
Seeing this pop up again and reading the issues with the notches has reminded me if something my dad used when i was little.
He had a woodshop in our garage, he had a blade set which consisted of two circular saw blades which sandwiched some mower type blades between them which made notches in one pass.
Might be worth investigating, or have you approached any local she’d manufacturer? They will have all the gear, its just whether they would let you use their tools/want to do the work.
|
| |
|
|
|
|
melle
South West
It'll come out in the wash.
Posts: 2,010
|
|
Apr 13, 2020 20:27:30 GMT
|
he had a blade set which consisted of two circular saw blades which sandwiched some mower type blades between them which made notches in one pass. It's called a dado set/ dado stack. |
| |
www.saabv4.com'70 Saab 96 V4 "The Devil's Own V4" '77 Saab 95 V4 van conversion project '88 Saab 900i 8V
|
|
|
|
|
May 27, 2020 14:41:47 GMT
|
|
this lock down has put a stop to my build, the week before the lock down off hand I popped round a local (to me) joinery that would carry out the task and in a provisional chat the sum of around 4 to 5 hundred pounds was mentioned
for this they would come round pick up the timber and do the notching at their works and then drop it off again. we arranged for a formal meeting the following week where I could go in to detail of my requirements and get a fixed price and start date
the following week we had the lockdown which put a stop to all this so haven’t got anywhere, they have started a skeleton return to work only this week so I’ll have to see if they can still fit me in,,
I am so tempted to do as dodgerover says , buy a hand secular saw and timber clamps and do it myself, whats holding me back is I have no experience with cutting/sawing timber
thats a goof idea andyg16v, I'll do some googling looking for shed builders near me
|
| |
|
|
|
|
|
|
|
not started the build just yet, the joiner who said he would notch the timber for approx £400, after going round to see him twice and sending him the requested information by email twice with further phone calls, I’ve given up on him, and the other half dozen joiners who in the lockdown I had emailed with all the info and my contact details, only one phoned me back to say they can’t do it, the others couldn’t even send an email so in the past week or two I’ve been out buying a circular saw, one deep enough for up to 85mm cut, from B&Q 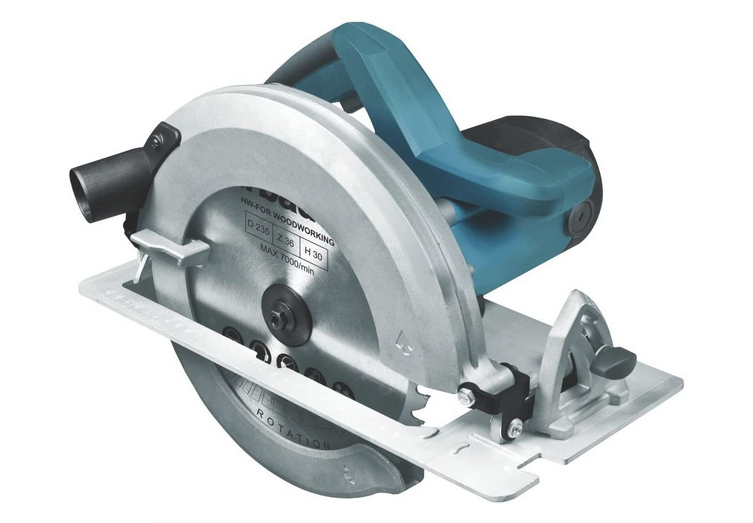 a multi tool from the net 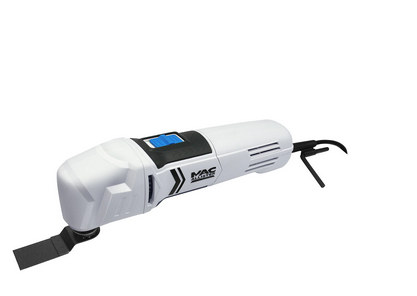 and a sander, also from the net 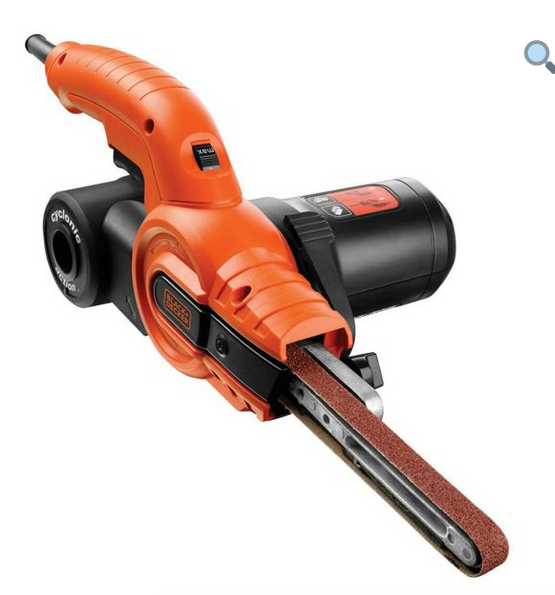 and two sets of F clamps 2x 800m ones and 2x 300mm ones from B&Q  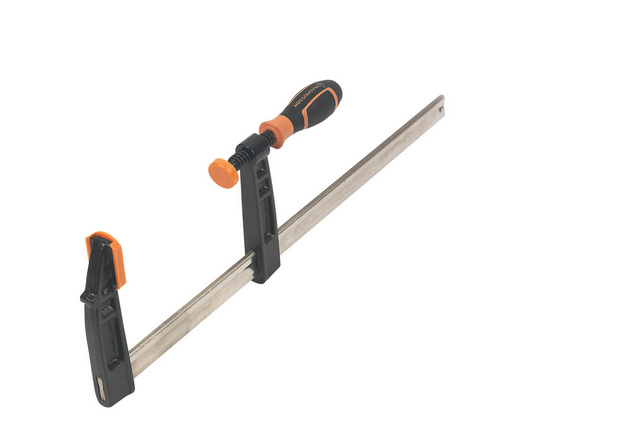 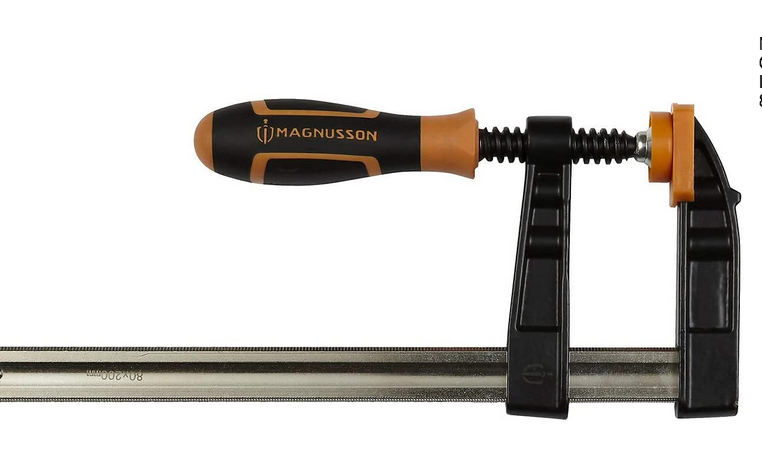 I already have a few set square and 2 plastic trellis, but I think I need sturdier ones than the plastic trestles I have for the real cuts, but for my testings and dummy runs these will do I bought 2X some sacrificial timber approx 44x 200x 3.6M I cut them in half then cut one up in 300mm long cuts to test the notching on    so my first plan was to see if making the notch a little larger than the timber was a good idea (it wasn’t) and to see if I needed to cut notches both top and bottom 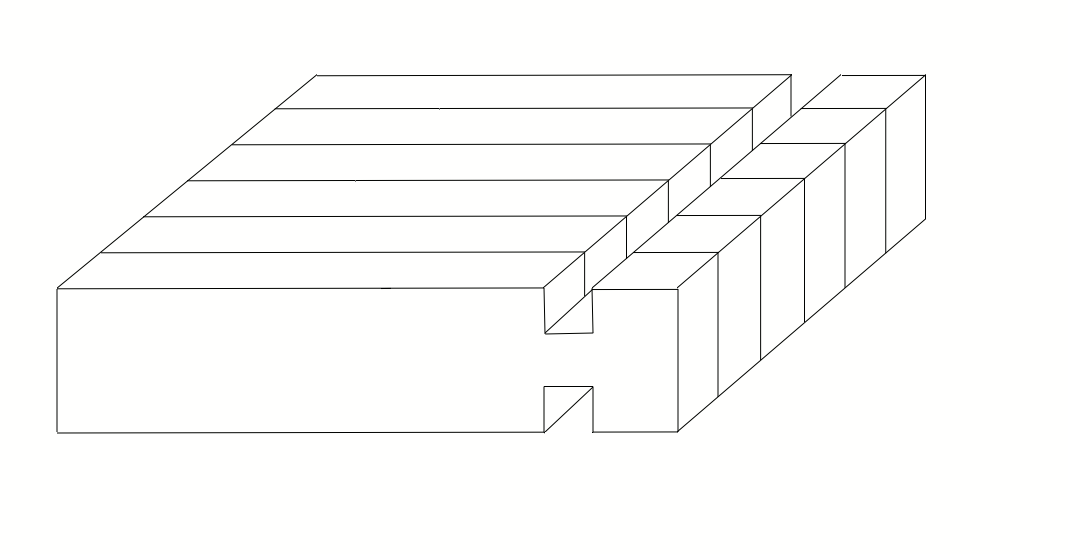 or maybe I would be OK with making notches just on bottom or top at each end as opposed to top and bottom on both ends, any opinions on this?  my plan is with the long F clamps hold around ten planks together and then run the circular saw twice along a guide rail    as I didn’t have an angle iron to size I though with a tape measure I could get close to my size, well not begin a carpenter this wasn’t good enough  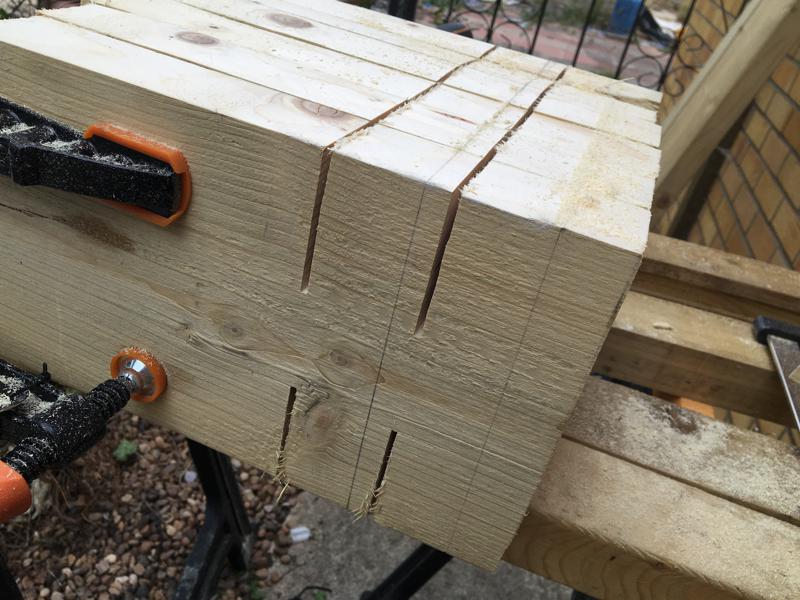 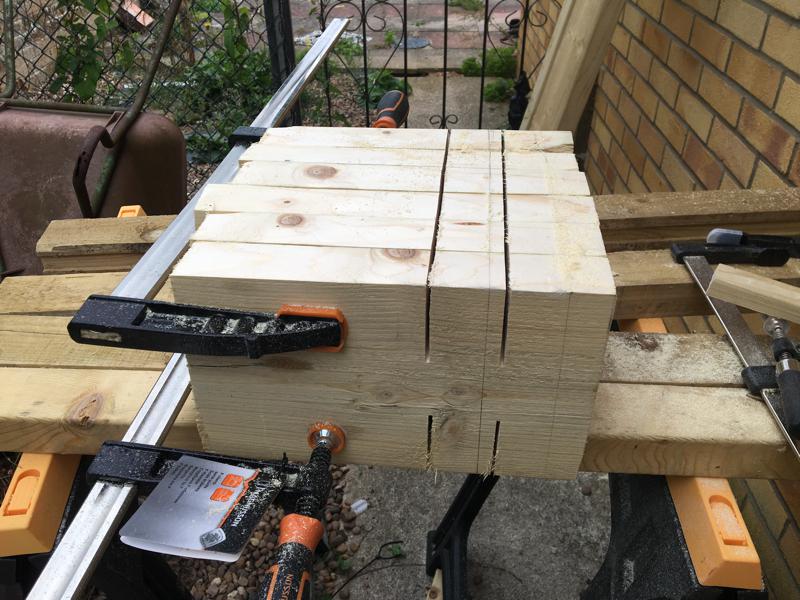 the other thing I found out was the timber is 180mm high, and I need to only cut the notch 45mm deep (not as I did 60mm, 60 in to 180 3X)   it’s the reason for the sacrificial timber, interlocking them I could see not using a guide rail it was never going to be a close fit, but as a first test run I learnt some things and knew for the proper cuts I would need a guide rail something like this aluminium angle iron I had kicking around but with different dimensions 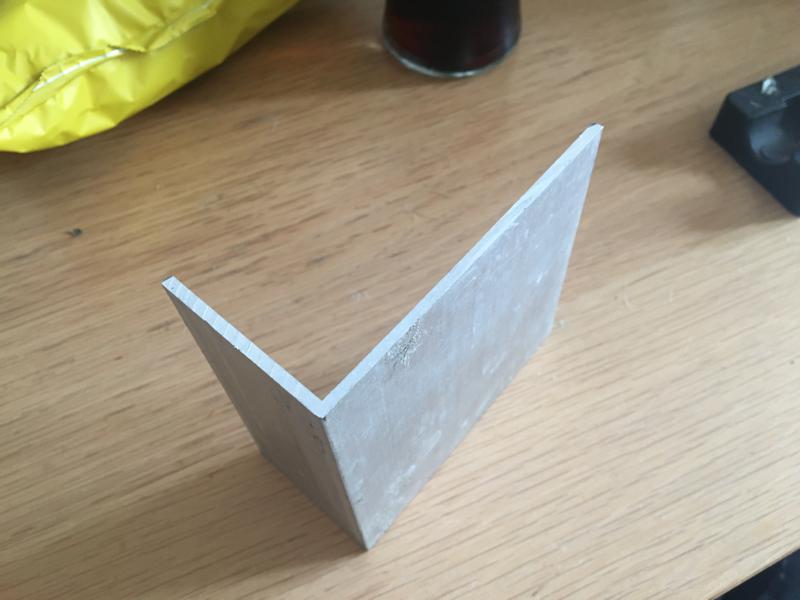   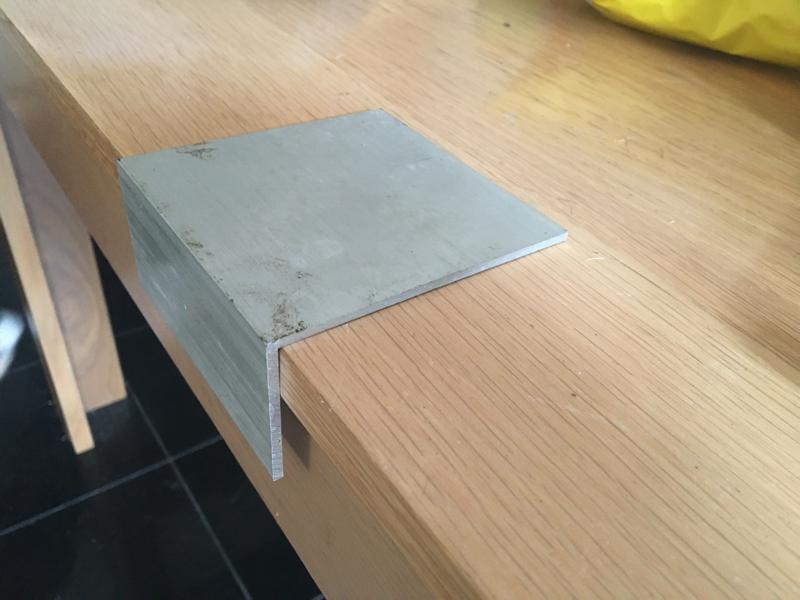 I plan on seeing my local engineering firm this coming week to see if they can make me a guis rail specifically for this job so shouldn’t be too complicated to do, I was planing on something like this  so one guide would be used for both cuts by turing it around, not sure what distance from the edge the notch needs to be, too much in and over kill and not enough and making the notch weak any opinions? as the shoe edge guide on the circular saw to the blade is approx 37mm, if I have a guide of 100mm the cut will be 137mm from the edge not sure if 100mm (+ 37mm) from the edge is OK 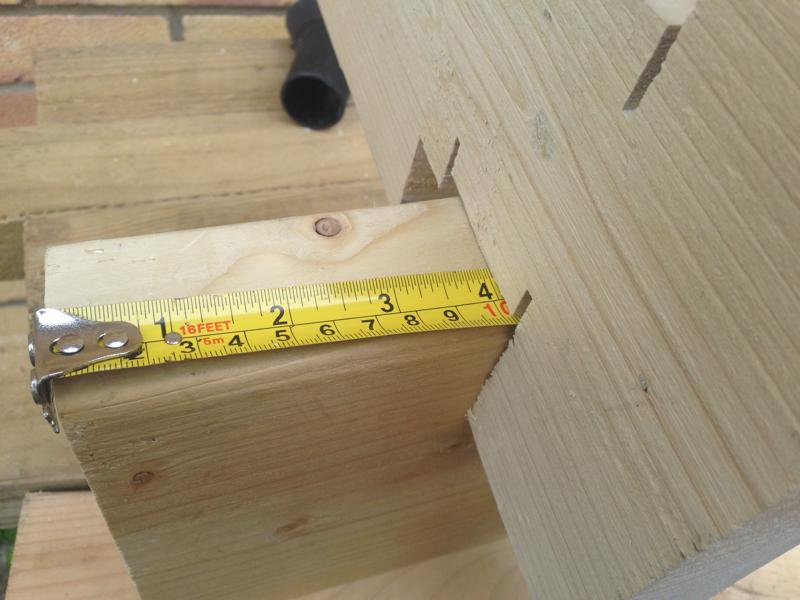 or if I need to go for 150mm (+37mm) for the guide, 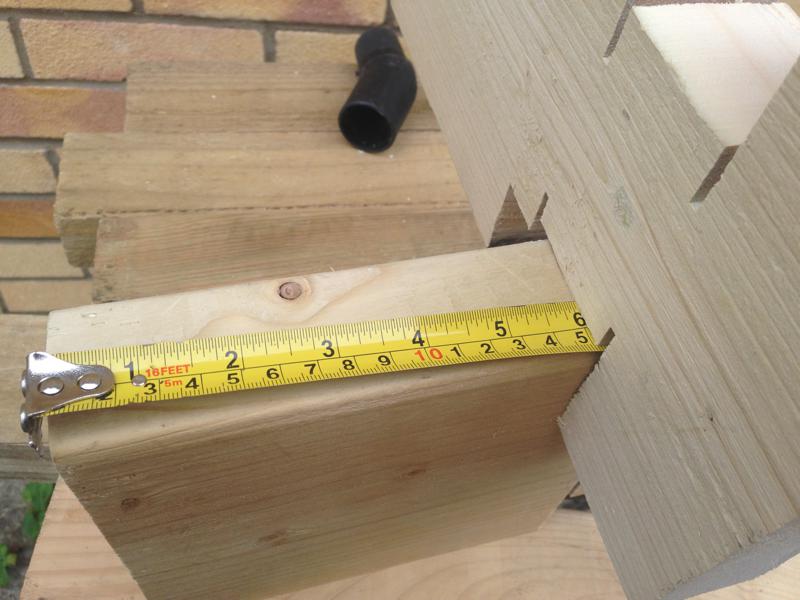 |
| |
|
|
|
|
|
|
|
|
Want me to measure up the overhang on the log cabin I built last year?
Building trade is mentally busy at the moment, it is absolutely mad.
|
| |
|
|
|
|
|
|
|
|
thank you dodgerover, that would be great if you could measure the overhang for me, as then I can get the guide rail made and I'll be one step nearer
|
| |
|
|
|
|
|
|
|
|
How about 113 + the 37 to make a nice round 150?
|
| |
|
|
|
|
|
|
|
|
|
|
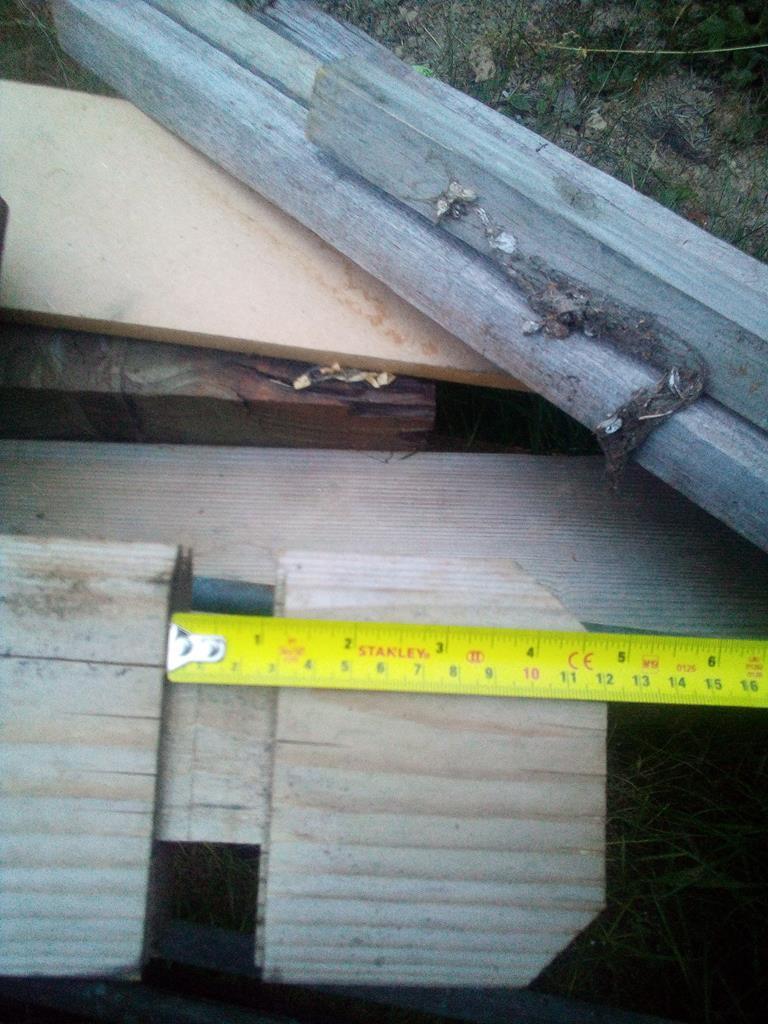
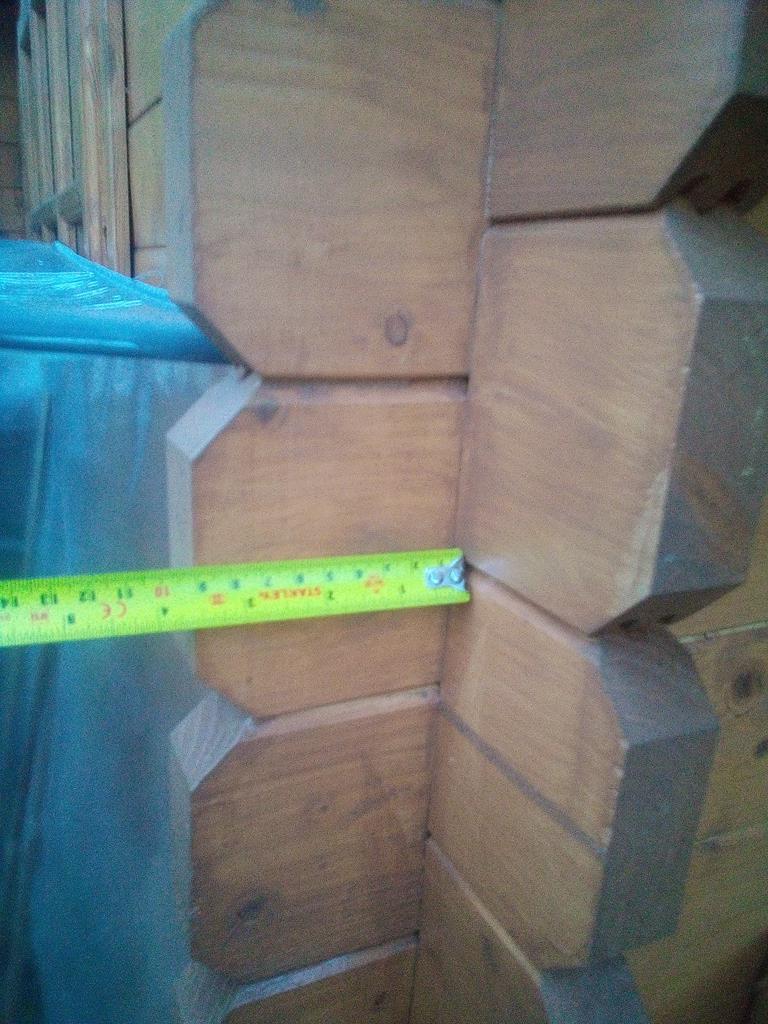
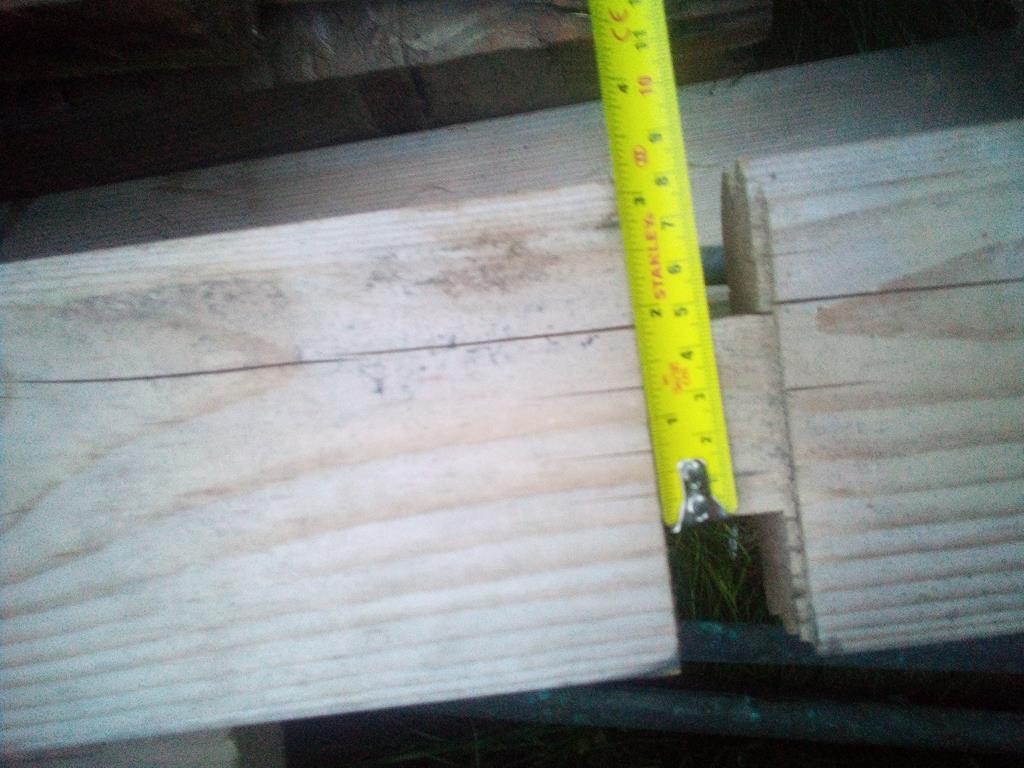
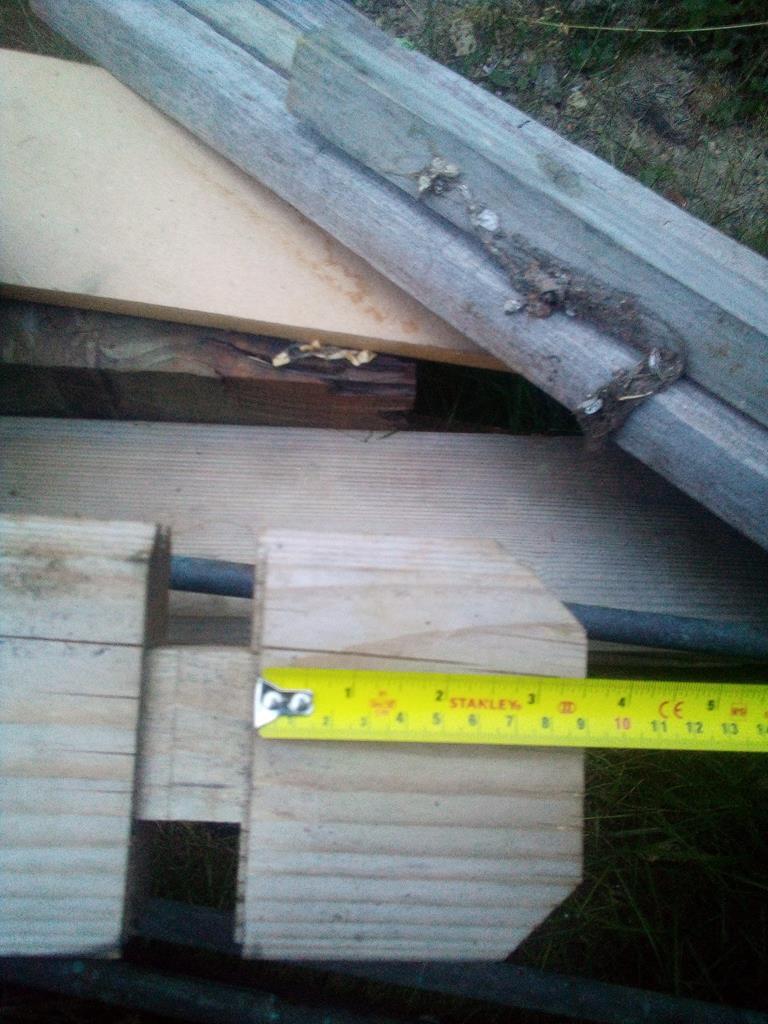
That's pictures of one of the spares that came with it that's been laying in the garden for a year..
Although they were CNC routed the odd individual log still wanted a bit of fettling so don't be surprised if yours aren't perfect first time.
It also moves loads with the summer/ winter expansion/ contraction so beware of fixing things directly to the walls which might stop this happening as it's easy to put load on the wrong things.
Basically drill an oversized hole and use a penny washer to allow for movement on anything you fix to more than one log.
The base is absolutely critical, I've probably said it before but it needs to be within a few mm all round.
|
| |
|
|
|
|
|
|
|
thank you so much for these images and important information dodgerover, it will point me in the right direction, one thing I’d like to ask, are the notches a tight fit? the reason for asking is that knowing timber expand and contracts with the change of seasons, I wasn’t sure how tight a fit I should be making the cuts, my timber is 44mm wide and I was planing on making the notches also 44mm, and using the sander for the cuts being a tad too tight in my test run I noticed if the notch was just a tad too wide, the timber has too much room to move around in and maybe not perform at its best in keeping the corner tightly held thank you also with the info regarding fixing things to the timber walls I’ll take a good look at your measurements and come back many thanks  |
| |
|
|
|
|
|
|
|
|
|
|
They are a sliding fit, not sloppy but not tight either, the timber all expands together at approximately the same rate so pressure on the joint isn't not too much of an issue.
The only time they got tight was due to the base being not quite level
|
| |
|
|
|
|
|
|
|
|
Timber only expands and contracts across the grain depending on the seasons, the length wont change that's why if you look at the log cabin type buildings the door frames are a "U" type section and not fixed allowing the building to rise and fall
I wouldn't worry about getting the notches mm perfect, I think the biggest problem maybe not having the tongue an groove along the length which may allow a for a lot of water or draughts
|
| |
|
|
|
|
|
|
|
|
Wide eaves should mitigate the potential for water ingress to a large extent.
|
| |
|
|
melle
South West
It'll come out in the wash.
Posts: 2,010
|
|
|
|
I think the biggest problem maybe not having the tongue an groove along the length which may allow a for a lot of water or draughts I would route grooves along the boards and fit hardwood strips in them. |
| |
www.saabv4.com'70 Saab 96 V4 "The Devil's Own V4" '77 Saab 95 V4 van conversion project '88 Saab 900i 8V
|
|
|
|
|
|
|
@ melle I think I know what you mean, but can you explain please in case I got the wrong end of the stick? On Monday I went to my local engineering firm and got them to make me this guide rail
I changed the size before getting it made to 98mm x 142mm
 I picked it up this afternoon and tried it out on previously used timber to see how it worked 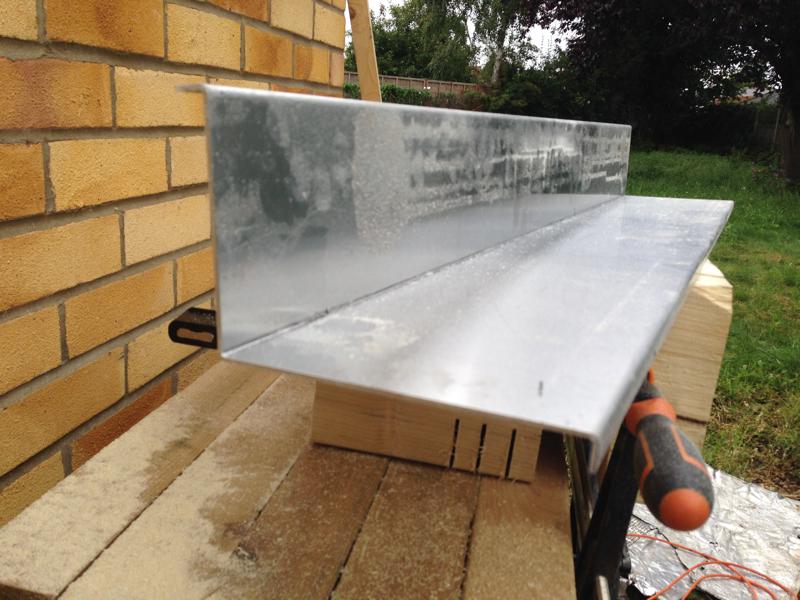  using the guide rail would give me a 44mm wide cut 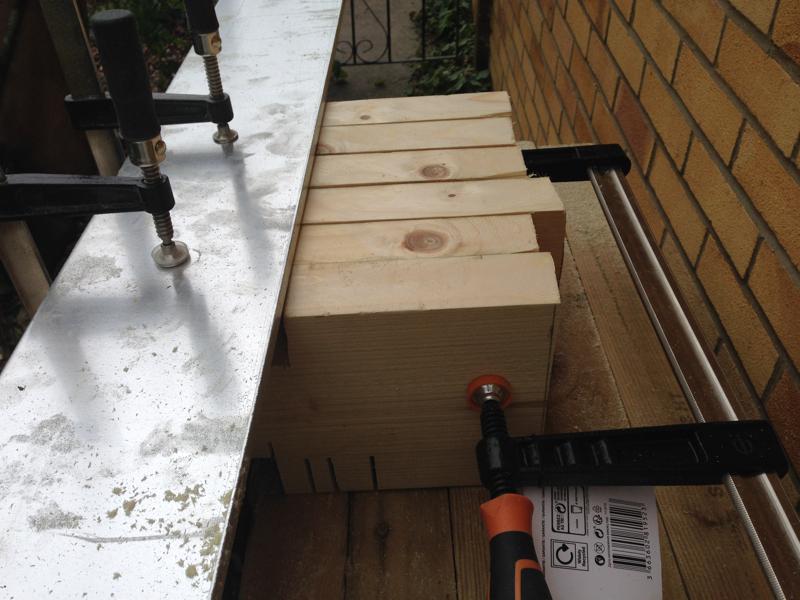 what I discovered is that 44mm is just a tad too wide, I can narrow this down a mm or so with tap on the 98mm side, the depth I used was 45mm, this was a tad too short so all being well, tomorrow using unused timber I’ll have a another run and this time plan on using 42mm wide and with a depth of 46mm and see how this works out, these were the results with used timber 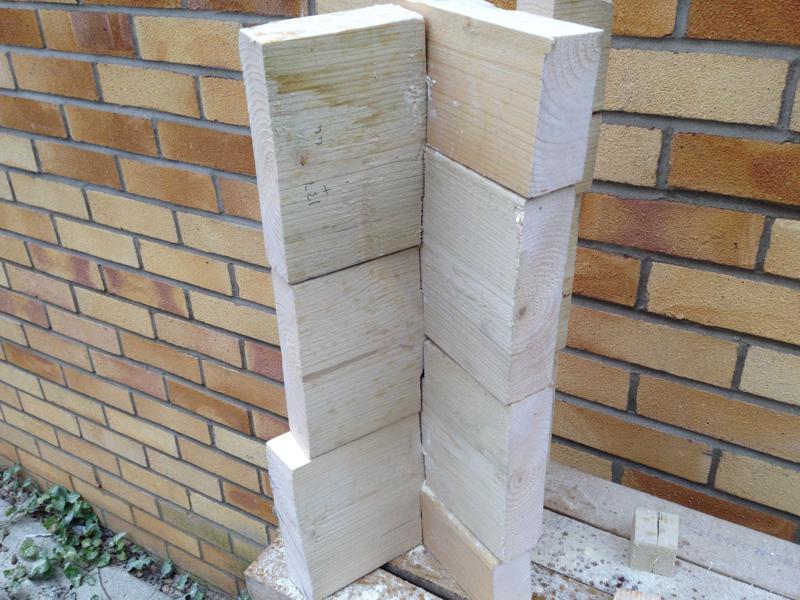 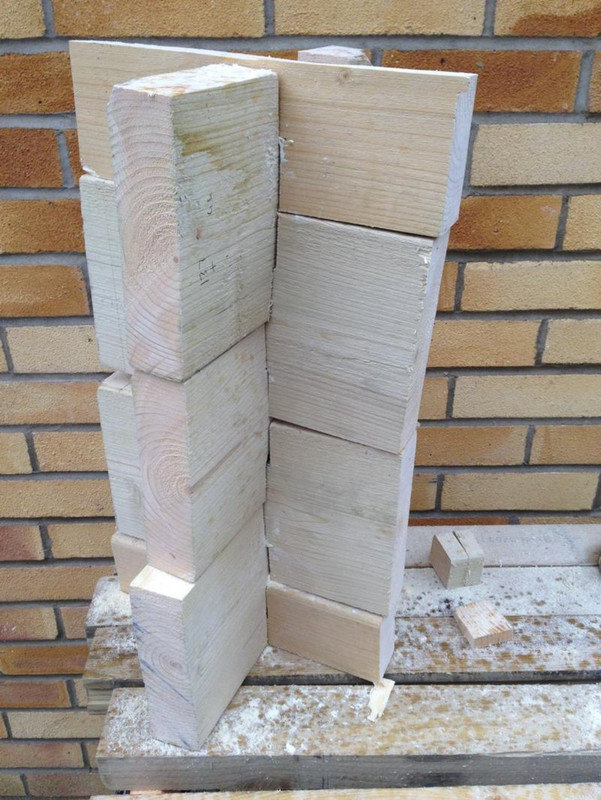 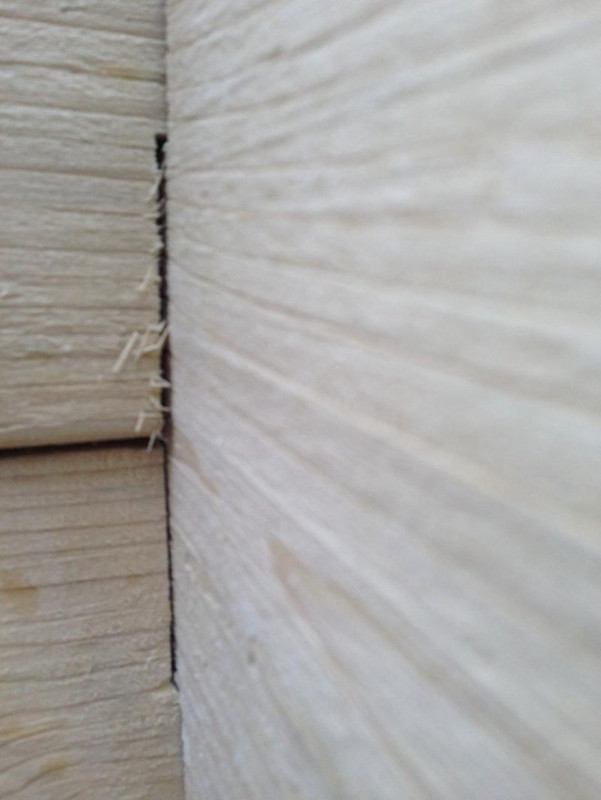 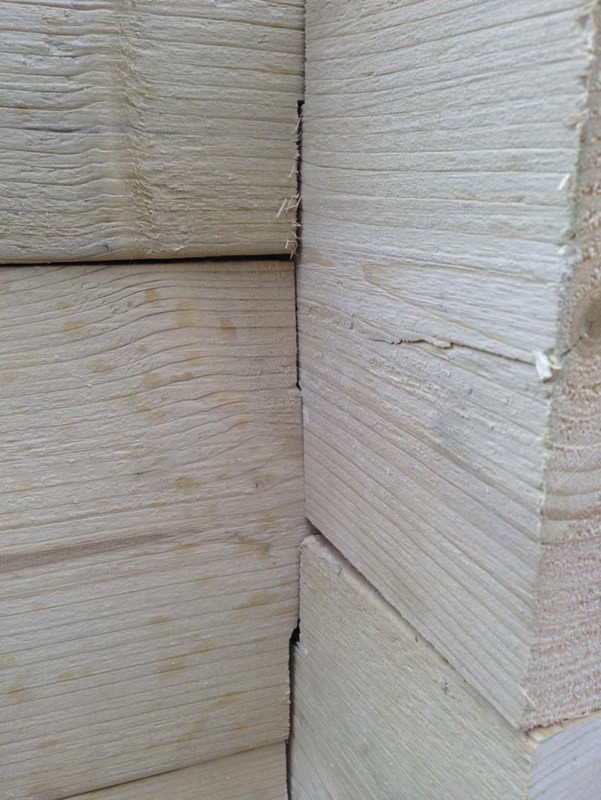 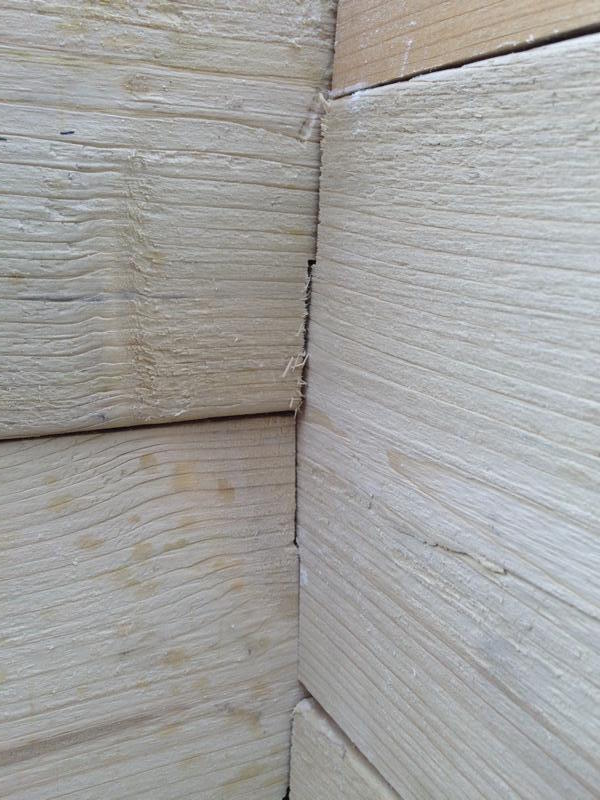 if I get time I’ll also have a go at doing a 90mm depth and see how that works out |
| |
Last Edit: Jul 8, 2020 19:27:22 GMT by mollydog1
|
|
|
|
|
|
|
|
I would cut those notches just a tad deeper, a couple of those look like they aren't quite fully down. And as you said a fraction narrower. You can always fetch a tiny bit off with a sharp chisel if the odd one is a bit tight.
I think melle was forgetting you had the special boards with grooves in already.
Once your notches are cut I would slap some preservative into them to cover the fresh cuts.
|
| |
|
|
melle
South West
It'll come out in the wash.
Posts: 2,010
|
|
|
|
@ melle I think I know what you mean, but can you explain please in case I got the wrong end of the stick? This is what I mean: 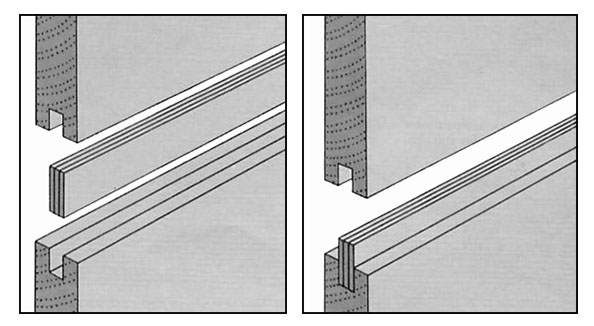 But... I think melle was forgetting you had the special boards with grooves in already. I didn't go back to page one, and responded to this comment: I think the biggest problem maybe not having the tongue an groove along the length which may allow a for a lot of water or draughts Sorry for the distraction! |
| |
www.saabv4.com'70 Saab 96 V4 "The Devil's Own V4" '77 Saab 95 V4 van conversion project '88 Saab 900i 8V
|
|
|
|
|
|
|
|
Looking forward to seeing how this turns out, have been asked a few times to fabricate this type of thing.
If you need any more photos of ours for construction details just let me know.
|
| |
|
|
|
|
|
Jul 10, 2020 22:34:22 GMT
|
@ melle no problem, thanks for pointing it out, and looking out for pitfalls I might of had @ dodgerover thank you for this offer, I will defiantly be interested in seeing these images, my plan of action is once I’ve notched the timber I will know the exact length from one corner to the other, and where the two corse brickwork/one corse concrete block needs to go and get that built at this stage would be nice to see how you did this, I was in Aldi yesterday and needing some wood chisels for this project, I thought these 3 wood chisels for £7 would hopefully last me the project 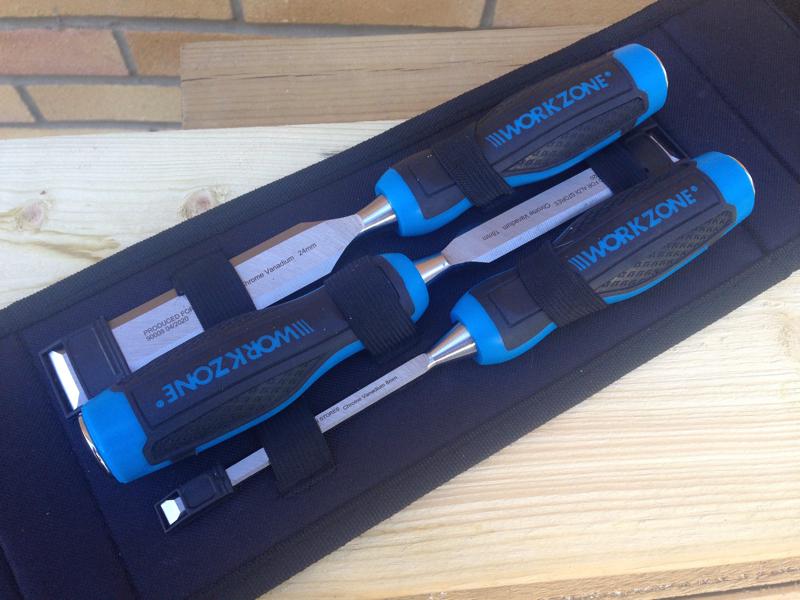 today in the gaps between the rain showers, I got cracking with notching the timber, but unlike last time, this time once I have clasps the the test cuts together I used a set square to trim the side I was going to place the guide rail to, to give me a straight edge to work from 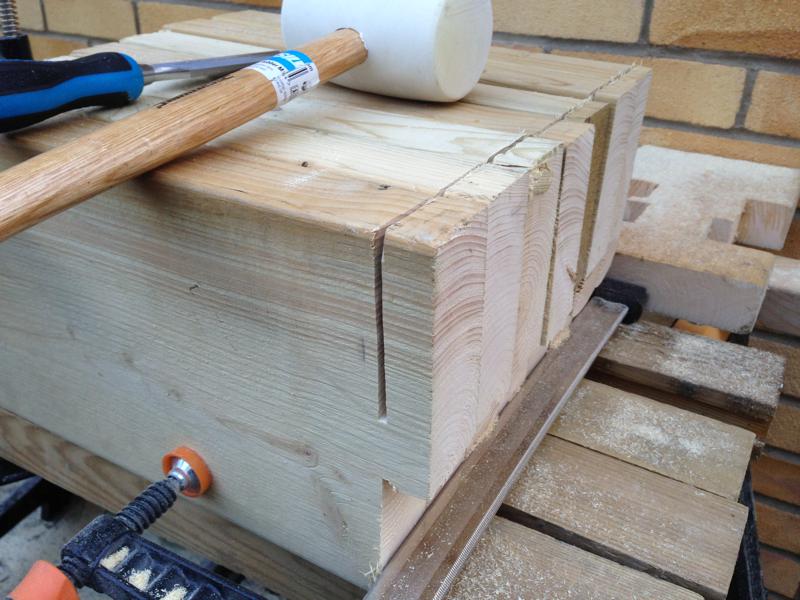 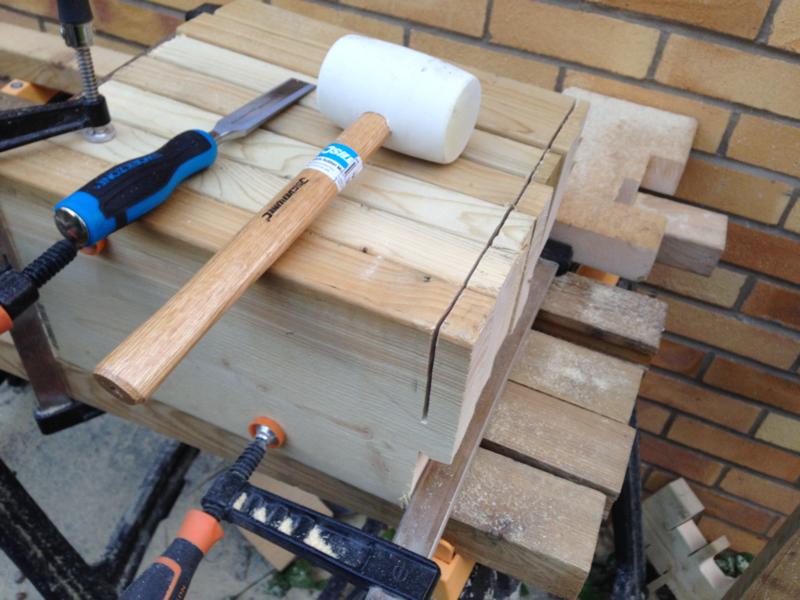 the depth of the circular saw is only 85mm I had to turn over the test timber and cut from both ends, but even then I had to use the multi tool on the middle 30 or so millimetres 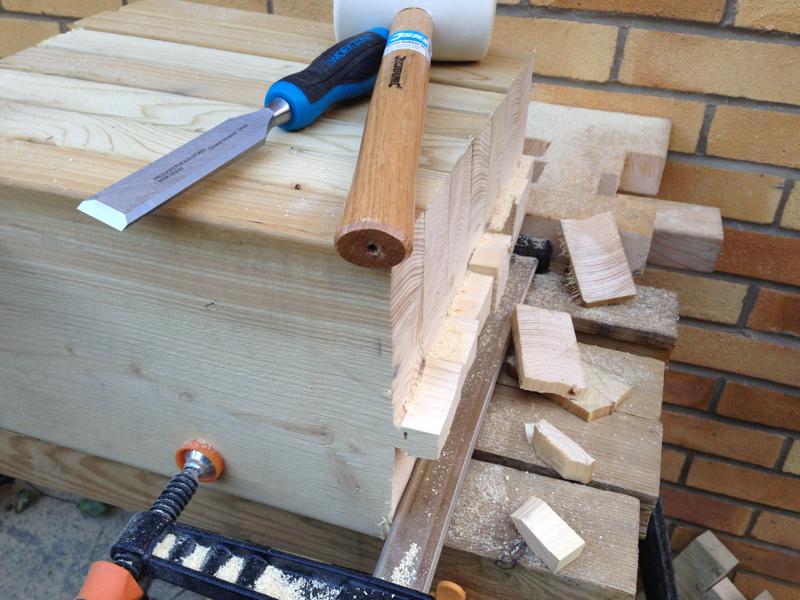 once I had my straight edge to work from I used the guide rail to make my cuts as before, but this time around 46/47mm depth and 43mm wide cut, as I’m doing two tests on this timber, this top and bottom notching, and also do just one deep 90mm cut per end I did these notching at the same time I had the timber held by the F clamps, so the timber looks a bit funny with hols to one side 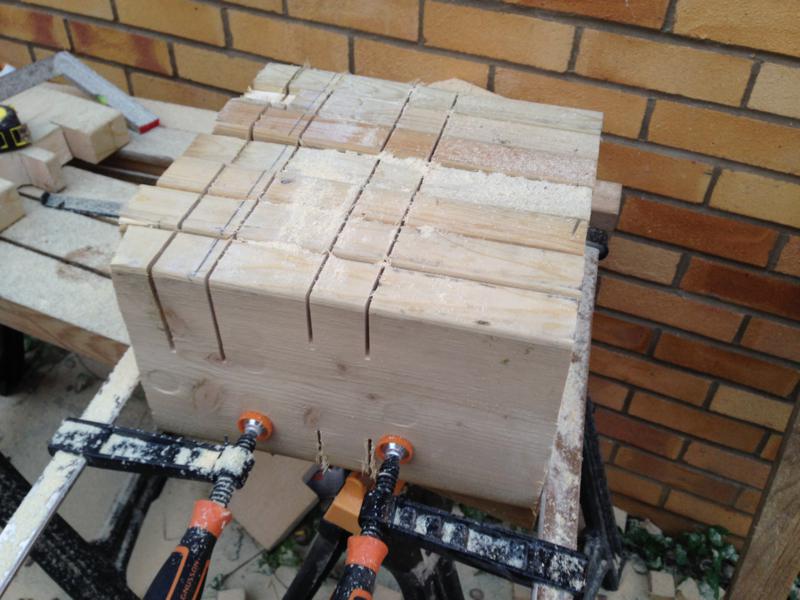 I found on my test timber (and maybe the same for my dung walling) has slight bows in the length, this test timber would easily hammer down with the rubber malt in the notch but as I need to be taking them apart again to do the other test on them, I used the sander to make the notches slightly wider so not to clasp the timber too tightly, making it difficult to separate again for the other test 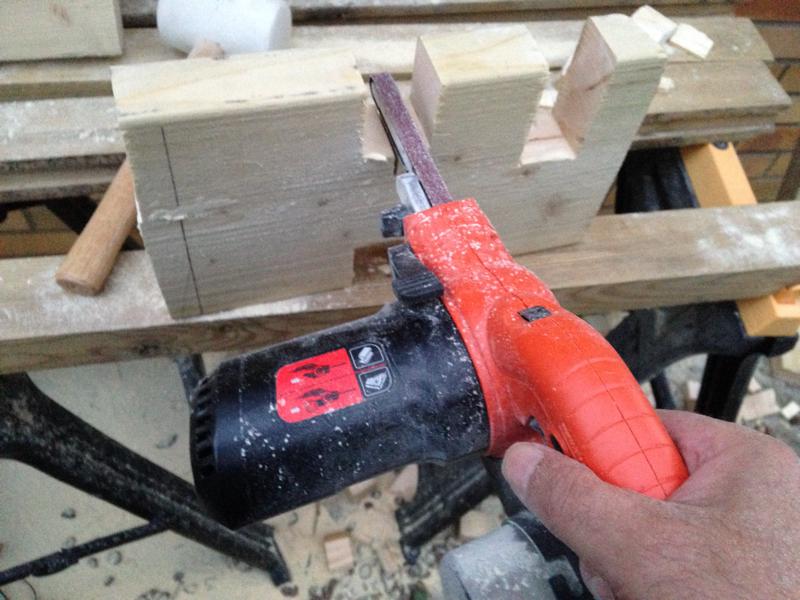 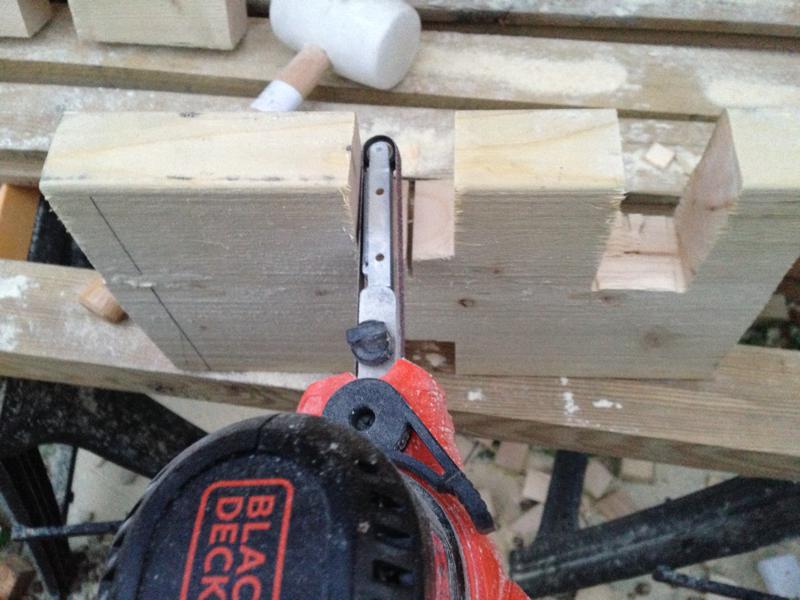 I know I’m never going to be able to do as good a job in the notching as a machine can, but for a non carpenter like me, I’m pleased with todays test, the joint are tight and could of been even tighter if not reusing the timber, 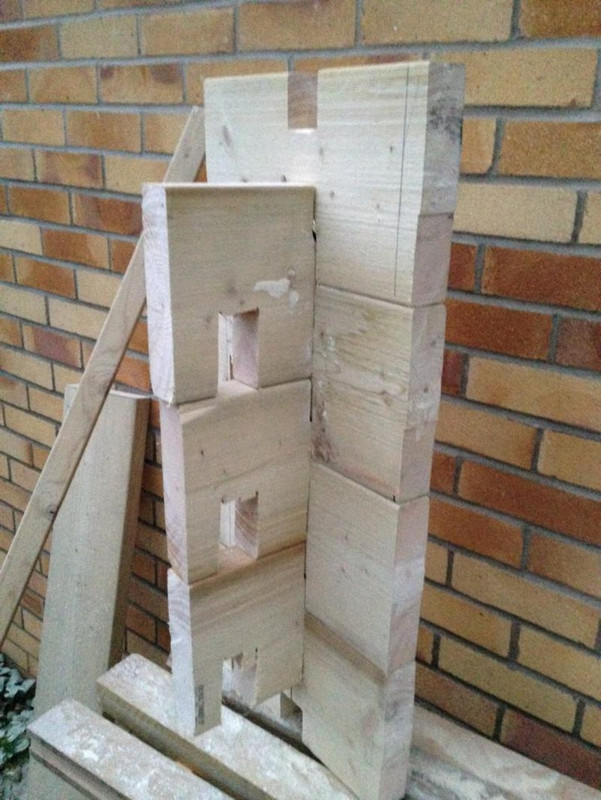 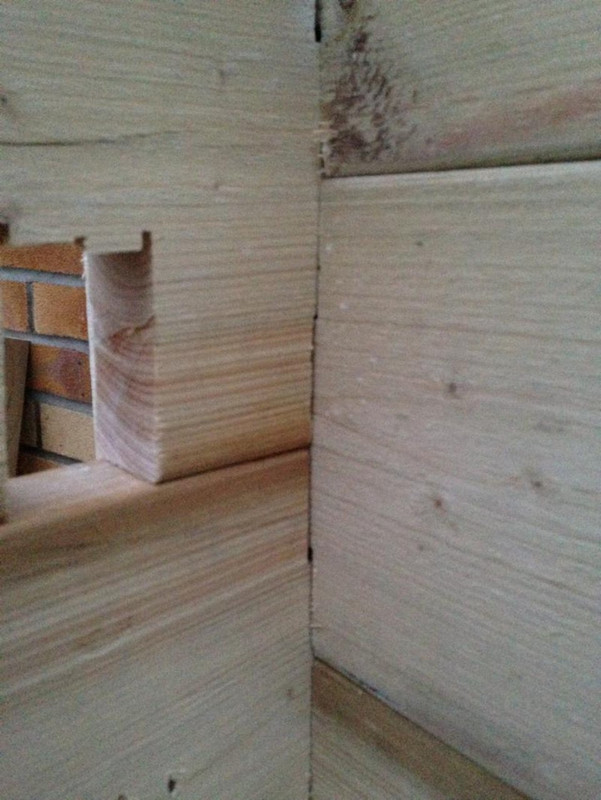 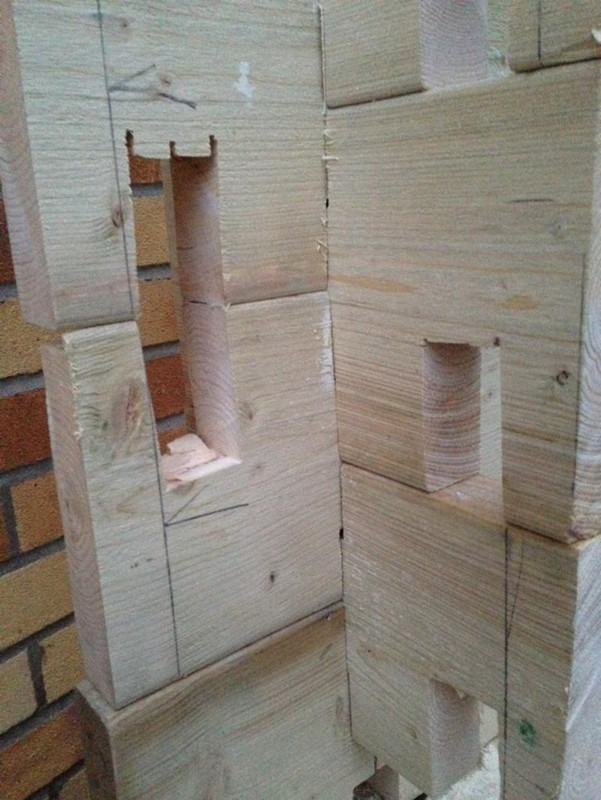 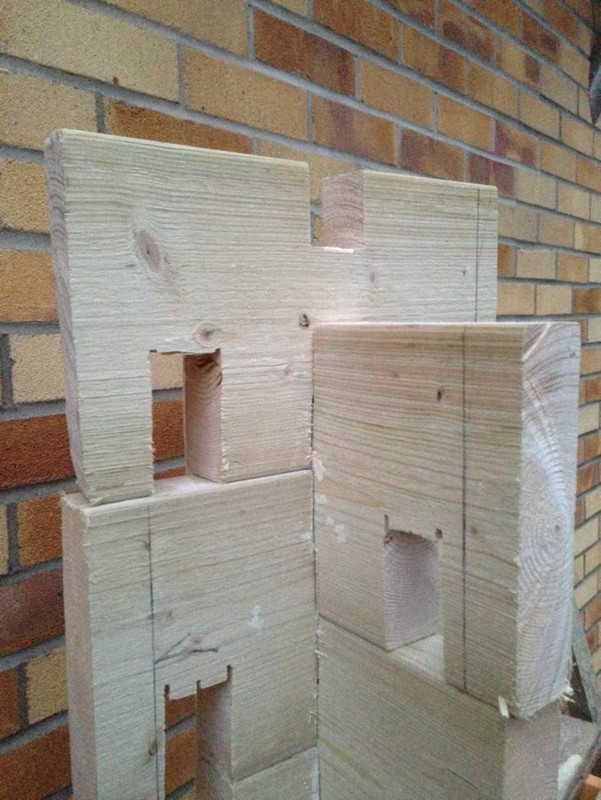 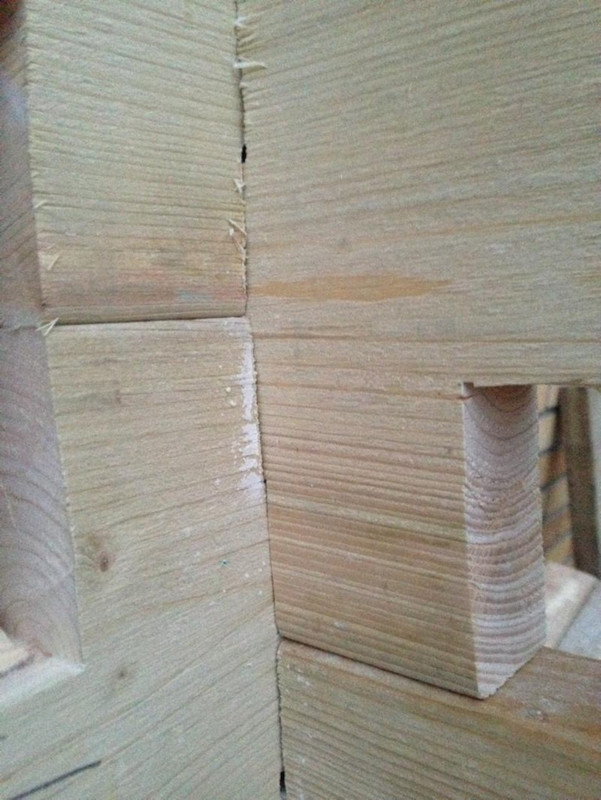   as I’ve discovered just how minute variable the timber is in length and width, as mentioned in other posts, I plan on using the guide rail one end then for the other end I will be taking a measurement from my notch to a set length then if the timber is 5 to 10mm longer/shorter, it makes no difference as all the notches will be the same distant apart |
| |
|
|
|
|
|
|
|
Hi Love what you’re doing here, do you mind if offer a couple of suggestions Firstly when cutting the notches out, instead of putting just 2 cuts, put another few down the middle, what this will do is give you more cuts all to the correct depth. So all you will have to do is break out the pieces and dress off the waste, sort of like this 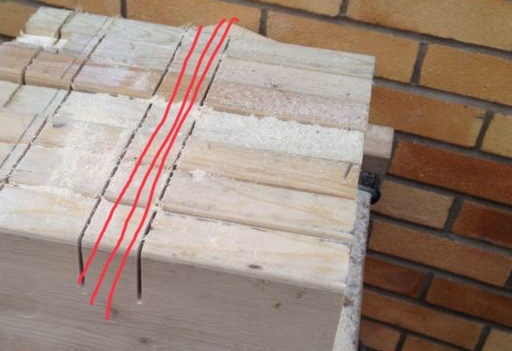 Also make a very simple jig, for marking out the cuts, it could be timber, steel, Ali or plastic, basically the jig would align with the end of your timbers that you’ve squared off, it would then have notches to indicate the first cut out, the cut out at the opposite end, and a mark for the squaring cut at the opposite end, if you use this for every timber, starting at the same end they will all be uniform.you could also use the same jig for the front and rear timbers, but a second set of notches would be required. Finally, if I were building it, I’d be inclined on the front door aperture, to make the second or third timber from ground level span across the aperture to hold the dimension stable till the whole thing is built then cut it out when complete Hope this helps and makes sense, I’m happy to try and explain better if it doesn’t Regards Frank |
| |
|
|
|
|


