|
|
|
|
|
|
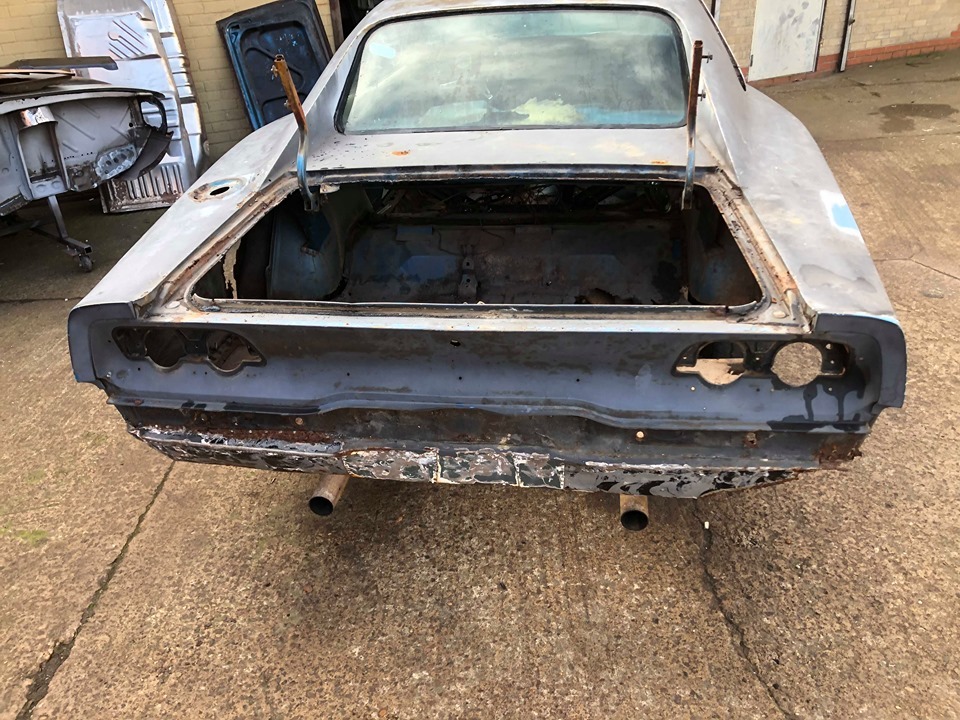
That is what I call a brave project !
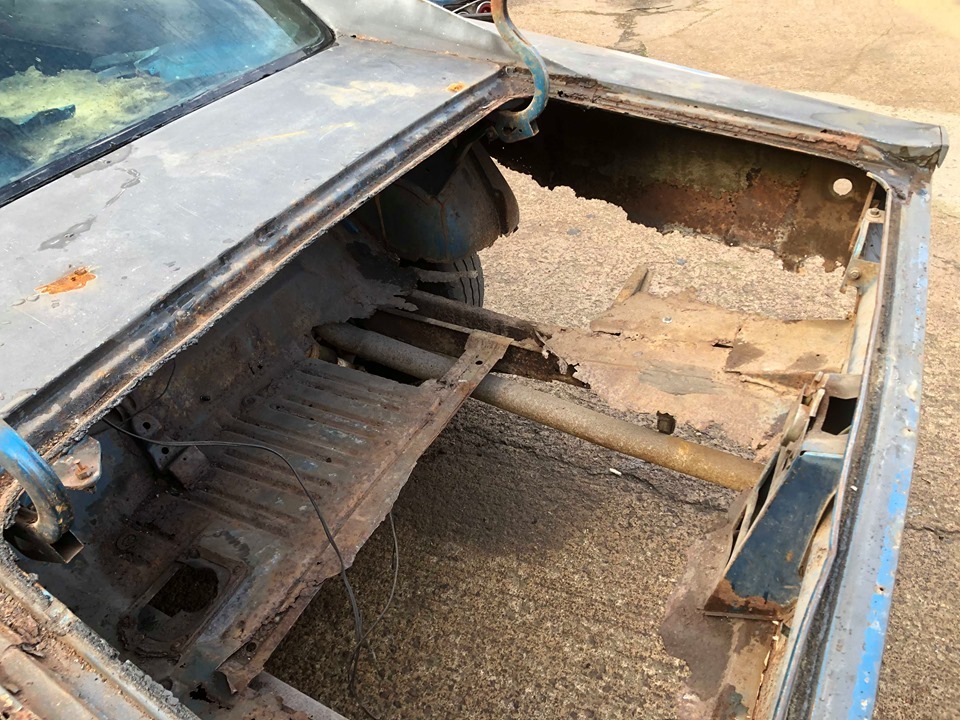
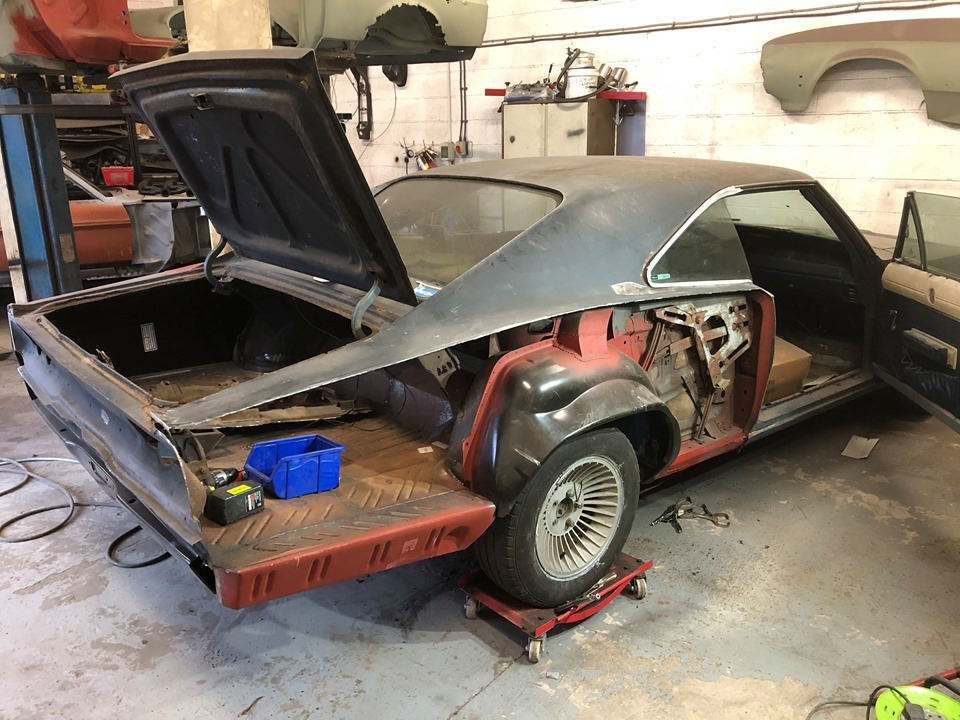
I had a '73 Camaro once with an invisible trunk floor and rust half way up to the back window.I was able to keep it on the road by some very crude welding in the trunk area and was able to find a breakers yard donor to cut wing repair sections from.
I learned a lot, and had great fun with that car. It even ended up looking halfway respectable after it had a cheap blow-over .Good luck with this charger,they are great cars if you have the dedication to see the project through.
|
| |
|
|
|
|
|
|
|
|
|
|
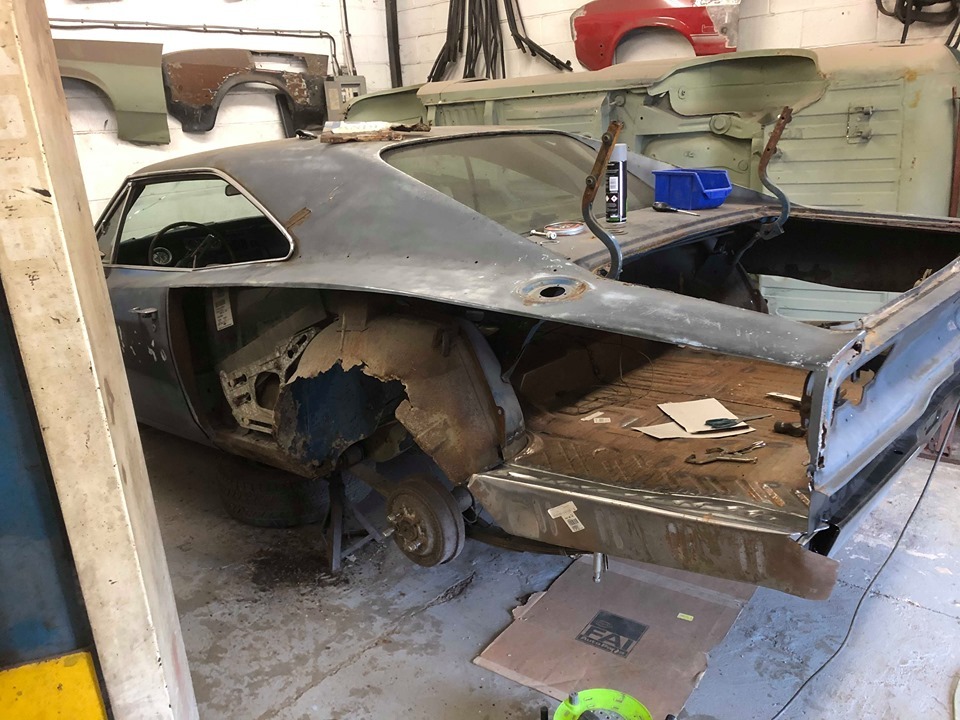
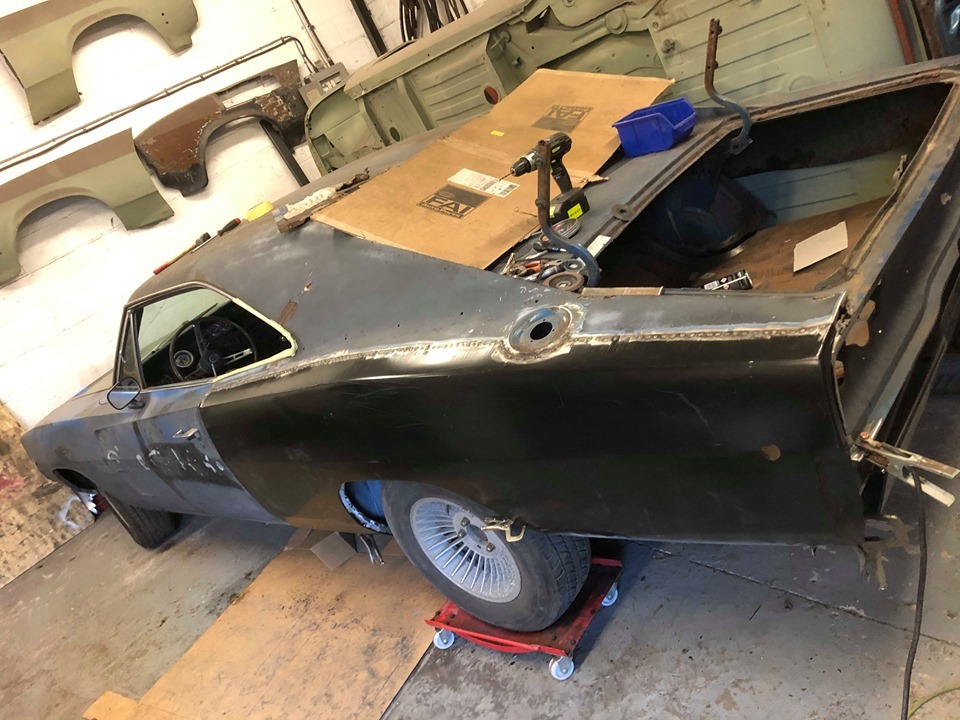
How did he attach that panel along its top edge? Was it seam welded the whole way? Or stitched?
|
| |
|
|
|
|
|
|
|
How did he attach that panel along its top edge? Was it seam welded the whole way? Or stitched? ps that 'new' charger badge isn't staying, we were just checking if the filler was as deep as the doors haha 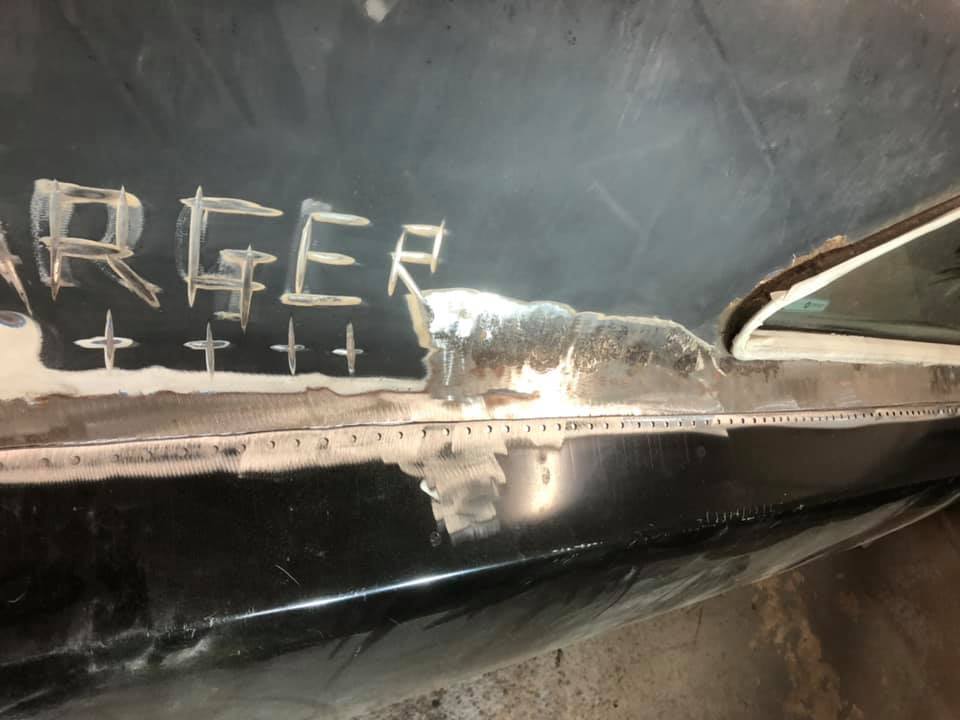 |
| |
|
|
|
|
|
|
|
|
Heck YES! Great car, great job!
|
| |
|
|
|
|
|
|
|
|
nice car but i cant help it ...thats not a nice way to fit those quarters , sorry if you take offence
this is how i would want it done - thats a valuble car not some patch up job on a transit
|
| |
91 golf g60, 89 golf 16v , 88 polo breadvan
|
|
|
|
|
Nov 10, 2019 17:49:00 GMT
|
nice car but i cant help it ...thats not a nice way to fit those quarters , sorry if you take offence this is how i would want it done - thats a valuble car not some patch up job on a transit no offence taken, this is the internets where your opinion is your own. I'm not the welder in the relationship haha so I can't see the difference in the clip you've put here and the (not finished) work that's going on with the car but thanks for the video, I will show the guy and get his thoughts |
| |
|
|
|
|
|
Nov 10, 2019 18:27:23 GMT
|
|
bit late now
the chap in the video has cut below the sharp swage /waist line then cut the new panel so it matches up edge to edge , with carefull welding he's made it close to invisible from inside and outside , your job is over lapping with spot welds ,so a seam to cover up outside and inside and a potential place to have rust forming , it also leaves more original panel incase it ever needs doing again
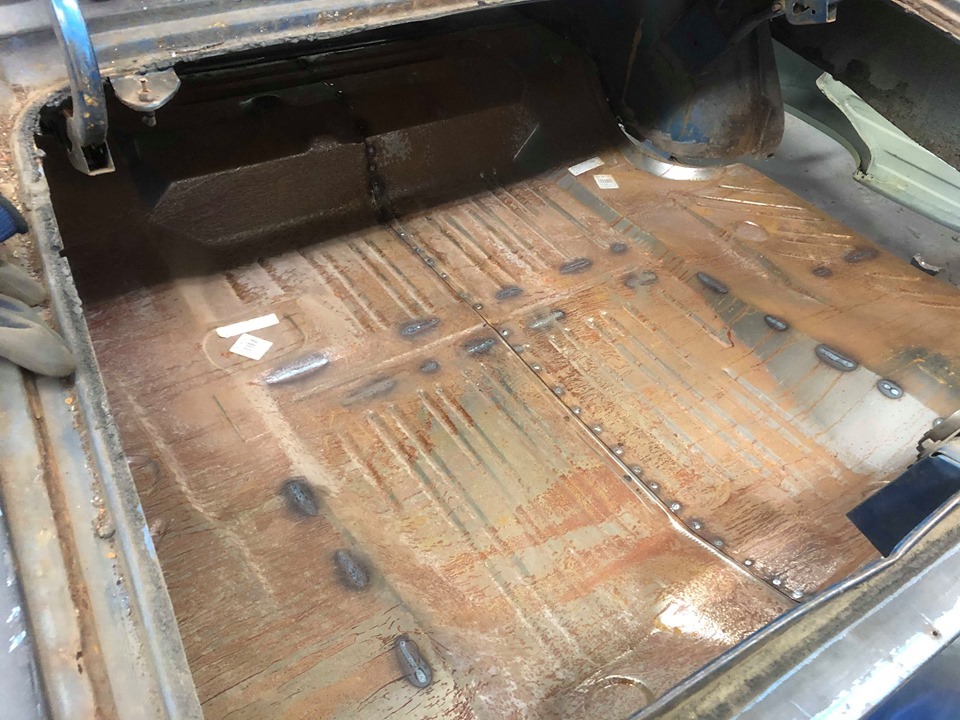
appears he's seam welded the floor to the chassis legs instead of spot welds too
makes me a bit sad , the video is a text book way to do a nice repair , he's well into charges and has several other vids repairing them that might intrest you
like i say no offence intended , wish i had one
|
| |
91 golf g60, 89 golf 16v , 88 polo breadvan
|
|
|
|
|
Nov 11, 2019 10:28:39 GMT
|
bit late now the chap in the video has cut below the sharp swage /waist line then cut the new panel so it matches up edge to edge , with carefull welding he's made it close to invisible from inside and outside , your job is over lapping with spot welds ,so a seam to cover up outside and inside and a potential place to have rust forming , it also leaves more original panel incase it ever needs doing again appears he's seam welded the floor to the chassis legs instead of spot welds too makes me a bit sad , the video is a text book way to do a nice repair , he's well into charges and has several other vids repairing them that might intrest you like i say no offence intended , wish i had one Actually - that is in no way a text book way to seam a panel of this length in - By undertaking a 'butt weld' then dressing it back what you are doing is creating a weak point in the vehicles structure has you have no choice but to over thin the metal on either side of weld bead - whilst the owner restorer may well be into his marque / model of choice it by no means reinforces the fact that its the correct method of repair either A steeped / rebated / joggled edge joint is accepted practice and preferred by most professional restorers - executed correctly it creates a strong & resilient method of seaming / joining two panels - whilst also mitigating the risk of panel distortion - Again executed correctly it carries no risk of creating a potential rust trap - Undertaking the work utilising this method also provides the opportunity for the seam to be lead loaded and finished to the original / OE factory standards that were utilised when the vehicle was originally built - Should the panel ever require rework or replacement there is absolutely no reason why a rebated seam cannot be unpicked and used again with a replacement panel |
| |
Last Edit: Nov 11, 2019 10:43:20 GMT by Deleted
|
|
|
|
|
Nov 11, 2019 10:55:30 GMT
|
bit late now the chap in the video has cut below the sharp swage /waist line then cut the new panel so it matches up edge to edge , with carefull welding he's made it close to invisible from inside and outside , your job is over lapping with spot welds ,so a seam to cover up outside and inside and a potential place to have rust forming , it also leaves more original panel incase it ever needs doing again appears he's seam welded the floor to the chassis legs instead of spot welds too makes me a bit sad , the video is a text book way to do a nice repair , he's well into charges and has several other vids repairing them that might intrest you like i say no offence intended , wish i had one Actually - that is in no way a text book way to seam a panel of this length in - By undertaking a 'butt weld' then dressing it back what you are doing is creating a weak point in the vehicles structure has you have no choice but to over thin the metal on either side of weld bead - whilst the owner restorer may well be into his marque / model of choice it by no means reinforces the fact that its the correct method of repair either A steeped / rebated / joggled edge joint is accepted practice and preferred by most professional restorers - executed correctly it creates a strong & resilient method of seaming / joining two panels - whilst also mitigating the risk of panel distortion - Again executed correctly it carries no risk of creating a potential rust trap - Undertaking the work utilising this method also provides the opportunity for the seam to be lead loaded and finished to the original / OE factory standards that were utilised when the vehicle was originally built - Should the panel ever require rework or replacement there is absolutely no reason why a rebated seam cannot be unpicked and used again with a replacement panel And that is the Gospel as spoken by Chris. Brothers and sisters Can I get an Amen? |
| |
|
|
|
|
|
Nov 11, 2019 11:14:58 GMT
|
|
AMEN...
|
| |
'80 s1 924 turbo..hibernating
'80 golf gli cabriolet...doing impression of a skip
'97 pug 106 commuter...continuing cheapness making me smile!
firm believer in the k.i.s.s and f.i.s.h principles.
|
|
|
|
|
|
|
Nov 11, 2019 11:38:53 GMT
|
|
Absolutely mega!!!
Such speed on the transformation. I did look that those first pics and wince, but now all I can do is smile and clap!
Well done, great job bringing a car like this back from the grave!
Looking forward to seeing more updates
|
| |
|
|
|
|
|
Nov 11, 2019 11:46:05 GMT
|
Lovely. Although there isn't enough photos of the fab work  hint hint |
| |
|
|
|
|
|
Nov 11, 2019 11:52:33 GMT
|
|
Once again......
The spirit of this place comes to the fore.
Sharing of knowledge and opinions encouraged.
And we all learn from each other.
As Chris says...... many ways to skin Harley or Sid 🐈
.
|
| |
|
|
|
|
|
Nov 11, 2019 12:09:41 GMT
|
|
Amen as well, many cars use just this method originally with lead, the back end of a minor is a good example, even today similar seams are all over panel vans. Seal it from the back with a coat of wax after paint and it will last as long as the rest of the car.
|
| |
|
|
|
|
|
Nov 11, 2019 12:23:14 GMT
|
|
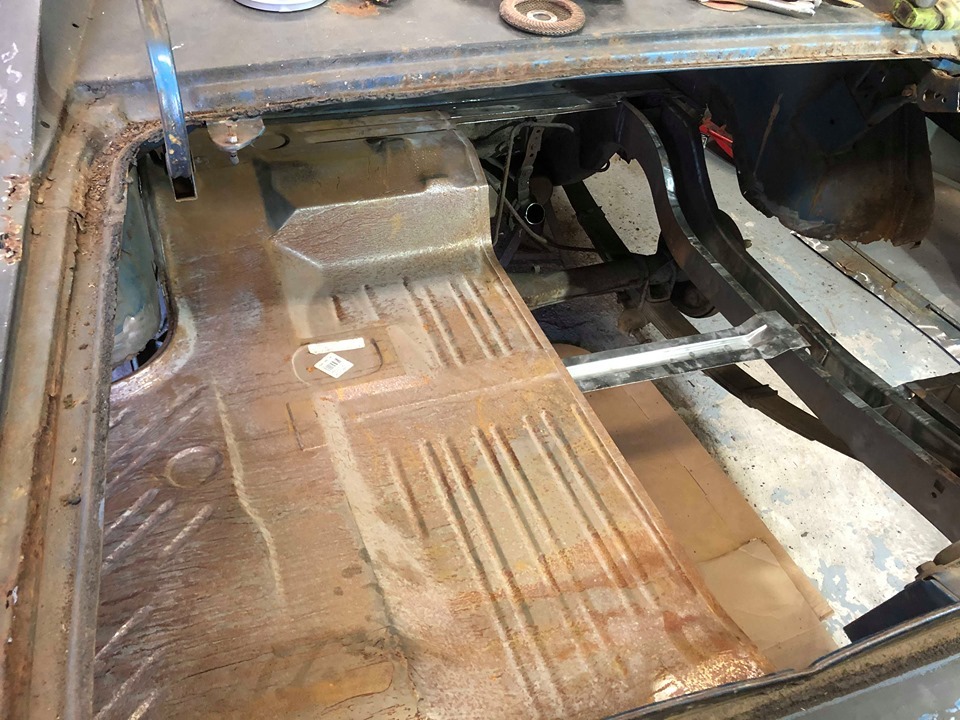
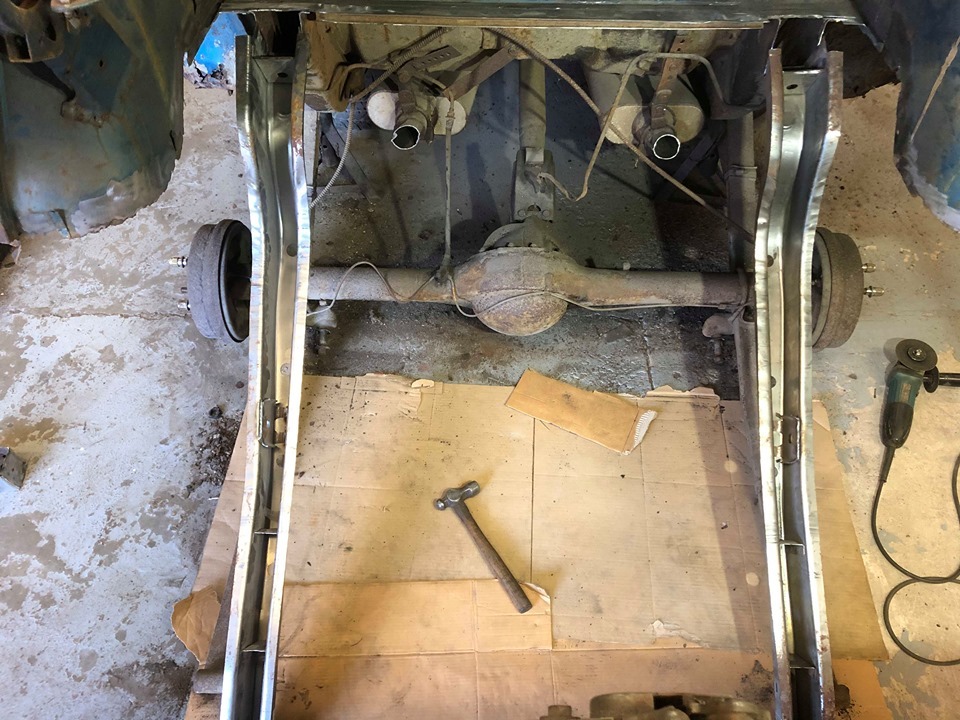
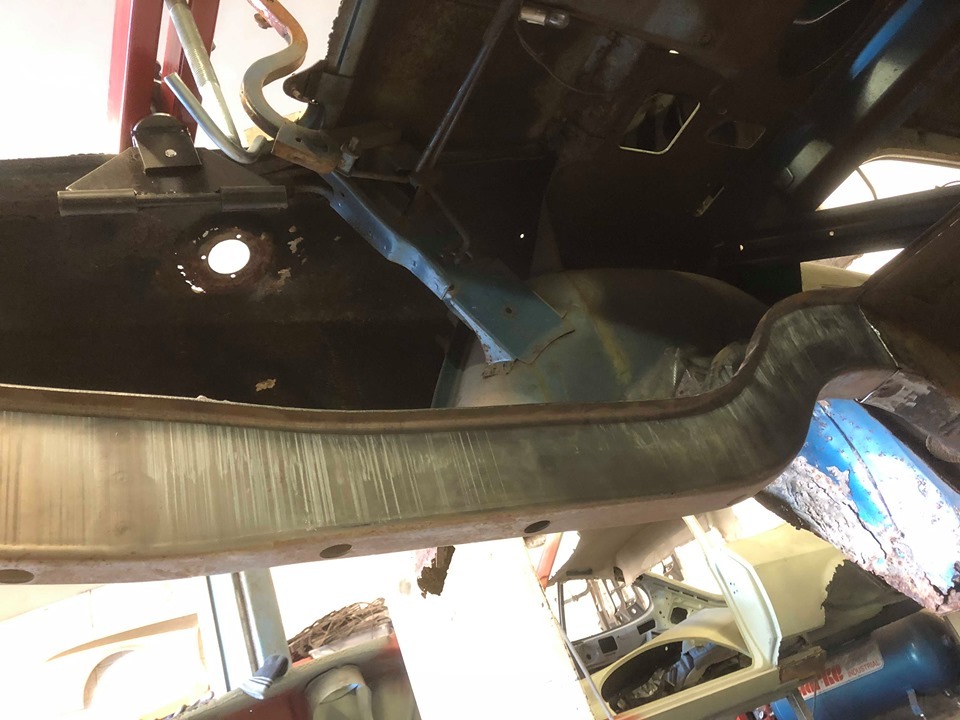
do you also approve of the seam welds to the chassis legs on the boot floor , where they should be spot welds or subsistuted by plug welds?
that lap joint wouldnt be allowd anywhere ive worked , not saying its a massive bodge but they guy in the video is doing lovley work thats hard to fault imo
|
| |
91 golf g60, 89 golf 16v , 88 polo breadvan
|
|
|
|
|
Nov 11, 2019 12:30:52 GMT
|
Lovely. Although there isn't enough photos of the fab work  hint hint hint taken - standby (although there's many ) on a side note, this charger was worthy of heading to the scrap heap looking at its back end before I decided to take it on. It scared the previous owner into leaving it well alone but as with many things in life when everything aligns, right panels, right man for the resto, right price of the car!! then it seemed a viable task, It won't be a nut & bolt resto as I'd be too afraid to drive it with shiny paint, it'll be repaired to s good solid standard and get it to road ready so it scares nannas and kids. That's my goal. |
| |
|
|
|
|
|
Nov 11, 2019 12:43:06 GMT
|
|
|
| |
|
|
|
|
|
Nov 11, 2019 13:05:31 GMT
|
|
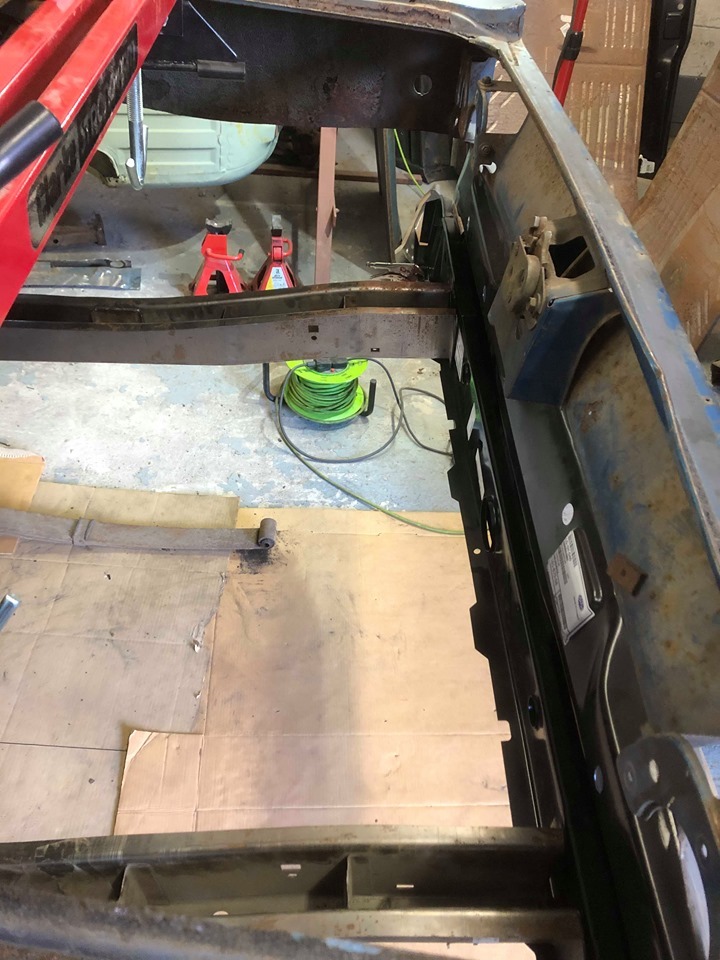
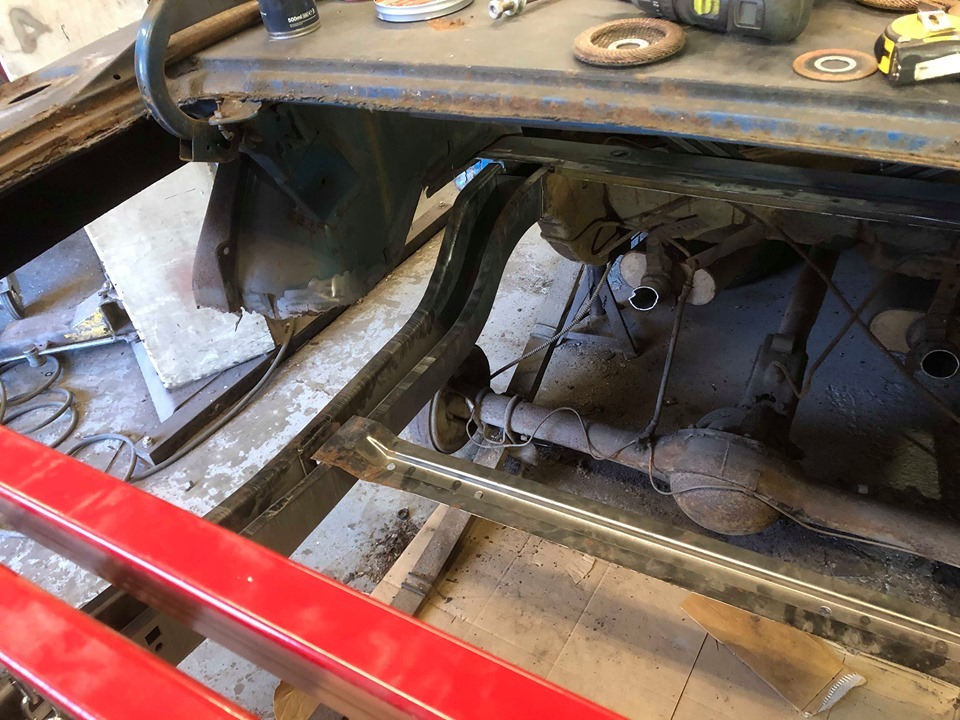
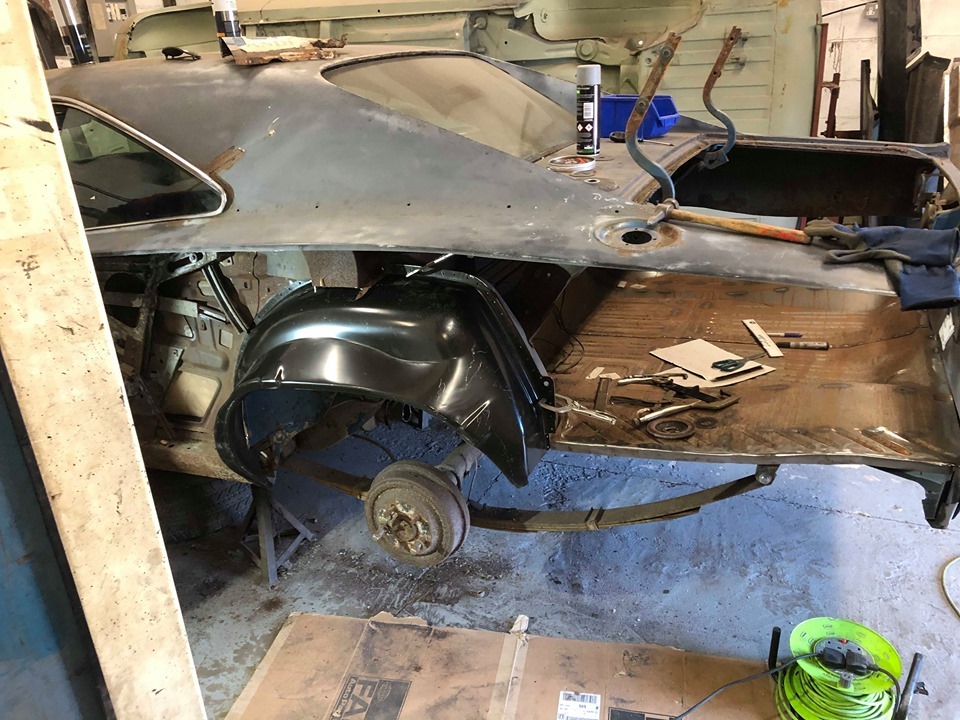
Certainly makes it a lot less daunting when whole inner wheel arches are available as well as all the other parts. I'm sure they all need a bit/lot of fettling but it does make the job 5000% easier.
Great to see it coming back to life -I'd have run a mile!
|
| |
|
|
|
|
|
Nov 11, 2019 13:11:28 GMT
|
do you also approve of the seam welds to the chassis legs on the boot floor , where they should be spot welds or subsistuted by plug welds? that lap joint wouldnt be allowd anywhere ive worked , not saying its a massive bodge but they guy in the video is doing lovley work thats hard to fault imo Sometimes dependant upon access and the strength required in a particular, there is no reason why seam welds cannot replace spot welds but you need to fully understand the form & function in doing so - I can but assume that without access to a very heavy duty industrial spot welder fitted with custom hydraulic arms made solely for the purpose of fitting the boot floor to that particular model - that replicating the spot welds to the factory pattern is going be impossible - plug welding a largely flat panel of that size without distortion and clear access to dress the panel afterwards is also going to be next to impossible - the seam welds applied are of a sensible length, adequately spaced & of a good penetration and therefore meet the requirement of replacing the boot floor to the vehicle. The form & function part comes in understanding what strength is required to be built into the vehicle for it maintain its formed shape but also how the vehicle would deform upon impact - over weld / over strengthen the vehicle and you carry the risk that upon impact the energy is carried through into the passenger cell rather than the panels deforming - hence absorbing the energy and preventing the passenger cell of the vehicles structure being compromised - from what I view in the posted images everything being carried out is to high standards that have been perfectly acceptable in the restoration industry for decades |
| |
|
|
|
|
|
Nov 11, 2019 13:46:24 GMT
|
|
beautifully explained GN.
|
| |
|
|
|
|


 hint hint