pptom
Part of things
 
Posts: 475 
|
|
|
|
|
Don't worry about the progress, the roads have turned to curse word anyway. You've done a great job, sometimes it pays to be a bit restricted with working time, gives you a chance to think between jobs and remember all the little details that you might have missed if you'd been flying through it.
Hopefully just routine servicing from now on!
|
| |
|
|
|
|
|
|
|
|
|
|
Making great progress fella, keep plugging away....
but looking at the recent photos I am a slightly concerned that the the turbo is a little undersized?
|
| |
|
|
mat88
Yorkshire and The Humber
Posts: 1,542
|
|
|
|
Don't worry about the progress, the roads have turned to plop anyway. You've done a great job, sometimes it pays to be a bit restricted with working time, gives you a chance to think between jobs and remember all the little details that you might have missed if you'd been flying through it. Hopefully just routine servicing from now on! Yeah it's nice to not be rushing it tbh.. since its off the road I'm not really having to think "that will do" for anything.. would be nice to hear V8 sounds tho. And take it down the private road at work 🤣🤣 I know the roads are awful my commute is down lanes to get to Sheffield and the van looks like I've been on the rac rally every day haha. Car would be virtually useless haha |
| |
|
|
mat88
Yorkshire and The Humber
Posts: 1,542
|
|
|
|
Making great progress fella, keep plugging away.... but looking at the recent photos I am a slightly concerned that the the turbo is a little undersized? Cheers! I'm keeping going.. Not sure if the sarcasm is lost on the internet or you think it is abit small.. it's a "decent size" 4 inch inlet 3.5 outlet t4 flange gt35 size.. made 405bhp at 6.5psi and over 500bhp when I turned it up to 17psi haha.. but compared to the original hx50 the exhaust side is tiny (spools well tho) Cheers |
| |
|
|
|
|
|
|
|
|
2K paint will brush on nicely with a soft brush if you wear a suitable face mask (3M 06941)
|
| |
|
|
|
|
|
|
|
|
More great progress. Looking great.
As for cleaning up the engine bay, the last time I did it was just pressure washing, drying, some compound on the paint and a polish with a small DA. It looked so good afterwards I cleaned up any clips, brackets, bolts and screws.
|
| |
Still learning...still spending...still breaking things!
|
|
mat88
Yorkshire and The Humber
Posts: 1,542
|
|
|
|
2K paint will brush on nicely with a soft brush if you wear a suitable face mask (3M 06941) I never thought of that.. sounds daft but does it "smooth out" nicely or can you see brush strokes and stuff? Guessing the prep won't have to he as good since the paint will be thicker? |
| |
|
|
mat88
Yorkshire and The Humber
Posts: 1,542
|
|
|
|
More great progress. Looking great. As for cleaning up the engine bay, the last time I did it was just pressure washing, drying, some compound on the paint and a polish with a small DA. It looked so good afterwards I cleaned up any clips, brackets, bolts and screws. Yeah first plan of attack is steam cleaner, tfr, stiff brush and see what we're left with. It's more the fact I know it's scratched up in places and got odd bubble of rust showing through. Let's see what it's like clean and make a decision from there. And cheers. If we're basing it purely on looks it should be a ripper haha |
| |
|
|
|
|
|
|
|
2K paint will brush on nicely with a soft brush if you wear a suitable face mask (3M 06941) I never thought of that.. sounds daft but does it "smooth out" nicely or can you see brush strokes and stuff? Guessing the prep won't have to he as good since the paint will be thicker? Depends on what you are painting, but basically yes. It won't look great on a bonnet, lol but it looks good enough on engines and other parts. Put a reasonable coat on and brush in the same direction with a soft brush and it can give surprisingly good results. |
| |
|
|
|
|
|
|
|
2K paint will brush on nicely with a soft brush if you wear a suitable face mask (3M 06941) I never thought of that.. sounds daft but does it "smooth out" nicely or can you see brush strokes and stuff? Guessing the prep won't have to he as good since the paint will be thicker? I find it smooths out better than other paints intended for brushing. Although I don't brush panels, I do use it on suspension parts, uprights, fenceposts, wooden post-top windmills etc. I'm a big fan of Green Ti filler primer, and you can put the first couple of coats on with a roller. It saves a lot of time, and you're going to sand most of it off, so the slightly textured finish doesn't matter. |
| |
|
|
mat88
Yorkshire and The Humber
Posts: 1,542
|
|
|
|
|
Brilliant thanks for the advice.. will dig some 2k black out (think there's some 2k straight gloss black somehwere in my "stores" 🤣 and grab some decent soft brushes while I'm out and about.
This might all be for nothing once I've cleaned the bay up i might just think sod It and chuck the engine back in 🤣🤣🤣
Cheers
|
| |
|
|
|
|
|
|
|
starting with plugs and coil packs going back in.. Problem is the little lug on the cam covers stop the coil going down any further. (Was never meant to run coil packs the lugs normally mount the plug lead covers).. Apart from the fact that you've already tarted up renovated the cam covers why did you not remove the lugs so that the standard coil packs would fit? Another thought about modifying the coil packs - how much heat was put into them when you removed the section of plastic and metal? |
| |
|
|
mat88
Yorkshire and The Humber
Posts: 1,542
|
|
|
|
starting with plugs and coil packs going back in.. Problem is the little lug on the cam covers stop the coil going down any further. (Was never meant to run coil packs the lugs normally mount the plug lead covers).. Apart from the fact that you've already tarted up renovated the cam covers why did you not remove the lugs so that the standard coil packs would fit? Another thought about modifying the coil packs - how much heat was put into them when you removed the section of plastic and metal? Several reasons... Mainly I didn't have the thought til after id tarted them up 🤣🤣 also if I remove the lugs on the cam covers, I won't be able to bolt the coil packs down. And if I ever want to run the covers again I can't bolt them down either... As for heat in the coil packs I'd hazzard a guess the 10 seconds it took with a 1mm slitting disc to go through the plastic and the little metal tube, was less heat then when its been running an hour or in its past life as a 4.0 turbo kettle 🤣🤣tbf I pulled th little bit I'd slit off with bare hands so wasn't that hot.. Cheers |
| |
|
|
|
|
|
|
|
Making great progress fella, keep plugging away.... but looking at the recent photos I am a slightly concerned that the the turbo is a little undersized? Cheers! I'm keeping going.. Not sure if the sarcasm is lost on the internet or you think it is abit small.. it's a "decent size" 4 inch inlet 3.5 outlet t4 flange gt35 size.. made 405bhp at 6.5psi and over 500bhp when I turned it up to 17psi haha.. but compared to the original hx50 the exhaust side is tiny (spools well tho) Cheers Yep, sarcasm can sometimes be hard to get across on'tinternet! We run small high pressure turbos on the Volvo 850s I play with - by comparison that turbo of yours looks like a bloody windmill:) |
| |
|
|
mat88
Yorkshire and The Humber
Posts: 1,542
|
|
|
|
Cheers! I'm keeping going.. Not sure if the sarcasm is lost on the internet or you think it is abit small.. it's a "decent size" 4 inch inlet 3.5 outlet t4 flange gt35 size.. made 405bhp at 6.5psi and over 500bhp when I turned it up to 17psi haha.. but compared to the original hx50 the exhaust side is tiny (spools well tho) Cheers Yep, sarcasm can sometimes be hard to get across on'tinternet! We run small high pressure turbos on the Volvo 850s I play with - by comparison that turbo of yours looks like a bloody windmill:) Haha I did wonder. Tho tbf at the side of the hx50 this started with its a baby haha. But yeah it's a decent sized spinny thing. It's got a lot of engine breathing through it so it's awake and on boost surprisingly early. I'm also only running relatively low boost by most standards but again there's a lot of engine on the recieving end of it.. so it seems to work. Cheers! |
| |
|
|
|
|
|
|
|
|
As the old saying goes....no replacement for displacement....if I tried strapping that monster to my puny 2.3 lump it'd be a race to see if the boost would come in before I ran out of RPMs!
|
| |
|
|
mat88
Yorkshire and The Humber
Posts: 1,542
|
|
|
|
Well back to work with a bang today, and back to reality after a nice few days off with kids.. managed to crack on and get my real work done by mid afternoon. So snuck a couple hour on the car.. First off got the strap off holding it to the trolley and got all the exhaust tightened up lined up and adjusted along with the screamer for the wastegate.. 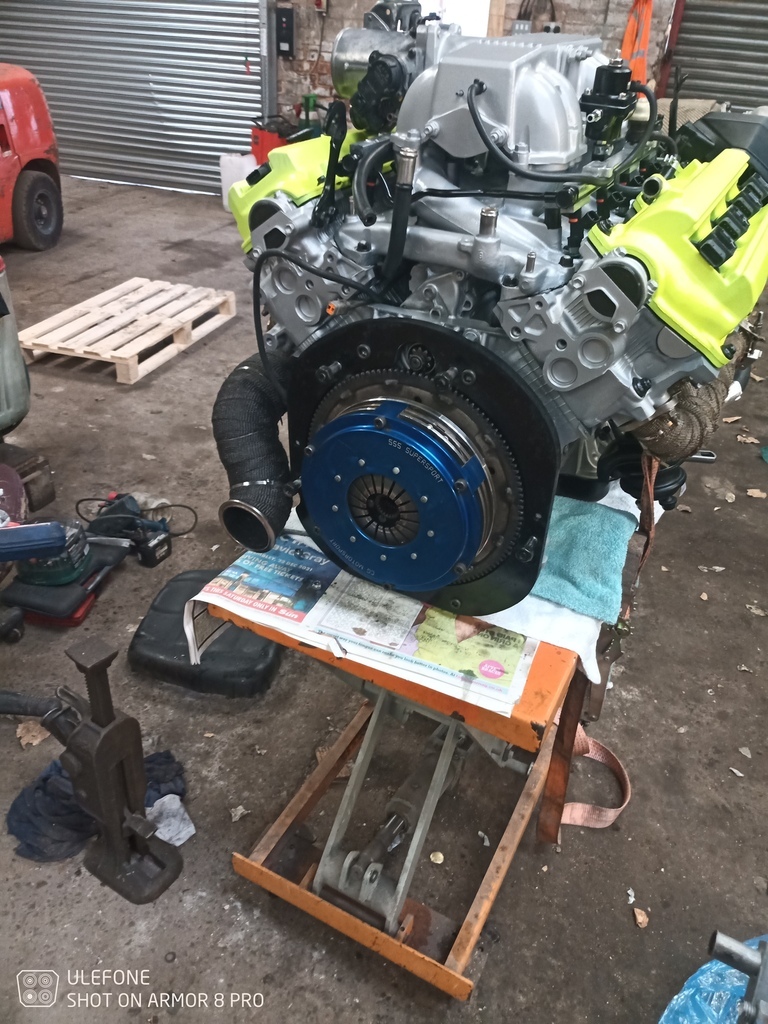 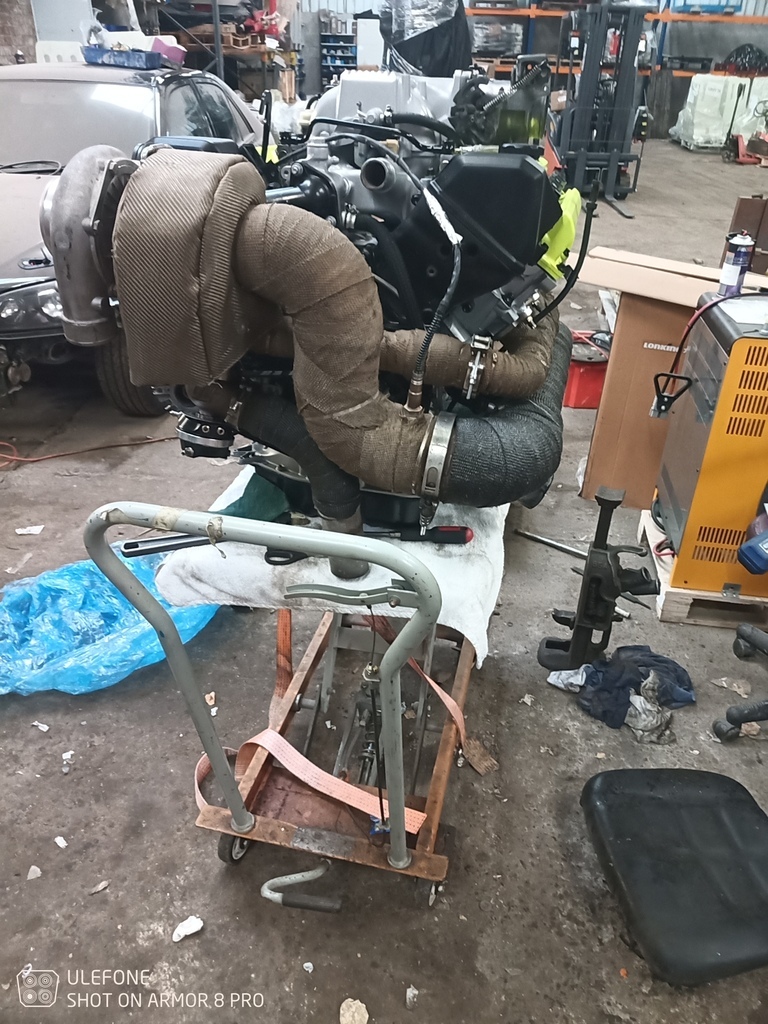 Last job engine wise was to get the loom back on . It's not very old and not done a lot of miles but a few bits were a bit minging from the old engines oil leaks the water explosions and all the other general grime. So cleaned up and refitted. 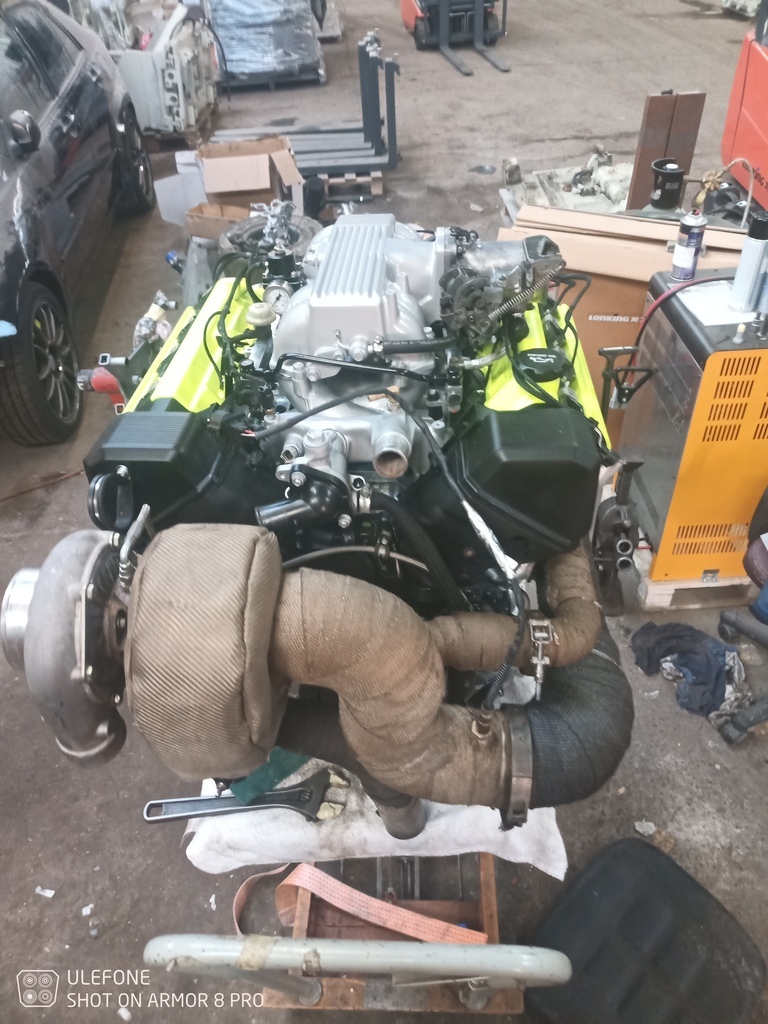 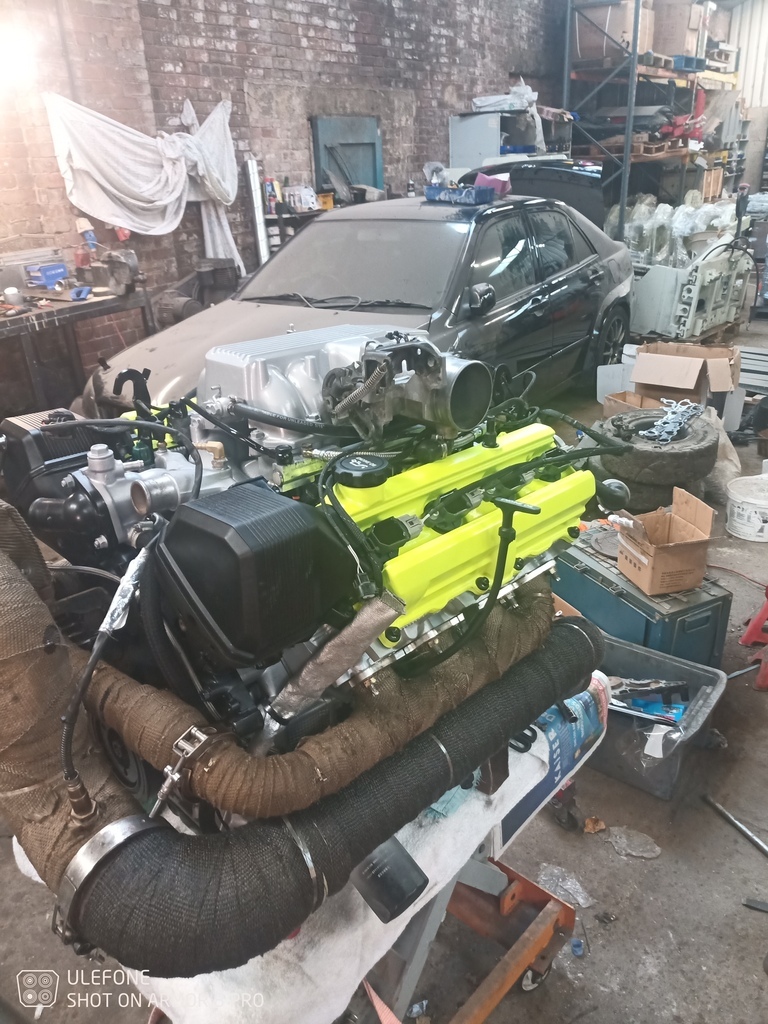 Moving onto the car itself one bit I was never happy with was the lower rad support. It was chopped about and welded on and cut off several times lastly been welded on in the dark by bedside lamp outside last October... Figured while I've got time il make something a bit better.. First off got the rad fitted and bolted down. Then took a load of pics and measurements so it can go back in same spot 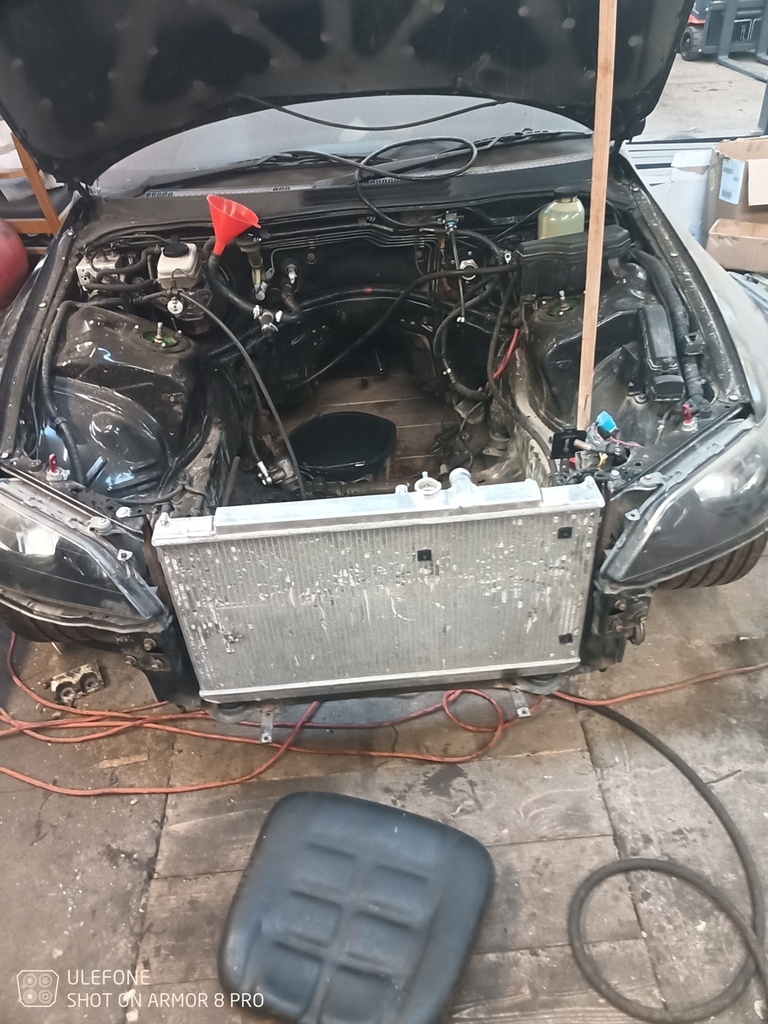 Rad removed. Grinder fired up. Horrible lower rad support be gone!! 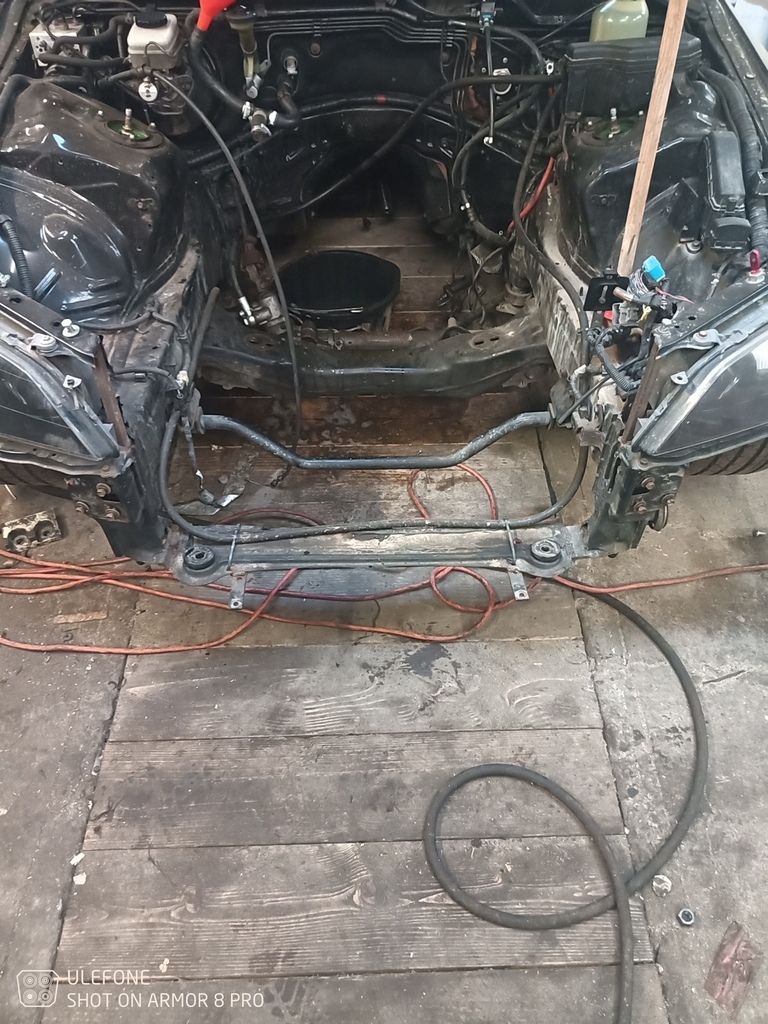 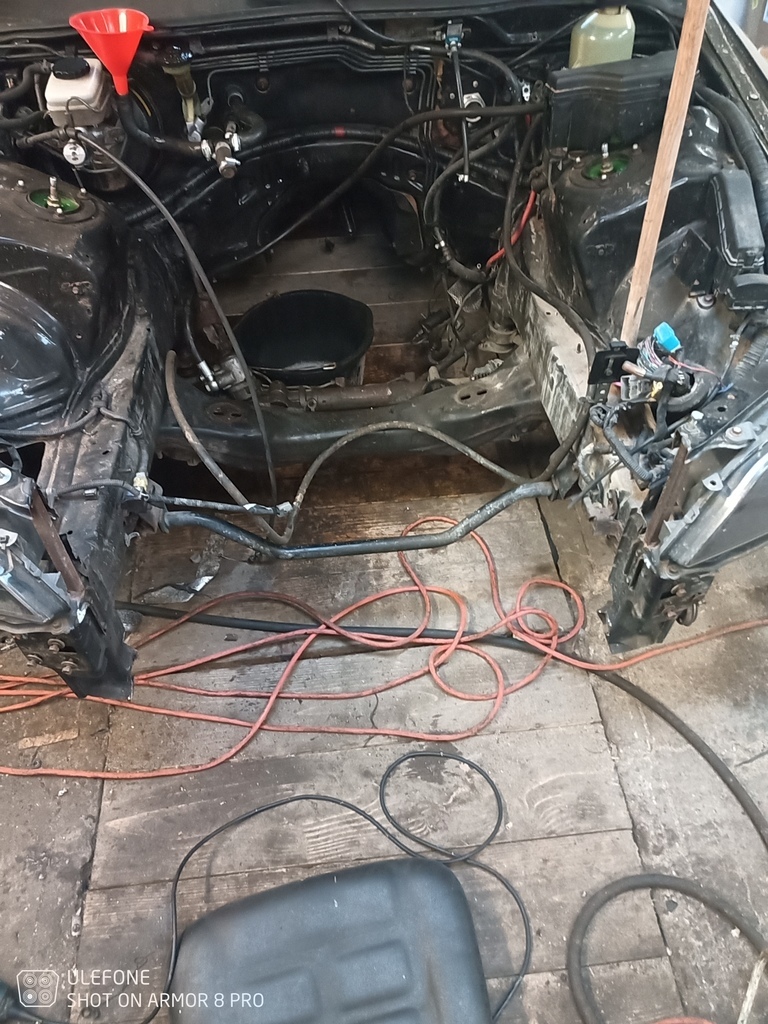 Now I just need something better in its place. Did a bit of CAD to make a template for some blanks to blank the open ends of the chassis up which I never bothered doin before (but should keep mr mot man happy and give me a flat surface to work from) 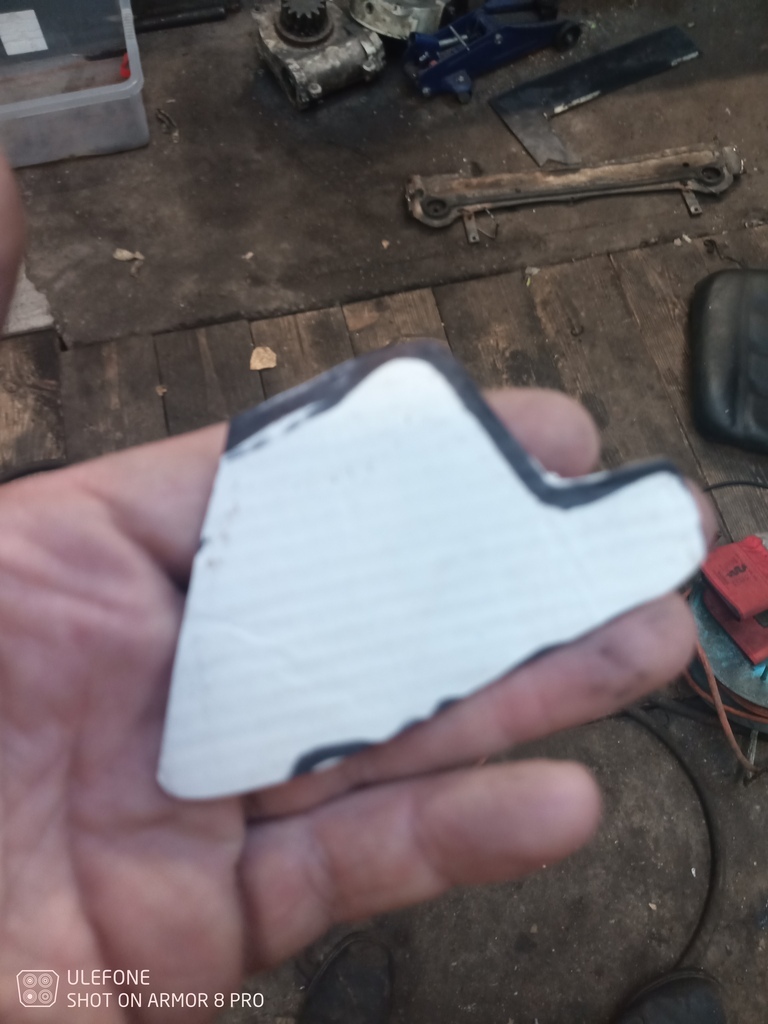 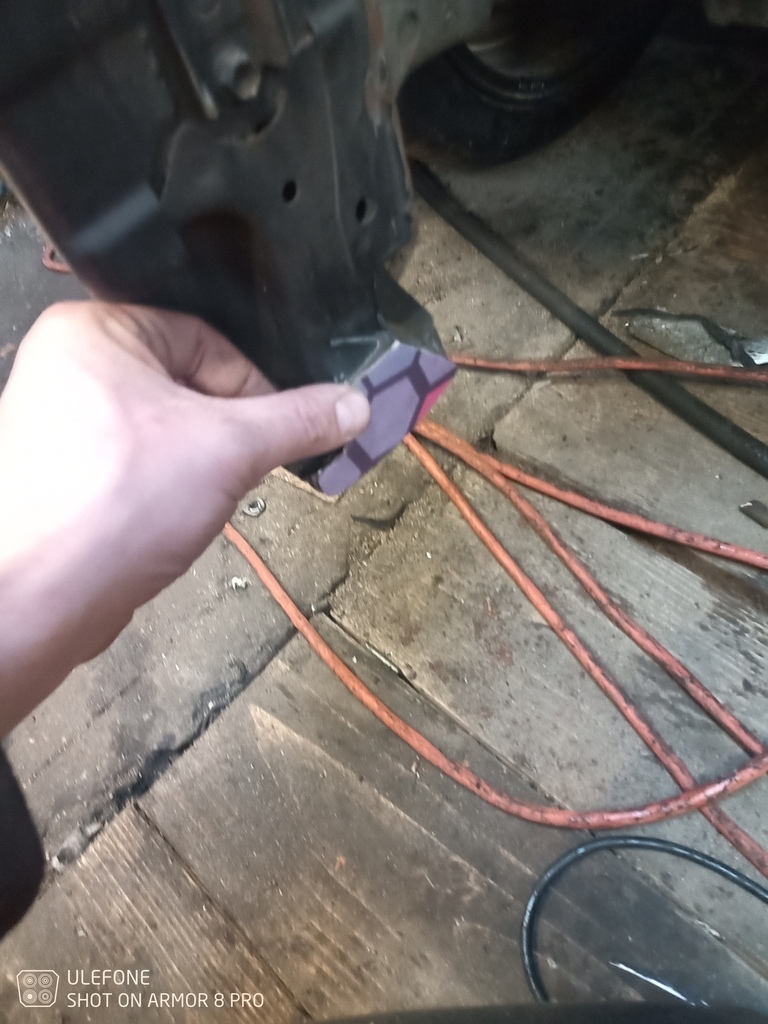 At this point realised I'd got no suitable steel so called it a day and went home.. well home via the fabricators who my dad's garage is next door to to stock up on steel supplies. You may have noticed the funnel in the background to the heater matrix pipes. In-between doin other jobs it's been left with neat tfr in to have a soak, then flushed through with boiling water.. then repeat basically all afternoon.. The first load of water that came out was full of all sorts of crud and curse word but by the end of day it was coming out virtually clear.. will still fire steam cleaner down it when car makes it outside.. Anyways thats today's "progress" More soon hopefully Cheers |
| |
|
|
|
|
|
|
|
|
|
|
I wouldn't steam clean the heater matrix, especially if its the original one which more than likely it is, just in case. I'm sure if its now running clean that will be more than good enough.
Ps if you do maybe keep the pressure to minimum.
|
| |
Last Edit: Dec 9, 2021 10:55:19 GMT by Woofwoof
Still learning...still spending...still breaking things!
|
|


