mat88
Yorkshire and The Humber
Posts: 1,542
|
|
Nov 16, 2021 19:30:10 GMT
|
Well well well. What's this. Actual progress that's almost worthy of being called a proper update haha. Actually got some done yesterday too but seem to have been stricken down with man flu, so didn't do much last night 😭 Anyways. First off mentioned a few posts back I'd been to main dealers. Don't worry ive not lost the plot. But needed a dealer only seal for the oil filter housing. I've seen people use two orings in the past but I've also seen em leak and I don't want a mess on my shiny clean engine haha. Guy on the parts desk couldn't have been more helpful if he tried. Told me he could have the bit same day if I was desperate and wouldn't let me pay til it arrived.. got a call next day at 9am to say it was there and to collect when I was passing there's no rush. That's how your meant to do customer service haha. 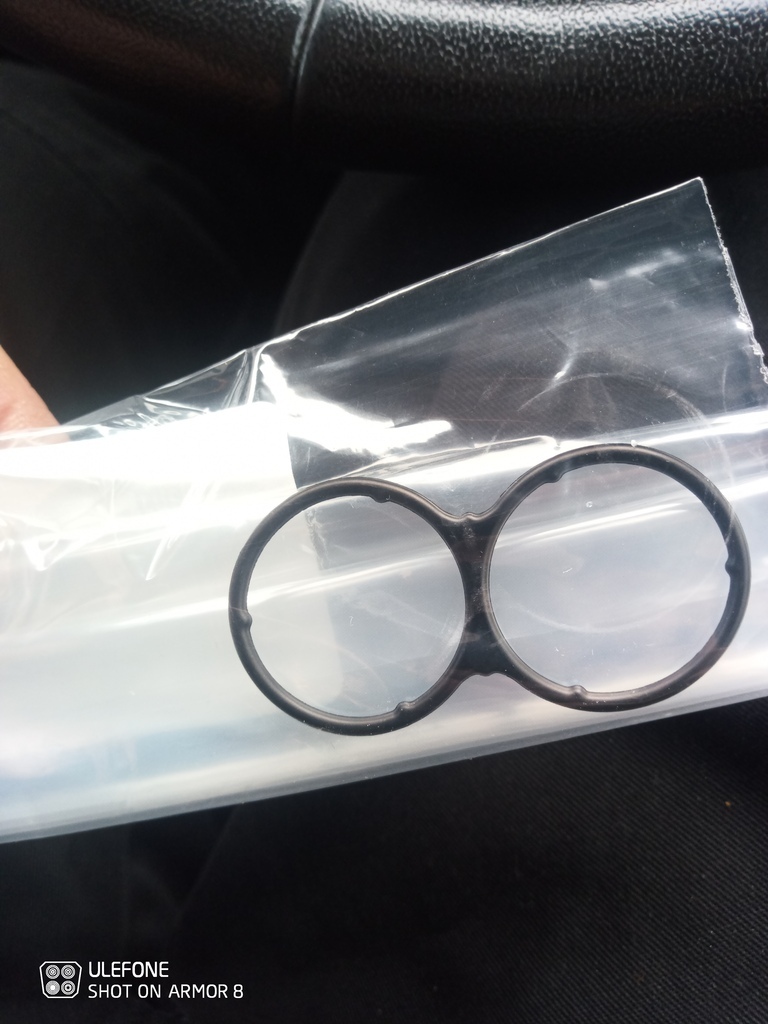 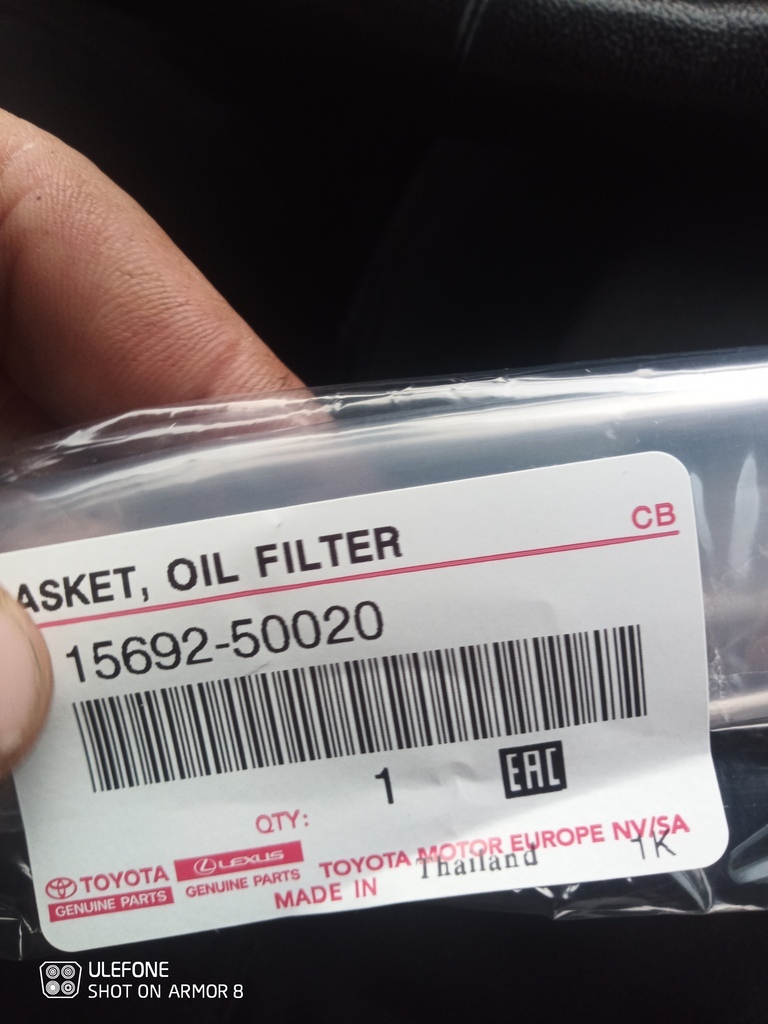 So with that could get the oil filter housing fitted. Not til I'd cleaned up and painted the fixings tho (what has happened to me) 😂 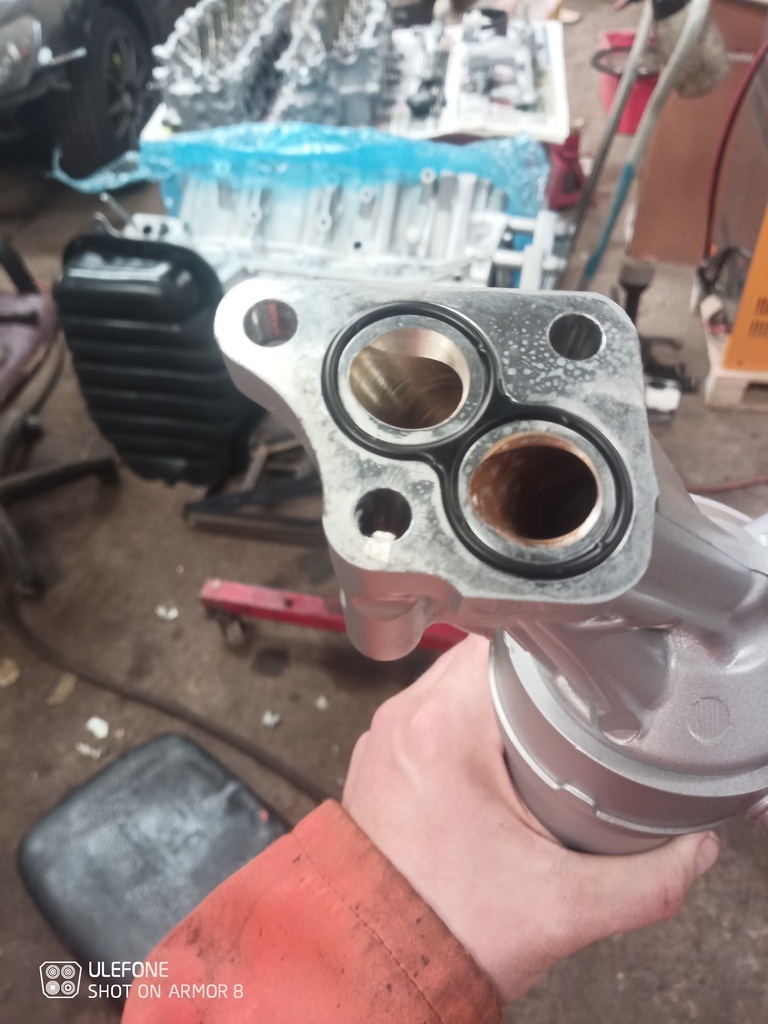 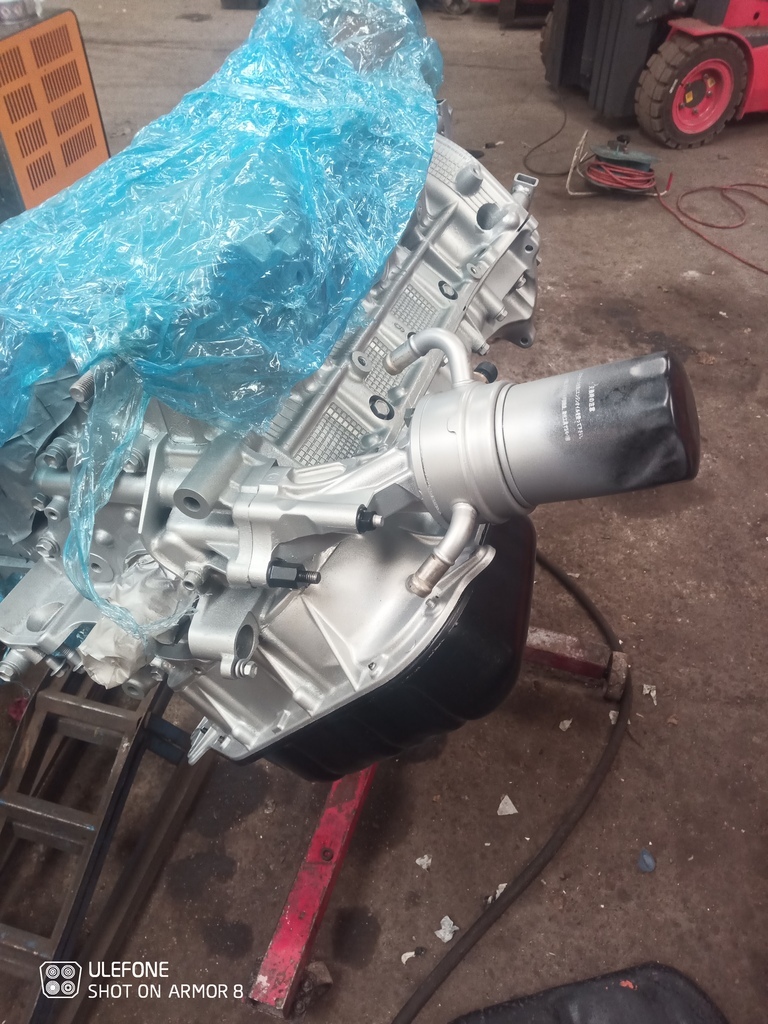 Without my head studs it was more of the same yesterday. Clean, paint and fit. So in no particular order. Oil drain for turbo back on. Yes it's massive yes it works perfect 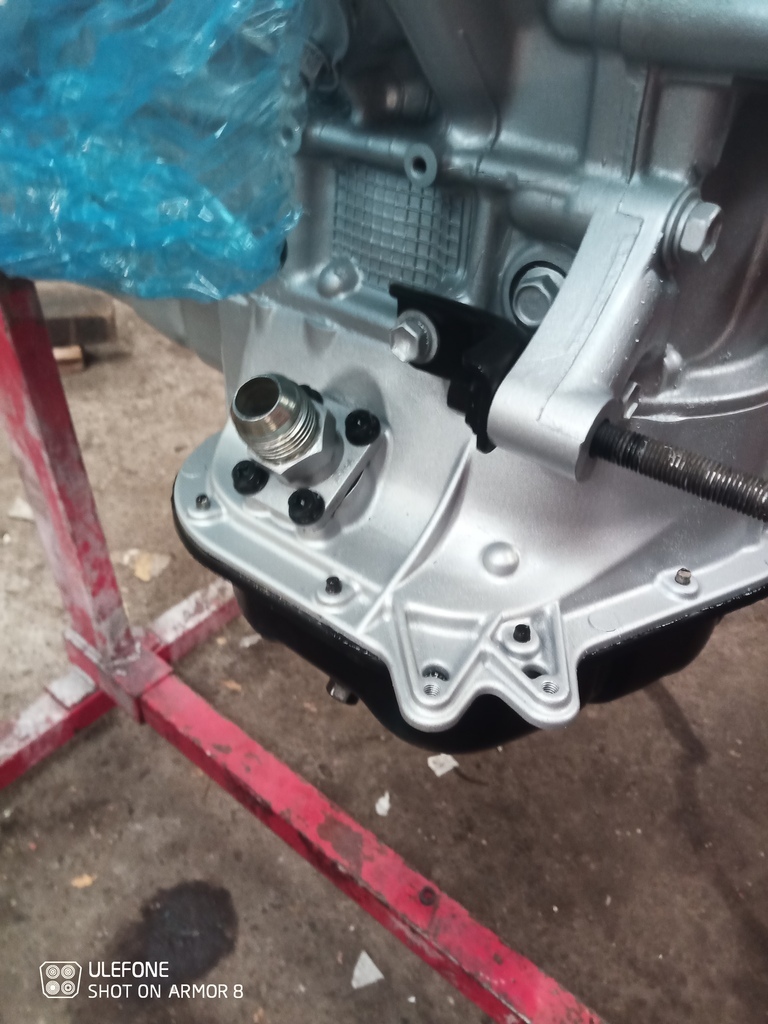 Water take off for the oil cooler back on (remeber pages back this was blocked solid, now it's spotless) 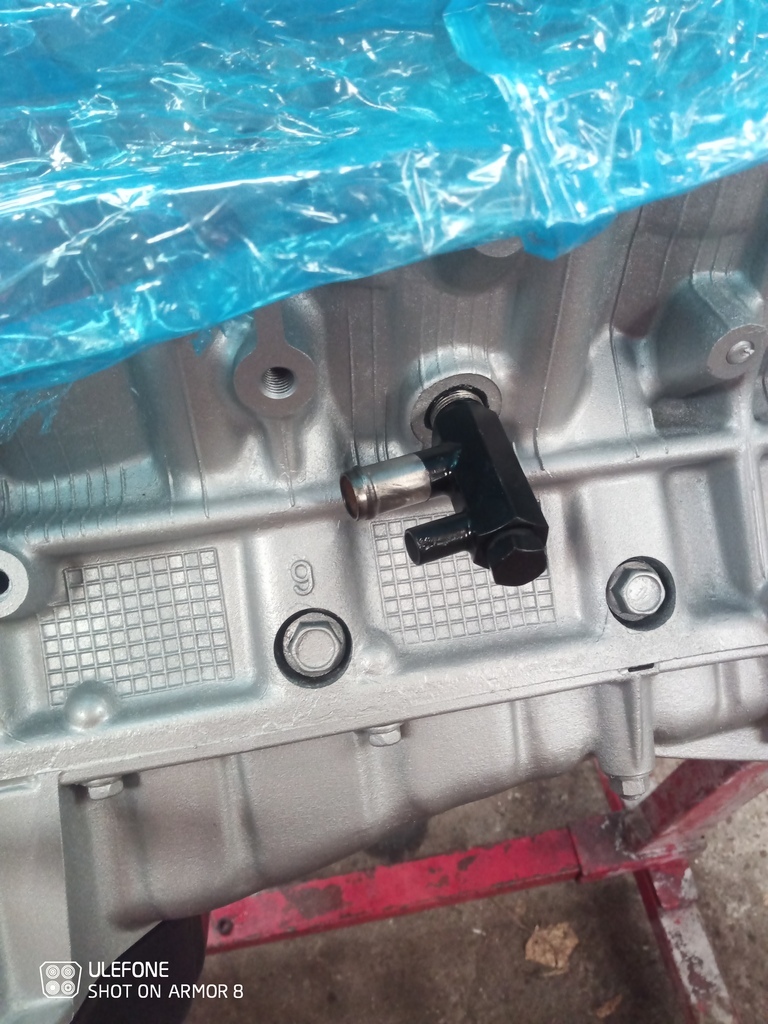 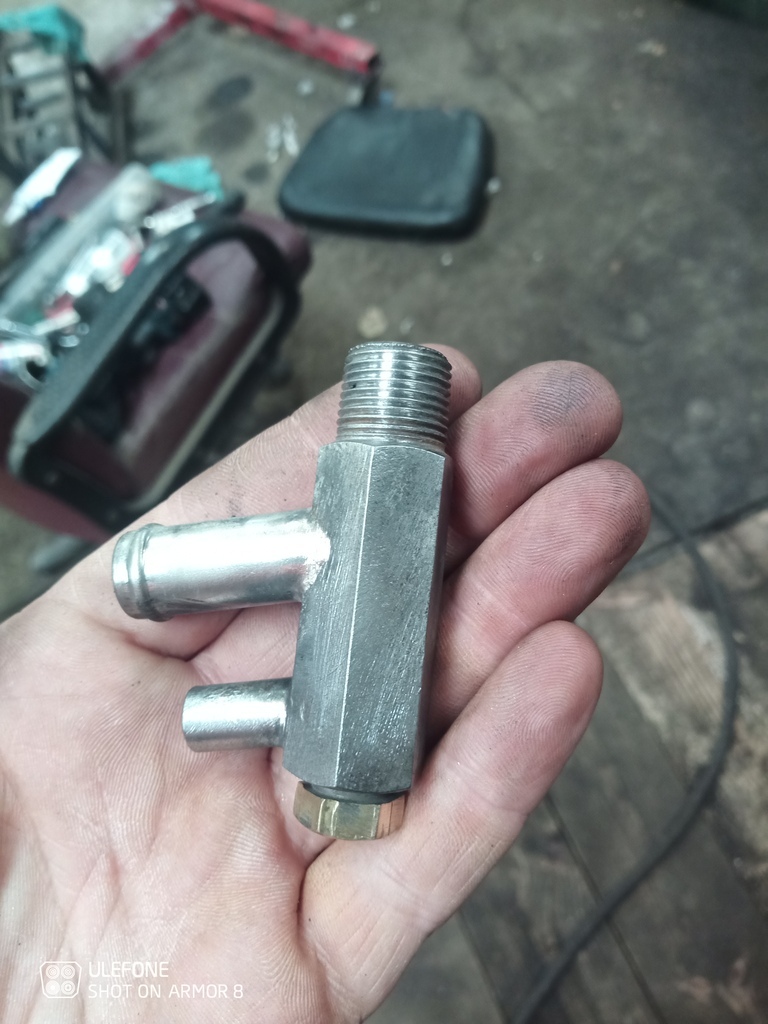 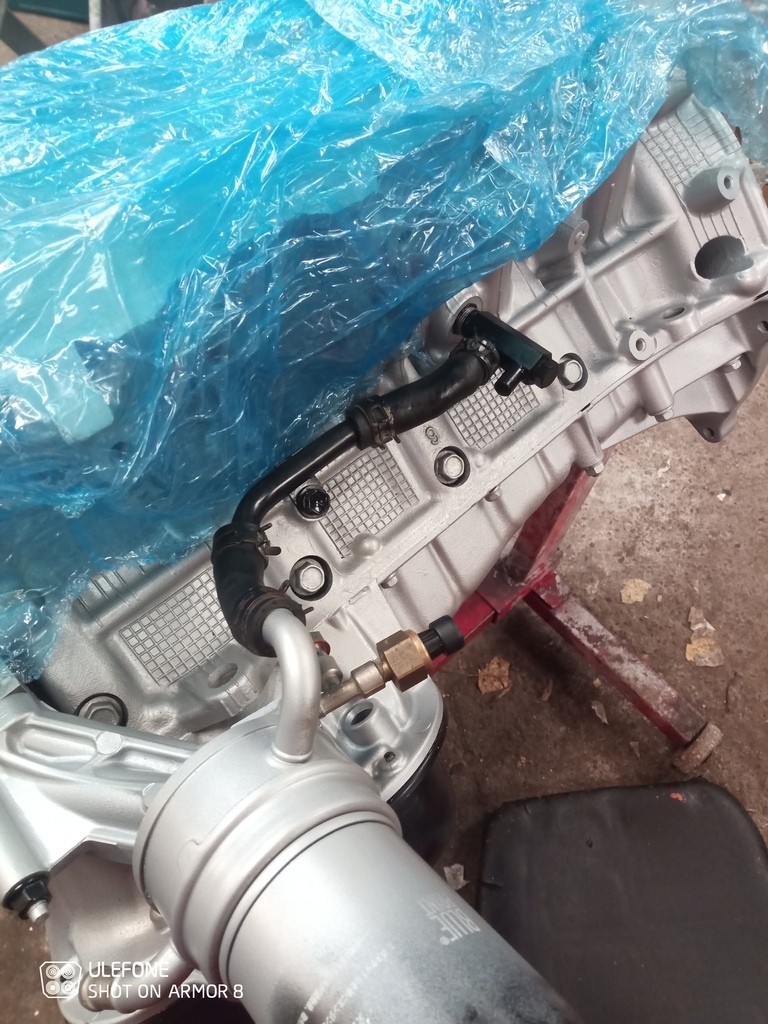 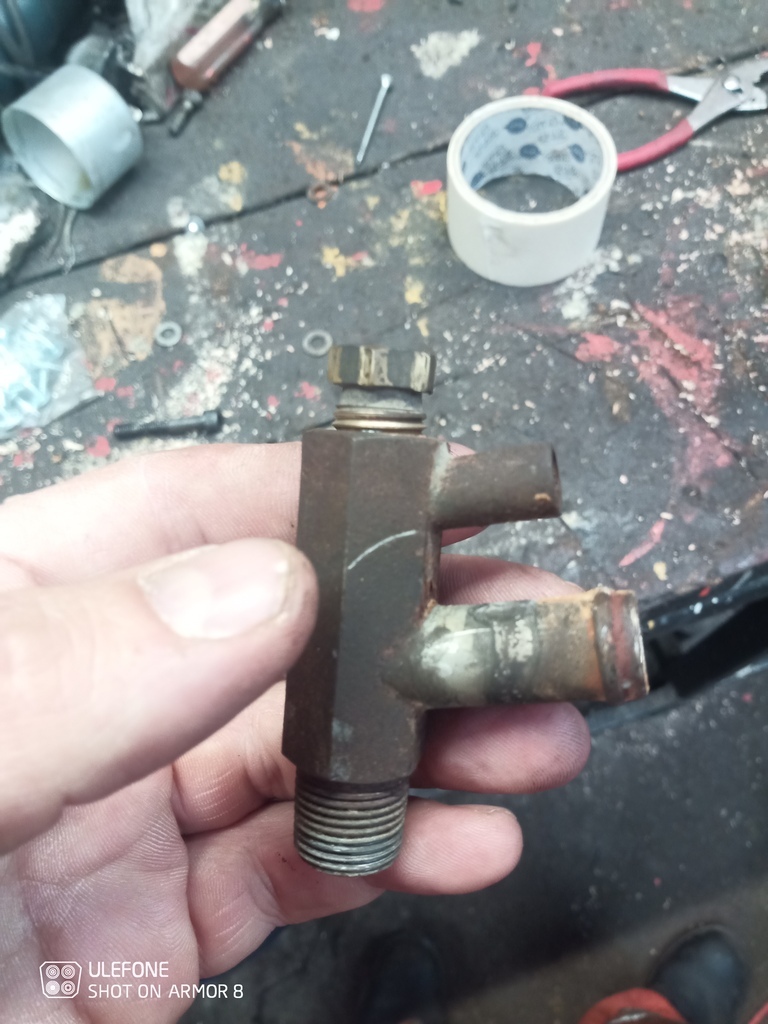 Finally for yesterday lower alternator mount and engine mounts back on... 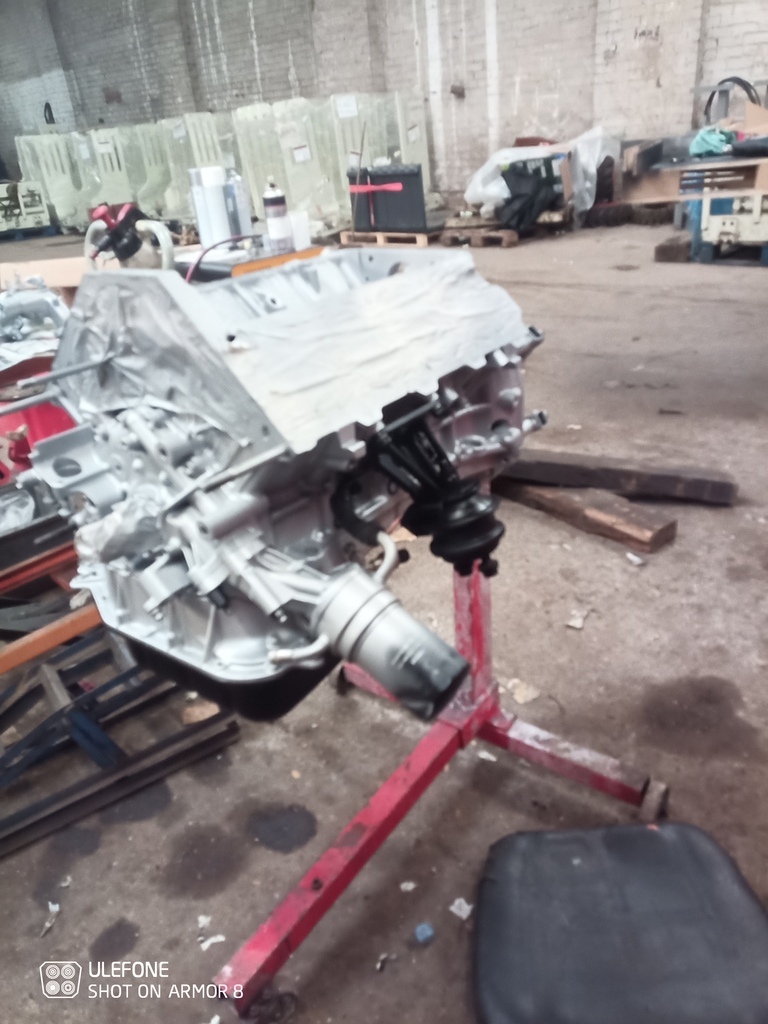 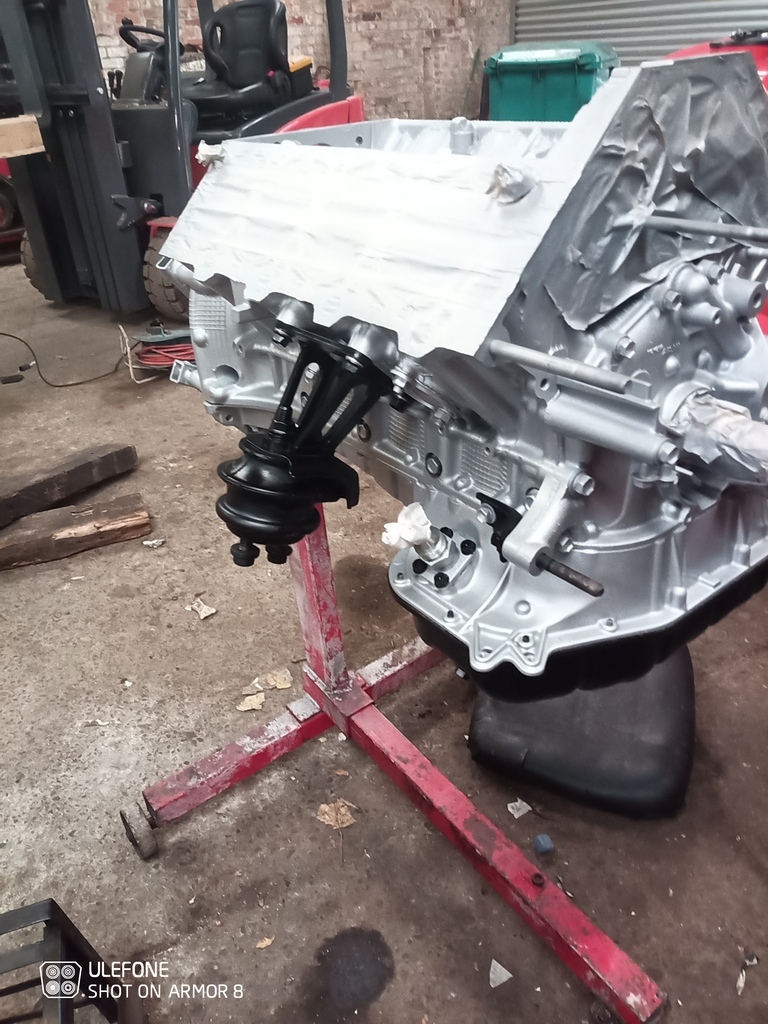 With that done called it a day yesterday. This morning had some real work to do (I know I know) but when I had a parcel turn up at dinner time I couldn't wait. This is what two very expensive boxes of head studs look like 😂😂 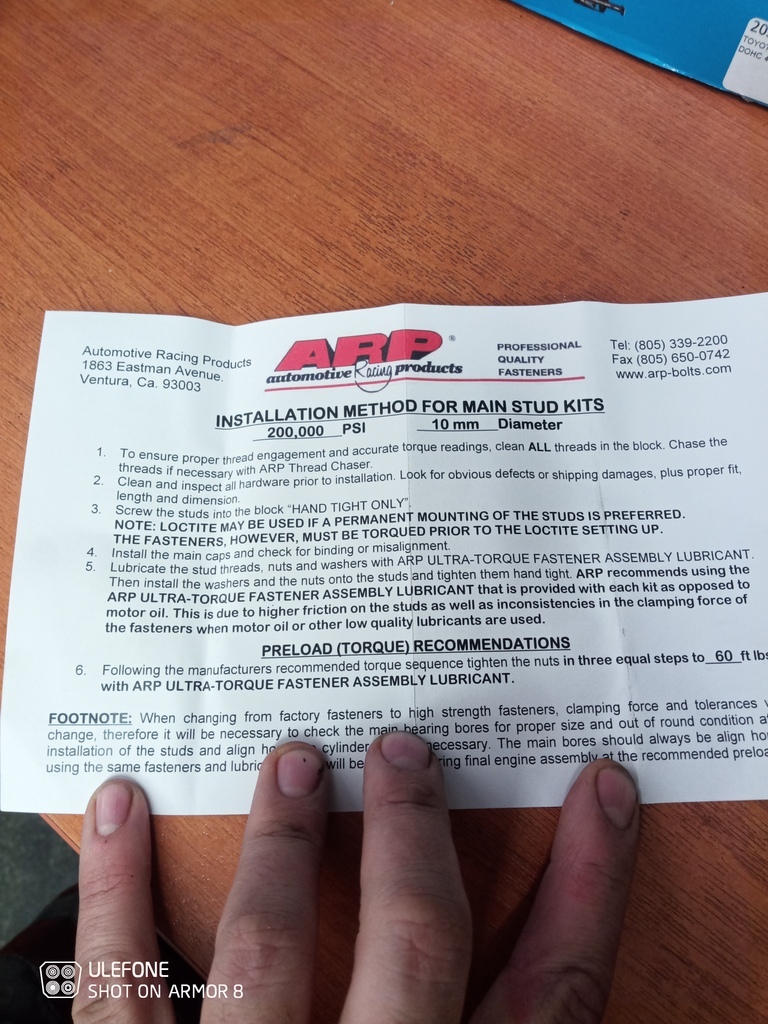 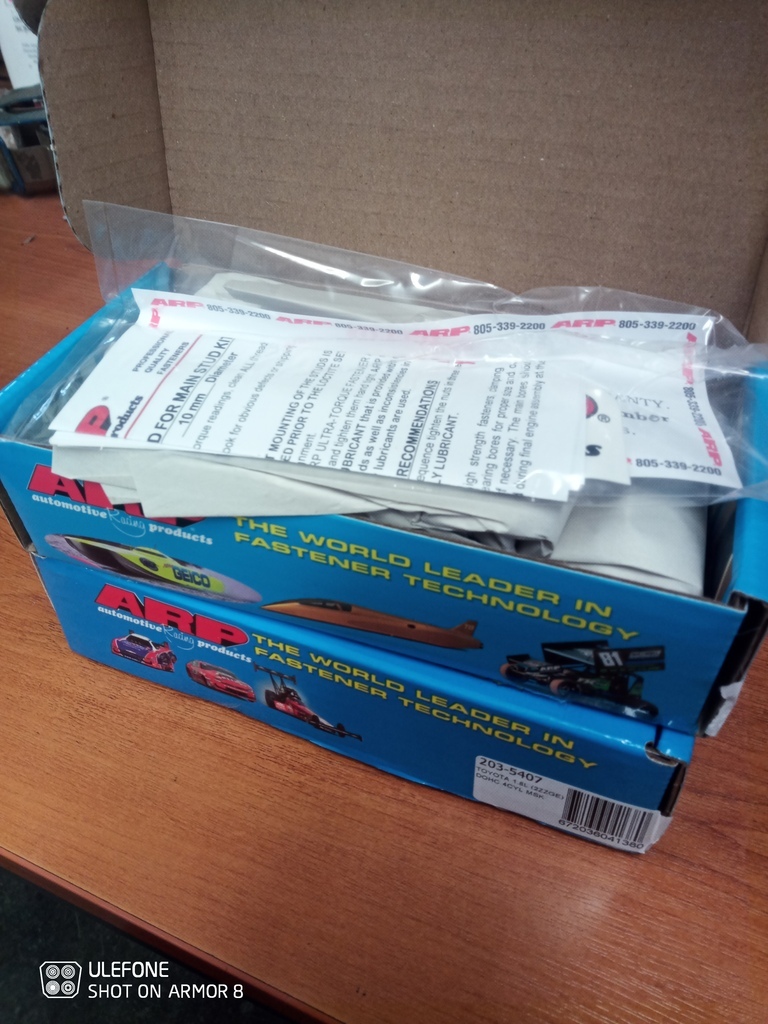 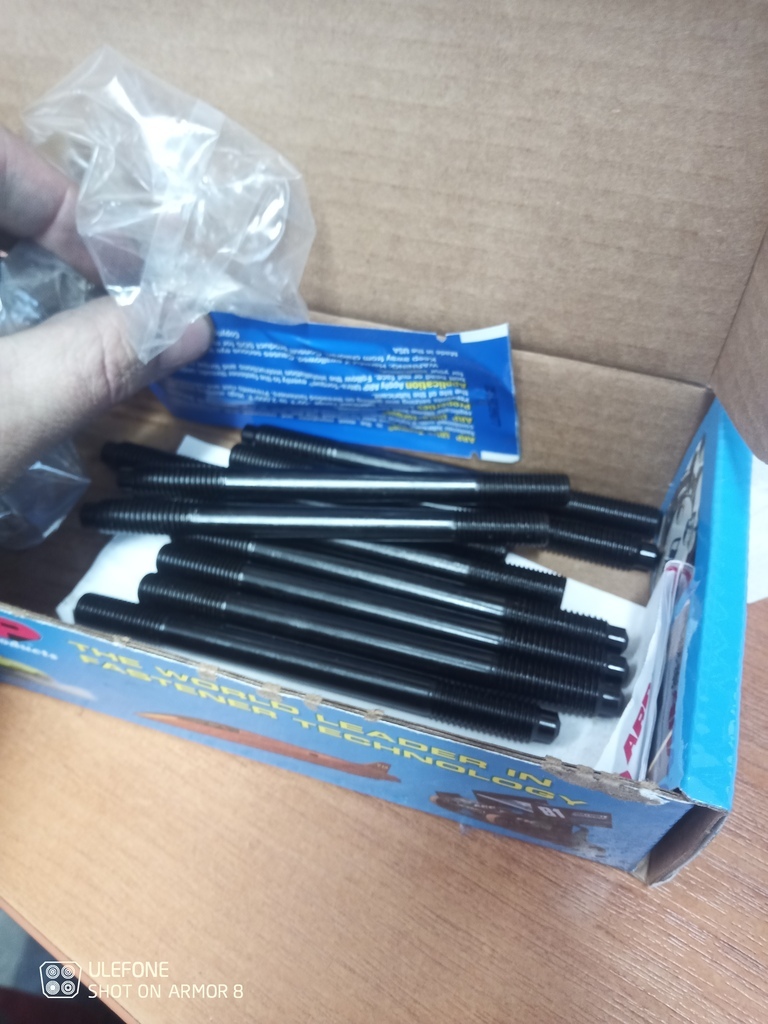 Managed to sneak a couple hour later on so set to. Once I'd made sure the block and head was spotless got the studs wound into the block to work out what would need modifying.. there not the "right" studs for a 1uz. They don't make a set. But they do work except the stud under the inlet cam gear has to be shortened as the excess thread fouls the cam gear. Slipper the MLS gaskets on and set to. 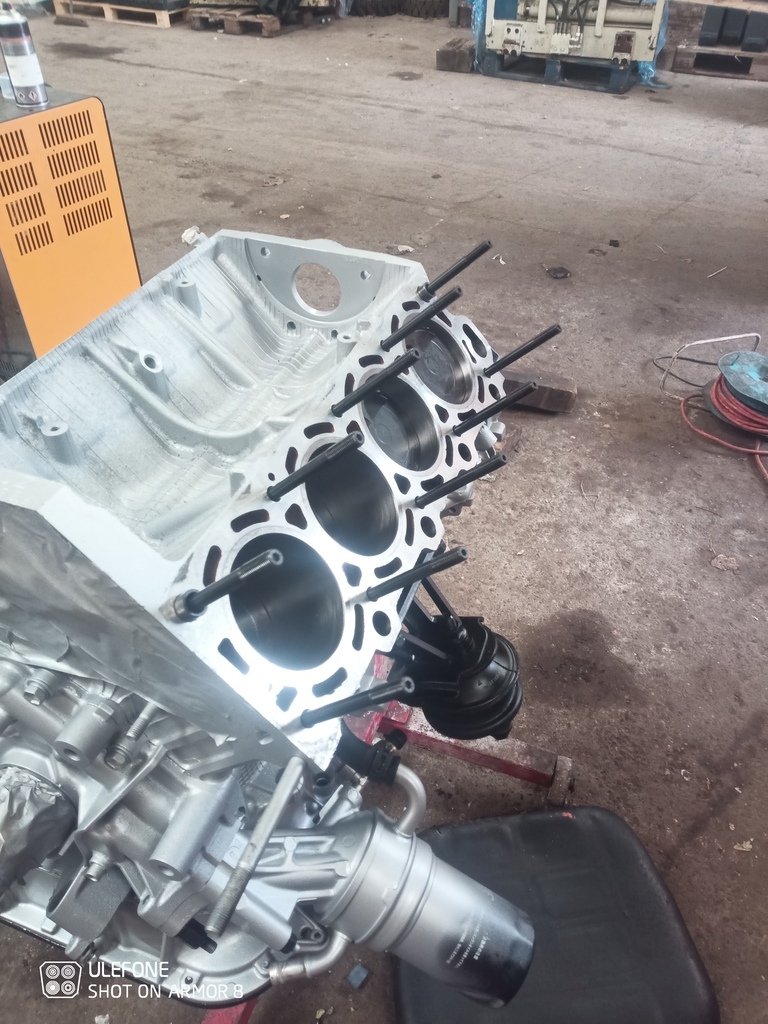 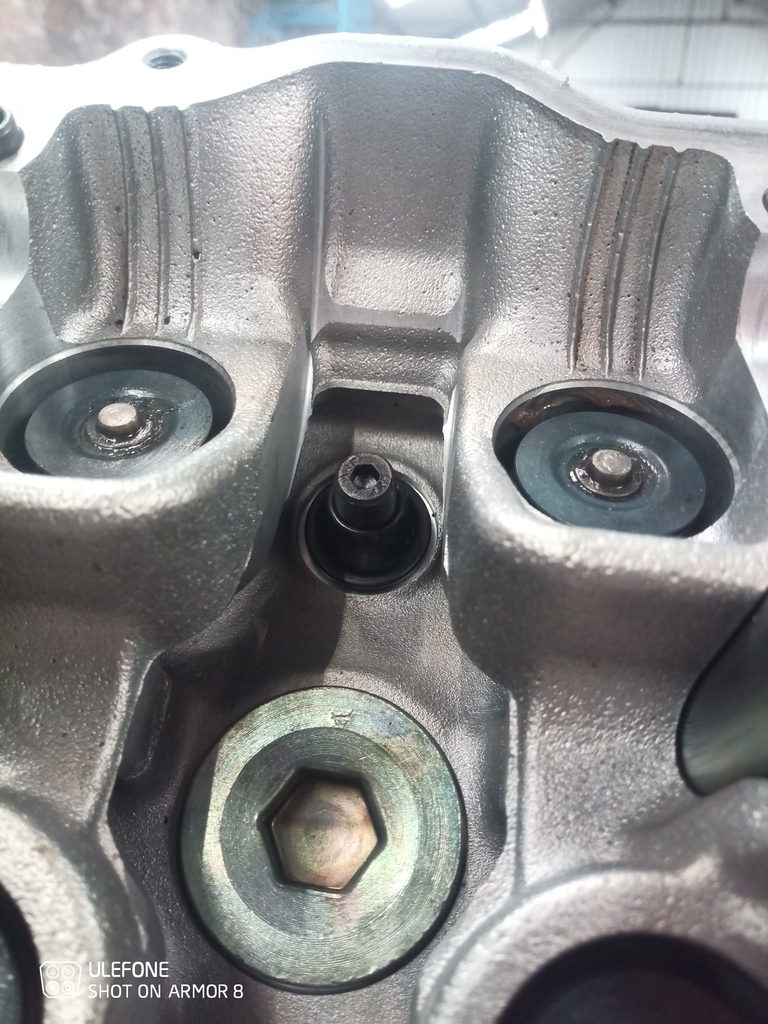 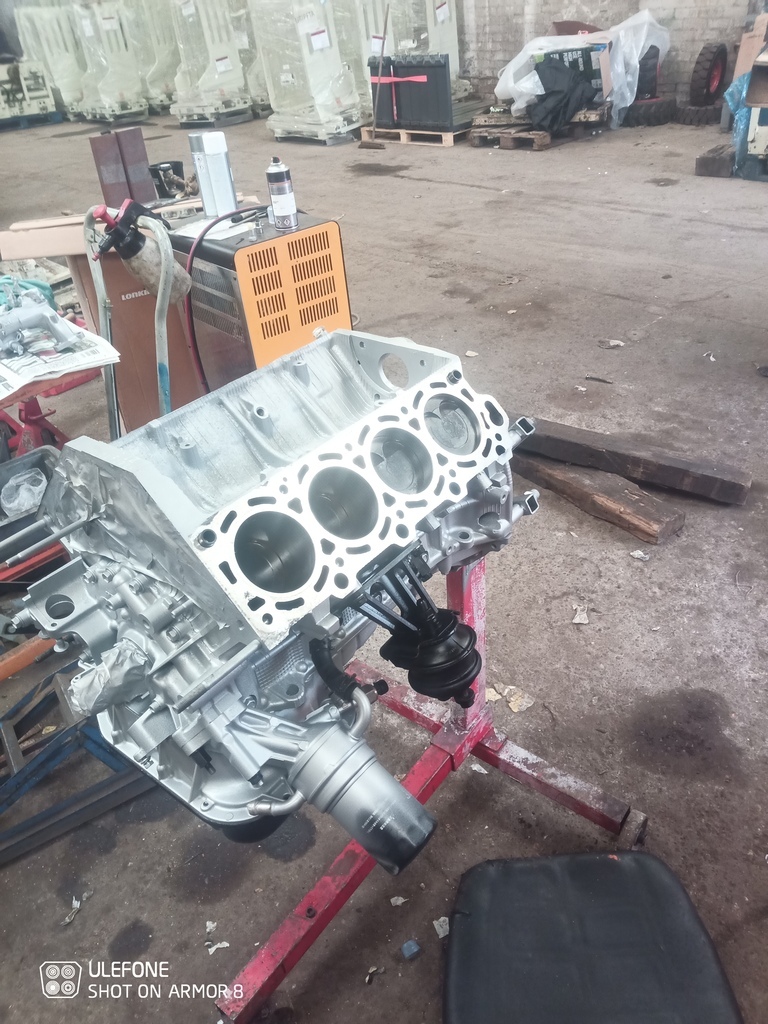 Bit of measuring and I needed 7.5mm off the stud. As it happens I needed exactly same off the other stud on the other bank. So atleast I know the block/heads have had the same off both sides.. Nervously shortened then wound in with 2 nuts (since I'd chopped the Allen key hole off with the 7.5mm I removed) 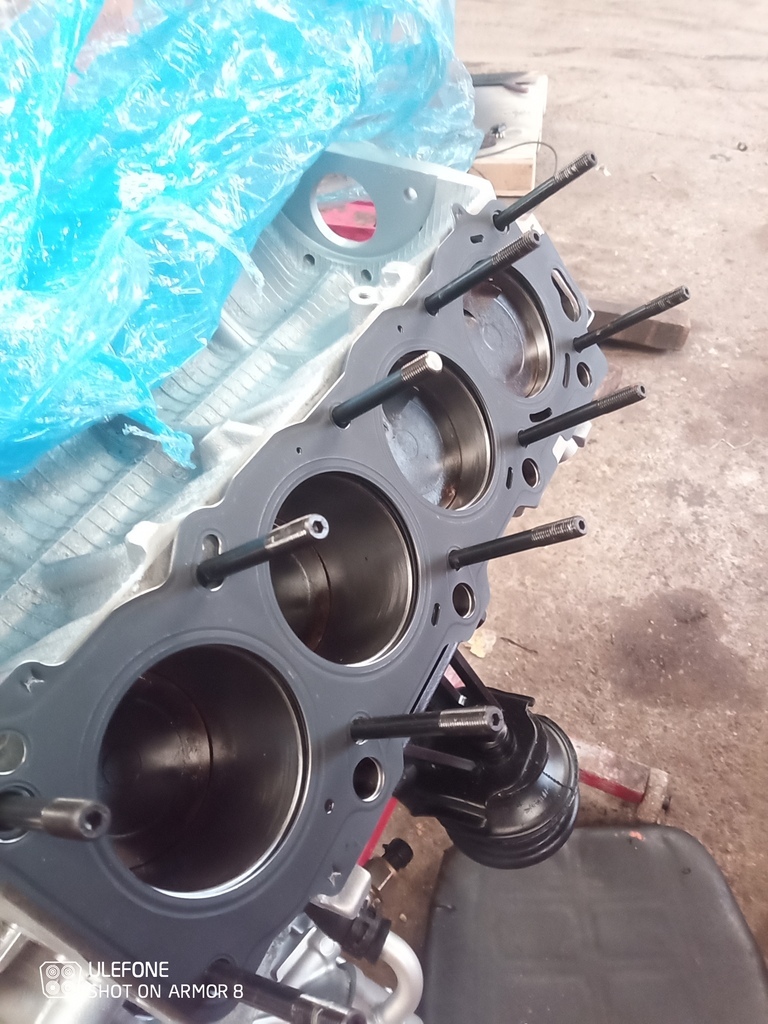 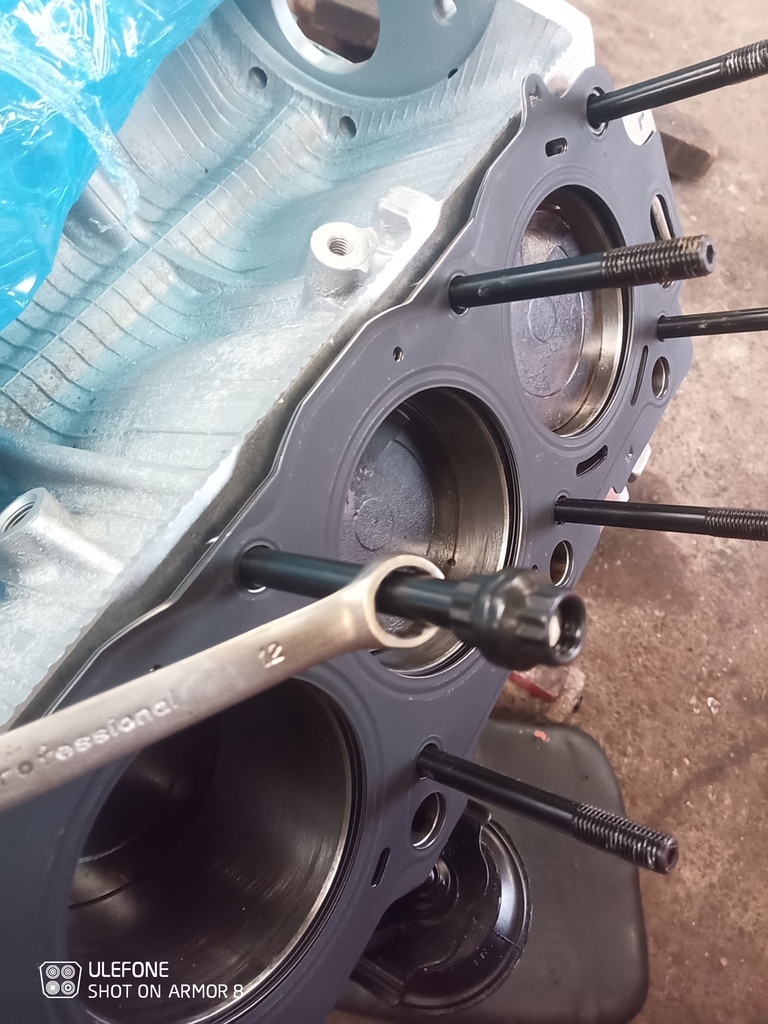 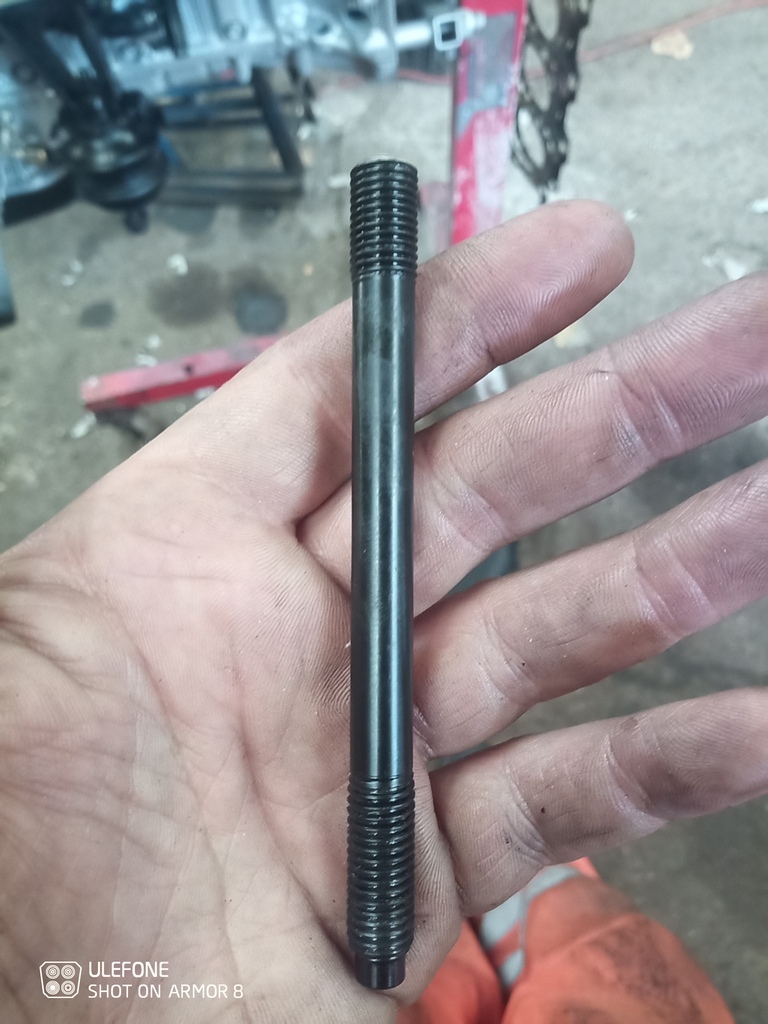 Torque spec according to arp is 60ftlb in 3 even steps. Dug the tightening sequence out of the workshop manual (just standard middle outwards really).. bish bash bosh! Job done! 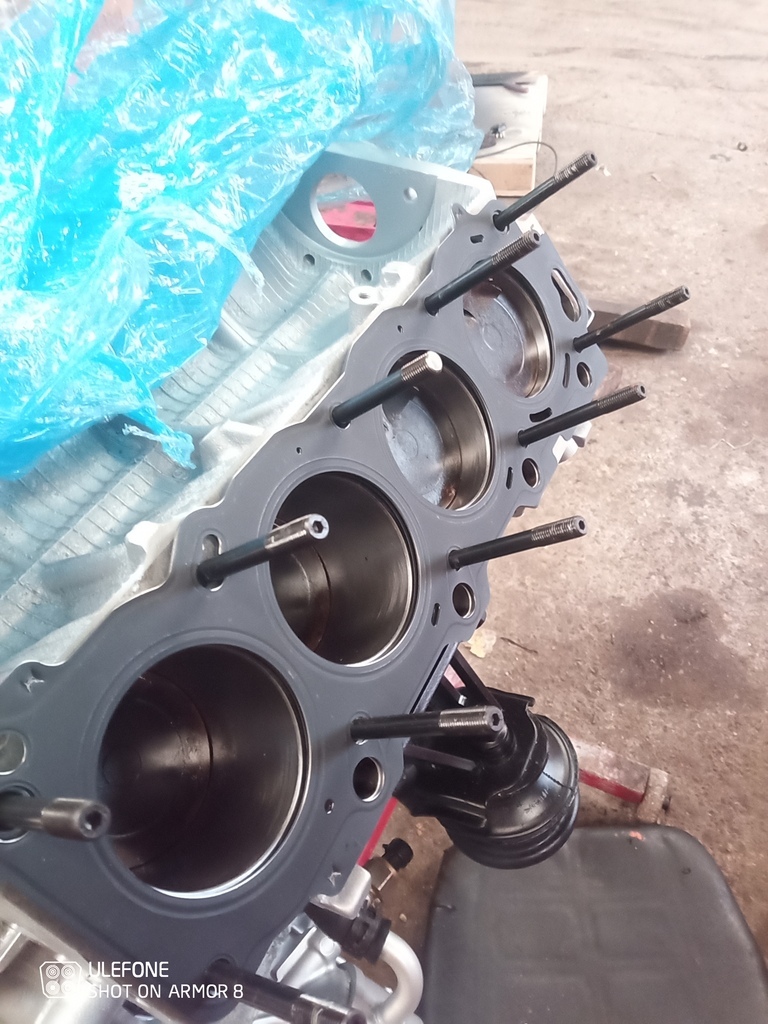 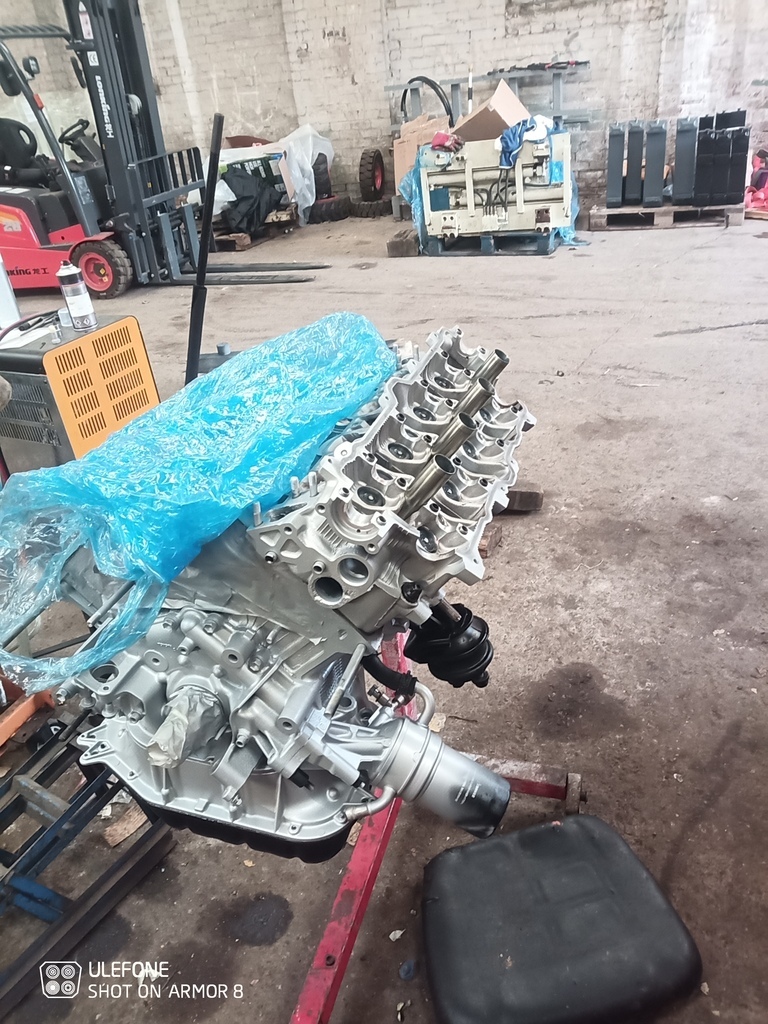 Copied job onto drivers side and before you know it. Starting to look like an engine!! 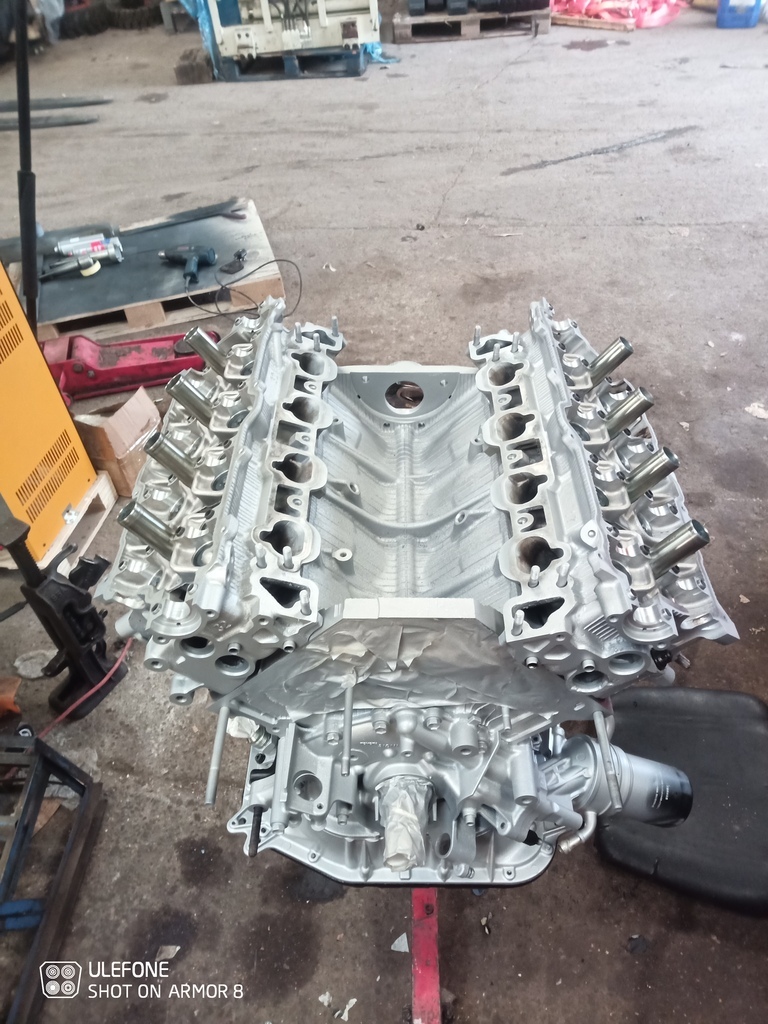 Last job was get the new core plugs into front of the heads. In hindsight I should have done it before I painted the heads. But since there fully hidden anyways doesn't really matter. 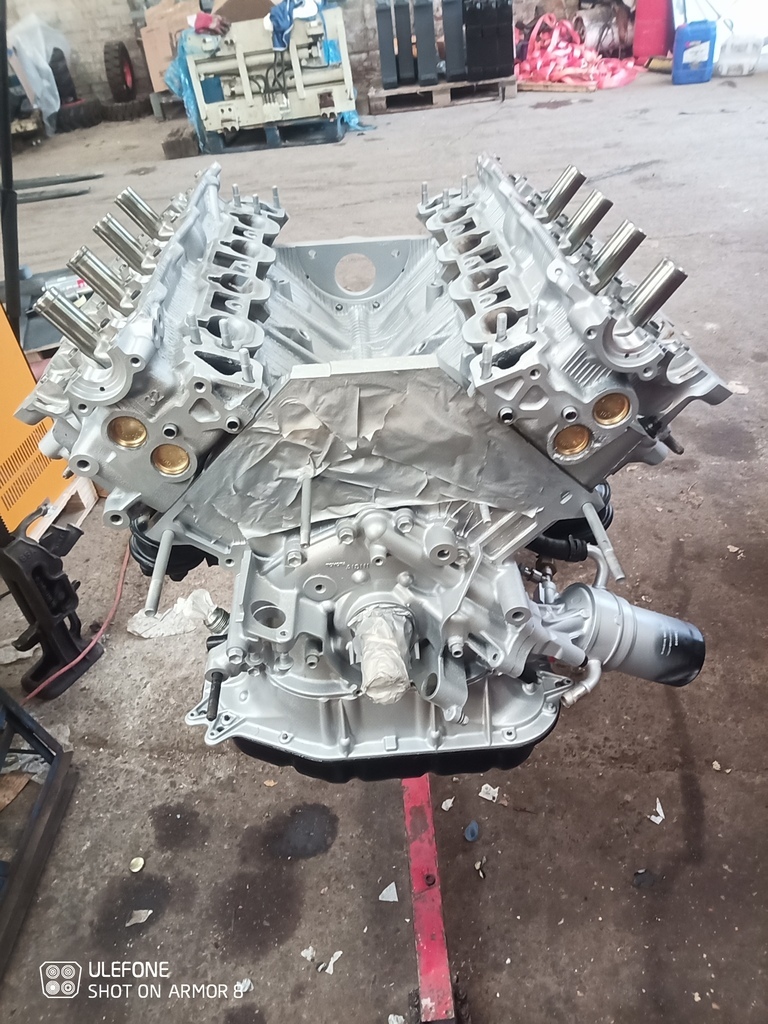 Got to say it's looking pretty smart. I'm also relieved it's starting to come back together. Tomorrow's job is cams back in. Then I can start building the belt end back up! That's assuming work plays ball. Anyways more soon! Cheers |
| |
|
|
|
|
|
|
|
Nov 16, 2021 22:22:22 GMT
|
|
Looking good !
|
| |
|
|
mat88
Yorkshire and The Humber
Posts: 1,542
|
|
Nov 17, 2021 13:49:09 GMT
|
Cheers. Hopefully it goes half as well as it looks haha |
| |
Last Edit: Nov 17, 2021 13:49:17 GMT by mat88
|
|
jamesd1972
Club Retro Rides Member
Posts: 2,921  Club RR Member Number: 40
|
|
Nov 17, 2021 14:26:39 GMT
|
Cheers. Hopefully it goes half as well as it looks haha Nah, rapidly turning into a show pony !  Looking good and hopefully all the works do a proper job for you. James |
| |
|
|
bstardchild
Club Retro Rides Member
Posts: 14,975
Club RR Member Number: 71
|
|
|
|
Last time I lavished this sort of preparation and expense on an engine it didn't last the running in period and curse word out oil everywhere. Contrast with a knocking 24V Senator that had a head gasket failure and had hydraulic'd the engine - mains replaced, head gasket went again - one rod replaced no new gaskets anywhere - threw it back together and not a single drop of oil ever came out of that engine................. I drank a lot of oil mind  |
| |
|
|
mat88
Yorkshire and The Humber
Posts: 1,542
|
|
|
|
Cheers. Hopefully it goes half as well as it looks haha Nah, rapidly turning into a show pony !  Looking good and hopefully all the works do a proper job for you. James Wash your mouth out show pony 🤣🤣 I did say to my boss it will be too nice to get dirty and perhaps I should put a piece of glass on top as a coffee table and have it in my living room haha. Cheers |
| |
|
|
mat88
Yorkshire and The Humber
Posts: 1,542
|
|
|
|
Last time I lavished this sort of preparation and expense on an engine it didn't last the running in period and curse word out oil everywhere. I drank a lot of oil mind  Don't be saying things like that (the thought has already crossed my mind tho) haha. When I raced bikes I had a fresh rebuild all new engine let go in less than two rounds. And a thrown in, unknown road bike engines that were meant as a "spare" put in that did full season, were as fast as the built engine and never missed a beat... that drank some oil thinking about it too haha Cheers |
| |
|
|
mat88
Yorkshire and The Humber
Posts: 1,542
|
|
Nov 18, 2021 20:06:10 GMT
|
So another update. It should have been yesterday's update, or today's or day befores... But I've got man flu big time not sure if I'm not overdosed on night nurse or sleep deprivation or what. Anyways that's the excuses out the way 🤣🤣 Yesterday Needed to get the cams back in. Not a job I've been looking forward too since I'd removed them and thrown the lot in a box (well 2 boxes one per head).. theres lots of parts all with 1 spot they are meant to go in. Would I find the spot haha Started by getting the lot laid out in some kind of order and trying to make sense of my terrible drawing I did haha 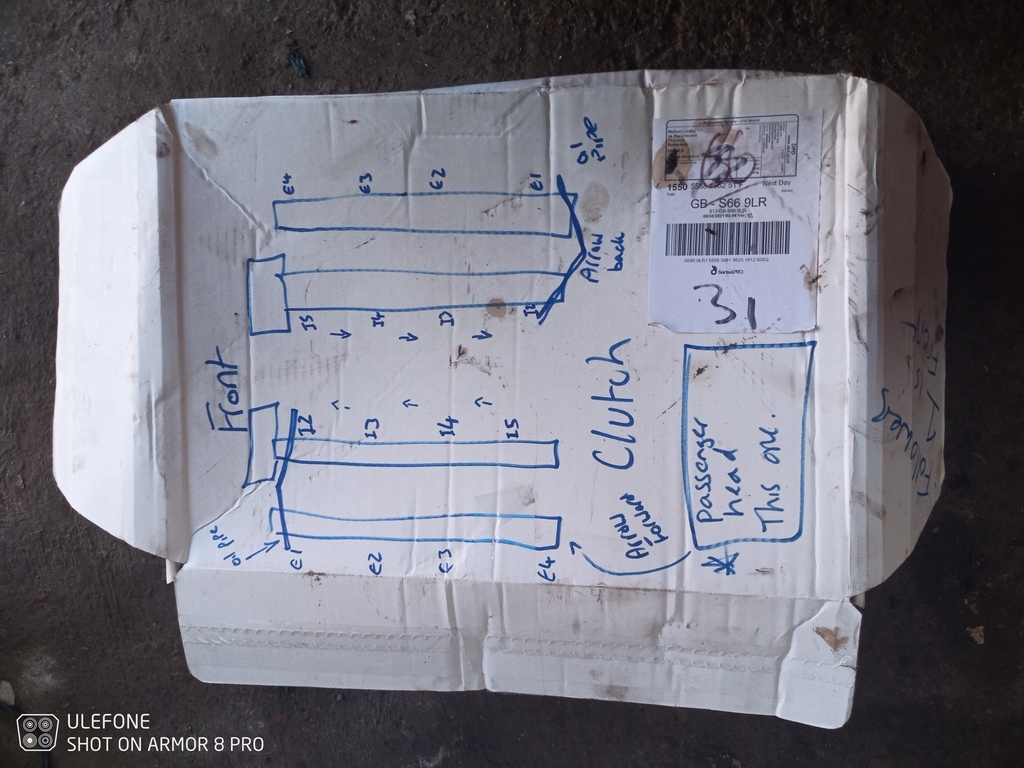 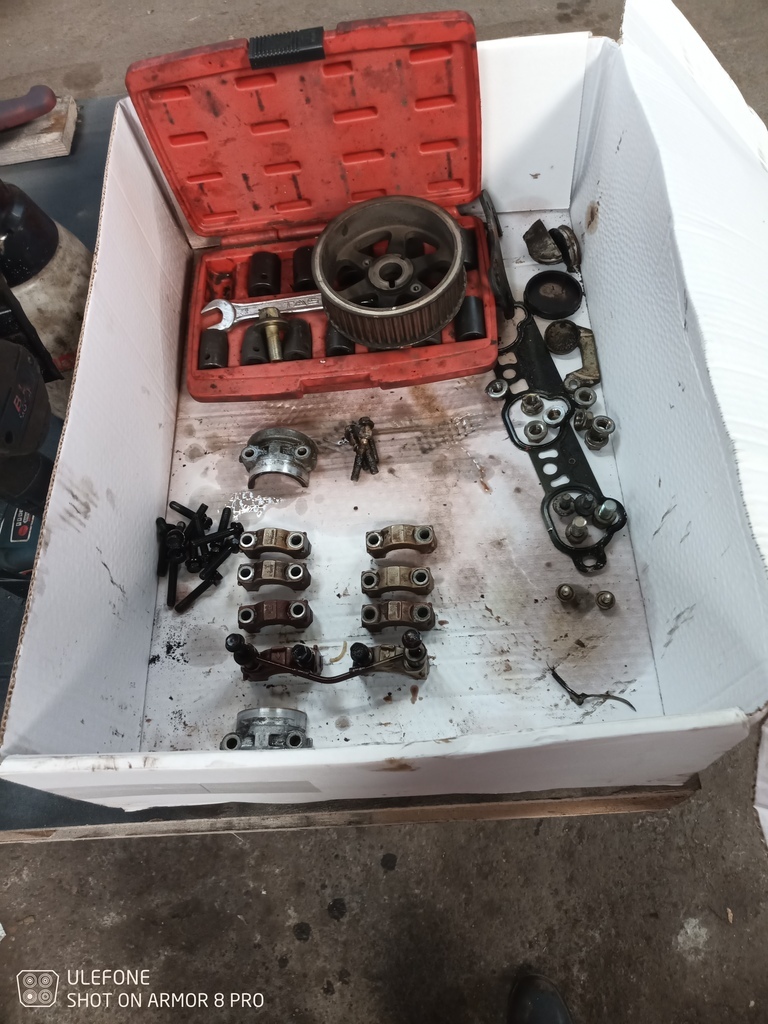 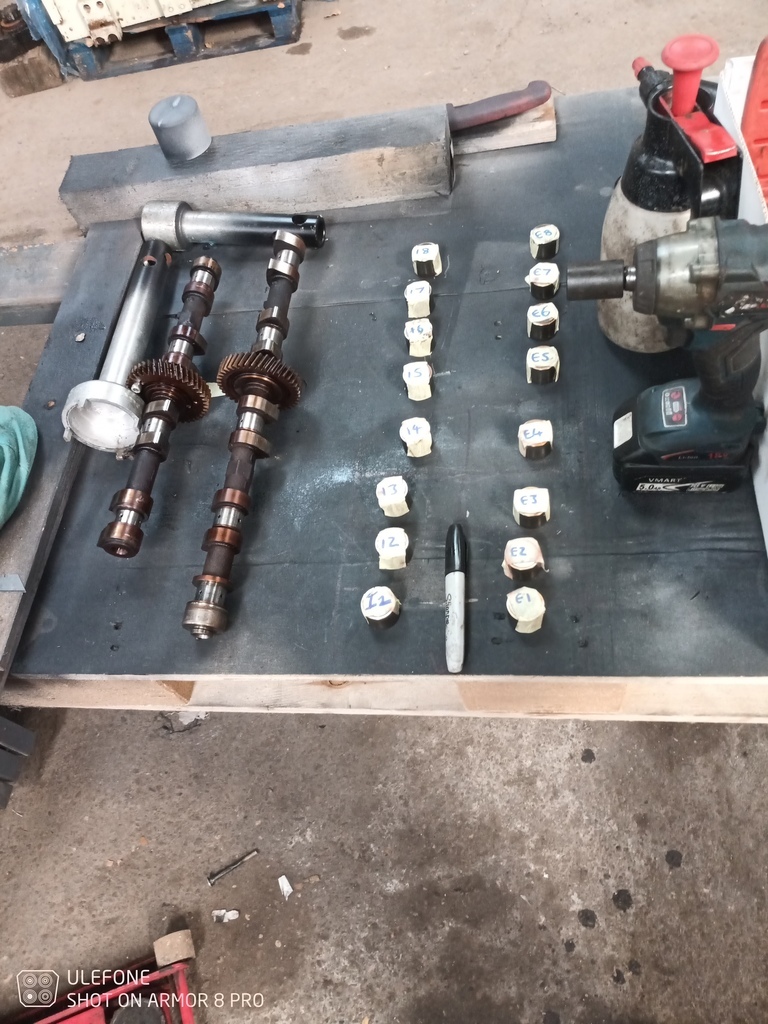 With some sense of what I was meant to be doing set to.. but not before id measured all 32 shims. Figured if I had a starting point if it needs to be reshimmed il know what I need without removing them to measure them. This took an age haha. Then it came time to install them. Followed by the cams... 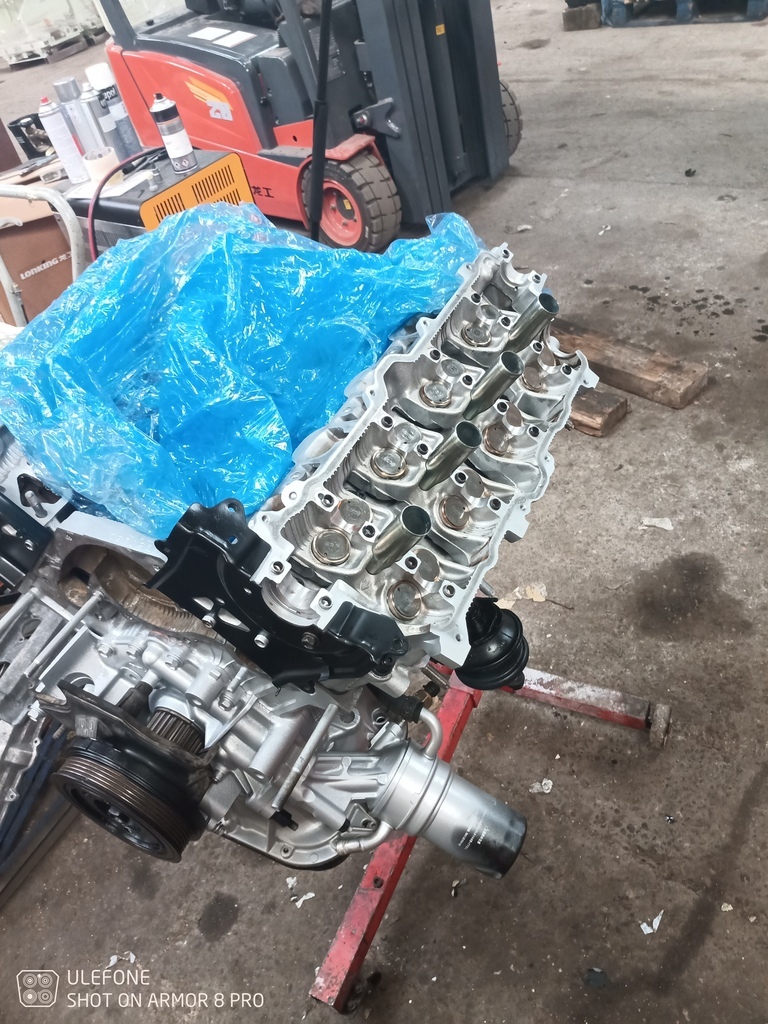 Now I'd read the relevent section of the workshop manual repeatedly. And in my understanding it said align 1 dot on the intake cam gear with 2 dots on the exhaust cam on the left hand bank.. so that's what I did... Was a bit of a faff and struggle but it was in 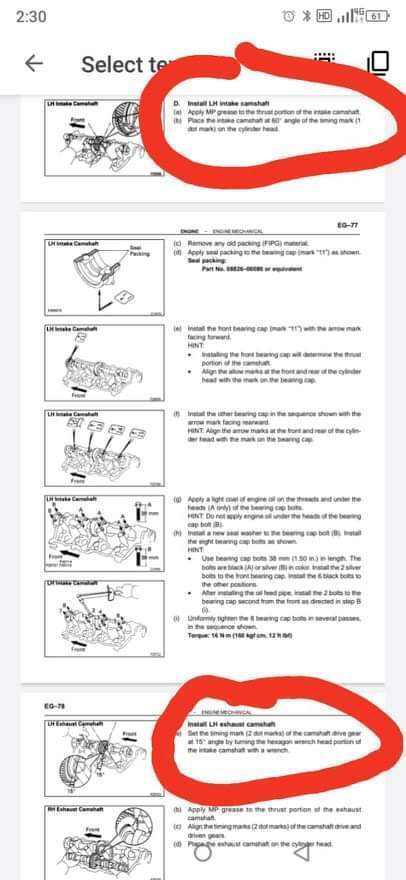 Feeling pretty chuffed moved onto the driver's side or Rh bank. That said to align 1 dot on the intake cam gear to 1 dot on the exhaust cam gear (odd but perhaps it's due to firing order or the heads been symmetrical or whatever).. Finished up with it looking like this 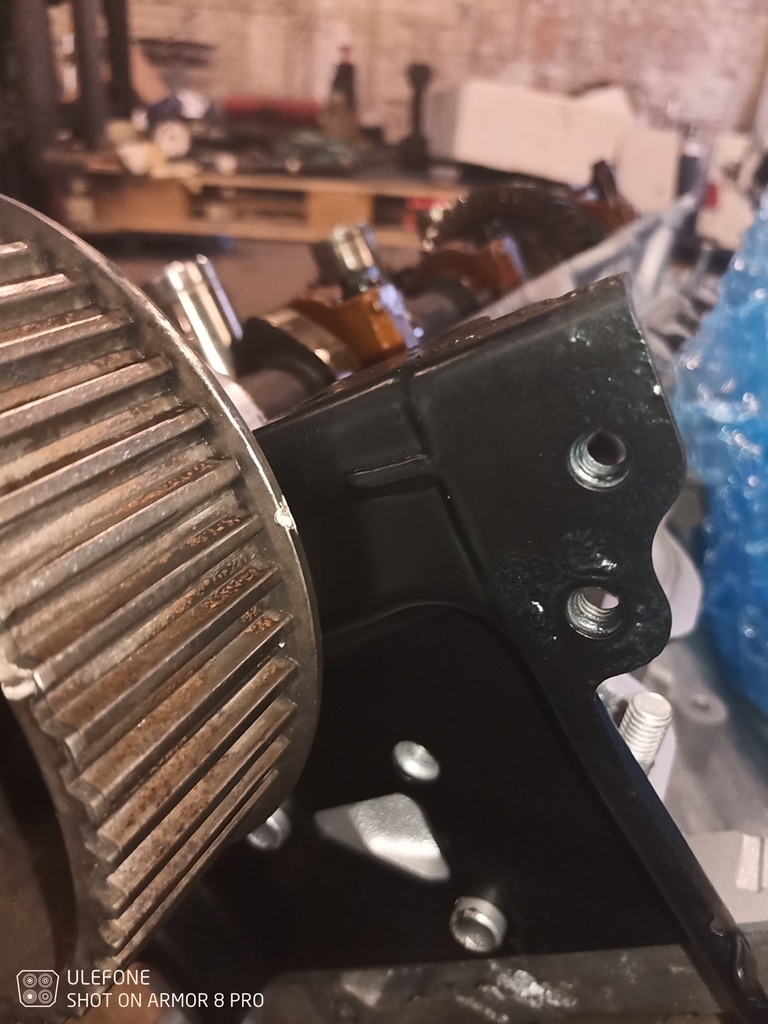 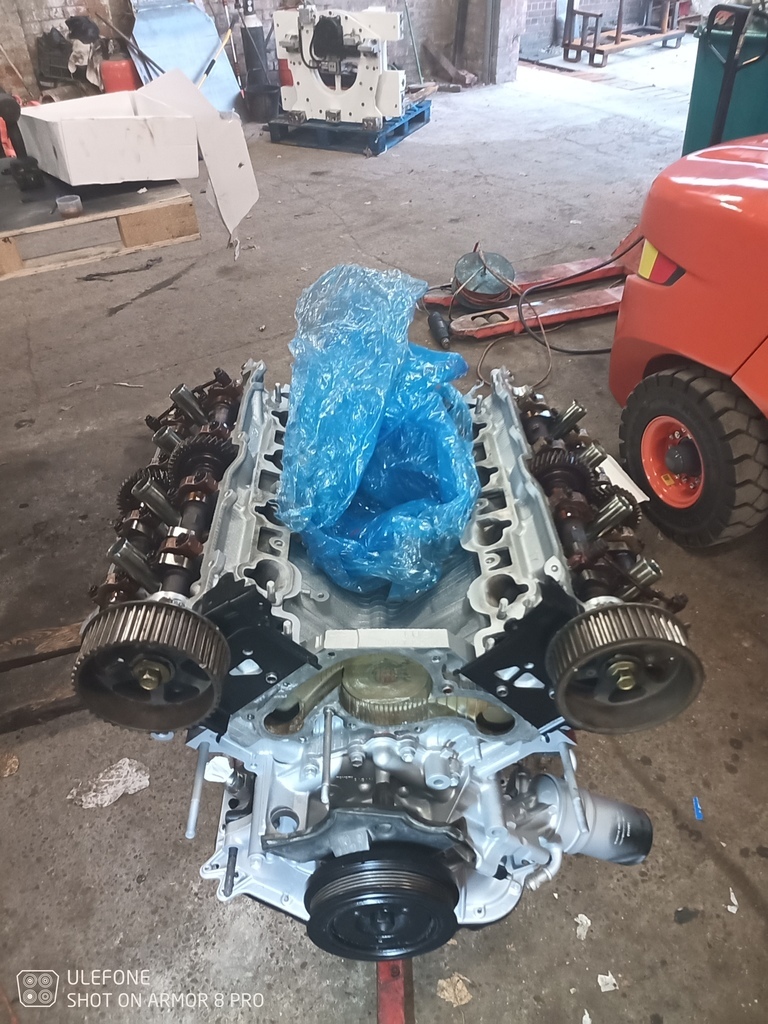 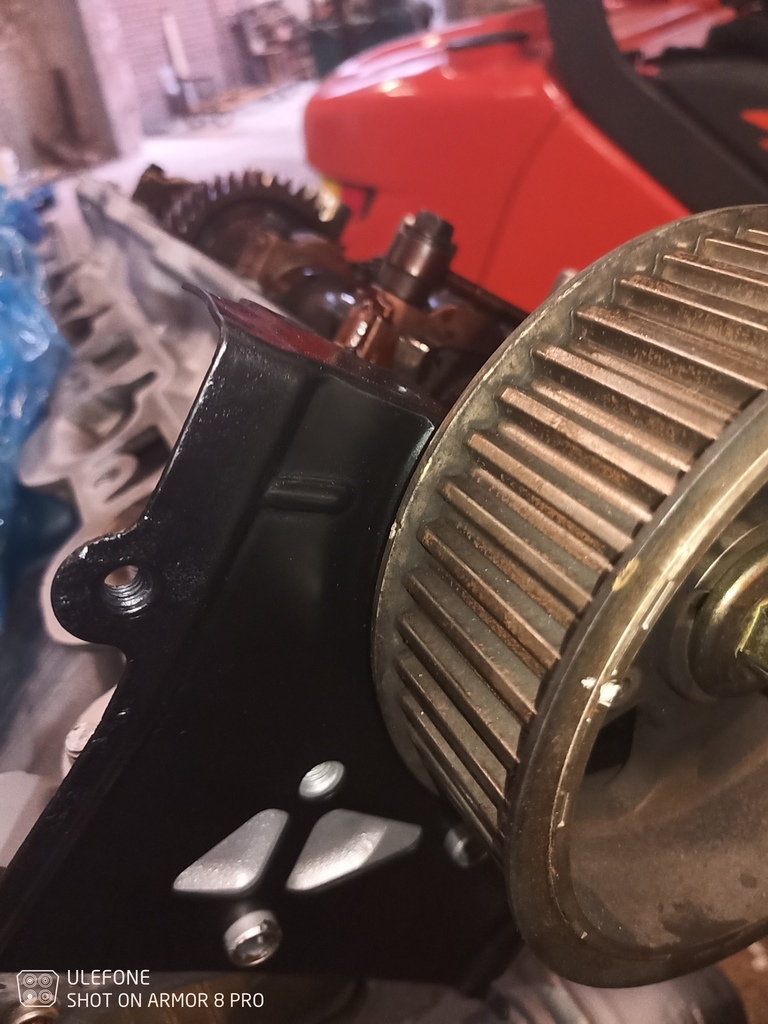 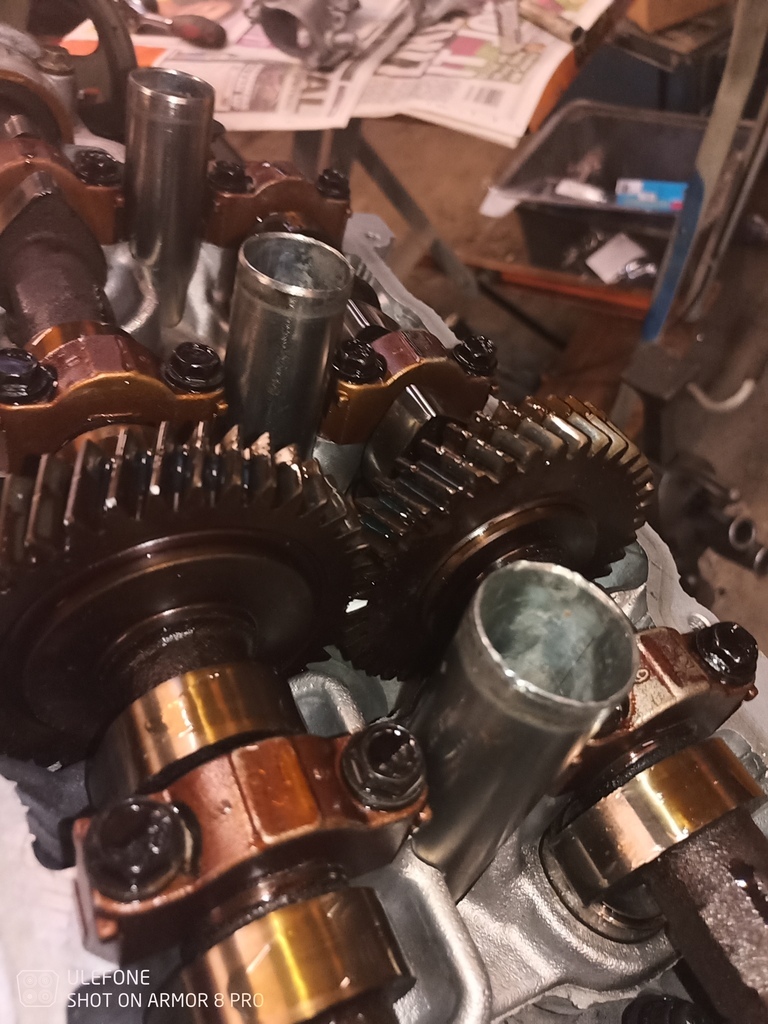 All the timing marks lined up dots on the cam gears line up (as per the manual) happy days.. except .. you know when you have a niggling feeling summat isn't right. I had that feeling.. Bit of googling and it would appear the internet said align 1 dot to 1 dot on both cams. Mine was 1 dot to 2 dots making the exhaust cam on left hand bank 180 degrees out (that's if the internet is to be believed and we've seen what has happened in the past with that) Final nail in the coffin was a video by Kelvin Glover (cartune NZ on YouTube) showing 1 dot to 1 dot on both heads)!! Cock! Bit of digging around last night talking to some very knowledgeable people and they have always done 1 dot to 1 dot and that's how the old blown up engine is too.. looks like it's coming apart again ffs!! Manual wrong/interpretation off whatever. End result is same So today first job was rotate the exhaust cam through 180 degrees on lh bank. Easy enough but a bit of a faff. One I could have done without. Especially since I'd only done it yesterday 😭 FINALLY many many hours later. Cams are timed together, timing marks on cover are bang on so I can move forward.. In with new cam seals simple enough 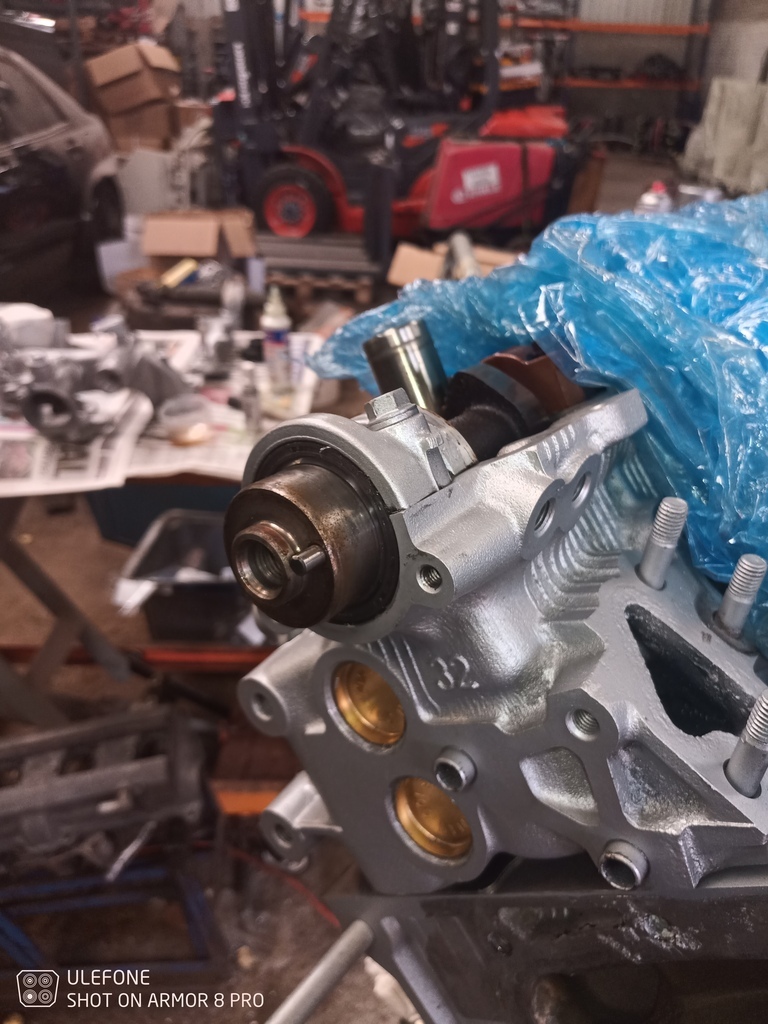 Then in with the new water pump! Progressing now! 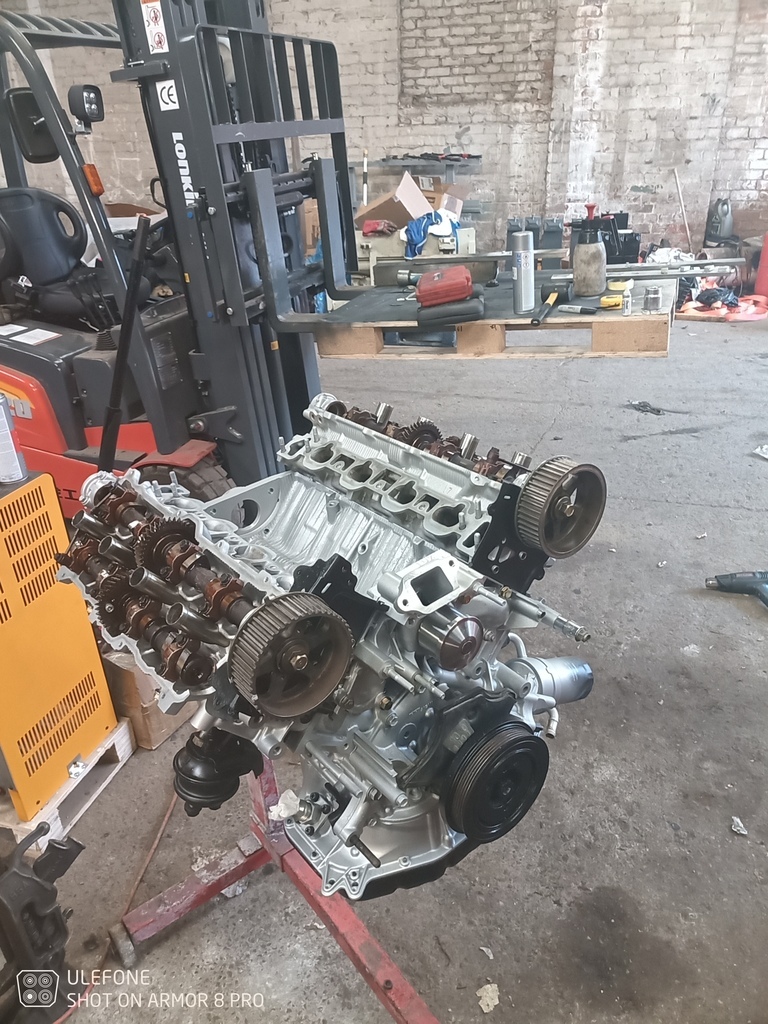 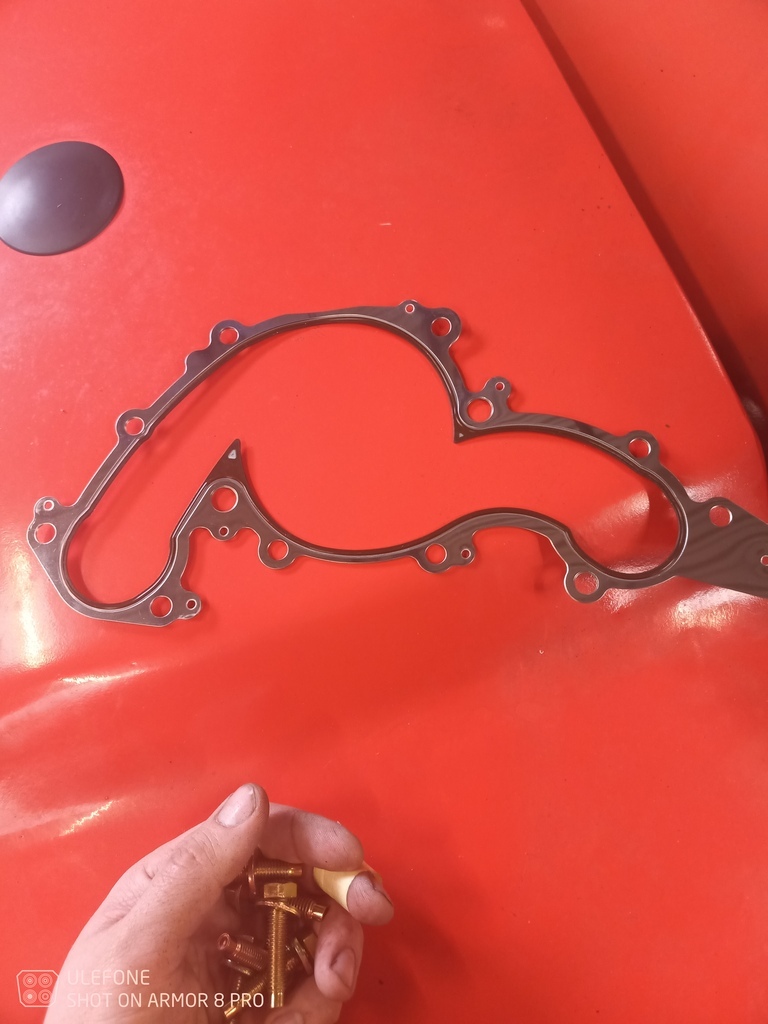 Last off got the little semi circles In that blank off the heads where the exhaust cam is machined. Along with the blanking cap on the back of the head (not til it's all been cleaned and painted of course) 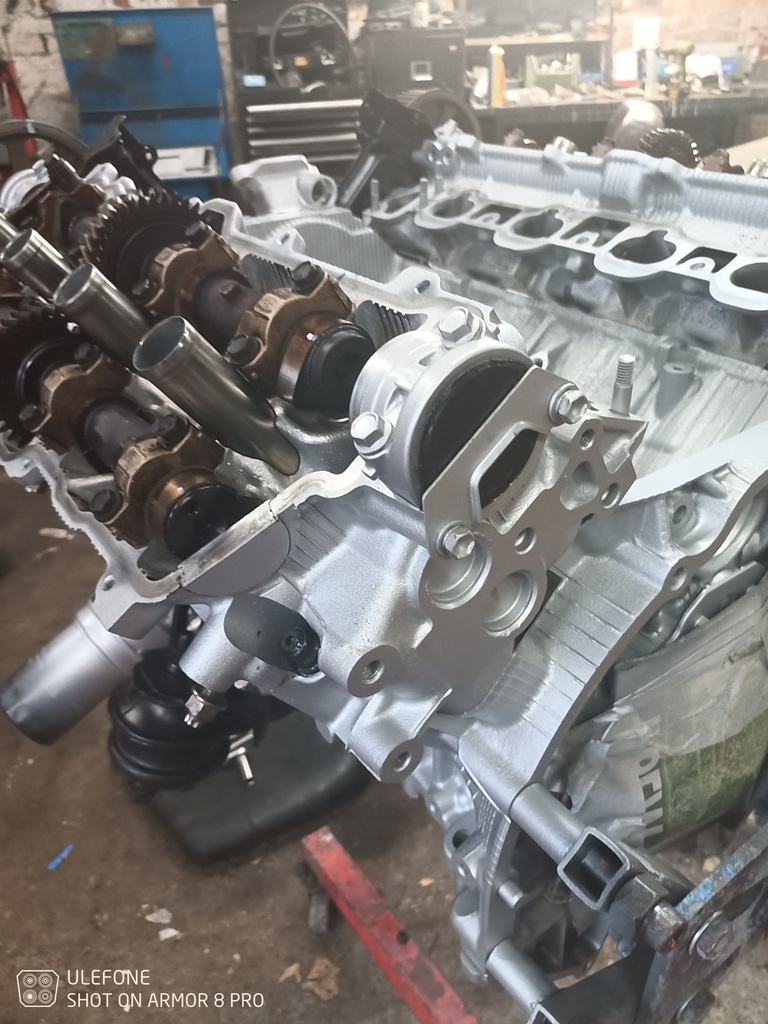 I'd had enough by this point so called it a day.. tomorrow's job if it goes to plan is belt back on (yes I'm scared haha).. Also while ive got experts attention. I've dug the manifolds out and I'm contemplating something that was mentioned before. Relief cuts?? There made from thick wall stainless on a 8mm flange but do we think I should run a cut between each port to save risk of them cracking? Id obviously rather do it now while there off but don't want to weaken them by doing the cuts? Answers on a postcard 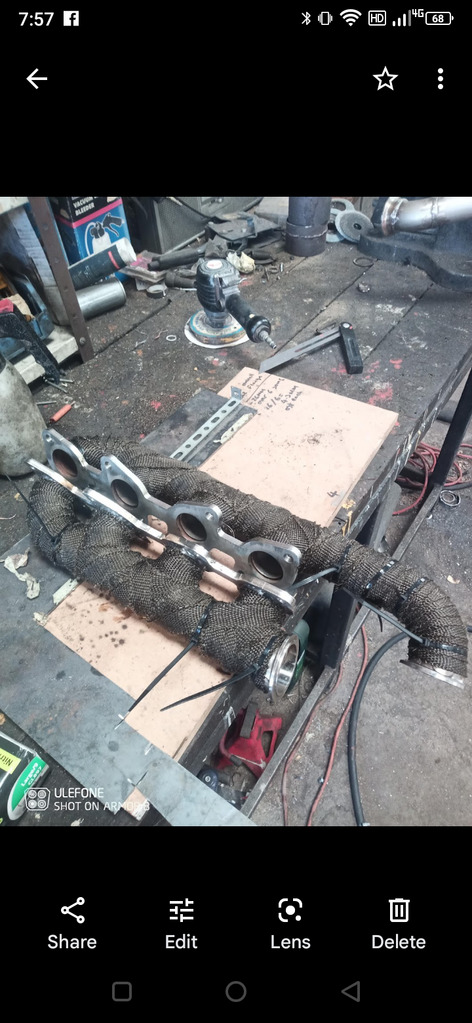 Cheers |
| |
|
|
|
|
|
Nov 19, 2021 10:41:15 GMT
|
|
Nice work Matt ... slow n'steady wins the race !
|
| |
|
|
|
|
|
Nov 19, 2021 12:04:28 GMT
|
|
When you said
“ Torque spec according to arp is 60ftlb in 3 even steps. Dug the tightening sequence out of the workshop manual (just standard middle outwards really).. bish bash bosh! Job done!”
You talking about the nuts and not the studs.
On the VVTI engine its one of the front studs/nut that fouls the cam gear. I went down to route of getting the head machined by afew mm to get the clearance didn’t want to alter the studs.
|
| |
“It Doesn’t Feel Pity, Or Remorse, Or Fear, And It Absolutely Will Not Stop, Ever, Until You Are Dead!”
|
|
mat88
Yorkshire and The Humber
Posts: 1,542
|
|
Nov 19, 2021 17:42:27 GMT
|
Nice work Matt ... slow n'steady wins the race ! Oh it's steady alright. Been struck down with plague or some rubbish so it won't be getting touched til next week now 😭 Cheers |
| |
|
|
mat88
Yorkshire and The Humber
Posts: 1,542
|
|
Nov 19, 2021 17:46:34 GMT
|
When you said “ Torque spec according to arp is 60ftlb in 3 even steps. Dug the tightening sequence out of the workshop manual (just standard middle outwards really).. bish bash bosh! Job done!” You talking about the nuts and not the studs. On the VVTI engine its one of the front studs/nut that fouls the cam gear. I went down to route of getting the head machined by afew mm to get the clearance didn’t want to alter the studs. Yeah the nuts. Should have made that clearer.. studs were just wound in hand tight as per ARP instructions.. And I've seen people get the heads machined to lower the face and get the Clearance on the nut. Problem is it was the stud that fouled the gear and not the nut. So that wouldn't have helped (plus I'd have had to pay someone to do that haha) Cheers |
| |
Last Edit: Nov 21, 2021 12:12:57 GMT by mat88
|
|
mat88
Yorkshire and The Humber
Posts: 1,542
|
|
Nov 22, 2021 20:27:26 GMT
|
So where was I... Oh yeah Thursday I'd made good progress. Friday I got struck down with some kind of deathly sickness plague that had me curled up in bed crying like a baby most of day 🤣 (I'm not one to moan but yeah horrific) So back to work today and story of my life waiting for a wagon (expected between 8 & 10 am) no breakdowns to do so cracked on with he car. Needed to get the cambelt on and buttoned up. Not particularly difficult job. But not one I wanted to rush for the potential headaches it could cause if I got it wrong (there a safe engine on this year so no pistons will eat any valves but it would be a major ballache to get it in the car and realise I'm a tooth out).. Found a decent vid on YouTube from the new Zealand guy again and after familiarising my self with that and the manual set to. Handily the new gates belt I'd got is marked for left and right timing mark along with a 3rd line that mates up to a dot on the bottom belt gear. Quite nifty but made me even more paranoid i was doing it right. 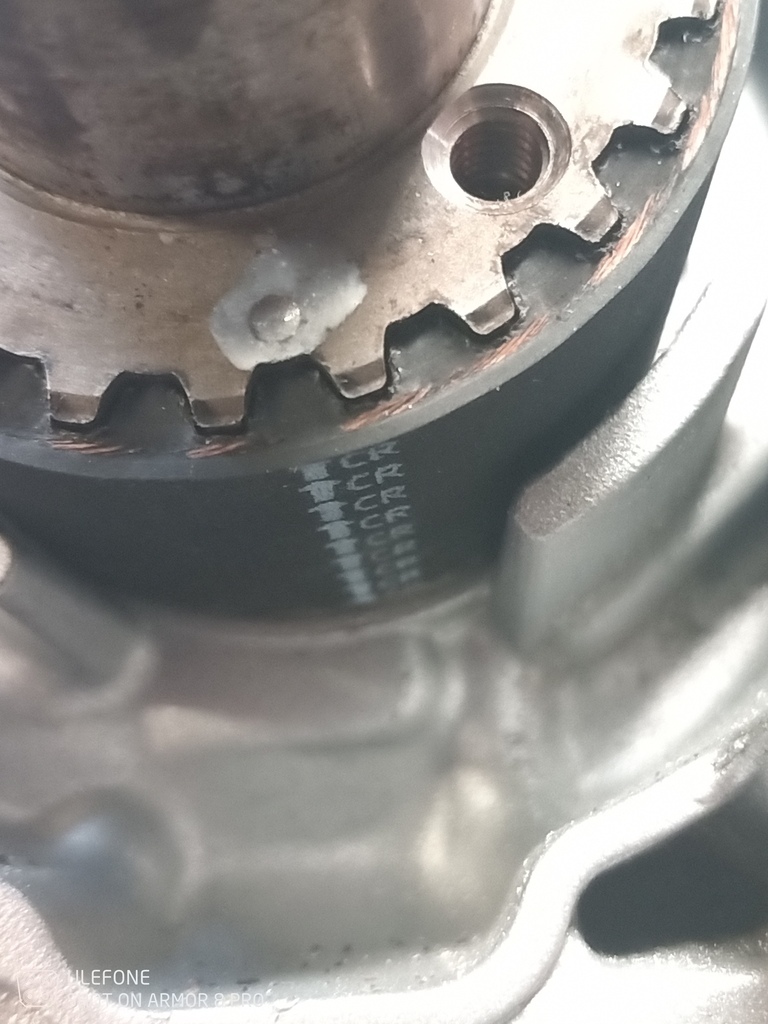 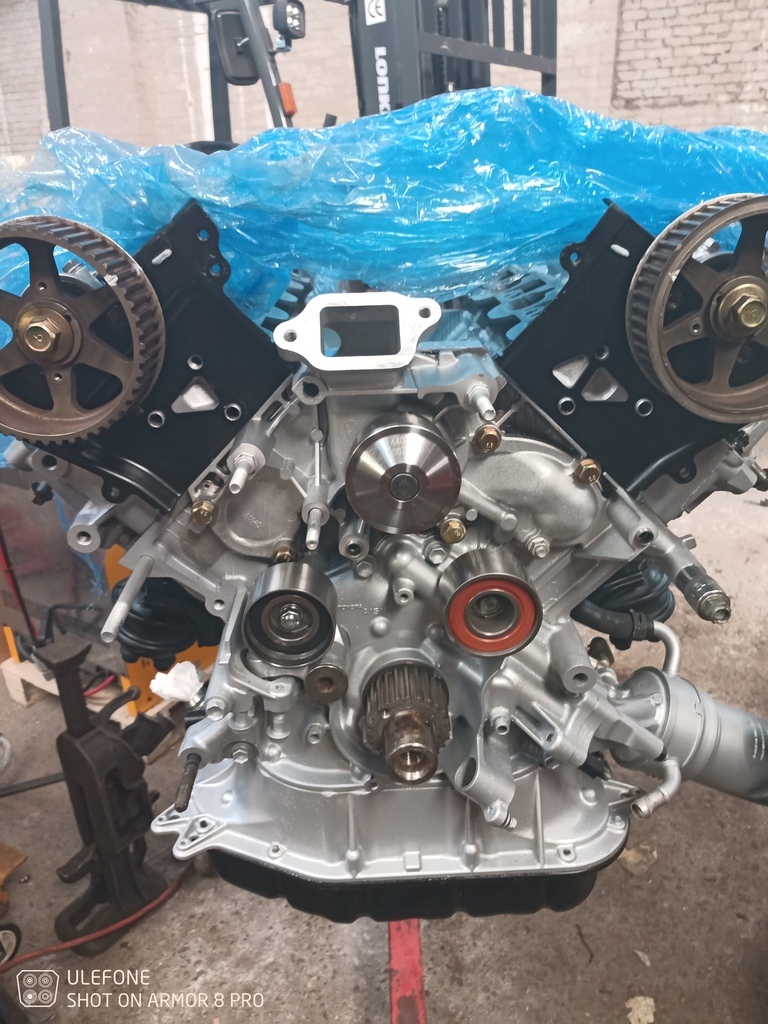 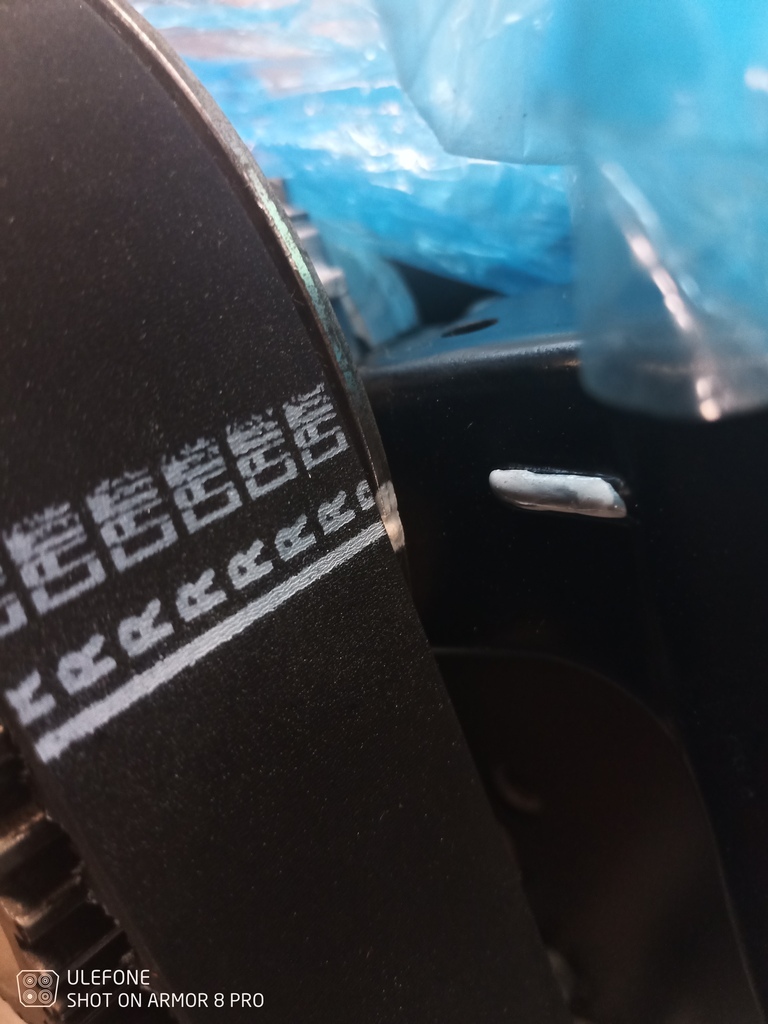 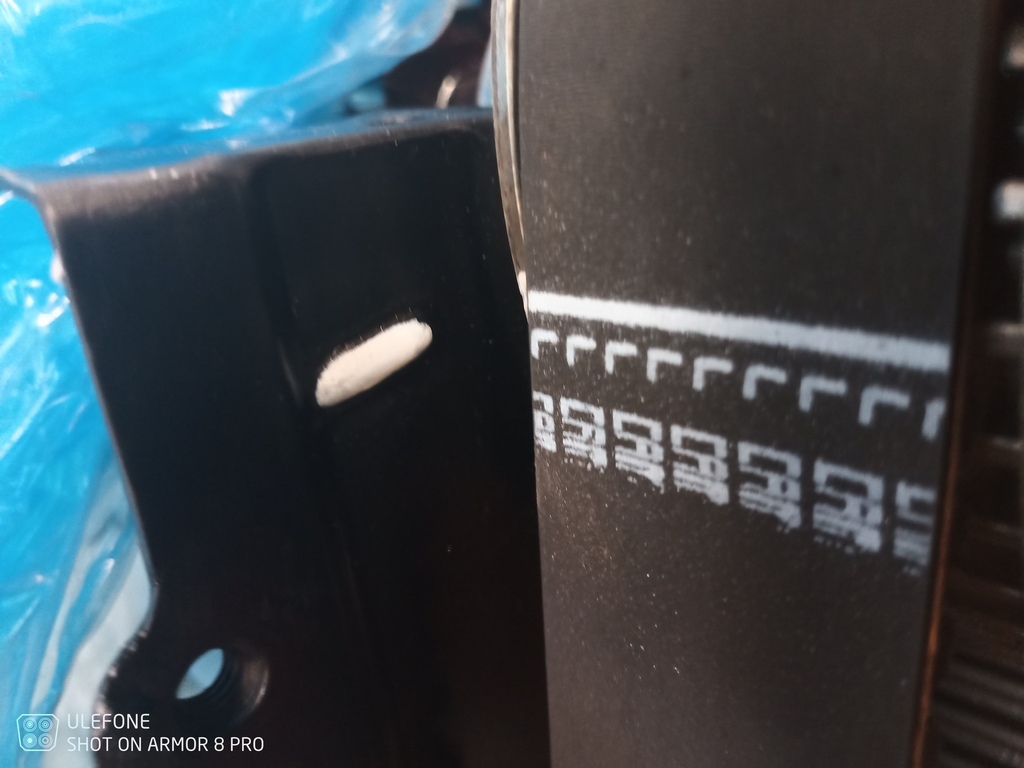 All on and lined up perfect (ignore the left mark that looks off it was camera angle. Brand new idler and tensioner bearings and hyrdraulic tensioner too! Turned it over twice. All timing marks back in bang right spot. No bad sounds. Happy days Next my fettled front and rear water bridges needed to go on along with new gaskets and the hard pipe that runs down the valley along with a new seal on that.. so just like that.. 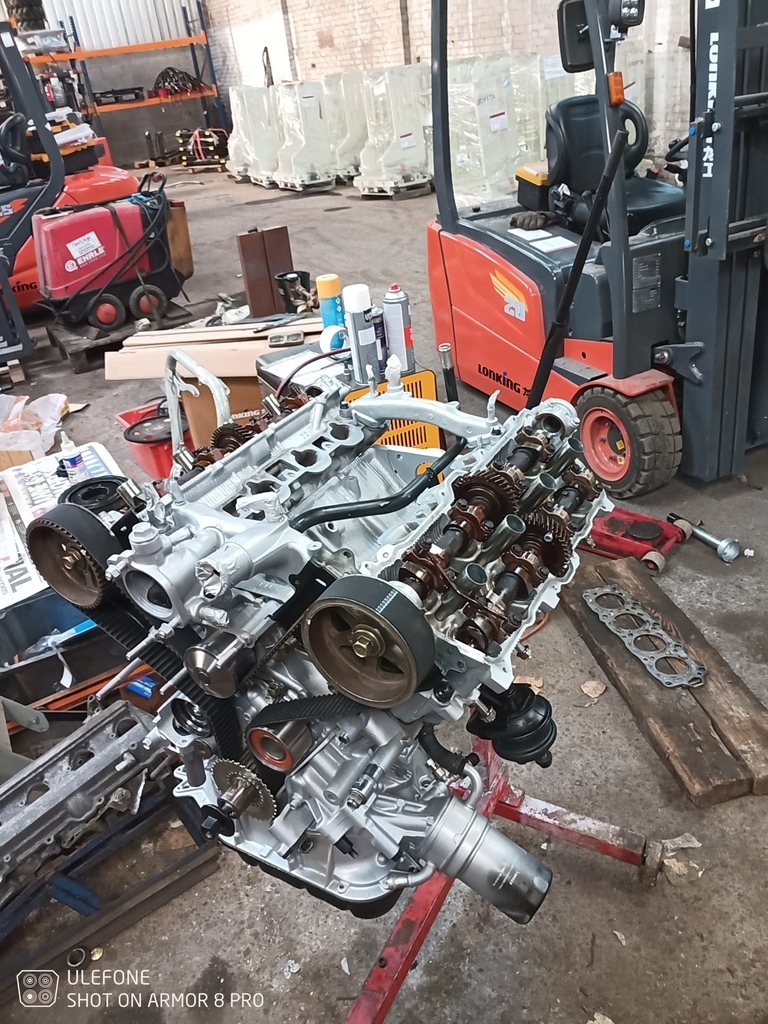 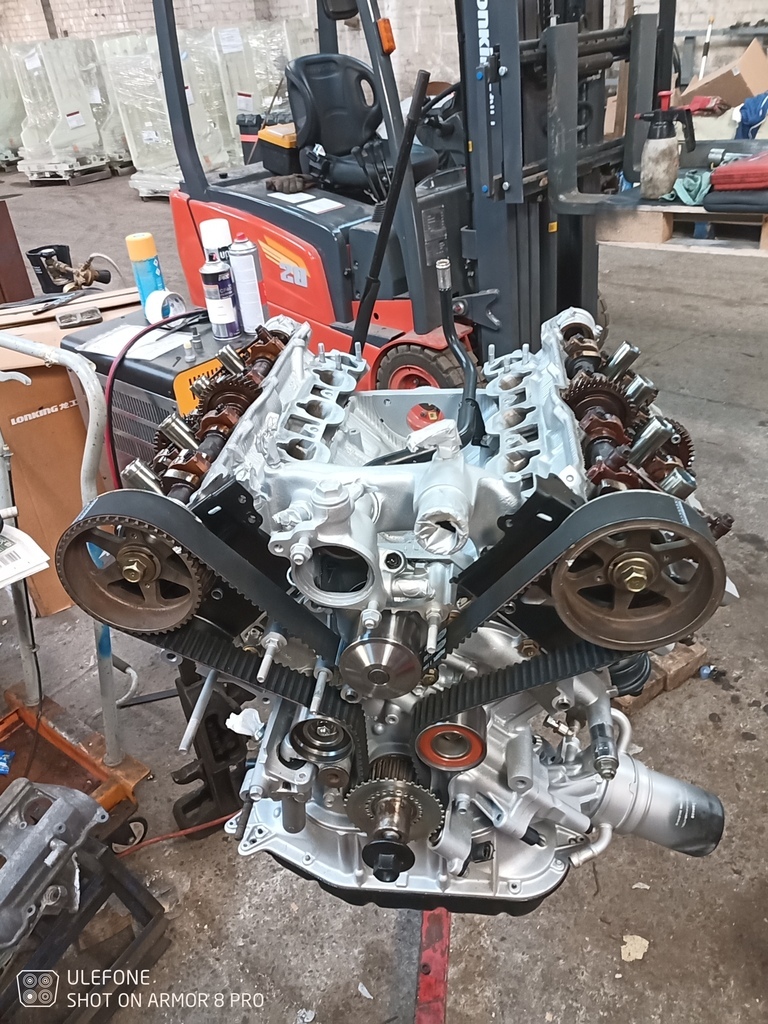 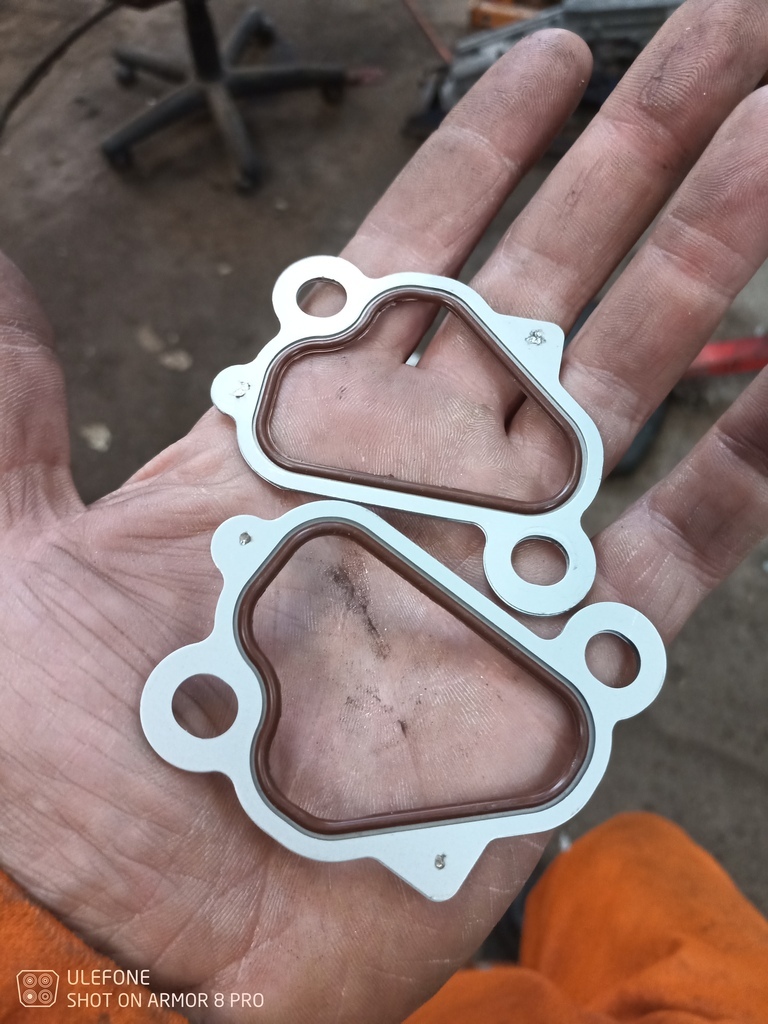 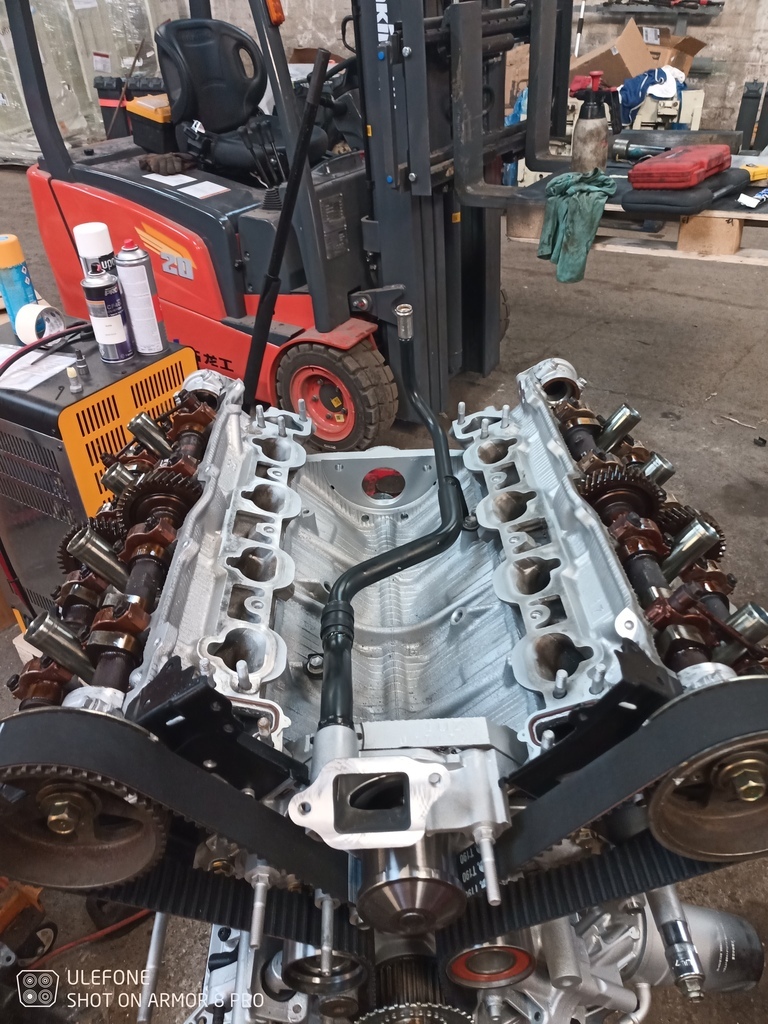 While I was dealing with water related stuff figured I'd bung my low temp stat back in and the plastic housing.. 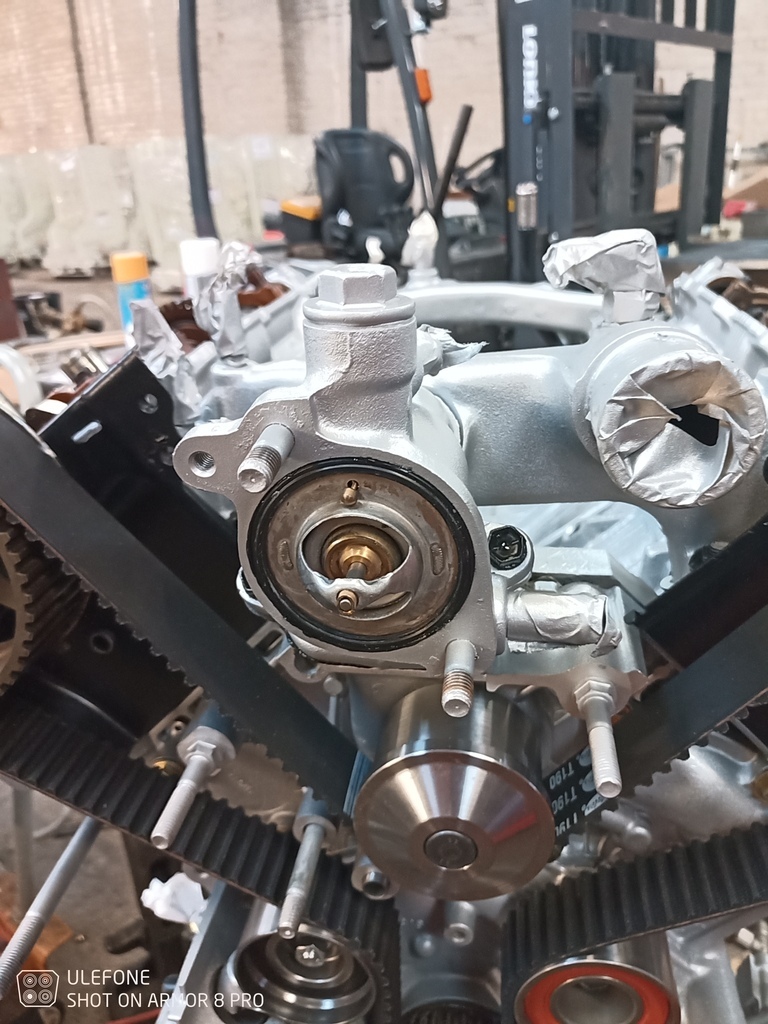 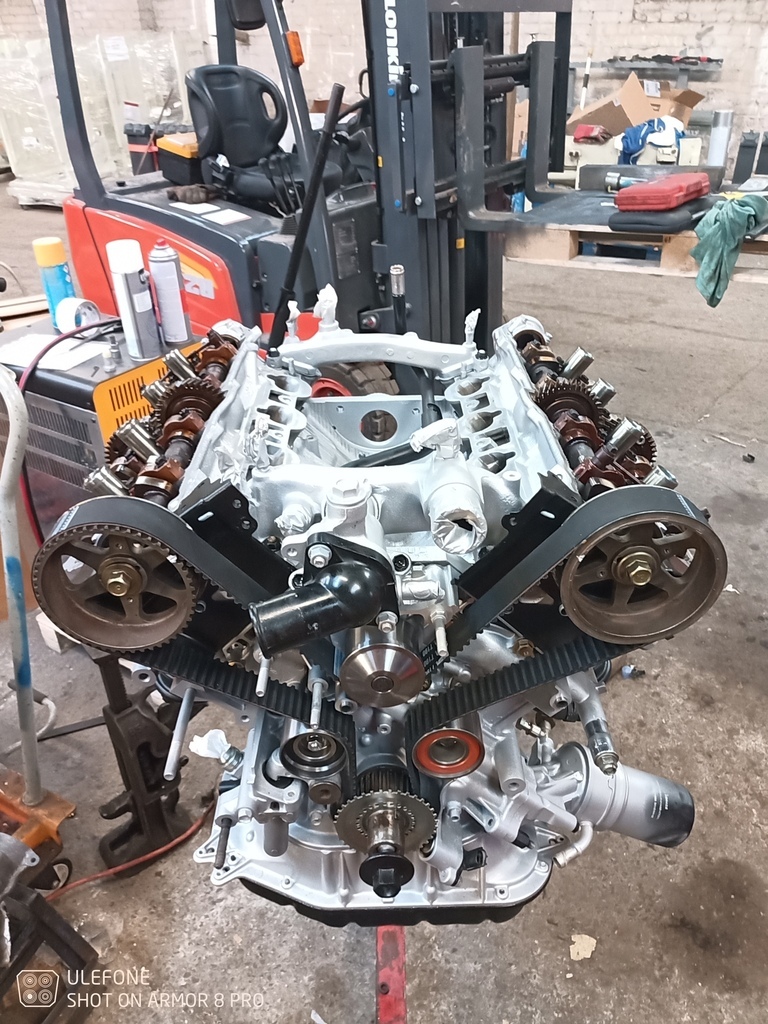 After that it was more fettling of parts, painting bits, got the knock sensors back in there respective holes, the crank sensor back in nothing particularly exciting or photo worthy. But by the end of the day I'm here. With a load of bits set to one side drying for tomorrow 🤣 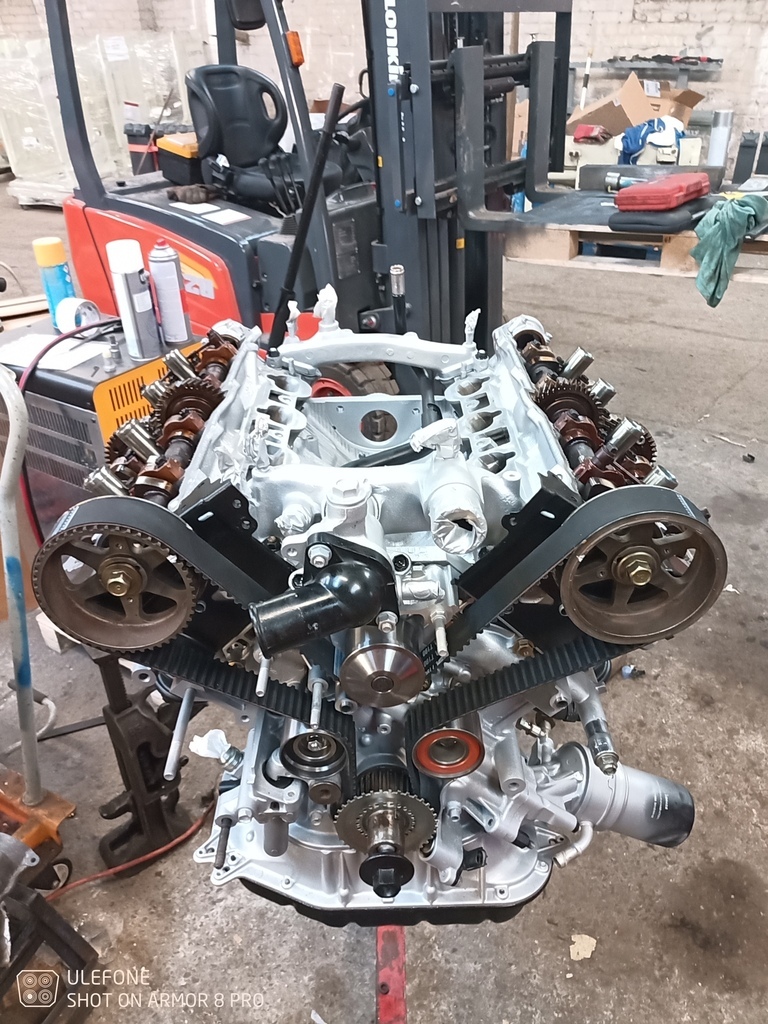 It might not seem like it from the pics but what's a bit depressing other than a couple of bits of actual work there's the best part of a days work there! (Granted nothing has gone on I've not minted up/tested/replaced first) Oh and the wagon... Came at 4:10pm so that's tomorrow busy before I start haha. More soon hopefully. Cheers |
| |
|
|
bstardchild
Club Retro Rides Member
Posts: 14,975
Club RR Member Number: 71
|
|
Nov 22, 2021 21:35:06 GMT
|
|
Late again - Did you clean or de-pressurise the lifters before installing?
Mind you - didn't you say it's a non interference engine so they'll sort them selves out as long as the engine starts
|
| |
|
|
stealthstylz
Club Retro Rides Member
Posts: 14,961
Club RR Member Number: 174
|
|
Nov 22, 2021 22:03:01 GMT
|
|
Whilst you're at this point plug the spark plug hole up on each cylinder with you hand/finger/thumb/knob then turn the engine over to make sure every cylinders got compression.
|
| |
|
|
mat88
Yorkshire and The Humber
Posts: 1,542
|
|
Nov 22, 2021 22:11:27 GMT
|
Late again - Did you clean or de-pressurise the lifters before installing? Mind you - didn't you say it's a non interference engine so they'll sort them selves out as long as the engine starts There not hydraulic there a shim over bucket (although I did clean and lube everything if that counts haha) And of course it will start... Maybe... Haha |
| |
|
|
mat88
Yorkshire and The Humber
Posts: 1,542
|
|
Nov 22, 2021 22:13:44 GMT
|
Whilst you're at this point plug the spark plug hole up on each cylinder with you hand/finger/thumb/knob then turn the engine over to make sure every cylinders got compression. Not a bad shout that.. tbf I've heard it make sucking and blowing noises when I've turned it over today. So summat must be happening haha. Think il settle for using my hand rather than gentleman's sausage for the test tho 🤣🤣 |
| |
|
|
bstardchild
Club Retro Rides Member
Posts: 14,975
Club RR Member Number: 71
|
|
|
|
Late again - Did you clean or de-pressurise the lifters before installing? Mind you - didn't you say it's a non interference engine so they'll sort them selves out as long as the engine starts There not hydraulic there a shim over bucket (although I did clean and lube everything if that counts haha) And of course it will start... Maybe... Haha Ahh OK then make sure you have compression in every cyl edited to add stealthstylz - beaten to it - yeah that was my worry |
| |
|
|
mat88
Yorkshire and The Humber
Posts: 1,542
|
|
Nov 23, 2021 10:35:45 GMT
|
|
COMPRESSION ON ALL 8 (verified with my hand not my, well yeah haha)!!! 🤣
Real work to do now but more soon hopefully
Cheers
|
| |
|
|
bstardchild
Club Retro Rides Member
Posts: 14,975
Club RR Member Number: 71
|
|
Nov 23, 2021 18:26:24 GMT
|
COMPRESSION ON ALL 8 (verified with my hand not my, well yeah haha)!!! 🤣 Real work to do now but more soon hopefully Cheers Now just make sure all your injectors are squirting correctly - rig up a test station plenty of info on the net and it should all be good for the start up |
| |
|
|


