You raise a valid point there
briang. And on further reflection, I'd decided to just use the new clips that came with the pistons unmodified. Looking around online, it seems the issues with the tails on gudgeon pin clips is pretty much a 2 stroke thing. On top of that a race engine thing, this engine is not going to be spending it's life screaming at a 13,000 rpm redline like a race 2 stroke will!
I think the American term is just piston pin
07lilredwagon. I've heard both terms used but I think maybe gudgeon pin is a sort of old fashioned term for it? Anyway it's what it says in the Daimler manual so I'm sticking with it haha.
dodgerover I was thinking with regards to running in rebuilt classic 2 stroke bikes, rather than modern 4 stroke bikes

I'm sure a modern new bike is pretty much ready to go right from the day you pick it up same as a car is now! It does always worry me when I see people free revving their bikes to the limiter when its basically cold to show off to their mates how it sounds

Maybe I'm just a bit old fashioned when it comes to mechanical sympathy!
Time for an update I guess! Picking up where we left off, I got a replacement valve in the post on Tuesday and got it lapped in no problem. Which left me with this big old pile of parts to start assembling into the heads.
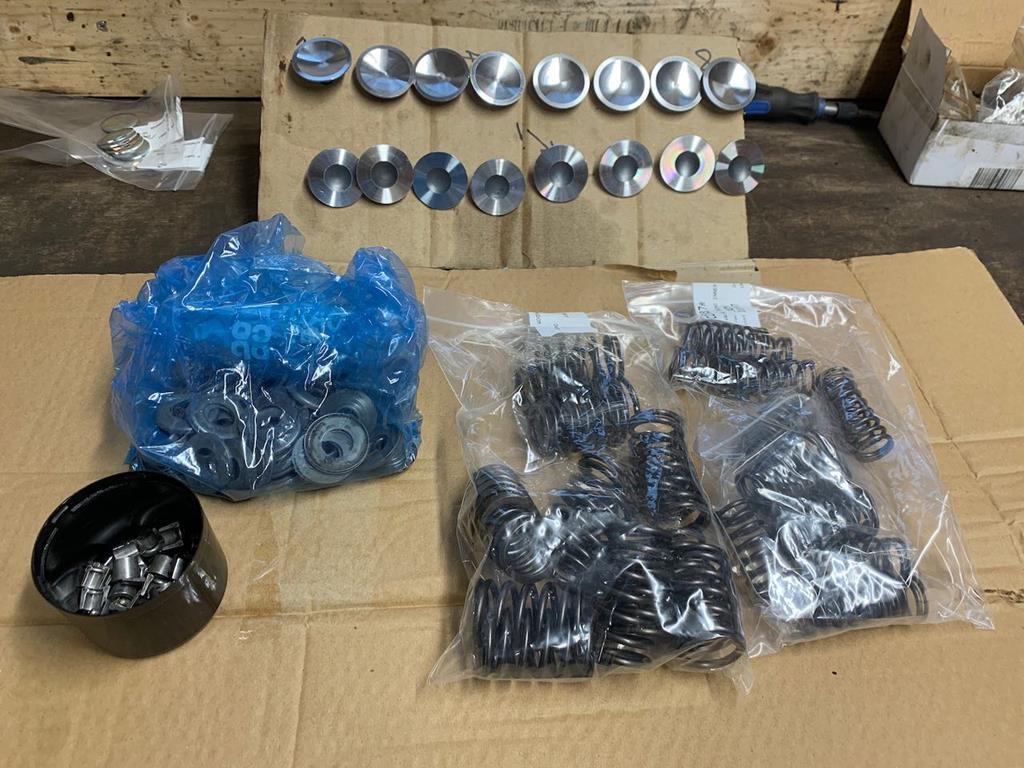
It wasn't that bad to assemble, just a bit fiddly. I took my time, the first couple went quite slowly...
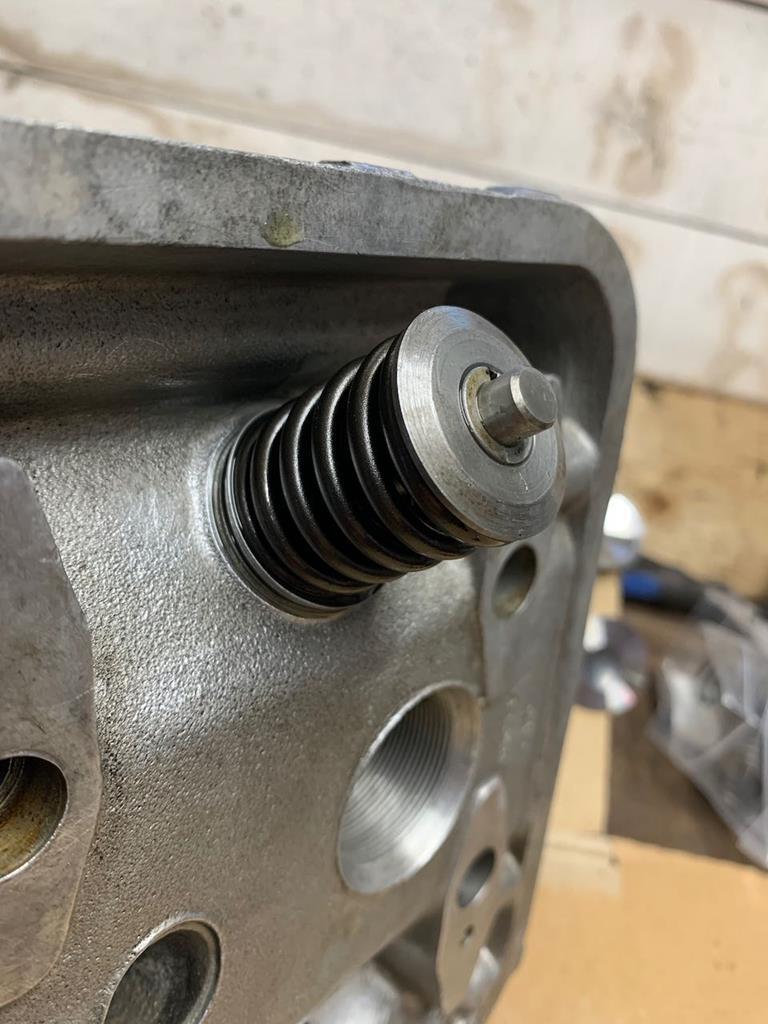
But by the time I'd got all 16 valves in, it was going quite quick.
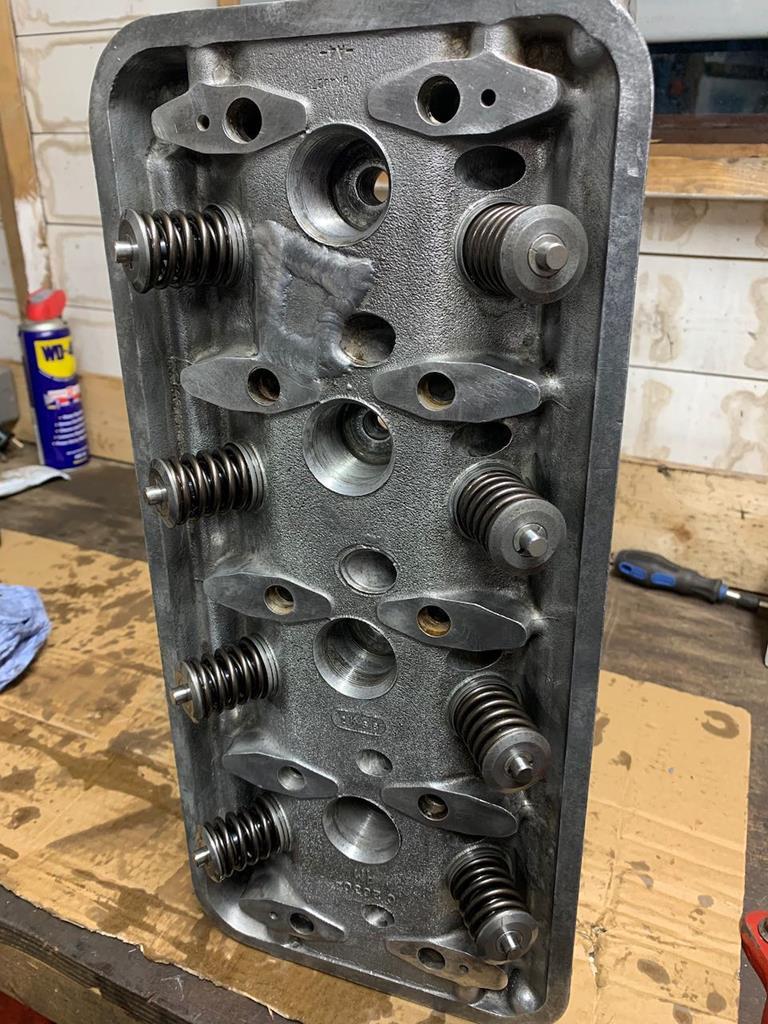
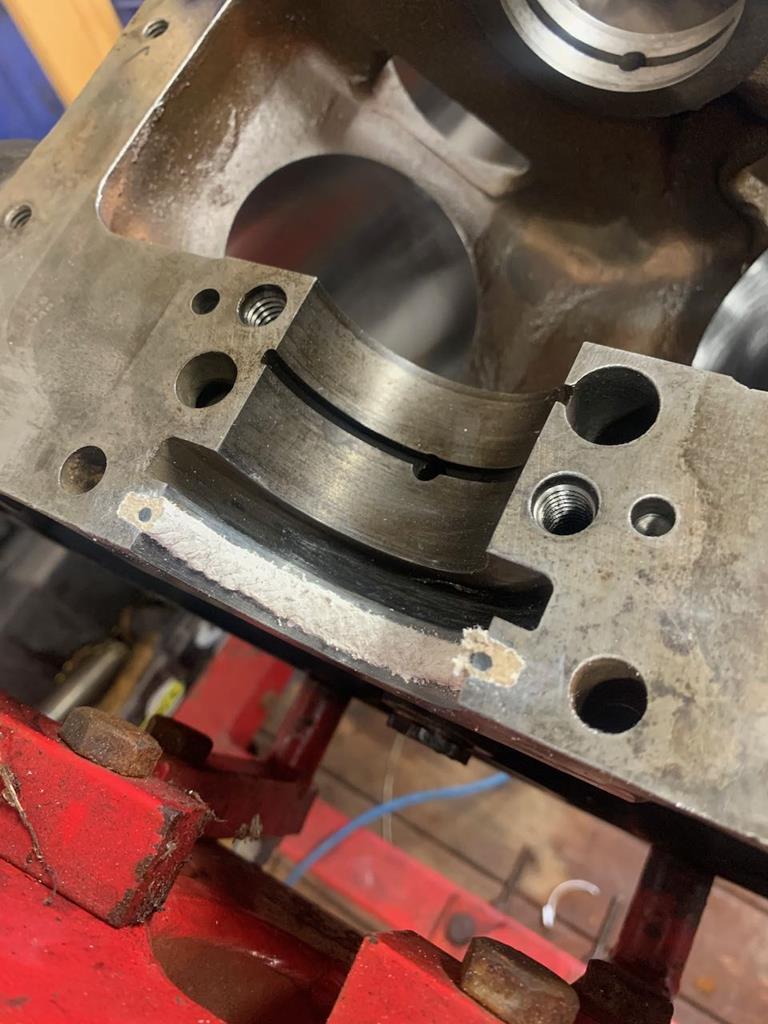
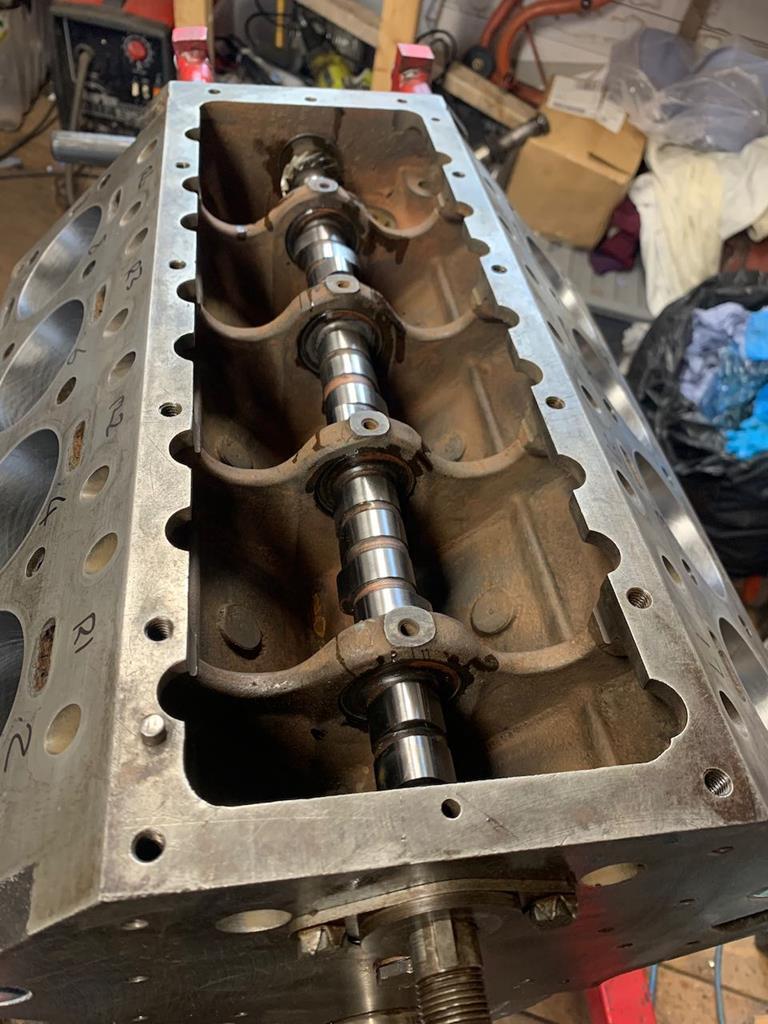
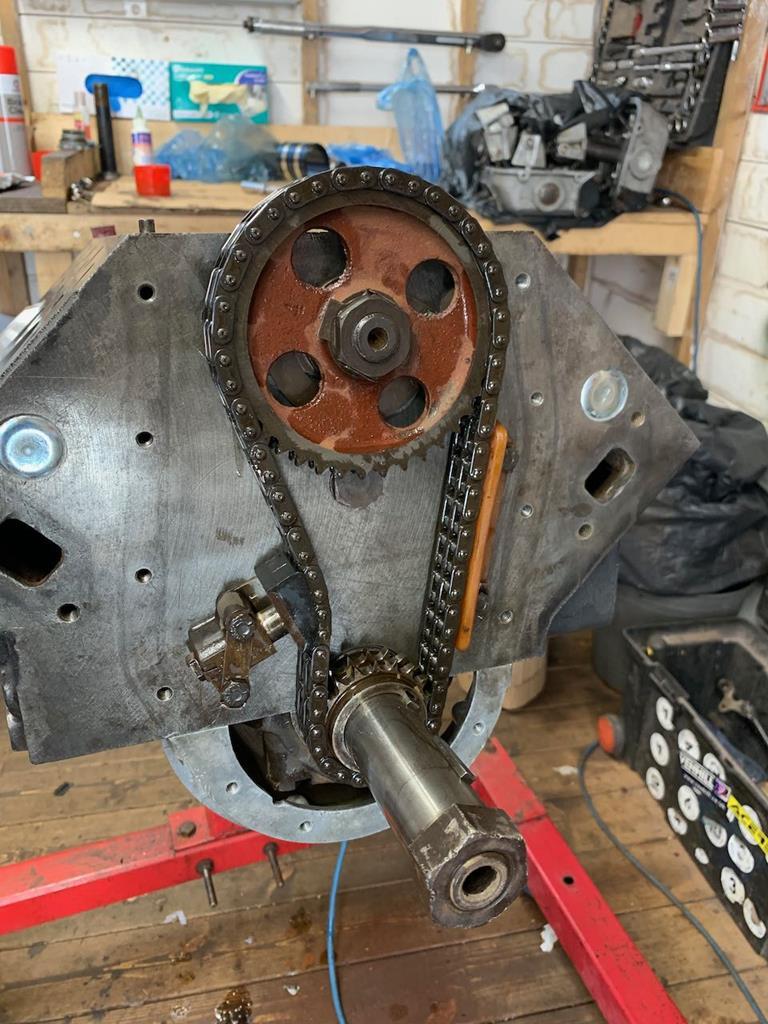
Thats the valves sorted, the rocker shafts I've already done so the heads are essentially complete now, so it was time to start on the block. Heres what we started with.
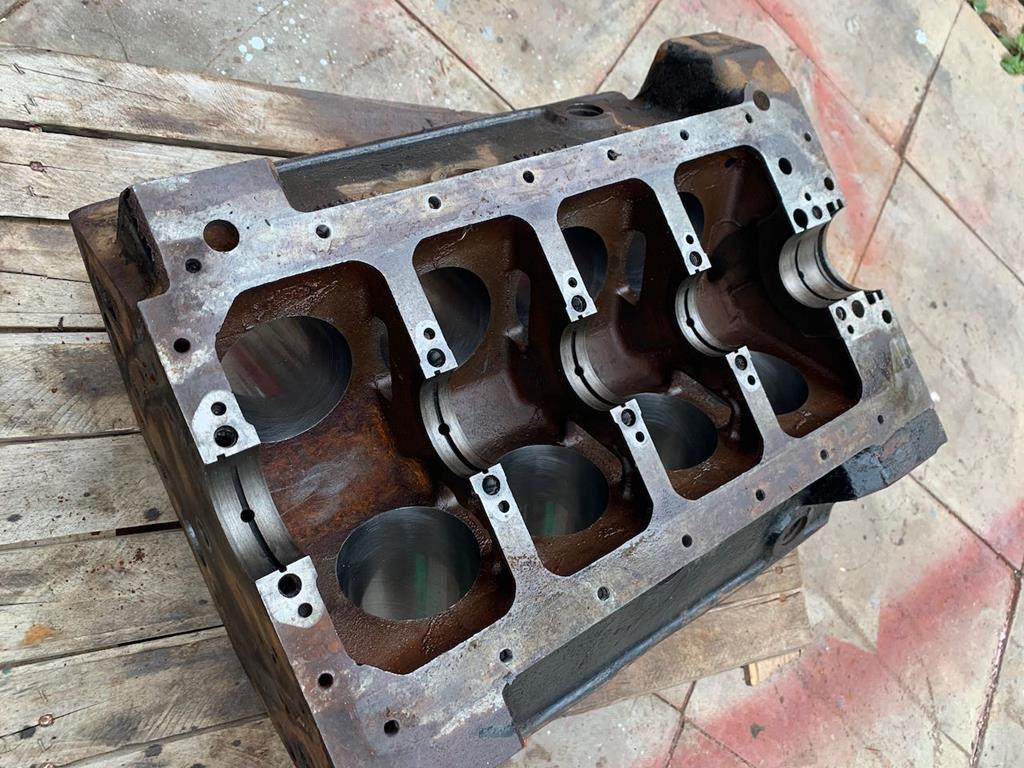
The worst of the muck I'd already cleaned out before it went to the machine shop. Still lotta cleaning to do. I started by getting all the rust and loose paint off the outside, because its no good making it internally spotless if every time I touch the block you get dirt from the outside on my hands.
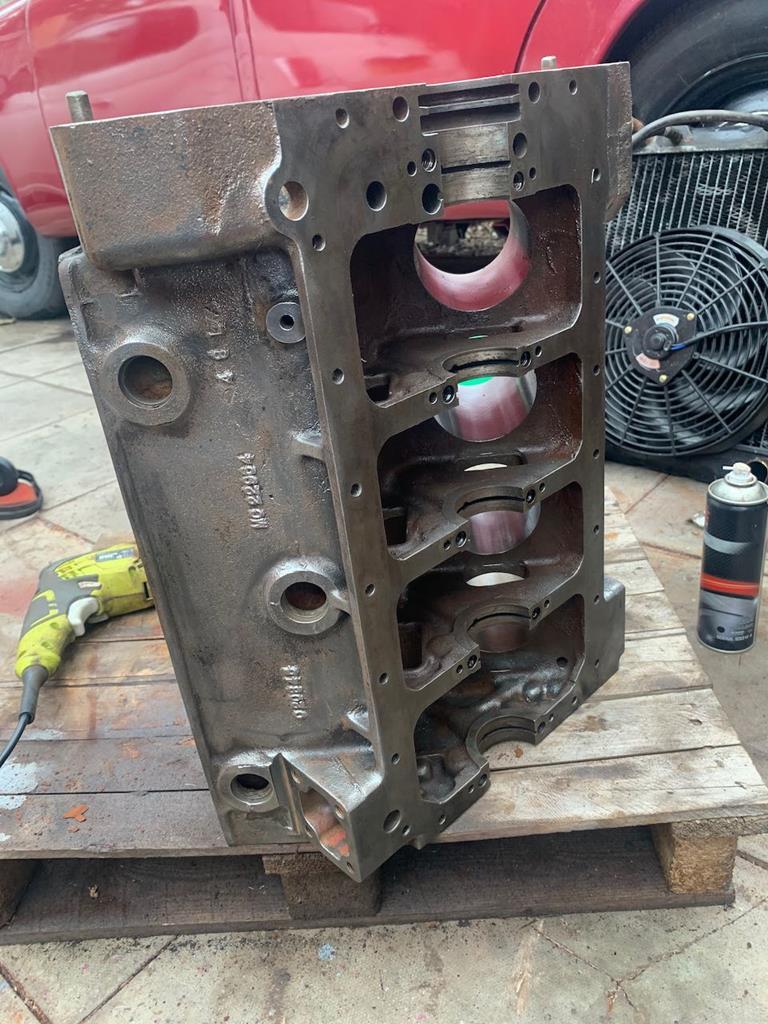
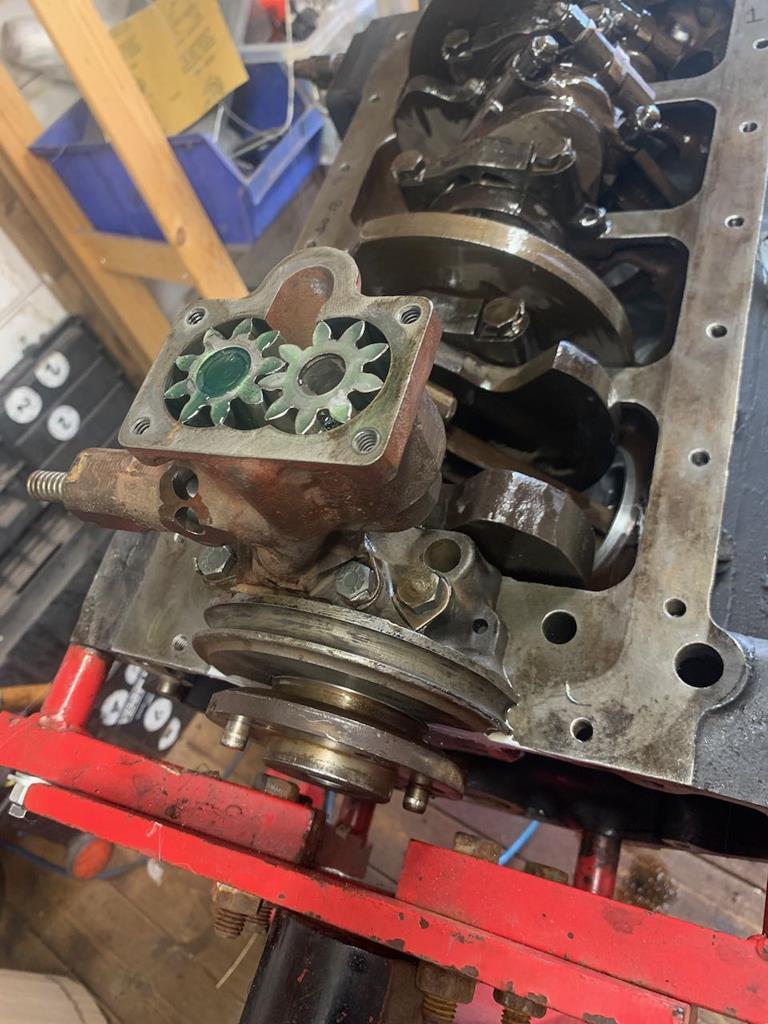
Before I did any proper cleaning I did a small mod to the oil gallery feed. Oil from the pump goes in to the filter and then comes back out of the filter into this sort of pocket in the side of the block. It then has to work its way round and up the drilling into the main oil gallery. This edge of the drilling was razor sharp, and I've seen on other engine with similar layouts (I think it was small block Chevys on YouTube) where radius-ing the entrance to drillings like this can help oil flow. Knowing that oiling can be a problem with these engines I thought it might be a smart move.
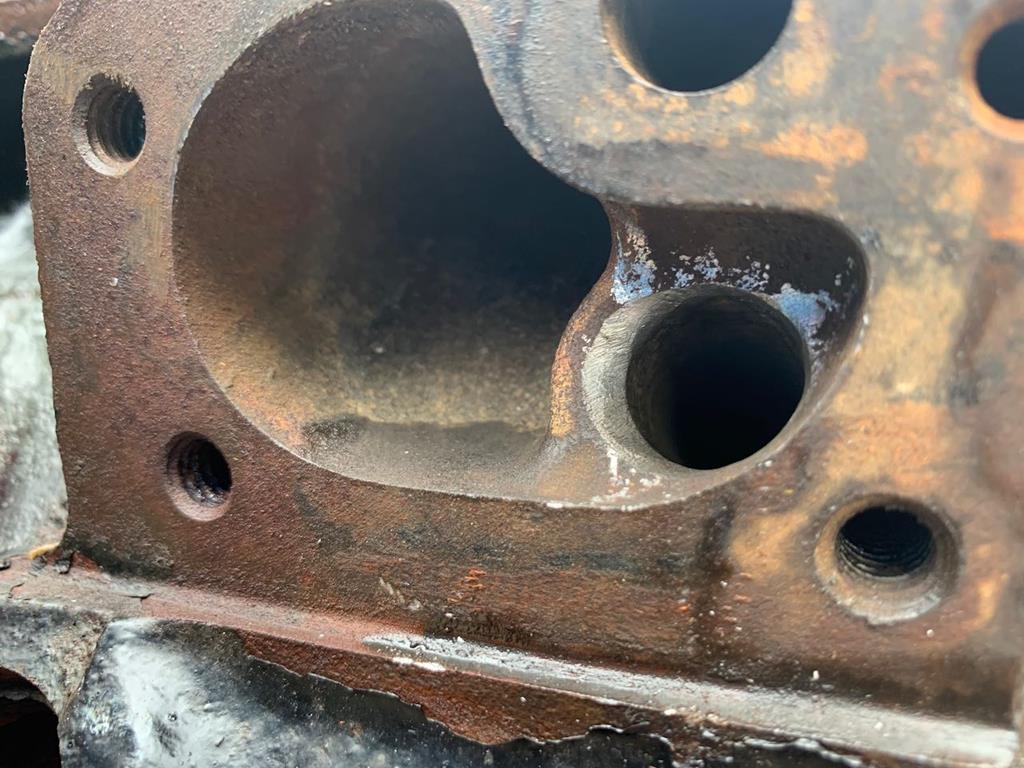
After that I chased all the threads in the block and I gave the outside of block a quick once over with some black engine enamel to keep it from going rusty again.
I then started on the deeper clean, going though the block with petrol, scouring pads and various sizes of tube brushes down all the oil galleries.
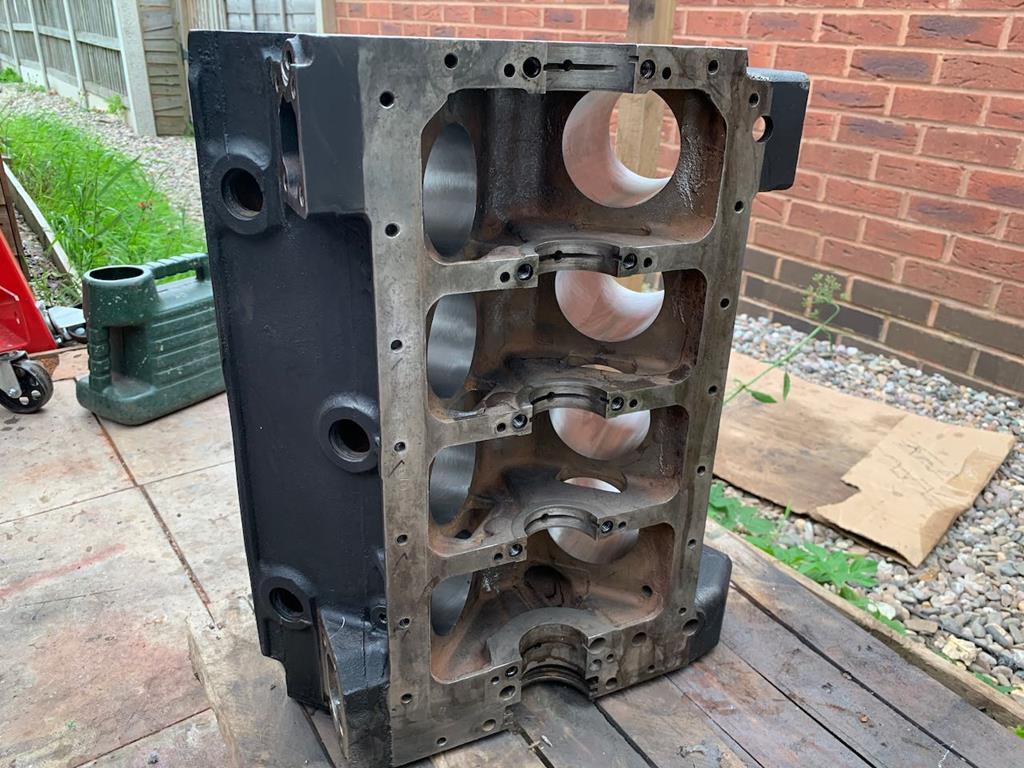
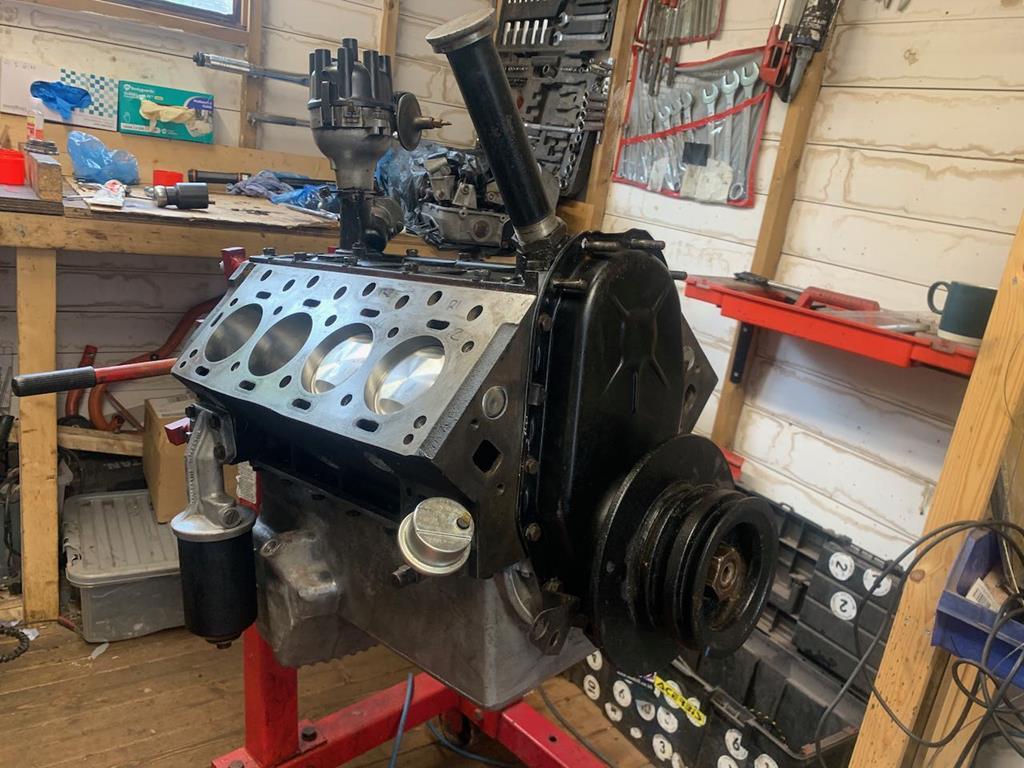
Finally it all got a rinse through with brake cleaner, and then I got the engine up on the stand. Following what
stealthstylz suggested I wiped the bores down with ATF and was surprised how much dirt was coming off on the cloth, especially considering I'd just washed it down with brake cleaner! It took several passes before the cloth was coming out clean.
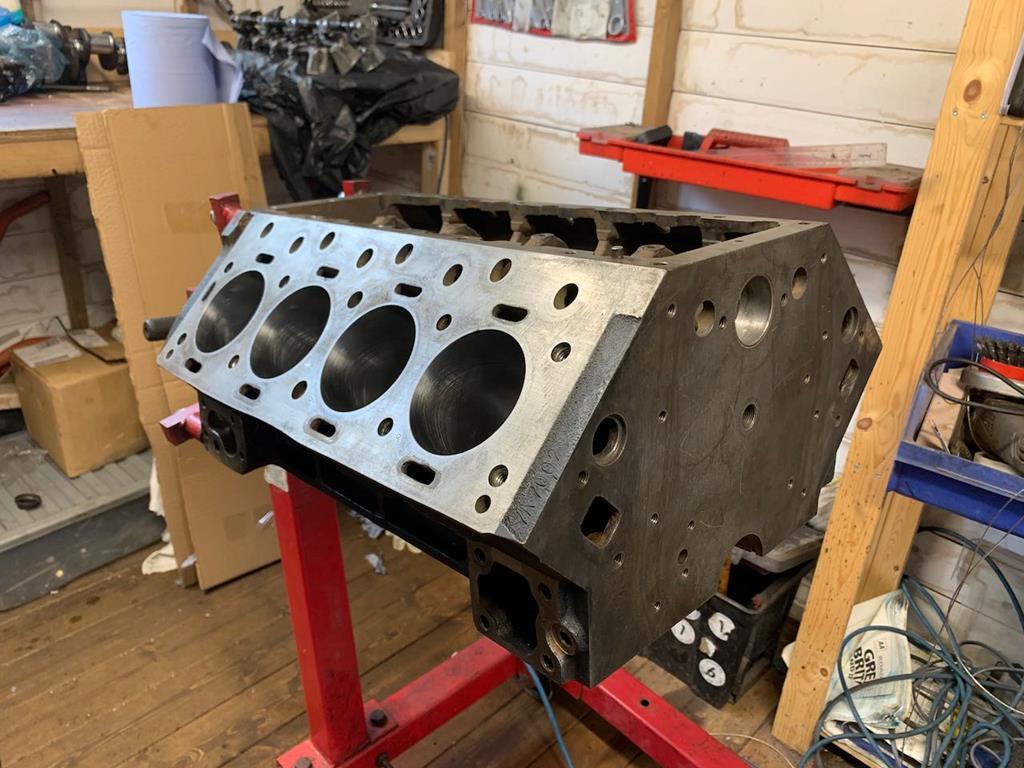
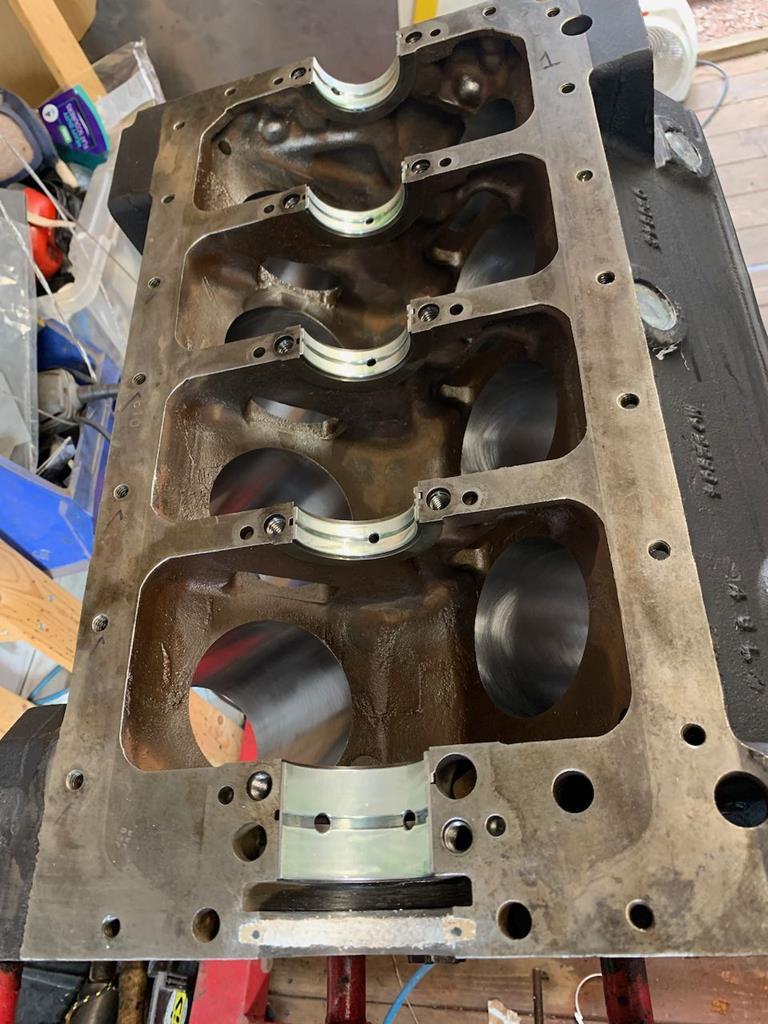
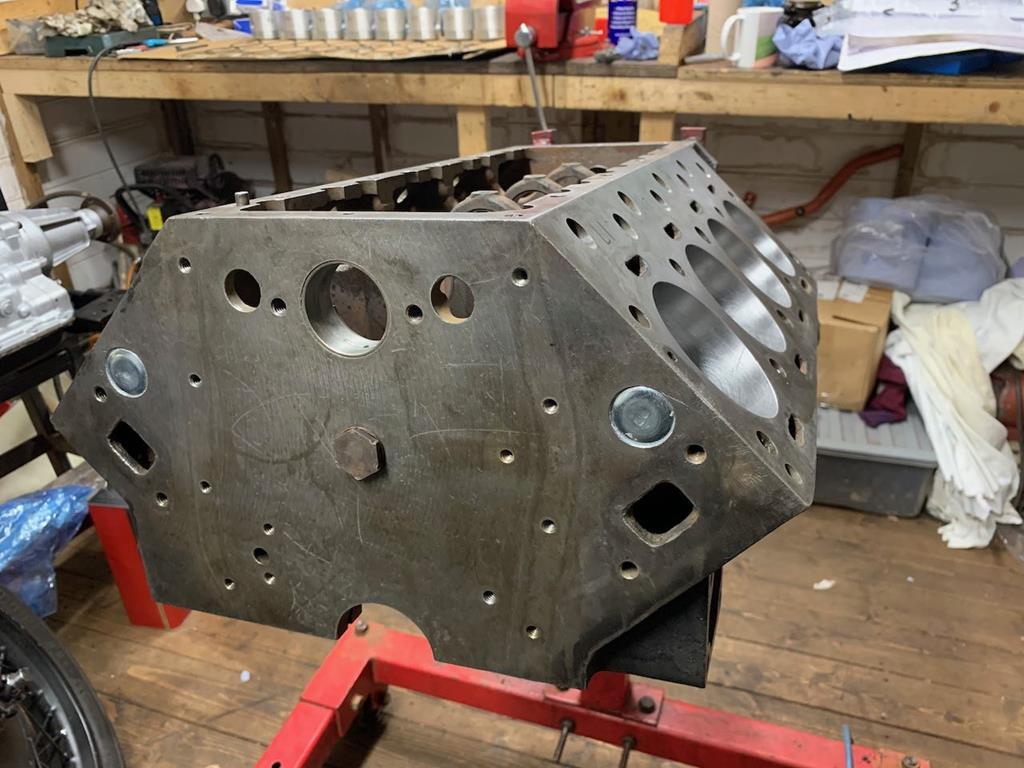
The core plugs and oil gallery plugs went back into the block and that was the block prepped ready for assembly.
Before I went any further I thought I should probably get the piston assemblies measured up and put together.
I started by checking the piston balancing. I got all 8 out and weighed them, and then weighed all the gudgeon pins. By putting the lightest pistons with the heaviest pins and vice versa, I ended up with a 1.8g weight variation. The Daimler manual says anything less than 3g is fine. My tuning book says 1g or less is fine.
7 of the 8 pistons had a 1.2g variation and then 1 piston was 0.6g heavier than that. So I carefully ground some material from inside the heavier piston bringing it down to the same weight as the other 'heavier' pistons. I'm happy with the 1.2g variation. As mentioned earlier, this isn't some high revving race engine, but still nice to try and do things fairly properly

I then started measuring the ring gaps, placing each ring into the bore, pushing it down a couple of inches using the piston to keep it square, then using a feeler gauge to measure the gap. There were quite a few rings to do... (next time less cylinders!!!!)
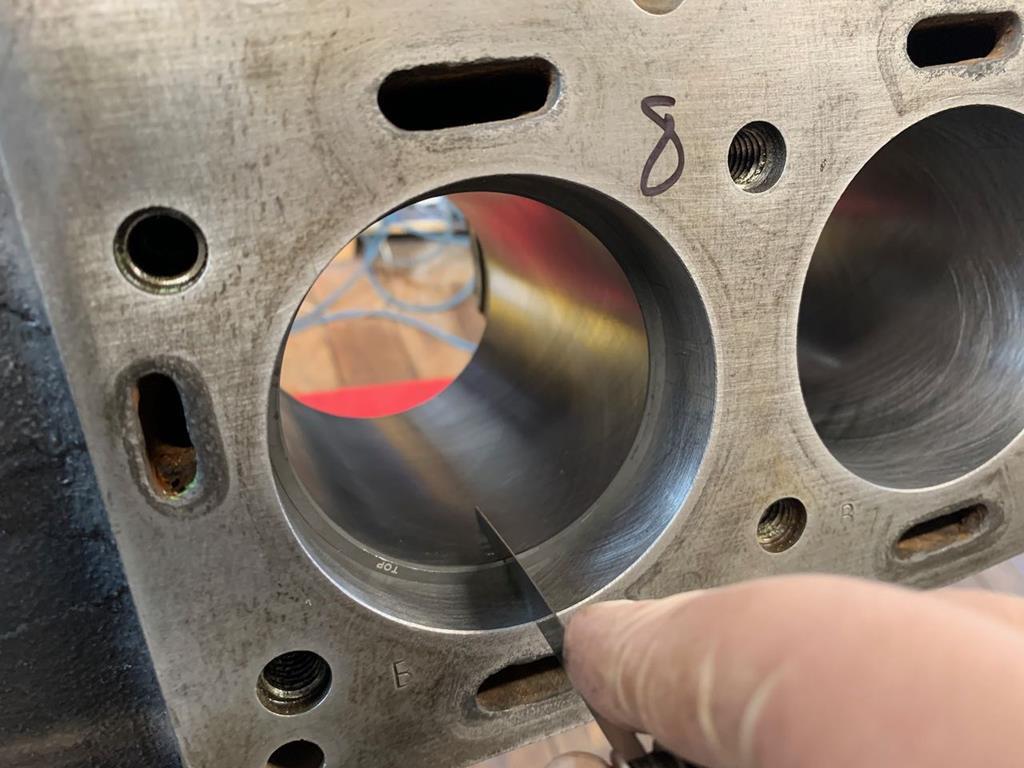
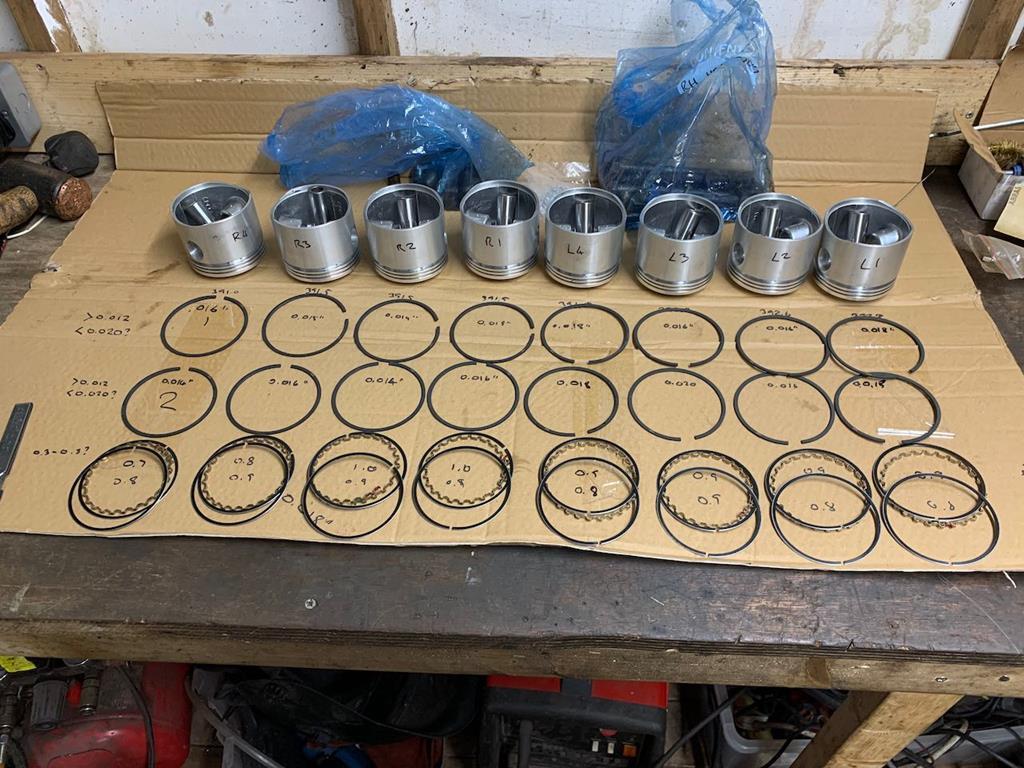
There was a note inside the packet specifically saying 'don't file the top ring' and it was molybdenum filled. So I presumed, and it seemed correctly, that these rings were intended to be the right gap out of the packet.
The Daimler manual says the top and 2nd ring gap should be 0.009-0.014". The instructions which came with the pistons (which I believe should supersede my manual) said 'minimum of 0.012", but didn't give a maximum. All of my top and 2nd rings came out at between 0.014-0.018" gap.
So this gap seemed a little large, but going back and reading online I found instructions from other piston ring suppliers suggesting that for a ~3" bore, like mine, that under 0.020" was acceptable. Also referencing my tuning book, it was suggesting that 0.005" per inch of bore for a street engine and 0.006" per inch of bore for a race engine, which would be 0.015" and 0.018" respectively. So that put my mind at rest that nothing bad will happen running with these gaps.
Likewise the Daimler spec for the oil rail rings was 0.14"-0.035", but measuring mine I was getting 0.030-0.040". Again reading online I was finding lots of suggestions that oil rail gap wasn't really so critical and that for a 3" bore 0.010-0.050" was perfectly acceptable. So again I decided that I was ok.
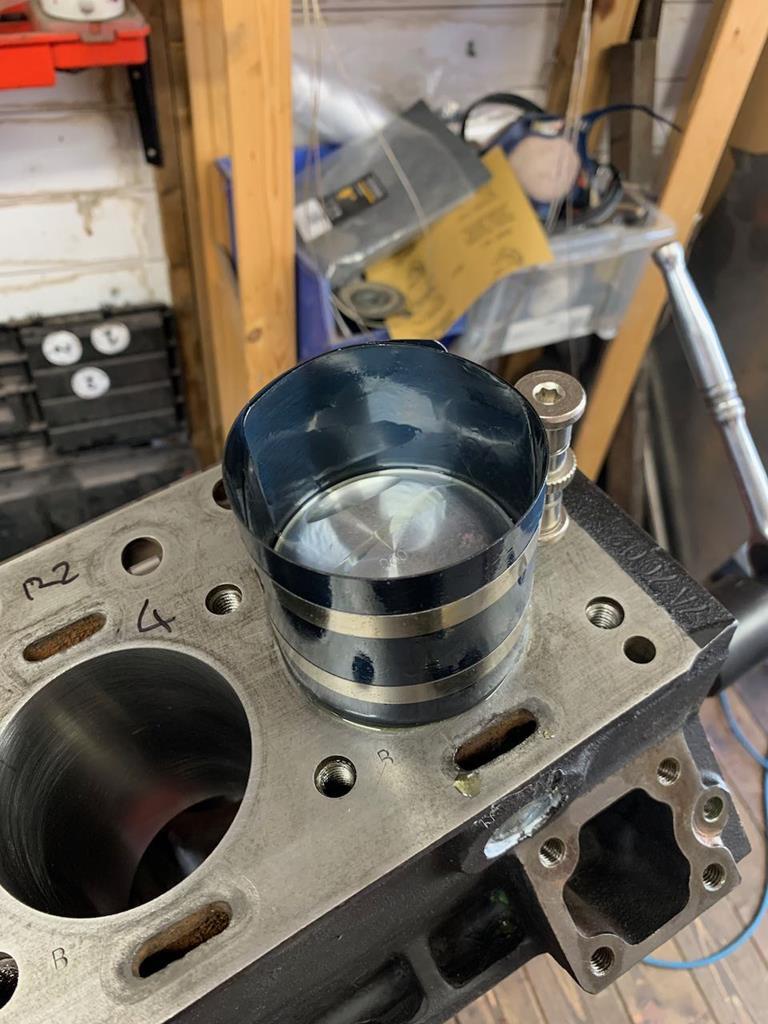
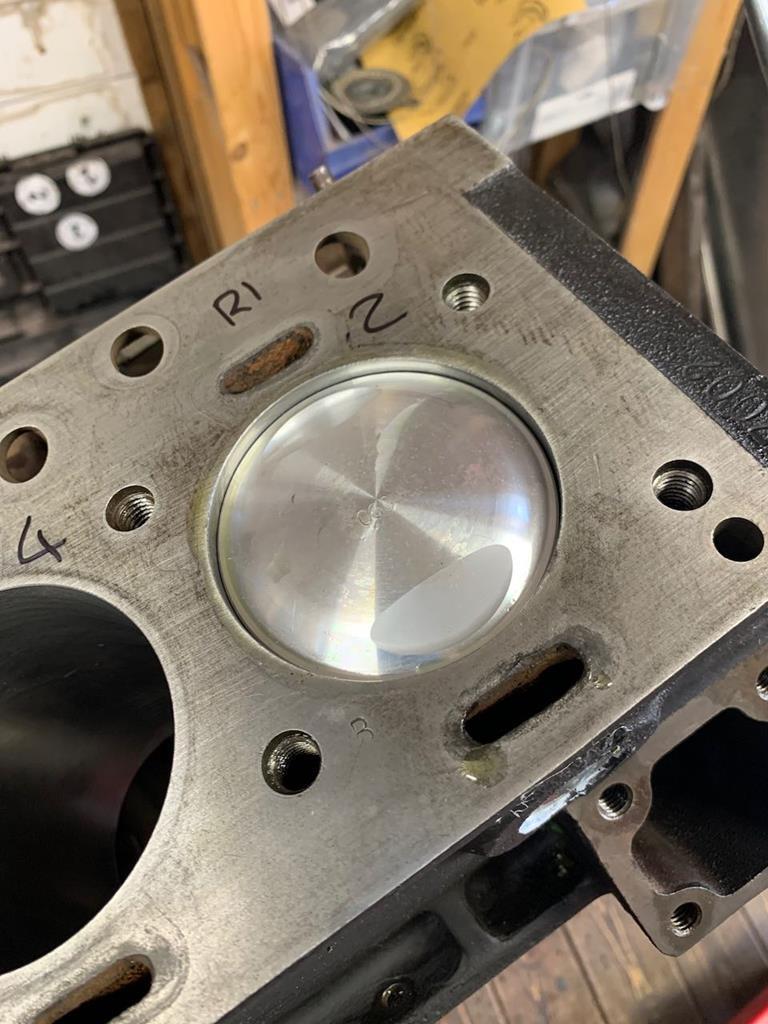
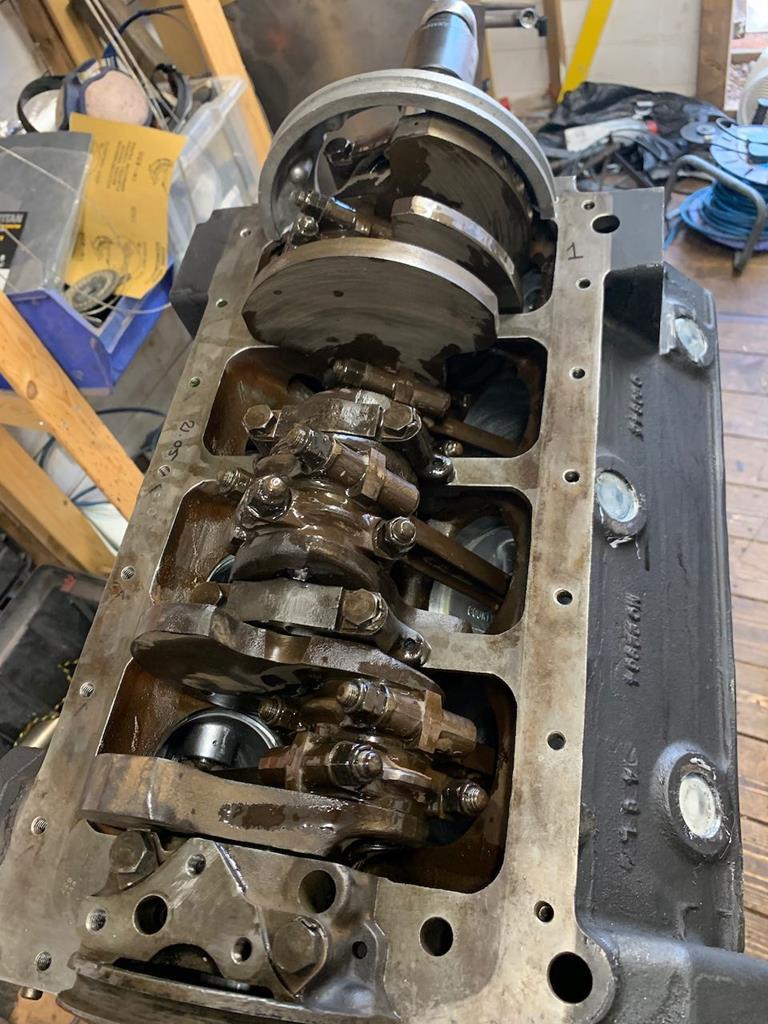
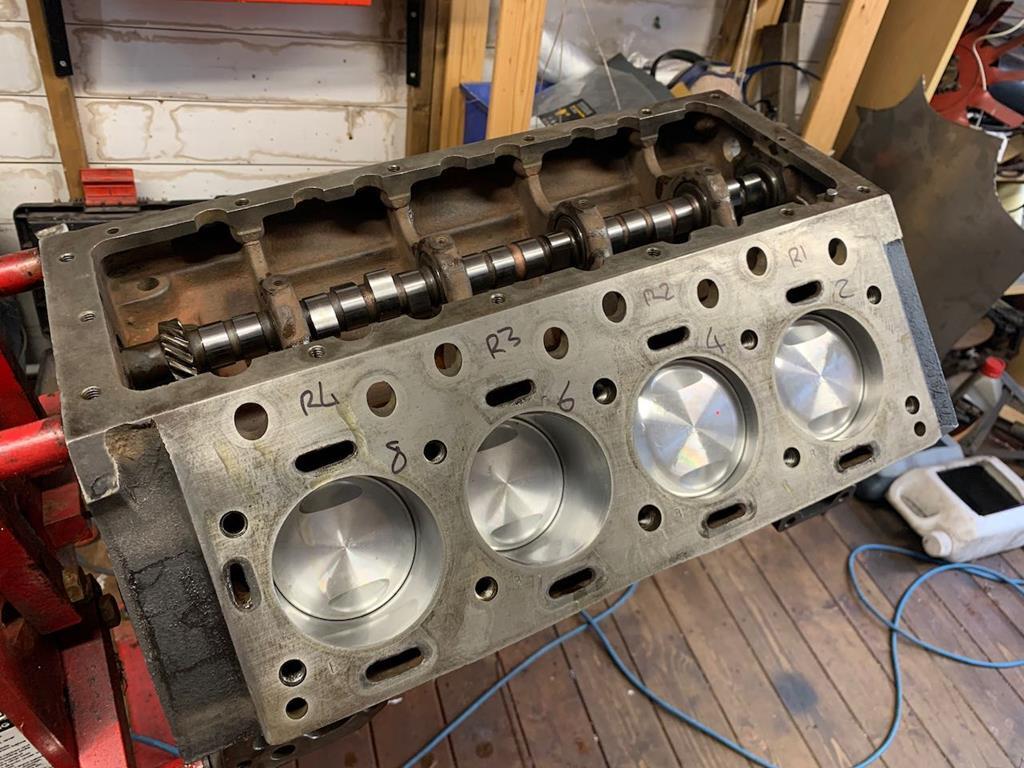
So aside from the mental gymnastics with my metric feeler gauges and imperial specs, and the time spent researching that was all actually pretty simple! No need for any filing! This meant I could get on to assembling the pistons. I started by fitting the pistons to the rods, after lubing the small end, piston and gudgeon pin with assembly lube. As mentioned earlier, I used the clips supplier with the pistons, which were at least nice and easy to install due to their design!
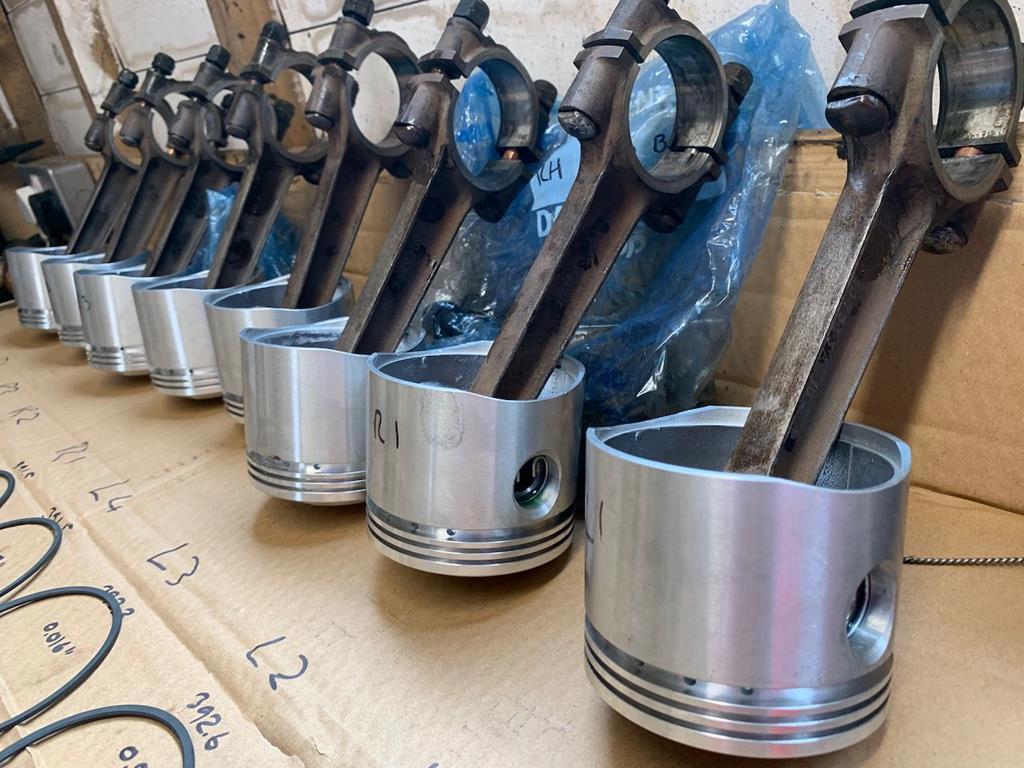
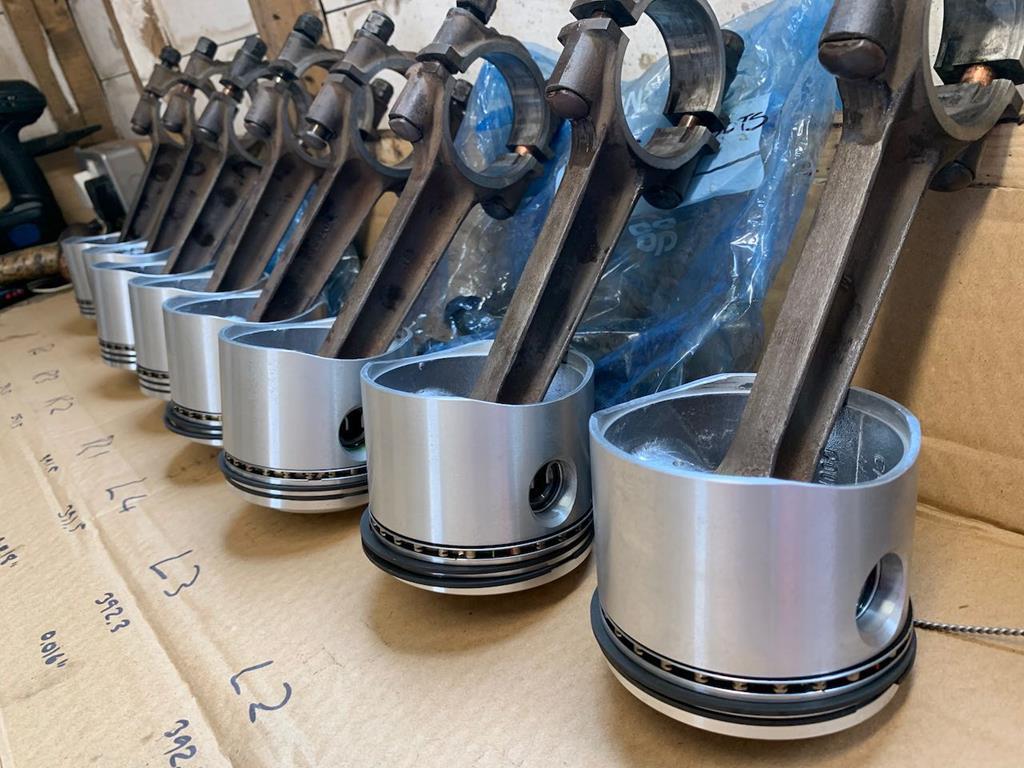
And then got all the rings installed using my new piston ring pliers, which made the task pretty easy.
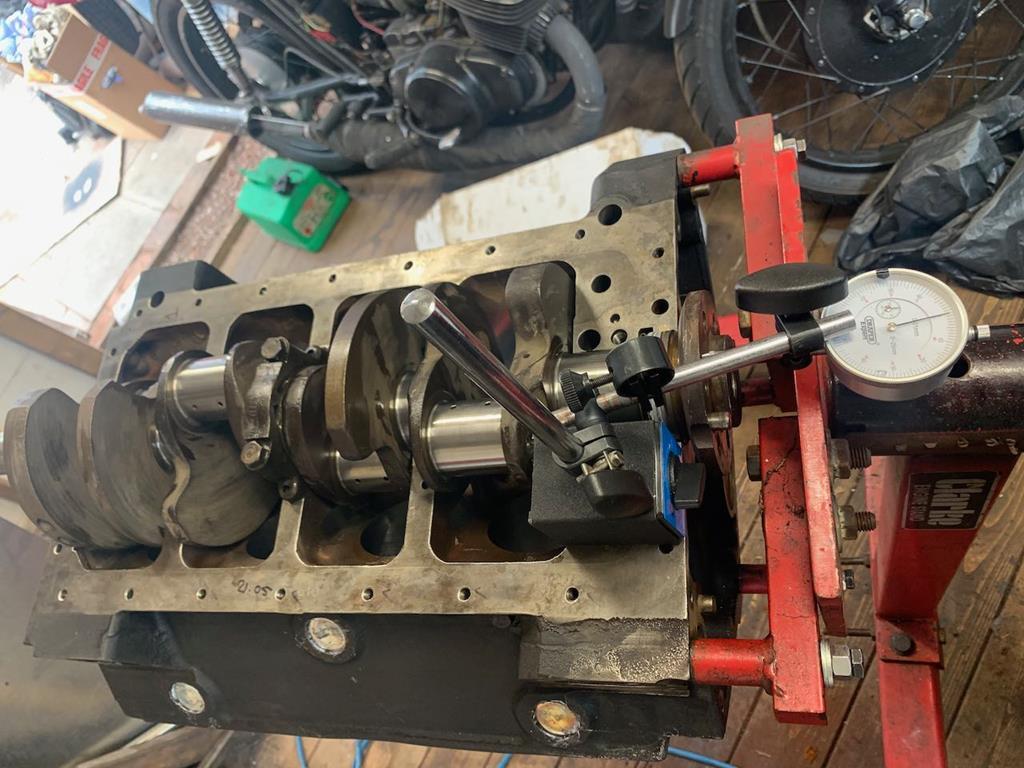
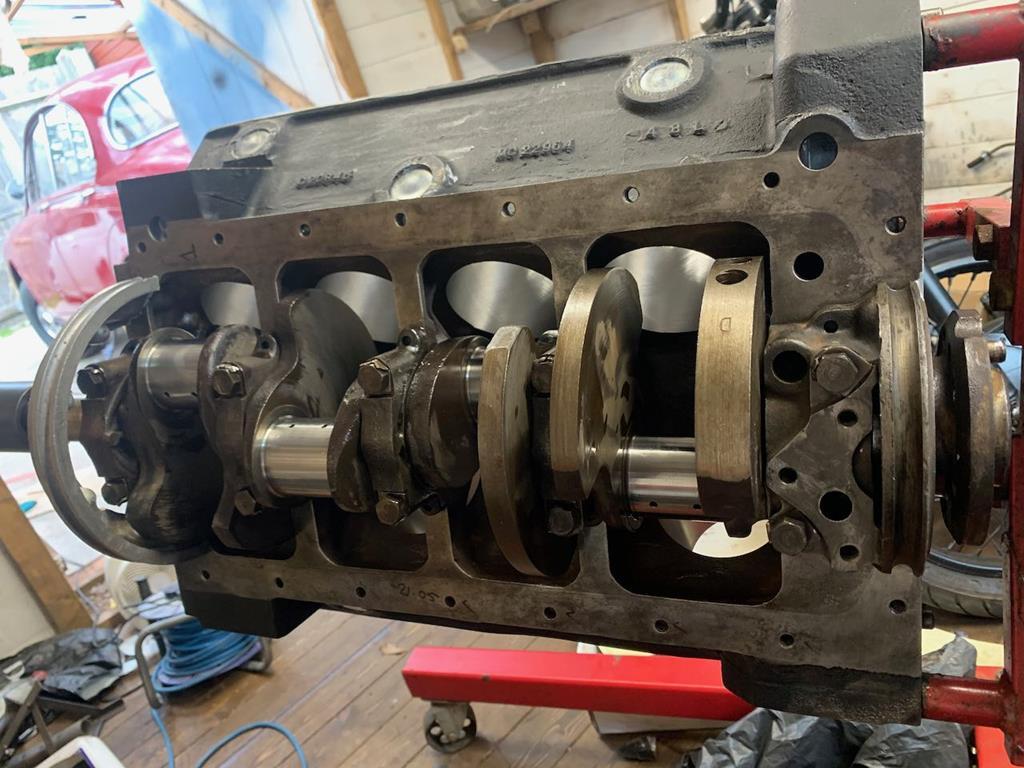
Thing were all going fairly smoothly! Too smoothly... The crank was the last remaining major component to need some attention before I could really get to putting things together.
When I checked the sludge traps previously, I just made sure all 4 of the plugs could be moved and pulled a couple out to look and found little to no sludge. Which given the reputations these engines have, was surprising. I pulled all 4 plugs out this morning ready to give the crank a final deep clean and it showed that clearly I'd just pulled the wrong plugs last time, because the two remaining traps were both full of sludge.
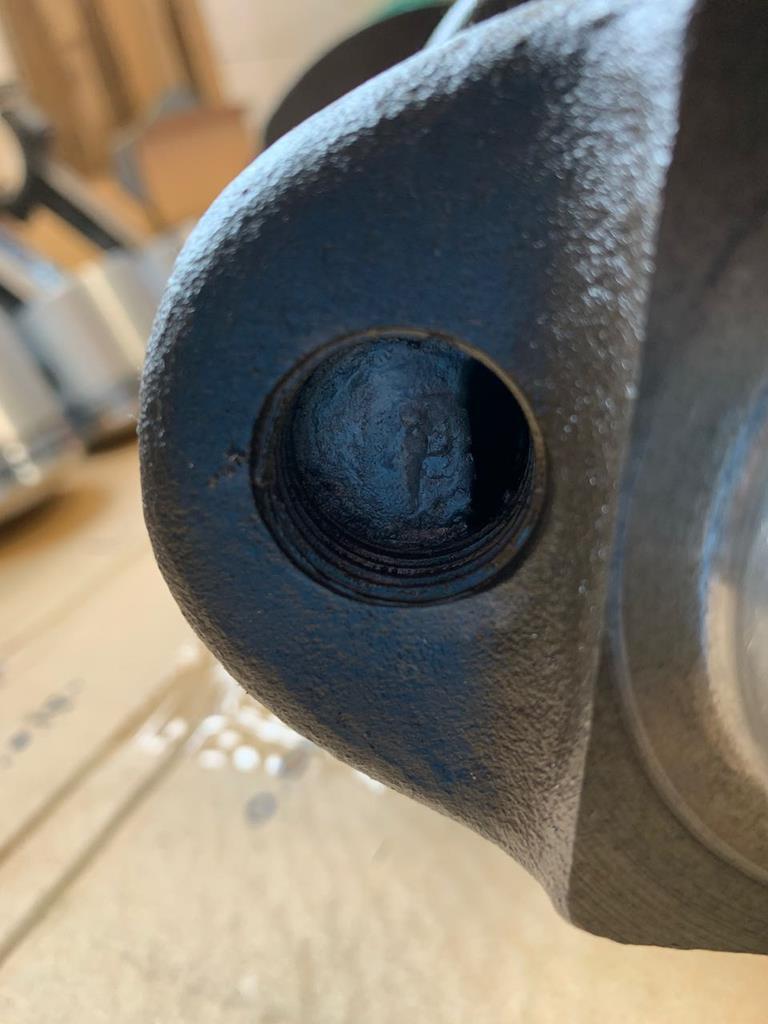
mmmm sludge.
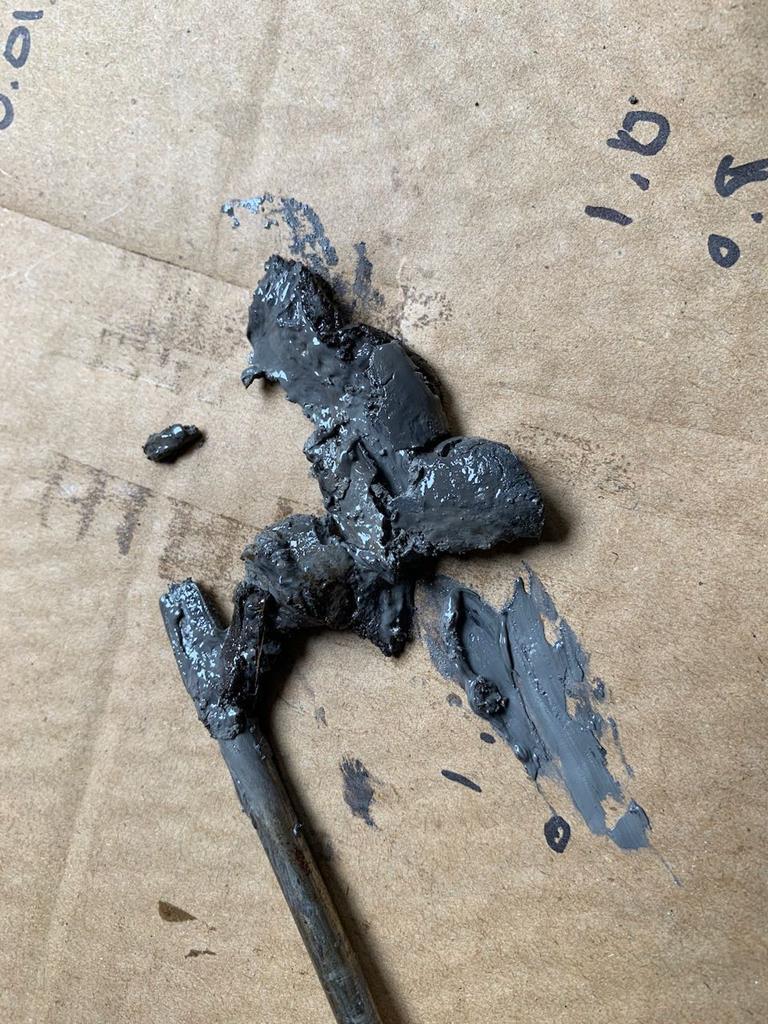
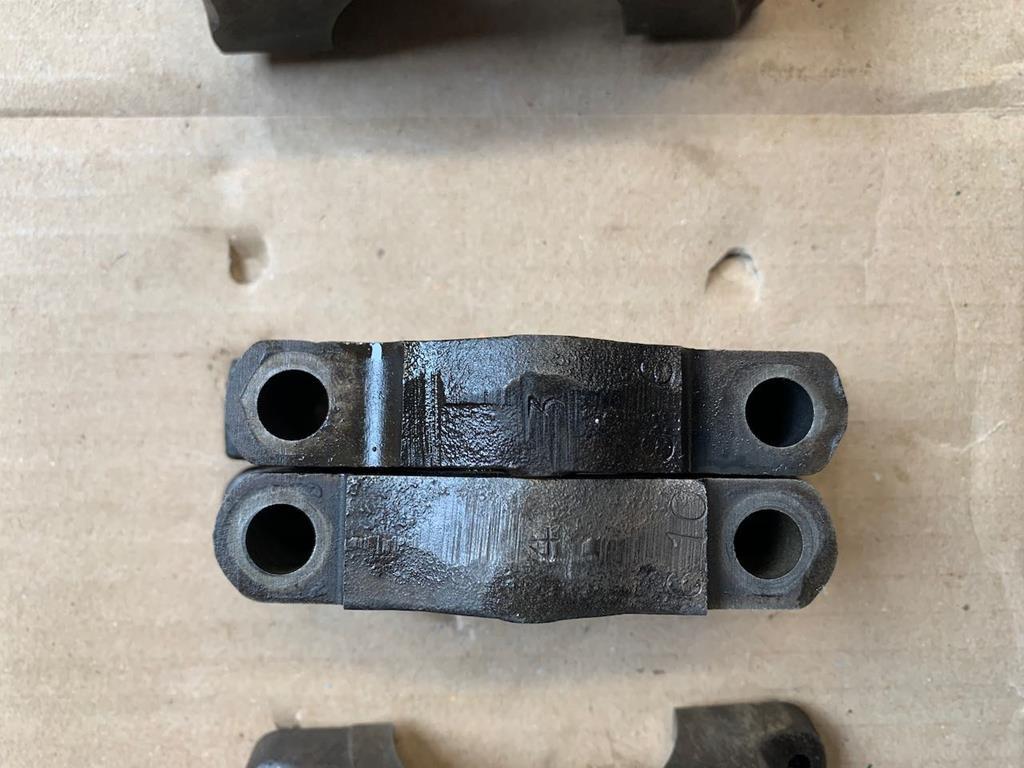
Anyway, cleaning them out was actually fairly simple, again using a selection of tube brushes and plenty of brake cleaner working my way methodically though all the oil drillings and cavities in the crank. I also cleaned up the main bearing caps.
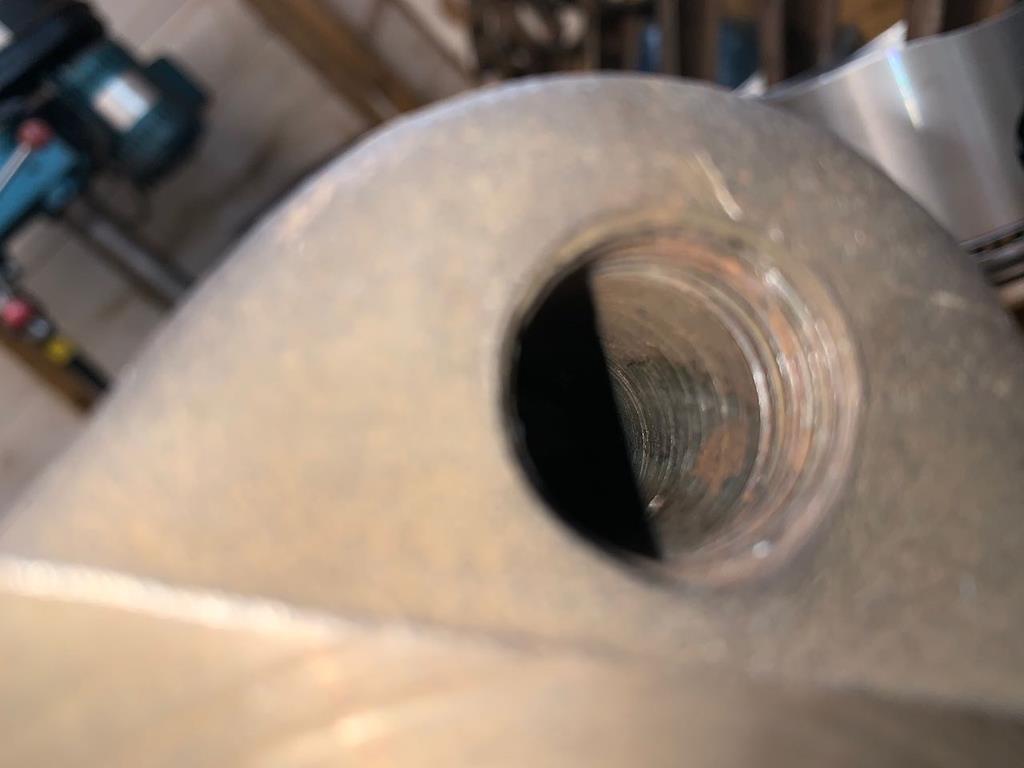
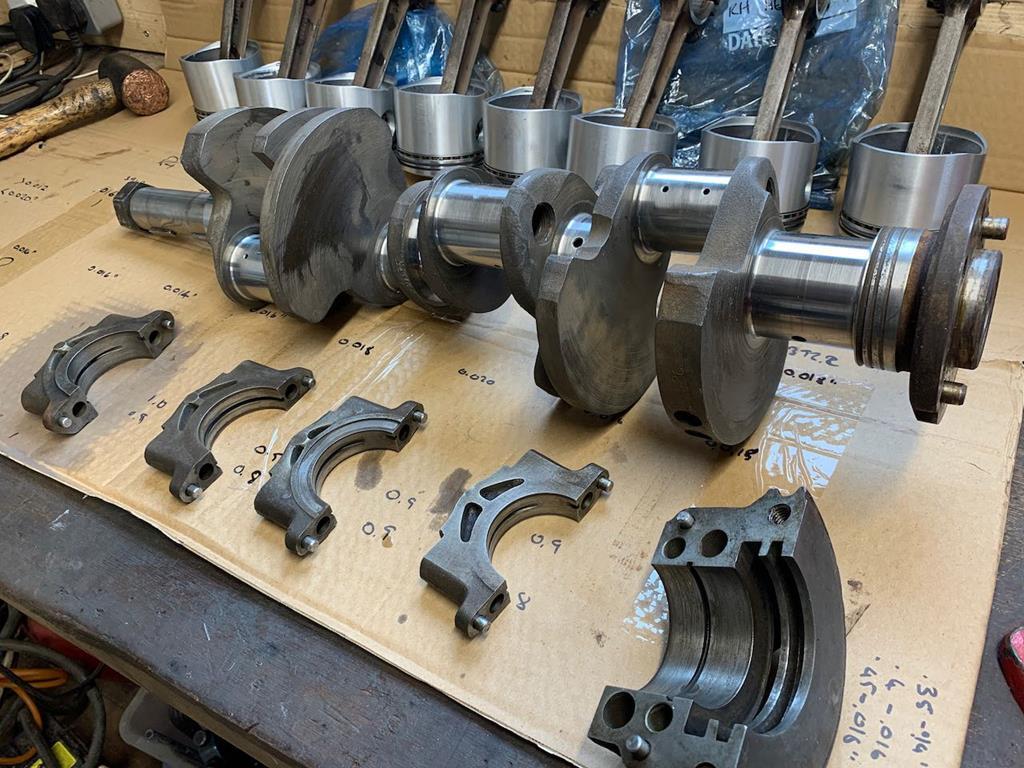
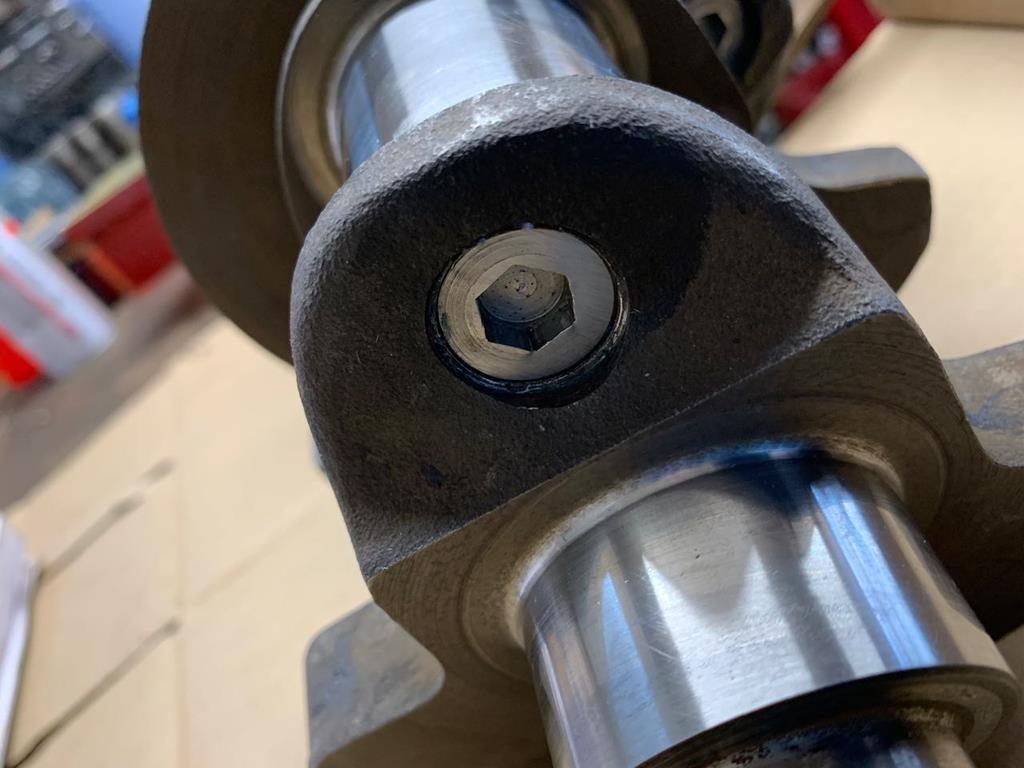
All I had to do was pop the sludge trap plugs back in and I'd be ready to put the crank in. Bit of thread lock on the first plug and I started winding it in. It's not very easy going, but then it was stiff to unscrew, so I wasn't worried. But oh no, there's bits of swarf coming out from the threads. I really hope I haven't cross threaded it, but it certainly seemed like it was going in straight. Damn. Pulling the plug back out, there's swarf all over the place, and clearly something is not right.
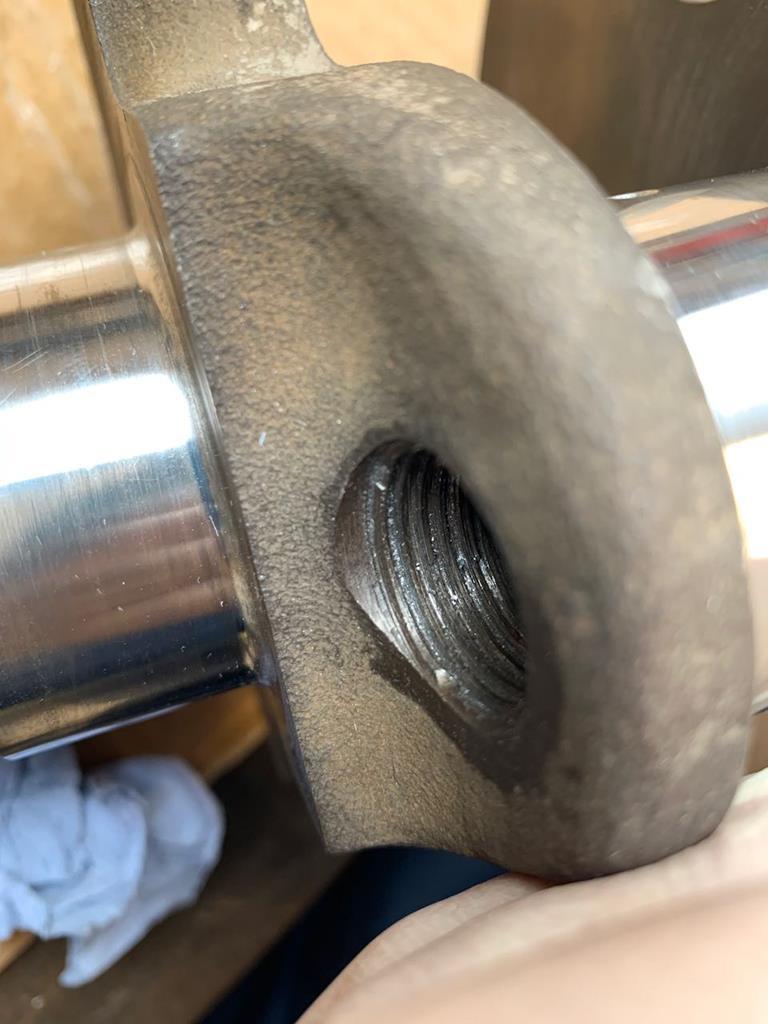
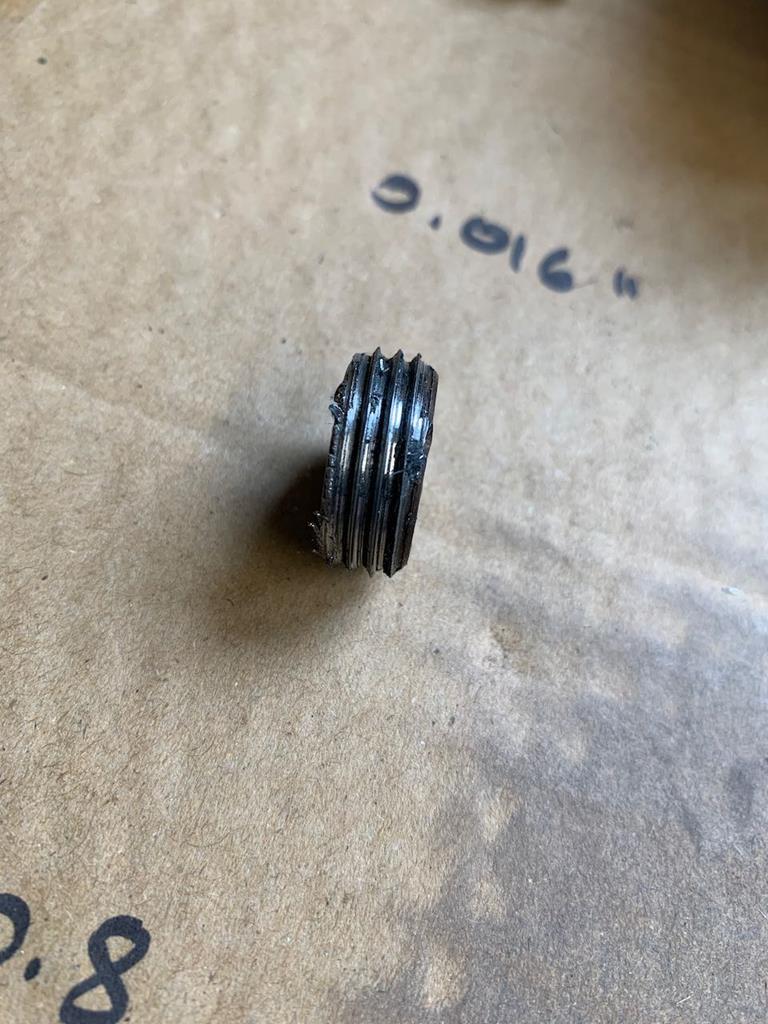
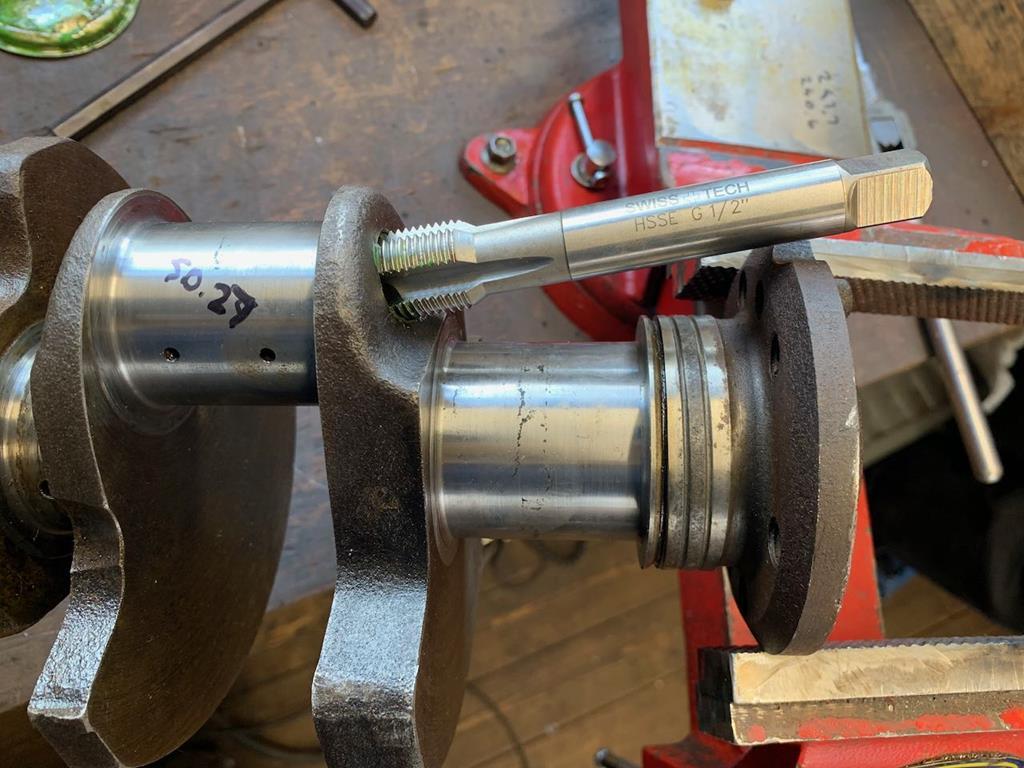
After a bit of head scratching and a bit of a grumble, I'd worked out the problem. The plugs were originally locked in place by 3 points being peened over. I was able to unscrew the plugs, it was just a bit stiff and it didn't obviously damage them. But the way the peening has damaged the threads in the crank, as I screw the plug back in it's now cutting into the plug and chewing up the thread. Before I'd fulled cleaned out the crank, it wasn't so easy to see where the threads had been hit.
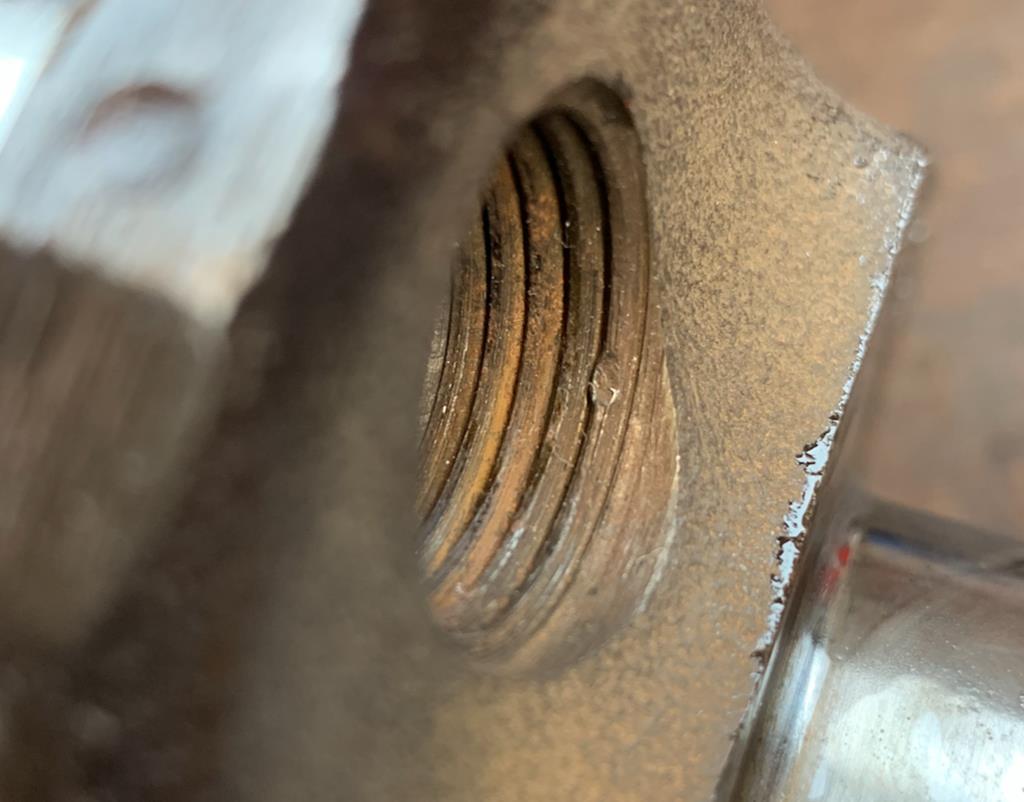
Thankfully the plug is much softer than the crank and the threads in the crank look fine, aside from the points where the original plugs were peened in place. It's an easy enough fix, will just set me back a few days. After a quick measurement and thinking it might be after a 13/16 UNC-14 thread, for which a tap seemed very hard to come by, I realised it was actually 1/2" BSP, which is much easier! Everything else is UNC/UNF on this engine, why do they suddenly throw BSP at me!
Anyway, I'm borrowing a 1/2" BSP tap off
Hobbawobba on Monday and will order 4 new crank plugs. Not worth risking it with the old plugs knowing they've had to force their way over the damaged threads when I removed them. It means a bit of a delay and I'll have to clean out the crank again, but it's thankfully not the end of the world.
Hopefully things can start going together this week


 I'm sure a modern new bike is pretty much ready to go right from the day you pick it up same as a car is now! It does always worry me when I see people free revving their bikes to the limiter when its basically cold to show off to their mates how it sounds
  Maybe I'm just a bit old fashioned when it comes to mechanical sympathy!


