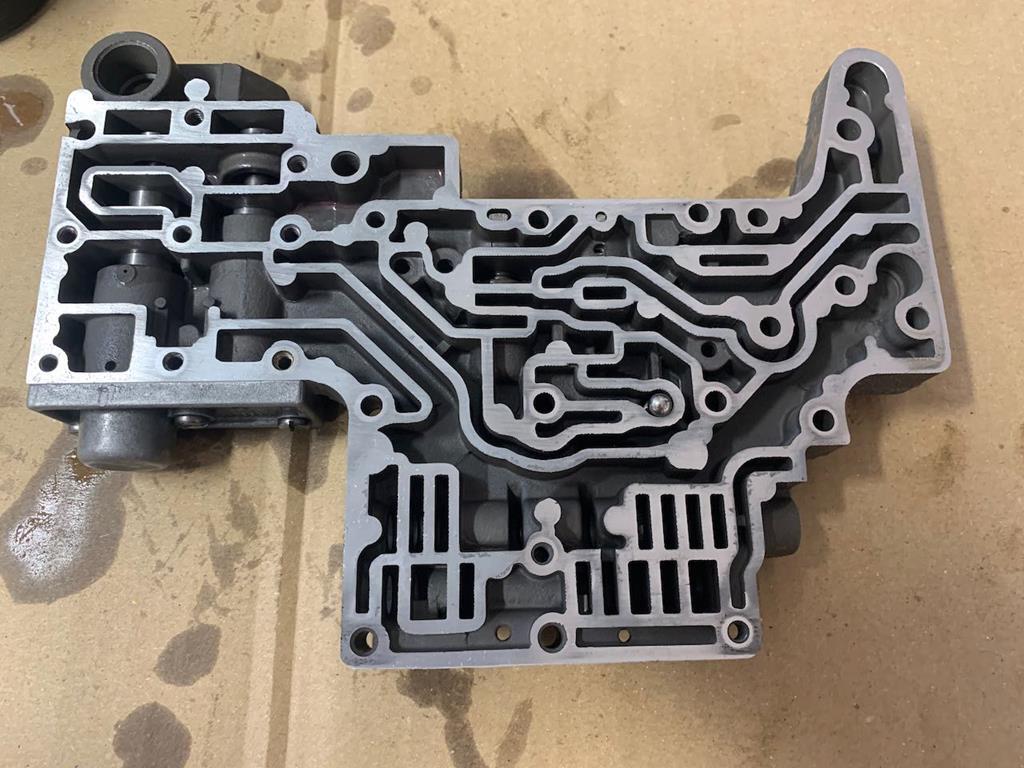
Thanks for the continued thoughts about cleaning the torque converter guys. Having done some more research myself, I've decided that any kind of 'cleaning' I could do inside the torque convertor by shaking around a bit of brake cleaner, would be a waste of time, and potentially just a risk of leaving cleaner stuck in there that could contaminate my new fluid. Looking into professional cleaning I've watched videos that show professionals cleaning convertors then cutting them open and there still being dirt inside, I appreciate this is normally as a way of advertising their rebuildable convertors but it still shows me that simply trying to clean out inside a convertor is very difficult.
There wont be any chunks of debris in there, as the failure was my park pawl and the gearbox filter will have strained any large pieces out before they could get into the convertor, what's more likely is just dirty old contaminated fluid. So I have simply drained the convertor as best I can and then what does seem to come up a lot is the suggesting of flushing through the torque convertor with the engine running, by removing the return line from the oil cooler and directing it into a bucket. You then just keep the oil pan topped up as it cycles fresh fluid from the pan through the convertor and them dumps it into your waste bucket. This I will attempt to do on first start up, so anything that's left in the torque convertor never drains back into my fresh pan.
I'm glad you're enjoying the thread
voucherboy. I think coffee is a wise choice as the thread is getting pretty long now and you might need some help staying awake! haha. Anyway, I hope you've caught up because it's time for a small update...
The big news this week is that I decided there was nothing for it, but to bite the bullet and spend some rather large chunks of money on the engine.

I spoke to Dave's Engine Centre, as recommended by
homersimpson and my friend
rossonza, and arranged to drop the block and heads with him so he could have a proper look at them. Before I did this I needed to just finish properly stripping them down.
The spark plug tubes on the head put up a bit of a fight, but were eventually defeated by use of the home made mega spanner.
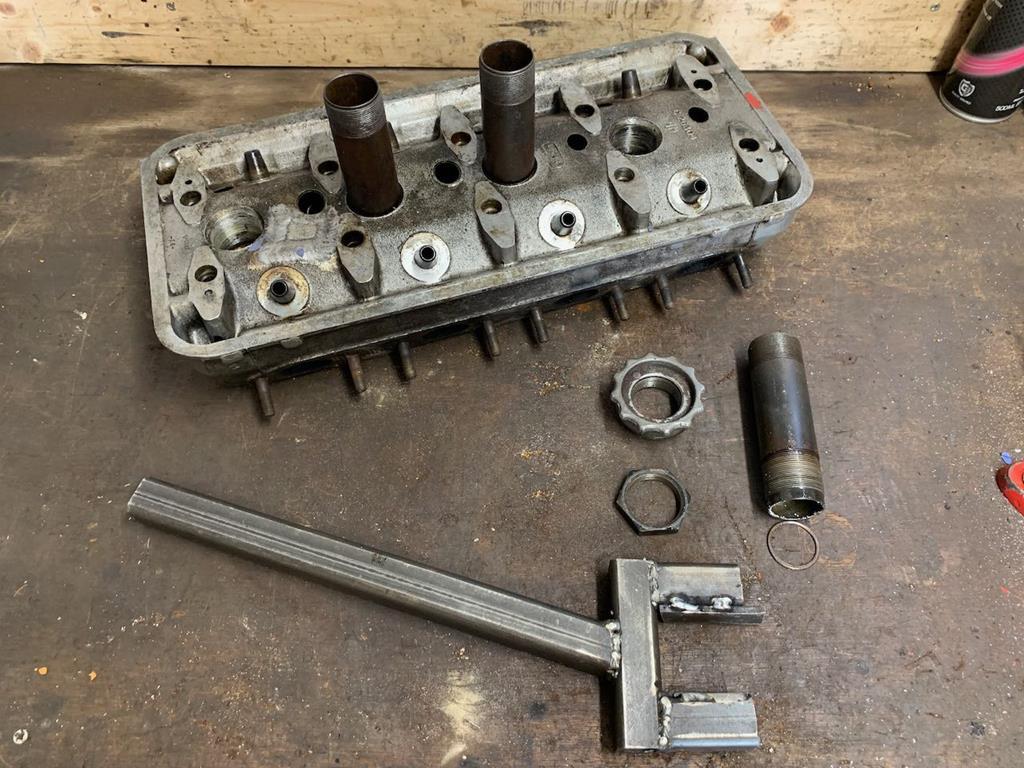
I also got the exhaust studs out and agave the heads a bit of a rough clean up.
On the block I needed to get the core plugs out, which revealed just how much crud was in the coolant galleries on this new block.
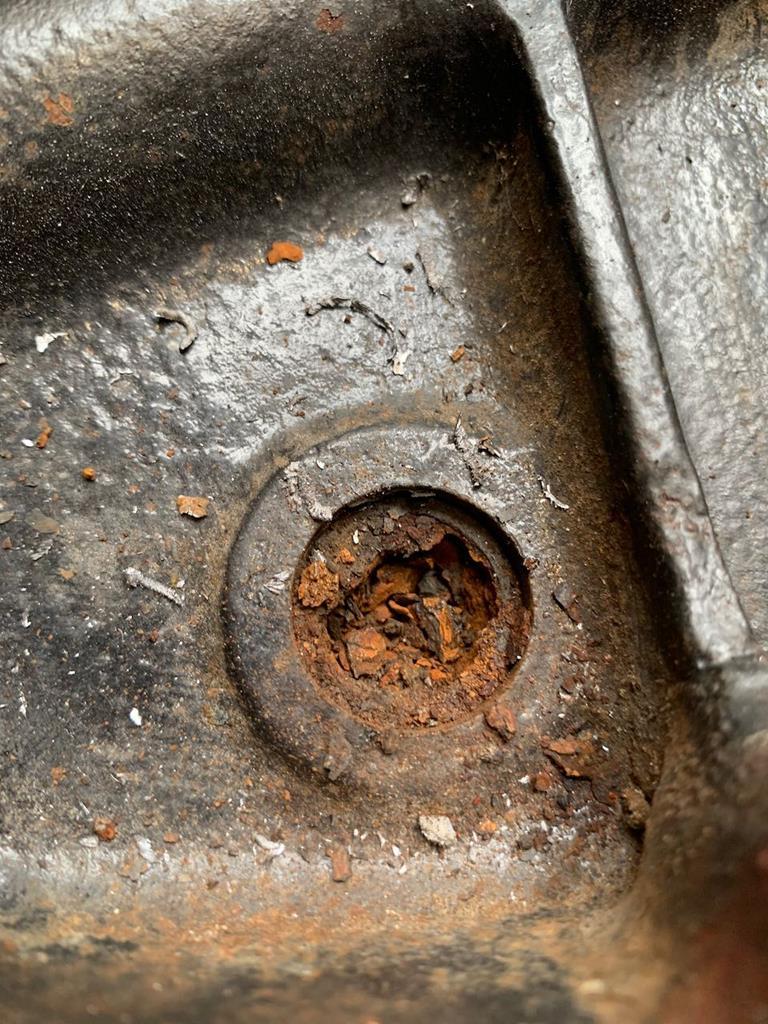
mmm nice. I spent a rather fun couple of hours with a hose and various jabbing tools blasting out all of the coolant galleries and chipping away at the rusty crud that had built up in them. It took a while, but I'm happy that I got it all out and this engine now stands half a chance of staying cool. I also gave the block a general clean down and de-grease.
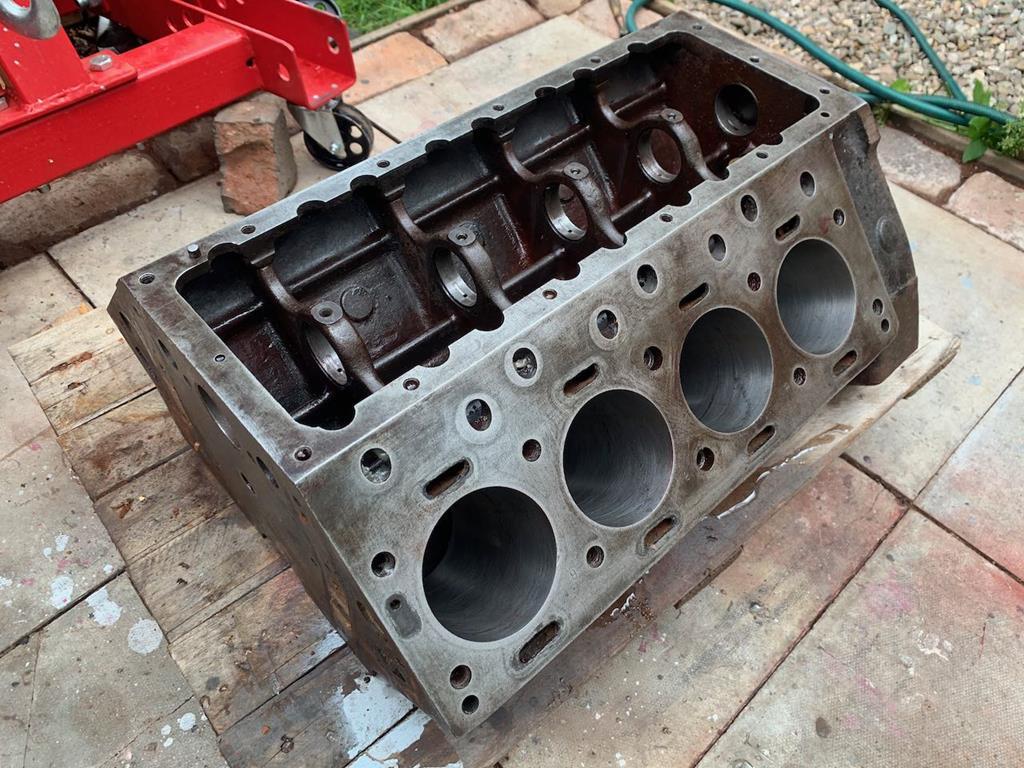
It looks much better, it doesn't feel fair to bring the engine block to this shop full of old oil and curse word. Same as it doesn't feel right to take a dirty car to an Mot, it just puts the tester in a bad mood! hahaha.
I loaded up the little Fiat with the heavy old v8 and trundled up the road to Studley. At the engine shop they didn't seem phased by what I was asking them to do and the prices they were quoting seemed perfectly reasonable. So I left it with them with instructions to bore the block out, to weld up the corrosion in the heads, skim the heads flat, to change the valve guides and recut the vale seats.
In order to complete this though, they will need the new valve guides (obvious I know!) and suggested it was best that I supplied the pistons I was intending to use so they could make sure it all measures up. Well if I was ordering the valve guides and pistons, the most expensive single item, I figured I might as well just order all the engine rebuild parts I'll need in one big order then its all ready to assemble!
On the pistons front, I had a change of plan. I had been fairly convinced I was going to use the Triumph motorcycle pistons, as they were cheaper and had that small compression bump from 8.2 to 8.5, but at the last minute I decided to opt for 'normal' Daimler pistons in a +60 oversize. I did this for a couple of reasons. Firstly, when I actually came to purchase the Triumph pistons it became apparent that the cheaper prices I'd seen for them didn't include VAT (why do shops do this grrr) add to that postage and the price for a set of 8 pistons was only coming out about £50 cheaper than David Manners Daimler piston sets. Secondly I'd read some negative reviews about the quality of the rings coming with the cheap Triumph pistons. And finally, I've found that there really is not such thing as a 'straight swap' when it comes to custom work like this. Whilst I've read of people using these pistons, I don't know the real details, there could be all kinds of pitfalls, little details that need to be addressed, etc which the experienced engine builder can take in their stride but for a first timer like me, it's likely to be simpler and cheaper in the long run to just use 'normal' Daimler pistons.
The valve guides I ordered have been modified to take modern style valve stem seals. The heads originally used the old O ring type, and basically it didn't work. These engines are known for burning oil and smoking and this old valve steam seal design is more often than not the culprit.
All in, I ordered the +60 pistons, main bearings big end bearings, thrust bearings, valve guides, valve stem seals, new valves, new valve springs, core plugs and a complete engine gasket set. Which is a big old shopping list. So I end the week with less money in the bank, but with all of the big parts I need to get this car back on the road! haha.
As the block is away being worked on, I've spent some time over the past couple of days prepping other components ready for it's return. The main thing I've done is polish the crank.
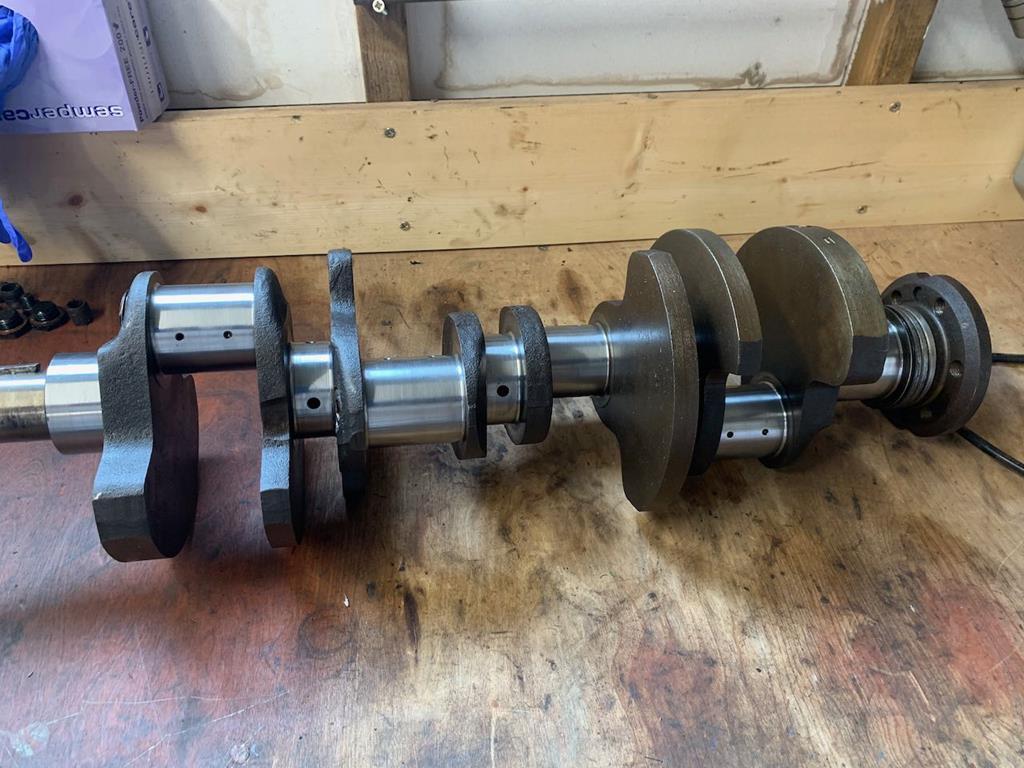
The practicing I'd done on the spare crank paid off, because I felt reasonably confident that I knew what I was doing! I'm pleased with how it's come out. I did find that there was a chamfer on the oil holes, it was just a bit smaller than on the other crank. I decided in the end not to open it out, but I did make sure the edges of the holes were smoothed over a touch so there would be no sharp corners to scratch the bearings.
I've still got to clean through the crank's oil ways but I figured I wouldn't that that just yet, as I've still got other dirty work to do, then I can have a big clean up of all the parts.
Speaking of cleaning, the last major dirty components to sort out are the rocker shafts and this afternoon I started on them.
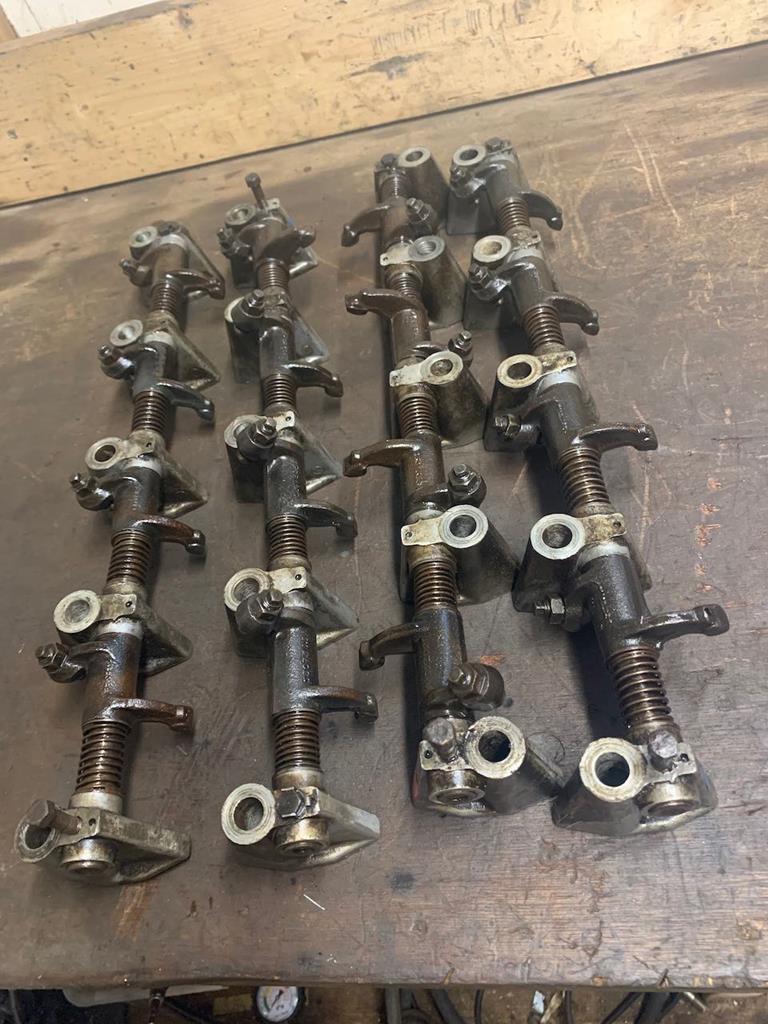
They are a bit corroded and generally gummed up with burnt on old oil. I got the first one stripped apart and generally cleaned out and made sure all the oil ways were clear and that the rockers moved nice and freely on the shaft.
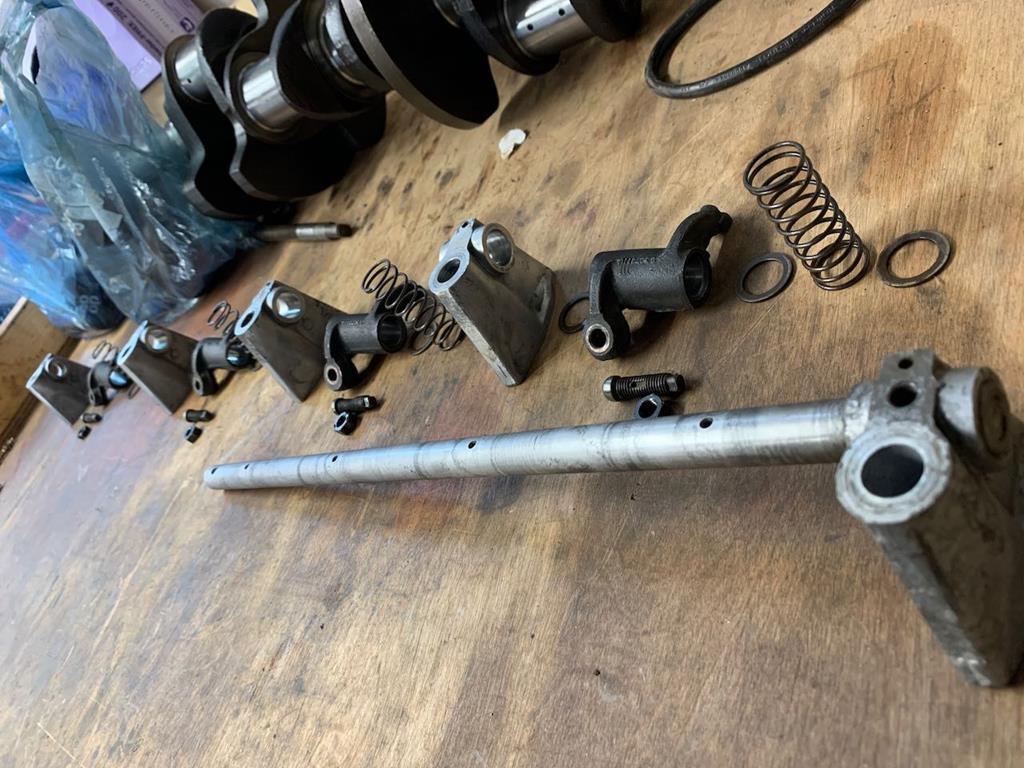
As these parts have to go back together in the right order, and they look quite similar but have different oil drillings for the different rocker shafts, I figured stripping them down one at a time and then reassembling while I had the others for reference was the safest thing to do. This was a good plan, till I realised I should really be putting them back together with assembly lube... and that's still in the post. So I stopped there for today.
I feel quite a lot of pressure about this engine build, as there's more money riding on it than any other engine based stuff I've done before. Normally with the engines I mess with, if it goes really wrong I can just bin it and buy another for a couple of hundred quid. That will not be the case with this one! But overall I think I'm excited to get this thing together and hopefully be able to go back out and drive again in the not too distant future.

