Time for another progress report, and the good news is another couple of jobs ticked off the list but it's not all been plain sailing!
The bonnet paint prep progressed fairly smoothly, and a few days ago I decided it was time to string it up and get it painted.
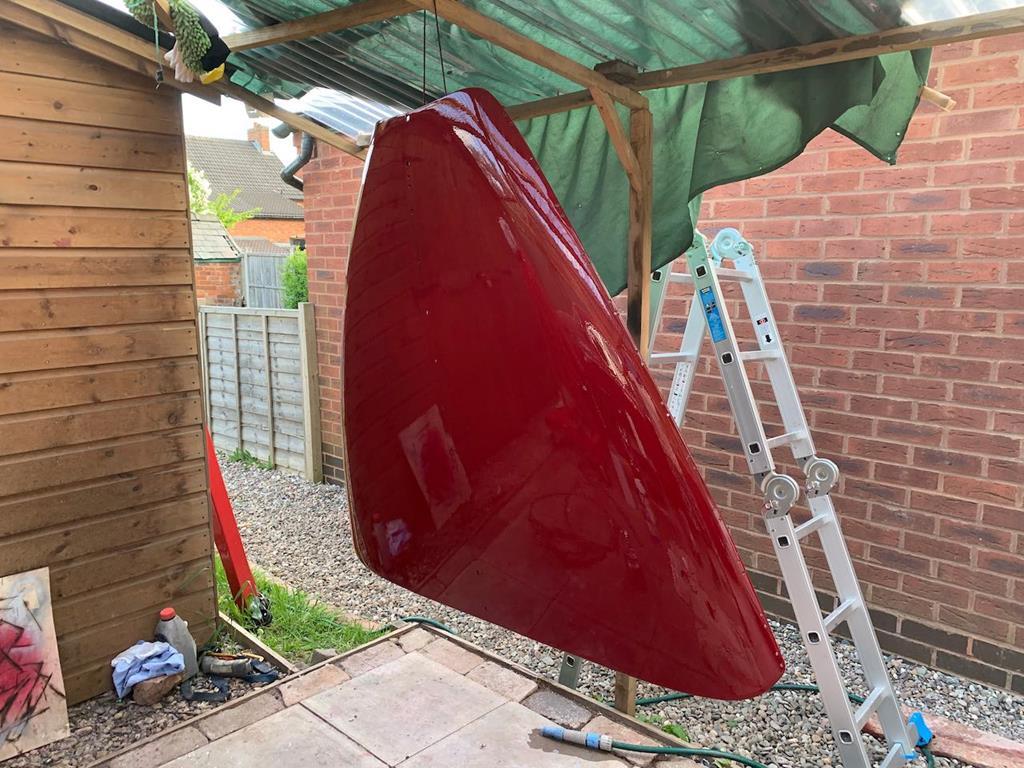
It looks ok there, but all was not well. I thought I had a good idea by hanging it to paint it, this meant I could get round the corners and paint the new bits of frame and the main surface all in one go. It also meant I wasn't likely to drip any paint on the flat surface, which is something I've done before while trying to paint large surfaces like this laid flat.
But, it was a bit windier than I would have liked on that day, so I tied the bonnet back to make sure it wouldn't swing. This left it slightly overhanging, which in hindsight was an error as it was awkward to get the spray angle right and once the paint started to run it wanted to drip away from the panel. I also hadn't accounted for the fact that in the time between hanging the bonnet up and then getting the paint mixed up and the spray gun ready, the sun had moved and was now right in my eyes while I was trying to paint. Finally to compound my errors, I had decided to use a different brand of clear coat as I had it in the back of the shed, and it went on a bit differently.
The end result was considerably more runs in a single panel than I've ever made before. I felt quite annoyed with myself.
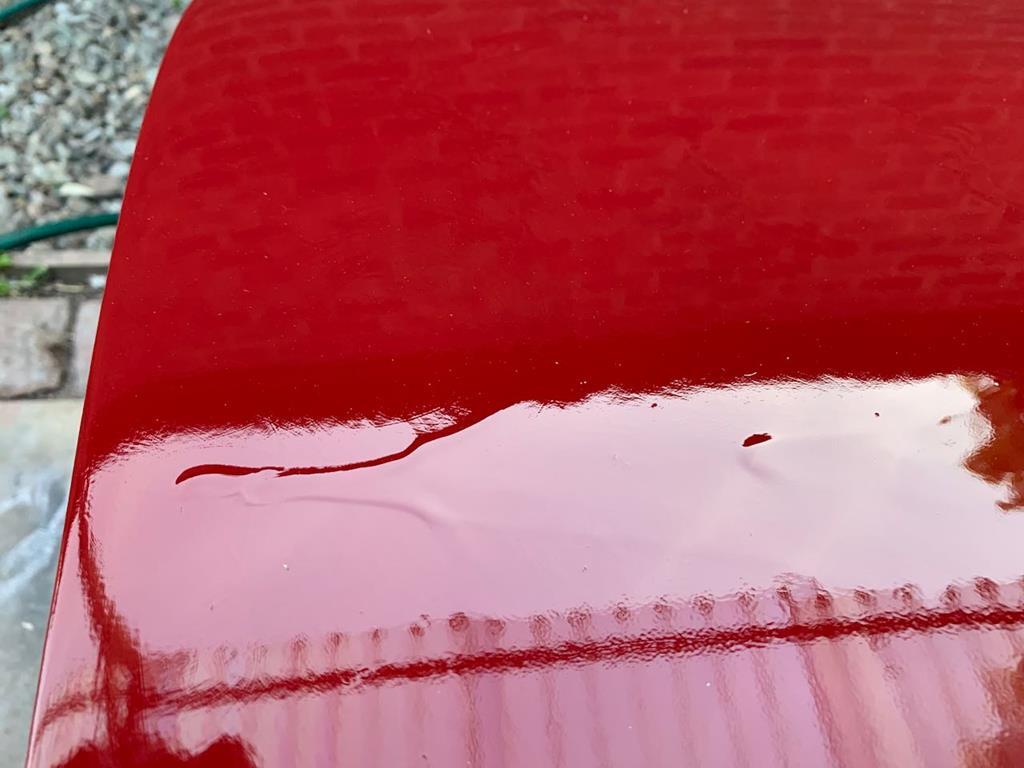
Thankfully the runs were only in the clear. As soon as I saw them, I was able to take the bonnet down and lie in flat propped on a stool. This was while the clear was wet so the runs did flatten a bit due to gravity.
A few days later I crossed my fingers and broke out the sand paper to see if the runs would sand out, or whether I was going to need to repaint it. And the good news was that it's mostly ok! There's a couple of imperfections but nothing any worse than the rest of the body and not the sort of thing you can see without hunting for them.
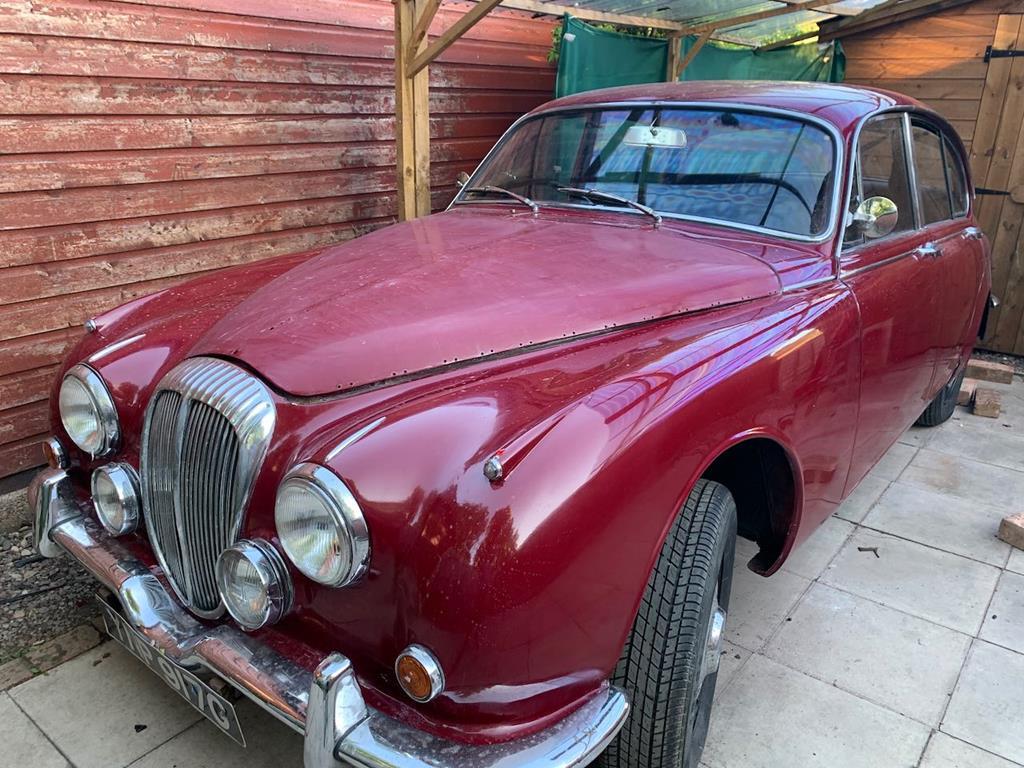
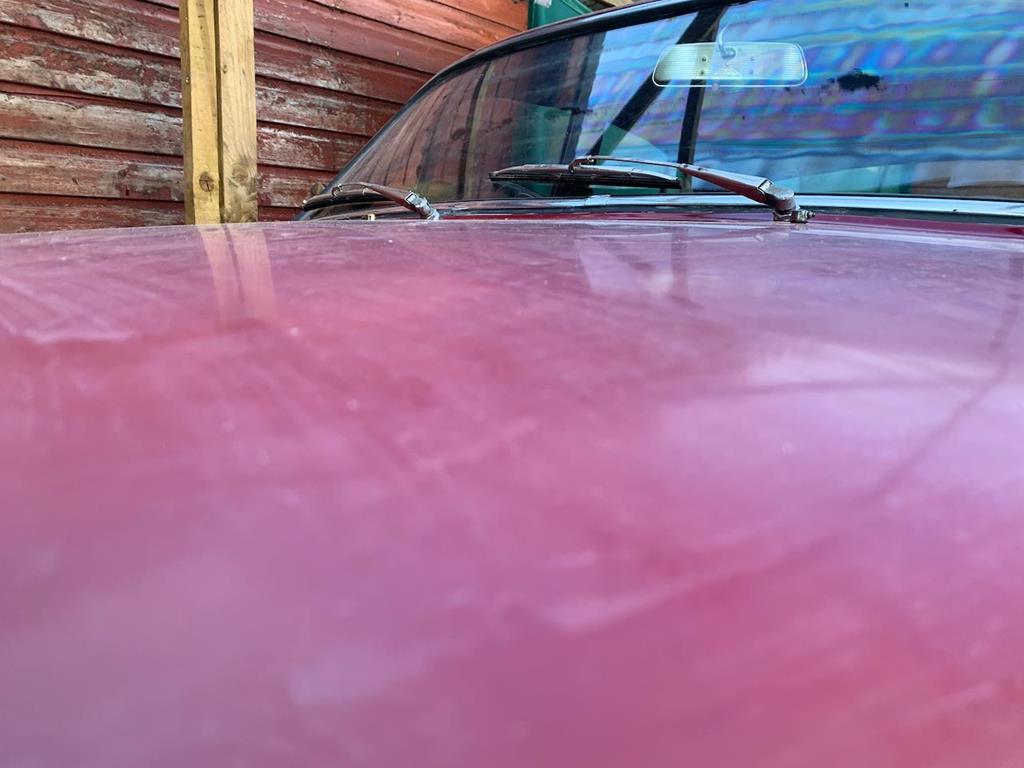
It's going to have to stay like that for a couple of weeks now to fully cure before I polish it up shiny like the rest of the car.
Next job was to fit new quarter light seals. On the short drive I managed in the car there was quite noticeable wind noise coming from the quarter lights, and looking at the old seals it's not surprising that they didn't seal great...
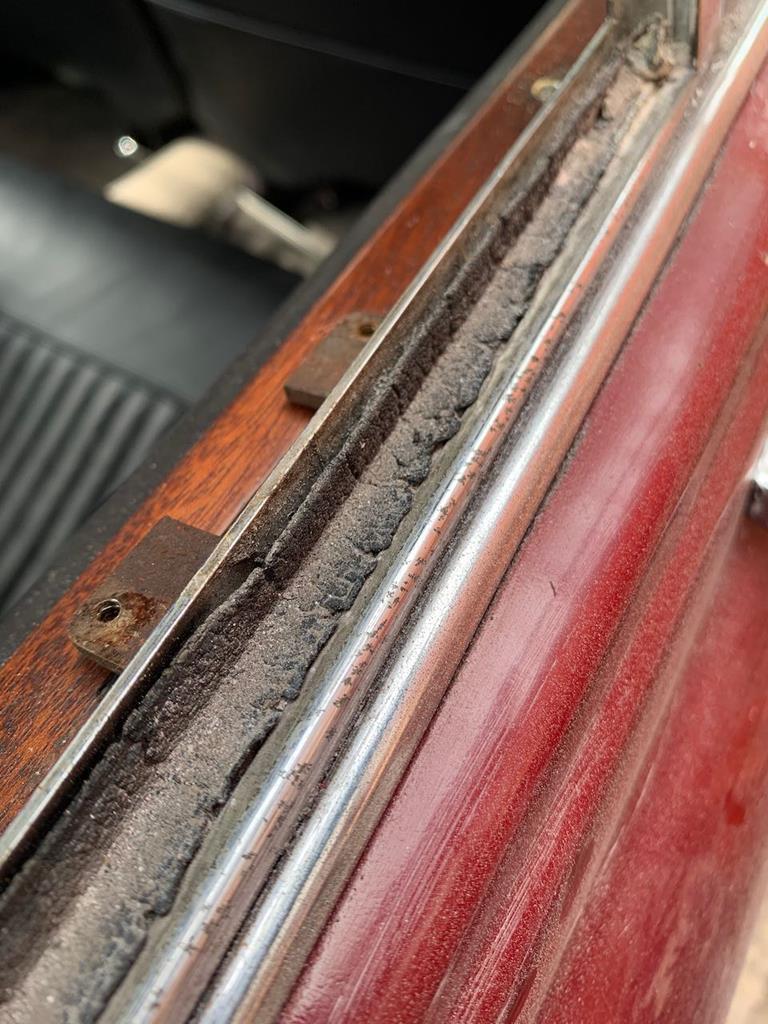
The rears were a pretty easy thing to change, especially once I've got the knack of how to get the new seal seated right. All I had to do was take a couple of screws out of the window frame, then the whole quarter light comes out and the old seal is pulled out and a new one just push fits into place.
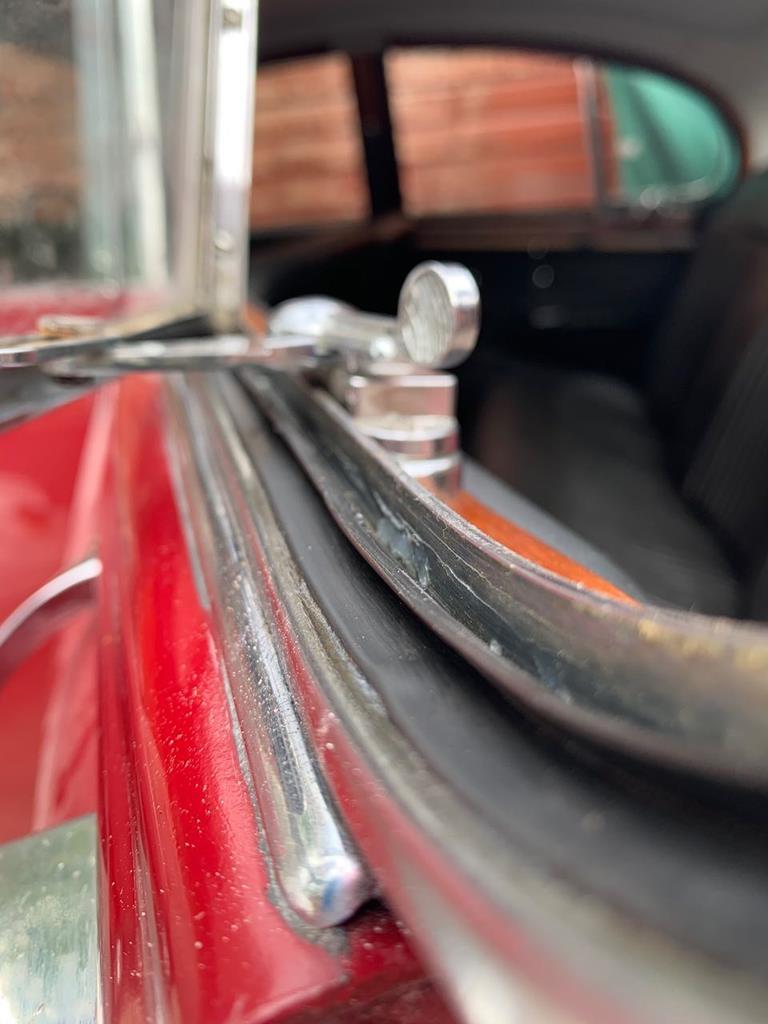
The front was a little more complex. The door card needs to come off, which allows you to access a nut inside the door frame which holds the mechanism that makes the window 'click' into different opening positions. Then you can unscrew the other hinges and then it's much the same as doing the rears. Here is a comparison of the passengers new and old seals.
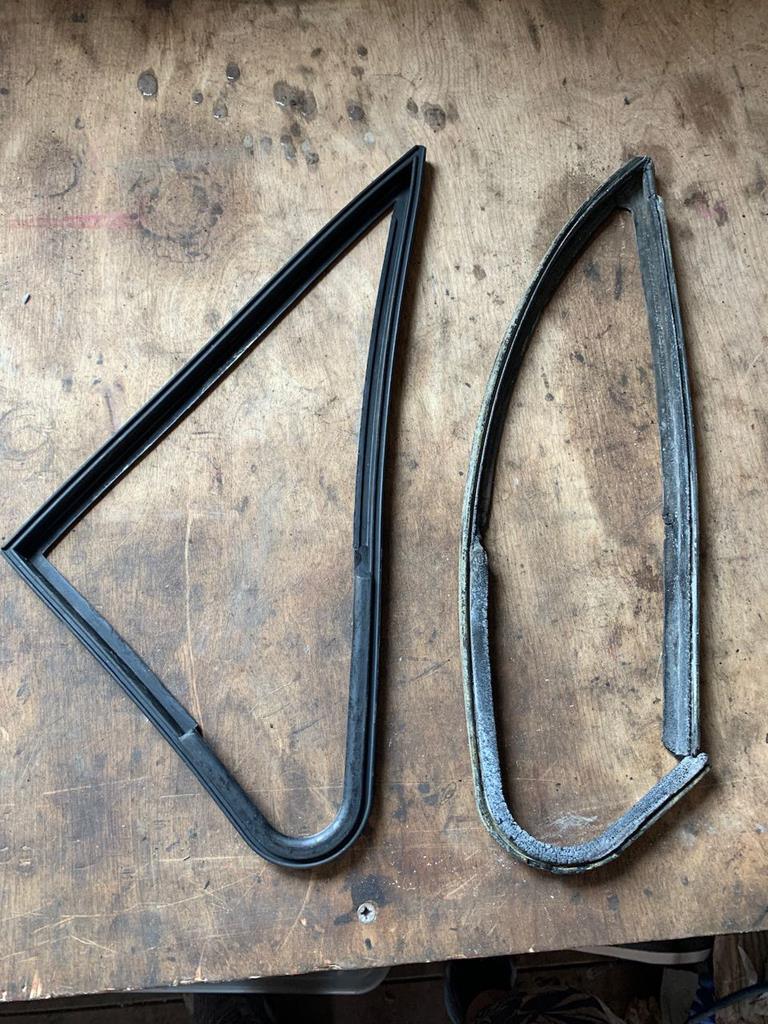
As you can see, well worth doing, but not quite as bad as the back. Not really much to see, but here's the passengers seal fitted. Still need to put the top of the door card back on here.
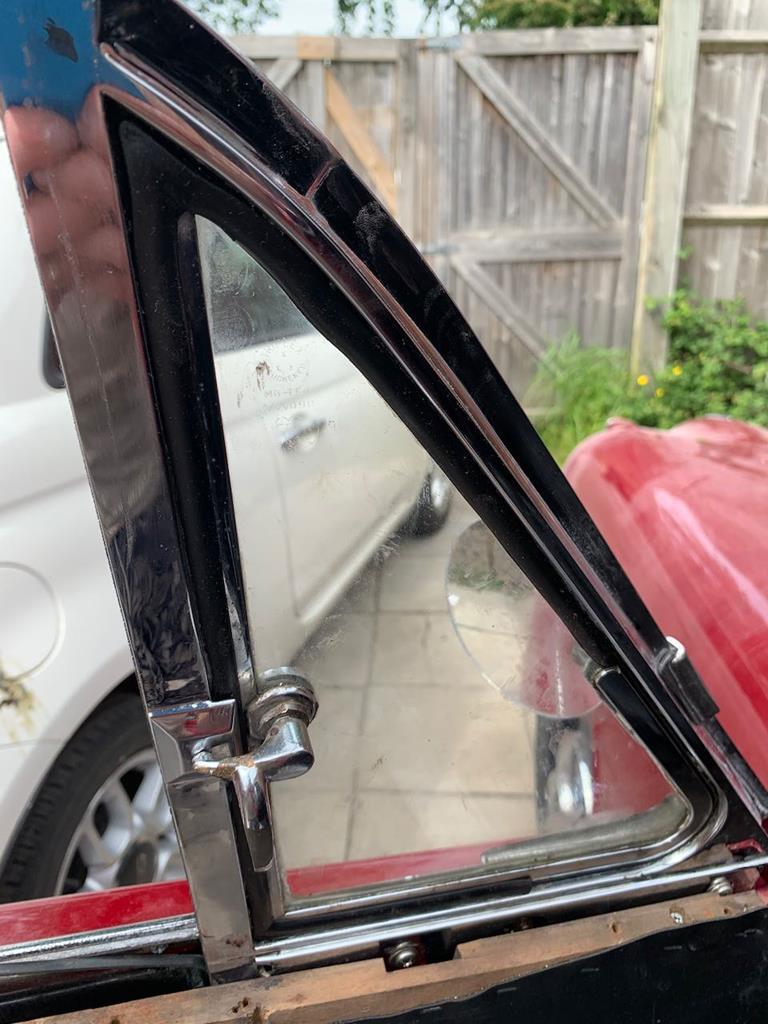
So the final seal to do was the drivers side front, you can see where this is going... as I tried to undo the awkward nut up inside the door there was an ominous snapping sound at which point the spring loaded mechanism exploded as the bottom sheared off the quarter light frame. Urrgh.
Nothing for it but to carry on removing the quarter light and hope its repairable. But it wasn't ready to give up the fight just yet. As well as the nut holding the mechanism together, there's a roll pin holding a collar that needed to be removed. The other side had come out with no hassle, but that was not the case here. I gave up on trying to drive it out and attempted to drill it out, and completely failed there as the hardened steel roll pin was just blunting brand new drill bits. So I gave up for the night.
Armed with fresh Youtube tips and 48 hours perspective, I had another look this afternoon. According to various dubious videos I watched, the way to drill hardened steel, is to sharpen a masonry drill bit. Sounded like one of those stupid things you'd read and would turn out to be nonsense. But to my surprise, it worked quite well! It wasn't like drilling though wood or something, it was fairly slow going, but the bit was cutting with every turn and not blunting. After a minute or so, I was half way through.
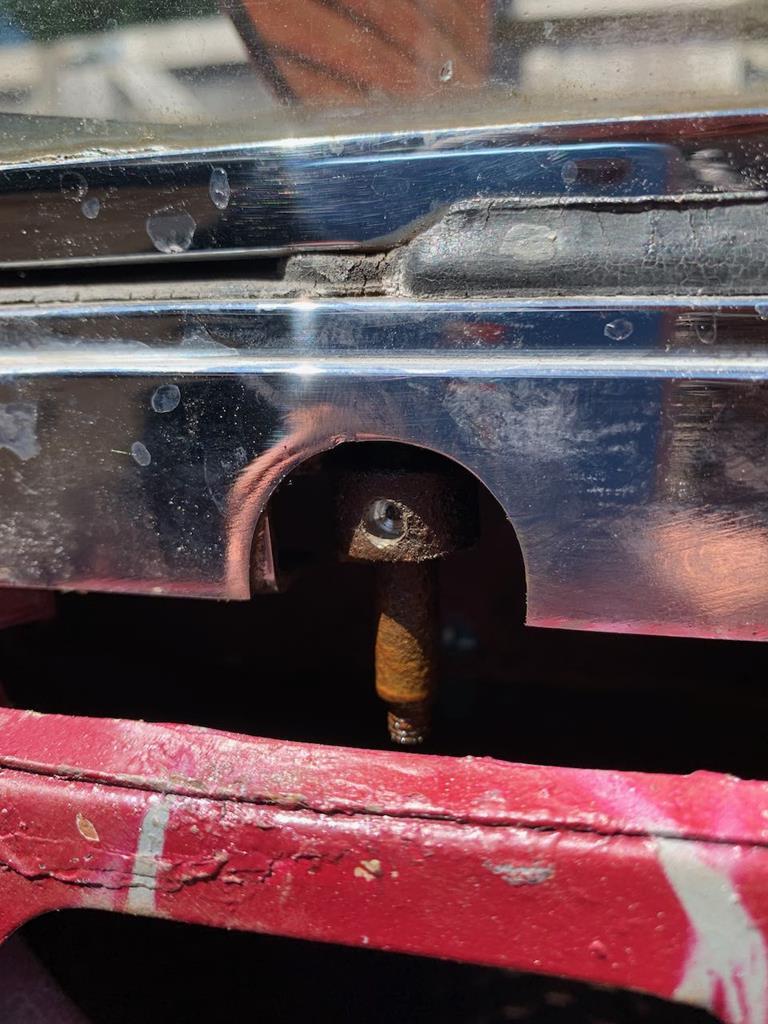
Not long after I had the roll pin drilled all the way through, so would the collar now slip down so I could finally remove the quarter light? No chance. I hammered on the collar as much as I dared but it was stuck fast. So I got a hacksaw blade in there and chopped the post off the frame. Which left me with the quarter light frame in 3 pieces.
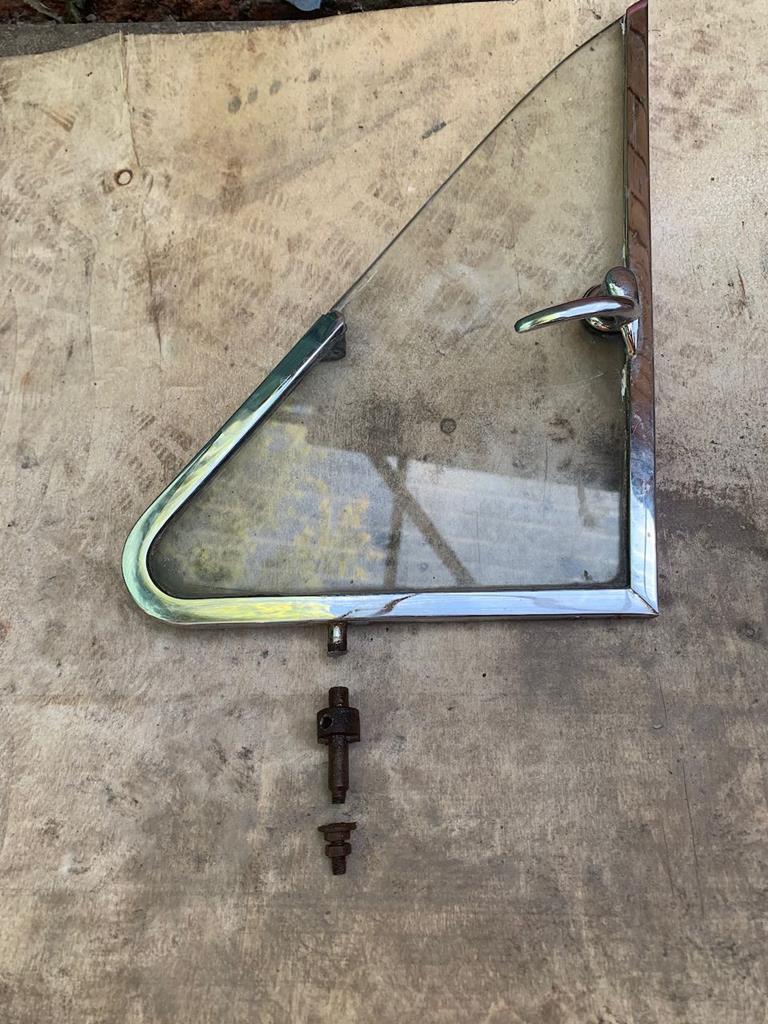
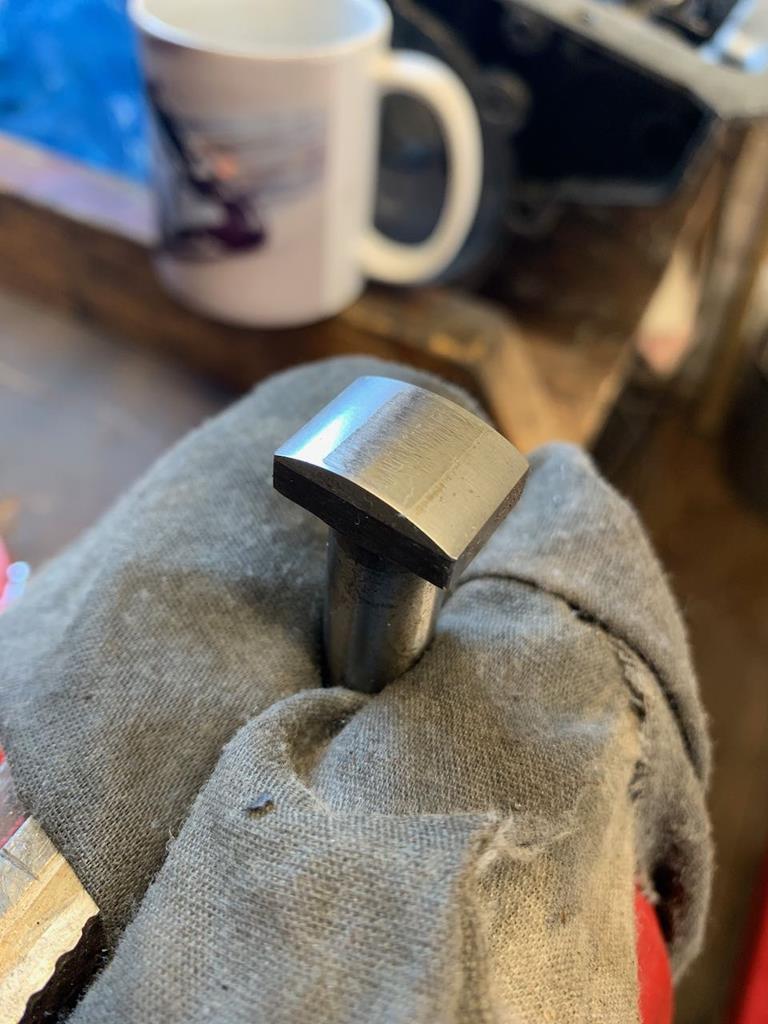
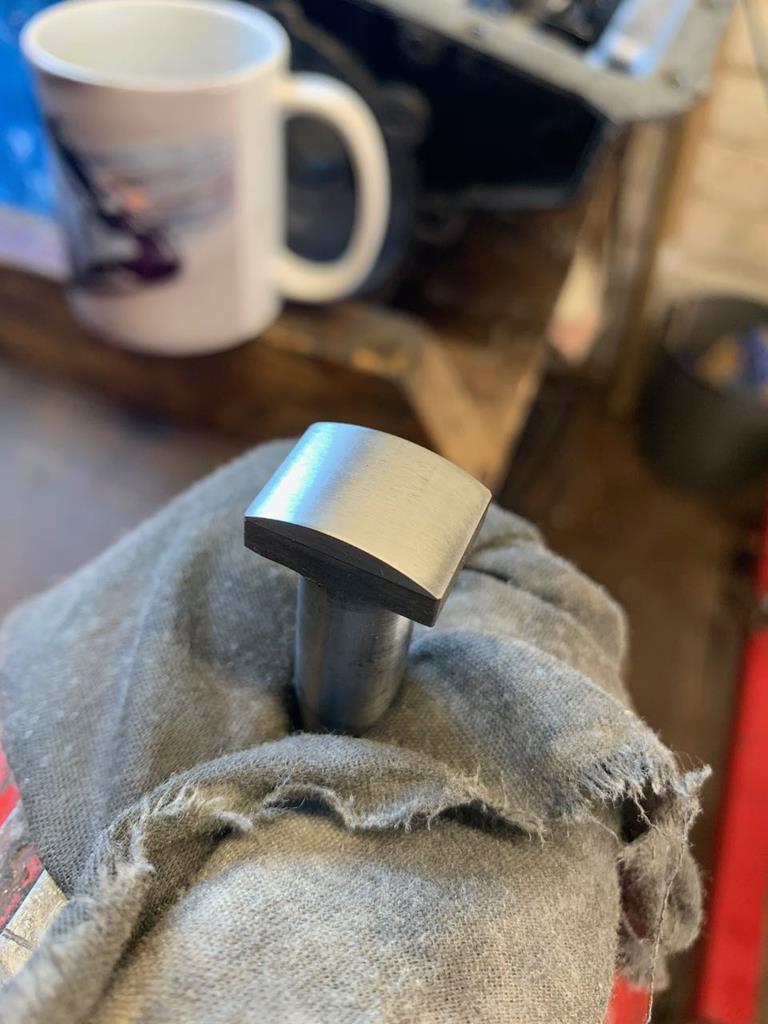
Thankfully it wasn't too tricky to find a suitable bolt to weld to the frame. The seized collar was no match for the press and so that was saved and transferred over with a new make shift roll pin. I stole a suitable spring from an old tool to replace the one that had sprung out and gone missing, and finally I could get back to plan A of 'just' changing the quarter light seal.
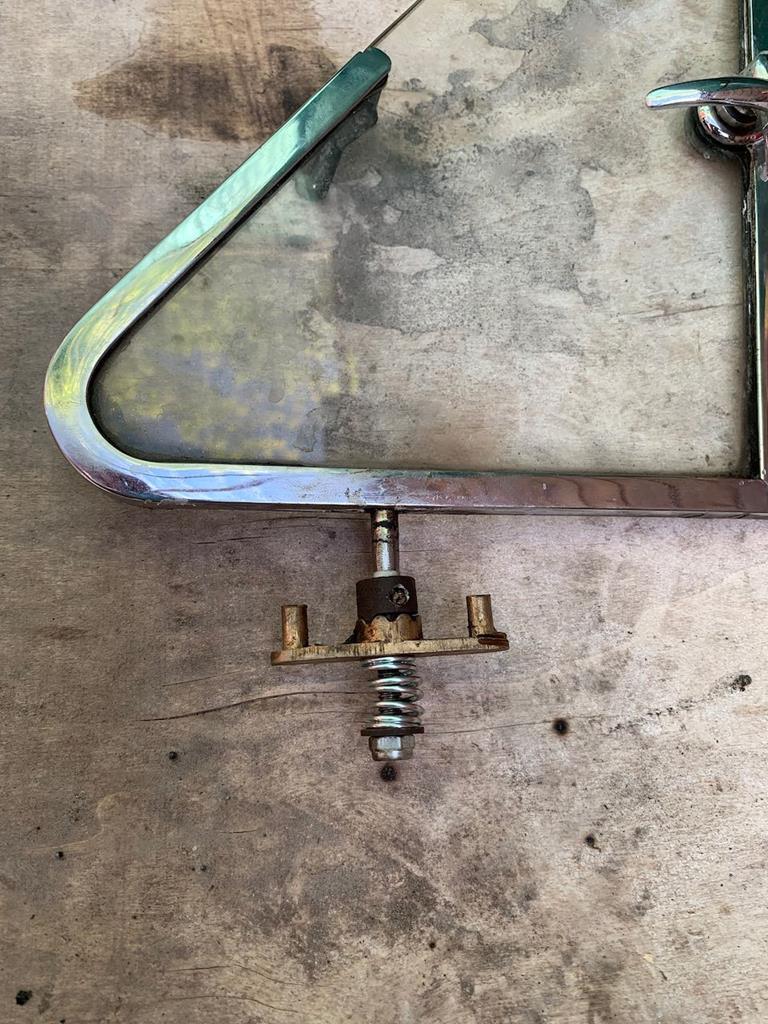
Which didn't take long.
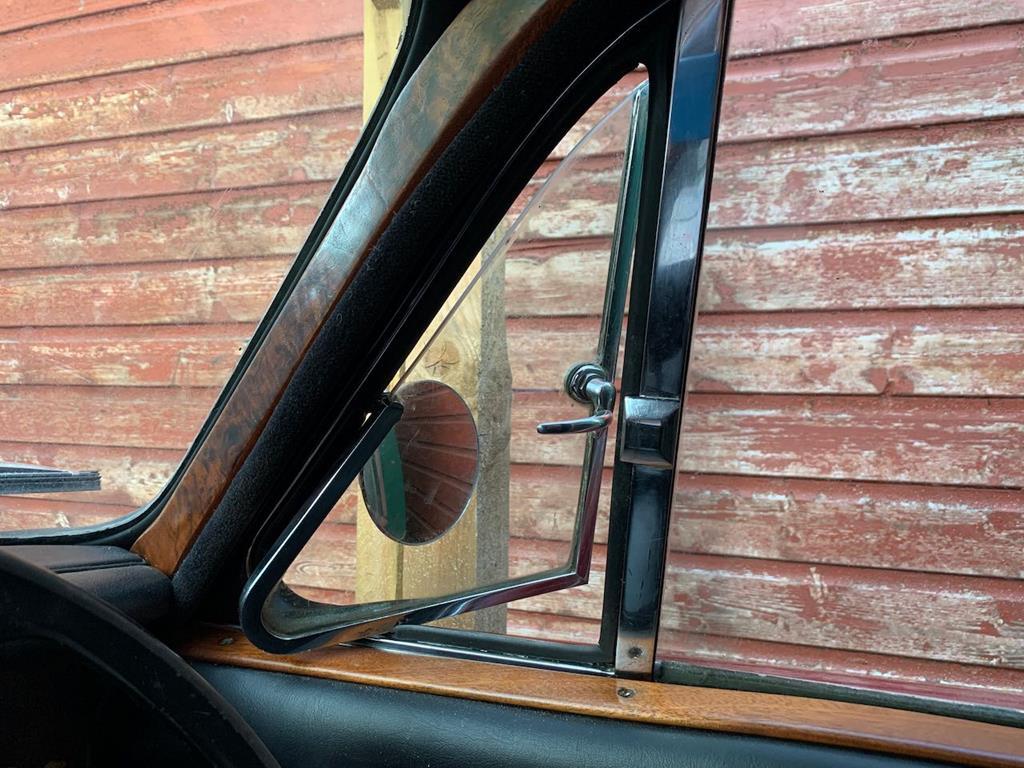
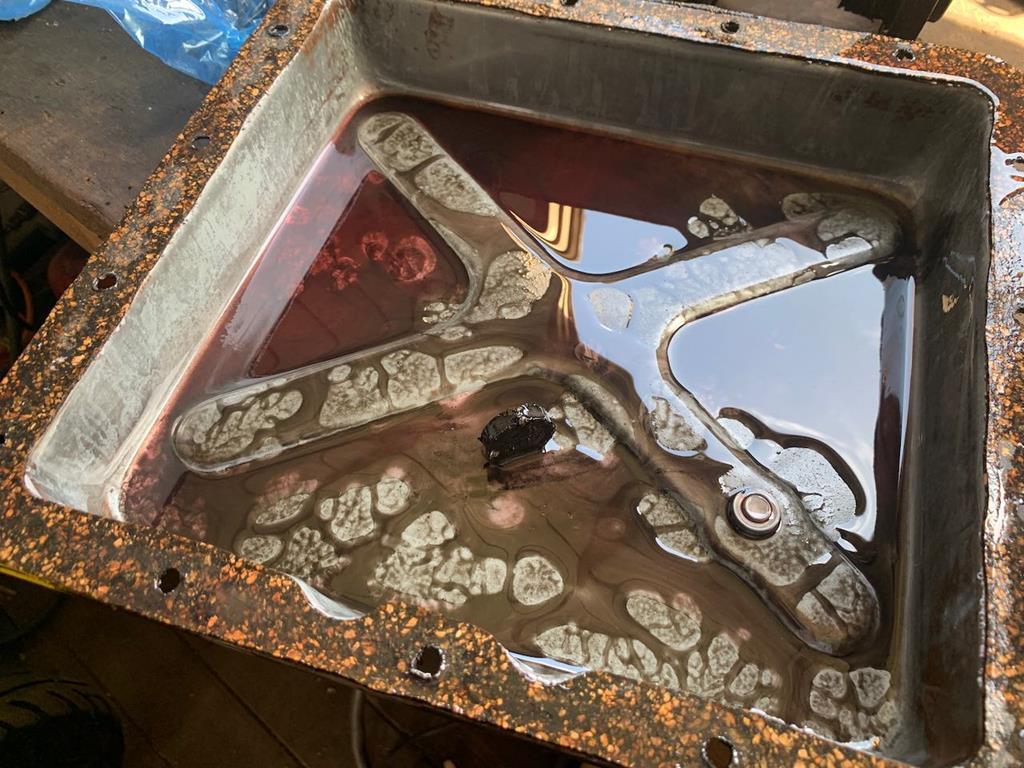
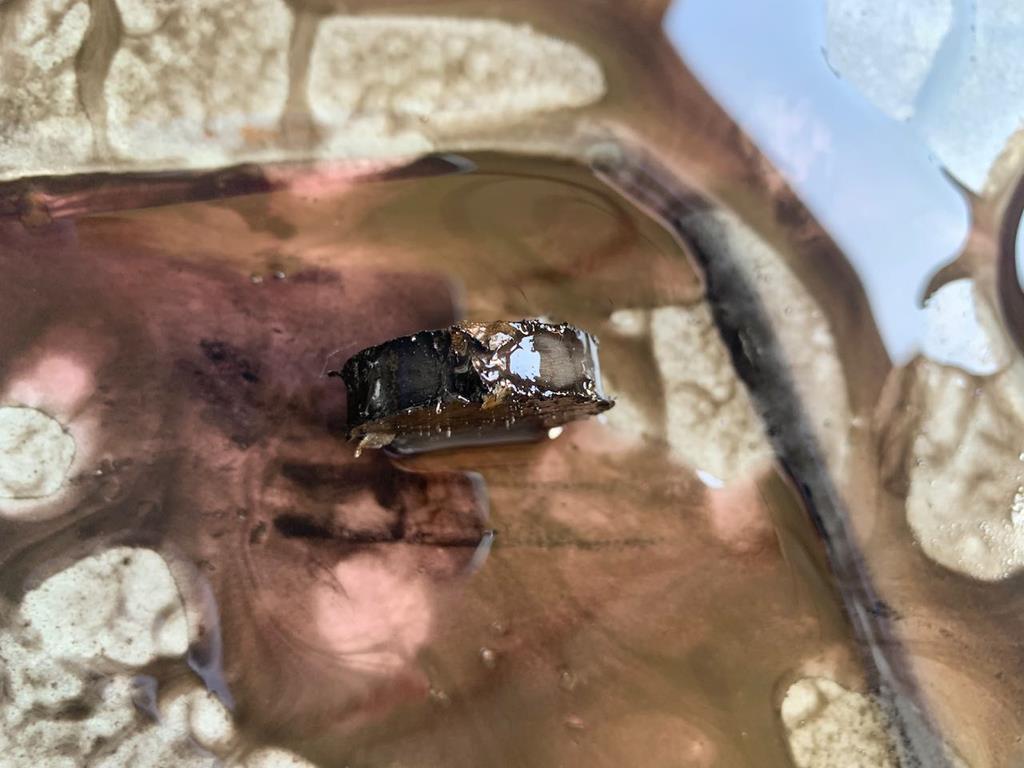
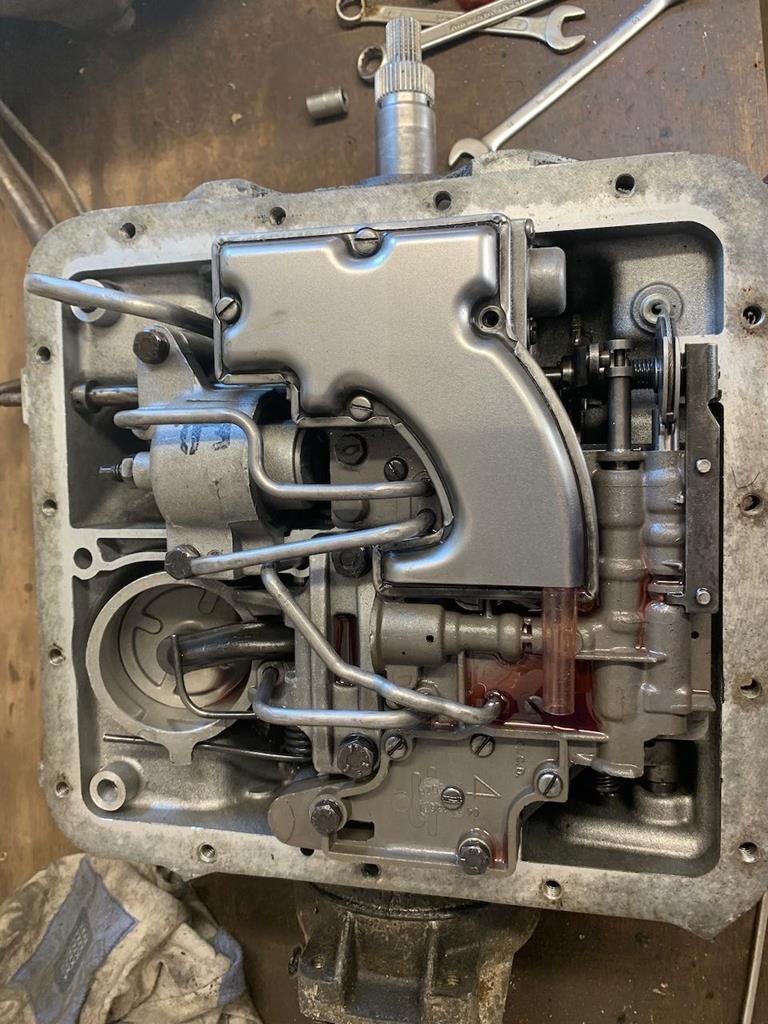
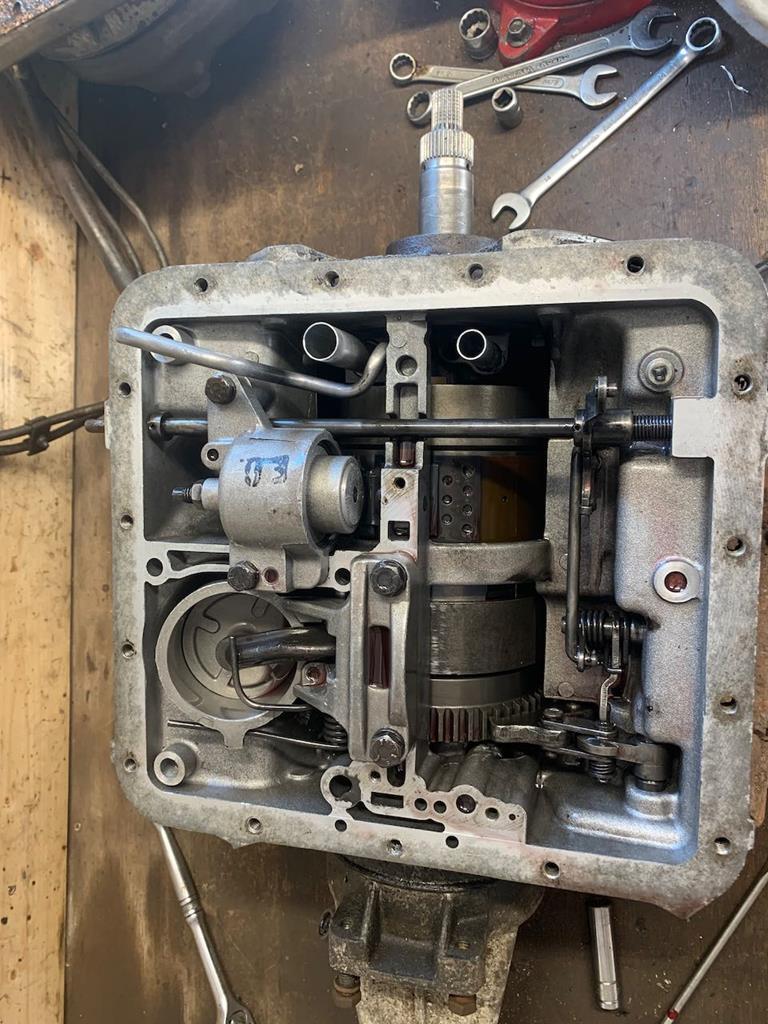
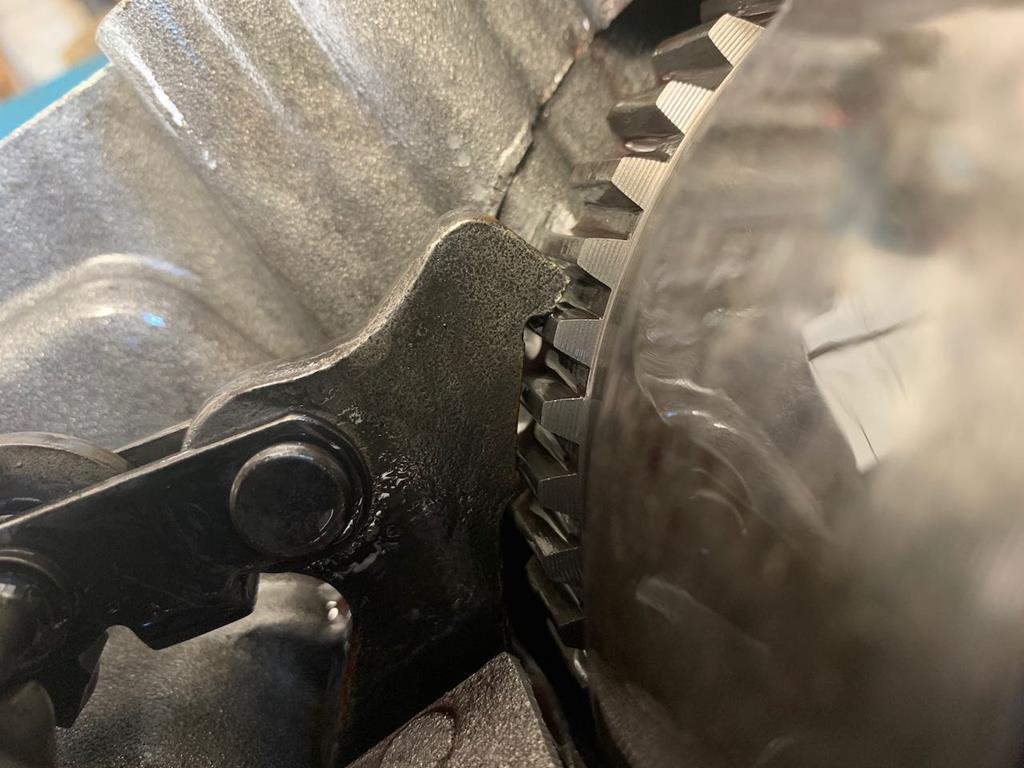
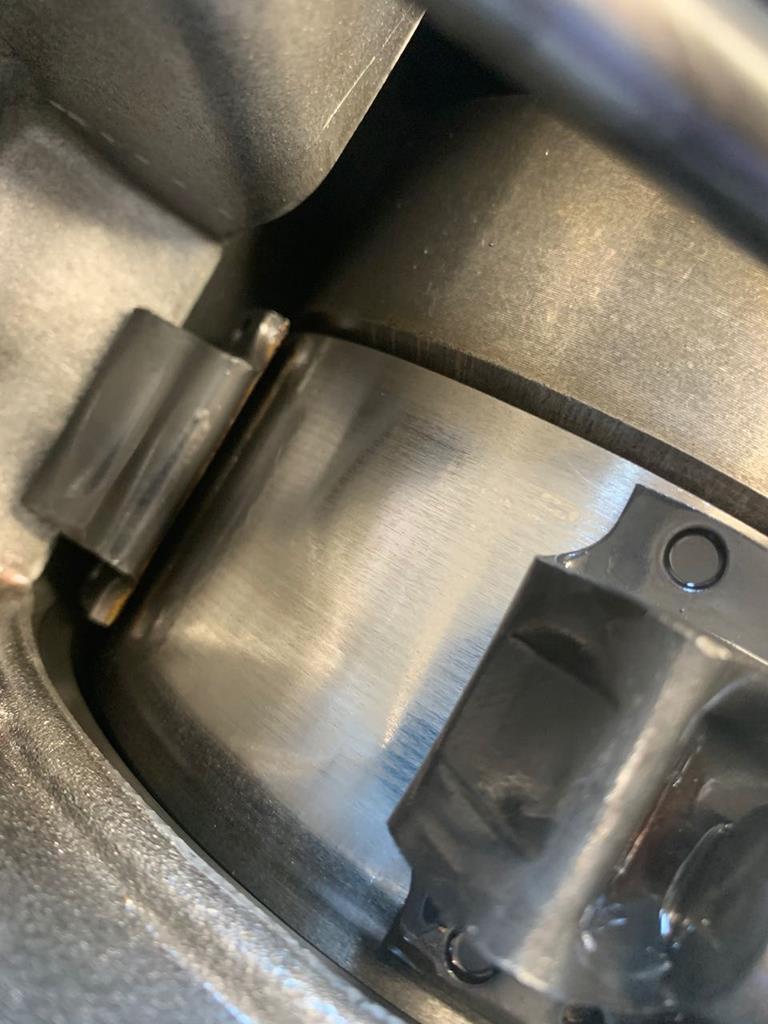
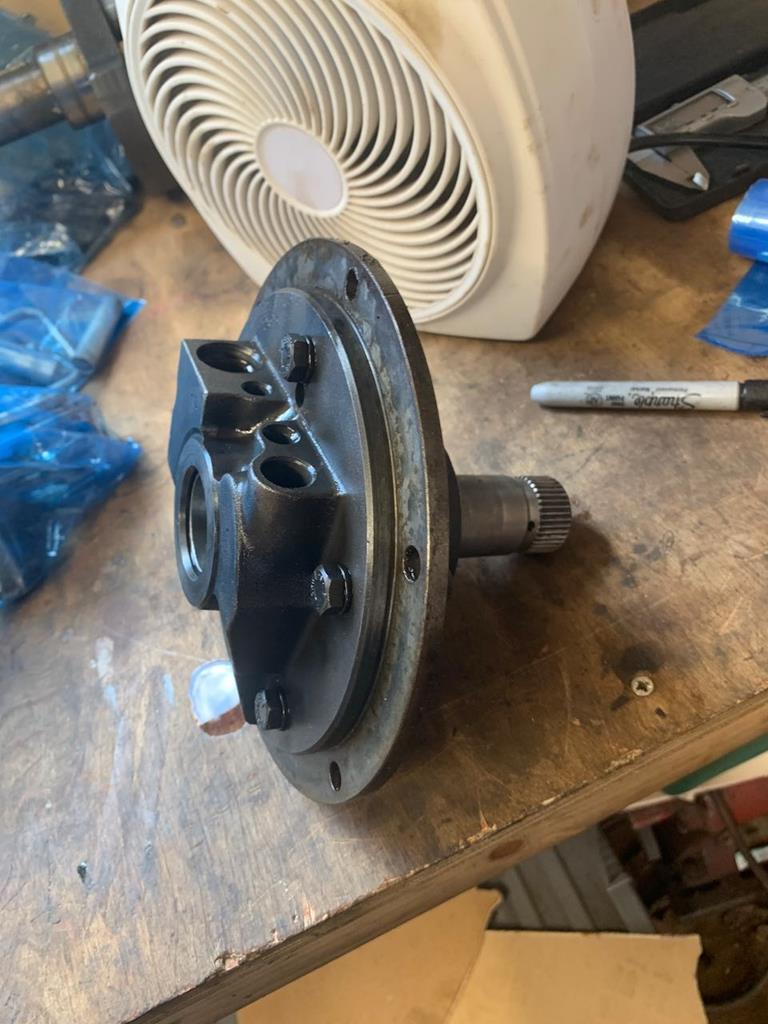
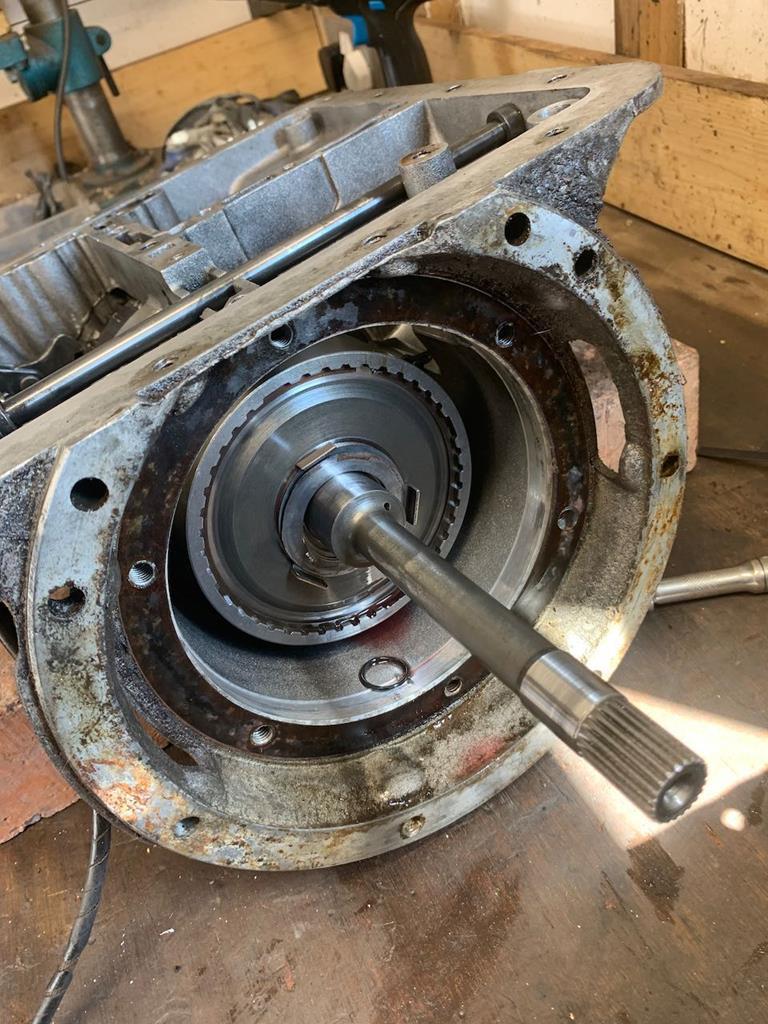
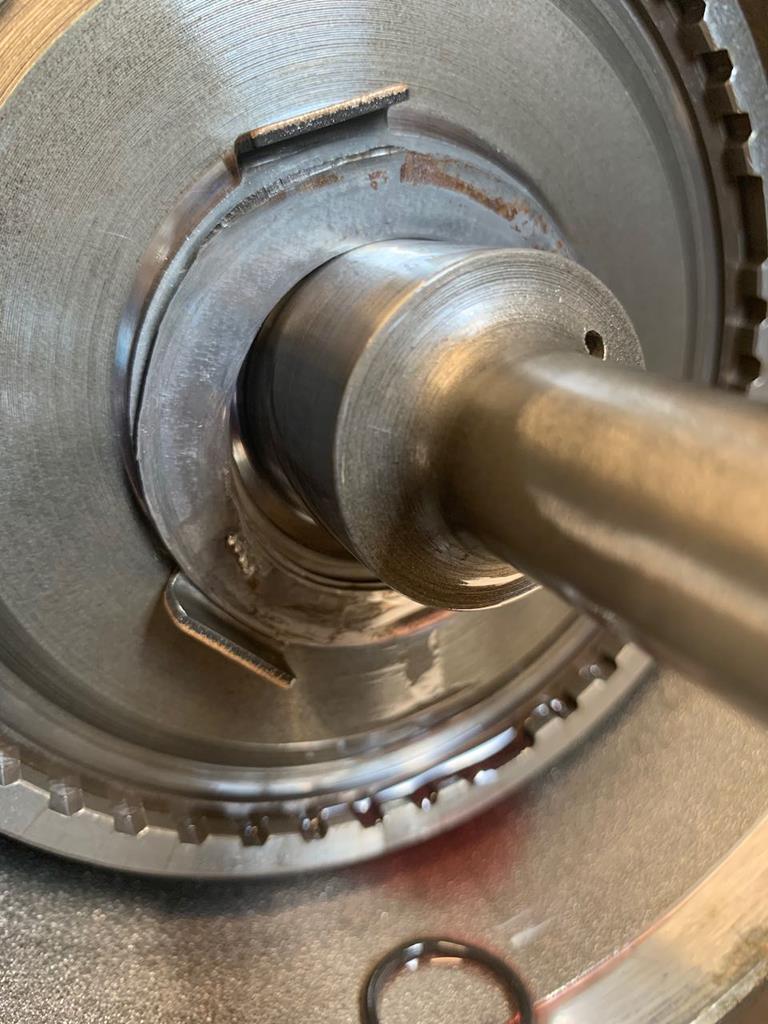
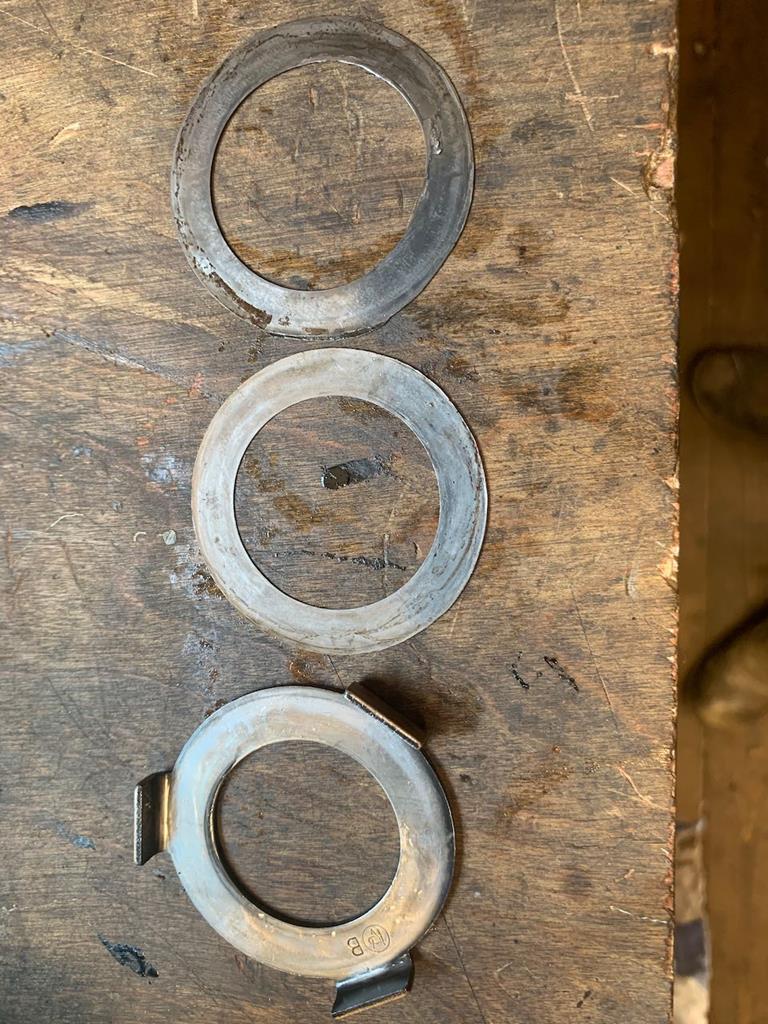
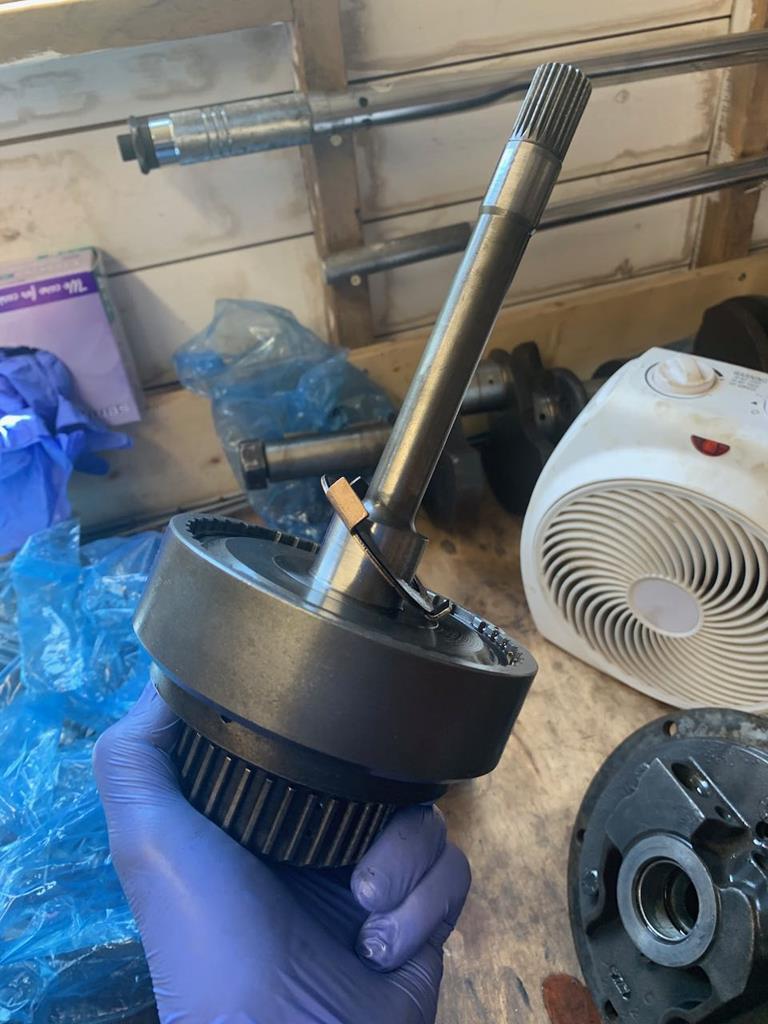
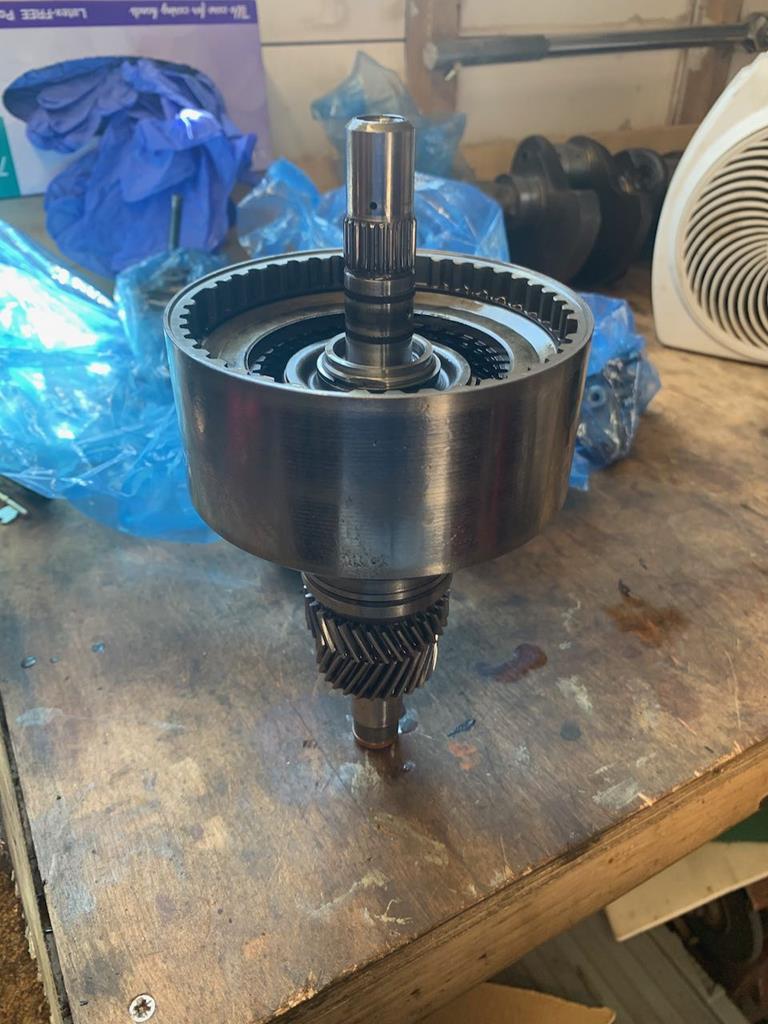
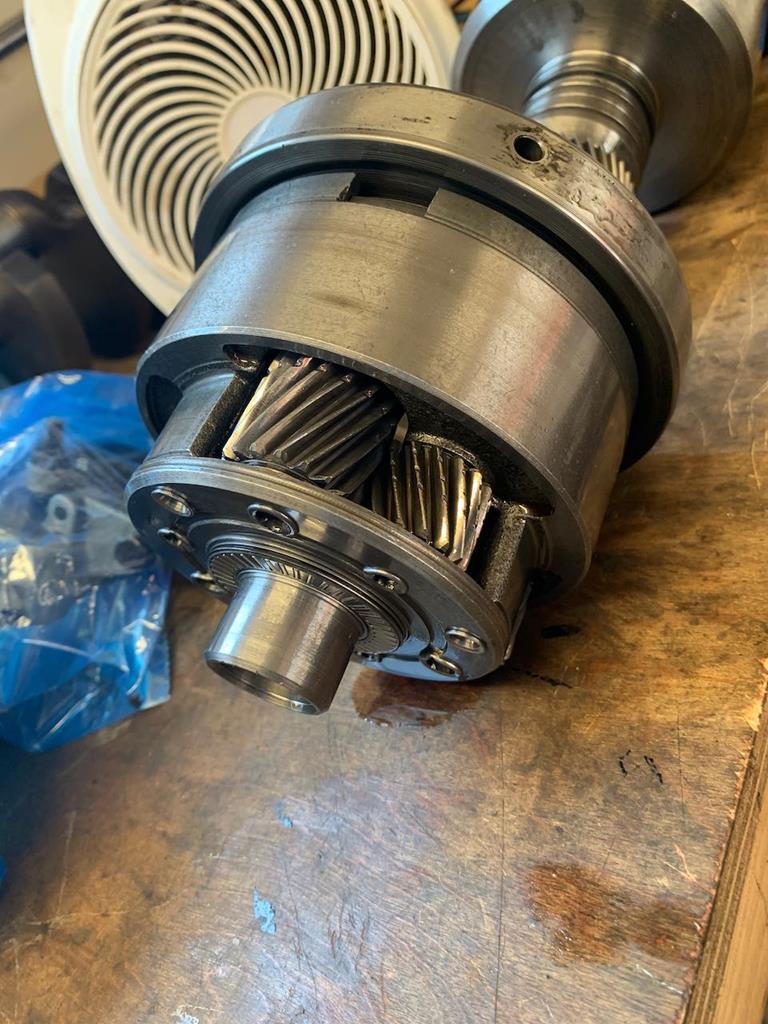
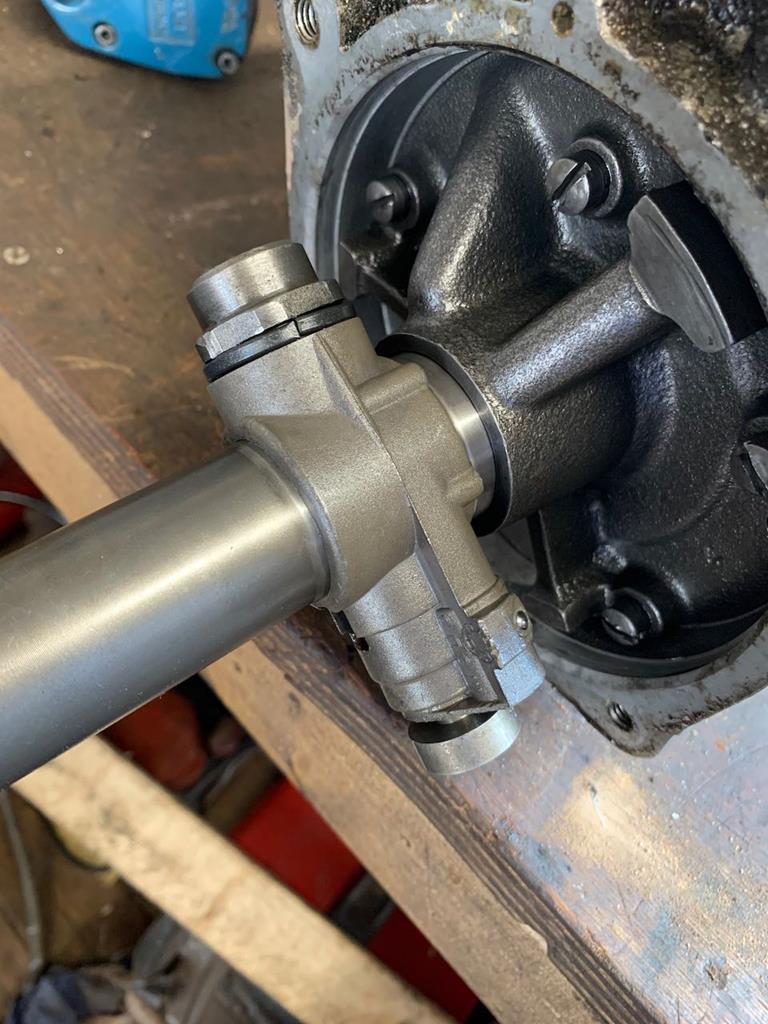
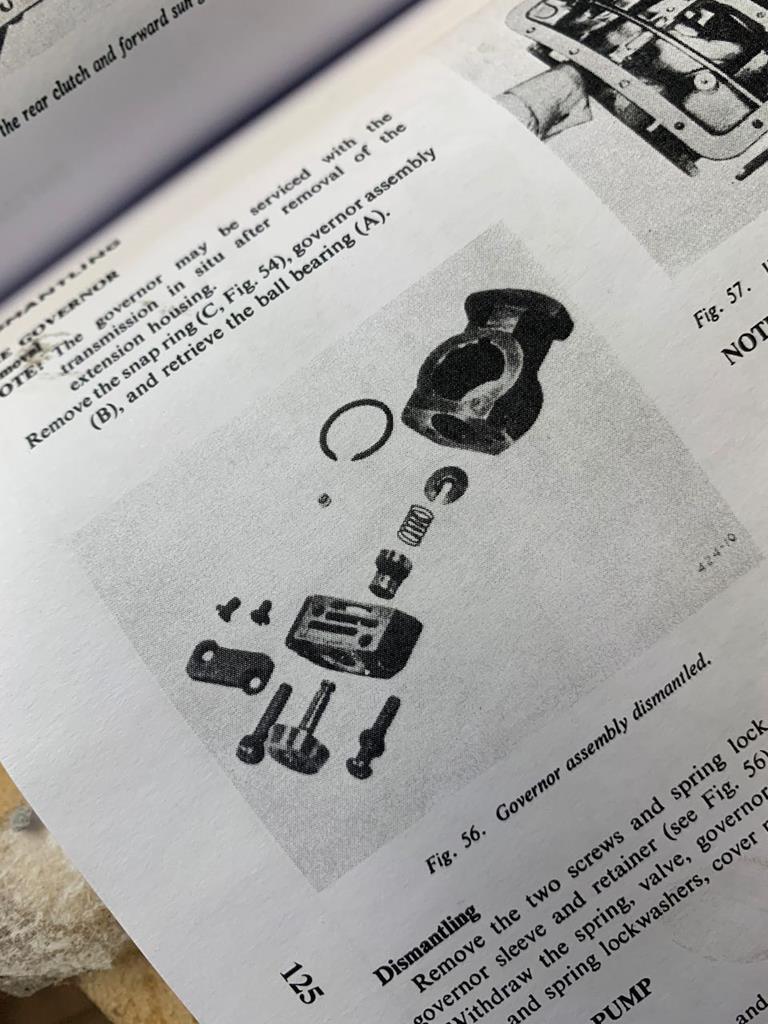
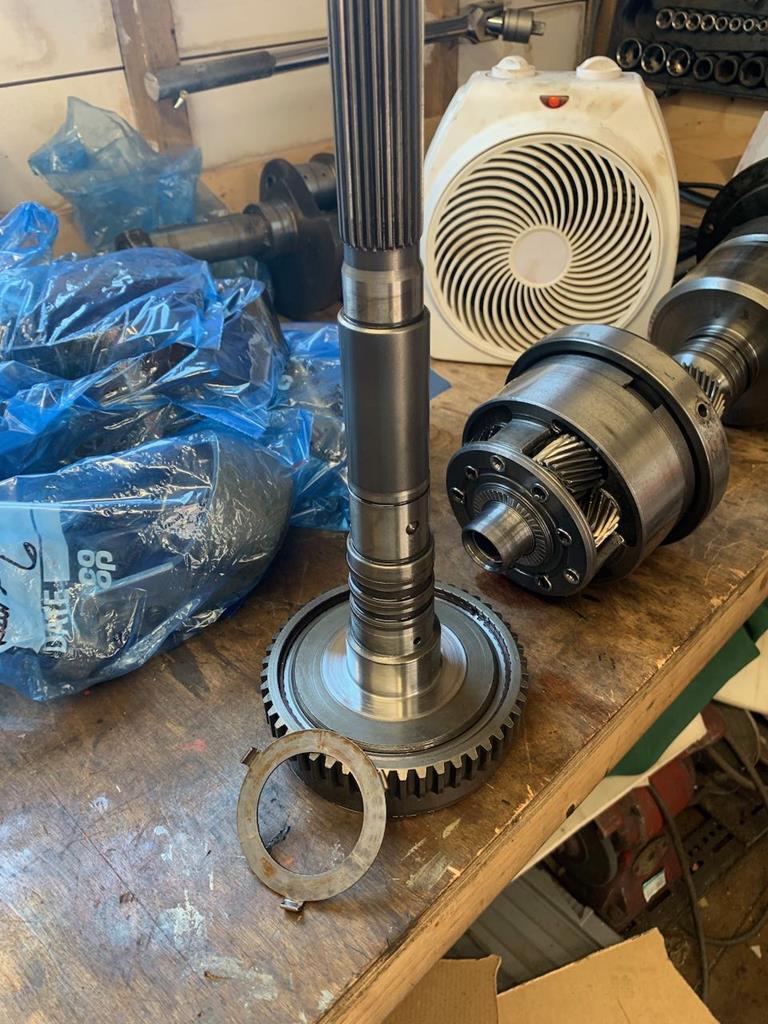
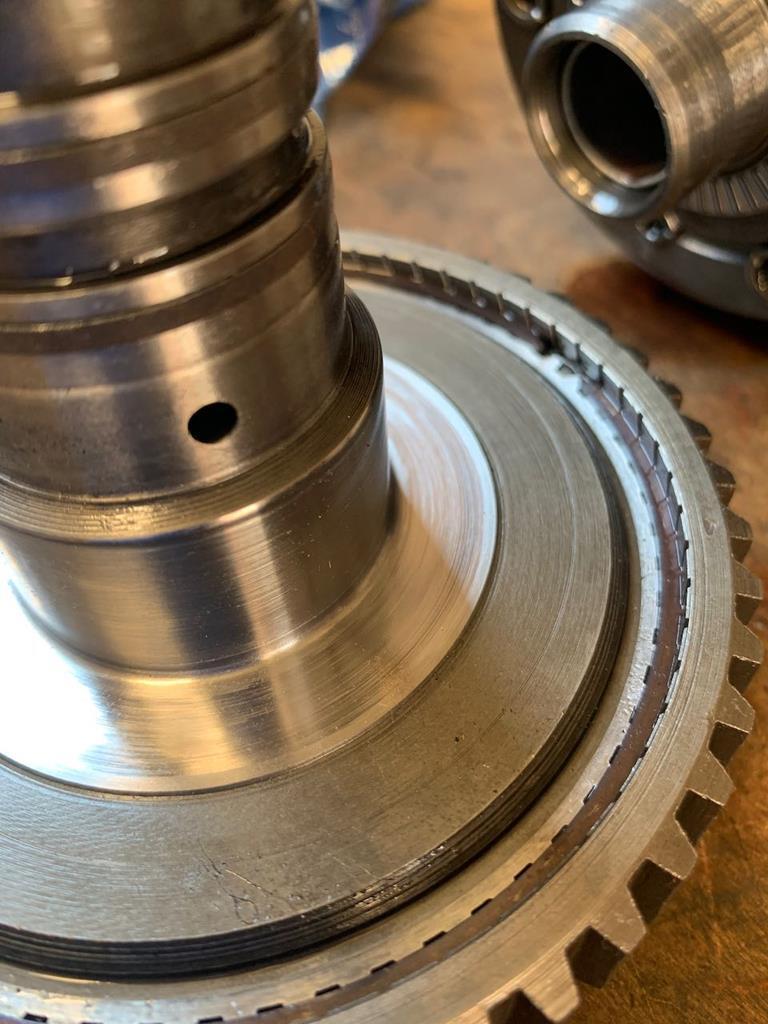
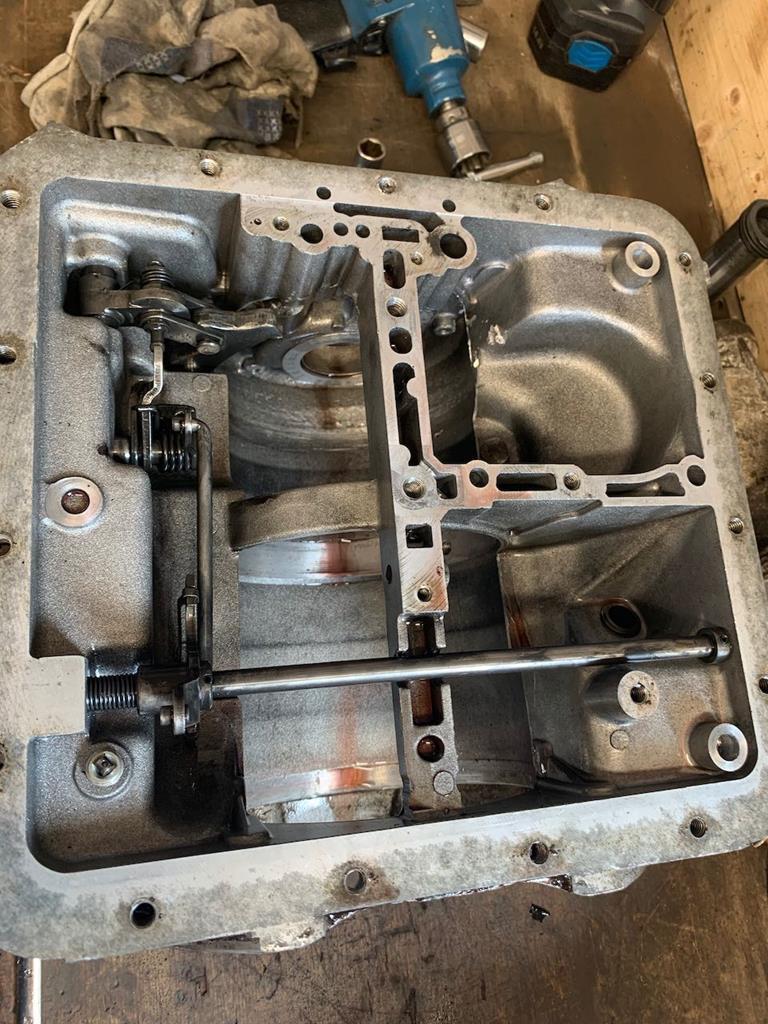
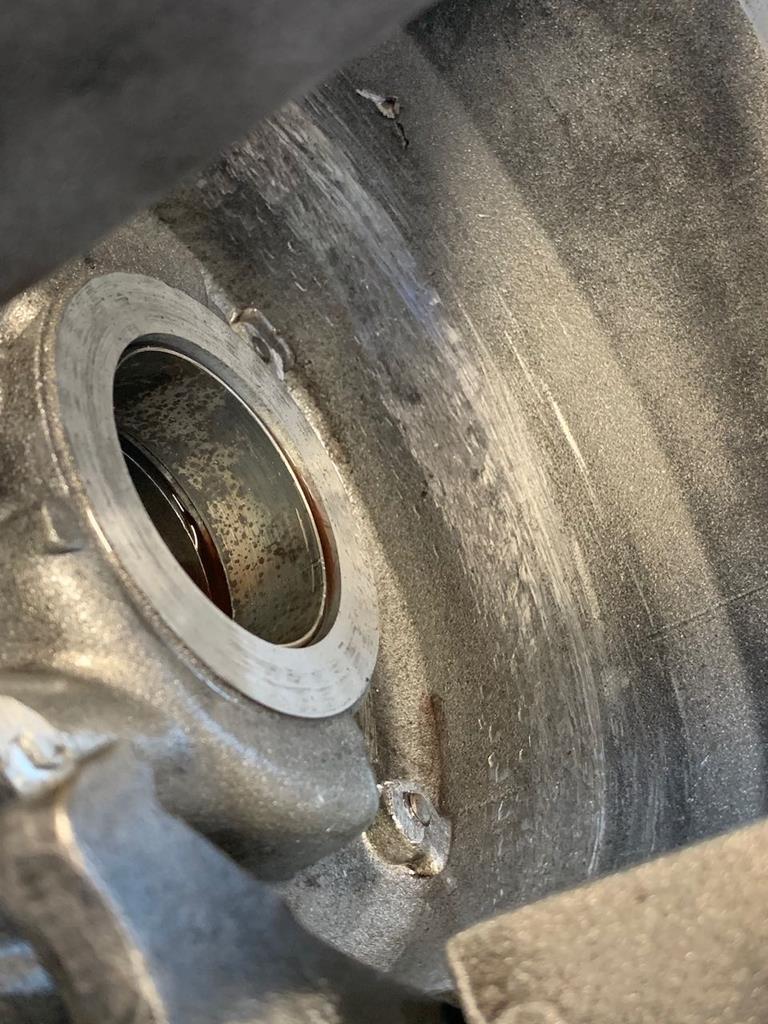
So that's a couple of good jobs ticked off the list. I think looking into my gearbox might be the next little task.
The bonnet paint prep progressed fairly smoothly, and a few days ago I decided it was time to string it up and get it painted.

It looks ok there, but all was not well. I thought I had a good idea by hanging it to paint it, this meant I could get round the corners and paint the new bits of frame and the main surface all in one go. It also meant I wasn't likely to drip any paint on the flat surface, which is something I've done before while trying to paint large surfaces like this laid flat.
But, it was a bit windier than I would have liked on that day, so I tied the bonnet back to make sure it wouldn't swing. This left it slightly overhanging, which in hindsight was an error as it was awkward to get the spray angle right and once the paint started to run it wanted to drip away from the panel. I also hadn't accounted for the fact that in the time between hanging the bonnet up and then getting the paint mixed up and the spray gun ready, the sun had moved and was now right in my eyes while I was trying to paint. Finally to compound my errors, I had decided to use a different brand of clear coat as I had it in the back of the shed, and it went on a bit differently.
The end result was considerably more runs in a single panel than I've ever made before. I felt quite annoyed with myself.

Thankfully the runs were only in the clear. As soon as I saw them, I was able to take the bonnet down and lie in flat propped on a stool. This was while the clear was wet so the runs did flatten a bit due to gravity.
A few days later I crossed my fingers and broke out the sand paper to see if the runs would sand out, or whether I was going to need to repaint it. And the good news was that it's mostly ok! There's a couple of imperfections but nothing any worse than the rest of the body and not the sort of thing you can see without hunting for them.


It's going to have to stay like that for a couple of weeks now to fully cure before I polish it up shiny like the rest of the car.
Next job was to fit new quarter light seals. On the short drive I managed in the car there was quite noticeable wind noise coming from the quarter lights, and looking at the old seals it's not surprising that they didn't seal great...

The rears were a pretty easy thing to change, especially once I've got the knack of how to get the new seal seated right. All I had to do was take a couple of screws out of the window frame, then the whole quarter light comes out and the old seal is pulled out and a new one just push fits into place.

The front was a little more complex. The door card needs to come off, which allows you to access a nut inside the door frame which holds the mechanism that makes the window 'click' into different opening positions. Then you can unscrew the other hinges and then it's much the same as doing the rears. Here is a comparison of the passengers new and old seals.

As you can see, well worth doing, but not quite as bad as the back. Not really much to see, but here's the passengers seal fitted. Still need to put the top of the door card back on here.

So the final seal to do was the drivers side front, you can see where this is going... as I tried to undo the awkward nut up inside the door there was an ominous snapping sound at which point the spring loaded mechanism exploded as the bottom sheared off the quarter light frame. Urrgh.
Nothing for it but to carry on removing the quarter light and hope its repairable. But it wasn't ready to give up the fight just yet. As well as the nut holding the mechanism together, there's a roll pin holding a collar that needed to be removed. The other side had come out with no hassle, but that was not the case here. I gave up on trying to drive it out and attempted to drill it out, and completely failed there as the hardened steel roll pin was just blunting brand new drill bits. So I gave up for the night.
Armed with fresh Youtube tips and 48 hours perspective, I had another look this afternoon. According to various dubious videos I watched, the way to drill hardened steel, is to sharpen a masonry drill bit. Sounded like one of those stupid things you'd read and would turn out to be nonsense. But to my surprise, it worked quite well! It wasn't like drilling though wood or something, it was fairly slow going, but the bit was cutting with every turn and not blunting. After a minute or so, I was half way through.

Not long after I had the roll pin drilled all the way through, so would the collar now slip down so I could finally remove the quarter light? No chance. I hammered on the collar as much as I dared but it was stuck fast. So I got a hacksaw blade in there and chopped the post off the frame. Which left me with the quarter light frame in 3 pieces.

Thankfully it wasn't too tricky to find a suitable bolt to weld to the frame. The seized collar was no match for the press and so that was saved and transferred over with a new make shift roll pin. I stole a suitable spring from an old tool to replace the one that had sprung out and gone missing, and finally I could get back to plan A of 'just' changing the quarter light seal.

Which didn't take long.


So that's a couple of good jobs ticked off the list. I think looking into my gearbox might be the next little task.


