|
|
|
|
|
It takes a lot to start it every time (more when cold) as it's still a new engine with an 8.9:1 compression ratio now with about 25 hours on it I still have to run it in properly but no need to rush that part I will take some more video when I next run it and it is dry. But in the mean time here are three video's the first two from just after I had her and fitted the stainless exhaust before the strip and rebuild
|
| |
Last Edit: Apr 30, 2021 20:28:57 GMT by peteh1969
|
|
|
|
|
|
|
Jan 10, 2020 15:41:35 GMT
|
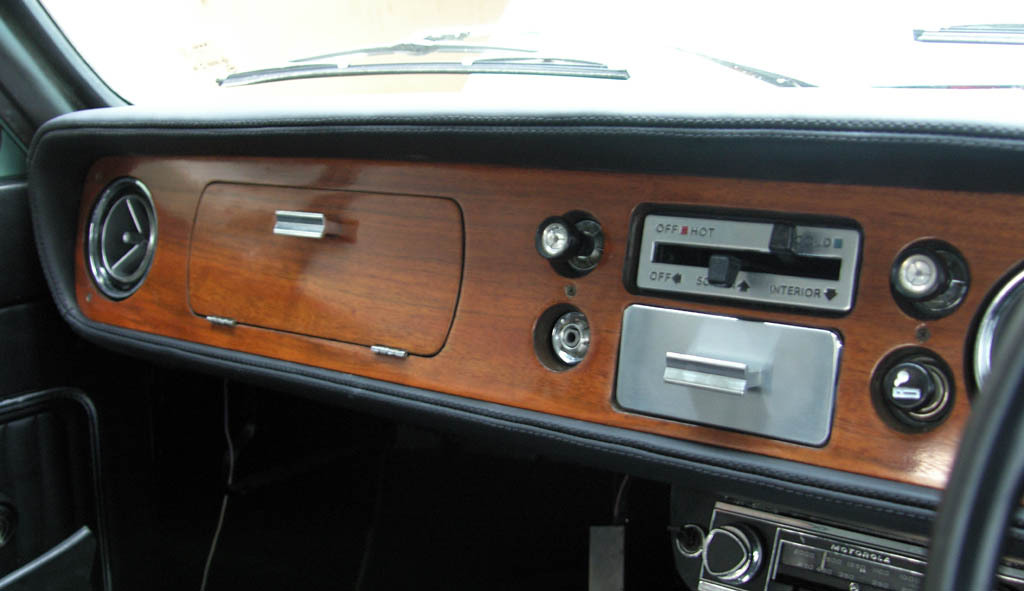
Yesterday afternoon I had a call from the trimmers to say the dash was ready for collection so this morning I drove over to collect it and I must say I'm very pleased with it. After having the trimmers recommended by samta22 and knowing that WoodyM3evo has had a lot of work done buy www.bespokeleathering.com I had now worries in letting John the proprietor strip and recover my Corsair dash pad for me. 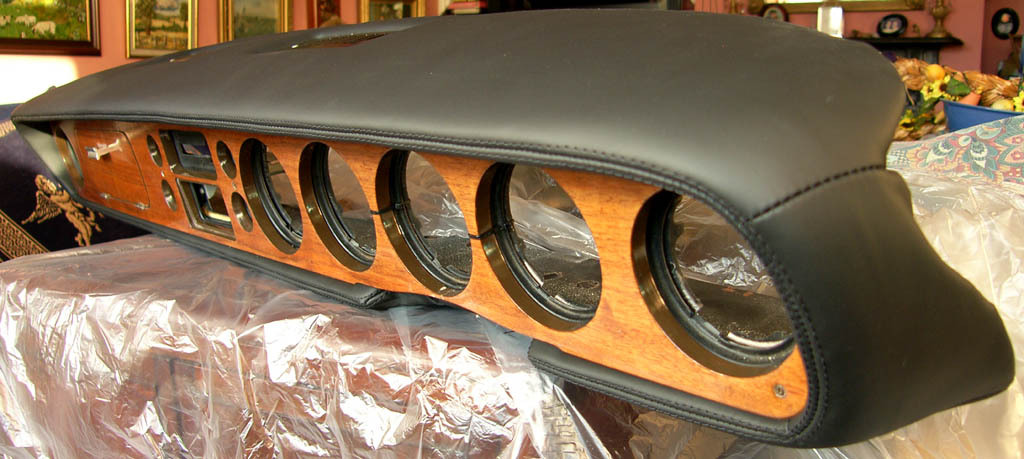 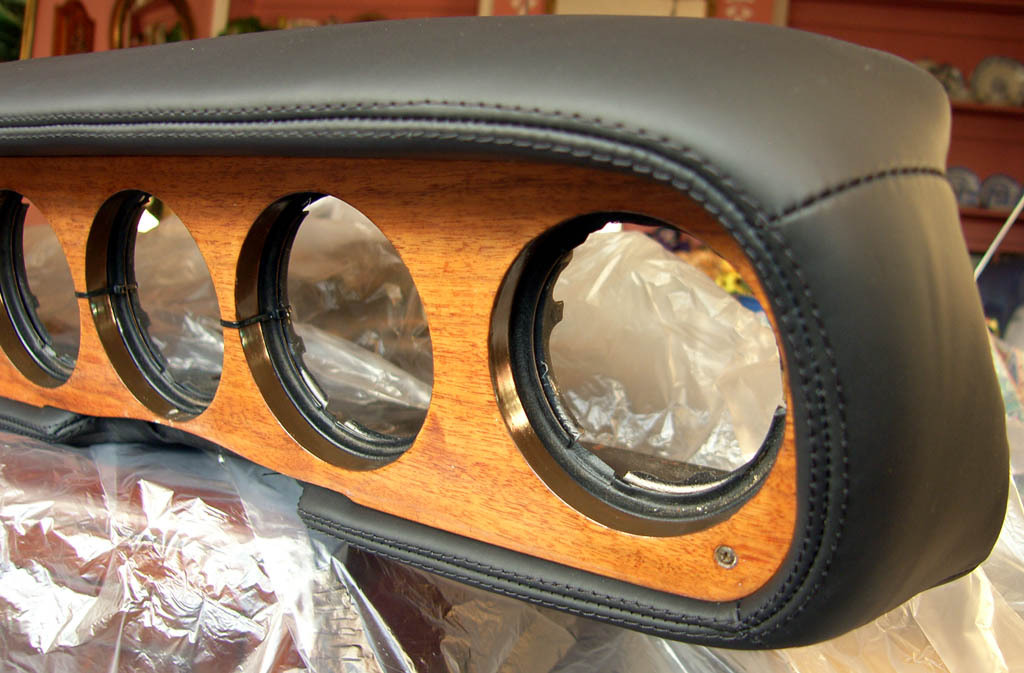 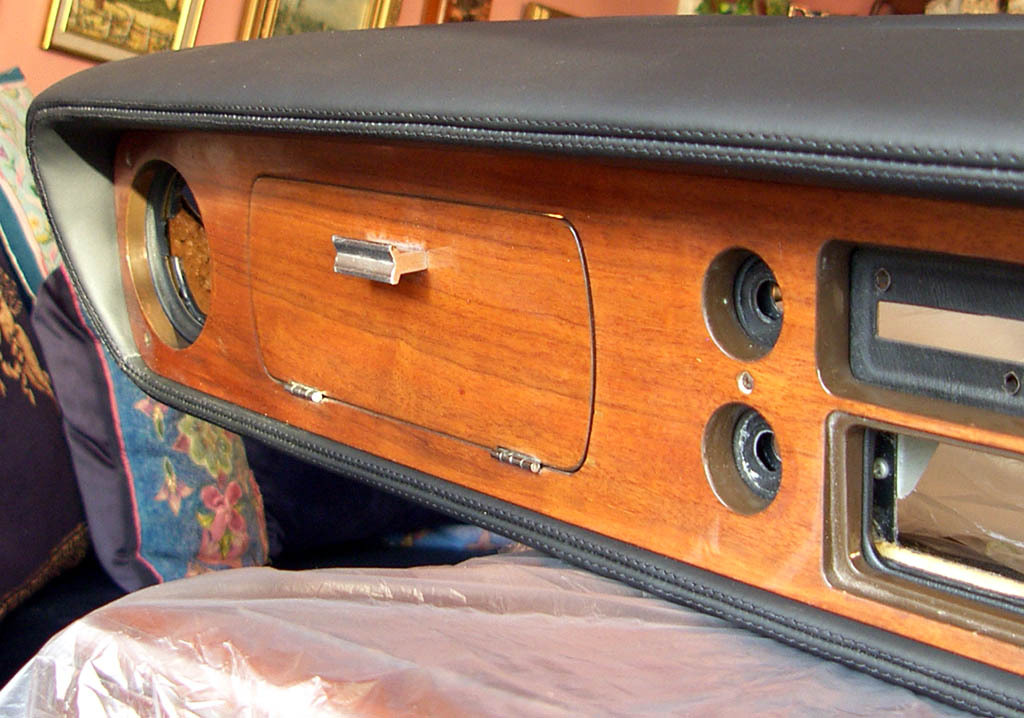 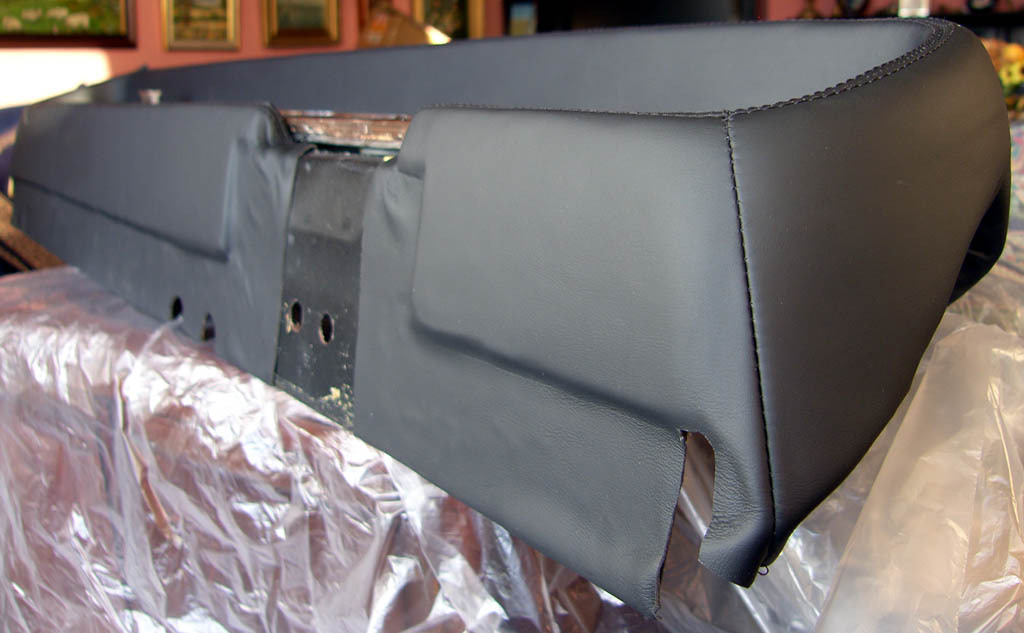 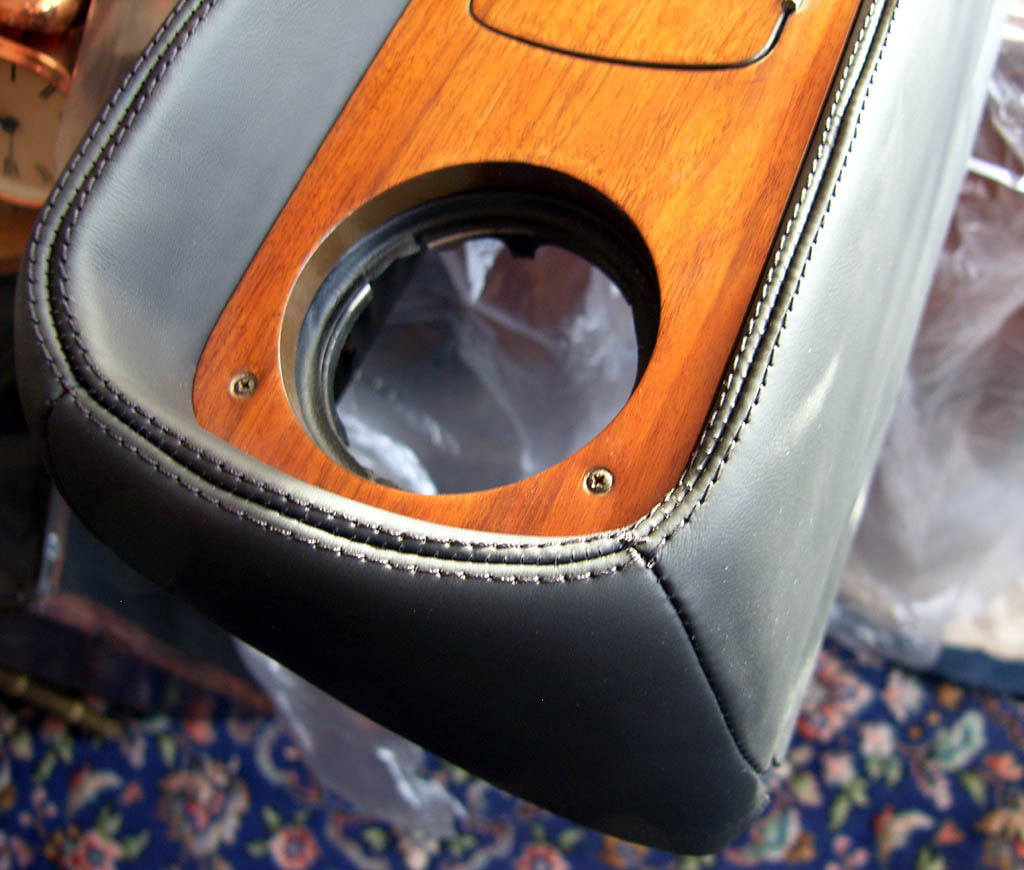 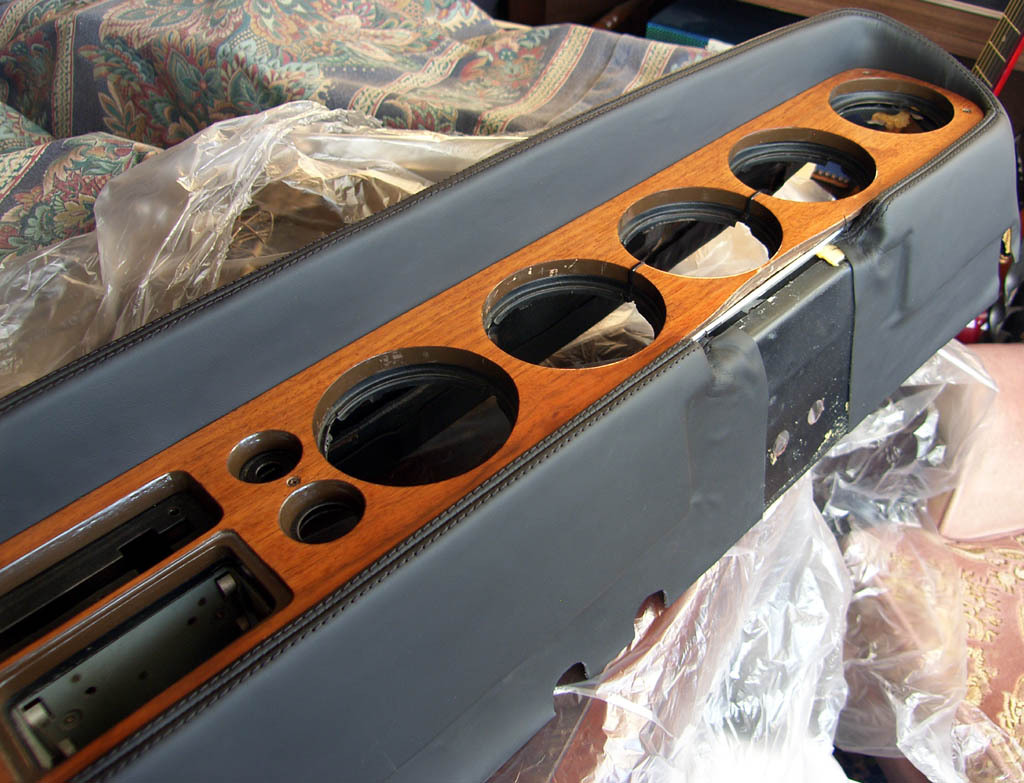 As you can see it will look great when fitted which I will do over the next few days.
More to follow.
|
| |
|
|
|
|
|
Jan 10, 2020 16:02:44 GMT
|
|
That's really going to lift the interior, trouble with something that nice is it makes you think how good the rest would look in new leather...
|
| |
|
|
|
|
|
Jan 10, 2020 16:05:06 GMT
|
|
Holy curse word.., That looks great!
Will John be making protective covers so nobody touches it? lol
Great progress. You'll have to change the thread title ending soon....
|
| |
|
|
|
|
|
Jan 10, 2020 16:08:14 GMT
|
|
John is the guy, can’t fault any of his work 👌
|
| |
Instagram - Woodym3evo
W114 M104 69 Merc
1 Series 135i M-Sport
#thegovernorsclub
#TeamAF
#baggedbenzuk
|
|
samta22
Club Retro Rides Member
Stuck in once more...
Posts: 1,276  Club RR Member Number: 32
|
|
Jan 10, 2020 16:20:23 GMT
|
|
^^^ what he said.
Dash looks superb
|
| |
'37 Austin 7 '56 Austin A35 '58 Austin A35 '65 Triumph Herald 12/50 '69 MGB GT '74 MGB GT V8'73 TA22 Toyota Celica restoration'95 Mercedes SL320 '04 MGTF 135 'Cool Blue' (Mrs' Baby) '05 Land Rover Discovery 3 V8 '67 Abarth 595 (Mrs' runabout) '18 Disco V |
|
|
|
|
Jan 10, 2020 20:13:17 GMT
|
|
That’s posh!
|
| |
|
|
|
|
|
Jan 10, 2020 20:31:19 GMT
|
|
The trimmers have done an excellent job!
|
| |
1966 Ford Cortina GT
2018 Ford Fiesta ST
Full time engineer, part time waffler on Youtube - see Jim_Builds
|
|
|
|
|
Jan 12, 2020 16:35:06 GMT
|
Well this morning was spent fitting the dash. I have a new indicator stalk button for the end just have to find and fit it.  The only thing stopping me from finishing it all completely is the choke cable it has frayed at the carb end and pulled out but won't go back through into the inner cable, I'm going to see if I can thread the frayed end of the cable in to some 2mm dia brass tube and use that to feed it through the outer part other than that I will have to find a way to change the inner cable? 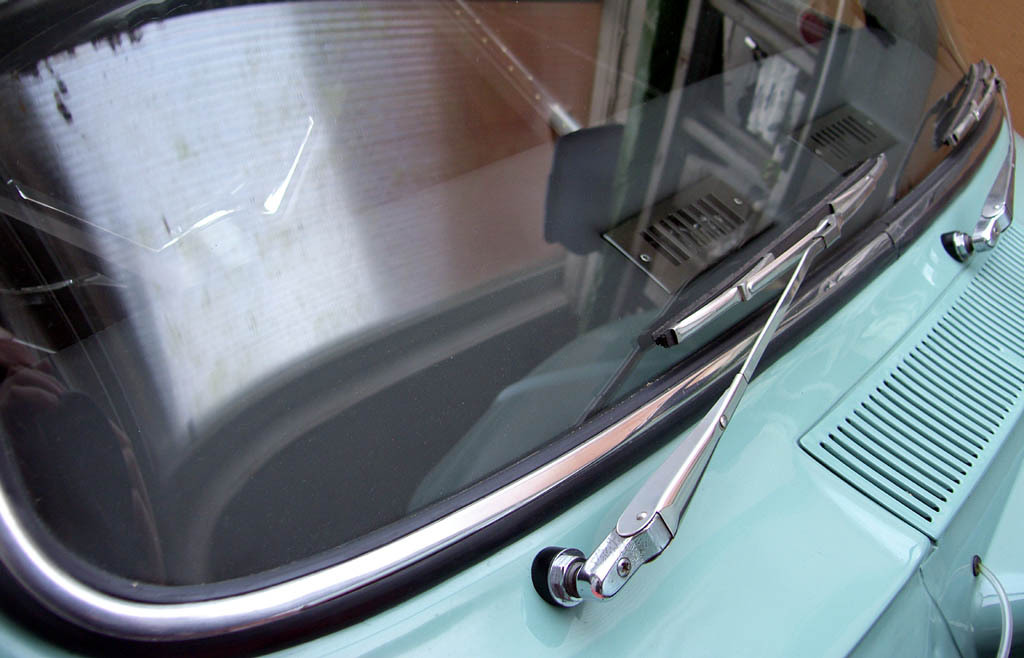 It does look nice with the dash re-fitted, next will be to make and trim a new under dash parcel shelf that fits across the full width of the dash.
|
| |
Last Edit: Jan 12, 2020 16:39:21 GMT by peteh1969
|
|
|
|
|
Jan 12, 2020 19:16:37 GMT
|
|
Looks stunning, Pete!
|
| |
|
|
|
|
kenb
Part of things
 
Posts: 604
|
|
Jan 12, 2020 23:01:39 GMT
|
Choke cable:- Use bike brake cable Pete. Thats what I used on my Corsair as the cable was too short and frayed. You can buy new cable off the roll from a proper bike shop. Thats the inner and outer. All I did then, was cut off the old cable, then run a thin dremmel disc or cutting disc down the length where the old cable was crimped originally to the knob shaft, then resolder new inner cable in position. Finish of by reshaping the shaft to correct profile with a file. Here's an Anglia one I did years ago but the process is the same, sorry only the one pic, but you get the idea. 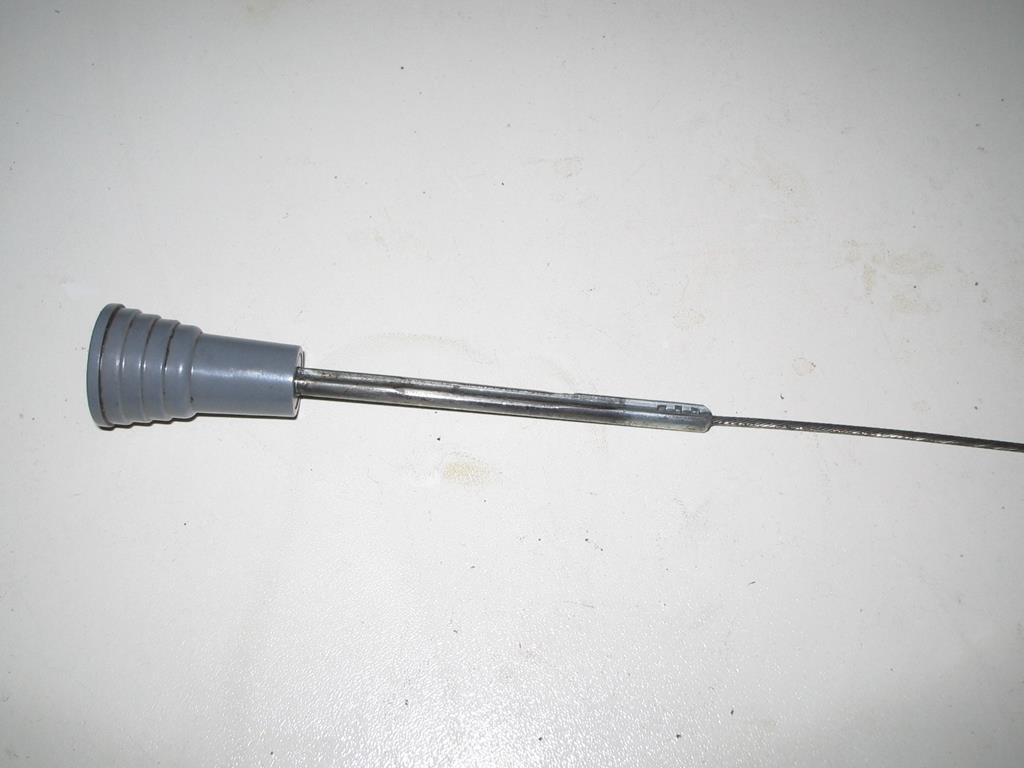 |
| |
Last Edit: Jan 12, 2020 23:02:19 GMT by kenb
|
|
|
|
|
|
|
|
Thanks Ken
I will see if my brass tube sleeve idea will work if it does not I will try that as a last resort.
|
| |
|
|
|
|
|
Jan 16, 2020 17:45:31 GMT
|
Following my post in the technical section for some electrical advice today I have wired up the horns on the Corsair via a relay and I feel a lot better now knowing the original horn wires are no longer having to take all of the load that the horns develope.
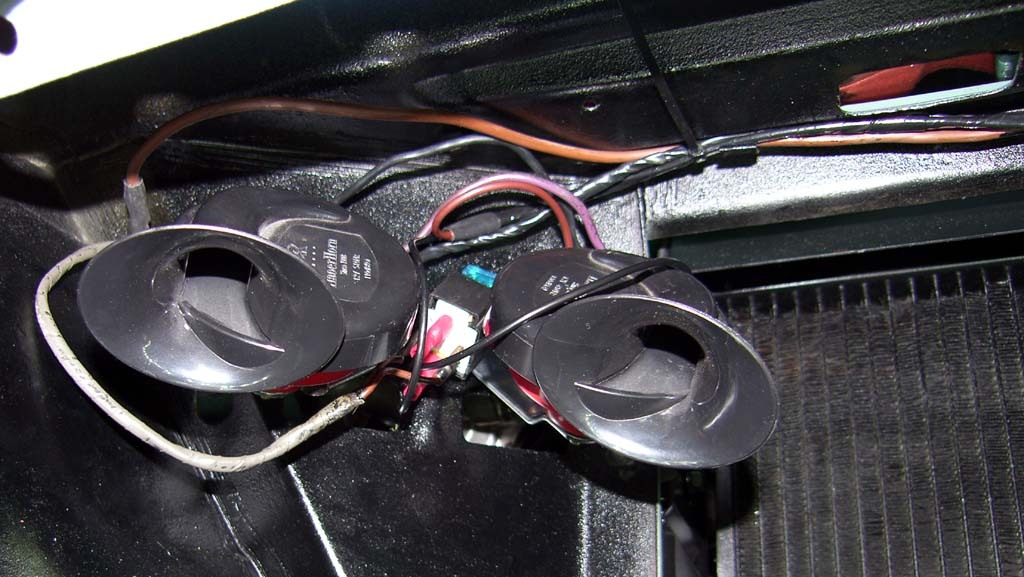 I made up a simple two cable loom from the main earth point and battery to the relay, horns and Wrapped it in proper black loom tape using some heat shrink at either end to secure tape. The gray loom on the left is the original horn loom now working the relay.
|
| |
|
|
avg
Part of things
 
Posts: 168
|
|
Jan 16, 2020 18:57:10 GMT
|
|
See told Ken sorted it Pete
|
| |
|
|
|
|
|
Jan 16, 2020 20:47:42 GMT
|
|
Out of interest what is the wattage rating of the horns? Everyone feels the need for a relay but it's only required if the amperage is high.
|
| |
|
|
|
|
|
Jan 16, 2020 22:03:36 GMT
|
|
Hi Mark
All it says on them is 12V 510Hz, the wattage or amperage is not the reason I have fitted the relay to work them, the reason is that the wiring is 53 years old and I was not keen on the thought of putting any kind of loading through the loom as there are no fuses or head light relays built in the car as standard on any of the systems and other than adding fuses or relays on anything new I'm adding to the car there won't be any.
I'm using Led lights all round head lights, indicators, side lights, number plate, stop & tail and interior lights/dash lights are all led so very low power draw mainly so not to load any part of the loom, the only two traditional bulbs that are fitted are the gen light (so the system will charge) and the oil light.
|
| |
|
|
|
|
|
Jan 17, 2020 10:47:23 GMT
|
|
Hi Pete, that's why I wondered why you are not putting a new loom in the car. Seems a shame when everything else is so top notch. Wiring faults are the biggest reasons for breakdowns.
You can run a led for the charging lamp if you want - (I do) but you need a 7w 45ohm resistor in line to trigger the charge.
|
| |
|
|
|
|
|
Jan 17, 2020 11:04:37 GMT
|
|
When I did the rewiring on the Cortina I left the horn wiring as is because they aren't used in the same way as the headlights etc.
There is a fuse for them to stop unwanted sparks/ fire as that's what knackered the original loom! but the horn is seldom used in reality compared to the headlights so doesn't really necessitate a relay as the loading on the switch/ horn push is minimal.
that's just my opinion - plus I could talk louder than my horns currently!
|
| |
1966 Ford Cortina GT
2018 Ford Fiesta ST
Full time engineer, part time waffler on Youtube - see Jim_Builds
|
|
|
|
|
Jan 17, 2020 11:29:56 GMT
|
|
Mark
I agree with what you are saying with the loom but the funds won't stretch to it for a while at least,.
Thank you for the info on the charging circuit.
Jim
The 1968-70 Corsair's had fuses fitted as standard and I think the Mk1 Cortina's were the same from 68 on.
I have seen an acceptable mod for the Mk1Cortina is to fit the head light relay from the Mk3 Cortina to one of the head light looms and run wires across the front of the car for the other head light.
With me living in the Midlands other drivers react more to a horn than they do lights, they certainly don't look where there going or what there doing.
|
| |
|
|
kenb
Part of things
 
Posts: 604
|
|
Jan 17, 2020 12:10:00 GMT
|
Regarding the dashboard LED's in the end I found them to more of a pain than anything else. I retained the back lights LED's as they were much brighter and the main beam tell tale. But as for the indicator ones even with the correct electronic flasher unit, I couldn't stop both indicator dash tell tales flashing at the same time. I tried two types of LED bulbs in the indicators themselves, I gave up in the end and reverted back to normal bulbs and original flasher unit. The alternator/dynamao as already said needs a resistor and i just thought is it really necessary the faffing about? I'm sure I've already mentioned this before, but every circuit on mine now has a simple added in inline fuse. I've only added in 3 relays. Fuel pump as that is controlled by the ECU, Electric rad fan as mine is a massive one draws a fair bit of power, and the third, I put in a relay for the main beam only. Simple reason, my Corsair has the early type flip control for lights and indicators. The main beam flasher button is a very fragile brass strip and had already seen signs of fatigue/burning when I restored the car. So it seemed a good idea to reduce the loading on it once I'd replaced the brass strip. Very fragile internally and didn't last too long in actual production, but I love these early flip controls. Main beam flash is the push button on the end. 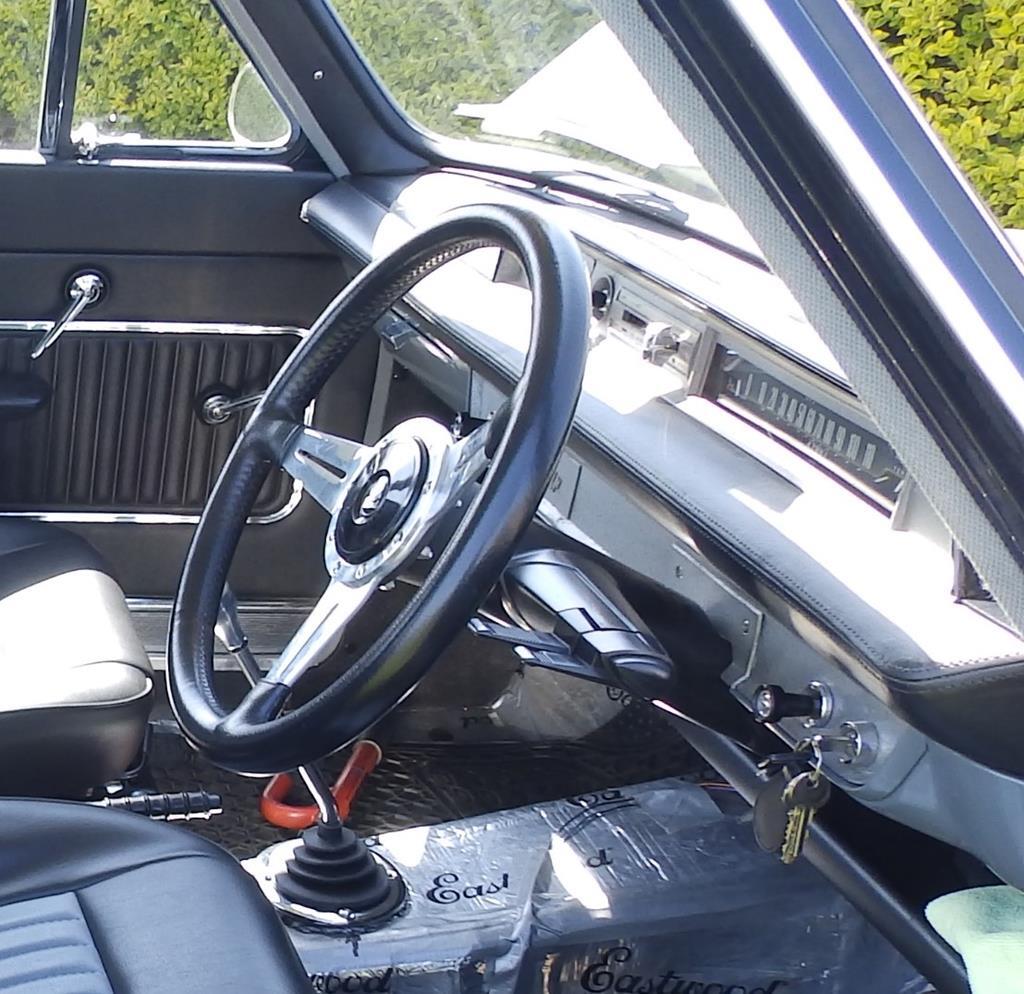 |
| |
|
|
|
|


