jonomisfit
Club Retro Rides Member
Posts: 1,781
Club RR Member Number: 49
|
|
|
|
|
I use them now and again depending on the task I'm doing.
I just don't think many of them have ended up in pictures.
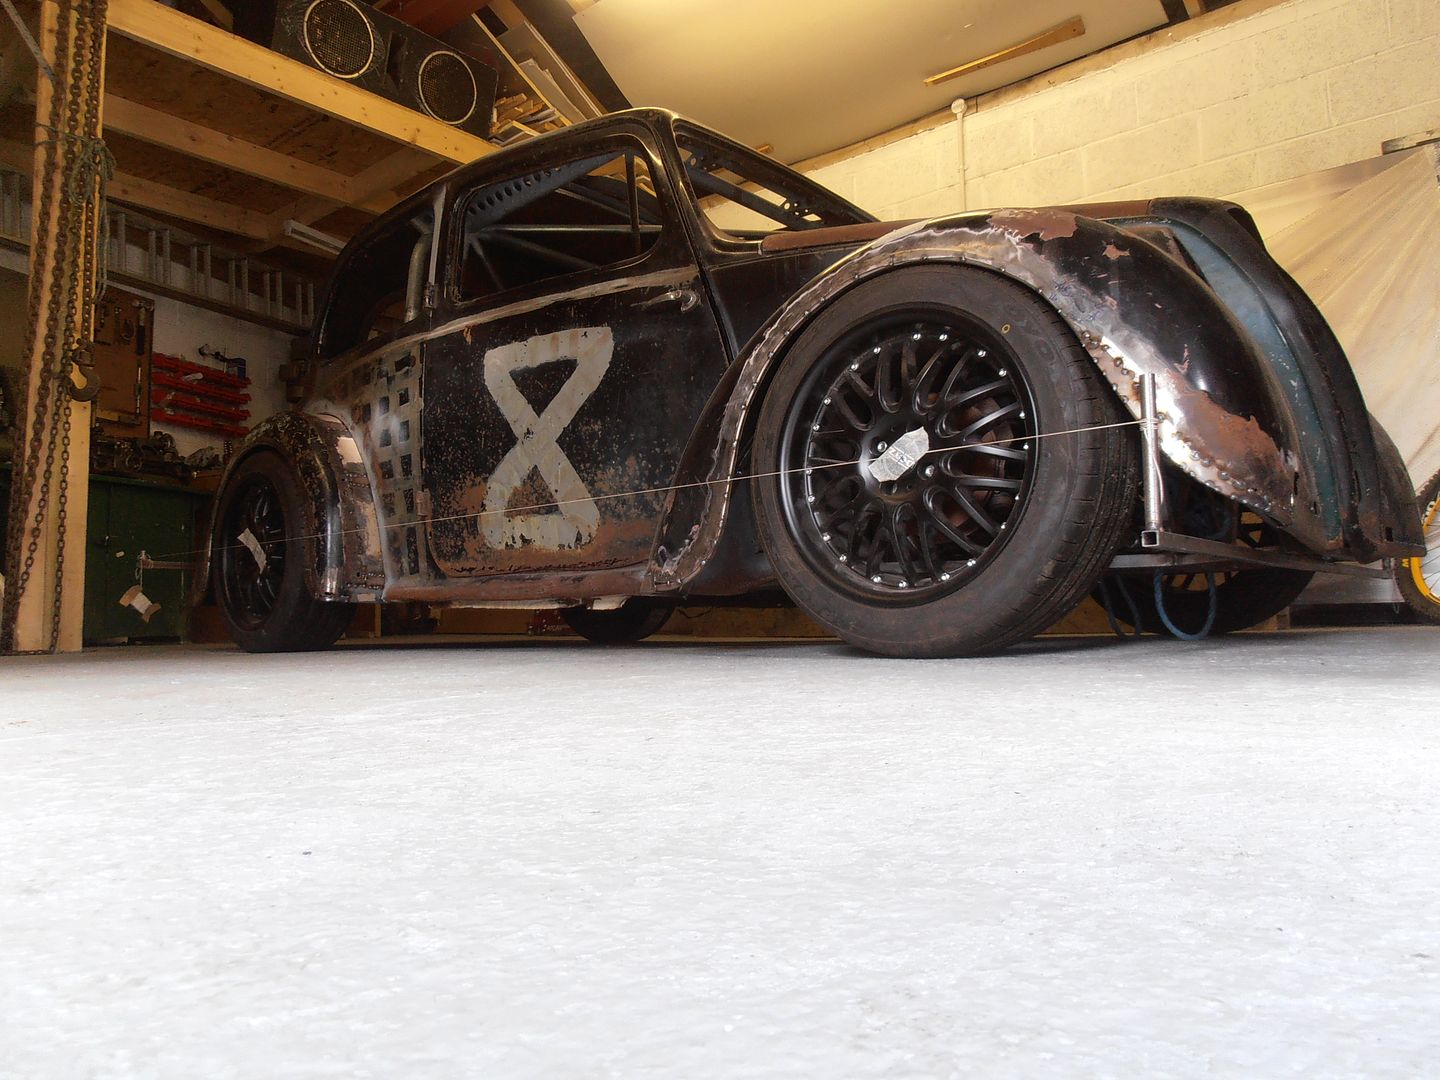
If you look at my seat build in my morris 8 thread they get used extensively
|
| |
|
|
|
|
jonomisfit
Club Retro Rides Member
Posts: 1,781
Club RR Member Number: 49
|
|
Feb 12, 2022 21:15:15 GMT
|
There were a few more bits to weld up on the van rear deck supports  P1060158 P1060158 by jono_misfit, on Flickr infills made and welded in  P1060159 P1060159 by jono_misfit, on Flickr  P1060161 P1060161 by jono_misfit, on Flickr and the other side mid weld  P1060162 P1060162 by jono_misfit, on Flickr then onto the body  P1060163 P1060163 by jono_misfit, on Flickr rotate for access  P1060164 P1060164 by jono_misfit, on Flickr right.... better weld these seams on the inside so I can dress them  P1060165 P1060165 by jono_misfit, on Flickr "Bonnet" seam welded  P1060166 P1060166 by jono_misfit, on Flickr and the long seam on the roof  P1060168 P1060168 by jono_misfit, on Flickr  P1060167 P1060167 by jono_misfit, on Flickr Handy hint.... don't ever cut aluminium with a slitting disk and expect to weld it cleanly. I'd scrubbed the seam and cleaned with acetone, however still lots of black flecks coming out into the weld. started welding a few more odds and sods and....... ran out of gas  P1060169 P1060169 by jono_misfit, on Flickr so I moved onto plannishing the welds, dresing the surface flat, and cleaning back the excess weld with the body file  P1060170 P1060170 by jono_misfit, on Flickr there's a piece on the pillar I don't like. On the passenger side I managed to make two halfs of the curve and welded up the centre which gave a nice continuous arc. it didnt work on the drivers side (which I did first). I tried to dress it to shape but it just wont work.  P1060171 P1060171 by jono_misfit, on Flickr I could split the seam, try and dress it again and weld back together, but I don't think it'll work out. I think i'll need to make an new corner and patch it in. Piece of ali  P1060172 P1060172 by jono_misfit, on Flickr in the roller  P1060173 P1060173 by jono_misfit, on Flickr to give R25 curve  P1060174 P1060174 by jono_misfit, on Flickr will get patched in here  P1060175 P1060175 by jono_misfit, on Flickr As its not very stable I don't want to leave it the week as it was, so clamped in some box to hold it all square  P1060176 P1060176 by jono_misfit, on Flickr Back on it next weekend. |
| |
|
|
jonomisfit
Club Retro Rides Member
Posts: 1,781
Club RR Member Number: 49
|
|
Feb 15, 2022 22:21:24 GMT
|
|
So I took some footage I recorded of me making the grill and stitched it together into a video. I wanted it to be a fairly linear story of making the grill, showing the majority of the work that went into it. I forgot to film some bits, I obscured other bits, and the camera ran out of battery a lot too....
The footage is shot from the gopro above my bench or on a tripod. I'm not sure I have the patience of setting up shots etc. to make a real interesting narrative (ala BoM's Binky etc. Its more fly on the wall.
Anyway I'm already thinking:
Its too long
It needs trimming down to more interesting content
my bench is messy
watching someone file isnt overly exciting
my other bench is messy
I should probably present the video more
Maybe not everyone enjoys my catawalling
The back of my head appears a lot
feedback is welcome. I've started recording most things so I can make a better log for me, so there may be a few more crop up from time to time.
My prose and pics will continue anyway.
|
| |
Last Edit: Feb 15, 2022 22:22:32 GMT by jonomisfit
|
|
|
|
|
|
|
|
My only critique is I couldn't tell whether or not you were enjoying yourself or not, because I couldn't see your bald spot.
|
| |
|
|
jonomisfit
Club Retro Rides Member
Posts: 1,781
Club RR Member Number: 49
|
|
|
|
|
😆😆
Too much hair getting in the way
|
| |
|
|
jonomisfit
Club Retro Rides Member
Posts: 1,781
Club RR Member Number: 49
|
|
Feb 20, 2022 21:45:01 GMT
|
My gas turned up. welded the back face of scuttle weld  P1060187 P1060187 by jono_misfit, on Flickr then decided I'd tackle this A pilar. Which didnt really work when I did it and needs resolved.  P1060188 P1060188 by jono_misfit, on Flickr cut it out. cleaned it up and start tacking in the radius sections I made last week 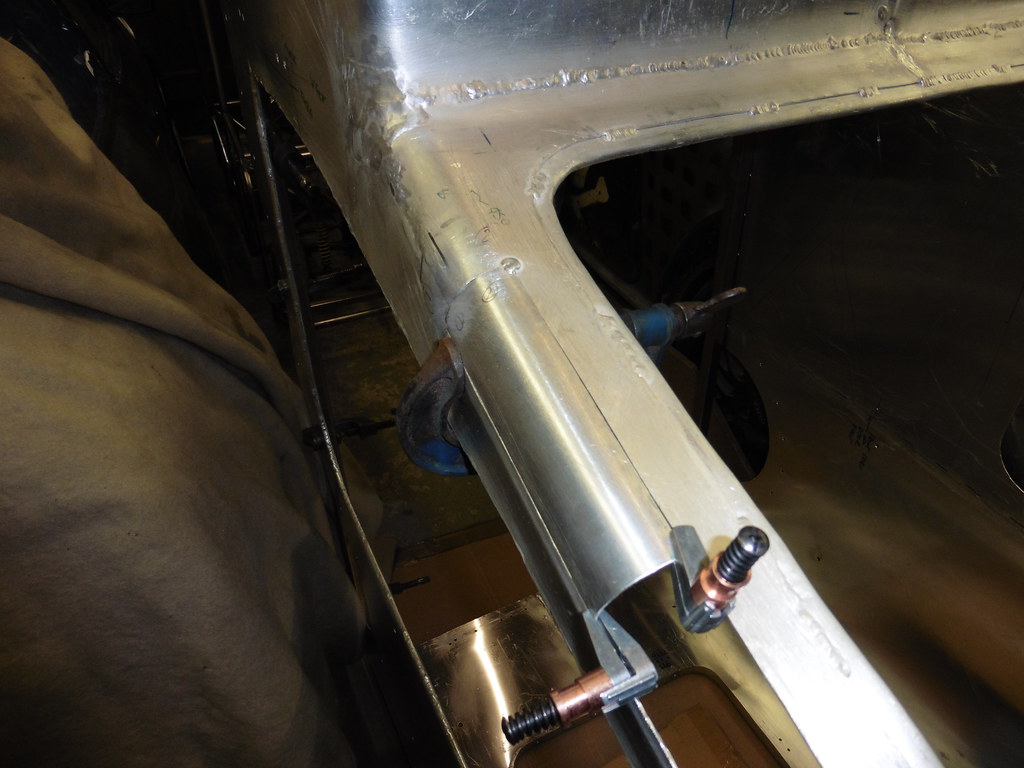 P1060189 P1060189 by jono_misfit, on Flickr  P1060190 P1060190 by jono_misfit, on Flickr  P1060191 P1060191 by jono_misfit, on Flickr a much better profile 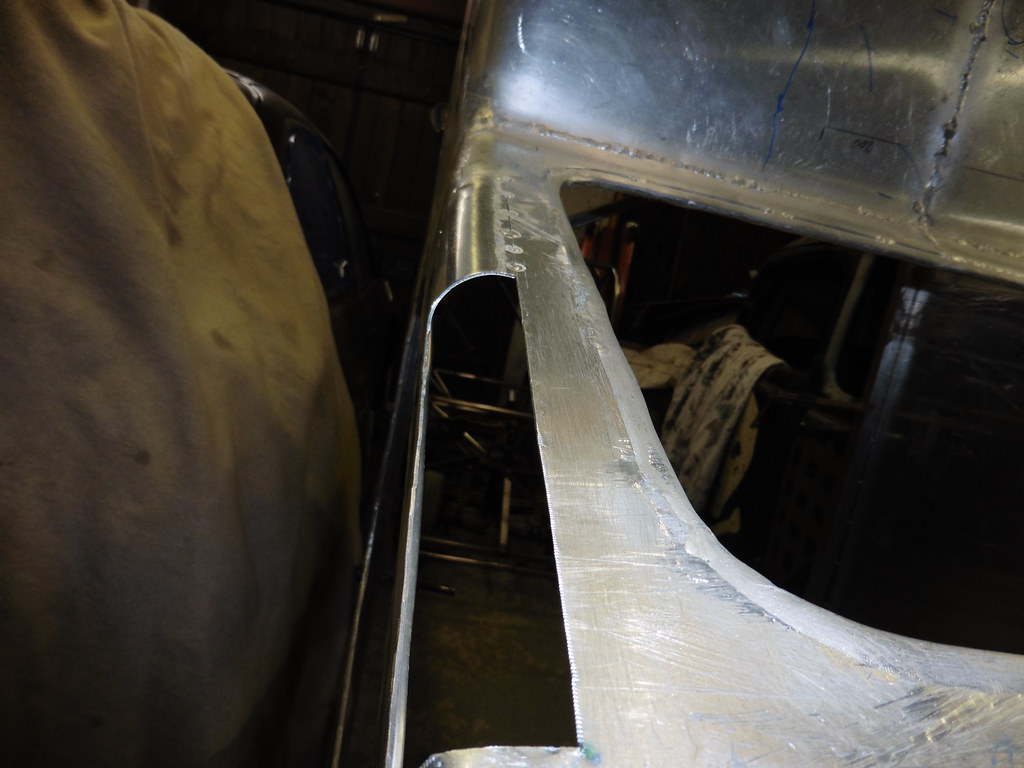 P1060192 P1060192 by jono_misfit, on Flickr top section  P1060193 P1060193 by jono_misfit, on Flickr Why is it made in two sections.... because my roller is 250mm long... and this is 400mm long :-) tacked  P1060194 P1060194 by jono_misfit, on Flickr  P1060195 P1060195 by jono_misfit, on Flickr tacks filled down  P1060196 P1060196 by jono_misfit, on Flickr welded  P1060197 P1060197 by jono_misfit, on Flickr  P1060198 P1060198 by jono_misfit, on Flickr a much better shape as has a proper radius now  P1060199 P1060199 by jono_misfit, on Flickr welded the back seam  P1060200 P1060200 by jono_misfit, on Flickr start filing down 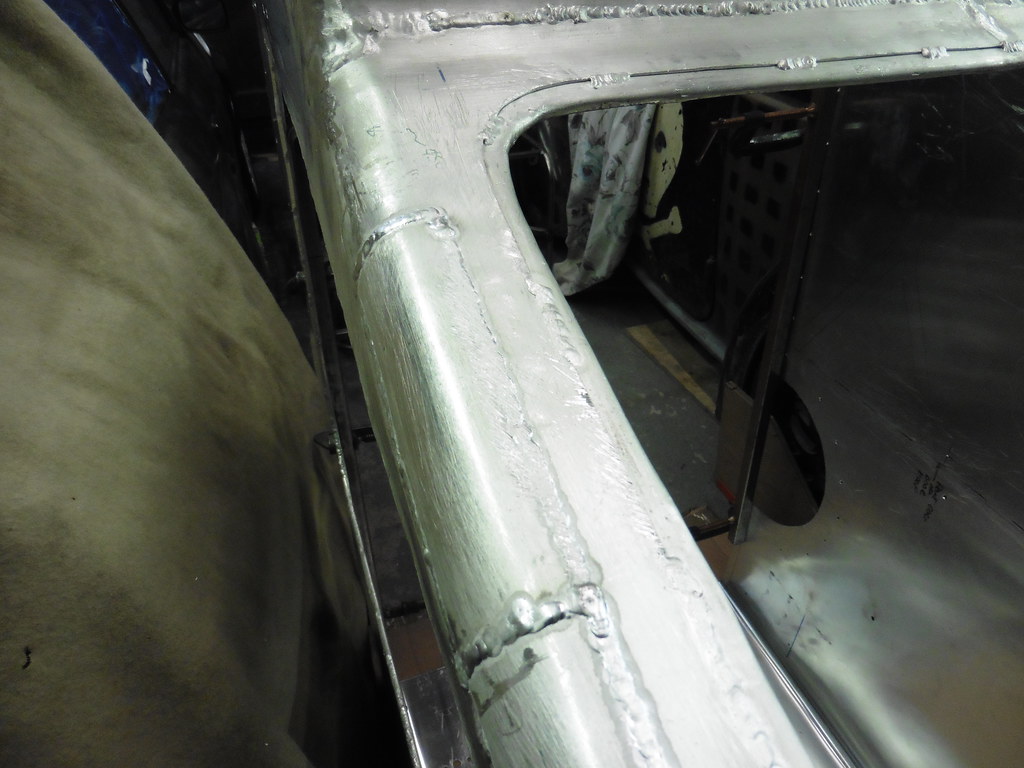 P1060201 P1060201 by jono_misfit, on Flickr cleaned up  P1060202 P1060202 by jono_misfit, on Flickr slight witness lines, but a feather light skim of filler will resolve  P1060203 P1060203 by jono_misfit, on Flickr cleaned up the scuttle weld using the die grinder and a drum sander 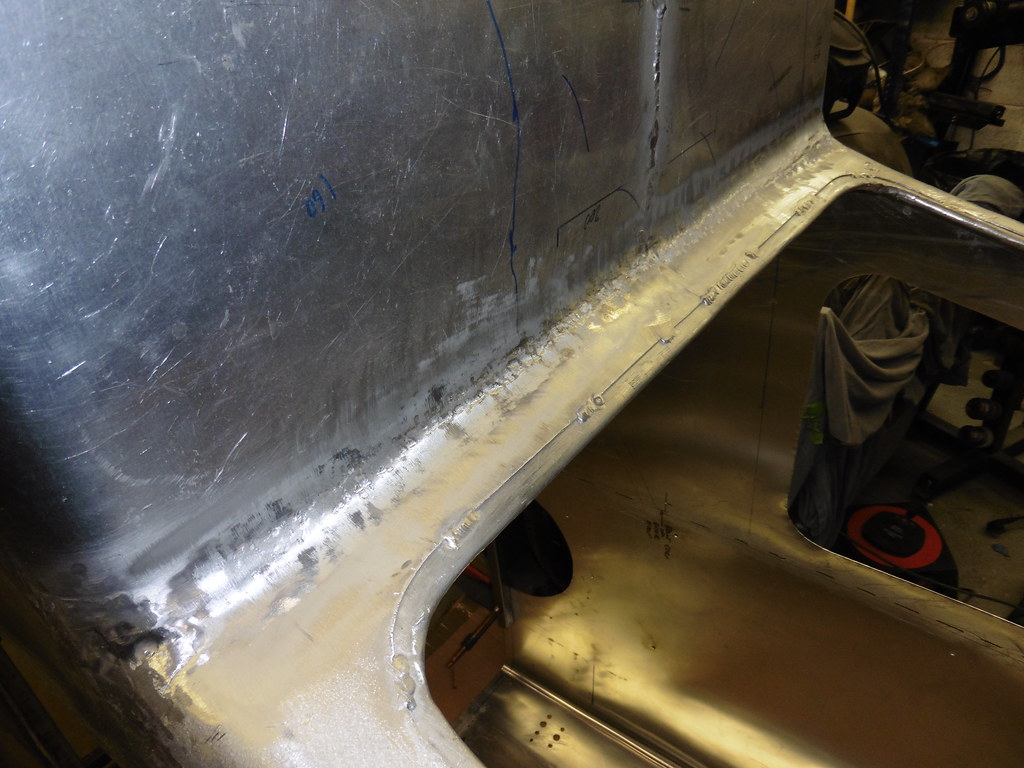 P1060204 P1060204 by jono_misfit, on Flickr  P1060205 P1060205 by jono_misfit, on Flickr filled the holes in the rear panel where I put the light in the wrong place.....  P1060206 P1060206 by jono_misfit, on Flickr cleaned up the rest of the top seam and tried to shrink back the one piec that is still "oil canning" a bit  P1060207 P1060207 by jono_misfit, on Flickr  P1060208 P1060208 by jono_misfit, on Flickr and went round filling back in any drilled holes that werent needed.  P1060209 P1060209 by jono_misfit, on Flickr its moving forward. I filmed a load of it, so will see if I can also stitch together a more interesting video. I might even try a voice over to see if I can make it just a bit more dull :-D . |
| |
|
|
75swb
Beta Tester
Posts: 1,041
Club RR Member Number: 181
|
|
|
|
|
It's looking good! Will almost be a shame to paint all that lovely shiney ali
|
| |
|
|
jonomisfit
Club Retro Rides Member
Posts: 1,781
Club RR Member Number: 49
|
|
Feb 26, 2022 20:56:59 GMT
|
I cleaned back the weld on the rear door area  P1060210 P1060210 by jono_misfit, on Flickr and gave it a gentle radius  P1060211 P1060211 by jono_misfit, on Flickr  P1060212 P1060212 by jono_misfit, on Flickr then took the heads off the welds on the back seam  P1060213 P1060213 by jono_misfit, on Flickr and tidied the weld up continued on with cleaning back and dressing the other welds  P1060214 P1060214 by jono_misfit, on Flickr then decided.... I'm going to use the rubber to mount the screen. so this needs to go  P1060215 P1060215 by jono_misfit, on Flickr gone  P1060216 P1060216 by jono_misfit, on Flickr needs a bit more of a tidy up. did the back faces of the last two seams 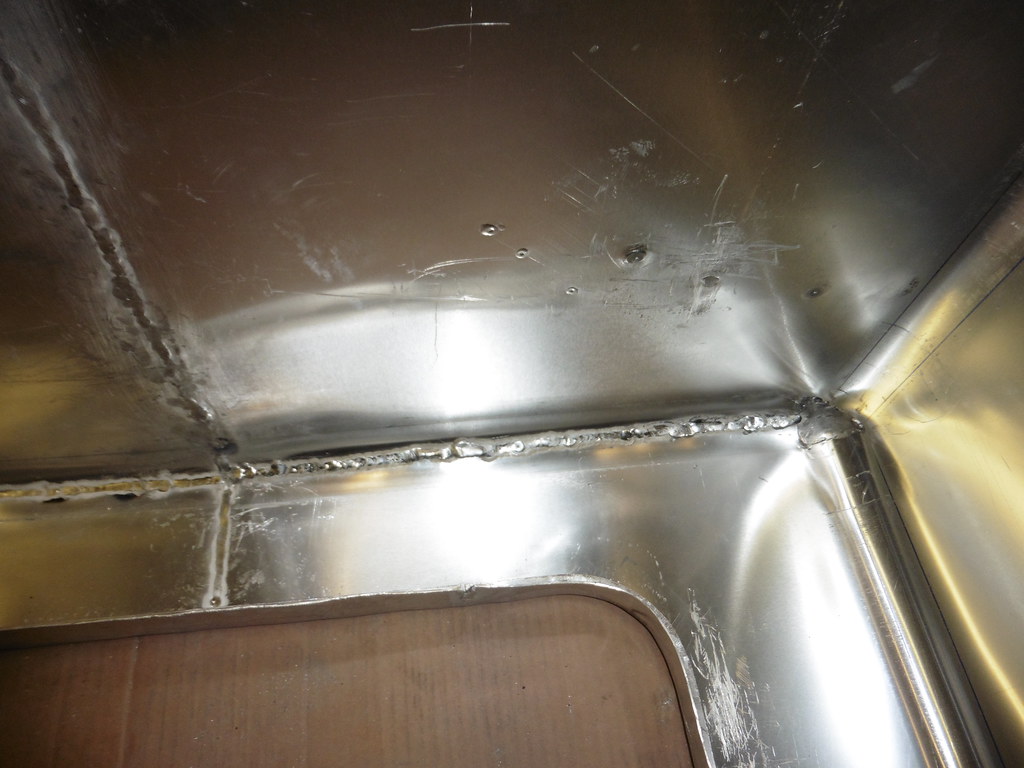 P1060217 P1060217 by jono_misfit, on Flickr  P1060218 P1060218 by jono_misfit, on Flickr Stripped the chassis down  P1060219 P1060219 by jono_misfit, on Flickr ground, twist knott wire weheeled, and sanded it all  P1060220 P1060220 by jono_misfit, on Flickr then epoxy primed it  P1060221 P1060221 by jono_misfit, on Flickr  P1060222 P1060222 by jono_misfit, on Flickr  P1060223 P1060223 by jono_misfit, on Flickr  P1060224 P1060224 by jono_misfit, on Flickr It'll take the week to dry. Next job will be cleaning up the wheel tubs etc. and giving them a coat of epoxy. |
| |
Last Edit: Feb 26, 2022 20:58:05 GMT by jonomisfit
|
|
jonomisfit
Club Retro Rides Member
Posts: 1,781
Club RR Member Number: 49
|
|
Feb 27, 2022 13:16:21 GMT
|
|
I did another video this time with a bit of a voice over.
|
| |
|
|
jonomisfit
Club Retro Rides Member
Posts: 1,781
Club RR Member Number: 49
|
|
|
|
before I can get on with doing the body I need to sort some paint on a few of the panels first  P1060228 P1060228 by jono_misfit, on Flickr There are a few of them. 21 of them. 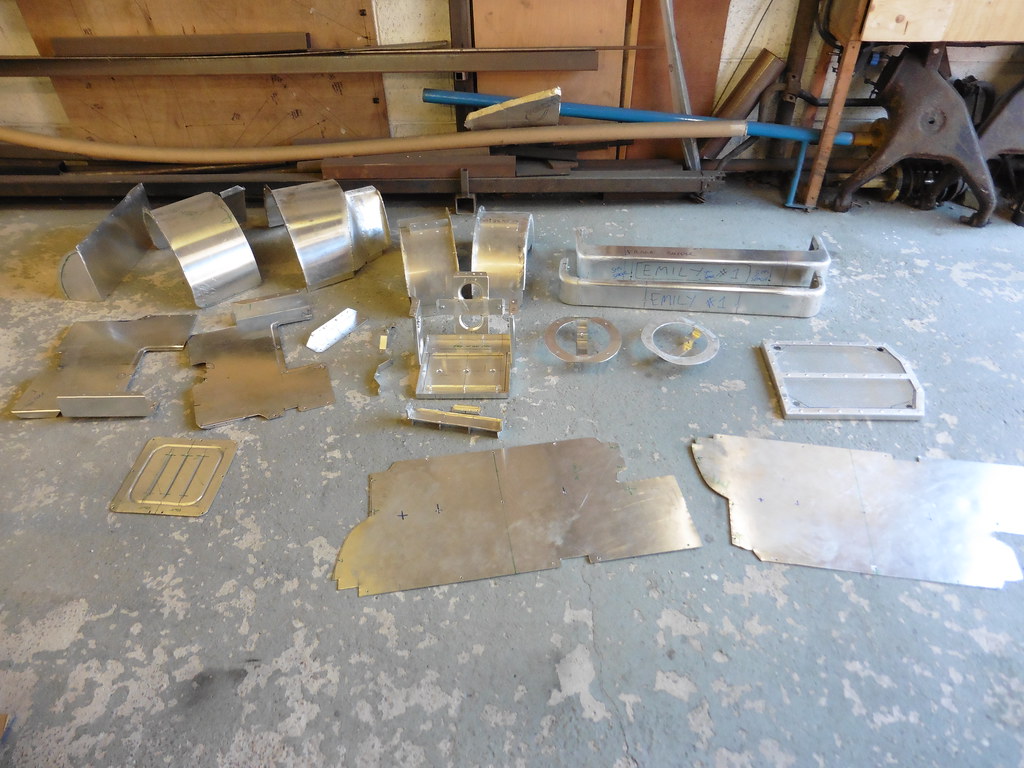 P1060229 P1060229 by jono_misfit, on Flickr primed the suspension bits  P1060230 P1060230 by jono_misfit, on Flickr and painted black  P1060231 P1060231 by jono_misfit, on Flickr I sanded all the panels....  P1060232 P1060232 by jono_misfit, on Flickr then hung to paint  P1060233 P1060233 by jono_misfit, on Flickr and epoxy painted  P1060234 P1060234 by jono_misfit, on Flickr I made the first batch of epoxy too thin so there are a fair few runs. When the panels are in i'll flat it back and sort in situ. then started some re-assembly.  P1060235 P1060235 by jono_misfit, on Flickr By this point though my back was playing up as i've trapped a nerve somewhere so called it quits. |
| |
|
|
|
|
jonomisfit
Club Retro Rides Member
Posts: 1,781
Club RR Member Number: 49
|
|
Mar 20, 2022 20:03:46 GMT
|
Turns out I forgot to upload last weekends pics... primed tinwork 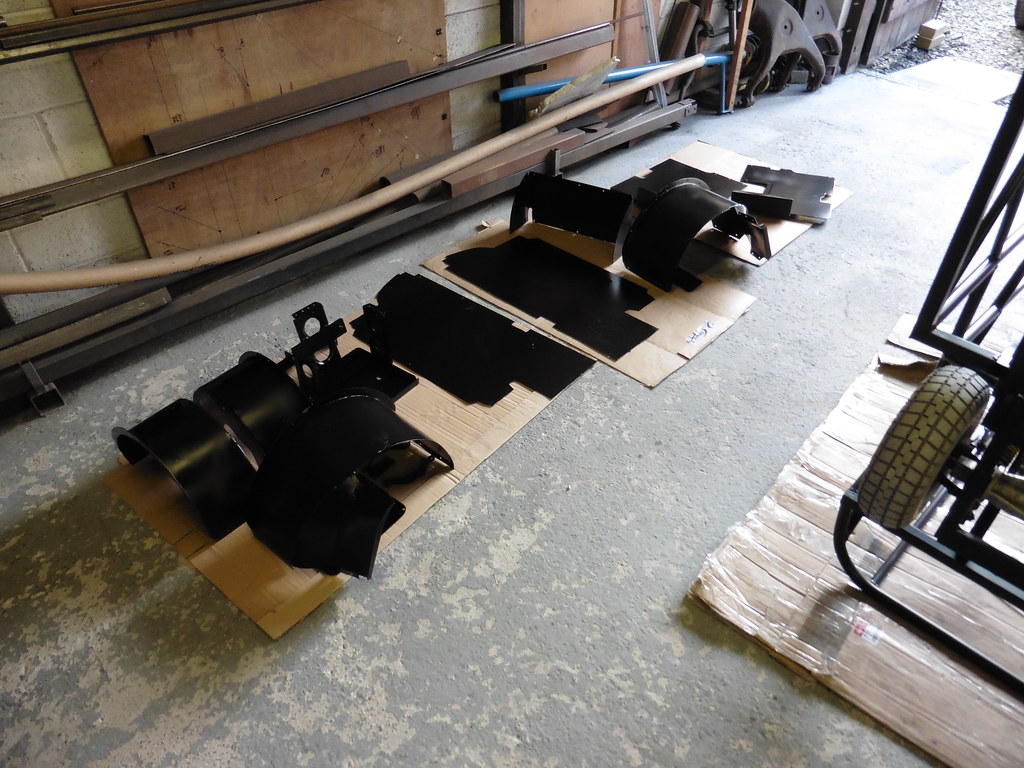 P1060236 P1060236 by jono_misfit, on Flickr  P1060237 P1060237 by jono_misfit, on Flickr a large number of runs..... I dedusted the chassis  P1060238 P1060238 by jono_misfit, on Flickr and started bonding and rivetting in the floor panels  P1060239 P1060239 by jono_misfit, on Flickr 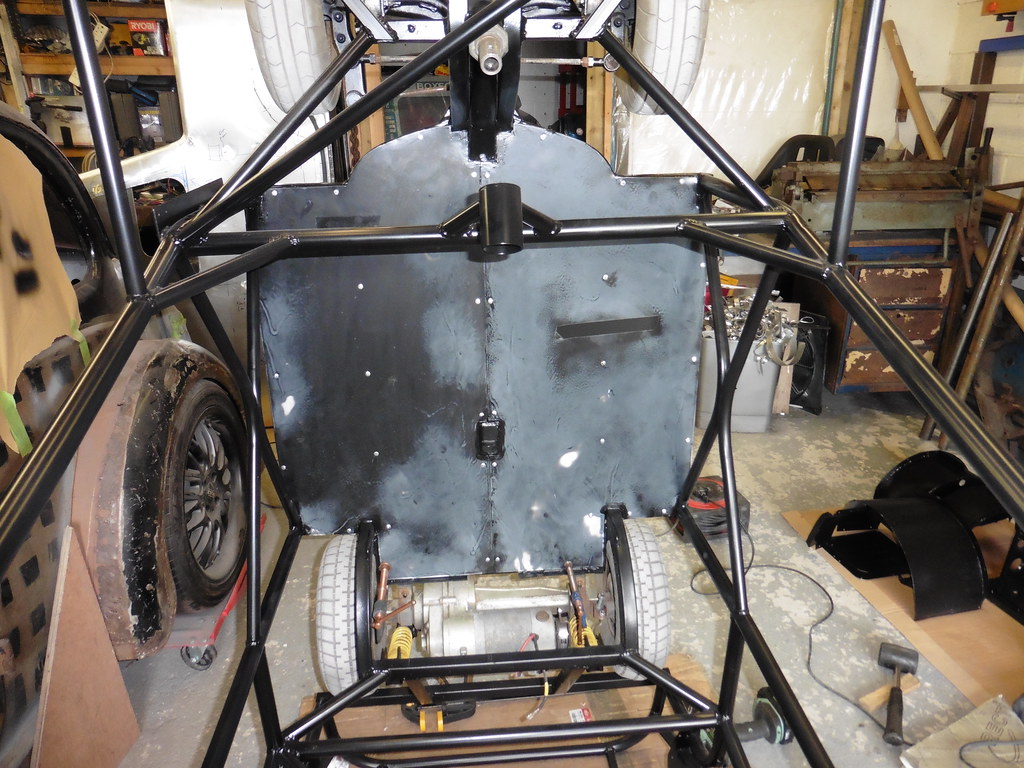 P1060240 P1060240 by jono_misfit, on Flickr wiped round the joints to smooth out the PU sealant 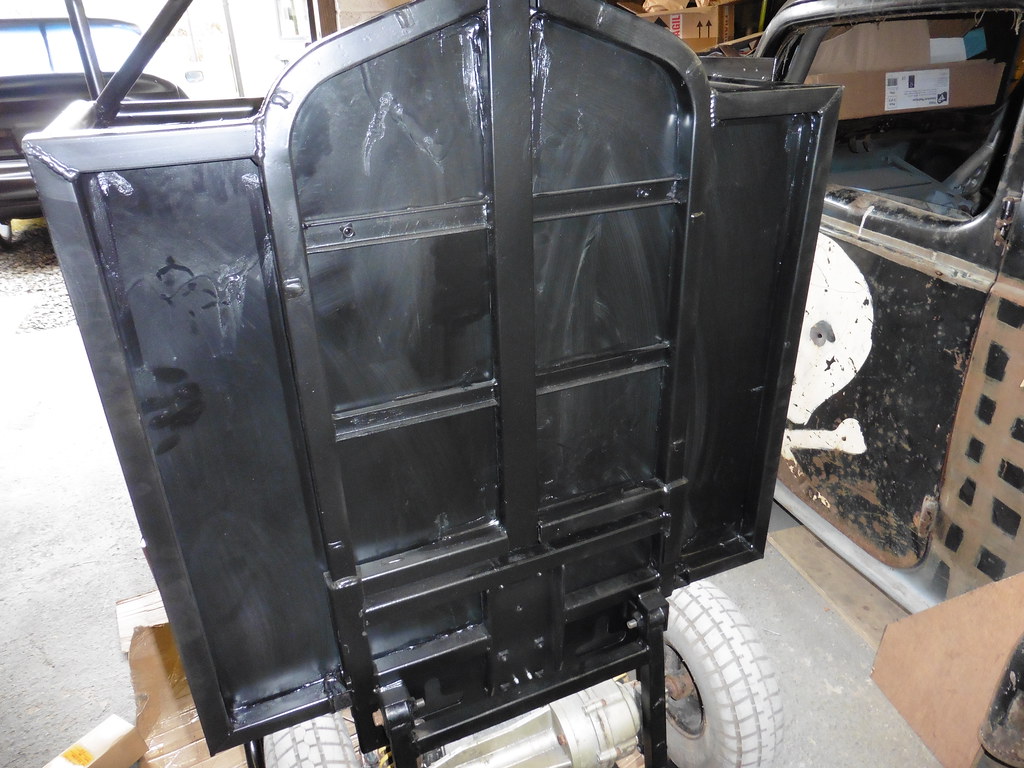 P1060241 P1060241 by jono_misfit, on Flickr and got it everuwhere.....  P1060242 P1060242 by jono_misfit, on Flickr added in the front wheel tubs P1060242 by jono_misfit, on Flickr  P1060243 P1060243 by jono_misfit, on Flickr added in the rears  P1060244 P1060244 by jono_misfit, on Flickr  P1060245 P1060245 by jono_misfit, on Flickr added the seatback panel  P1060246 P1060246 by jono_misfit, on Flickr battery mount and boot floor added  P1060247 P1060247 by jono_misfit, on Flickr  P1060248 P1060248 by jono_misfit, on Flickr  P1060249 P1060249 by jono_misfit, on Flickr |
| |
|
|
jonomisfit
Club Retro Rides Member
Posts: 1,781
Club RR Member Number: 49
|
|
Mar 20, 2022 20:07:47 GMT
|
then surface prepped the inside of the body  P1060250 P1060250 by jono_misfit, on Flickr and splooged it in black epoxy  P1060251 P1060251 by jono_misfit, on Flickr  P1060252 P1060252 by jono_misfit, on Flickr then on to today painted chassis  P1060253 P1060253 by jono_misfit, on Flickr  P1060254 P1060254 by jono_misfit, on Flickr  P1060255 P1060255 by jono_misfit, on Flickr ready for the now dry body to go back on  P1060256 P1060256 by jono_misfit, on Flickr  P1060257 P1060257 by jono_misfit, on Flickr  P1060258 P1060258 by jono_misfit, on Flickr  P1060259 P1060259 by jono_misfit, on Flickr I don't know why, but i think it looks smaller when the body is on |
| |
|
|
jonomisfit
Club Retro Rides Member
Posts: 1,781
Club RR Member Number: 49
|
|
Mar 20, 2022 20:11:33 GMT
|
|
|
| |
|
|
jonomisfit
Club Retro Rides Member
Posts: 1,781
Club RR Member Number: 49
|
|
Mar 25, 2022 22:19:39 GMT
|
|
|
| |
|
|
jonomisfit
Club Retro Rides Member
Posts: 1,781
Club RR Member Number: 49
|
|
Mar 26, 2022 21:00:53 GMT
|
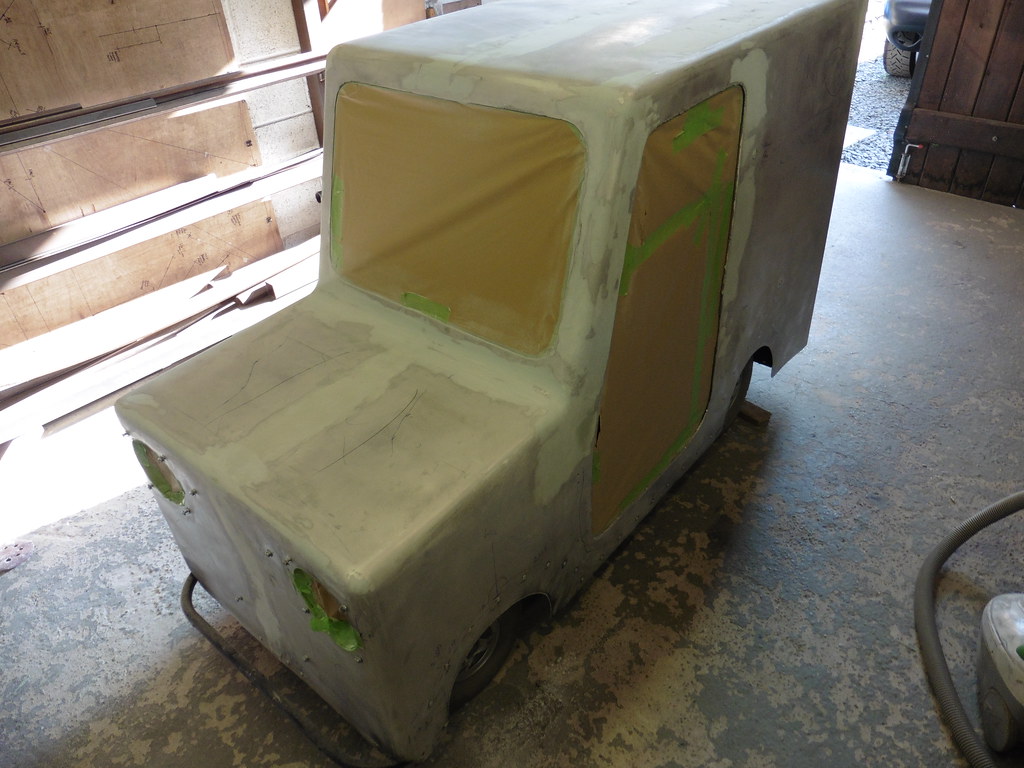
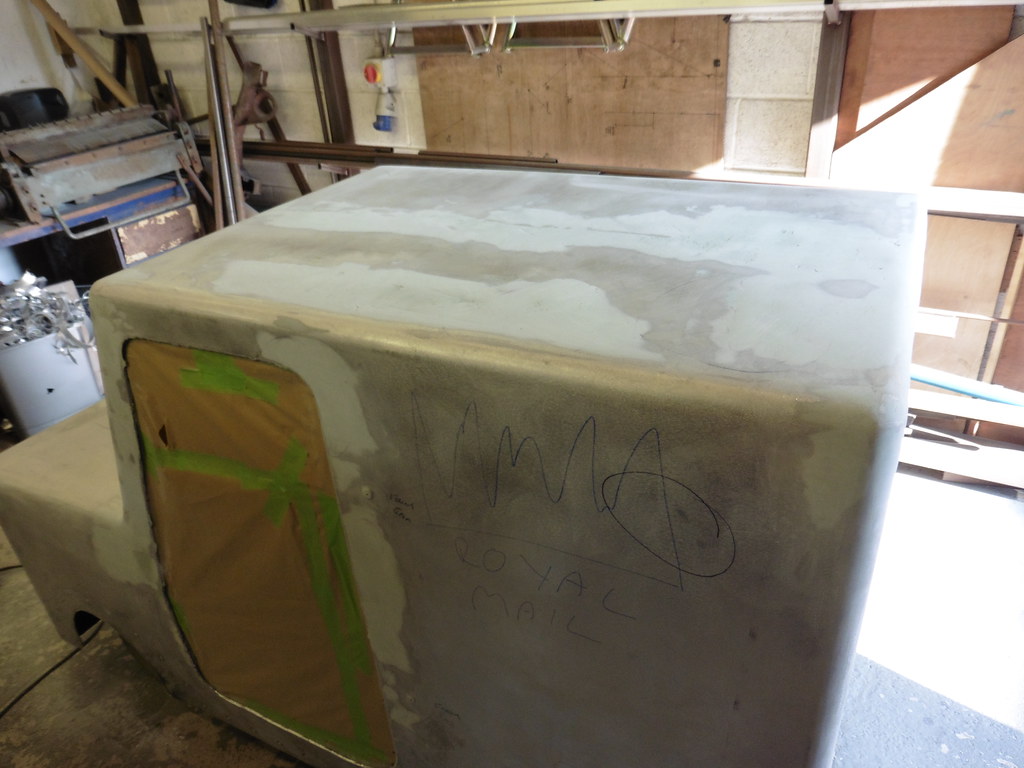
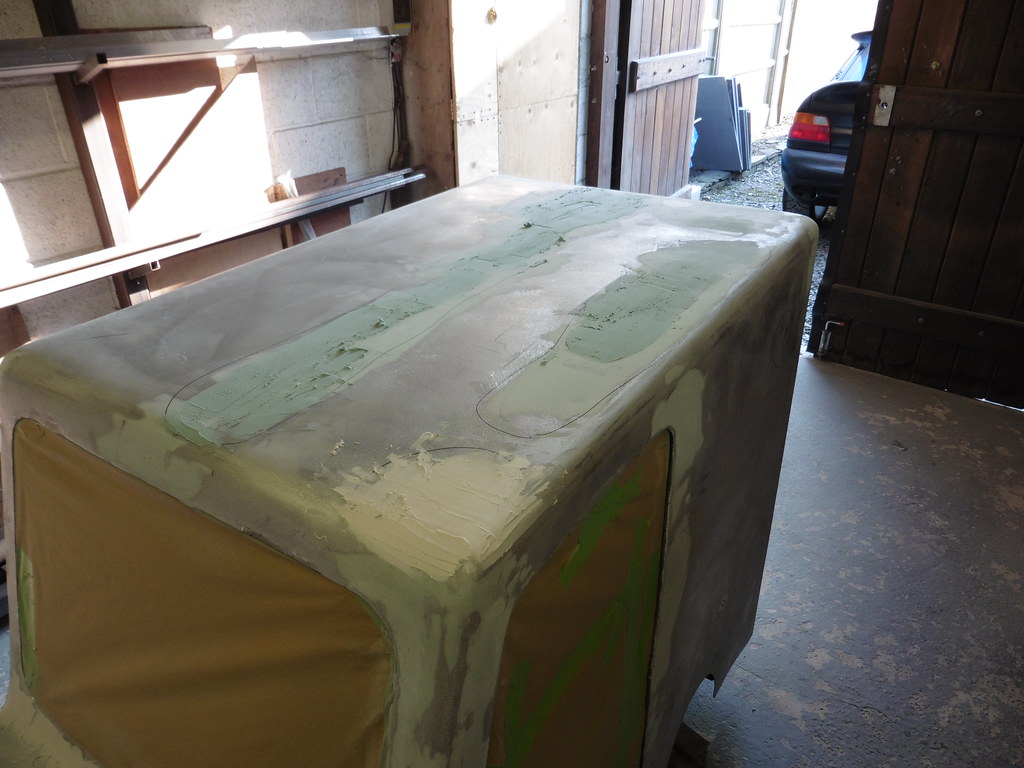
Today mainly went.... sand sand sand, fill, sand sand sand. My arms are now going to fall off. All the pics look pretty similar  P1060273 P1060273 by jono_misfit, on Flickr  P1060274 P1060274 by jono_misfit, on Flickr  P1060275 P1060275 by jono_misfit, on Flickr some of the bits starting to get there  P1060276 P1060276 by jono_misfit, on Flickr some bits needing a load more work  P1060277 P1060277 by jono_misfit, on Flickr  P1060278 P1060278 by jono_misfit, on Flickr getting a bit closer  P1060279 P1060279 by jono_misfit, on Flickr there are a few bits I'll need to get dolphin glaze or similar to fill some of the pin holes.  P1060280 P1060280 by jono_misfit, on Flickr more filler ready to sand  P1060281 P1060281 by jono_misfit, on Flickr  P1060282 P1060282 by jono_misfit, on Flickr  P1060283 P1060283 by jono_misfit, on Flickr  P1060284 P1060284 by jono_misfit, on Flickr some more bits about finished 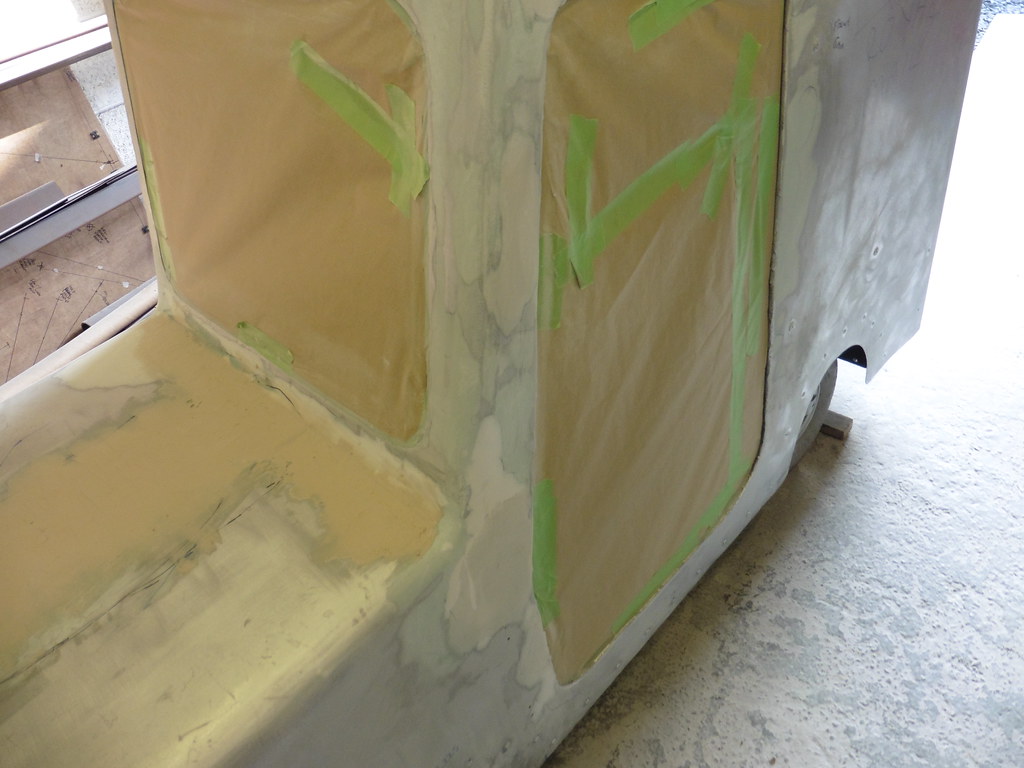 P1060285 P1060285 by jono_misfit, on Flickr 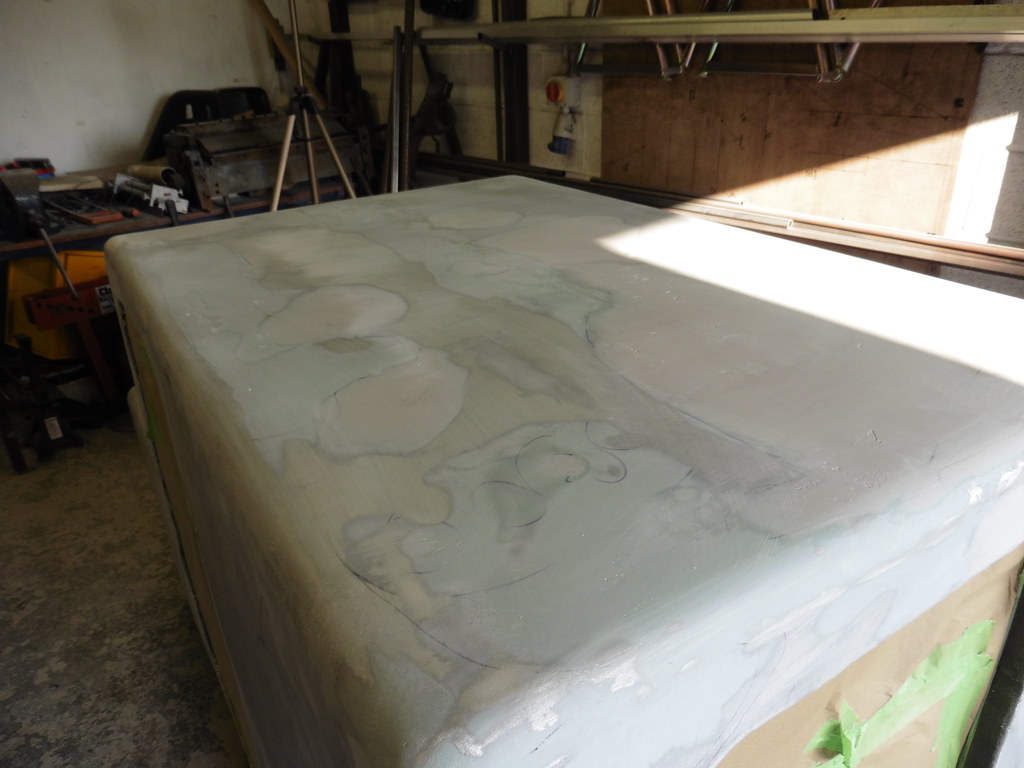 P1060286 P1060286 by jono_misfit, on Flickr I really hate doing bodywork. I do not have the patience for it. |
| |
|
|
Darkspeed
Club Retro Rides Member
Posts: 4,837
Club RR Member Number: 39
|
|
Mar 26, 2022 21:31:28 GMT
|
|
I admire your perseverance with this "little" project - I would have crushed it and bought her a pony well before getting this far.
|
| |
|
|
jonomisfit
Club Retro Rides Member
Posts: 1,781
Club RR Member Number: 49
|
|
Mar 26, 2022 21:50:32 GMT
|
|
that has certainly been contemplated.
Especially as I then need to make a little garage for it as well....
|
| |
|
|
penguin45
Part of things
 Still welding......
Posts: 70
|
|
Mar 27, 2022 20:17:16 GMT
|
|
... post sack, cat...
Keep going, it's epic.
P45.
|
| |
|
|
jonomisfit
Club Retro Rides Member
Posts: 1,781
Club RR Member Number: 49
|
|
Mar 27, 2022 22:04:01 GMT
|
|
Appreciated, thanks.
She already has the postbag and a jess that purrs.
Mrs_misfit is going to put her panoply of craft equipment to use and make her a uniform.
|
| |
|
|
jonomisfit
Club Retro Rides Member
Posts: 1,781
Club RR Member Number: 49
|
|
Mar 29, 2022 20:57:50 GMT
|
|
I stitched together another video covering off how I sorted the A pillar.
I'm still experimenting with how to do videos, so this is more a stitched together fast play through, with a voiceover and no music.
I've got more video shot on me starting the body prep, so that will be the next one.
|
| |
|
|
|
|