jonomisfit
Club Retro Rides Member
Posts: 1,781
Club RR Member Number: 49
|
|
Jan 10, 2022 21:10:53 GMT
|
|
|
| |
|
|
|
|
jonomisfit
Club Retro Rides Member
Posts: 1,781
Club RR Member Number: 49
|
|
Jan 14, 2022 19:22:26 GMT
|
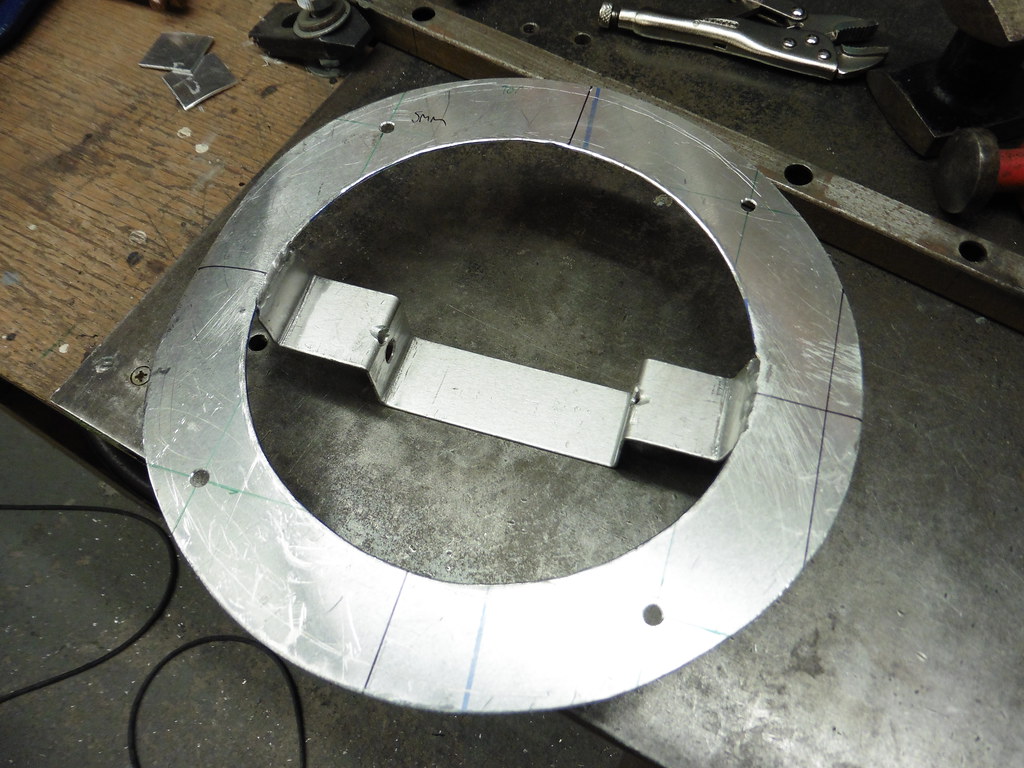
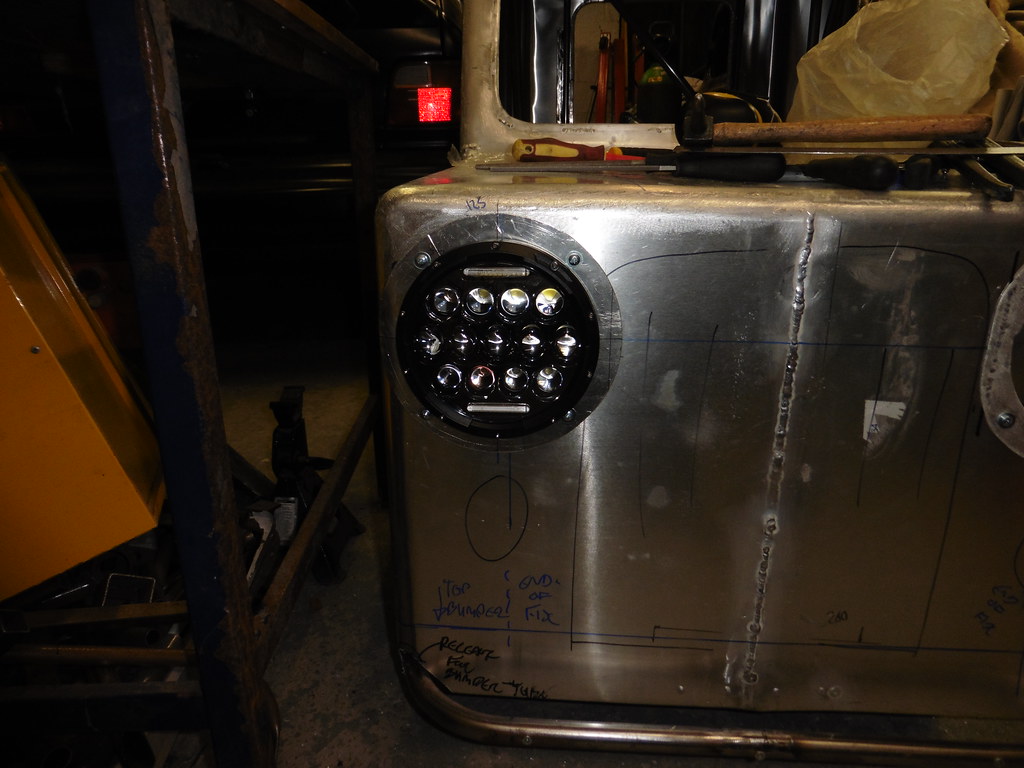
I finished the mouting strap and welded it on  P1050994 P1050994 by jono_misfit, on Flickr  P1050995 P1050995 by jono_misfit, on Flickr then measured up and trimmed the mounting hole for the light  P1060003 P1060003 by jono_misfit, on Flickr I had to "relieve" the cross bar behind the light as its about 10mm too far forward to clear. I'll need to sort when I've got the body off Mount clamped into position to check  P1060004 P1060004 by jono_misfit, on Flickr cleaned up and marked final clean up and mounting  P1060005 P1060005 by jono_misfit, on Flickr |
| |
|
|
jonomisfit
Club Retro Rides Member
Posts: 1,781
Club RR Member Number: 49
|
|
Jan 15, 2022 21:13:34 GMT
|
|
|
| |
|
|
jonomisfit
Club Retro Rides Member
Posts: 1,781
Club RR Member Number: 49
|
|
Jan 15, 2022 21:24:20 GMT
|
I then started working out whats needed for the front grill  P1060013 P1060013 by jono_misfit, on Flickr started folding up a section  P1060014 P1060014 by jono_misfit, on Flickr mark for a bend  P1060015 P1060015 by jono_misfit, on Flickr cut and fold  P1060016 P1060016 by jono_misfit, on Flickr added some guide lines and start fitting to it. I decided to tweak the top to be a bit wider for astetics.... definitely for astetics and definetly not becuase I cut the piece too short. Definitely not...  P1060017 P1060017 by jono_misfit, on Flickr fold up the other section  P1060018 P1060018 by jono_misfit, on Flickr add bends  P1060019 P1060019 by jono_misfit, on Flickr Make top section fold  P1060020 P1060020 by jono_misfit, on Flickr fold more  P1060021 P1060021 by jono_misfit, on Flickr like so  P1060022 P1060022 by jono_misfit, on Flickr Trim and clamp to shape  P1060023 P1060023 by jono_misfit, on Flickr welded  P1060024 P1060024 by jono_misfit, on Flickr dress back the welds  P1060025 P1060025 by jono_misfit, on Flickr cleaned up a bit more and straightened up a bit  P1060026 P1060026 by jono_misfit, on Flickr fits like so  P1060027 P1060027 by jono_misfit, on Flickr needs mounting tabs  P1060028 P1060028 by jono_misfit, on Flickr will go in here  P1060029 P1060029 by jono_misfit, on Flickr and here  P1060030 P1060030 by jono_misfit, on Flickr welded in  P1060032 P1060032 by jono_misfit, on Flickr fitted  P1060033 P1060033 by jono_misfit, on Flickr  P1060034 P1060034 by jono_misfit, on Flickr  P1060035 P1060035 by jono_misfit, on Flickr I also got a new toy...  P1060031 P1060031 by jono_misfit, on Flickr I had it running at a few points today so if I get myslef motivated I'll stitch today and future days work into a video |
| |
|
|
|
|
|
Jan 15, 2022 22:24:28 GMT
|
|
Hope Emily#1 appreciates this thing after all the work that's going into it.
|
| |
|
|
jonomisfit
Club Retro Rides Member
Posts: 1,781
Club RR Member Number: 49
|
|
|
|
|
The main thing is she enjoys it when it's done. She's 4 so is somewhat outcome focused.
When I drove it the other month it did get me thinking it may be a bit much for her at the moment. Still when it's done it's done and she can drive it with me.
I've gotten some good experience of aluminium working from it, so I can put that towards future projects.
|
| |
|
|
jonomisfit
Club Retro Rides Member
Posts: 1,781
Club RR Member Number: 49
|
|
Jan 28, 2022 21:16:25 GMT
|
The mesh turned up so I could finish the grill. Rough cut  P1060047 P1060047 by jono_misfit, on Flickr cut in half so I could fit it in 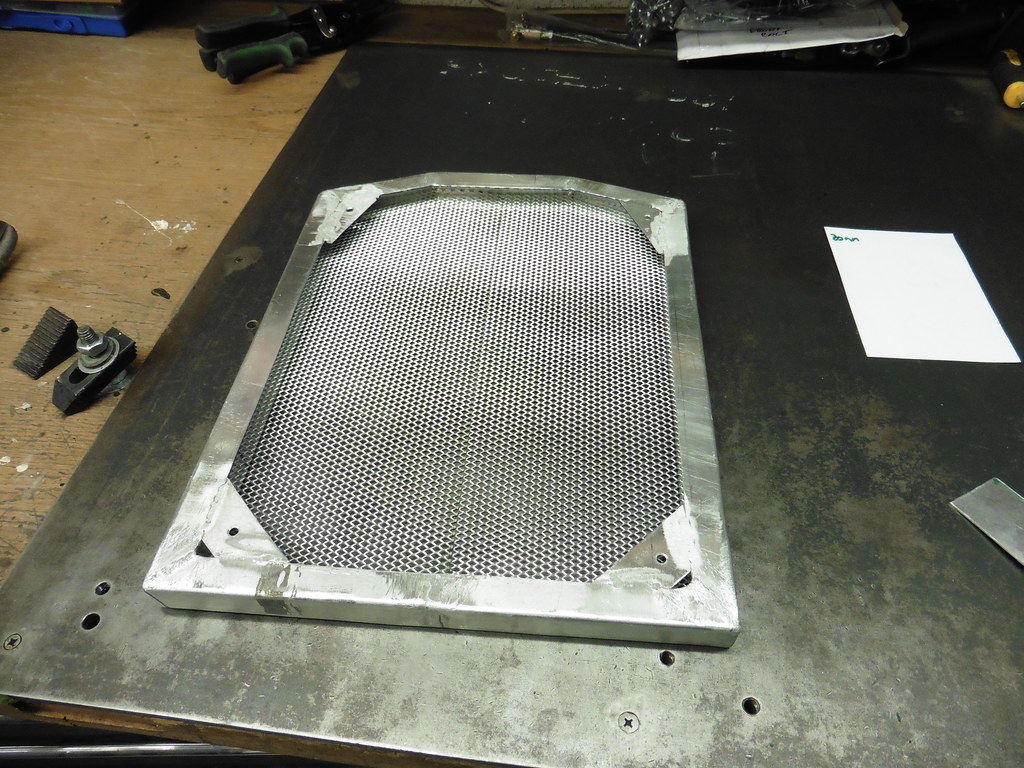 P1060048 P1060048 by jono_misfit, on Flickr flipped over and marked up  P1060049 P1060049 by jono_misfit, on Flickr needs a central strip to support and hide the join  P1060050 P1060050 by jono_misfit, on Flickr trimmed and drilled  P1060051 P1060051 by jono_misfit, on Flickr welded in  P1060052 P1060052 by jono_misfit, on Flickr welds flatted down  P1060053 P1060053 by jono_misfit, on Flickr mesh back in 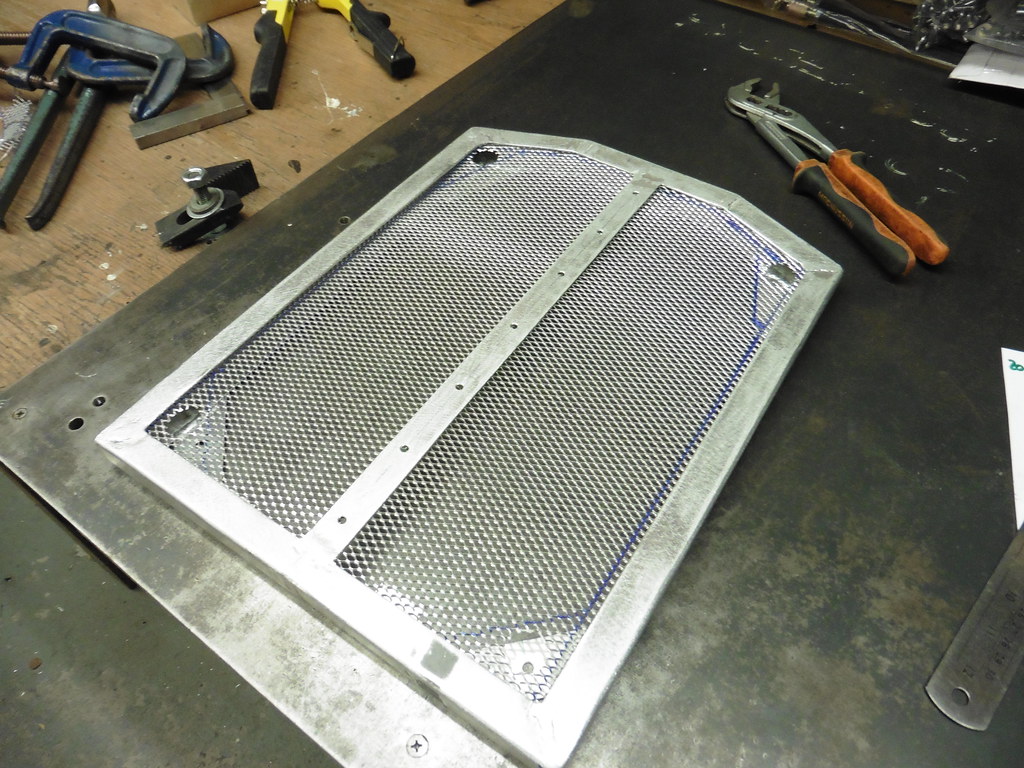 P1060054 P1060054 by jono_misfit, on Flickr clamping strip cut  P1060055 P1060055 by jono_misfit, on Flickr folded edges to stiffen up  P1060056 P1060056 by jono_misfit, on Flickr start rivetting in  P1060057 P1060057 by jono_misfit, on Flickr centre line fully clamped  P1060058 P1060058 by jono_misfit, on Flickr |
| |
|
|
jonomisfit
Club Retro Rides Member
Posts: 1,781
Club RR Member Number: 49
|
|
Jan 28, 2022 21:22:08 GMT
|
then onto the edges retaining strip cut, bent , drilled  P1060059 P1060059 by jono_misfit, on Flickr fitted  P1060060 P1060060 by jono_misfit, on Flickr other side fitted  P1060061 P1060061 by jono_misfit, on Flickr top done, staring the bottom  P1060062 P1060062 by jono_misfit, on Flickr retaining strips cut 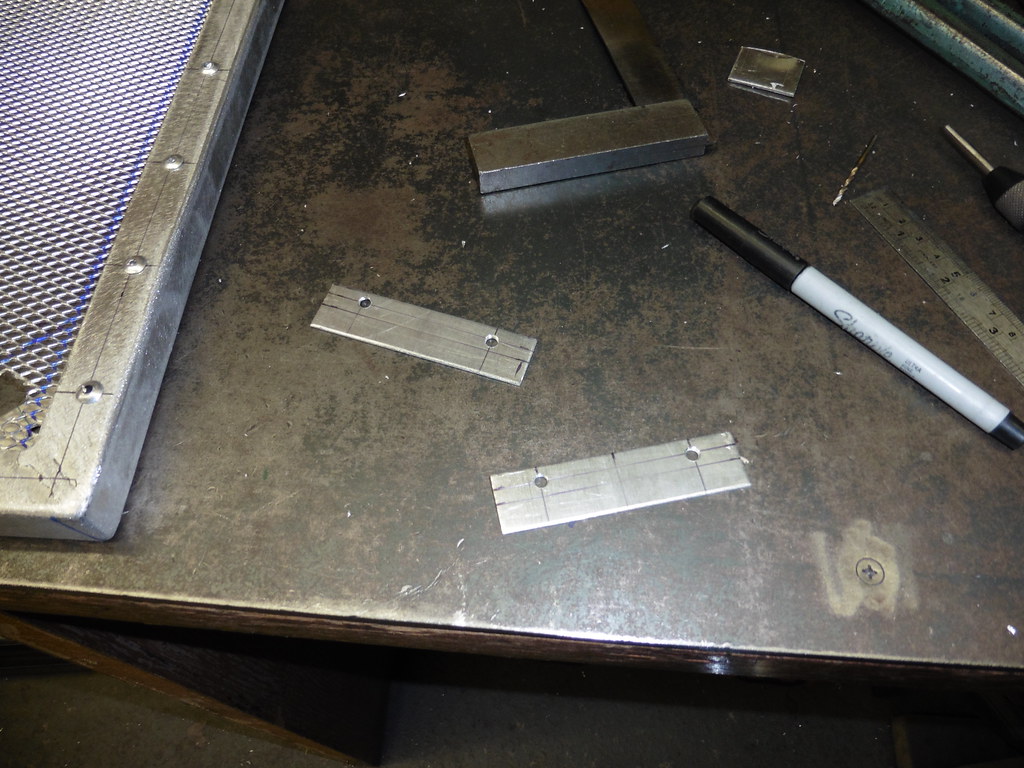 P1060063 P1060063 by jono_misfit, on Flickr folded and trimmed  P1060064 P1060064 by jono_misfit, on Flickr all clamped up  P1060065 P1060065 by jono_misfit, on Flickr and in situ on the van 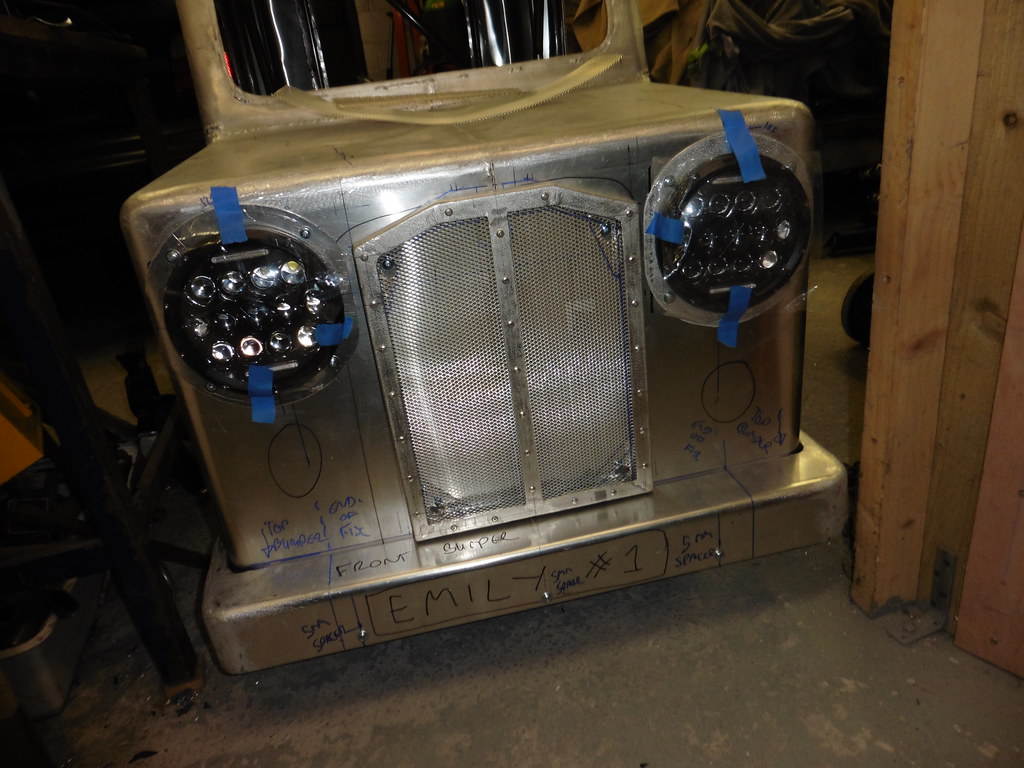 P1060066 P1060066 by jono_misfit, on Flickr  P1060067 P1060067 by jono_misfit, on Flickr  P1060068 P1060068 by jono_misfit, on Flickr  P1060070 P1060070 by jono_misfit, on Flickr Not quite like postman pats grill, but it'll do. |
| |
|
|
jonomisfit
Club Retro Rides Member
Posts: 1,781
Club RR Member Number: 49
|
|
Jan 29, 2022 20:21:58 GMT
|
|
|
| |
|
|
jonomisfit
Club Retro Rides Member
Posts: 1,781
Club RR Member Number: 49
|
|
Jan 29, 2022 20:28:49 GMT
|
I took out the battery tray. Need to turn it into an actual battery tray.  P1060076 P1060076 by jono_misfit, on Flickr First thing, I need a mount for the motor controller  P1060077 P1060077 by jono_misfit, on Flickr becomes  P1060078 P1060078 by jono_misfit, on Flickr goes here  P1060079 P1060079 by jono_misfit, on Flickr hot glued on  P1060080 P1060080 by jono_misfit, on Flickr stripped it all down  P1060081 P1060081 by jono_misfit, on Flickr start setting the battery holder, there's space for 3 batteries if I want to go to 36V.  P1060082 P1060082 by jono_misfit, on Flickr front stop  P1060083 P1060083 by jono_misfit, on Flickr and rear  P1060084 P1060084 by jono_misfit, on Flickr re-assembled the boot floor to set spacing  P1060085 P1060085 by jono_misfit, on Flickr Start the battery strap  P1060086 P1060086 by jono_misfit, on Flickr goes in like so  P1060087 P1060087 by jono_misfit, on Flickr need these to keep the batteries in position  P1060088 P1060088 by jono_misfit, on Flickr set in position 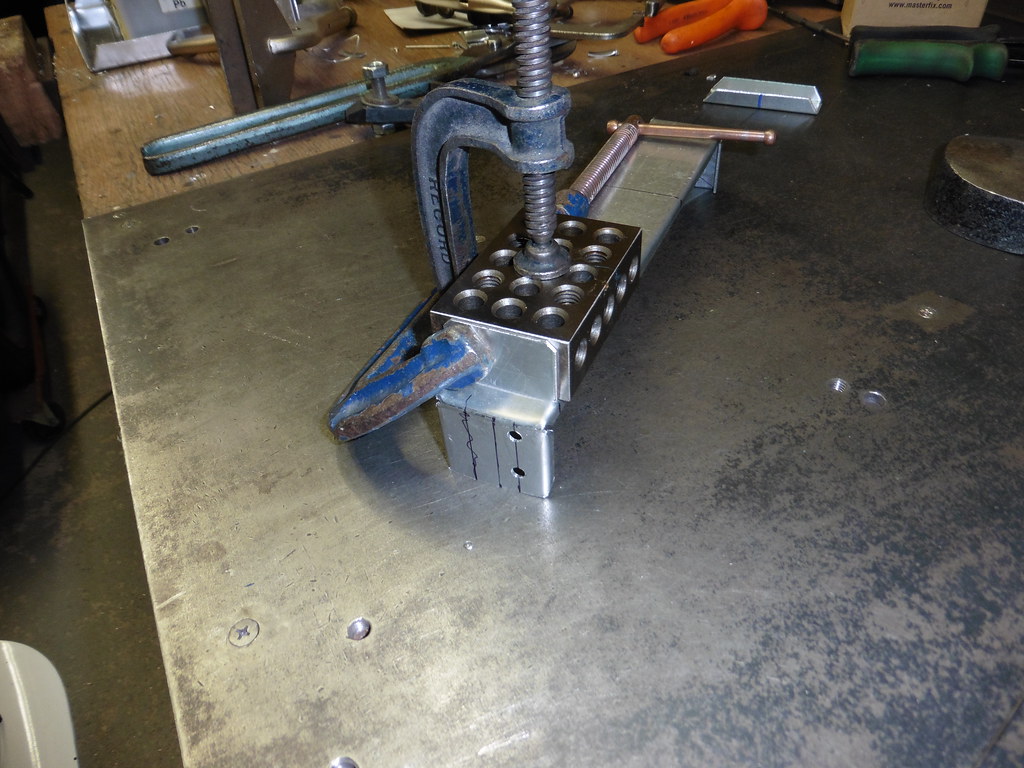 P1060089 P1060089 by jono_misfit, on Flickr welded in  P1060090 P1060090 by jono_misfit, on Flickr holds batteries well  P1060091 P1060091 by jono_misfit, on Flickr  P1060092 P1060092 by jono_misfit, on Flickr and drainage points added  P1060093 P1060093 by jono_misfit, on Flickr |
| |
|
|
|
|
jonomisfit
Club Retro Rides Member
Posts: 1,781
Club RR Member Number: 49
|
|
Jan 29, 2022 20:32:20 GMT
|
|
|
| |
|
|
75swb
Beta Tester
Posts: 1,041
Club RR Member Number: 181
|
|
|
|
|
very tidy! great rate of progress too
|
| |
|
|
|
|
|
|
|
I'm glad you've finally got your swagey fingers on this. Speaking of fingers, what are you going to do to protect them from the grill mount holes? It's a bit late now, but you could have done a few tabs that slot down on to the face of it, with a couple of tabs that bolt it all down behind the bumper, maybe? Removing visible fixing points. Or welded a bolt on and fixed it from inside where it's nice and awkward.  |
| |
|
|
jonomisfit
Club Retro Rides Member
Posts: 1,781
Club RR Member Number: 49
|
|
|
|
|
Rubber ring grommets bonded into the holes is going to be my approach to this.
|
| |
|
|
jonomisfit
Club Retro Rides Member
Posts: 1,781
Club RR Member Number: 49
|
|
|
|
I'm being lazy and not making the doors at the moment. But I don't want to drill the body after paint, so better sort the hinges.  P1060117 P1060117 by jono_misfit, on Flickr mark out  P1060118 P1060118 by jono_misfit, on Flickr drill, tap, screw in place  P1060119 P1060119 by jono_misfit, on Flickr and the front door hinges  P1060120 P1060120 by jono_misfit, on Flickr drill & tap  P1060121 P1060121 by jono_misfit, on Flickr hinges fitted  P1060122 P1060122 by jono_misfit, on Flickr they look out of alignment, but it just the pins are a sloppy fit.... |
| |
|
|
jonomisfit
Club Retro Rides Member
Posts: 1,781
Club RR Member Number: 49
|
|
|
|
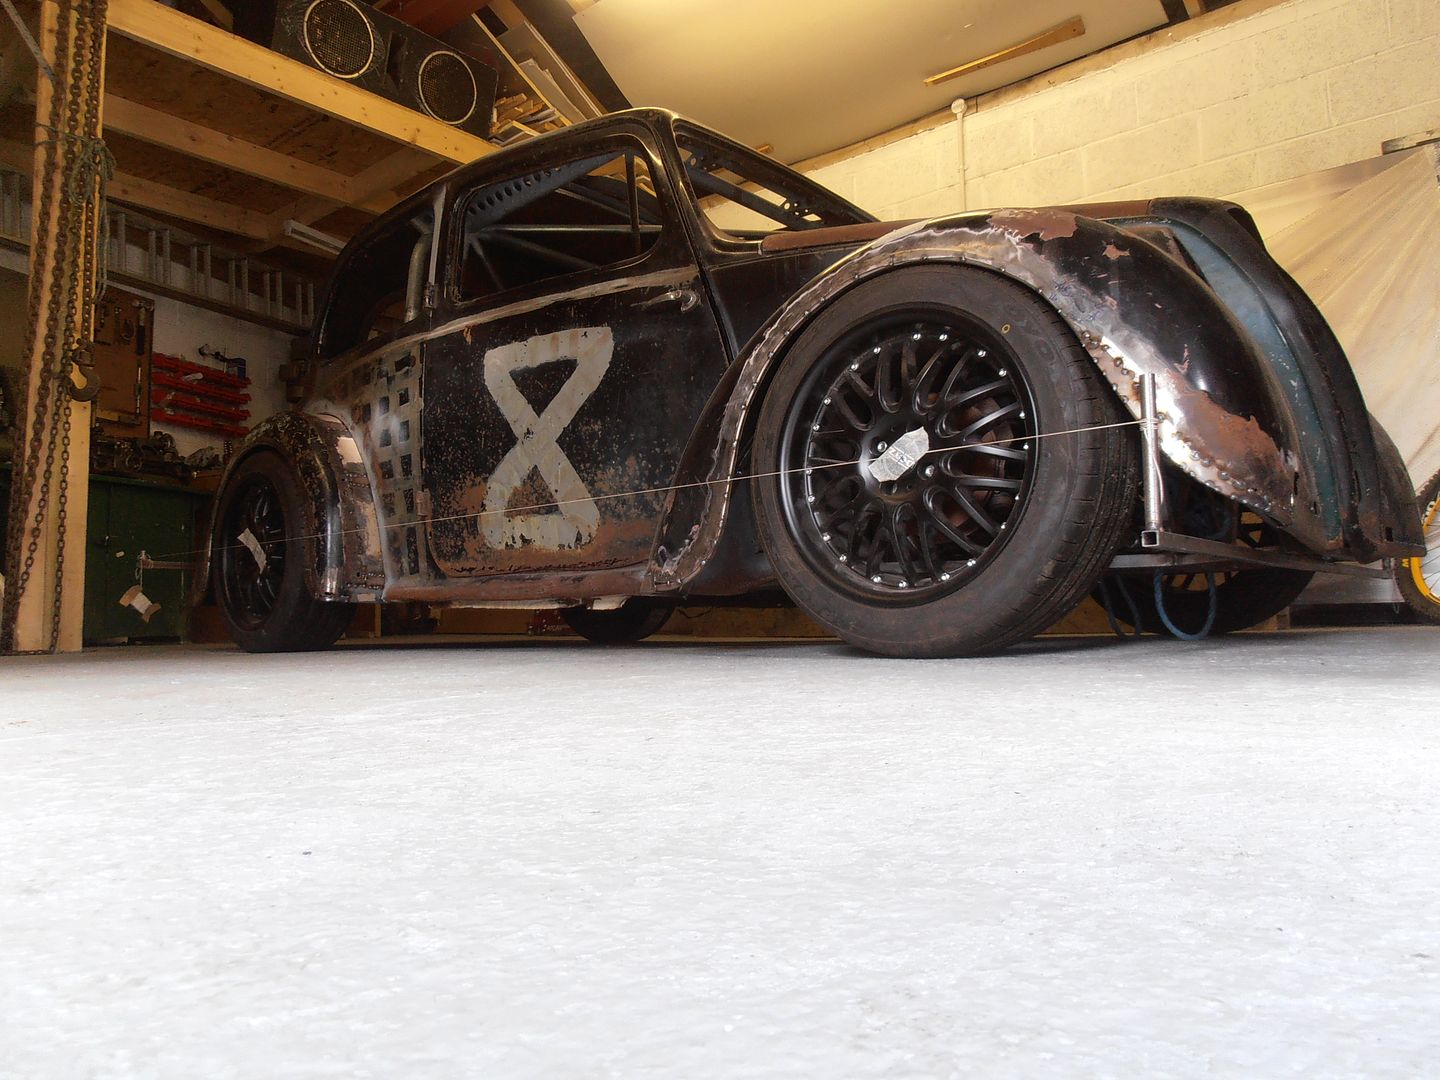
Then it was out with the drill, and out with the rivets. Leaving a bare (ish) chassis.  P1060123 P1060123 by jono_misfit, on Flickr body lifet up out the way  P1060124 P1060124 by jono_misfit, on Flickr collection of panels  P1060125 P1060125 by jono_misfit, on Flickr then gave the joins a once over with a wire brushes, and commenced a 2 hr weldathon. I could have done with more space, but it was peeing it down and I didnt fancy filling the escort with water. So had to find ways to access all the joints.  P1060126 P1060126 by jono_misfit, on Flickr got there in the end though  P1060127 P1060127 by jono_misfit, on Flickr need to go round and give everything a once over with the wire cups in the grinder to clean it all 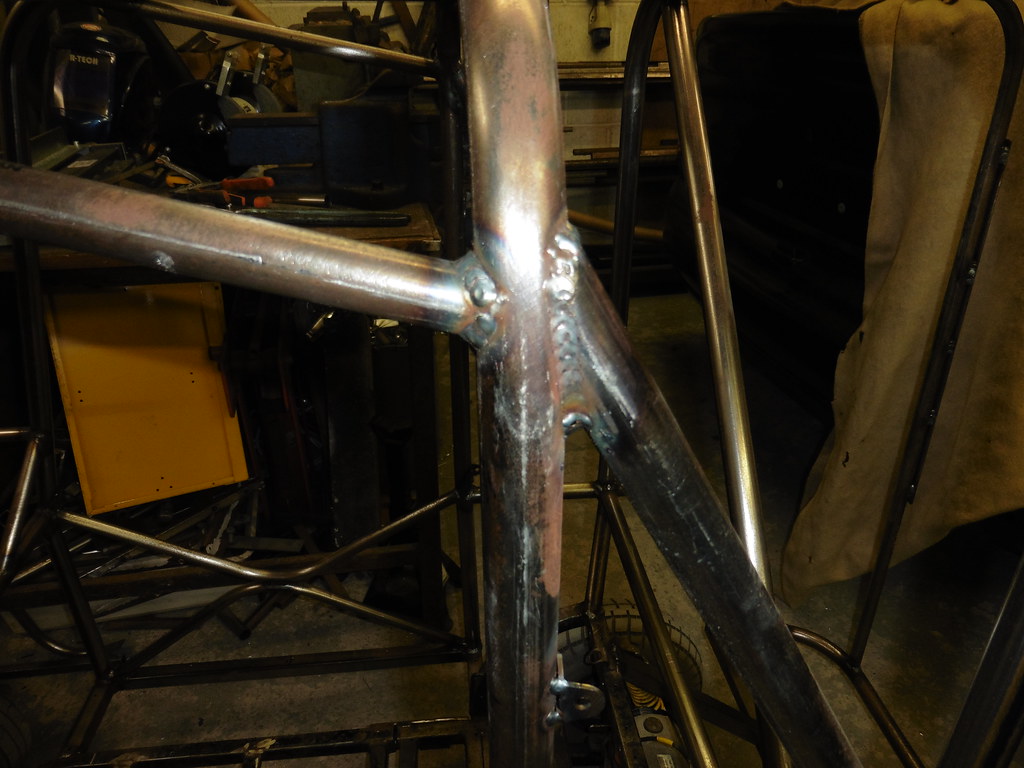 P1060128 P1060128 by jono_misfit, on Flickr  P1060129 P1060129 by jono_misfit, on Flickr and give any weld bead on a panel face a tickle with the grinder to set it flush  P1060130 P1060130 by jono_misfit, on Flickr I forgot how messy and fumey MIG welding is v's the TIG  P1060131 P1060131 by jono_misfit, on Flickr  P1060133 P1060133 by jono_misfit, on Flickr on to this next weekend  P1060134 P1060134 by jono_misfit, on Flickr I also filmed a load of the work and If I get enthusiastic about editing it all down, then I might post it up. People can enjoy lots of footage of the back of my head :-) |
| |
|
|
|
|
|
|
|
If you've got a bald spot and a whiteboard marker, you can draw smiley/cranky faces on your head to convey your feelings at the time of filming  |
| |
|
|
jonomisfit
Club Retro Rides Member
Posts: 1,781
Club RR Member Number: 49
|
|
|
|
|
|
| |
|
|
jonomisfit
Club Retro Rides Member
Posts: 1,781
Club RR Member Number: 49
|
|
|
|
|
Turns out i'm really really bad at editting.
I stitched together a video of making the grill from what I shot.... with big gaps for the bits I missed.Its full of issues and stop frames, so I need to go back and fix it.
A simpler single shot walk round worked easily enought. Its not overly exciting but shows some of the detail a bit.
|
| |
|
|
93fxdl
Posted a lot
 Enter your message here...
Posts: 2,013
|
|
|
|
|
Truly an awesome project, seems strange to see so much sheet alloy work going on and never see any cleeco or no mar fasteners
Ttfn Glenn
|
| |
|
|
|
|


 P1050963 by jono_misfit, on Flickr
 P1050964 by jono_misfit, on Flickr
 P1050965 by jono_misfit, on Flickr
 P1050966 by jono_misfit, on Flickr
 P1050967 by jono_misfit, on Flickr
 P1050968 by jono_misfit, on Flickr