jamesd1972
Club Retro Rides Member
Posts: 2,922  Club RR Member Number: 40
|
|
|
|
|
So Rather than fill up the BNMAC thread I'll create a short and sweet thread on the heap:
So the list for the LR looks like this:
Need to do:
Fit replacement 5MB engine.
Swap hardtop for half cage thing.
If not too much money get some canvas for the half cage thing.
Find bluetooth speaker thing for sounds.
Nice to do:
Paint half cage thing and half rear door to match car.
Rebuild spare rear springs and swap over to improve ride.
Rebuild twin choke Webber carb for more power (if not done will bring with me to give to Quatermass to do)
Weld up (bodge) exhaust for twin choke manifold.
Find and then fit throttle cable set up from a defender to operate.
Obviously with all the hot weather the engine swap was dropped out in favour of going topless...
James
|
| |
|
|
|
|
jamesd1972
Club Retro Rides Member
Posts: 2,922  Club RR Member Number: 40
|
|
|
|
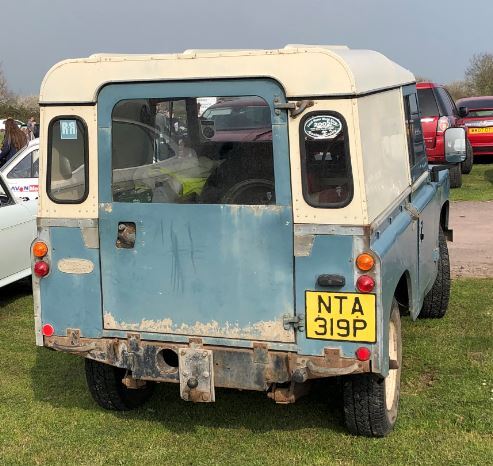  From this 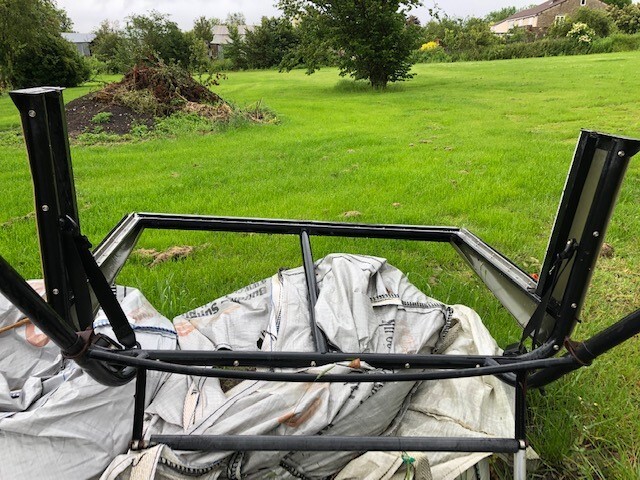 Plus this and some child labour to 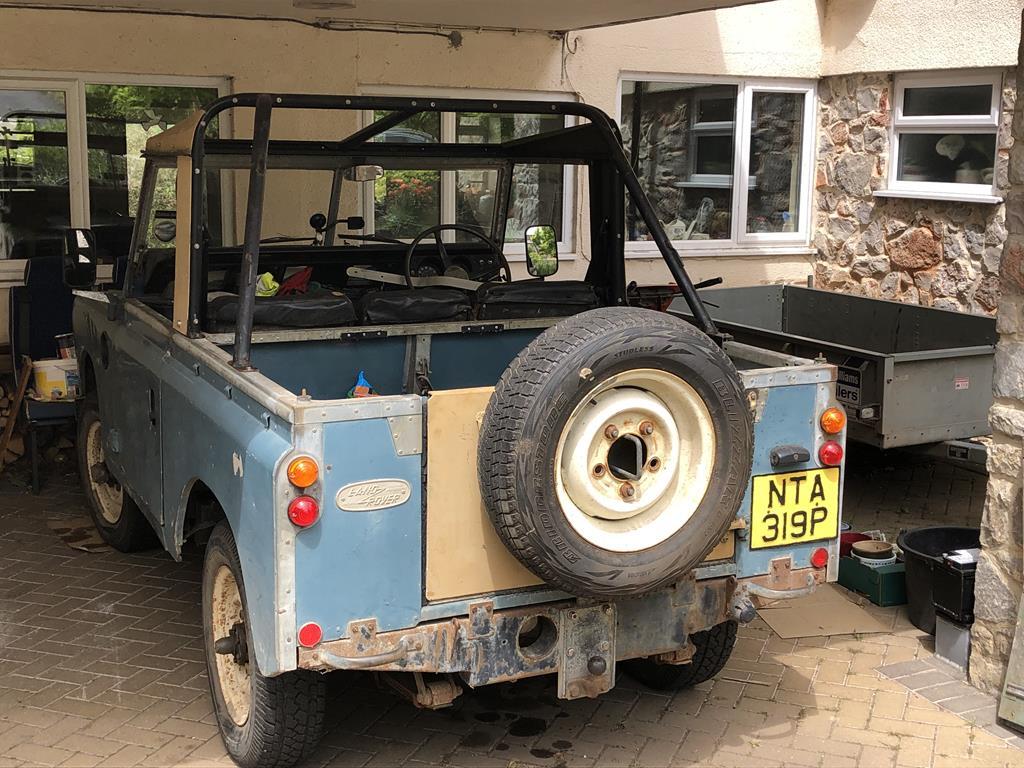 James |
| |
|
|
jamesd1972
Club Retro Rides Member
Posts: 2,922  Club RR Member Number: 40
|
|
|
|
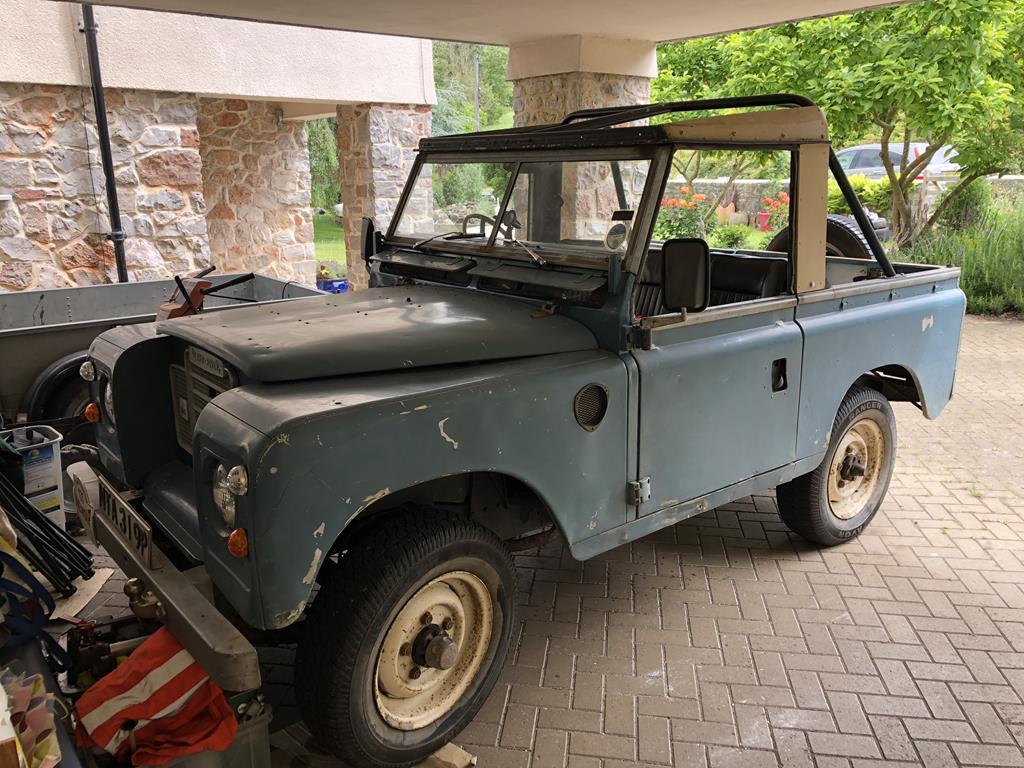 Not at all sure on the Aesthetics on this in truth, gone from an honest work truck to a shock horror 'lifestyle vehicle'. (I may have spent too long in the worst thread on here reading @quatermass ) Going to have to review with my friend and co-owner on how we tone it down a bit I think. This isn't the only issue.  James |
| |
|
|
jamesd1972
Club Retro Rides Member
Posts: 2,922  Club RR Member Number: 40
|
|
|
|
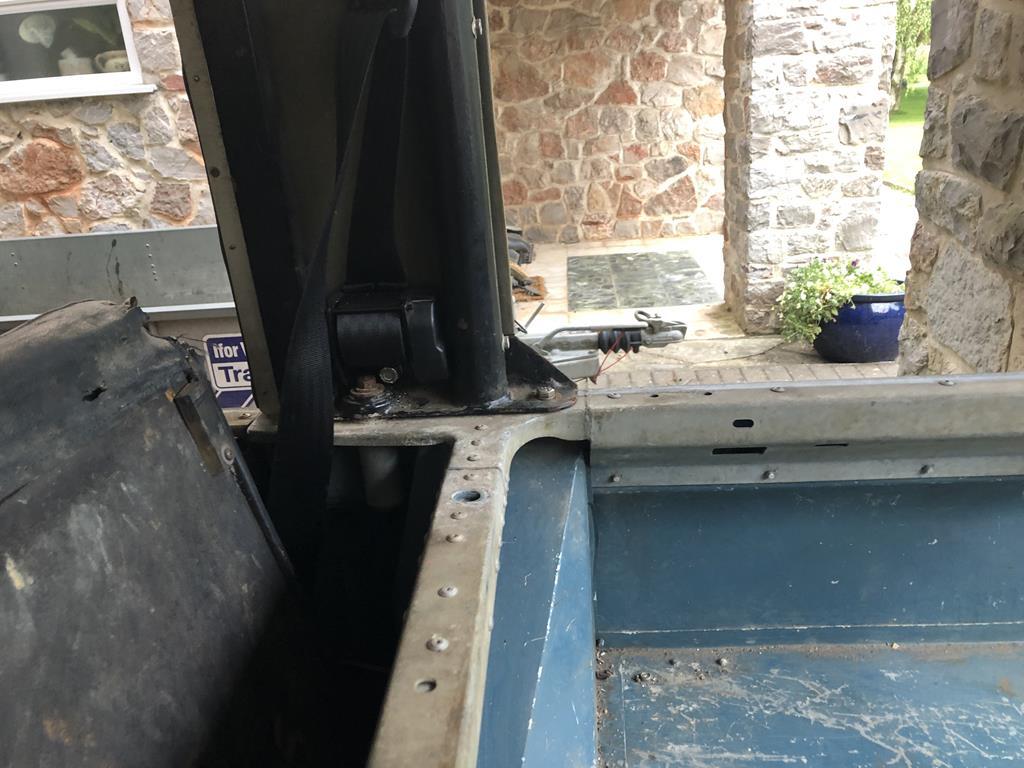
The other issue was seat belt mounting and centre seat harness. With the hardtop in place we had added the corner brace and a cross-bar mounted to the original seat belt mounts so we could have inertia reels on the outer seats and a harness suitable for small people in the centre seat. If you look closely in the below you can make this all out. 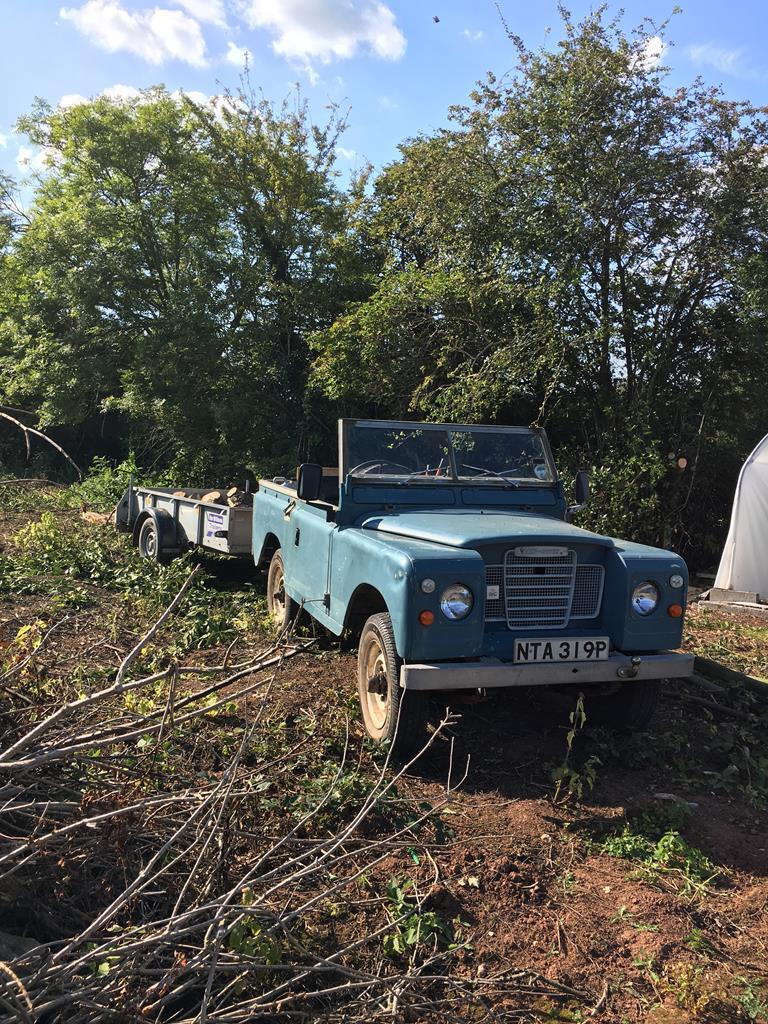 I know the harness isn't ideal but it is better than no belt or a lap belt or the inertia kit you can get for the middle. Last time we went without the roof we just went back to a new set of fixed over the shoulder belts which weren't ideal either. Uncomfortable and also squash your spine down in an accident. 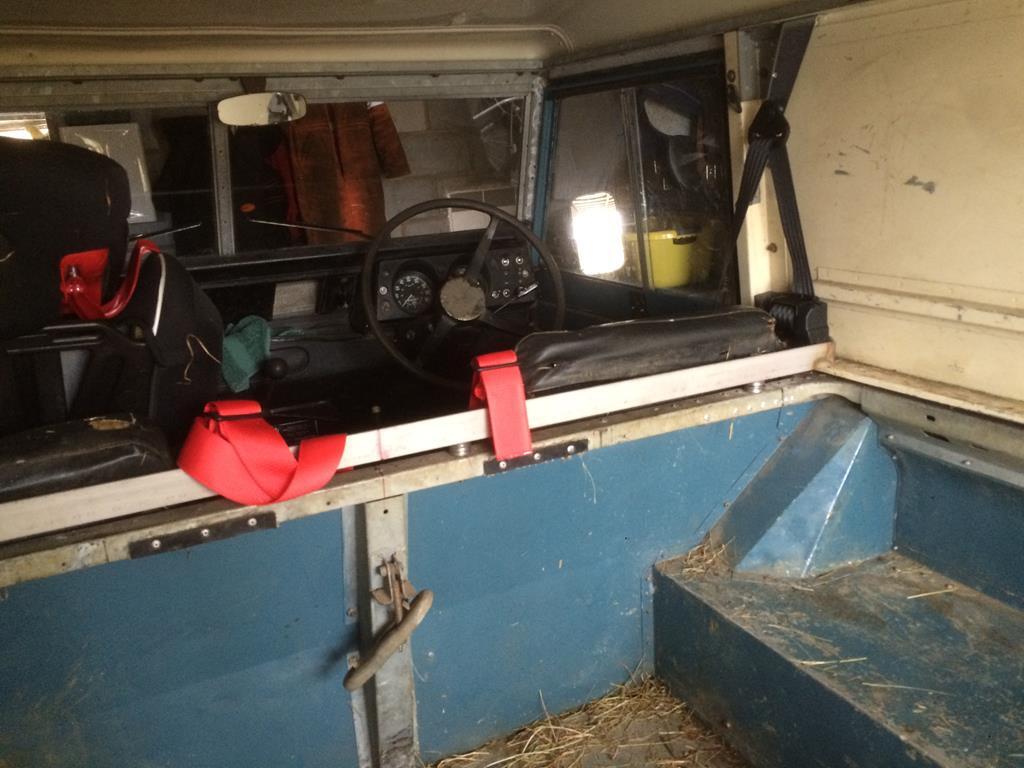 James |
| |
|
|
jamesd1972
Club Retro Rides Member
Posts: 2,922  Club RR Member Number: 40
|
|
|
|
Pictures in wrong order above but sure you get the idea. Anyway when we found the half cage and door for a good swap-price with a spare roof we had it seamed like a good solution. It had top shoulder mounts in place but some dodgy old transit or similar inertia reels. 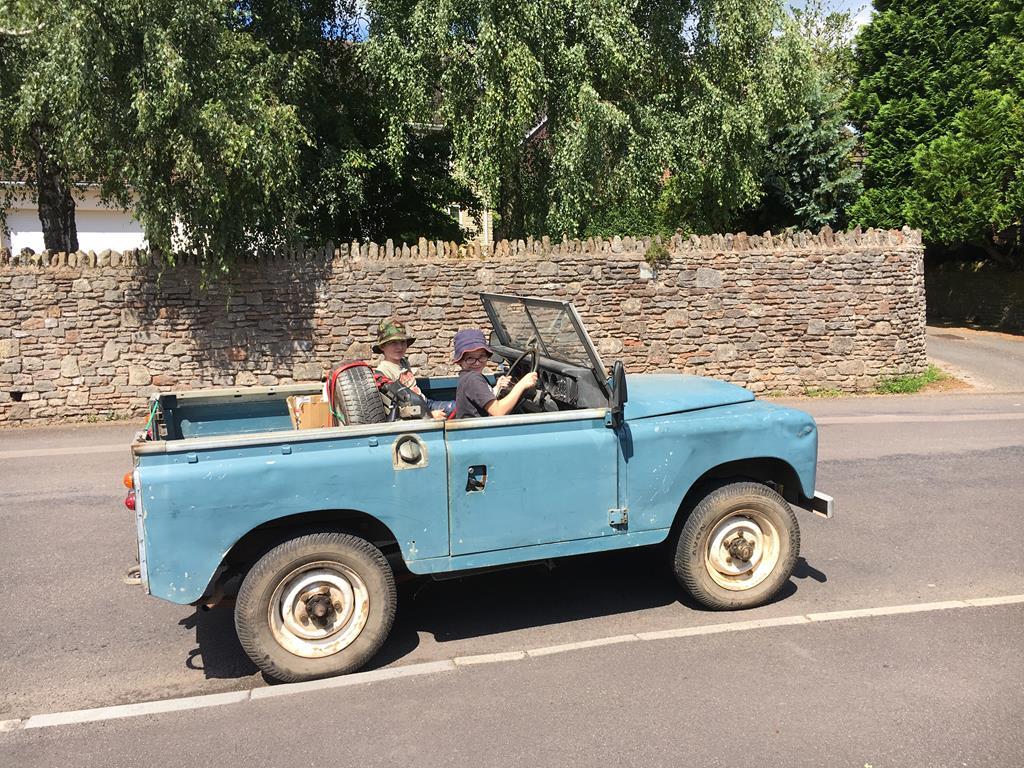 Anything better than this ! After a bit of a play I think with a piece of extra angle the original 5mm thick stainless angle can be re-purposed to being the mount for the harness. I think I'll get busy with the grinder and step-drill to get it in place. 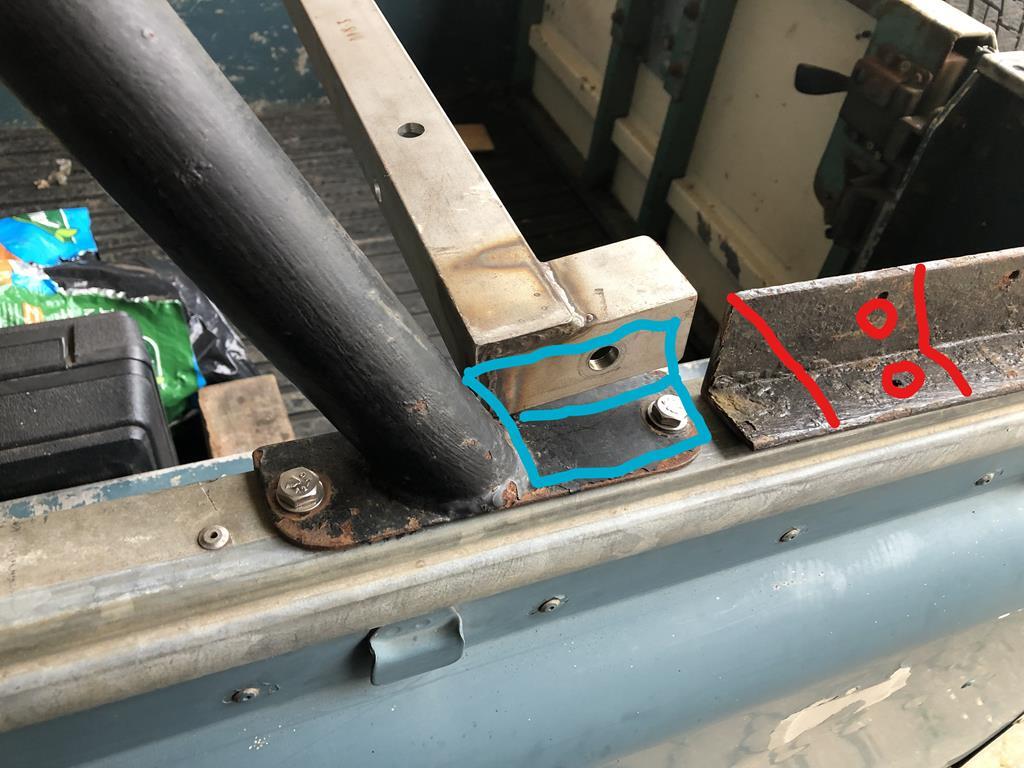 The plan here would be to get it all mounted up using M10 bolts initially but to see about some hot glue to fix new (old bit of trailer) to the hood frame thing to make it more secure. I can't weld or have any gear but do have a pillar drill and a grinder so we can get most of the way there. Also if its all held together with bolts you know that the hot bit won't move anything so the centre bar dosen't fit. Other bonus of moving the bar back is a much better angle and being able to cross over the harness webbs. 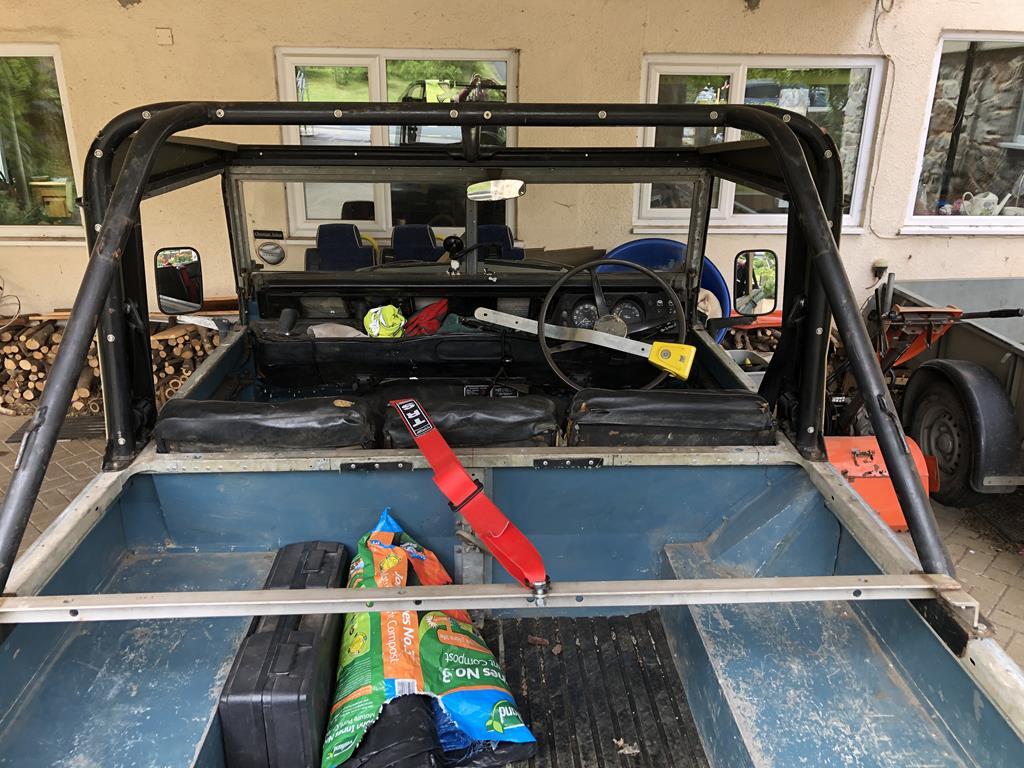 James |
| |
|
|
jamesd1972
Club Retro Rides Member
Posts: 2,922  Club RR Member Number: 40
|
|
|
|
Mount for the inertia reels we already had (securon generic ones) was as easy as drilling two holes. Happy days as thought would need to weld on a bracket but there was a nice thick bit of bar to drill into. 3 x M8 hold this bit of the roof cage on so no issues with strength as all in the same area of the tub as the original mount. 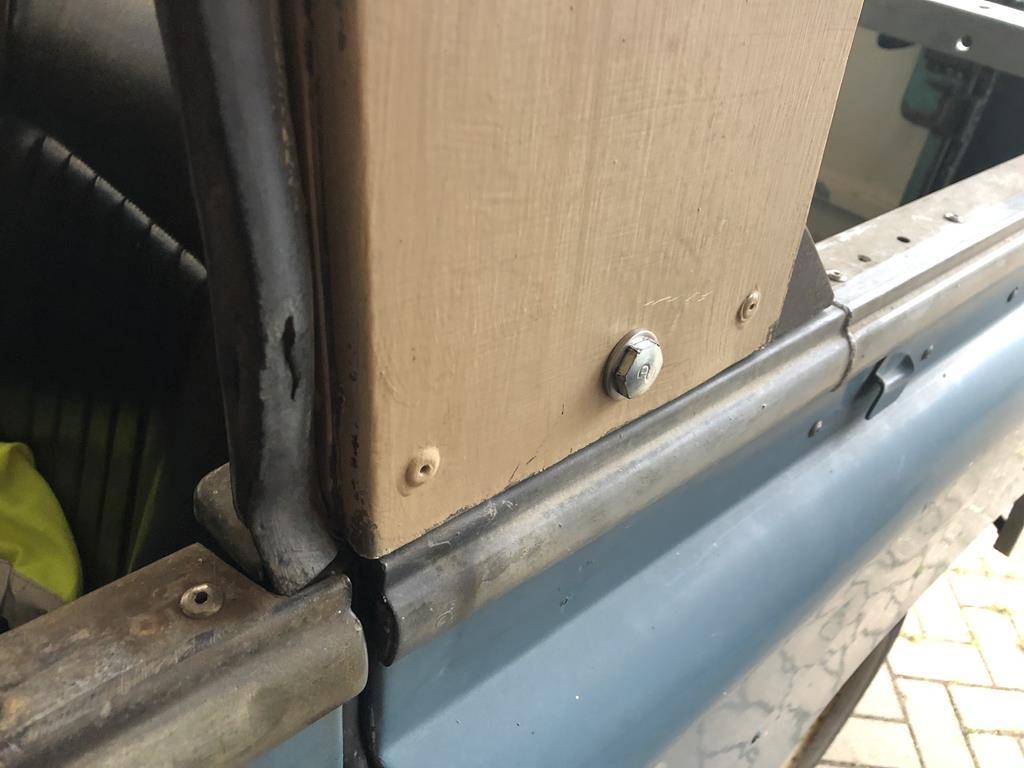 Even had a pretty-ish bolt to use. The reel couldn't have tucked in out of the way any better with a good angle to the shoulder mount. James |
| |
|
|
jamesd1972
Club Retro Rides Member
Posts: 2,922  Club RR Member Number: 40
|
|
|
|
|
|
| |
|
|
|
|
|
|
|
|
Nice job, you can't beat the old series for looks.
Daan
|
| |
|
|
jamesd1972
Club Retro Rides Member
Posts: 2,922  Club RR Member Number: 40
|
|
|
|
So after a bit of CAD, choppy choppy drilly drilly we have a working solution ! 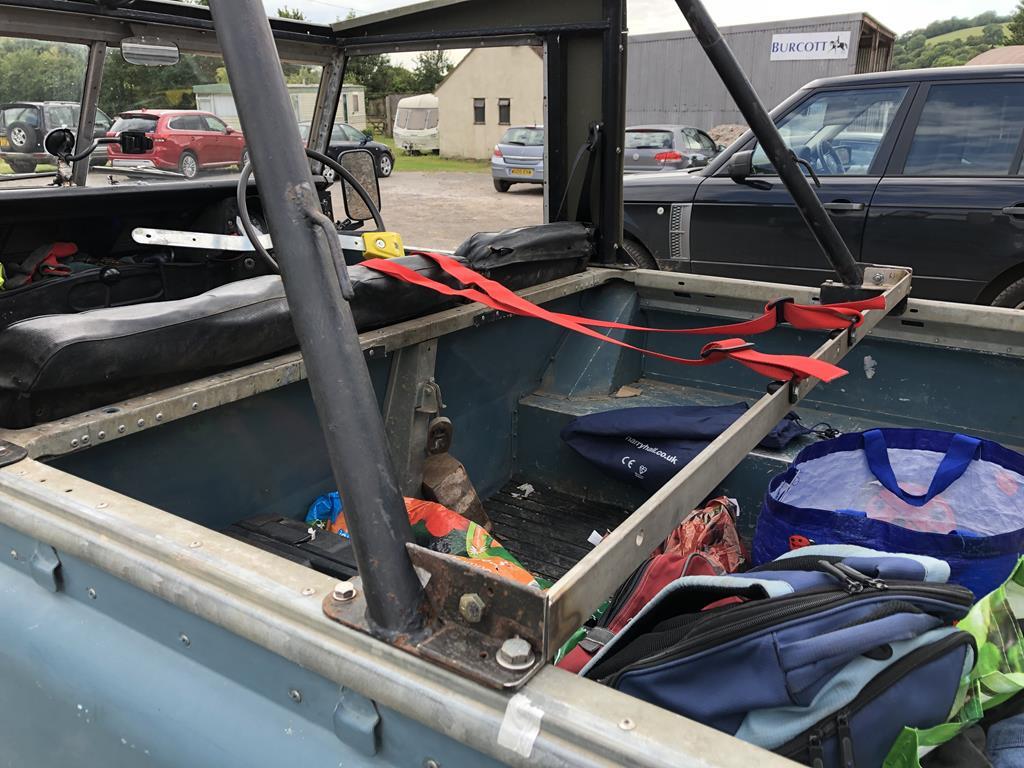 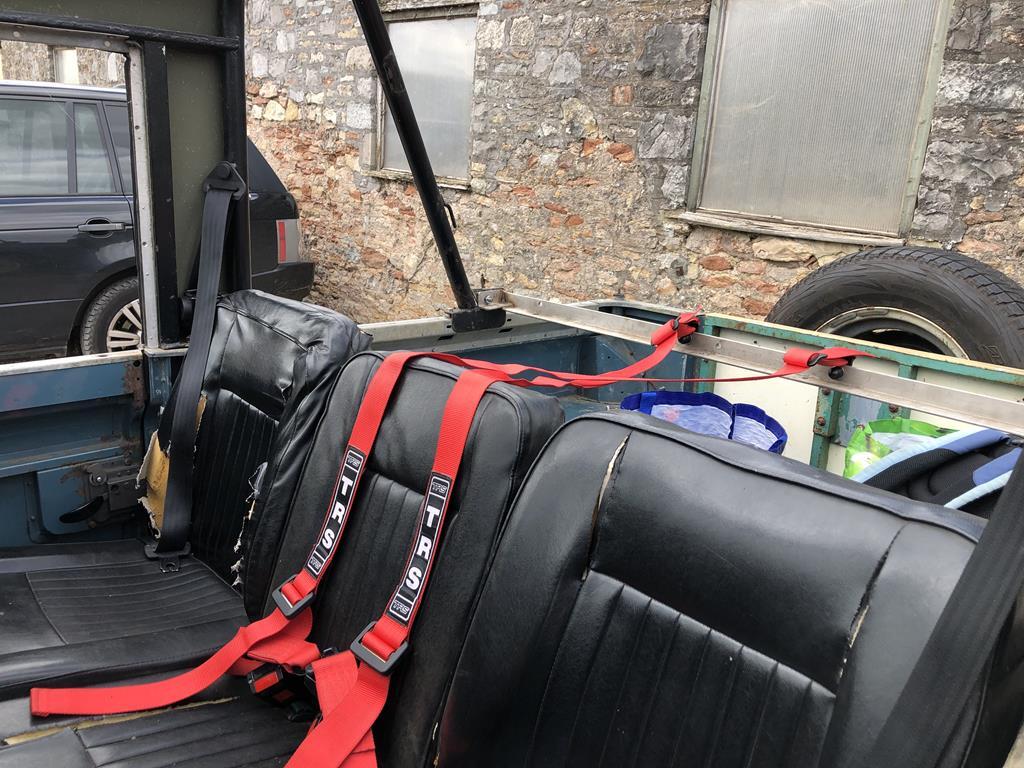 Very happy with that. James |
| |
|
|
jamesd1972
Club Retro Rides Member
Posts: 2,922  Club RR Member Number: 40
|
|
|
|
There is a slight elephant in the room that is being ignored at the moment: 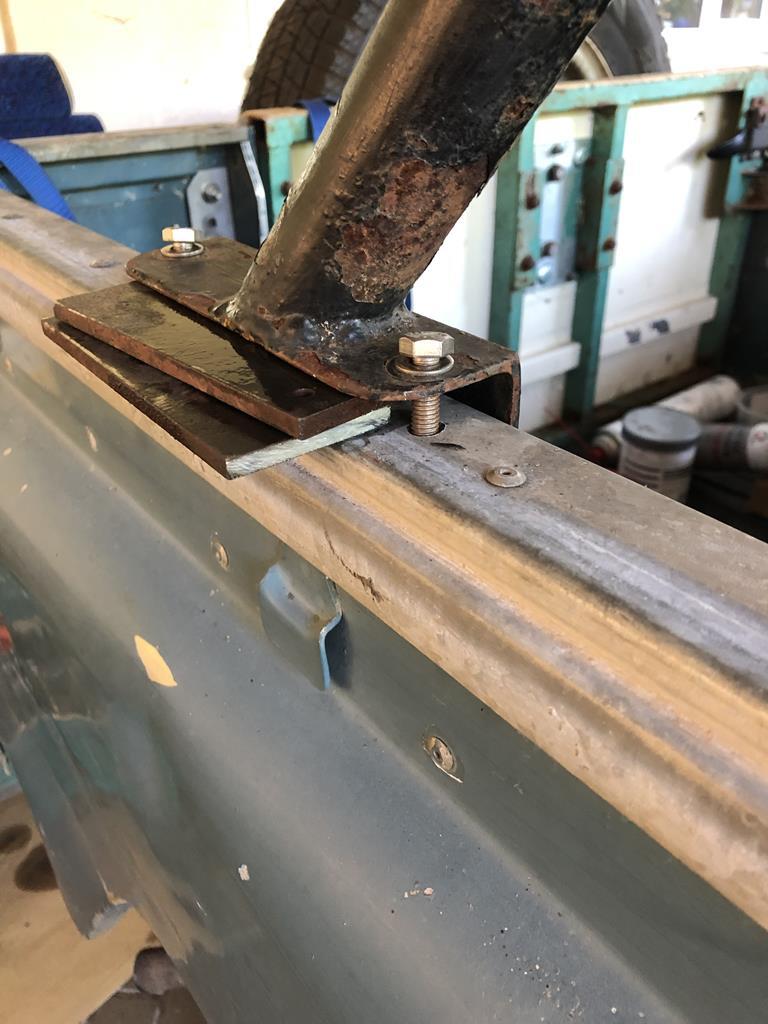 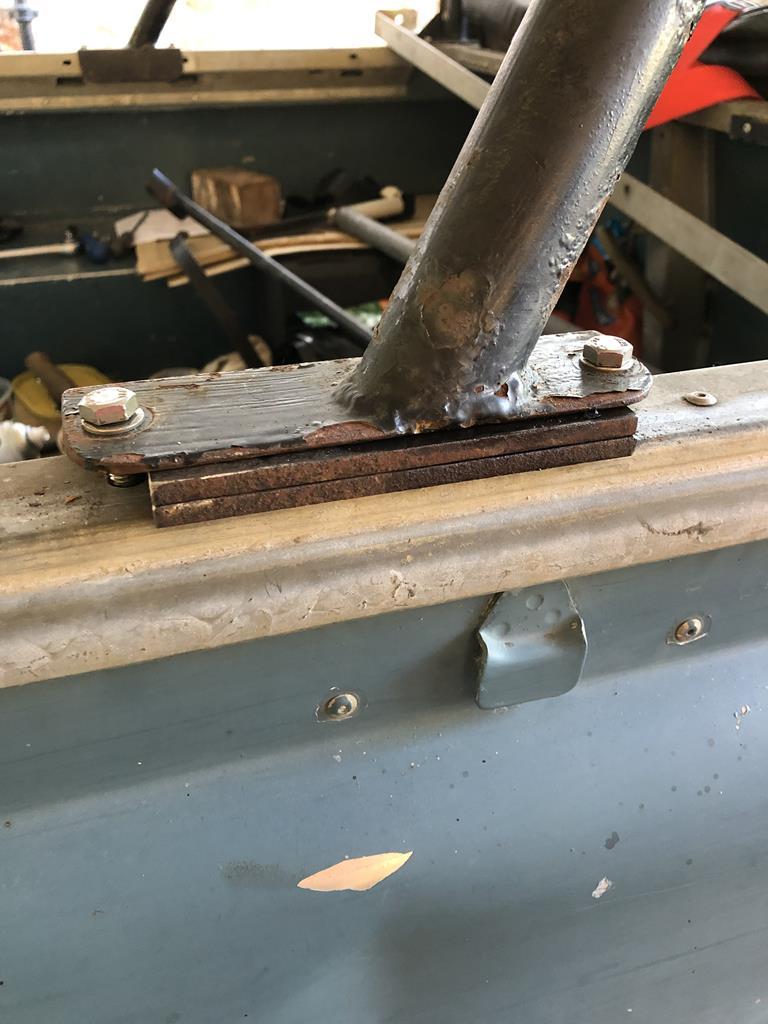 So on the passenger side everything lined up pretty OK and tightened down fine. On the drivers side with the top of screen bolts done up the rear angled mount sat about 30mm off the top of the rear tub. It is an old Land Rover in need of some bulkhead top corners at some point soon so a little bit of miss-alignment is to be expected. After conversation the holes were drilled in the same place as the passenger side and some longer bolts slapped in. All worked OK until you wanted to shut the door, - the aperture was closed up. Short term solution some packing pieces. Long term some heat on the top of the frame to re-shape the bend to suit. James |
| |
|
|
|
|
jamesd1972
Club Retro Rides Member
Posts: 2,922  Club RR Member Number: 40
|
|
|
|
 We have sounds ! OK I know I'm going to sound like a middle aged technophobe but the noise this thing makes for the price (25 of your finest) and size is astounding. Its noisy enough to hear with no roof, works as a hands free set up and I didn't need my 11 year old to set it up for me. Its so small its easy to pick up as something not to leave in a car with no roof . Happy days. James |
| |
|
|
jamesd1972
Club Retro Rides Member
Posts: 2,922  Club RR Member Number: 40
|
|
Jul 11, 2019 13:26:45 GMT
|
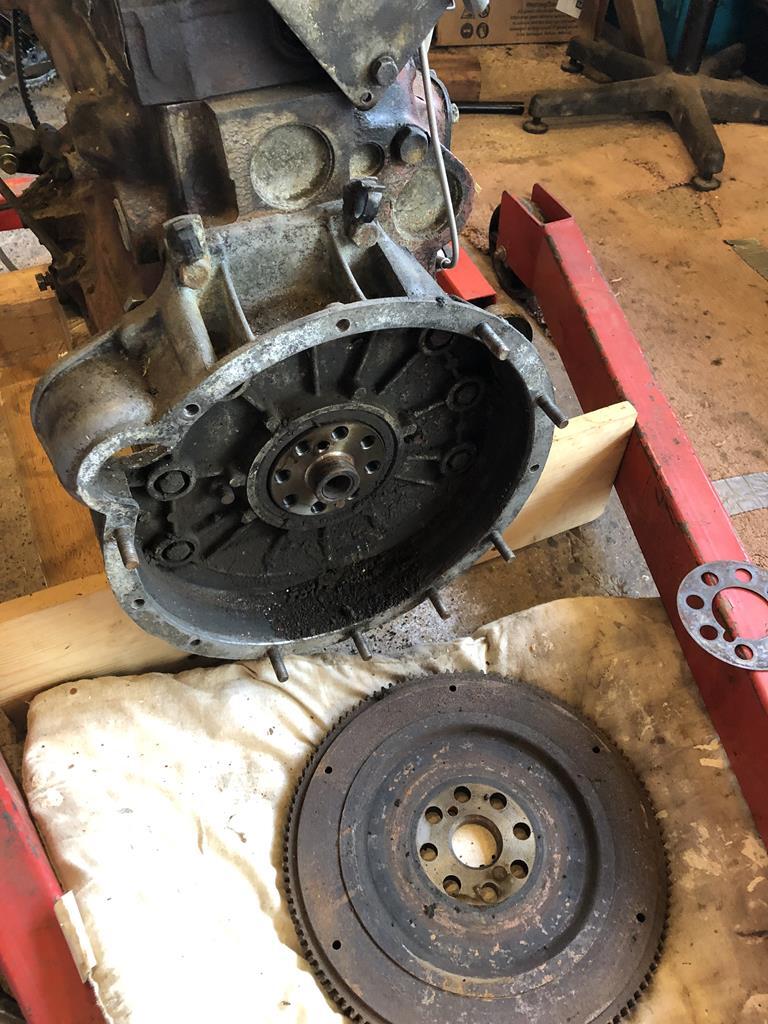 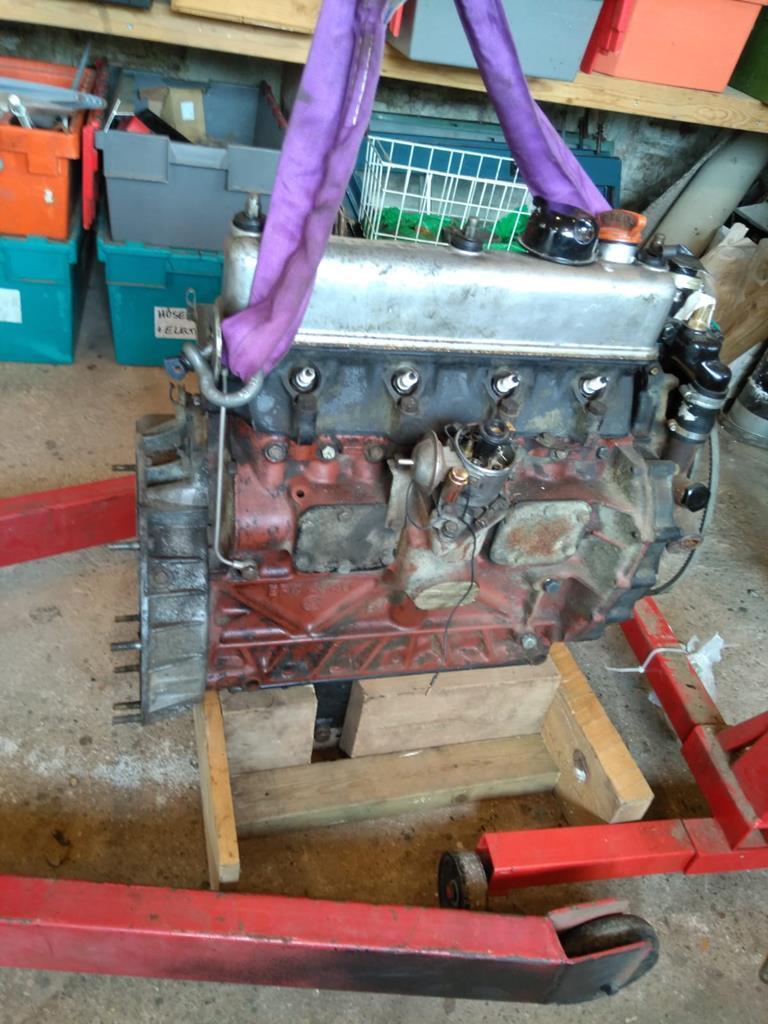 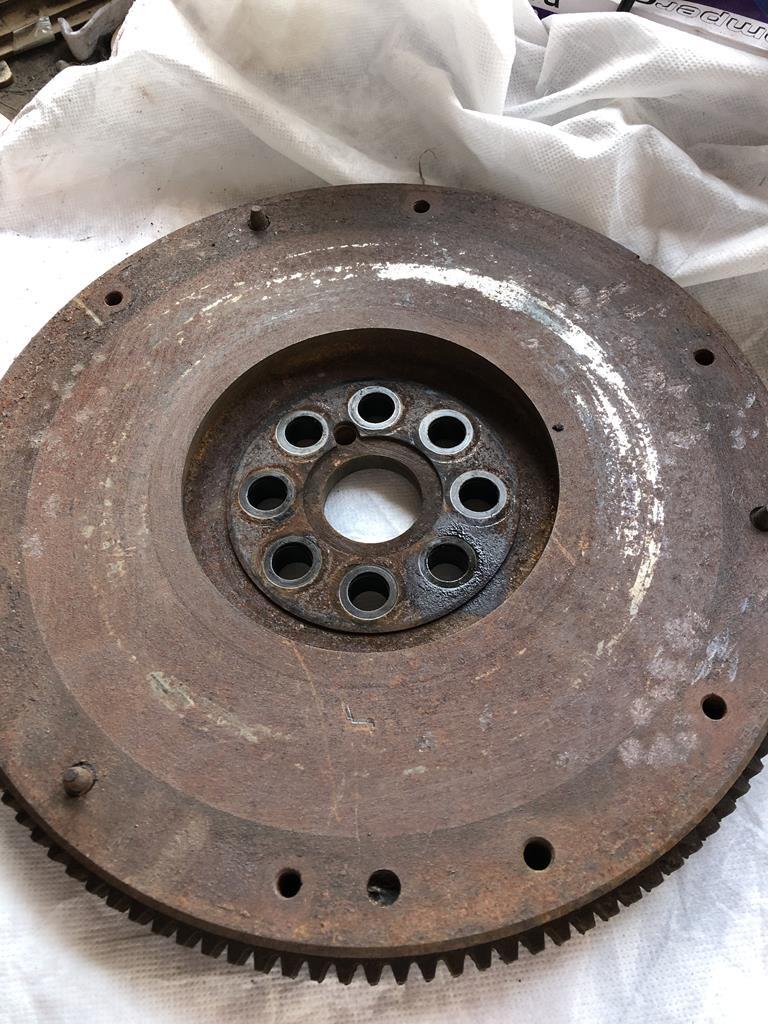 So replacement engine is one step closer, off the stand and in a nice home made floor stand, jointly proud of that with Nick. This means we can replace the crank seal the big problem with the current engine and a reason that the later engines are better as they have a proper round seal. Bad news is that the flywheel / starter on this engine is different so we need to sort the flywheel. I assume we need to drag this off somewhere to be spun up and re-faced ? James |
| |
|
|
jamesd1972
Club Retro Rides Member
Posts: 2,922  Club RR Member Number: 40
|
|
Aug 15, 2019 11:29:27 GMT
|
So having a look round before a long journey the rear hub looked a bit suspect: 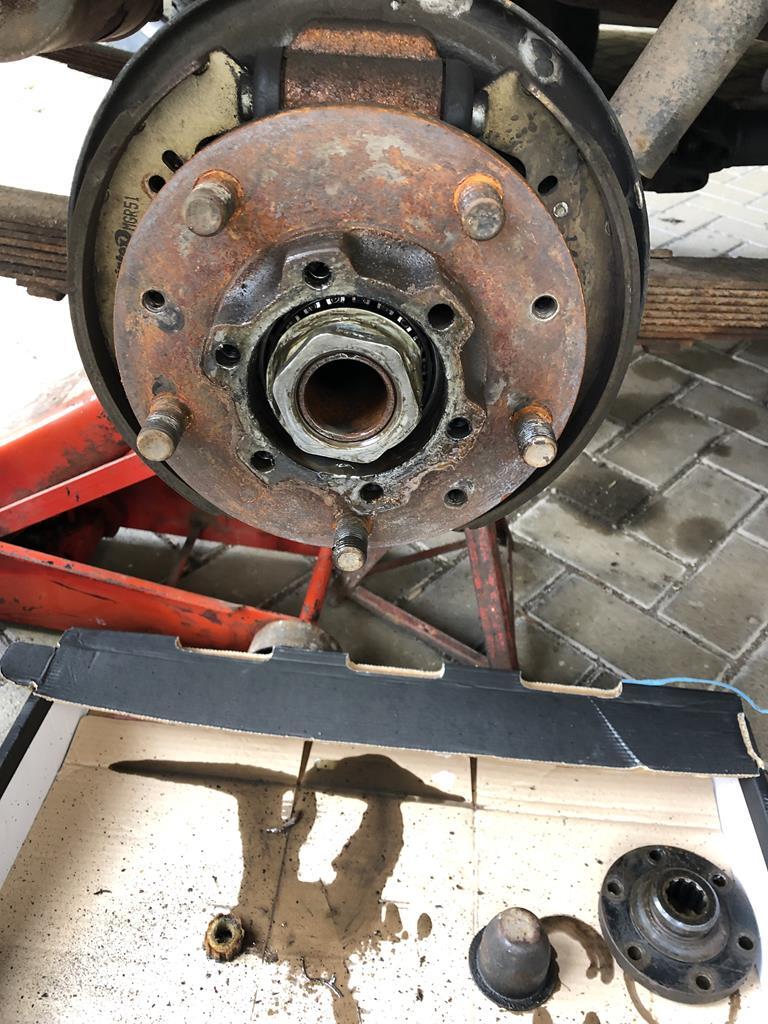 Yep its filled up with EP 90. 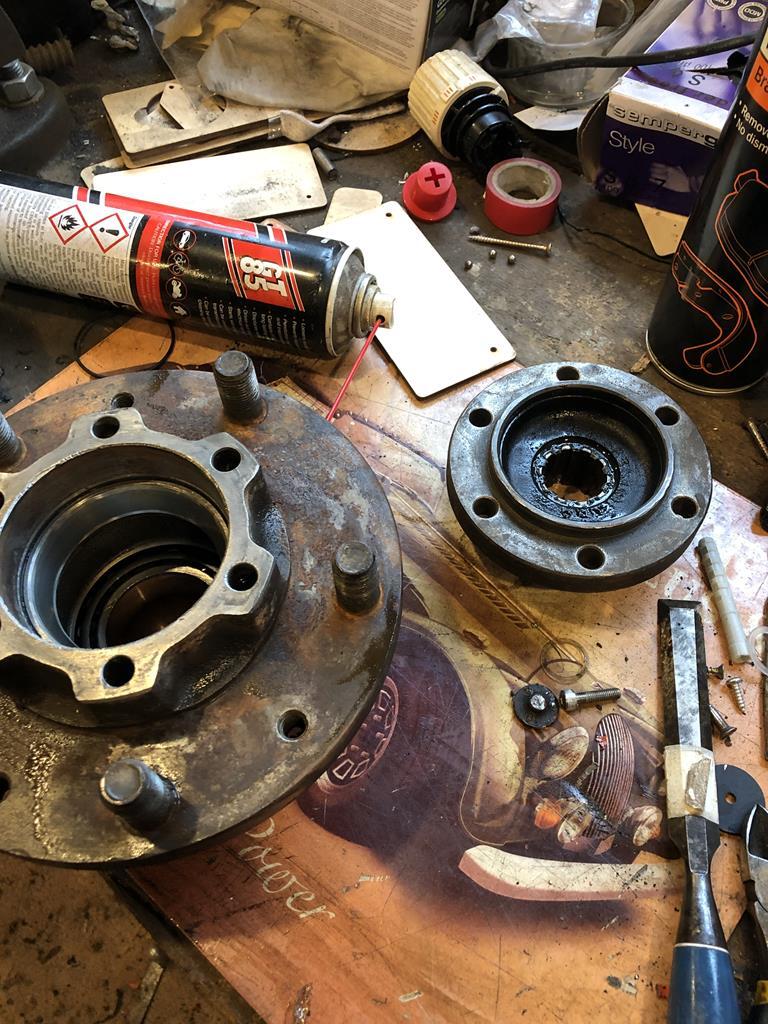 So clean up mating faces and new felt seal, paper gasket as well as some instant gasket. (stupid design but a least the seal on the stub axle saved the rear brakes) 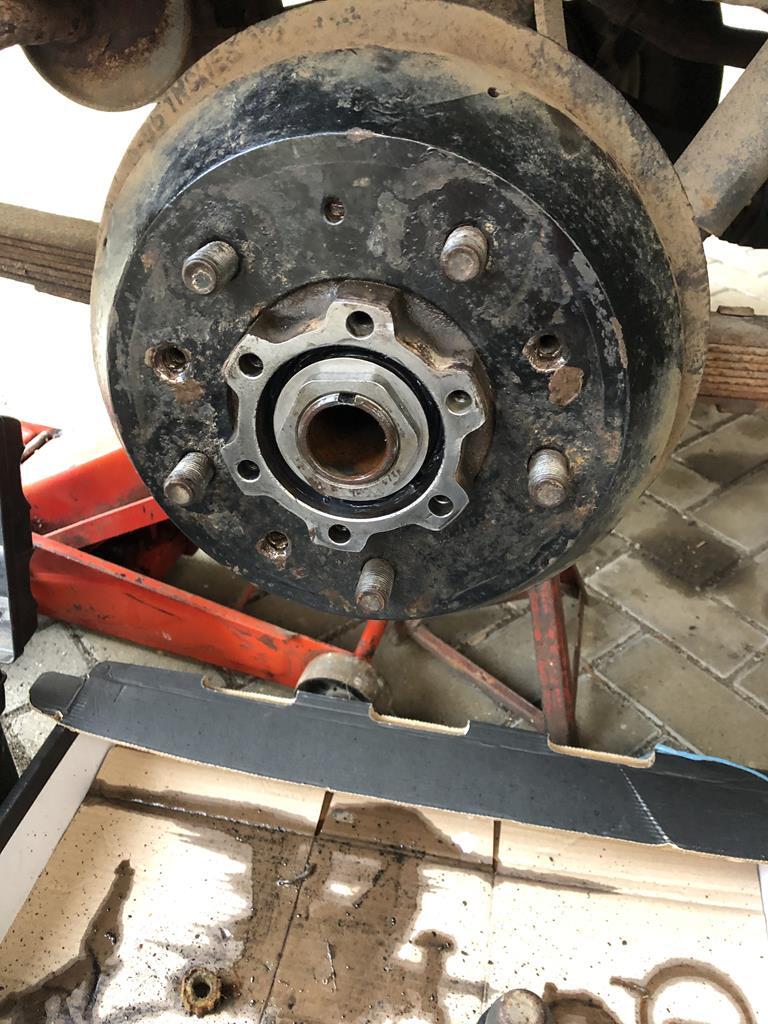 And proof that some Land Rover owners use new lock tabs. James |
| |
|
|
jamesd1972
Club Retro Rides Member
Posts: 2,922  Club RR Member Number: 40
|
|
Aug 15, 2019 11:37:22 GMT
|
So the other issue was a 3 hour drive a weather forecast that said heavy rain and no roof. Co-owner Nick some wood, pan head screws bungy cords tie wraps and tarp to the rescue. 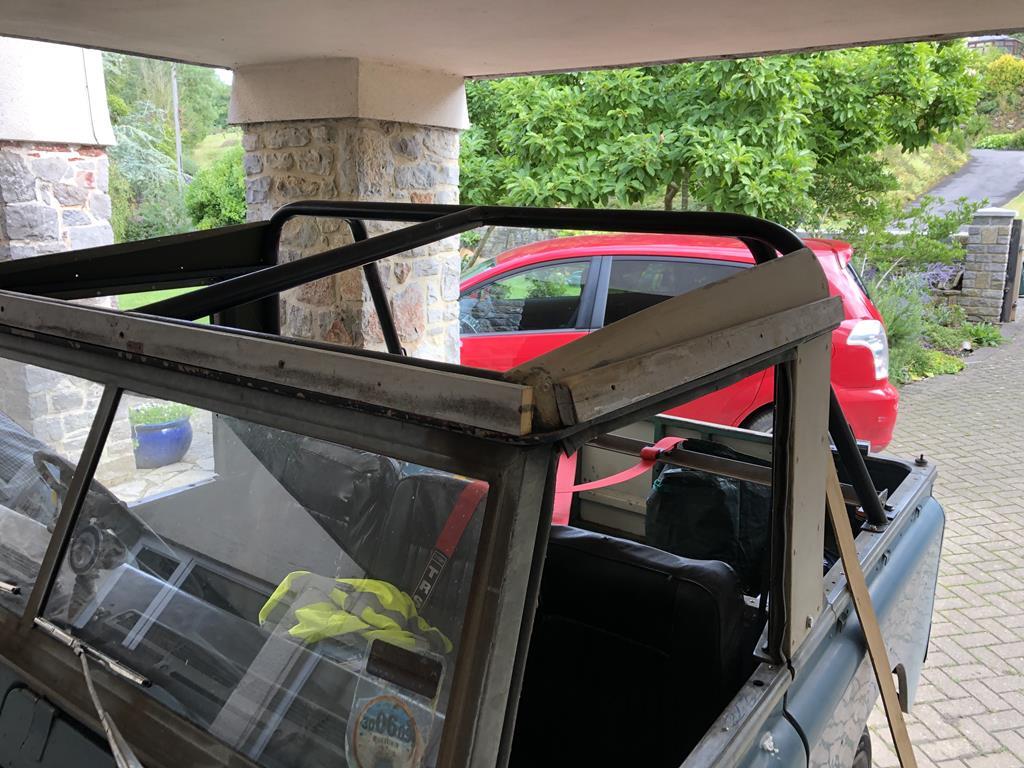 Had to drill out the old poppers so could screw the wood from behind. These were going to be replaced anyway so no biggie. 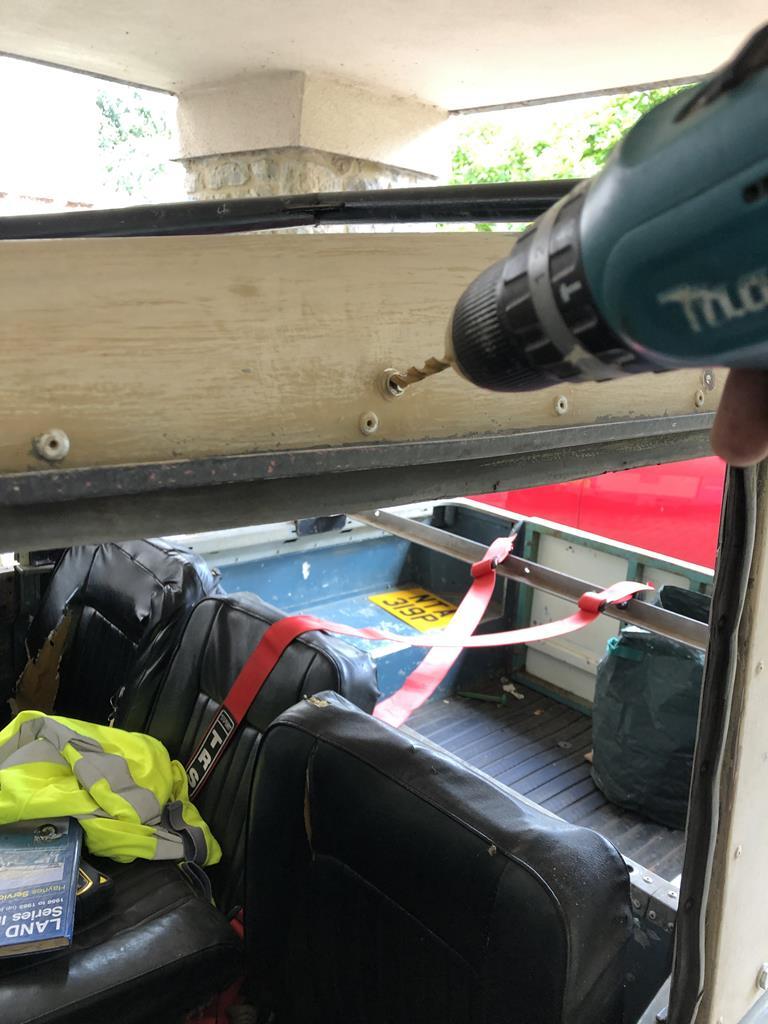 Screwed 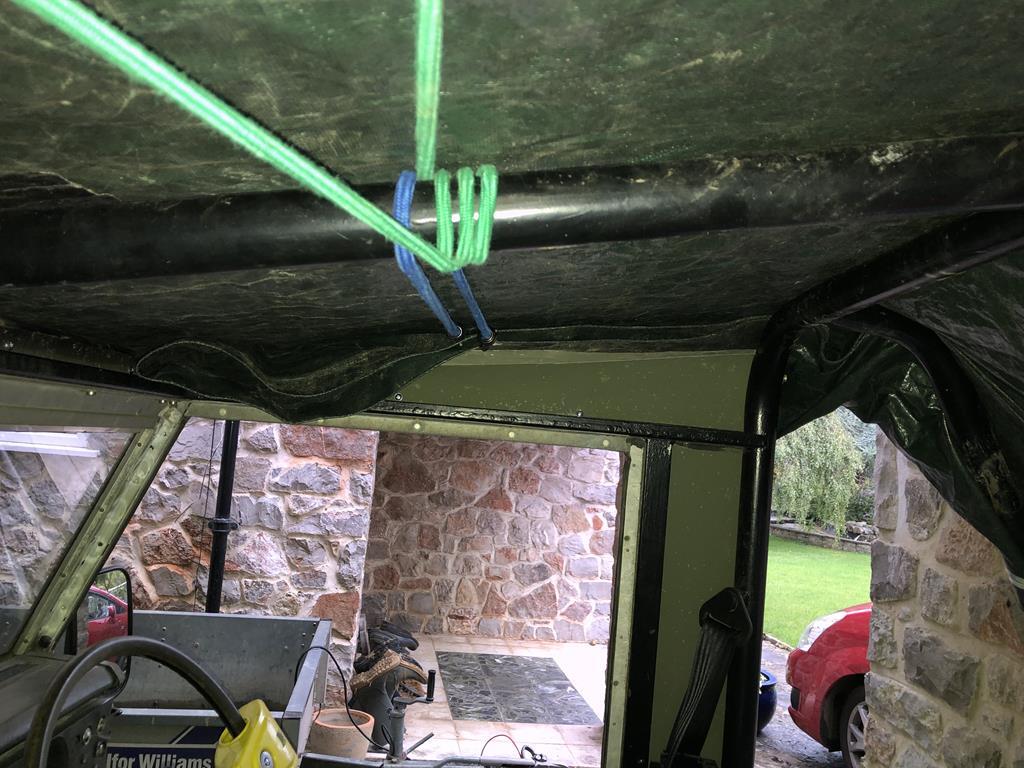 Looks almost presentable 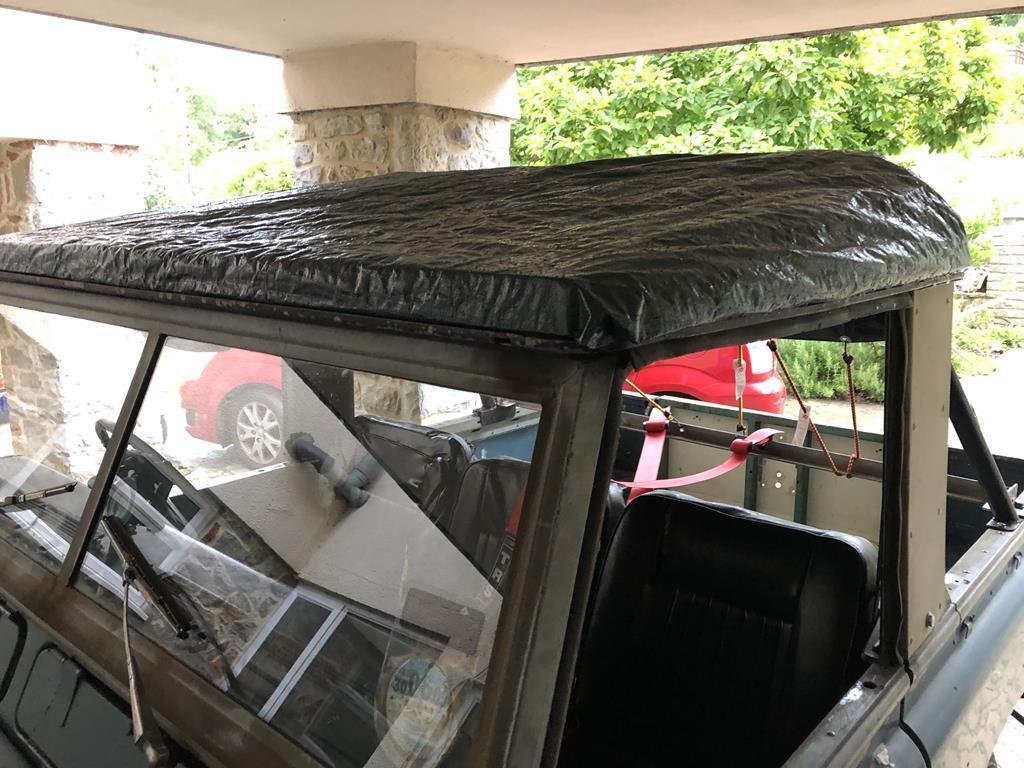 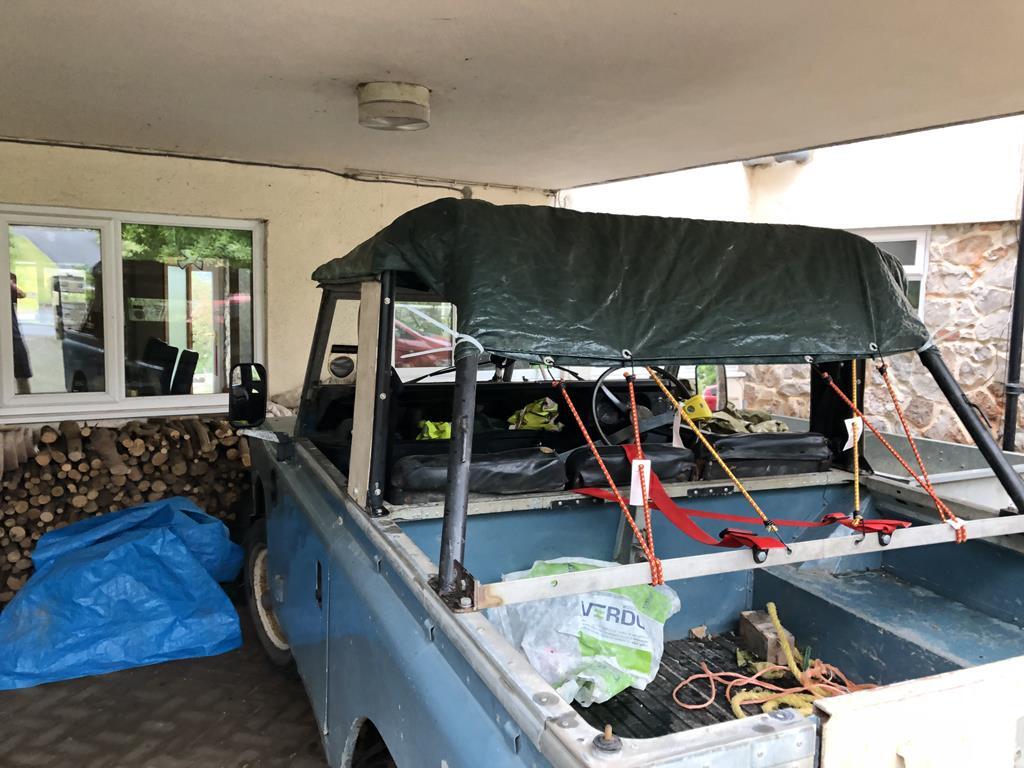 James |
| |
|
|
jamesd1972
Club Retro Rides Member
Posts: 2,922  Club RR Member Number: 40
|
|
Aug 15, 2019 11:43:09 GMT
|
So put the boy to use to refit the door tops as well. 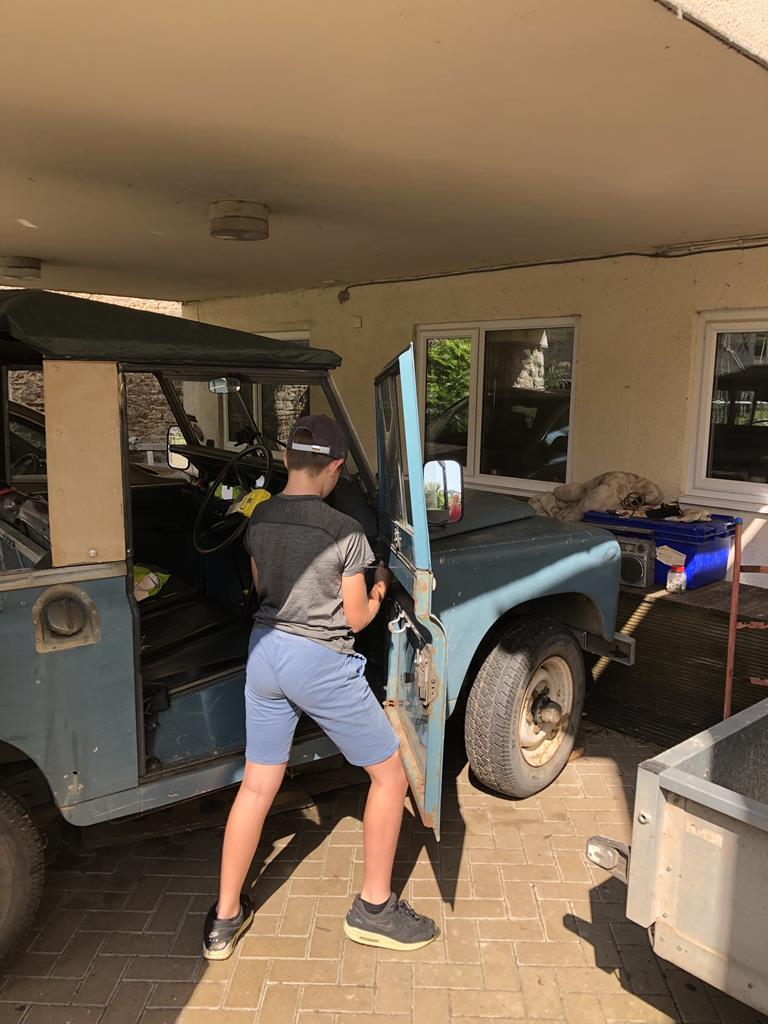 Drivers side all good. 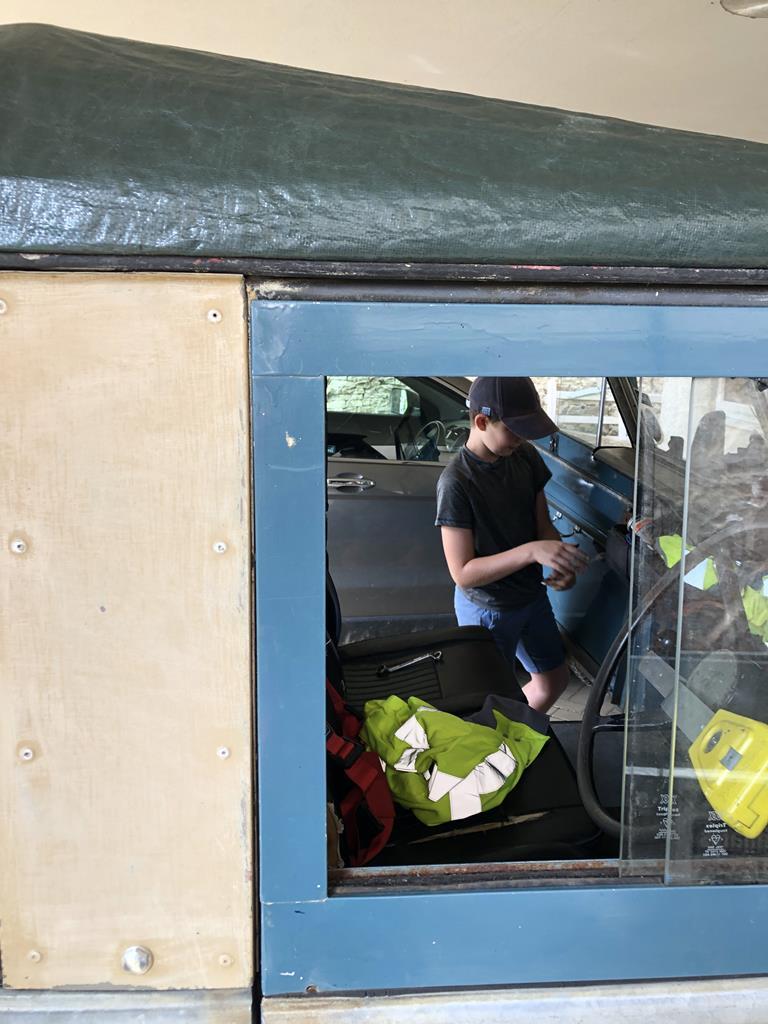 Passenger side needed hinges adjusting. 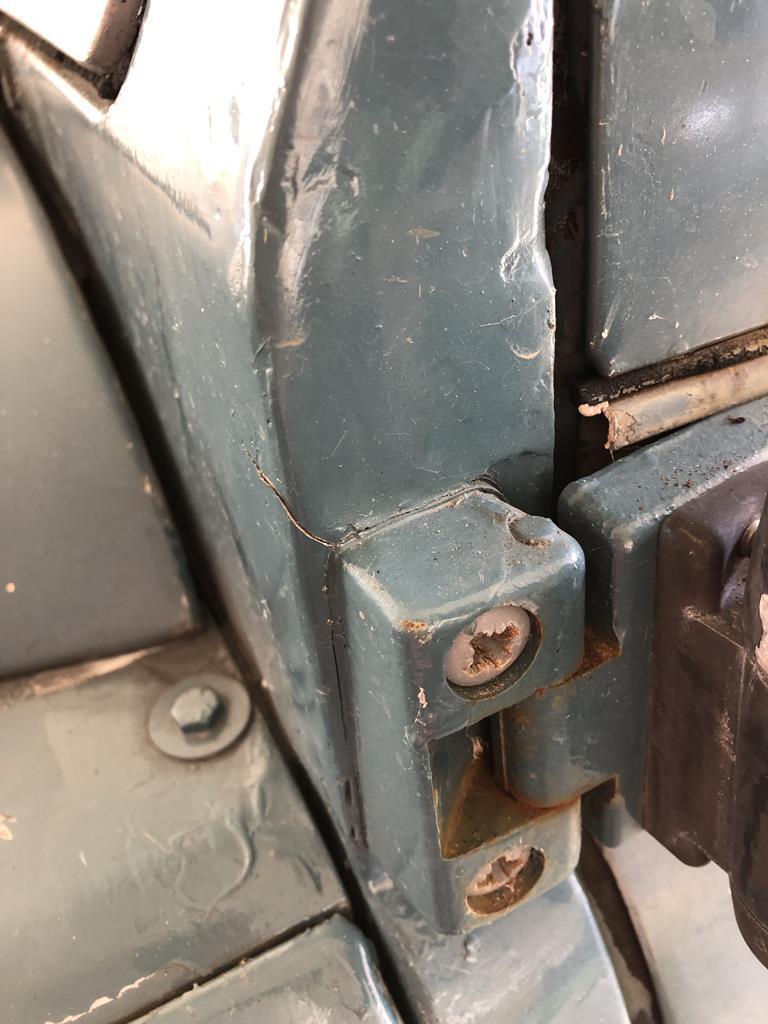 curse word that lovingly applied filler has cracked. Oh well it was on the list when we have a welder available anyway. James |
| |
|
|
|
|
|
Aug 16, 2019 16:27:19 GMT
|
|
Did the top work??
And that structural isopon isnt much good these days....
Needs more chicken wire mixed in.
|
| |
|
|
jamesd1972
Club Retro Rides Member
Posts: 2,922  Club RR Member Number: 40
|
|
Aug 16, 2019 16:39:05 GMT
|
Did the top work?? And that structural isopon isnt much good these days.... Needs more chicken wire mixed in. Top works a treat thanks, thinking it makes a good template for canvas in the long term. Yes should have used some p40 as the base ! James |
| |
|
|


