|
|
|
Apr 30, 2022 22:58:40 GMT
|
RE: 3d printing nylon, something I came across which may be of use although I have only seen it used for PLA and PETg which would require lower temperatures. It's called something like re-casting. In essence you grind a load of salt to a very fine powder, put your 3d item into an ovenproof container surrounded by the salt, ram the salt down really hard then stick the whole lot in the oven. The 3d item melts but can't go anywhere then re-solidifies without the weaknesses inherent in filament joins. In essence it has been cast in its own shape. The salt being soluble washes out of intricate shapes. Only downside I can see for nylon is domestic ovens might not get hot enough to remelt. Also you have to have 100% infill parts for obvious reasons. hackaday.com/2020/09/23/reforming-3d-prints-with-salt-and-heat/The scope of knowledge on this forum is amazing. |
| |
|
|
|
|
|
|
|
|
|
|
Fantastic work, wonderfully informative.
|
| |
|
|
|
|
|
|
|
It's been 2 months and 3000 miles give or take now and the printed manifolds are holding up fine, which is more than can be said for a few other bits and pieces... Back in May I took the car to Shelsey Walsh for the Hagerty Hillclimb which turned out to be a really great event. For a very reasonable entry fee we even got to run the car up the hill a few times! There were some really superb machines entered and the atmosphere was great 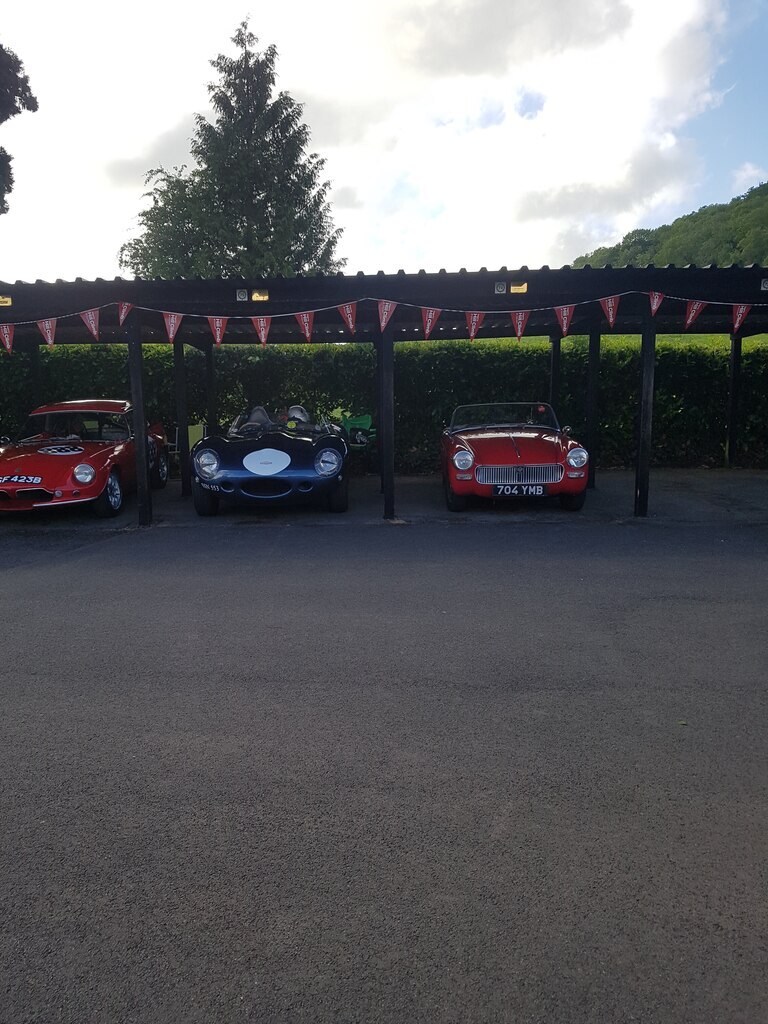 We were in very good company! 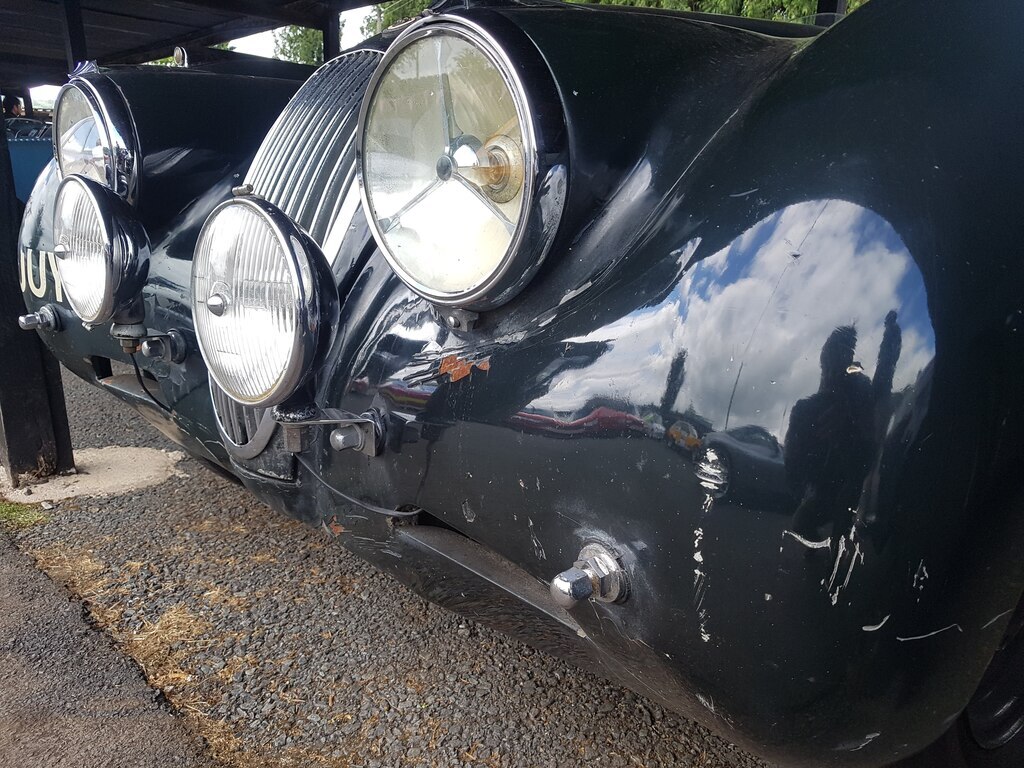 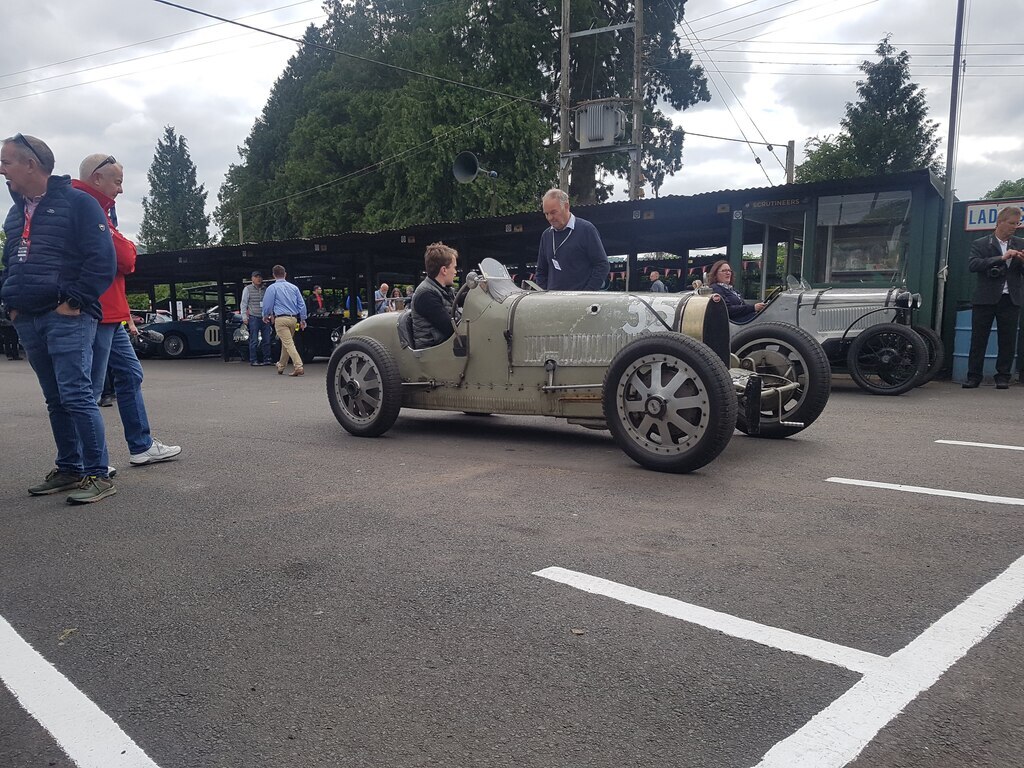 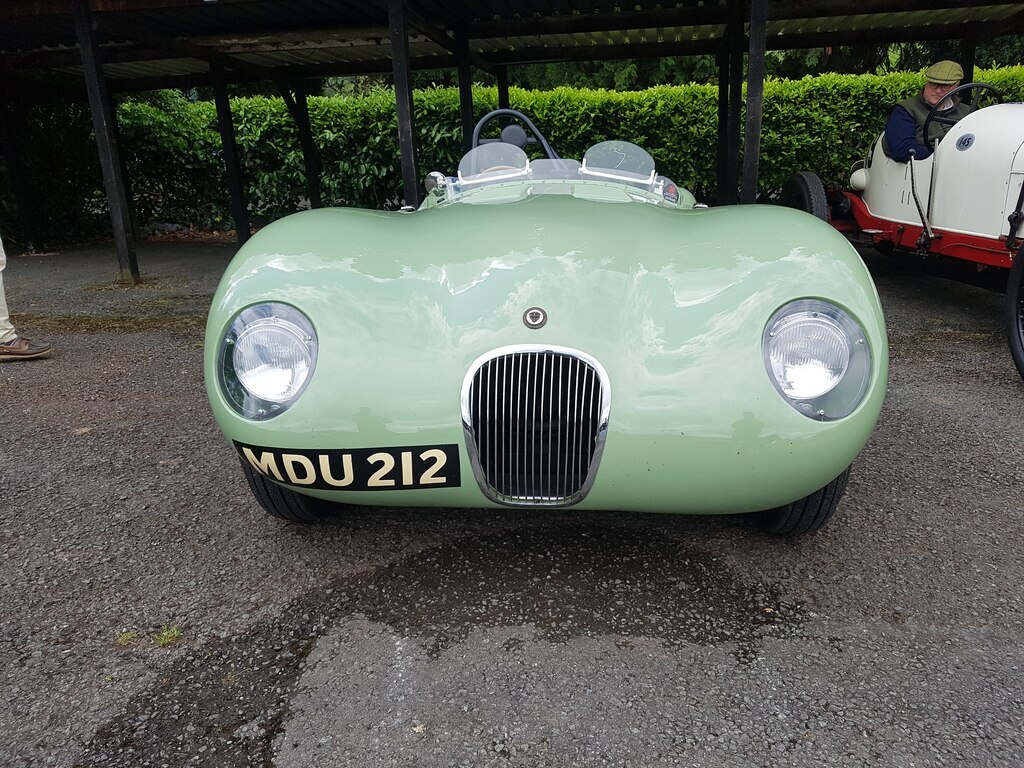 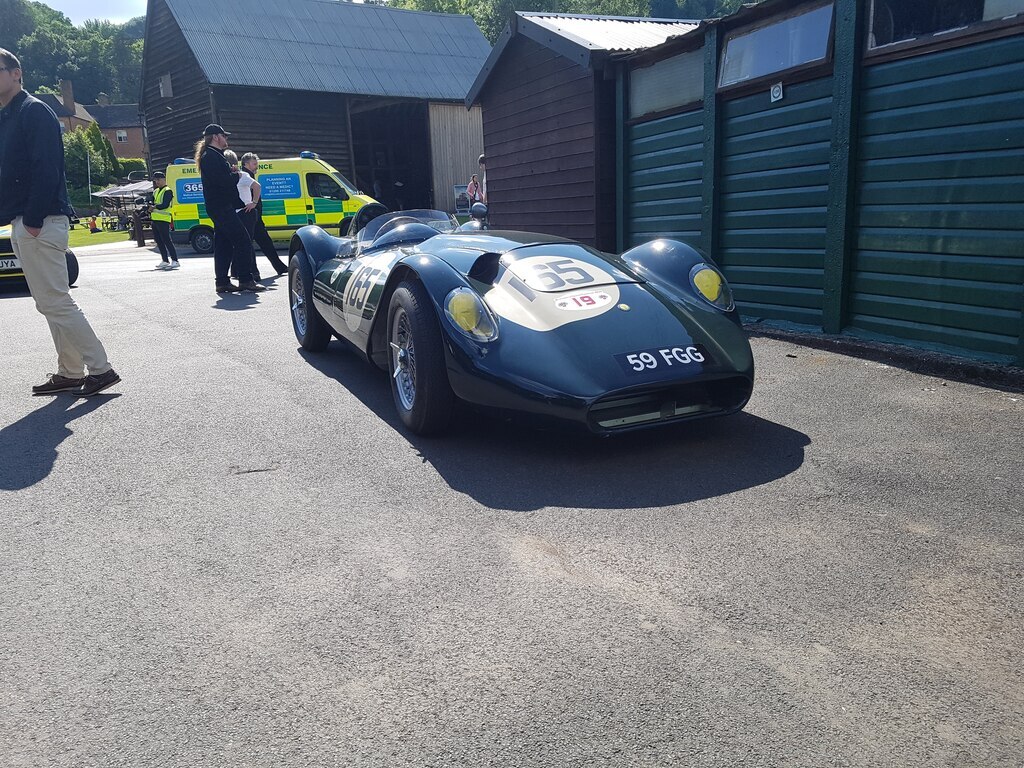 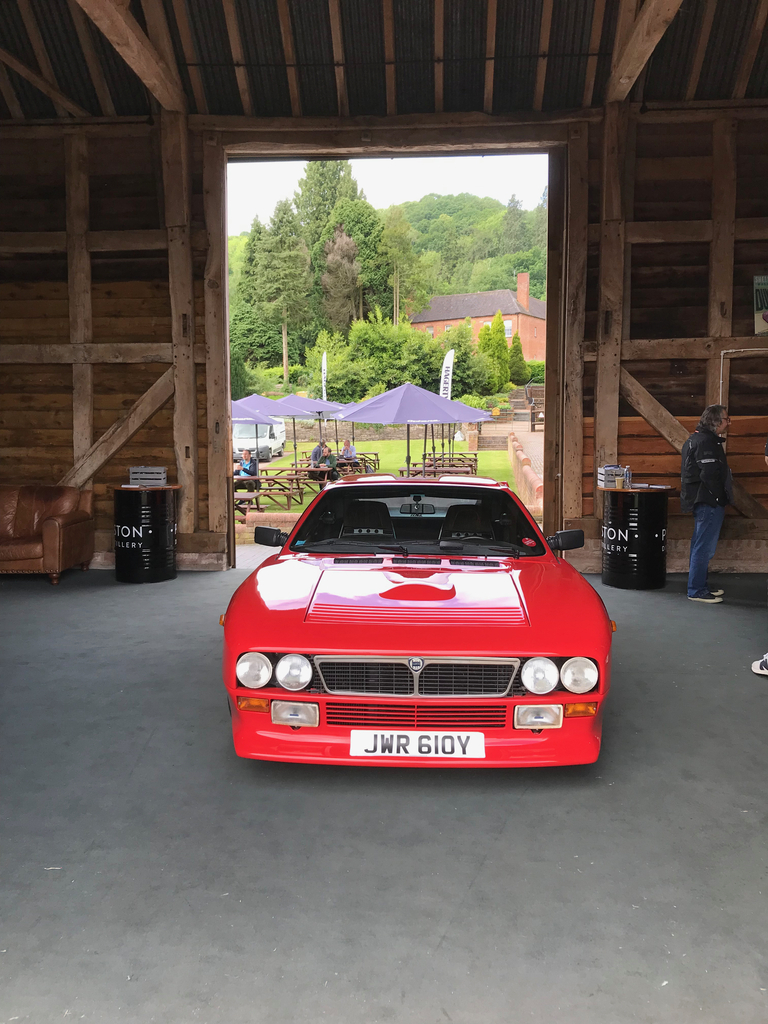 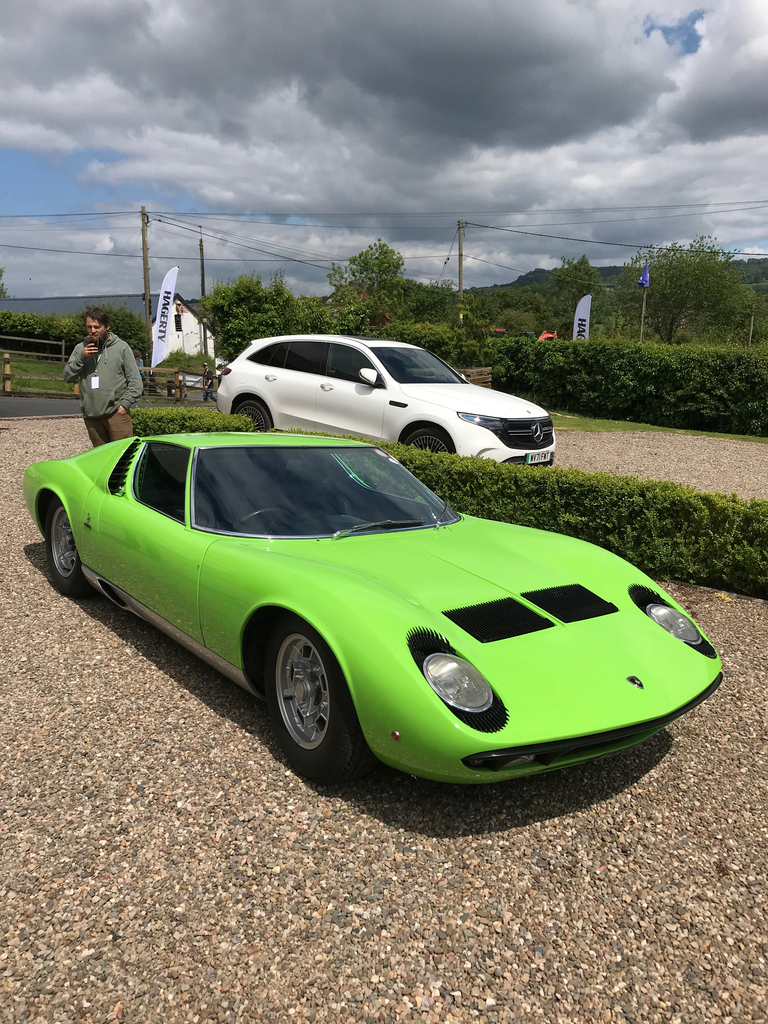 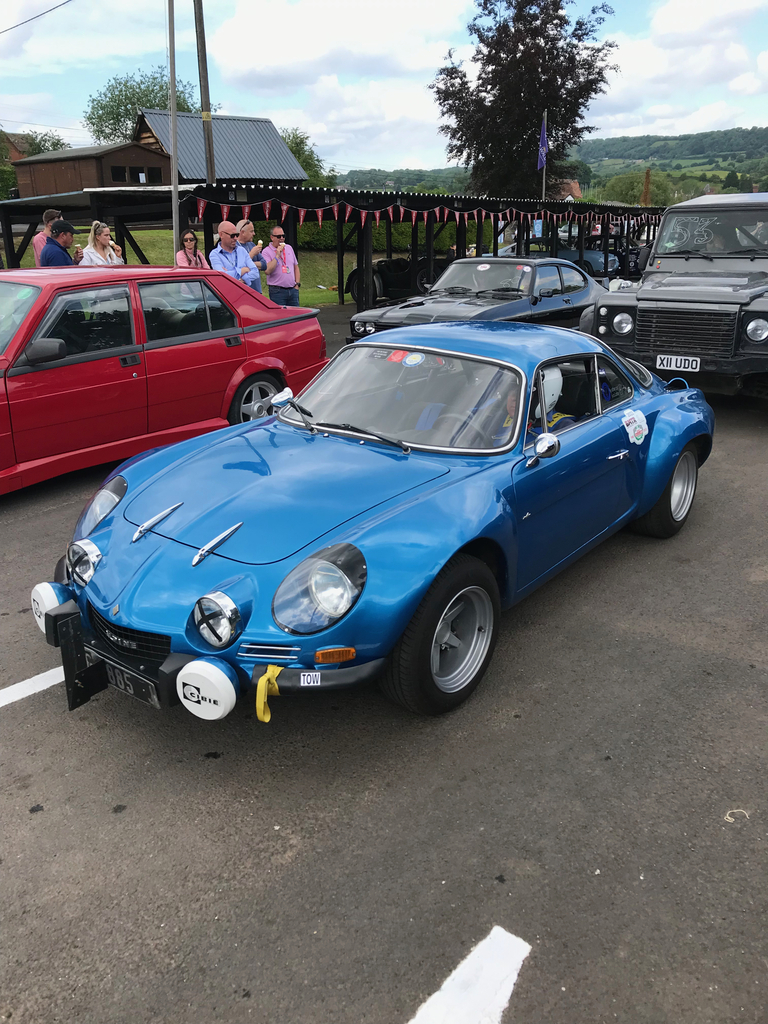 This was the first time I had ever used the car under anything approaching a competition environment and it was a learning curve for sure. I had spent the evenings leading up to the event watching videos and trying to get an idea of braking and turning in points, generally overthinking it all massively. Not because I am competitive, and the event wasn't timed anyway, more because I was desperate to not let the car down with my driving... 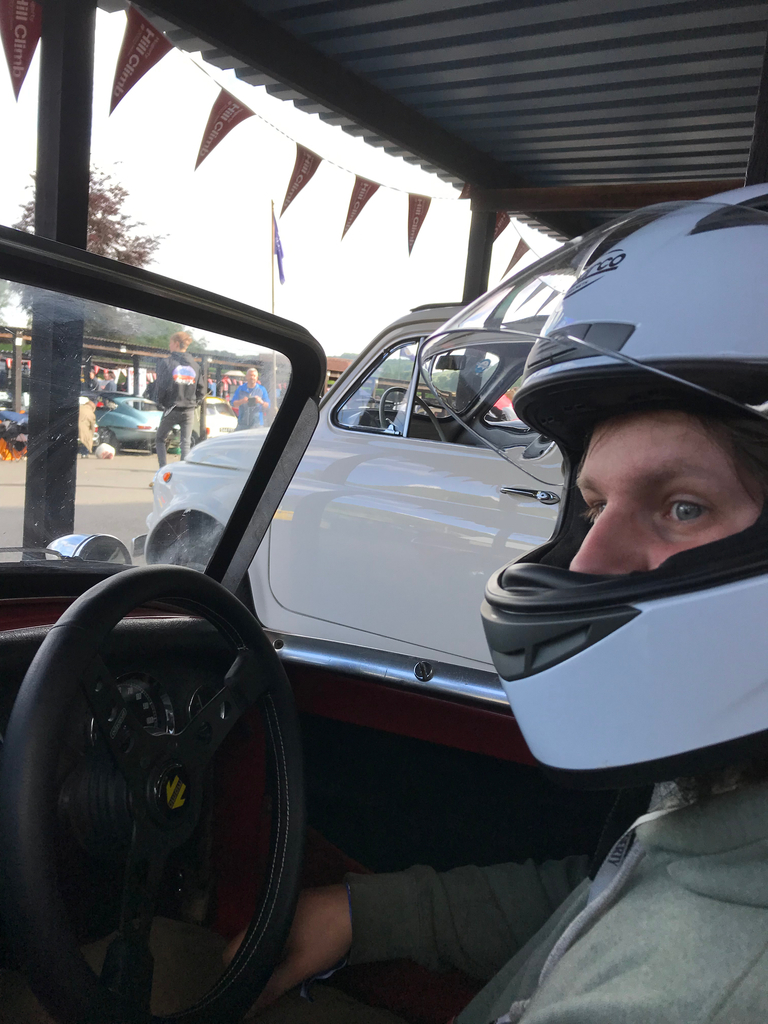 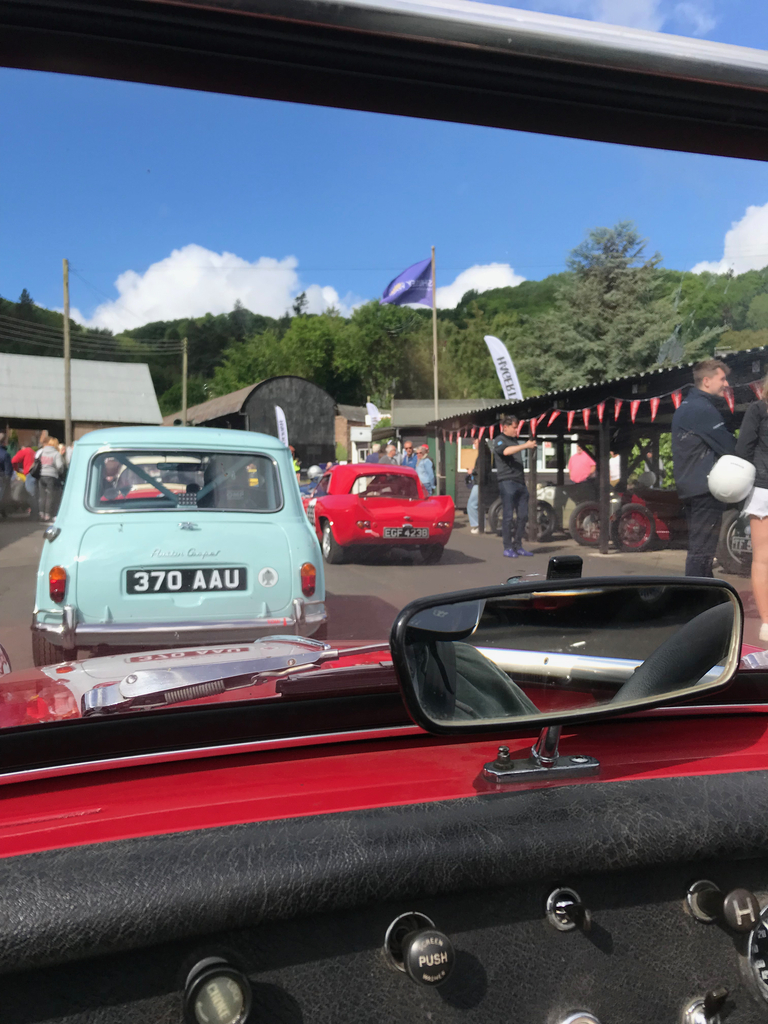 With all this in mind I was feeling physically sick by the time I was lined up and ready to go! After an eternity the light went green and what followed was an extremely intense 40odd seconds - followed by an incredibly sense of relief and adrenaline fuelled euphoria when I got to the top. Clearly I wasn't alone in this as all the fellow drivers waiting, who up till now had been reserved and almost sombre, were now grinning and chatting. Now to go again! 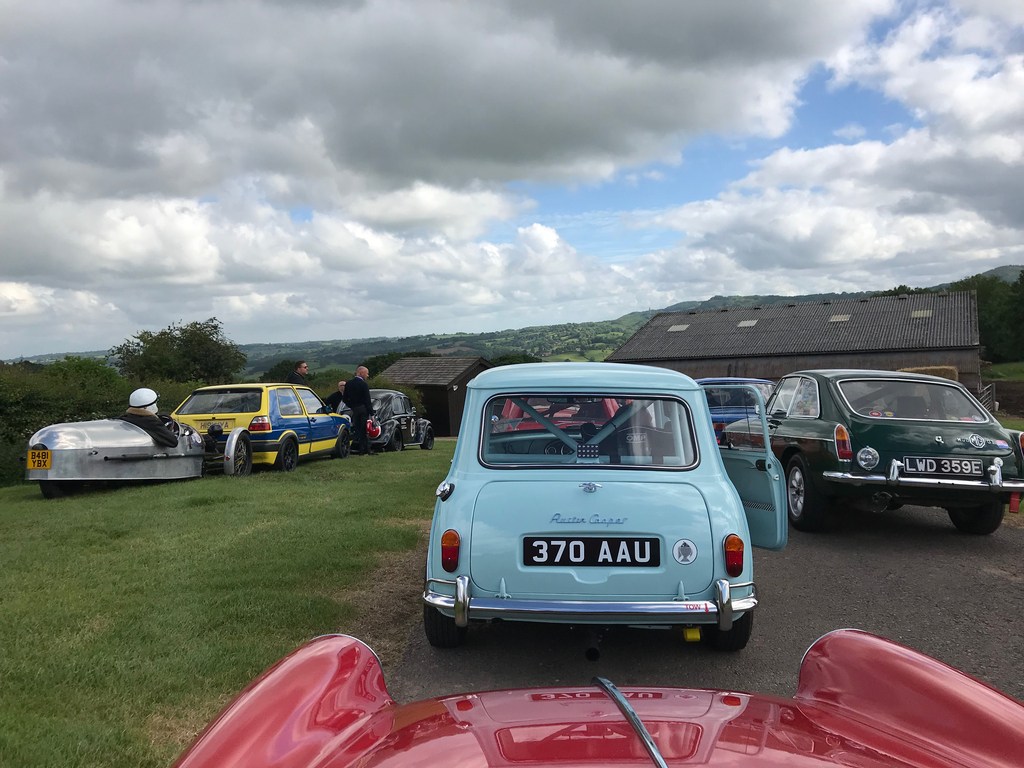 My friend had come along and volunteered to act as camera man for run In the end we got 4 runs up the hill before calling it a day - the car had more in it I am sure but I was happy to leave on a high rather than push for a 5th go and make a mistake... The event was well timed with plenty of opportunities to wander around the paddock between runs. 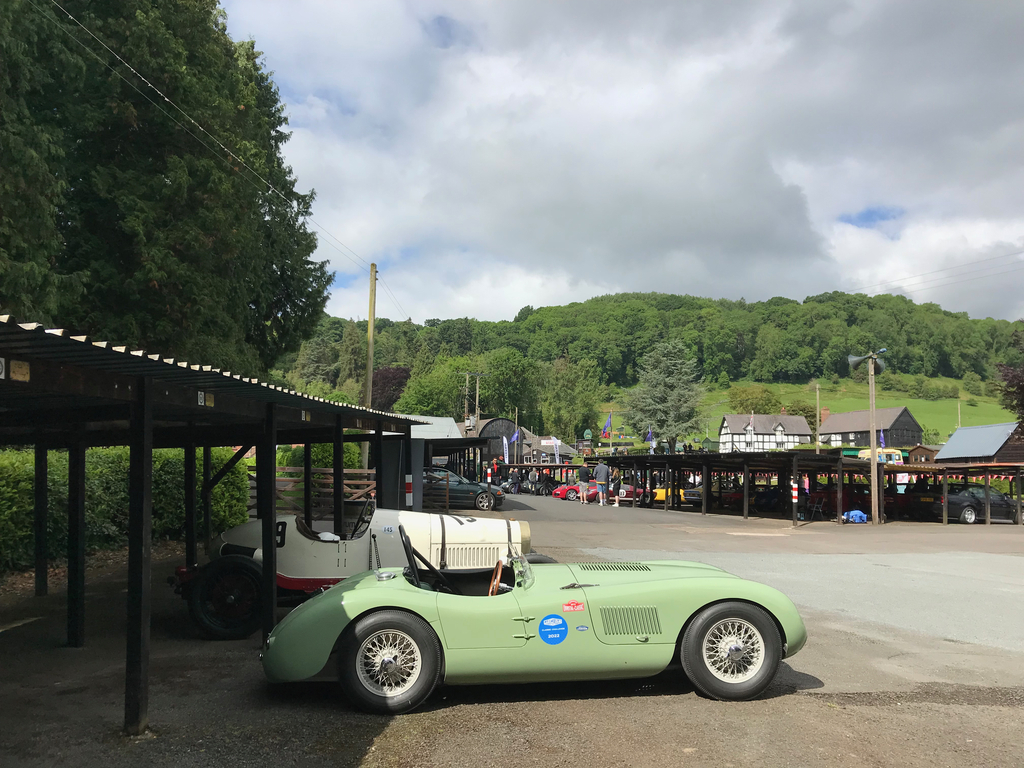 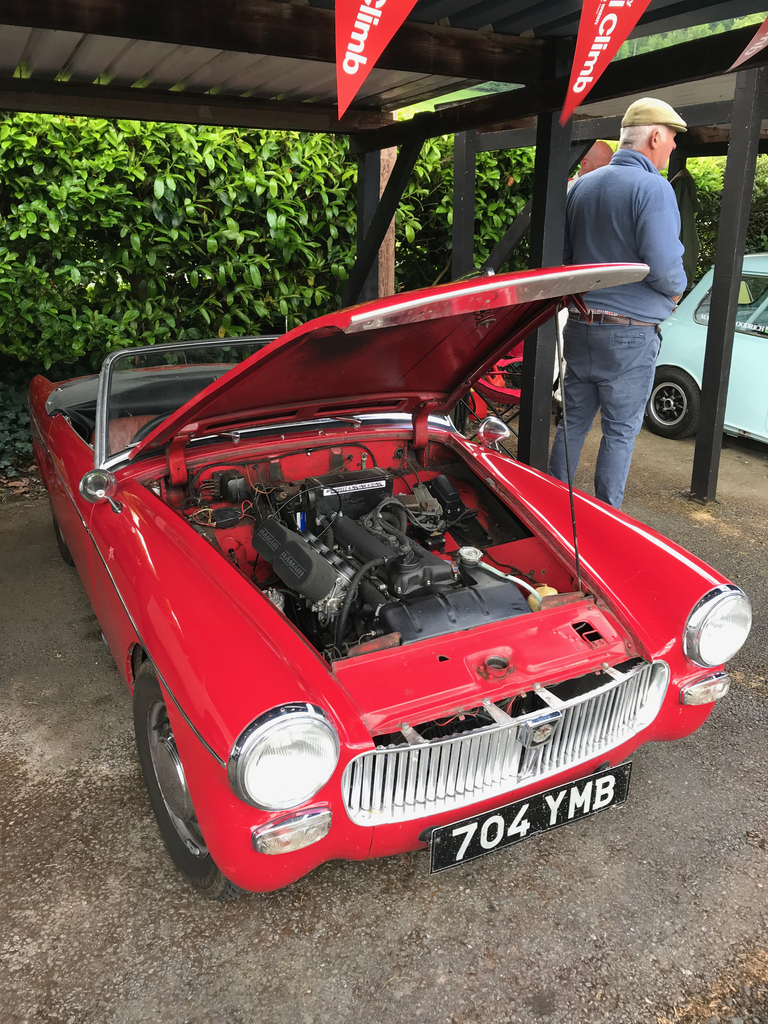 The car drew a decent amount of attention and didn't miss a beat all day. The toolbox was put to good use though when an Alfa 8C 2300 split a coolant hose 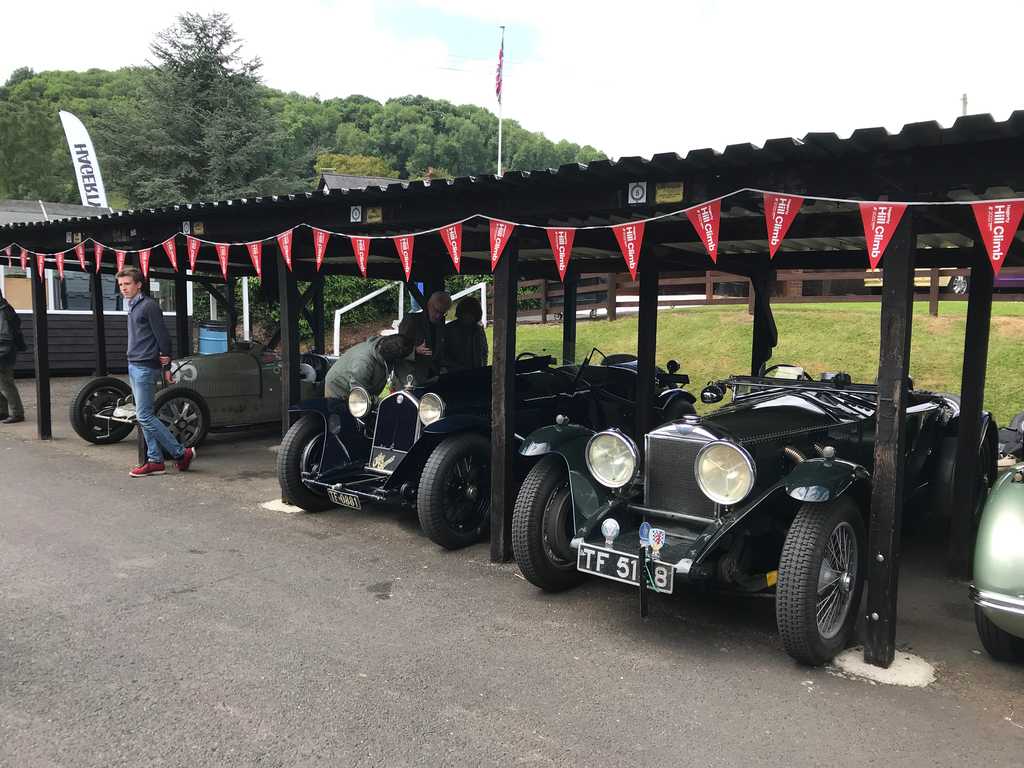 Definitely an event I'll be doing again! Thanks for looking James |
| |
|
|
|
|
|
|
|
|
Great update - thanks for sharing the video 👍 Car sounded spot on and seemed to be making rapid progress - are you planning to use it more competitively?
|
| |
|
|
|
|
|
|
|
Great update - thanks for sharing the video 👍 Car sounded spot on and seemed to be making rapid progress - are you planning to use it more competitively? Cheers! The car went much better than expected, and got better times than several cars I expected to be much quicker. I have certainly got the bug for this sort of thing now... James |
| |
|
|
|
|
|
|
|
Last year I gave the lever arm dampers a service with new oil and gaskets which certainly improved handling. On removal the rears had been very low on oil, whereas the fronts had still been full. When I took the suspension apart over the winter the rears where showing signs of leaking and on inspection had low fluid levels. As a quick fix I fitted a pair of later dampers from eBay to get the car on the road and allow me to focus elsewhere. Damping is a bit of a hot topic in Spidget circles with the general consensus being lever arms bad - telescopic good with very little to back up either viewpoint that stands up to anything more than bar talk scrutiny. While telescopic dampers are technically a better solution the car is not designed for them, so the kits on the market all have compromised mountings that either load the damper incorrectly or put stress into the shell in ways it was never designed for. I also like a challenge so decided to try to stick with the Amrstrongs. The rear dampers from my car are of a slightly different design to the later cars, apparently only normally seen on Frogeyes. Like the rest of the rear end there was nothing to suggest they had ever been removed so I was very keen to keep them with the car. Unfortunately they were pretty banjoed. Years of running with low oil meant there was no lubrication to the shaft (snurr) which had badly worn the soft casting case. The steel shaft with the lever attached runs directly in the casting with no bushings so when they get this bad they are normally scrapped when this happens. I didn't want to do this so spent a lot of time refurbishing them. I couldn't find any decent guides on how to do this so took plenty of photographs. 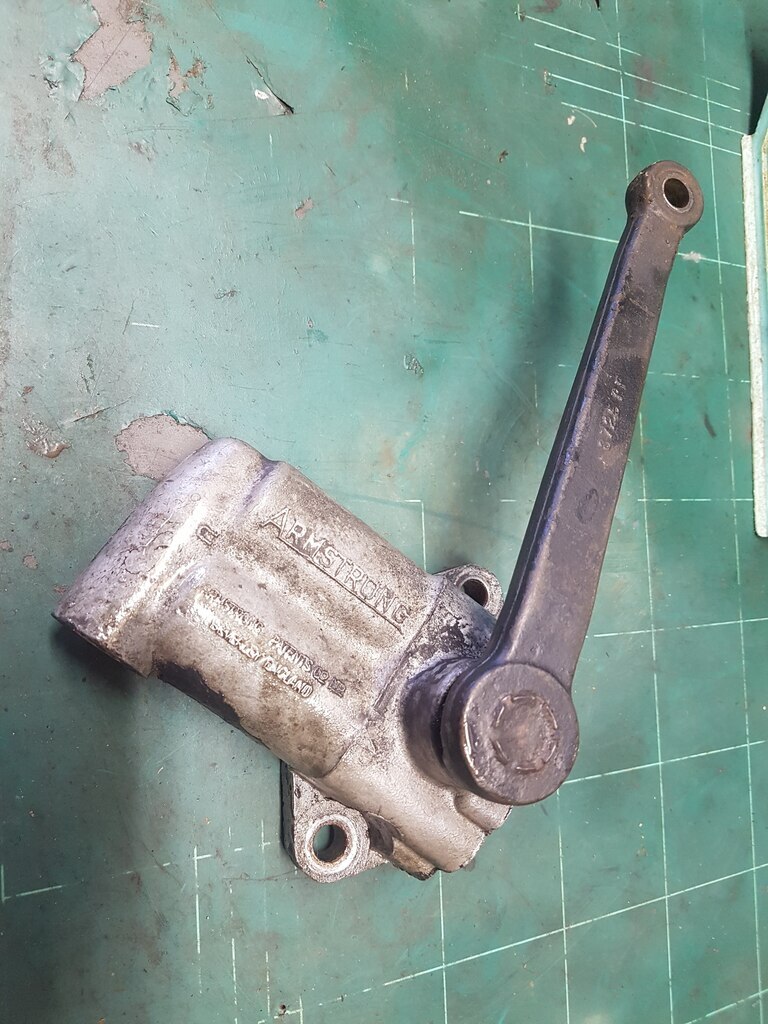 On the bench 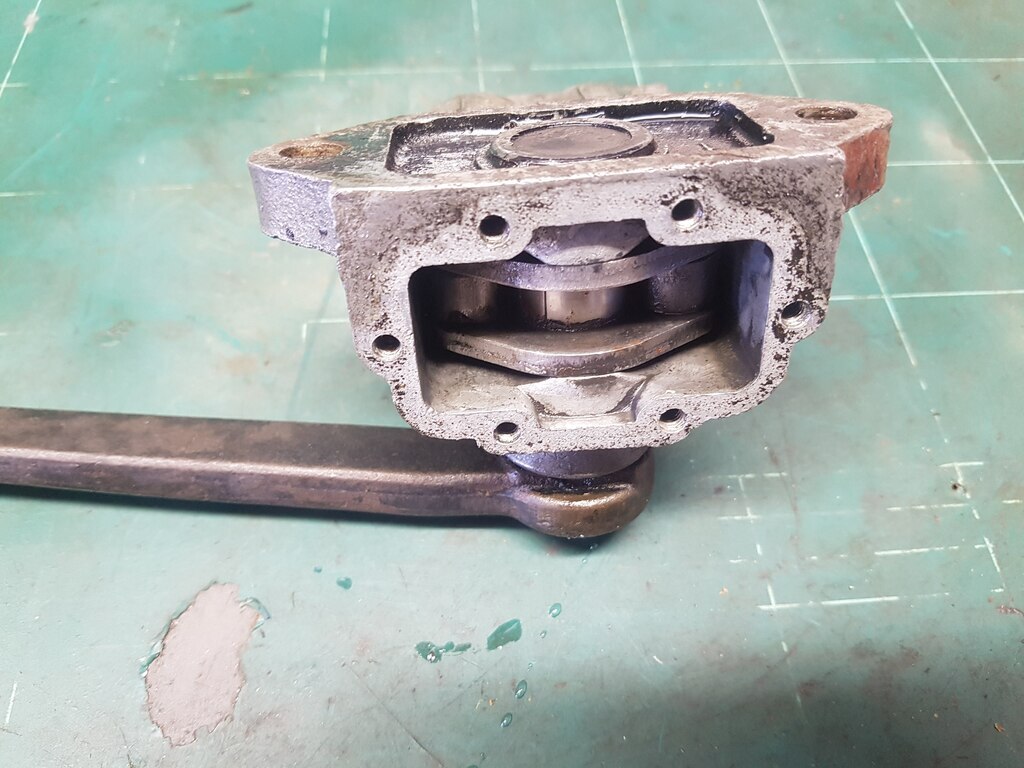 Cover removed and oil drained 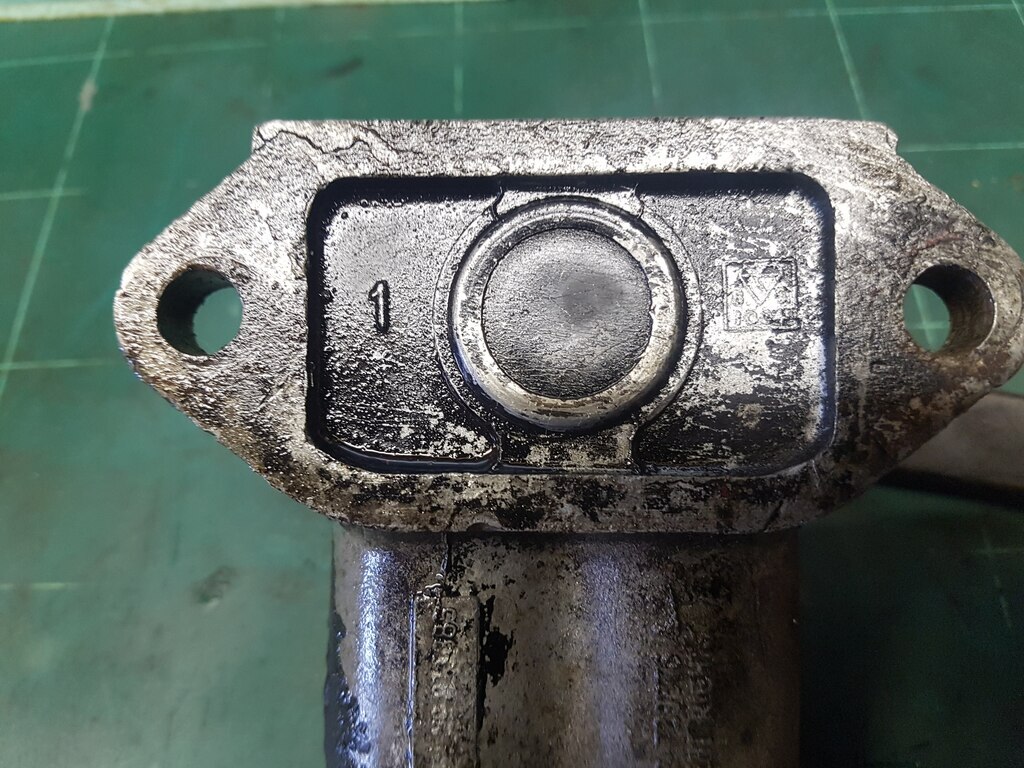 The shaft is a push fit into the rocker arms. The back of the damper body is plugged. This was quite tricky to removed - I used a small cutting disc and a pry bar. 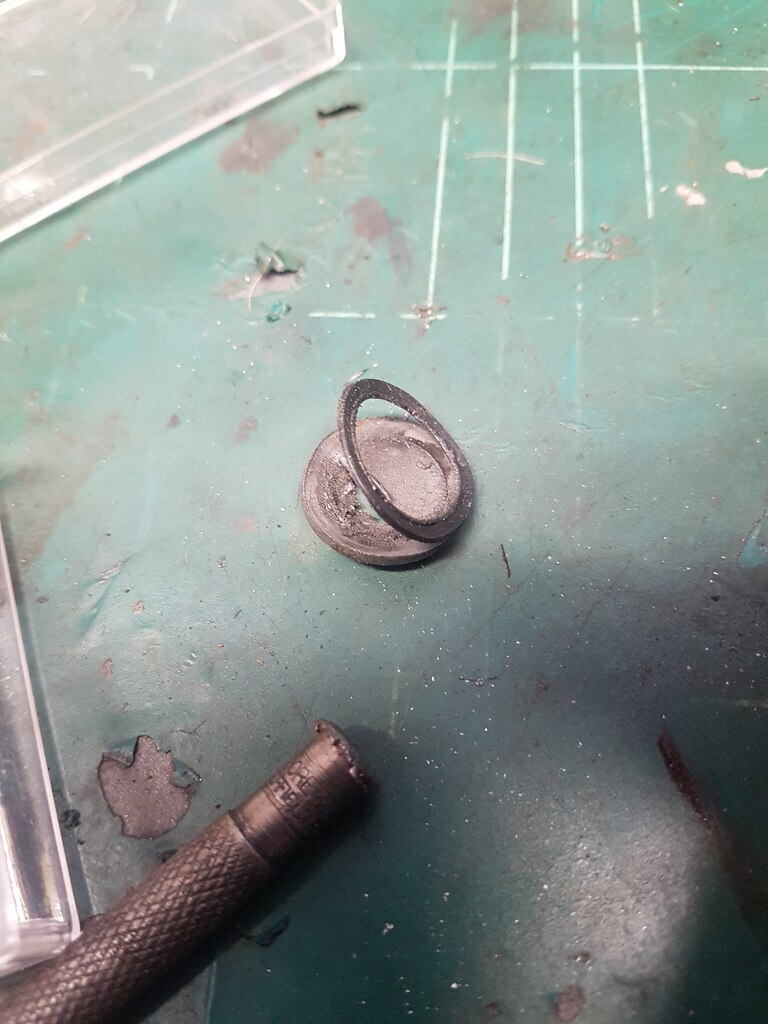 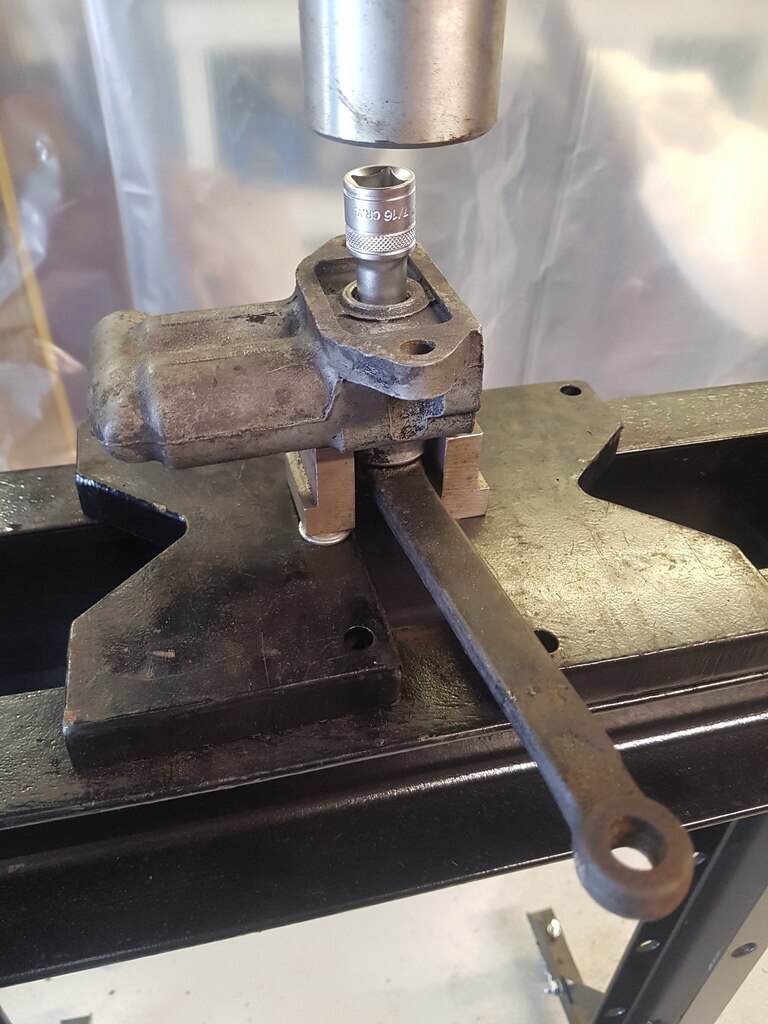 With the plug removed I put the damper on the press and carefully pushed the shaft out. I took a lot of care to support the body to prevent distortion. 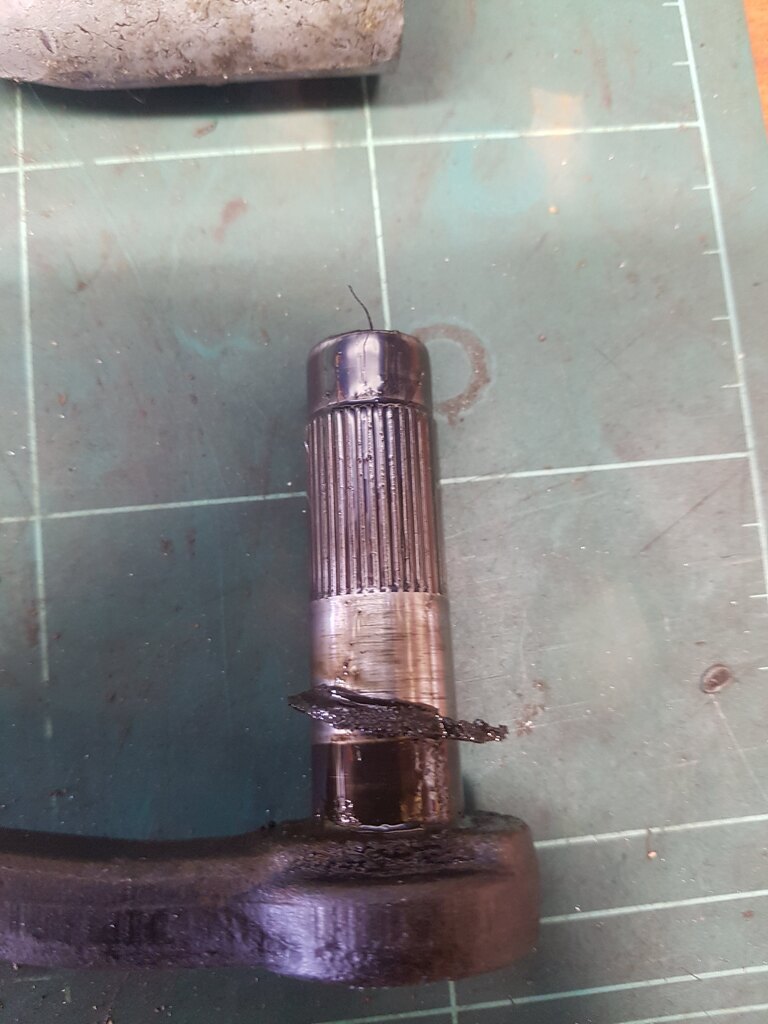 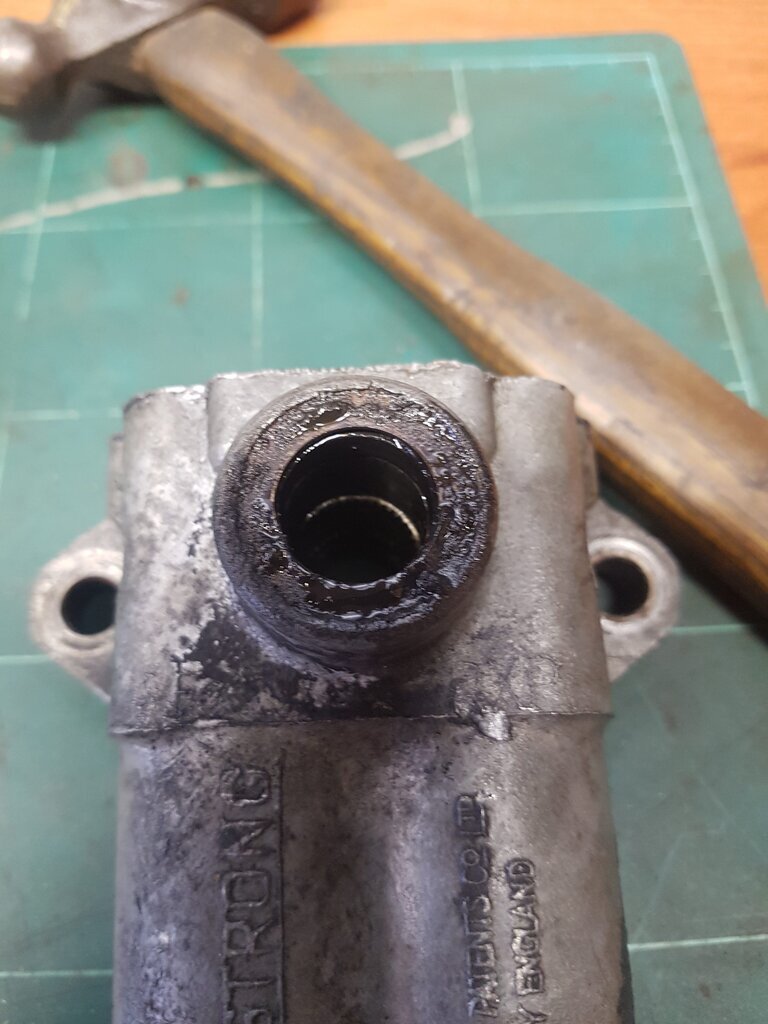 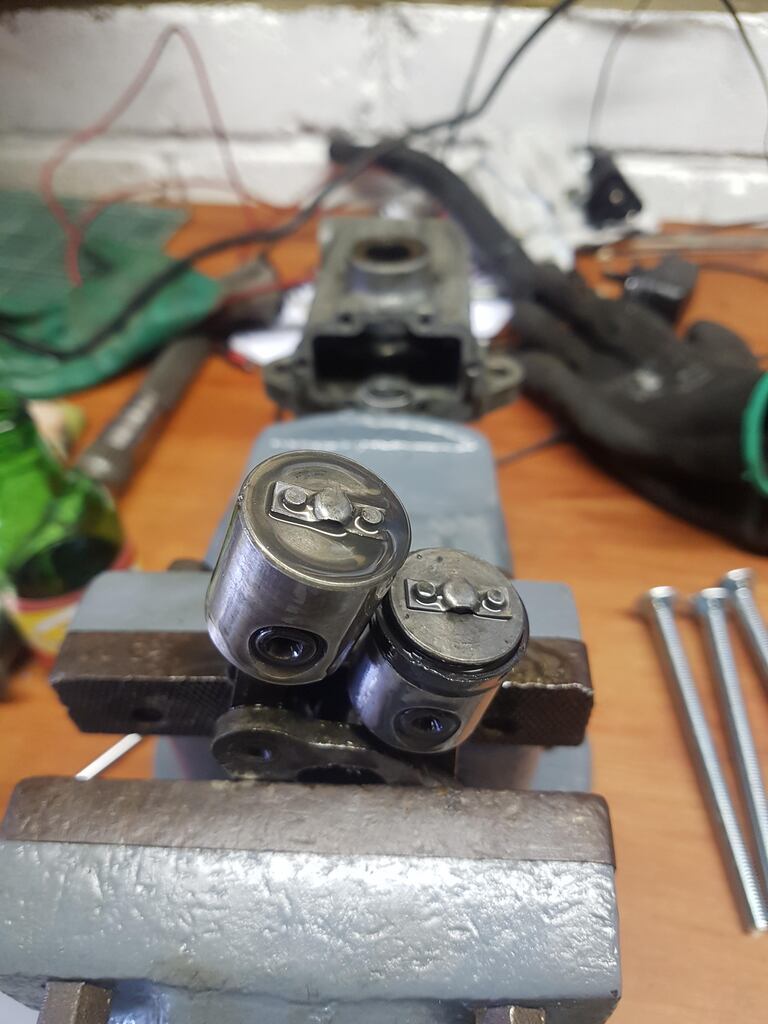 The rocker / piston assembly was then removed and the felt seal picked out from the body. With the body completely stripped I mounted it onto the faceplate of my Myford and clocked in the seal bore. I used this as a reference because the main bearing journals were too badly worn to be of use. These were bored out to accept some acetal bushes and the seal bore was also bored out to accept a lip seal. 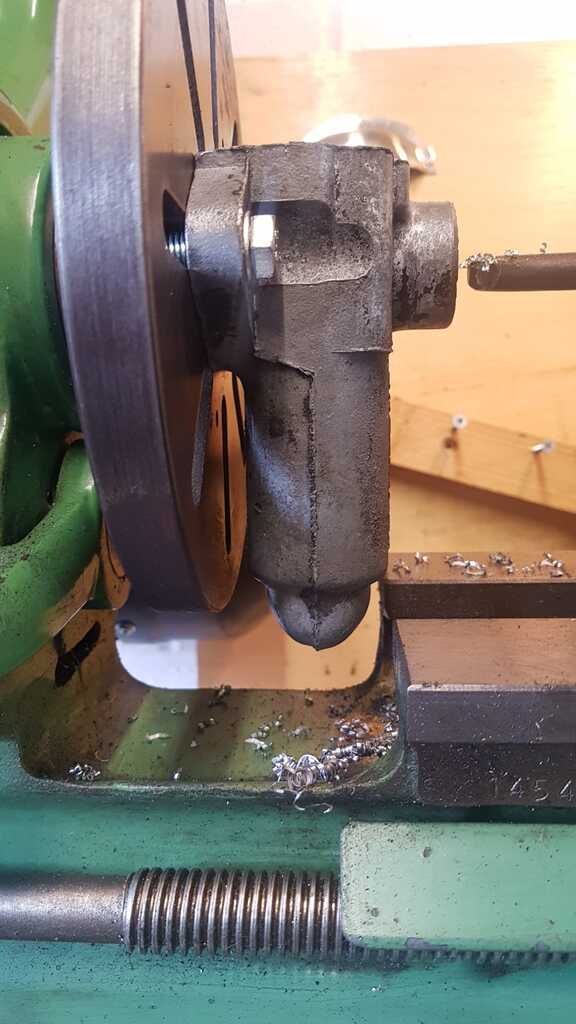 It's a close fit! 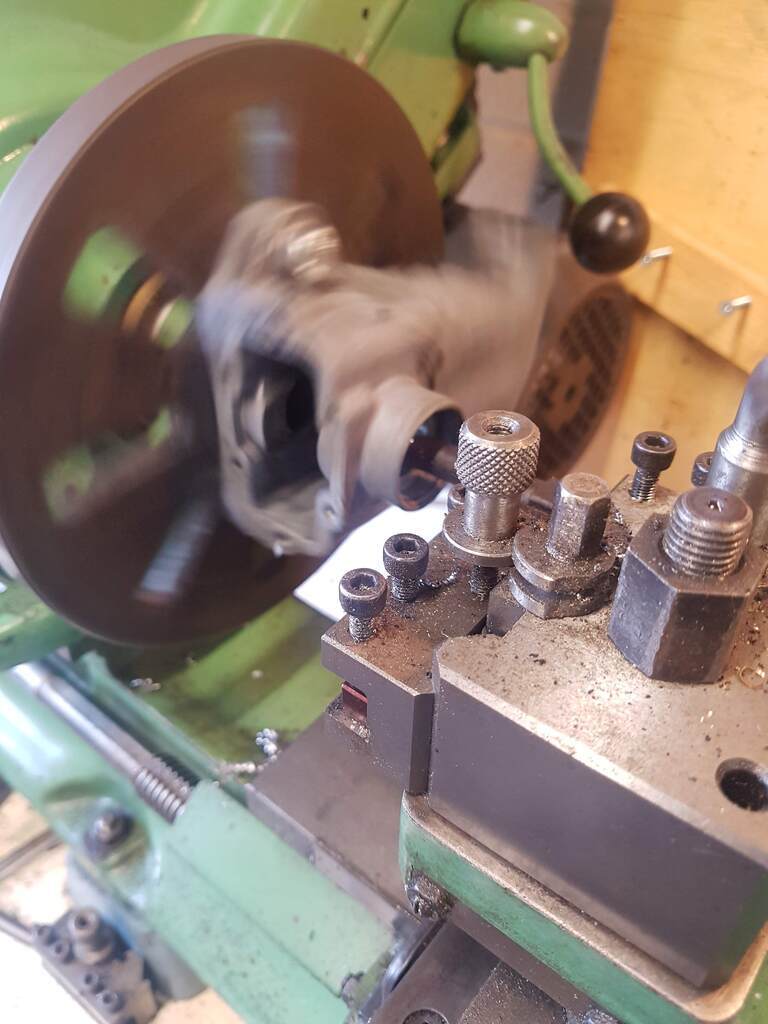 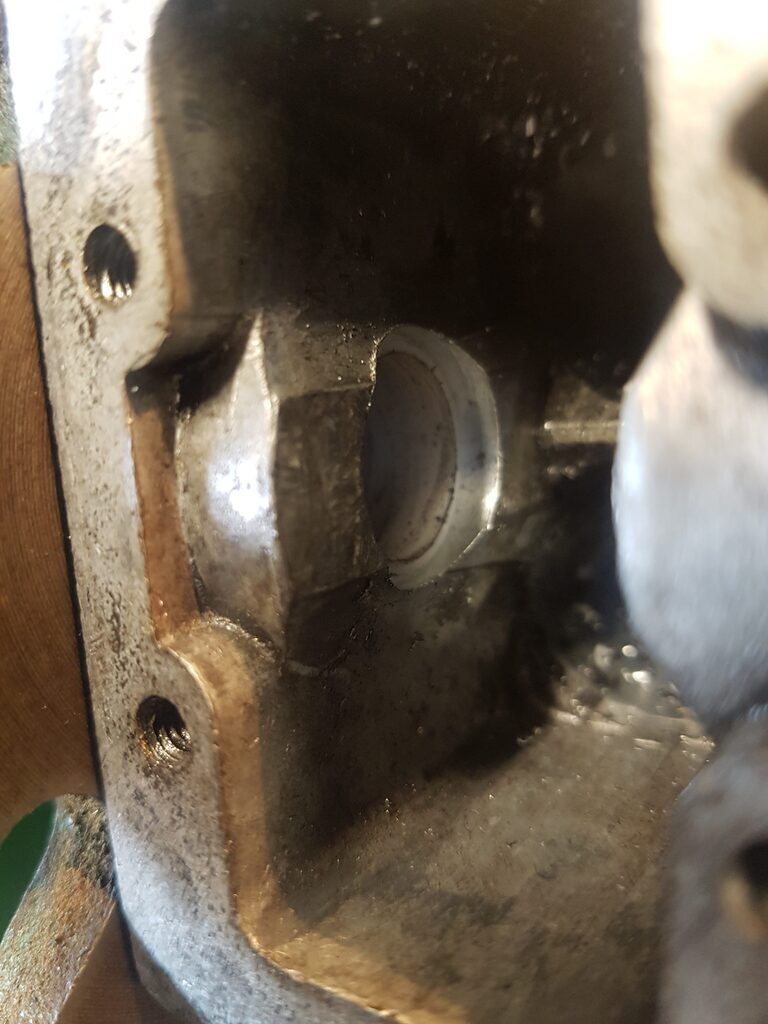 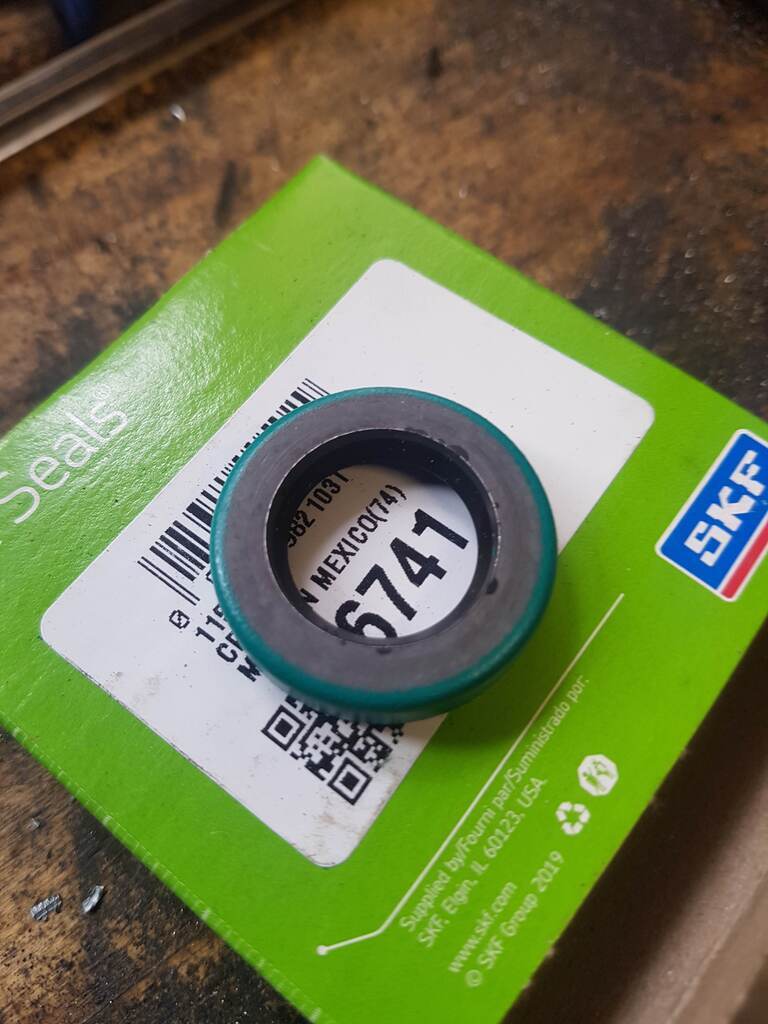  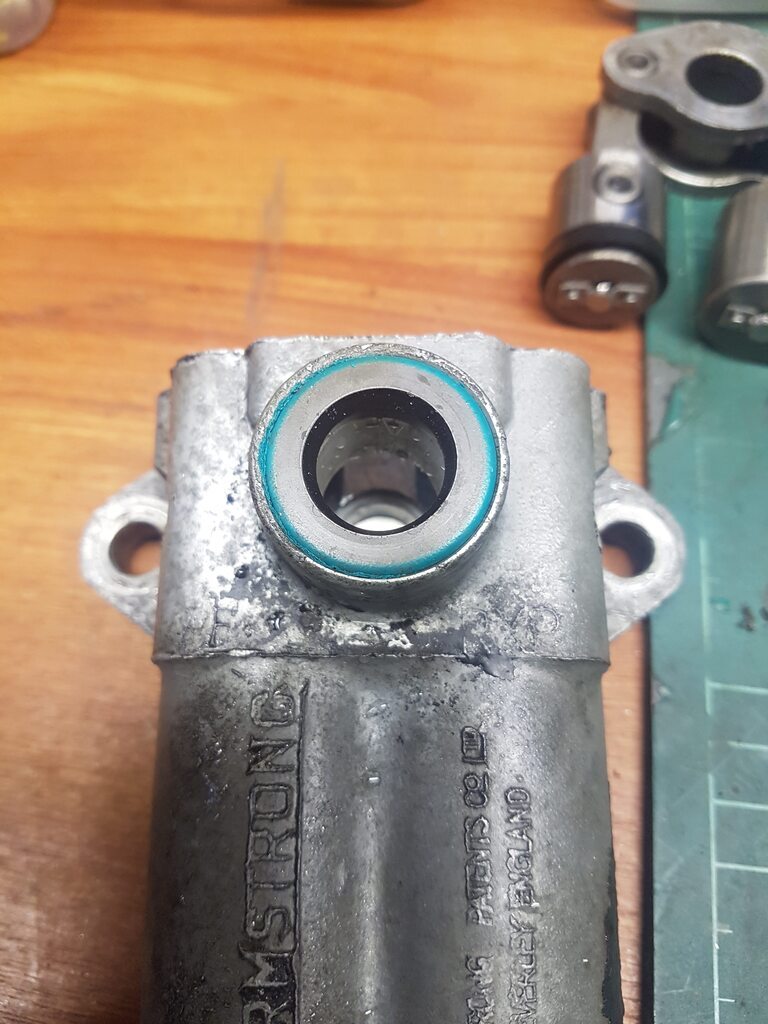 With the machining finished the body was washed and put through the ultrasonic cleaner before being reassembled and filled with Motul 20W Heavy Fork Oil And repeat for the other side... The dampers were finished off with a set of adjustable valve bodies. Again I could find very little about these online but they are apparently used in racing series where the lever arms need to be retained. Adjustable lever arms were made by Armstrong but are extremely rare and expensive. 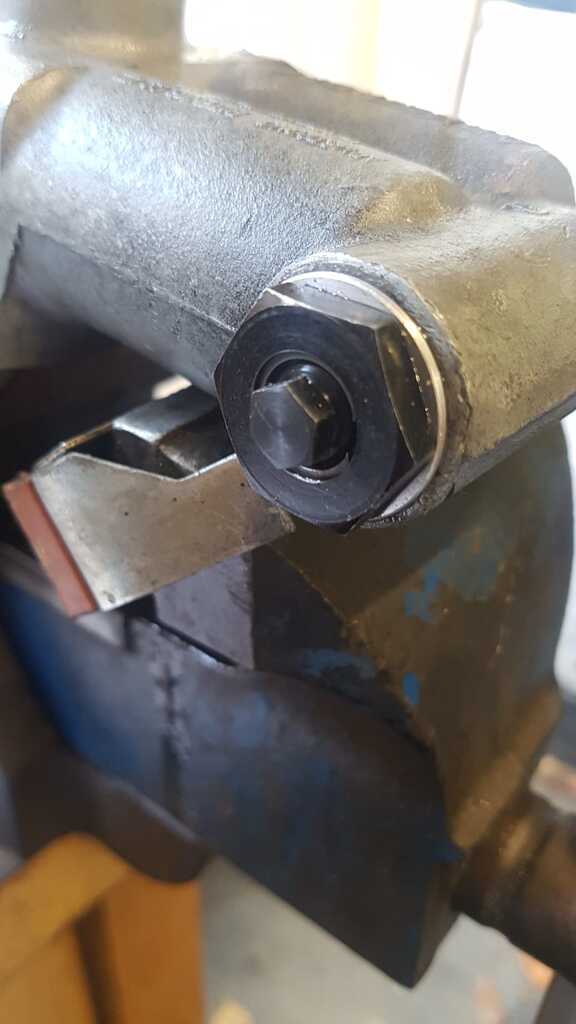 These weren't cheap either but are a straight swap for the original valve and are adjustable on the car with 16 clicks. Fully wound in the damper is basically solid. I found 8 out was about the same as standard and 4 out was great. Ride wasn't really any worse - certainly not something I could detect, but the body control was massively improved, especially at the rear. Before undulating road surfaces could catch the car out and cause the axle to hit the bump stops - with these fitted (and combined with properly working dampers) the handling is great. Highly recommended! I bought them directly from Suspensions Supplies Limited www.suspensionsupplies.co.uk/ They were on offer elsewhere but SSL were cheapest and, I believe, actually make them. Thanks for looking James |
| |
|
|
|
|
|
|
|
|
I agree with using the telescopic kits most of the bolt on kits for minors seem compromised in one way or another. I'm planning to work on modifying the minor lever dampers (don't leak so just oil to start with), didn't know you could get adjustable valves though.
|
| |
|
|
jimi
Club Retro Rides Member
Posts: 2,224 
|
|
|
|
Thanks for the write up and pics, excellent job  I had a 1969 Midget ( Red) and later a 1970 B roadster (BRG) both had lever arm dampers, but I've never seen them in bits  |
| |
Black is not a colour ! .... Its the absence of colour
|
|
|
|
|
|
|
|
My understanding is that telescopic dampers are better at dissipating the heat from the oil which heats up as it passes through the valves. As the oil warms up it becomes thinner making there damping less effective.
For short spirited or long touring jaunts lever arms are more than acceptable.
For circuit racing and endurance events, telescopic dampers apparently stay more consistent in effectiveness.
|
| |
|
|
|
|
|
|
|
worthidljPossibly? A telescopic damper will likely have a bigger reservoir of oil, but a lever arm is typically bolted to the body of the car with a large area in contact, acting as a huge heatsink, whereas a telescopic is reliant on air to cool it. Lever arms do offer advantages for packaging, especially for the really clever combined upper arms (single arms were fine for the original application in an A30 - less so in a Midget) A big problem for performance is the leverage / force applied to the pistons changes as the arm moves though it's arc I suspect the main reason for telescopics being widely adopted was down to cost, and then mass. Levers are much more complicated, harder to make and have more parts.
|
| |
|
|
|
|
|
|
|
|
|
|
I'll confess that I'm only an armchair engineer so I'm only putting out what I have read over the years.
I hadn't thought about that on the lever arms and it does make sense that the large surface area of them will aid cooling.
You are right that cost & simplicity will always be a driving factor in the progression.
Will definitely try and remember your notes as they are very useful.
|
| |
|
|
|
|
|
|
|
Excellent write-up, all the way through reading was sayin' "adjustable valves, when's he going to mention the adjustable valves" ...  Well done ! be interesting to see how your 'seals' stand up, looks a really elegant solution. |
| |
Last Edit: Dec 14, 2022 11:37:09 GMT by westbay
|
|
|
|
|
Jul 15, 2022 12:10:40 GMT
|
|
Just catching up with this - super update, and interesting to see your work on the dampers; like others, I've never seen them apart before.
Also, congrats on the article in the MGOC mag.
|
| |
|
|
|
|
|
|
|
|
Sharing space with a lightly scratched XK...that speaks volumes!! 😁😁
|
| |
Koos
|
|
|
|
|
Jul 31, 2022 11:24:14 GMT
|
|
Thanks for the write up on the lever arms...We often don't fully appreciate how the original designers really thought their designs through.
|
| |
|
|
ToolsnTrack
Posted a lot
   Homebrew Raconteur
Posts: 4,128
Club RR Member Number: 134
|
|
|
|
|
Fantastic build, bookmarked from here on!
|
| |
|
|
|
|
|
Dec 13, 2022 17:49:56 GMT
|
Apologies for my non-existent updates for the last 6 months, things have been busy... After the hillclimb the MG was subject to quite a lot of maintenance, shake down and servicing in preparation for what was likely the biggest trip it had ever done; the infamous 12 in 12 Alpine Challenge! The adjustable valves were fitted to the front dampers which really helped get the front end under control, the drums were adjusted and everything was greased. I also swapped out some suspect bushes at the front with some uprated polys to further tighten up the handling. The exhaust manifold was also removed and modified to gain a little more ground clearance. The car sits a little lower than stock and the lack from front damping had meant that on uneven roads the downpipe had been bottoming out. I think it was caught in the nick of time... I cut through the original welds and slid the downpipe as far into the collector as I could without it hitting the floor of the car, and added a 2mm skid plate for good measure, gaining about 30mm of additional clearance. 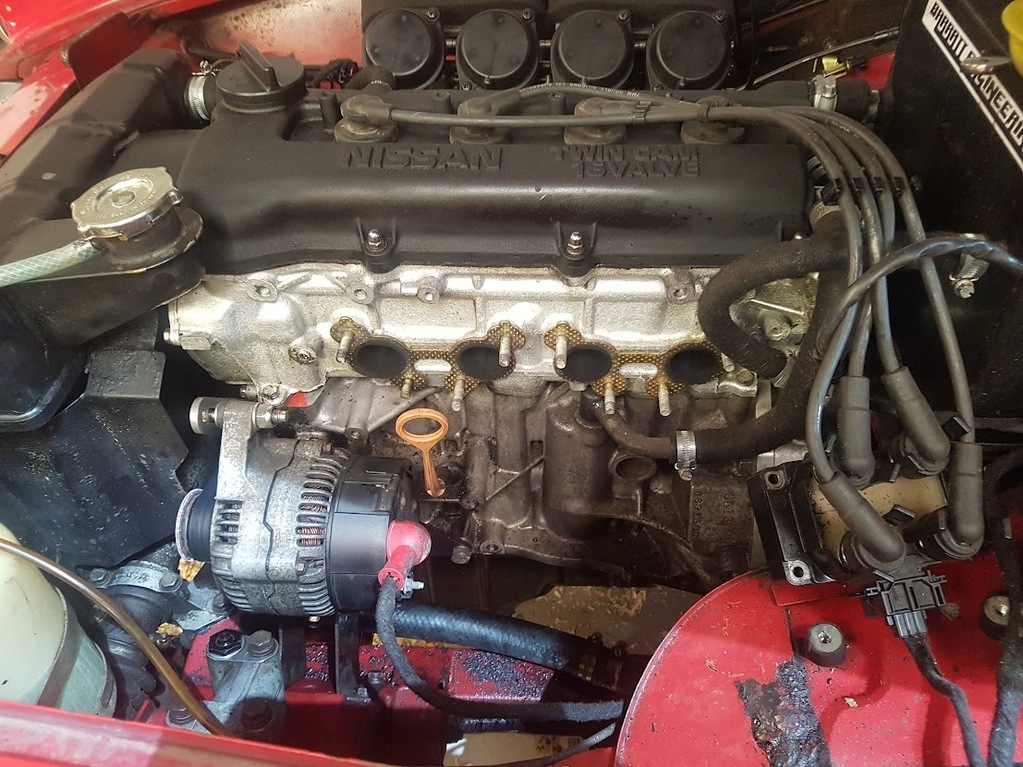 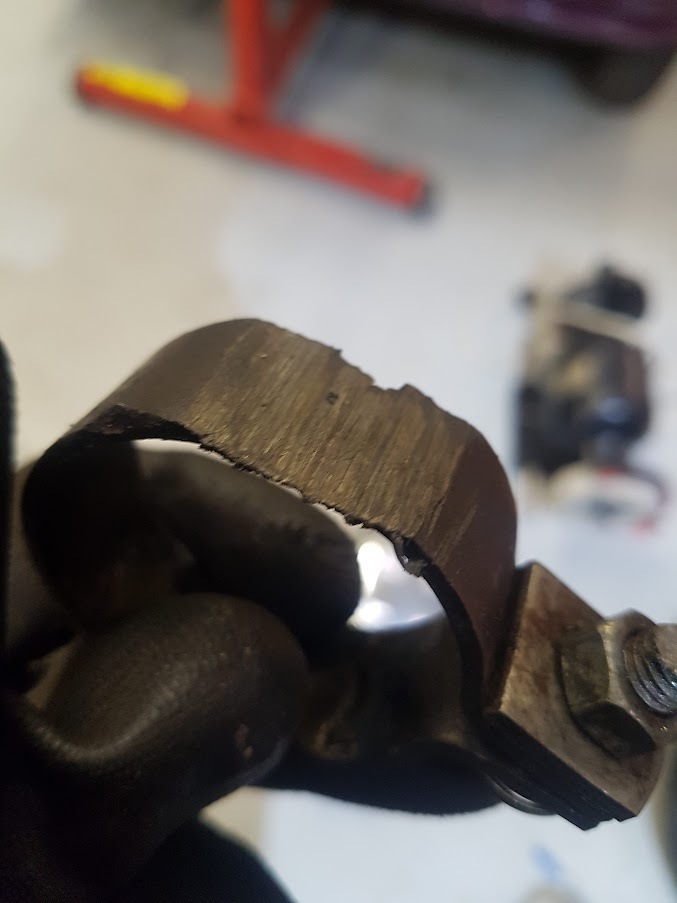 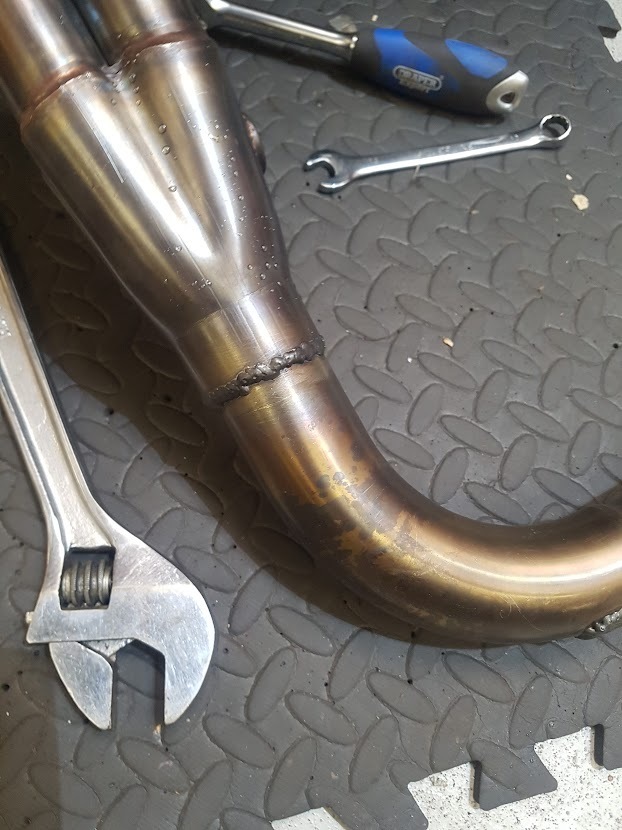 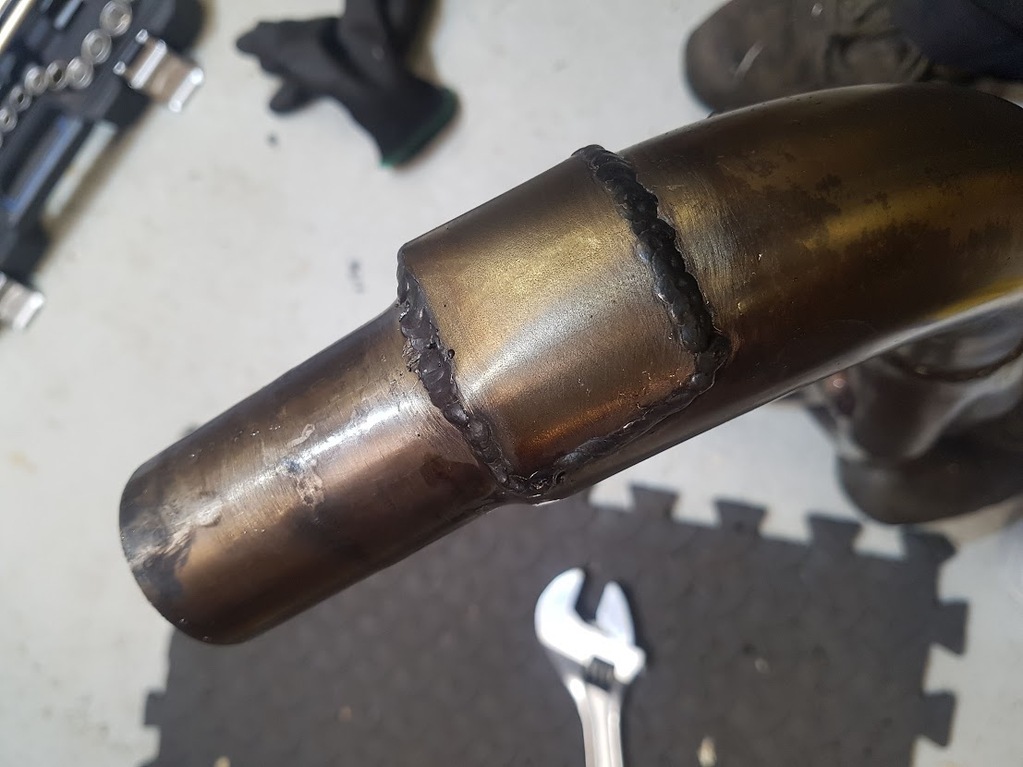 The boot was then packed with clothes, spares and tools. No space for the soft top or frame! A quick clean and polish and she's ready... 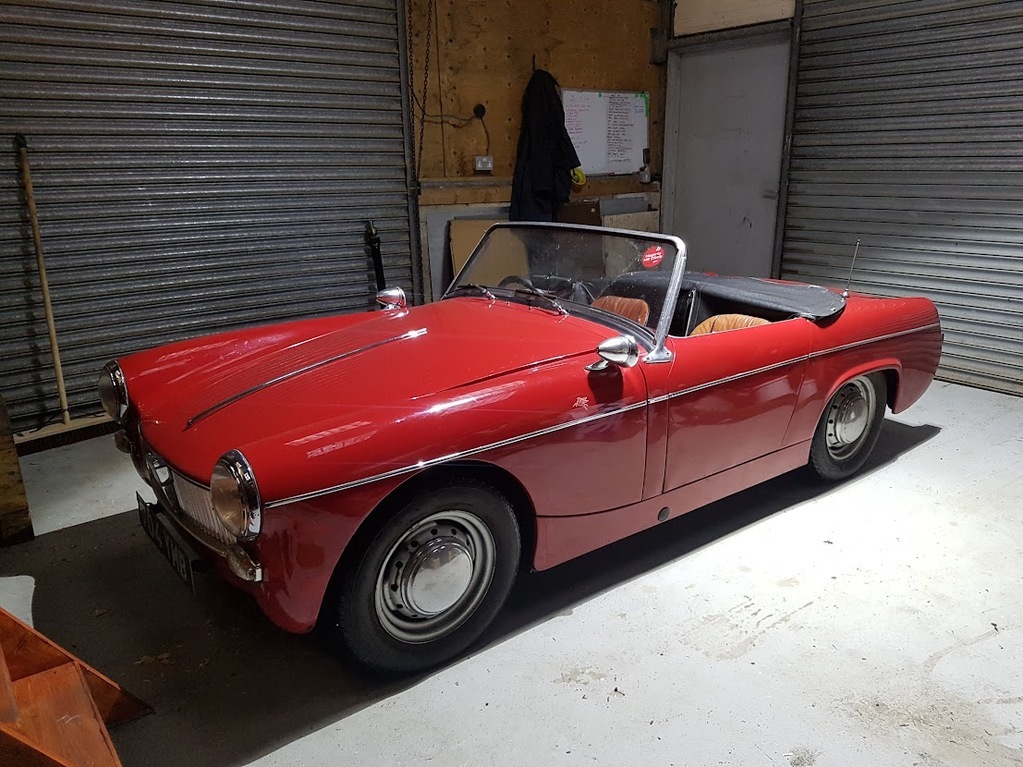 I set of early and despite being mid June it was pretty cold on the drive to Dover, very much not a sign of things to come. I picked up my co-driver along the way and uneventfully boarded the train to Calais where we met some fellow British entrants to the event, a TR7 V8 and a late 90s Alfa GTV. It was decided we set the pace for the drive south to Reims as we had the slowest car. The little MG surprised them when we joined the motorway and pulled away... 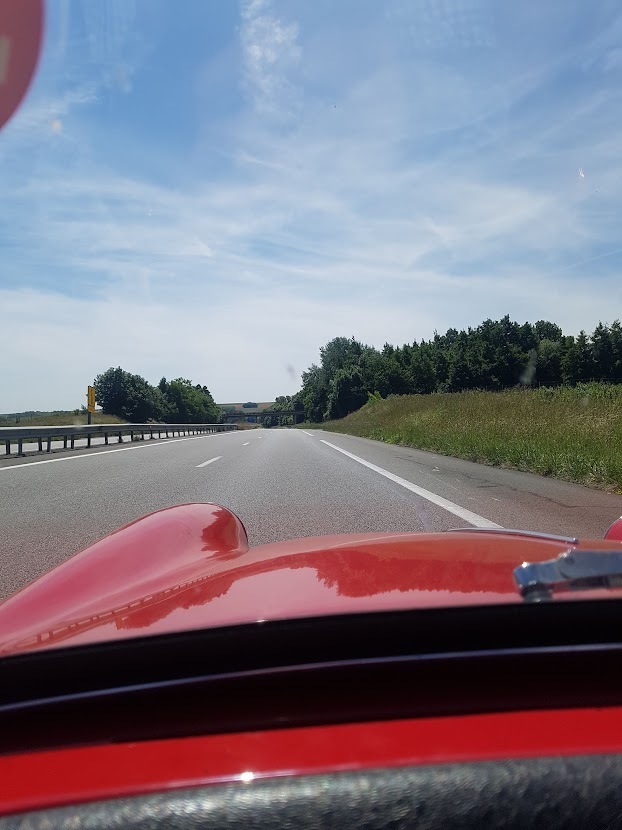 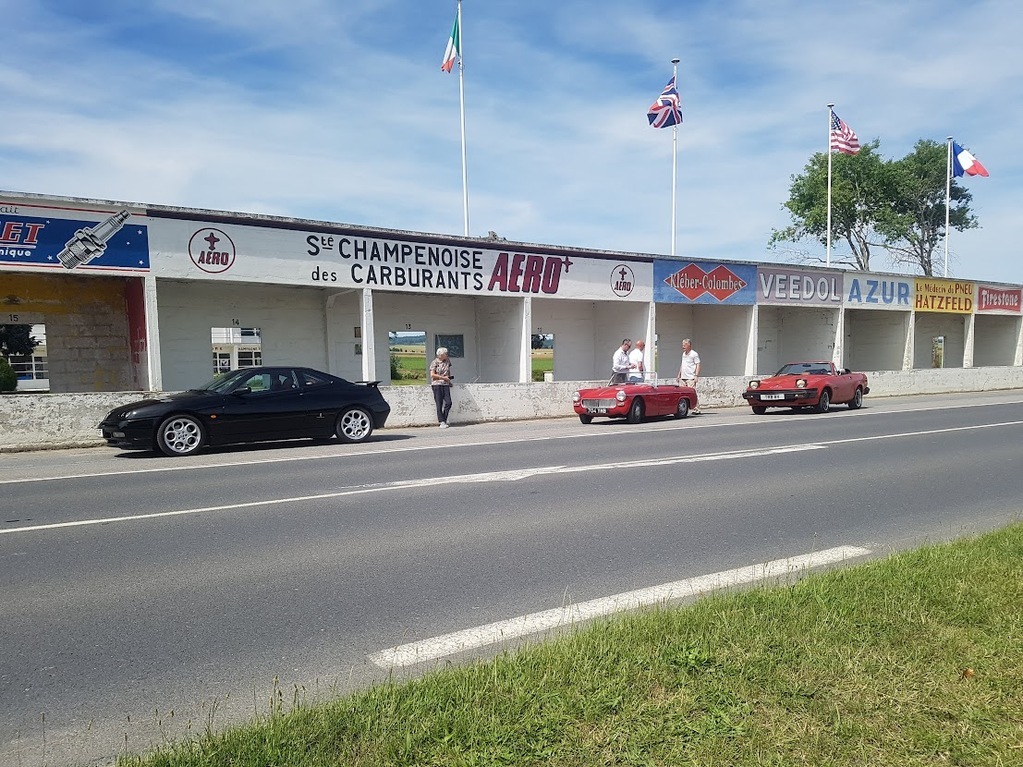 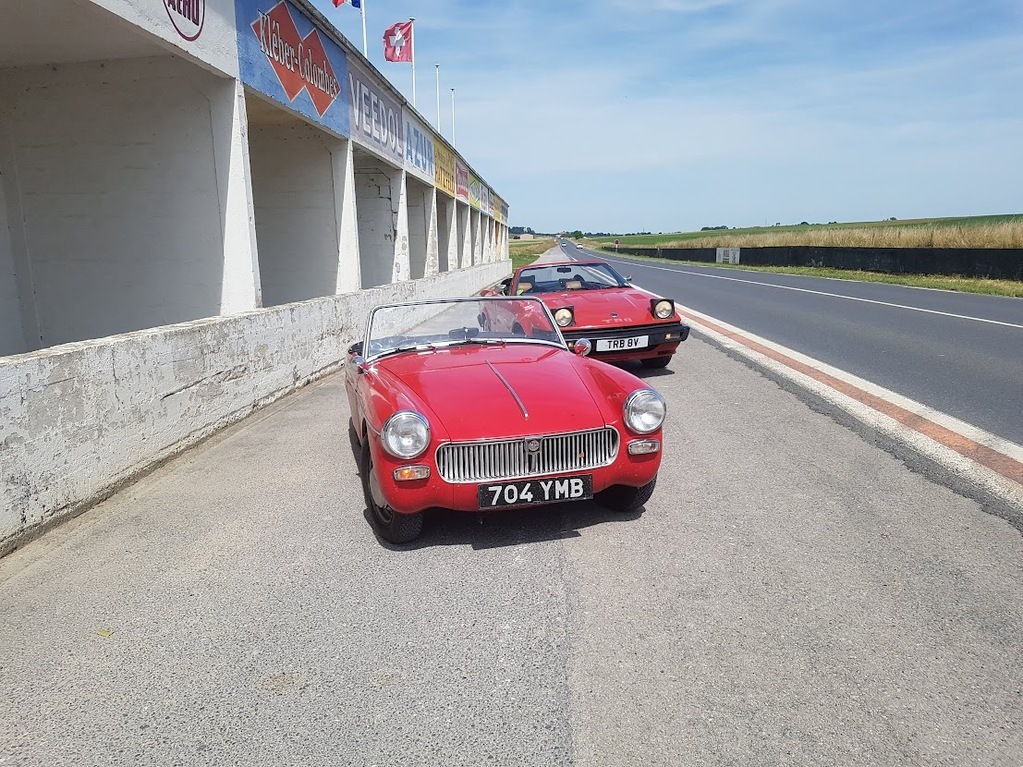 Reims was as picturesque as ever, but I now know that parking up is frowned upon and we were swiftly moved on by the Gendarmerie! Man was it getting hot though! As we pushed further south towards Troyes at a steady 130kph it was getting into the high 30s without a cloud in the sky. Open top motoring at its best, surely? I opted to go with maximum coverage to keep the sun off, which worked, ish.  Seemingly endless motorway made way for open roads and countryside as we neared our first hotel in Les Riceys, and we were able to push the heavily laden car a bit in the corners. The tail was very much feeling the extra weight and was a little too happy to step out. We also noticed that the gear changes were getting a little trickier, but after 451 miles all that mattered on arrival was a drink!  Drivers and cars had come here from all over Europe for the 'warm up' 2 day Hannibal rally which would take us through France and northern Italy via multiple Alpine passes to the start point of the event-proper. What was immediately apparent was that we were in extremely good company. 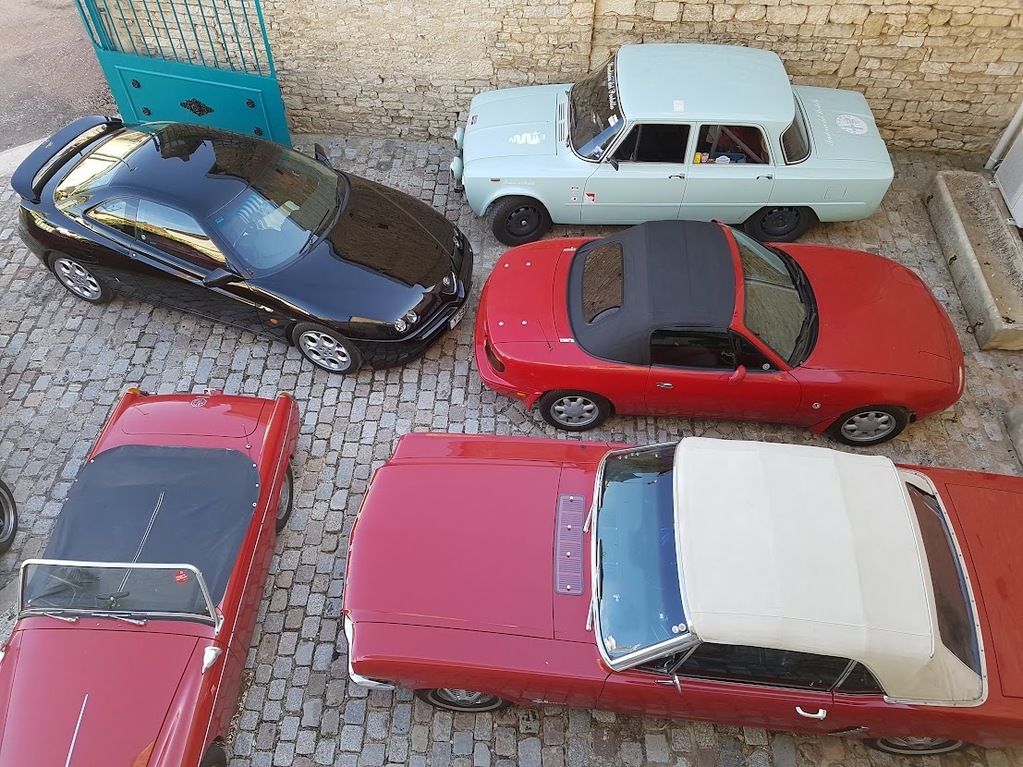 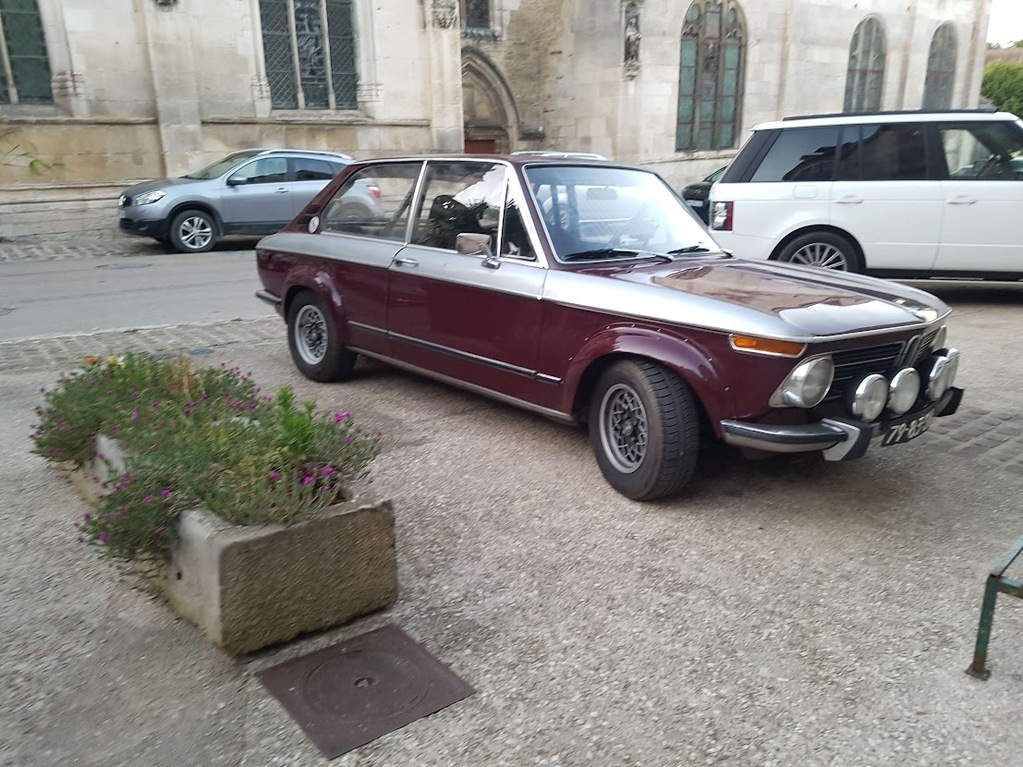 A great meal, a lot of car talk then bed, filled with excitement, anticipation, nerves and wine. More to follow James |
| |
|
|
|
|
|
Dec 13, 2022 20:09:22 GMT
|
Hannibal Rally, Day 1 Up at the crack of dawn to put another 5psi into the rear tyres, check fluids and adjust the clutch cable. I think the cable had just settled and didn't take much to get the biting point back in the right place. All done in time for breakfast and the briefing. The event is a point to point with a vague map with checkpoints to tick off / photograph, the route between them down to the crew. Starting was on a handicap based on experience, age of car and power-to-weight. This meant we set off second, following fellow novices in the straight six Mustang. 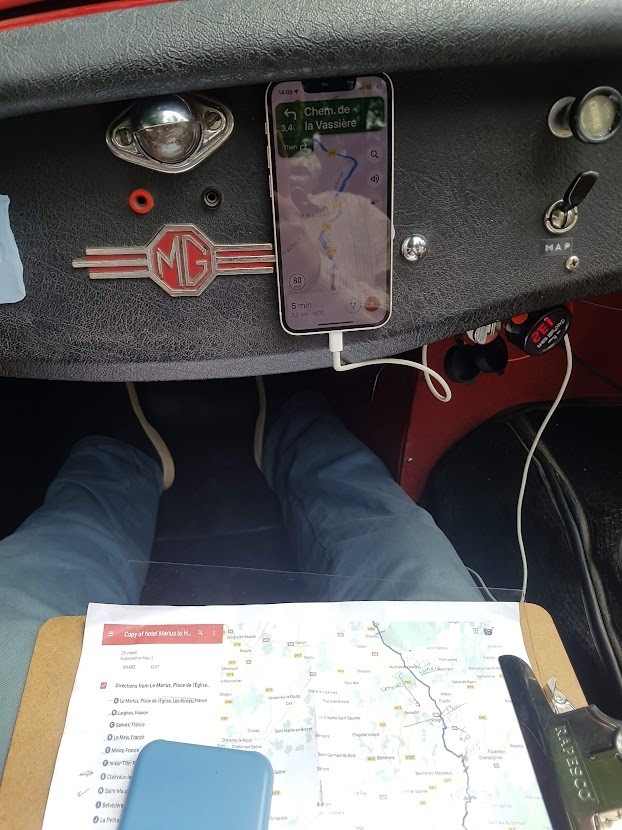 'The office'. Bluetac worked really well for holding a phone. Later we used a pair of phones were signal was intermittent with a GPS app on one and Google maps on a second. 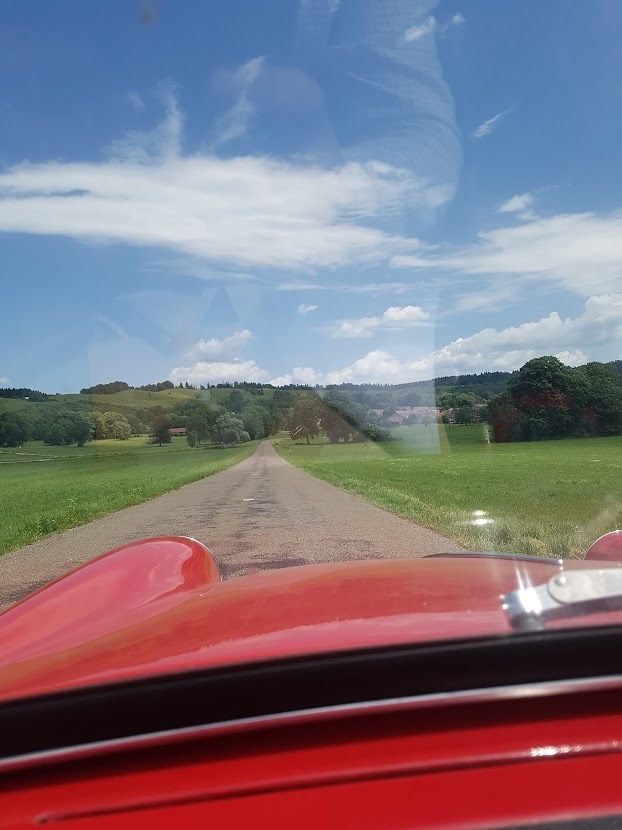 The roads were empty, twisting and beautiful and the little MG ate the miles. The extra tyre pressure helped greatly and we were able to push steadily harder as the day got on. 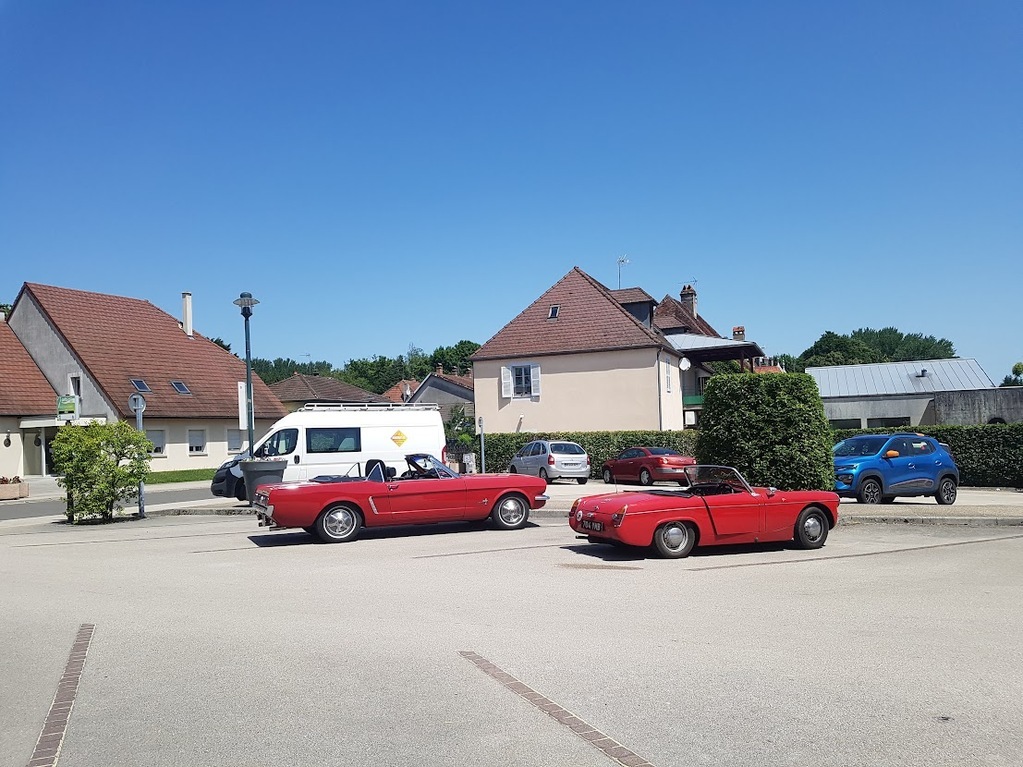 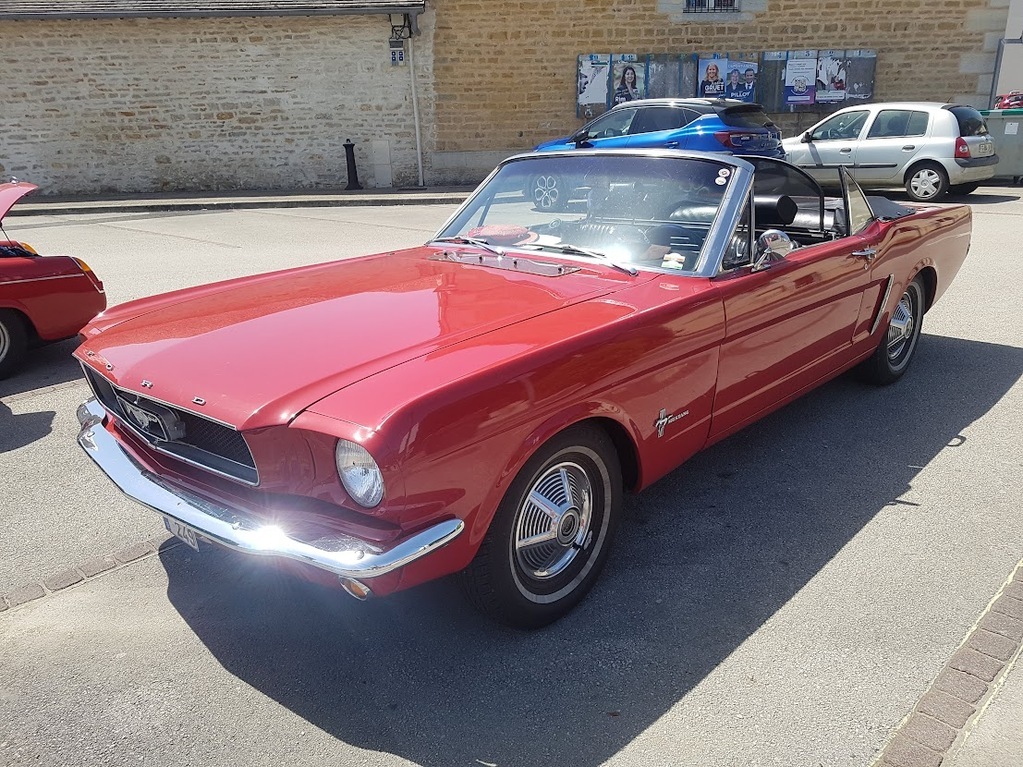 A quick pit stop in Mont-sous-Vaudrey before getting back on route 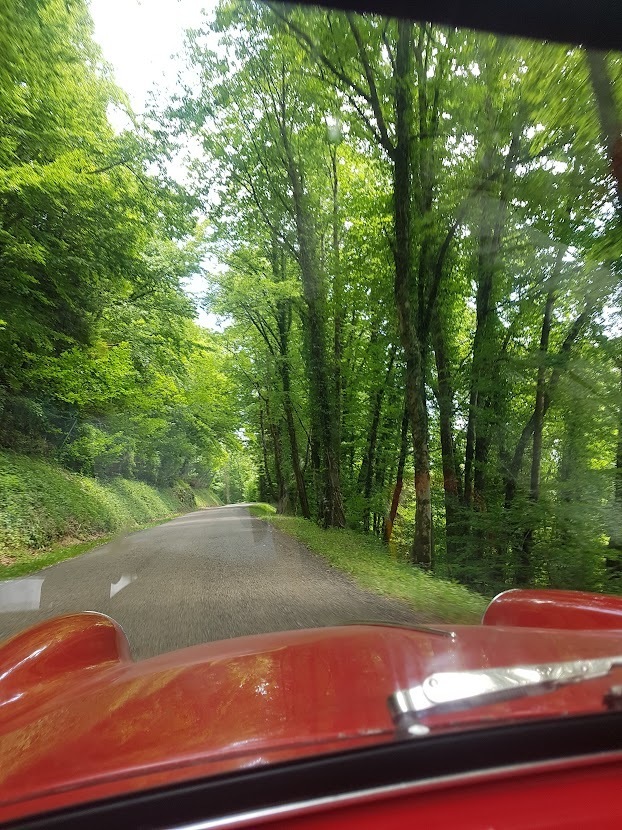 As we drove into the afternoon the temperature really started to rise but the car took it in its stride. We were always aware of the all-round drums but did not experience fade. The tyres really improved with temperature with cornering speed notably higher... With the hotel marking the end getting close the fastest cars started to catch up and before long I heard, then saw a beautiful (and rapid) blue Alfa 105 of Frank and Joost in the rear mirror. Determined not to be overtaken I obeyed the speed limit and drove responsibly until being forced to pull over for fuel. Unfortunately the combination of careful driving and the blazing sun had pushed the cooling system and the engine had got a bit warm. 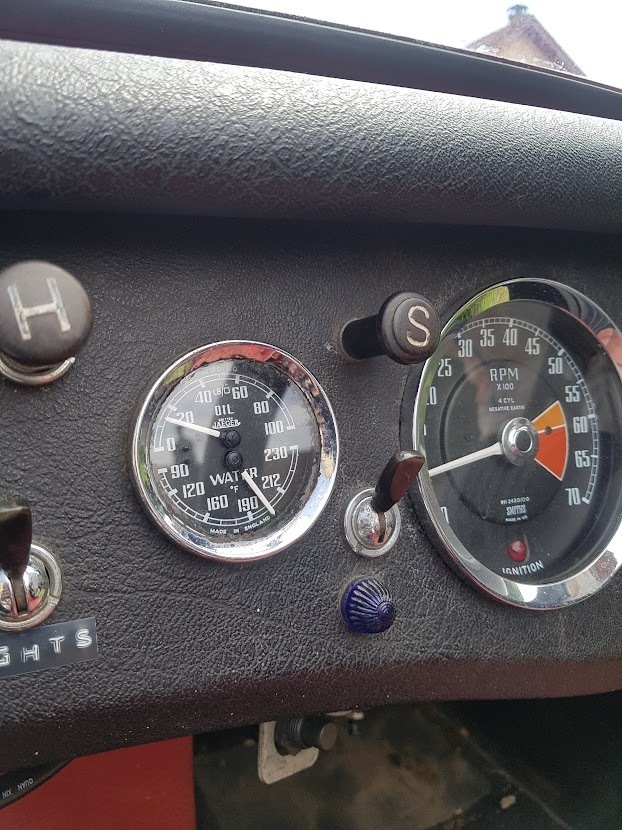 Refuelled, fluids checked and allowed to cool (man and machine) I handed over the keys to co-driver Ben for the final leg. What followed was a pretty serious climb in traffic through Mijoux. As we climbed so did the temperature gauge so we pulled over to inspect the damage. I suspected the fan had failed given how well the car had performed over the last two days conditions, but a slow but steady stream of bubbles into the expansion tank suggested otherwise. Balls. At this point the hotel was only 10k away so we decided to let the car cool down and then nurse it there. No coolant seemed to have been lost and at this point there was nothing to loose. 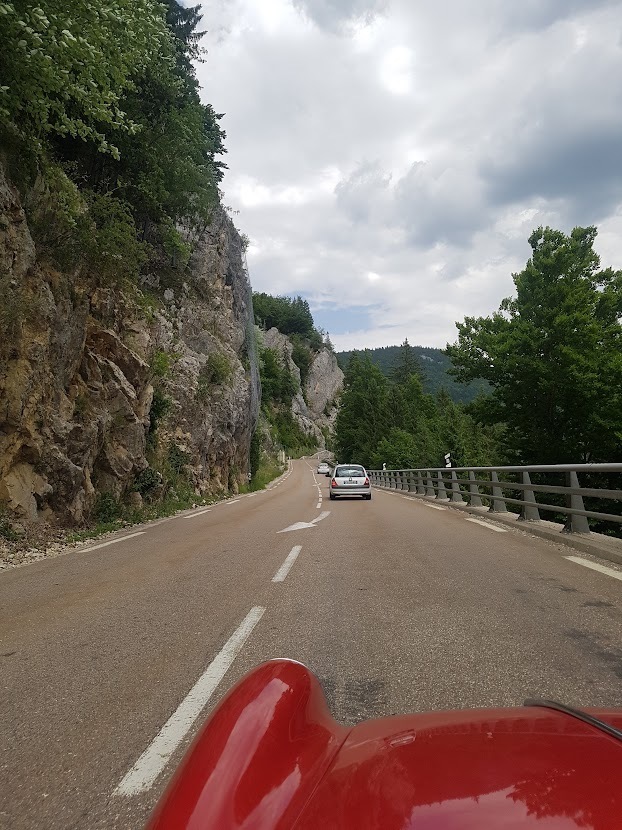 We arrived, demoralised and exhausted at the ski resort and joined the rest of the group for a beer. 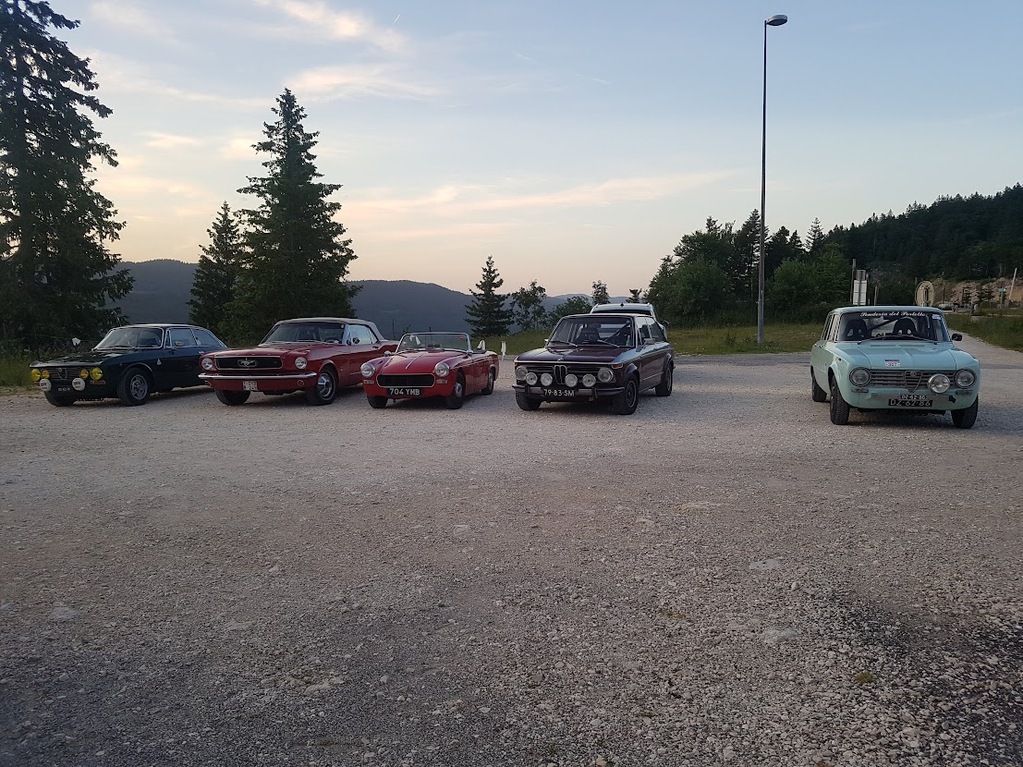 It was clear that the head gasket was leaking so calls were made to try and source a replacement, but nothing was going to arrive for at least a day, which was too late. Figuring we had nothing to lose I drove the car down the footpath to the back of the hotel where we were drinking and set to work. 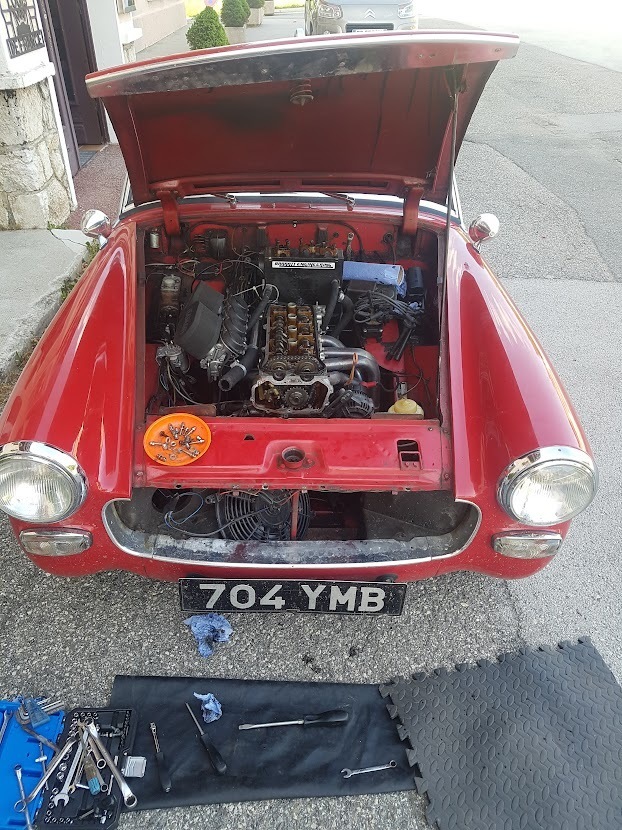 The beer, tools and help kept coming and in no time the coolant had been drained and the cam cover removed. Just the tricky bit now... The cams had to come out to access the head bolts. Not an ideal situation made a little trickier because back when I fitted the head and timed the cams I removed the alignment pins so the cams could be properly timed by the book, rather than dot to dot. This meant there was no positive alignment between the sprockets and cams. And the sprockets had to come off to remove the camshafts. We took lots of photographs and then used a small screwdriver as a punch to mark the cams, sprockets and chain prior to removal. Lots of cable ties were employed to support the chain. 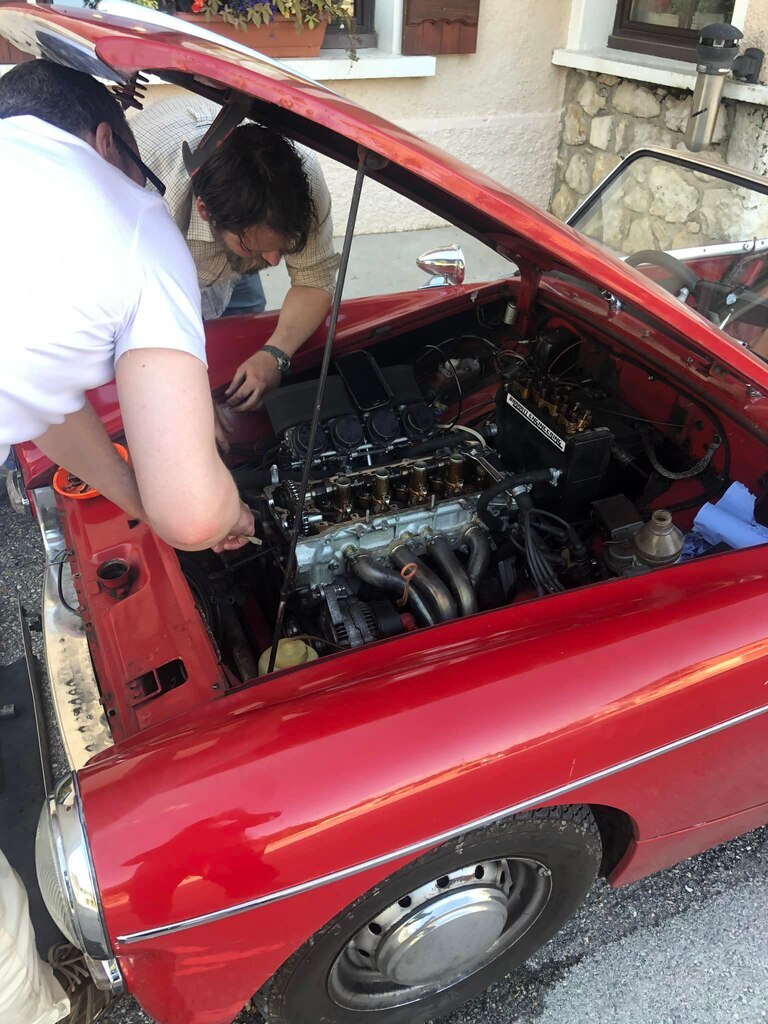 The cams came out without a fight but the head bolts had internal hexes. Nobody had a hex drive socket set, or torque wrench so an allen key and trolley jack handle were put to use in combination with my calibrated forearm. The front bolts felt looser so were tightened to match the rears, than all were given an extra 1/4 turn for good measure. The gasket sealant had gone solid in the heat so Ben made a paper gasket for the timing cover with a notebook and a hammer. 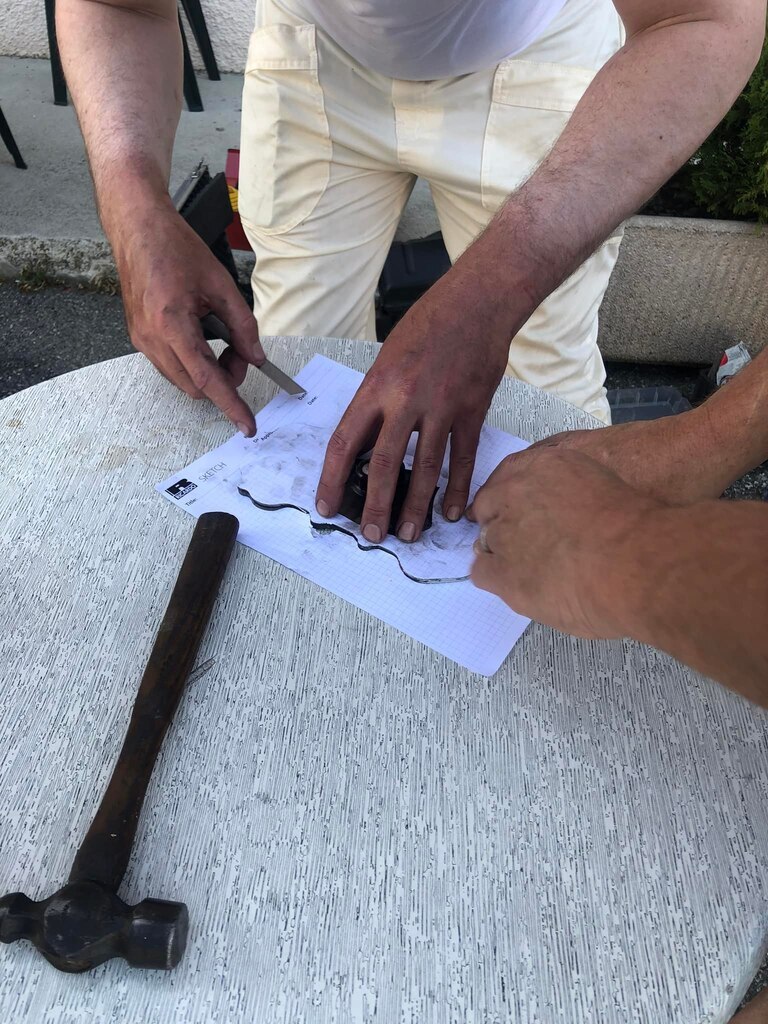 With the sun starting to set and the table being laid for dinner the race was on to get it back together, which we managed just as the first course was served, the engine firing back into life first turn. Now food. And more beer. And wine. And sleep. Thanks for looking James |
| |
Last Edit: Dec 13, 2022 20:10:25 GMT by metroman
|
|
|
|
|
|
|
|
Thanks for the update and well done on the head gasket engine work....what happens next...
|
| |
|
|
Frankenhealey
Club Retro Rides Member
And I looked, and behold, a pale horse! And its rider's name was Death
Posts: 3,885
Club RR Member Number: 15
|
|
Dec 14, 2022 13:47:06 GMT
|
Thanks for the update and well done on the head gasket engine work....what happens next... We wait with bated breath............. |
| |
Tales of the Volcano Lair hereFrankenBug - Vulcan Power hereThe Frankenhealey here |
|
|
|


 I had a 1969 Midget ( Red) and later a 1970 B roadster (BRG) both had lever arm dampers, but I've never seen them in bits


