|
|
|
|
|
Body mountings 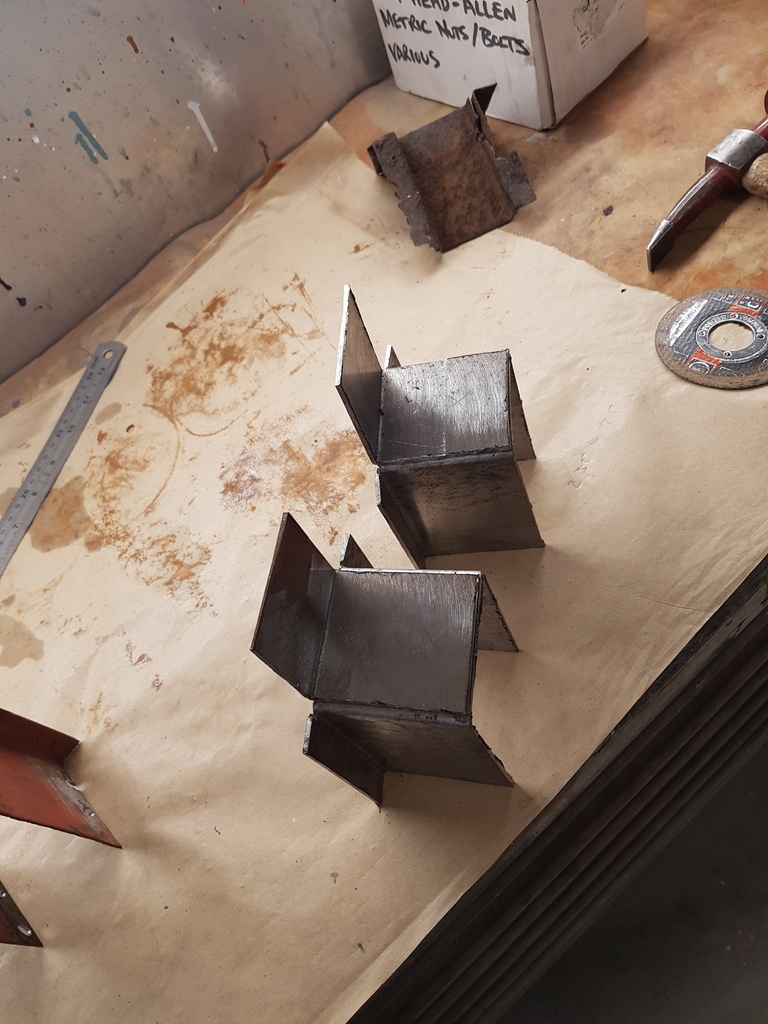 In the making - the factory spec was 1.5mm steel but I like to beef these up a little hence I was utilising 2mm sheet steel 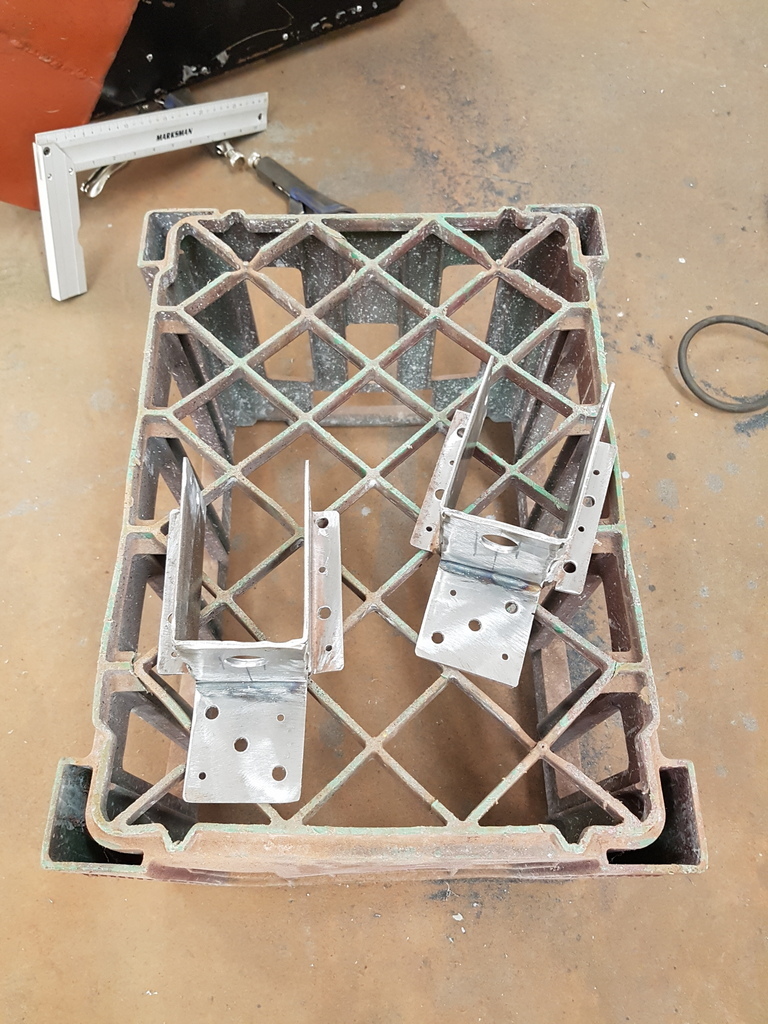 Welded up / holes drilled & dressed back 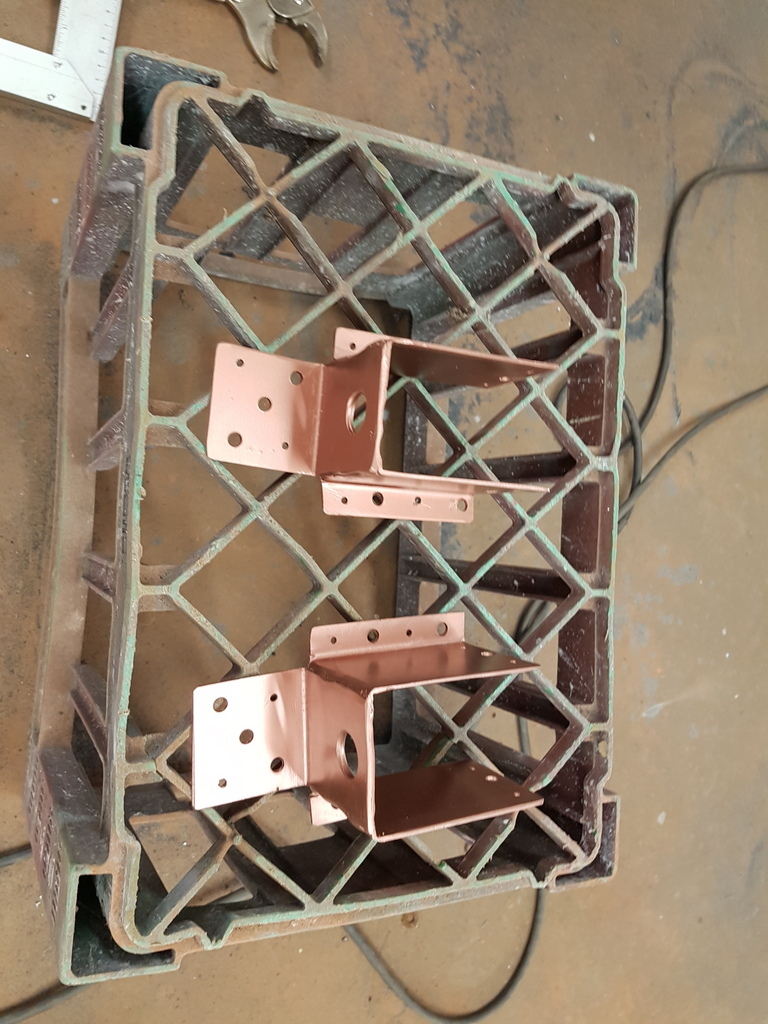 Quick coat of weld through primer 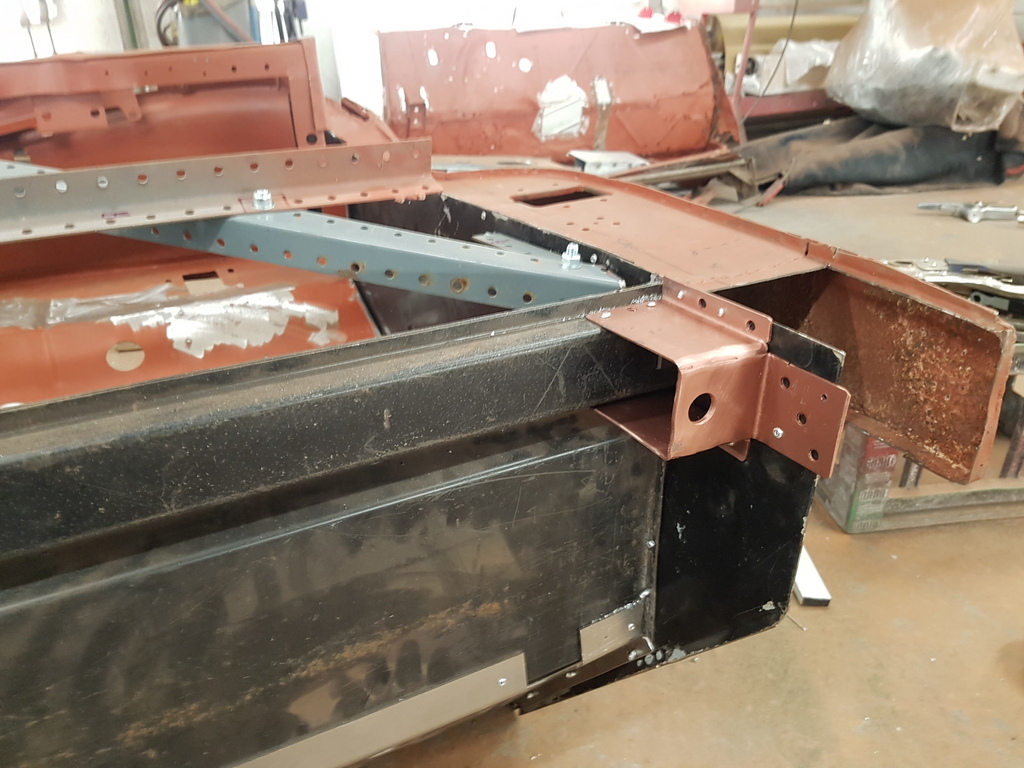 Trial fitting 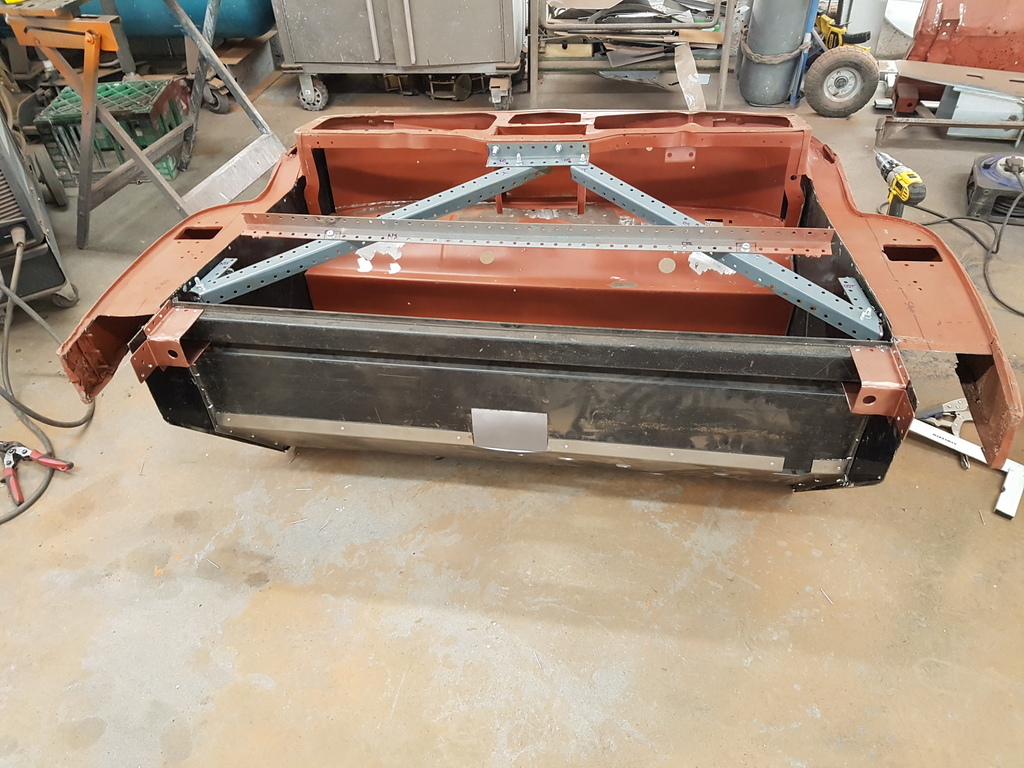 Marked up the centres on the bulkhead panel for the chassis brace mountings - I took the measurements off the original (but this had received a fair impact at some stage in its life) - once the bulkhead is mounted to the chassis I can see how close they are - I don't want to drill them at this stage until I have the bulkhead aligned on the chassis (as I may well have to move the location of the holes slightly) 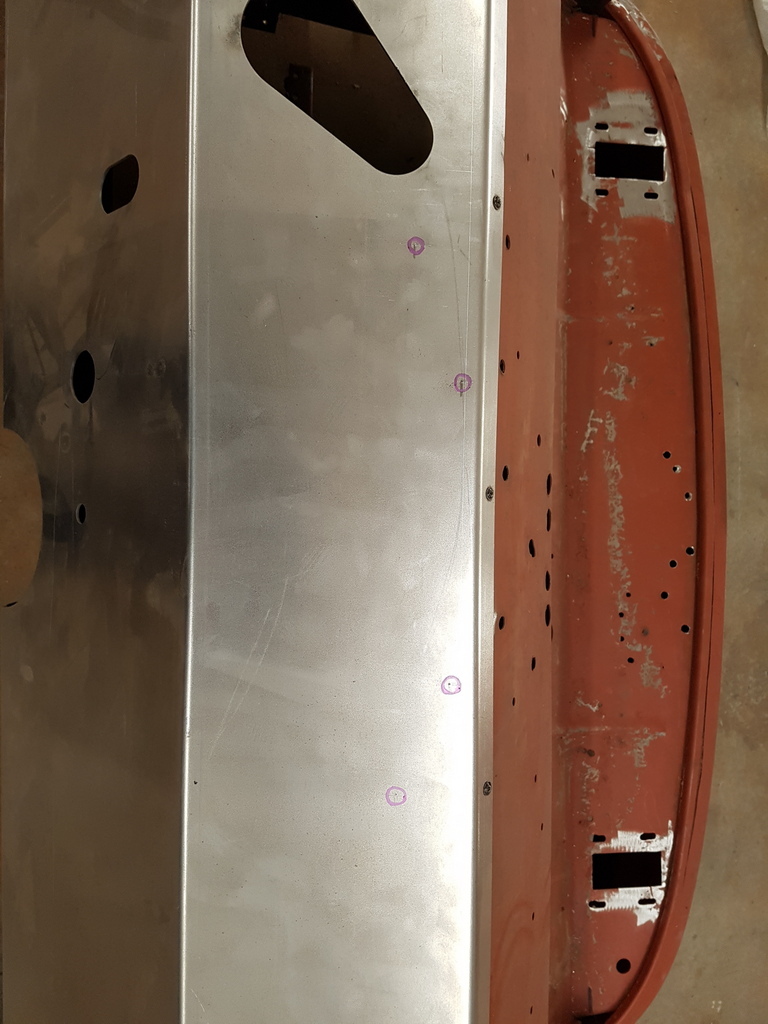 Then marked up & drilled the side panels for the cross braces 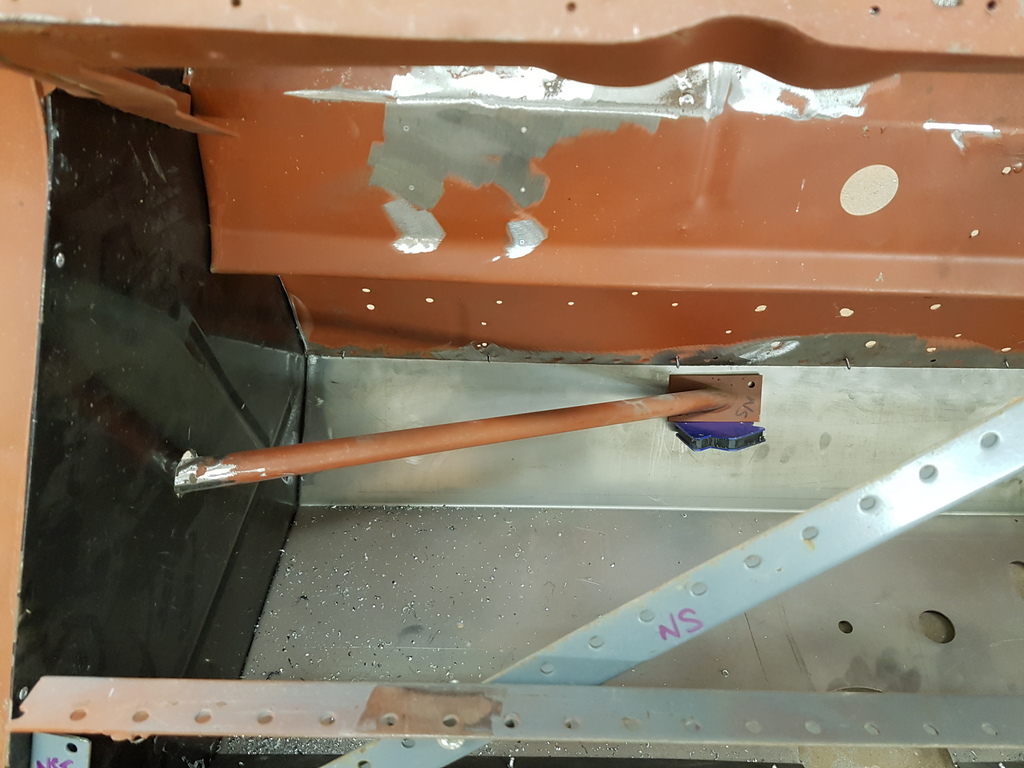 These tie the front face of the A post back to the centre of the bulkhead 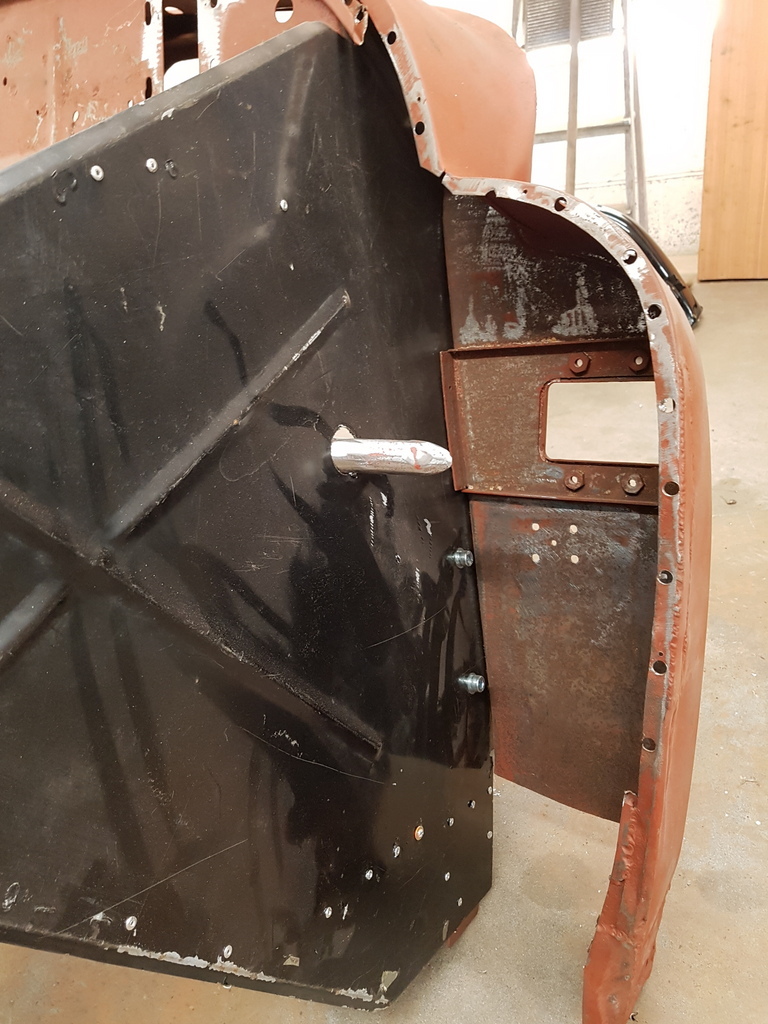 The beauty of storing images - instant measurement location reference 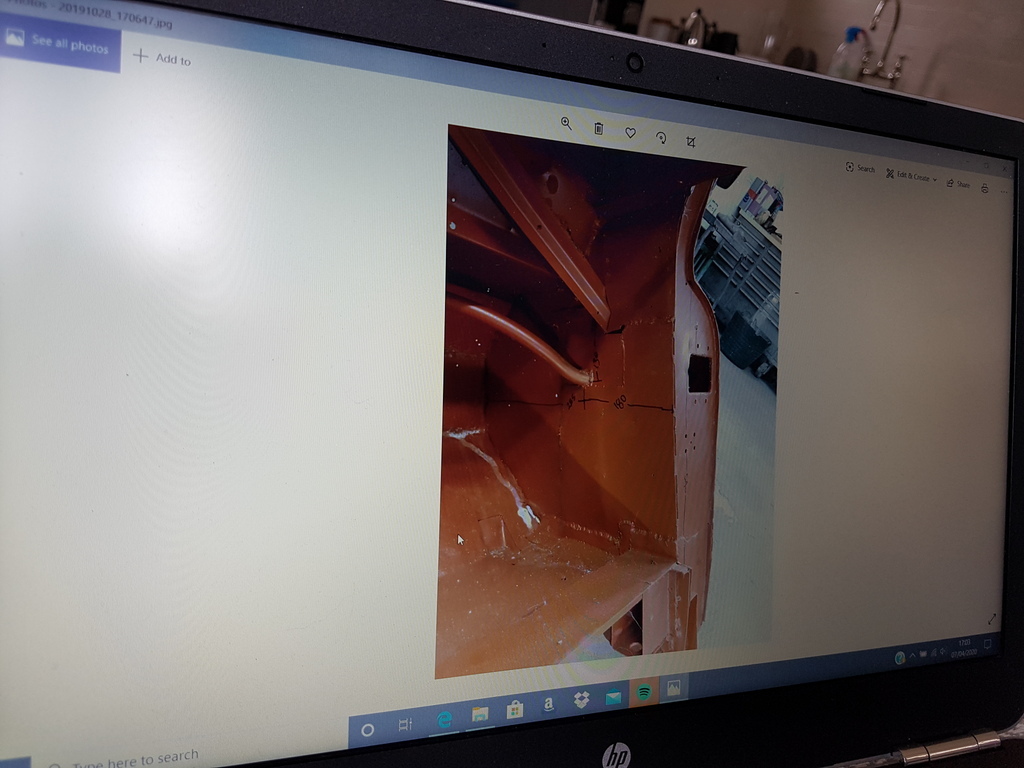 Offside bulkhead cross brace being trailed for fit 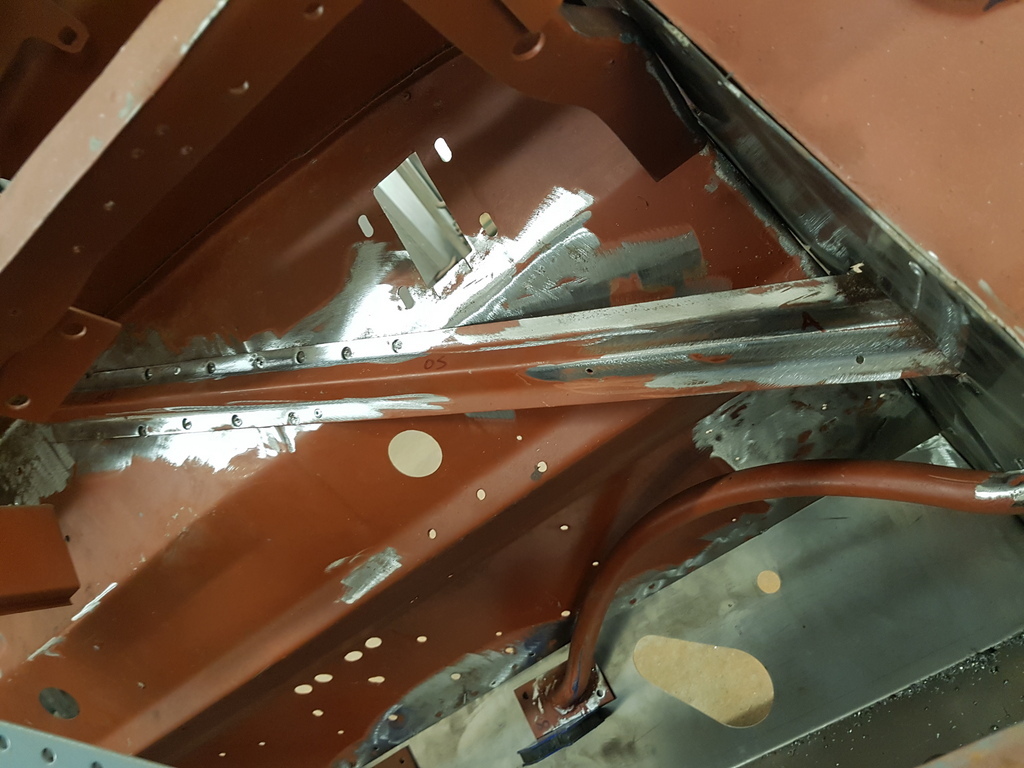 Next is the diagonal brace - also ties to the front face of the A post but a slot needs to be cut into the side panel to allow it 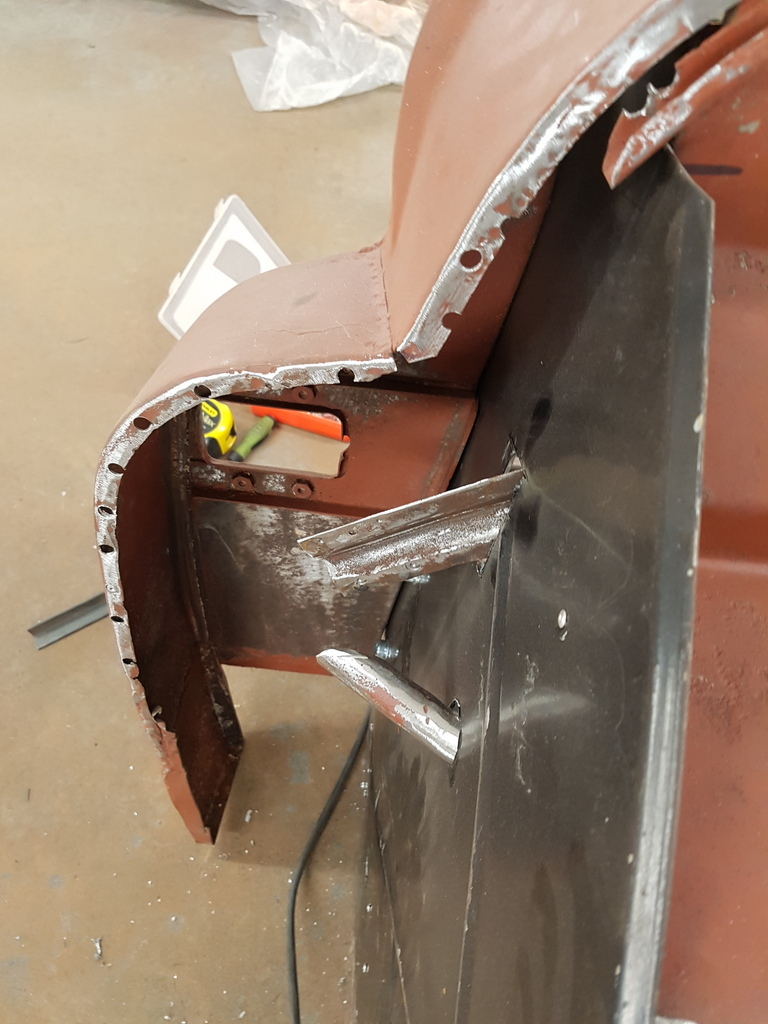 Then the nearside 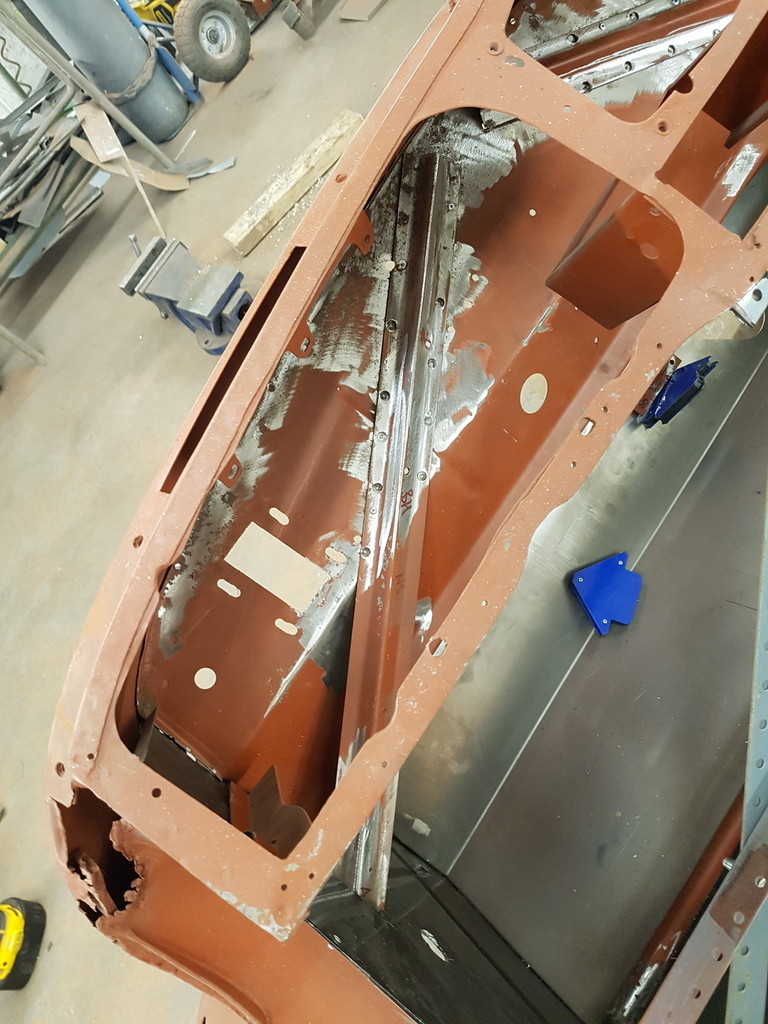 Picking up on the inside face of the A post return panel 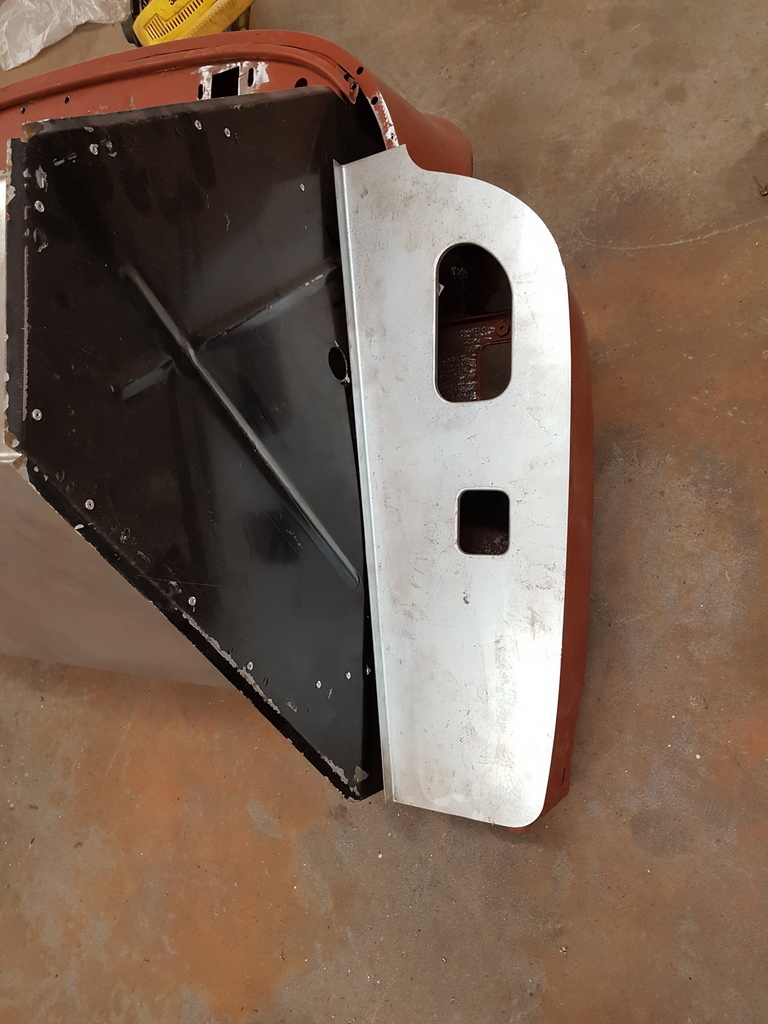 I have new closing panels for the A post return 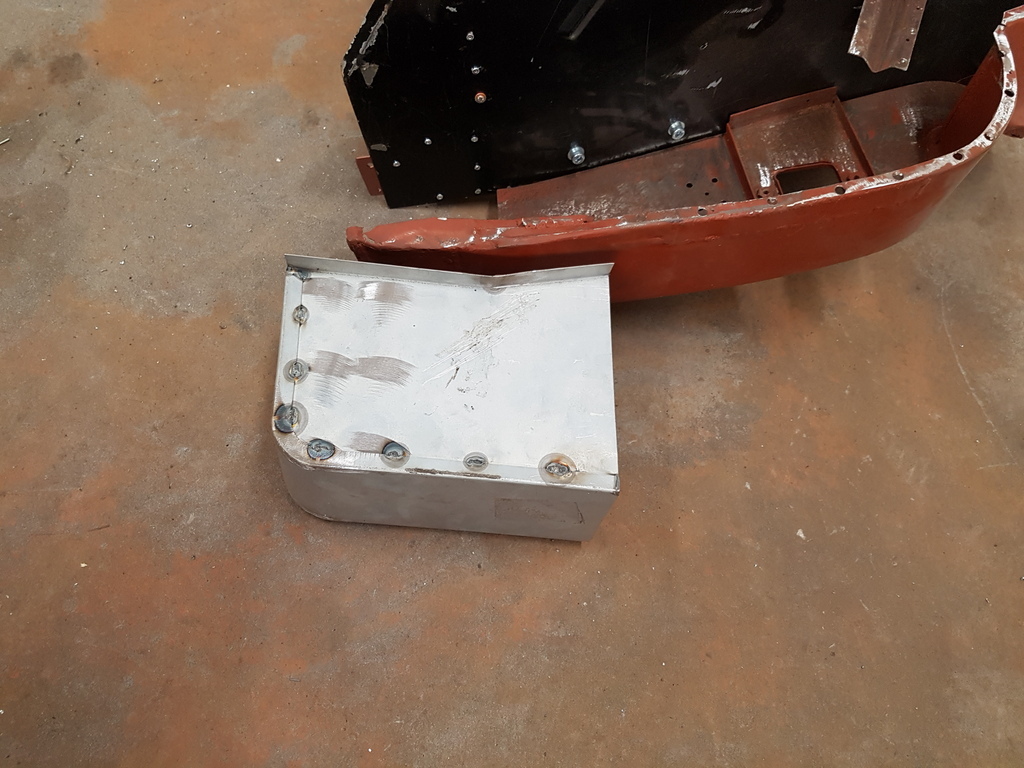 Along with the bottom section of the A post 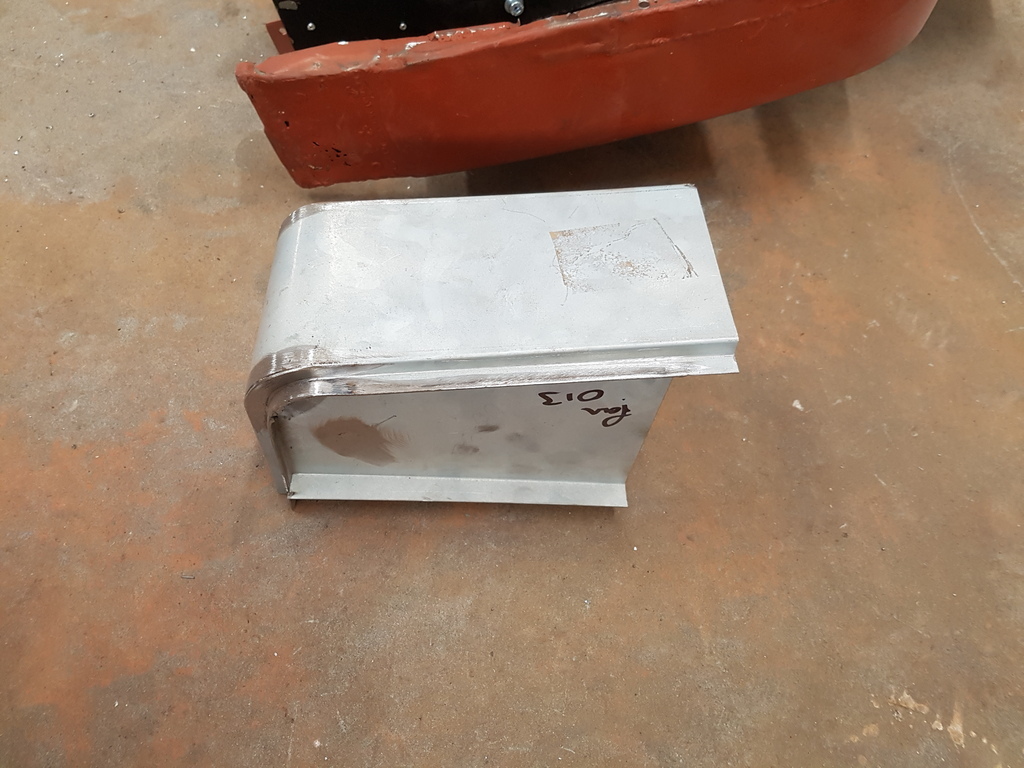 Positioning & alignment of these is very critical 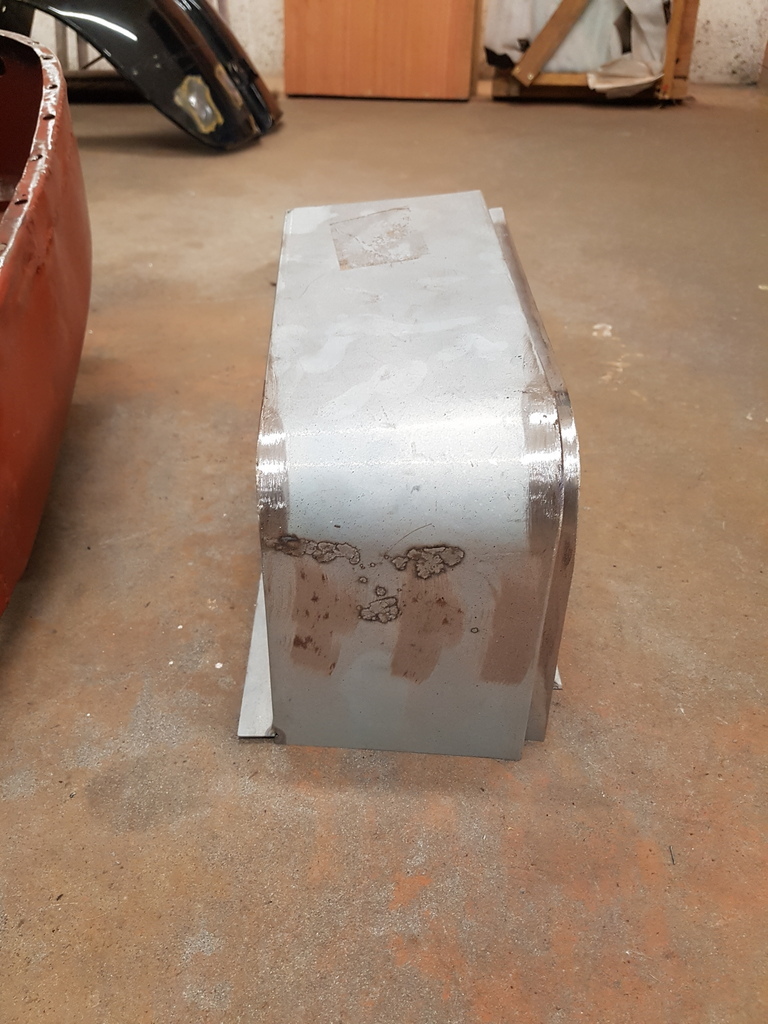 The bottom door hinge comes off the bottom / base of the A post - I am not going worry about the A post repairs until I have the bulkhead on the chassis & aligned 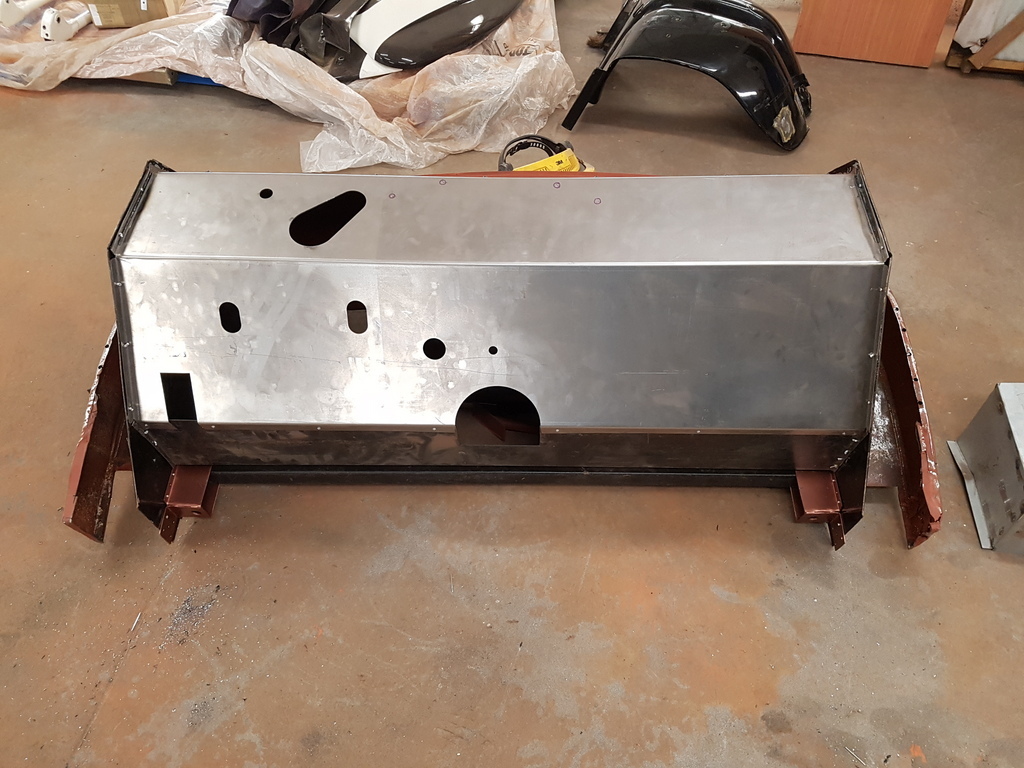 So the next job is to mount the bulkhead on the chassis 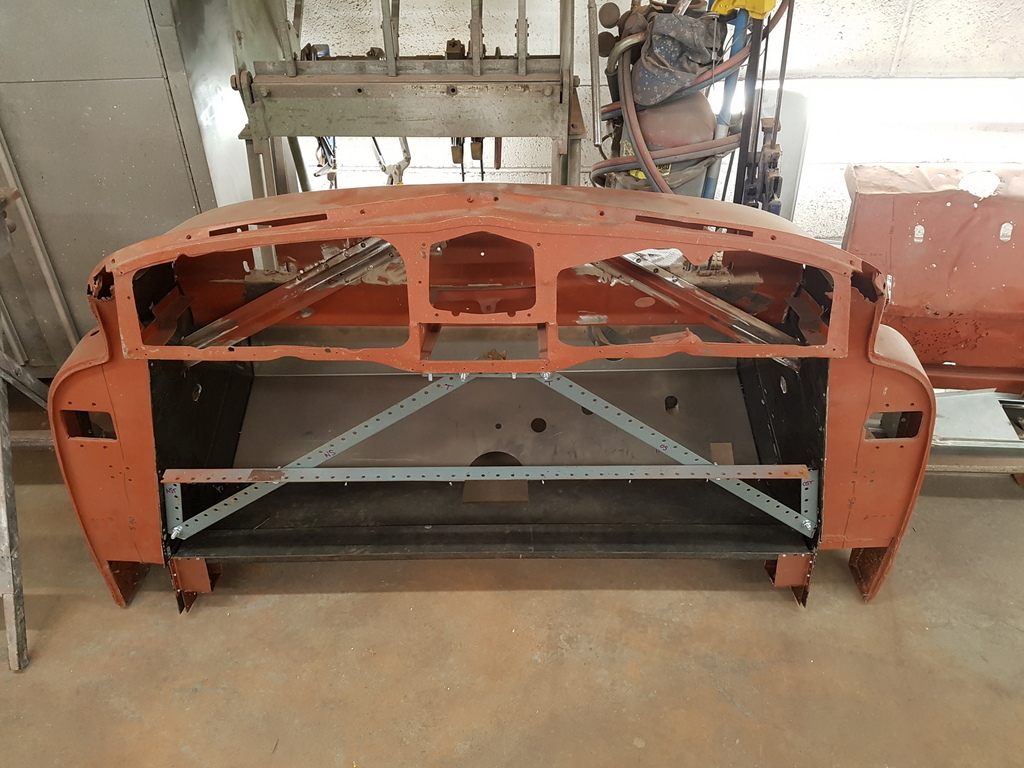 Which I shall go & retrieve in the morning More tomorrow |
| |
|
|
|
|
|
|
|
|
|
|
Amazing work and informative as always. Cap is doffed and will remain so! 😁
|
| |
|
|
|
|
|
|
|
A day of running around really - first up I needed to head into Newbury to see my shotblaster and deliver some bits for him to sort - fortunately he's keeping going (there are only 2 or them) but he has a sizable blast & powder coat urgent job on the go for the NHS - then head over to collect the Jupiter chassis from the barn 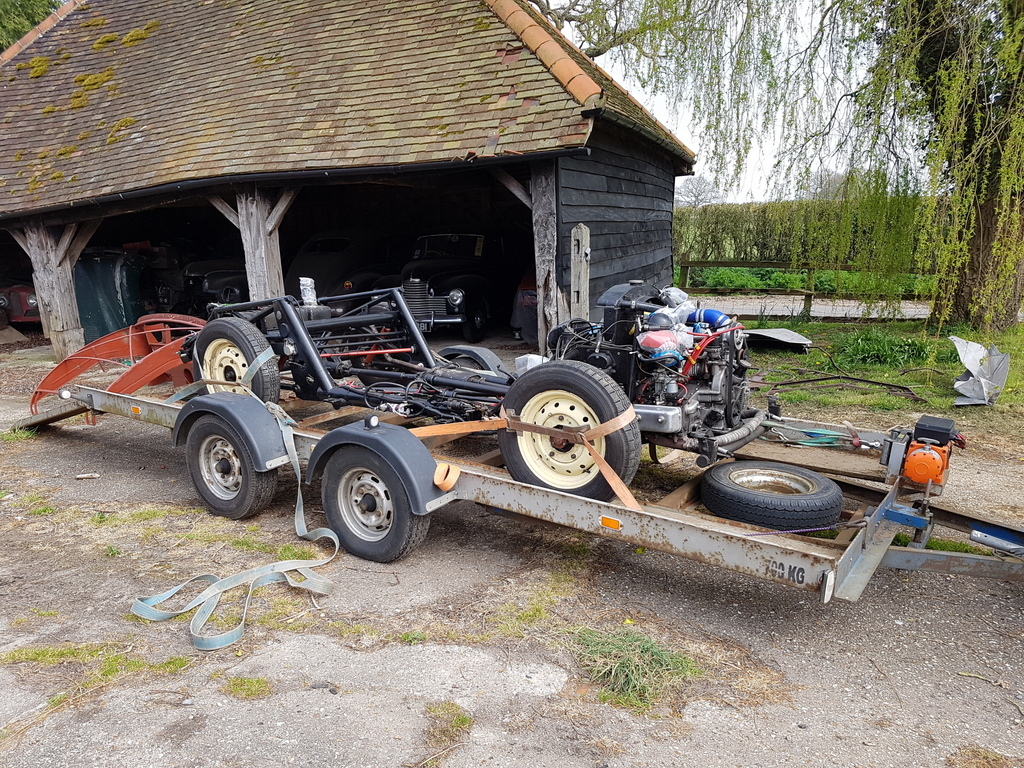 Along with all the loose panels 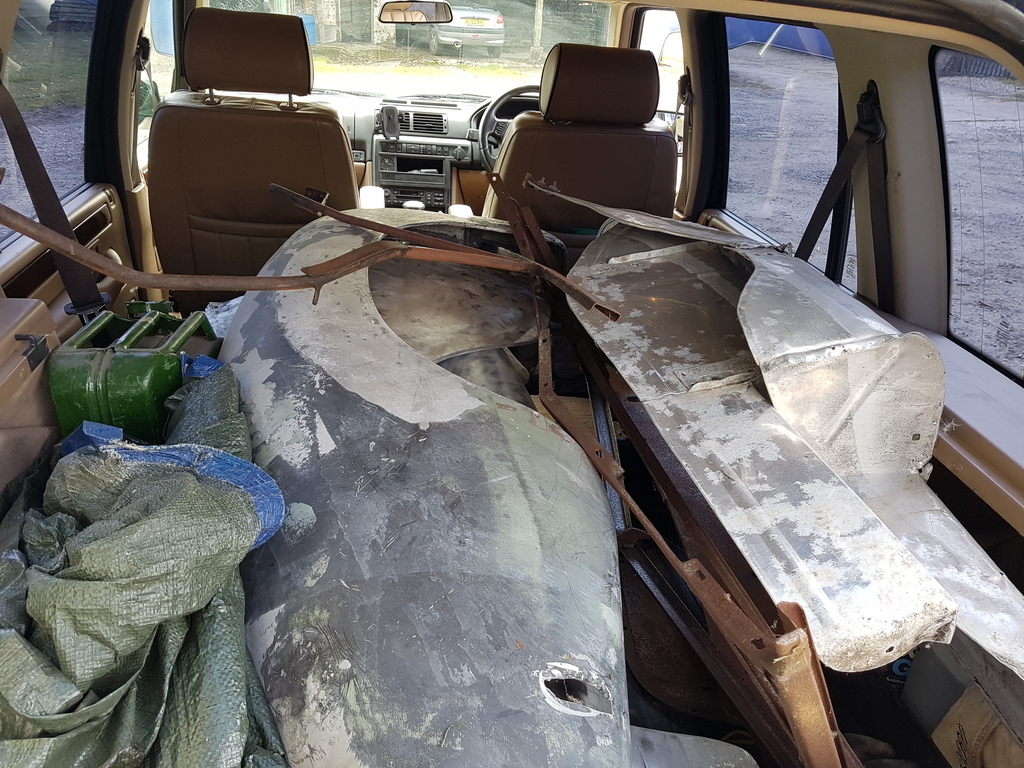 Then back to the workshop 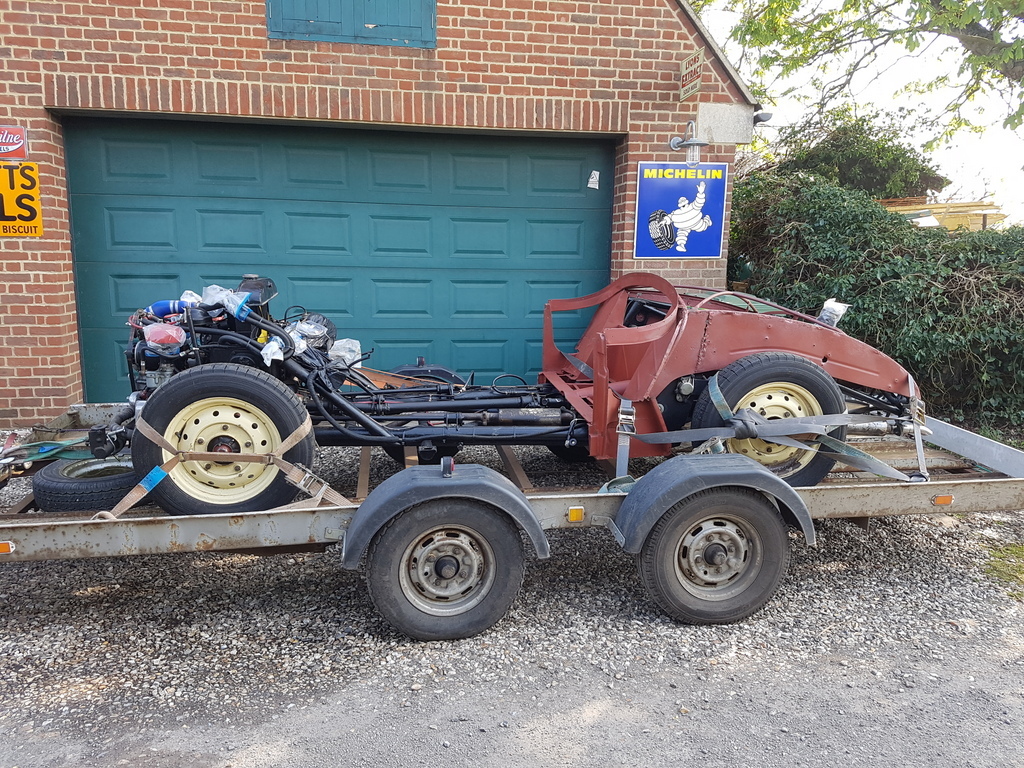 All done single handled 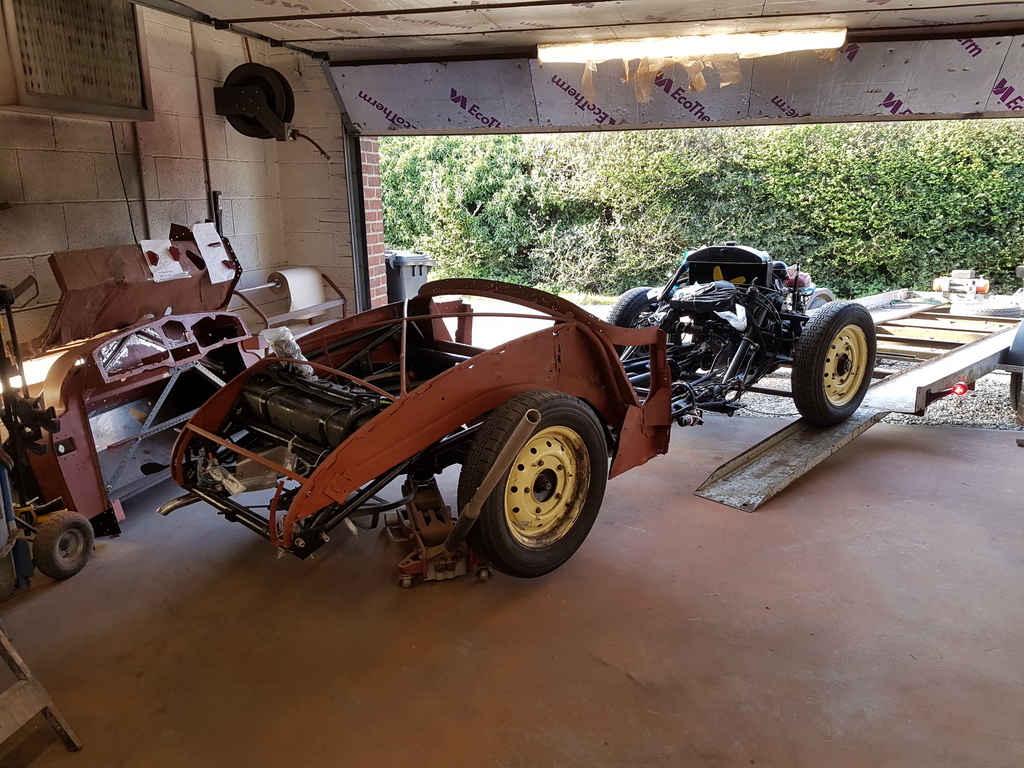 Then on to the lift 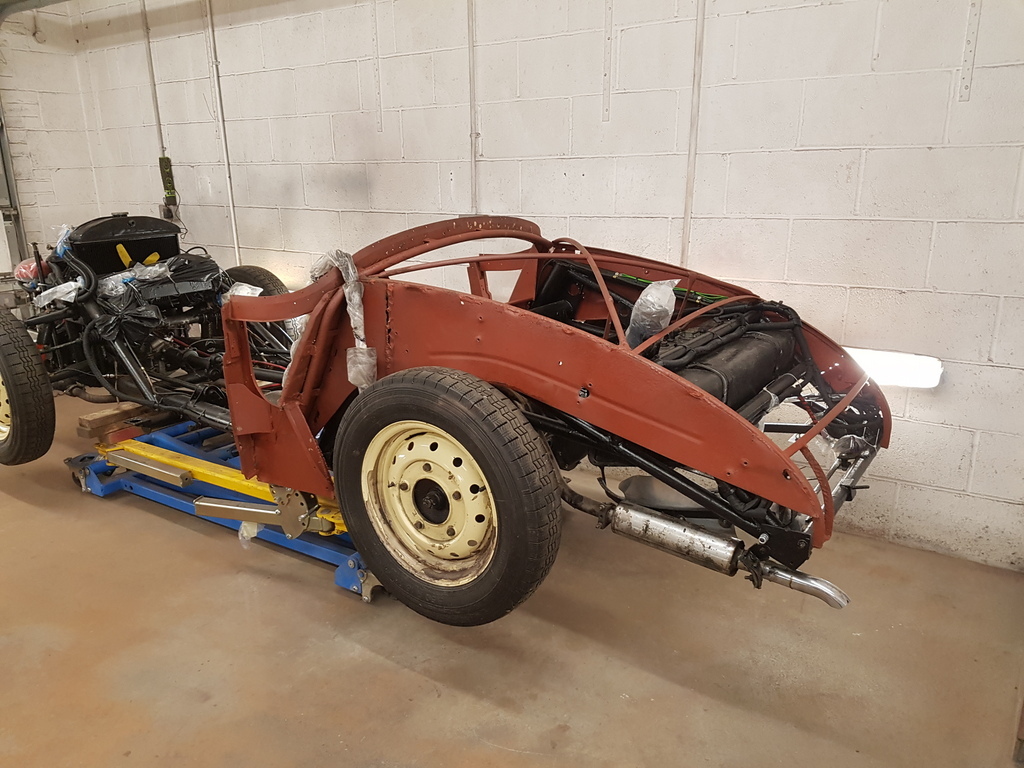 Rear superstructure is just loosely placed currently 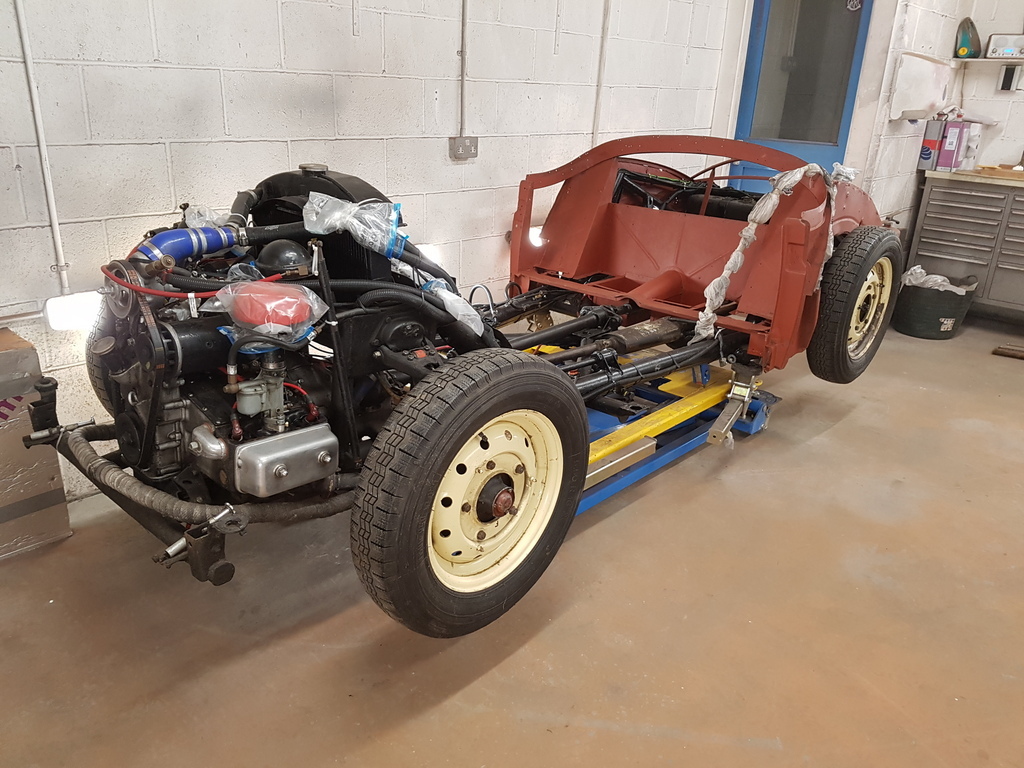 All ready to get my teeth back into tomorrow 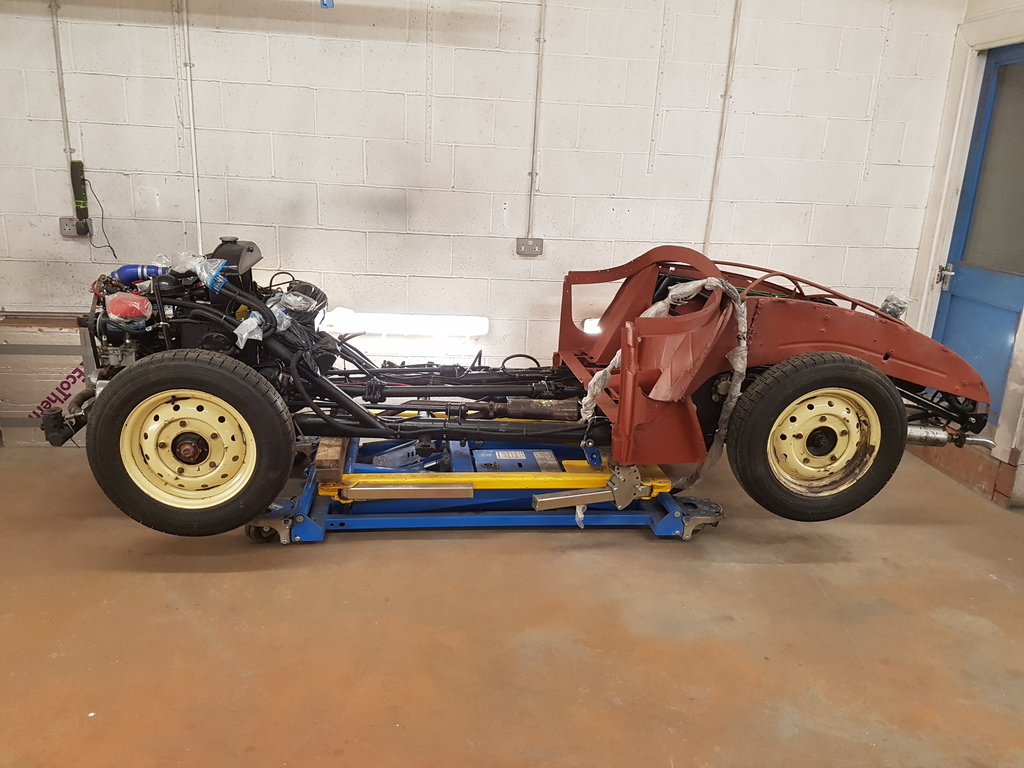 |
| |
|
|
nze12
Part of things
 
Posts: 193
|
|
|
|
Please tell me this is a wide-angle lens effect!  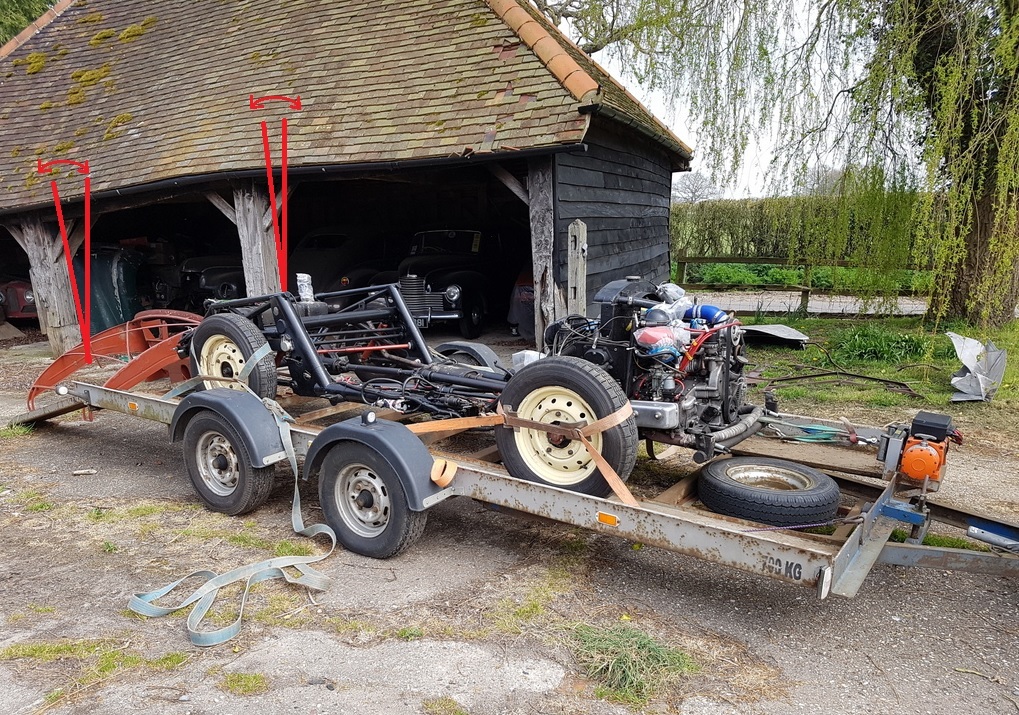 |
| |
1986 BMW E30 refreshed to original spec
1973 BMW E12 520 converting to Motorsport 530
1982 XJS V12 converting to 5 speed manual
Many landscaping projects overriding above!
Cogito cogito ergo cogito sum!
|
|
|
|
|
|
|
Please tell me this is a wide-angle lens effect!   It is - No way is the barn leaning like that - its a very solid - very old structure that was reroofed about 5 years ago - its ideal for me - the farmhouse is immediately opposite hence its also very secure |
| |
|
|
|
|
|
|
|
|
Lets Hope that nosy C*W over the lane from you does not try to report you for breaking lock-down, I'm sure you would be ok as it's essential travel and for work, but I wouldn't put it past them.
|
| |
|
|
|
|
bstardchild
Club Retro Rides Member
Posts: 14,975
Club RR Member Number: 71
|
|
|
|
Had to go hunting and found this thread and now all caught up georgeb normally lets me know when I've missed a good thread but I guess lockdown is diverting his attention  |
| |
|
|
|
|
|
|
|
Had to go hunting and found this thread and now all caught up georgeb normally lets me know when I've missed a good thread but I guess lockdown is diverting his attention  Oh, God! On top of survivors guilt, a high likelihood contracting cirrhosis due to WFH, now I've got this to live with.  In my defence, M'lud, I just naturally assumed that any person of taste and discernment would, as soon as they saw Jowett in the title and the OP's name, click on the thread and gaze in wonder at the workmanship within. Obviously not!  In order to assuage my feelings of inadequacy, and as today and tomorrow are public holidays, I shall now drink myself insensible.  |
| |
|
|
|
|
|
|
|
Lets Hope that nosy C*W over the lane from you does not try to report you for breaking lock-down, I'm sure you would be ok as it's essential travel and for work, but I wouldn't put it past them. I would not put it past them - however I read up on all government / NHS guide lines to ensure that I was fully compliant - planned the circular trip very carefully to include a drop off to my shot blasters (virtually opposite the police station) - just a small business but fully compliant with the current situation - in fact they are working extended hours to push a very urgent NHS order through of new steel fabrications for blasting & powder coating - then into Tesco's filling station because they have self service pay at pump facilities (complete shock in filling the Range Rover tank up from empty and it only costing £80) then on to the barn for the trailer & Jupiter collection - prior to this I had spent 25 days working from home and apart from walking to the top of road to check on the security of the village hall - I have not been anywhere - but I'm fully compliant in the working from home wherever possible and only travelling for work if absolutely necessary - if said neighbour wants to employ the usual tactics and make a non valid complaint then they are very welcome to do so - I just hope that they don't waste anybody's time when they do so other than their own |
| |
|
|
|
|
|
|
|
|
|
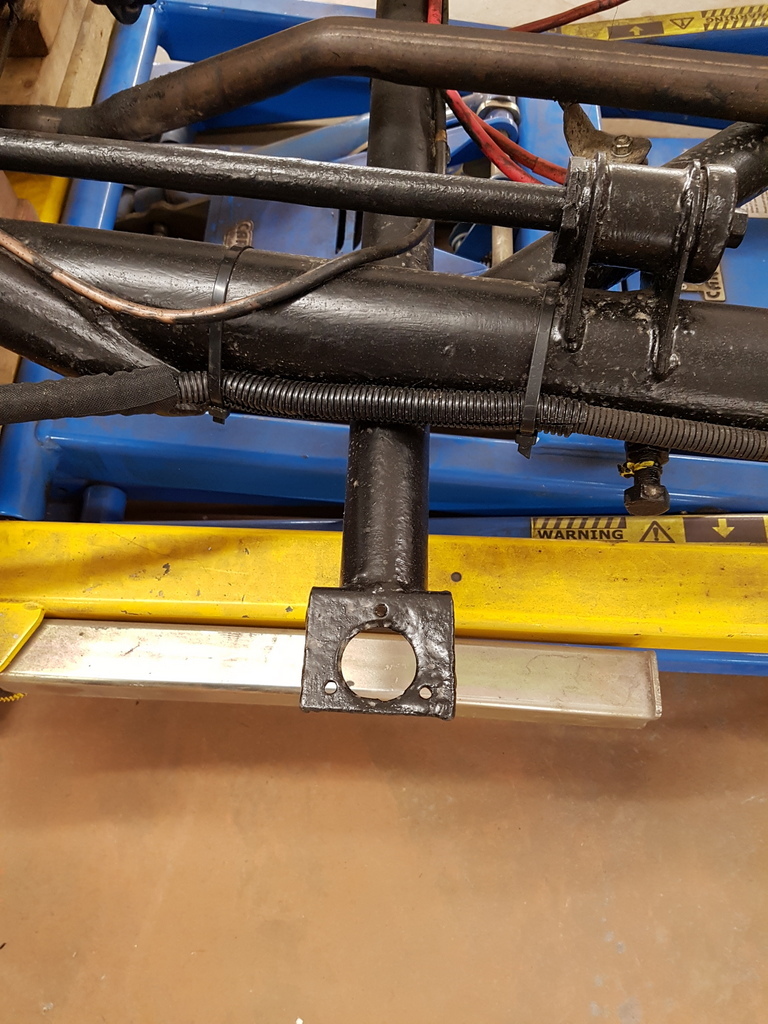 Time to look at trial fitting the bulkhead - originally the cars left the factory with a metalastic type body mounting - these were not very good and got altered - hardwood blocks were utilised instead like the ones in the pic 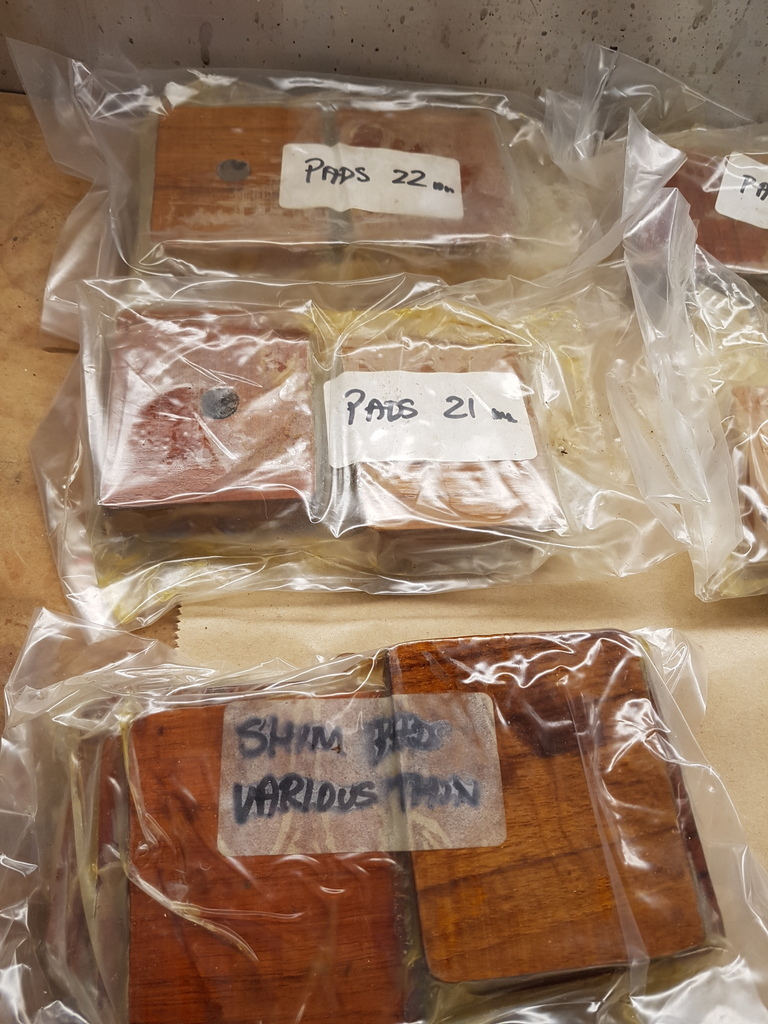 The car is owned by Garth - a retired engineering manager - (read highly skilled & very practical) - he said from the offset if there was anything that he do to help the restoration along - any machining etc - he has a well equipped garage / workshop - hence I had Garth make up a set of new hardwood mountings & packers - all soaked in wood preservative and bagged up in various thicknesses (Having now seen & used them I think I will be placing orders with him for the next 2 Jupiter restorations that I have on the books) 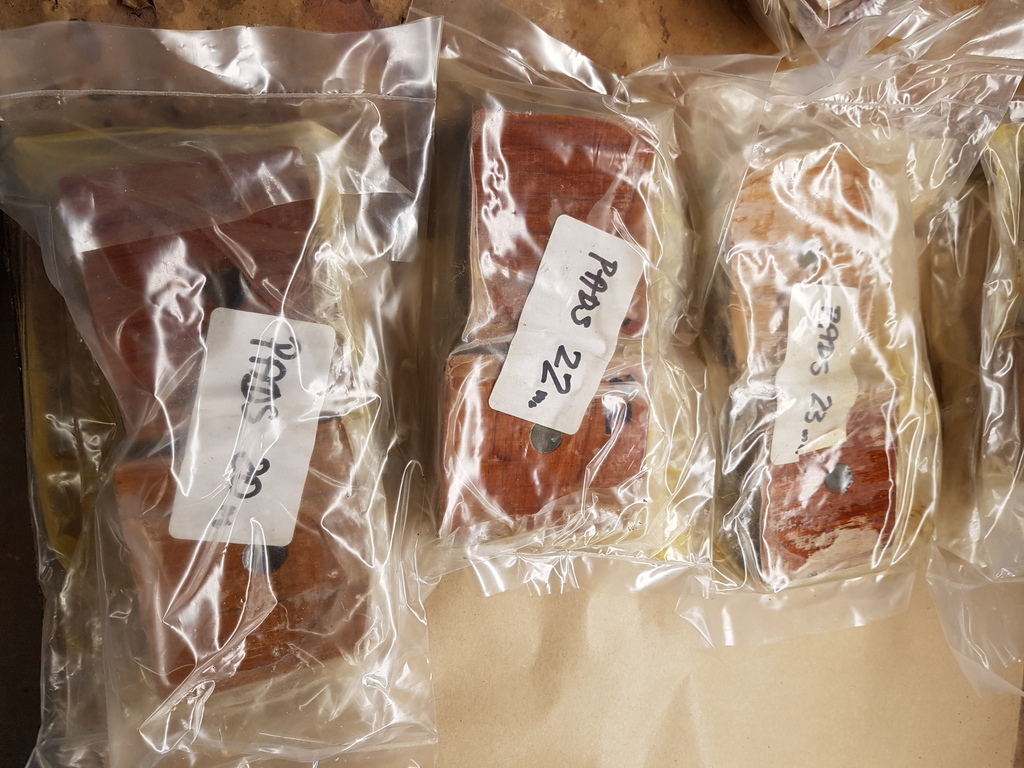 Garth also sent some 1 & 1.5mm polyurethane sheet packing The front face of the bulkhead bolts up to this chassis mounting bracket 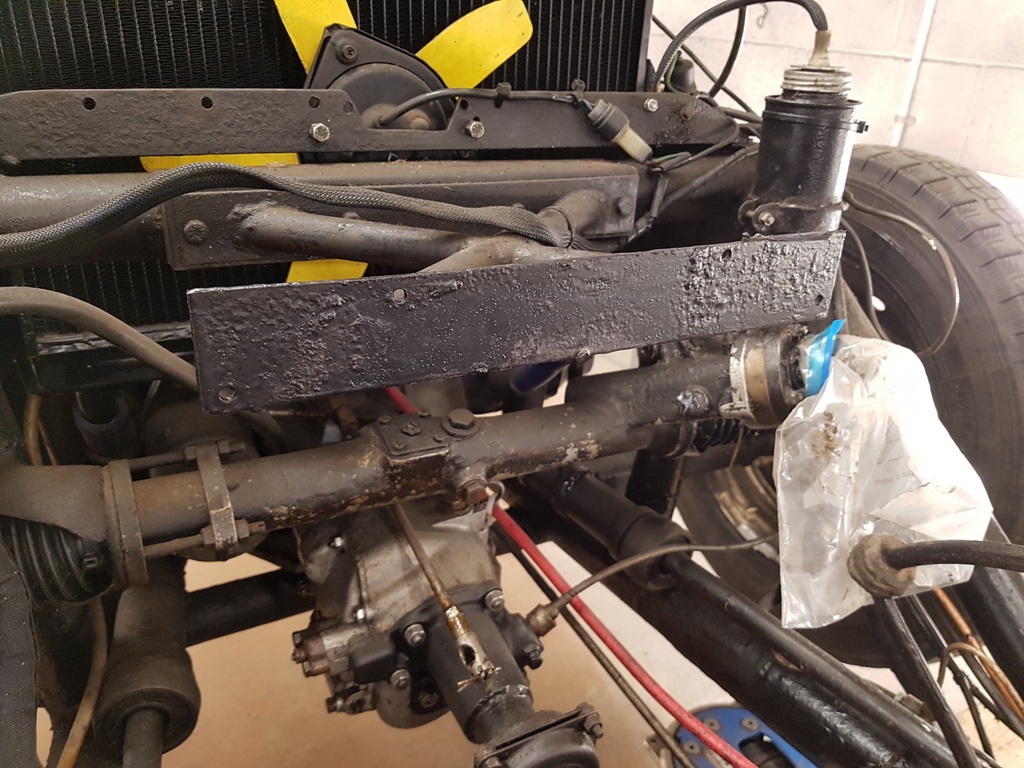 This will get cleaned up / de-rusted / treated - Its also a ideal place to use the thin polyurethane gasket that Garth sent 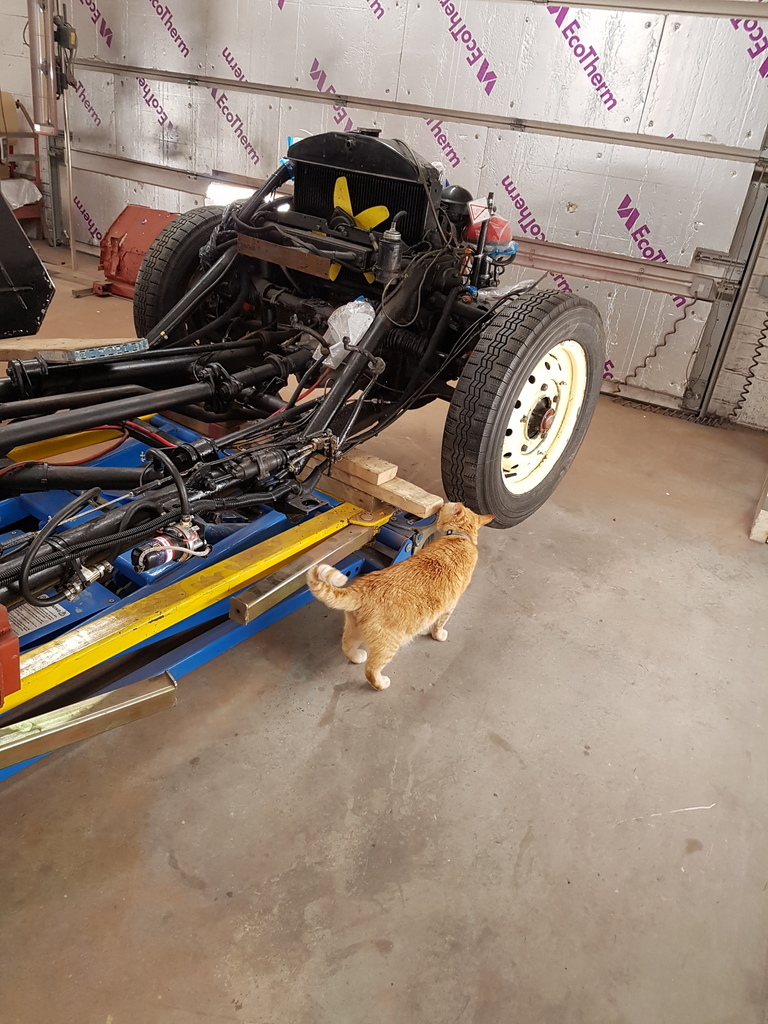 Then I had a visit from a great friend of mine - Sid came to inspect & take stock of the new project 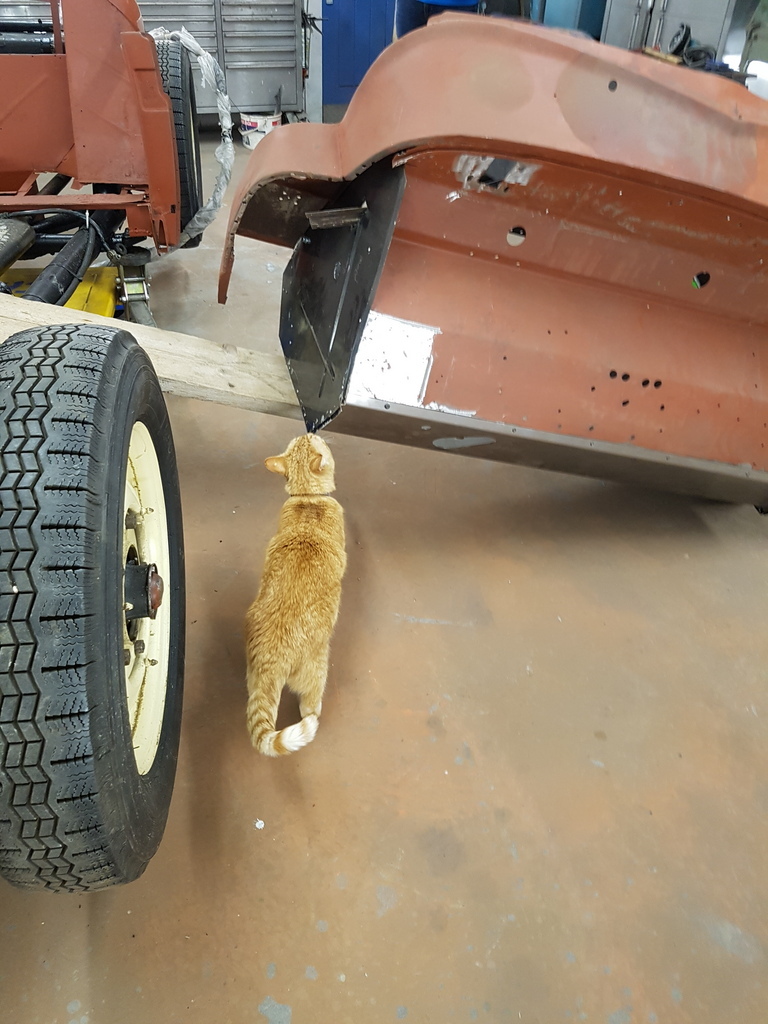 He is what you would call very diligent in his inspections 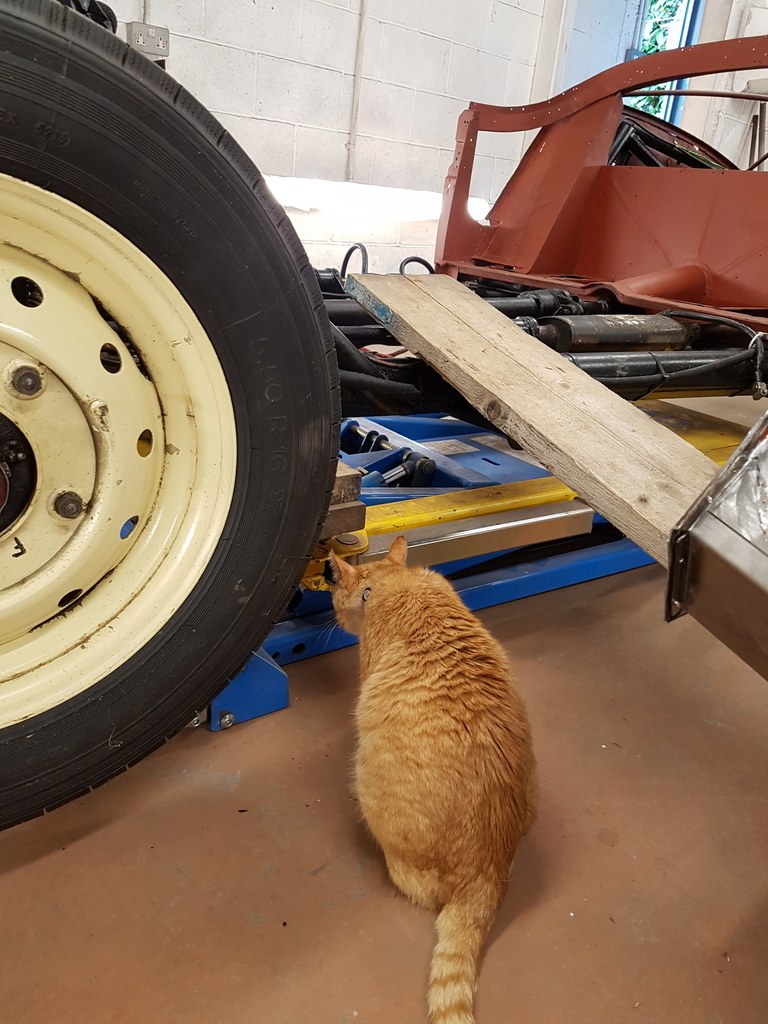 He also took it upon himself to do a electrical installation inspection on the workshop at the same time - johnthesparky take note  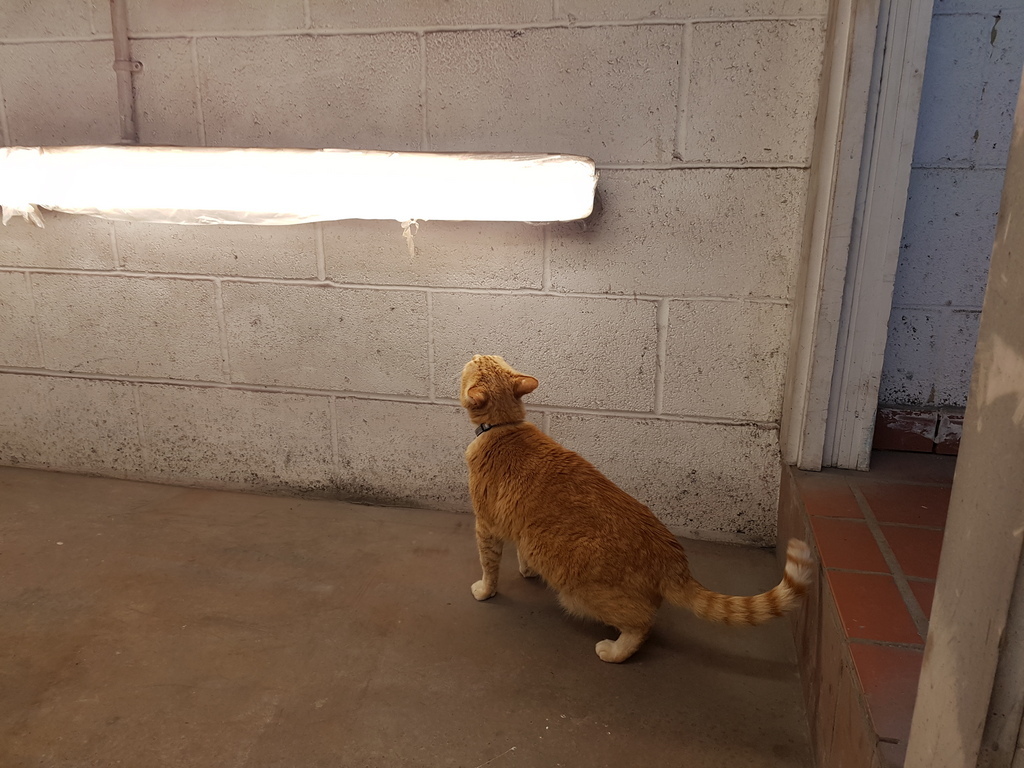 He then sauntered off to lay in the sun and write his notes up 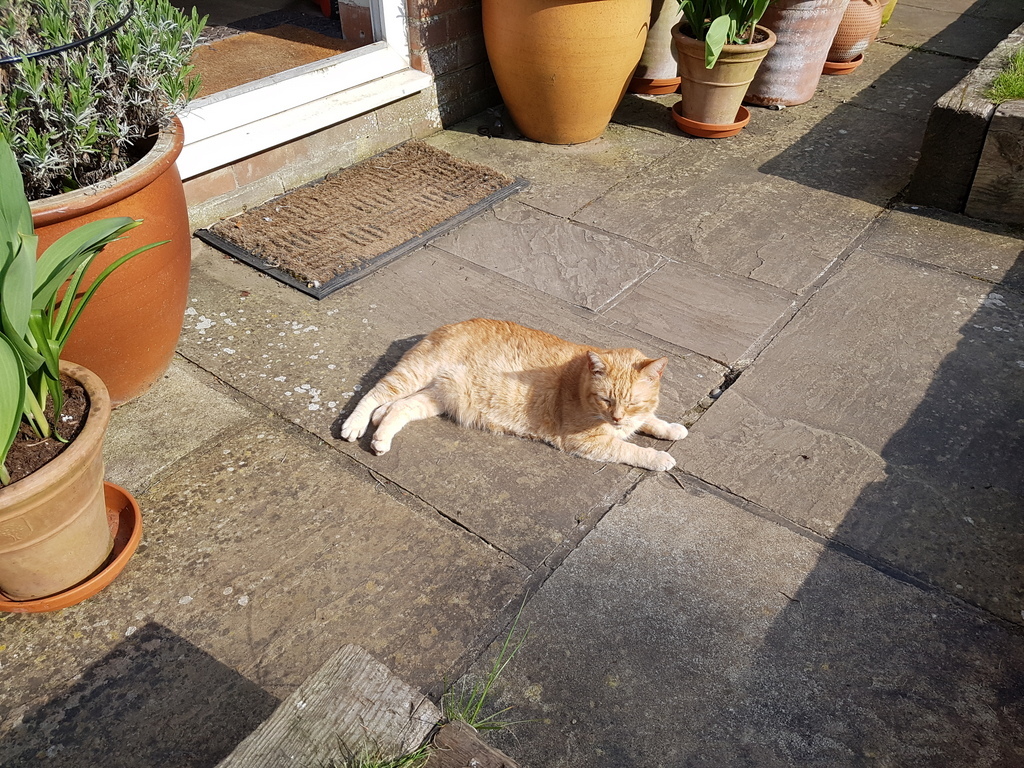 Meanwhile the bulkhead trail fitted 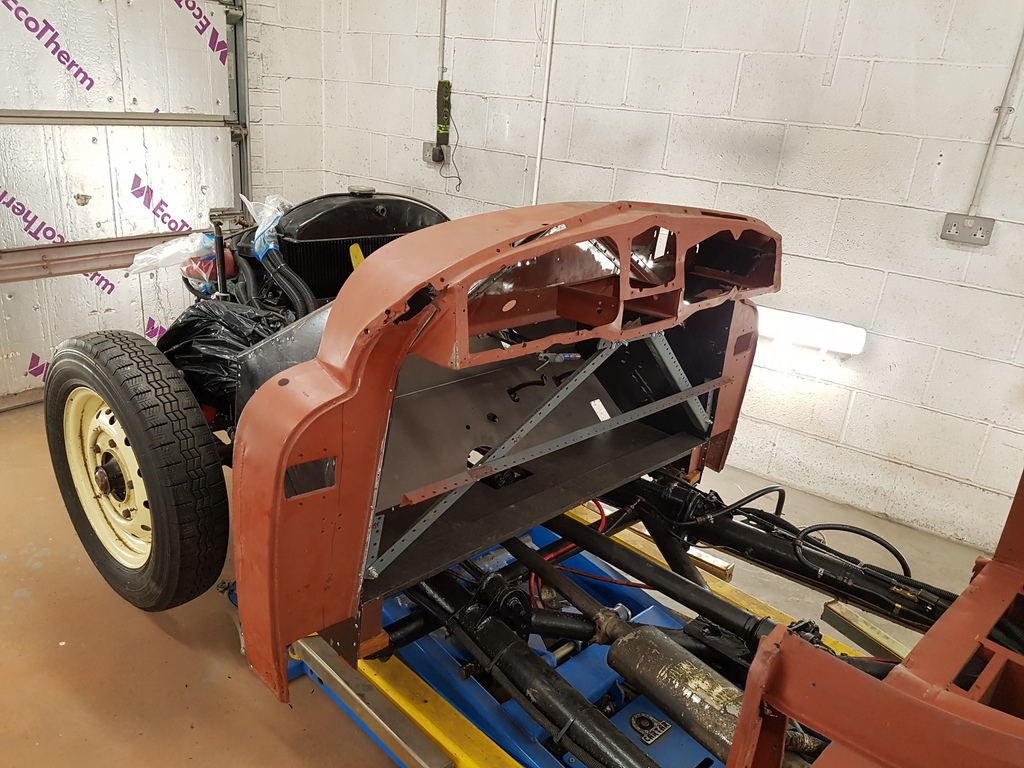 Chassis mountings like so then a bolt travels through them to secure the body to the chassis 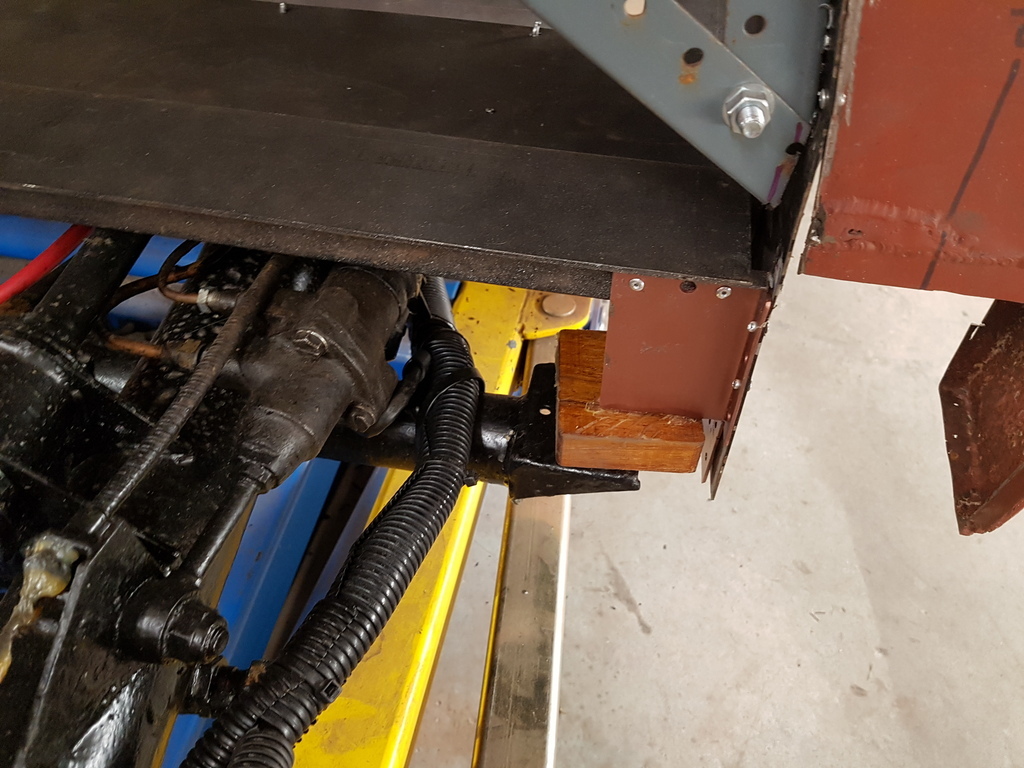 Garth had also made me a set of tube mountings that go in-between the bulkhead and a chassis diagonal on either side 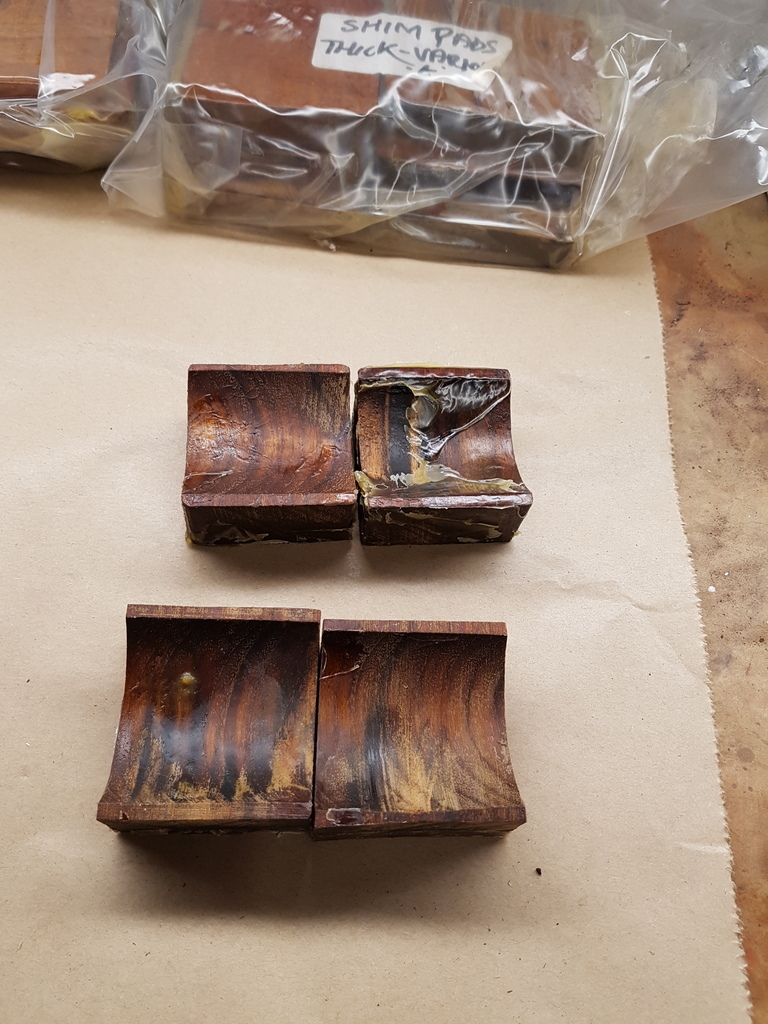 To replace these 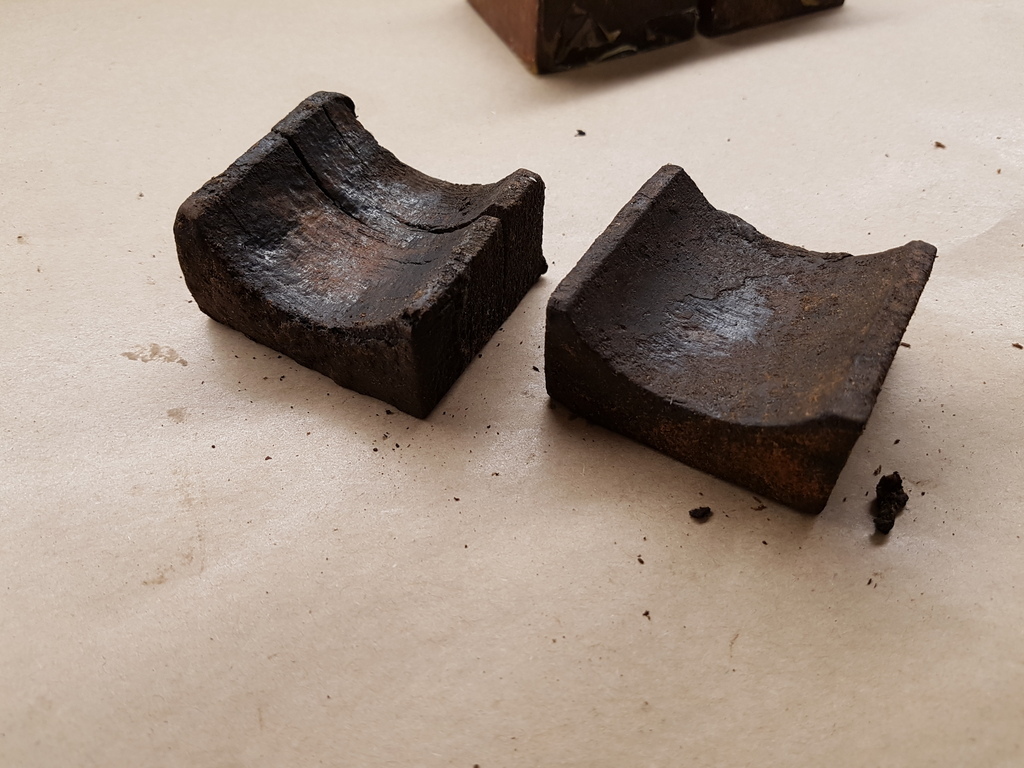 But they were way to thick and to make them fit I would have to reduce them in size by quite a lump - its always better to understand why they wont fit though 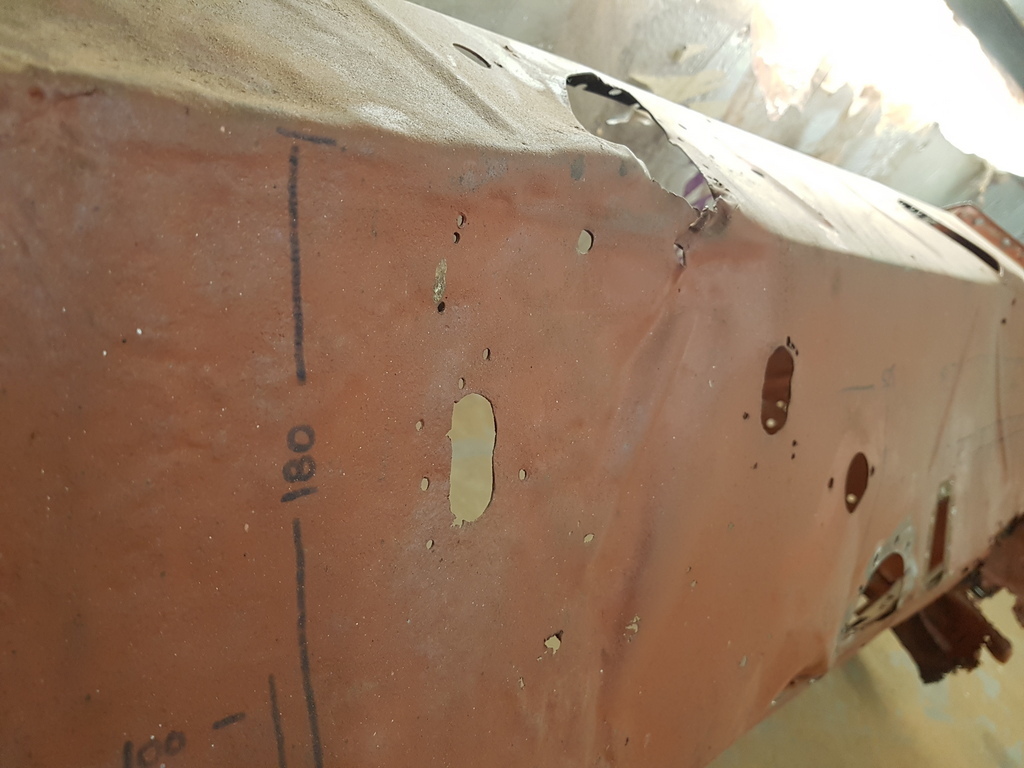 Remember mentioning that the bulkhead had taken a decent impact at some stage in its life  That's why it needed thicker mounting blocks  Now we have a straight & trued bulkhead we need something half that thickness 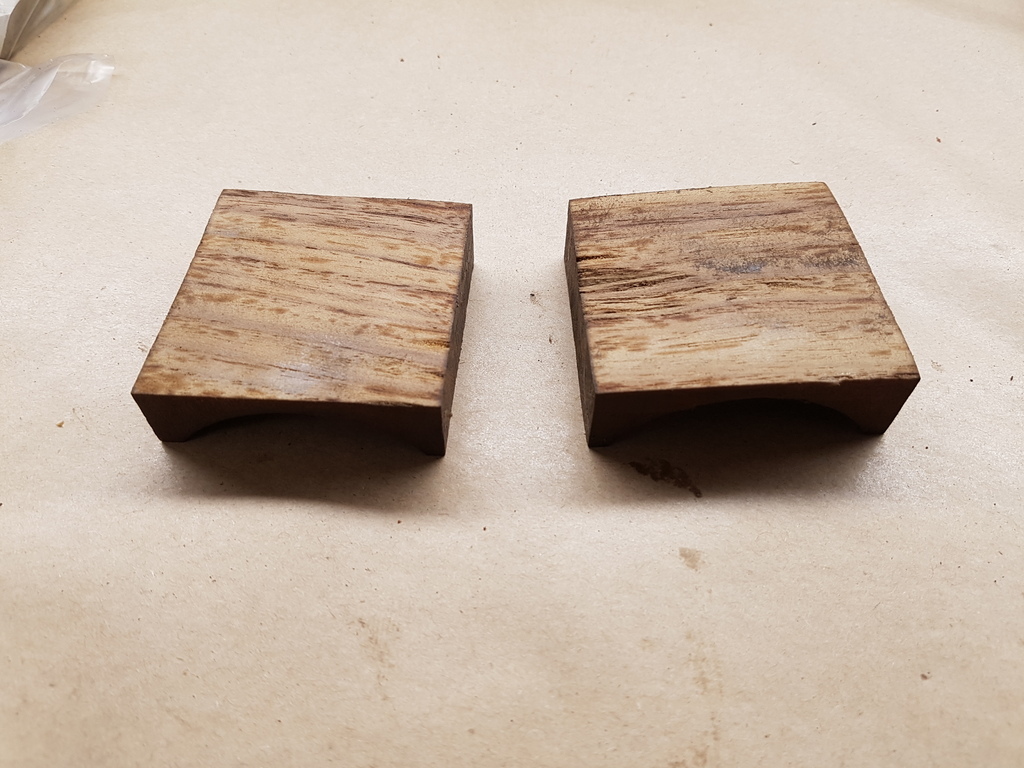 Soon reduced 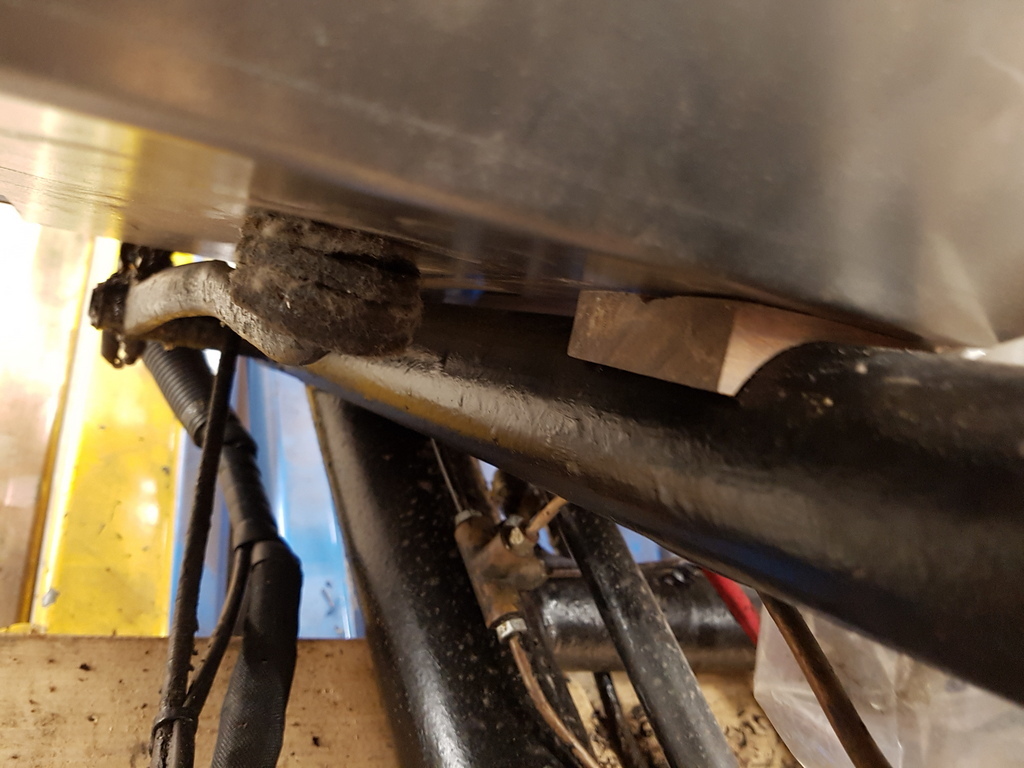 Fits here on either side and is then secured by a U bolt that clamps the chassis tube back up through the bulkhead 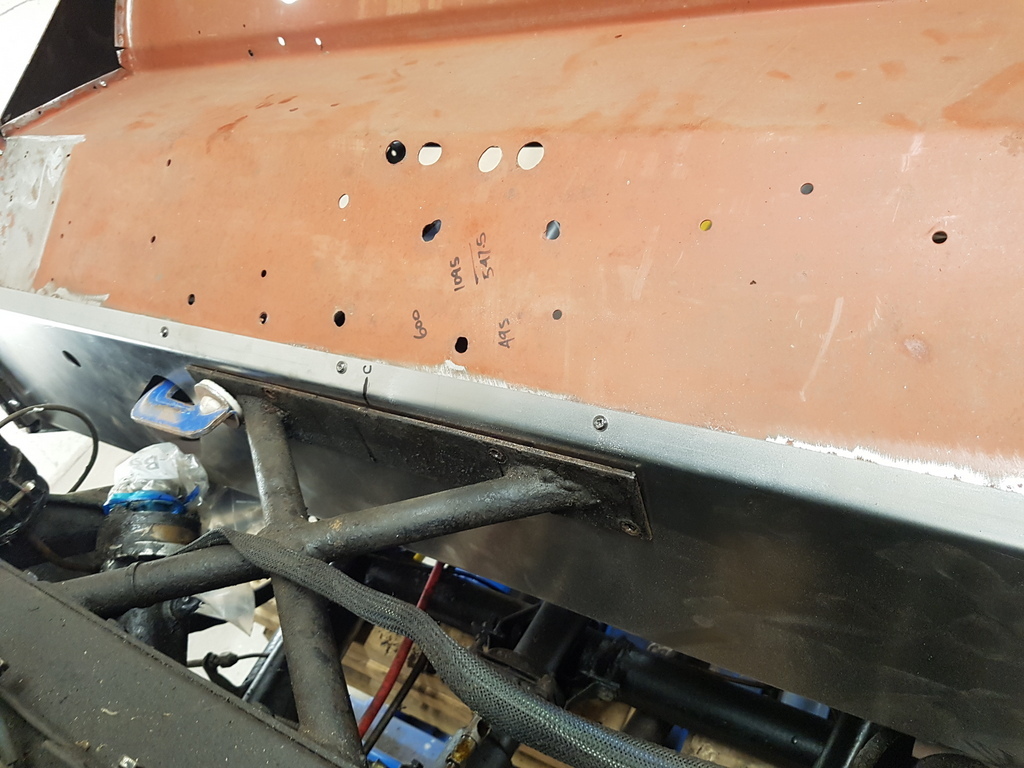 Front face of the bulkhead bolts up through this mounting 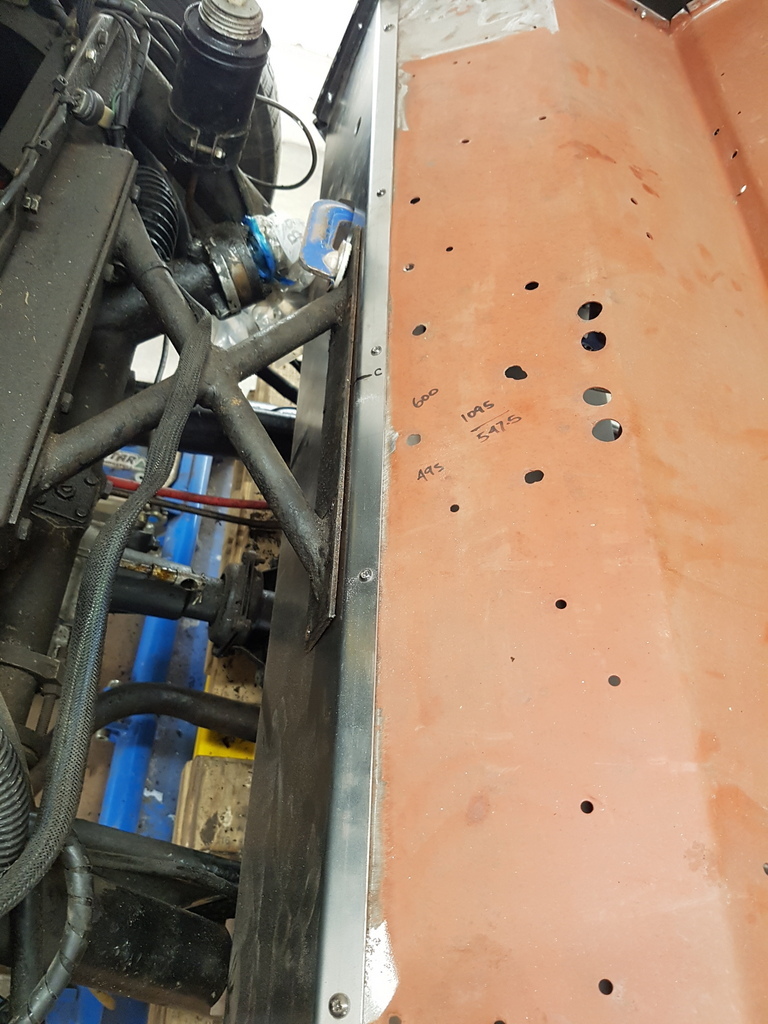 Checked for central alignment and its bang on - so that is it - lots of measuring / checking / rechecking - many hours spent in the trail assembly / making many minor adjustments - the result being that bar minor tweaks the trial fit to the chassis is near perfect - by adding a temporary brace its made it all quite simple - now just a matter of removing the bulkhead 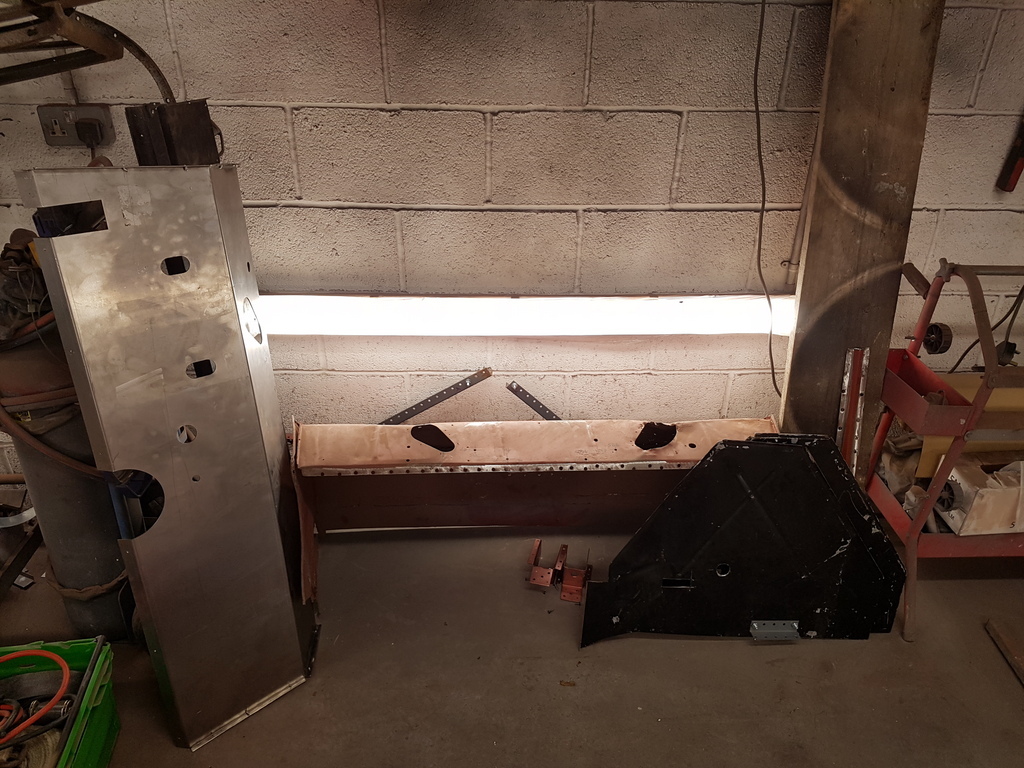 Disassembling all the panels and prepping them for welding 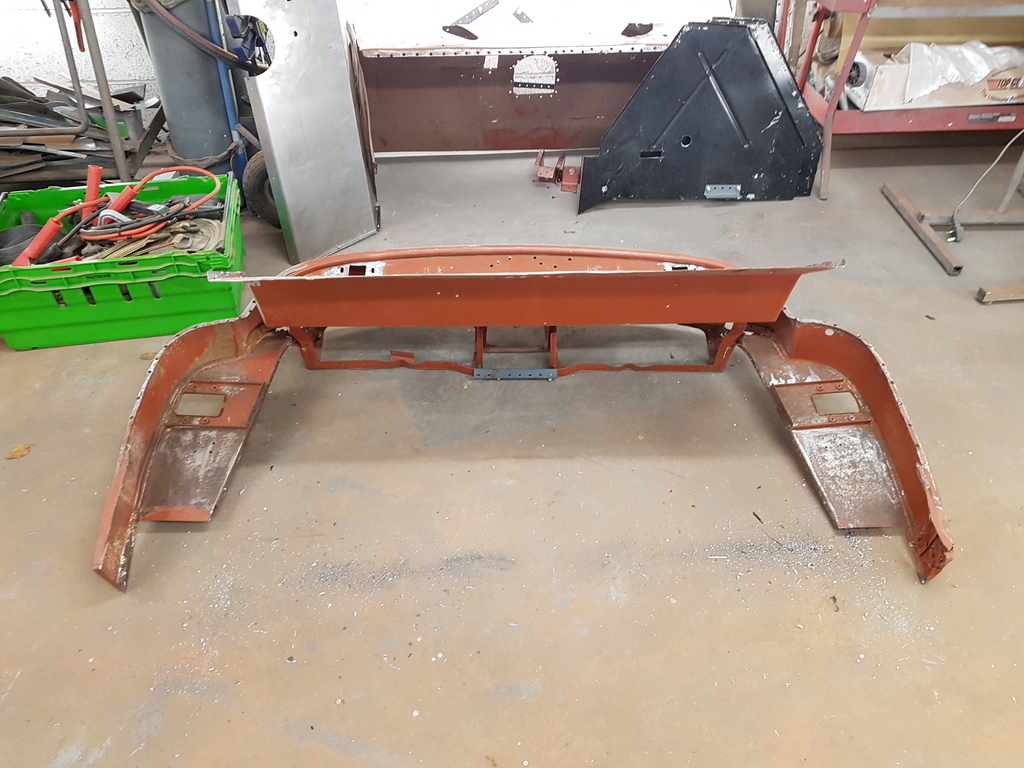 Instant reference is available for panels being refitted to form a complete bulkhead via the drilled holes for the temporary fasteners - the bracing will maintain everything square & true - the vast majority of the welding can be done off the chassis - making for easy access & dressing back - providing the welding is done with care to ensure that heat distortion is avoided its all pretty much straight forward from here and fully justifies the time taken to set the assembly & bracing up in the first place More tomorrow |
| |
Last Edit: Apr 10, 2020 6:23:45 GMT by Deleted
|
|
|
|
|
|
|
|
very inspiring. Anything can be done with enough (talent/experience aside) care, diligence, determination, commitment, desire, need, want, clients, paying clients, passion, love,.....oh, never mind.
I wanted to say that mortal men could try their hand at this kind of work, but it fell flat.
amazing as always!
JP
|
| |
I know its spelled Norman Luxury Yacht, but its pronounced Throat Wobbler Mangrove!
|
|
|
|
|
|
|
Well lets hope that the inspector likes your work. Maybe even ................purrrrfect? 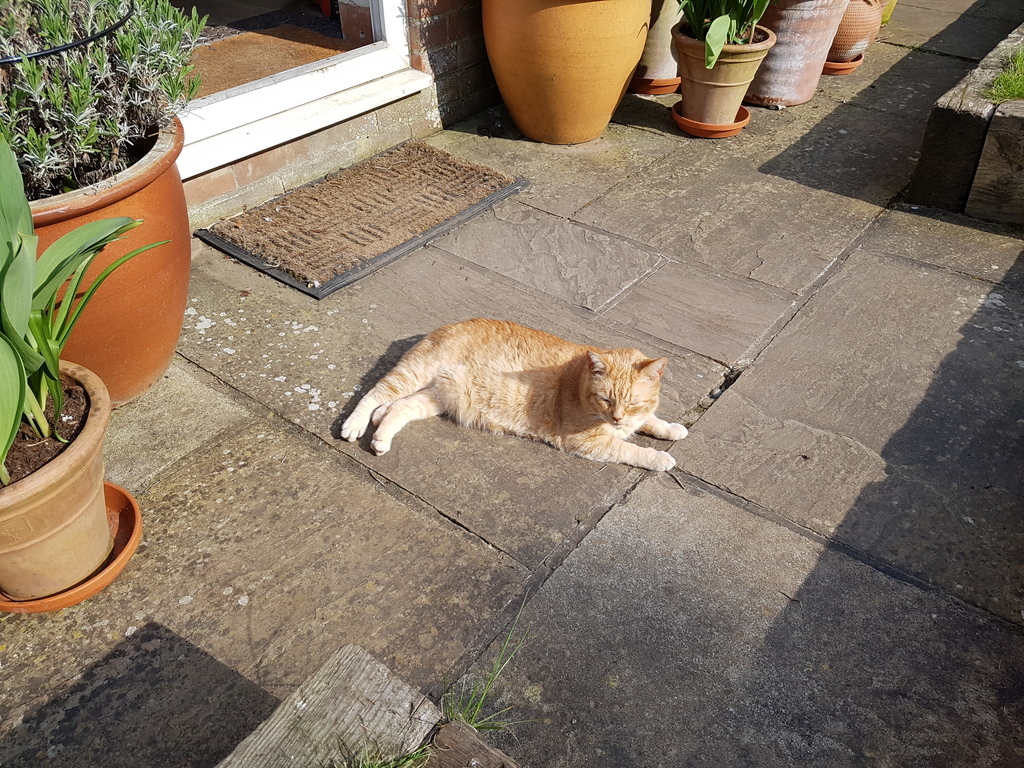 |
| |
|
|
|
|
|
|
|
Well lets hope that the inspector likes your work. Maybe even ................purrrrfect?  Always capable of planting a smile on my face when he wonders into the workshop - may appear irrelevant to others - However working on your own its nice to see a friend come & say hello when all that you have for company all day is the radio - don't get me wrong that's exactly how I like it  |
| |
|
|
|
|
|
|
|
Almost forgot 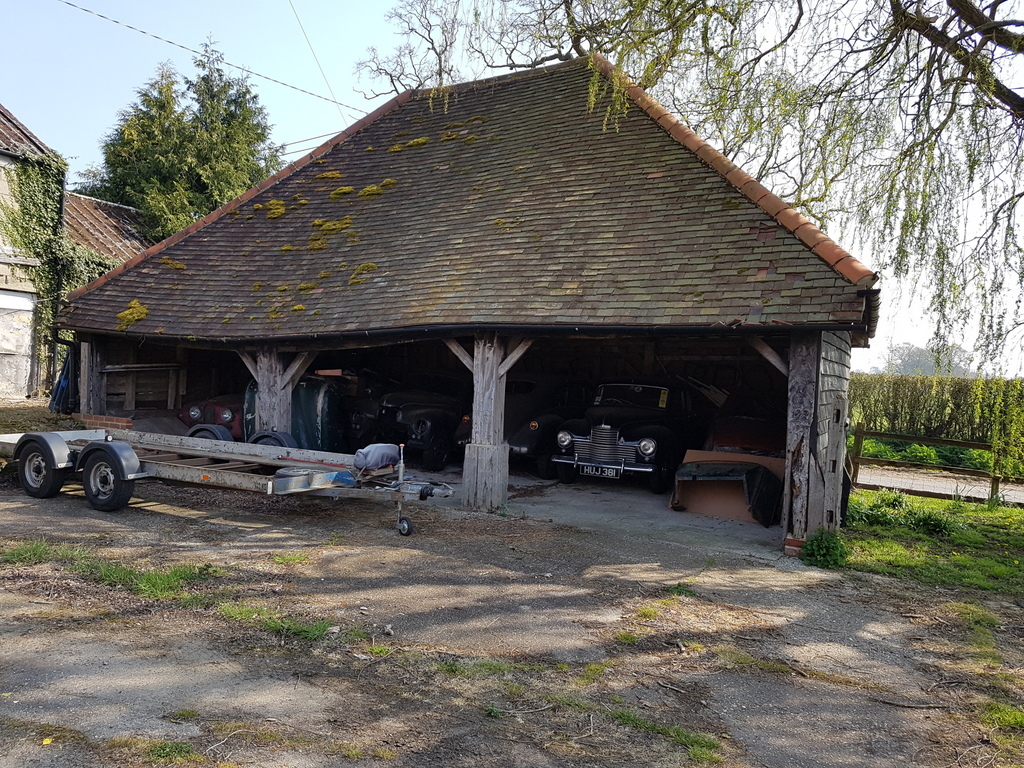 Pic of the barn with fairly upright pillars - wonky roof but loads of character - does exactly what I need it to in the storage of projects & parts that I would be falling all over at home |
| |
|
|
|
|
|
Apr 10, 2020 11:37:51 GMT
|
|
This bit of work definitely seems like it's a couple of steps higher up the skills ladder. John
|
| |
|
|
teaboy
Posted a lot
   Make tea, not war.
Posts: 2,126
|
|
Apr 10, 2020 11:55:54 GMT
|
This bit of work definitely seems like it's a couple of steps higher up the skills ladder. John Grumps doesn’t need a ladder, he can levitate. |
| |
|
|
|
|
|
Apr 11, 2020 21:16:57 GMT
|
First job was to provide a bit of dust protection the chassis & drivetrain 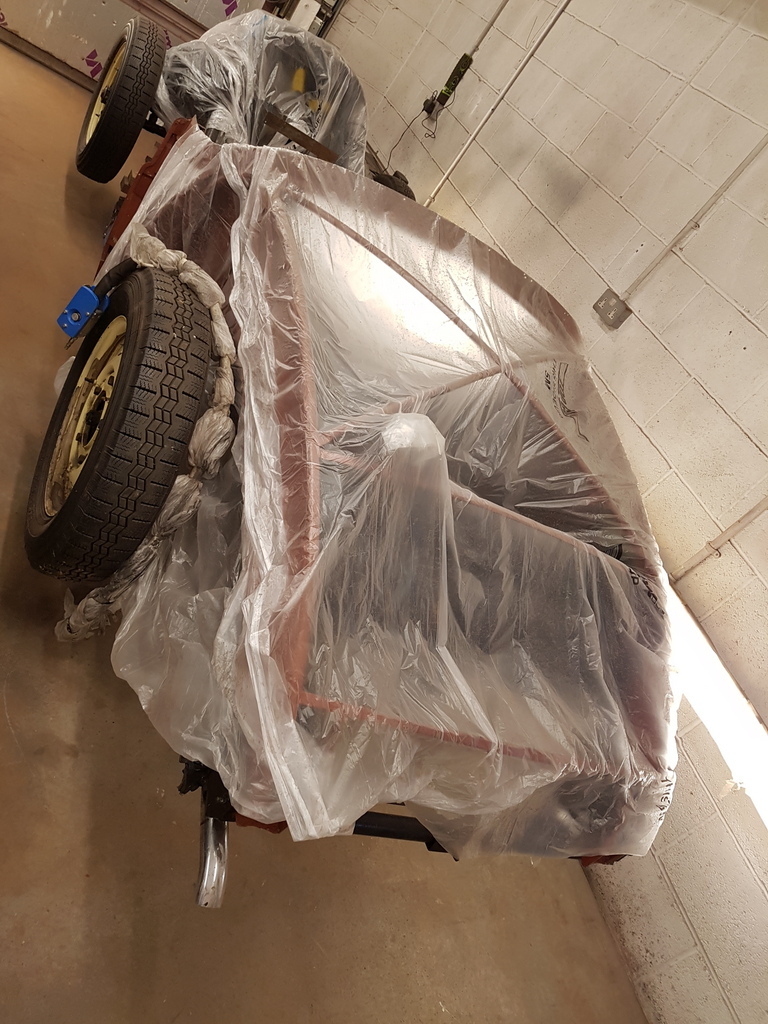 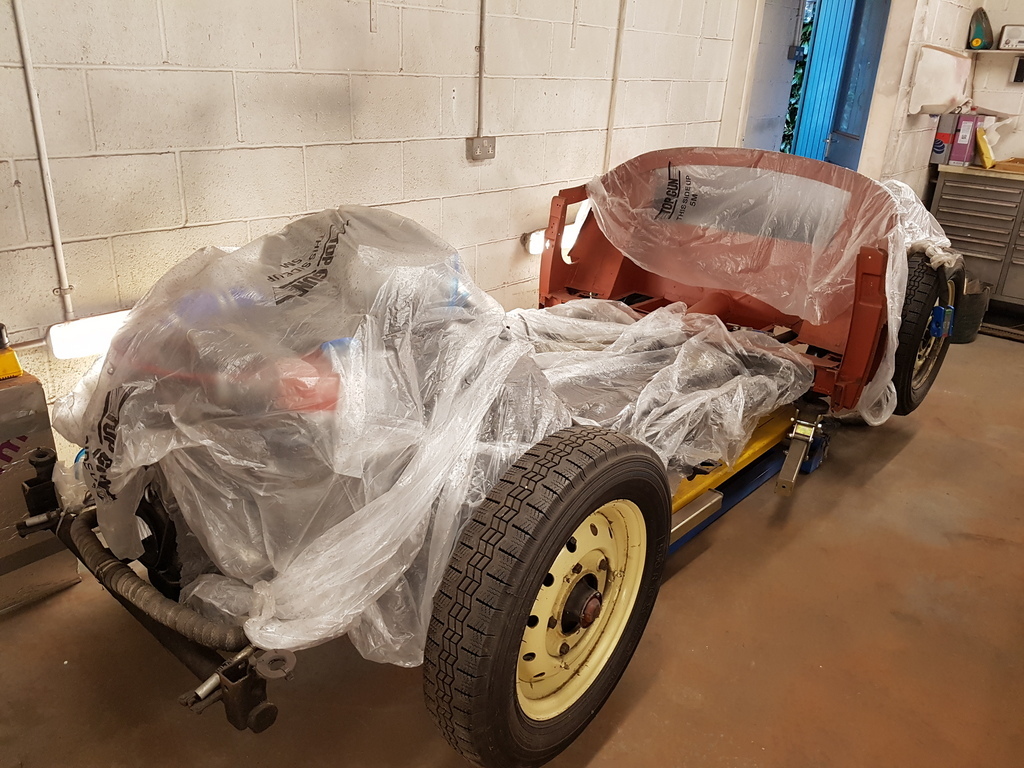 The chassis is no concours queen but its a well looked after example that gets put to full use - its just been cleaned up & regreased etc - nothing worse than a load of grinding dust in your grease 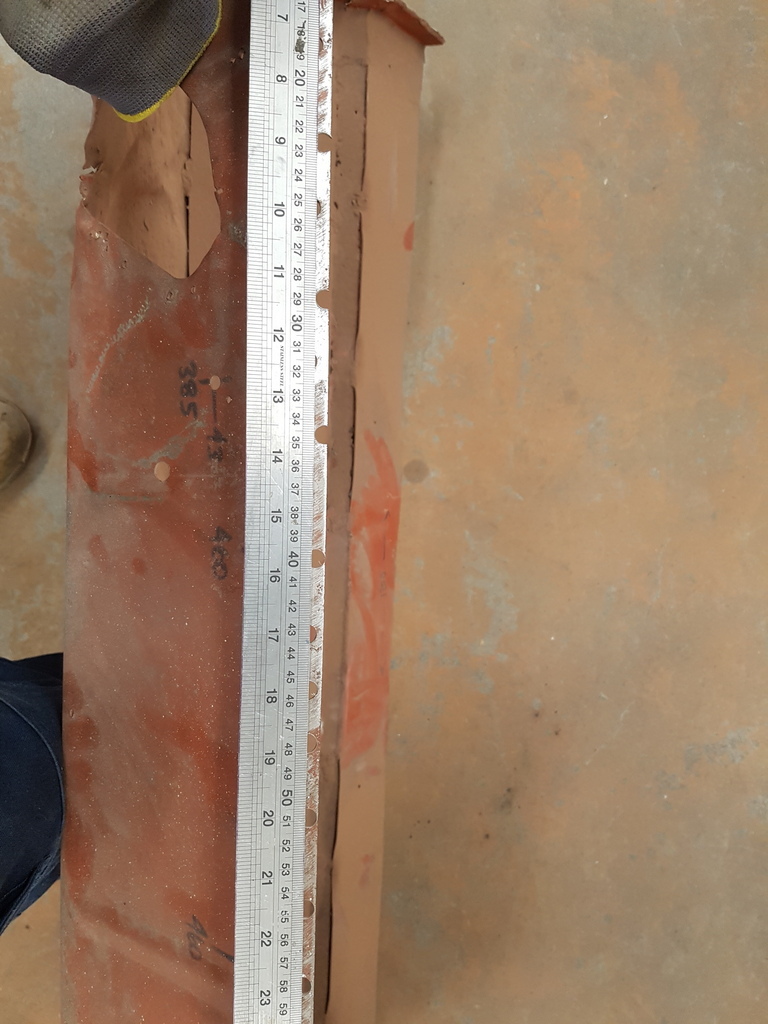 Did a rough check on the spot weld spacings 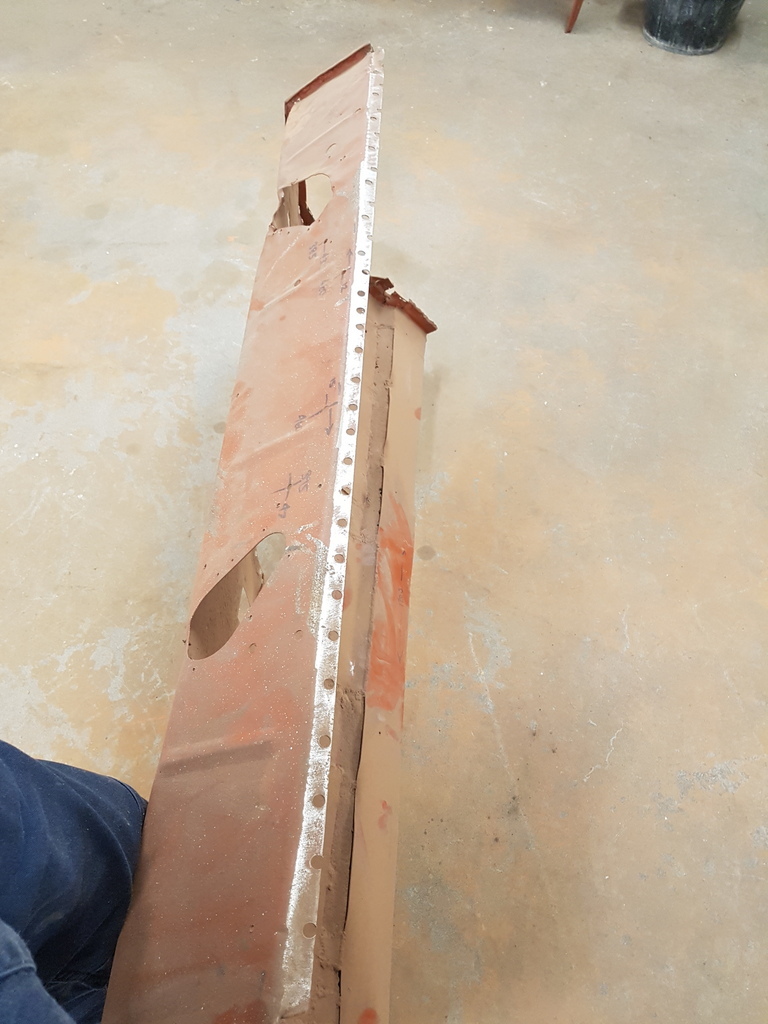 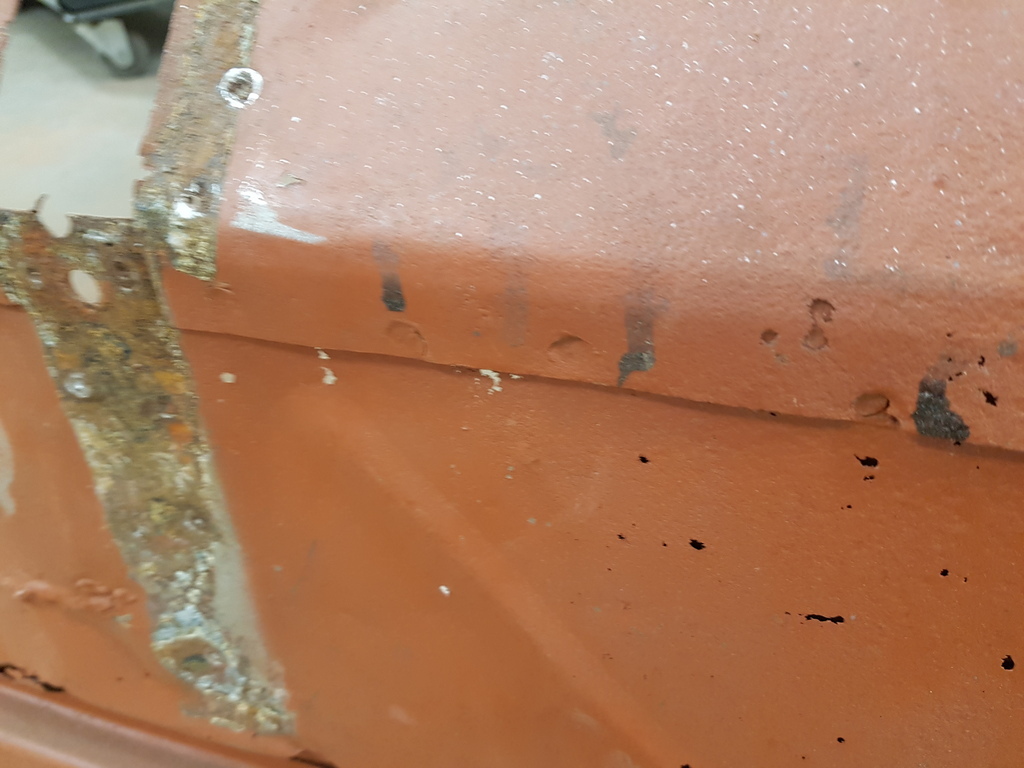 I'm going to have to plug weld along the horizontals - these were spot welded at the factory with custom built spot welding arms and were certainly on counter balanced machines which would have been 3 phase powered 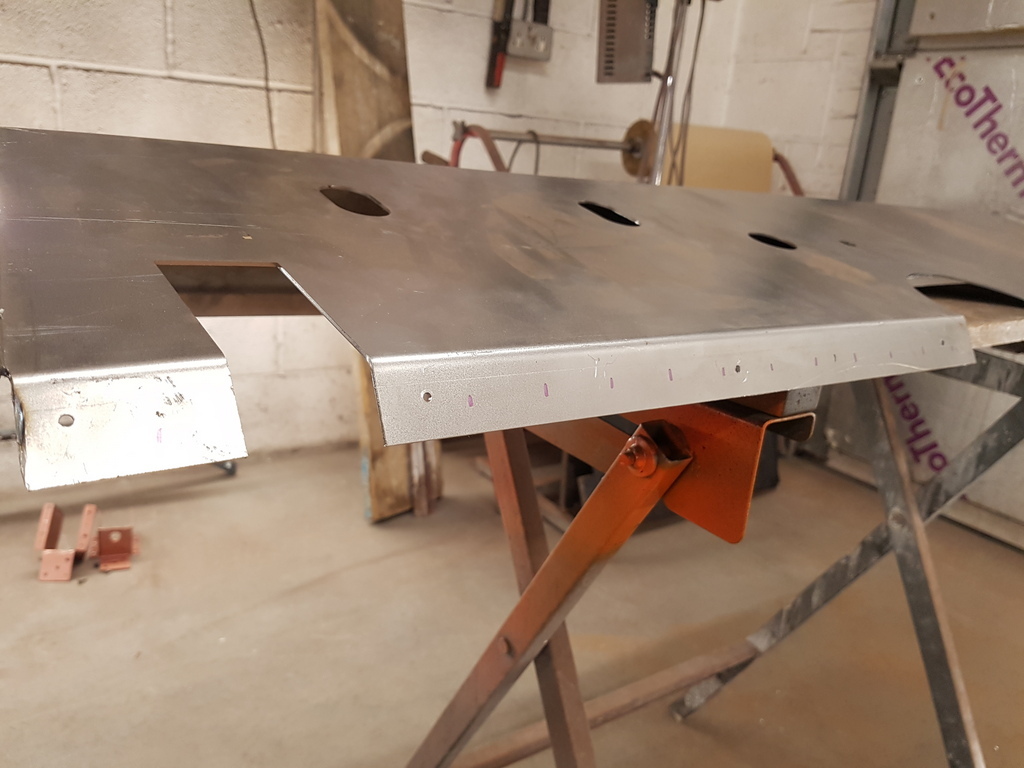 I don't have that luxury - none of it is seen in the engine bay but I still have standards and will replicate what I can - it takes next to no time 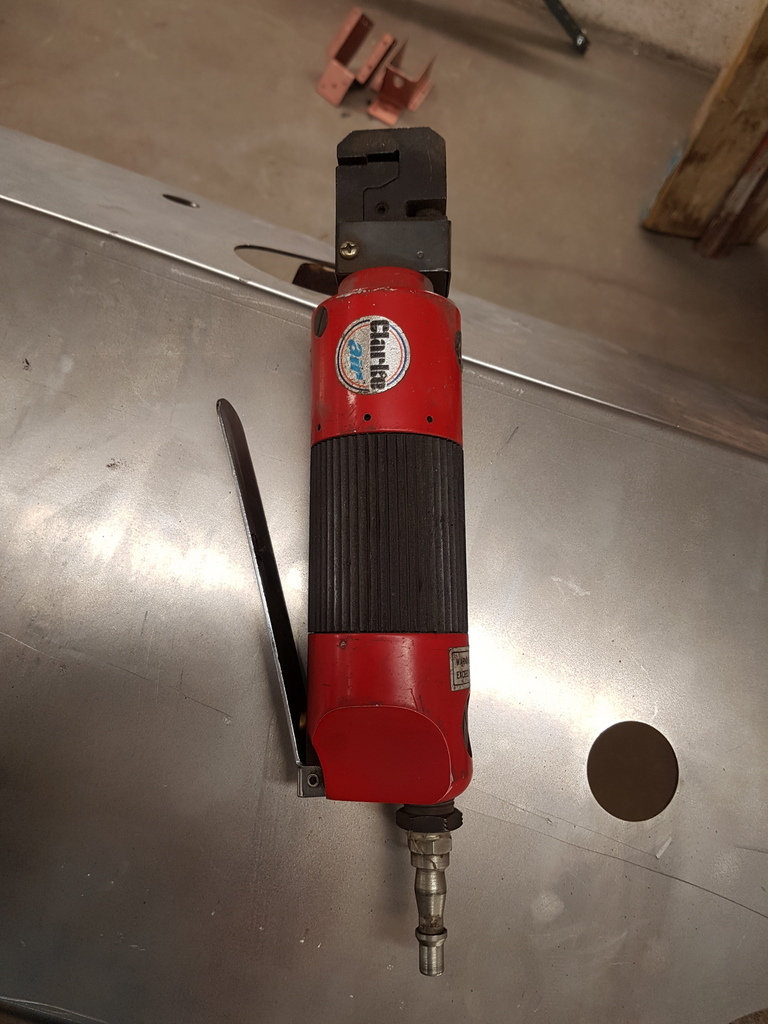 I have a punch facility on my air powered swager but its only good for up to 1.6mm thick steels - the bulkhead panel is 2mm 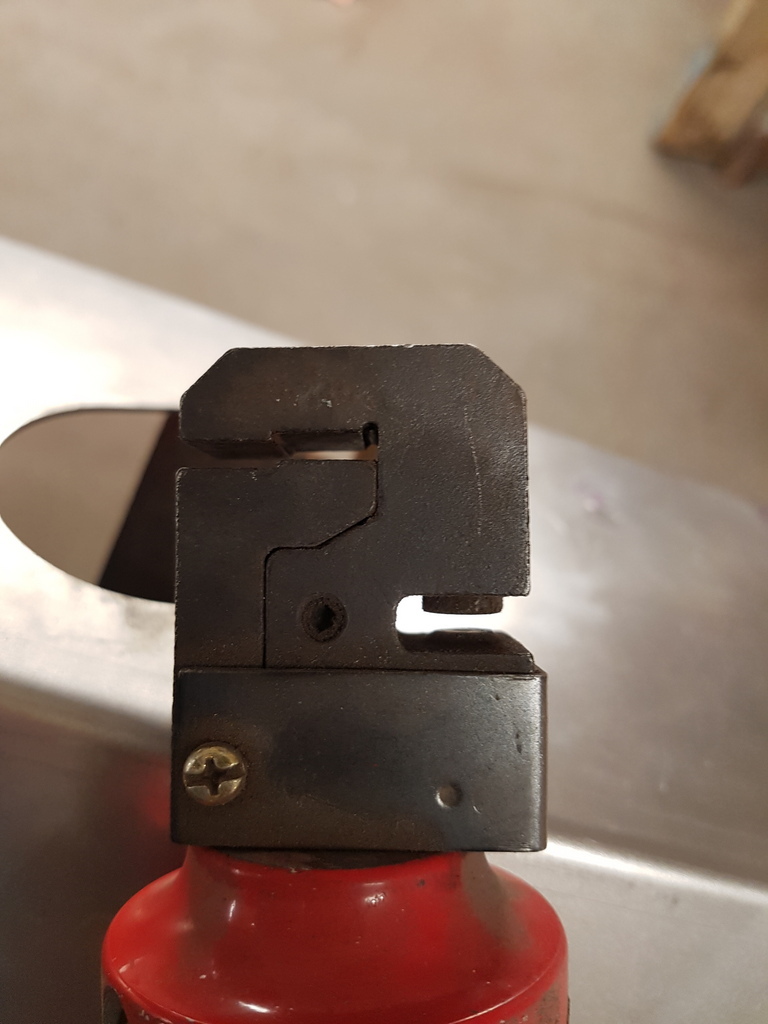 Hence I had to drill the plugs 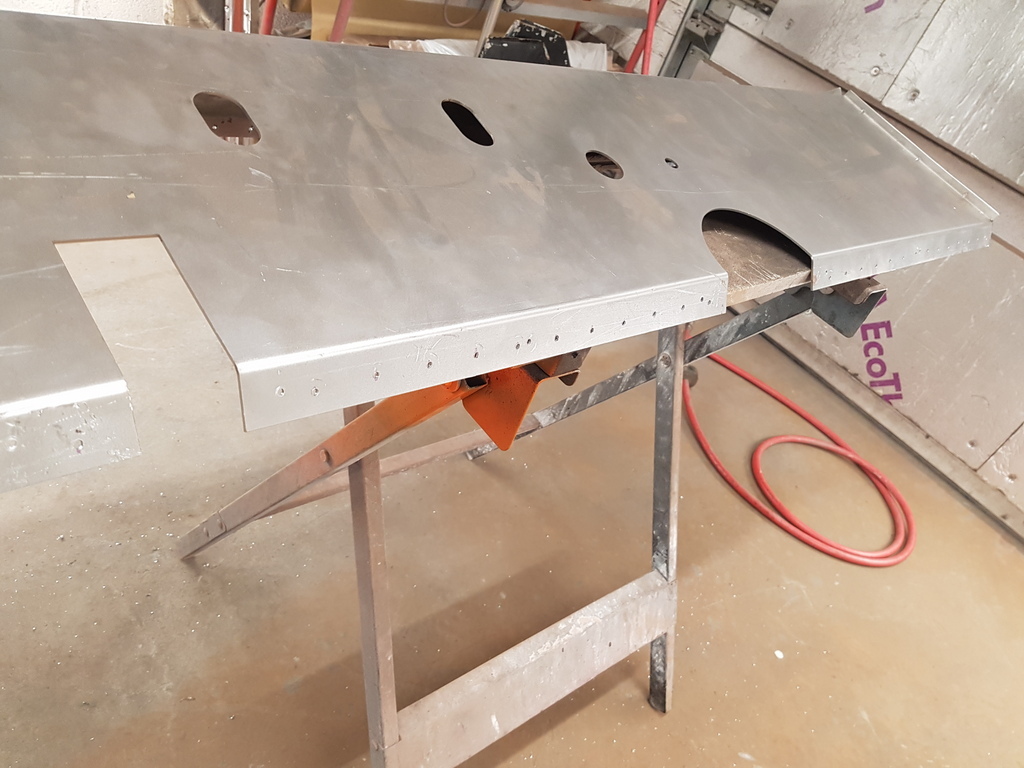 Flanges cleaned up and weld through primmer applied 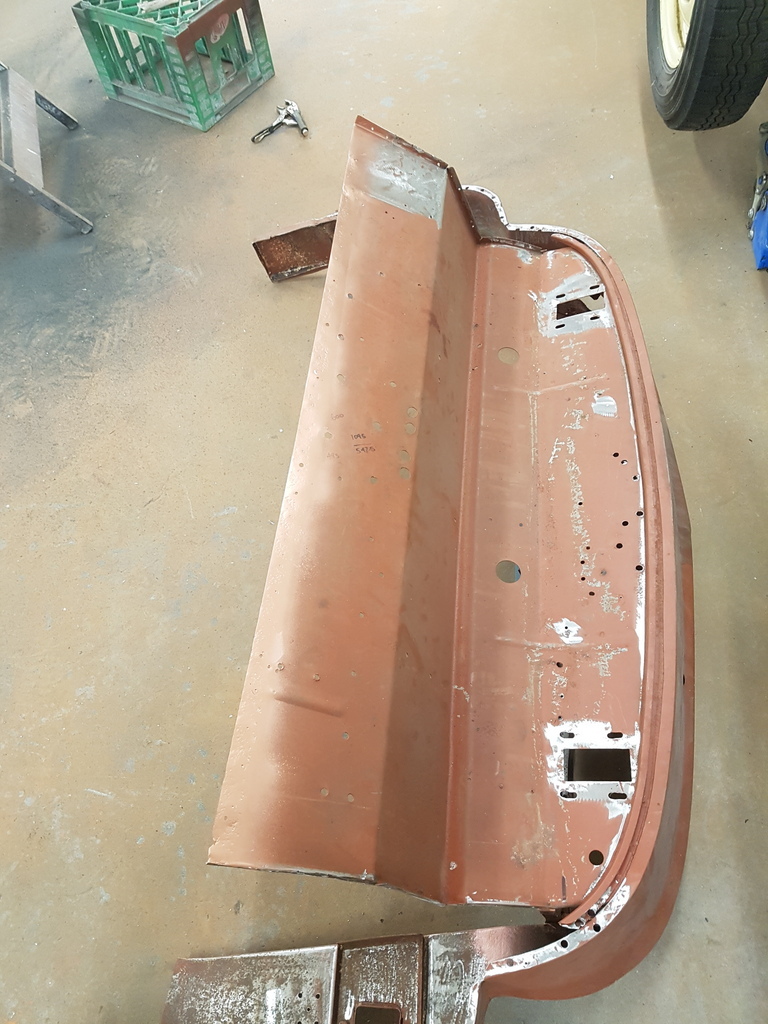 Worked my way around the rest of the panels 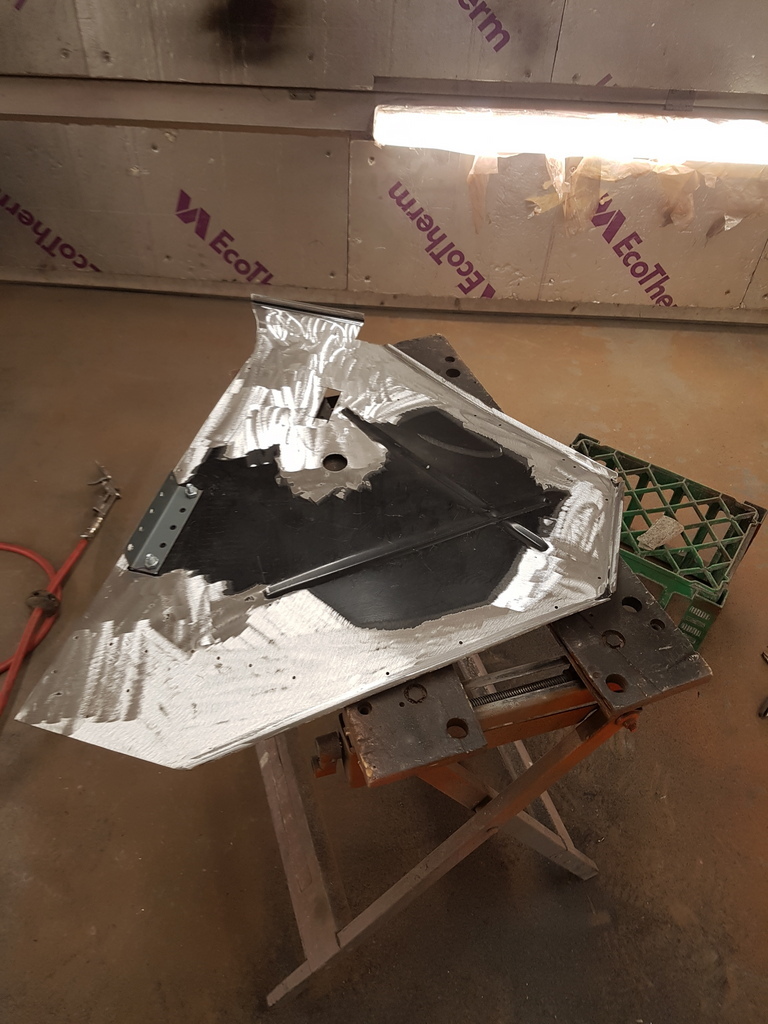 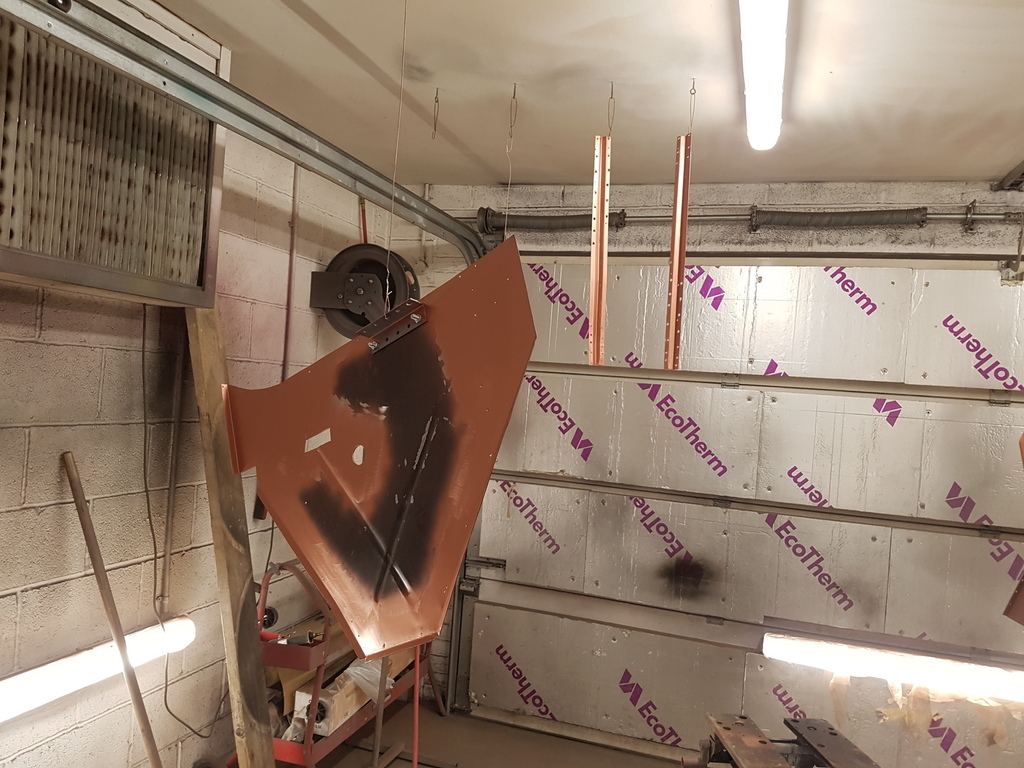 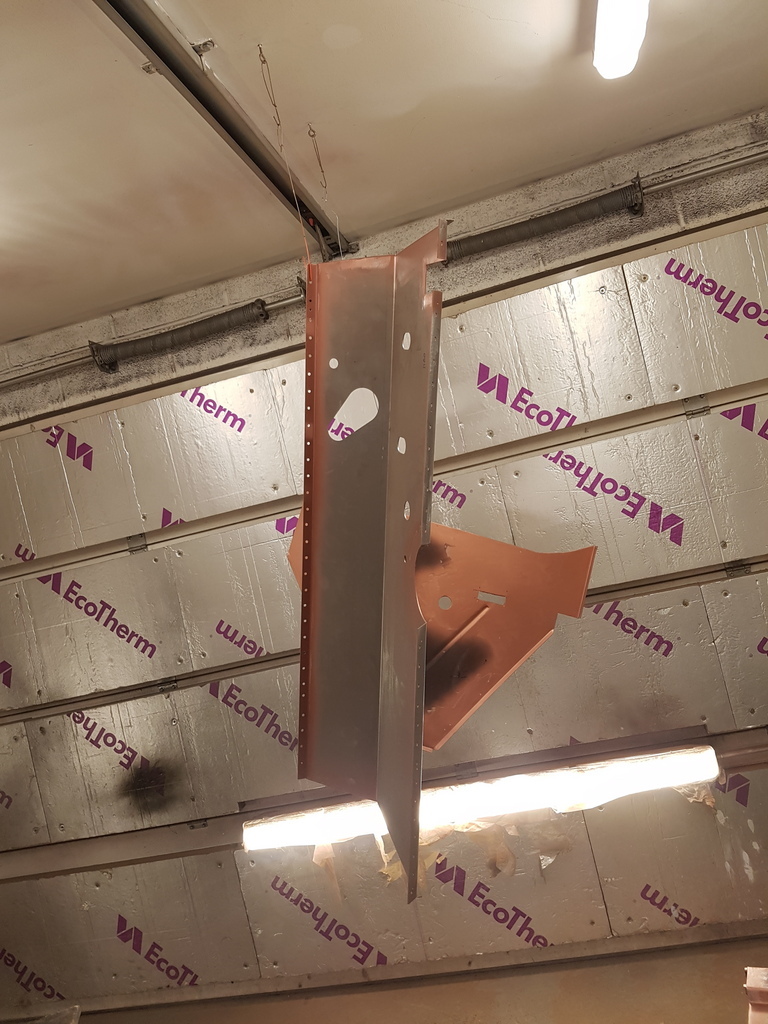 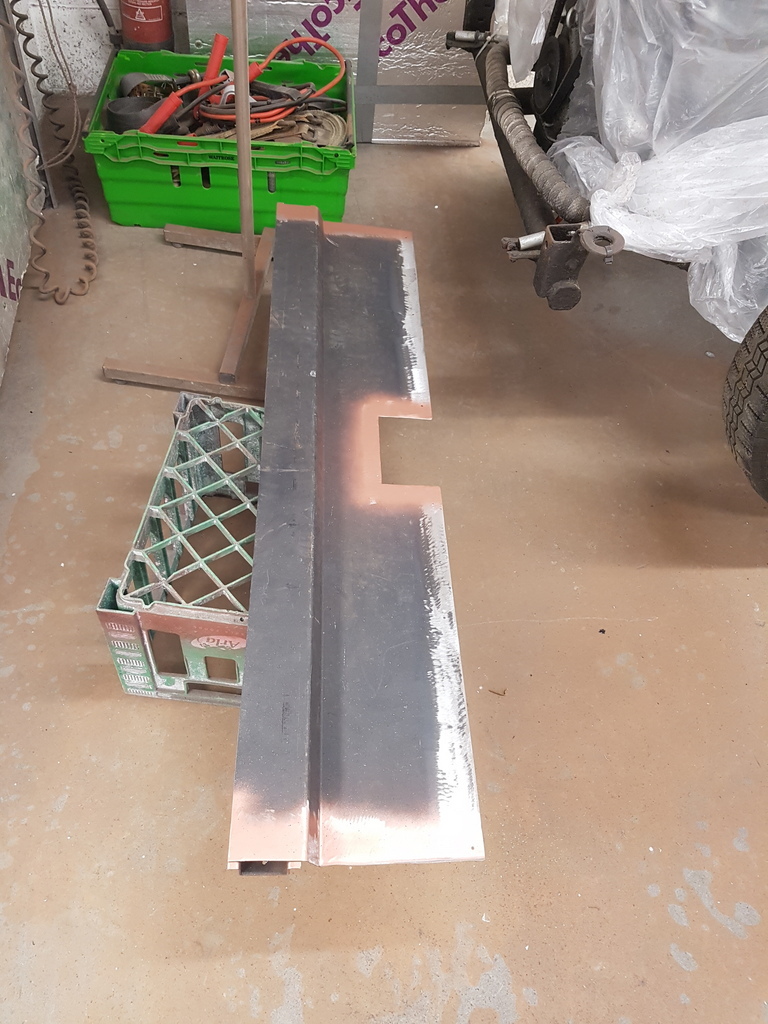 Then reassembled the bulkhead for welding 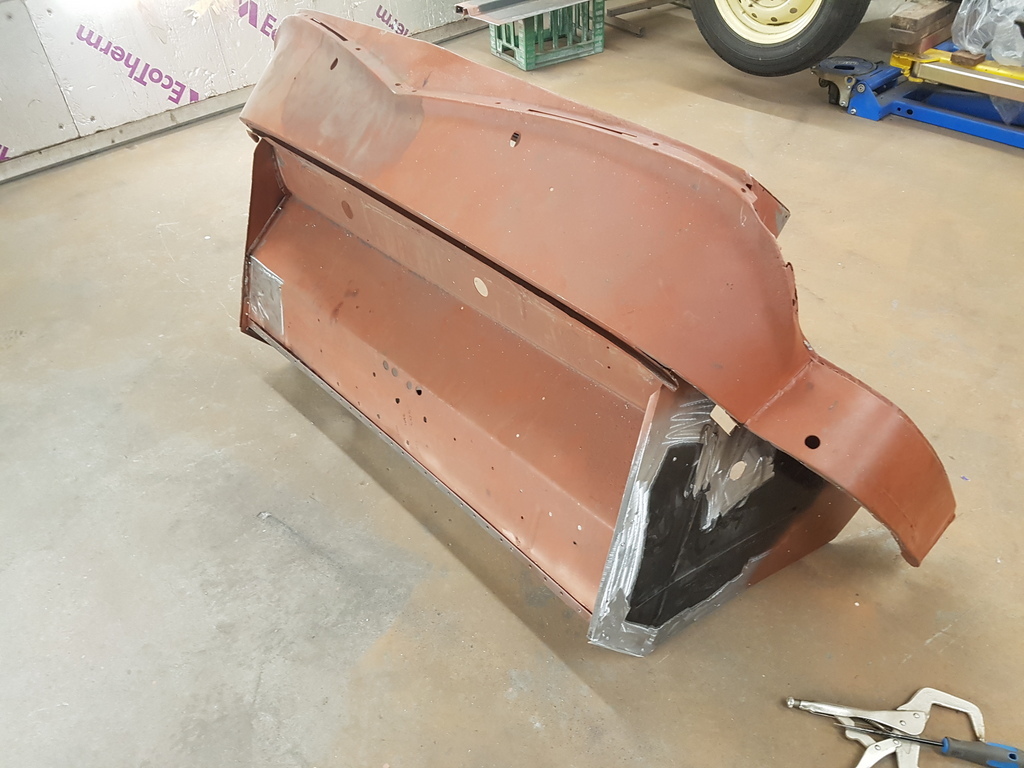 Tip for long flanges that are difficult to access with clamps 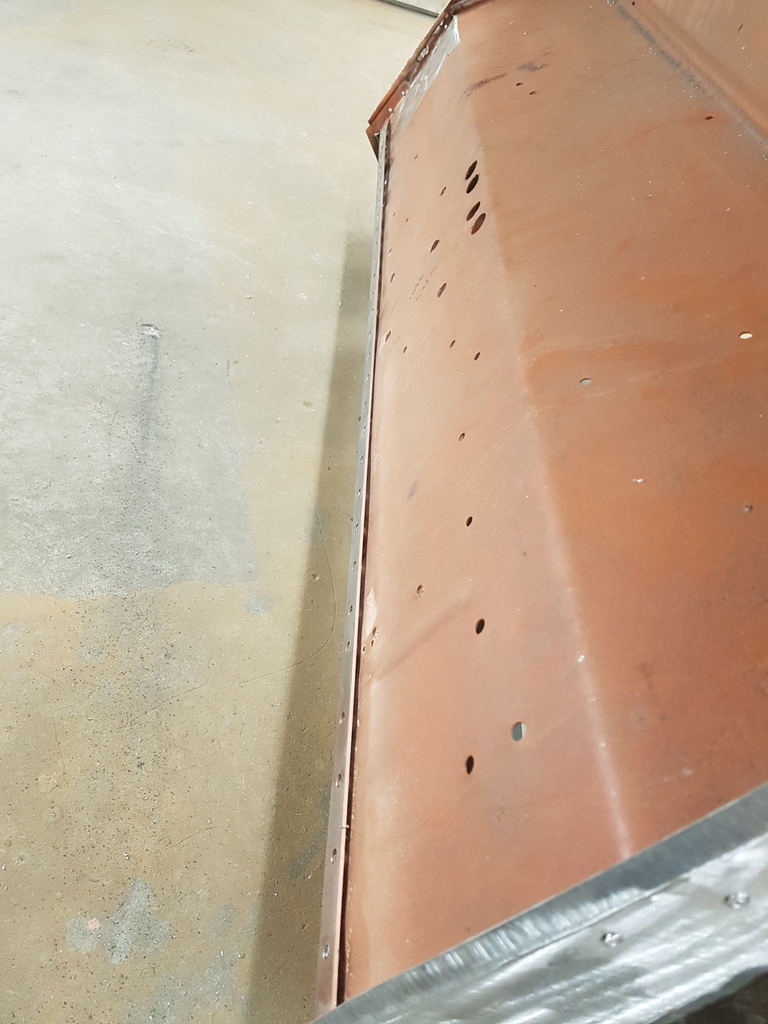 Piece of equal angle bolted through at intervals will pull both the panels up tight whilst you get the plug welds in - the angle also acts has a heat sink to prevent heat distortion 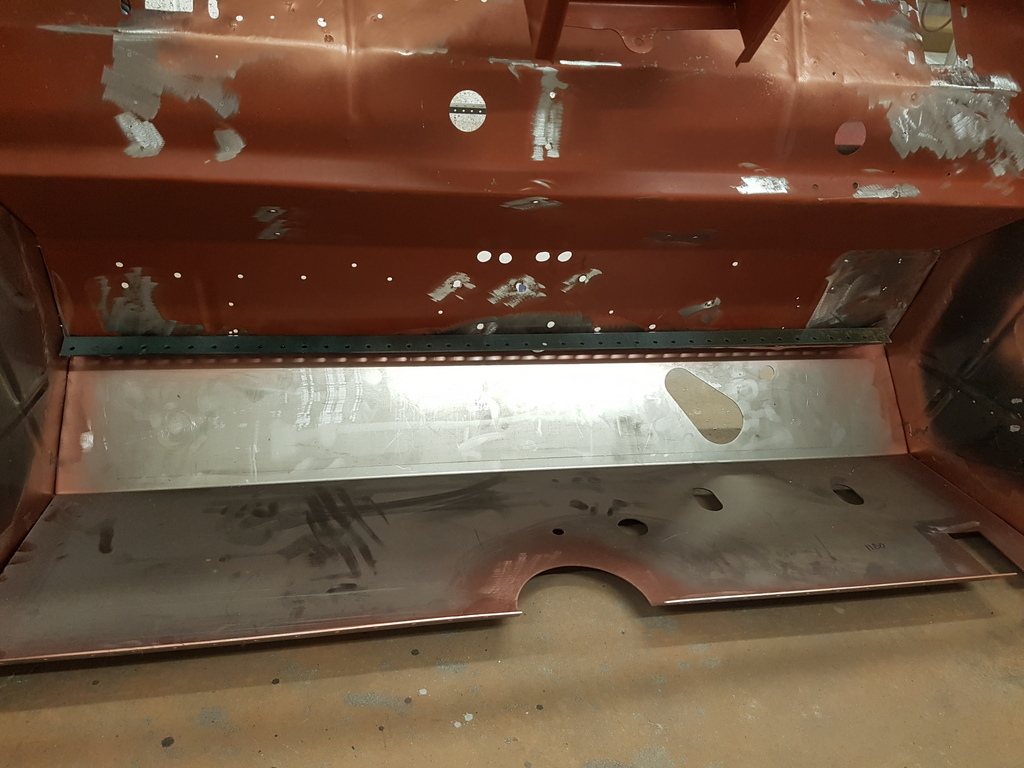 I don't really use the welding magnets for the purpose intended but I do use them for holding bolts in place whilst I get a nut on the other side 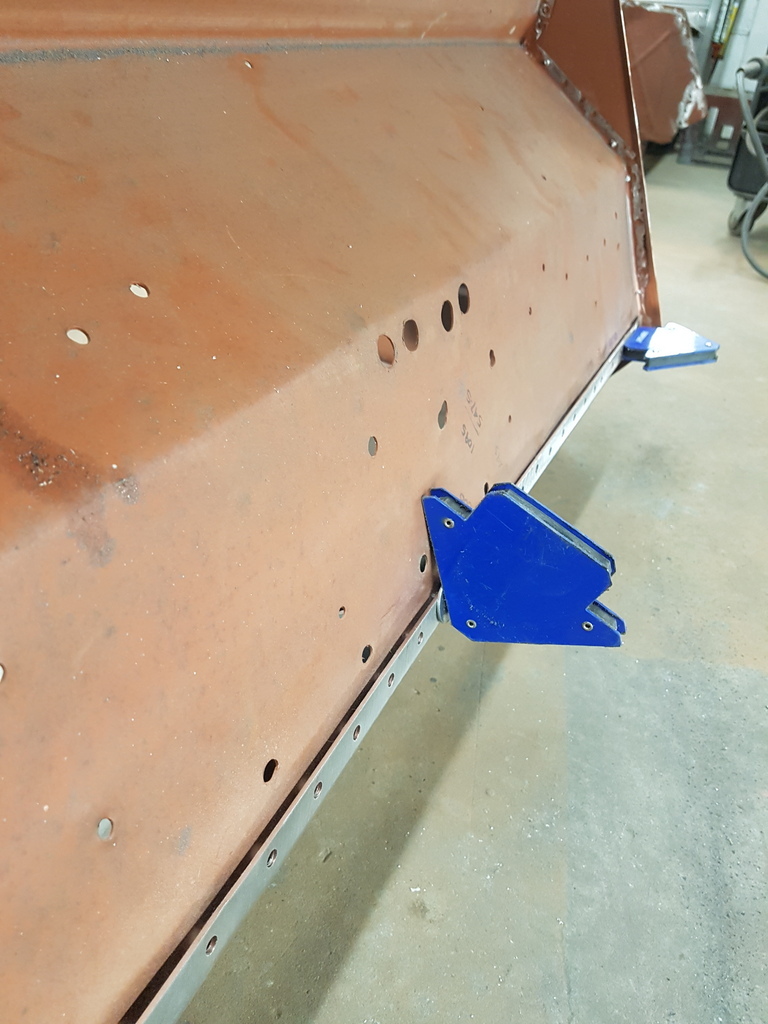 Flange temporally fastened up 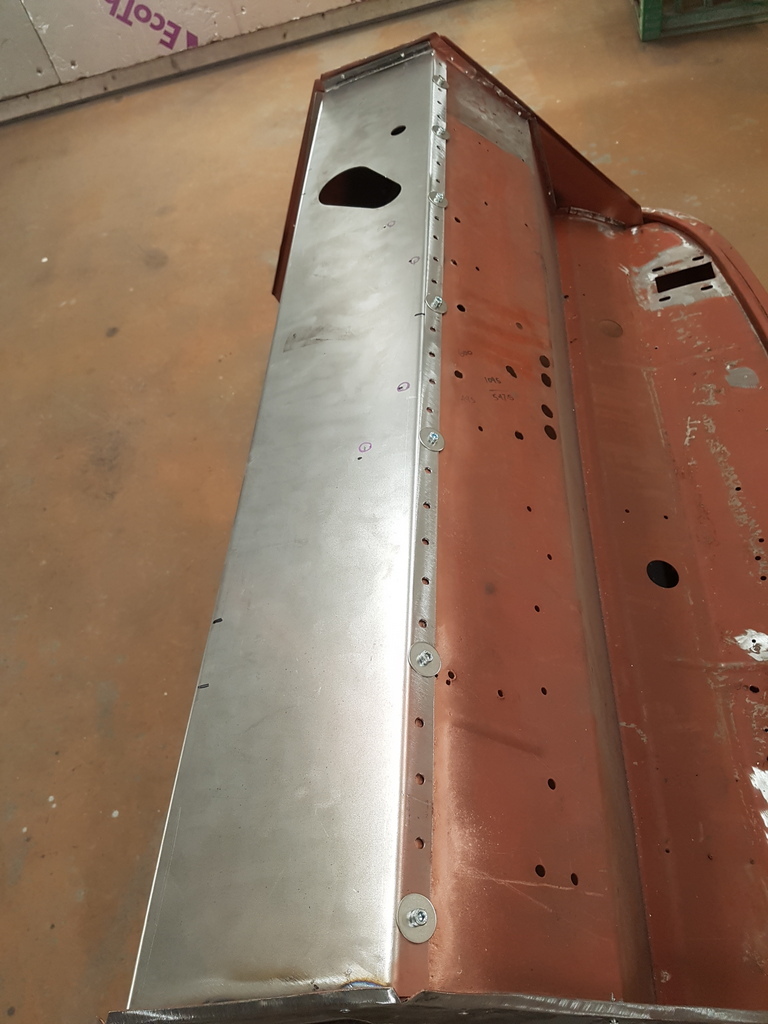 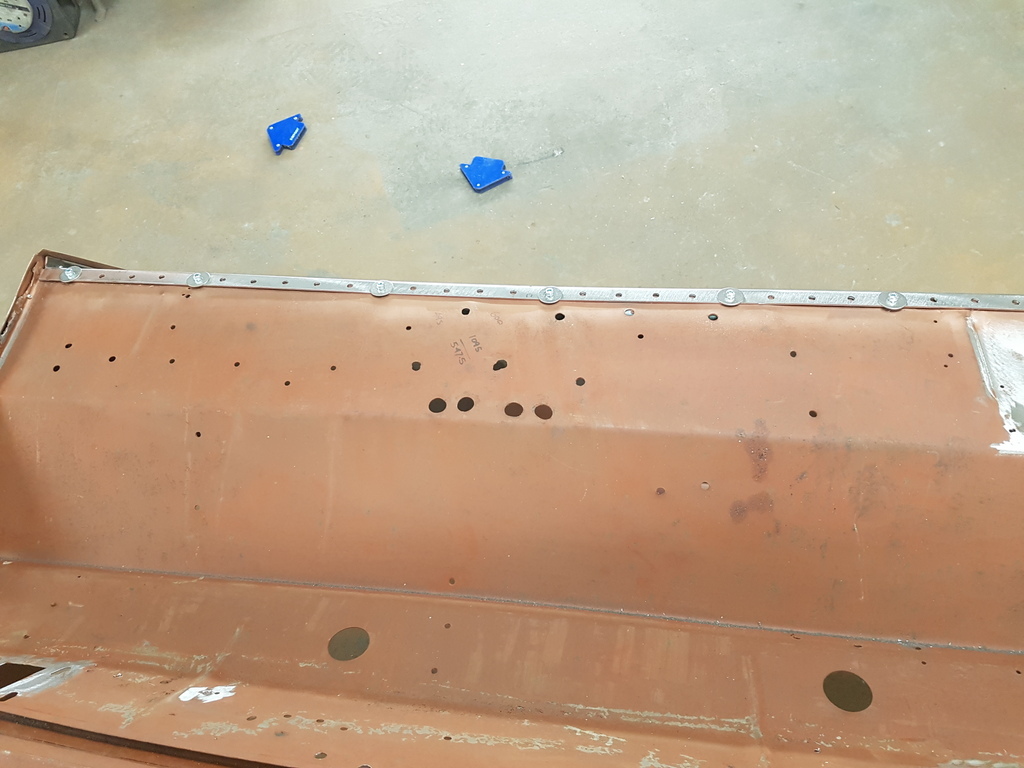 Floor & bracing in - final measurements checked 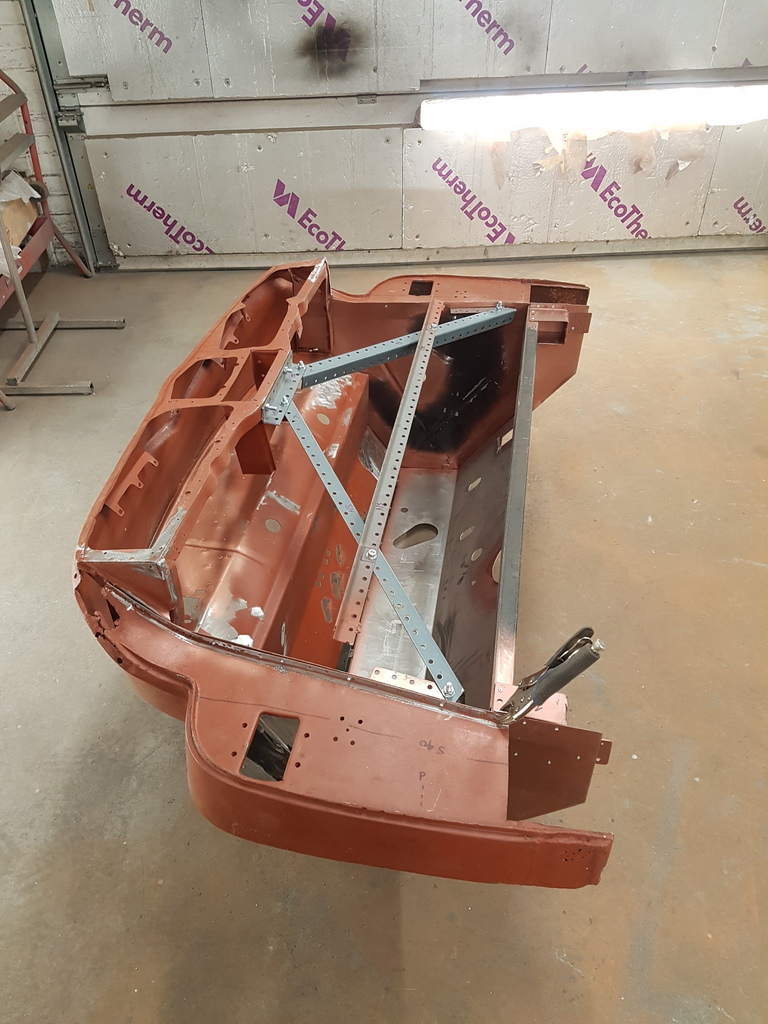 Let the welding commence 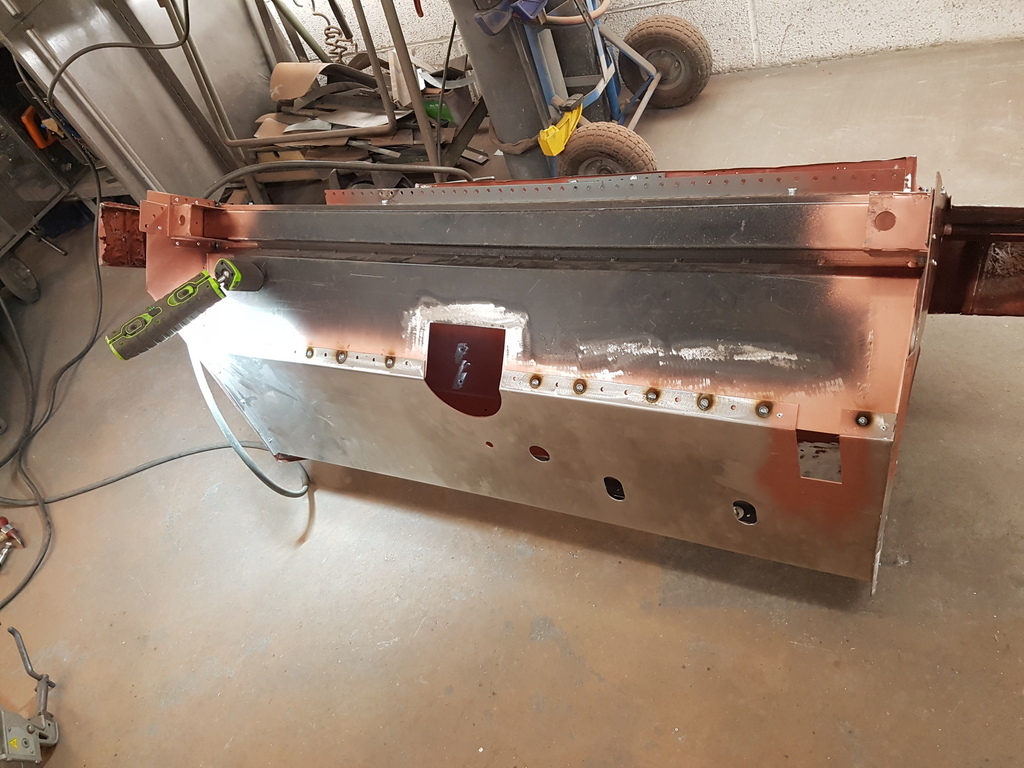 Spot welder utilised where practical - but this is a heavy beast of a thing to lump around - attempting to hold this in place with one hand whilst you operate the hand clamped jaws with the other is one hell of a workout - I can only do about 10 spot welds before I have to put it back down 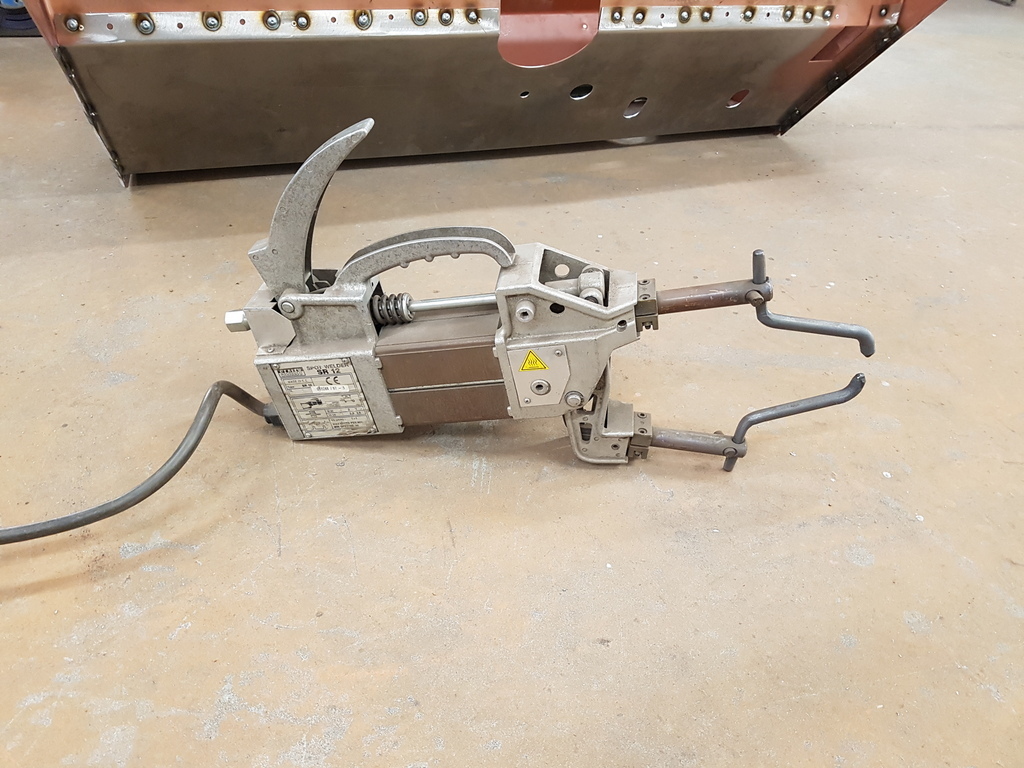 It works with a controlled timer dependant upon the metal thickness that you are welding 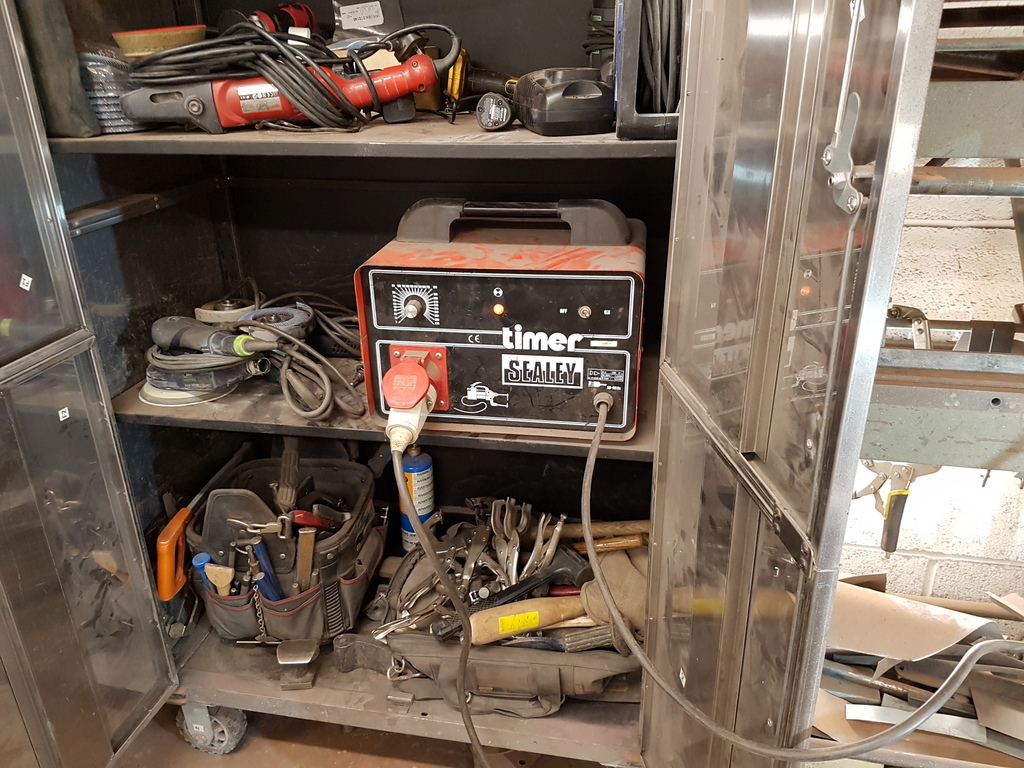 Its quite an old piece of kit but its fine for what I need it for (there are new lightweight ones in the market but they are 3 phase & several £k) 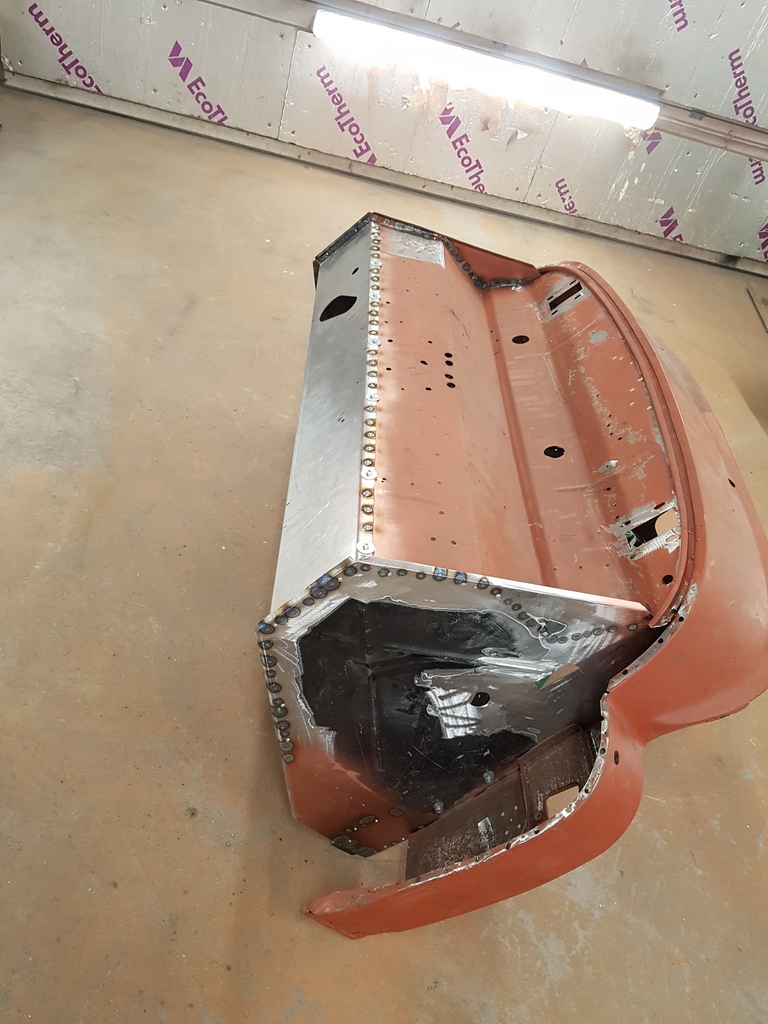 Halfway round - spacing out each section I took a break in order for the areas to cool back a little 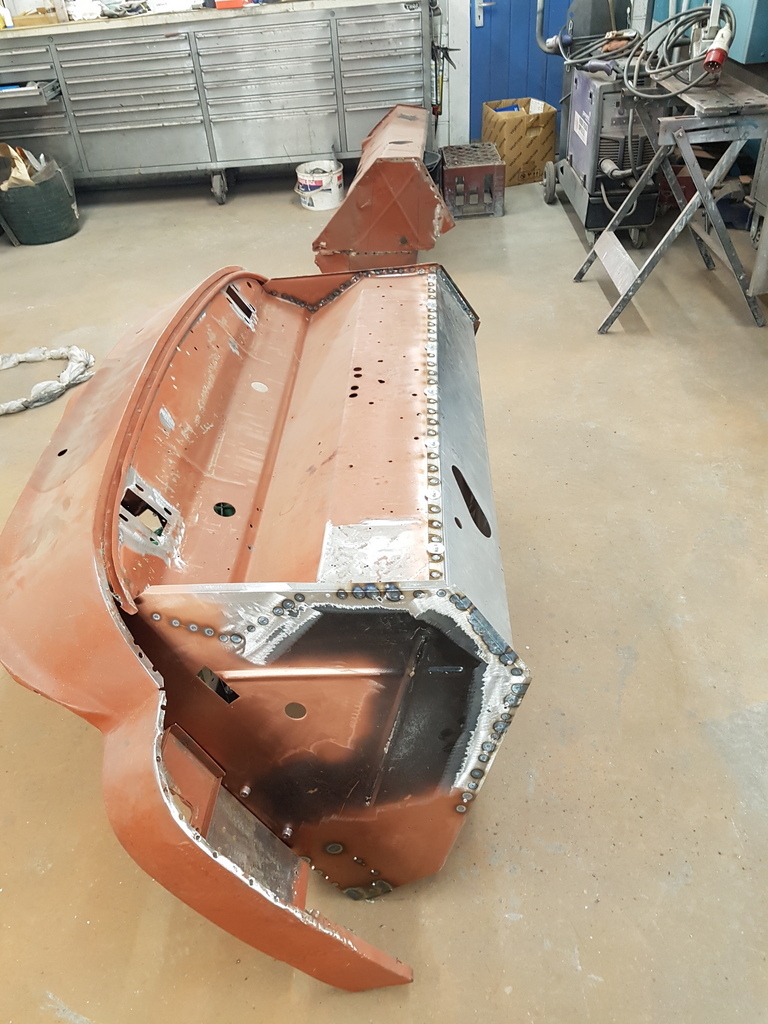 That's most of it done - lots to dress back but that now has to wait for Tuesday (Sun & Mon have a quiet restriction upon them) 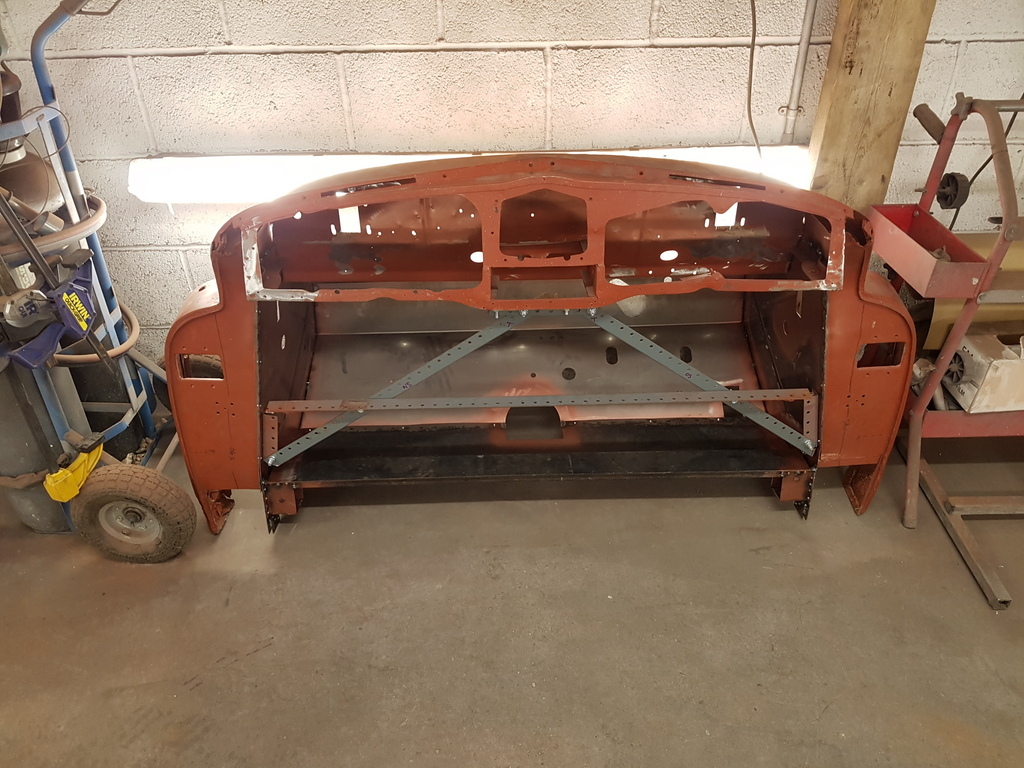 Still nice to have it going in the right direction |
| |
Last Edit: Apr 11, 2020 21:23:04 GMT by Deleted
|
|
nze12
Part of things
 
Posts: 193
|
|
Apr 11, 2020 23:37:08 GMT
|
Spot welder utilised where practical - but this is a heavy beast of a thing to lump around - attempting to hold this in place with one hand whilst you operate the hand clamped jaws with the other is one hell of a workout - I can only do about 10 spot welds before I have to put it back down  Suspend it with a couple of trampoline springs and some stout cord fastened to the roof joist maybe? |
| |
1986 BMW E30 refreshed to original spec
1973 BMW E12 520 converting to Motorsport 530
1982 XJS V12 converting to 5 speed manual
Many landscaping projects overriding above!
Cogito cogito ergo cogito sum!
|
|
|
|
|
|
|
|
My buddies own a body shop and they have a welder that gets heavy too...its on a cart with an arm coming off it which, with a big bungy like spring thing, suspends the heavy cord and gun. maneuverability always an issue, I'm sure.
JP
|
| |
I know its spelled Norman Luxury Yacht, but its pronounced Throat Wobbler Mangrove!
|
|
|
|


