|
|
|
|
|
|
totally appropriate to use seam sealer there. I found a very good one that went on well with a brush and so far has provided excellent protection. it is an evercoat product and, though, out of a can, might be an exception to the "no can" rule?
The structure looks amazing back in place and in satin black. (a new favorite of mine!)
JP
|
| |
I know its spelled Norman Luxury Yacht, but its pronounced Throat Wobbler Mangrove!
|
|
|
|
|
|
|
|
|
grumpy Bit late to the party, but do you think the door gappage problems arose because when you fixed the bodges on the bulkhead and trued it up, it highlighted the other bodges that were used to counteract the distortion caused by the damage to the bulkhead.
|
| |
2000 X Peugeot 306 lx 1.6 8v Auto Dead  1997 R Honda Shuttle Ra1 2.2 16v Auto  |
|
|
|
|
|
|
grumpy Bit late to the party, but do you think the door gappage problems arose because when you fixed the bodges on the bulkhead and trued it up, it highlighted the other bodges that were used to counteract the distortion caused by the damage to the bulkhead. Its just a combination of many things - firstly although a good solid & well built car the quality levels were million miles away from that of todays standards - bodge / make do repairs made in an era when it was more important to get your car through its annual MOT than the quality of the door fit & aperture gapping's - body sag / poor alignment created through weak & perished body mountings are all contributory factors to the fact that panels don't fit that well - if you throw my OCD status in for good measure and the fact regardless of what my clients quality tolerances are - nothing is leaving the workshop until I'm happy with it - to a great extent I make a rod for my own back but it's something that I'm more than happy to live with  |
| |
|
|
|
|
|
|
|
Good to hear, do you measure door gaps with a beer mat akin to people using Rizla papers on very close tolerance parts lol  |
| |
2000 X Peugeot 306 lx 1.6 8v Auto Dead  1997 R Honda Shuttle Ra1 2.2 16v Auto  |
|
|
|
|
|
|
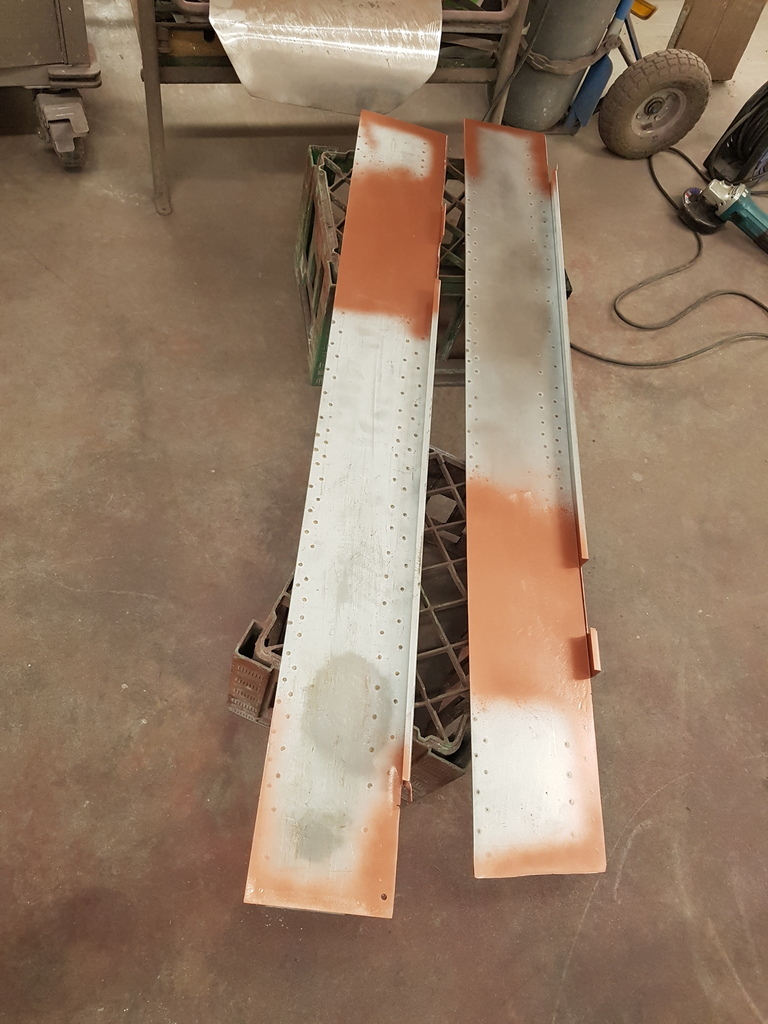 Sills prepped with weld through primer where required - I had gone over the surface areas that were to be welded with the flapwheel on the grinder - the panels are formed from zinctec sheet and it just helps with the welding if you remove the zinctec surface finish first 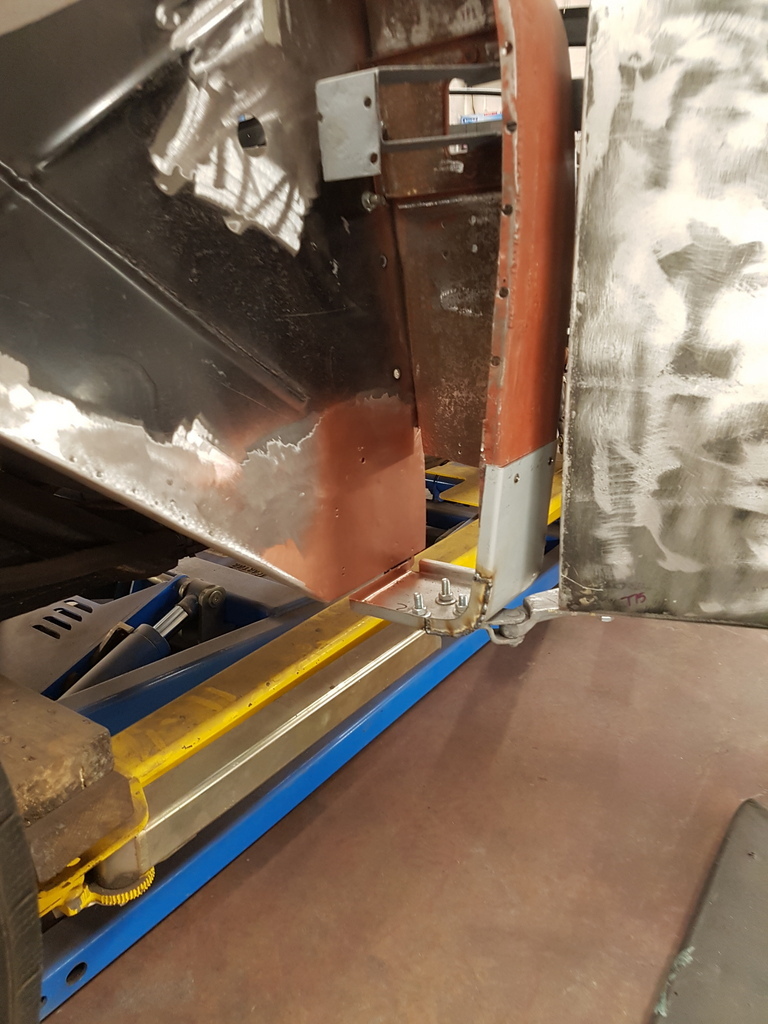 Likewise I prepped the areas on the bulkhead where the sill contacts 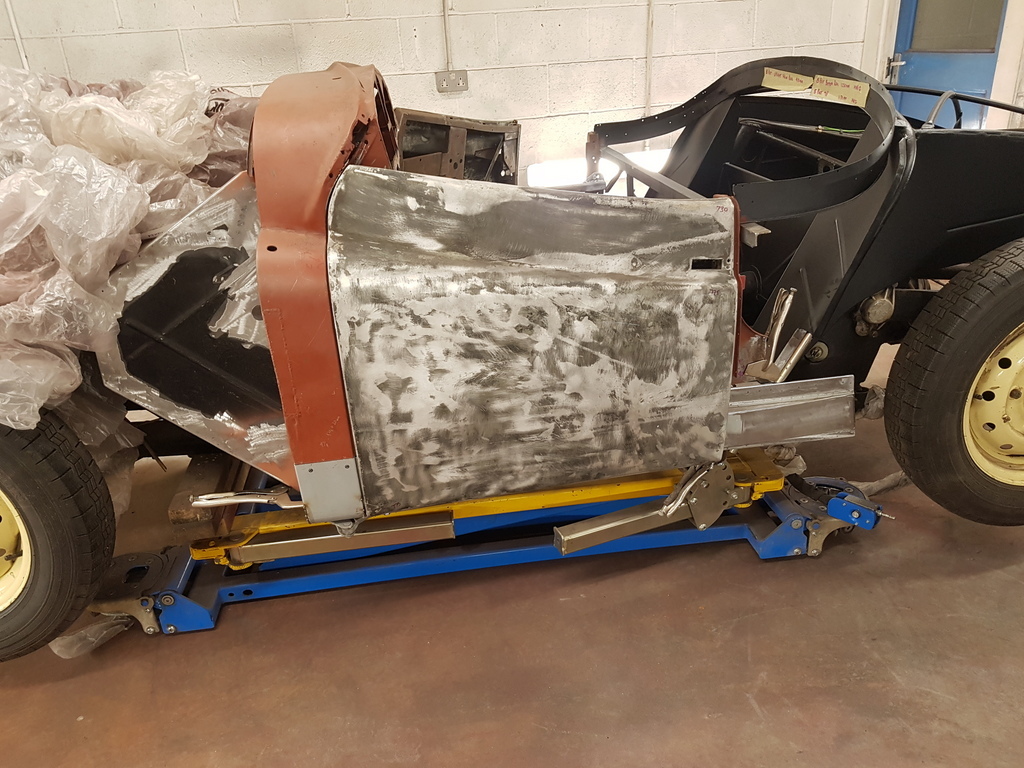 Then the sills could go back on 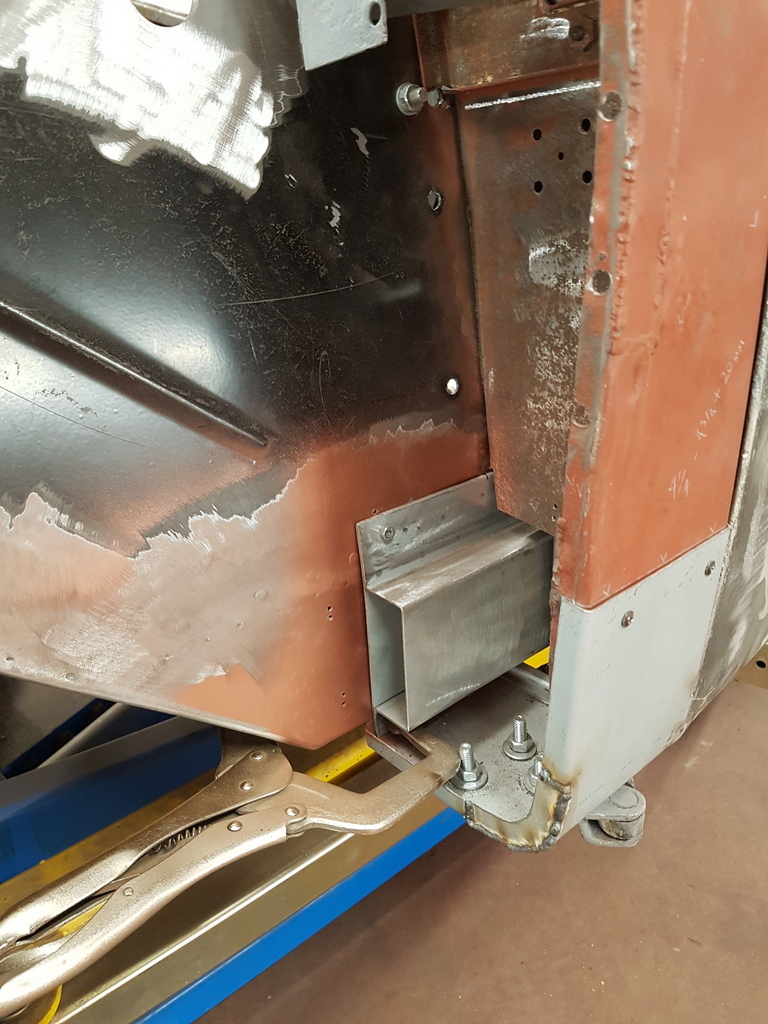 Front section sits within the A post box 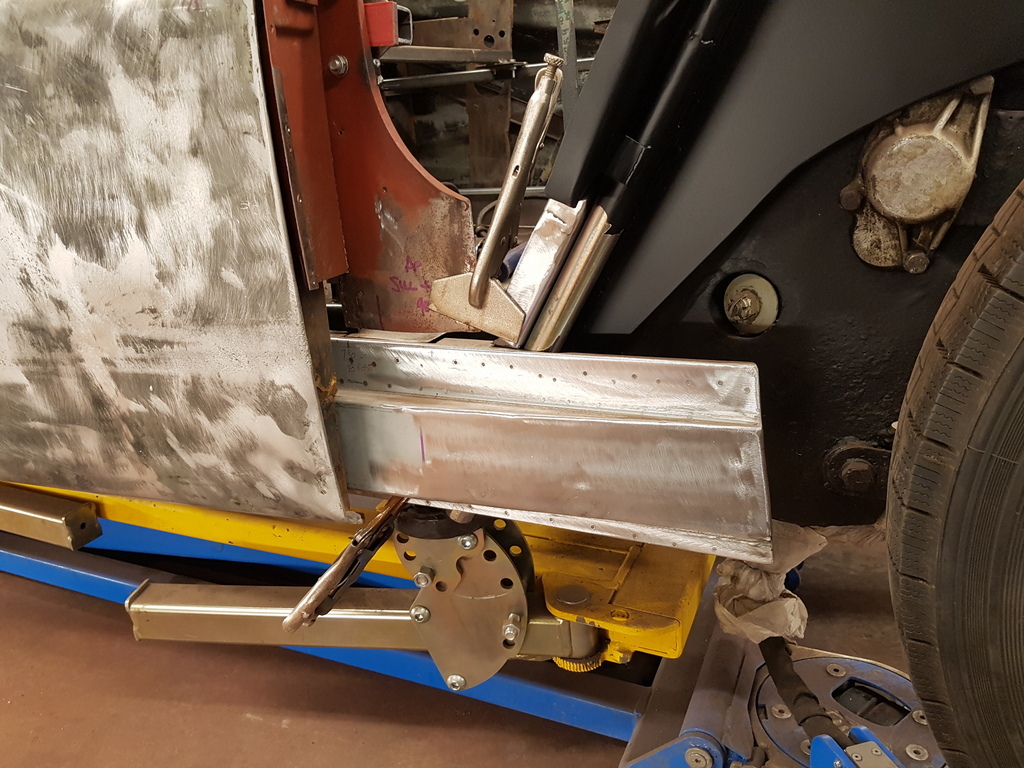 Rear section picks up on the rear support tube 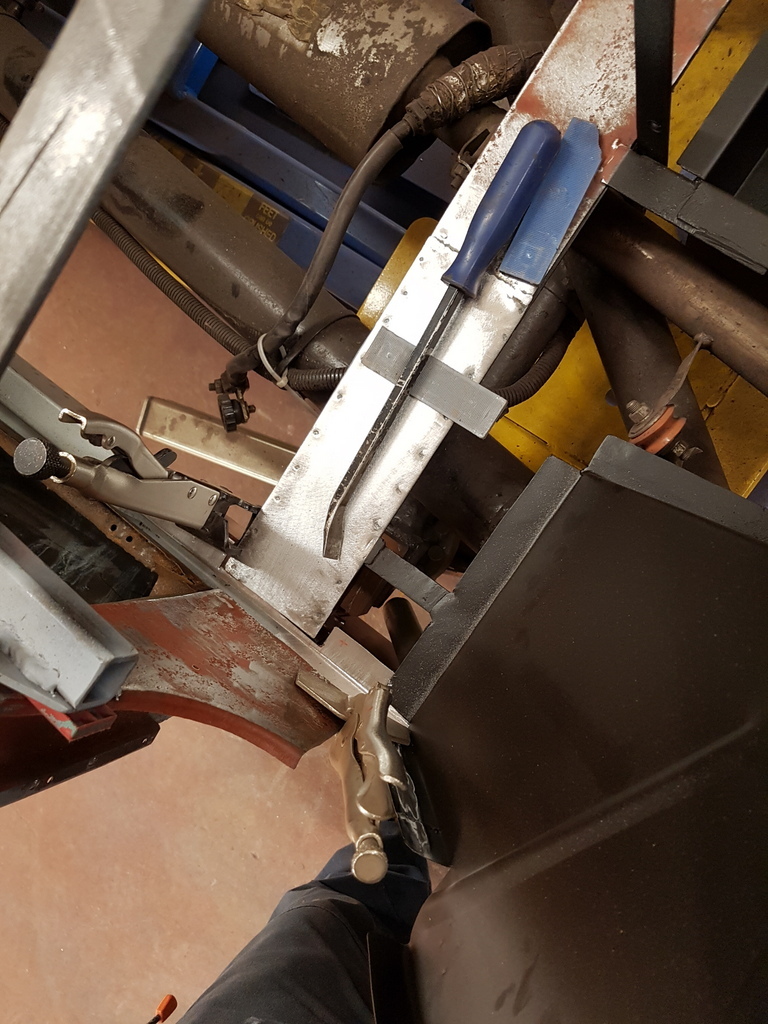 Along with the mid body mount and the mid cross rail 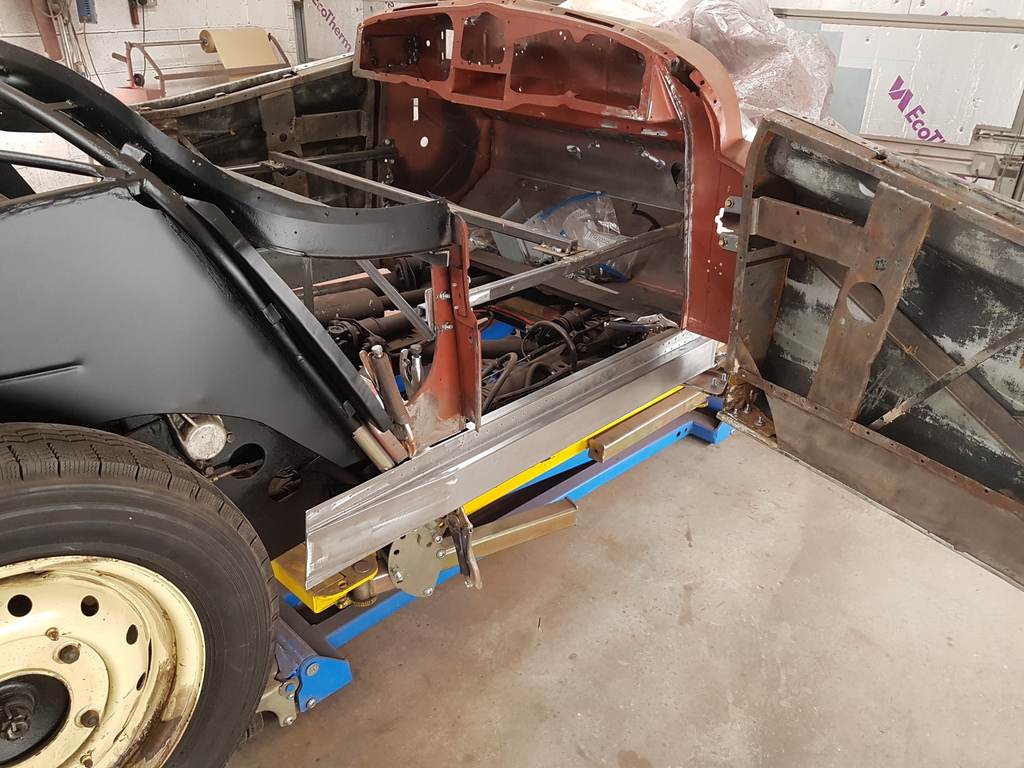 Then a repeat exercise on the offside 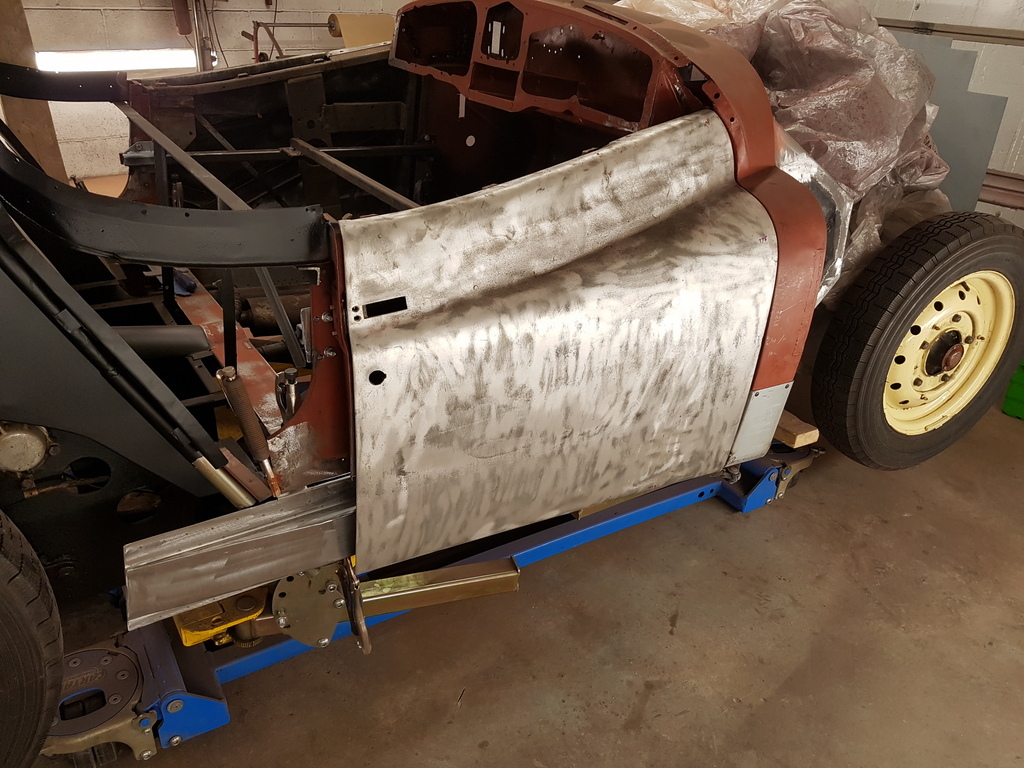 Checked the door fit to the apertures & lock striker plates 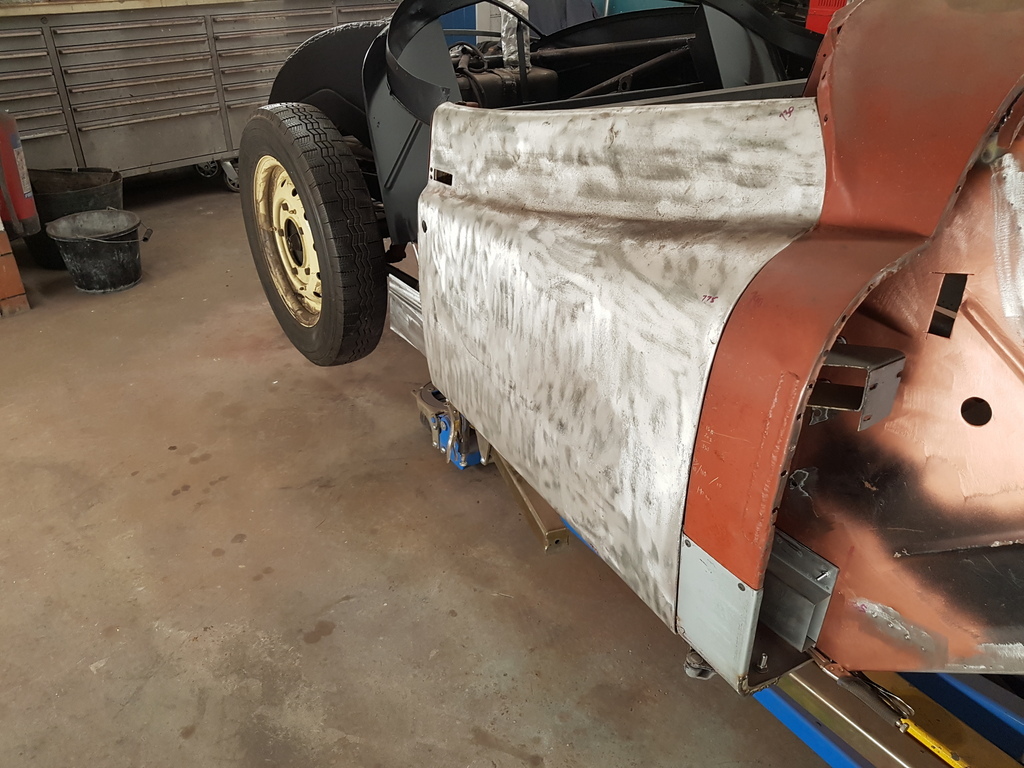 Repeated for the nearside 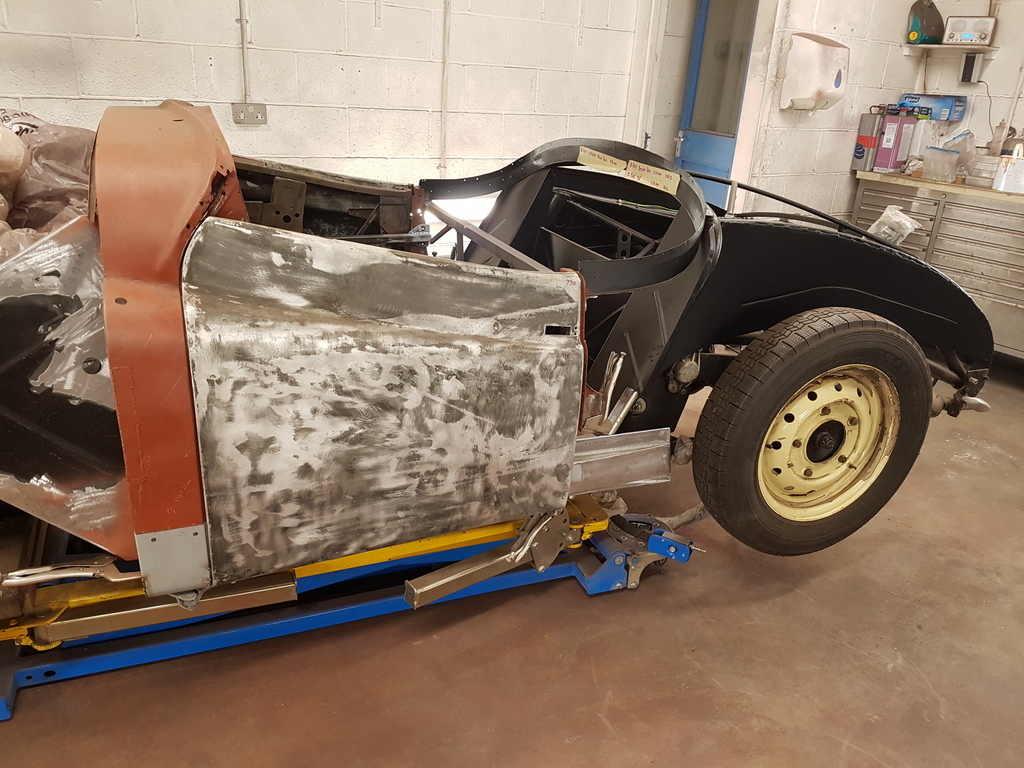 Time to exhume the rear shroud skin from the store 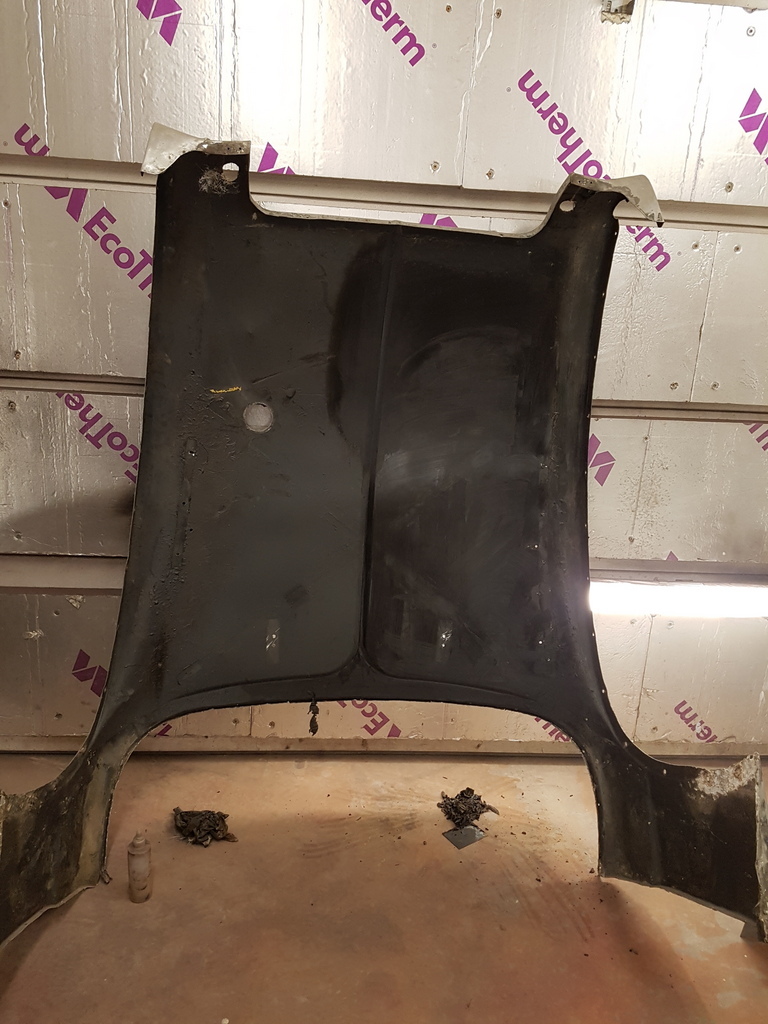 This is the largest panel on the car 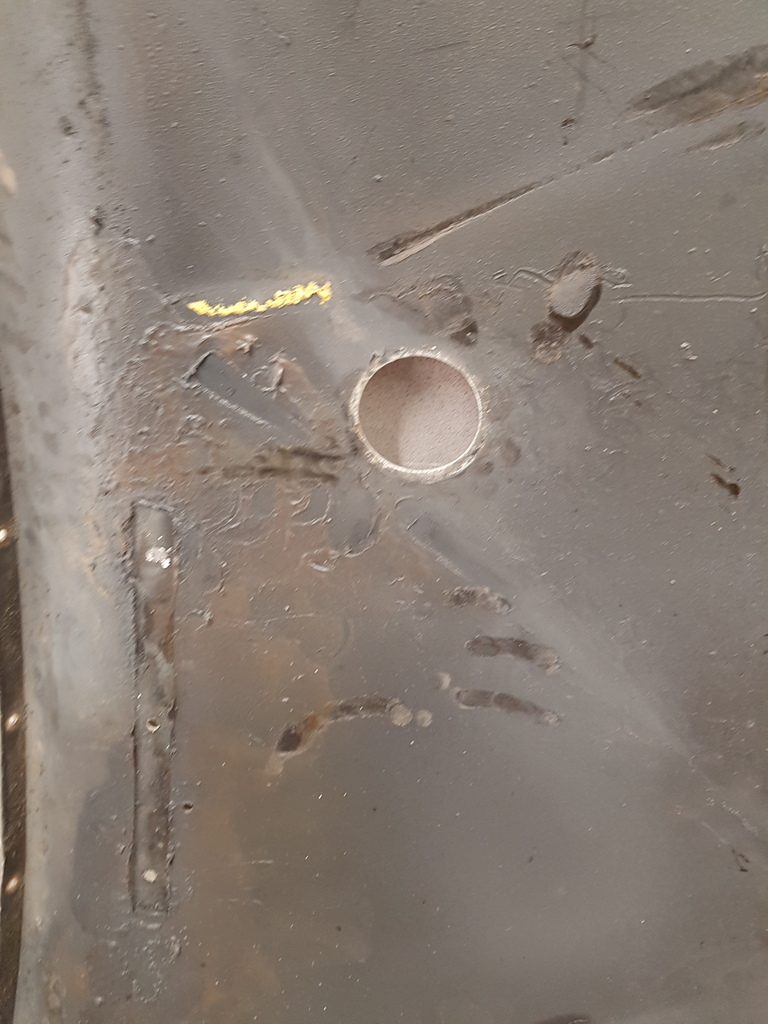 Its covered in some type of a sticky cavity protection wax on the underside 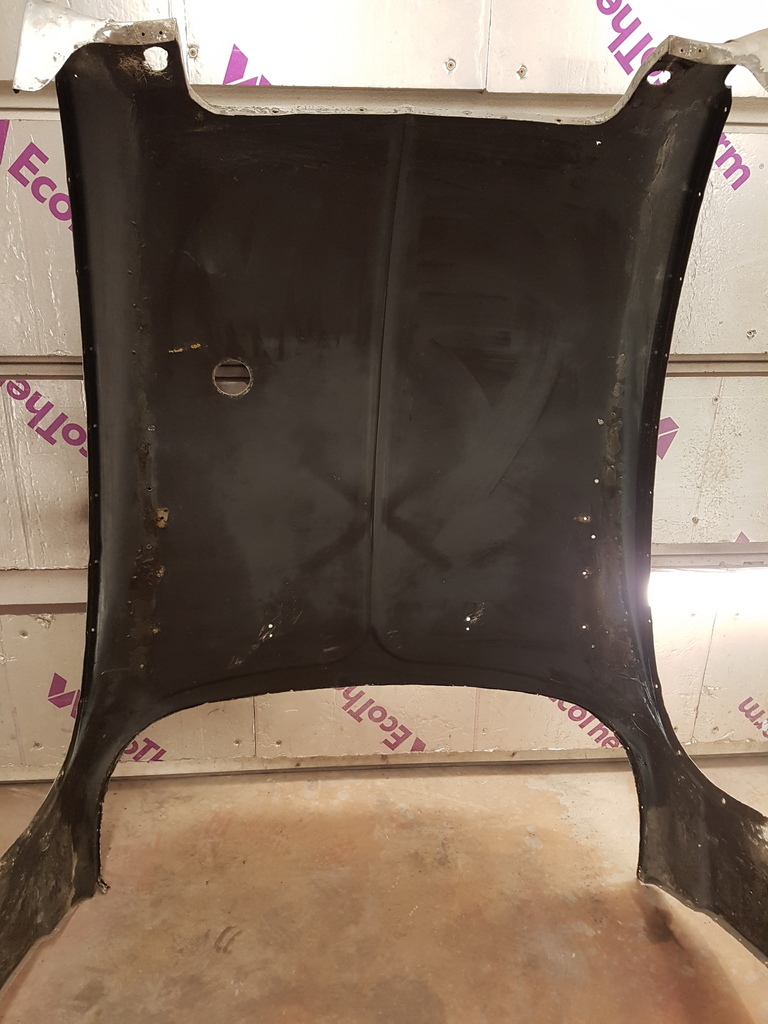 Before I ended up getting covered in it I scraped it all off and washed it down with panel wipe 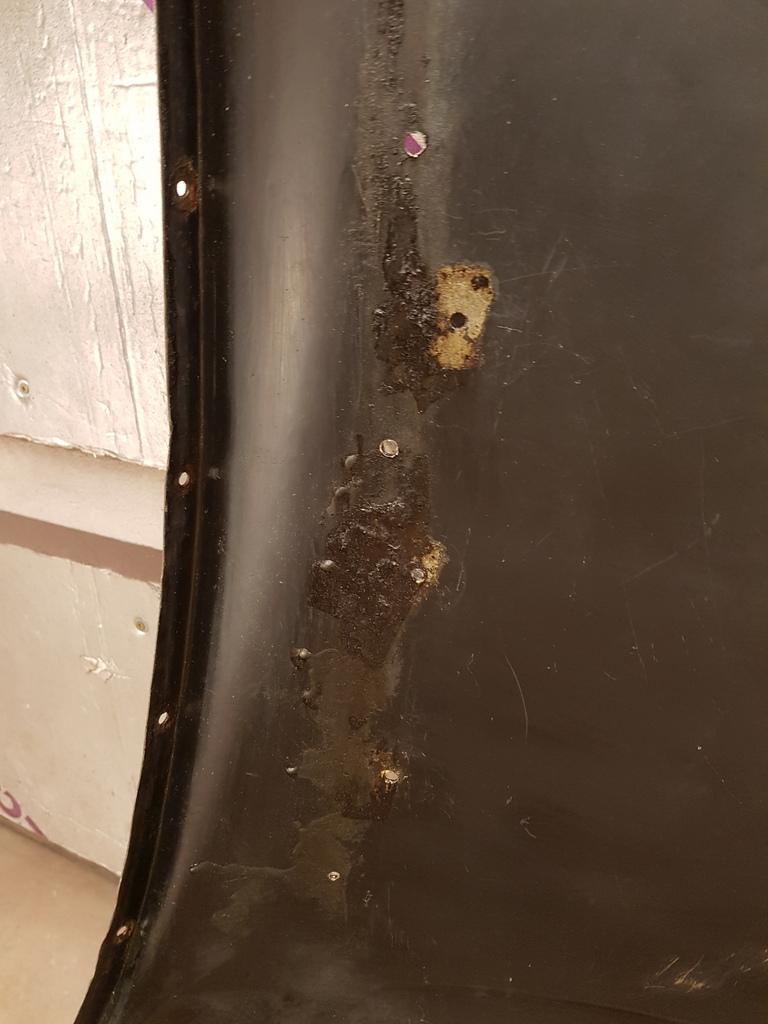 There's still evidence of the fibreglass resin daubed on it from when a previous owner decided to encase the rotten inner rear wings / splash panels in fibreglass - I will clean this up when the panel comes back off the body 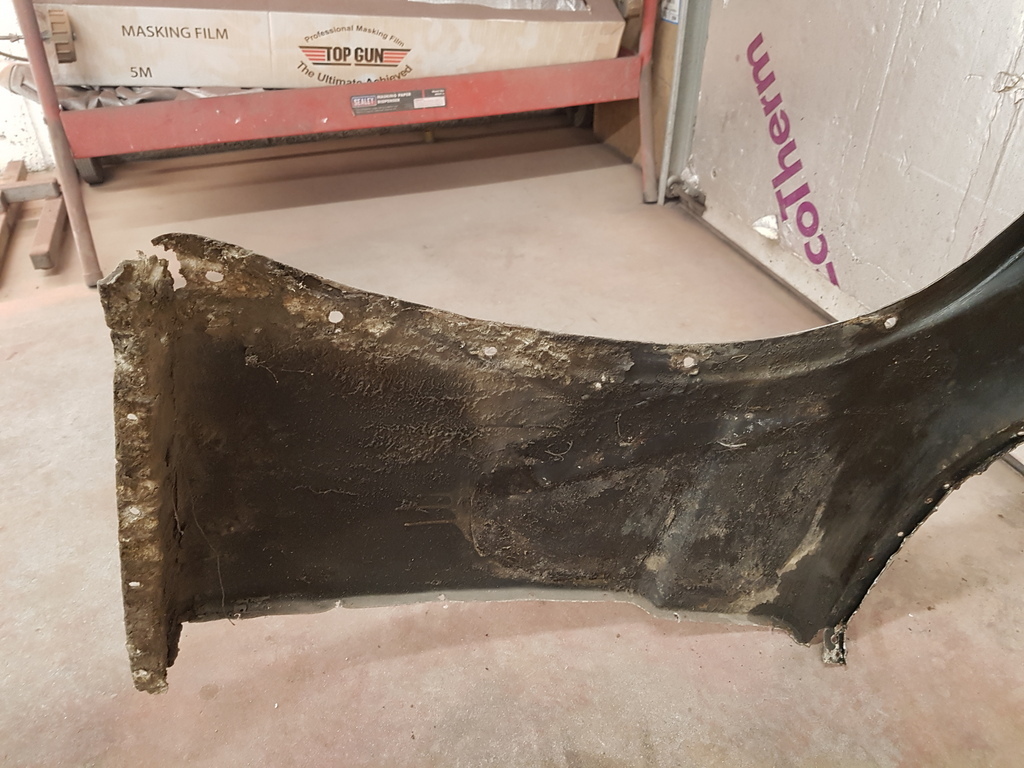 The quarter panels that bridge the gap between the B post & the rear wing are in a poor condition 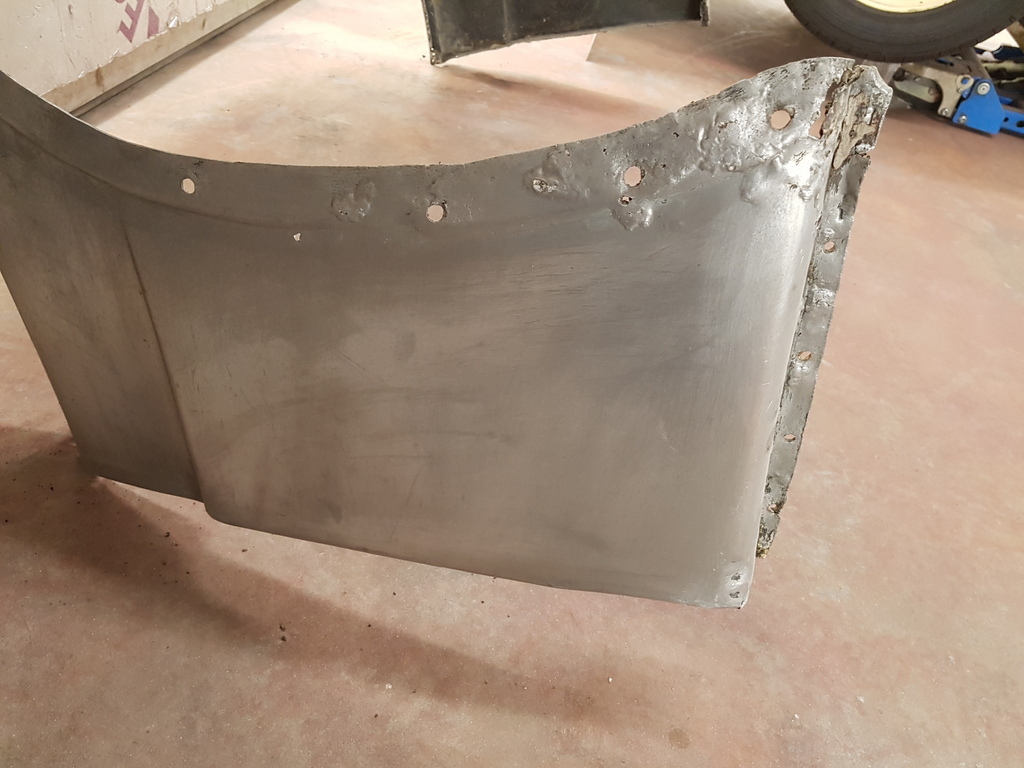 They have seen previous poor repairs 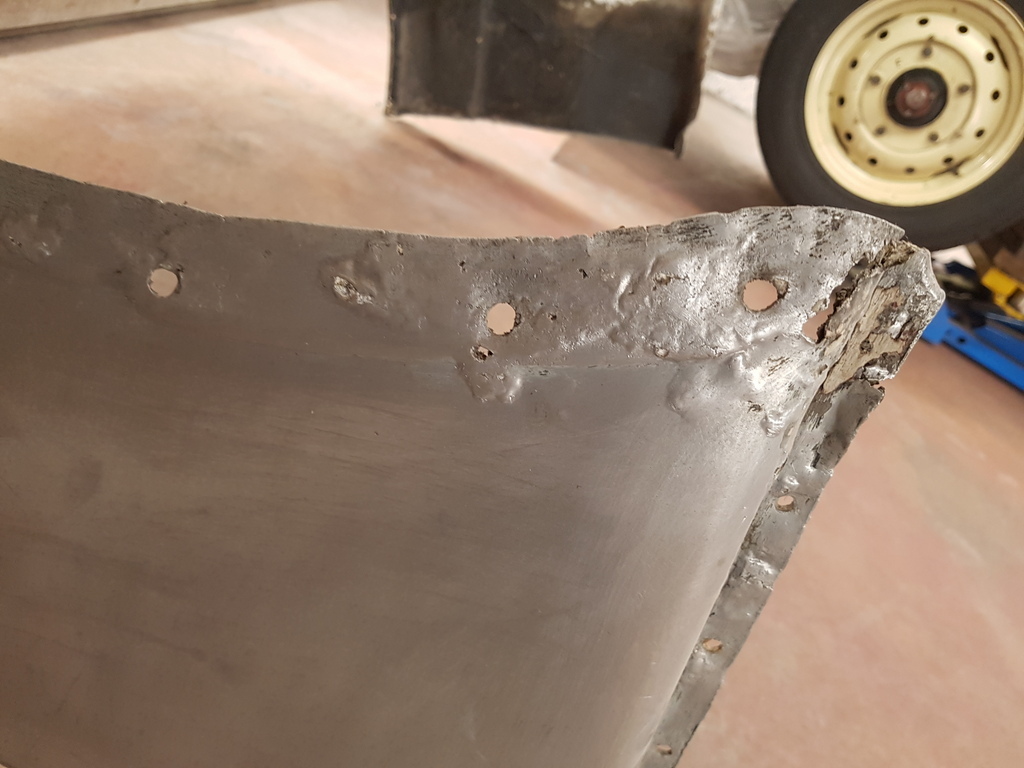 And they are perforated with oxide / dissimilar metals corrosion 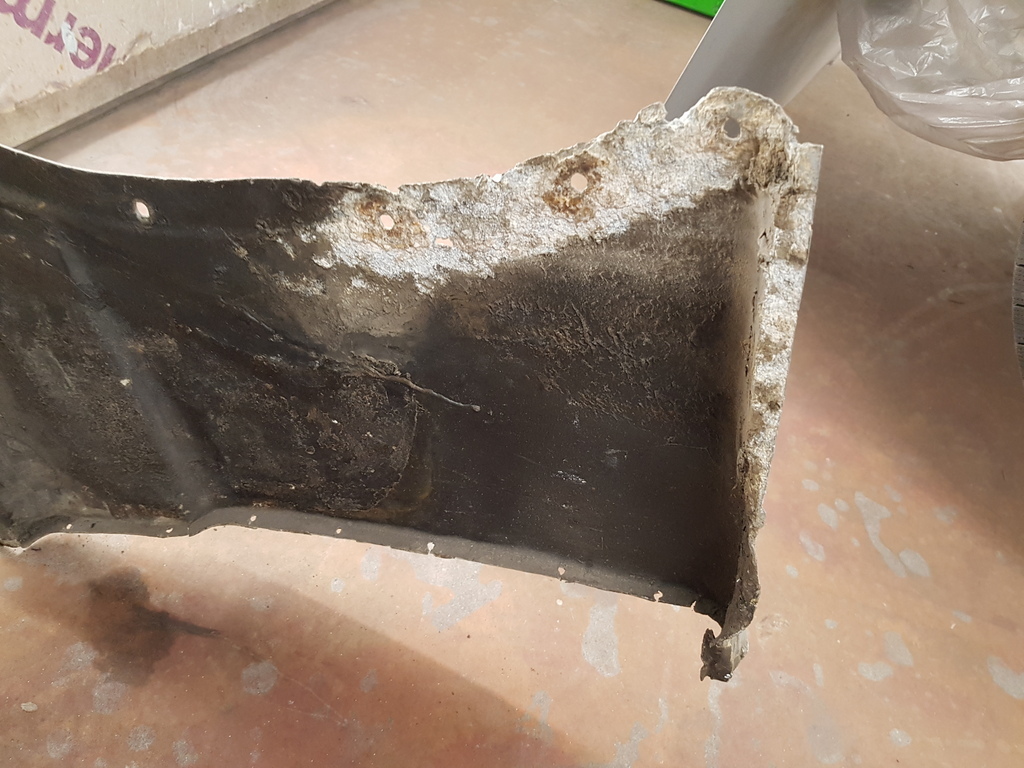 I will be making up new quarter panels to replace these 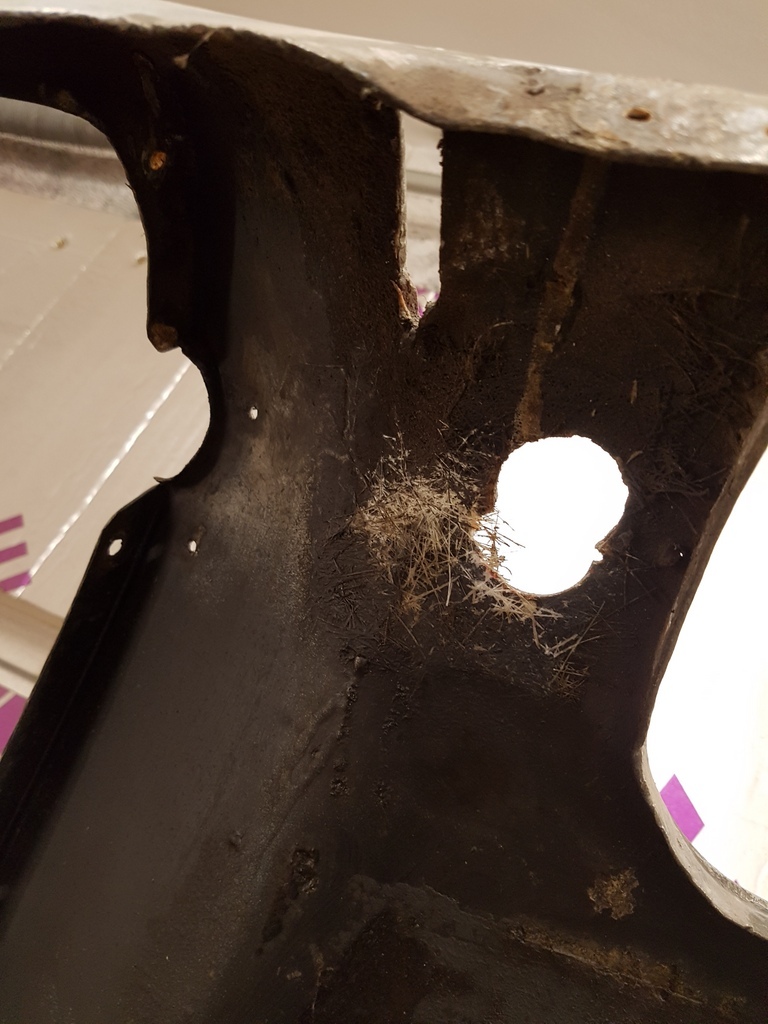 More fibreglass bridging up former non original lamp apertures - these will patch repaired with fresh alloy 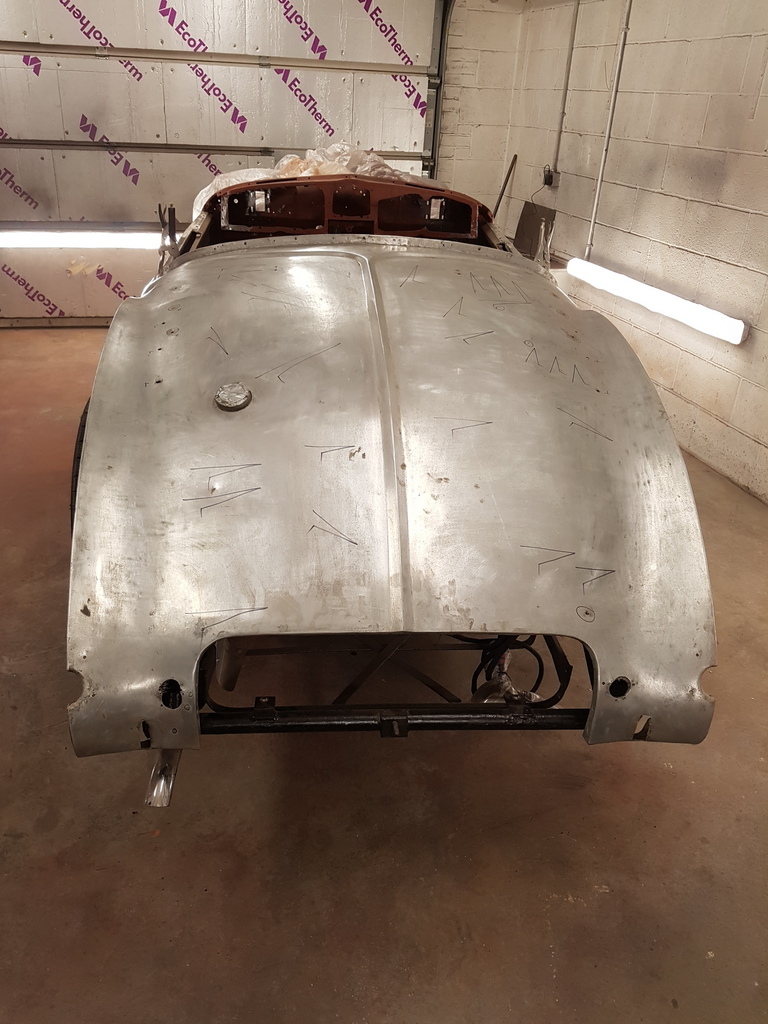 Trial fit of the rear shroud panel to the rear superstructure 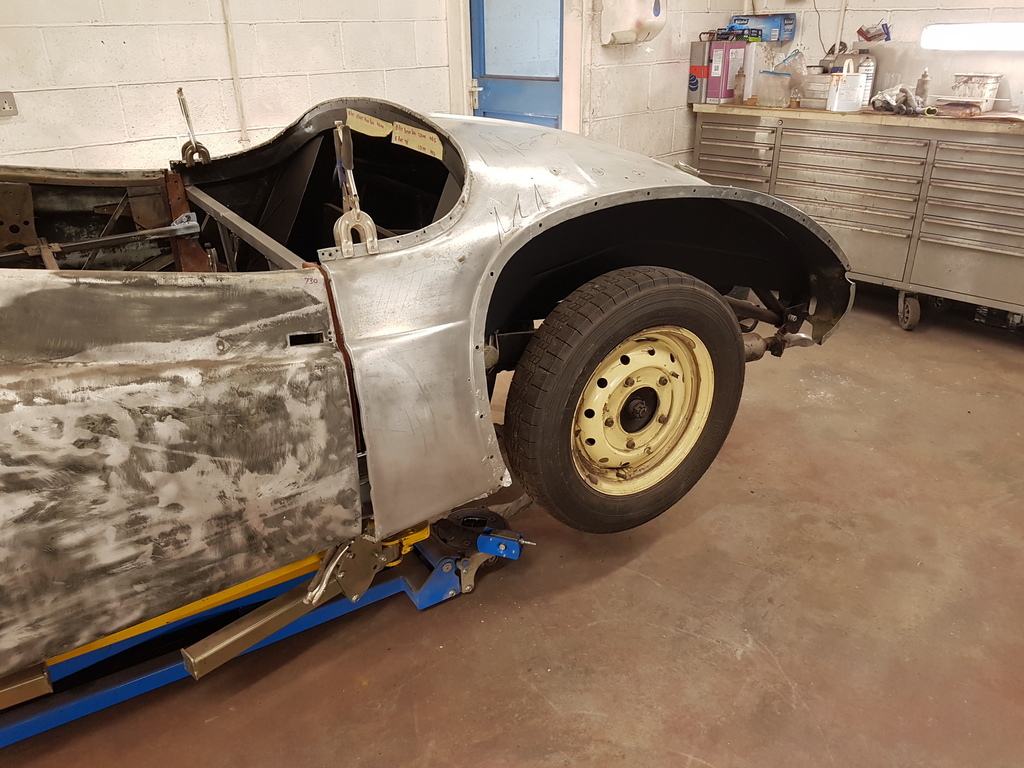 Its quite a tight fit and it tends to pull the B posts back and open up the aperture gapping 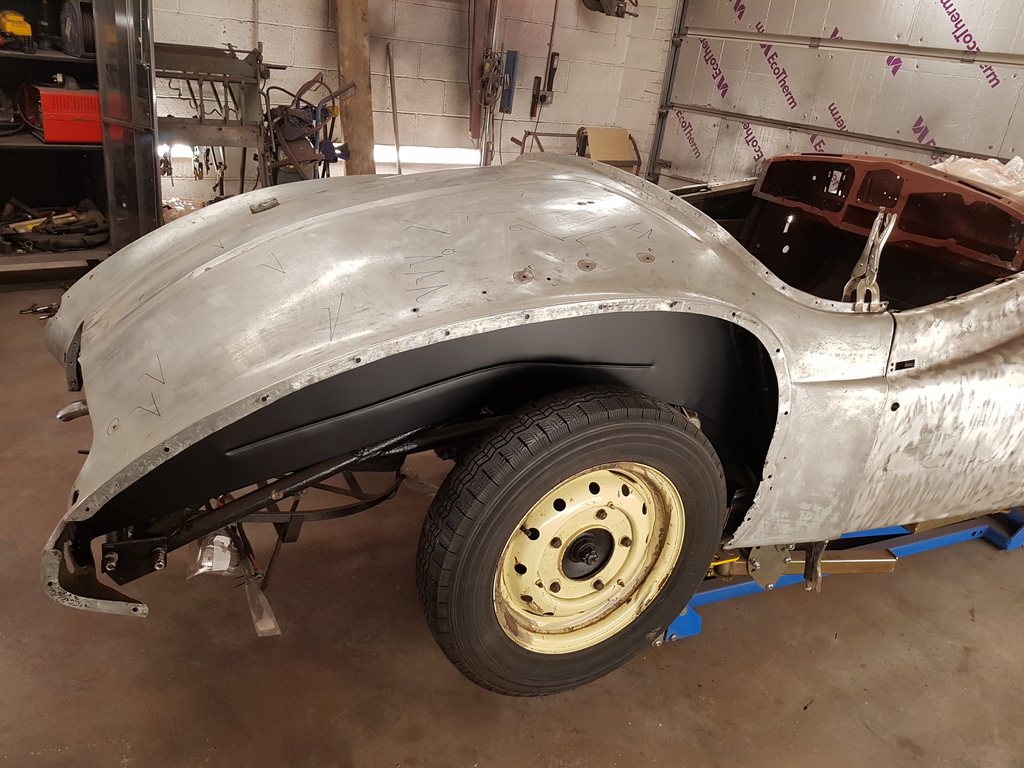 Which is why it's so important to trial it at this stage - then any modifications / adjustments can be made with the body mountings to address the gapping's 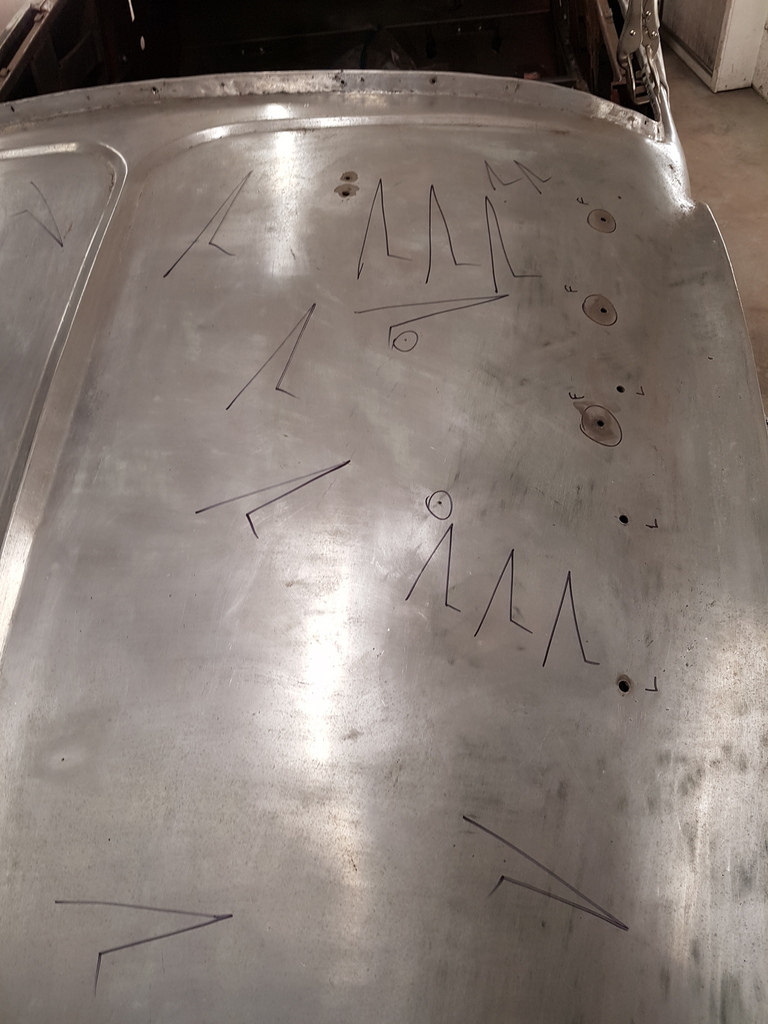 The markings are what I draw up from when I first assessed the panel 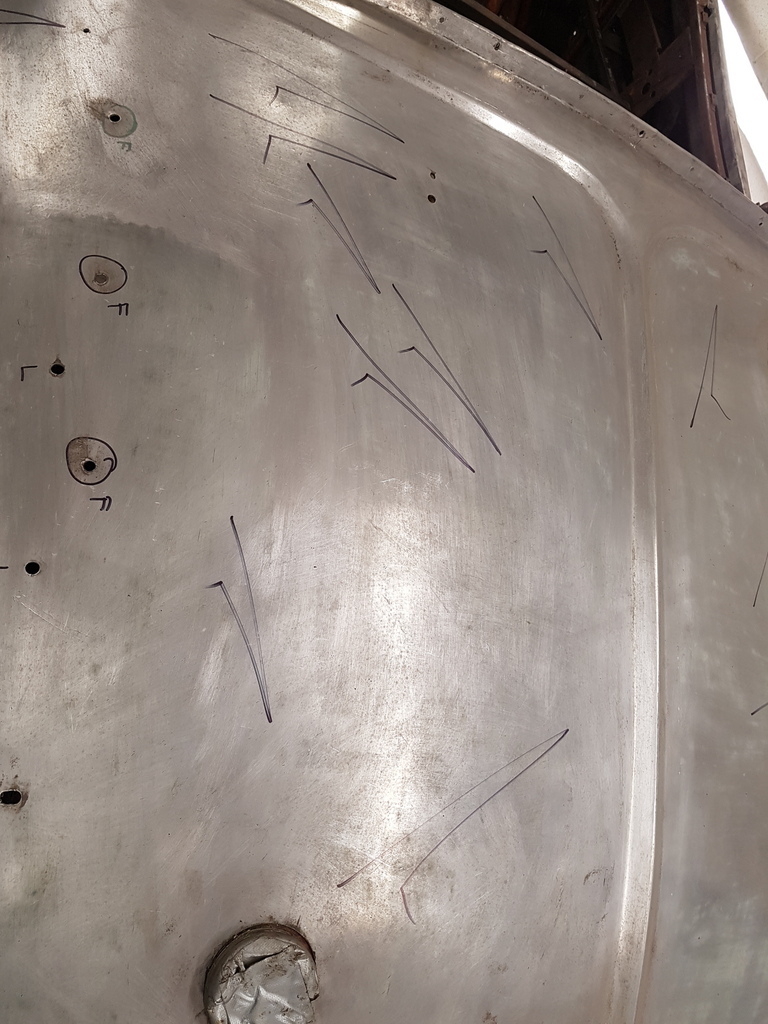 All the marked areas require work when the panel gets removed from the car - its next to impossible to access the vast majority of these areas with the panel fitted to the car More on Monday |
| |
Last Edit: May 9, 2020 18:23:52 GMT by Deleted
|
|
|
|
|
|
|
|
As ever terrific stuff so clearly explained - many thanks for taking the time to share it. Will look forward to seeing further progress!
The Jupiter is just such a wonderful looking machine - I remember seeing my first one at a classic car show at Wimpole Hall in the early 1990s and its gleaming red paintwork and unique styling made quite an impression on me!
|
| |
|
|
|
|
|
|
|
Good to hear, do you measure door gaps with a beer mat akin to people using Rizla papers on very close tolerance parts lol  He drinks gin, so a slice of lime would probably be more accurate?  Mmm gimlet.. |
| |
|
|
nze12
Part of things
 
Posts: 193
|
|
|
|
"Beer" mat? Surely...  |
| |
1986 BMW E30 refreshed to original spec
1973 BMW E12 520 converting to Motorsport 530
1982 XJS V12 converting to 5 speed manual
Many landscaping projects overriding above!
Cogito cogito ergo cogito sum!
|
|
|
|
|
|
|
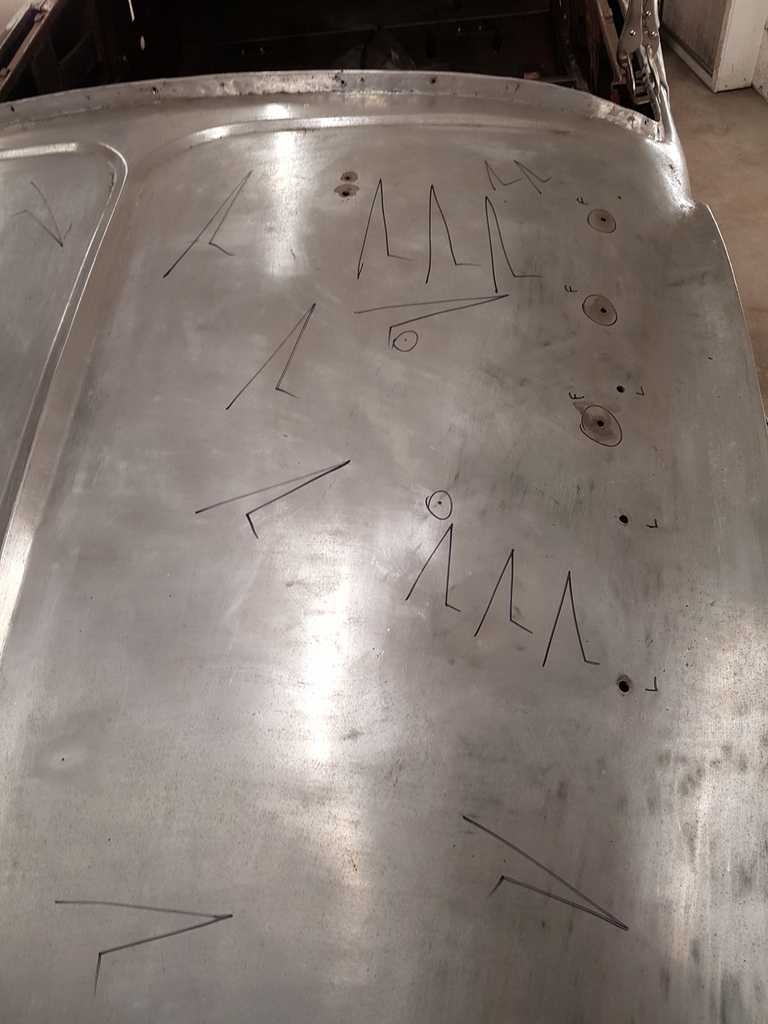 Have you been moonlighting down the hospital again? Looks like you have been using this to calibrate the cardiologist’s machine that goes,”ping” 🤣🤣 |
| |
|
|
|
|
|
|
|
"Beer" mat? Surely...  No chance - those are much too wide for my liking  |
| |
|
|
|
|
vulgalour
Club Retro Rides Member
Posts: 7,287
Club RR Member Number: 146
|
|
May 10, 2020 16:10:38 GMT
|
|
At first I thought the F holes were for a luggage rack, then noticed there's a set of L holes with similar spacing so I wonder if instead these are to do with fixing the shroud down to the super structure? I can't imagine there's a lot of luggage space in a Jupiter, what with that rear bodywork basically being full of car.
|
| |
|
|
|
|
|
May 10, 2020 17:54:46 GMT
|
grumpy those rear arches look like they've had a hard life, will you letting some new alloy into the damaged area???
|
| |
2000 X Peugeot 306 lx 1.6 8v Auto Dead  1997 R Honda Shuttle Ra1 2.2 16v Auto  |
|
|
|
|
May 10, 2020 18:13:43 GMT
|
At first I thought the F holes were for a luggage rack, then noticed there's a set of L holes with similar spacing so I wonder if instead these are to do with fixing the shroud down to the super structure? I can't imagine there's a lot of luggage space in a Jupiter, what with that rear bodywork basically being full of car. You're correct they are for a chrome luggage rack - the set marked L are being left whilst the set marked F are from a previous owners fitting and are being deleted / filled - there is a hidden luggage enclosure box behind the seat 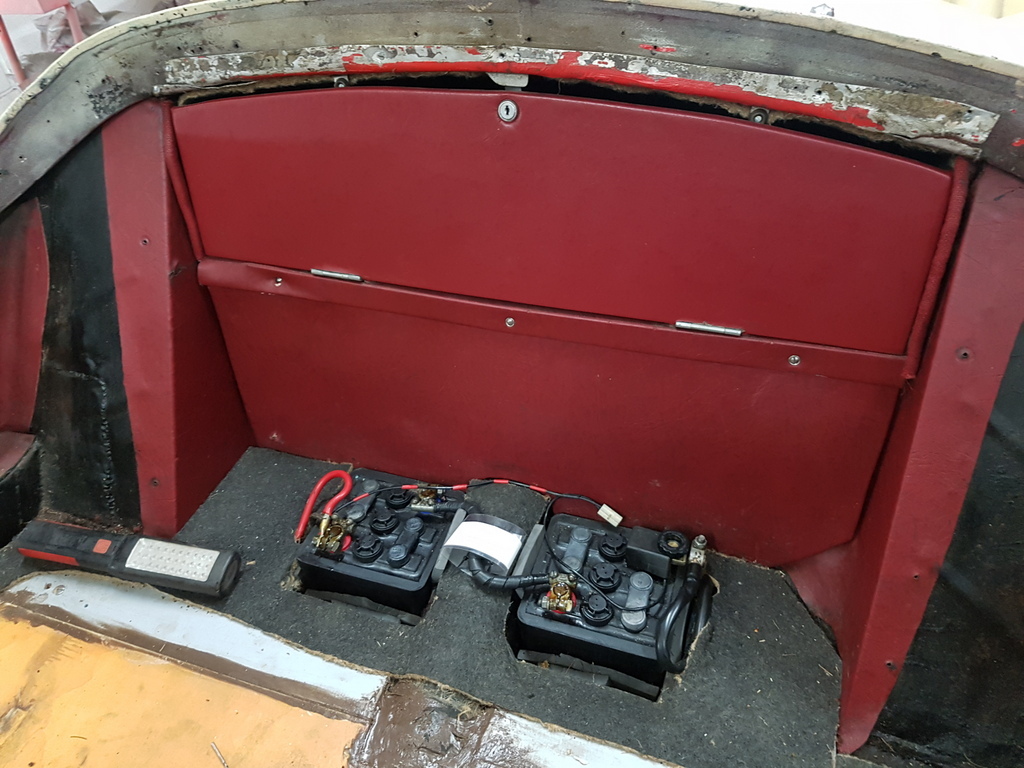 Its quite deep 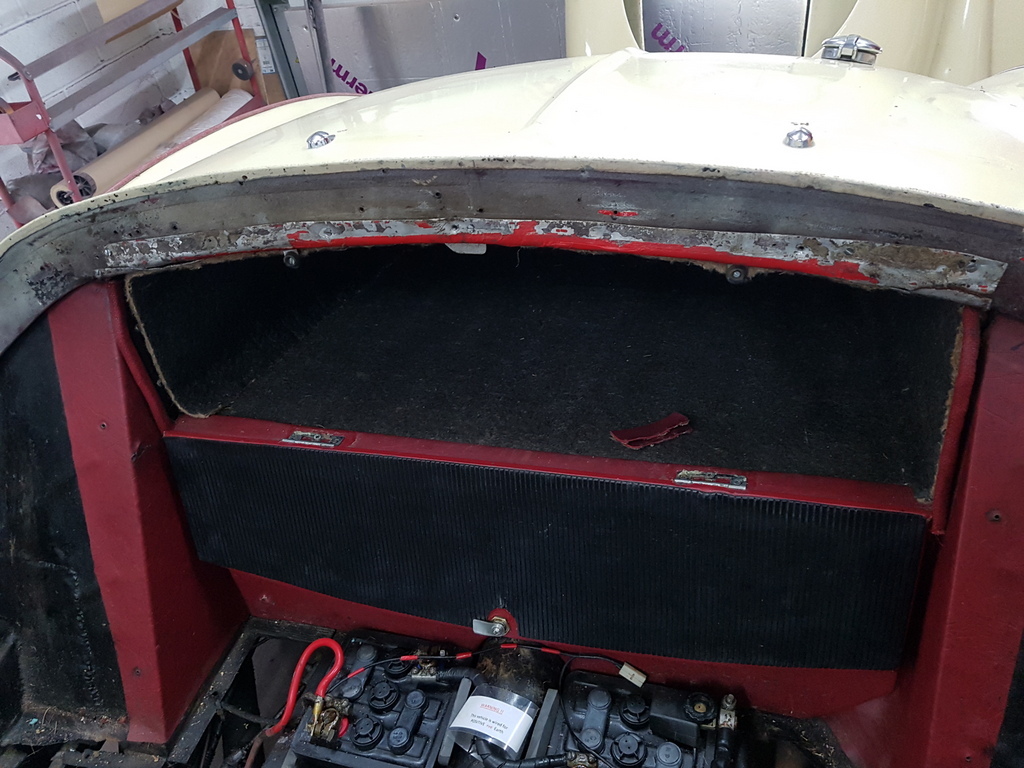 It readily accommodates a couple of mid sized suitcases 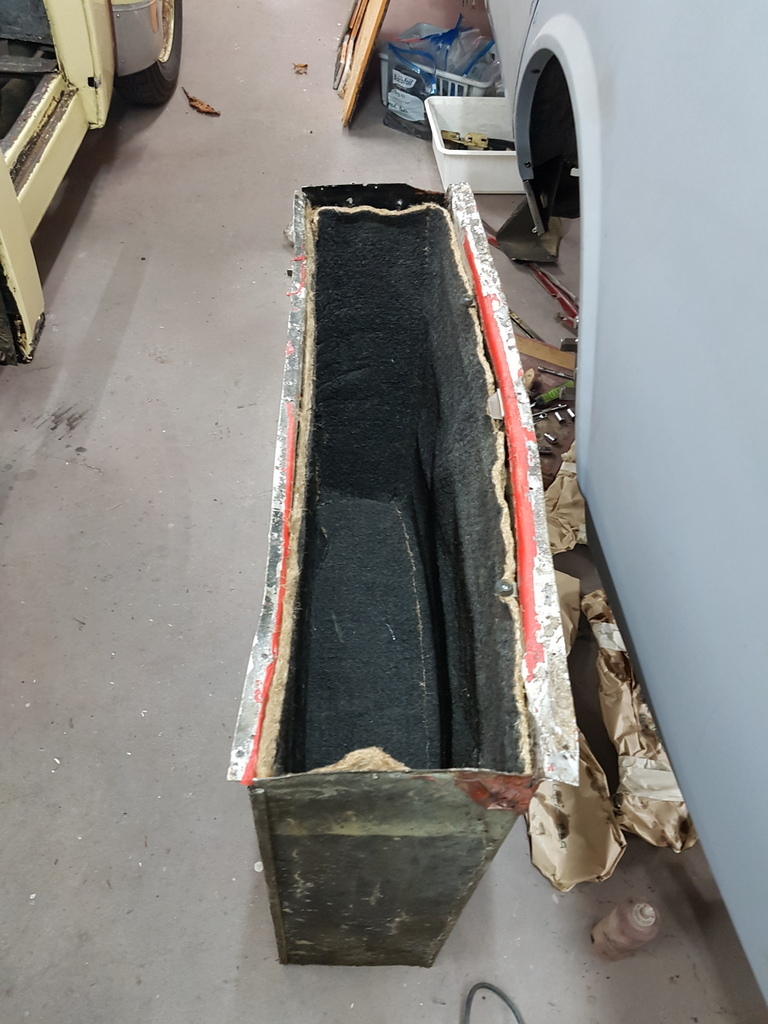 |
| |
|
|
|
|
|
May 10, 2020 18:15:37 GMT
|
grumpy those rear arches look like they've had a hard life, will you letting some new alloy into the damaged area??? Yes the rear quarter panels will be getting replaced |
| |
|
|
|
|
|
May 11, 2020 19:53:05 GMT
|
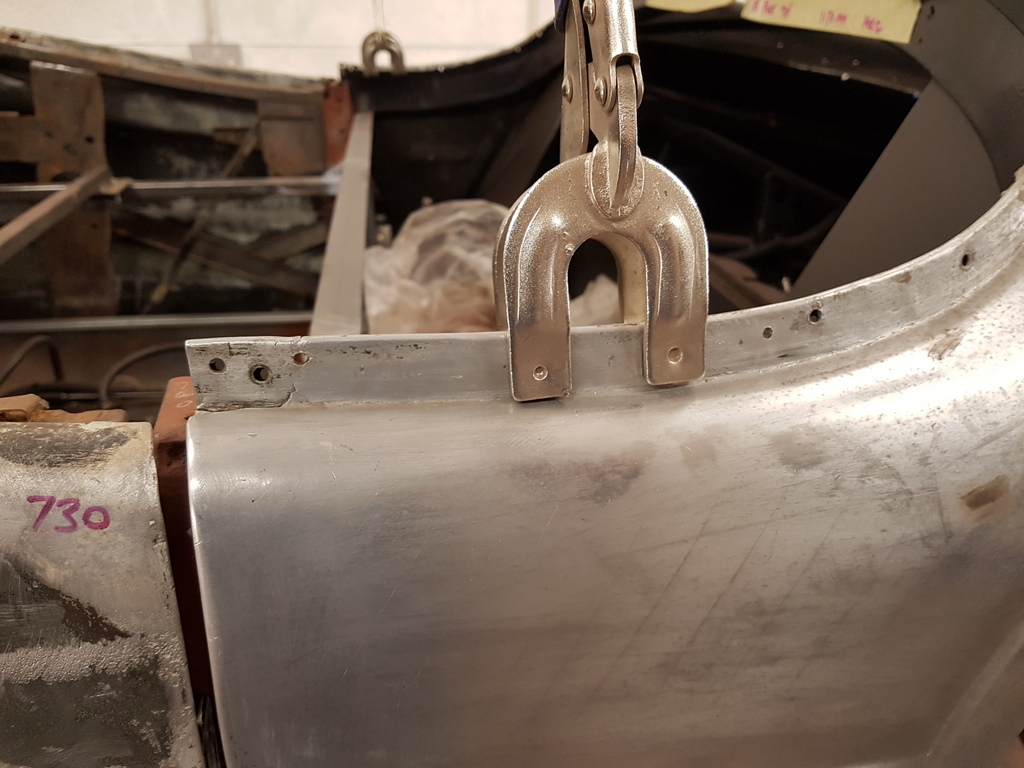 First job today was just to set out the door gapping between the rear shroud quarters / door 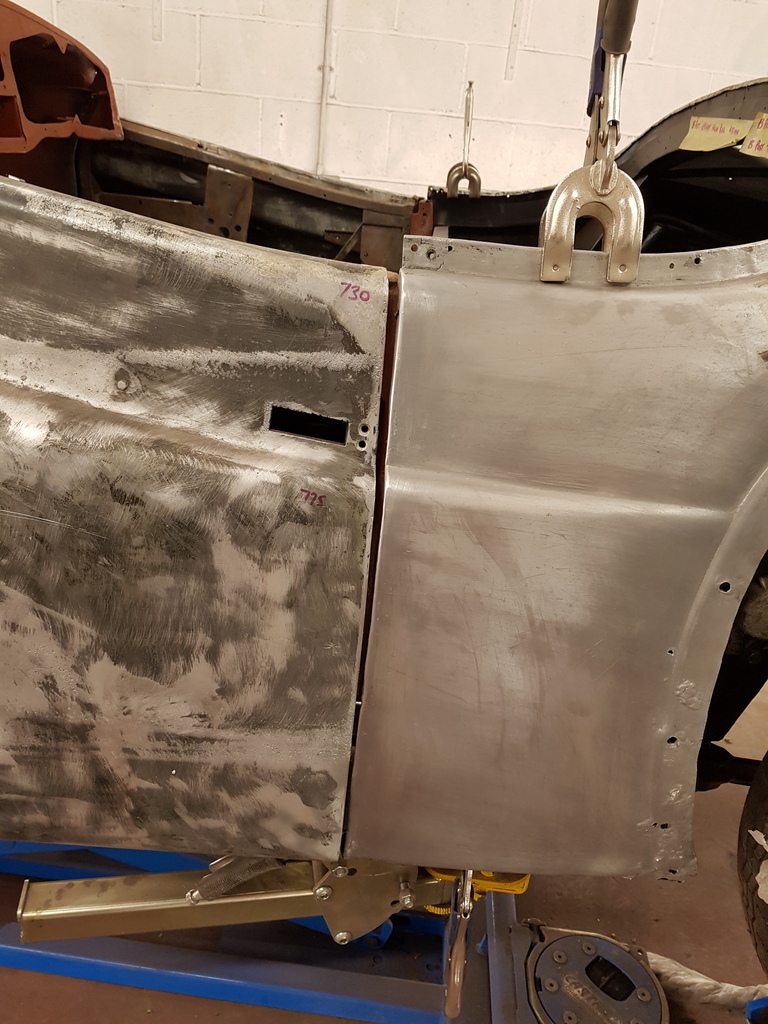 Its achieved by a combination of adjusting the panel fit / door fit / rear superstructure fit 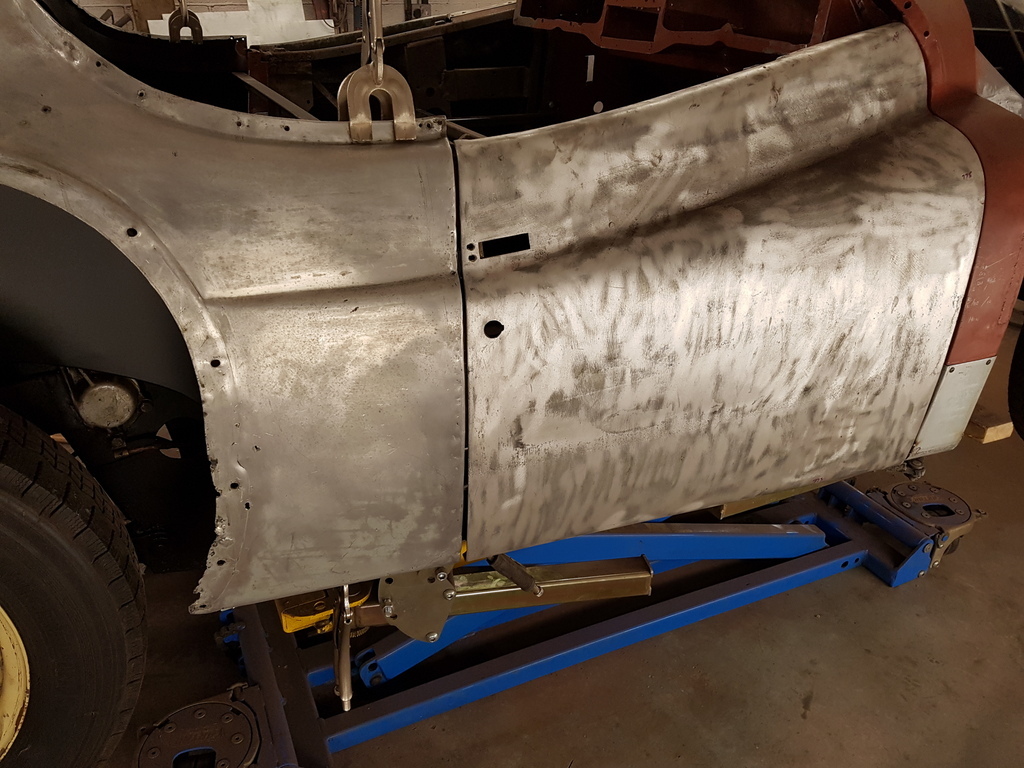 Along with a factor of F&P (Faff & Patience) 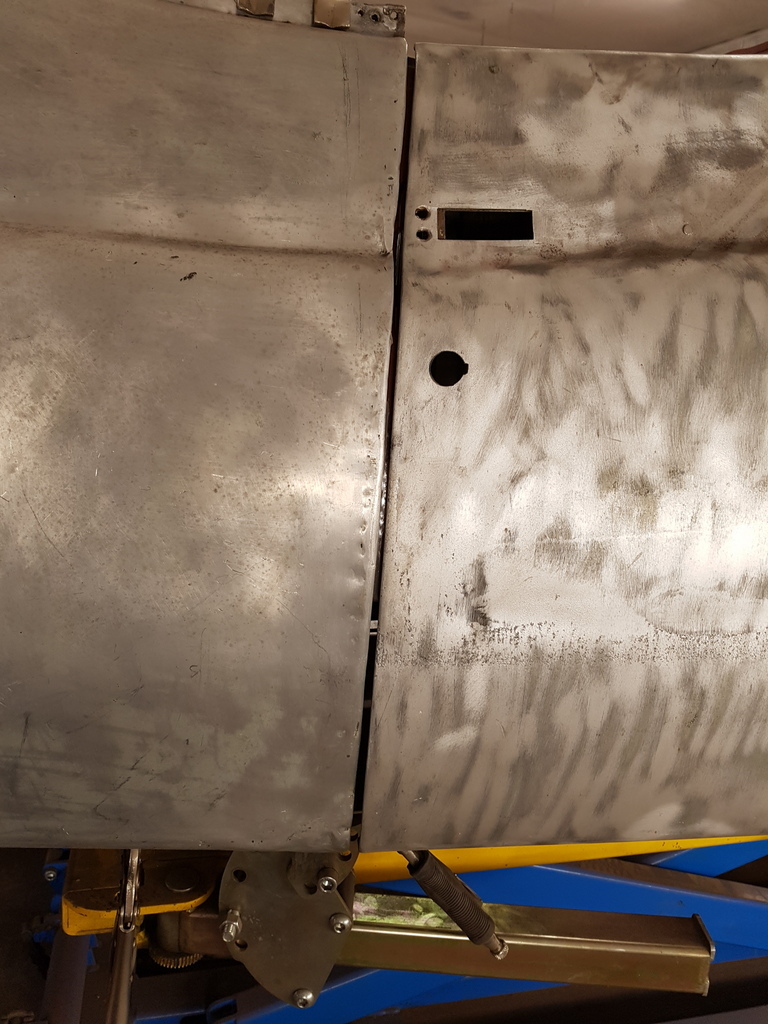 These are going to close up as the structure of the car comes together and gets welded up - hence I would rather leave the gaps slightly wider at this stage 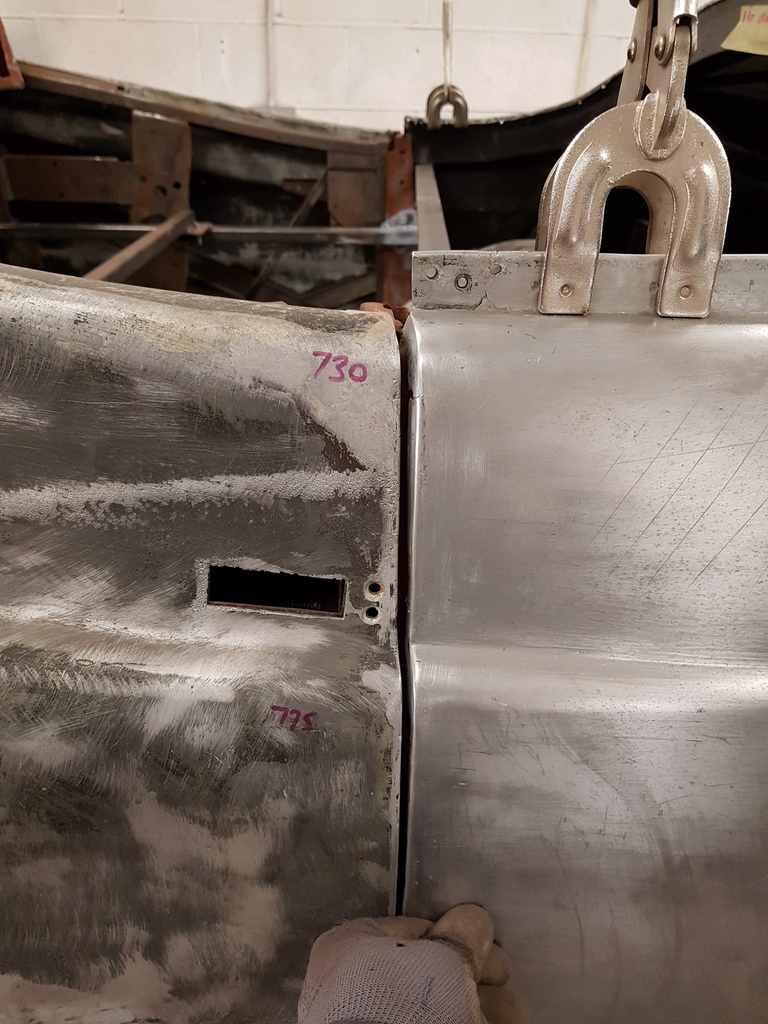 You just have to keep working at it until you achieve a near enough result but it all takes time 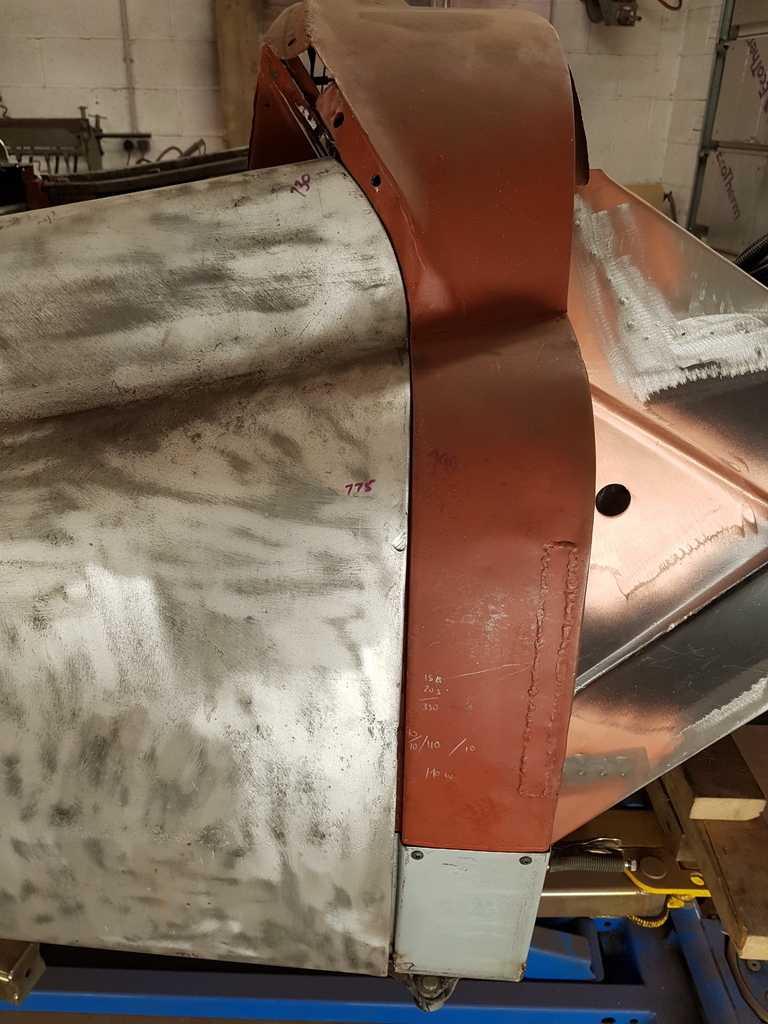 Alter & adjusting to correct one area can very easily throw the tolerance that was perfect elsewhere into disarray 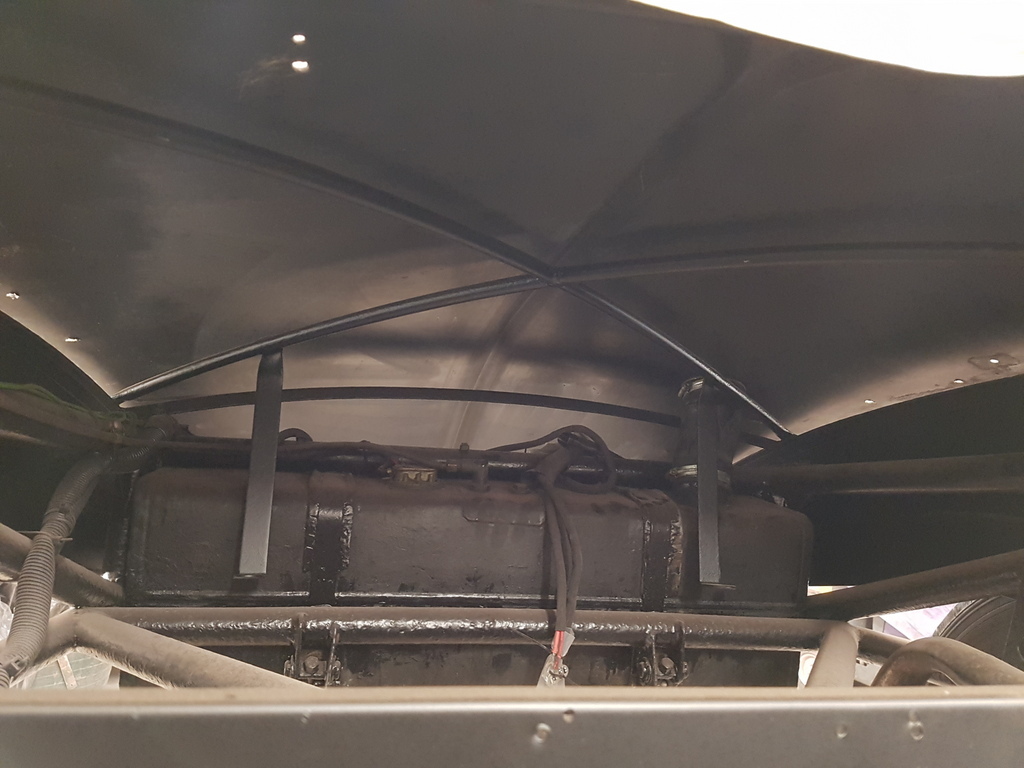 But eventually I arrived at a point where I had to fix the structure in order to progress further - the skin does not come into contact with the framework except in the mounting / fastening point areas - originally the factory placed a felt between the frame and the skin - I find that 13mm foam pipe insulation works more effectively 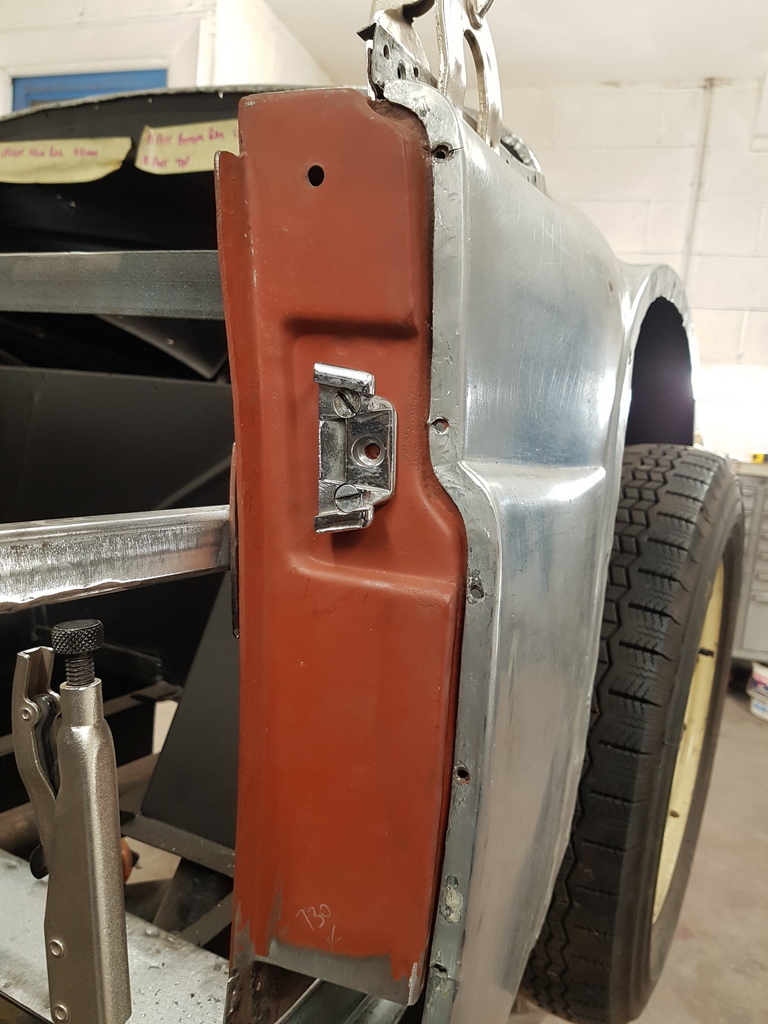 The skin is fastened largely by pop rivets to the B posts 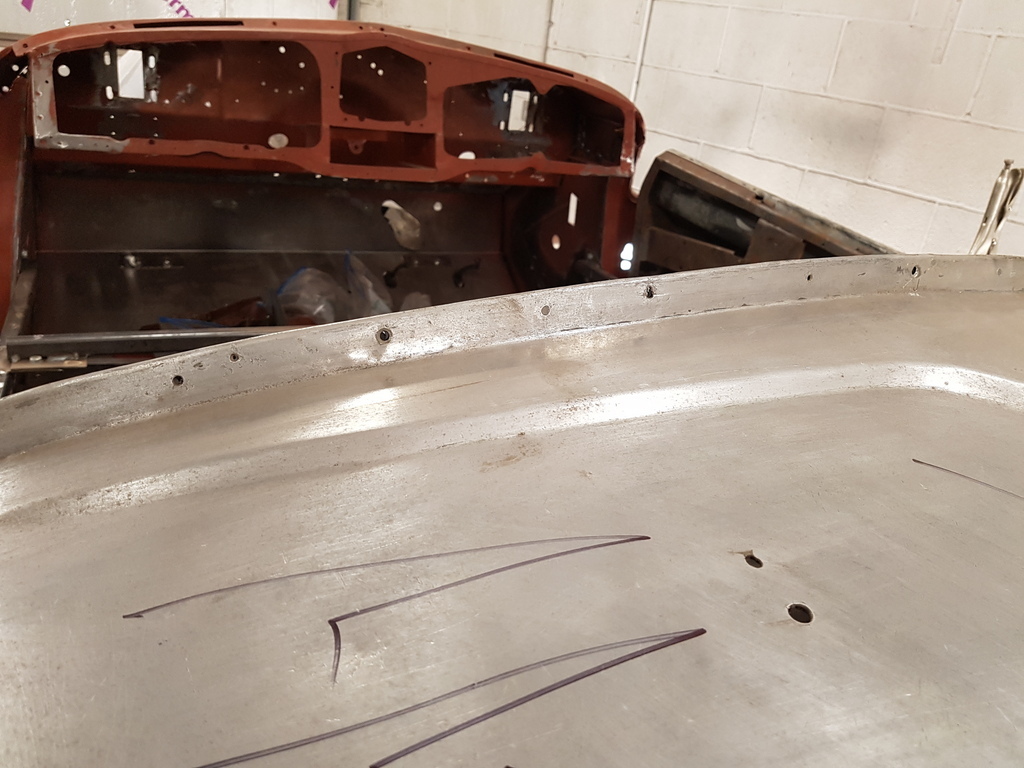 Rivets again on the hood rail 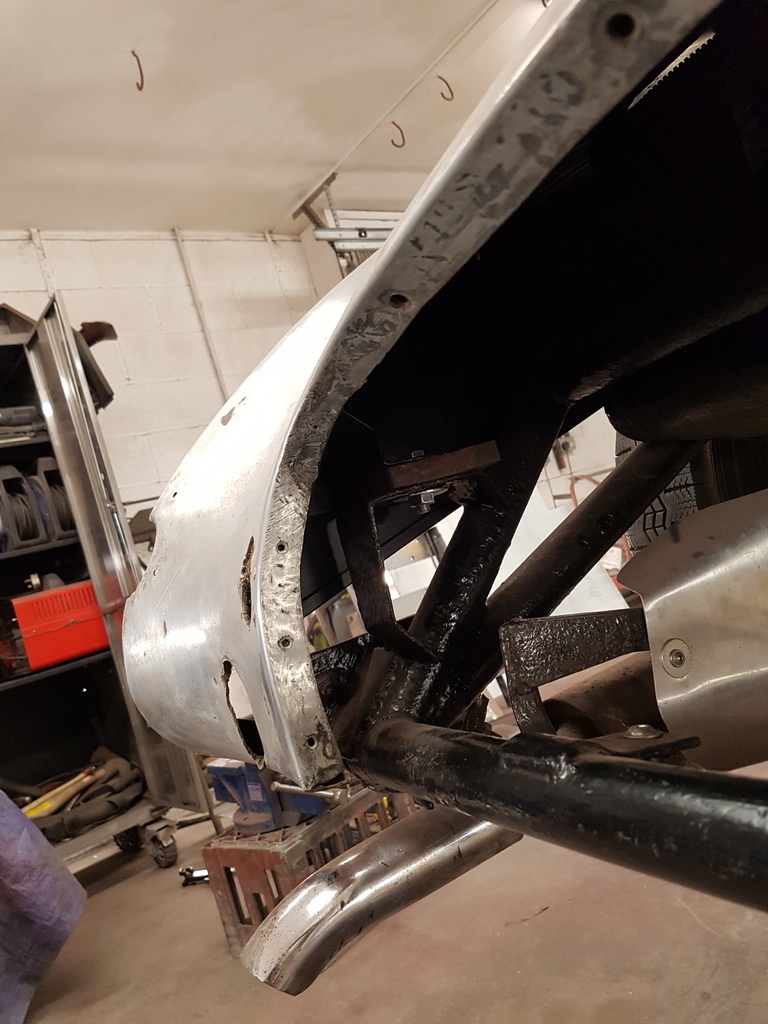 And countersunk machine screws around the spare wheel aperture but for now the panel will remain loose - I'm just using it has a guide for the aperture gapping 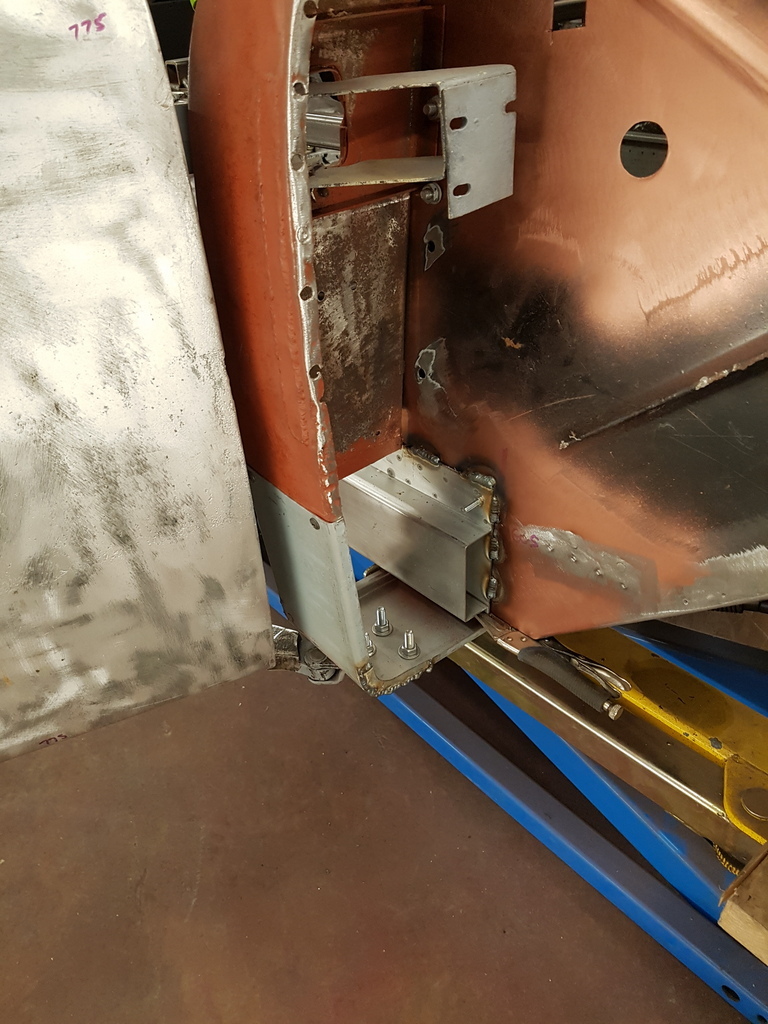 The joining of the front & rear structures could now go ahead - I tacked both sides together then returned to the offside to undertake the structural welding 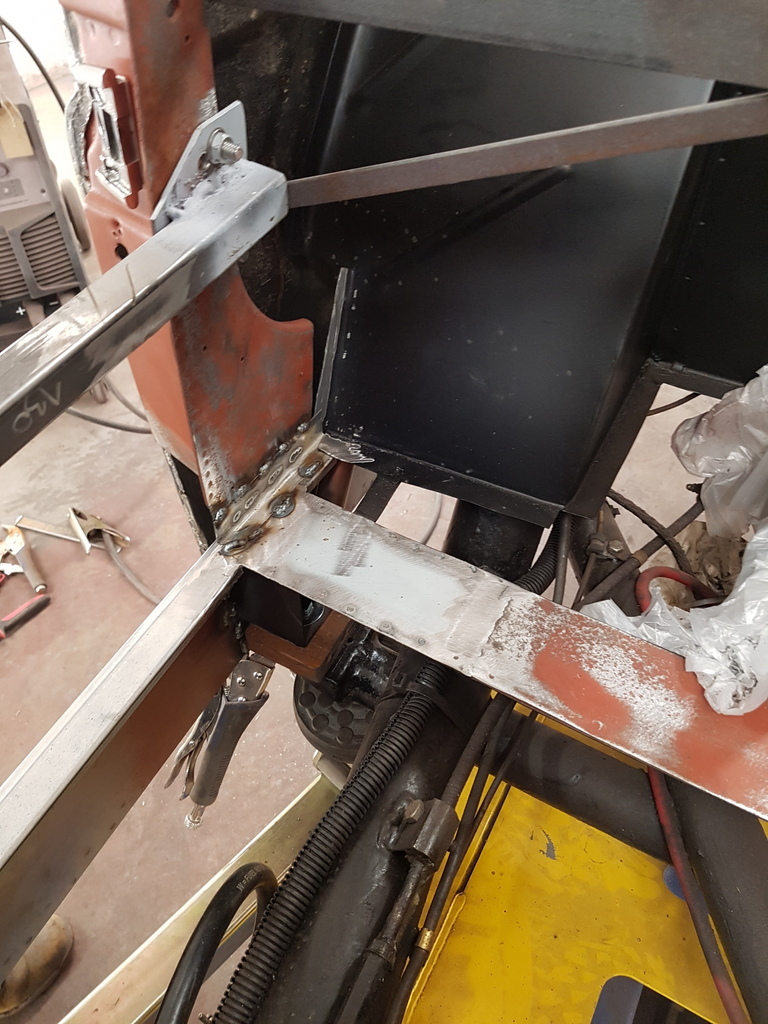 B post & mid rail welded in 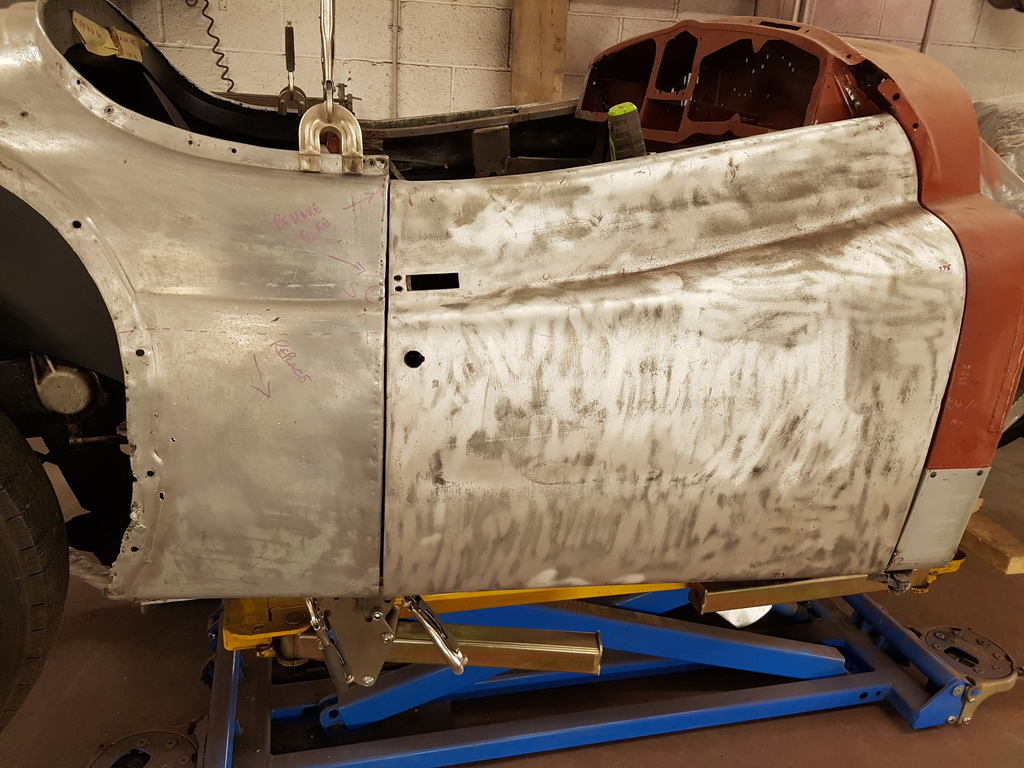 I kept checking the door gap throughout the process 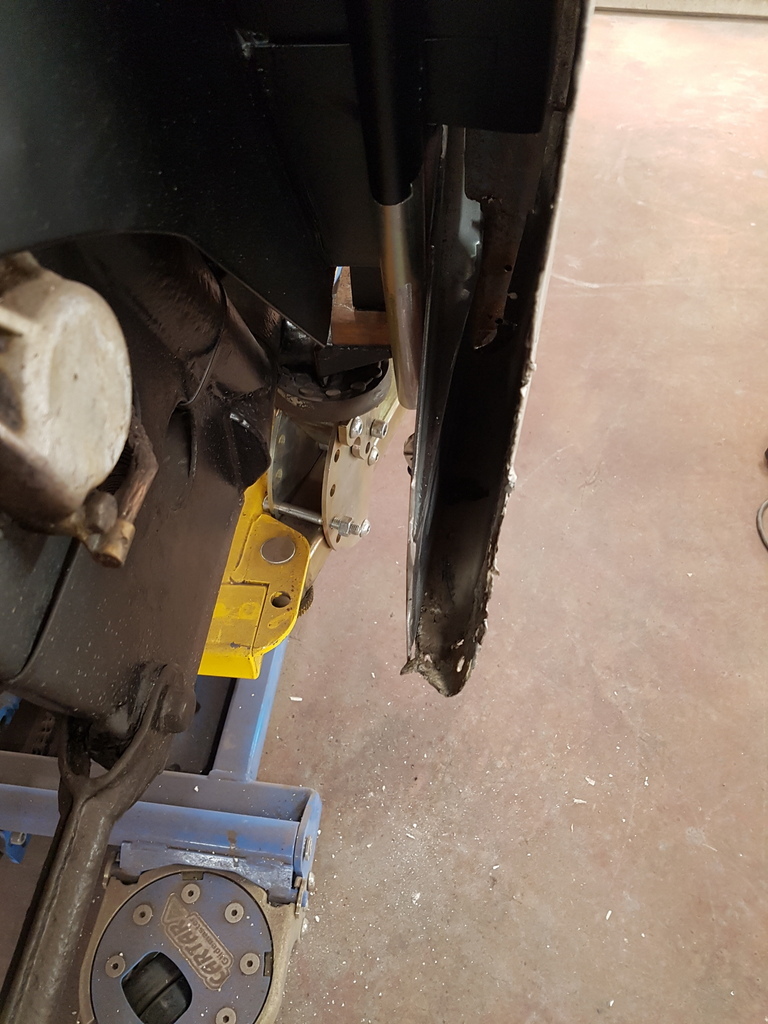 Now you can see why the rearward section of the sill has to be tapered 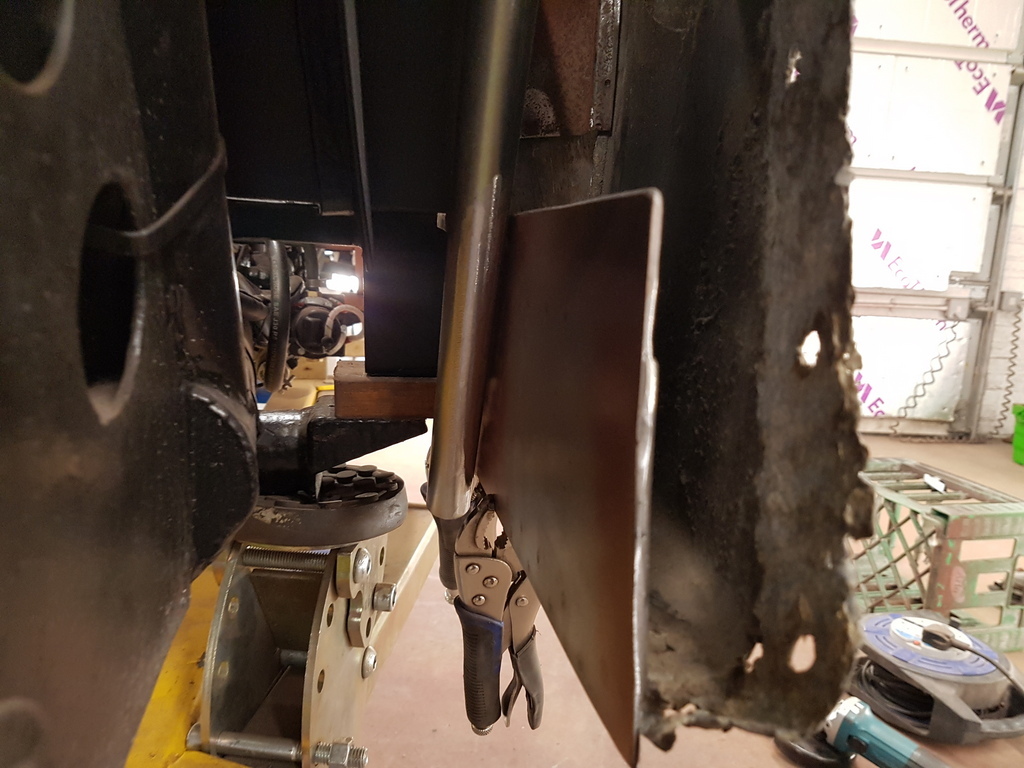 The support tube needs connection to the inner sill 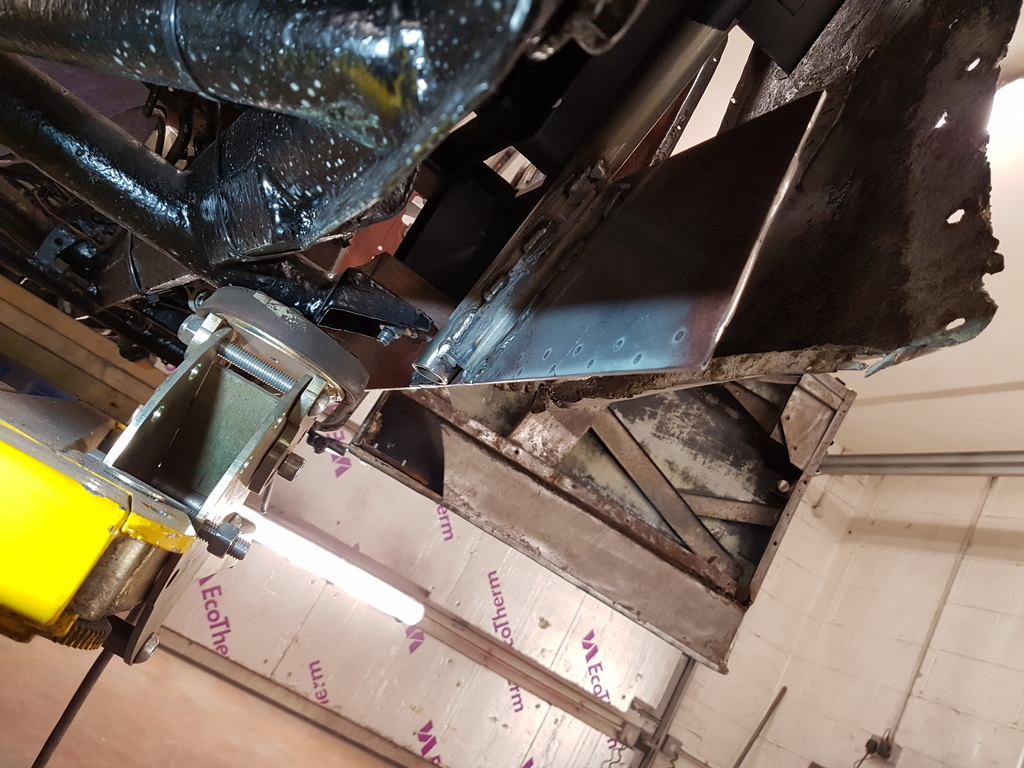 Easily done 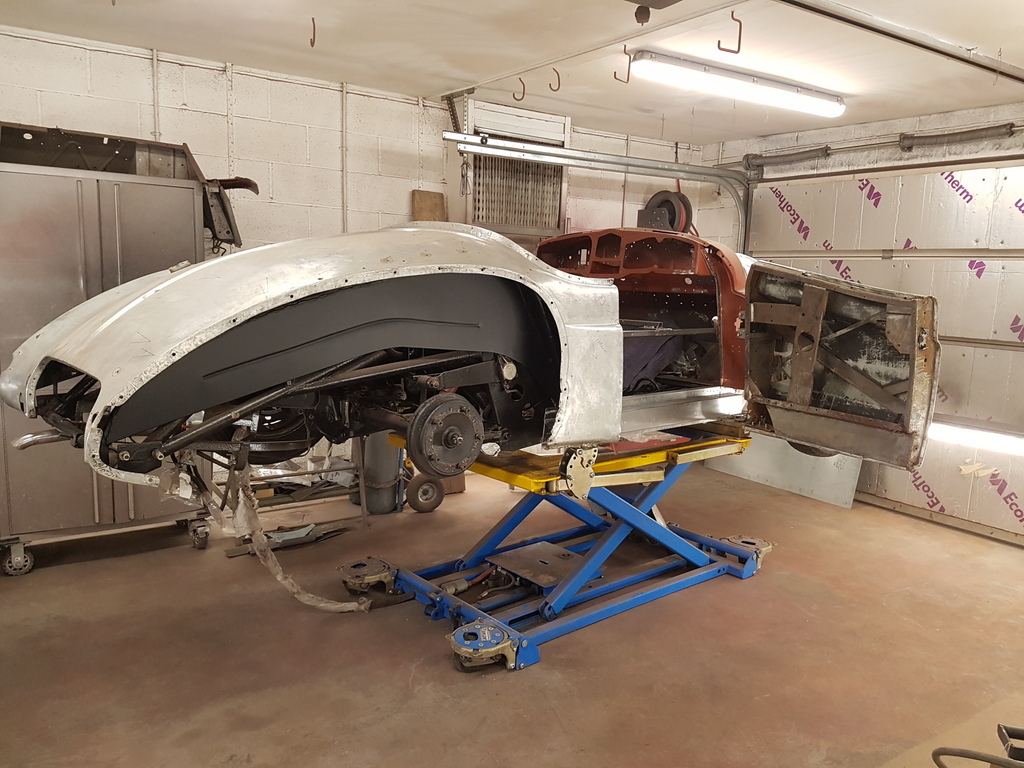 Having restored several Jupiter's previously but this is the first one that I have undertaken since purchasing the mid rise lift 18 months ago - and wow what a difference it makes in being able to access the work areas at this stage 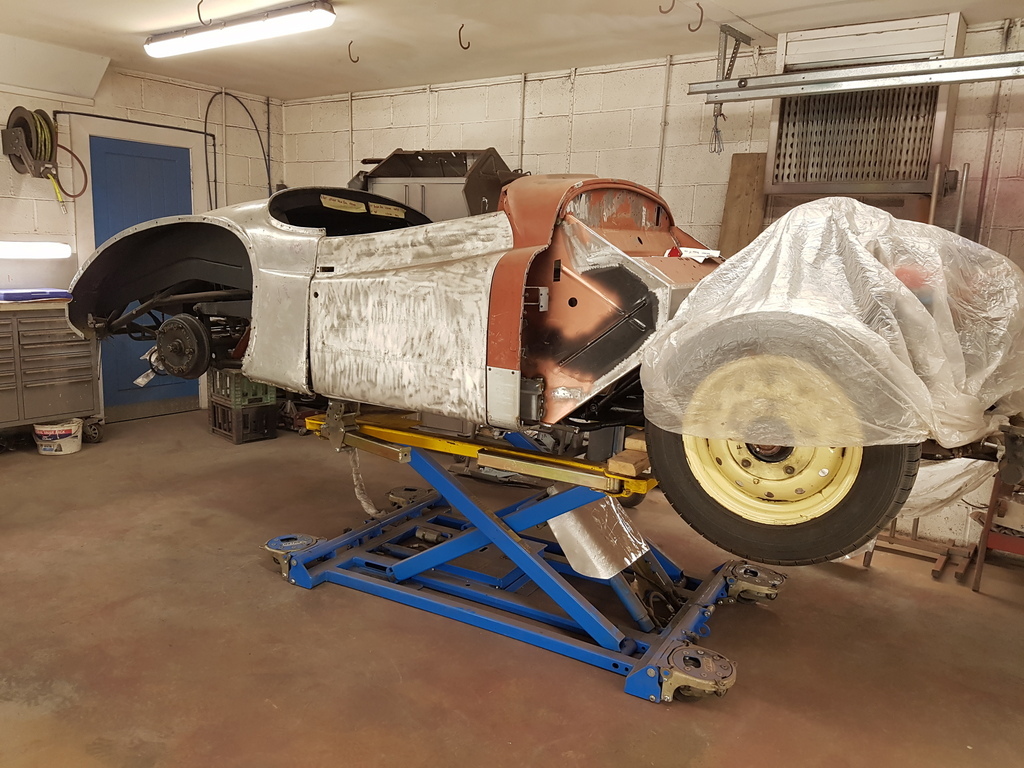 Next job is to bring the nearside up to the same point that I have completed the offside to today More tomorrow |
| |
|
|
|
|
|
|
|
|
GN, with this being such a low productions car, would the exterior panels have been made with English wheels and other traditional handcraft technicques (as opposed to being stamped)? Thanks, John
|
| |
Last Edit: May 12, 2020 0:57:15 GMT by jjeffries
|
|
|
|
|
|
|
grumpyI was wondering why there was such a taper on the rear of the sills. Regarding using pipe insulation versus felt, is it just easier to place or any other reason??
|
| |
2000 X Peugeot 306 lx 1.6 8v Auto Dead  1997 R Honda Shuttle Ra1 2.2 16v Auto  |
|
glenanderson
Club Retro Rides Member
Posts: 4,361
Club RR Member Number: 64
|
|
|
|
|
I imagine, being closed cell foam, it doesn’t have the tendency to hold water like felt would.
|
| |
My worst worry about dying is my wife selling my stuff for what I told her it cost...
|
|
|
|
|
|
|
I imagine, being closed cell foam, it doesn’t have the tendency to hold water like felt would. Glen is spot on here - The factory used what was available at the time of production - there is not really much opportunity for water ingress or splash in this area but felt rots out & the adhesive lest go over time then you get the odd point of contact which will sound like a drum on panel of that size - the pipe insulation retains its self and does not rot either so its perfect for this job |
| |
|
|
|
|
|
|
|
|
Some great work done there again! Maybe a silly question but should the car be sstanding on its wheels when you do these structual repairs. Because it is a convertable, it will always sag a bit
Thanks again for posting these projects as it is a fair bit of work and great fun for us!
Peter
|
| |
|
|
|
|


