|
|
|
|
|
Right folks its about time i introduce you all to my capri project thats been sat at my mums for a few years, ive had this car since 2008 as all of you will remember this was before they became subject to omgoldfordtax, I don't think I'd buy one at today's over inflated prices 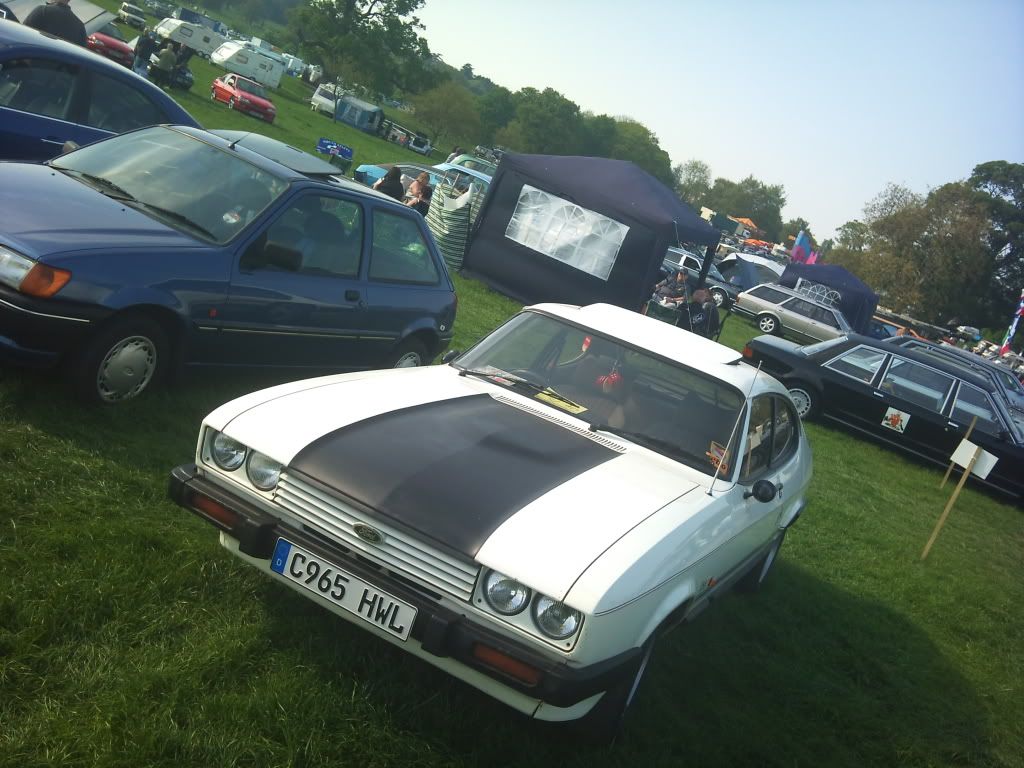 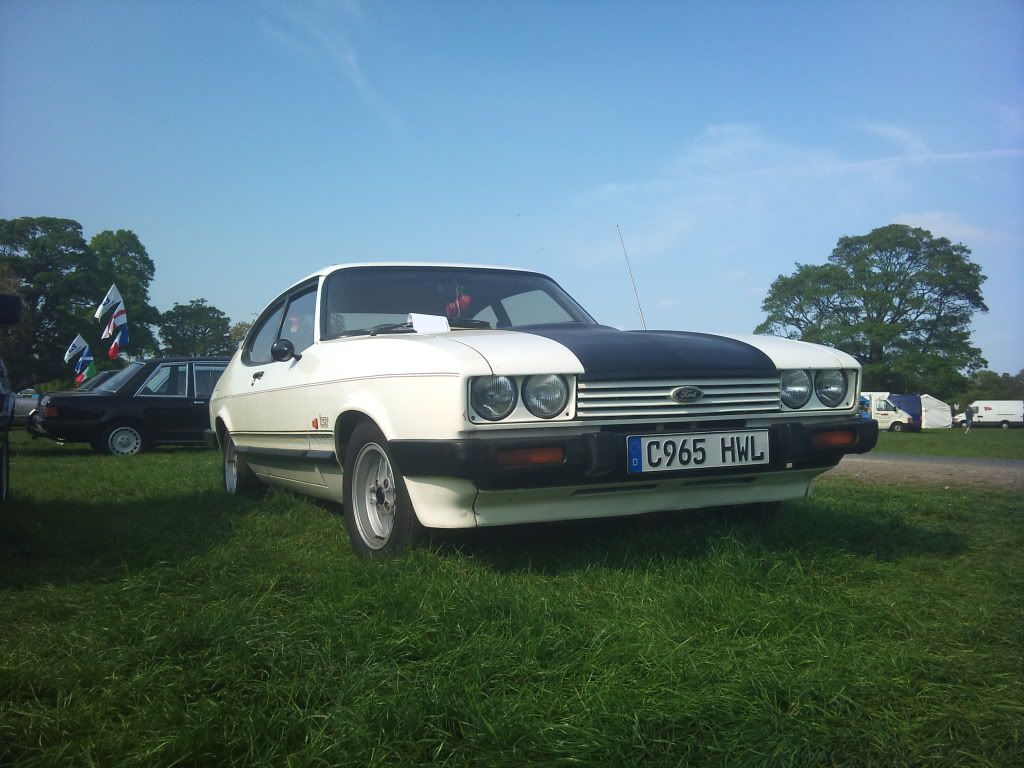 I loved driving this car looking down that long bonnet 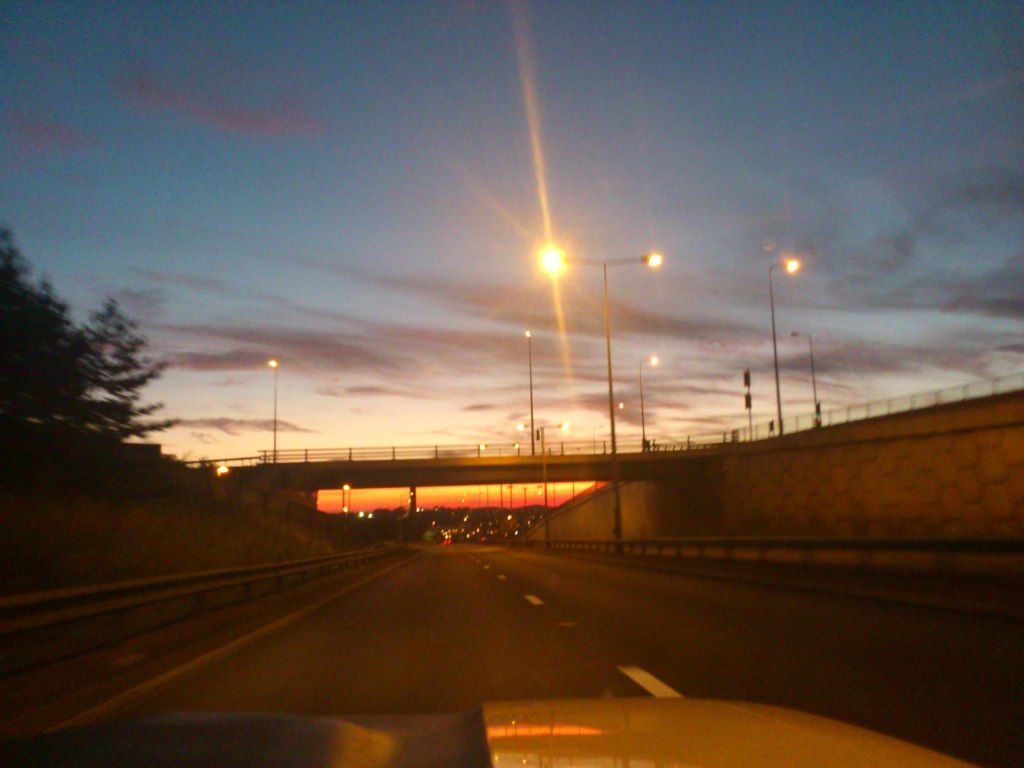 it was my daily car up until 4 years ago when i had an unfortunate accident, a roundabout was covered in diesel, i went around and understeered and hit a railing, there was nothing i could do 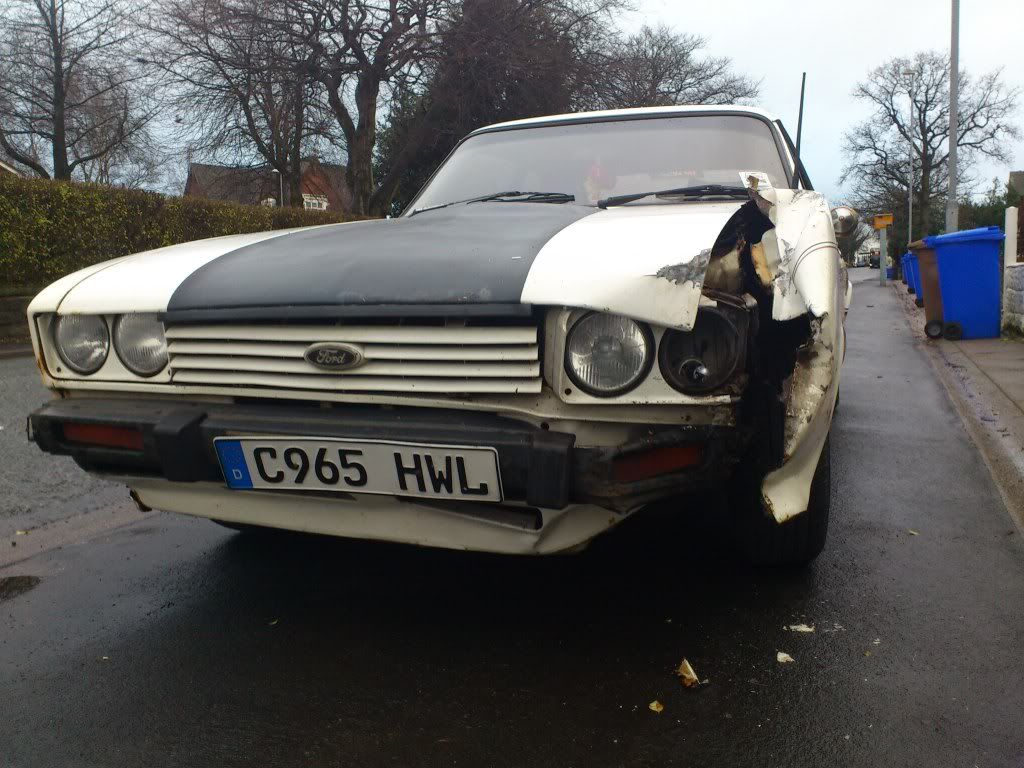 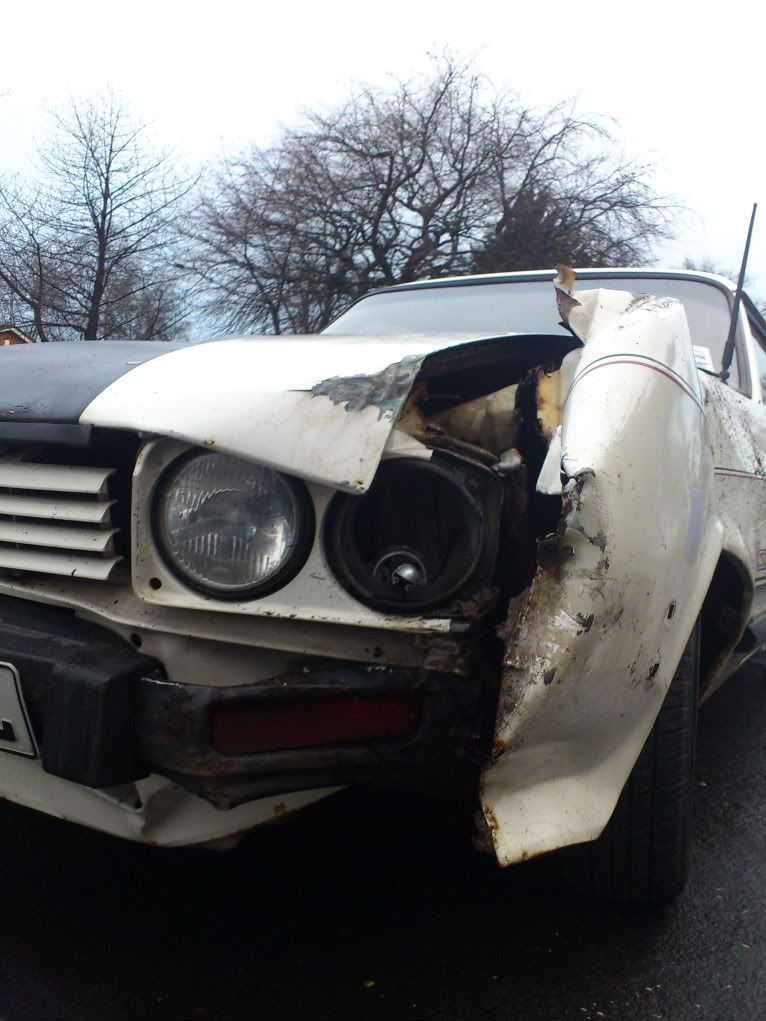 The accident crumpled the inner wing, headlamp bowl, wing, valance, bumper, it bent the steering arm, buggered the rack and arb mount, a good mate popped up and we heated the headlamp bowl and pulled it straighter with a chain and pulley on a telegraph pole, another mate whose a breaker raided his parts for replacements for me and i got it looking like a car again so i could drive it, my insurance cat c the car but i wasnt too fussed, i drove it up until the m.o.t ran out then parked it up at my mums to work on as i had no space, i started collecting as many new parts as i could for it, i even bought another to break in my neighbours drive which i cut the inner wing out of as a repair section, the only downfall is mum works nights so i cant start tin bashing in the day, so i mainly did mechanical things, she used to get no end of people door knocking to buy it, a week ago I decided to make some space and actually fire into it, so i popped up put a battery on and she fired into life, the brakess were still free, it's like it was just waiting to be saved 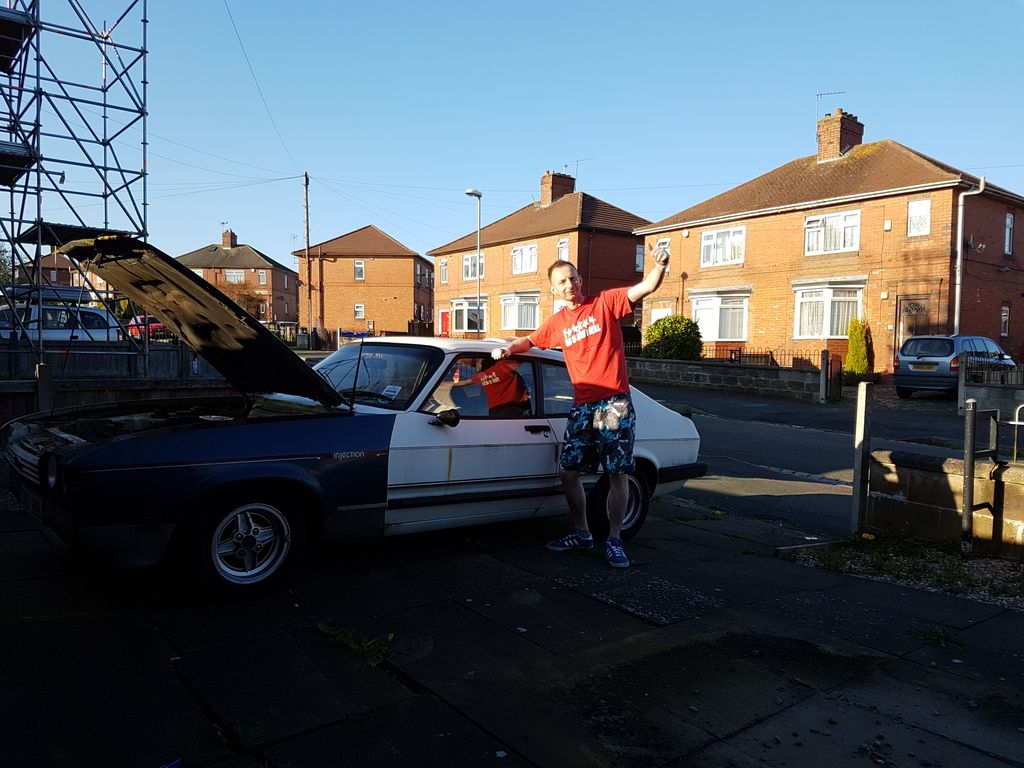 I then proceeded to strip it down, Look at the twist in that headlamp bowl 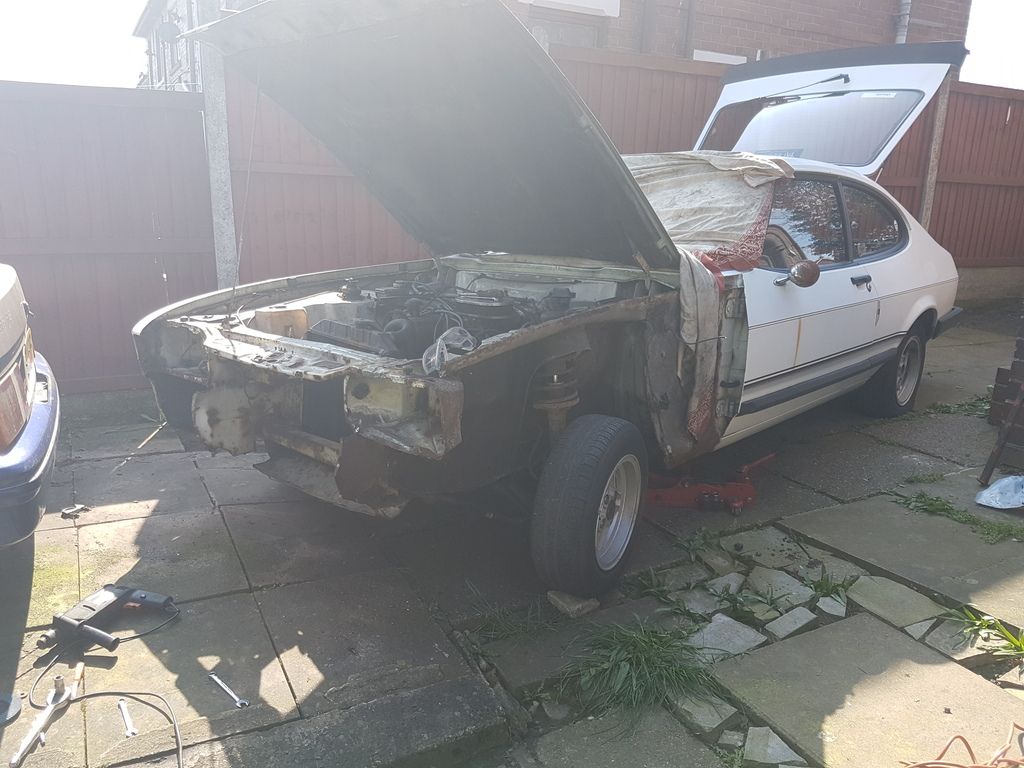 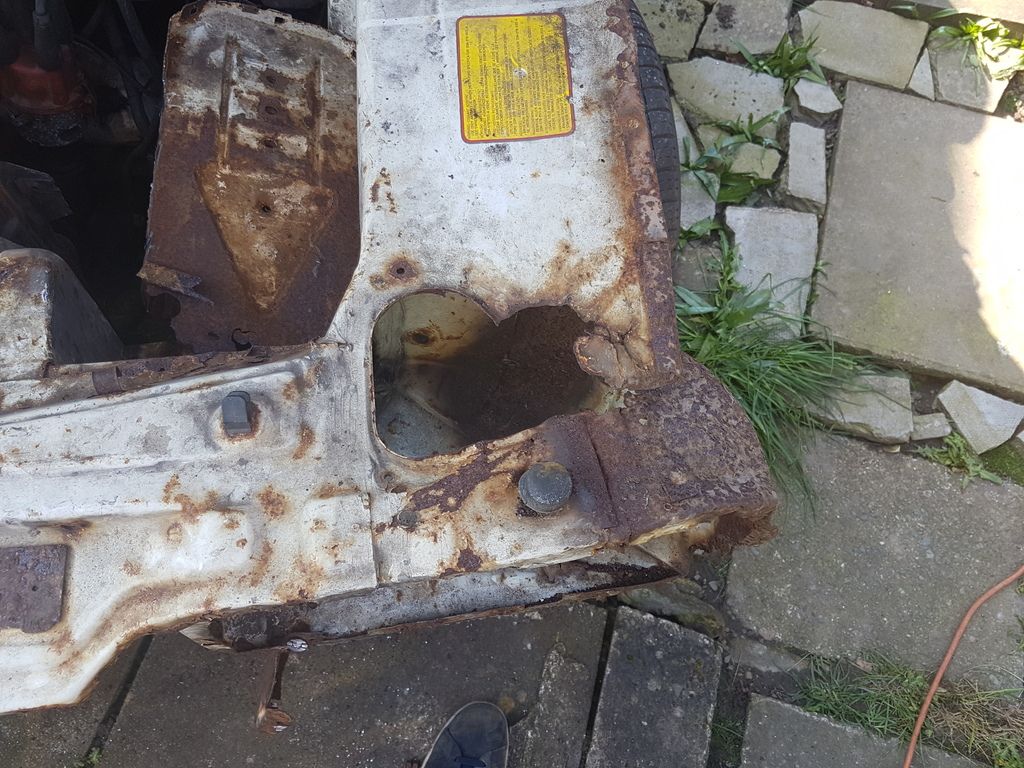 surgery begins 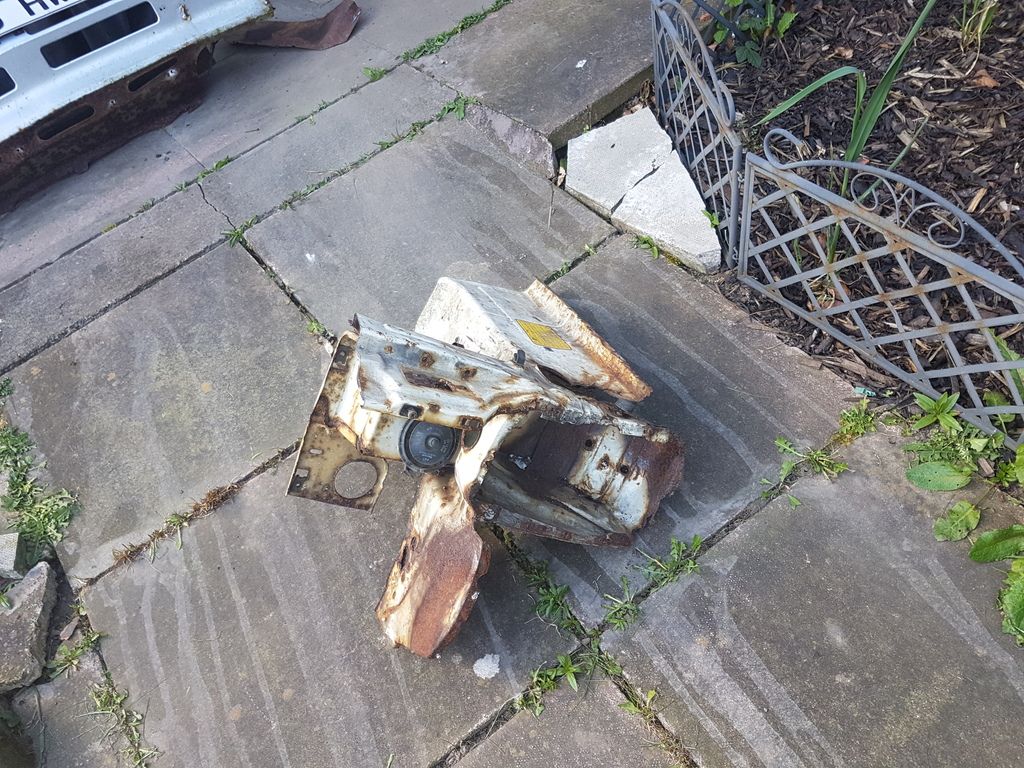 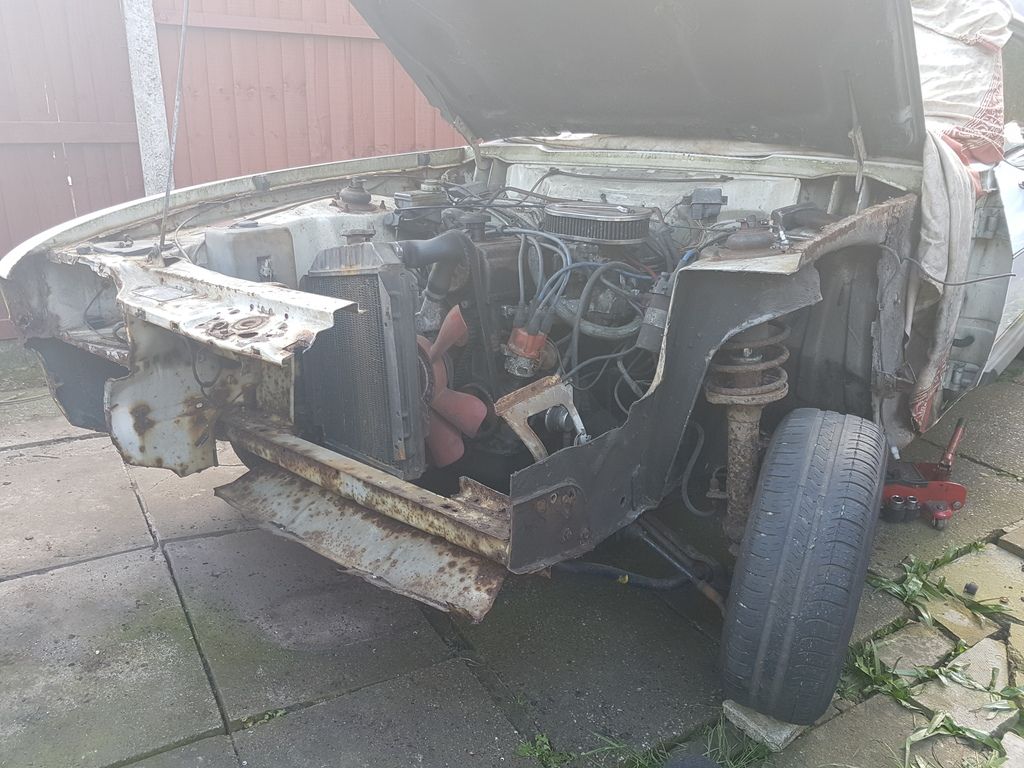 I also had to do a rust repair to the inner wing and the strengthener but havnt got a picture Bring in the replacement 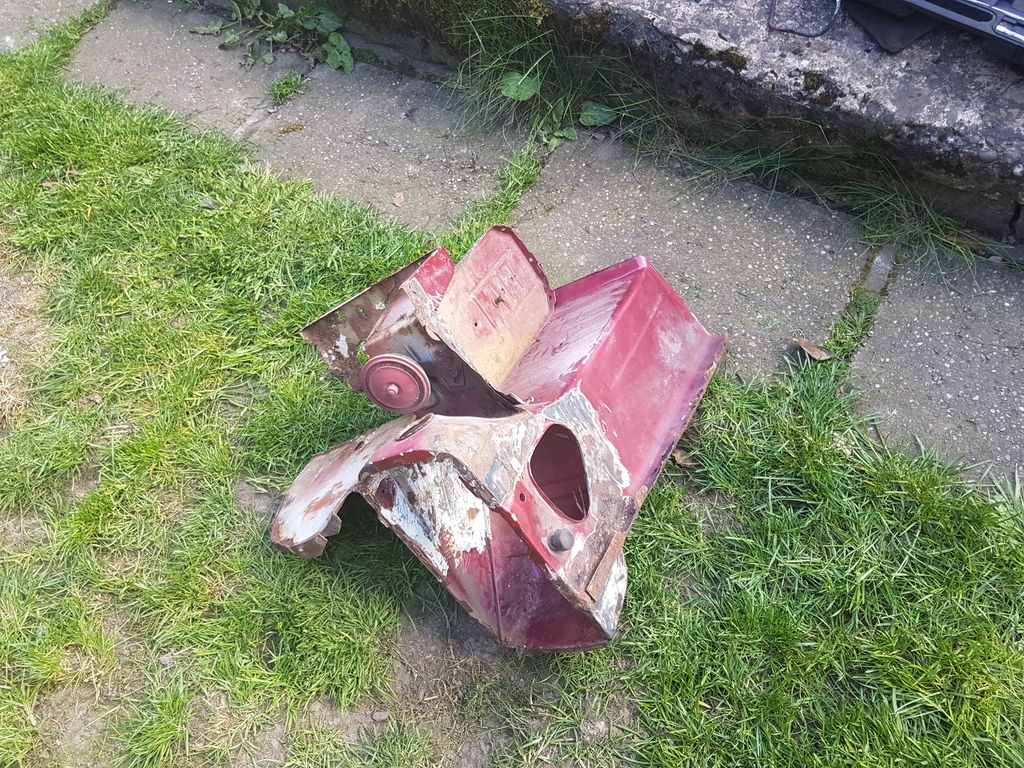 Grafted in 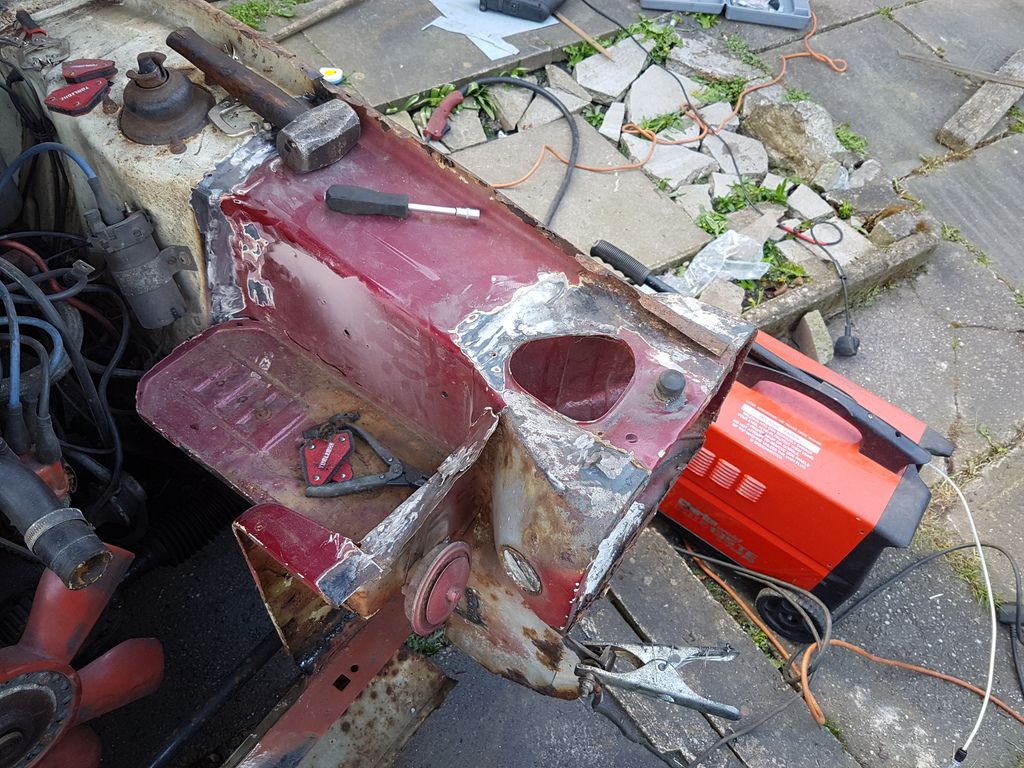 You notice the wing rail is rotten but before i could replace that i had to repair a common rot spot, i replicated all 3 skins as i wanted it to be spot on 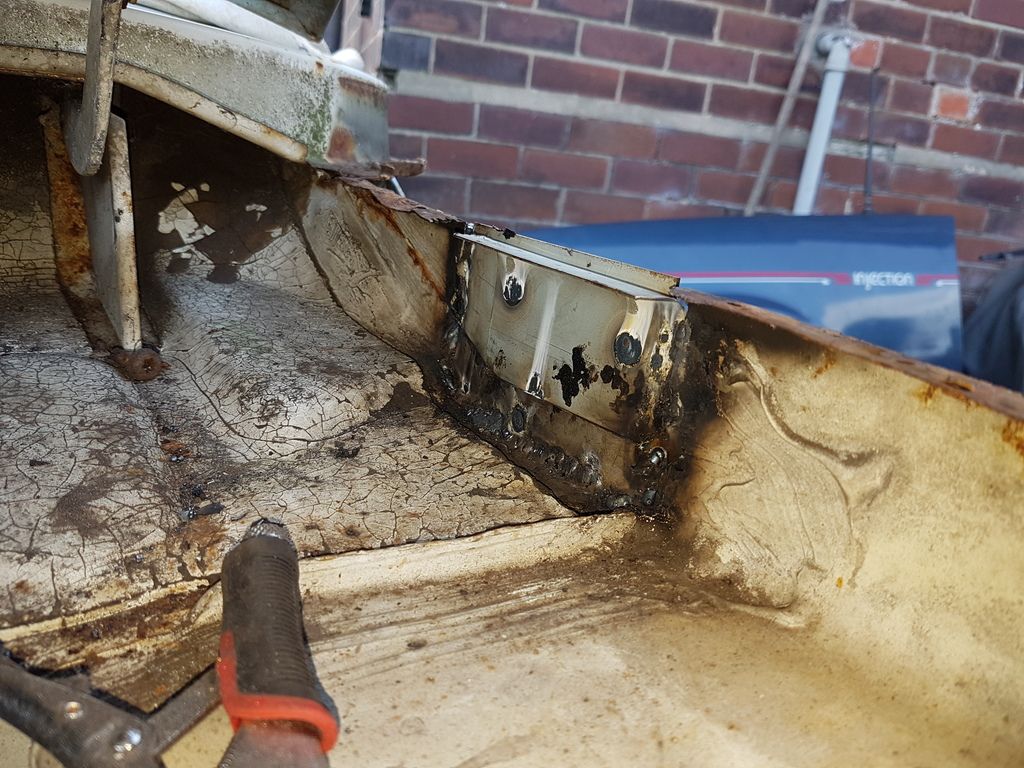 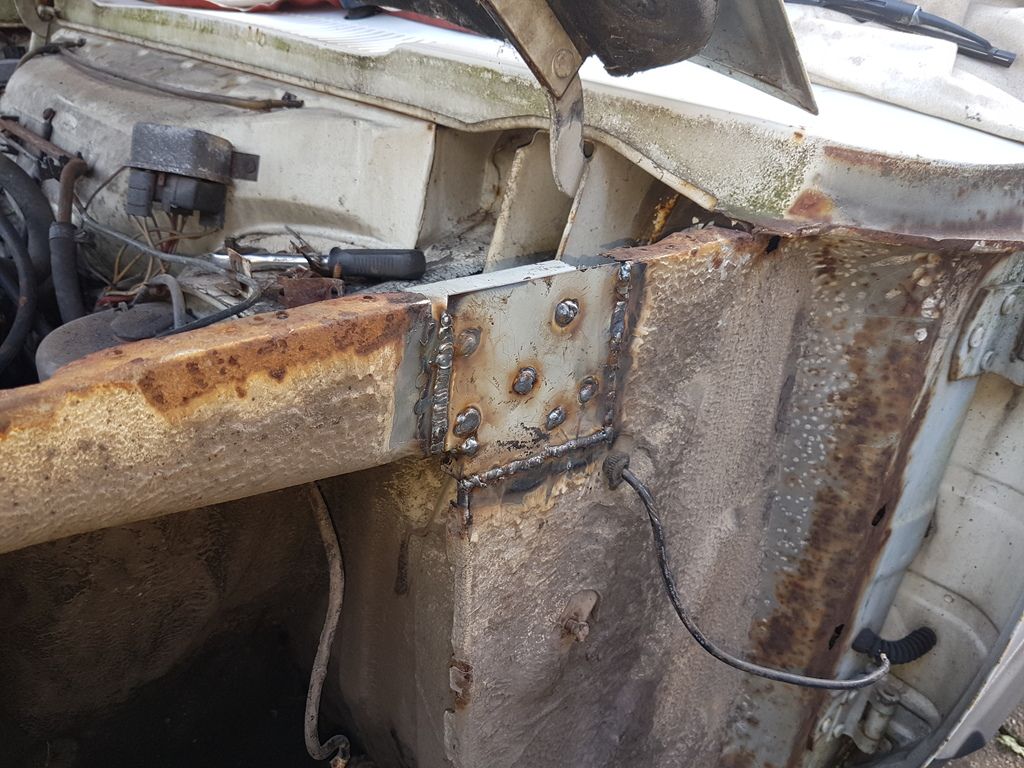 Then it was time for the wing rail 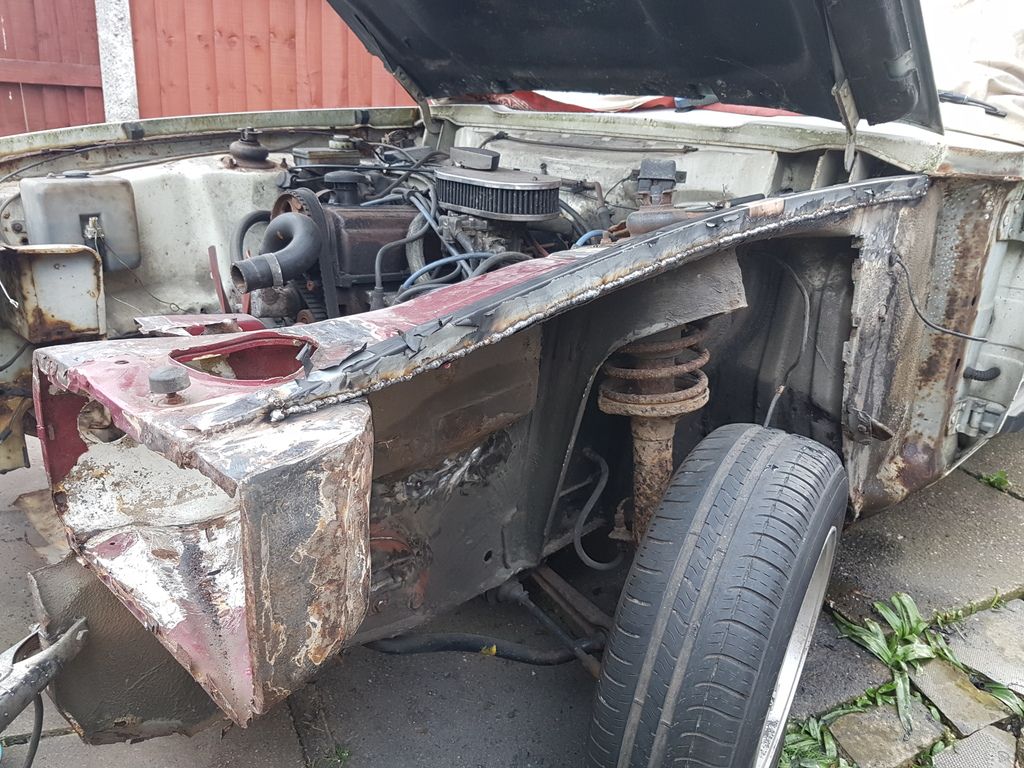 The rust marks you can see in the pictures on the crossmember etc are literally that, a tickle with the flap disk and its clean steel |
| |
Last Edit: Oct 28, 2018 9:02:04 GMT by fordperv
|
|
|
|
|
|
|
|
|
A couple of hours to kill earlier so decided to do a bit on this, i made 1 or 2 small holes on the a pillar behind the wing so cut the area out 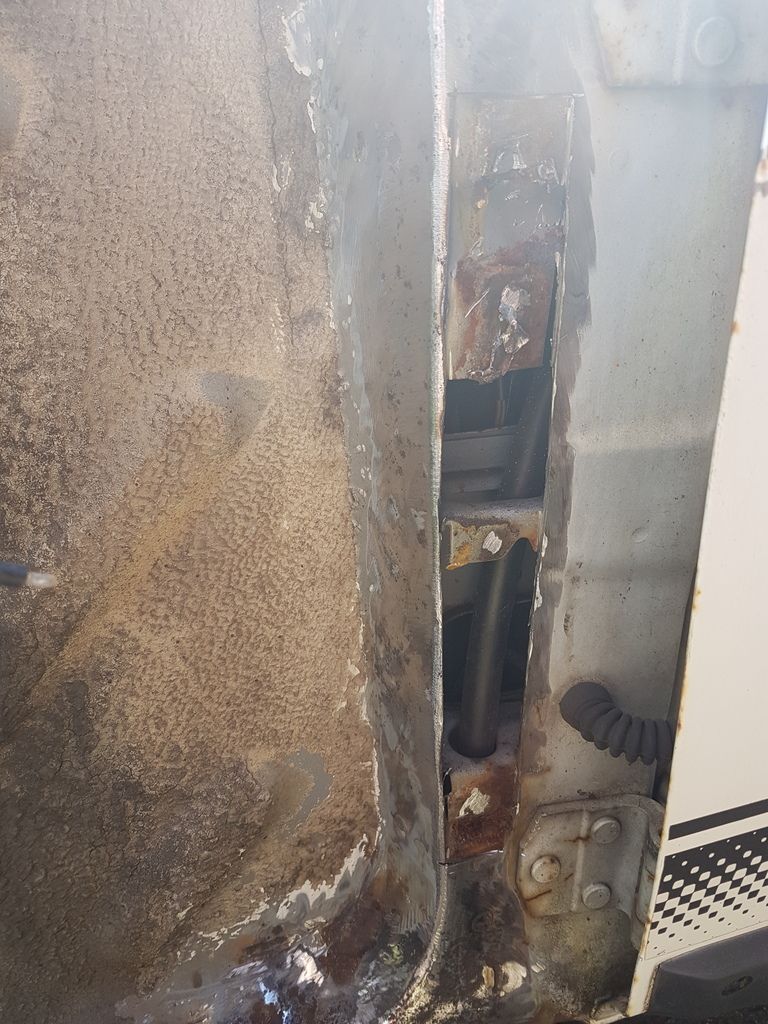 The inner structure cleaned up nice, most of the area i removed was shiney steel but there was a rust peppering 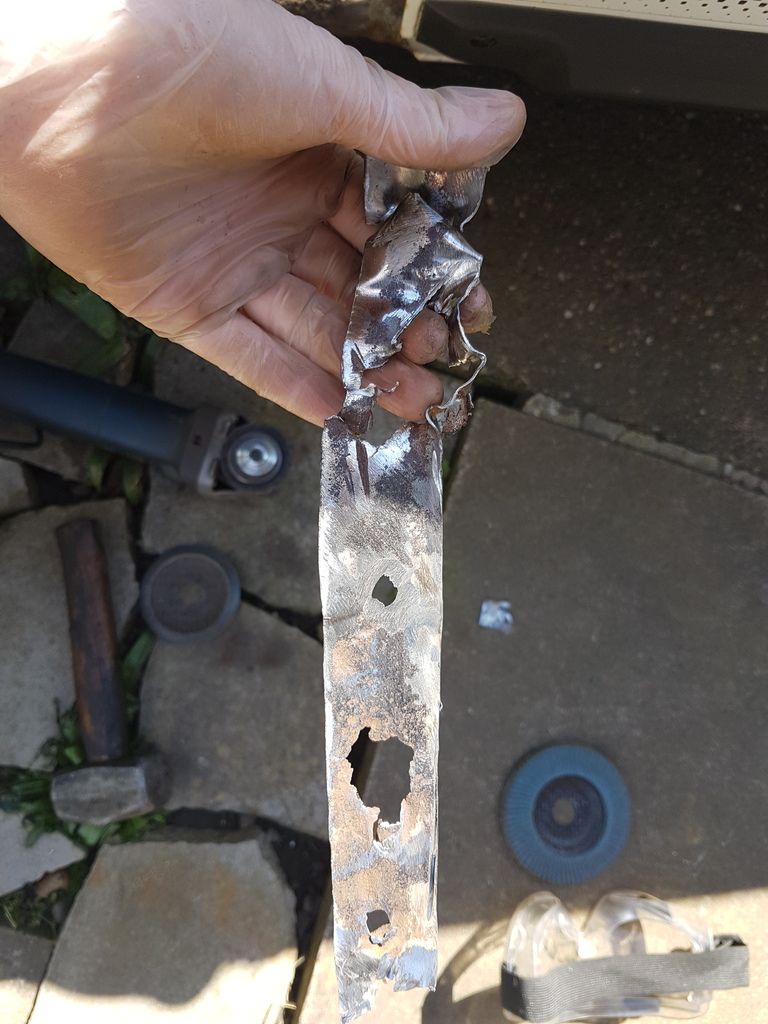 A bit of hot metal glue 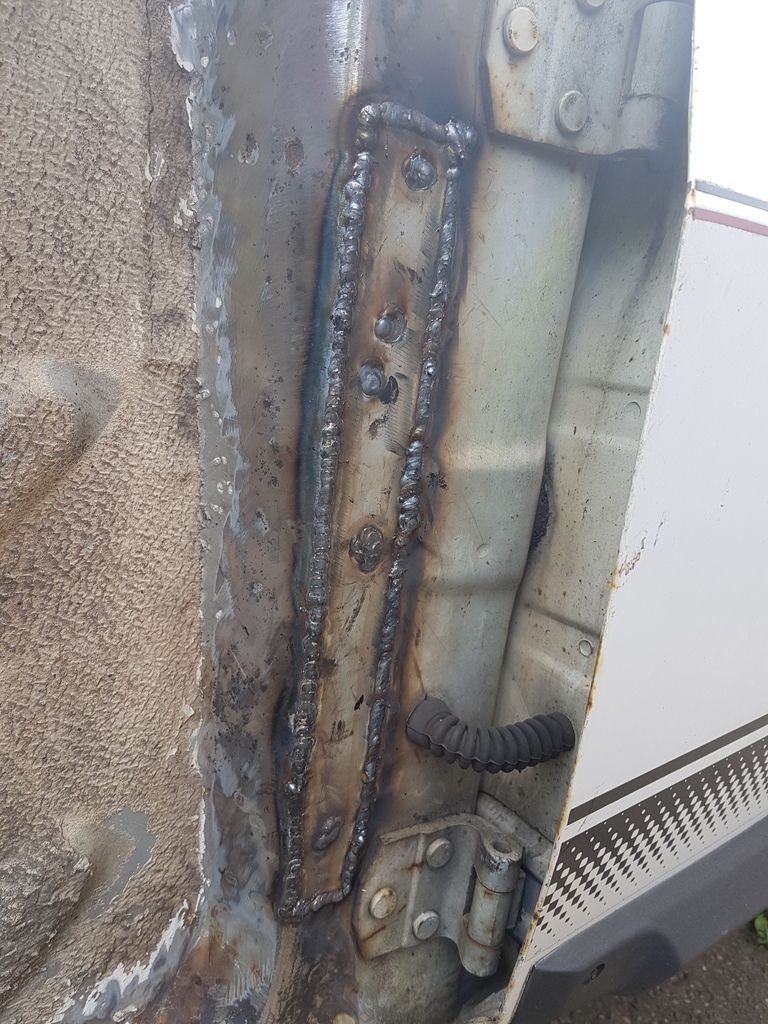 Welds flapped back a bit and primered, i havnt flushed them properly, this will get done at the prep and paint stage 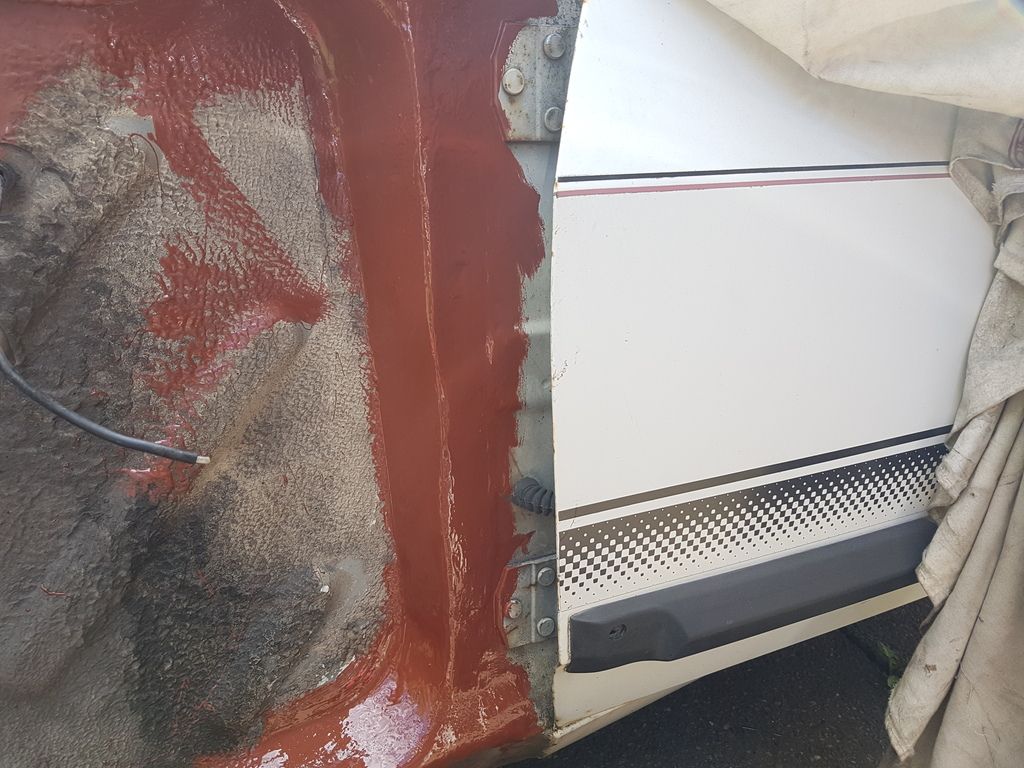 I also let a patch in just under the scuttle but it was that small its nothing to write home about, next up the bulge at the front of the sill, i hit it a few times with a hammer and made a hole but I'm in no way surprised, i am surprised at how good the regular capri rot spots are though I expected to weld much more |
| |
|
|
|
|
|
|
|
Well it was dry today so i decided to fire into another couple of jobs on the front panel, both ends where it meets the wings were rotten 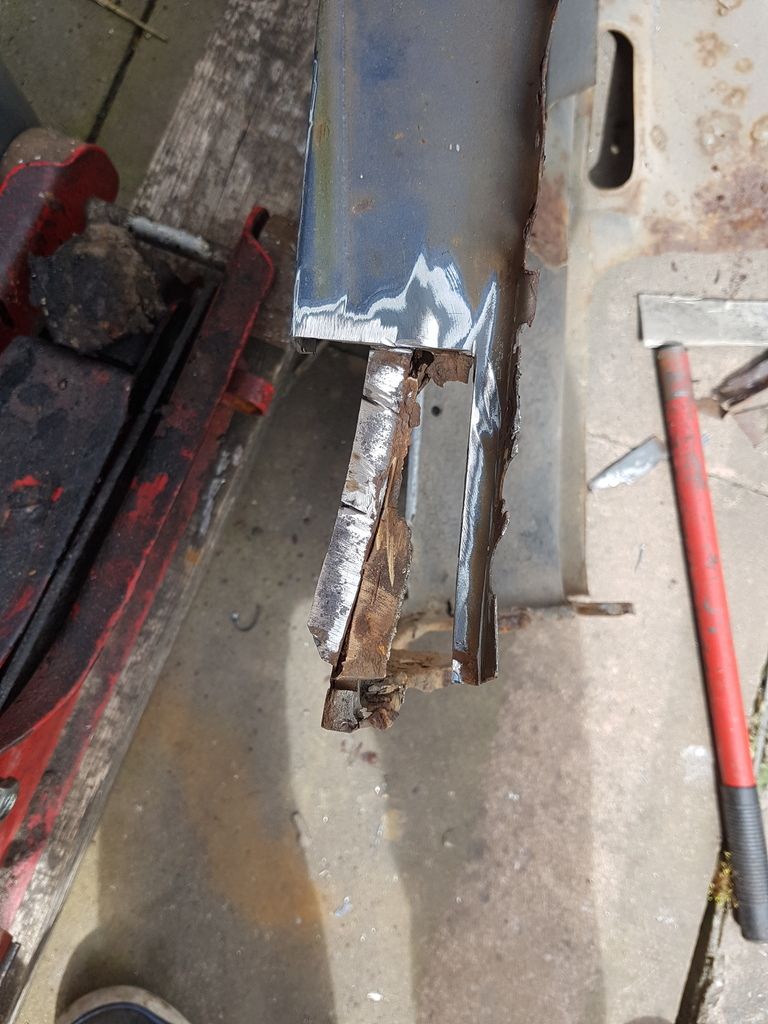 Repair section 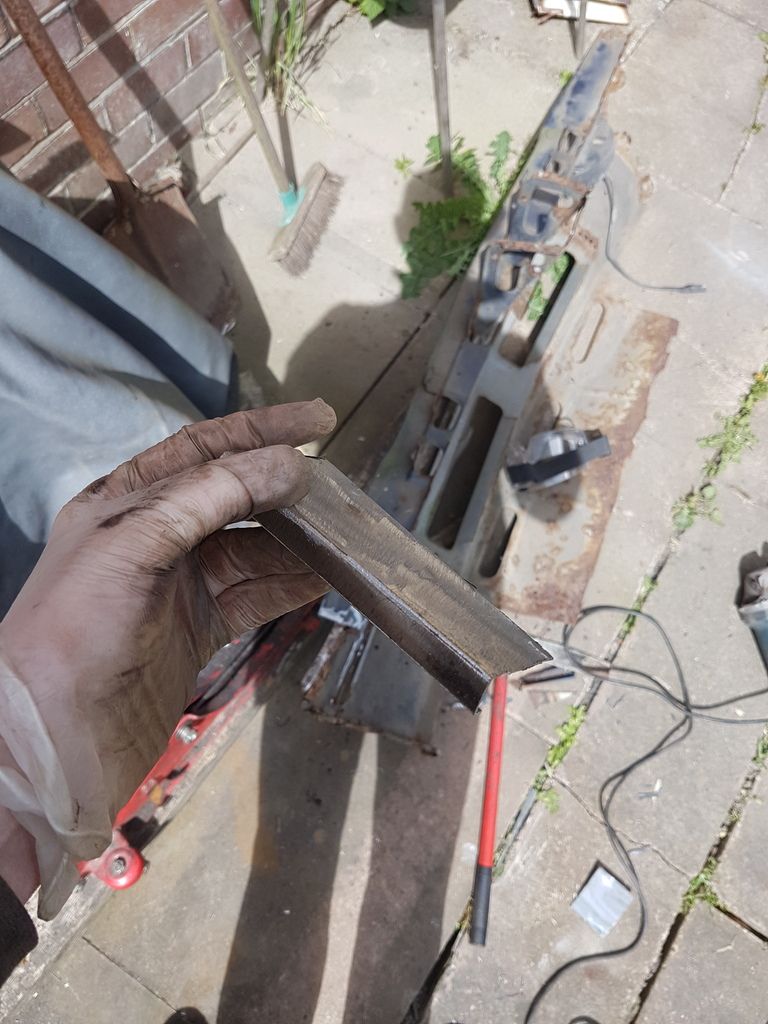 Welded in 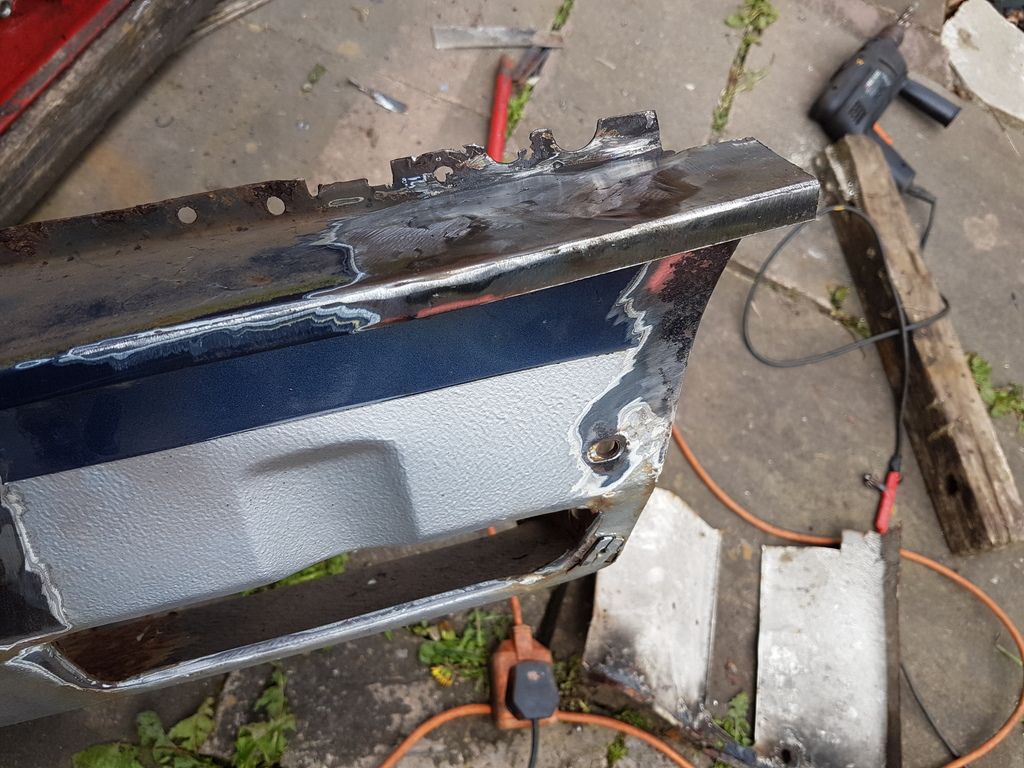 2 patches were required lower down as well, ive got to trim the length of the repaired parts at the top as well |
| |
|
|
|
|
|
|
|
Well today's job was to remove the rest of the old slam panel sort the fitment of the wing and trial fit the panels, the wings i am using are pattern because this is not a money no object build, I'm simply making a tidy usable car they are old pattern not this new Shoite they are selling now, I had to hammer and dolly the back edge where it fits to the scuttle to close up the gap at the top edge of the door and the edge at the bottom by the door gap to bring it in line, as with any great magician i utilised my glamourous assistant (mrs fp) to help me put the replacement bonnet on and to get the gap right to the drivers wing that hasn't been disturbed so I know it's true, then proceeded to offer the front panel up, get the gap for the wing then drill and bolt it in place, I'm quite chuffed with the results 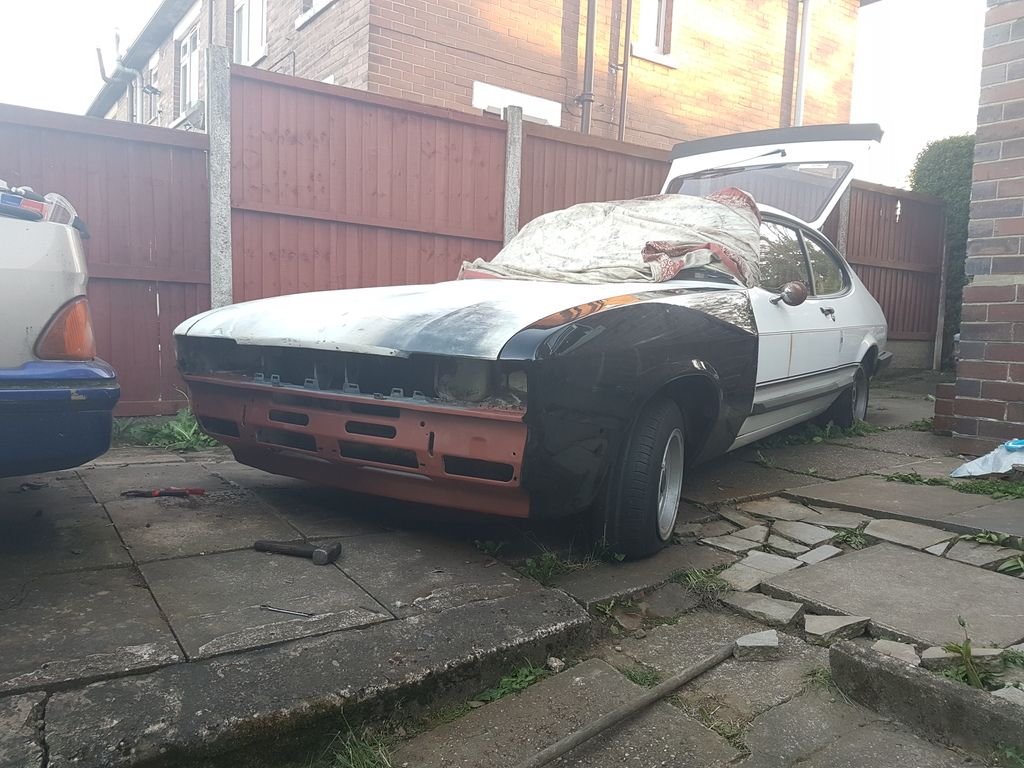 I'll have to do a little dollying around the headlamp aperture to make it as perfect as i can, I'm around 50 hours in on it now which I don't think is bad going |
| |
|
|
|
|
|
|
|
i added a strengthener from inner wing to strut turret the same as were fitted to v6 shells, it was roughly the right shape but required dollying to get the correct shape you can see the difference here 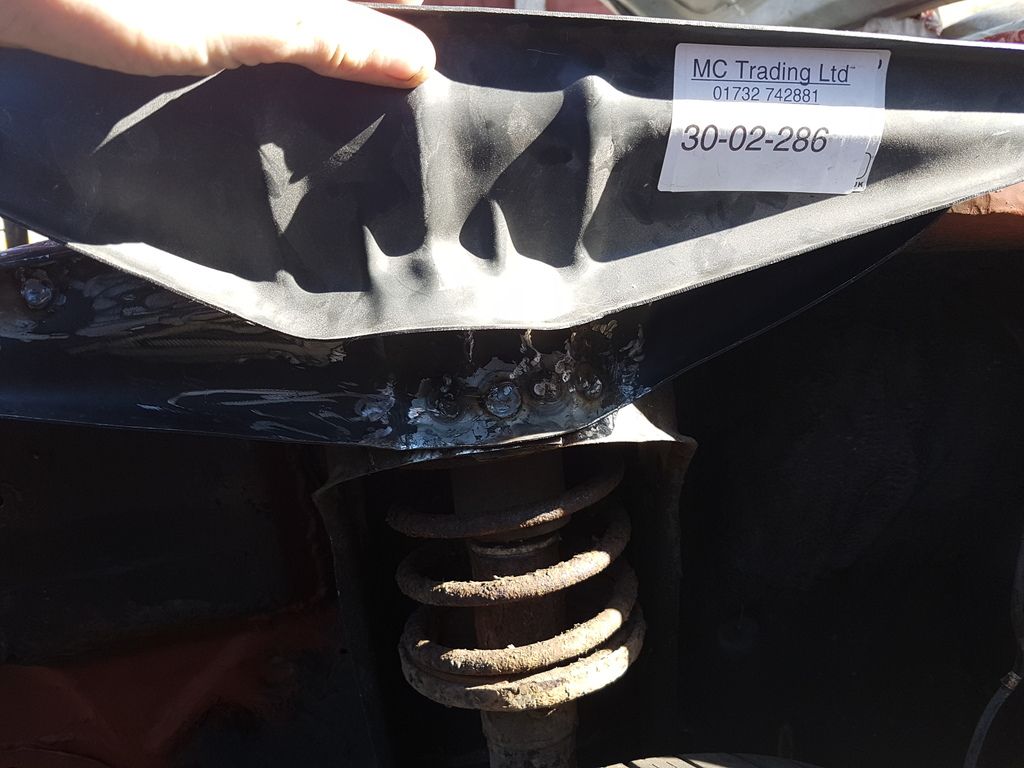 All fitted 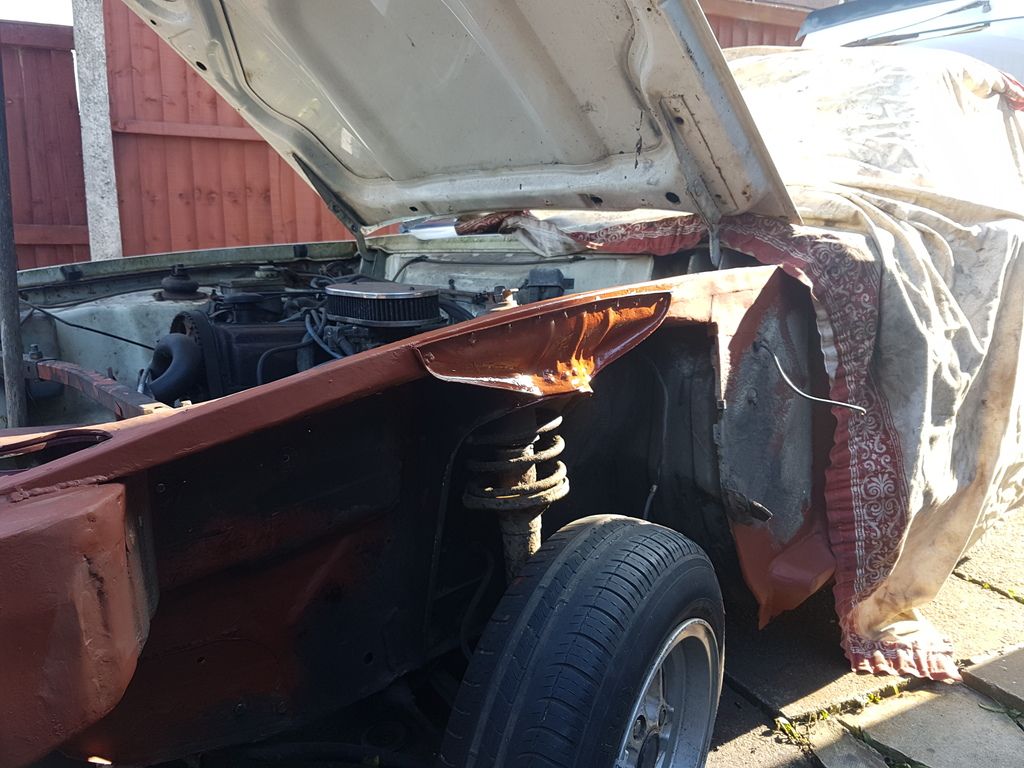 Today when I had finished at the gym the rain had stopped so I cracked on removing the drivers wing, I had no nasty surprises under there, in fact it was better than I expected 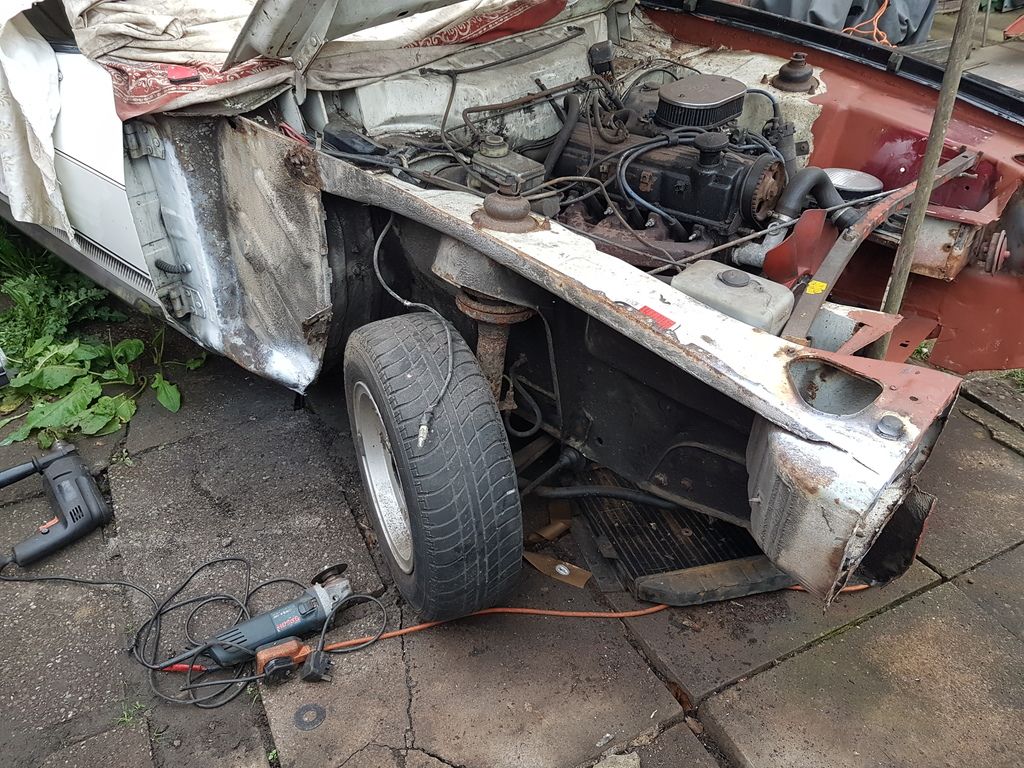 I sprayed a little primer to protect bare areas id made, it rained shortly after this picture so got to wait for the next dry opportunity |
| |
|
|
|
|
|
|
|
Today's job was to repair the inner wing and under the scuttle, again this side i had to replicate the 3 separate skins, this is what I cut out 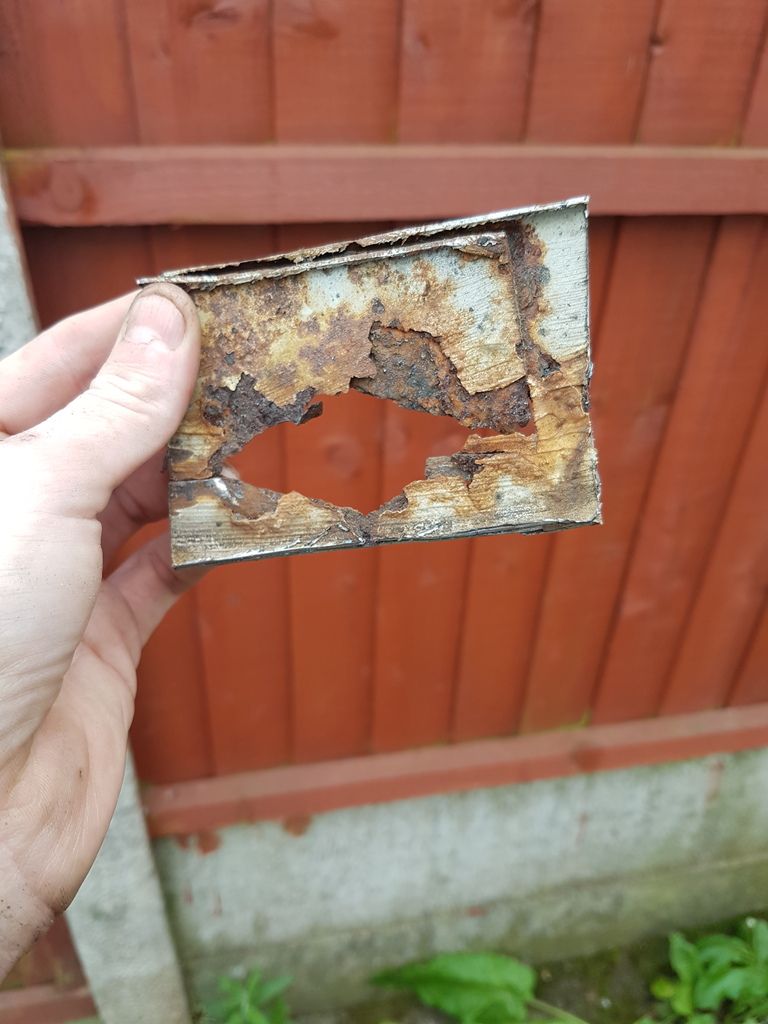 After I welded that up i proceeded to cut the wing rail off, unfortunately whilst i was doing it i got a curse word of a spark shoot through my goggles and lodge itself in my right eye so a trip to a&e was required to remove it, when I got back i popped back out and welded the replacement rail on and added the inner wing to strut strengthener as per the other side 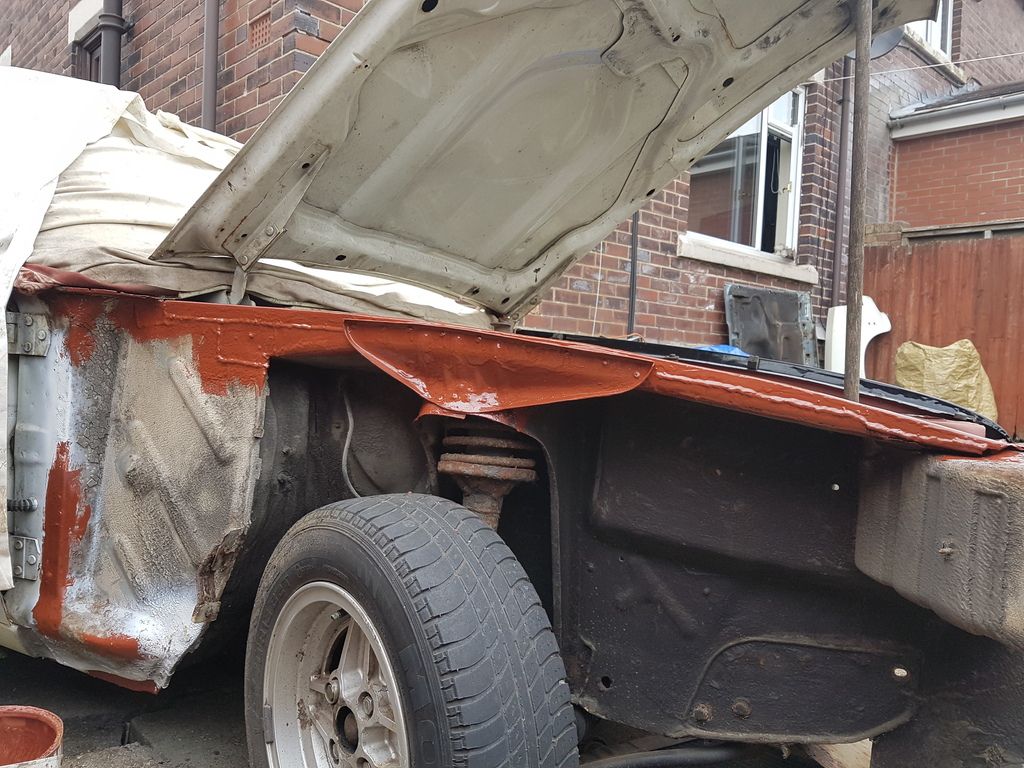 I'll grind the welds back another day, the only part i ground back was behind where the strengtheners is mounted so it sits nice. |
| |
|
|
|
|
|
|
|
Today I cut out the front of the sill on the drivers side and an area of rot i saw just in front pretty much exact to the other side i did, so proceeded to knock up a repair section and then cut up the sill repair section and let them both in 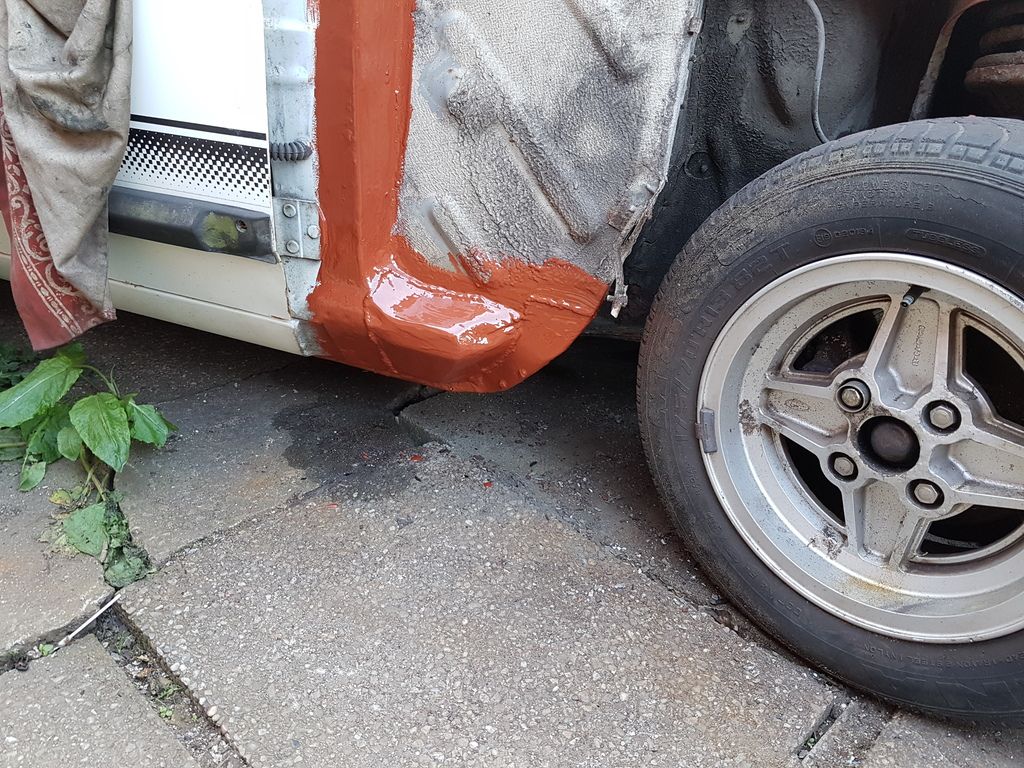 I then spent 4 hours getting the drivers pattern wing fitting something like, it was well out, the part that follows the line of the scuttle was pressed against the body and was nowhere near inline and the gap was well out, a mixture of heat and hammers and a couple of slits its about there now just a little more finessing when i get chance and weld up the slits 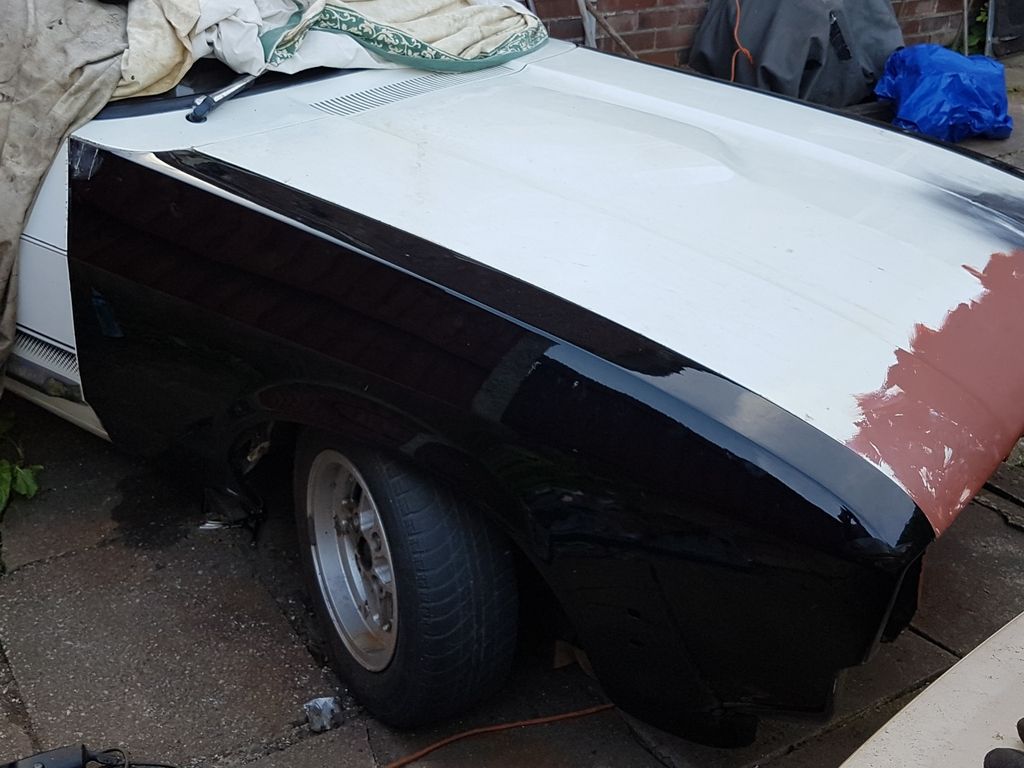 |
| |
|
|
|
|
|
|
|
Even though I havnt been updating my thread i have been cracking on with jobs, I have finished the welding to the drivers inner wing where I needed to repair the strengthening plate and behind in the engine bay, but to gain access i had to remove the radiator mounting panel, then fitted the new slam panel, 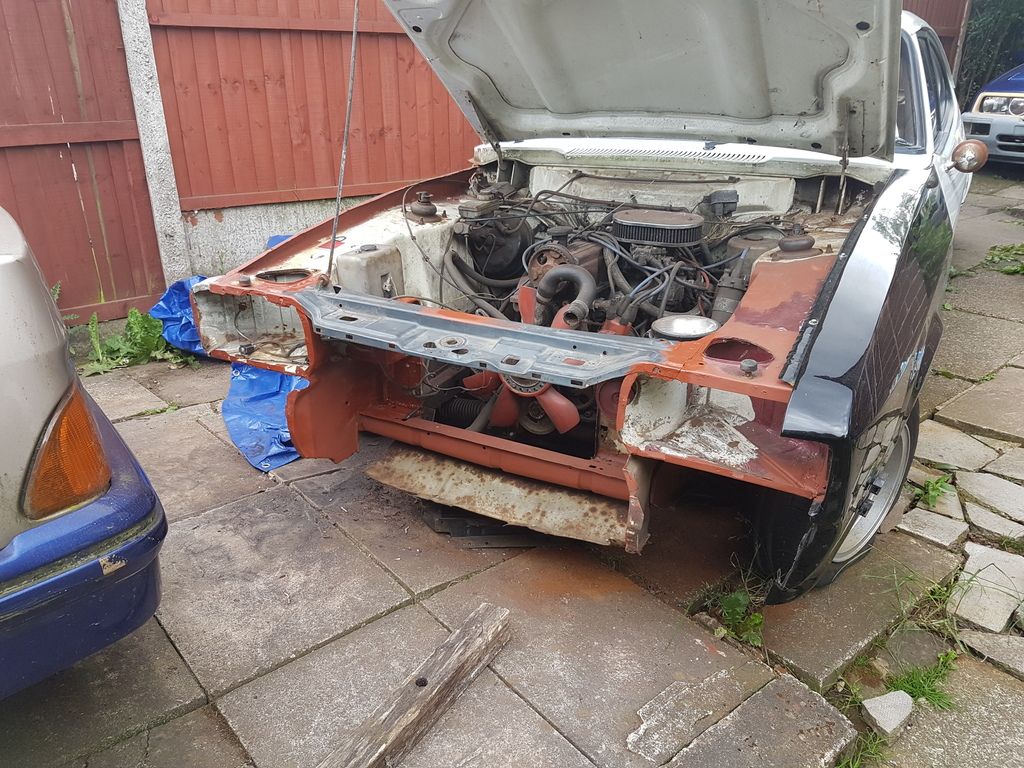 I also repaired the passengers strut top 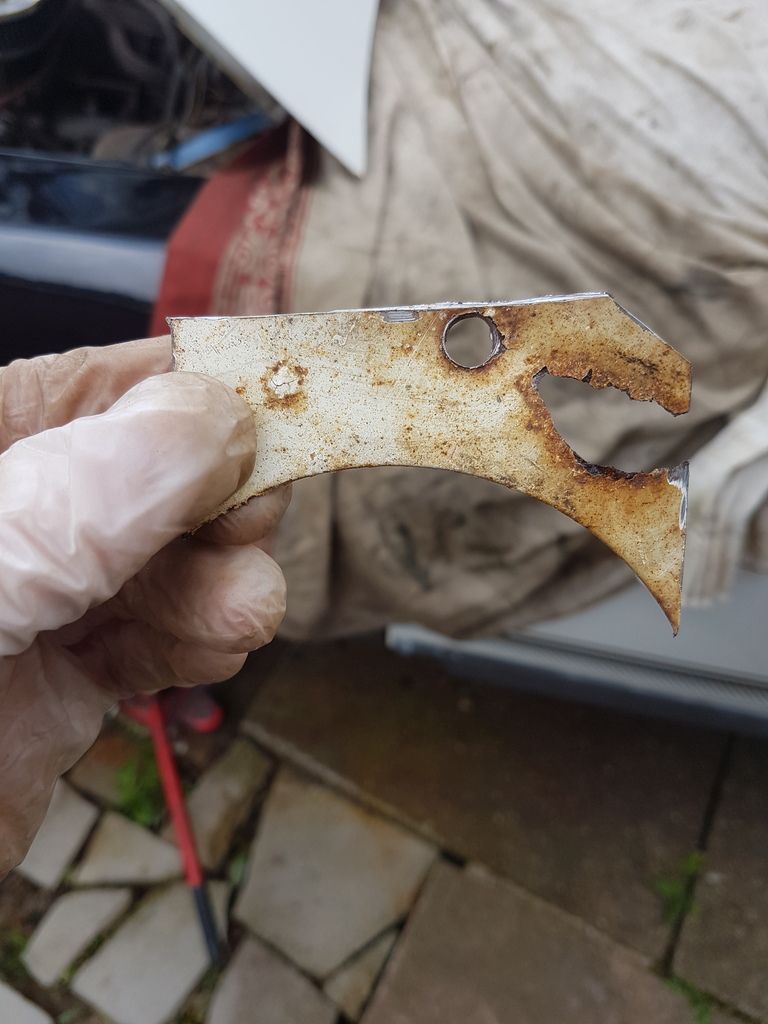 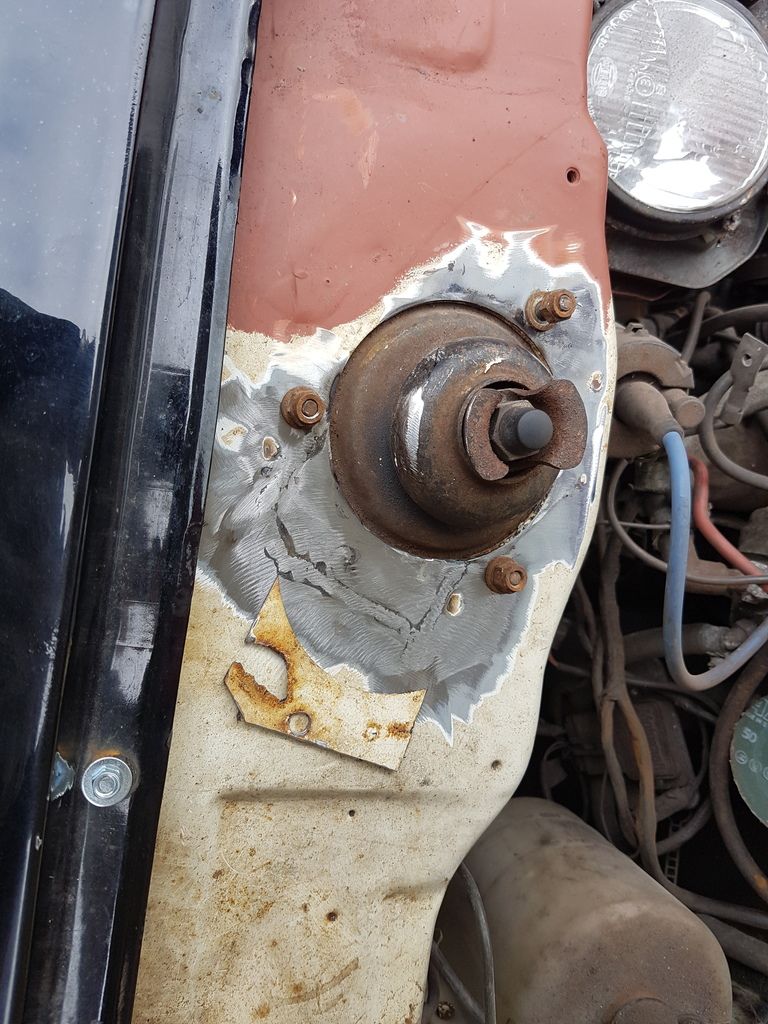 After this I cut off the sill back on the passengers side, the lower quarter, also repaired the inner wheel tub where there was a peppering of rust, I also cut a rust scab from the bottom of the quarter where it meets the arch just above the sill This was a scab until I hit it a few times with my corrosion assessment tool 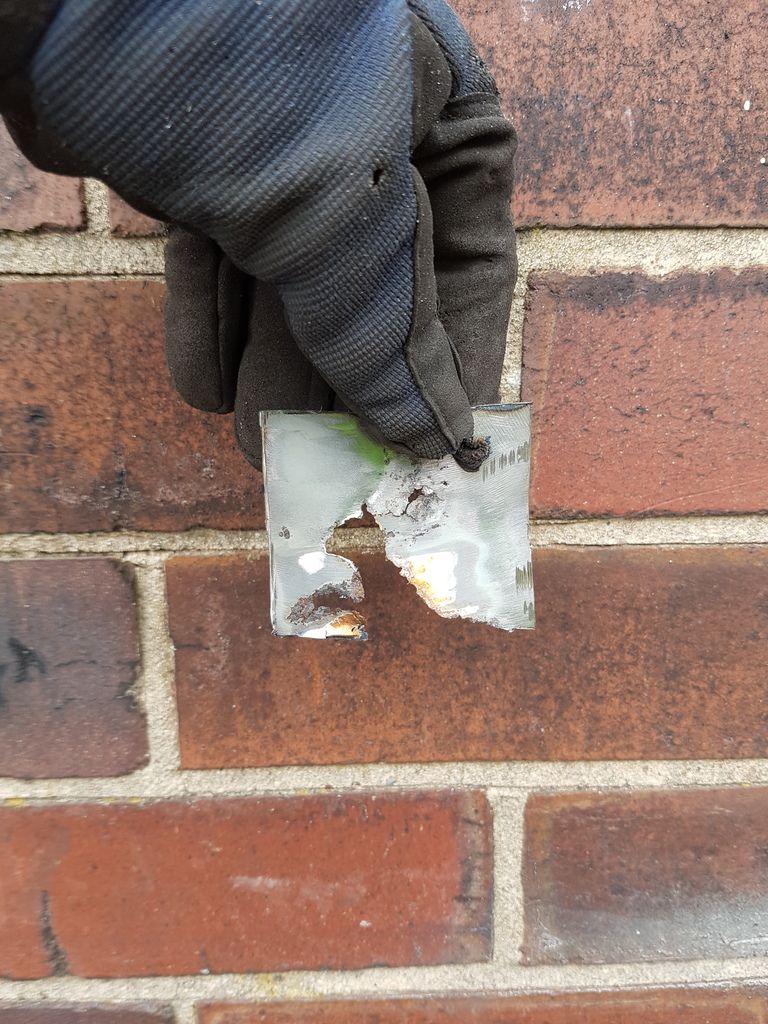 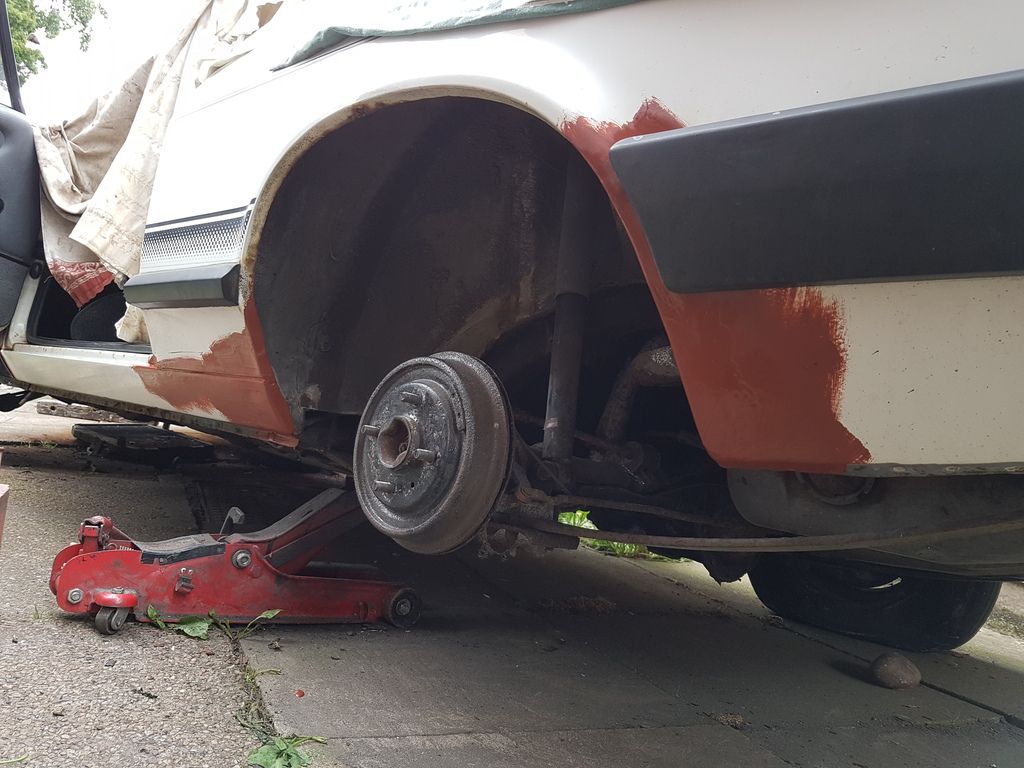 I've still got to do those 2 scabs in the arch lip, for information purposes it appears to be on its original rear arches I have also stripped the interior out to check for any areas requiring repair, cut out corrosion on the rear floor pans both sides just where the double skinned area is before the rear spring hanger, where they all rot but it wasn't too bad to be fair, I reproduced both skins and zipped it all up, I didn't take a picture of this though While the seats were out i cleaned them up, these were from the LS breaker i bought to cut the front corner off so I could repair this As you can see they were minging 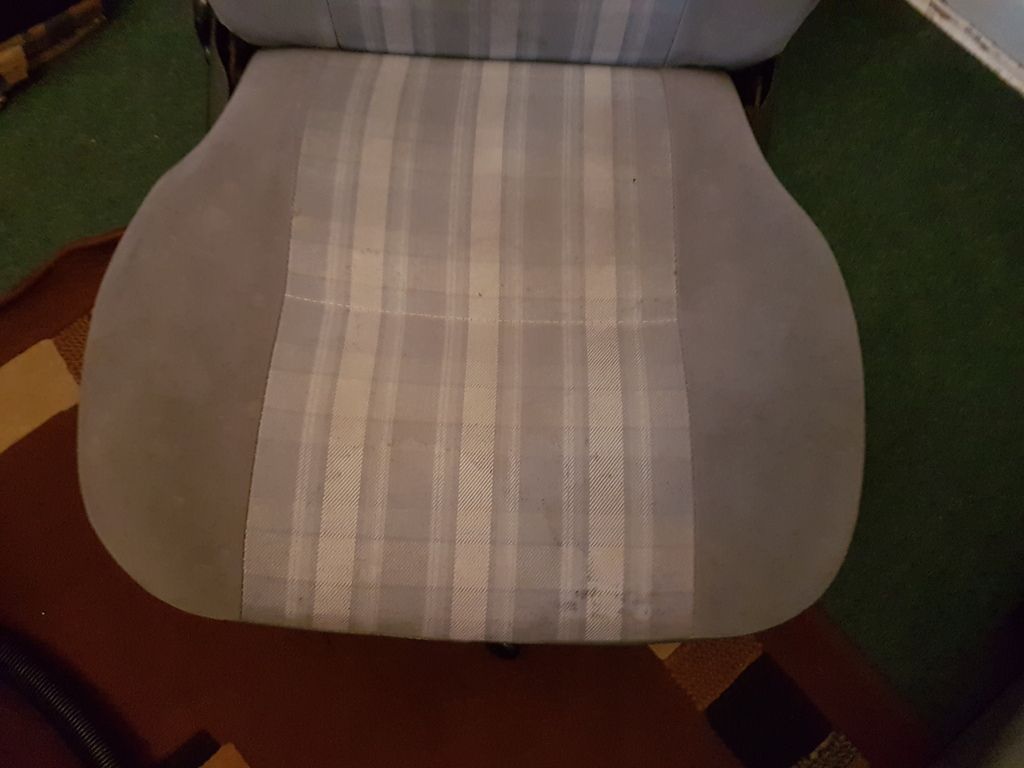  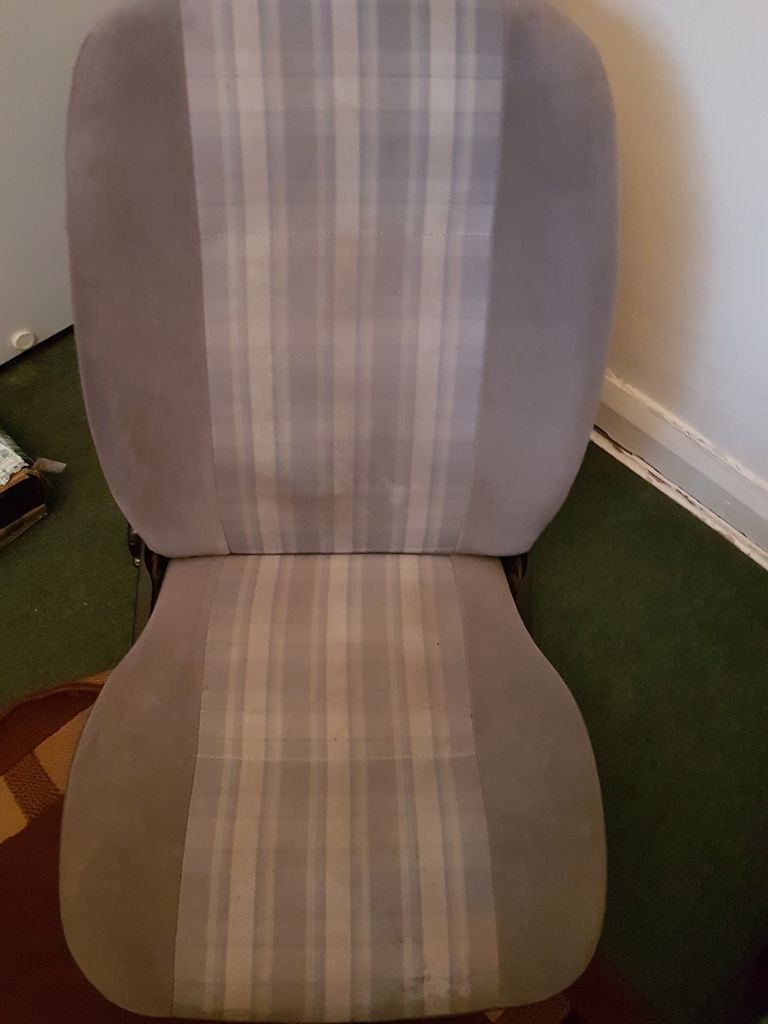 A side by side comparison 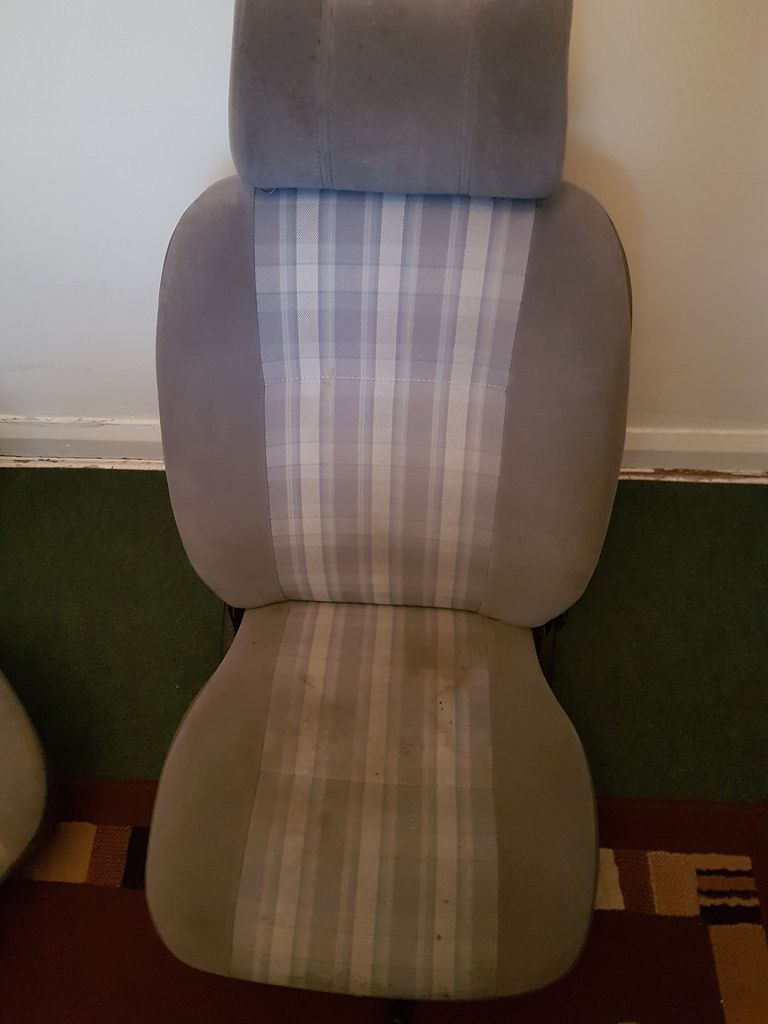 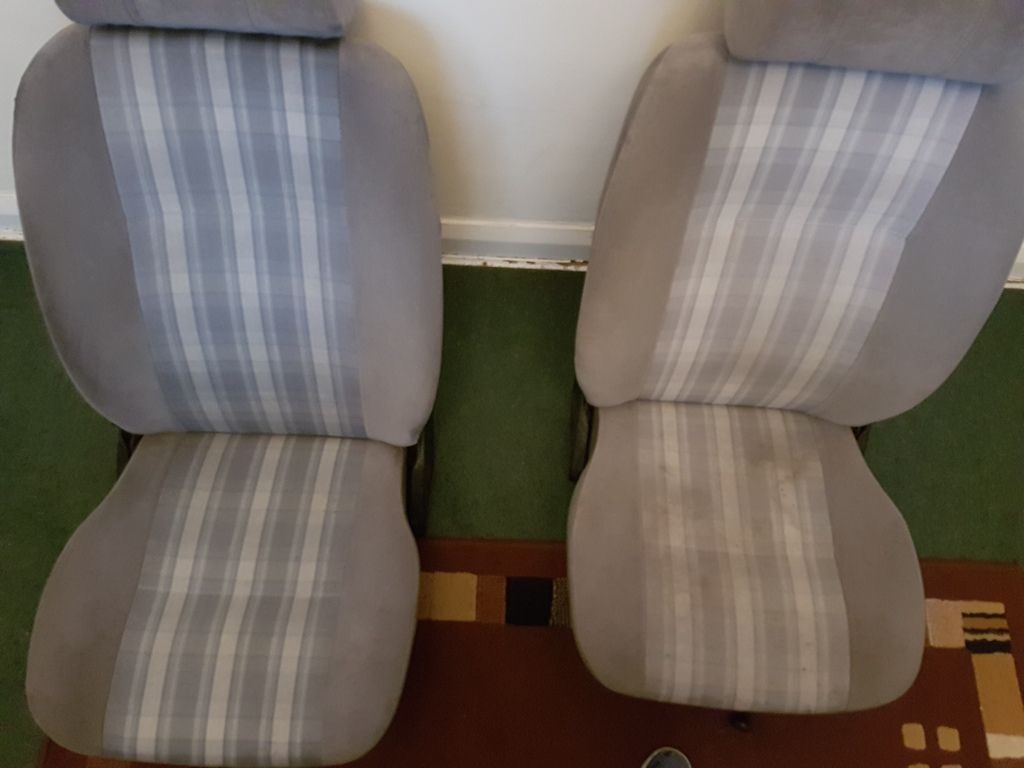 Earlier on i cleaned the carpet and plastics then built the interior back up 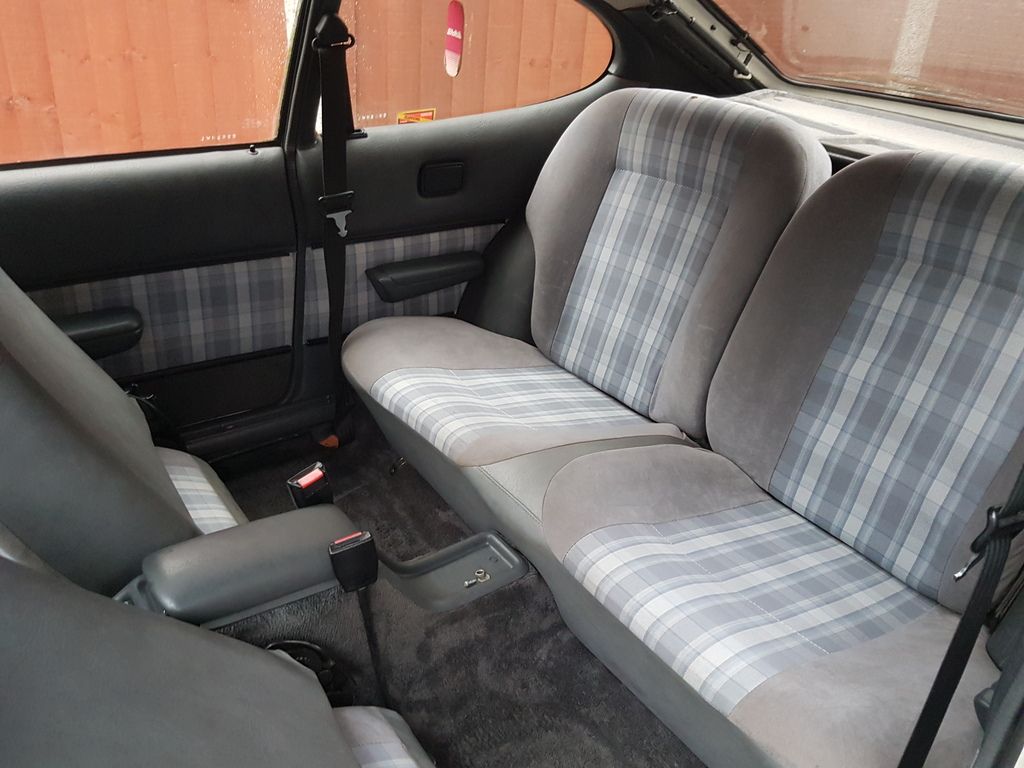 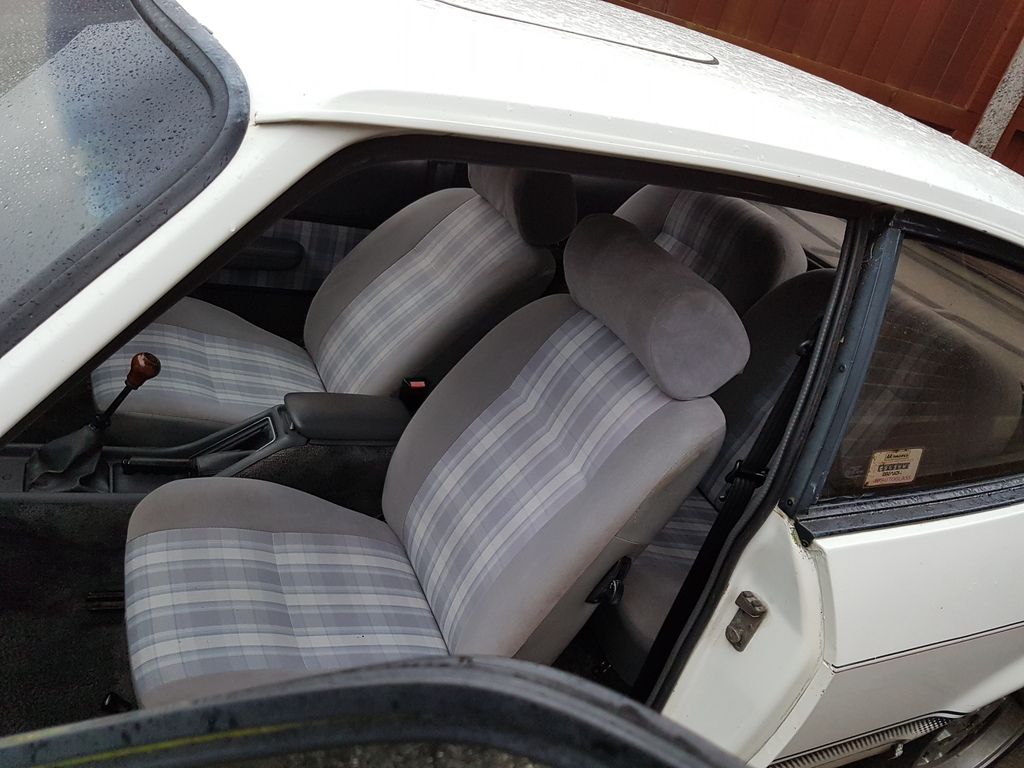 Under the rear drivers sound deadening i found the remains of an original build sheet, the car mustve got damp years back and damaged it, mrs fp put the pieces back together for me while i was working on the car 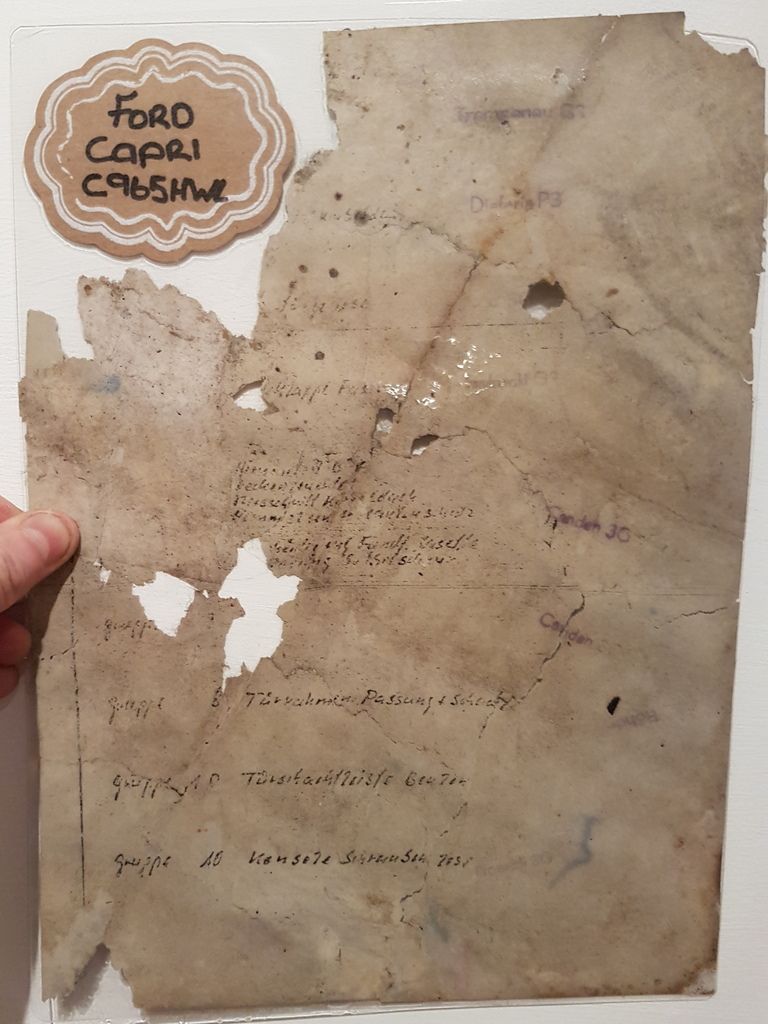 There might be a couple of jobs ive done that ive missed off |
| |
|
|
|
|
|
|
|
I've rebuilt the front suspension with new inserts and -2" springs (it's what I already had in the shed so have spent no actual money) The difference in length of the springs  I also have prepped and painted under the front wheel arches to tidy it up a bit, here one is with the strut built back up in it, ive still got to paint up the arb, it's having caliper spacers and 2.8i discs thats why I havnt painted the caliper yet or put new disks on (I'm also replacing all the pipes while I'm at it and fit the 2.0 servo and landrover master cylinder I have)  Back on its wheels this is the arch gap I'm left with  They aren't the wheels that are staying on I have done more than i can remember to tell everyone about, all the welding at the front is complete and the only welding left to do is the rear panel when I buy one, but I'm going to focus on the engine conversion next. |
| |
Last Edit: Oct 28, 2018 8:50:15 GMT by fordperv
|
|
|
|
|
|
|
Right we are about up to date on this now, after I did all this I popped it back to my mums and its took the back burner this year as I started welding up mrs fps S2 erst I'm 250 odd hours in on that now but that's a story for another day, now the weather is curse word for welding I'm going to focus on getting the engine into this I probably mentioned in my previous posts that I'm going to put a c20xe into the old girl on bike carbs using nodiz 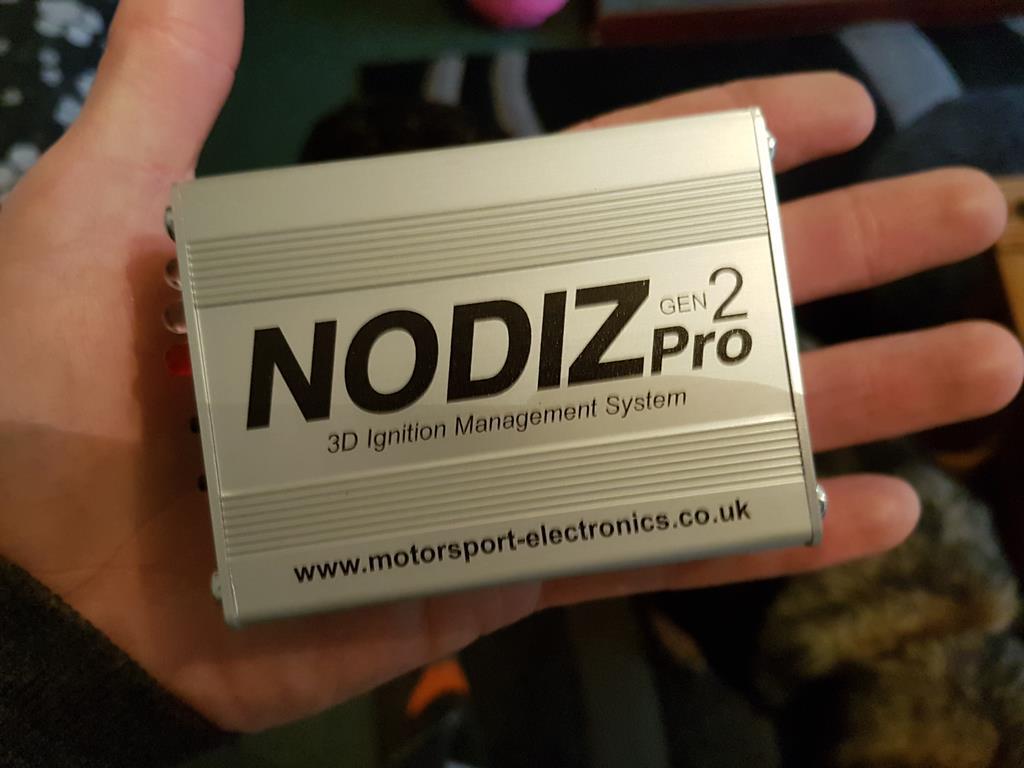 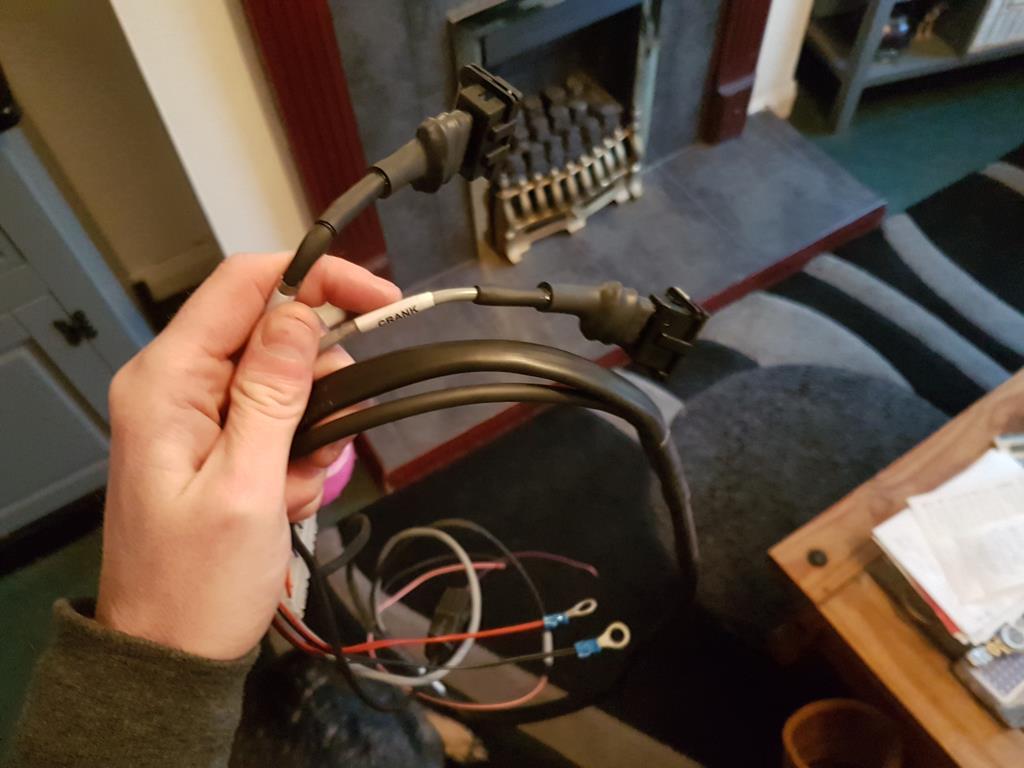 In curse word at updating build threads but I will keep posting up |
| |
|
|
|
|
|
|
|
|
|
|
Brilliant work so far, it's good to see the detailed progress reports. Looking forward to further updates.....Bookmarked.
|
| |
1980 Vauxhall Cavalier MK1
1970 Mobyleete 40T custom
1978 Mobylette 50V
1965 Moulton Standard
1979 Raleigh Grifter custom
1980 Raleigh Grifter
1982 Raleigh Grifter BMX custom
1982 Raleigh Bomber
1987 Strida
|
|
|
|
|
Oct 28, 2018 16:43:35 GMT
|
|
love it ..bookmarked
|
| |
|
|
ChrisT
Club Retro Rides Member
Posts: 1,670
Club RR Member Number: 225
Member is Online
|
|
Oct 28, 2018 17:08:12 GMT
|
Some nice work gone into this, look forward to progress reports  |
| |
|
|
|
|
|
Oct 28, 2018 20:36:34 GMT
|
Well seeming as it wasn't raining earlier and the yellow thing was in the sky, I decided to pop and pick this up from my mum's where it lay in slumber, a battery on and it fired right up (trusty pinto eh) pumped up the tyres and bought it around, gave it a wash and dry then popped it under a cover so I can fire into it at my leisure when I've collected the final small parts remaining The mrs got a pic of it from the upstairs window as it came in the drive 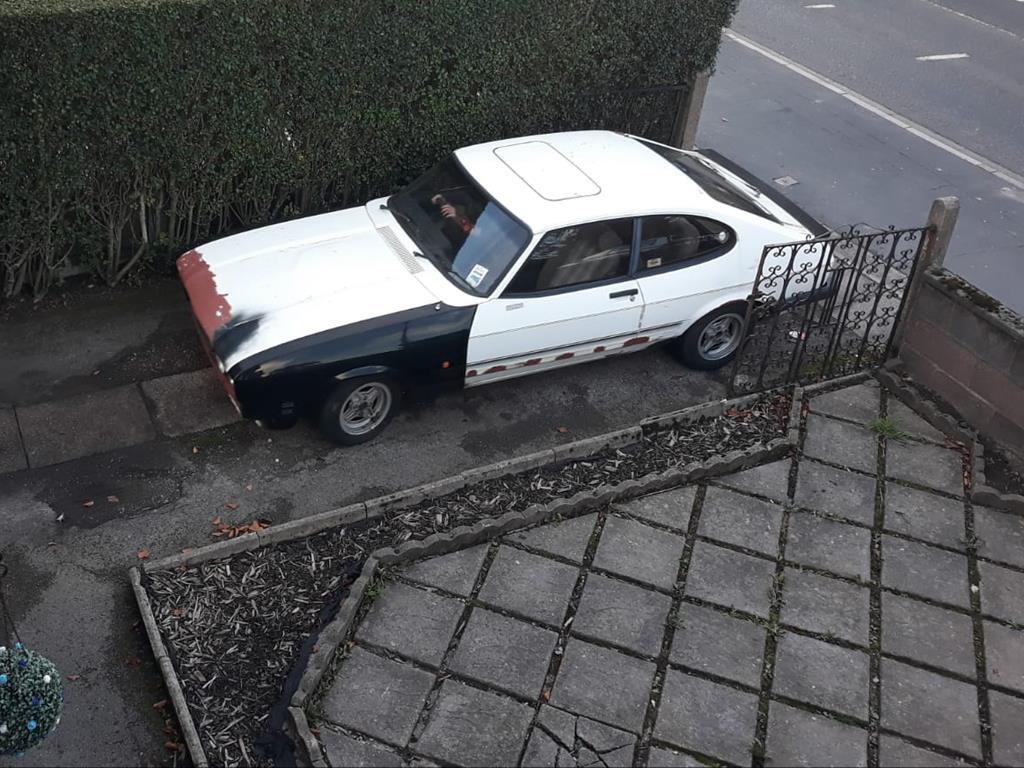 |
| |
|
|
|
|
|
Oct 28, 2018 20:57:20 GMT
|
|
Great thread biuld great cars always wanted one but carnt convince the Mrs to use one as a daily car keep up the good work
|
| |
|
|
|
|
|
|
|
|
I had an hour or so to spare earlier so hoovered the curse word I could access in the engine bay, re ran the wiring to the headlights etc, checked and changed wiring earths that looked suspect, also as a funny gift the in laws got me some Dixie horns so I fitted these for a laugh as well, found a little problem with plug for the passengers headlights and the indicators while I was there they had corrosion but that's where I left it today as the dark was coming in and it was blooming cold, next time I'm going to give them a few hours in white vinegar then contact clean them to see how it goes before I replace them
|
| |
|
|
|
|
|
|
|
Well A couple of hours spare earlier, the vinegar bath on the headlight connectors did the job, after I washed it off and dried I gave the connections a thorough clean with electrical contact cleaner to make sure they were spotless, I also had to clean the stalks as main beam was working on the flash but not on the click forward position, I now have a full compliment of lights  Also I got around to replacing the tca to crossmember bolts as one of them was worse for wear, I also wired up the replacement electric aerial I've fitted, I also replaced the CD player for a tape player while I was there. I'm trying to chip away at the little jobs while I'm waiting for a few bits |
| |
|
|
Rasc
Part of things
 
Posts: 47 
|
|
|
|
|
Great thread, and outstanding work for an outdoor build. Wish I had the same attitude.
|
| |
It's better to burn out than fade away
|
|
|
|
|
|
|
|
Nice thread. I spy sierras? -sierra threads please..... oh and mrs FP erst thread please
|
| |
|
|
|
|
|
|
|
Nice thread. I spy sierras? -sierra threads please..... oh and mrs FP erst thread please Yeah I've got a couple of mk1 sierra 3 doors, one is a project I havnt started yet which is for mrs fp, the other is currently in the paint shop windows out getting took to bare metal When I get chance i will try to get some threads done, This is how my 3 door sierra is at the moment 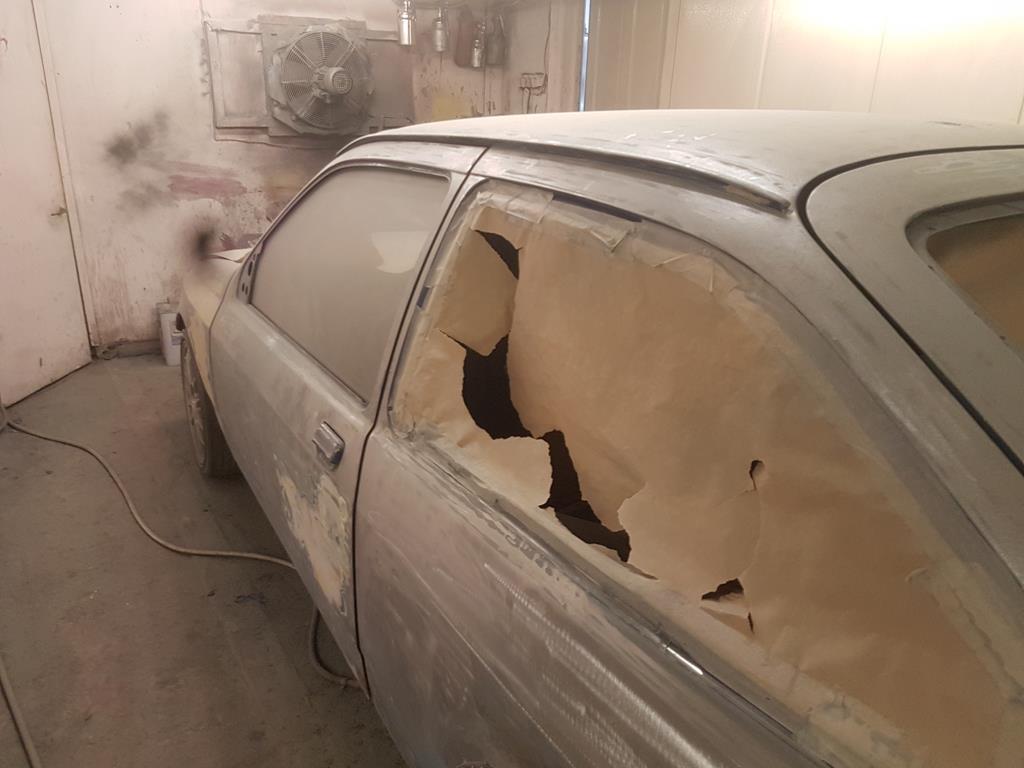 |
| |
Last Edit: Nov 13, 2018 17:28:41 GMT by fordperv
|
|
|
|


