|
|
|
|
|
Next up was all the ancillarys. First off was the oil pump. The filter is located within a housing at the back of the engine in these. Internally, it was a mess. Needed a good clean. 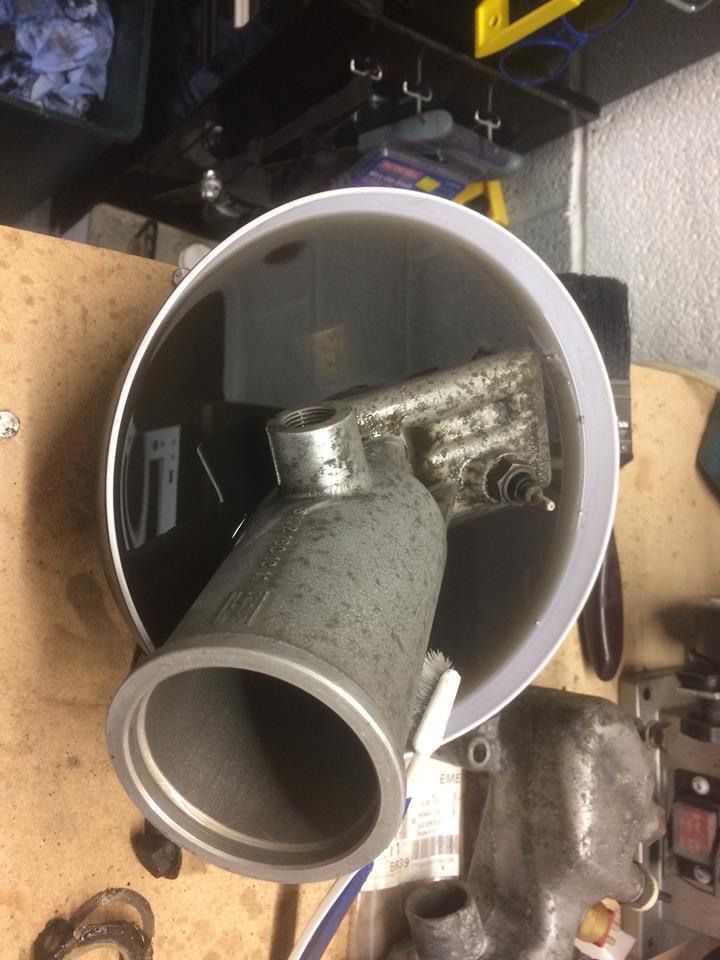 Sadly, I don't have a before picture, so you'll have to take my word for it. At a guess tho, i'd say that the car has had years of abuse prior to me. 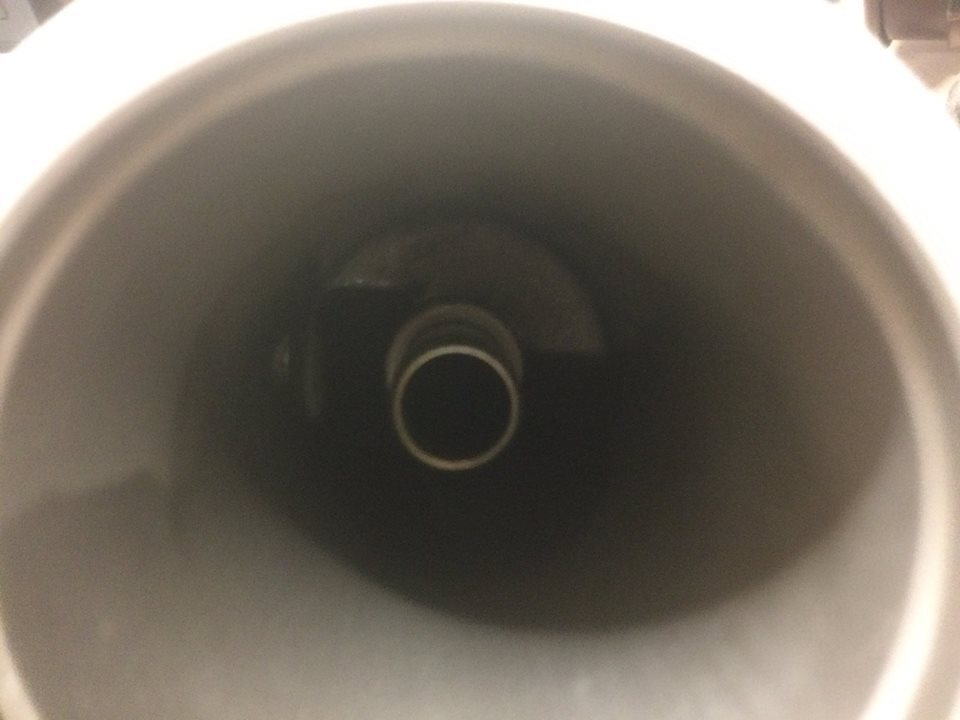 I left the oil pump to sit in a bowl of petrol for a week, occasionally going in and pushing a brush around. |
| |
|
|
|
|
|
|
|
|
|
With that done, I fitted a few new breather and water hoses and fitted the pump. 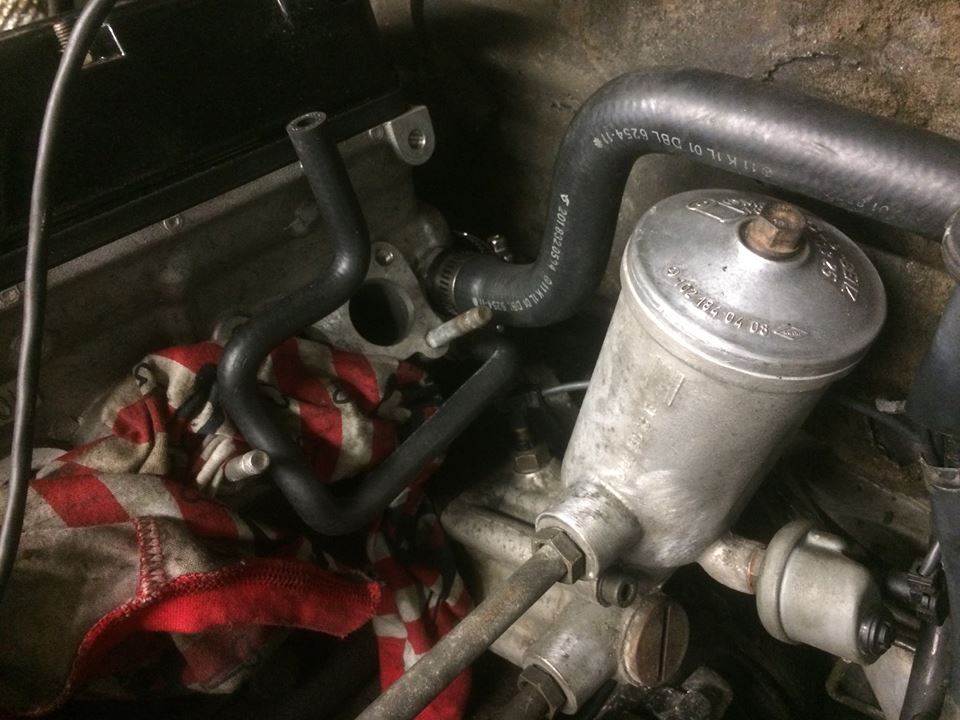 Next came the oil lines. Both had been leaking. Additionally to that, the oil cooler threads were in a terrible state. The cooler went off to a radiator expert (that fitted new bolts and threads to both) and the hoses went to my local pipe and thread company. Everybody did a great job, quickly and without moaning. I was pleased as none of these bits are available from Mercedes anymore. 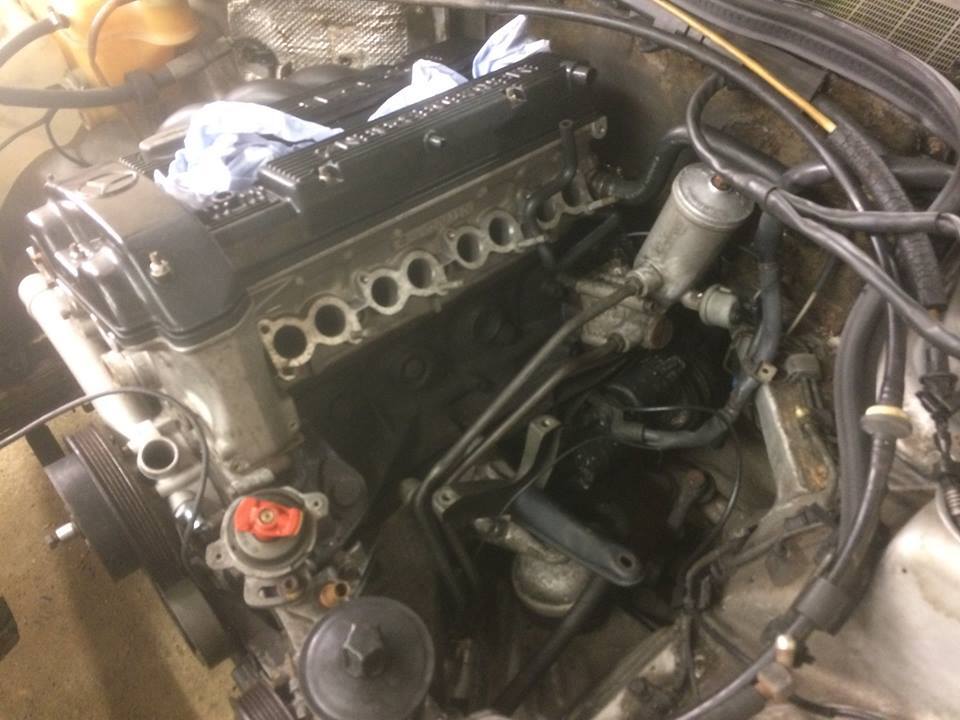 With all of this done, I fully assembled the engine bay, radiator, etc. New protective hose was needed for the alternator cable, which I found that VW Air duct hose looks almost identical - Perfect! Looks the part and wasn't too difficult to finish. 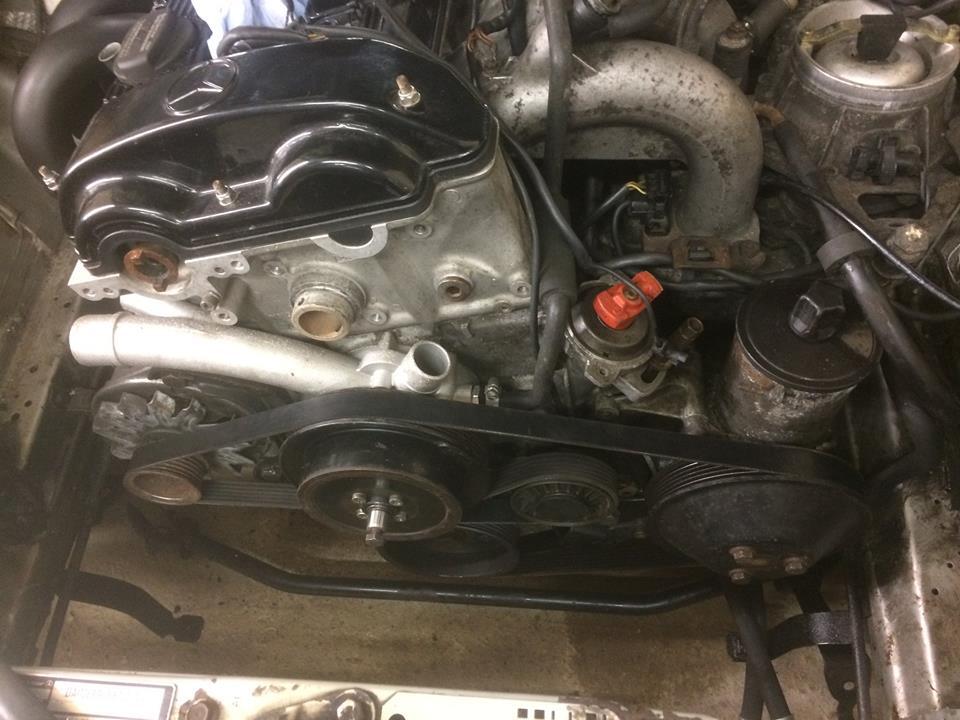 Belt and tensioner in, although I may replace the tensioner as the rubber seems to have gone soft. 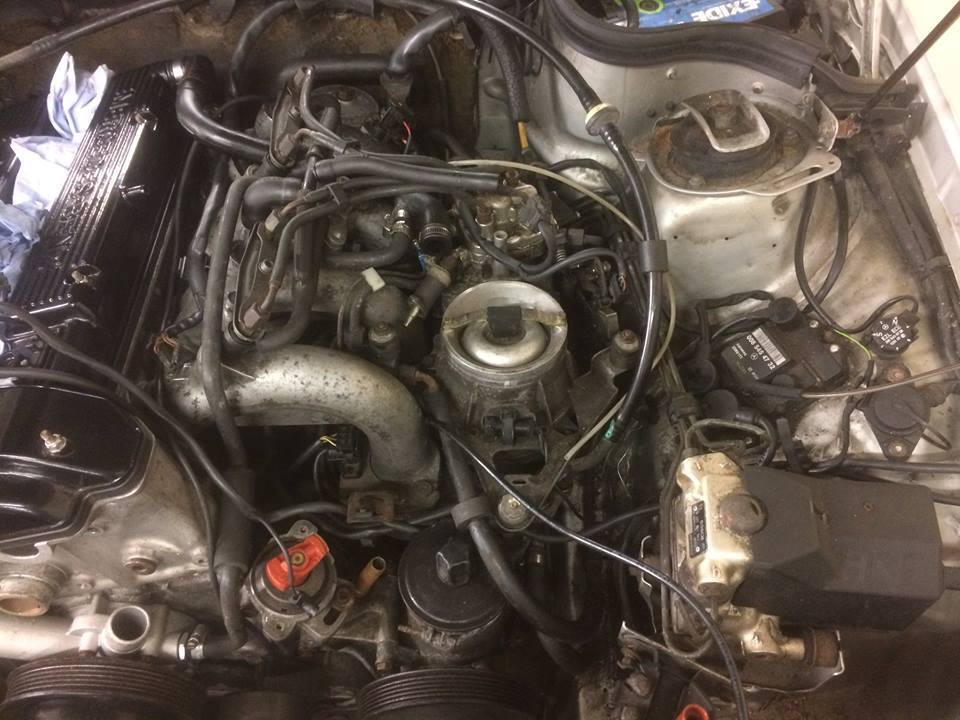 Inlet installed, not too difficult, with the exception of trying to remember where the wiring all goes. By this point it'd been over 2 years since I'd taken it apart!  |
| |
|
|
|
|
|
|
|
I filled all the fluids and replaced every filter that I could. On these the power steering has a filter too! It was also in a horrendous state.... Although everything was ready to go, I wanted to fit the exhaust prior to building oil pressure and going for the first start. With that, it seemed sensible to charge the battery. After removing the battery, I saw the state of the tray.... 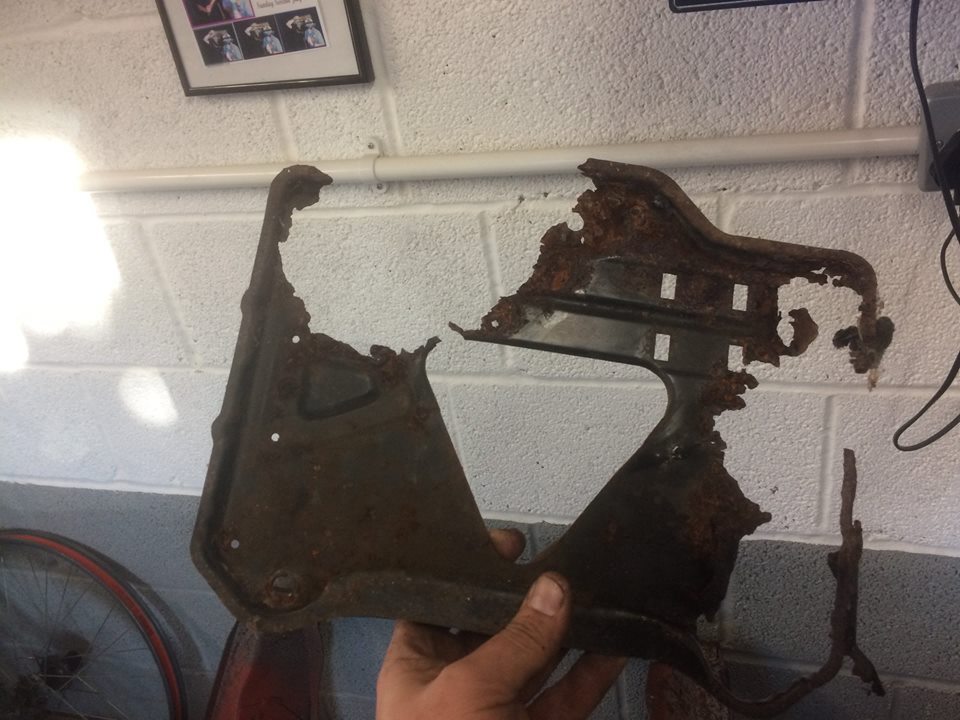 I hole had formed underneath into the wheel well too... That and the threads were easy to fix. Trying to find a new tray was a whole other task in itself! In the end, I bought a tray from a nice chap in Canada that's reproducing them. Sadly tho, US spec cars have a much larger battery. Luckily another friend of fine cut it doen and welded it for me. I cleaned and painted it. Below is the installed piece. 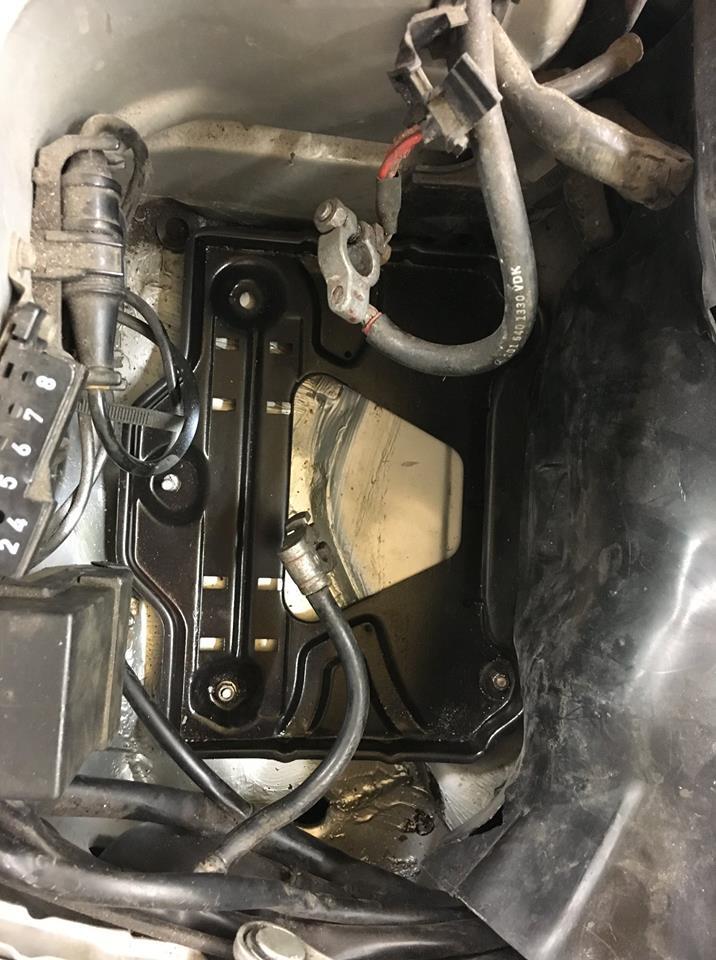 Everything was thoroughly wax oiled before reinstallation. After reading around online, 190's are known for rotting in that spot, so shouldn't have been a surprise to me... Also, below is the break in oil that I went for. I know a lot of people that don't see the point, but I wanted to do this rebuild 100% to the guide and wasn't taking any chances. The car is being built to be used, not a showroom queen. The latter i'm not interested in. 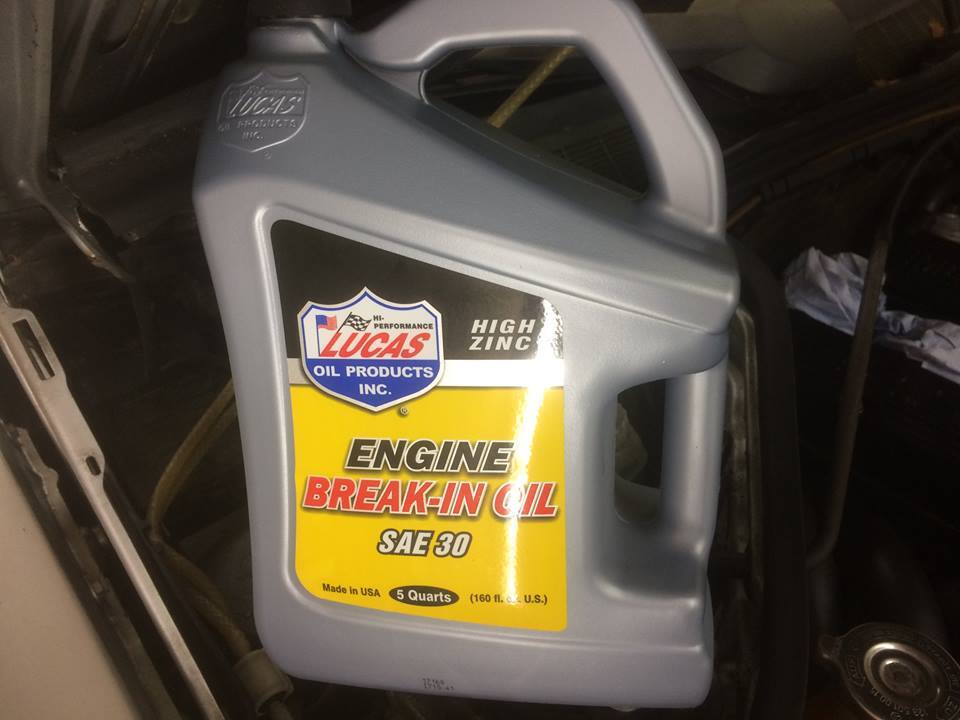 |
| |
|
|
|
|
|
Aug 13, 2018 10:01:18 GMT
|
Obviously, i'd extended the garage and had a reasonable work area. The garage was now 9.5m long by 2.5m wide (within the original garage) and 2.8m wide in the extension. This gave me a good area for prepping and plenty of space for parts, etc. I have a few cars, so I needed this (Mini Sprint, GTM Coupe and this). Next up was to find a bodyshop. I spoke to alot of people and constantly felt that they where taking the mick. I was happy to strip everything down, DA the car and remove all screens, door handles, bodykit, etc. Aas I wasn't getting anywhere fast, I decided to rebuild the front Suspension. Strip it down and see whats, ok, bad and downright *censored* 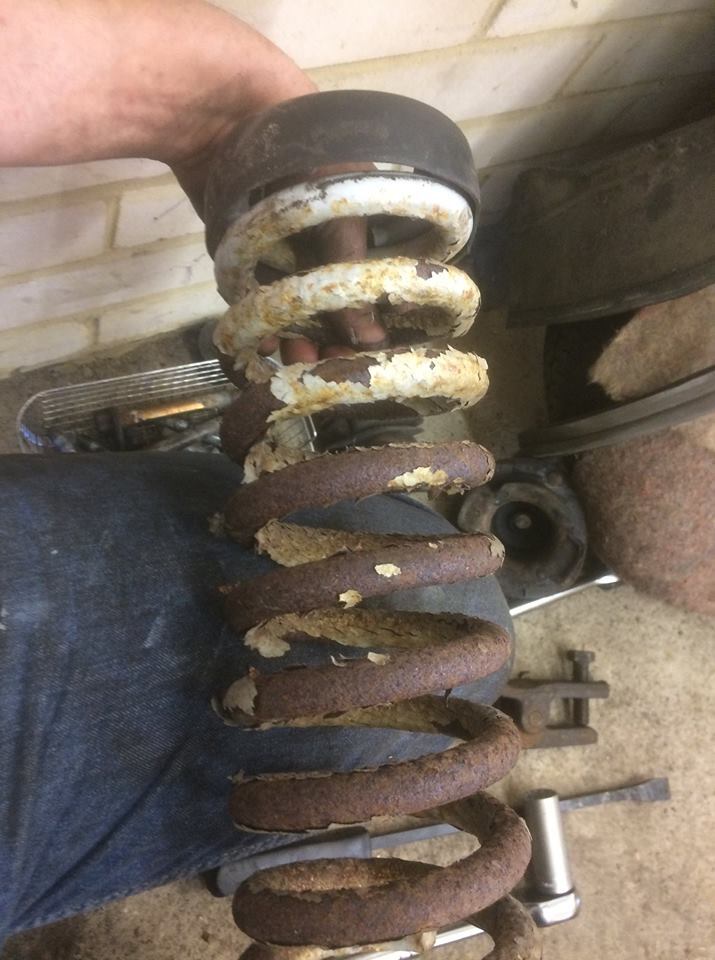 First off was the spring. Snapped, cut down and not looking great. That had to go. 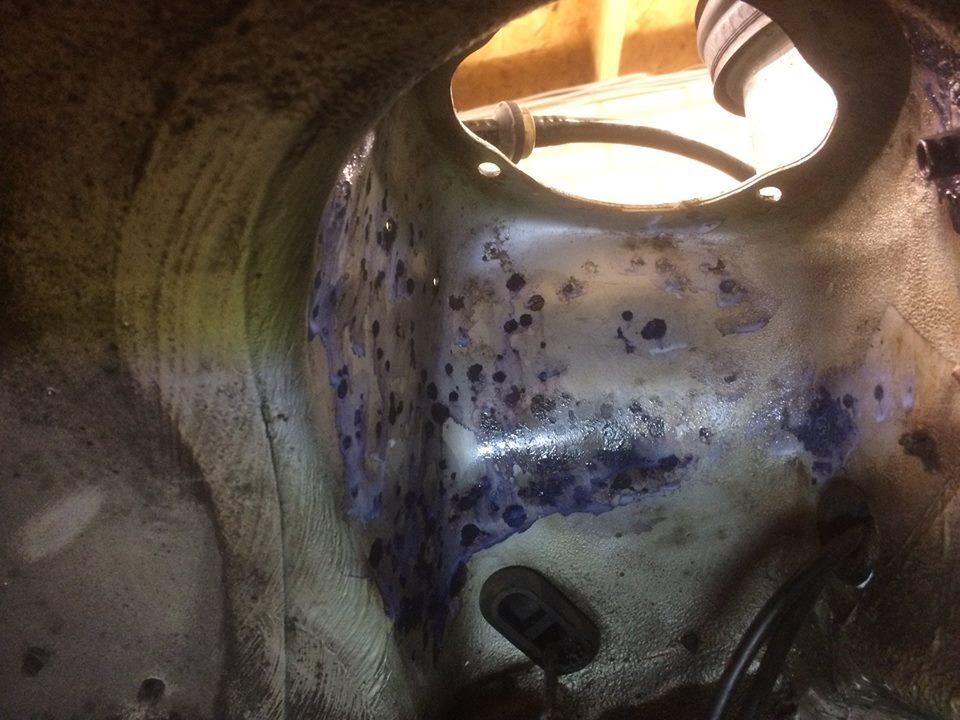 And here is the small amounts of surface rust on the strut top. EVERYTHING was knackered. The bottom ball joints had so much play that they could have gone at any time. Serious action needed. 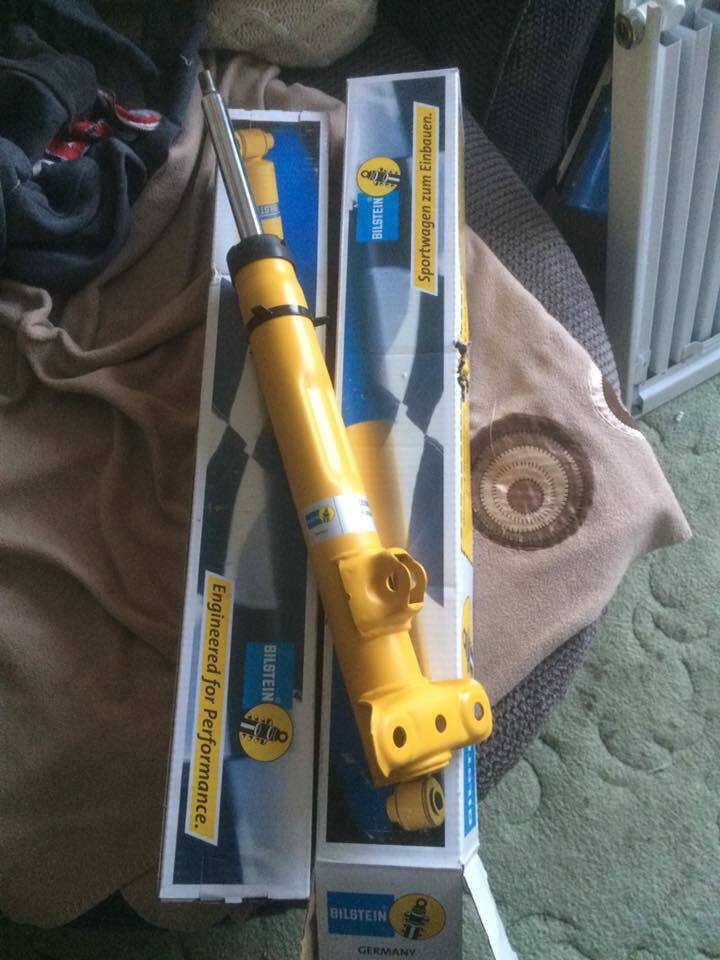 It seemed from research that all those in the know on these run Bilstein B8's and H&R Springs. I intend to keep the Self levelling system, so these are the only ones that'll provide a small drop and work with the back shocks - Perfect. So in the end I replaced the following to the front; - New Shocks - New Shock bush and dust cover - New Spring Pads (Went down a size to a 2 bump) - New lower Arms - New Anti Roll Bar Bushes - New Top Mount Rubbers - New Track rod ends and bars (inner bushes knackered too) - New Steering Damper - New Discs (Frighteningly warped) - New Pads - New Pad Wear Sensors All visible rust was cleaned back, K-Rust, Primered, Painted and Laquered too. This Suspension Rebuild seemed to take an age! 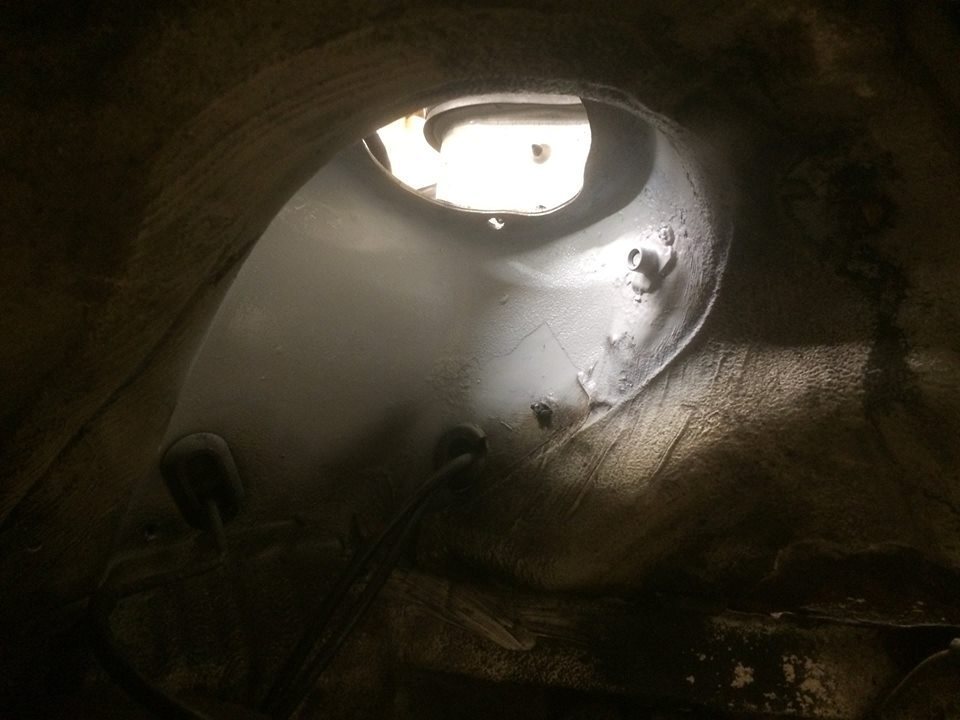 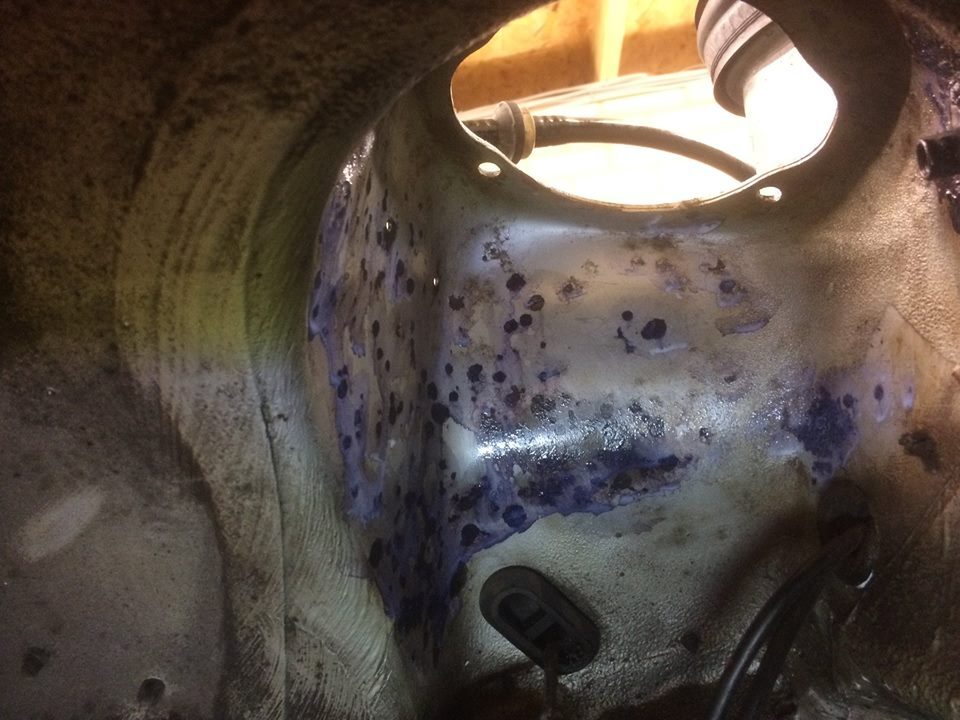 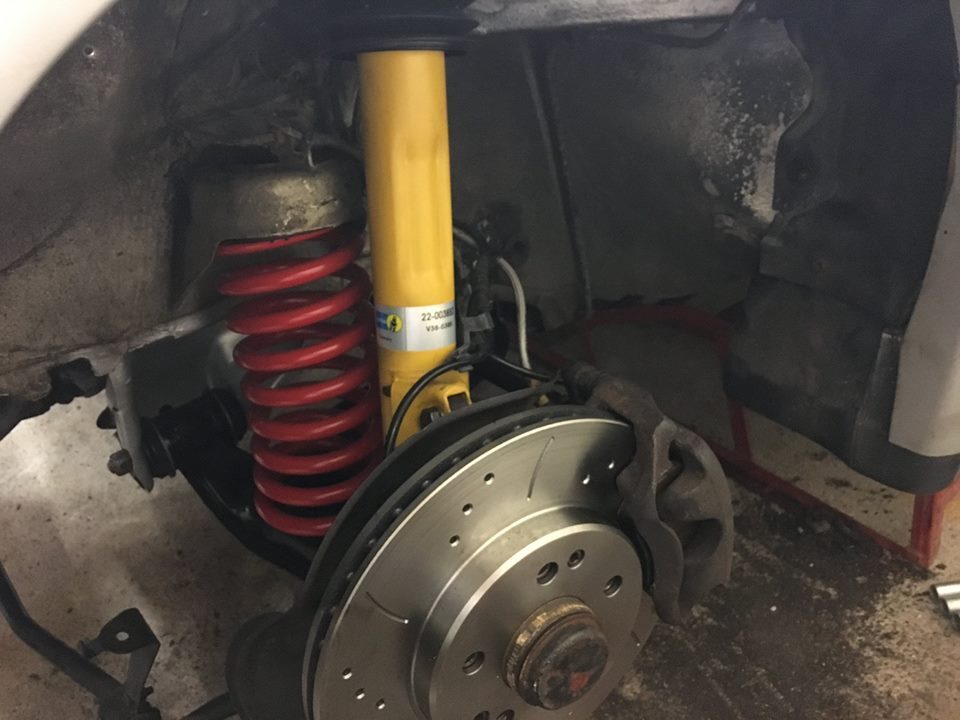 This was repeated on the other side too. Finally, i'd found somebody that was happy to do all the panel work. Replacing and filling, bonus being, that we're good friends through the Girlfriend too. I never realised how good he is at all of this until I was at a BBQ and we'd been chatting car. He said at the time "Yeah, I did an E-Type and a Healey for a customer that both ended up on the front cover of Classic and Sports Car". BINGO!! I'd found the man for the job! Cheap, fair and works really hard. Only downside was that after everyday that he did, i'd have a list of "homework" that needed to be done for him to get on the next day. But I honestly can't say enough positive things about him. |
| |
|
|
|
|
|
Aug 13, 2018 10:08:59 GMT
|
|
I'll wager that the NOS head cost a pretty penny!
|
| |
96 E320 W210 Wafter - on 18" split Mono's - Sold :-(
10 Kia Ceed Sportwagon - Our new daily
03 Import Forester STi - Sold
98 W140 CL500 AMG - Brutal weekend bruiser! Sold :-(
99 E240 S210 Barge - Now sold
02 Accord 2.0SE - wife's old daily - gone in PX
88 P100 2.9efi Custom - Sold
|
|
|
|
|
Aug 13, 2018 11:01:08 GMT
|
I'll wager that the NOS head cost a pretty penny! Not as bad as you'd have thought.... When I bought the head (all early 2.5's are Coscast, including mine) these cars could be bought for £4-5k in ok condition, with mint ones at £6-8k. The head (from memory) was £1800 including VAT. I still have the old head at home, that could be repaired and one day in the future I might sell to recoup some of the costs. |
| |
|
|
|
|
|
Aug 13, 2018 16:44:12 GMT
|
I intend to keep the Self levelling system, so these are the only ones that'll provide a small drop and work with the back shocks - Perfect. Good man, the SLS is brilliant. You can adjust it too, for a drop of 10-15mm adjusting the self leveling valve rod. Keep up the good work. it brings back many fond memories of an underrated and a truly great car. |
| |
Last Edit: Aug 13, 2018 16:51:02 GMT by Woofwoof
Still learning...still spending...still breaking things!
|
|
|
|
|
Aug 13, 2018 20:53:55 GMT
|
So in the end I replaced the following to the front; - New Shocks - New Shock bush and dust cover - New Spring Pads (Went down a size to a 2 bump) - New lower Arms - New Anti Roll Bar Bushes - New Top Mount Rubbers - New Track rod ends and bars (inner bushes knackered too) - New Steering Damper - New Discs (Frighteningly warped) - New Pads - New Pad Wear Sensors Don't forget the steering idler bush, if you haven't replaced it already. |
| |
Still learning...still spending...still breaking things!
|
|
|
|
|
|
|
So in the end I replaced the following to the front; - New Shocks - New Shock bush and dust cover - New Spring Pads (Went down a size to a 2 bump) - New lower Arms - New Anti Roll Bar Bushes - New Top Mount Rubbers - New Track rod ends and bars (inner bushes knackered too) - New Steering Damper - New Discs (Frighteningly warped) - New Pads - New Pad Wear Sensors Don't forget the steering idler bush, if you haven't replaced it already. I haven't as it goes, but I noticed another steering control arm that appeared tired. I've bought a new piece to replace, so will do the bush at the same time. Thanks for the reminder! |
| |
|
|
tristanh
Part of things
  Routinely bewildered
Posts: 990 
|
|
Aug 14, 2018 18:01:38 GMT
|
|
Hats off to you mate, you're doing a cracking job
|
| |
Whether you believe you can, or you cannot, you're probably right.
|
|
|
|
|
|
|
Aug 14, 2018 19:06:38 GMT
|
Hats off to you mate, you're doing a cracking job Thank you! There's more to come, I may get a bit of time to update tomorrow. |
| |
|
|
|
|
|
Aug 23, 2018 13:07:27 GMT
|
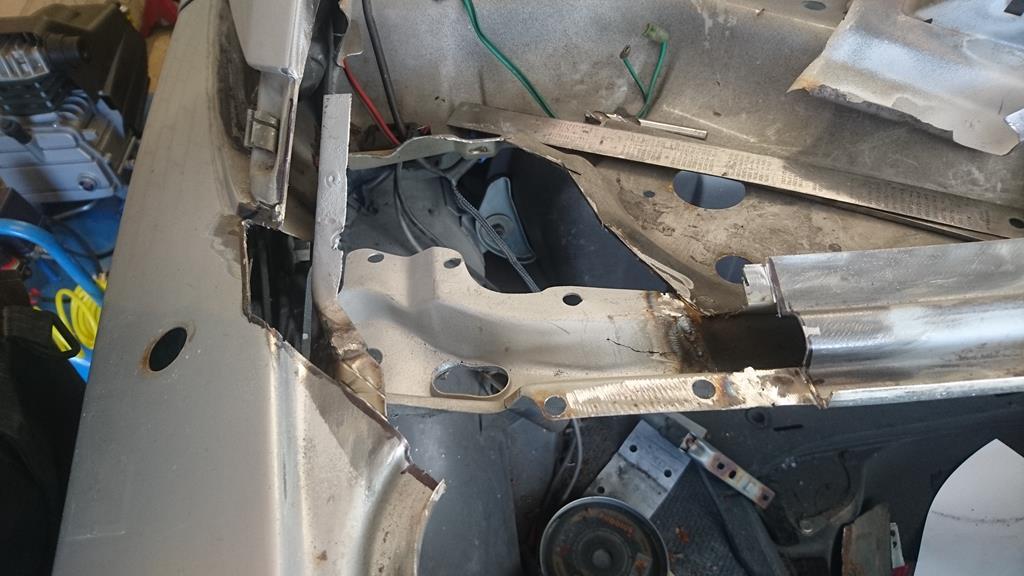
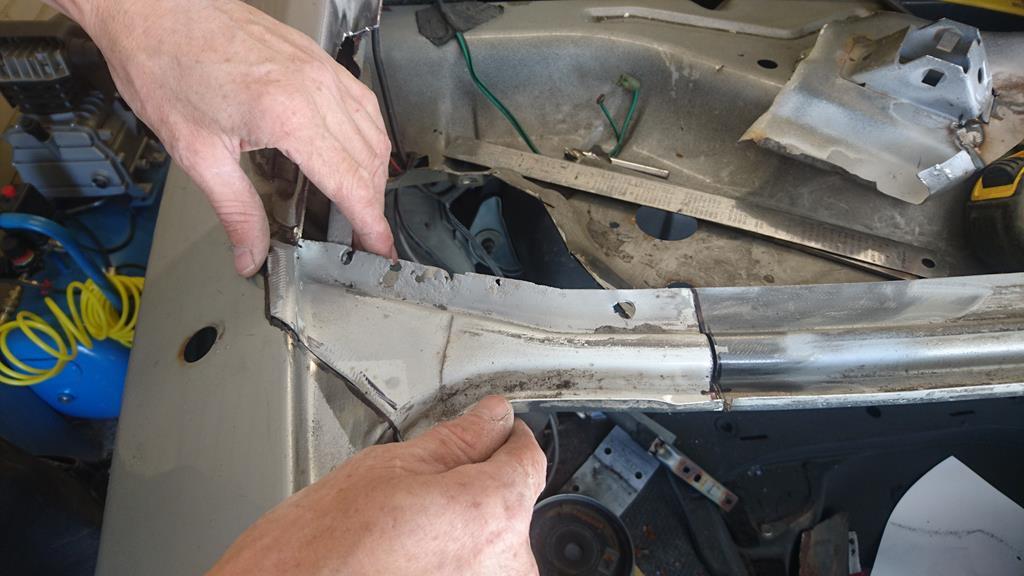
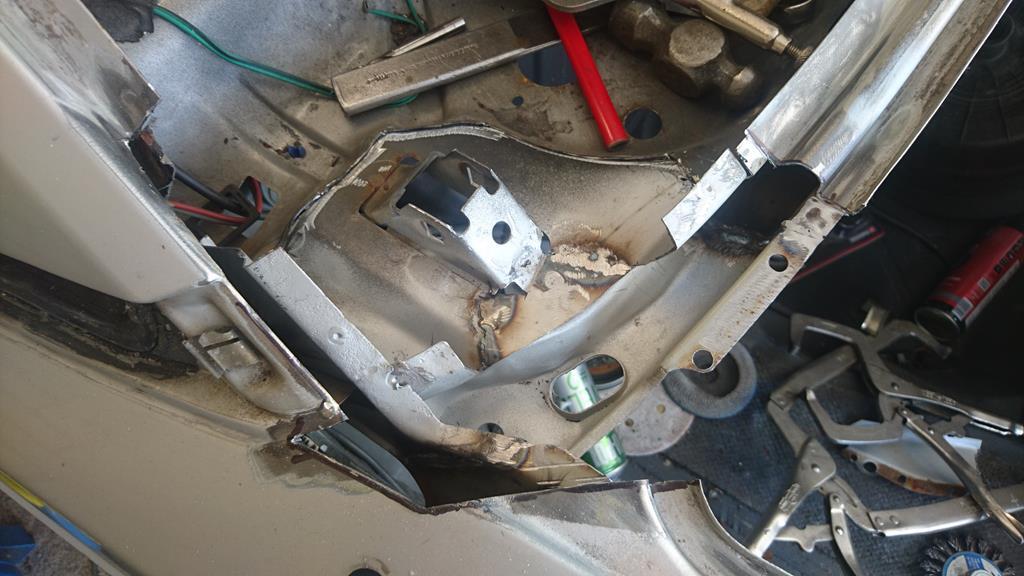
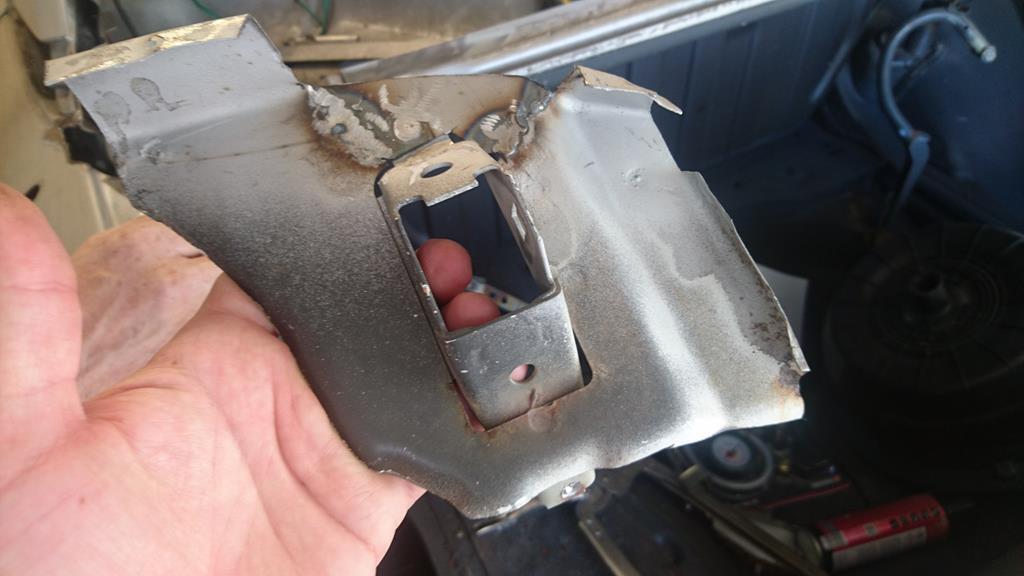
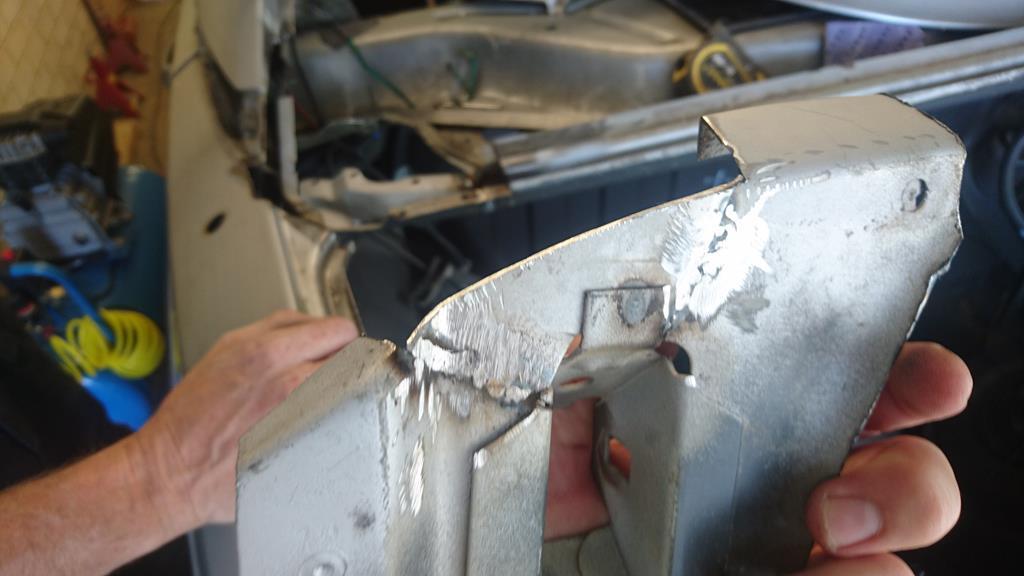
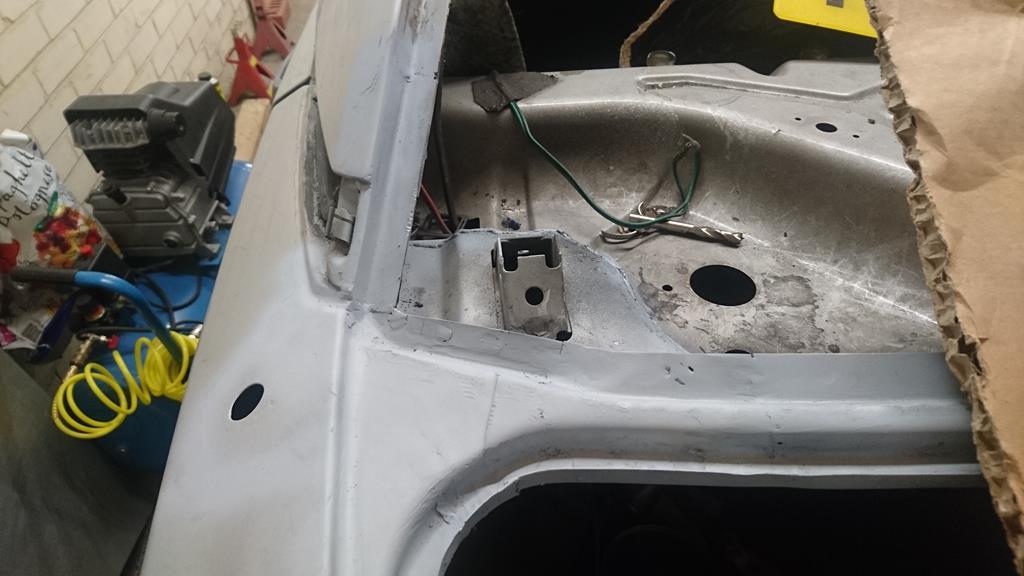
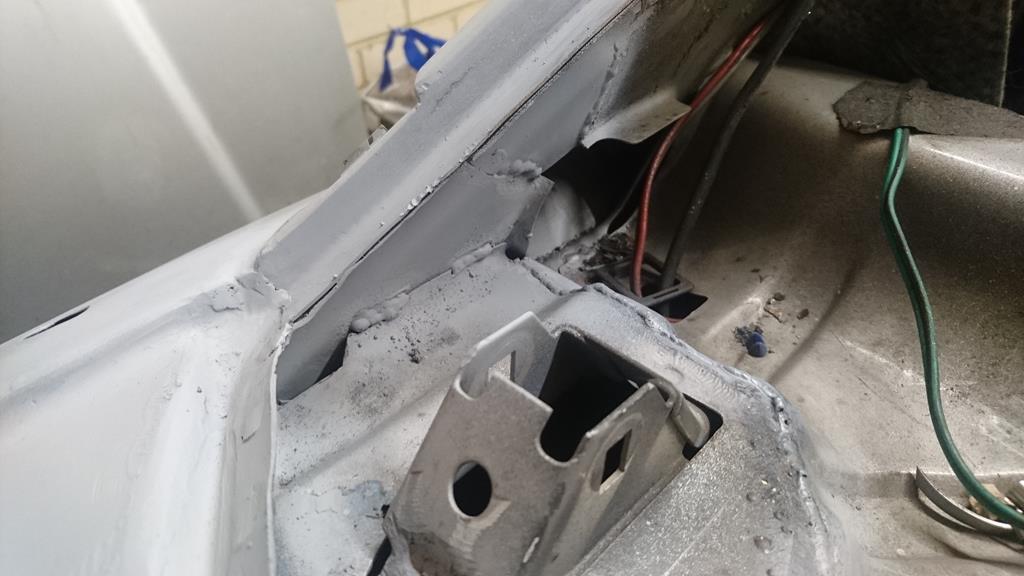
Now for the bodywork. As previously mentioned, i'd "persuaded" a friend to get involved. The sort of persuasion that takes beer, pizza and more beer. But it worked. So I bought the following; - 4 jacking points - 2 external sills - 2 half rear wing sections (surprisingly cheap too!) - Second hand bonnet - Front Wing, more on that story later..... I knew that things had to get better before they got worse, but oh boy, I wasn't ready for this much pain! 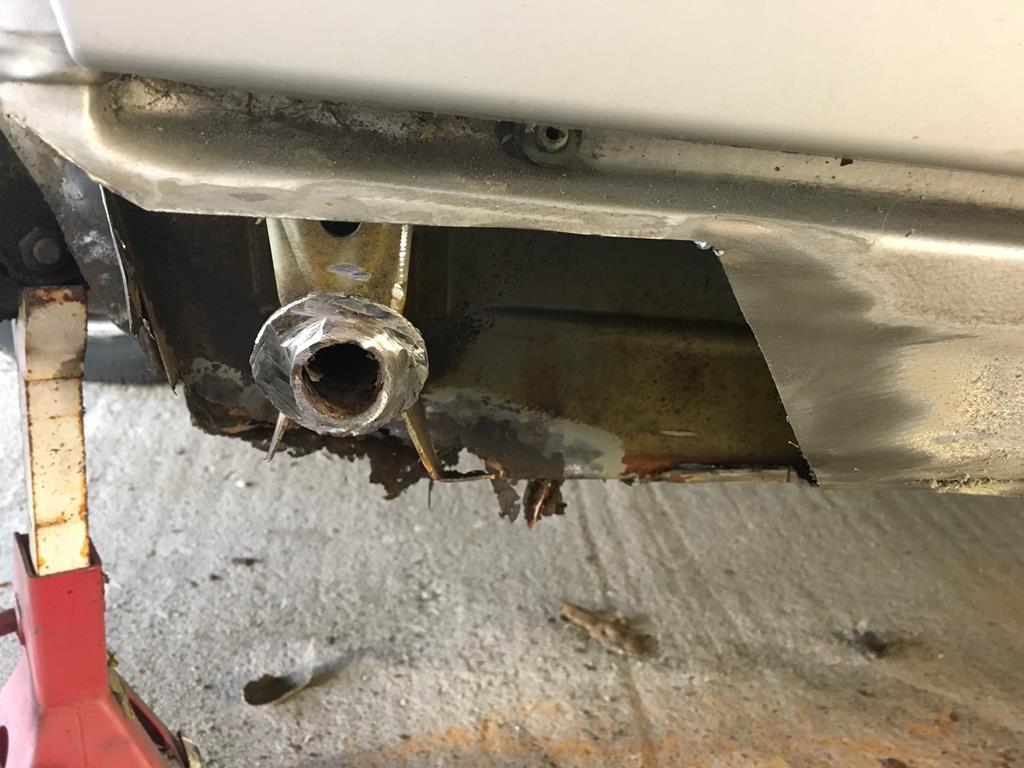 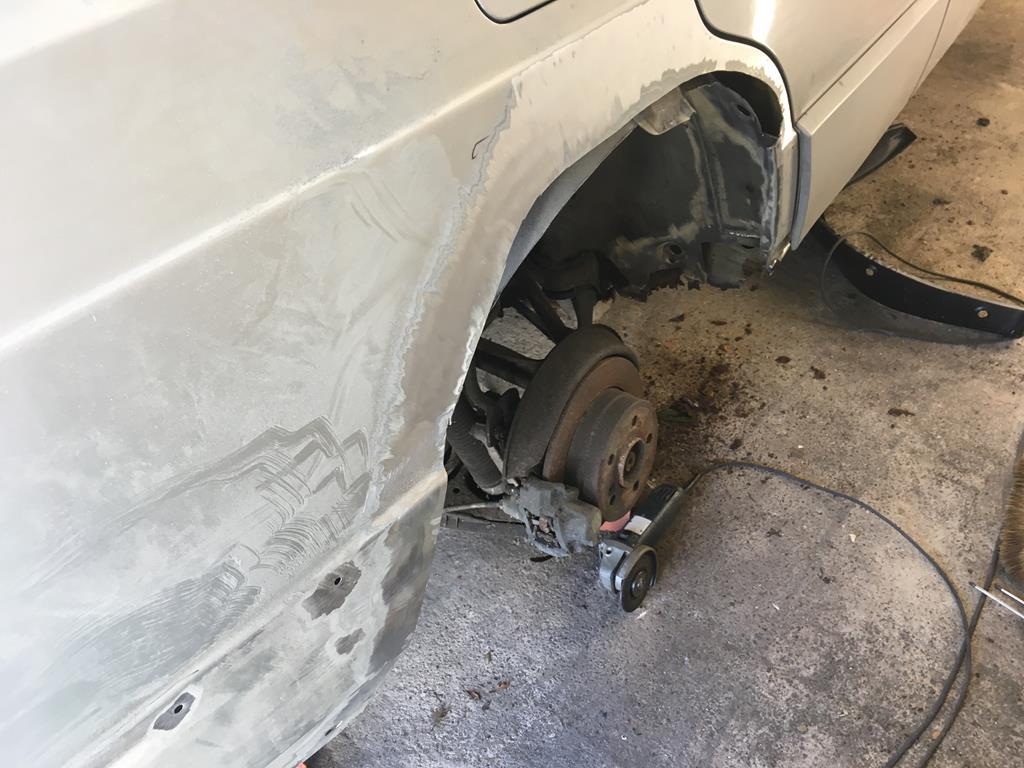 The jacking point and it's surrounds where totally shot! 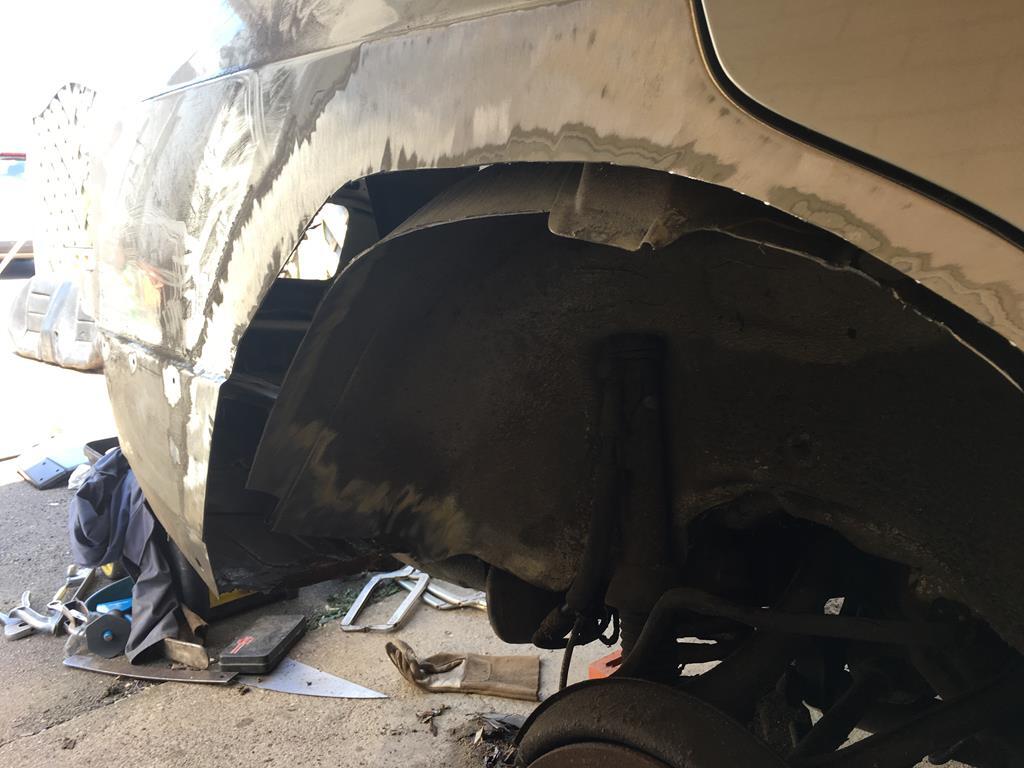 After lots of swearing (on Marks part) he started offering up bits 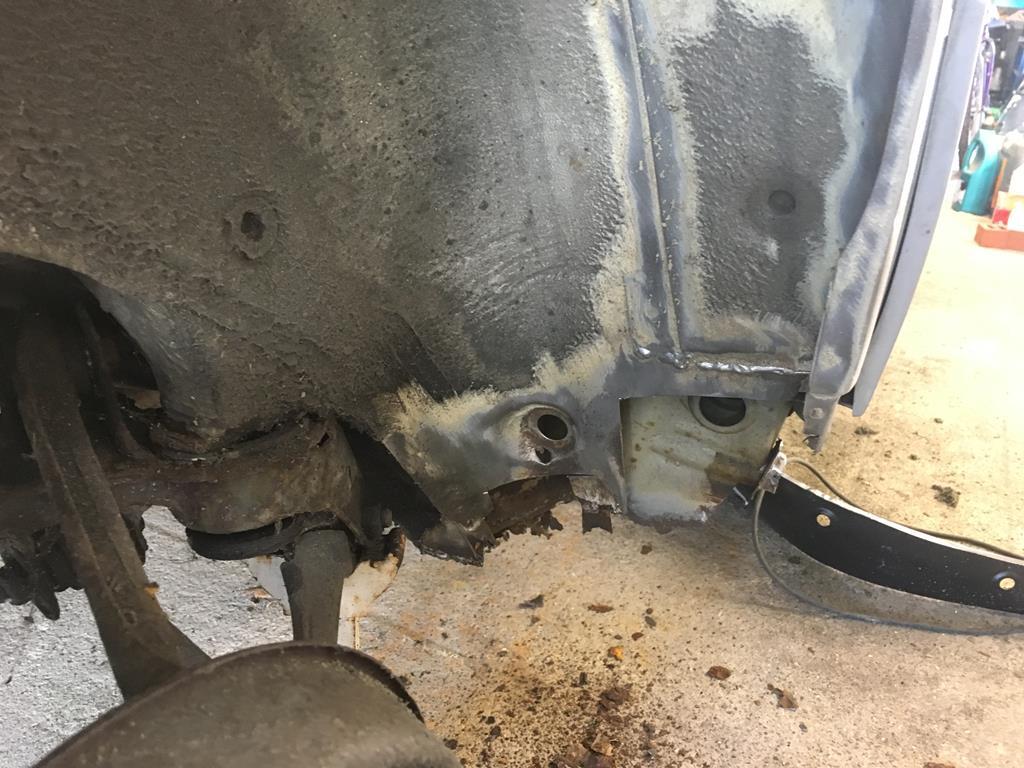 Mark was determined to find anything that was sorf, didn't seem right or otherwise a concern to him. Nothing was safe! 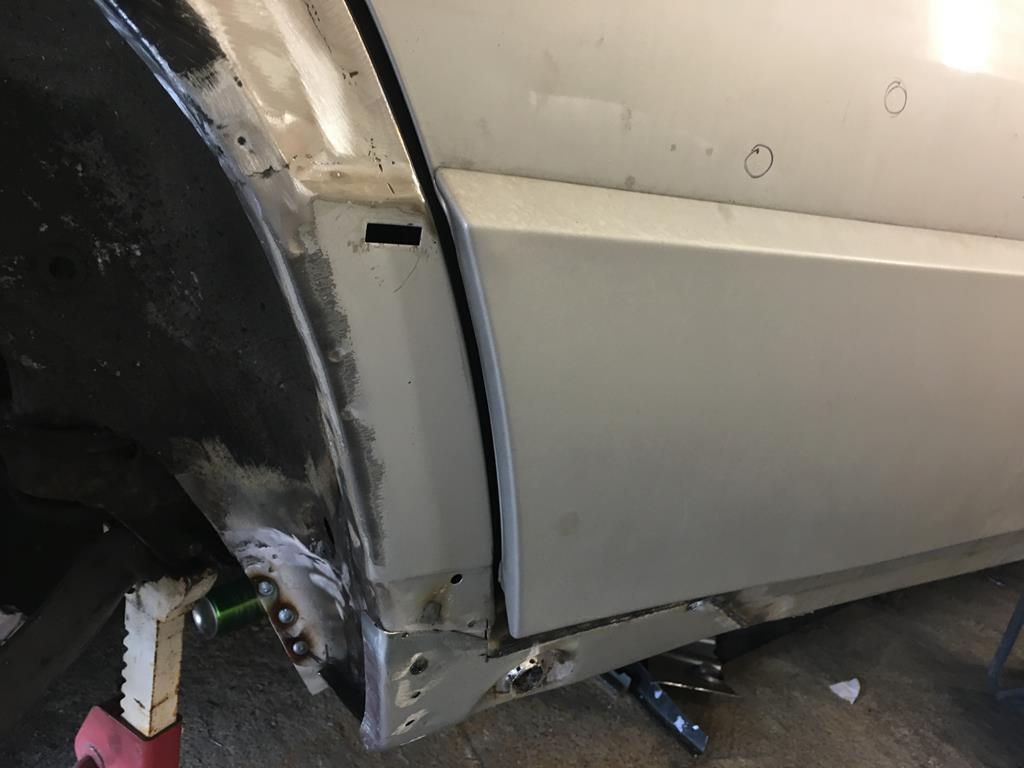 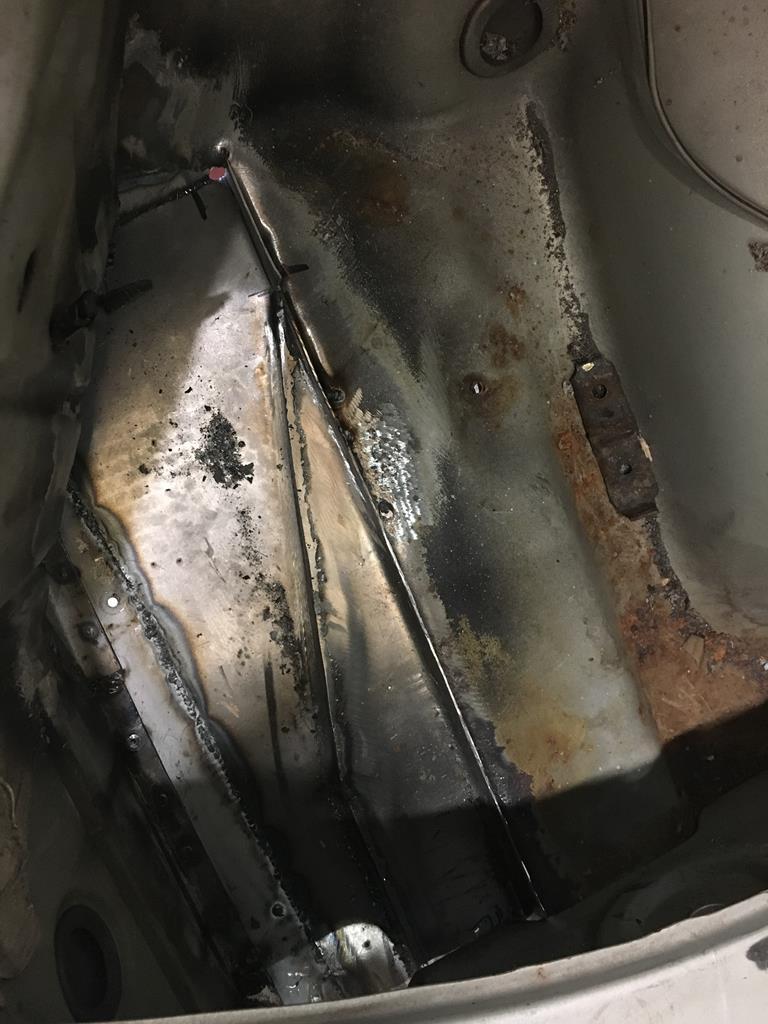 Multiple holes had been found in the floor pan and perculiar other areas. It was only seam sealer that was hiding them all! 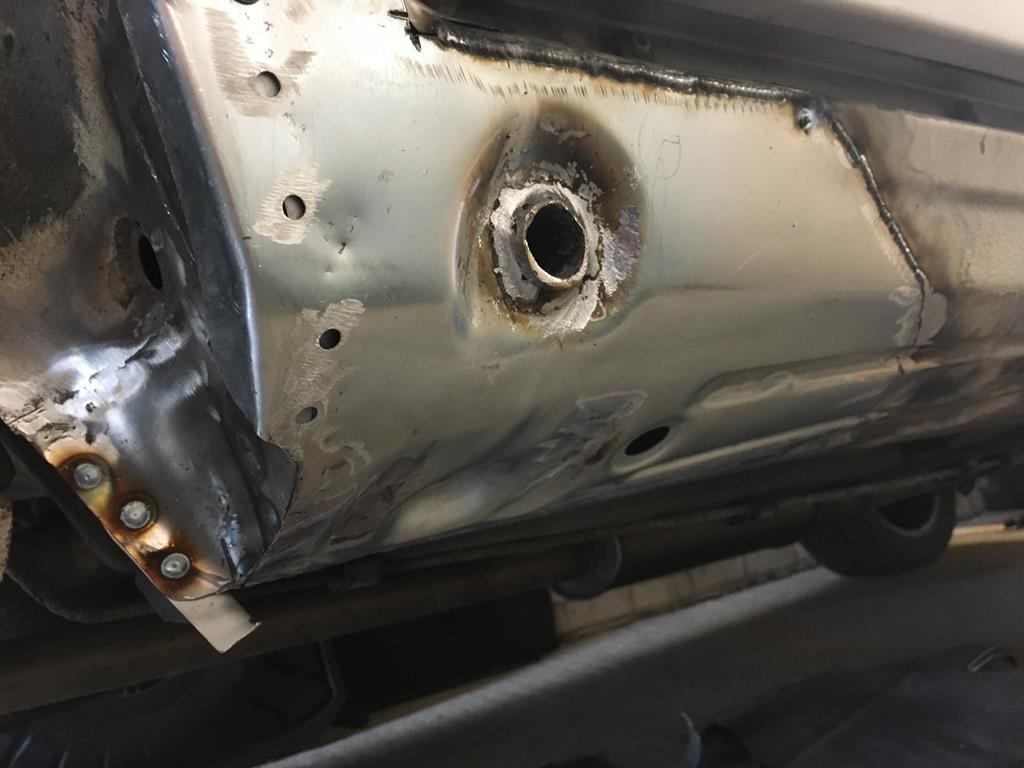 3 days of messing around yielded good results! Although the arch plastic needs a little more adjustability. The bolt holes are oval in shape from the factory. 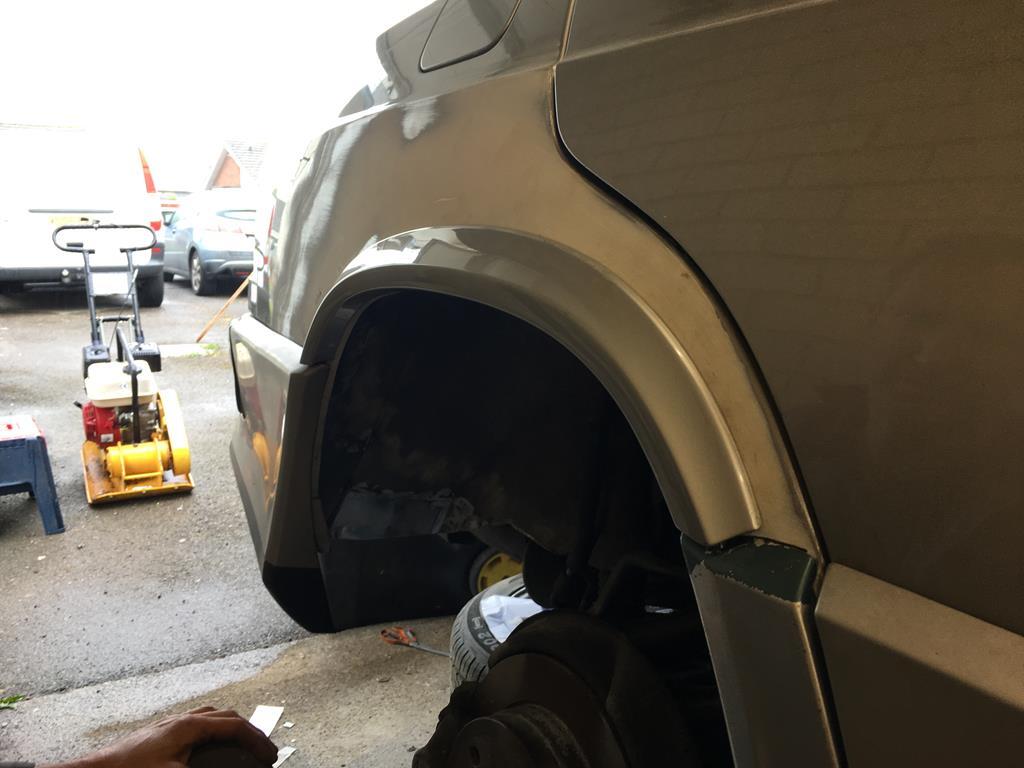 Even under the pedal box?! 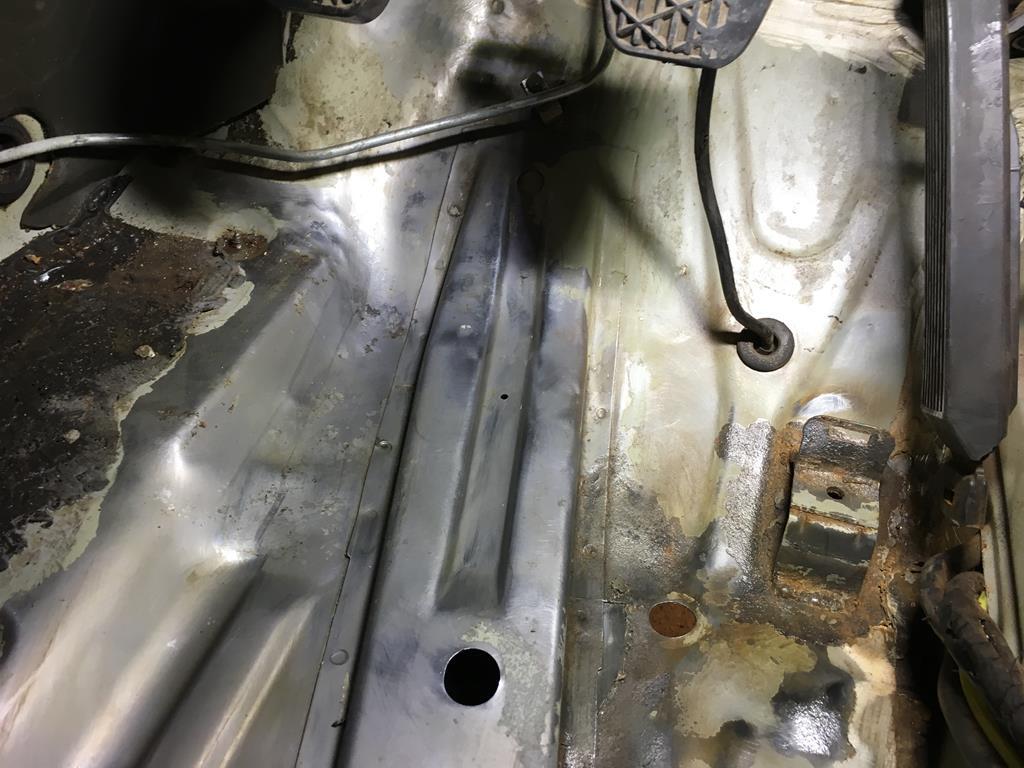 There was a lot more in the back sections that had rotted through due to very poor previous repairs. Once one side was done, it was on to the next..... |
| |
Last Edit: Aug 23, 2018 13:09:33 GMT by jonnyboyraver: Terrible spelling mistakes!
|
|
|
|
|
|
|
|
|
|
Is this guy Mark available for hire to the general public lol. Nice work as usual
|
| |
|
|
|
|
|
|
|
The back corner had previously taken a knock and under the rear light had a rust bubble. After we removed the filler there was no metal left. Another cheap repair. Although i'm sure that it looked great at the time. New metal and a skim of filler fixed it. 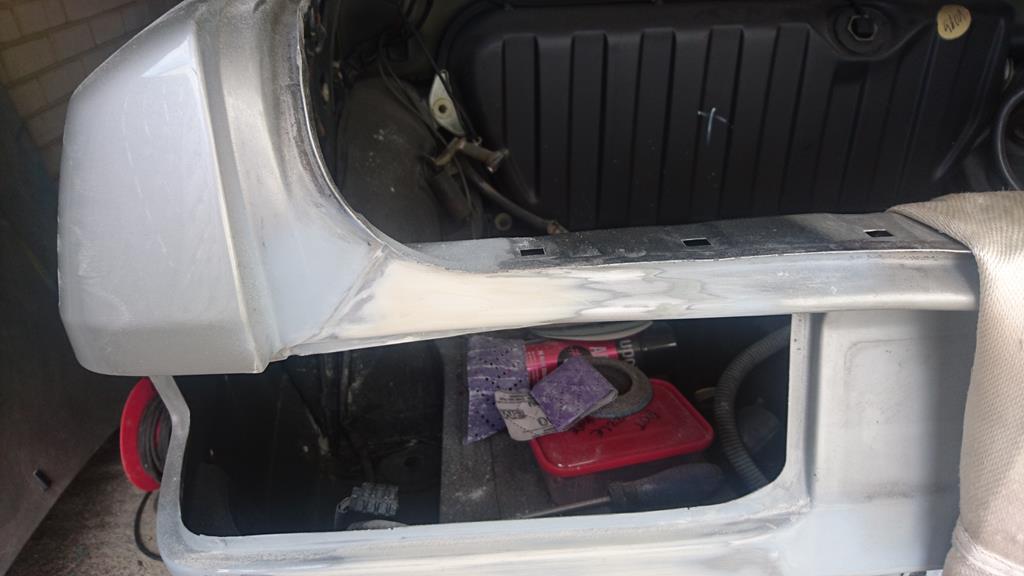 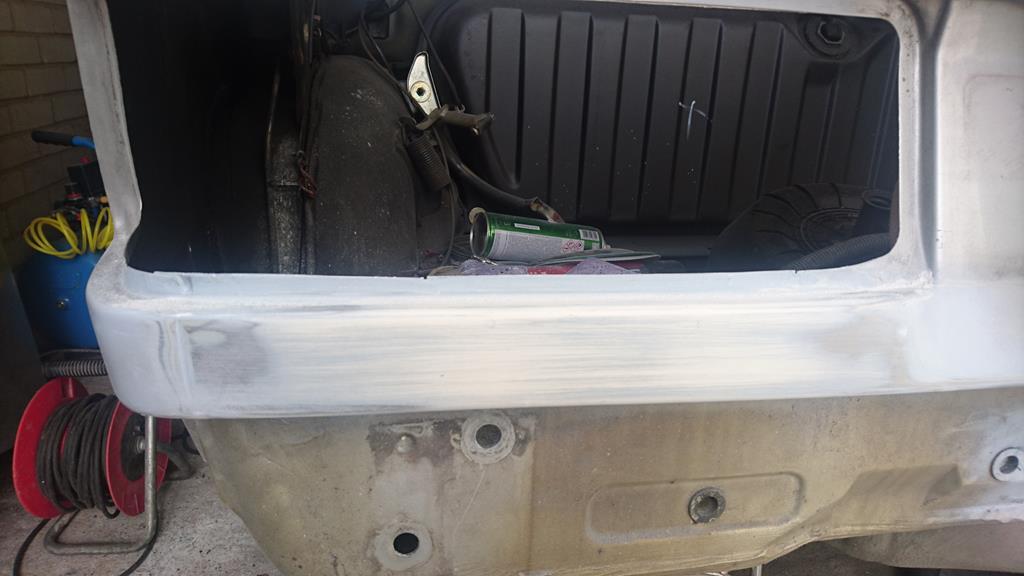 More filler work to the passenger side rear wheel arch. 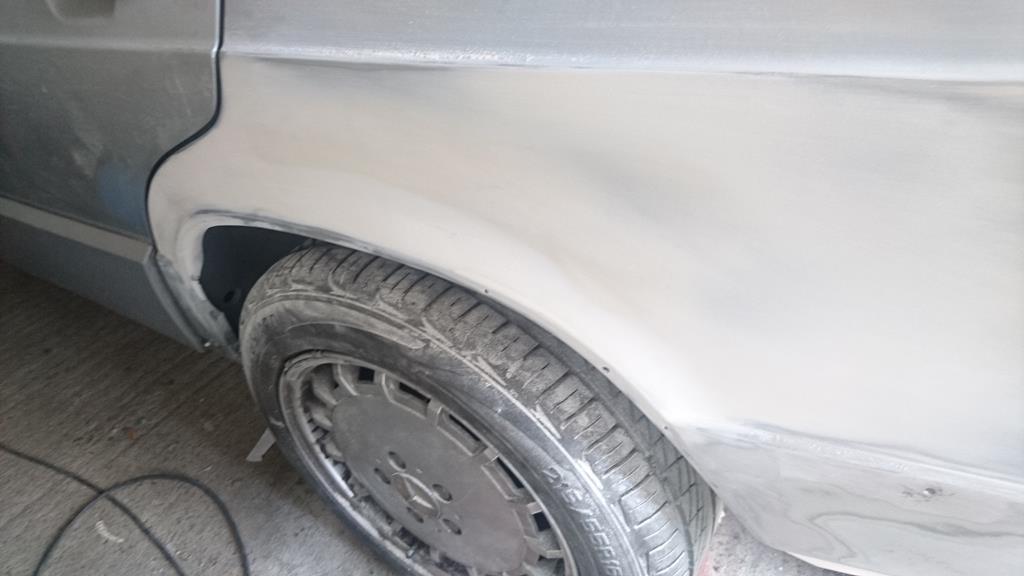 |
| |
|
|
|
|
|
|
|
Next was stripping all paintable ancillaries off. Two doors I could get reasonable access in the garage to. 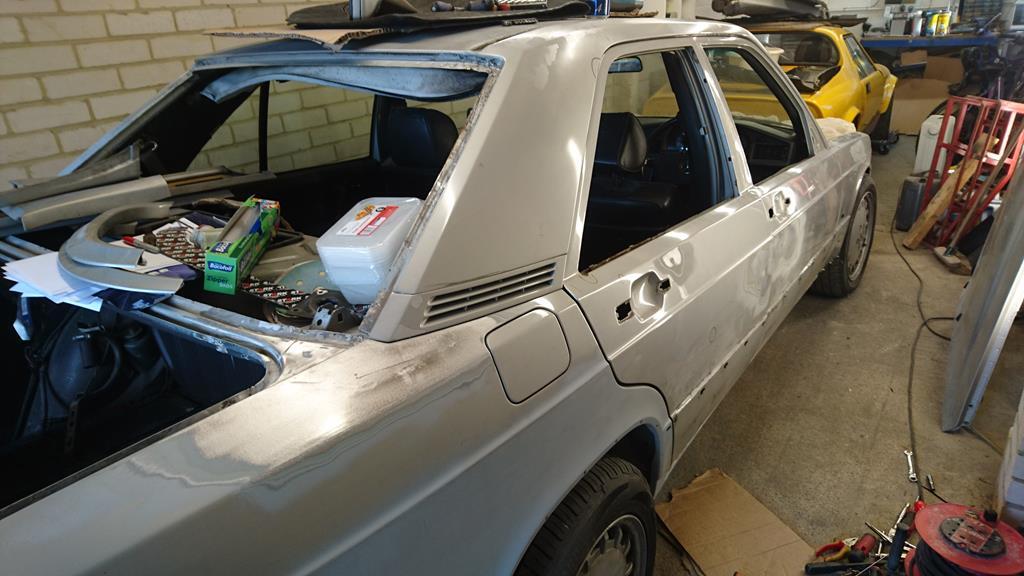 Lots of parts removed and owing to another project that i'd bought, it all had to go up into the roof space. I have a very understanding girlfriend, but anymore parts in the house would be a tipping point! 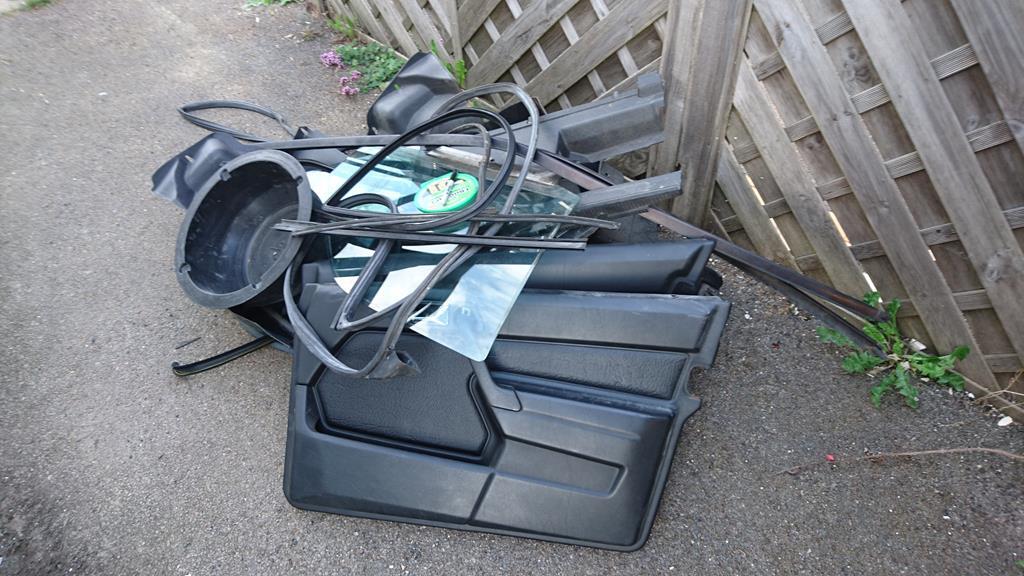 Following this, I pushed the car outside and removed the other side. This included the rotten front wing. I'd bought a decent second hand offering off ebay (or at least I thought that I had). More on that later.  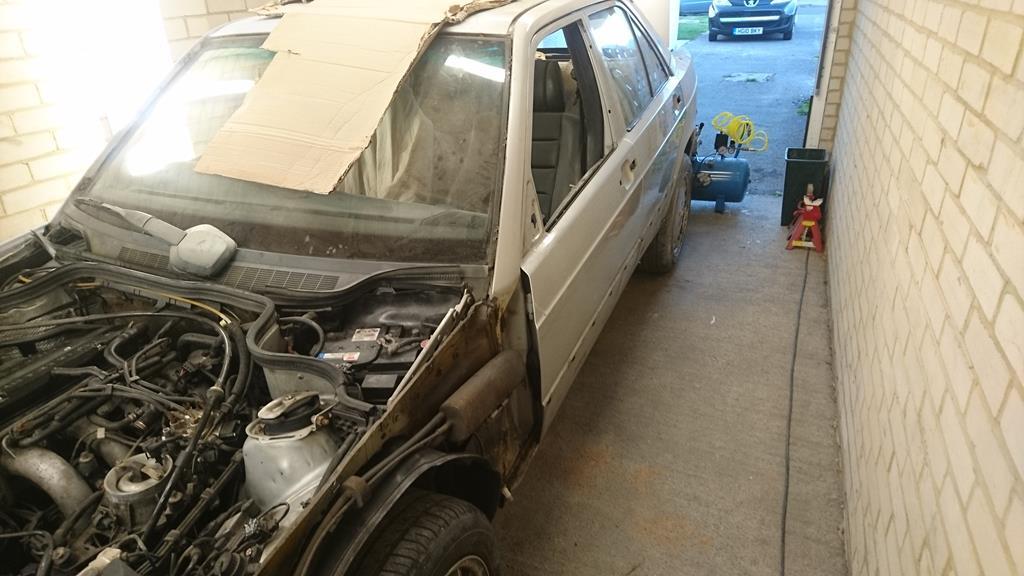 We are (at this point) very close to final panel test fit and sending the vehicle off to paint! |
| |
|
|
|
|
|
Sept 17, 2018 11:37:48 GMT
|
|
Aa couple of mates came over on Saturday for a catch up. Both where ribbing me for not having got the car started yet (despite it being together for the last couple of months). Rich (on the left in the below video) has Capri with the same K-Jetronic set up and. After going through the basics, we realised that it must be timing. As it turns out, i'd made the same mistake as Rich and it was out by over 180 degrees. I say over as the disi is on a spiral spline and its very easy to get wrong.
Mark was there carrying on with the bodywork. It's close, but still a few bits to sort prior to paint. Although I don't want a mint car, I can't stand curse word lines and s**t panel gaps.
After I got it running I was hoping that the suspension would drop. It hasn't. Hopefully it will once I run it up, etc
|
| |
|
|
|
|
|
Sept 17, 2018 16:44:52 GMT
|
|
Looking forward to the updates on this
|
| |
|
|
|
|
|
Sept 18, 2018 10:05:13 GMT
|
Looking forward to the updates on this Cheers John, lots more to come. I've just ordered the exhaust bush kit for the brackets. Thats another £45 for nothing..... Merc have just changed the parts on these to the Classic divison. Ie "Do you want lube once you see the bill sir" |
| |
|
|
91dm
Part of things
 
Posts: 20 
|
|
Sept 20, 2018 15:05:30 GMT
|
|
W201 cosworths are very cool, wish I had bought one a couple of years ago! I have some new genuine 201 pedal rubbers around if you want one, I think i've only brake pedals left but can check!
|
| |
|
|
|
|


