Darkspeed
Club Retro Rides Member
Posts: 4,849
Club RR Member Number: 39
|
|
Aug 11, 2019 19:37:28 GMT
|
As is often the way of things when working on amateur built cars no sooner have you replaced the gearbox mounts with nicely designed and made replacements that you notice something else that will have a direct effect on what you have just done. Today it went something like this. Paint and fit new gearbox mounts. Fit O/S engine mount and pack out to provide some extra clearance for the sump. Then note that the starter motor bulge in the bellhousing is hitting the chassis! Lever and pack out for 1/4 inch clearance Note that the gearbox mount is preventing engine from moving forwards. Remove the new gearbox mounts and drill for new position. Now note that with gearbox correct and engine forward and up for clearance that the fan now hits the radiator! Look for suitable spacers for the engine mounts then figure it' actually quicker to manufacture new mounts. Radiator will need to be moved forwards 3/4" but think why move an old radiator that is going to get replaced when you have the new one. So the works now expanded to Removing radiator, horn etc. Removal of heater Removal of heater pipework Removal of engine fan Fabrication New engines mounts New radiator mounts and support New Brackets for new expansion tank Fitting of new rocker cover The rocker cover does and doesn't fit, its does brighten up the engine bay no doubt but it fouls the valve gear! Having seen plenty of this type of cover on crossflows it does surprise me a little - I will be taking the die grinder to the inside to see if I can make the necessary space - Other wise its off with the rockers and grind a little clearance on the two that are just making contact. 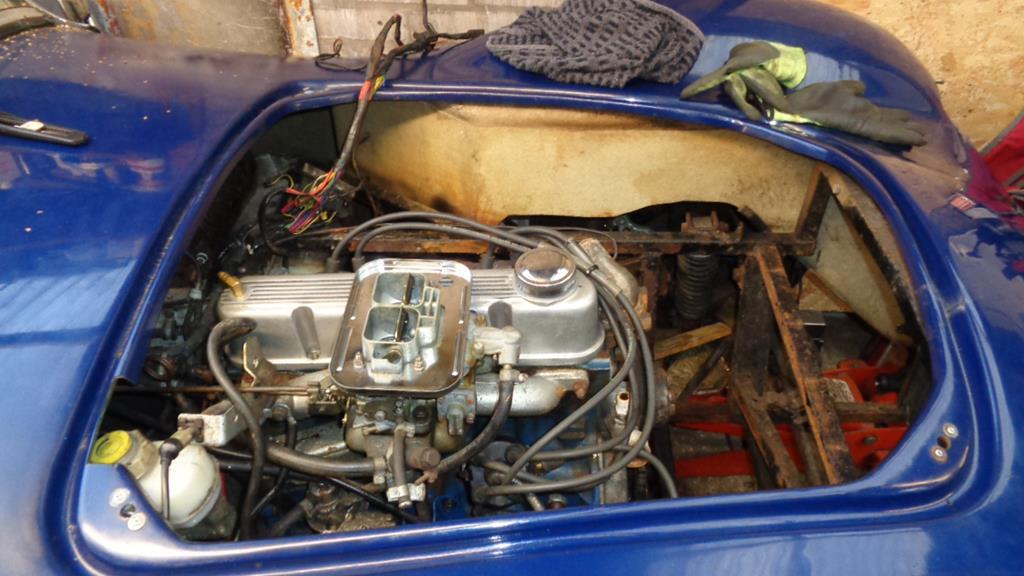 The rad came out easy enough as did its mounting frame which has left a nice bit of space up the front - I will be adding some more steel into that bit now to provide a bit of extra triangulation. 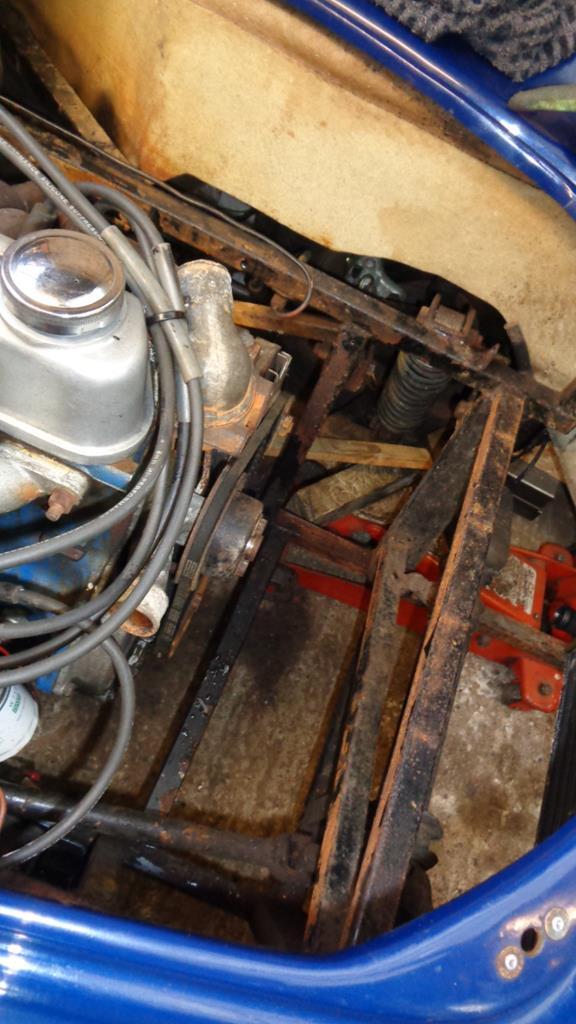 The radiator is a long way up the front now and will mount on that lower frame once it has been modified to be about 30mm higher than it is at the moment. 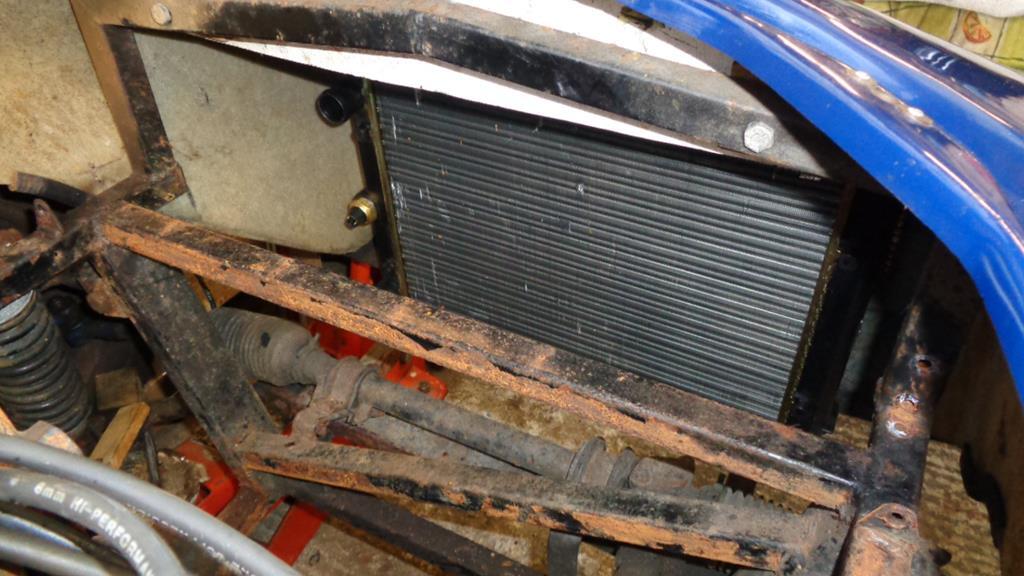 That is a lot of surface rust I also need to deal with - good old powder coat doing it usual of just falling off in sheets due to cheap  prep. This brake line will also be re-routed so that is follows the usual path in these types of cars of along the non exhaust side of the car to a tee for the first caliper then around the front of the car to the other side - It avoids heat and is pretty well the shortest possible run. The way this has been done is not the best especially bearing in mind I have moved it from the side to the top! 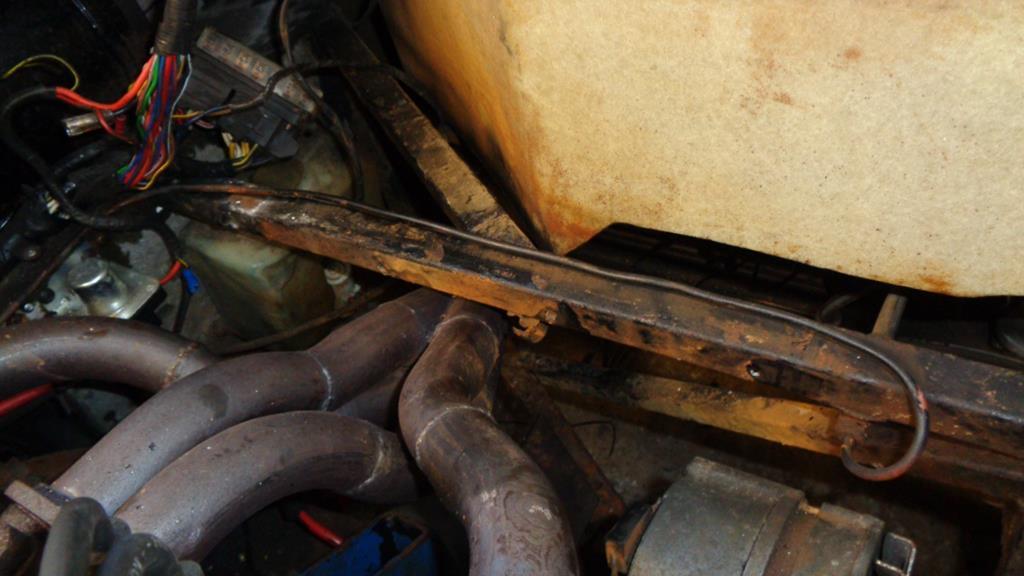 This will have resulted in about 25 kg of weight removed from the car in all and the power that was winding a plastic fan will now be used to move the car instead. |
| |
Last Edit: Aug 11, 2019 19:50:37 GMT by Darkspeed
|
|
|
|
Darkspeed
Club Retro Rides Member
Posts: 4,849
Club RR Member Number: 39
|
|
Aug 13, 2019 22:12:17 GMT
|
Mission creep continues and appears to be gaining momentum - I was to have ticked off quite a few of these jobs over the long weekend that I have just had but visiting relatives from Denmark slowed things down to a snails whilst more chatting than working was the order of the day. I did manage to get one task completed and that was modifying the steering column by finishing works that I half completed on Gem 1. This is to be able to fit a new dash panel that does not have to be cut around the awful original Escort mounting arrangement and something more appropriate in regard to instrumentation. Take one Escort MK2 steering column and remove all of the steelwork around the ignition,steering lock and mounting and make a new bracket to hang it from.  Check twenty times and then weld. 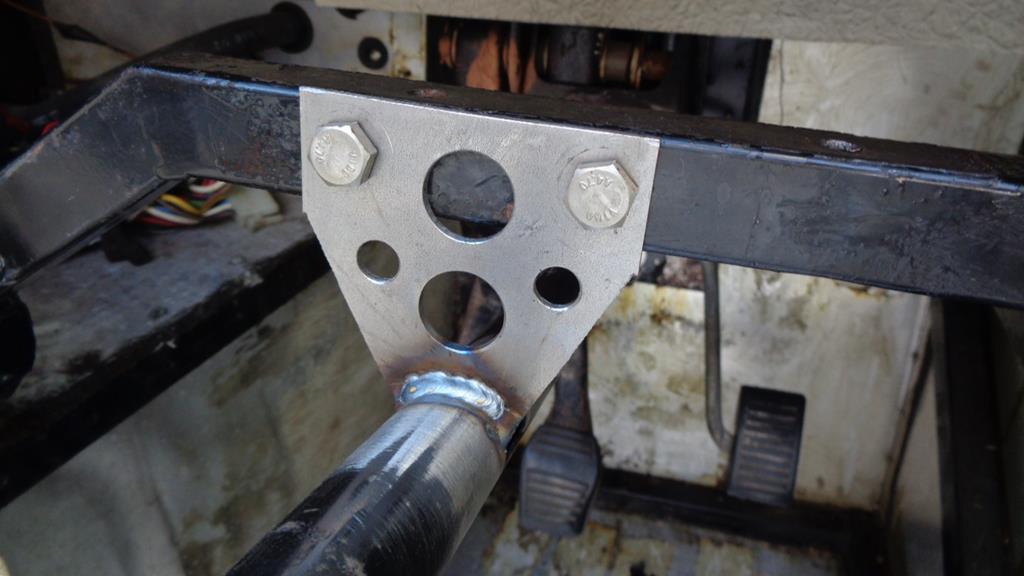 Once all proven to fit weld the other side mount and check for rigidity. Estimate another 0.5 kilo weight saved. Play with some tape to gauge rough layout of new dash panel. 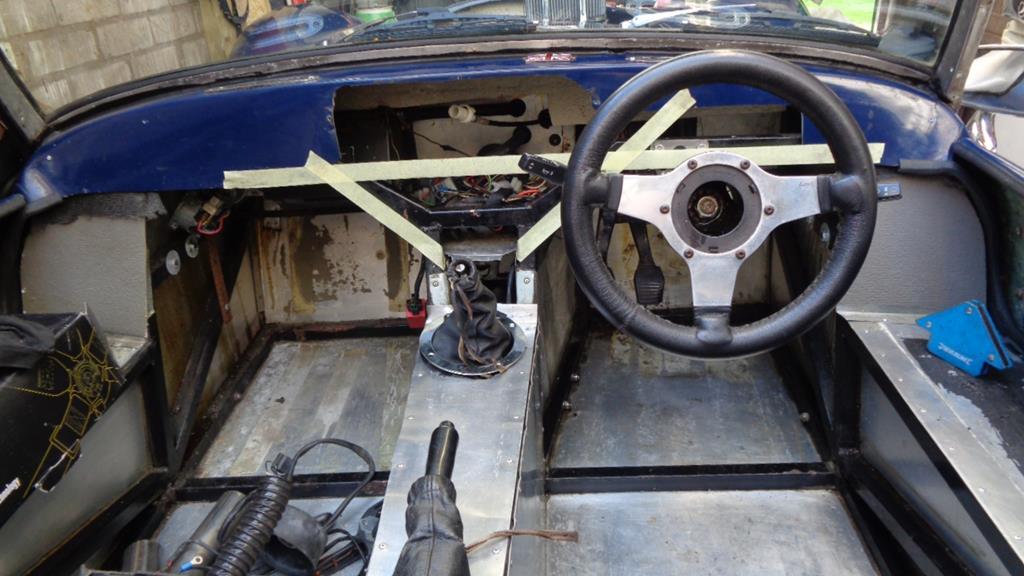 Remind self of the need to make another bracket the same for Gem 1. and that two dash panels will also be required. Mini heater looks like it was installed during the build and much of that area of the car built up around it - removing it may be more difficult than I thought..... but know I am more determined than ever that is should be removed! |
| |
Last Edit: Aug 14, 2019 7:08:01 GMT by Darkspeed
|
|
Darkspeed
Club Retro Rides Member
Posts: 4,849
Club RR Member Number: 39
|
|
Aug 18, 2019 15:18:40 GMT
|
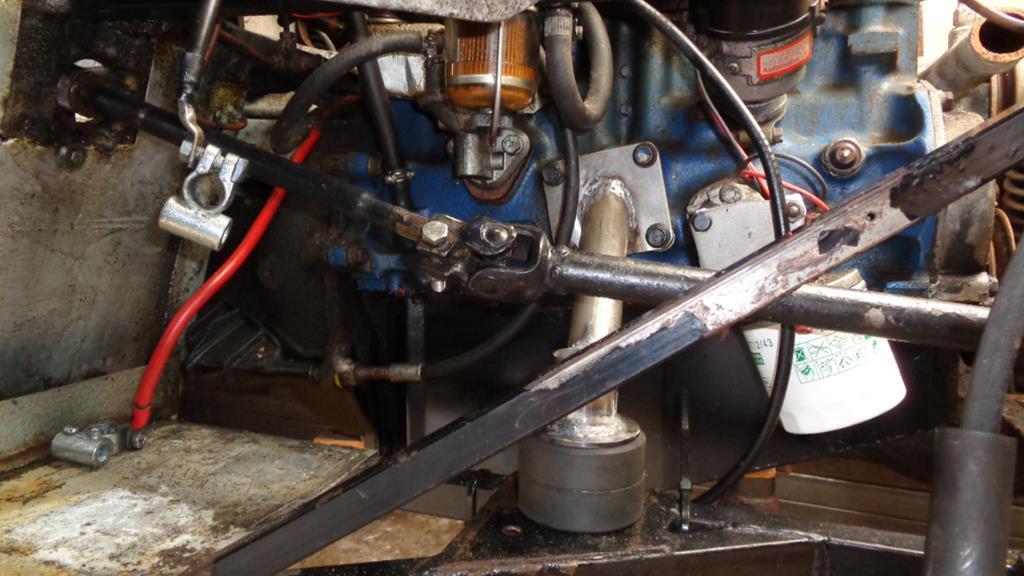
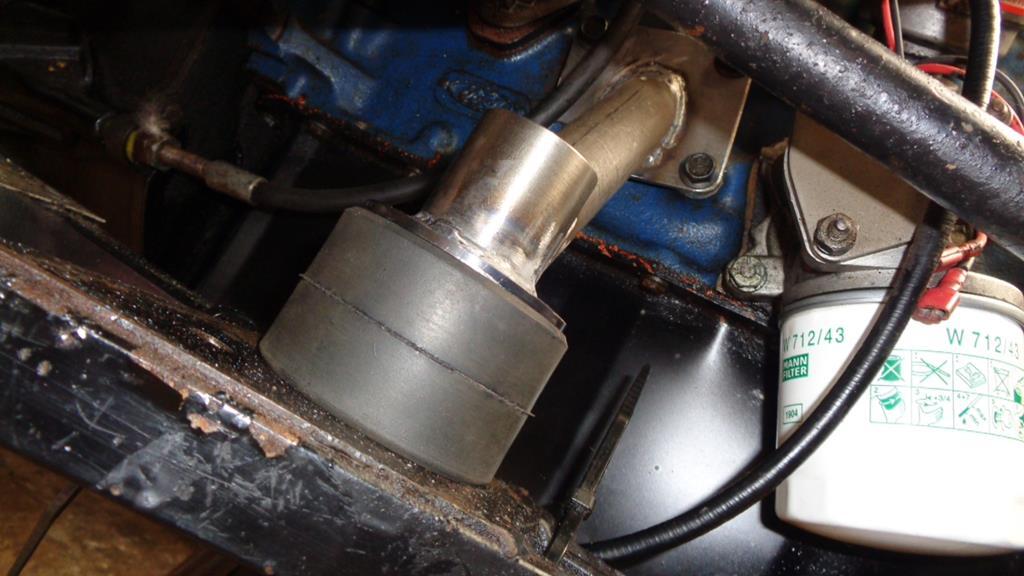
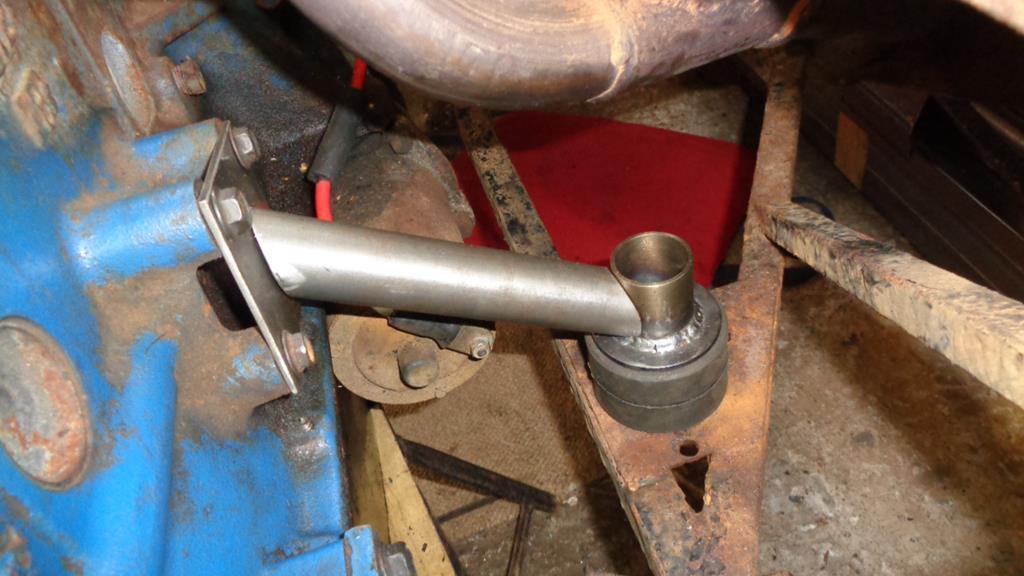
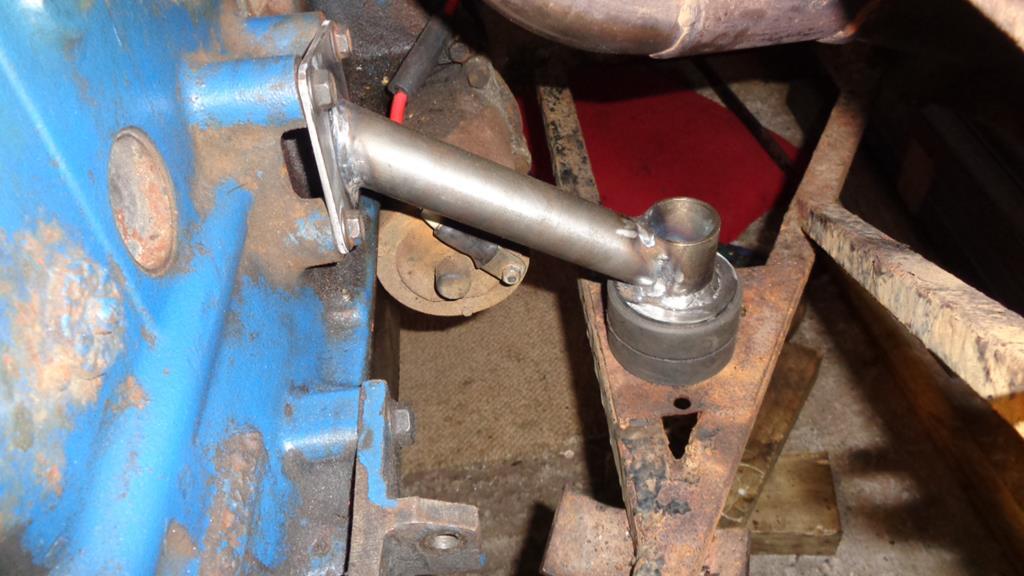
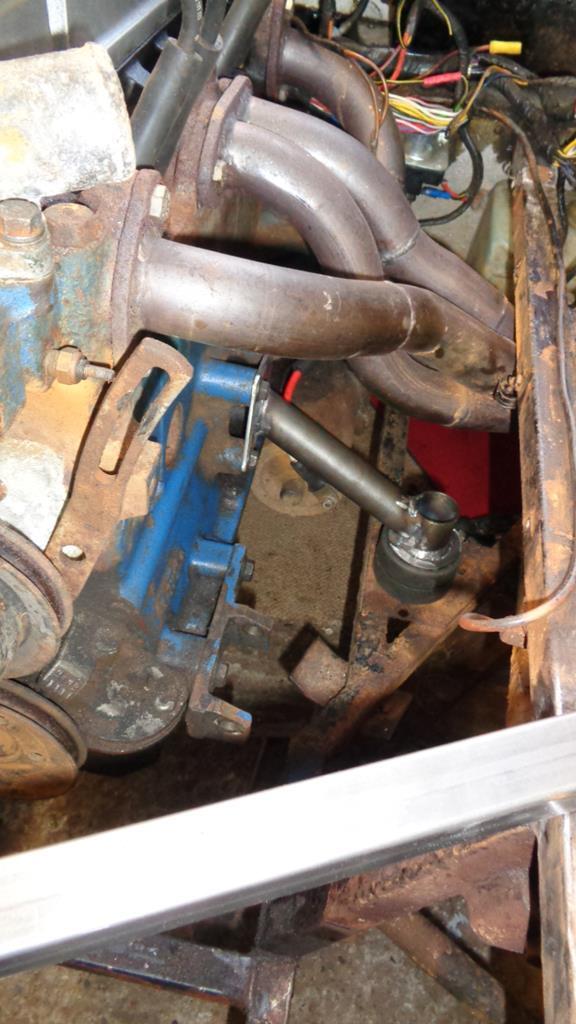
With the visitors being here I did lose a bit of momentum over the past week and yesterday I just could not get going for one reason or another. Thankfully this morning I awoke with some focus and a plan. Engine mounts. 32mm and 38mm CDS and some 3" x 1/8" mild steel plate. Lathe - not really required but makes some aspects of the job nicer Pillar drill Cordless Drill Welder First off I turned up a couple of short tubes 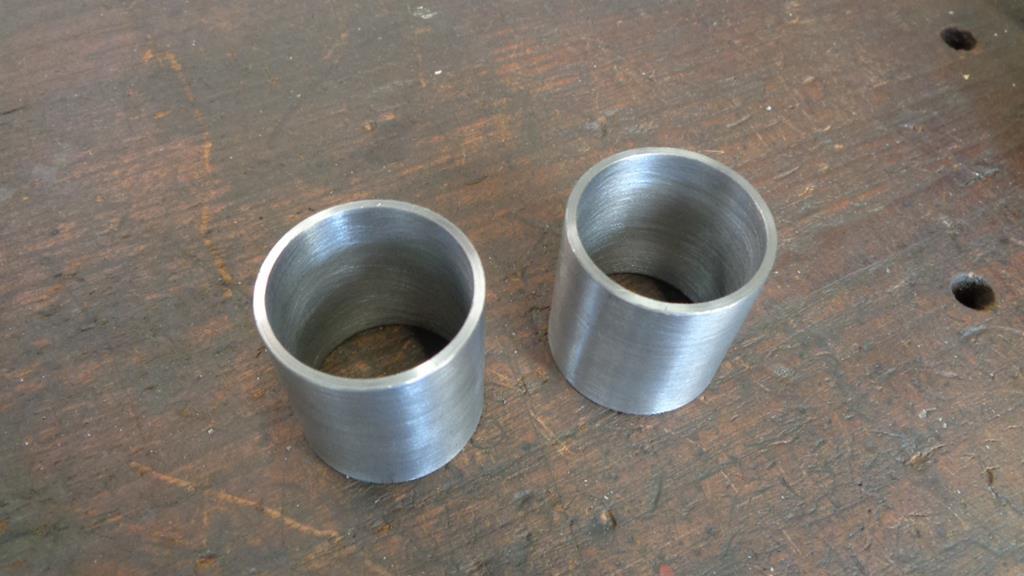 Then made a couple of large washers  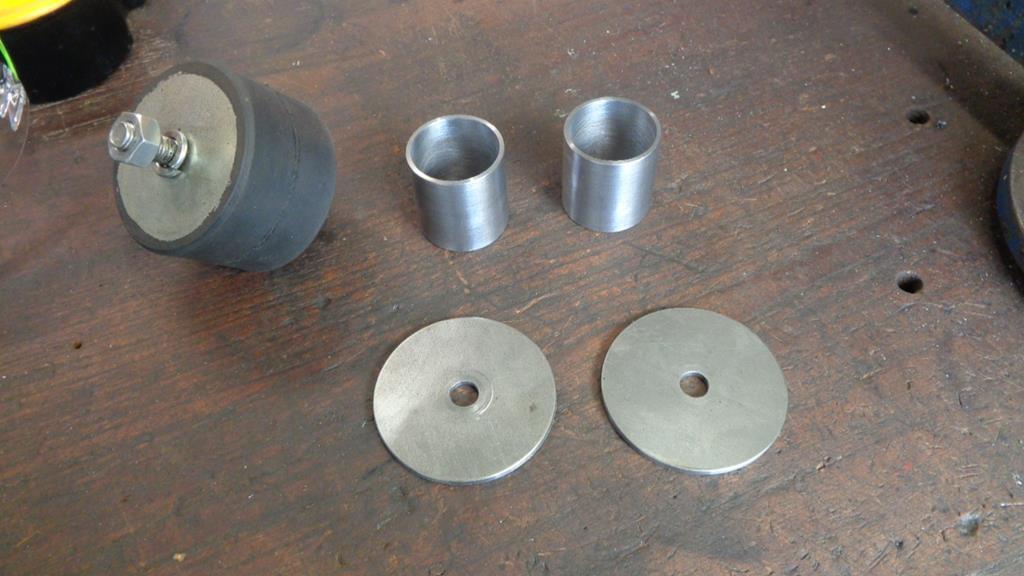 Made a new mounting plate for the block and then offered it up to make sure it was going to do what I had thought it would  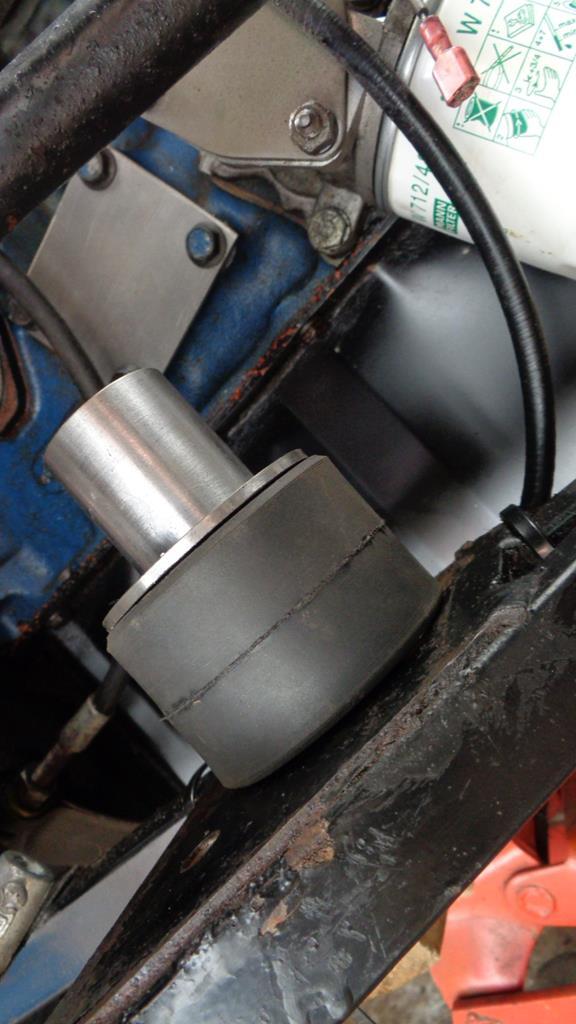 Washers welded to tubes 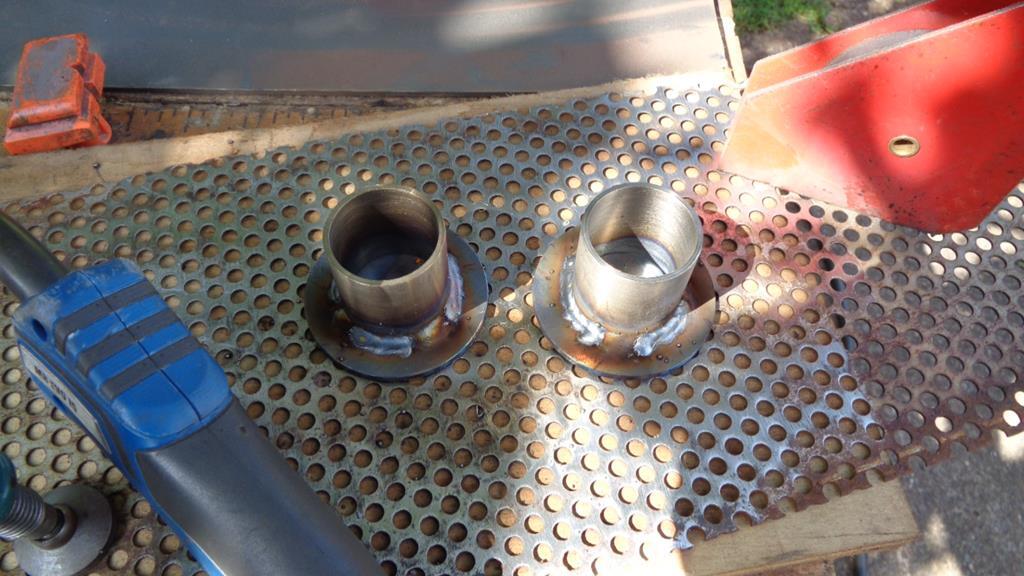 |
| |
|
|
Darkspeed
Club Retro Rides Member
Posts: 4,849
Club RR Member Number: 39
|
|
Aug 18, 2019 19:42:23 GMT
|
|
|
| |
Last Edit: Aug 18, 2019 19:48:38 GMT by Darkspeed
|
|
Darkspeed
Club Retro Rides Member
Posts: 4,849
Club RR Member Number: 39
|
|
Aug 20, 2019 18:47:11 GMT
|
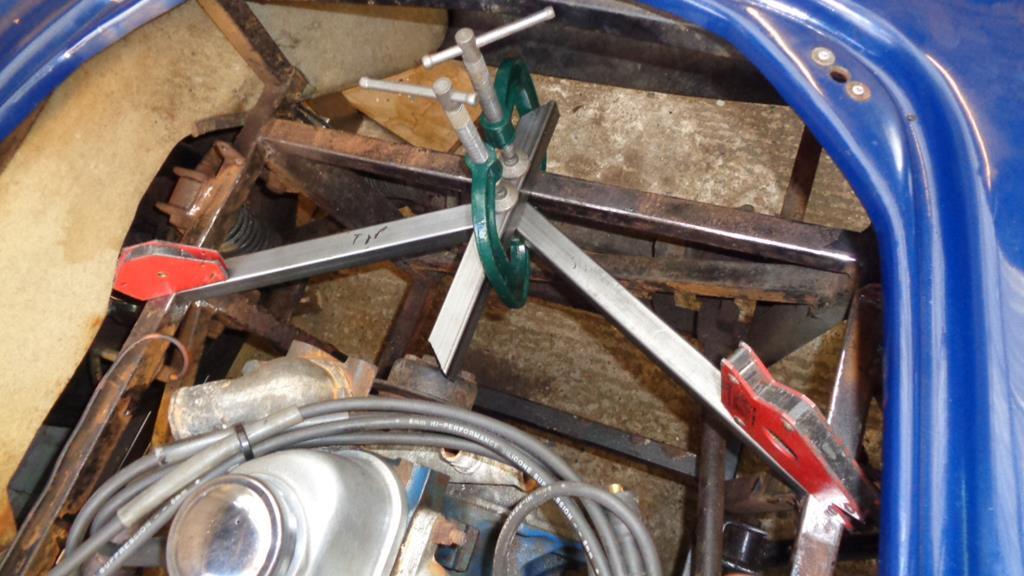
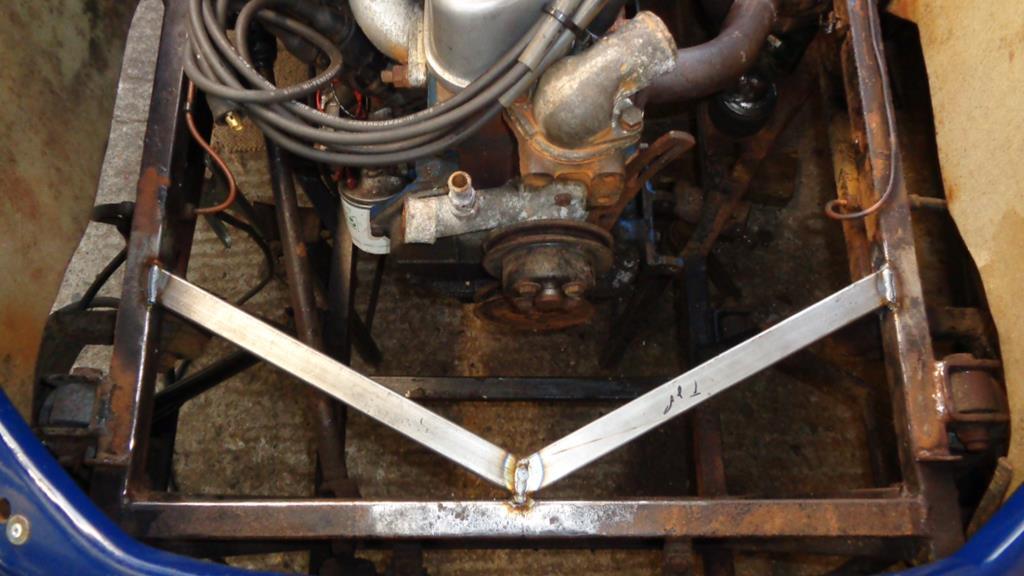
Put the small gussets in today and completed as much of the welding as I could from above - just the upside down metal gluing to do. 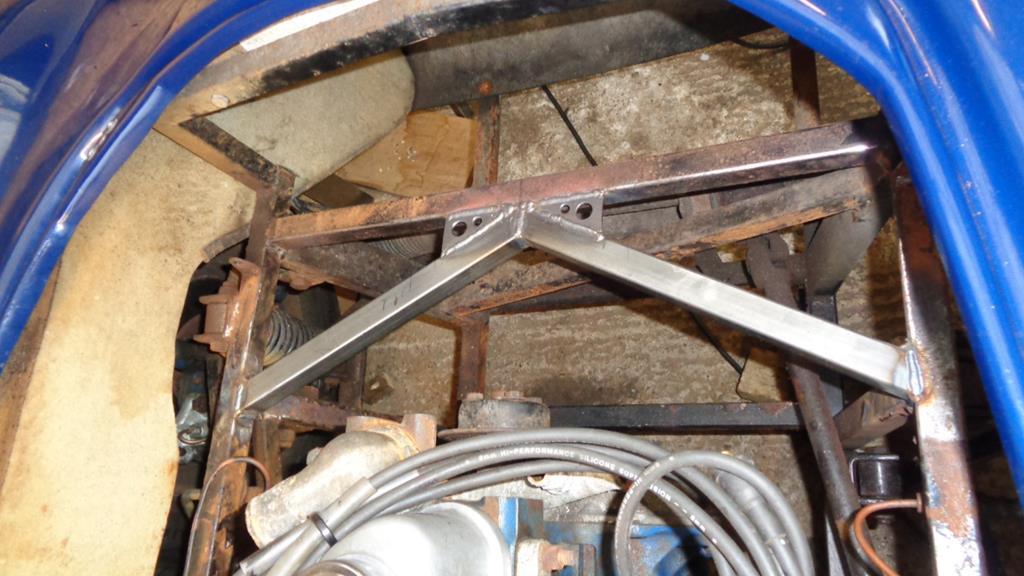 I then had a look at the requirements for the radiator mounts and decided on the plan of action to tackle that aspect. Attention was then turned to something that bothers me about these cars and will not be something I can let go off. I I'm not sure if I have mentioned it before or not but the position of the wheels in the wheel arch is all wrong so I decided to take a few measurements. 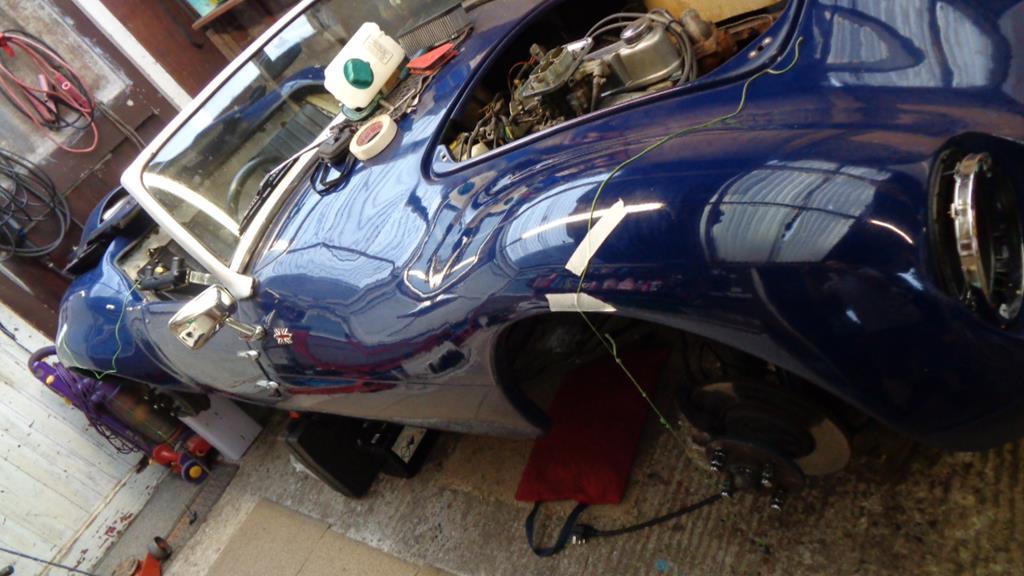 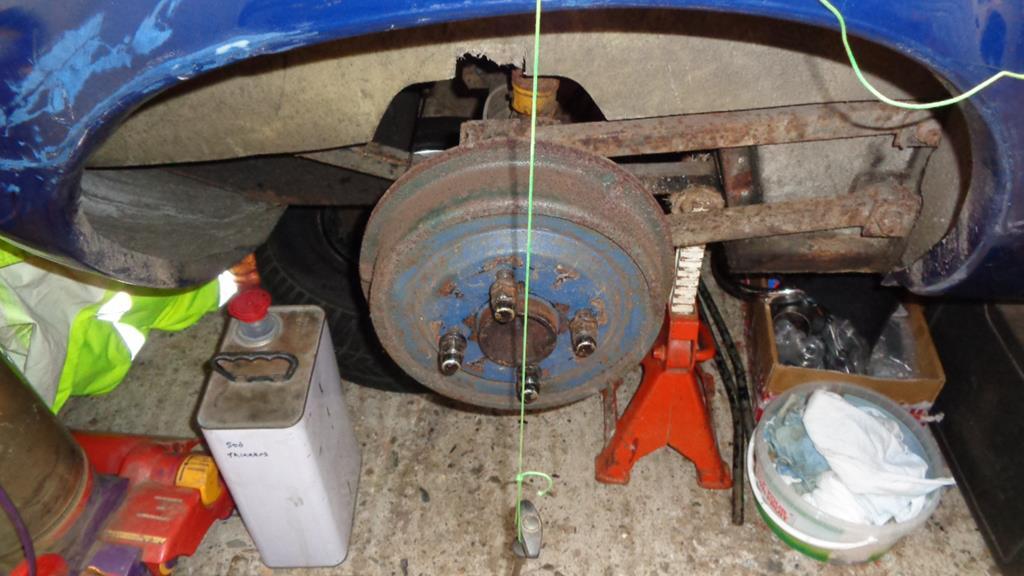 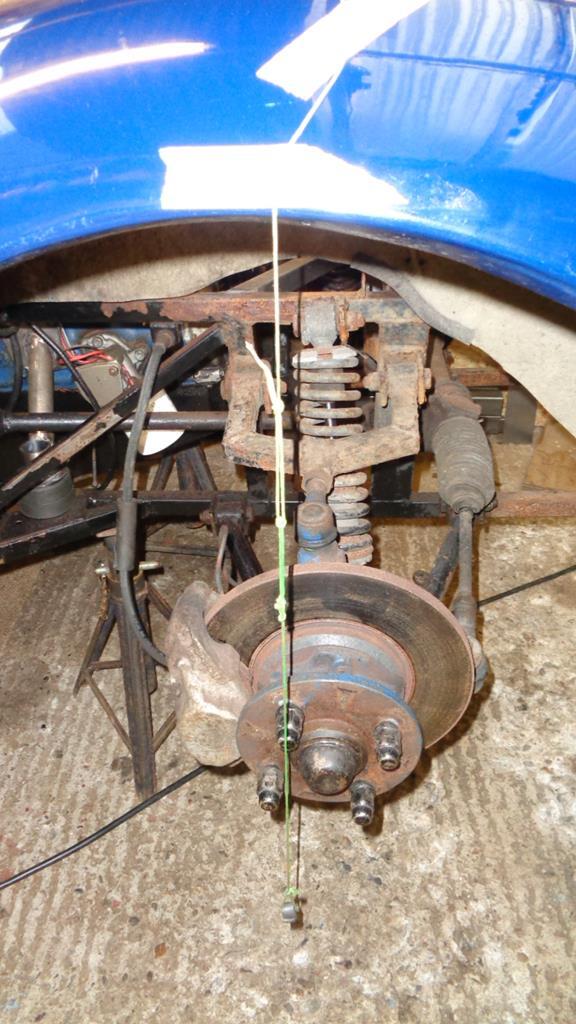 The best I could measure for the dimension to the centre of the wheel arches - the wheelbase of the body - is Approx 89" - If we go to the original Falcon body it could be ordered to suit wheelbase dimensions between 6' 2" and 7' 8" - the Gemini body is around 7' 5" but the wheelbase of the chassis is 91" 7' 7". - A Westfield SE chassis has a 92" wheelbase - Lotus Seven S3 - 88.5" 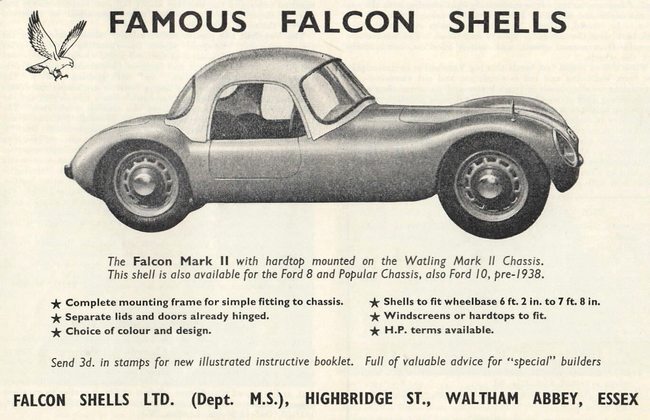 The body is also not evenly "out" on the chassis - the approx 2" difference is 1.25" at the front and 3/4" at the back - Remaking the 4 link bars for the rear a bit shorter is not a big problem and is only a few hours work - The issue with the prop not having enough "slack" at the gearbox sliding shaft is not a great problem there is 1/2" I can use and I can easy find another 1/2" by shifting the engine forwards which only has benefits as it increases certain clearances near the front bulkhead. The front on the other hand is a little more complicated as it means either A) Moving all the suspension brackets back 1.25" or B) Manufacturing new wishbones and just moving the upper shocker mount point. New wishbones will probably be the order of the day as is also gives the opportunity to change those horrid upper arms from that clunky box section so some more svelte round tube alternatives. Hmmmmm...... |
| |
Last Edit: Aug 20, 2019 18:51:33 GMT by Darkspeed
|
|
|
|
|
Aug 21, 2019 11:42:38 GMT
|
|
|
| |
|
|
Darkspeed
Club Retro Rides Member
Posts: 4,849
Club RR Member Number: 39
|
|
Aug 21, 2019 15:50:07 GMT
|
Nah - if it's not actually going to be there doing any good why bother carrying it about! |
| |
|
|
Darkspeed
Club Retro Rides Member
Posts: 4,849
Club RR Member Number: 39
|
|
Aug 26, 2019 20:15:52 GMT
|
Bother - too warm to get anything at all done done over the BHW - but today I did manage to get a Libre on the car to find out that they will not fit as the offset is just too much - I then tried the spare Exacton out of the G21. Tyre being a 185/70 is a bit on the round side but I like the look and style. 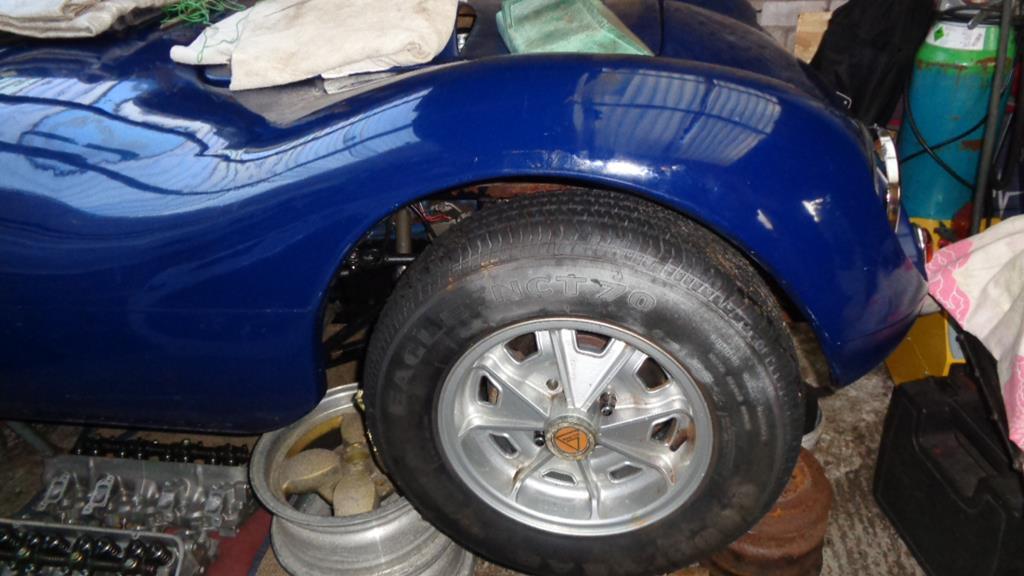 For alloys the way forward may be with a set of Dunlop D1's which are very similar in style - photo above also clearly showing the wheel/wheelarch mismatch. Plans were - Do the welding required for the radiator mount - not happening in this heat Do the glassfibre work to make the dash panel - not happening in this heat Looked at the 2.8 Gemini - Just looked. Looked at the 1.3 Gemini - Just looked. |
| |
|
|
teaboy
Posted a lot
 Make tea, not war.
Posts: 2,094
|
|
Aug 26, 2019 21:57:29 GMT
|
For alloys the way forward may be with a set of Dunlop D1's I do like D1s, it would look good on those. |
| |
|
|
Darkspeed
Club Retro Rides Member
Posts: 4,849
Club RR Member Number: 39
|
|
Aug 28, 2019 13:54:43 GMT
|
|
I'll get a set of D1's ordered up in the next few weeks.
A 3.54 English diff CROWN wheel and pinion and diff carrier have been sourced and a diff rebuild kit ordered - the casing is off for vapour blasting early next week - The taller ratio should provide me with a better overall experience - I already have a 3.54 in the back of the 2.8 but I don't really want to start robbing it for parts.
The current 4.125 has an awful lot of backlash so a rebuilt 3.54 should make for better driving experience all round.
|
| |
|
|
|
|
|
|
|
Aug 28, 2019 18:44:33 GMT
|
|
they would look good on dunlop "style" steels too.
|
| |
'80 s1 924 turbo..hibernating
'80 golf gli cabriolet...doing impression of a skip
'97 pug 106 commuter...continuing cheapness making me smile!
firm believer in the k.i.s.s and f.i.s.h principles.
|
|
|
|
|
Aug 28, 2019 19:27:06 GMT
|
they would look good on dunlop "style" steels too. Actually I think it would look better dunlop "style" steels as it would look more like a D type Jag. |
| |
|
|
Darkspeed
Club Retro Rides Member
Posts: 4,849
Club RR Member Number: 39
|
|
Aug 28, 2019 22:53:17 GMT
|
|
I already have them see page - 9 - plenty of discussion went on way back about the different options sizes avail abilities etc etc. Just not got around to cleaning and painting and fitting the tyres yet.
I like the Steels, I really like my Libres but they don't bloody fit - and I also like D1's and Revo's. I like wires as well but this has all been covered.
|
| |
|
|
micha1
Part of things
Posts: 30 
|
|
|
|
|
when i got my Gemini i also thought in moving the radiator into the front, direcly behind the air inlet of the nose.
i used a VW polo rad in combination with a huge electirc fan
the original cooling system was working fine by the way...i just didnt like the (escort)rad middle in the enginebay, plus the water-pump-driven cooling fan.
what should i say:
the engine run hotter with the (big) polo rad.....even i had ducted the air, entering the nose-cone, directly onto the rad.
even a removed front-grile didnt improve the situation.
|
| |
|
|
Darkspeed
Club Retro Rides Member
Posts: 4,849
Club RR Member Number: 39
|
|
|
|
|
The new radiator I am using is from a Golf which is slightly bigger than the Polo rad and it fills the nose quite nicely. The grille I will be using will have far more free area than any of the Gemini grilles that I usually see fitted. The normal Autotune supplied grille would just block flow to the rad if you placed it in front of one of those. I was working on the installation yesterday sorting out mounts and angles after cutting back the front part of the chassis that is used as a number plate mount. I will have no idea if it will hotter or cooler as the car has not had a working temp gauge since I got it - However everything points to a far greater cooling capacity than it had previously. The installation will be the same as my Fury but with a bigger radiator and an engine with half the power. Plus I spent many years designing heating systems and problem solved loads of incorrect car installations in the past.
A fair bit of time was also spent looking at the front suspension and to get the wheelbase where I want it. Conclusion being that its probably easier to cut off and move all the suspension brackets. Locost/Haynes brackets are easy to get from eBay sellers at £3 each - I will also move the shocker mount to under the chassis instead of on the side of it which will drop it out of the way of the upper wishbone so a nice new one can be made without any compromise of having to work around a spring getting in the way.
|
| |
|
|
Darkspeed
Club Retro Rides Member
Posts: 4,849
Club RR Member Number: 39
|
|
Sept 3, 2019 17:01:59 GMT
|
|
Had a revisit of the bills that came with the car regarding the engine and I have decided that the head is coming off to have a look at the exhaust valve seats to confirm unleaded - and whilst it's off it would be remiss of me not have a look at what the biggest exhaust valve I can get on that seat and how big an inlet I can squeeze next to it and then carve out the cast iron to suit them. As it already has a Kent 234 cam kit it would be a crying shame not to make a bit more use of it's potential.
For the rad swap I have ordered up a replacement thermostat housing to point the outlet in a more convenient direction and stuck all of the Silicone hoses that I will be needing in my eBay basket.
Better get some of this old Escort tat that I keep removing from these things on eBay to pay for all this mucking about.
|
| |
|
|
Darkspeed
Club Retro Rides Member
Posts: 4,849
Club RR Member Number: 39
|
|
Sept 7, 2019 11:22:40 GMT
|
The M22x1.5 blanking plug arrived for the new T/Stat housing. All these little odds and ends soon add up so I had better get some of those old Escort MK1 MK2 parts that I have been removing from the cars up on ebay to cover some of the costs. 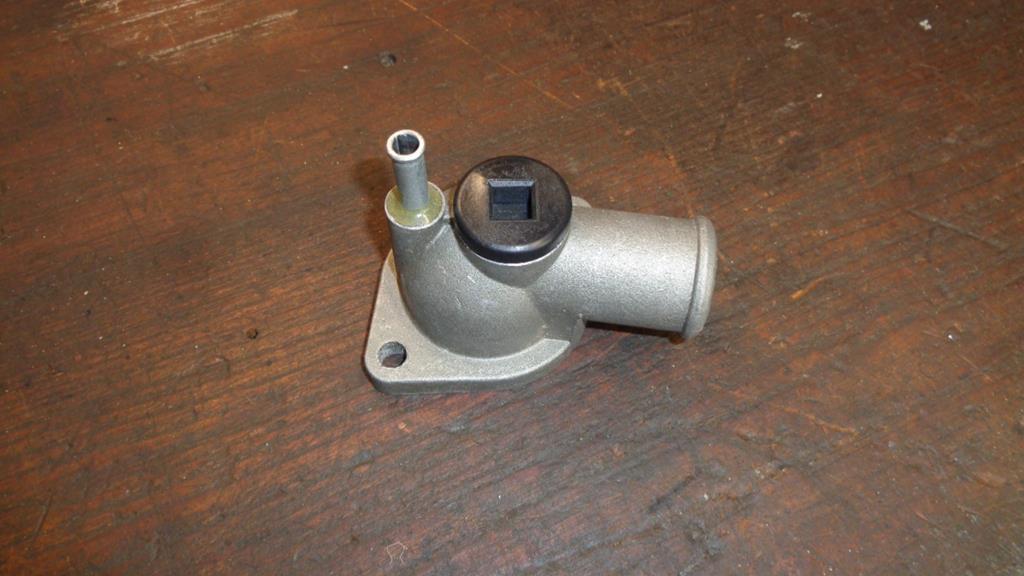 I also managed to pick up an alternator with a big pulley off Mr. G15 - #13 - However as I'm probably not going to be revving the nuts off the old X-Flow a bit less with the new diff ratio... Who am I kidding, new diff or not it will still be thrashed mercilessly  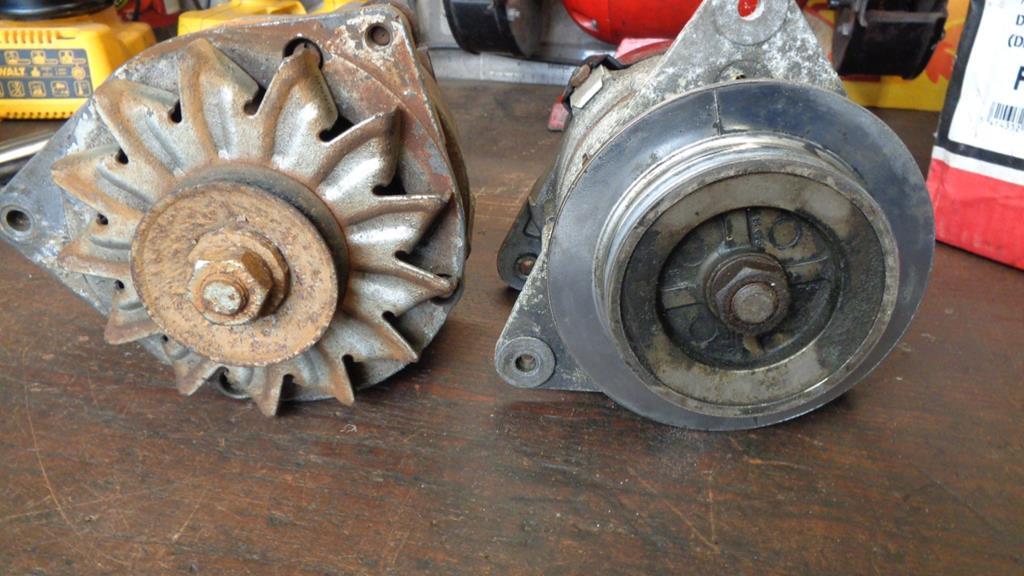 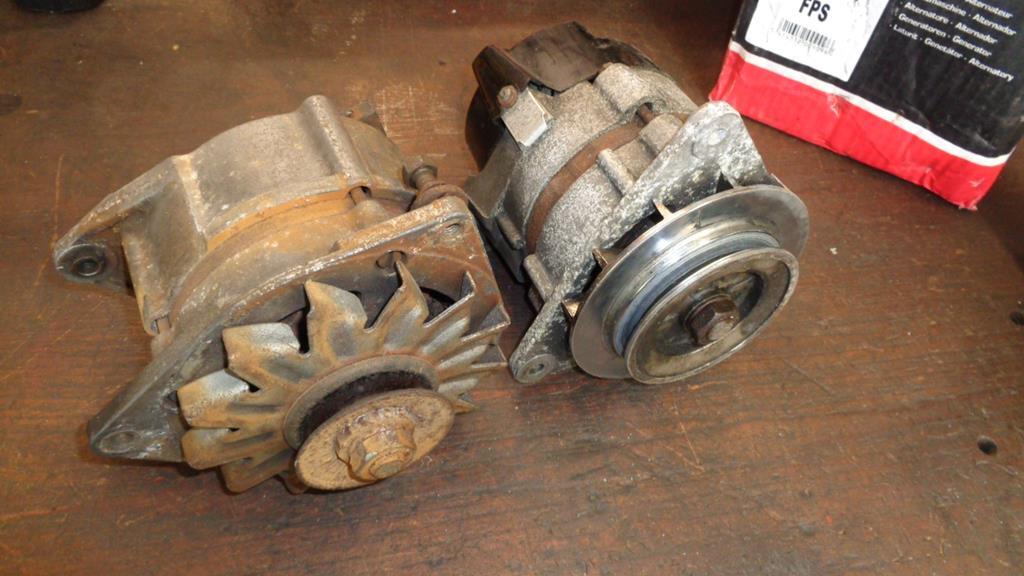 Better get back out there as I have a shed load of stuff to try and get through. |
| |
Last Edit: Sept 7, 2019 11:23:12 GMT by Darkspeed
|
|
Darkspeed
Club Retro Rides Member
Posts: 4,849
Club RR Member Number: 39
|
|
|
|
As it has been all go on the G15 front progress with the other projects have suffered but I promised myself that today I would get a little done on the Gemini. Not a full day as I had gardening to do and some other chores around the place first and also needed to give the garage a bit of a tidy up. Fitting the new rad - VW Golf I had cut the front of the chassis off a short while ago so that I could shorten it and bring it inside of the body work - The way it is used originally as a body mount and a number plate mount did not do t for me. As it was also pretty rusty and nasty it was going to be easier to make a new part than clean the old. 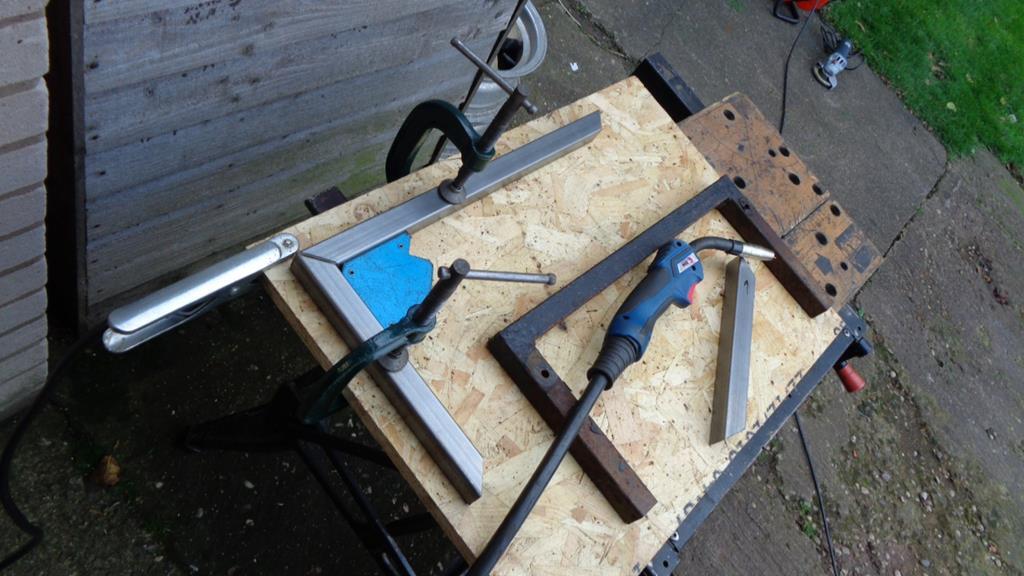 With that cut and welded I had a look at it for size and consideration of the mounting method 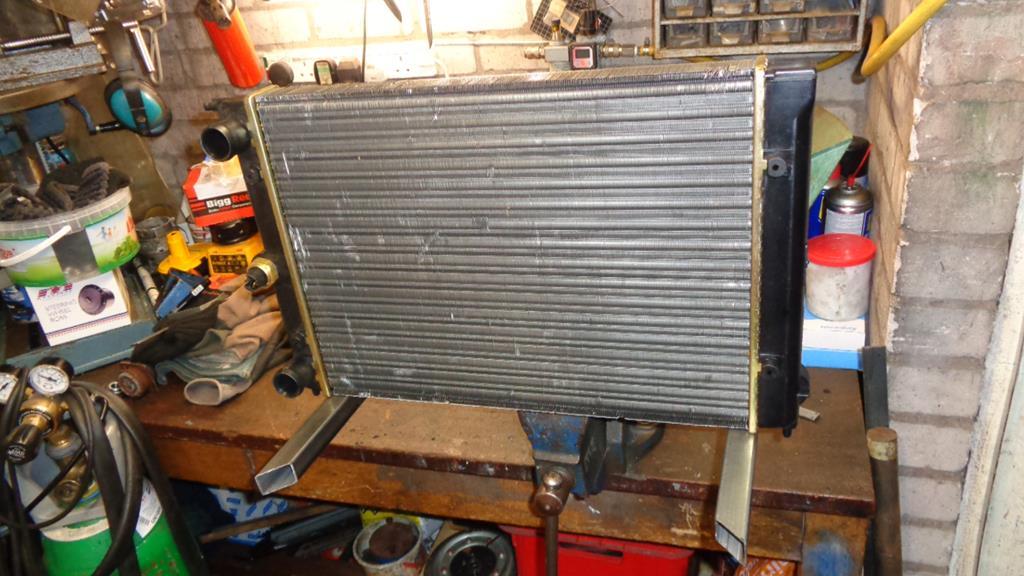  Mounting for the lower will be via a couple of angled angle brackets drilled for grommets for the pins to sit in - Upper method TBA. Offered the assembly into the car to see what that mounting angle should be. 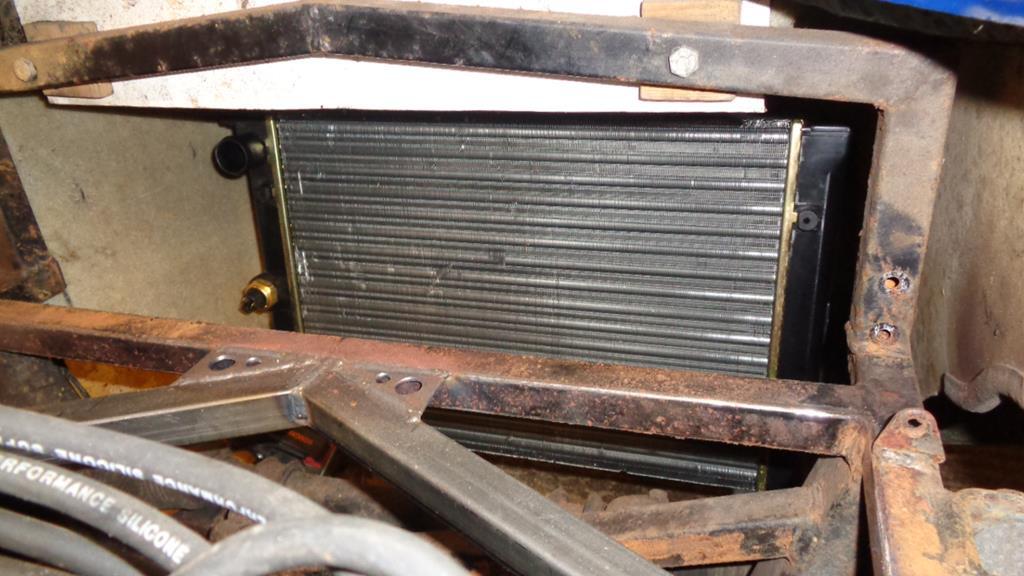 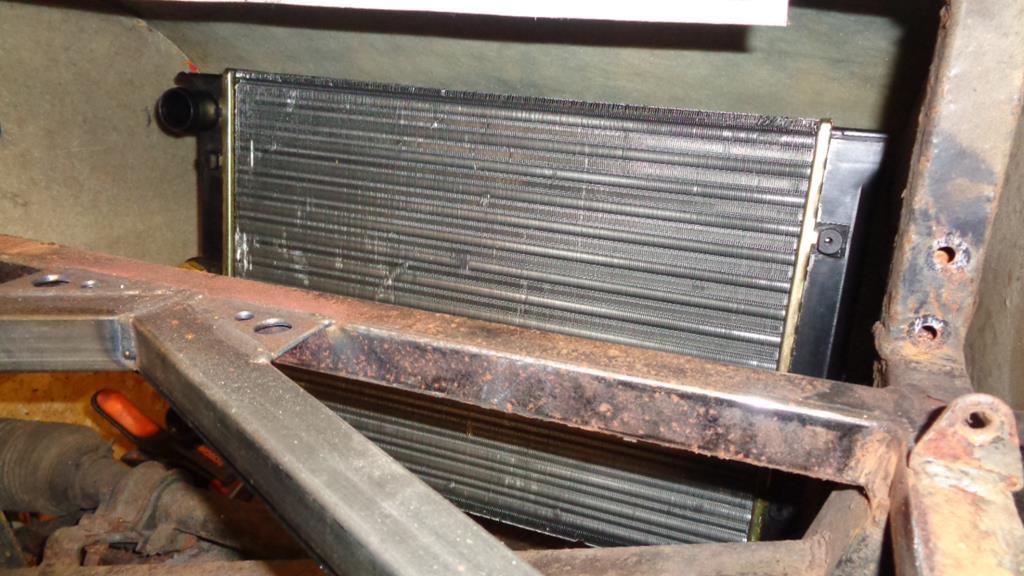 Looks good enough and I have enough clearance for the hoses to make their way to the pump inlet and the T-stat housing. 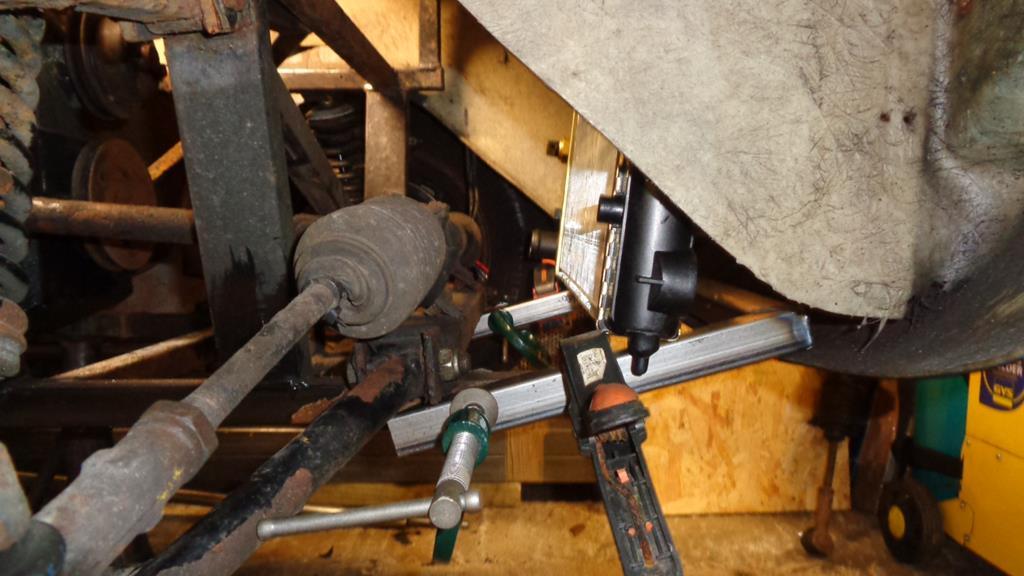   Finally not being able to use the Libre's was bugging me - as on the back there is miles of space due to the oversized arches - I could even fit spacers. 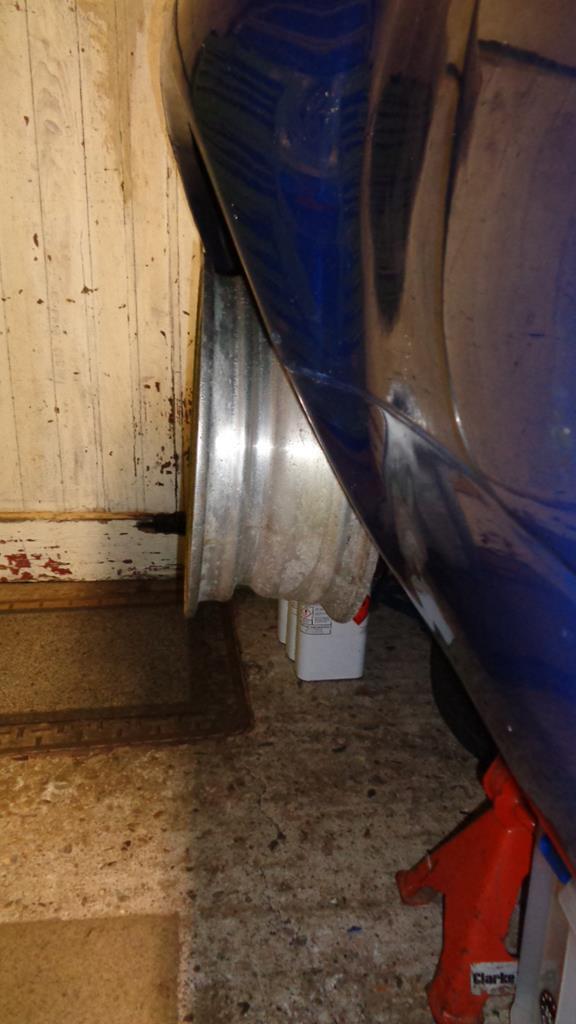 It's just the front where there is an issue. I want to use the Libre's so they are going to be fitted - In the first instance I will go with some small alloy extensions to provide a visual coverage and eventually I will modify the wheels arch to suit them. D1's on hold. As I am modifying the arch I may as well modify them to suit the chassis to get the visuals correct rather than modifying all the suspension to suit the body - seems easier. 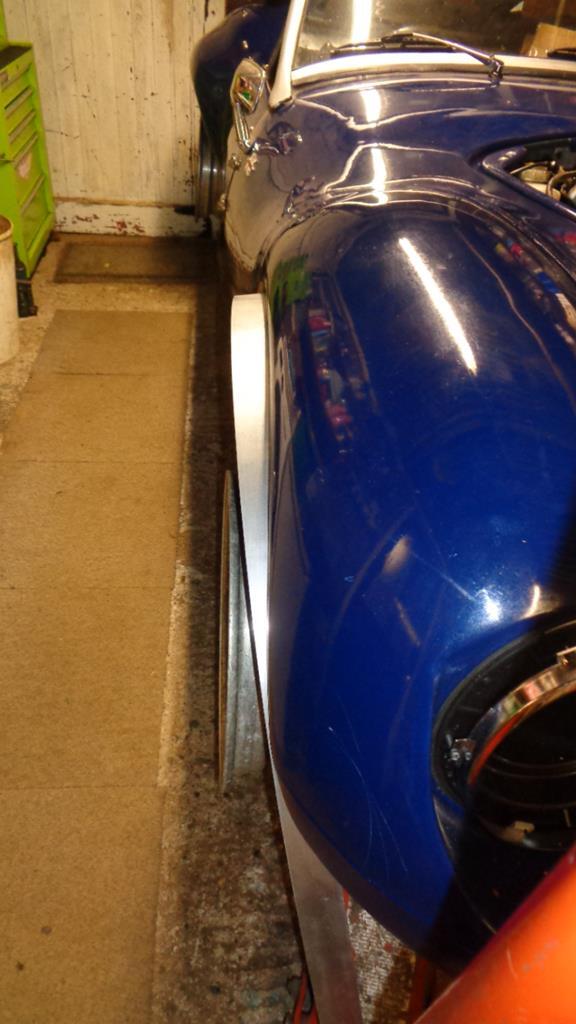 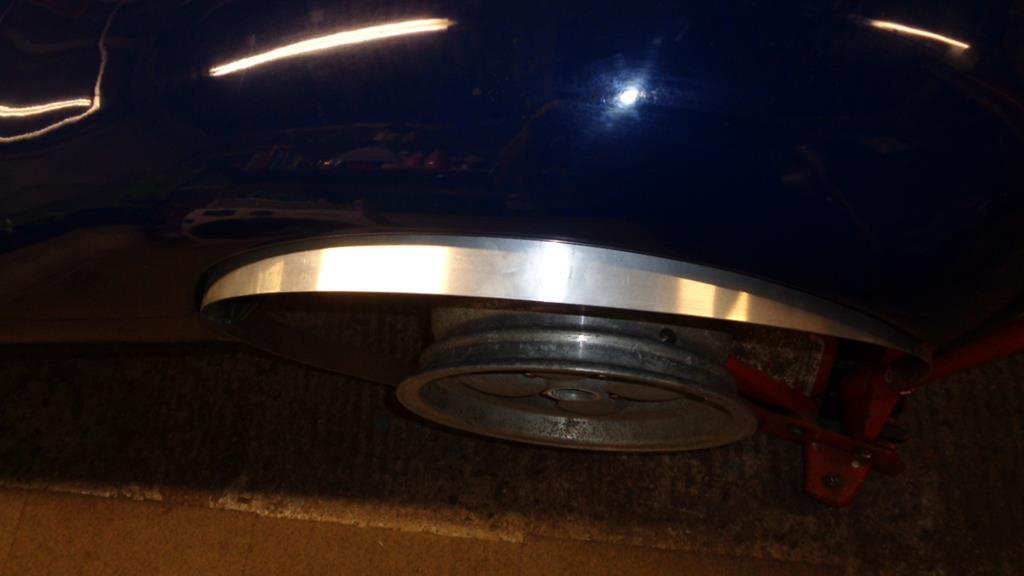 I also took a good look at the offset steering rack and there is actually plenty of room to centre it in the chassis. All that is required is an extra UJ in the steering shaft and a bearing support. |
| |
Last Edit: Oct 6, 2019 21:00:12 GMT by Darkspeed
|
|
|
|
|
|
|
|
my thoughts exactly that moving the arches would,perhaps in the long run, be the best way to go...
great work here!
JP
|
| |
I know its spelled Norman Luxury Yacht, but its pronounced Throat Wobbler Mangrove!
|
|
|
|
|
Oct 10, 2019 14:59:49 GMT
|
|
This thing is painfully cool, and the attention you're lavishing on it is fantastic to see. Love it!
|
| |
1985 Volvo 760 "Jurbo"
|
|
|
|