|
|
|
|
|
On Wednesday I collected the new wings from my bodywork guy, sprayed in Arctic White. 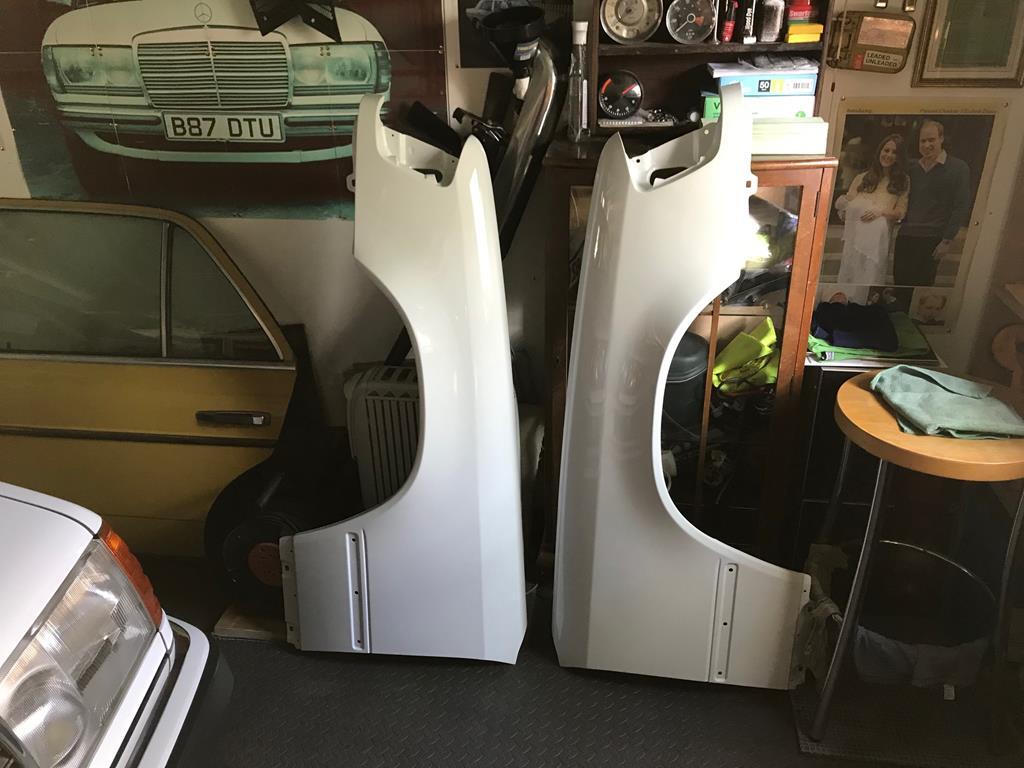 I’ve given the vulnerable section of the inner side of the wing a coat of waxoil. I’ll apply two more coats before fitting the wings on Saturday. 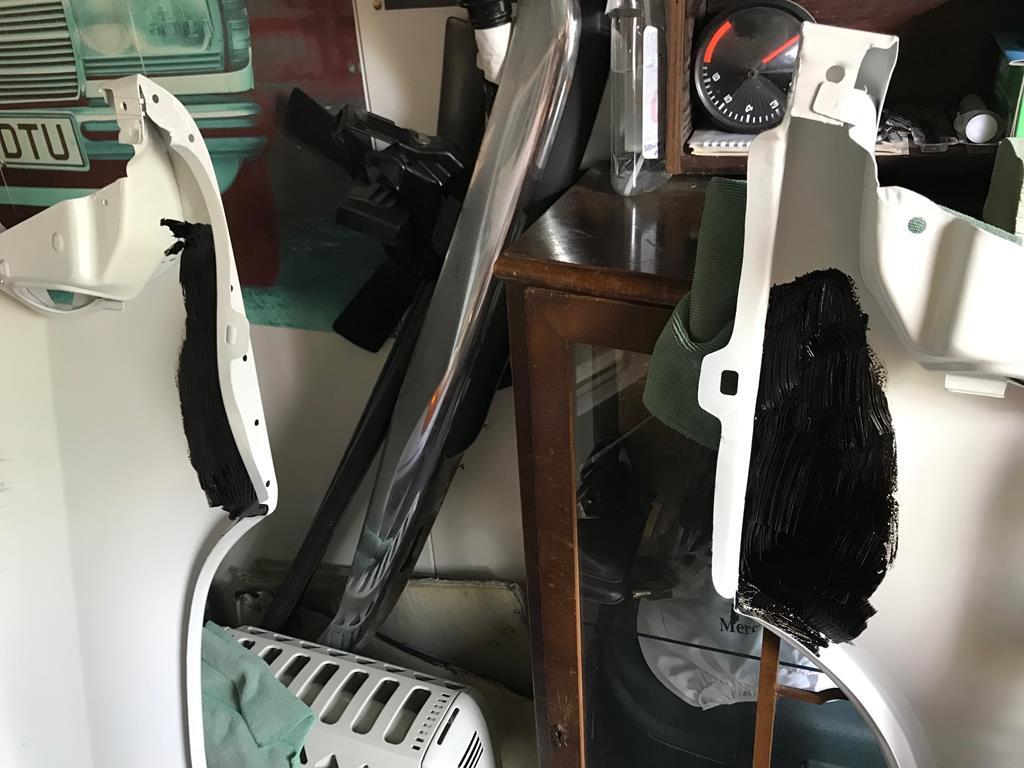 I am such a tit! The same day that I took delivery of the offside wing, I packed both wings into the back of my Tucson and the next day took them to the bodywork man for spraying. In the process I completely missed the fact that neither wing had a mounting hole for the side repeater. This meant that I had to some tricky cutting to do on a pair of freshly painted wings. 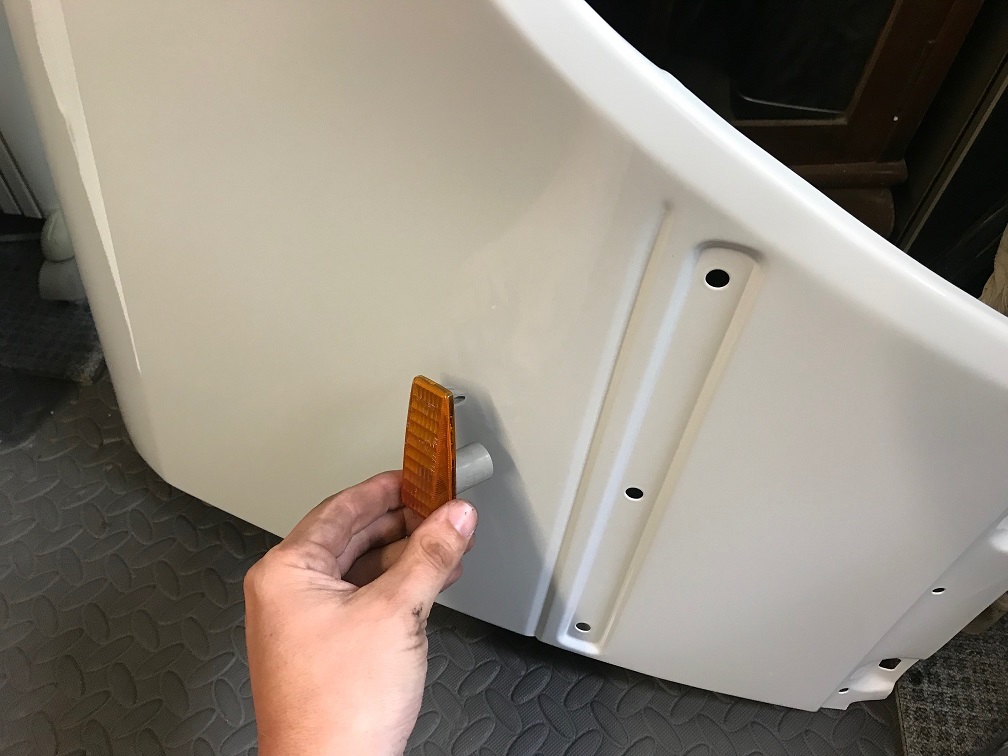 I did exactly what Ed China always says, measure twice and cut once. 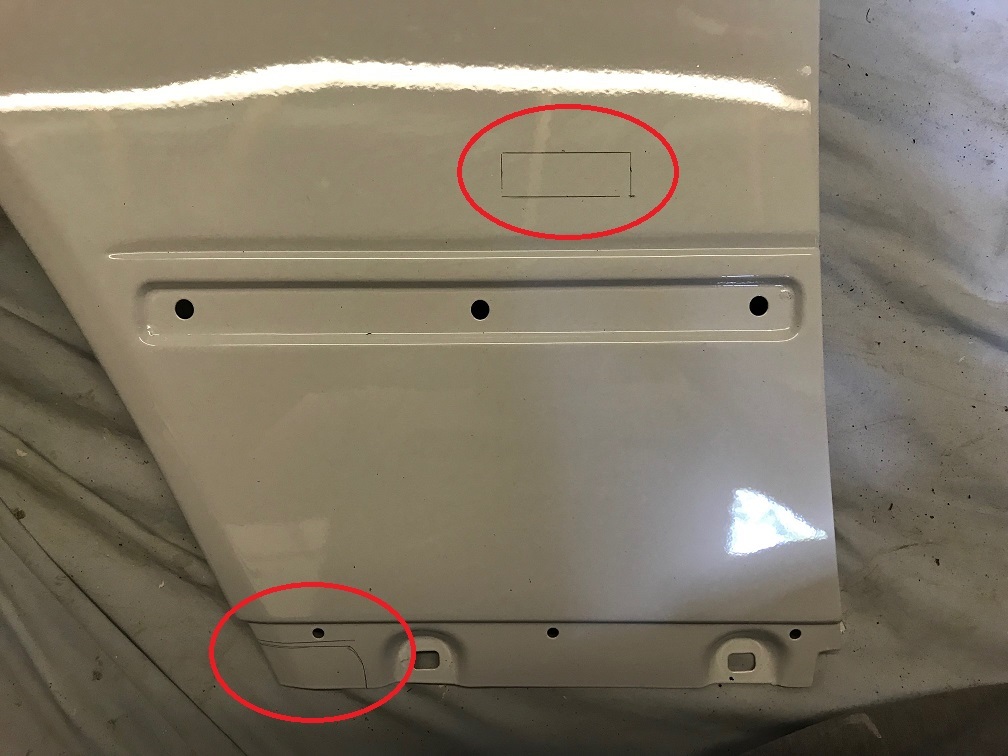 The nearside wing was a genuine MB part whilst the offside was a cheap EBay repro. The MB wing was heavier and the gauge of the metal was clearly thicker, the inner lip around the arch was wider and it did not have a cut out at the bottom front corner behind the arch. A little research revealed that very early W124s, pre 1986, came without side repeaters, hence the lack of opening. The thickness of the arch lip is different on phase 2 and 3 cars. The lower cladding, not fitted to phase 1 cars, wraps around and into the arch and I later found that to re-fit the cladding to my early spec wing I had to cut a piece of plastic to make it fit. The phase 1 cars also came without sill covers. On phase 2 and 3 cars, the sill cover is bolted on to the front section of sill, which is why there is a cut out section in the front section along the bottom of the wing. It is fair to say that the generic approach of selling W124 wings on EBay, based on all being the same from 1985-1996, is complete curse word. Gaffer tape was used to protect the fresh paint. 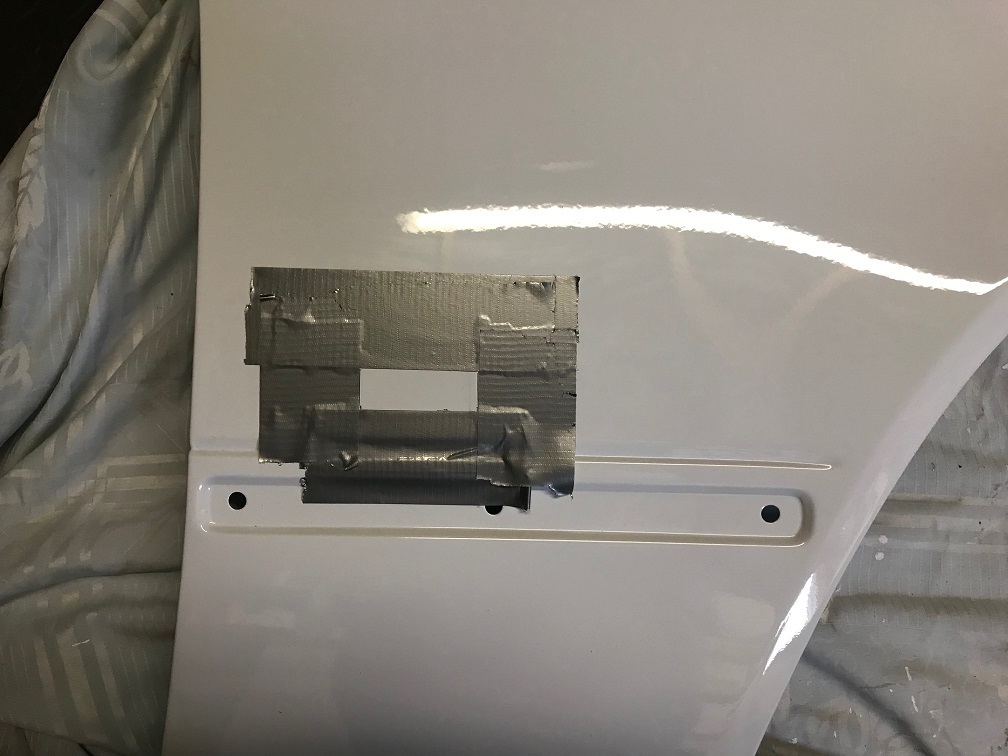 I then drilled as many holes as possible to reduce the quantity of metal that required removal. 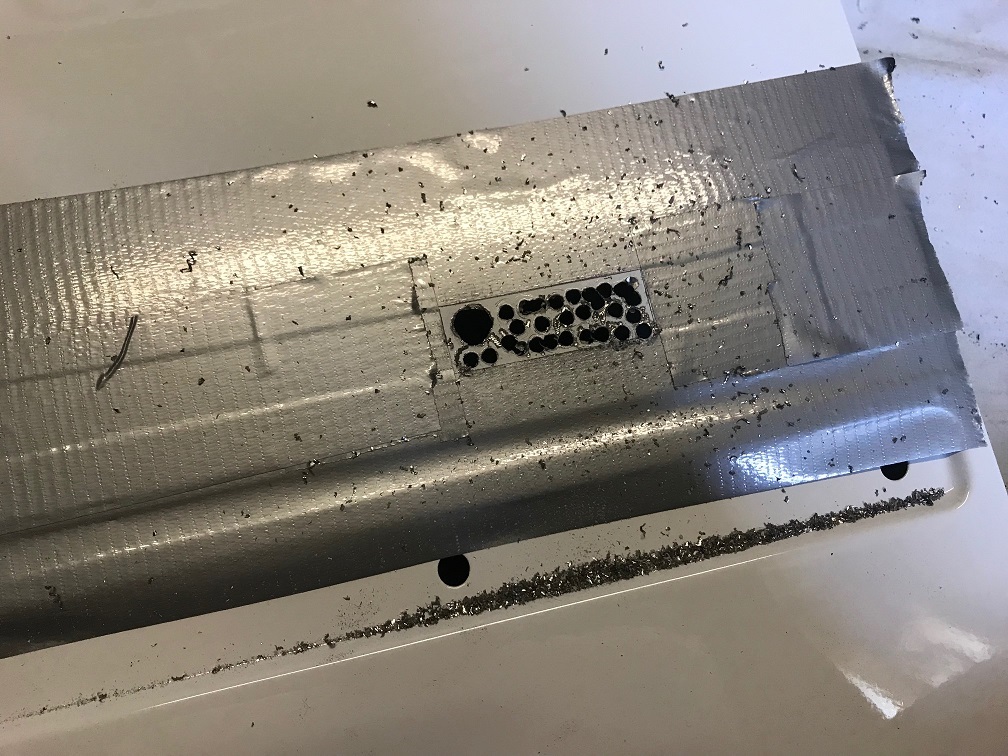 Then came the hard bit, I removed the required amount of metal by filing down the wing with a file, all done by hand. Fortunately, my file was exactly the same width as the height of the opening. 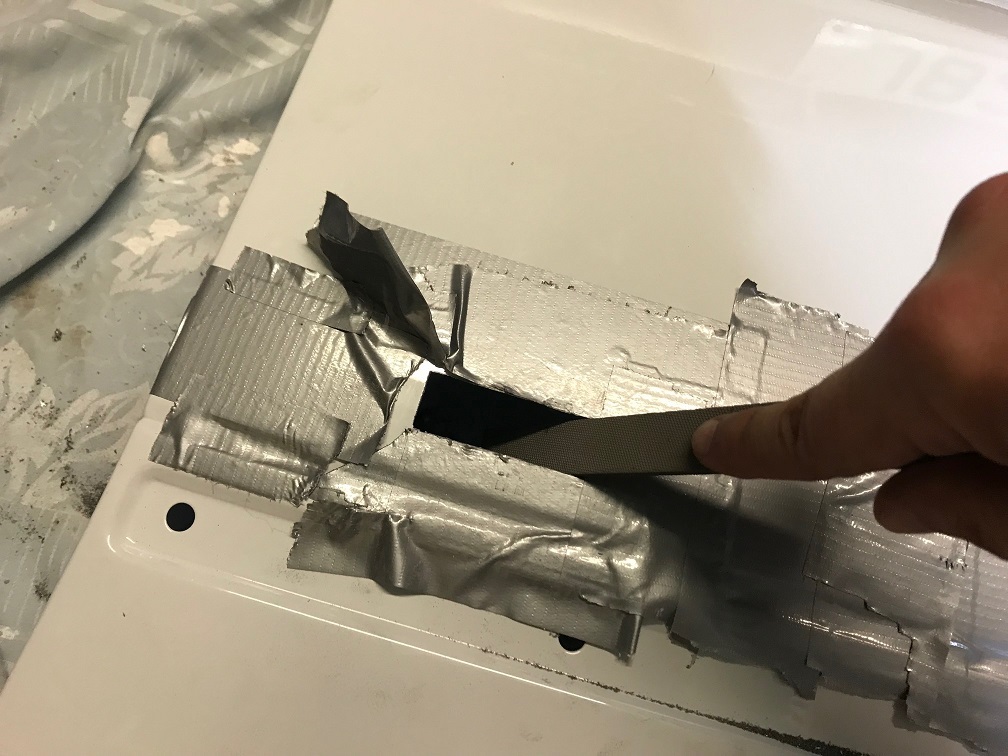 Working on the repro wing was relatively easy but getting the job done on the thicker MB wing was hard work. In the end I succeeded, both side repeaters fitted perfectly. I applied a little Hammerite to the cut edges and the wings were ready for fitting. 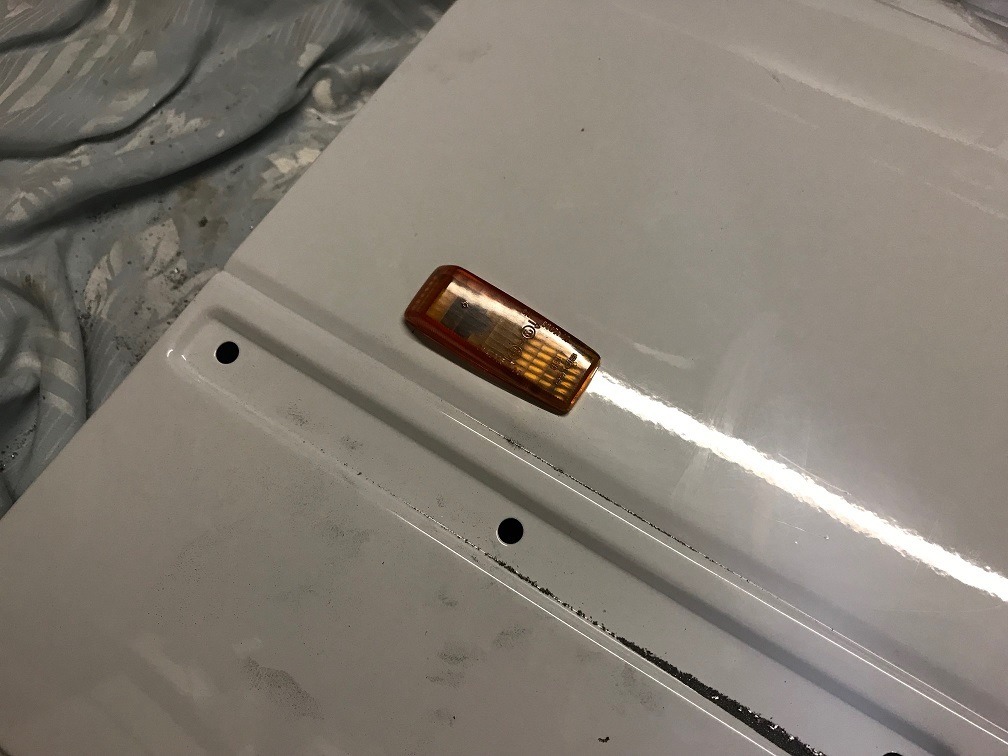 I checked everything over whilst the wings were off. There was no sign of any corrosion within the concealed areas of the chassis. 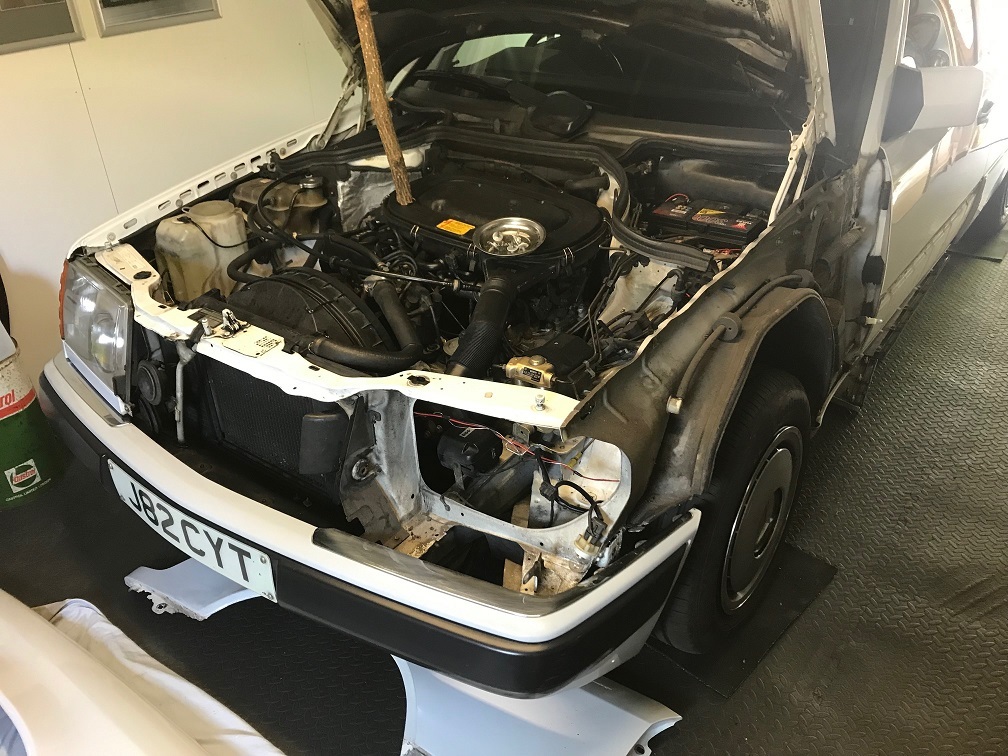 I fitted the offside repro wing first. It fits ok, the shutline against the door is fine, likewise the bumper and around the indicator but whilst the line is correct along the front of the bonnet, it becomes 3-4mm wider towards the windscreen end. There is no way of pulling the wing in as doing so would upset the abutment of the wing with the door, which would look awful. The varied width of the gap is not immediately noticeable and I'll happily live with it. The nearside MB wing fits very nicely. Ignore the uneven fitment of the two panels beneath the headlights, these are coming off today to be tidied up. Colour match is perfect and I got the job done in 6 hours. I'm a happy tit. 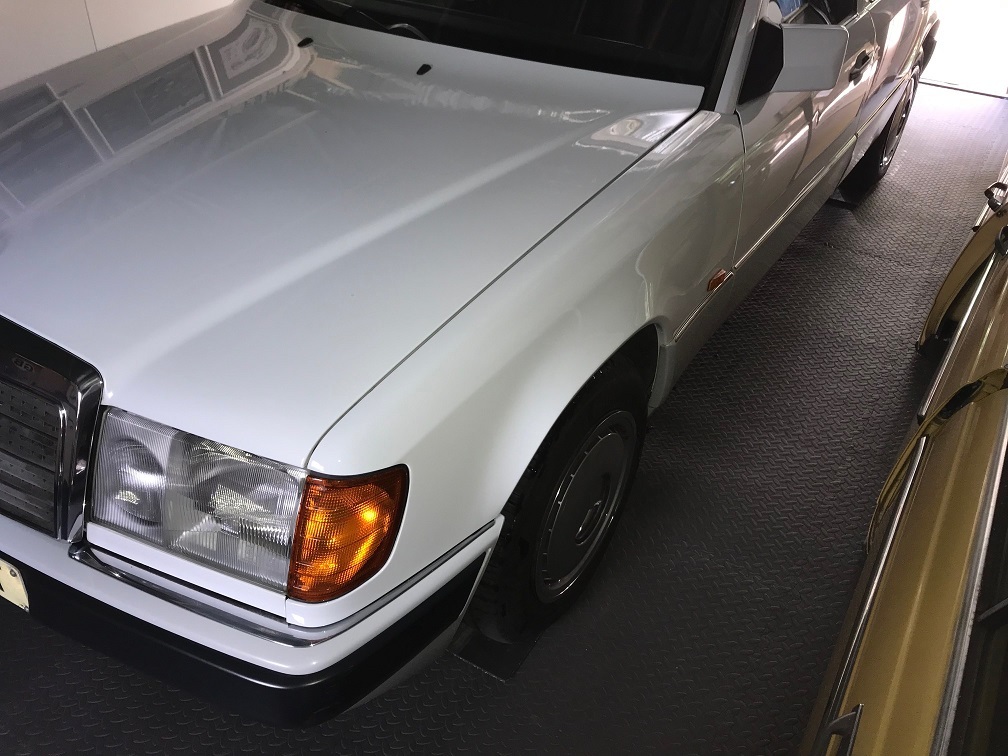 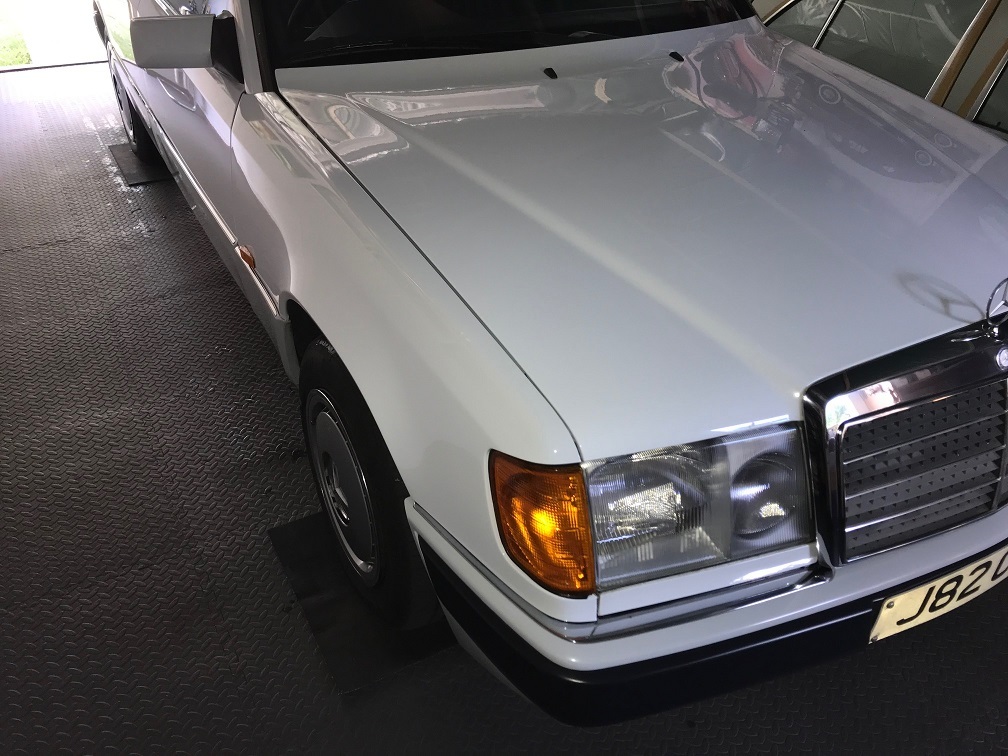 |
| |
|
|
|
|
|
|
|
|
|
Time to tidy up the little panels beneath the headlights. Although the panels don't look too bad in the photos, they were both stone chipped and in sunny conditions you could see the rust on the underside of the panels reflecting in the bumper chrome. 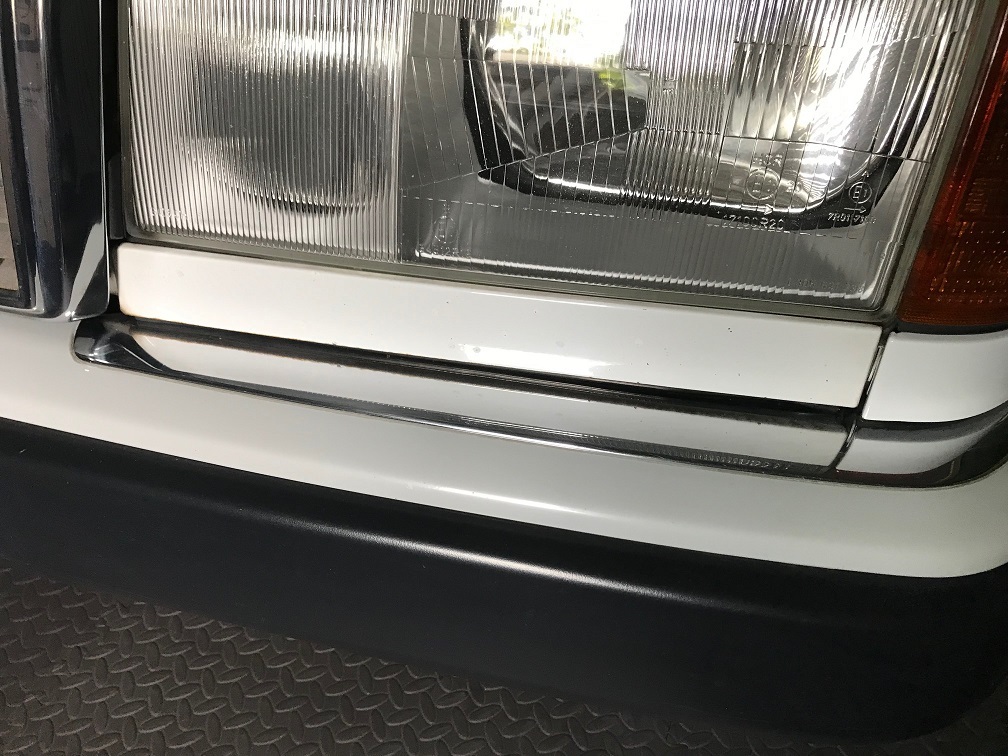 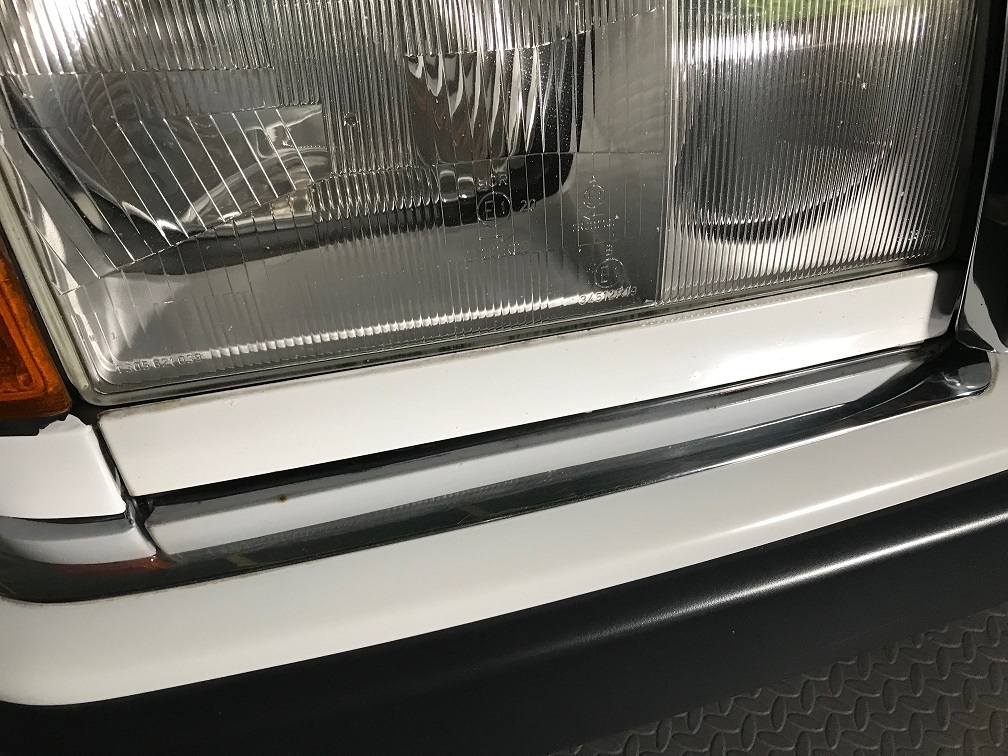 Once removed the extent of the corrosion was more obvious. Not pretty. 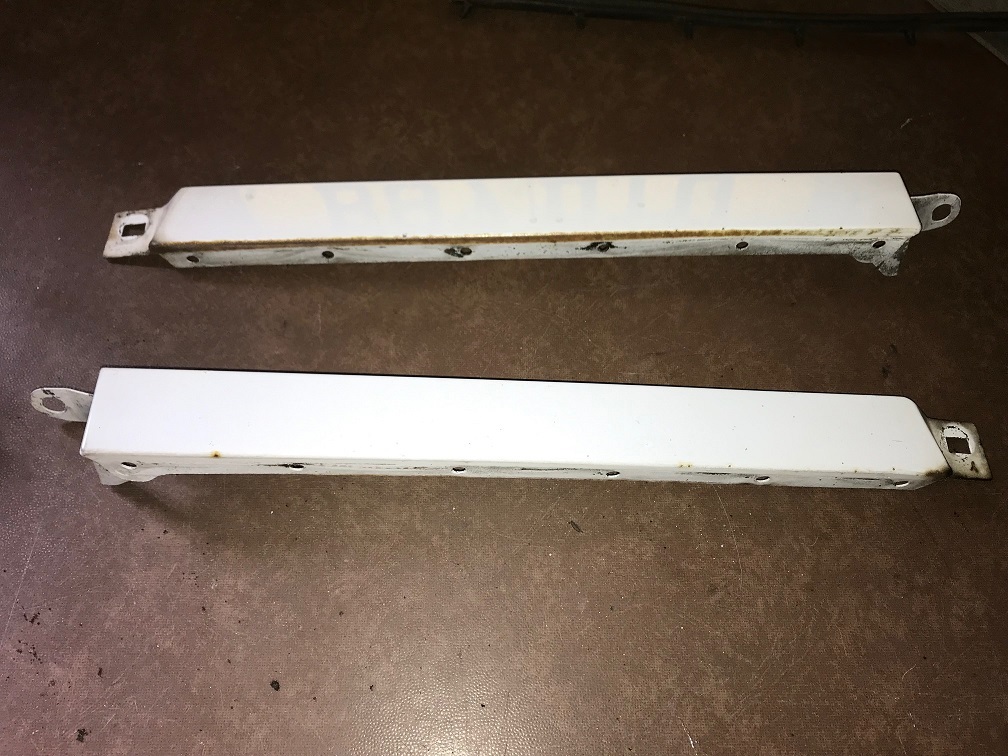 A quick rub down with some wet and dry and the panels were ready for a couple of coats of Arctic White aerosol. 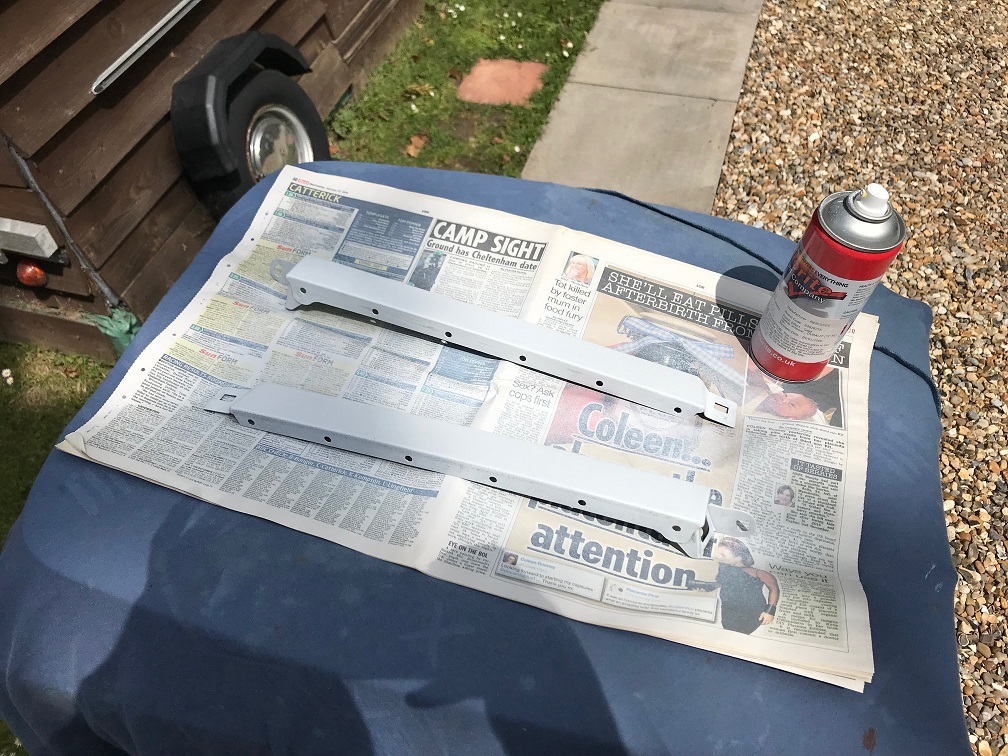 Professional working environment. 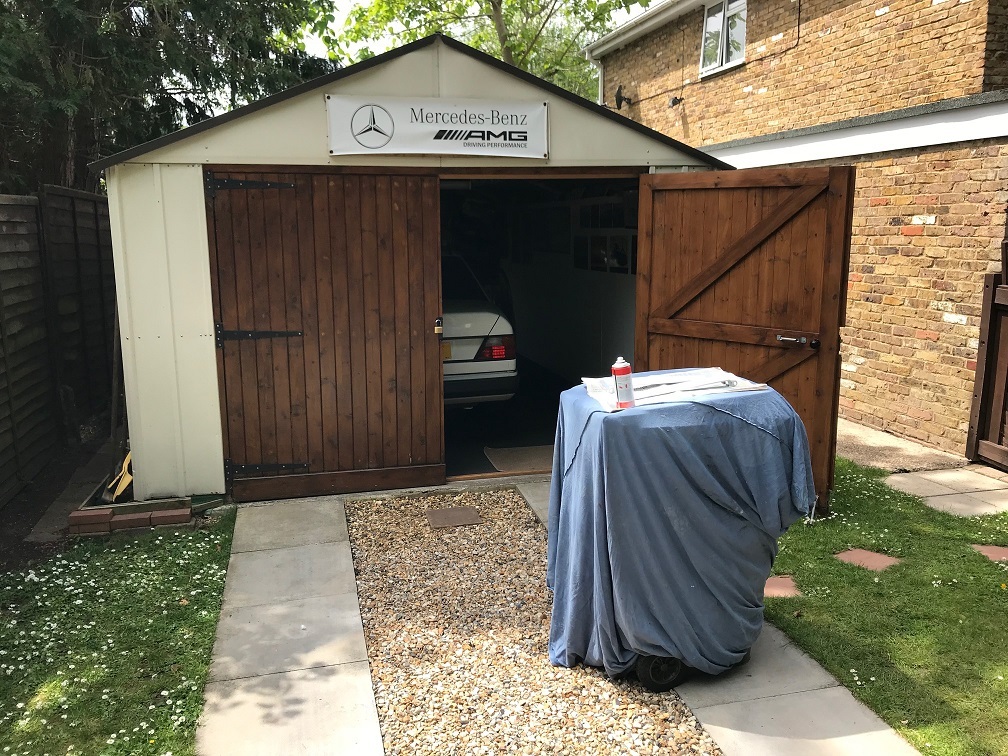 Once the paint dried, the panels were easy to re-fit. Job done. 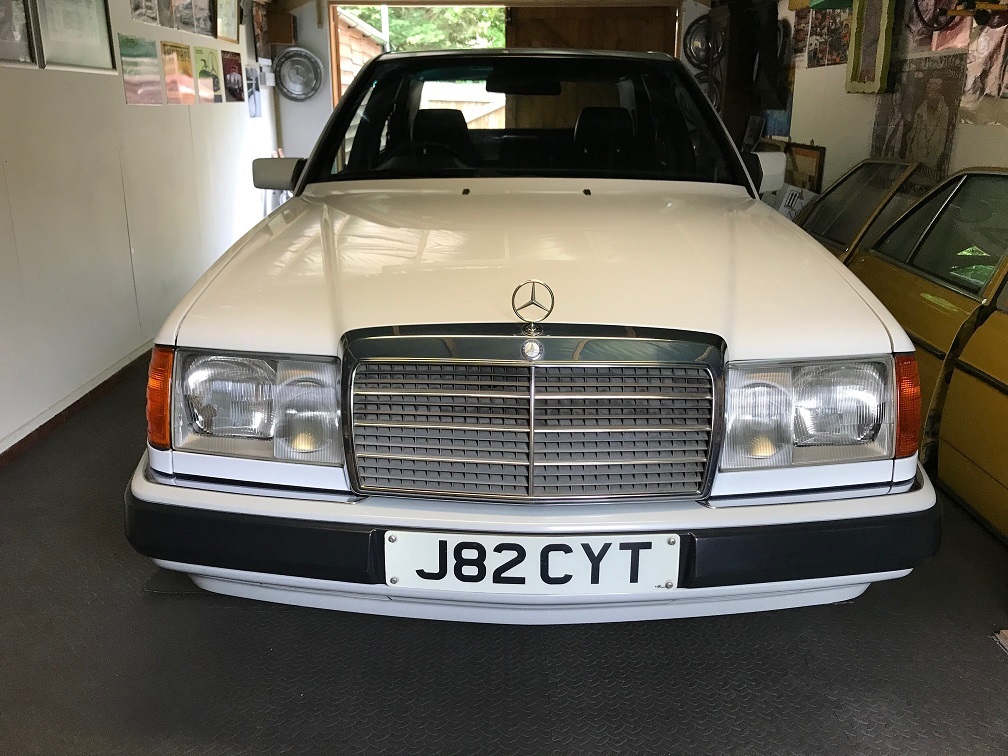 |
| |
|
|
|
|
|
|
|
|
Looks great, arctic white sits really well on a w124.
I share your pain with the fit of pattern wings though, mine is off the road for some tidying up and wings are being a pain in the ass!
|
| |
1988 Mercedes w124 superturbo diesel 508hp
1996 Mercedes s124 e300 diesel wagon
1990 BMW E30 V8 M60 powered!
1999 BMW E46 323ci project car
|
|
|
|
|
|
|
That really looks good!  I am likely to have the same issue with front wings for my R170 SLK. They both have rot (one is quite crispy) but all pattern wings have the cut out for the repeater which the earlier pre-2000 cars had. The later ones have them in the mirrors. Am reluctant to buy one direct from Mercedes as they're likely to want my spleen as part-payment... |
| |
Last Edit: Jun 9, 2019 15:21:42 GMT by mrbounce
|
|
|
|
|
Jun 10, 2019 15:45:45 GMT
|
16, that's all the Mercedes Benz cars that I've owned. 2 x W201 1 x W202 3 x W123 6 x W124 1 x W126 1 x W219 1 x R129 1 x C204 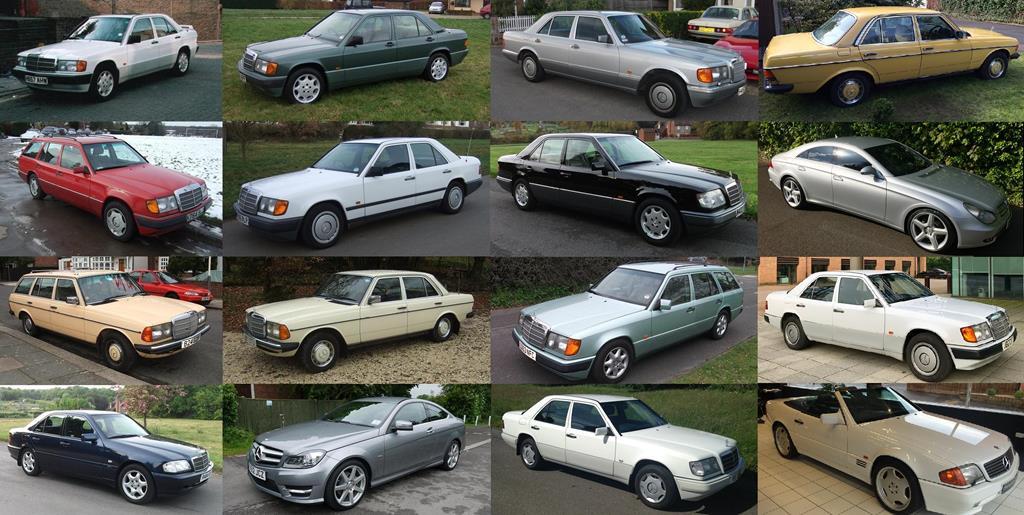 |
| |
|
|
|
|
|
Jun 12, 2019 17:49:16 GMT
|
I had to upgrade the speakers. The 200E was still fitted with the original paper cone speakers, which were too weak to handle the 4x50W output of the head unit. Not only are W124 speaker sizes a little odd, all four speakers are fixed by clips rather than traditional screw fixings. Thank you Amazon for delivering this little lot: 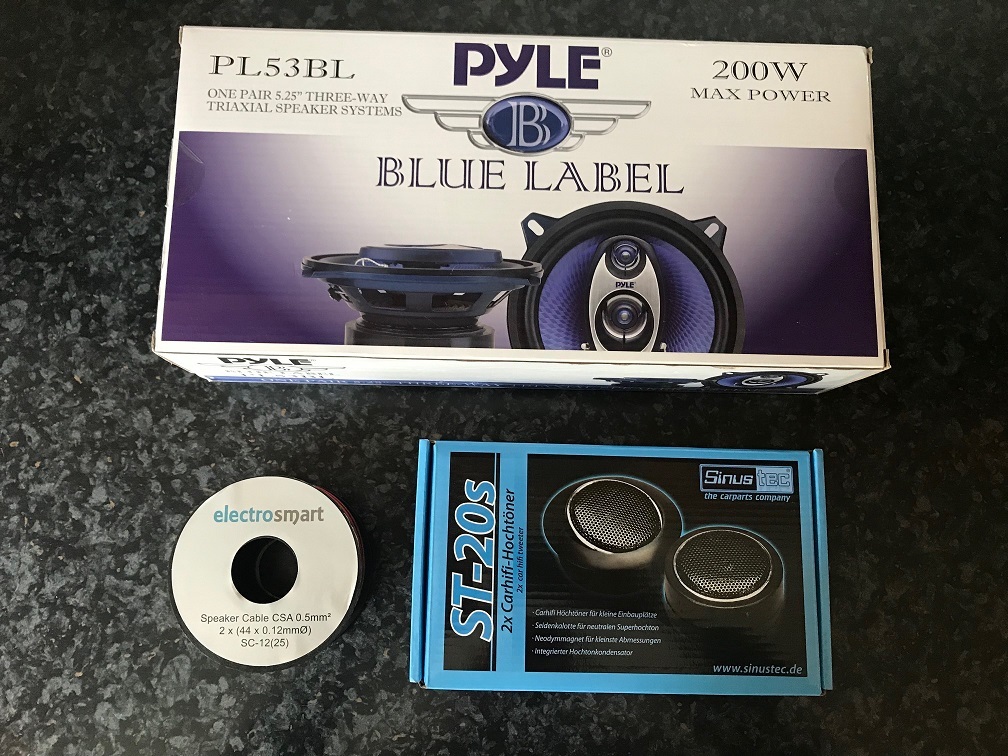 I decided to go for 5.25" 3 way speakers for the back shelf and a pair of tweeters for the dash. I had to make MDF rings to enable installation of the rear speakers. Do not judge me by the quality of the cutting, my jigsaw is totally knackered and I am amazed that it got the job done at all. 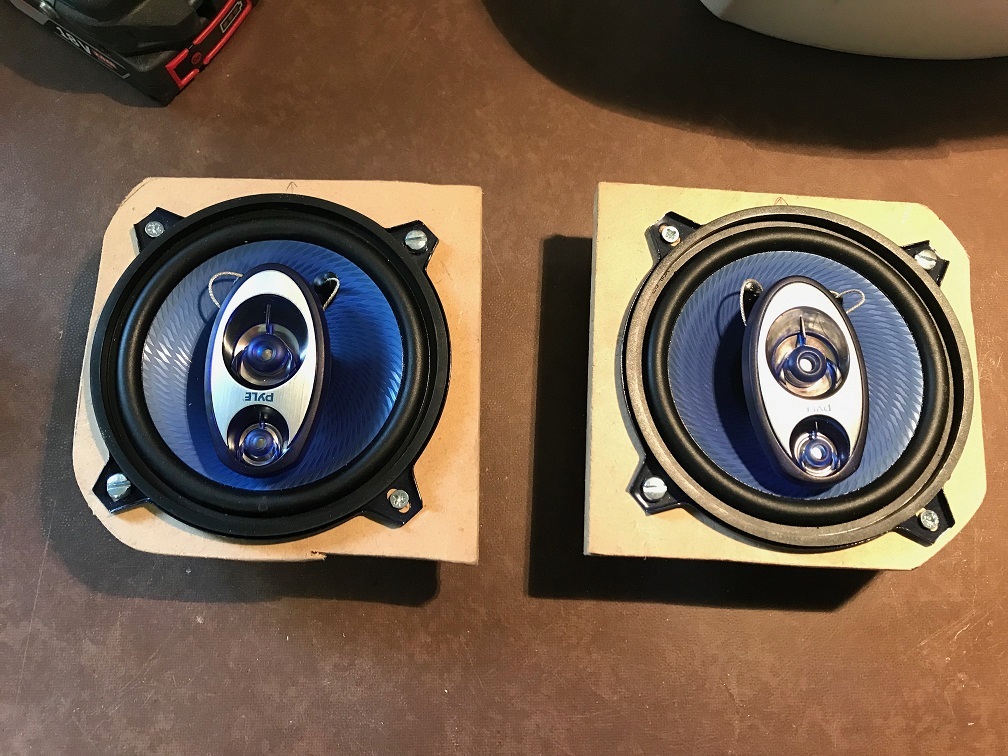 The speakers fit snugly into the original openings and with the original grilles back on, the installation is completely stealth. 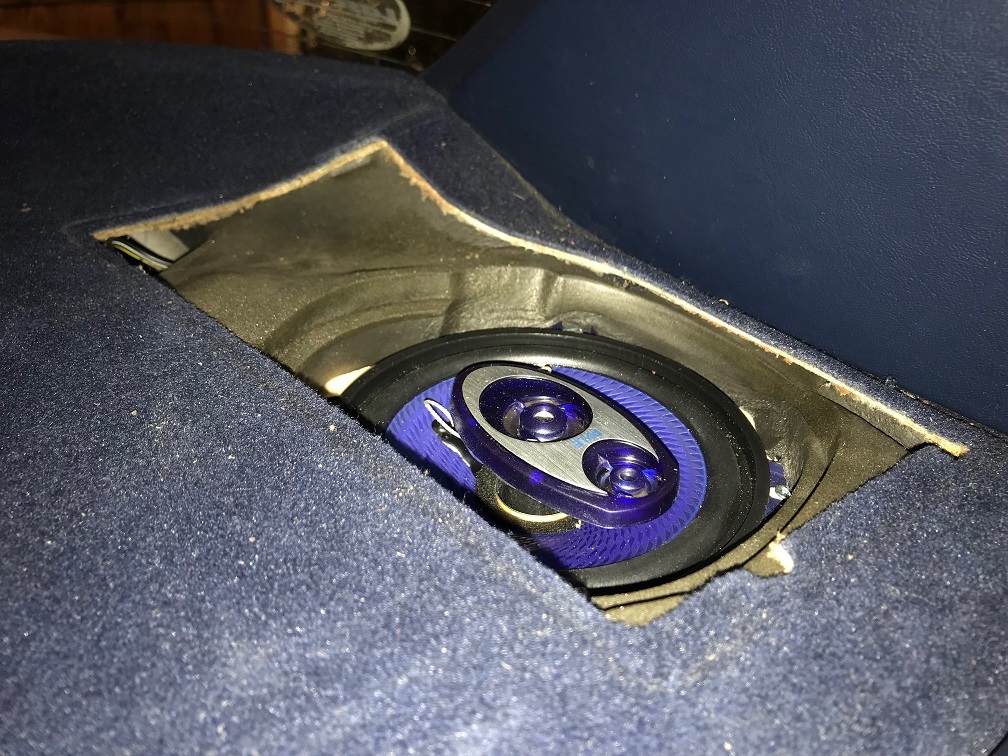 On the offside, I screw fixed the tweeter to the vent duct. On the nearside I had to use special double sided sticky pads as the design of the duct is different and I could not get my drill to fit into the speaker recess without taking the windscreen out. 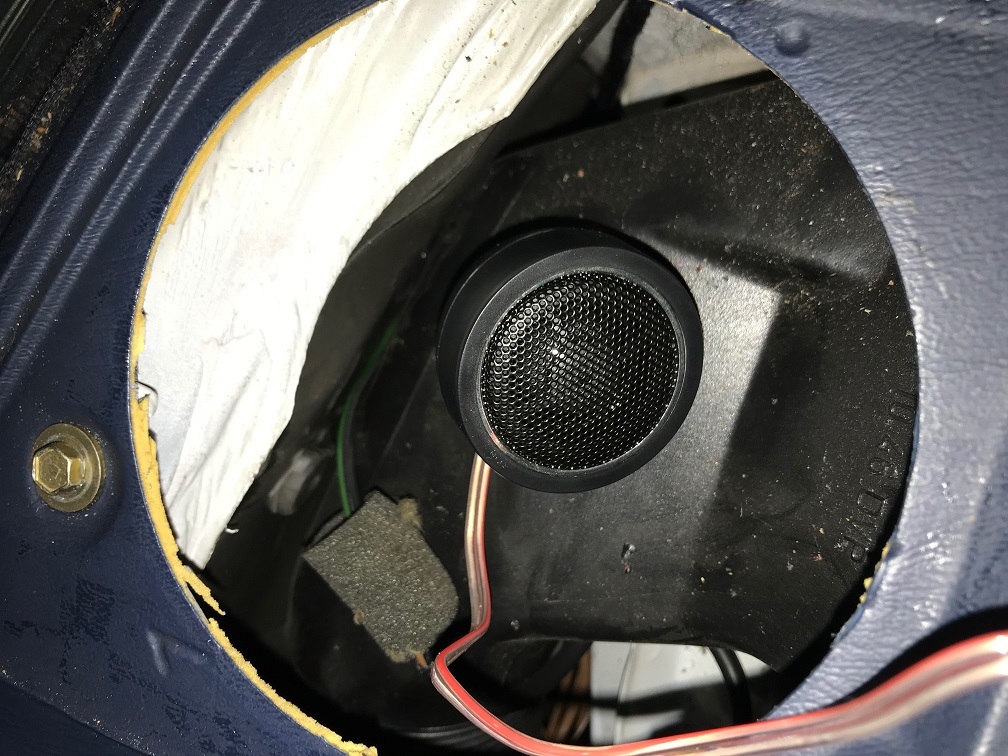 The results are very pleasing. The rear 3 way speakers provide all the mid range and high level rear fill that is required, whilst the tweeters are all that is needed to give a nice surround sound effect. Of course this installation wouldn't be worth bothering with if I didn't have a 12" sub in the boot. 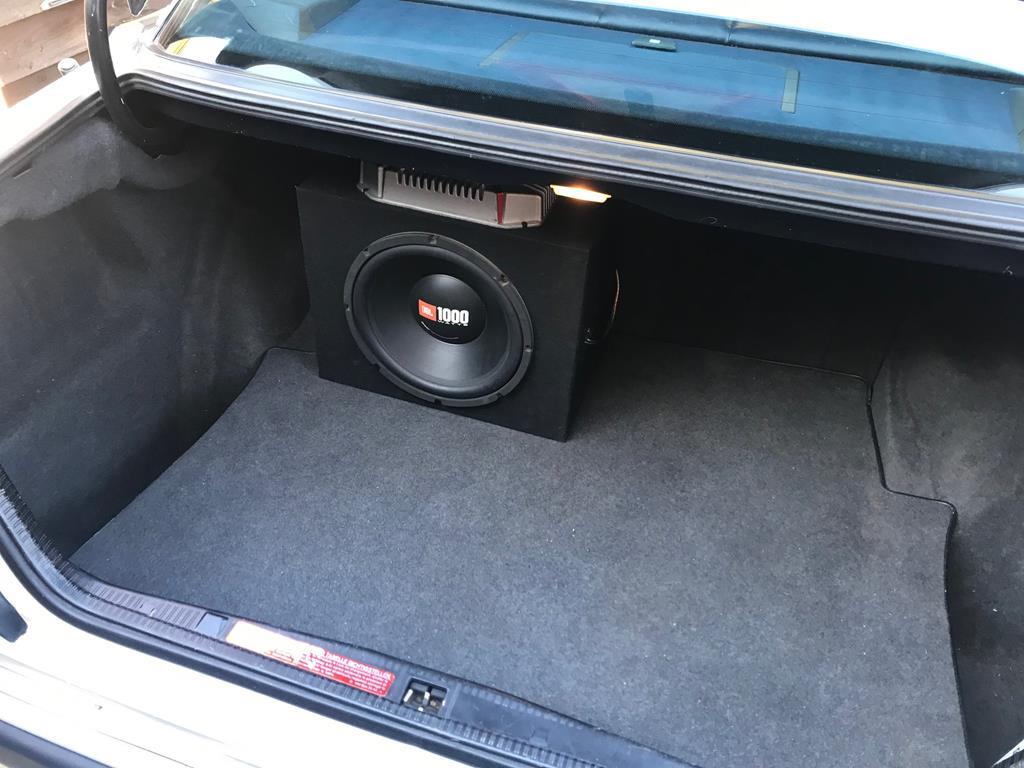 |
| |
|
|
|
|
|
Jun 12, 2019 18:00:02 GMT
|
|
Glad the spacer ring idea worked out for you, if you want two extra factory speaker mounts grab a set of estate rear door cards.
|
| |
1988 Mercedes w124 superturbo diesel 508hp
1996 Mercedes s124 e300 diesel wagon
1990 BMW E30 V8 M60 powered!
1999 BMW E46 323ci project car
|
|
|
|
|
|
|
Last month I clocked up over a thousand miles in the 200E without a single problem to report. On local journeys, including a few motorway trips, the 200E managed to return 37MPG. Last weekend, on a run to Basingstoke and back and then to the south coast and back, the 200E managed a very impressive 42MPG. Yesterday afternoon, on route back from London driving home on the M40, I had to brake suddenly when traffic ahead suddenly slowed down. The 200E slowed but the brake pedal felt very soft. When I came off the motorway I had to apply the brakes a few times before arriving at home and on each occasion the brakes were weak and the brake pedal went to the floor. On my driveway, with the engine switched off, I pressed the brake pedal again and heard a distinctive hiss from the offside rear wheel. Removing the wheel revealed a pinhole in a corroded brake pipe: 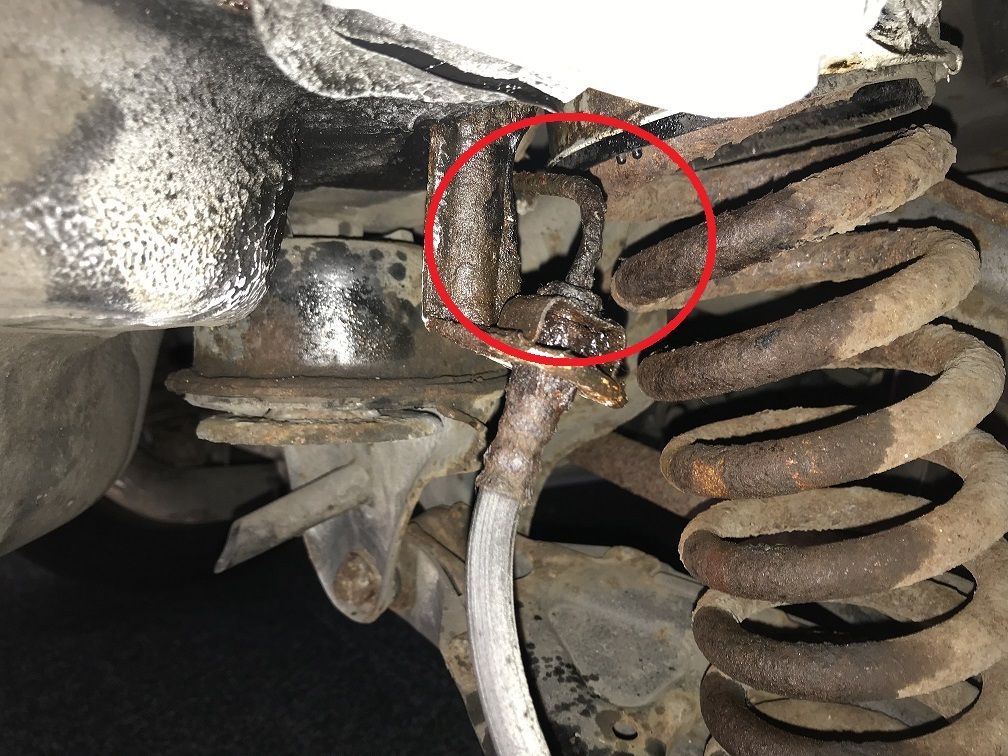 I arranged to visit my mechanic on Thursday to have the pipe replaced, however that would mean driving the 200E a distance of approx 25 miles. Without brakes? Surely not. I applied some chemical metal around the leaking section of pipe. 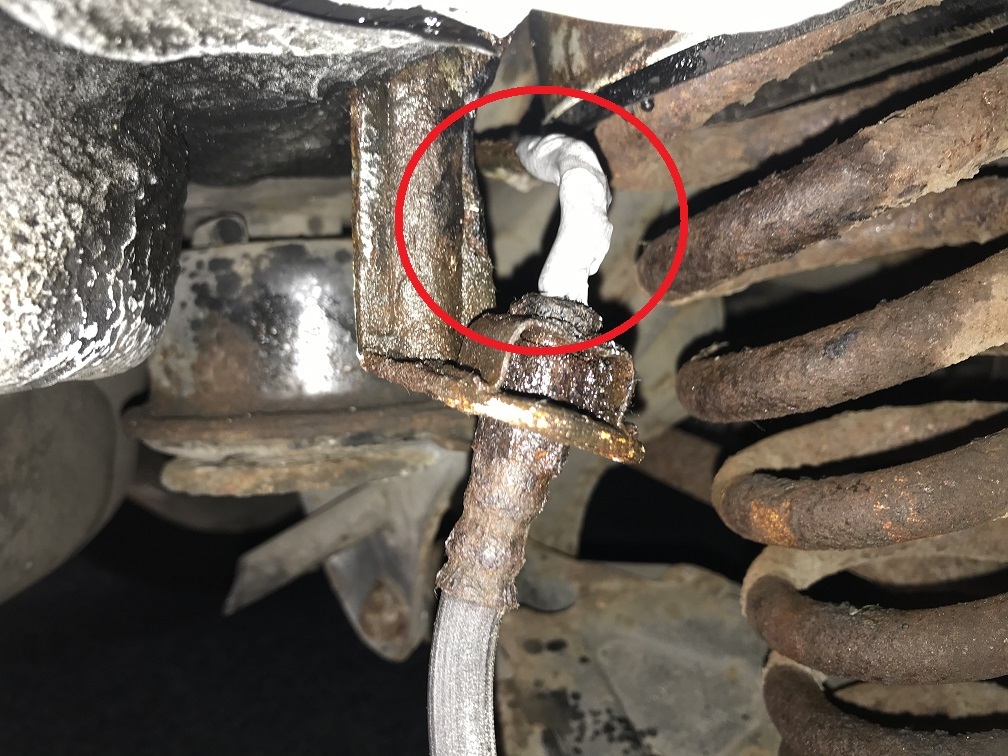 The pedal feels firm and the repair should be adequate to get me to London tomorrow. Fortunately, the foot operated handbrake is very effective, just in case the brakes fail again. 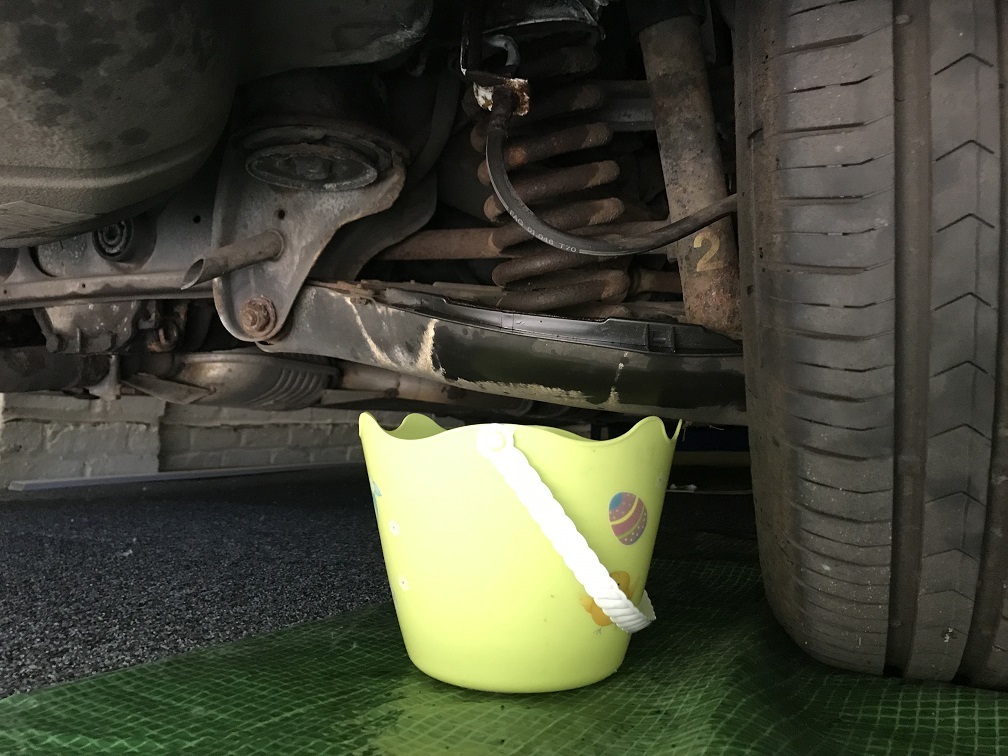 |
| |
|
|
|
|
|
|
|
|
Eek kinda scary I bet. Had a flexi pipe let go in a Mini once and nearly ended up in the back of a bus. Hopefully your mechanic will give all the other pipes the once over. Safe journey.
Ps that fuel consumption is really good. Would give many so called economical moderns a run for their money.
|
| |
|
|
|
|
|
|
|
Ps that fuel consumption is really good. Would give many so called economical moderns a run for their money. Agreed, the fuel consumption figures are very impressive. Admittedly, I do not drive the 200E hard and avoid standing in traffic if at all possible. |
| |
|
|
|
|
|
|
|
|
|
The temporary repair to the rusty brake pipe worked and I got the 200E safely to my mechanic's place in west London. Up on the ramp it goes. 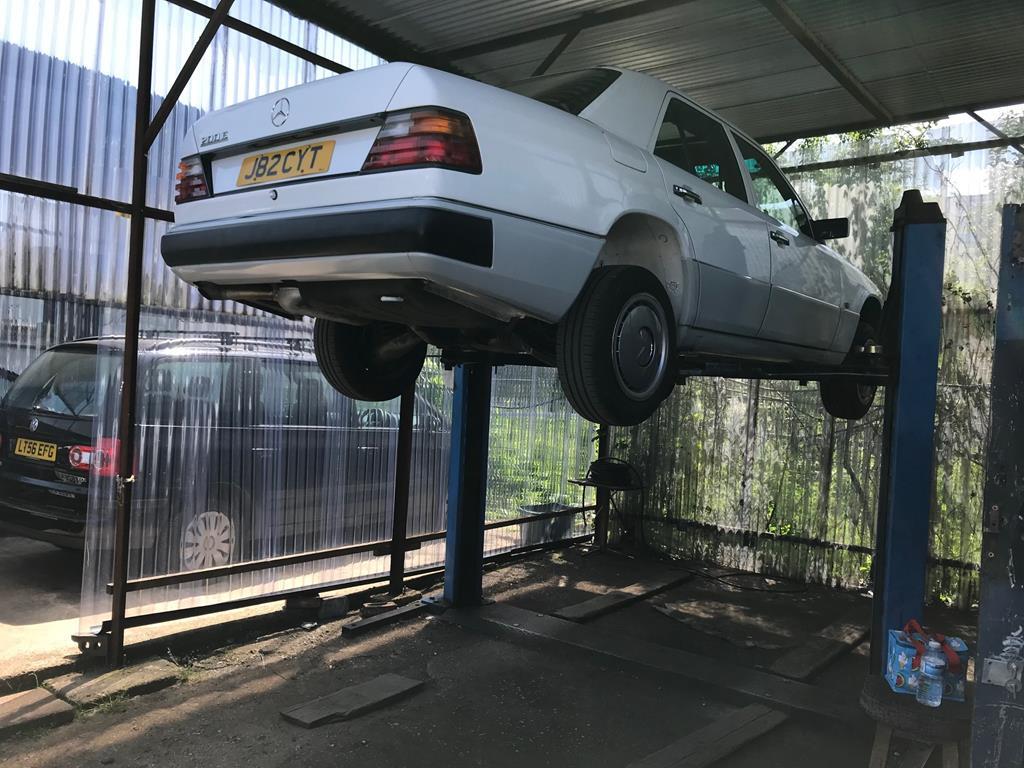 The rear sub-frame restricts access to the partially concealed brake pipes but removal took all of 15 minutes, allowing for easing of very rusty fixings. 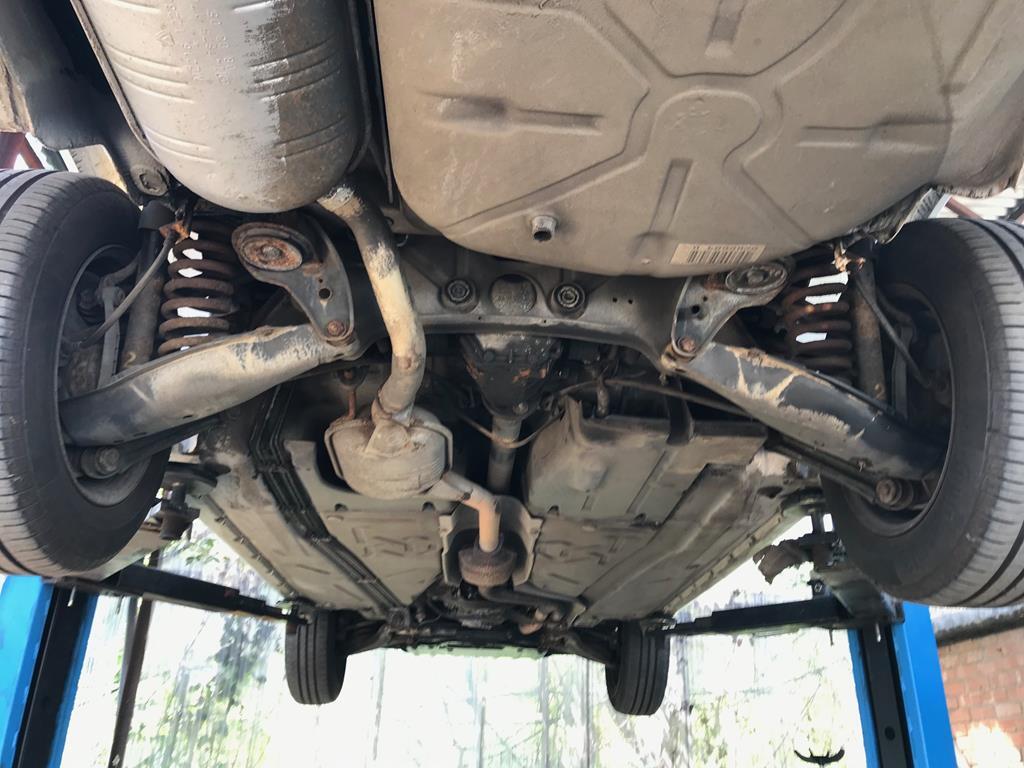 The nearside brake pipe was also quite rusty and both were replaced with new copper pipes. Job done, the brakes are good again. 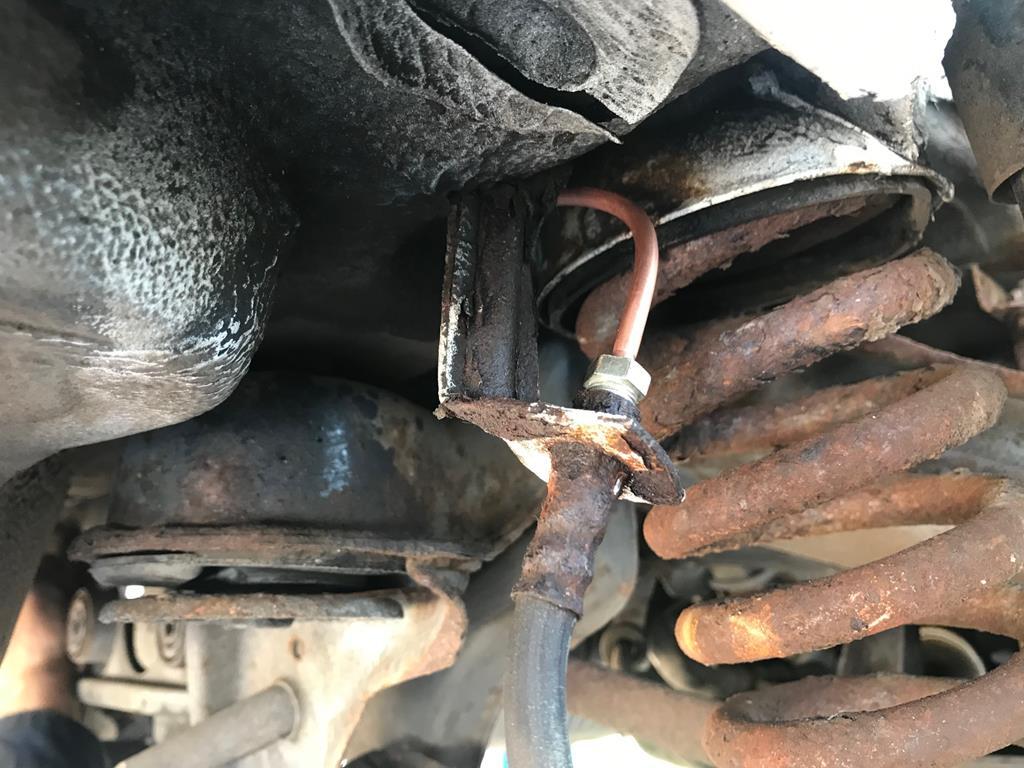 Whilst waiting for the 200E to be fixed, I admired some of the other vehicles stored in the yard. 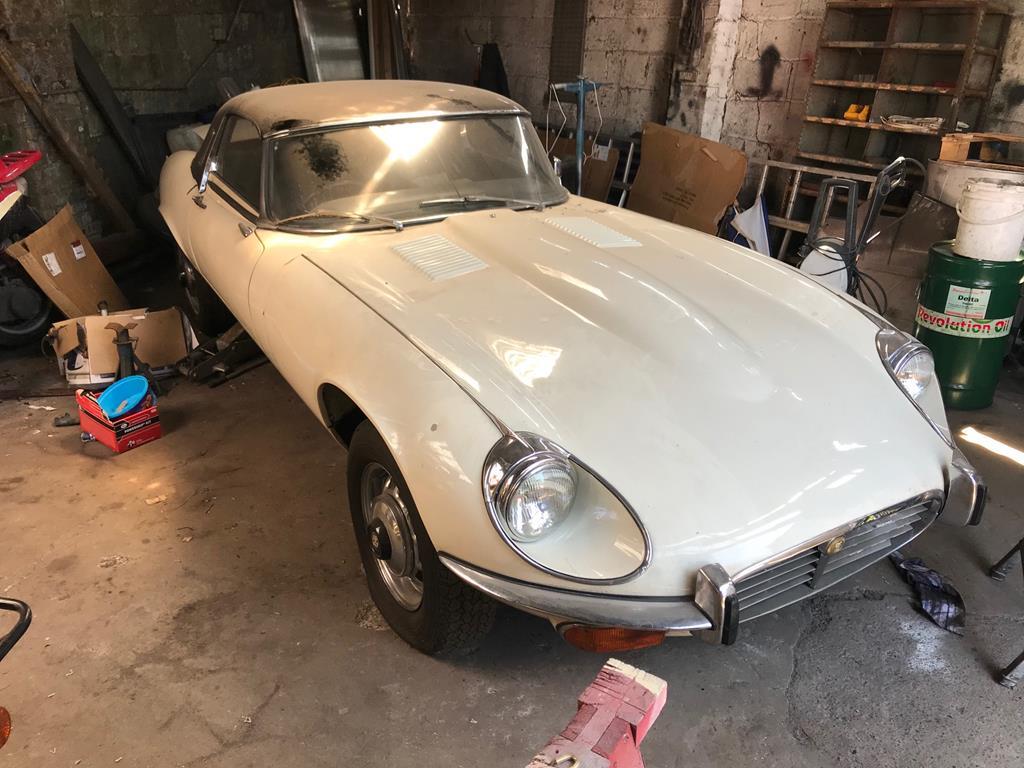 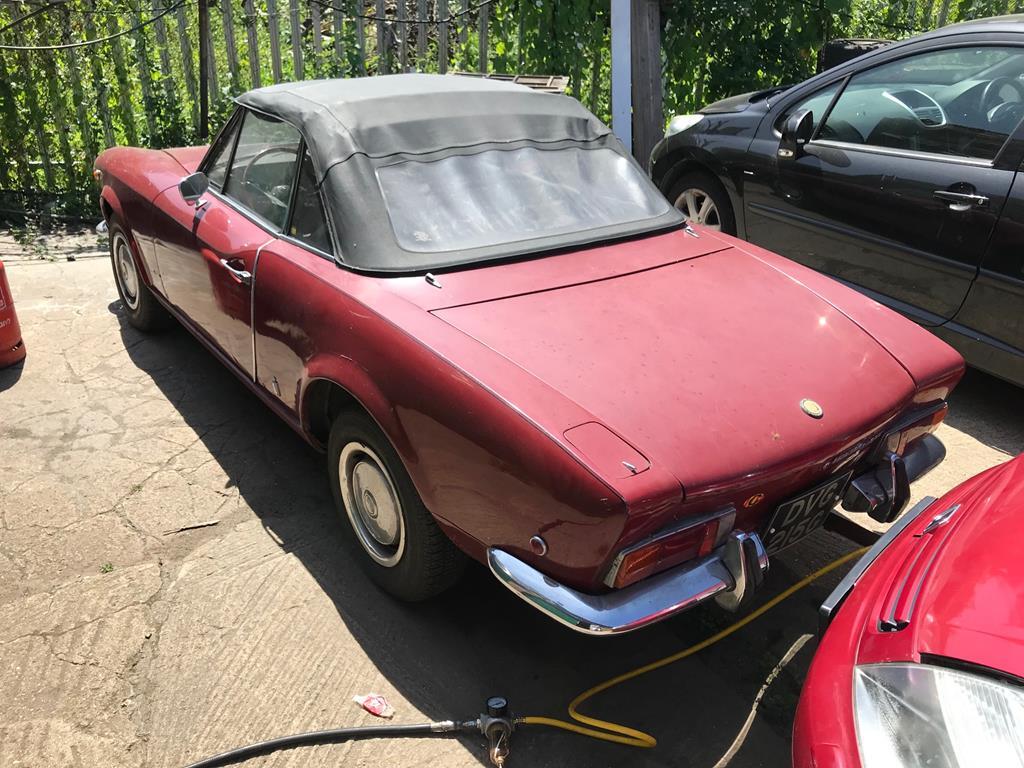 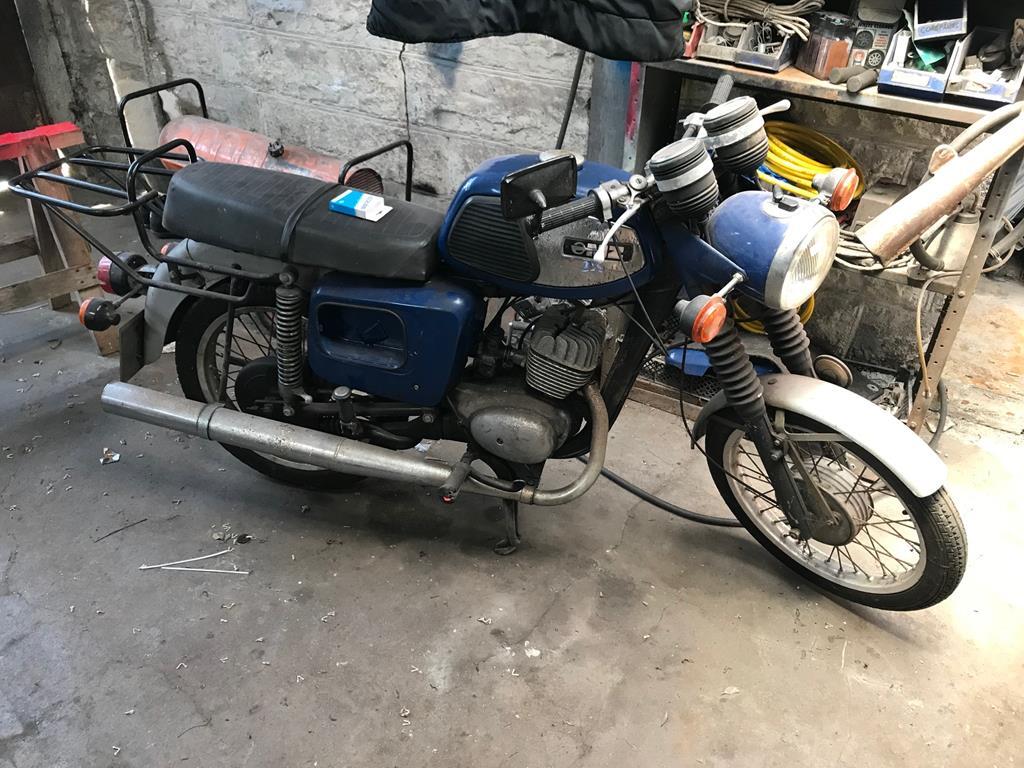 |
| |
|
|
|
|
|
|
|
The 200E suffered from a misfire whenever started, regardless whether the engine was hot or cold. The misfire would fix itself after 5 seconds, then the engine would run smooth. The first fix involved replacement of the spark plugs. The plugs for cylinders 1 and 2 came out easily but for 3 and 4 the plugs were amazing tight. I removed these some time ago but before I washed the engine. Perhaps some water had found its way into the plug recesses and caused the plugs to bind to the head? Anyway, I got the plugs out and fitted four new NGK plugs. The old plugs didn't look too bad. Since replacing the plugs, the misfire has not occurred but as part of my maintenance regime I will shortly be replacing the distributor cap and rotor arm. 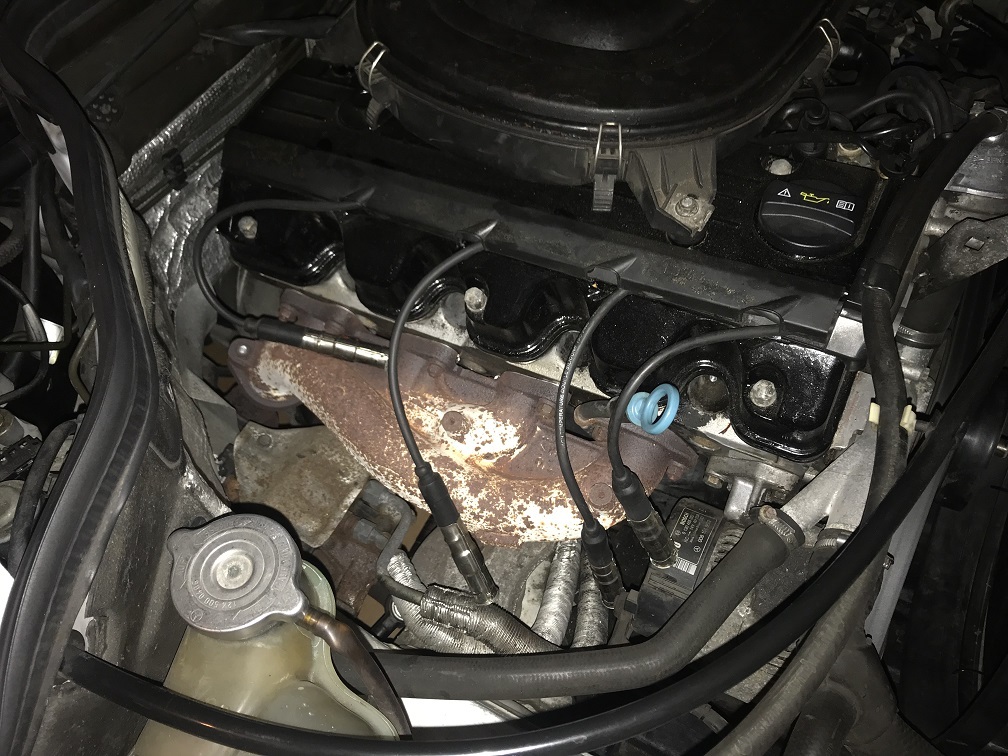 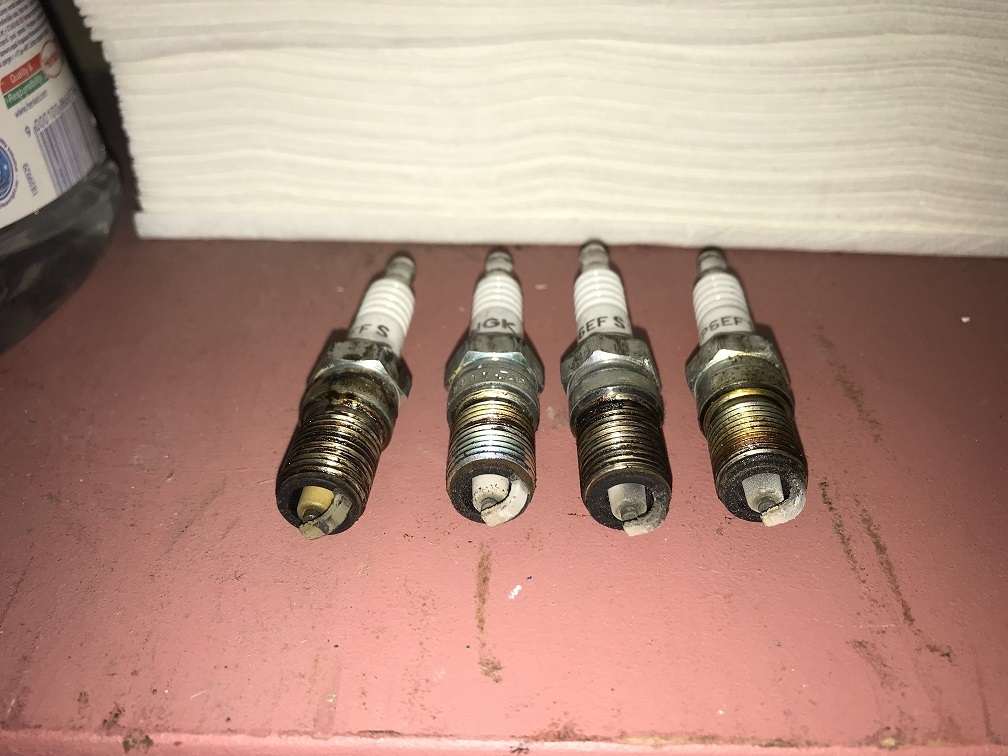 There are two ways of replacing the PAS fluid. One involves draining the fluid completely and re-filling it from the top. I have been warned that draining the system completely can cause problems with air locks on re-filling. The other option is to syphon out the fluid from the reservoir, re-fill and repeat the procedure until clean. Whilst the fluid will never be 100% fresh, there is no risk of causing any issues with air locks. By using a syringe, I can get 75ml of fluid out at a time. 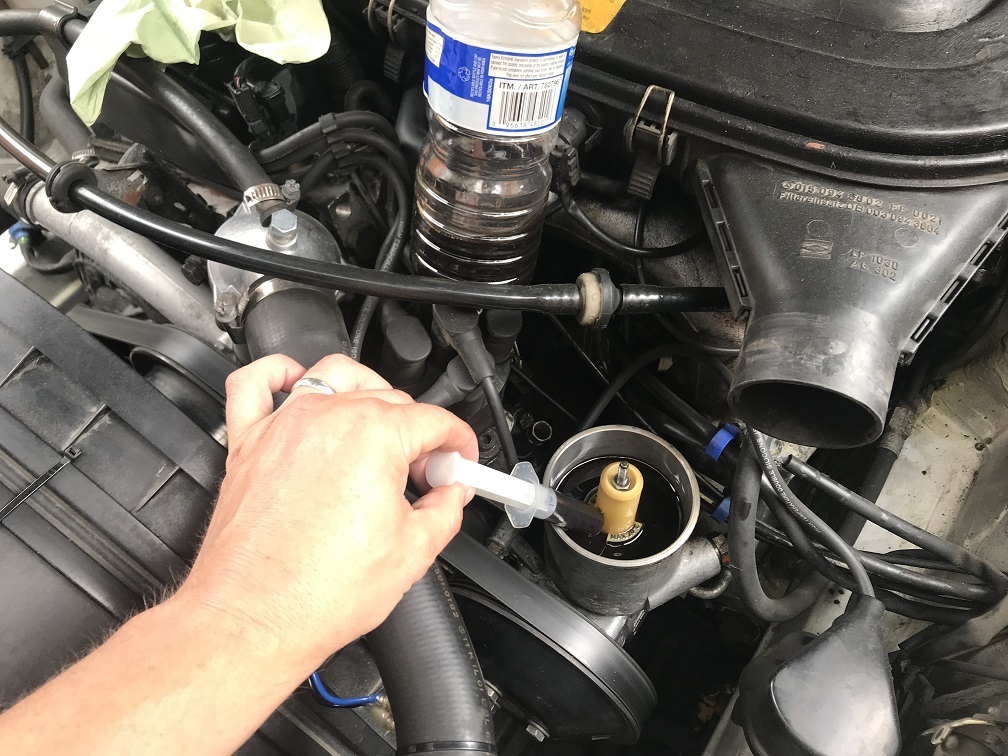 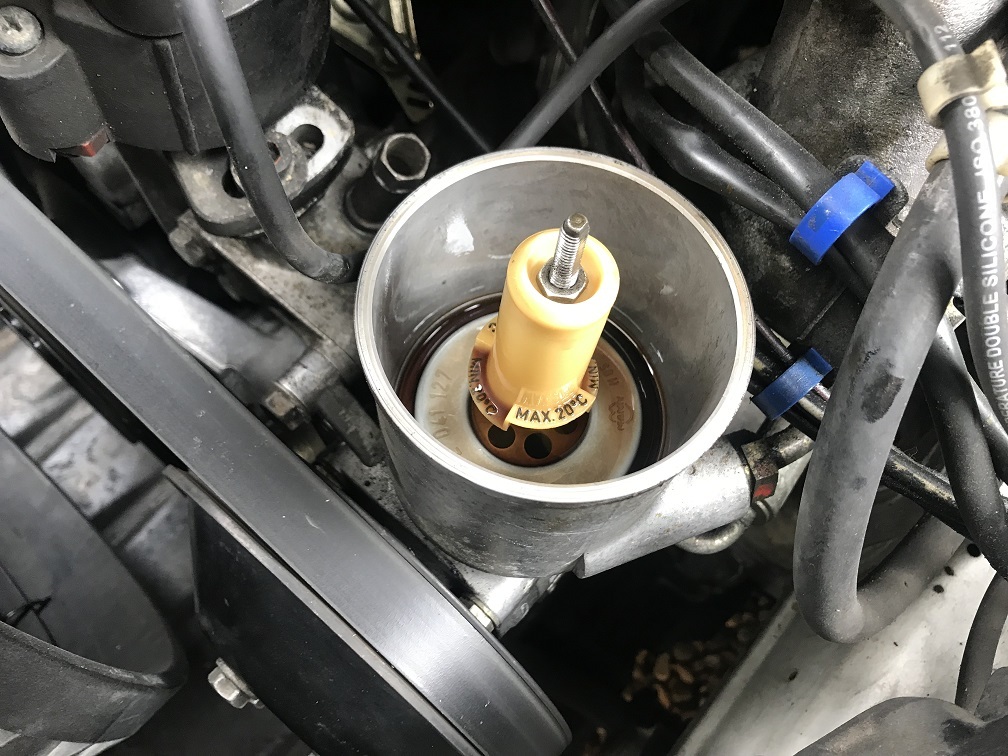 Whilst the 200E was up on a ramp having its brakes fixed, I had a look underneath it and found a few areas of rust that needed attention. Firstly, the rear sections of the lower wishbone mountings had a lot of surface corrosion. Scraping off the loose stuff revealed 100% solid metal. I coated the metal with waxoil for a factory finish and job done. 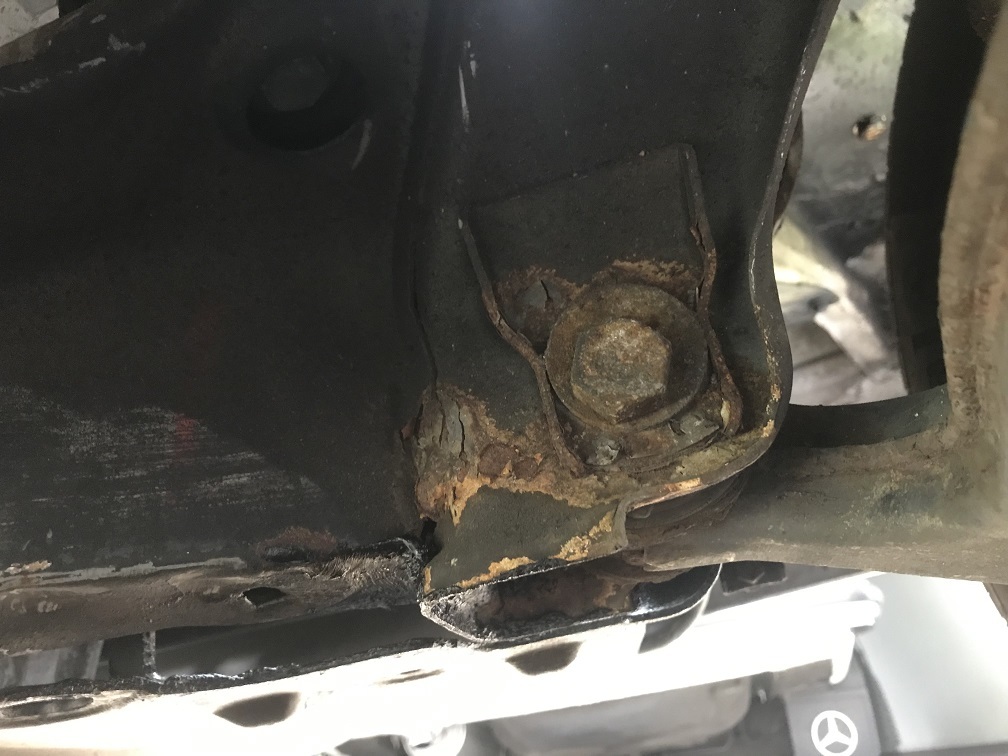 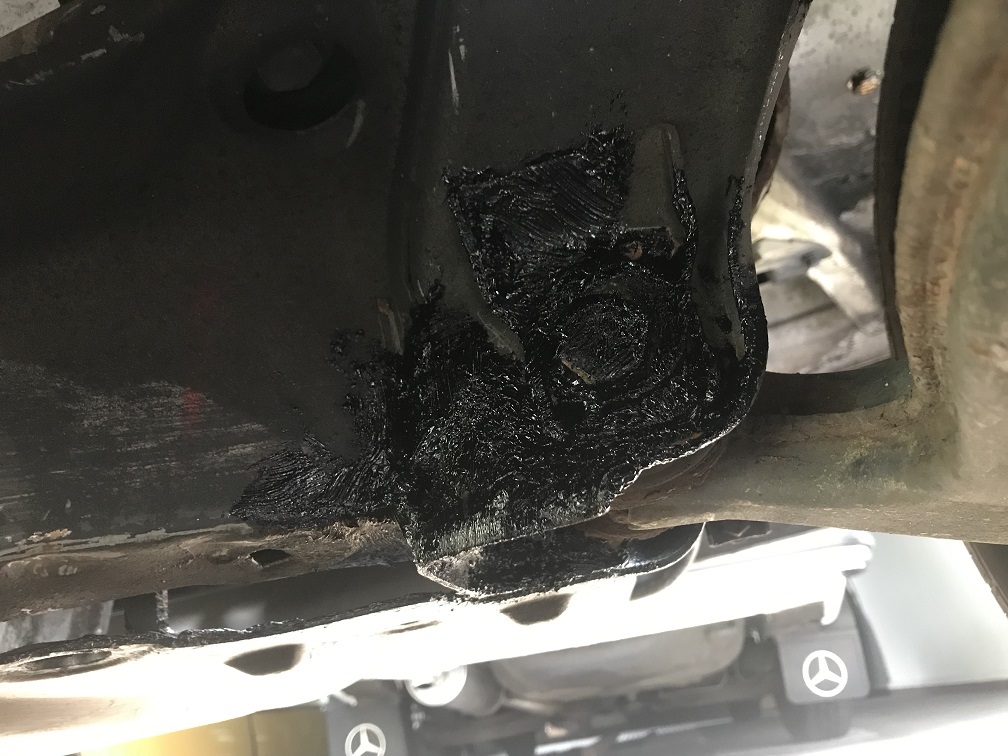 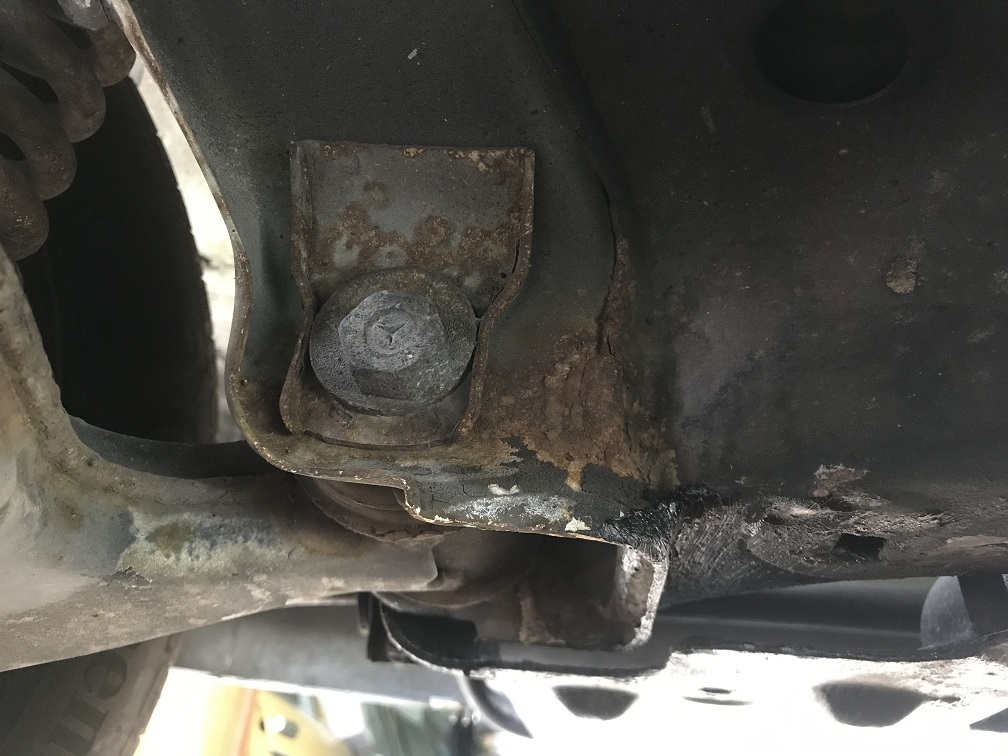 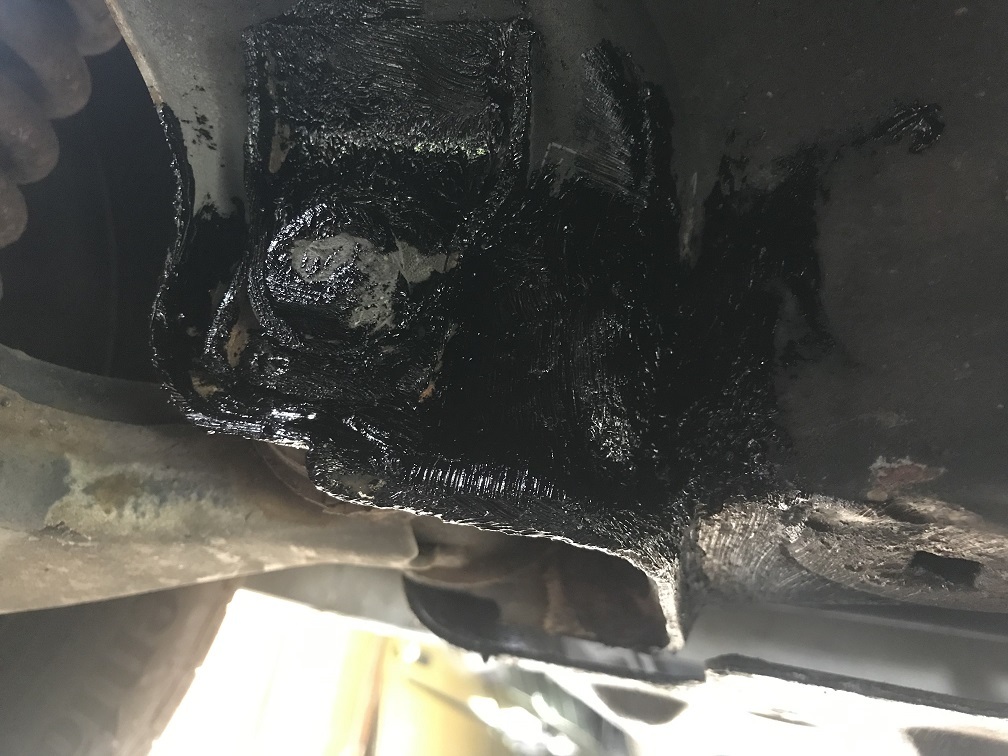 There was also a little of the brown stuff in the offside rear corner, in the gap between the bumper and the rear wing. The same area inside the boot was also showing evidence of surface corrosion. 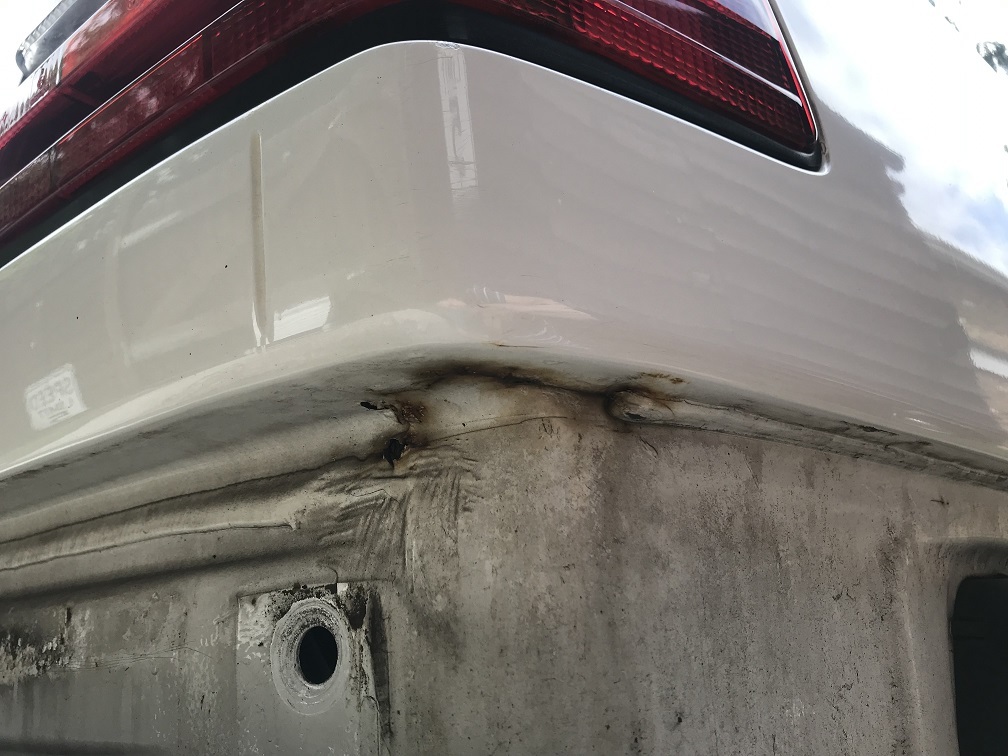 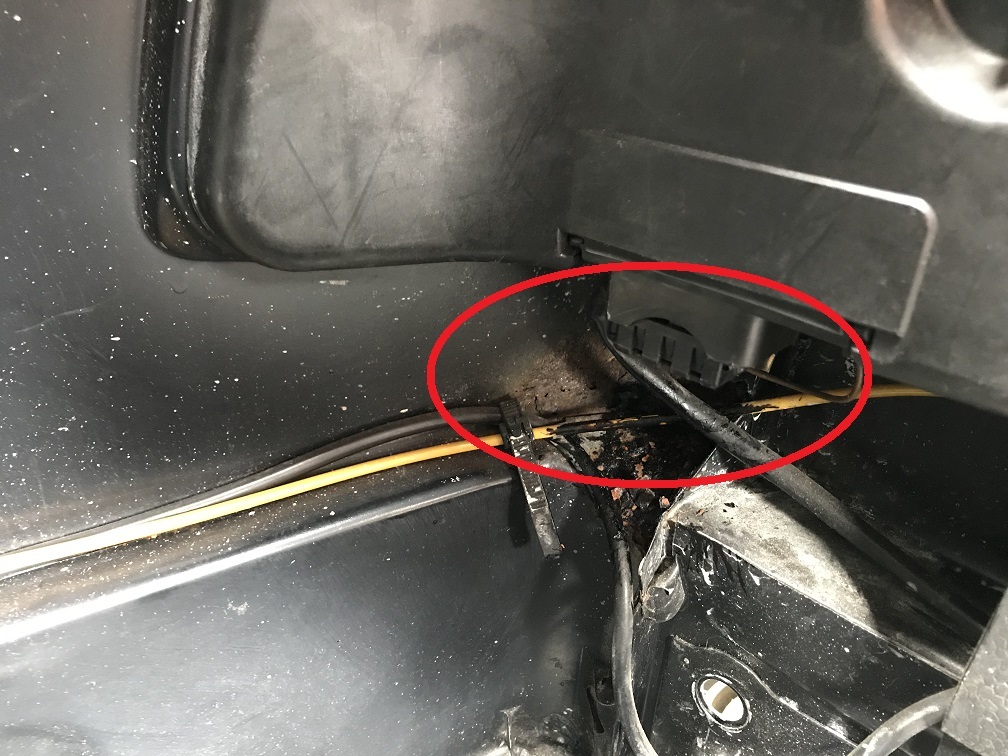 Scraping off the loose corrosion revealed a solid panel. A coat of waxoil on the inside and a coat of white Hammerite on the outside should keep the rust at bay. 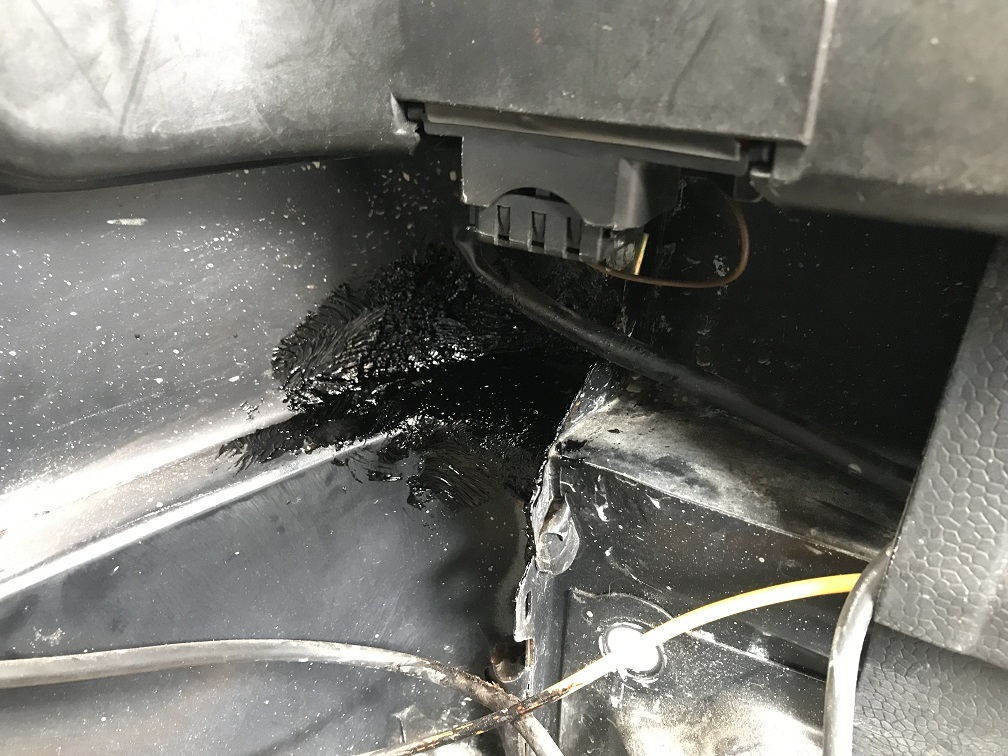 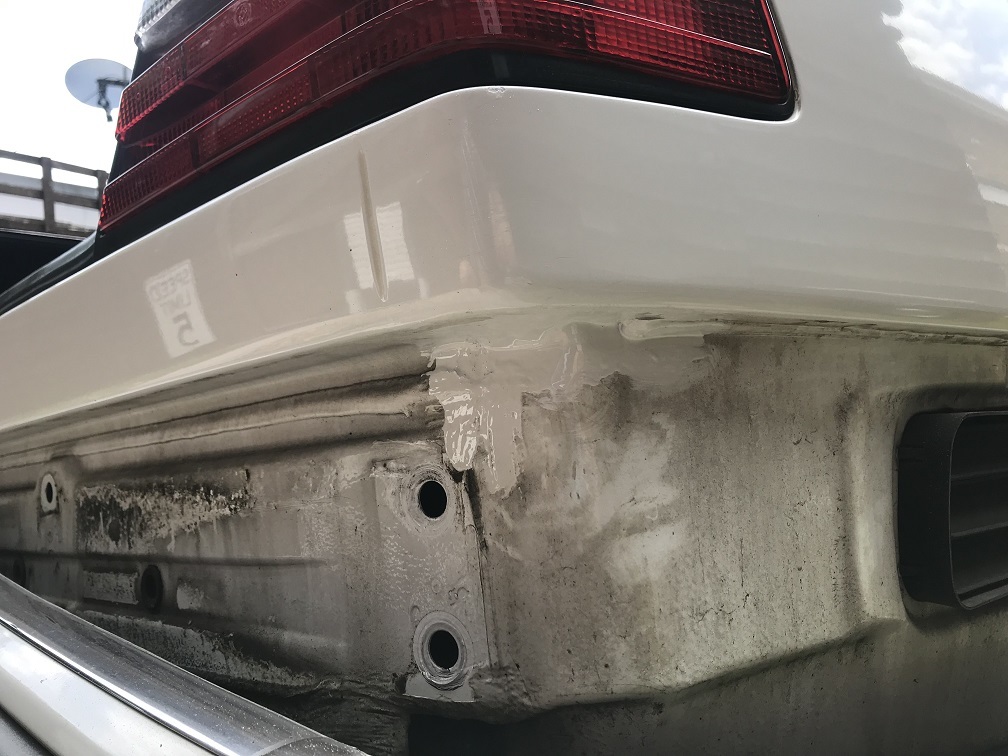 |
| |
|
|
|
|
|
Jul 15, 2019 15:29:57 GMT
|
For some time now I've been putting up with a very annoying squeak every time I pressed and released the clutch pedal. I had enough and had to investigate. A quick look in the footwell revealed only one connection between two moving elements, where the clutch pedal is linked to the pedal spring. A squirt of silicone fluid did not silence the squeak so I begun to take the lower part of the dashboard apart. 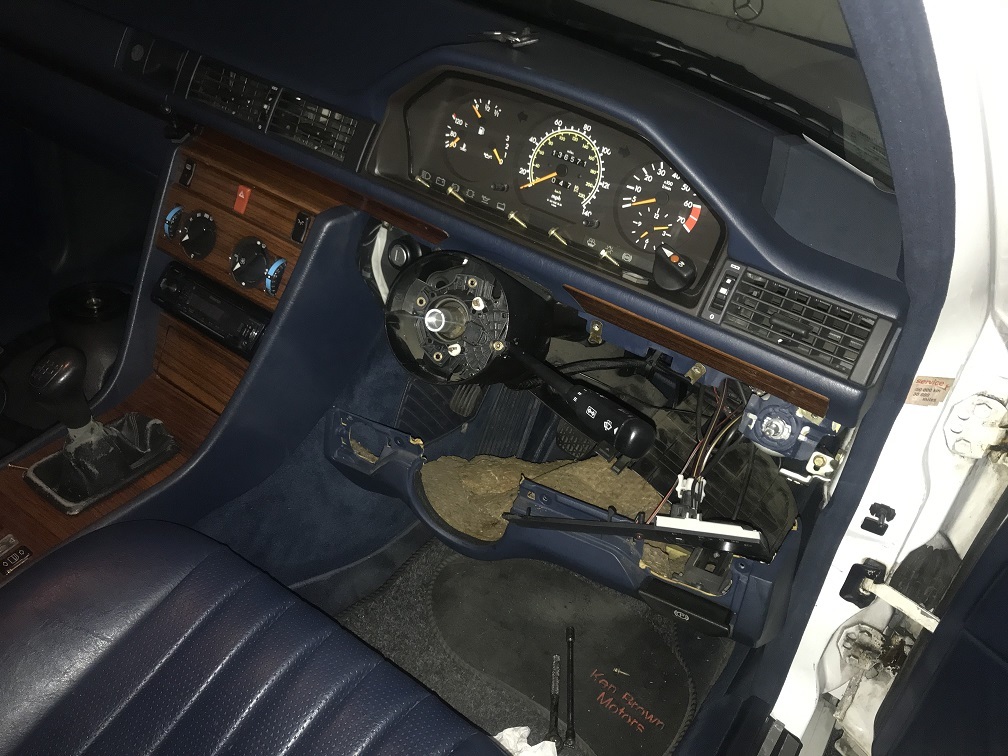 I spent a very hot 30 minutes kneeling down with my head in the footwell and failed to find anything that could be causing the squeak. In the end, I removed the part of the pedal spring that links to the pedal, which I previously squirted with silicone spray and gave it a thorough greasing, right the way round around the pivot. Hey presto, silence. If I did the job properly first time around then I wouldn't have had to waste time looking elsewhere for the squeak. 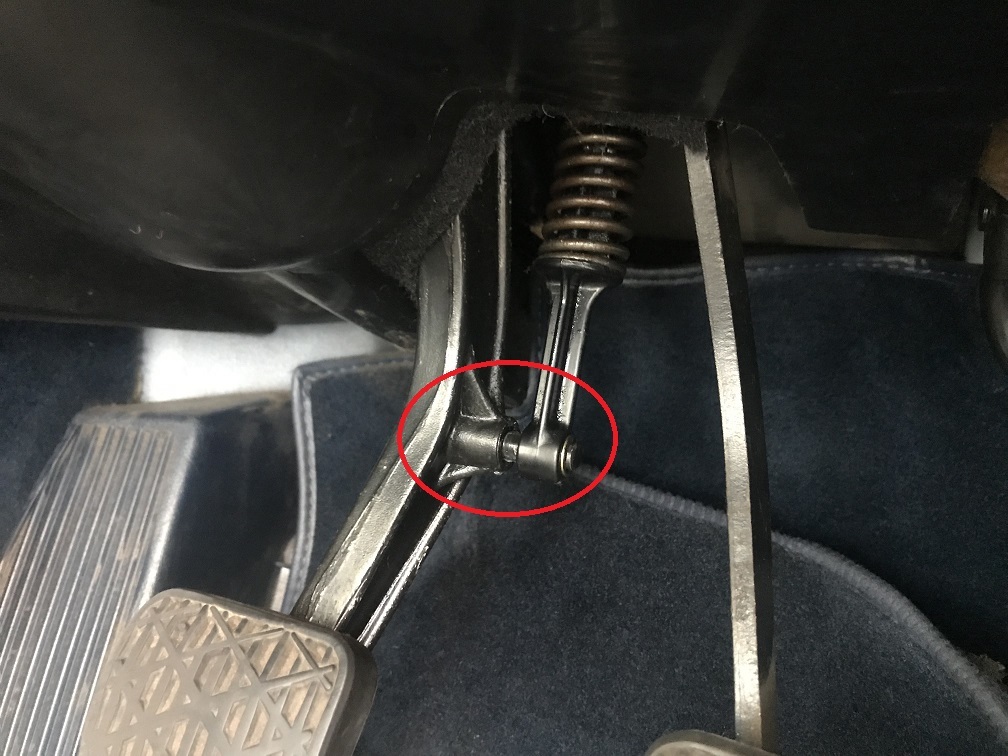 Unfortunately, the misfire on start up is still an issue. It happens almost every time the engine is started, hot or cold. Initially, the engine just feels very rough and lumpy, then whilst settling down you can feel the engine missing on one cylinder, then it finally fires on all four. I replaced the spark plugs but that made no difference. I then bought a new distributor cap and rotor arm, ensuring that I get the correct parts by giving the chap behind the counter my reg details. Spot the difference. 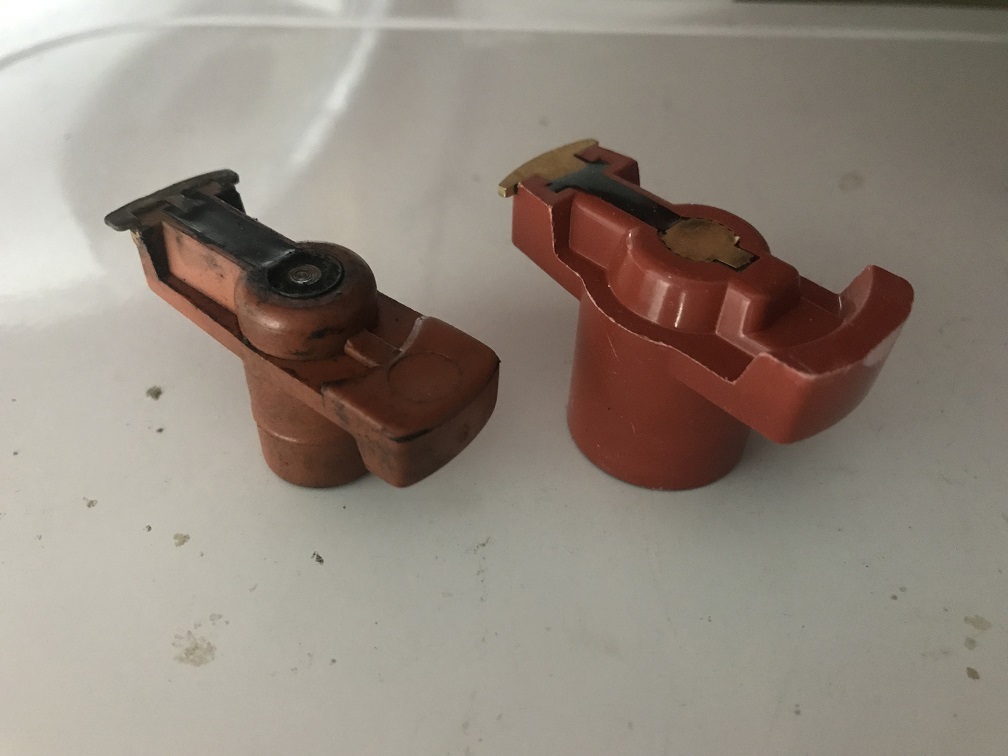 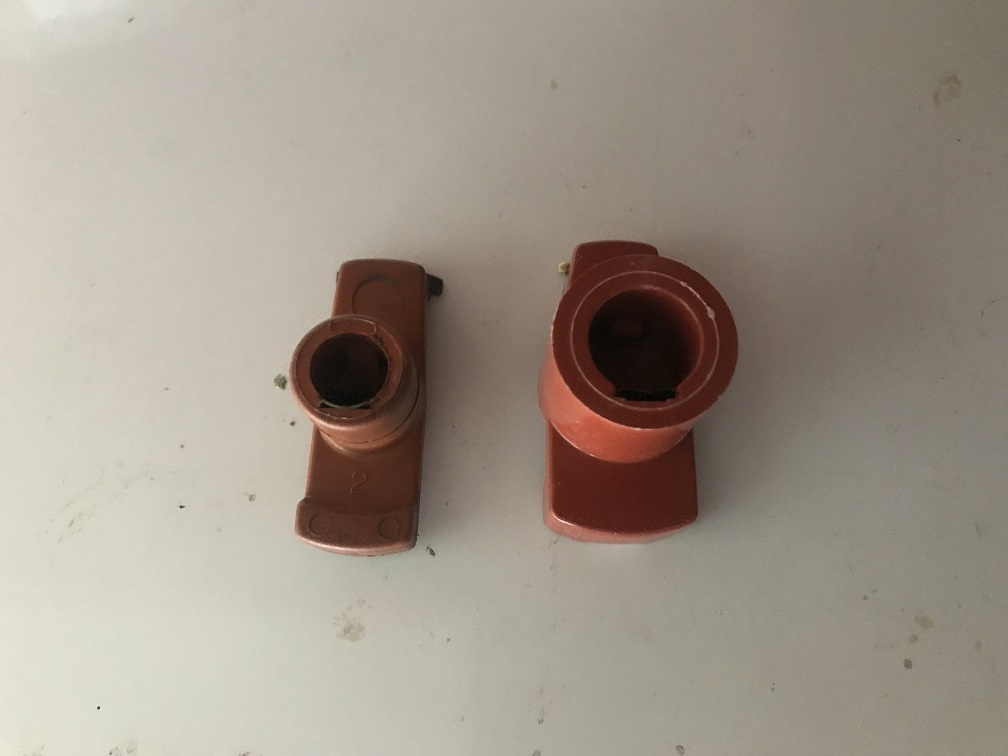 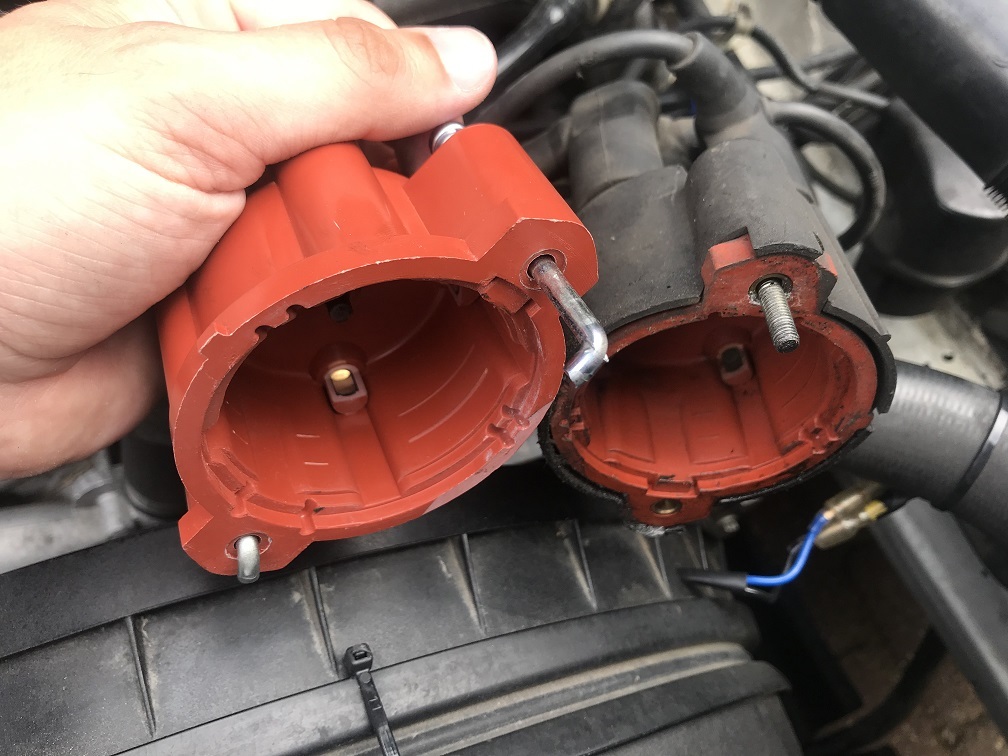 Fortunately I didn't pay much for the these parts and a quick check revealed that they fit my W123 230E. I'll keep them but will have to get the right parts sooner rather than later. In other news, I bought a copy of Retro Cars magazine and found a very nice surprise inside. 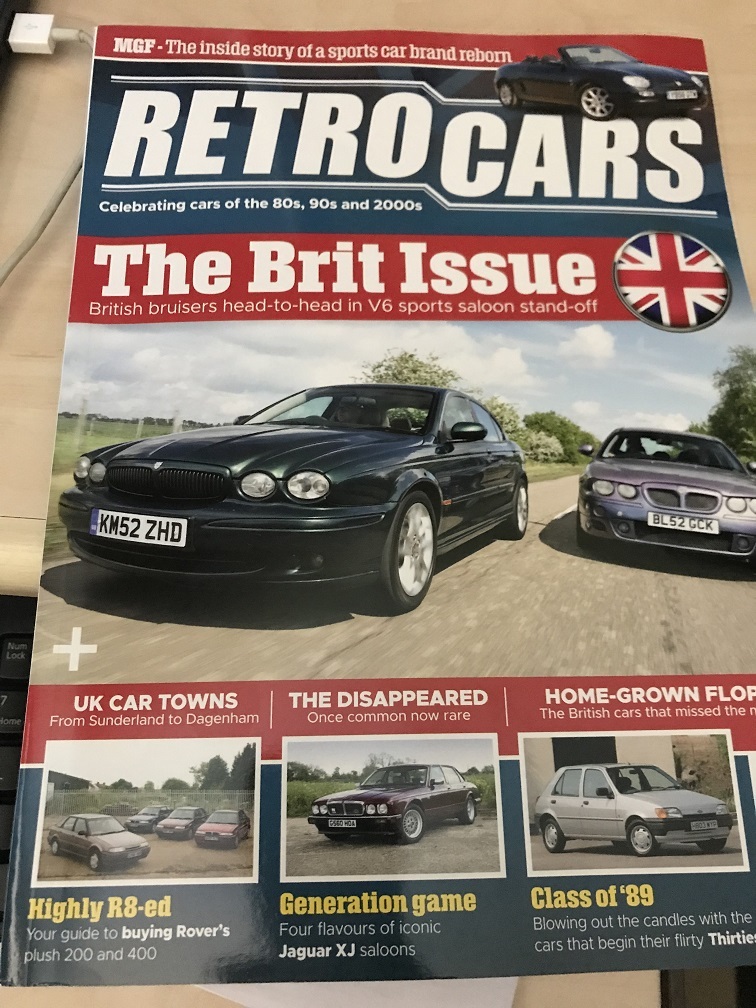 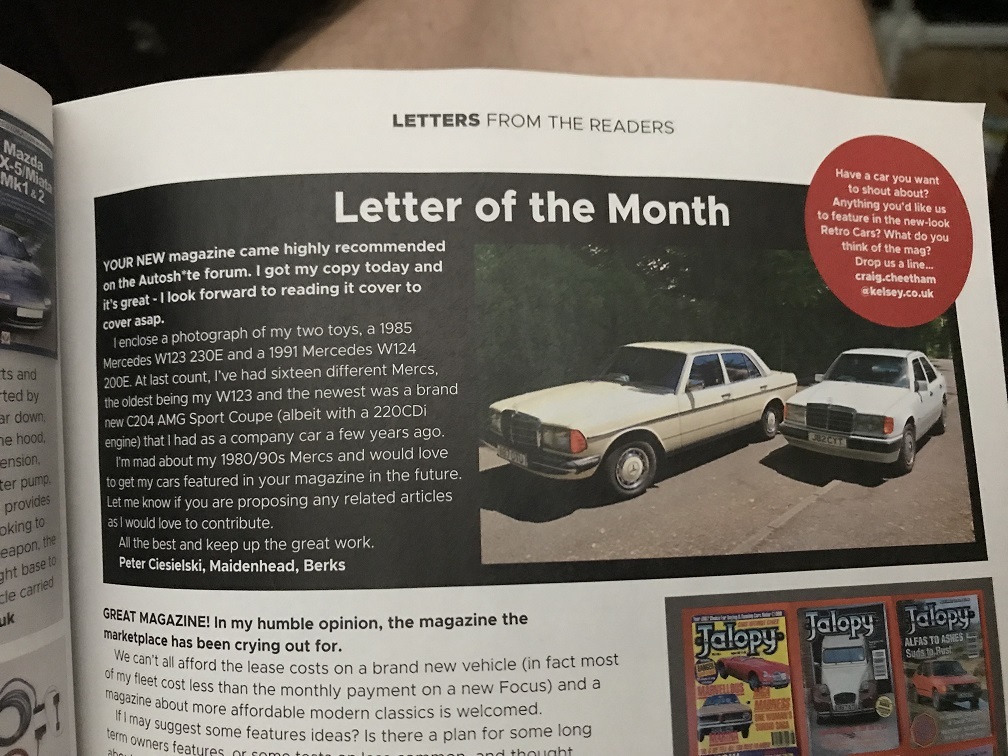 |
| |
|
|
|
|
|
Jul 15, 2019 20:42:13 GMT
|
|
Had a flick through Retro Cars the other day and spotted your letter. Maybe you'll vet an article on your cars. Annoying about the new ignition parts.
|
| |
|
|
|
|
|
|
|
|
Nice clean W124.
Your misfire on starting may possibly be one or more leaky injectors. While the engine is off they can dribble a little fuel into their cylinder and on start up it takes a few seconds to burn off the excess fuel. Ive had this problem in the past. Just a thought!
|
| |
Last Edit: Jul 16, 2019 7:42:14 GMT by Deleted
|
|
|
|
|
Jan 31, 2020 16:19:58 GMT
|
I haven't updated this thread for a while mostly because the 200E has been behaving itself, clocking up the miles, with little TLC needed from me. It's taken me to Bristol, Coventry and around the houses and it's been a joy to drive. The only thing I've done is replace the front shock absorber top mounts. Access to all areas is quite superb: 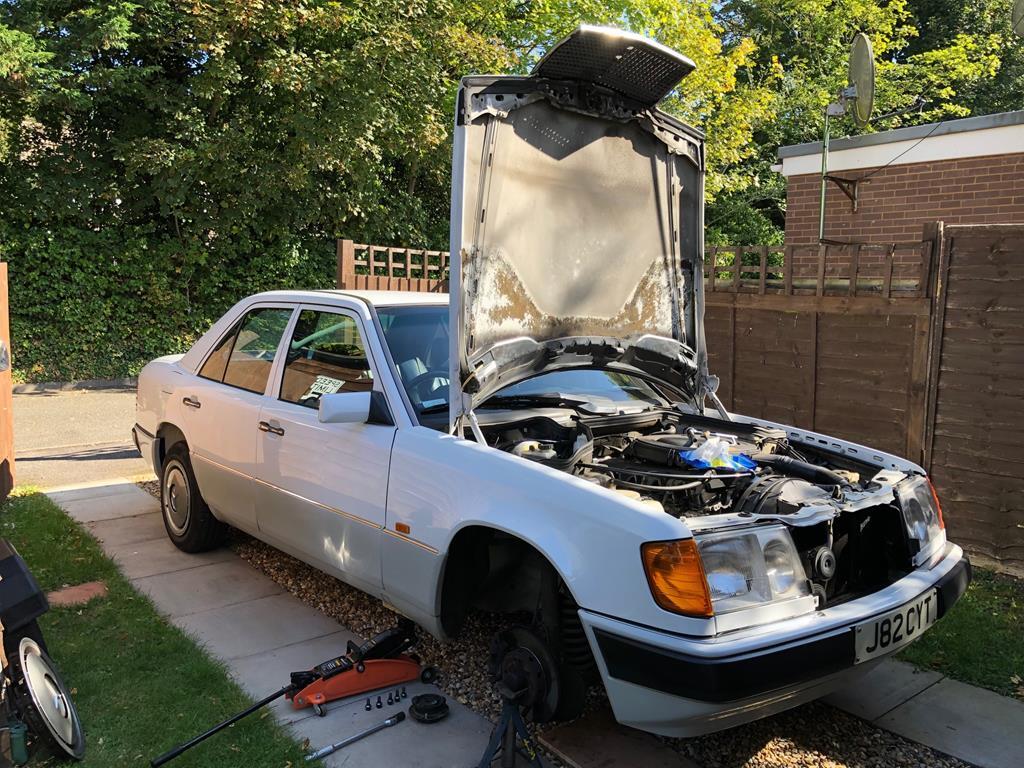 No specialist tools needed: 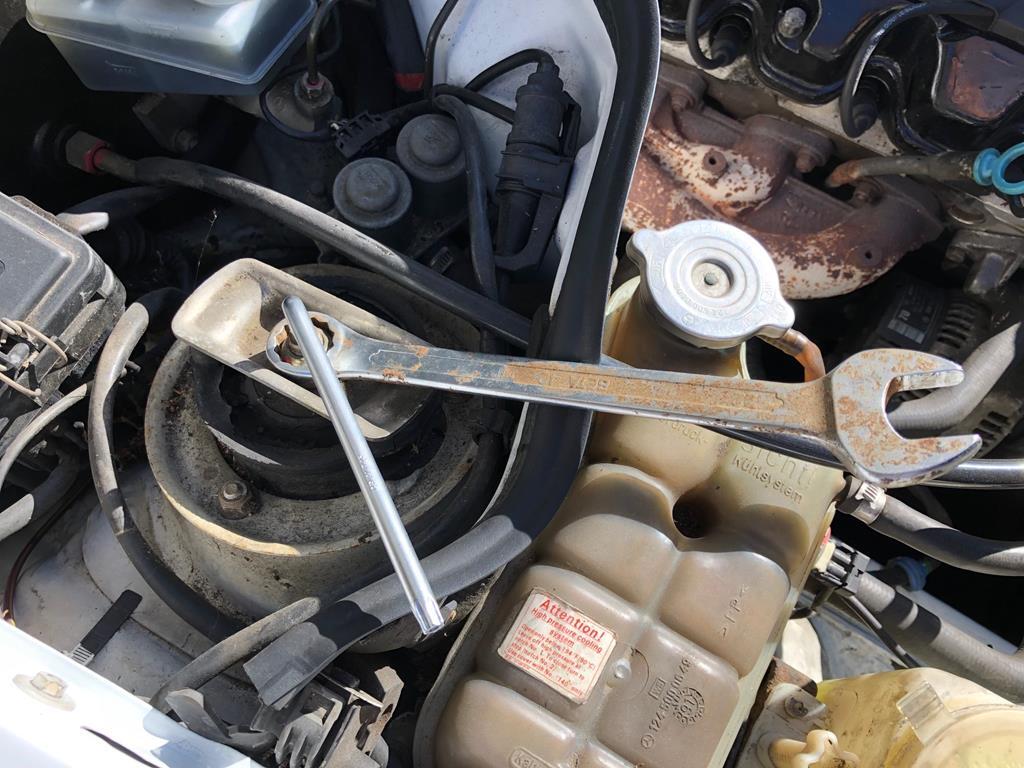 With the shock absorbers out, I rust proofed the turrets. 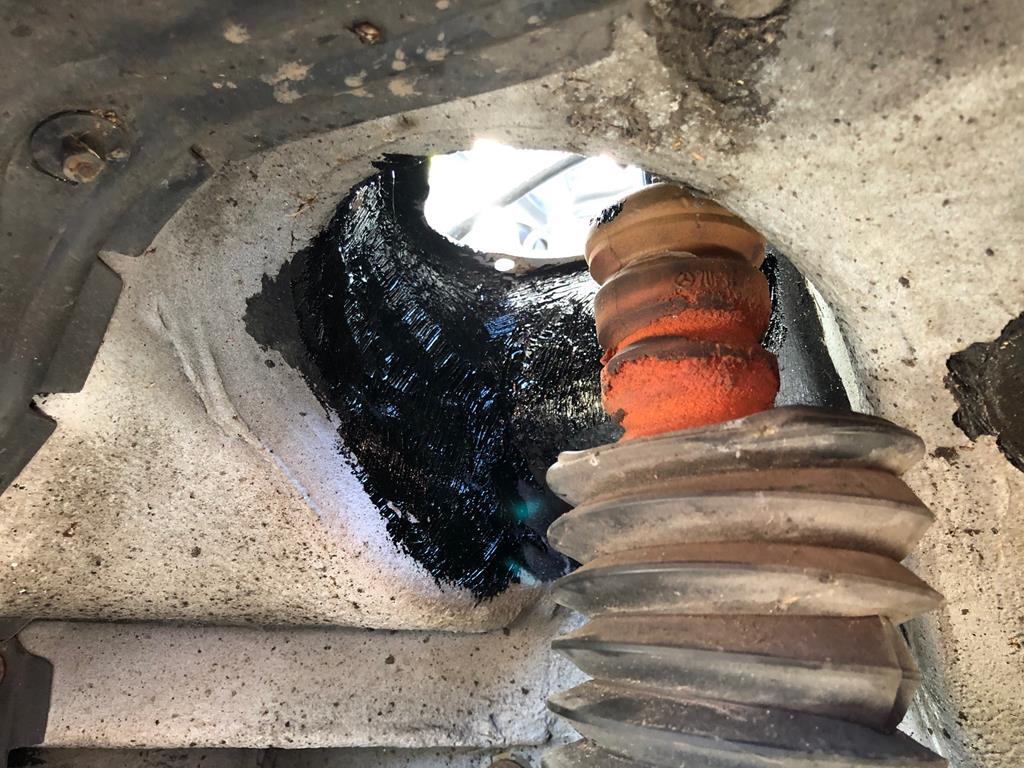 Old and new! I've seen photos of bent bonnets, caused by failure of the mounts, which allow the shock absorber to fly out and punch the underside of the bonnet: 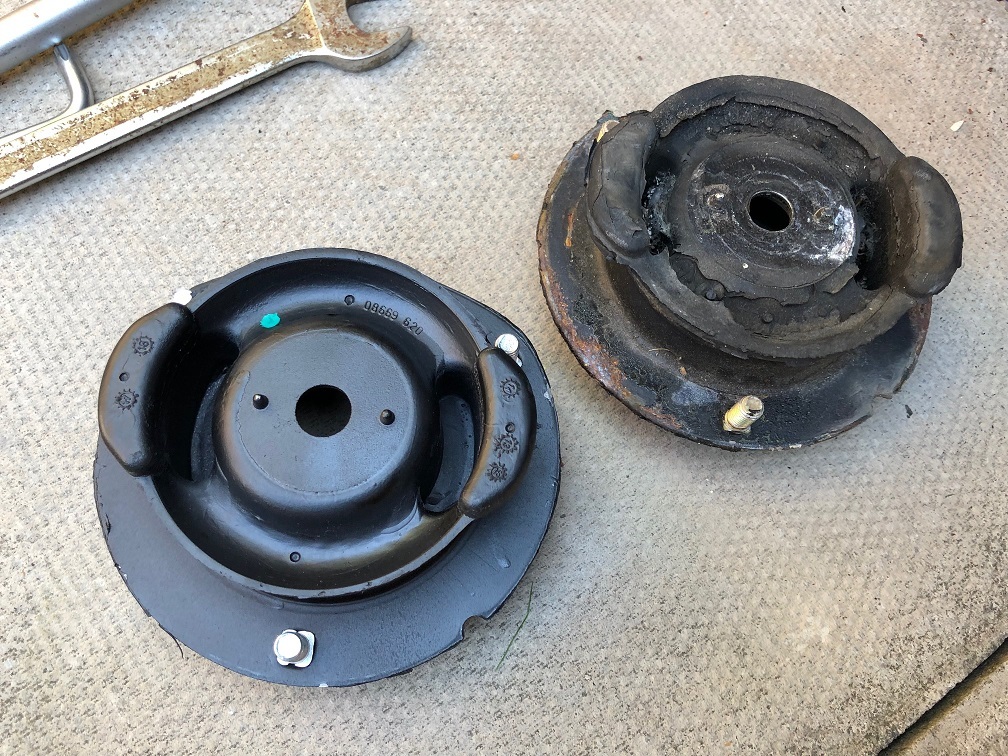 The lumpy running post start-up is still occurring but not when the car is left standing for 2-3 days. I am sure the problem is down to a leaky injector (thank you for your input imperial). One bit of bad news relates to the water pump, which I renewed approx 18 months / 10k miles ago - it's squeaking. I have ordered a posh Febi pump from Germany, which I hope to fit in the very near future. Watch out for more updates. |
| |
Last Edit: Jan 31, 2020 17:02:31 GMT by Peter C
|
|
|
|
|
|
|
Update on the squeaking water pump. Various "experts" on the Facebook W124 forum have suggested that the squeak is due to a worn tensioner idler, not the water pump. As replacement of the tensioner idler is much easier than replacement of the water pump, I'm doing this first. I got a replacement part from Germany, including p&p for £16 and fitted it yesterday. All good so far. 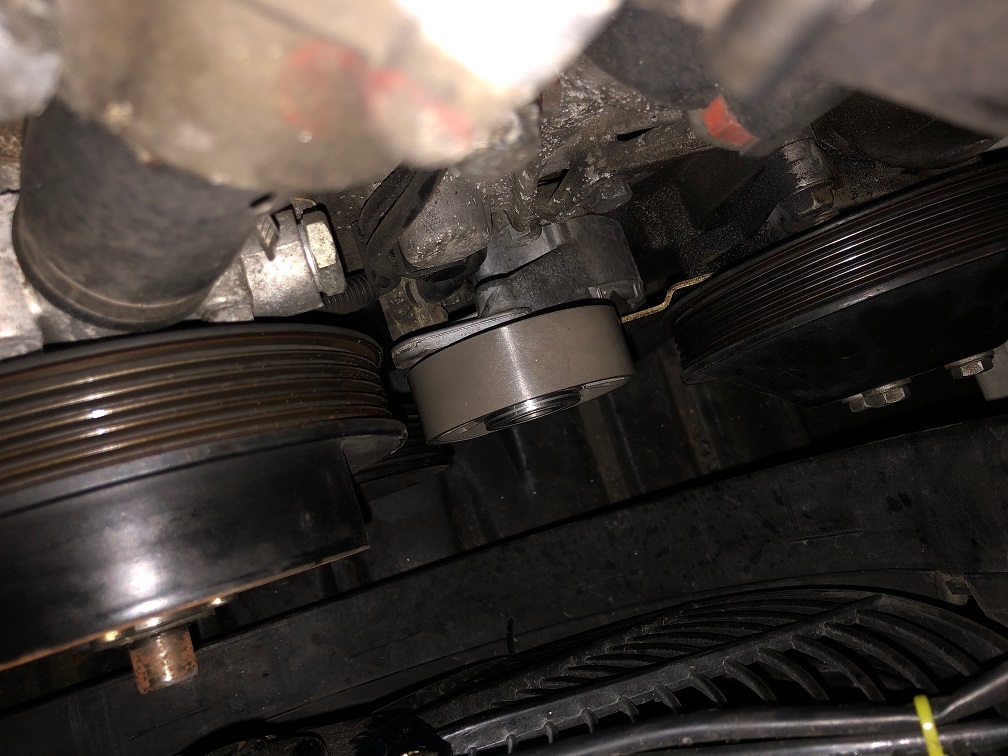 The auxiliary belt is probably the original and needs replacement. I am picking up a replacement from ECP this morning, assuming of course that they have managed to source the correct part. 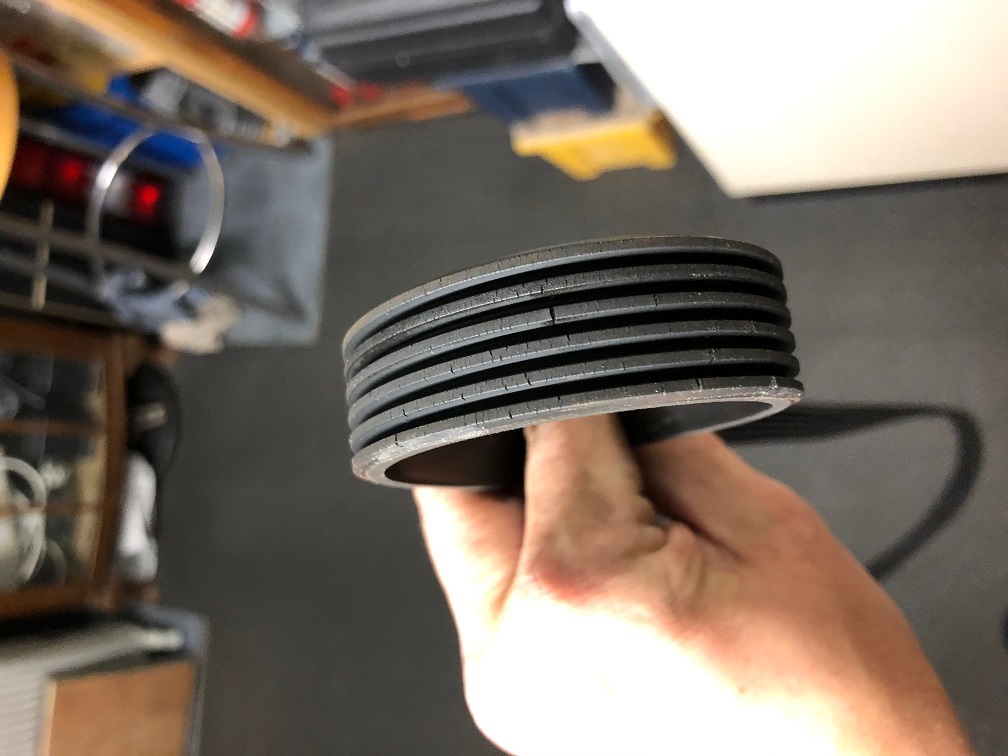 Hopefully with the new tensioner idler and belt fitted the squeak will be sorted. However, if not, I have as a precaution purchased a new Febi water pump. I got it from the same German supplier, including p&p all in for just over £50. Bargain! 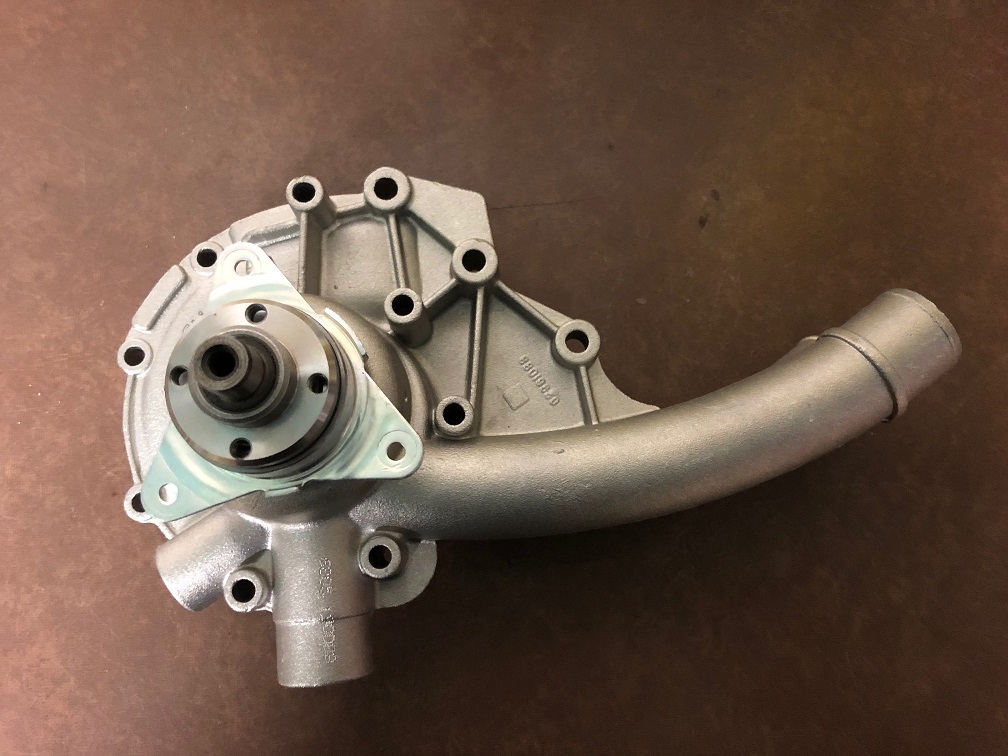 Test drive and report to come hopefully later today. |
| |
|
|
|
|
|
|
|
I really should read my own posts more often, it would save me some money. Whilst having a tidy up in the garage I found a box with the old belt tensioner that I replaced last year, inside of which was the old idler. I completely forgot that I bought a complete kit when the tensioner broke, including the idler. I highly doubt that an original MB part would have failed after a few months and less than five thousand miles. Never mind, the replacement idler only cost £16 and may come in handy in the future. New auxiliary belt fitted and tensioner adjusted: 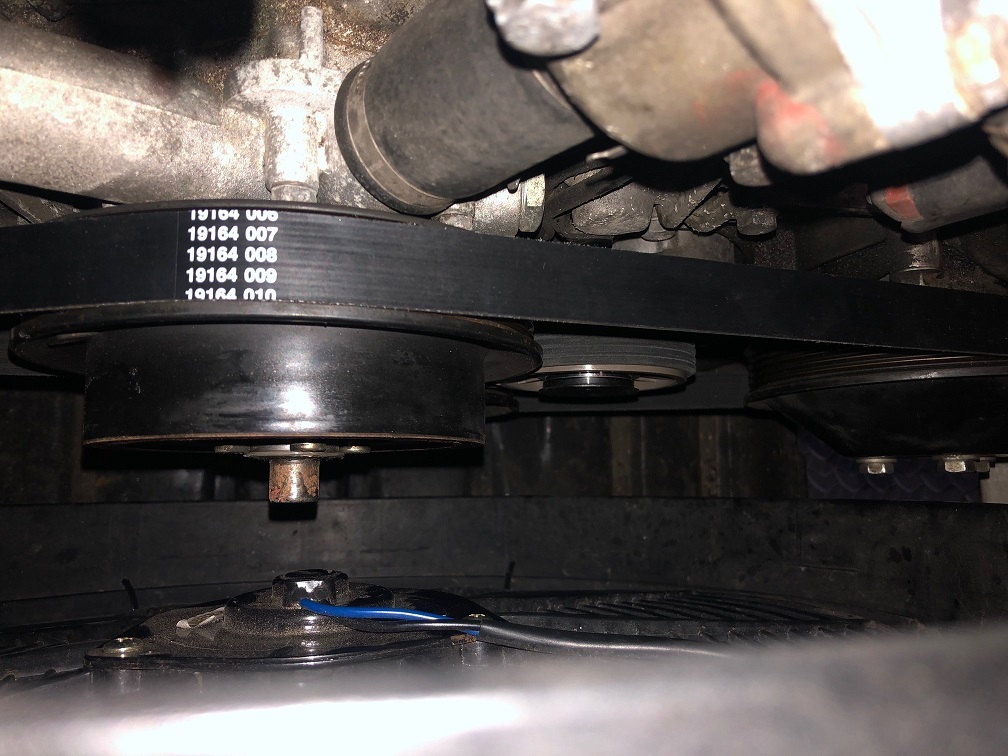 Afterwards I took the 200E for a long drive and I am pleased to report that silence has been restored. Two things I don't understand. Why the old belt made a metallic sound, like a worn bearing and why the belt was silent one day and very noisy the next. |
| |
|
|
|
|
|
Feb 10, 2020 10:01:36 GMT
|
|
We all do that or buy put it away somewhere safe and then can't find it.
|
| |
|
|
urbanaw
Part of things
 
Posts: 249
Club RR Member Number: 17
|
|
Feb 10, 2020 16:56:24 GMT
|
|
Great thread it looks a lot like my journey with my 200TE.
Shame my paintwork is not as good as yours. And I do share your pain about the non-genuine fenders.
|
| |
|
|
|
|


 I am likely to have the same issue with front wings for my R170 SLK. They both have rot (one is quite crispy) but all pattern wings have the cut out for the repeater which the earlier pre-2000 cars had. The later ones have them in the mirrors. Am reluctant to buy one direct from Mercedes as they're likely to want my spleen as part-payment...


