smith4
Part of things
 
Posts: 268 
|
|
Jun 13, 2019 20:52:59 GMT
|
Brilliant, thanks Nick. That's what I did with the bonnet - gently heated it with a heat gun, and slowly and progressively bent the wheel arch end inwards and rear outwards. Worked a lot better than I was expecting, thankfully, and looks so much better! I will have a look at the re-enforcement strip, and see if it can be crimped a bit more if needed, thanks for the tip. In terms of the door, both the bottom and the top needed to come in more at the front. I loosened off the 4x bolts of the hinge that affix to the door, and the 2x cross-head screws, and then bolted the door back on to align. It seems that even at full push, I couldn't quite get the door close enough to the body/tub to close up the gap as much as I'd like between the door and the side of the scuttle panel. Looking at the door hinge where it bolts onto the door, there are three tabs (2x horizontal, 1x vertical) that stick out around the hinge, and these stop the hinge from adjusting past them. Technically, it I could remove the vertical tab (horizontal one ringed in blue as vertical one not visible), then I could gain the last few millimeters I needed to get the door close enough to the body/scuttle: 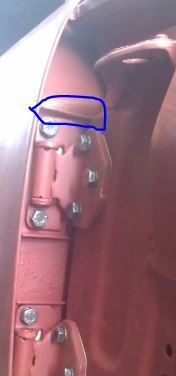 So I did remove the vertical tab around the top hinge, but the door still didn't adjust in as much as I hoped for. It looks like the (floating?) metal plate in the door itself that the hinge bolts bolt into doesn't move quite enough to give me the best panel gap. So I'm thinking some more! It'll do for now, but not perfect. I know my GT6 won't have anywhere near perfect body-work, but I still want good panel gaps! |
| |
|
|
|
|
smith4
Part of things
 
Posts: 268 
|
|
Jun 28, 2019 22:10:37 GMT
|
|
|
| |
Last Edit: Jun 28, 2019 22:13:20 GMT by smith4
|
|
smith4
Part of things
 
Posts: 268 
|
|
Jul 21, 2019 21:36:55 GMT
|
|
|
| |
|
|
|
|
|
Jul 21, 2019 22:42:35 GMT
|
|
Still cool.
|
| |
|
|
smith4
Part of things
 
Posts: 268 
|
|
|
|
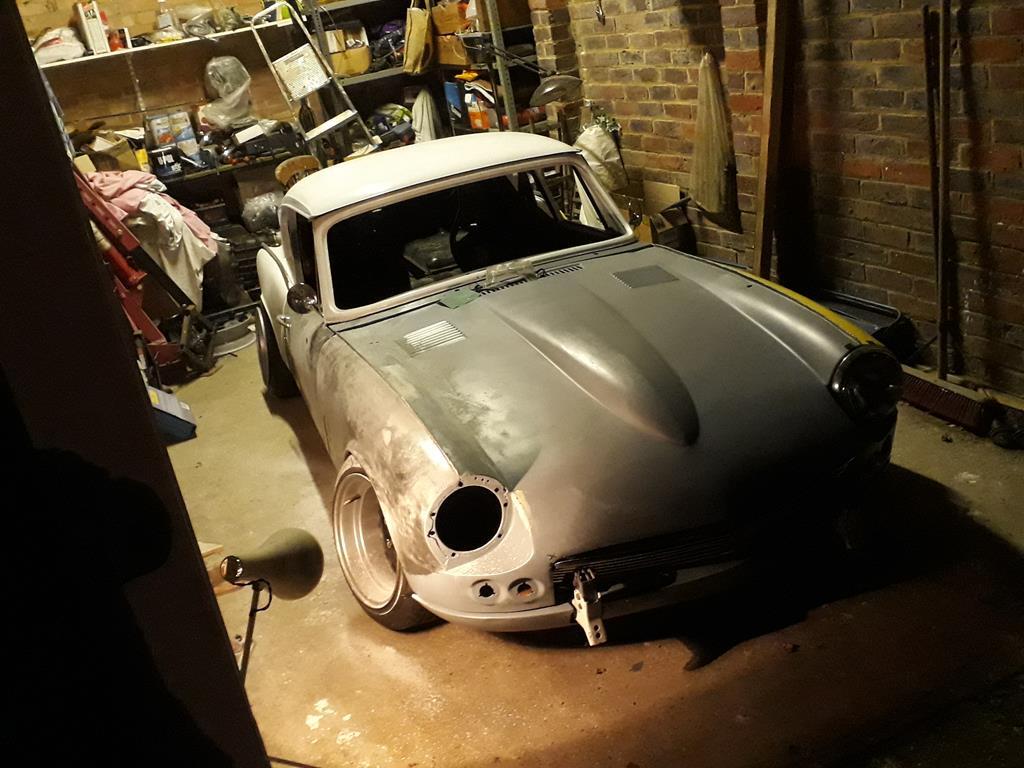
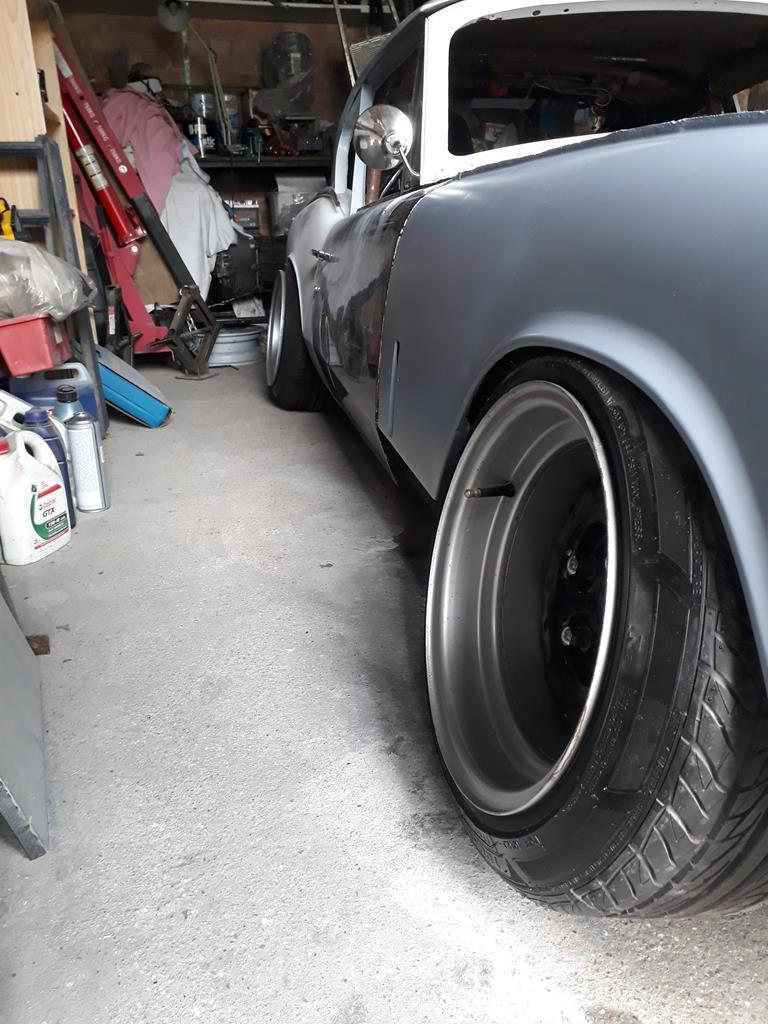
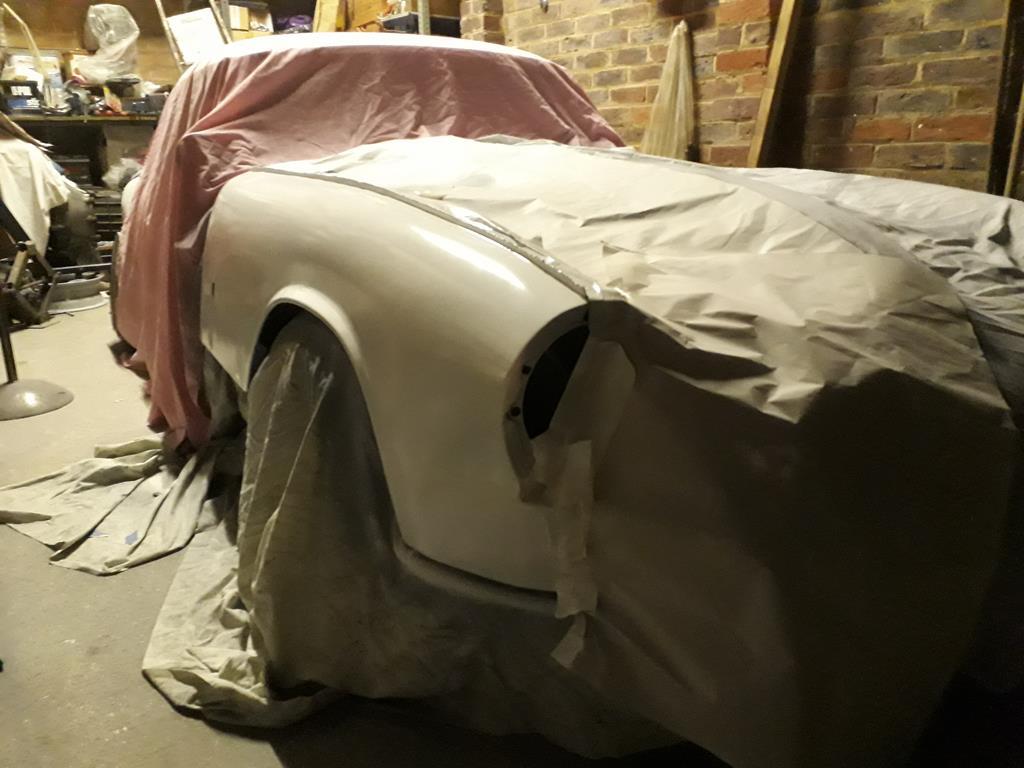
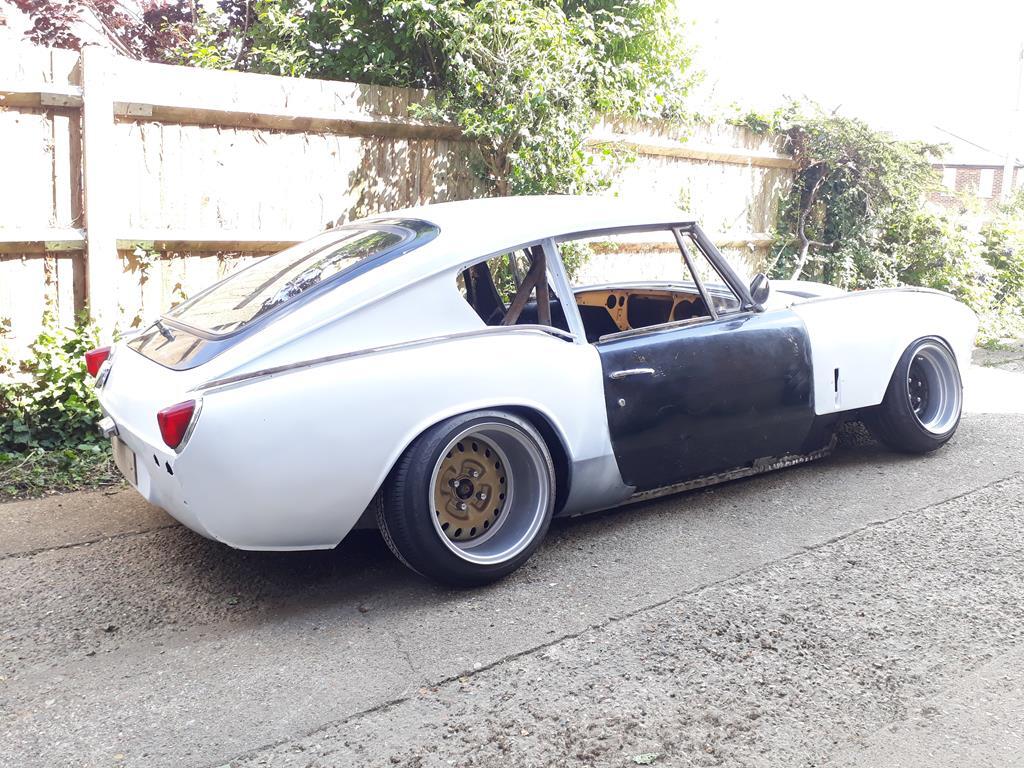
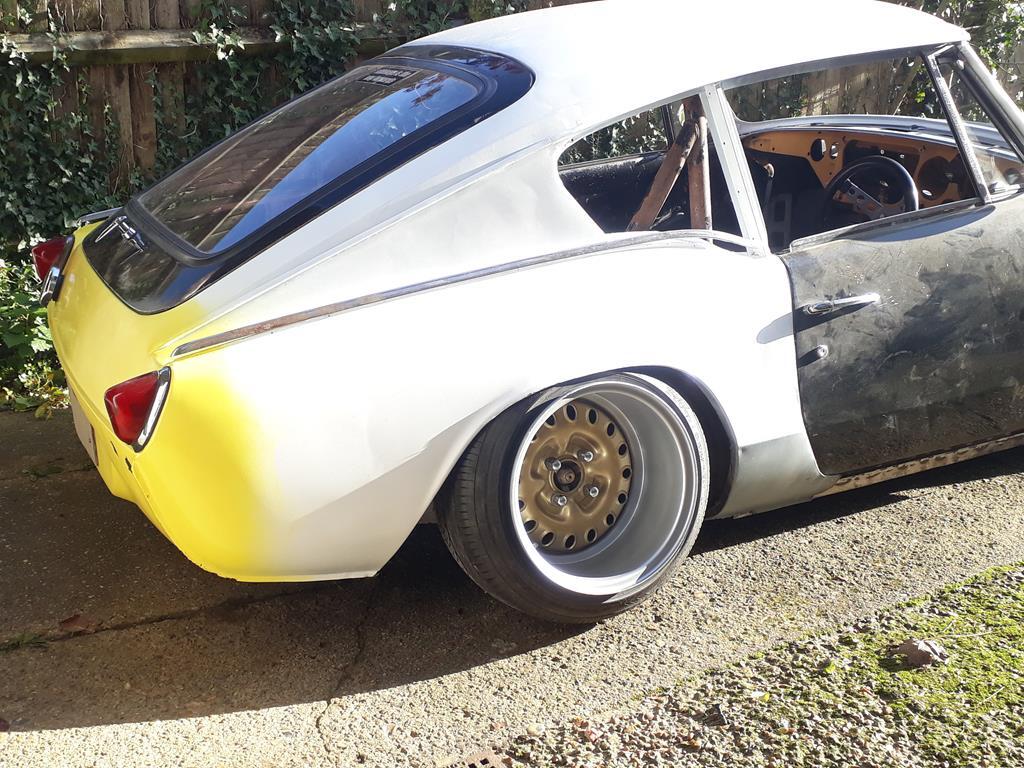
So with some arch lip trimming, and some arch rolling and pulling, the rear wheel sits a little further inside the arch. If I hadn't broke the arch roller, it would have been more finished! 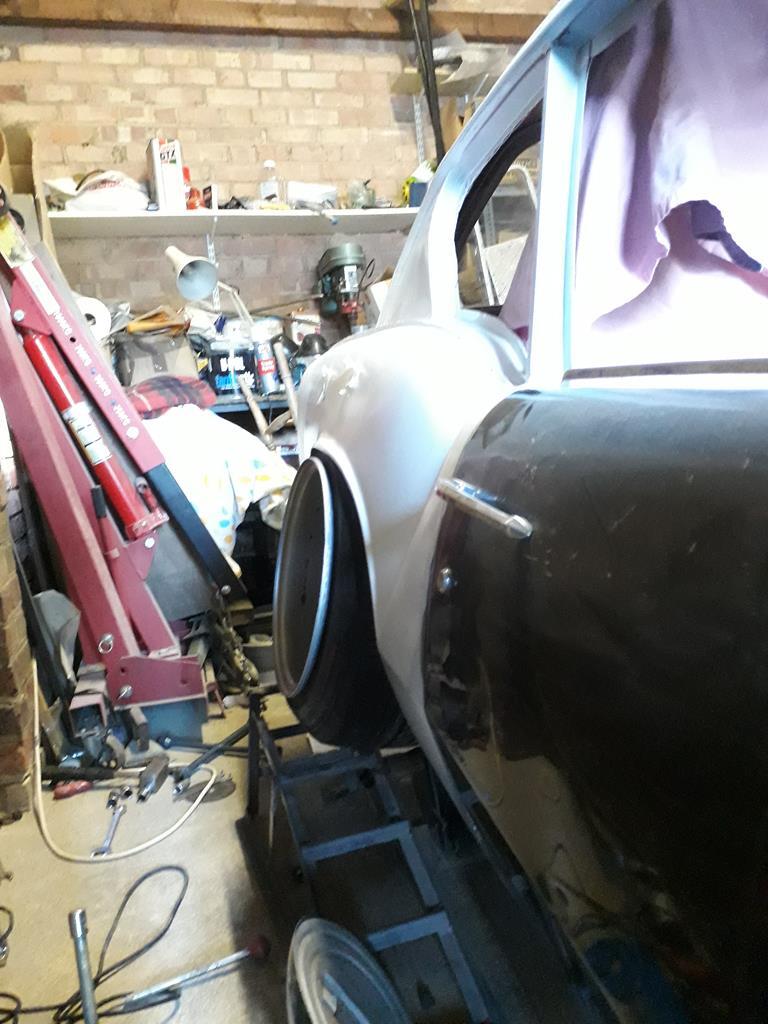 |
| |
|
|
smith4
Part of things
 
Posts: 268 
|
|
|
|
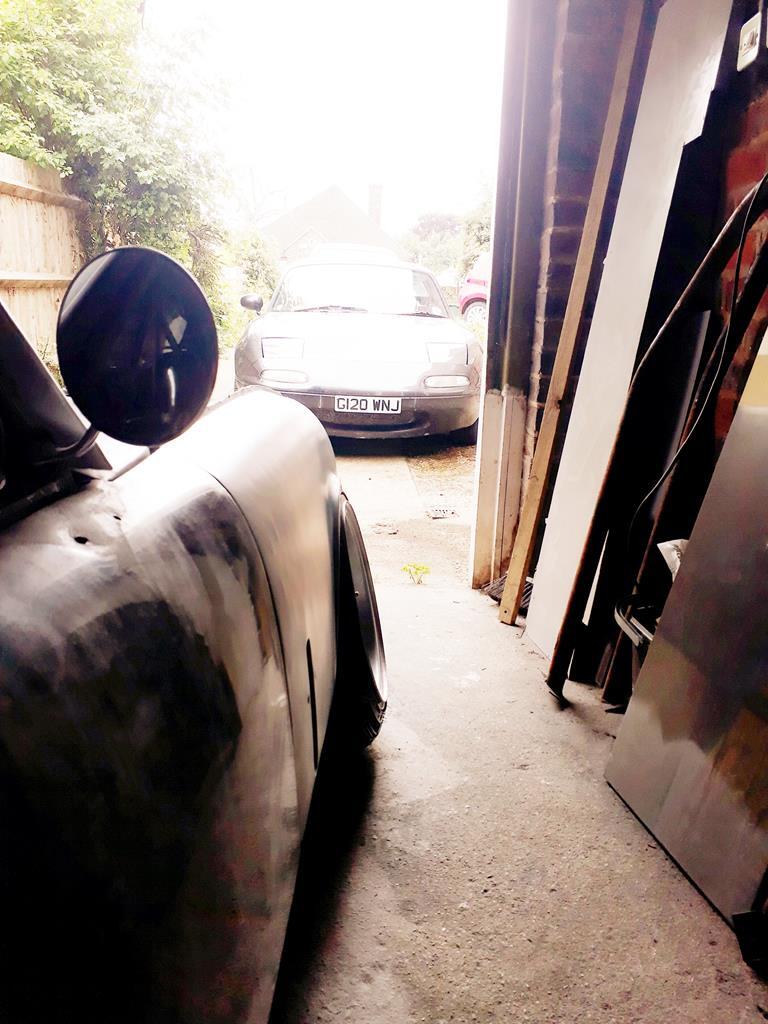
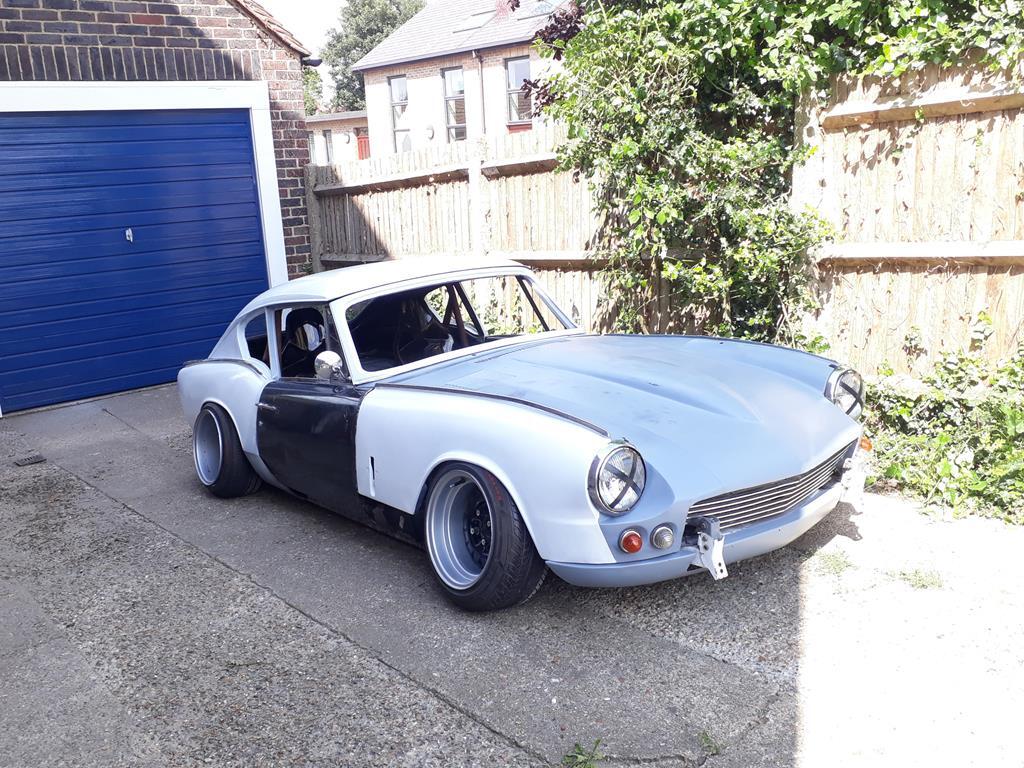
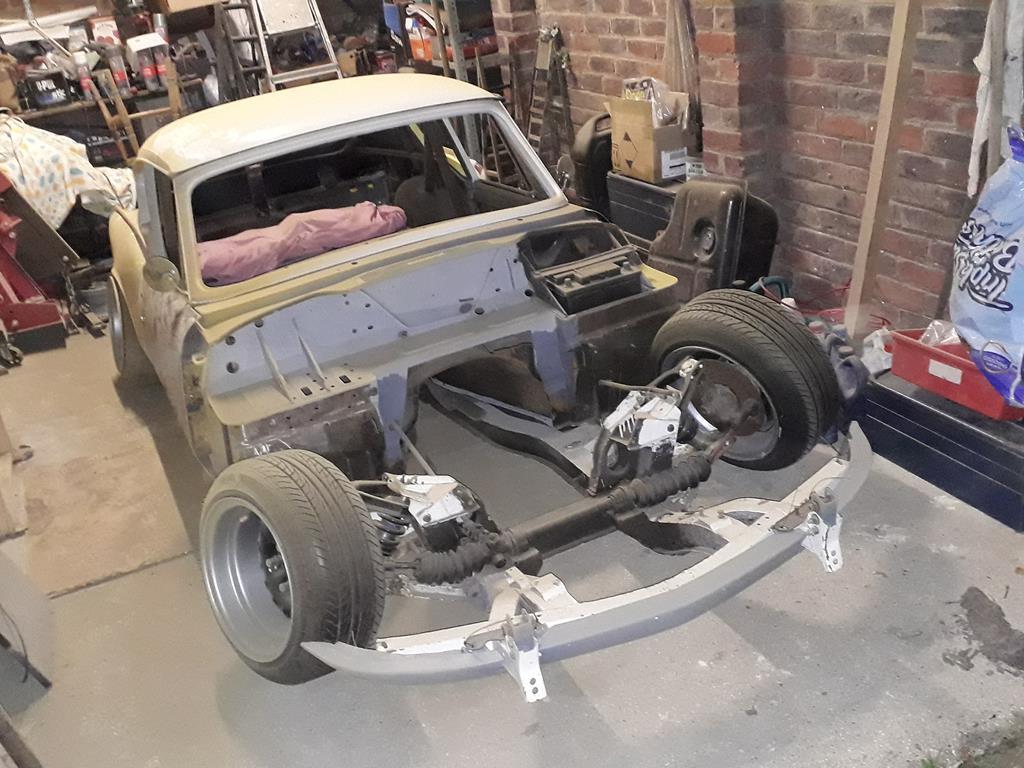
Rear wheels do sit in better now, but still need some more work. I've got some longer rear radius arms that should take out some of the rear toe in, and the bonnet is off for me to get some work done getting the bulkhead, scuttle and dashboard into paint. 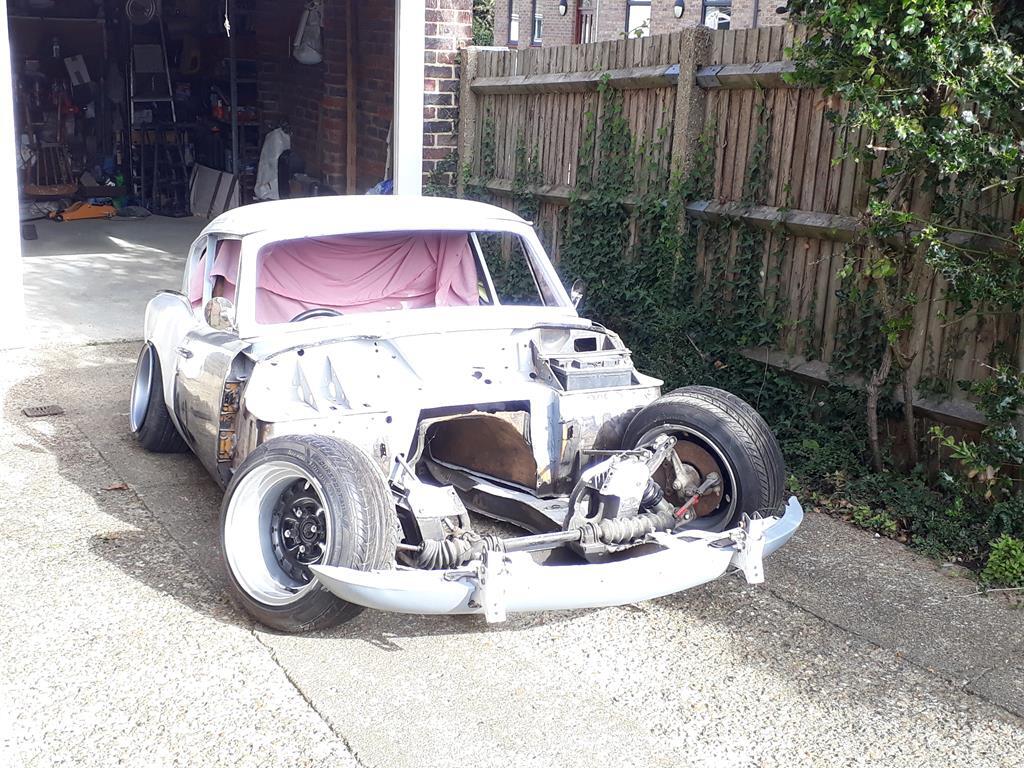 |
| |
|
|
smith4
Part of things
 
Posts: 268 
|
|
|
|
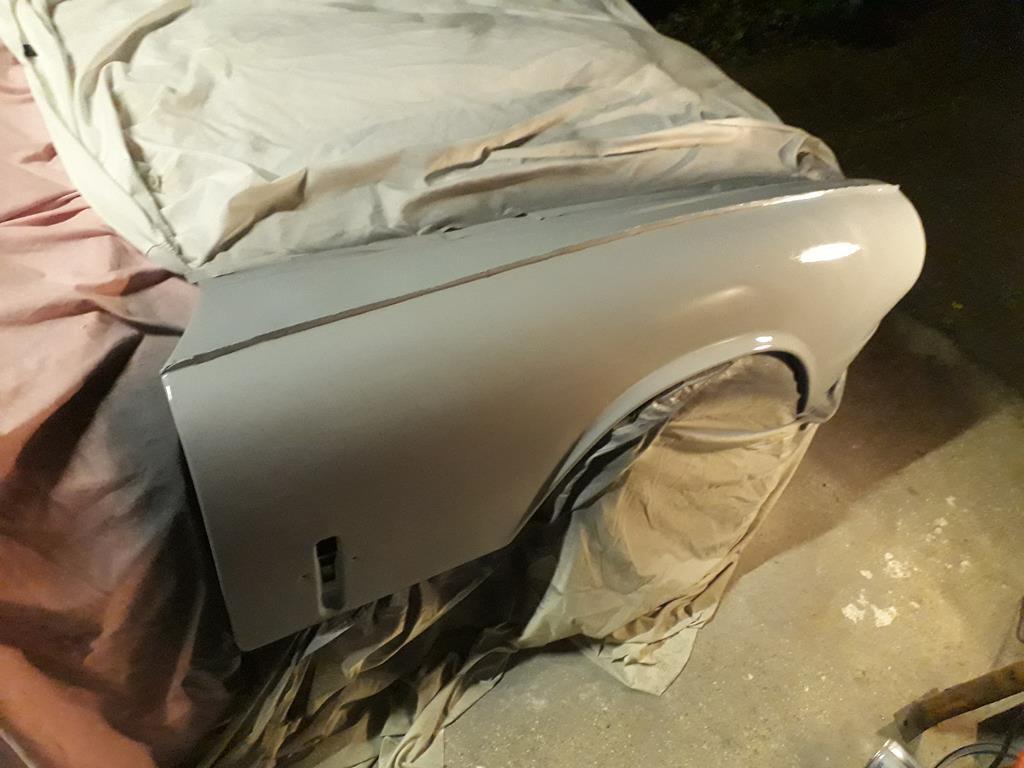
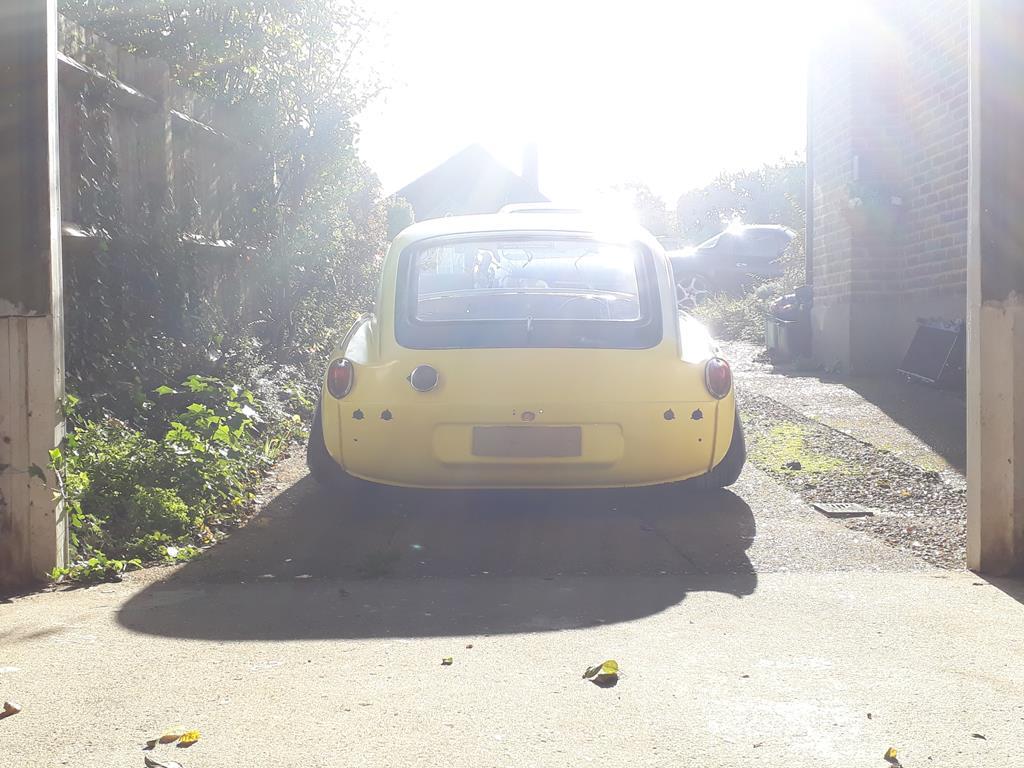
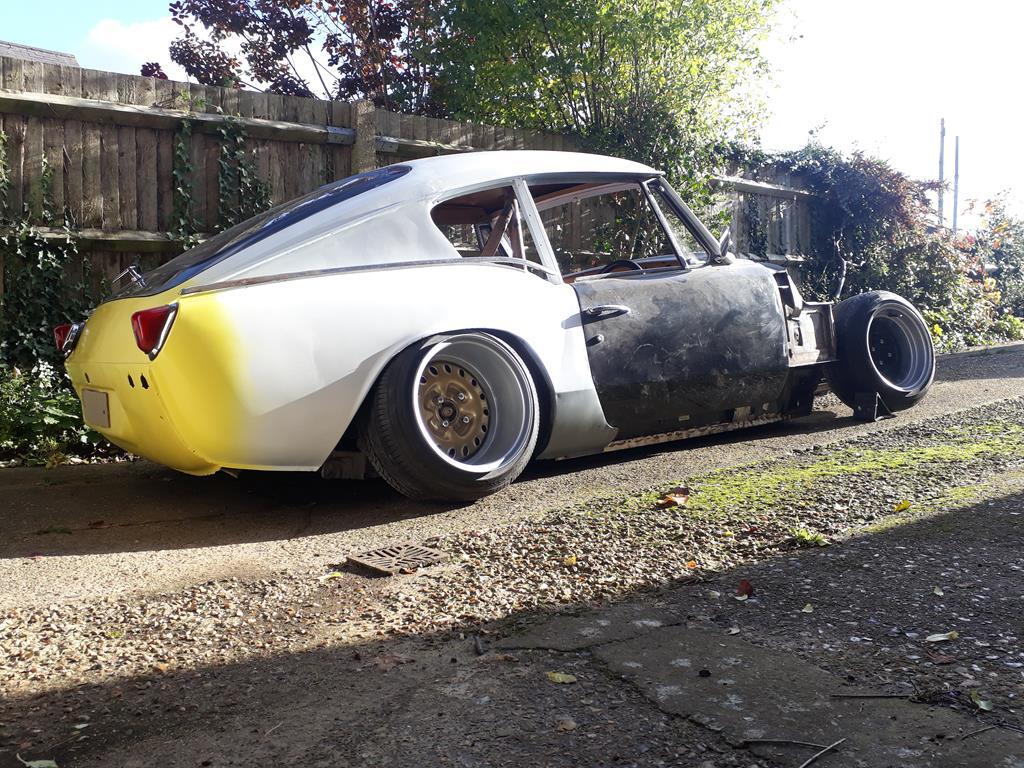
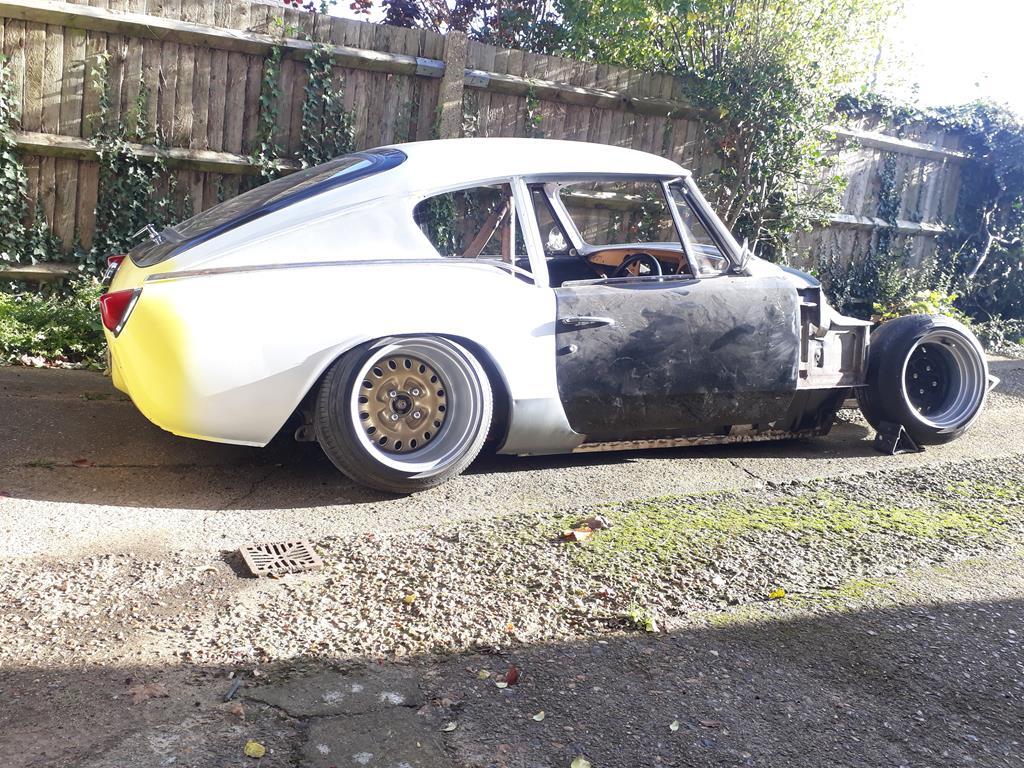
Also, I got a 2nd can of cellulose yellow to try out. As the original supplier of my first can is now not round the corner, I needed to find a good value price and see if it was the right hue and quality - it seems good to me (nice in real sunlight, diff in electric garage light just as the original yellow can) so I'm happy with it. I've just done the rear section with the can so from certain angles you get a feel for what the car will look like all yellow: 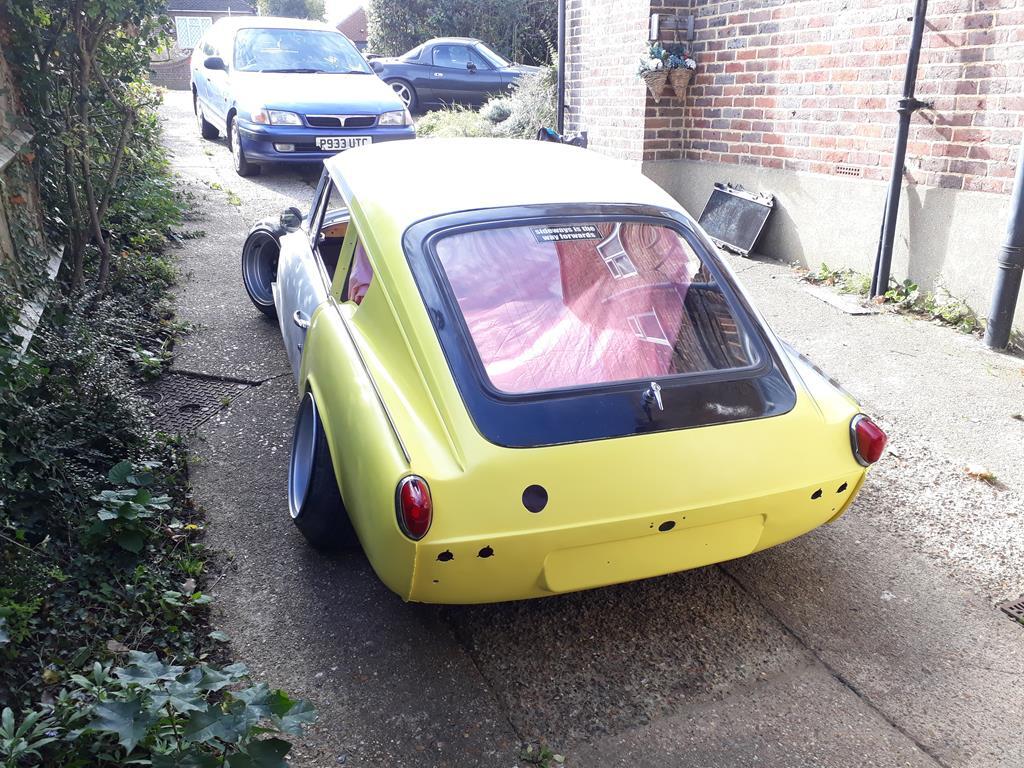 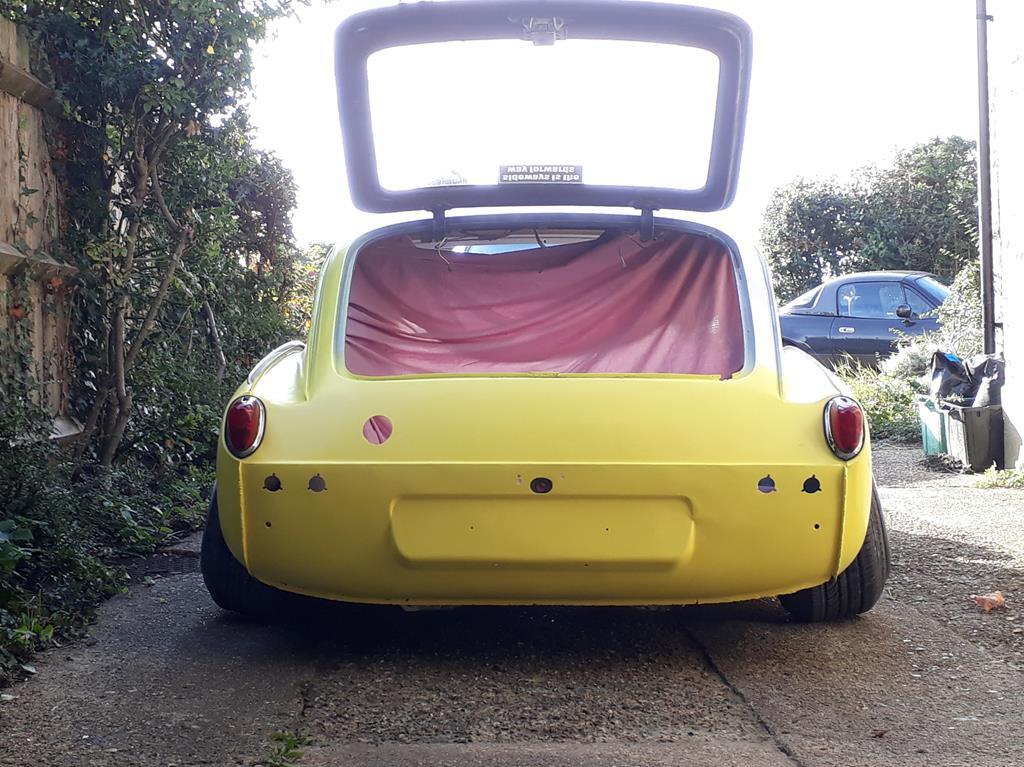 |
| |
|
|
smith4
Part of things
 
Posts: 268 
|
|
Nov 19, 2019 19:22:39 GMT
|
|
|
| |
|
|
v8ian
Posted a lot
  
Posts: 3,832
|
|
Nov 19, 2019 20:36:28 GMT
|
I love this, and I even have things in common, Lots of front camber and ......wait for it,........................................the same wheel chock,  |
| |
Atmo V8 Power . No slicks , No gas + No bits missing . Doing it in style.
Austin A35van, very different------- but still doing it in style, going to be a funmoble
|
|
smith4
Part of things
 
Posts: 268 
|
|
Nov 20, 2019 14:12:50 GMT
|
I love this, and I even have things in common, Lots of front camber and ......wait for it,........................................the same wheel chock,  Thanks mate, glad you're enjoying it! Ha ha, same wheel chock, must be a good make 😉 Your A35 van should look cool with camber, guessing only on the front due to the rear axle arrangment. Hopefully will get the GT door and bulkhead into primer soon. Edit: the top of the bulkhead is already mainly in primer, but needs re-doing as the grey anti-corrosion paint isn't smooth! |
| |
Last Edit: Nov 20, 2019 14:15:55 GMT by smith4
|
|
|
|
smith4
Part of things
 
Posts: 268 
|
|
Dec 14, 2019 14:31:07 GMT
|
|
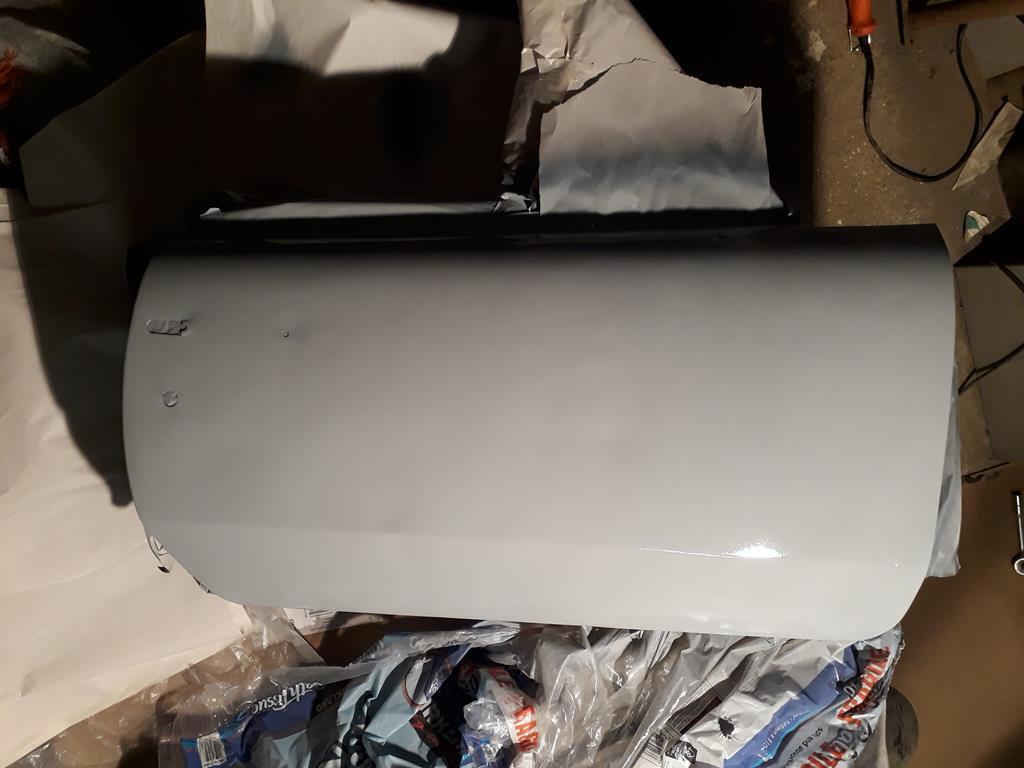
Driver's door now bare-metalled and into etch primer then normal primer.
Next up is filling the dents, sand, and then see what I've missed for the 2nd round of filler. 😁
|
| |
|
|
smith4
Part of things
 
Posts: 268 
|
|
Dec 14, 2019 14:31:54 GMT
|
|
|
| |
|
|
smith4
Part of things
 
Posts: 268 
|
|
Dec 14, 2019 14:40:42 GMT
|
Meanwhile, my rear wheels are in Stockpork with Banded Steels. 9" was just too wide to squeeze into the rear arches and the stretch on the 175s was just too much for me (and potentially the MOT man too!). They've had 1/2" cut out of them, and as 8.5" wide wheels they should a nice stretch with the 175s. I'm hoping that with a 5mm wheel spacer the 8.5s should be tight enough enough up against the arches but actually inside them!! 9x13: 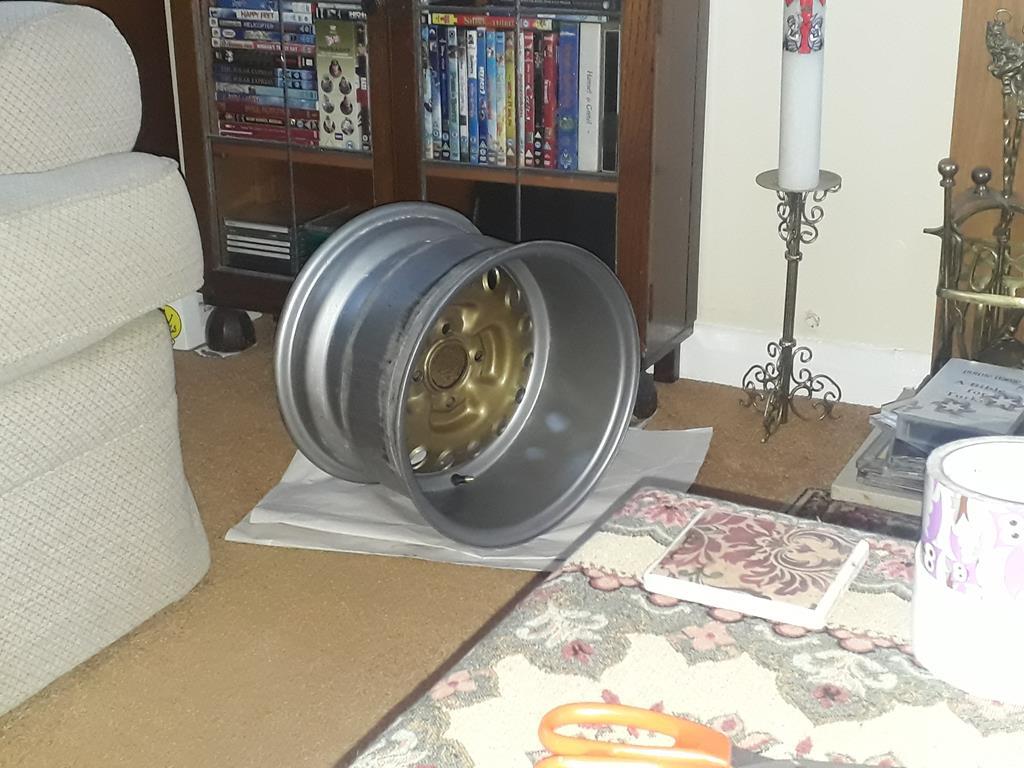 8.5x13: 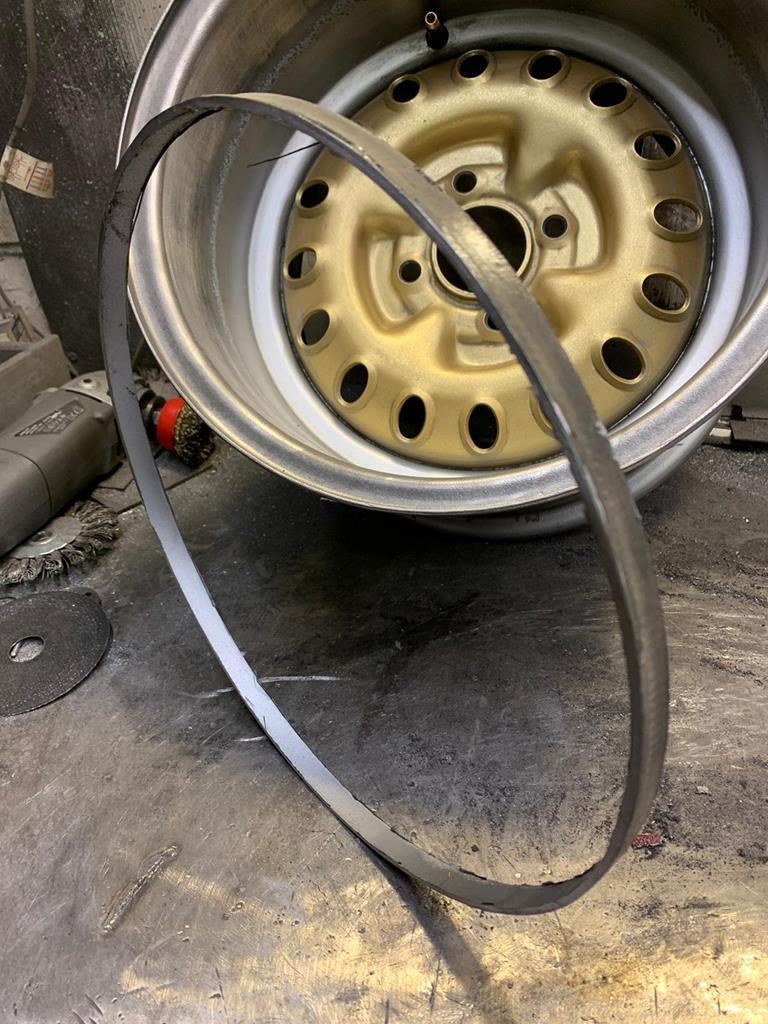 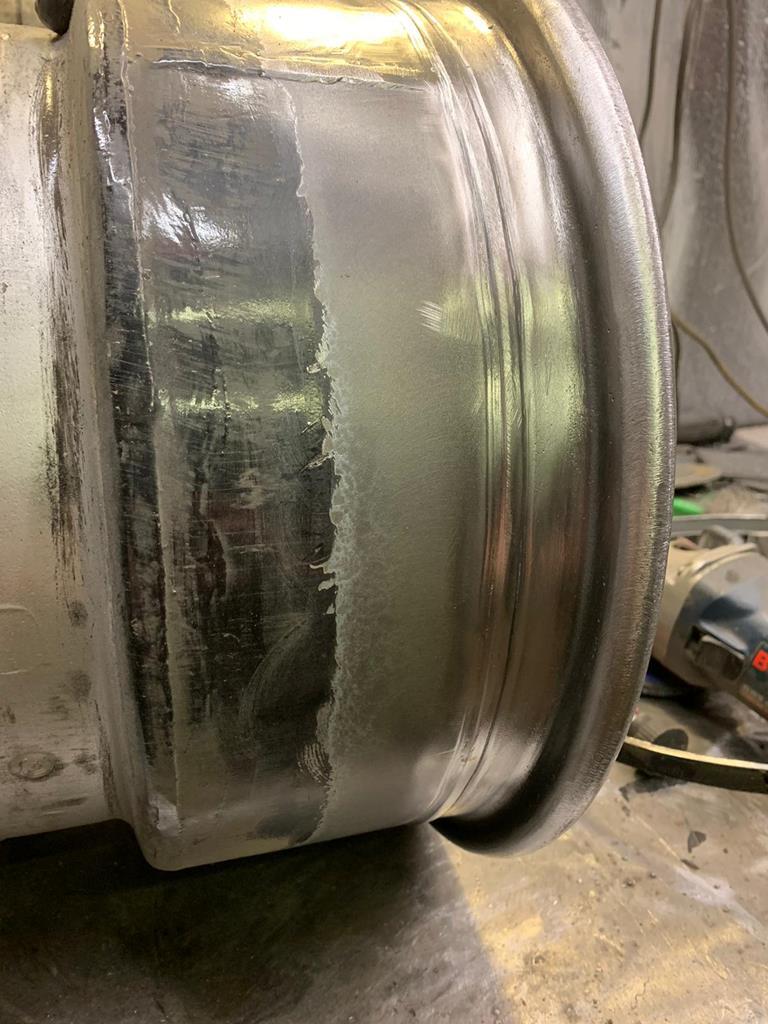 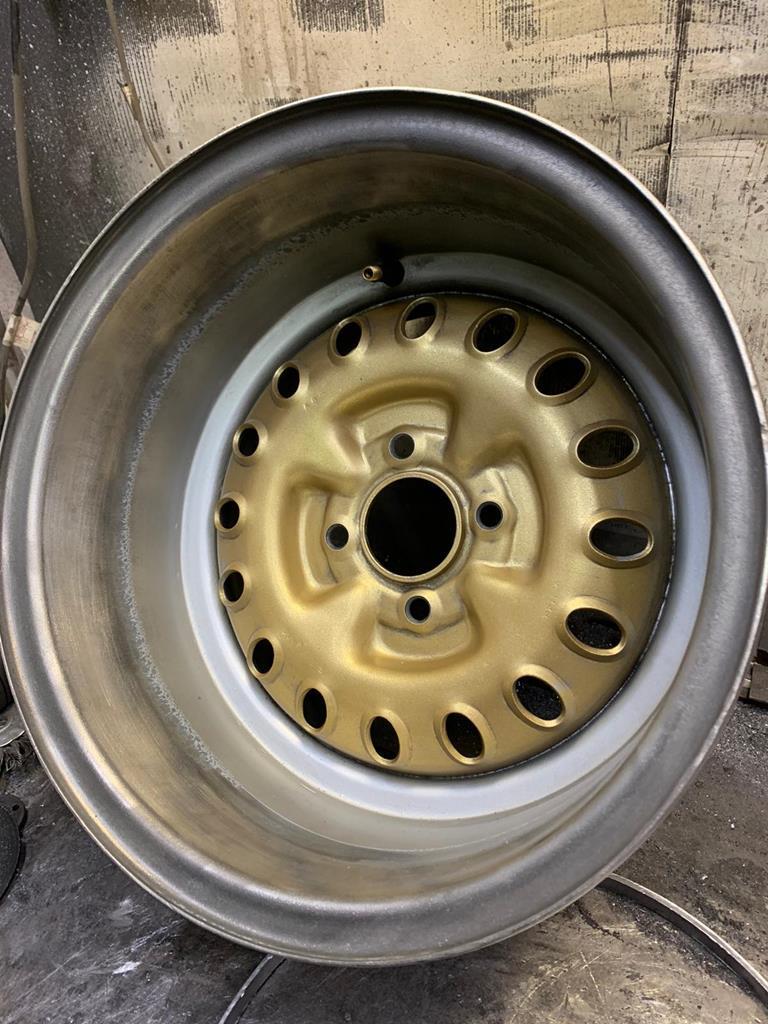 |
| |
Last Edit: Dec 14, 2019 14:41:41 GMT by smith4
|
|
|
|
|
Dec 14, 2019 15:38:52 GMT
|
|
As with many threads on this forum, I am quite taiken with the depth that individuals go to, in order to create their ultimate goal. I appreciate that with some projects the engineering aspect is also a huge part of the journey.
In view of my technical knowledge not being passed the first page of the manual, by setting the camber of the wheels at such a severe angle from the manufacturer's original specification, what will be the result, when driving, of that much camber; also what is the finished car going to be used for?
Well done and keep up the good work.
|
| |
|
|
smith4
Part of things
 
Posts: 268 
|
|
Dec 14, 2019 22:41:32 GMT
|
As with many threads on this forum, I am quite taiken with the depth that individuals go to, in order to create their ultimate goal. I appreciate that with some projects the engineering aspect is also a huge part of the journey. In view of my technical knowledge not being passed the first page of the manual, by setting the camber of the wheels at such a severe angle from the manufacturer's original specification, what will be the result, when driving, of that much camber; also what is the finished car going to be used for? Well done and keep up the good work. Hi, Good questions! Running this much camber has both good points and not so good points. The not so good is that running this much on both the front and back will make the inside tyre edges wear quicker than the rest of the tyre tread, and braking is less than if the whole of the tyre was in contact with the road. It will probly still brake better than when it left the factory in 1967 though! More load is put on the wheel bearings, and they will need to be changed more often. The good points are that the camber will give the car more stable and predictable handling. The early GT6s sufferend from lift-off oversteer caused by the rear of the car lifting up if you braked or slowed going round a corner. When the rear lifts, the rear suspension goes from zero camber to positive camber which can cause the rear end to loose grip and the car goes into a spin. Setting my suspension to always remain with negative camber (even if the car leaves the ground) means that it can't suffer from lift-off oversteer as dramatically. Also, another good point is that I can run wider wheels and fill the arches with wide rims. This for me is a very important thing on a car. This is mainly for looks. Imagine a pint glass only half full, or a pair of large gloves with tiny hands lost in them, they don't look right. Same for me and skinny thin wheels lost inside a wheel arch. Wheel arches should be filled! People who race early Spitfires and GT6s (fitted with fixed rear leafspring suspension, like my GT6) usually say running the rear camber at about 4 degrees negative and the front at 2-4 degrees is best depending on what tyres and tyre pressures you run. I'm obviously running more, but the principle is there. It induces stability and better handling. The GT6 is to replace my current daily car 🙂 |
| |
Last Edit: Dec 15, 2019 8:02:55 GMT by smith4
|
|
|
|
|
|
|
|
Thank you for the answer to my questions. At least I now have a much better understanding of your work to date. Well done.
|
| |
|
|
smith4
Part of things
 
Posts: 268 
|
|
|
|
|
|
| |
|
|
louisw
Part of things
 
Posts: 25 
|
|
|
|
Brilliant, thanks Nick. That's what I did with the bonnet - gently heated it with a heat gun, and slowly and progressively bent the wheel arch end inwards and rear outwards. Worked a lot better than I was expecting, thankfully, and looks so much better! I will have a look at the re-enforcement strip, and see if it can be crimped a bit more if needed, thanks for the tip. In terms of the door, both the bottom and the top needed to come in more at the front. I loosened off the 4x bolts of the hinge that affix to the door, and the 2x cross-head screws, and then bolted the door back on to align. It seems that even at full push, I couldn't quite get the door close enough to the body/tub to close up the gap as much as I'd like between the door and the side of the scuttle panel. Looking at the door hinge where it bolts onto the door, there are three tabs (2x horizontal, 1x vertical) that stick out around the hinge, and these stop the hinge from adjusting past them. Technically, it I could remove the vertical tab (horizontal one ringed in blue as vertical one not visible), then I could gain the last few millimeters I needed to get the door close enough to the body/scuttle:  So I did remove the vertical tab around the top hinge, but the door still didn't adjust in as much as I hoped for. It looks like the (floating?) metal plate in the door itself that the hinge bolts bolt into doesn't move quite enough to give me the best panel gap. So I'm thinking some more! It'll do for now, but not perfect. I know my GT6 won't have anywhere near perfect body-work, but I still want good panel gaps! This build is fantastic, and i'm glad one of my photos was useful from my build thread of my MKIV. |
| |
|
|
|
|
|
|
|
HAPPY NEW YEAR 2020 everyone! Bulkhead paint/rust stripping, and filler work and more filler work on the driver's door is happening!! 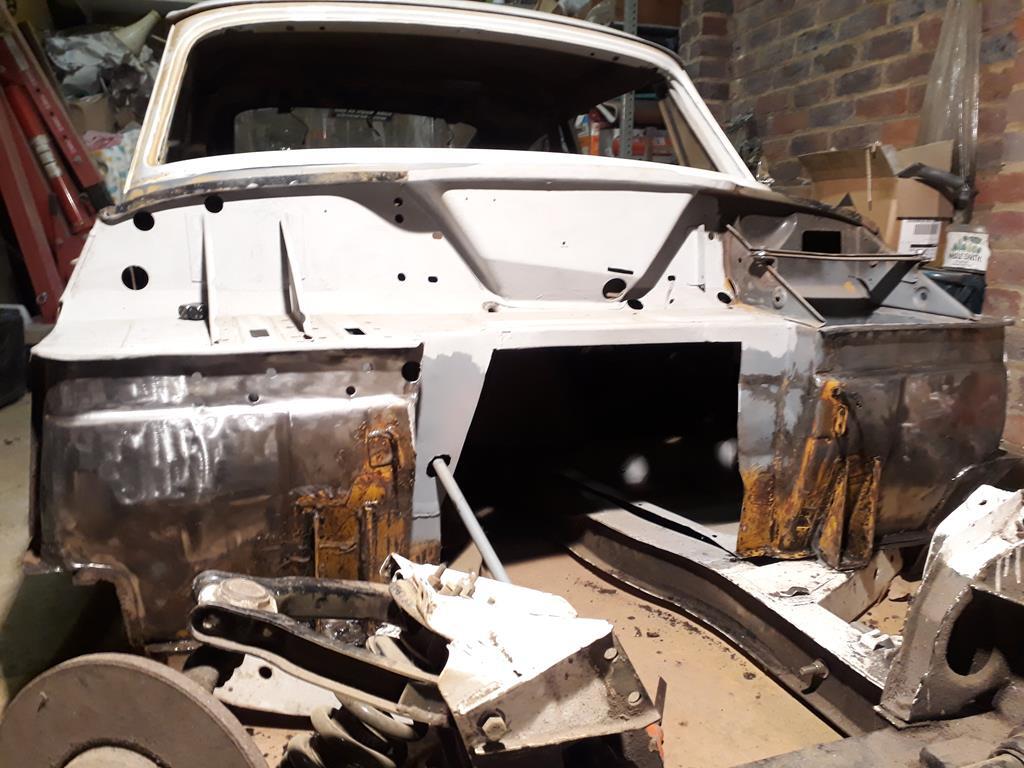 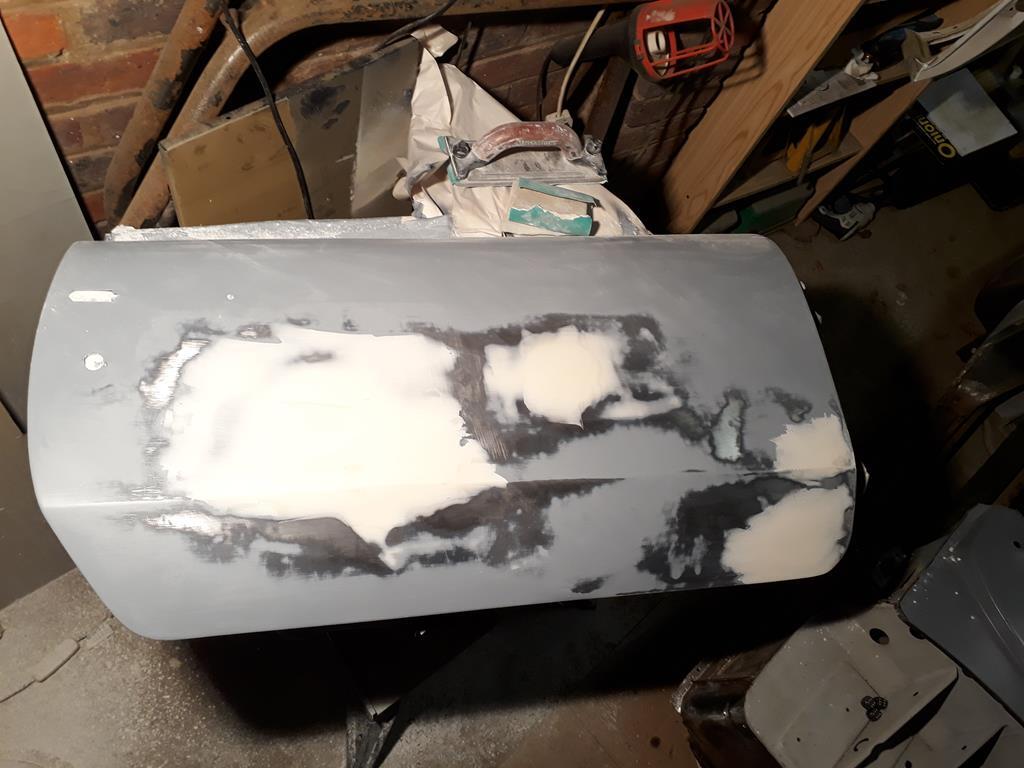 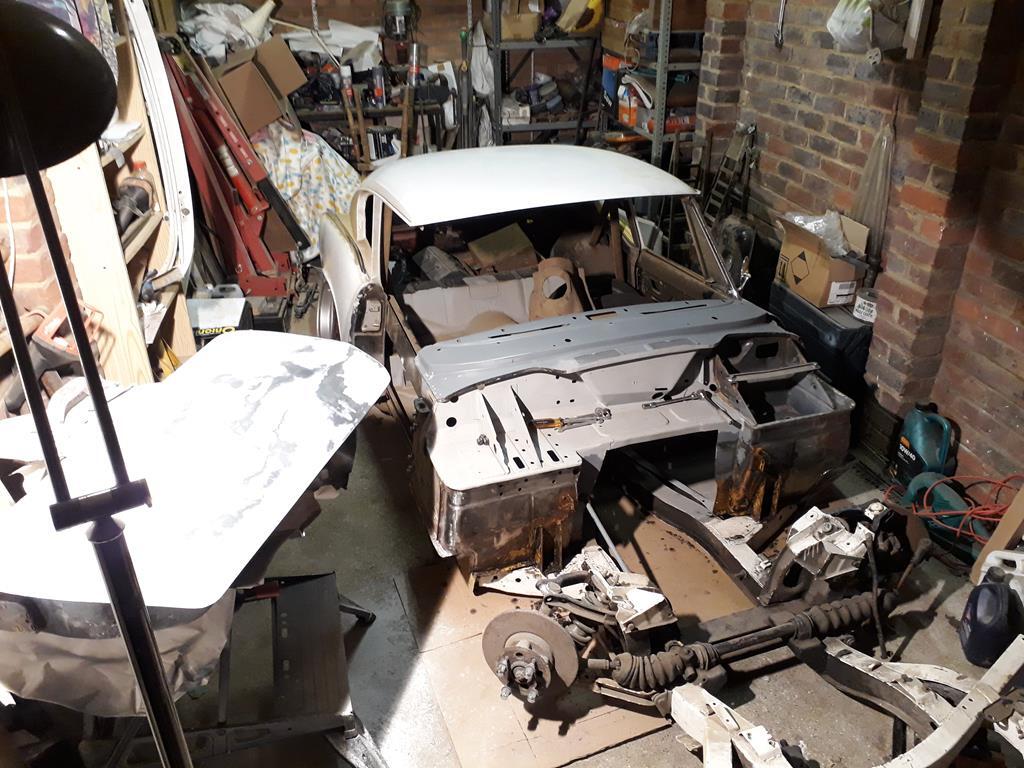 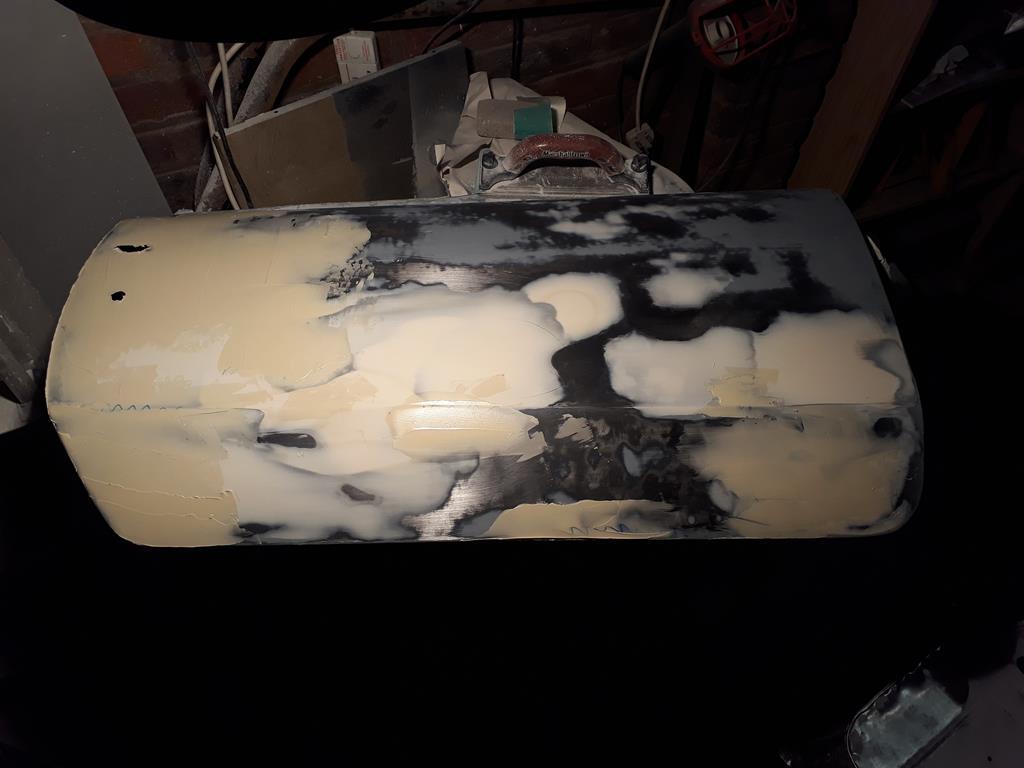 I take my hat off to you, its not easy working in the limited space that you have! It looks like I have a smidgen more than you and it gets so frustrating tripping over things, but keep up the good work it'l be worth it in the end. |
| |
Bib
|
|
smith4
Part of things
 
Posts: 268 
|
|
|
|
|
[/quote]This build is fantastic, and i'm glad one of my photos was useful from my build thread of my MKIV. [/quote]
Hi Louisw,
Thanks for this, your photo came in really handy! I didn't have one myself that clean and that angle.
Do you still have your Spitfire?
|
| |
|
|
|
|


