|
|
|
Apr 12, 2019 18:25:53 GMT
|
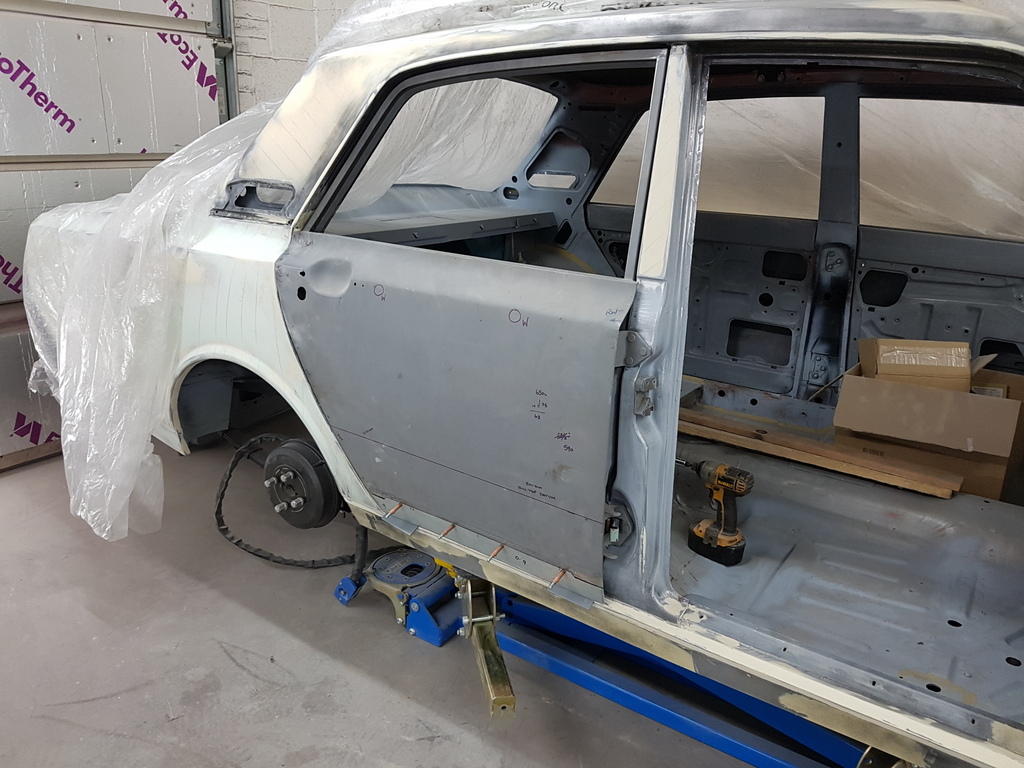
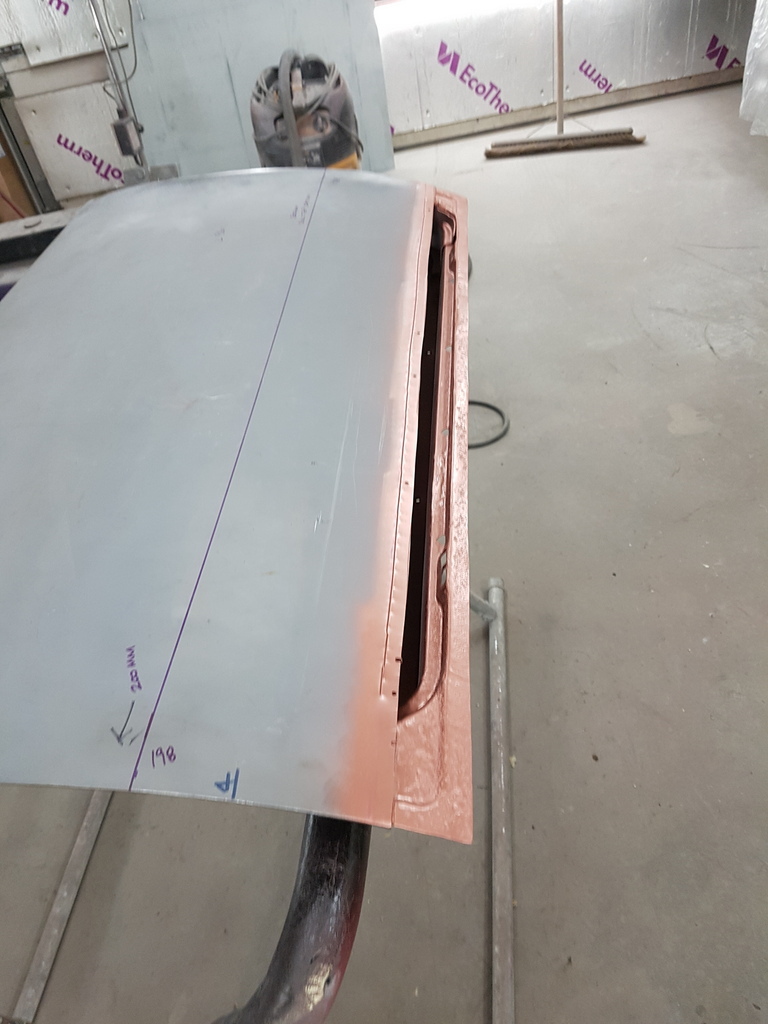
Onwards with the profiles & prep on the door apertures 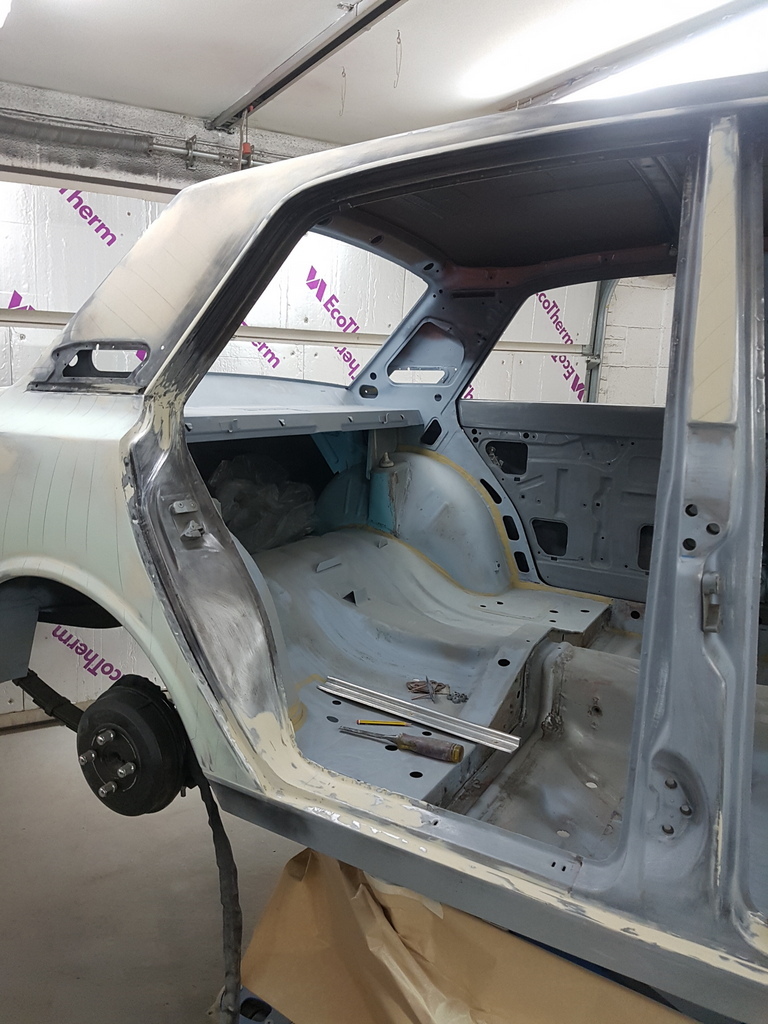 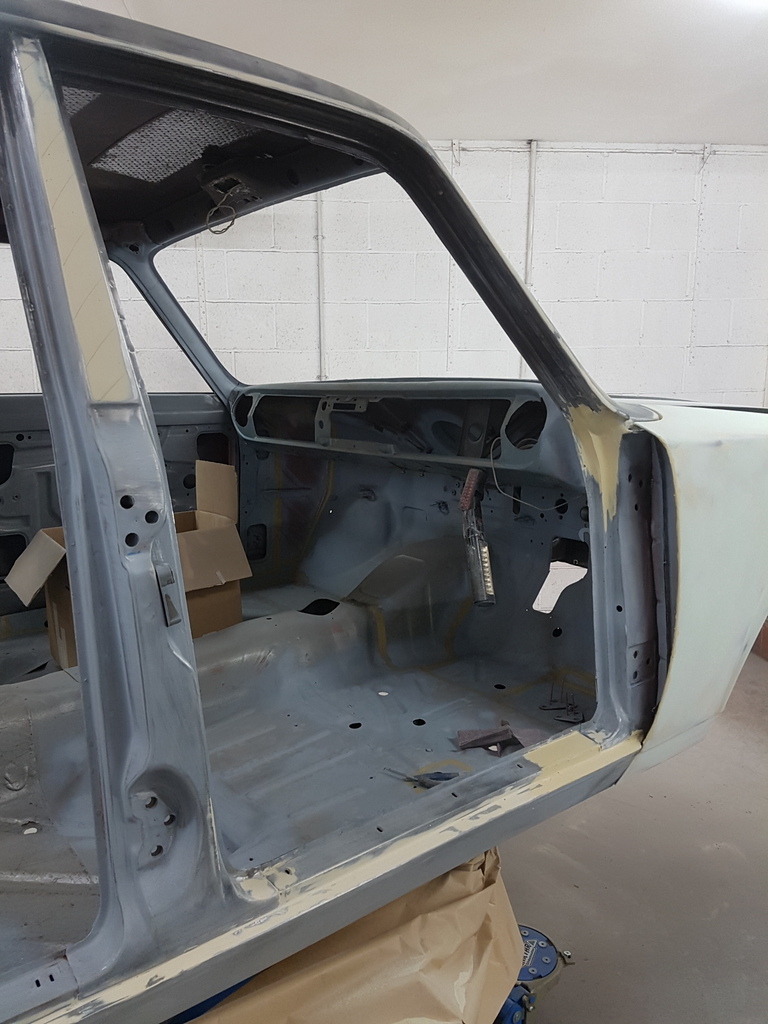 Then applied a second skim where required 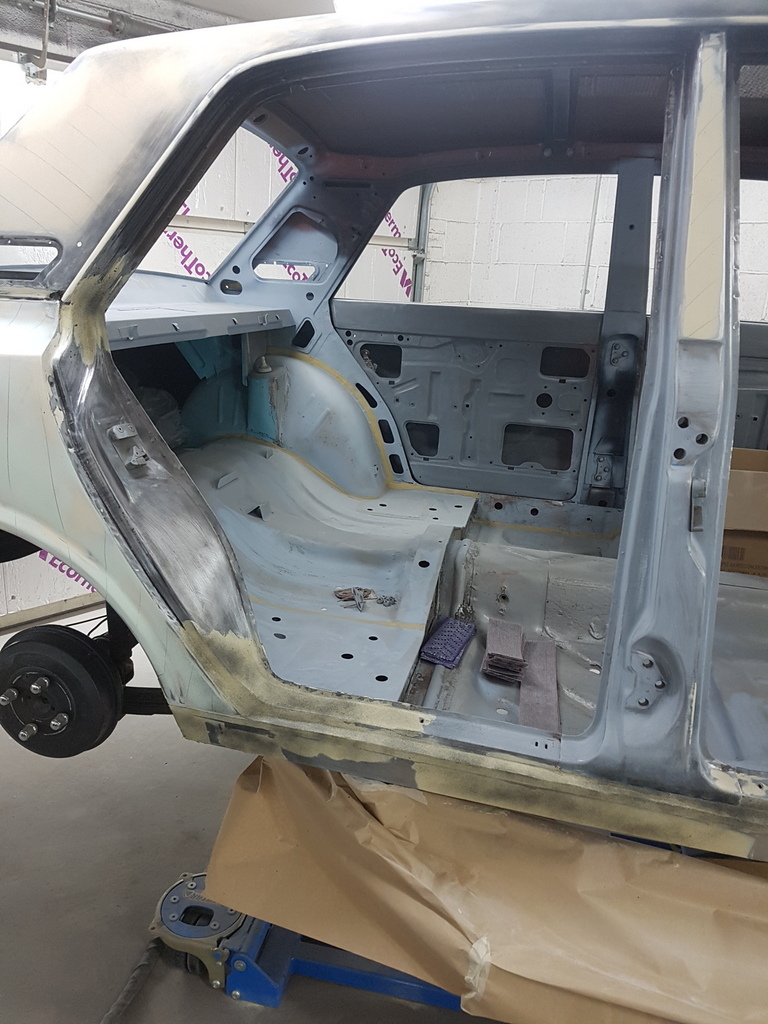 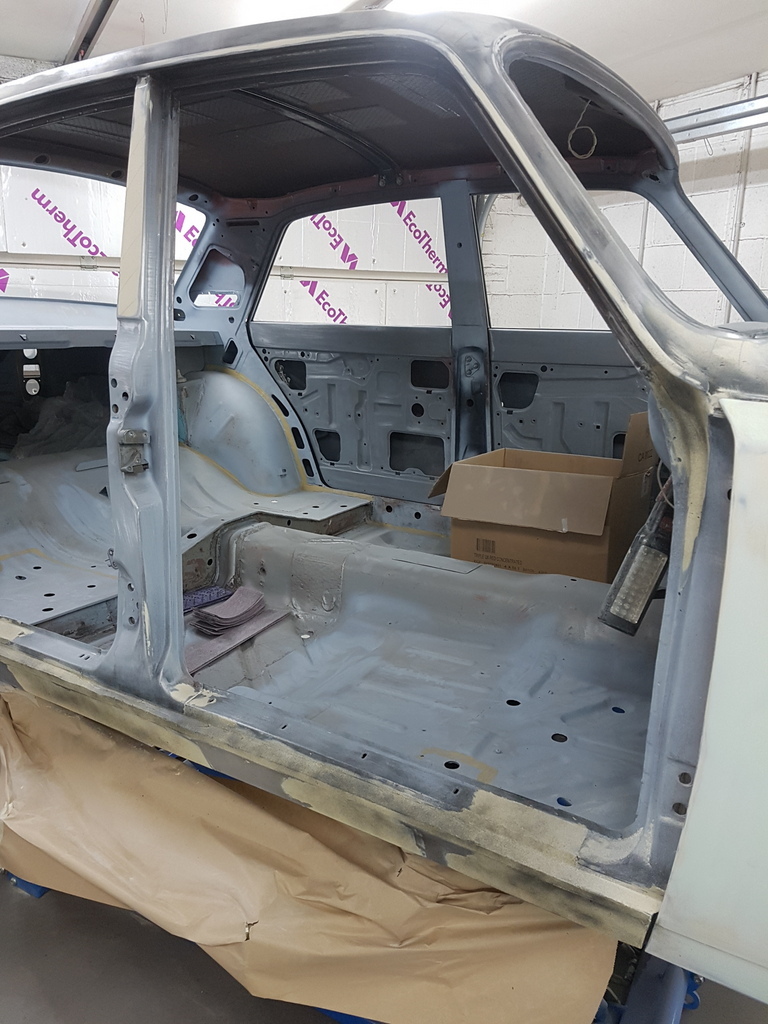 Also made a start on the offside sill 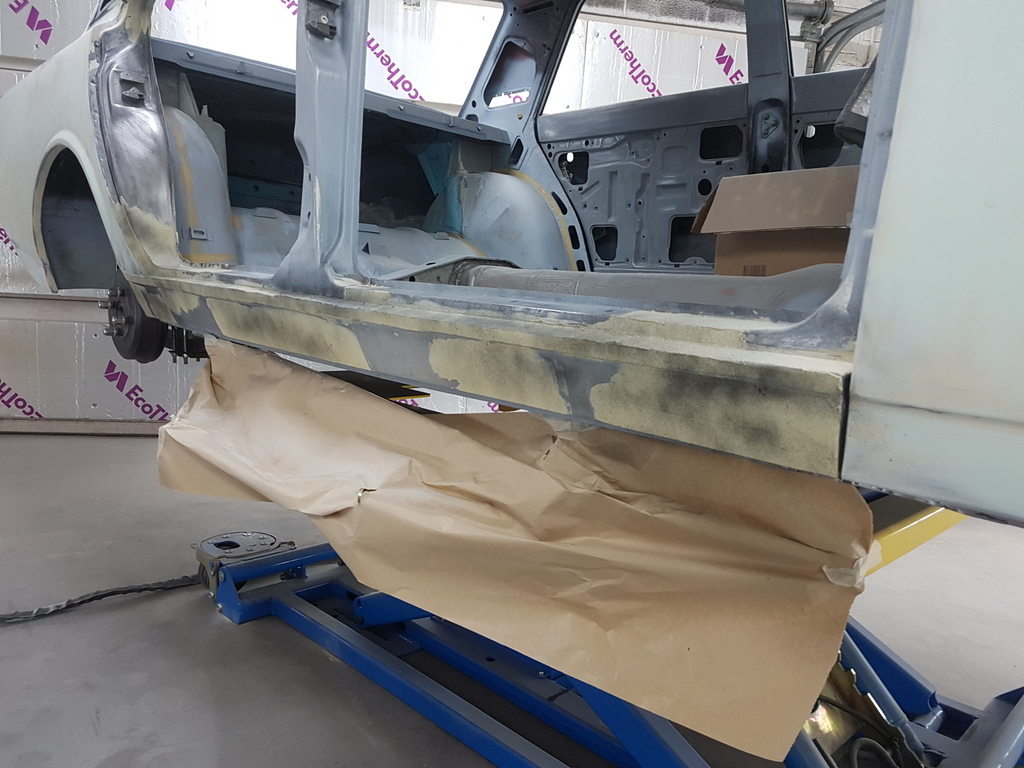 Sid called in for a quick look and then went on security / goods received duty 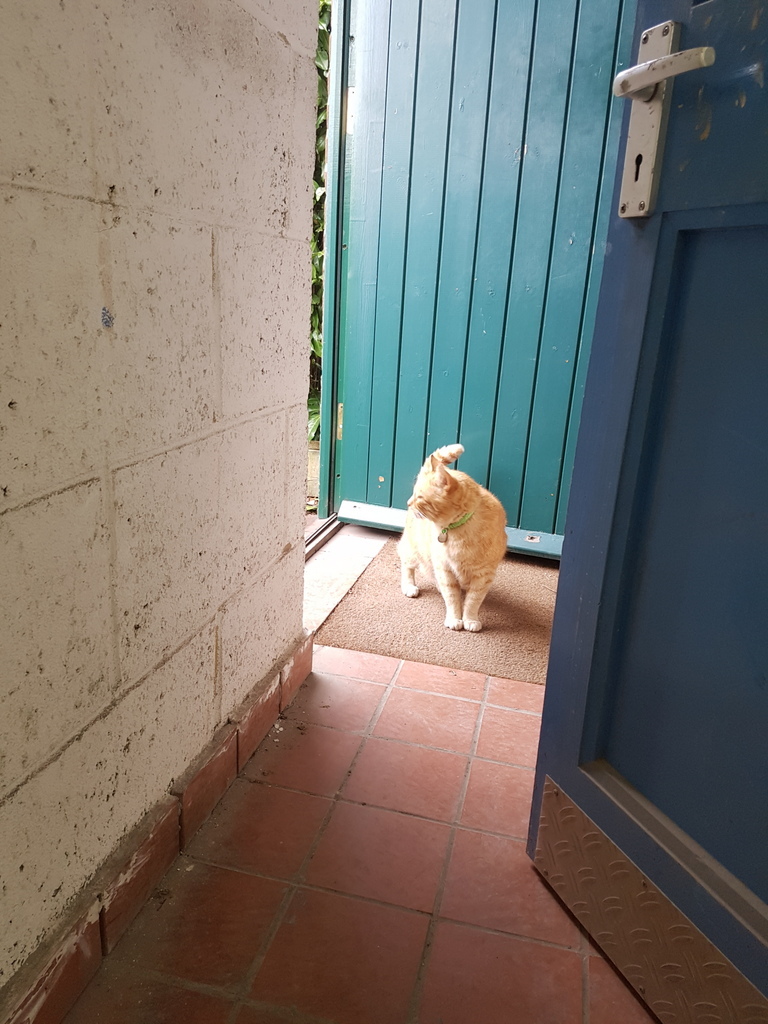 Bonnet now sorted 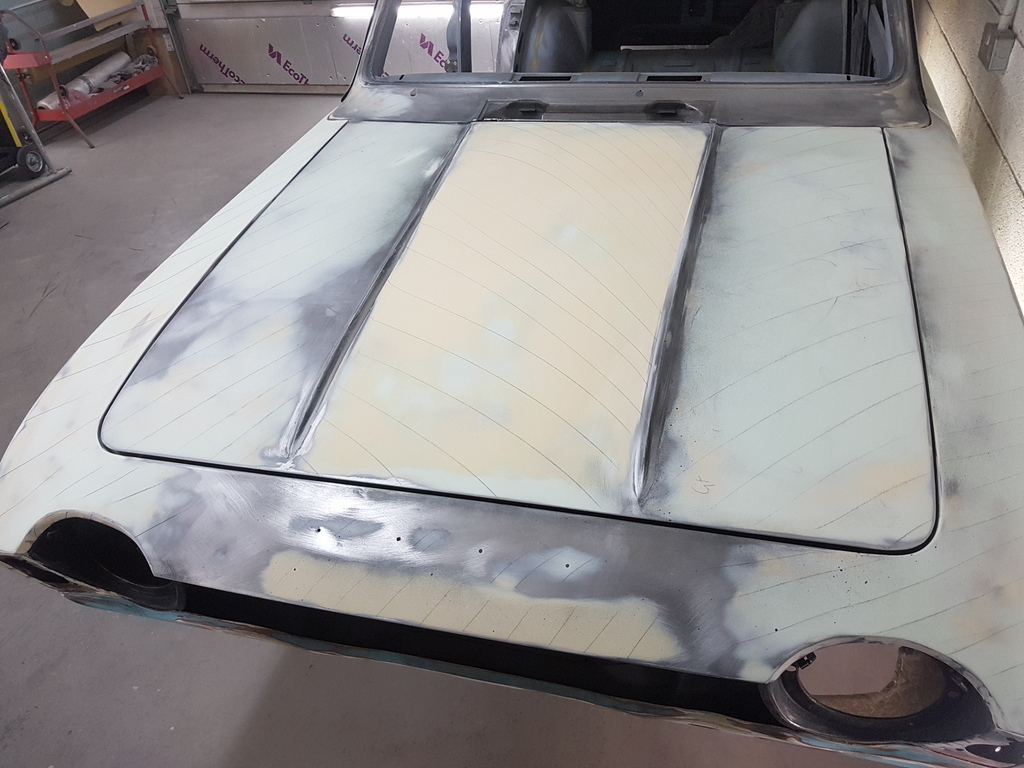 Has is the offside front wing 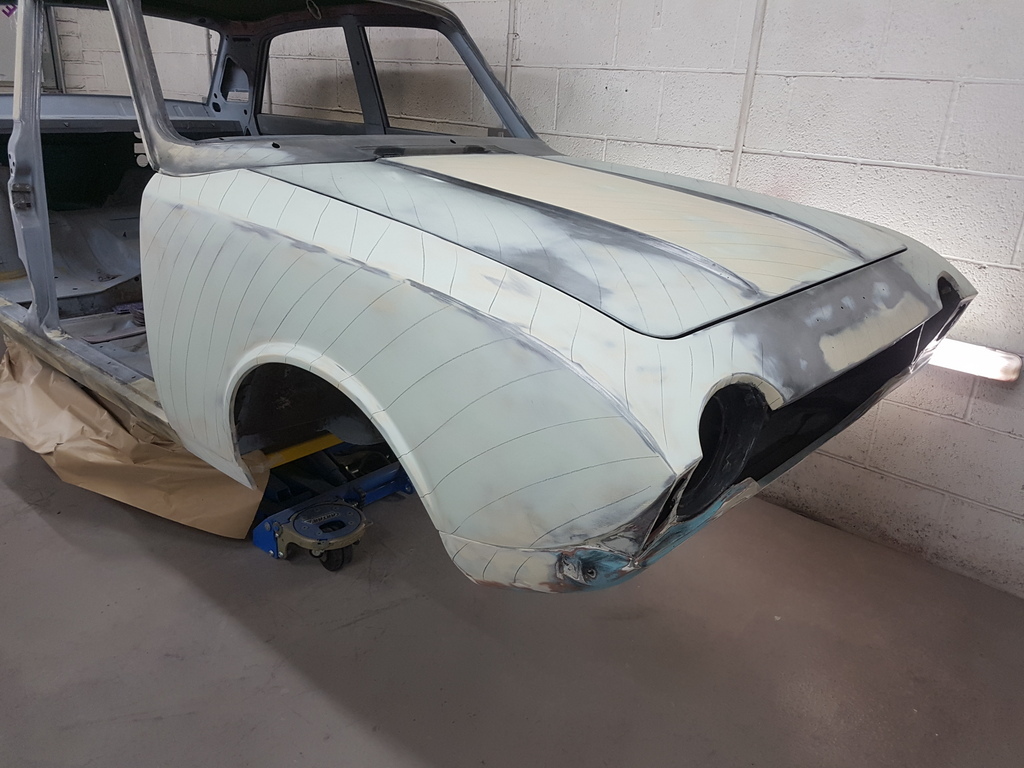 So now getting ever closer - I will undertake the door repairs next week & I ordered the paint today |
| |
|
|
|
|
|
|
|
Apr 12, 2019 18:43:28 GMT
|
|
paint......!!!!
its getting close boys (& girls just to be pc)
|
| |
'80 s1 924 turbo..hibernating
'80 golf gli cabriolet...doing impression of a skip
'97 pug 106 commuter...continuing cheapness making me smile!
firm believer in the k.i.s.s and f.i.s.h principles.
|
|
|
|
|
Apr 12, 2019 19:59:01 GMT
|
|
Chris-How much paint, primer, thinners etc do you order for a job like this to ensure that you have a good supply in case of problems, but not have too much left at the end. I appreciate that thinners etc can be carried forward to the next job.
|
| |
|
|
keyring
Part of things
 
Posts: 913
Club RR Member Number: 47
|
|
Apr 12, 2019 21:38:05 GMT
|
Not been online for a few days, but certainly making headway through all the sanding and filling, paint can’t be far away now  |
| |
|
|
|
|
|
Apr 13, 2019 11:08:02 GMT
|
Chris-How much paint, primer, thinners etc do you order for a job like this to ensure that you have a good supply in case of problems, but not have too much left at the end. I appreciate that thinners etc can be carried forward to the next job. It all depends on what paints you using - Solvent based paints will use much more thinners than a 2 pack paint but on the other hand solvent based paints don't utilise a hardener My planned quantities for the Corsair are has follows: Polyester primer (2 pack) - 4 litres Sealing primer (2 pack) - 3 litres Final colour coat (2 pack) - 4.5 litres - this actually becomes 7.4 litres in volume once you have added the hardener & thinners to the paint You need to allow for the engine bay, boot enclosure, door apertures (doors), door apertures (bodyshell), underside of bonnet & boot, 5 wheel rims, other minor painted parts, vents, hinges etc & all external panels of the bodyshell The internal floorpan, bulkhead, dashboard areas are unseen once the car is refitted - non the less these will get a coat of satin black |
| |
|
|
|
|
|
Apr 13, 2019 11:09:31 GMT
|
Not been online for a few days, but certainly making headway through all the sanding and filling, paint can’t be far away now  Next few weeks will see the car back into colour |
| |
|
|
fer4l
Posted a lot
   Testing
Posts: 1,497
Club RR Member Number: 73
|
|
Apr 13, 2019 16:46:14 GMT
|
Going to be the purdiest Corsair ever!  Cheers Matt |
| |
|
|
|
|
|
Apr 16, 2019 19:58:50 GMT
|
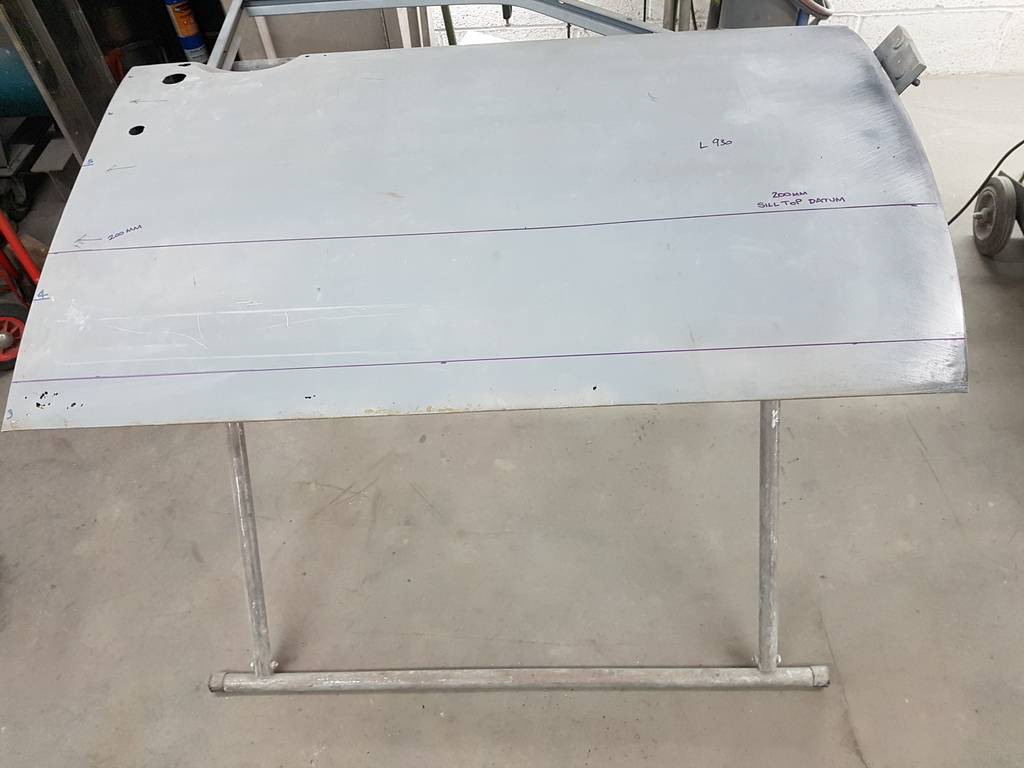
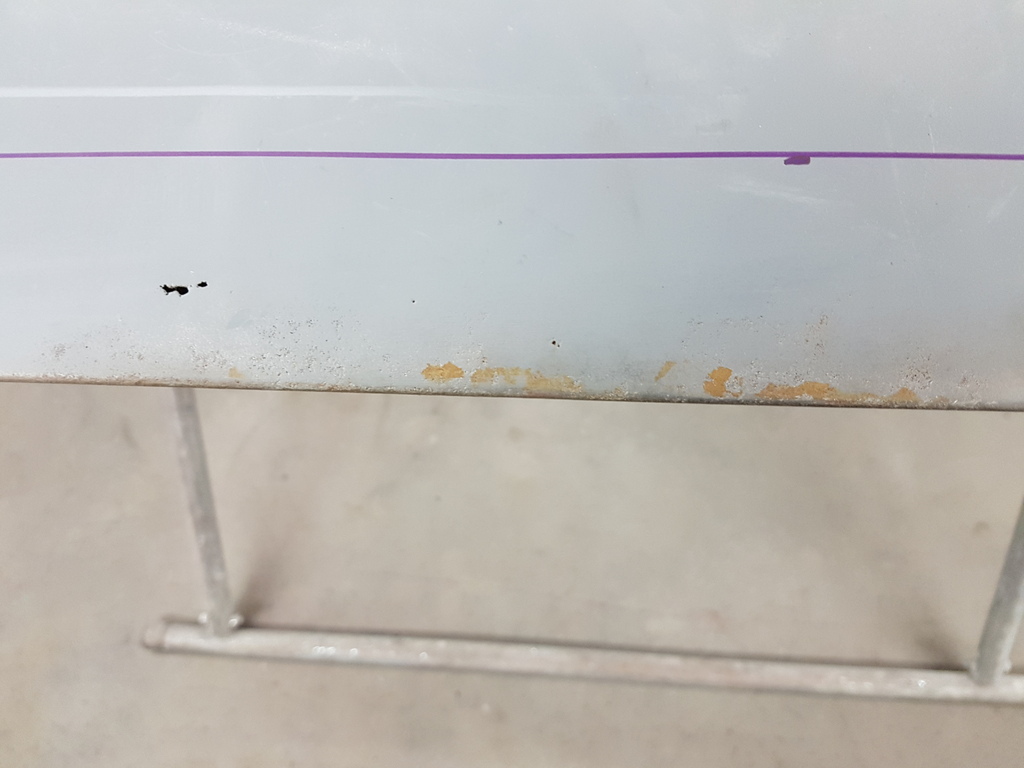
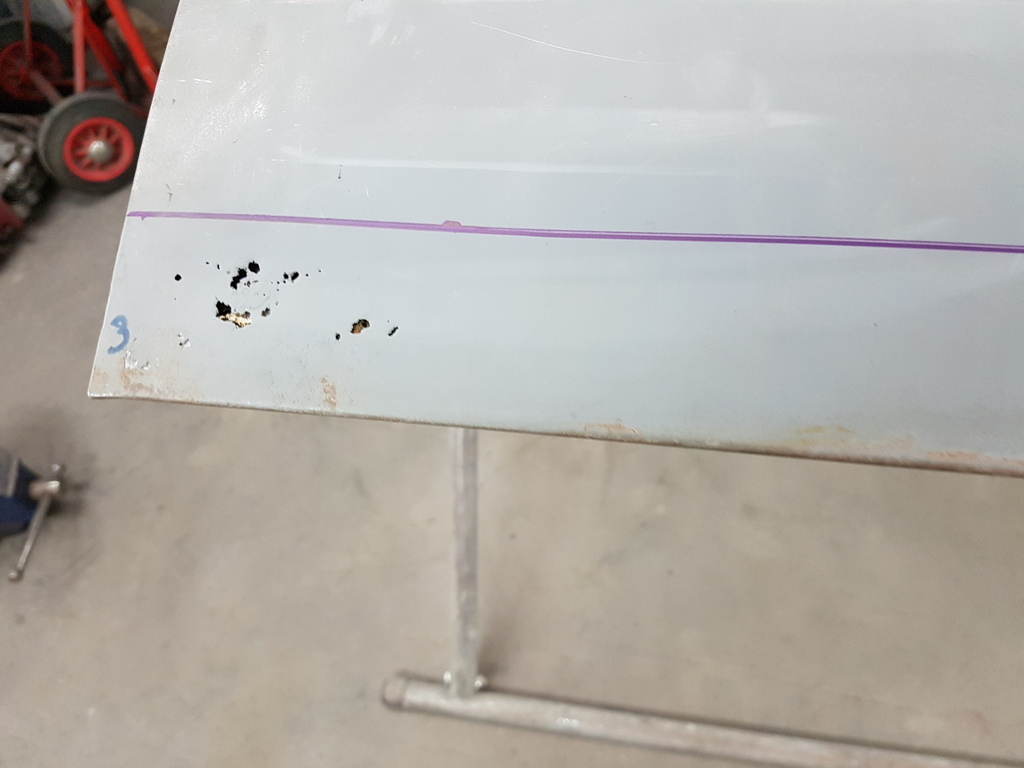
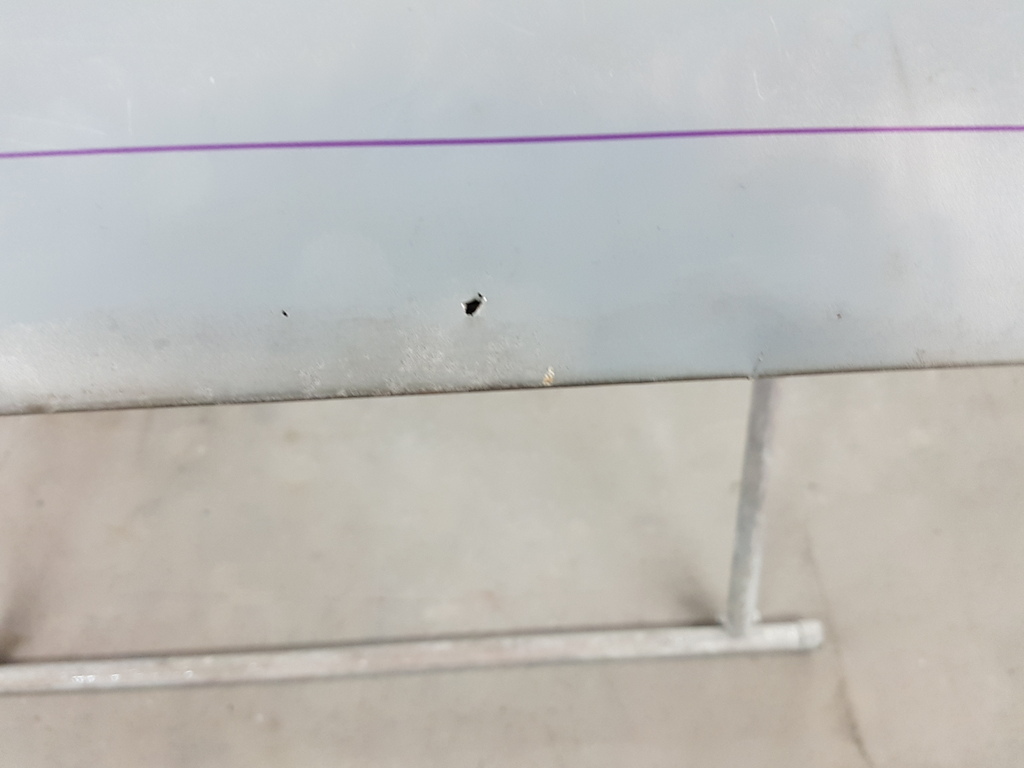
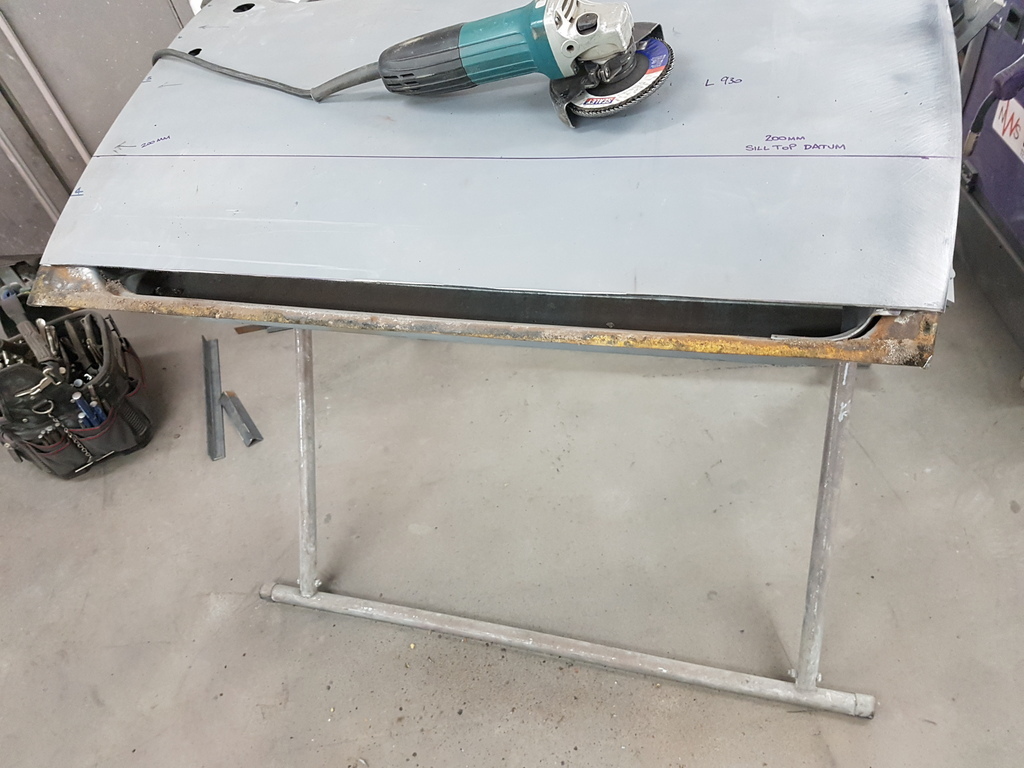
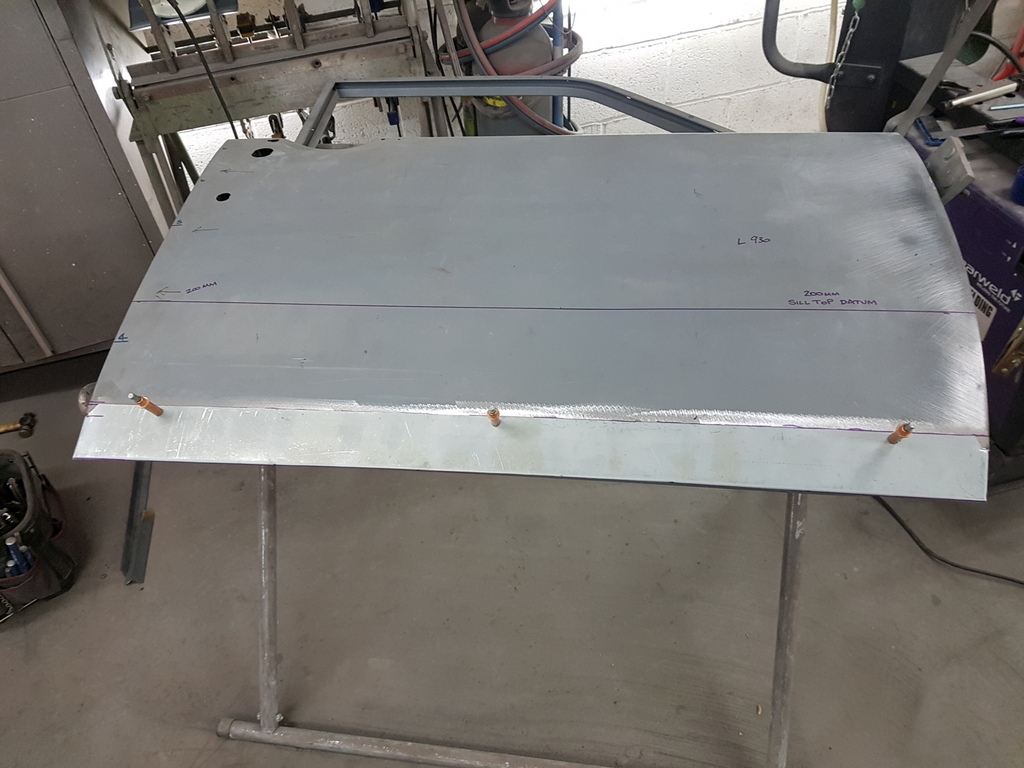
With the Javelin demoted to outside and some workshop space freed up I can look at the final panel repairs on the offside doors 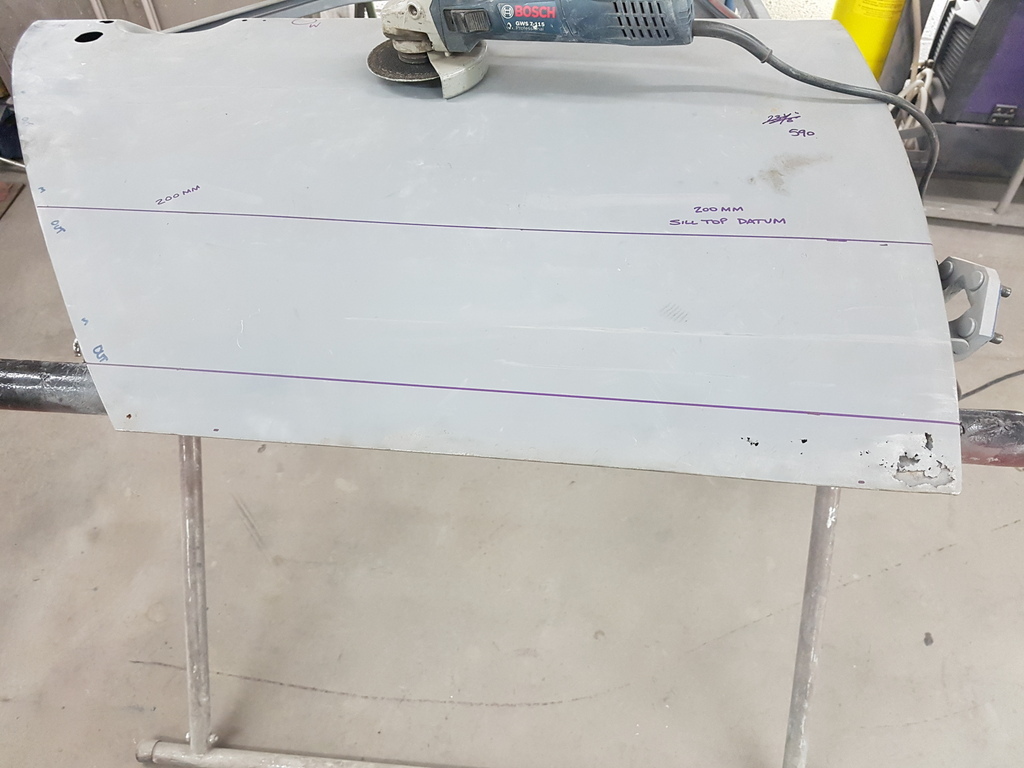 Rear one first 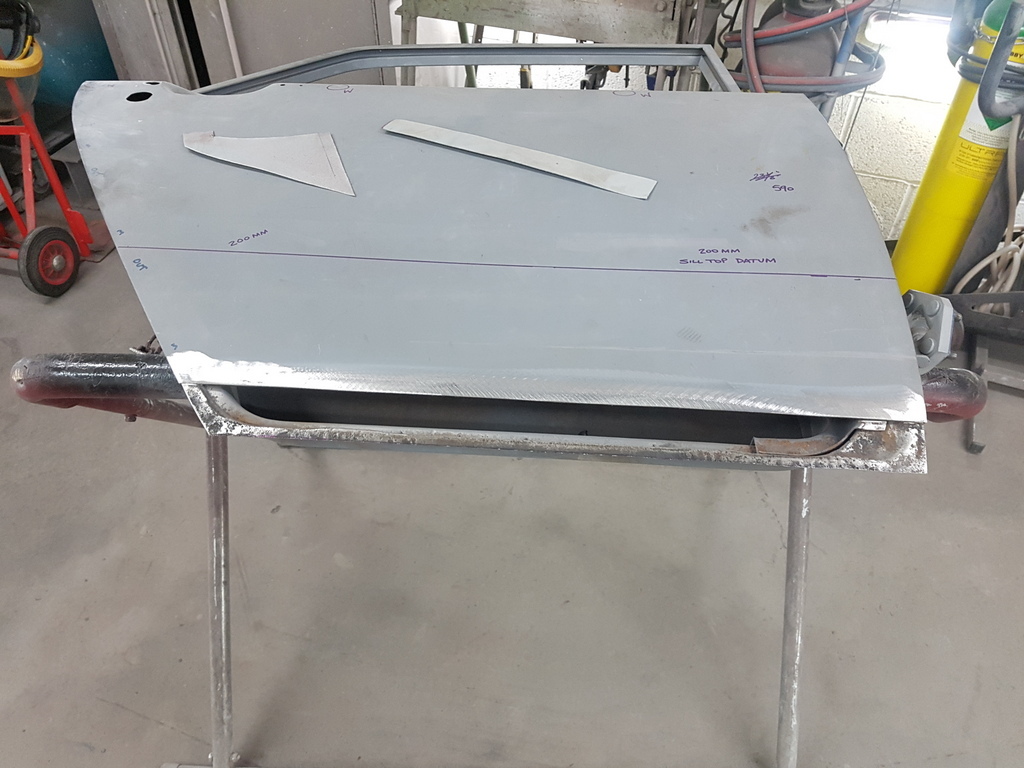 Its much easier just to reskin the lower section of the door 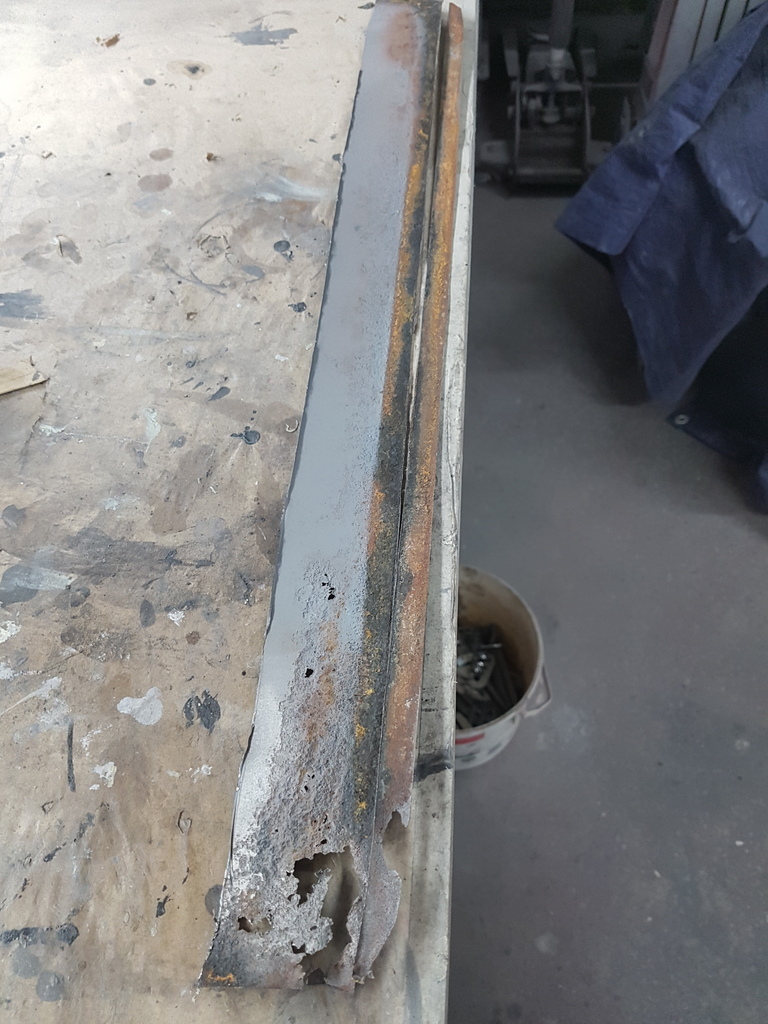 Although it looks like it was just each end that was effected by rust 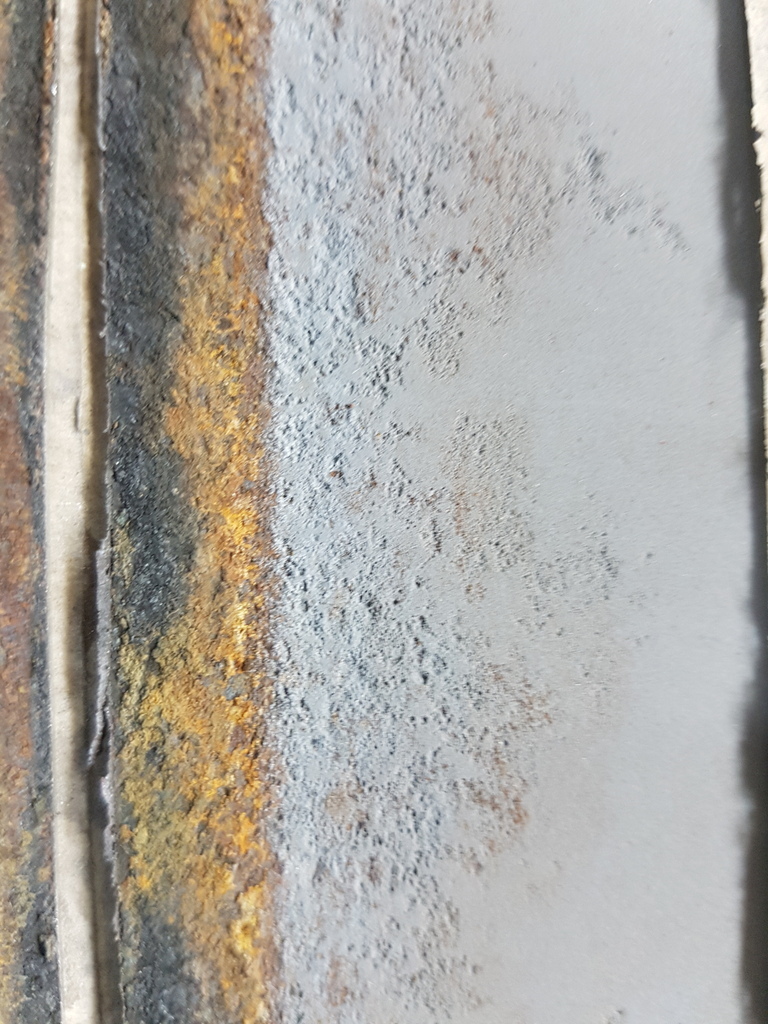 Until you turn it over and look at the deep rust pits eating the skin from the inside out 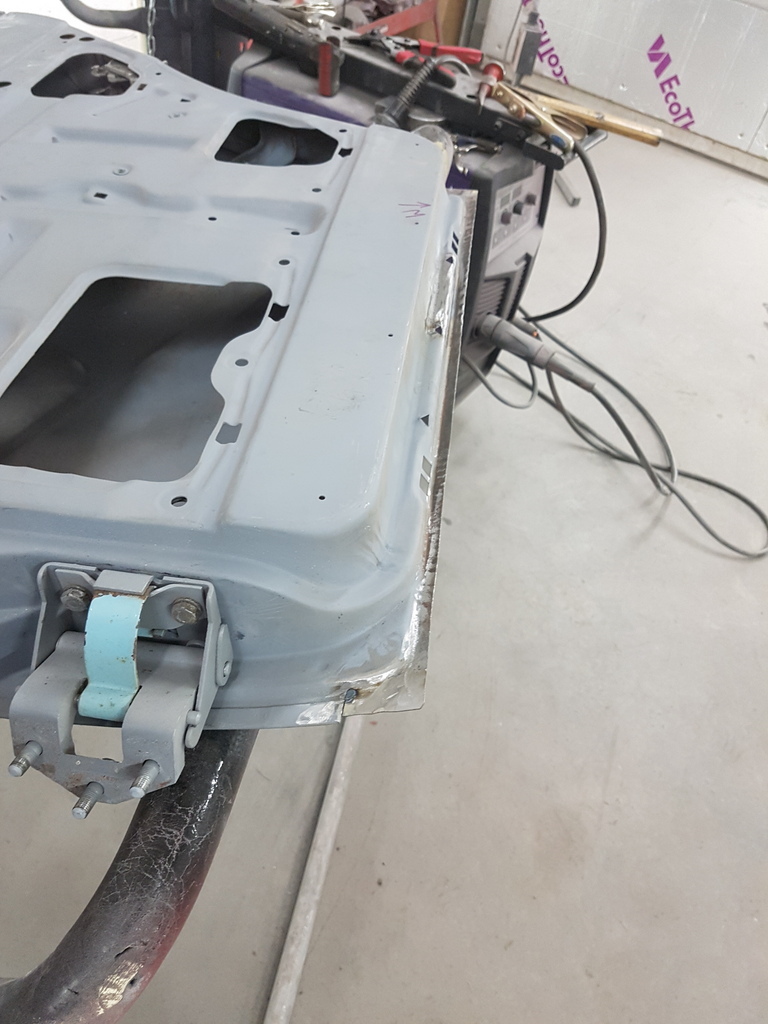 A few small sections let in on the door frame where rust had effected the area 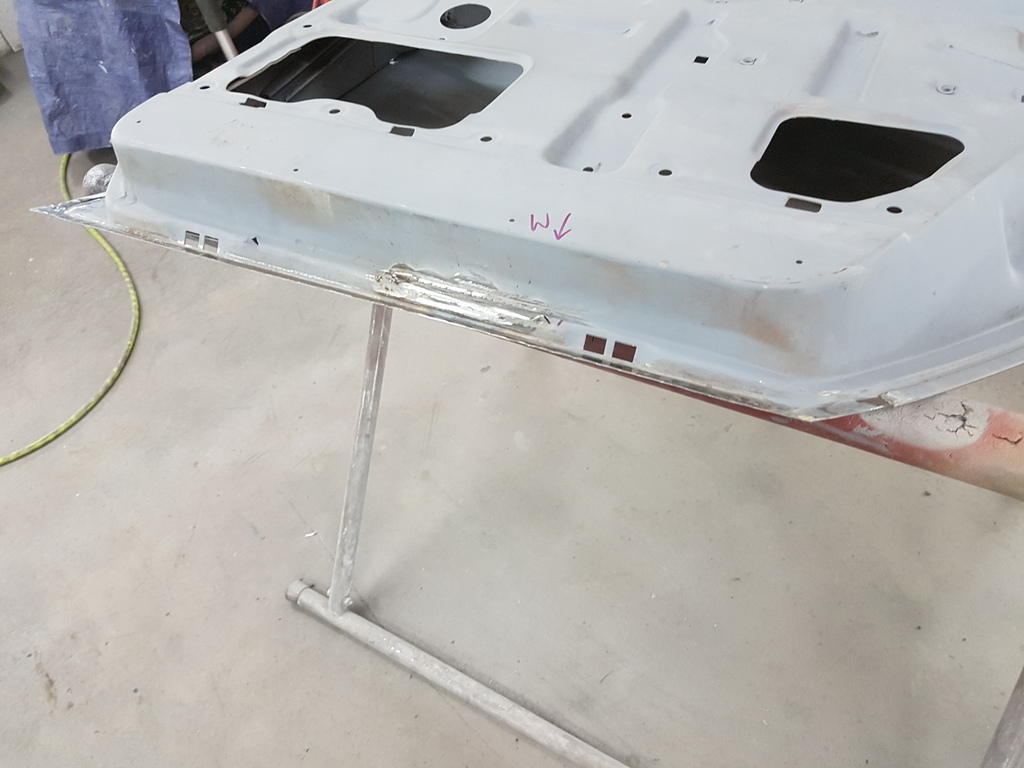 Repair section made up & trail fitted 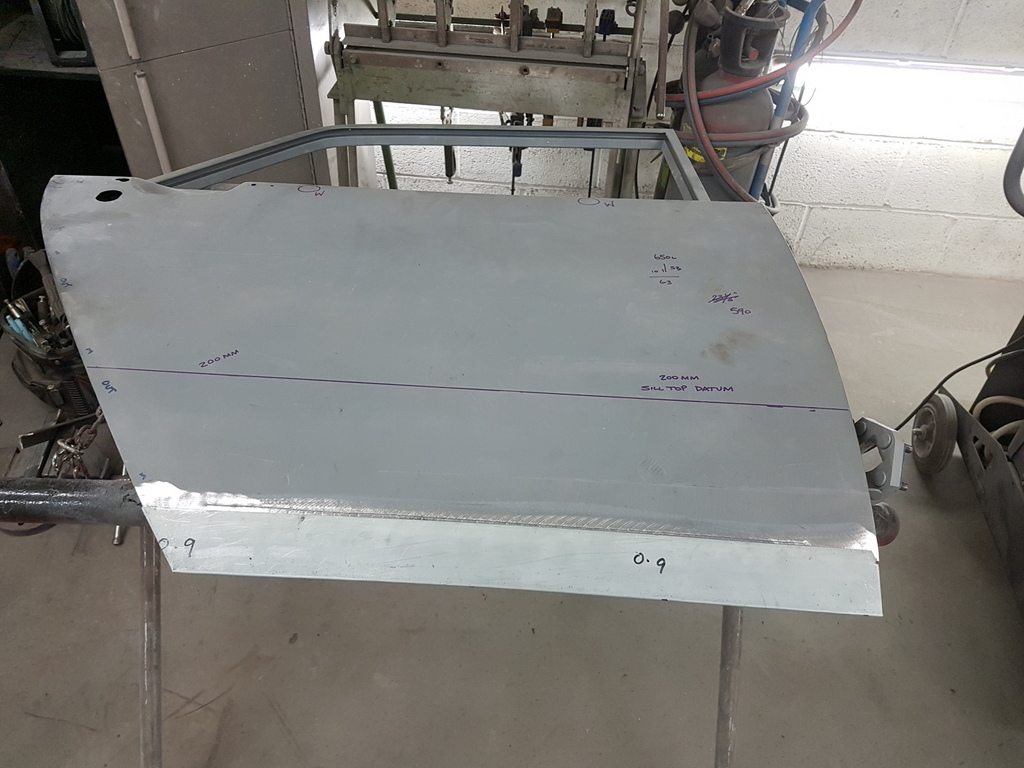 Requires some further adjustment in the morning prior to refitting it to the car to check for clearance against the sill |
| |
Last Edit: Apr 16, 2019 20:00:39 GMT by Deleted
|
|
|
|
|
Apr 17, 2019 18:59:43 GMT
|
|
|
| |
Last Edit: Apr 17, 2019 19:03:09 GMT by Deleted
|
|
|
|
|
Apr 17, 2019 19:54:18 GMT
|
Awesome as always  When you weld the new panel in, you’ve said about tacking and letting it cool so as not to distort the panels. Do you need to do anything when grinding, or does the heat not build up as much? |
| |
|
|
|
|
|
Apr 17, 2019 20:22:31 GMT
|
Awesome as always  When you weld the new panel in, you’ve said about tacking and letting it cool so as not to distort the panels. Do you need to do anything when grinding, or does the heat not build up as much? John - Good point - you can do has much damage with the grinder has you can with the welding - same rules apply - if you keep the angle grinder moving though and don't stay on one spot and avoid digging the wheel in you can to a great extent just keep moving with it - airline and a blow gun works effectively at cooling areas down too |
| |
|
|
|
|
|
Apr 17, 2019 20:54:29 GMT
|
|
Chris- How do you keep a straight line when slitting the bottom section? Just a very steady hand or some kind of guide/jig?
|
| |
|
|
|
|
|
|
|
|
i don't know if its a thing, but my grinder has an air pump and blows air out of the tip of the casing. i often use it to un-steam my goggles!
|
| |
|
|
|
|
|
|
|
Chris- How do you keep a straight line when slitting the bottom section? Just a very steady hand or some kind of guide/jig? Mainly freehand for me following a marked line - masking tape works has a line too but a piece a angle iron and a clamp at each end to run the face of the cutting disc against if you need it to be super straight |
| |
|
|
|
|
|
Apr 18, 2019 12:59:30 GMT
|
i don't know if its a thing, but my grinder has an air pump and blows air out of the tip of the casing. i often use it to un-steam my goggles! whaaaaaaat. is it a swiss army grinder?? |
| |
'80 s1 924 turbo..hibernating
'80 golf gli cabriolet...doing impression of a skip
'97 pug 106 commuter...continuing cheapness making me smile!
firm believer in the k.i.s.s and f.i.s.h principles.
|
|
|
|
|
Apr 18, 2019 19:51:13 GMT
|
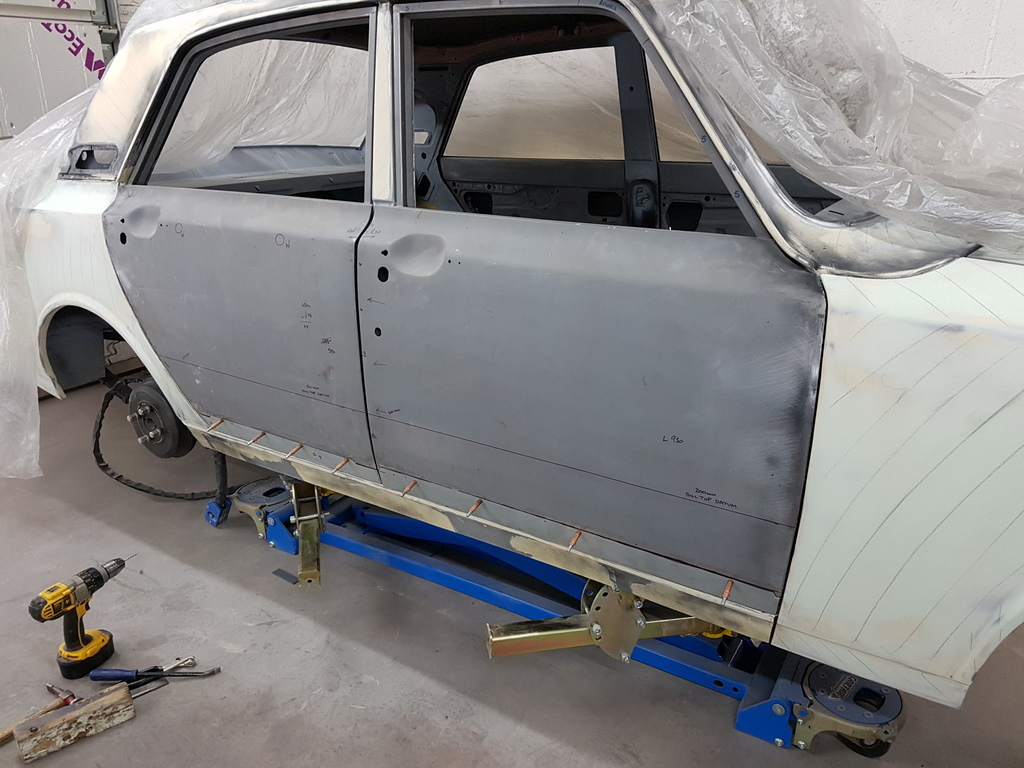
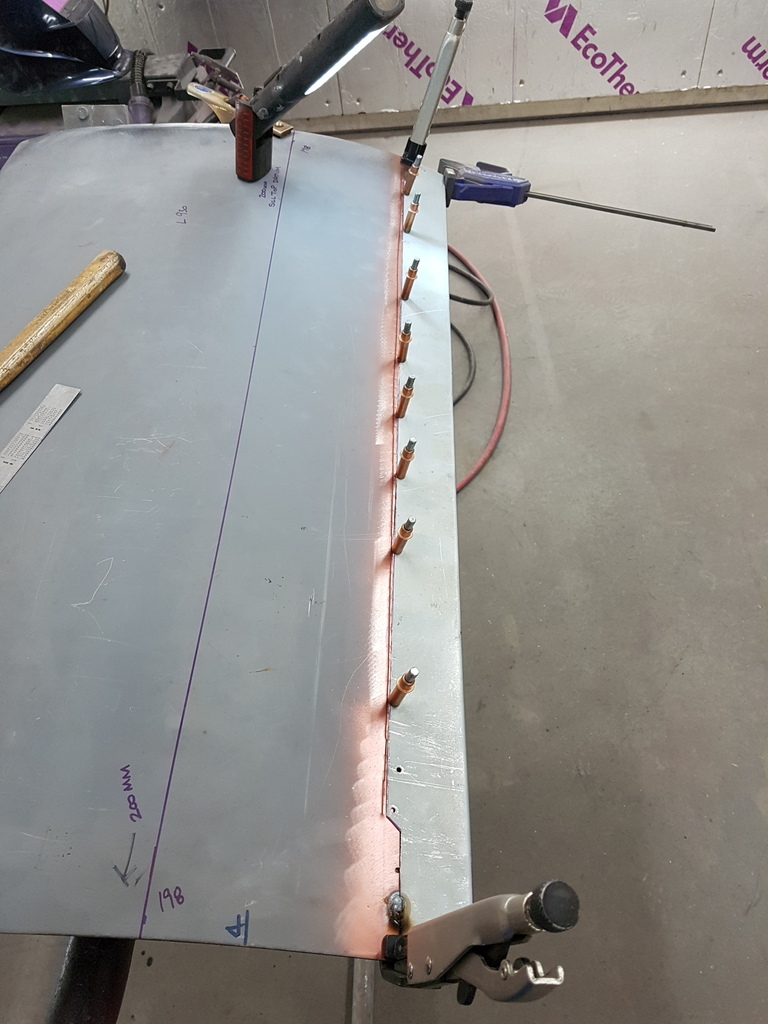 Back on with the repair section 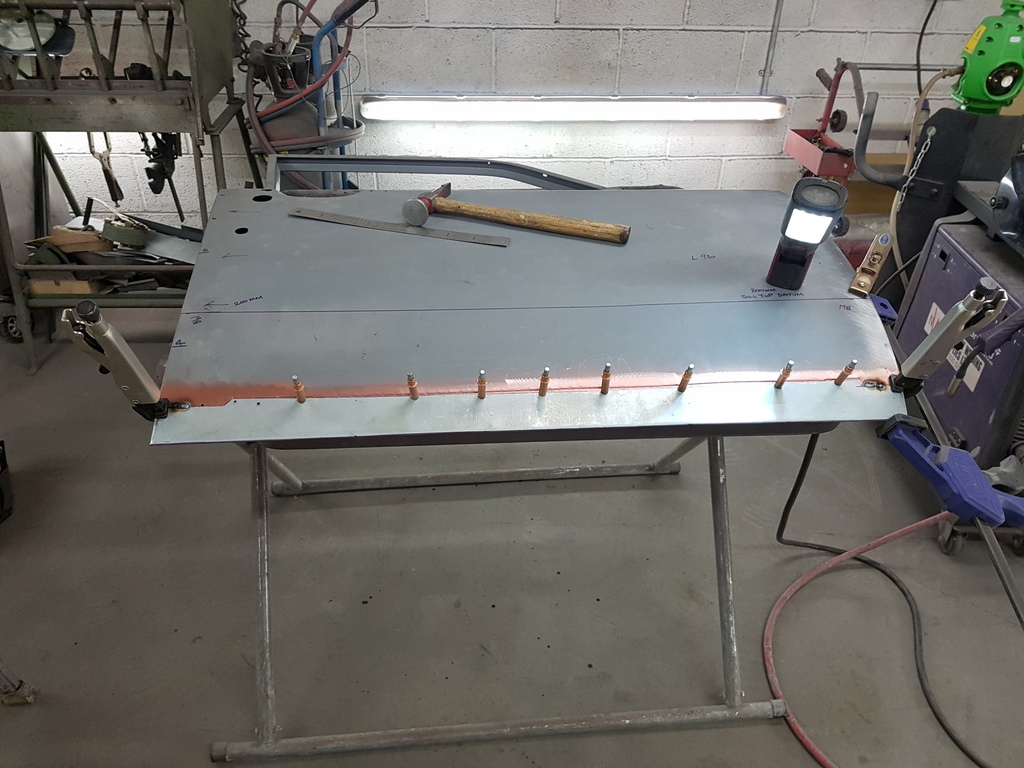 Which now could be tacked up 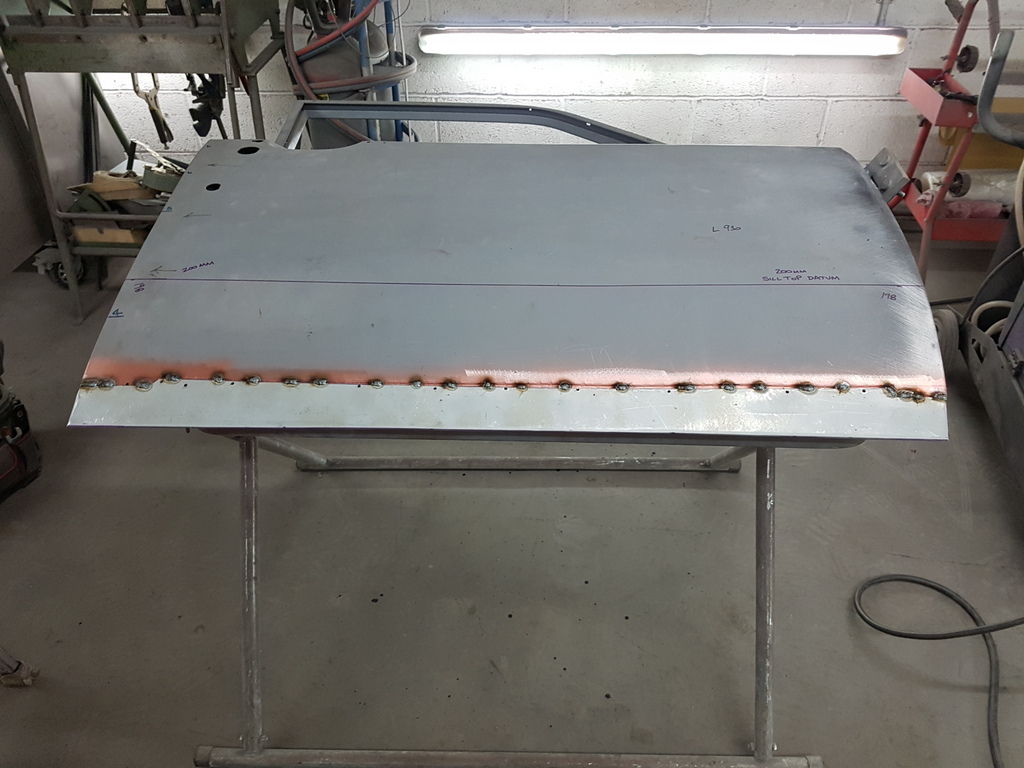 Then the flange closed up tight with the hammer & dolly 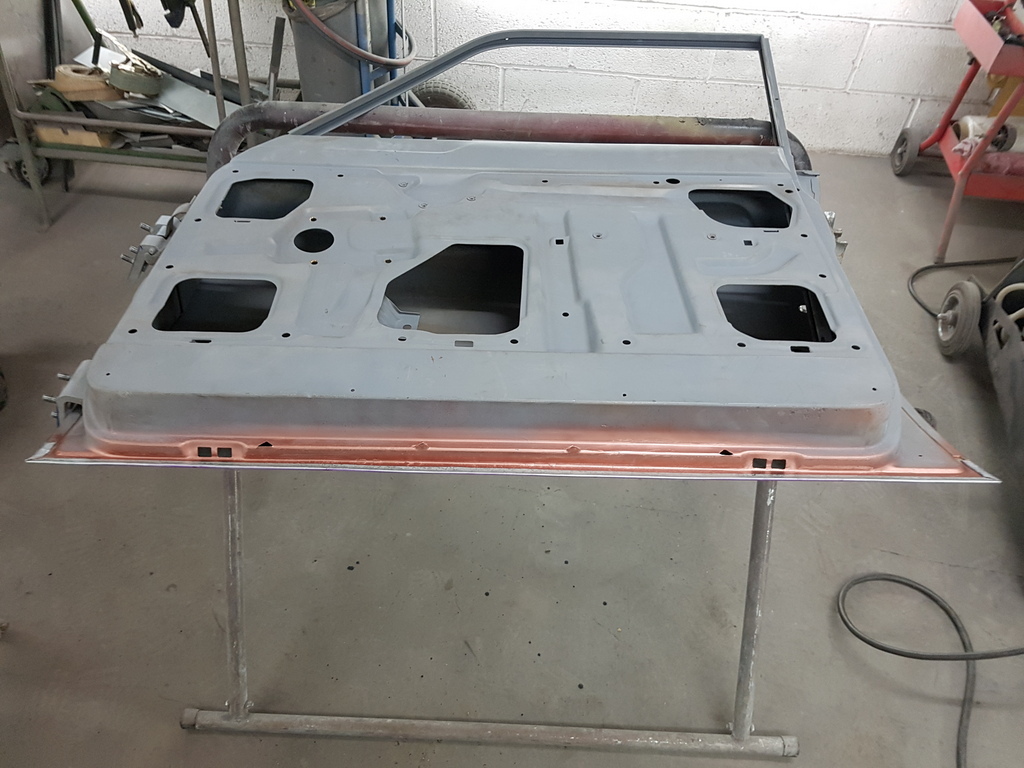 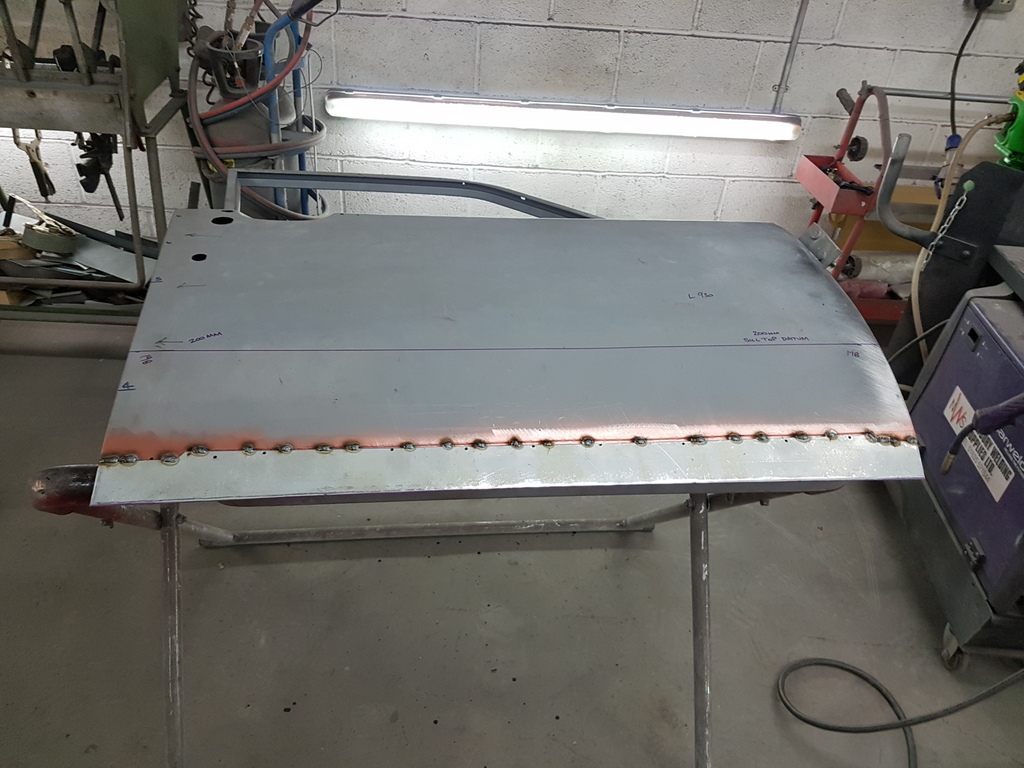 Then a trial fit of the door (fronts are a pig to hang but the rears are a doddle) 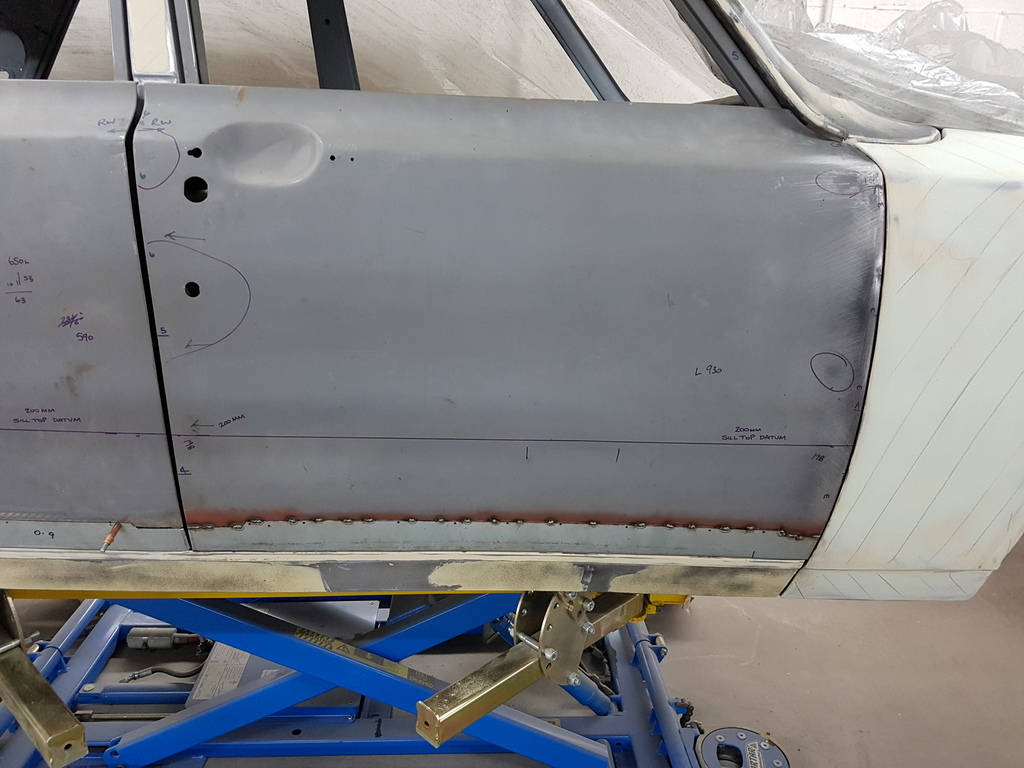 Then back off to complete the tacking up 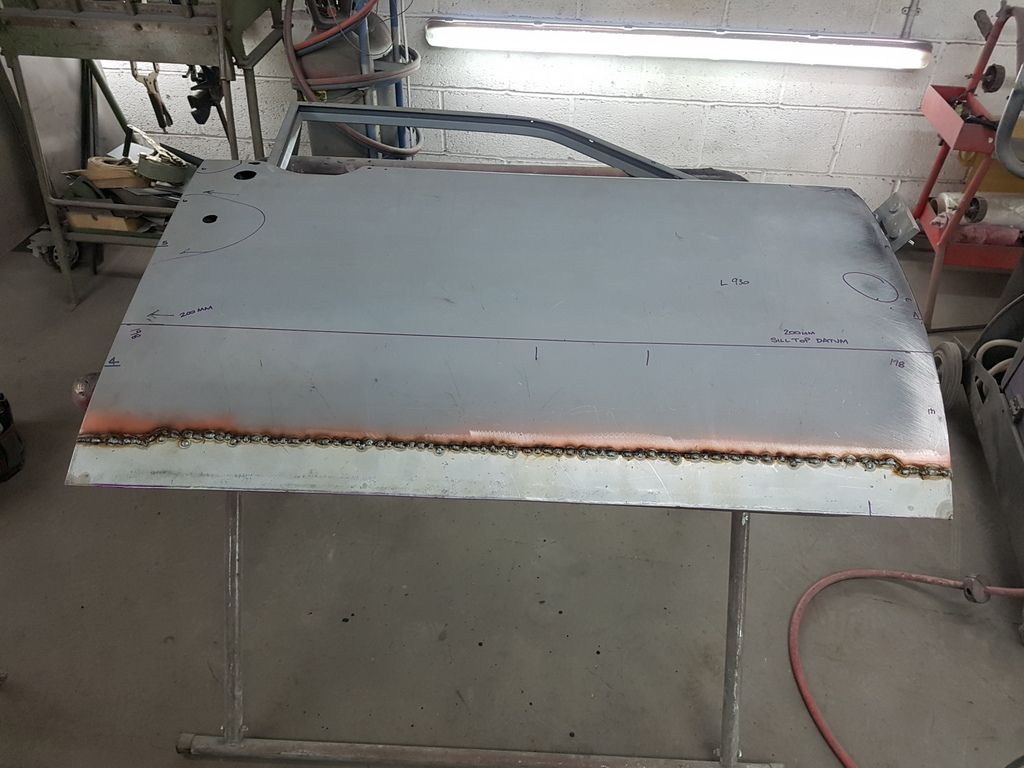 Dressed back & cleaned up 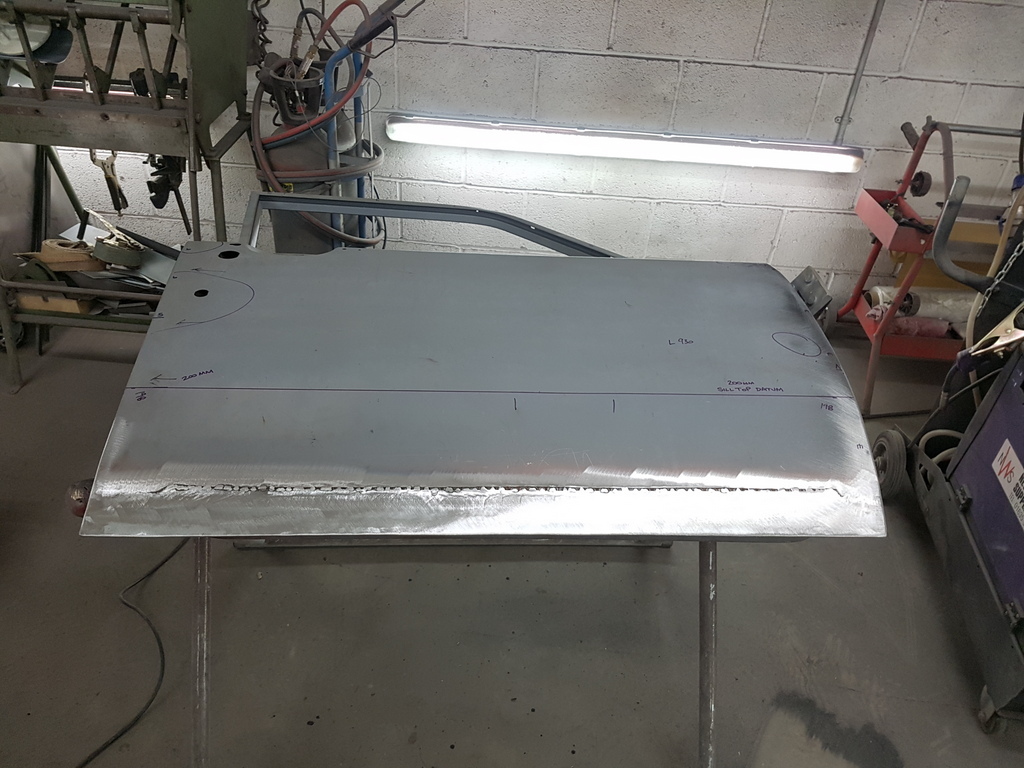 Then refitted to the bodyshell and checked 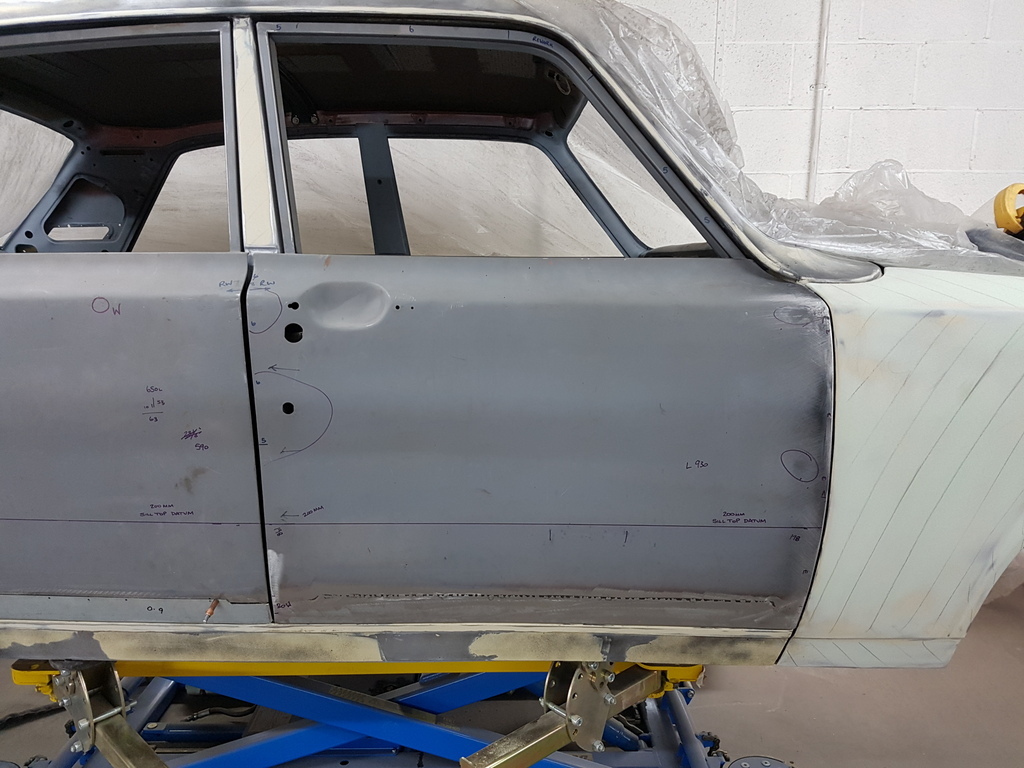 Then repeat the process for the rear door 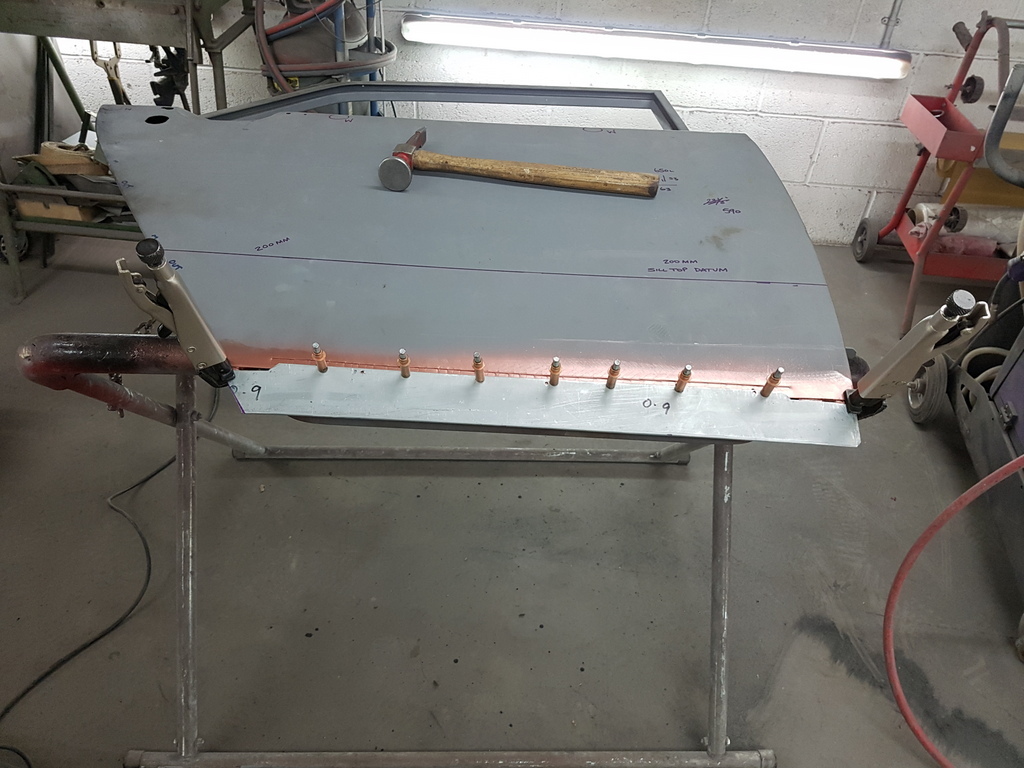 Which is now ready for rehanging 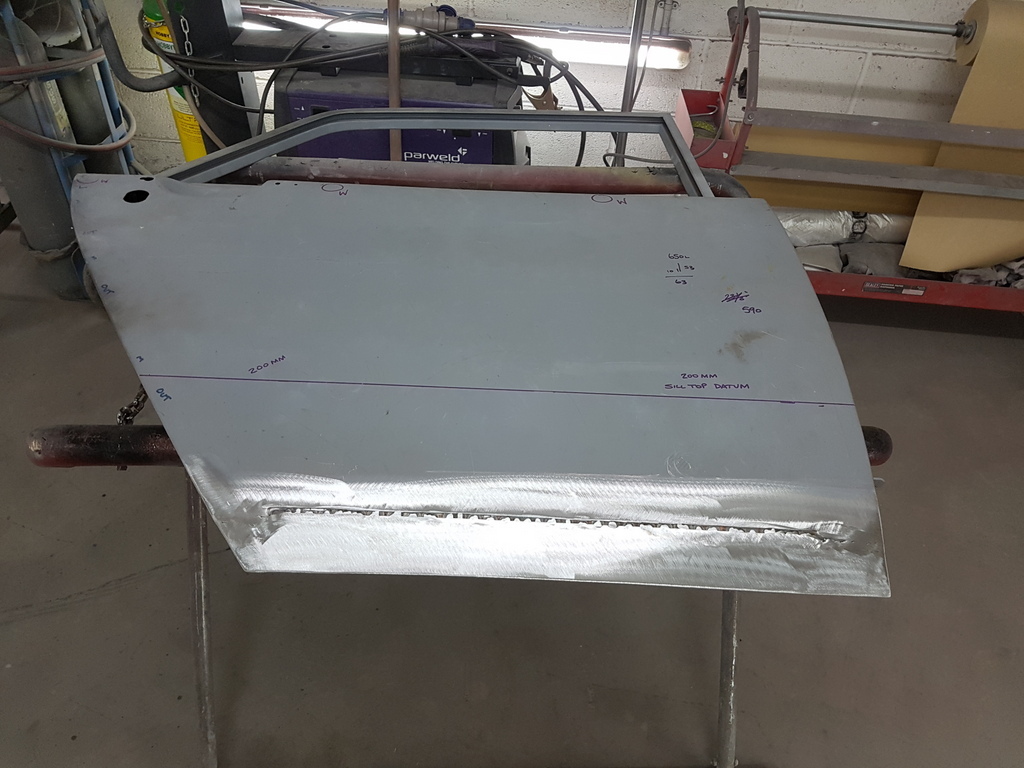 |
| |
|
|
|
|
|
Apr 18, 2019 22:30:26 GMT
|
|
lovely workmanship
|
| |
|
|
|
|
|
Apr 20, 2019 21:44:33 GMT
|
Found time to hang the rear door 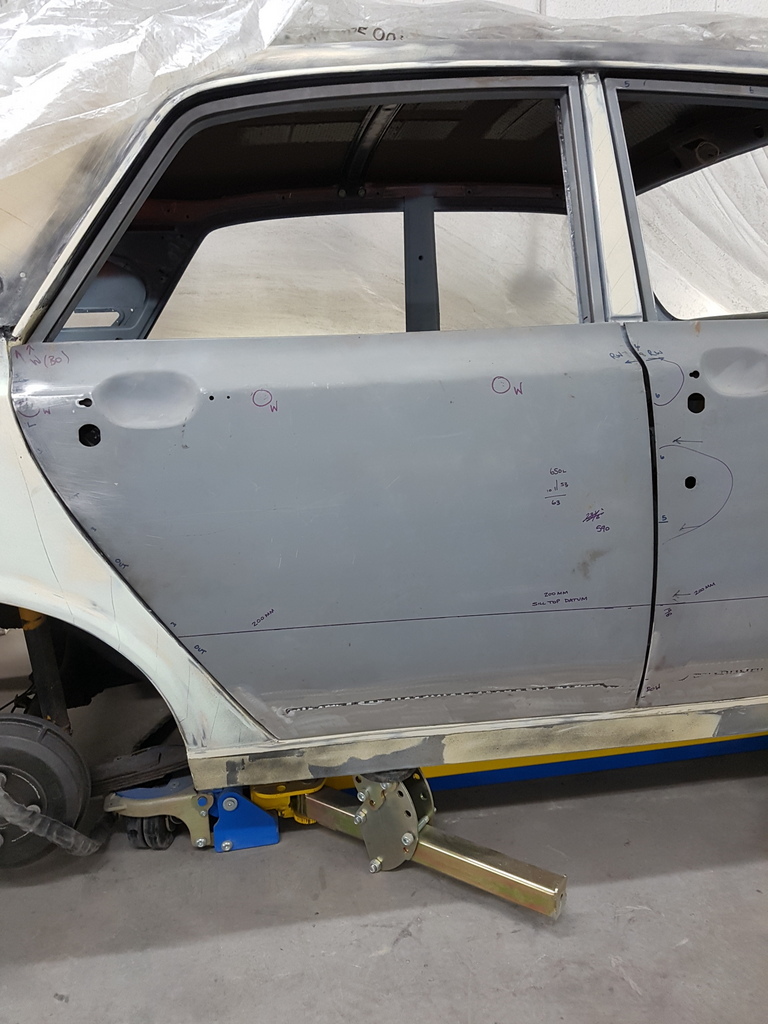 Outer gapping is reasonable and requires minimal work 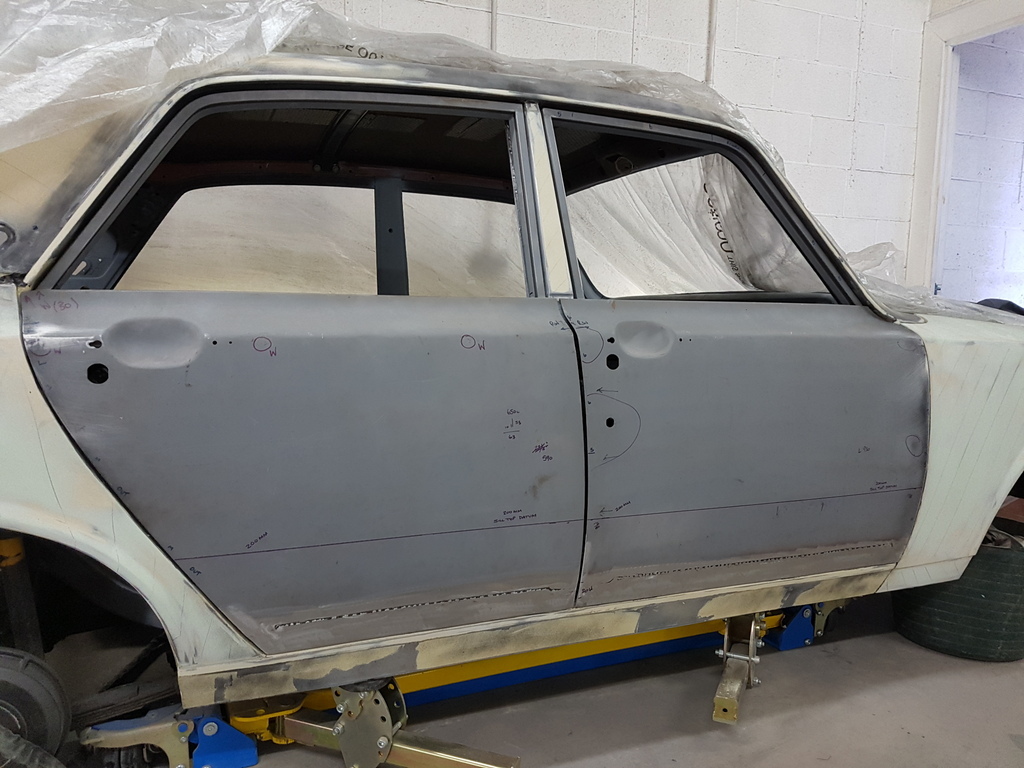 Gapping between the two doors is pretty hideous 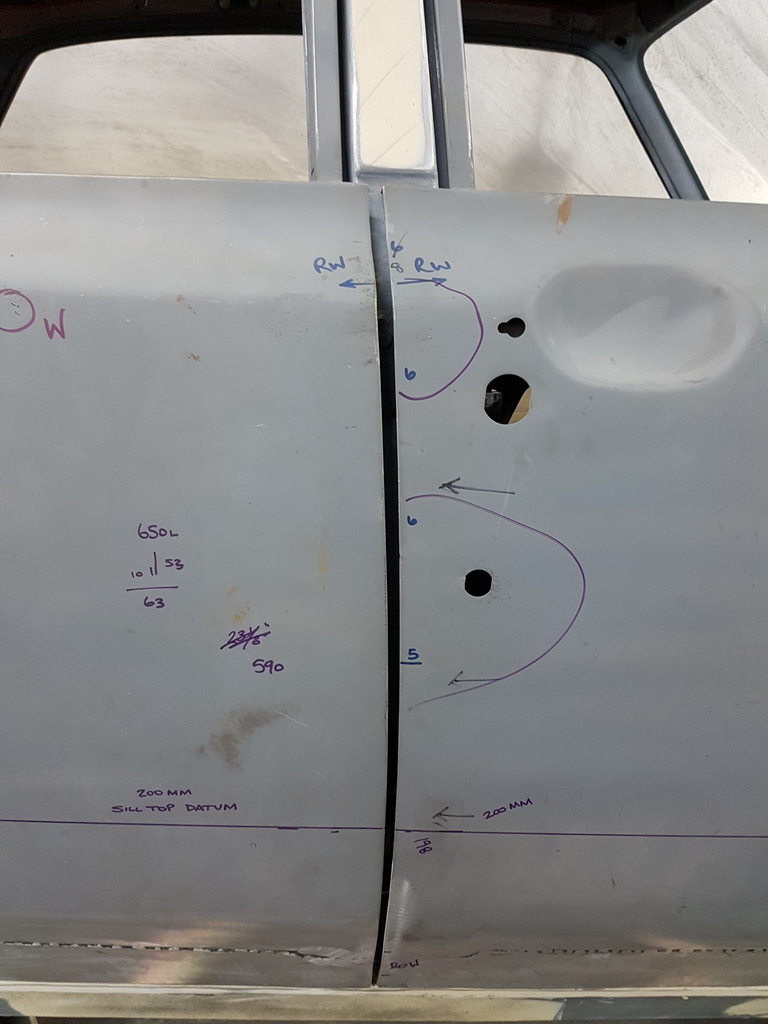 |
| |
|
|
|
|
|
|
|
|
Nearly there then! can you see the light at the end of the tunnel or is it just a man with a torch?!!
|
| |
|
|
|
|
|
|
|
Nearly there then! can you see the light at the end of the tunnel or is it just a man with a torch?!!  Its normally a bloke with a high intensity search lamp switched on at full beam, the bloke is a banksman for the fleet of skip lorries behind him with the additional work load on them  |
| |
Last Edit: Apr 21, 2019 8:40:50 GMT by Deleted
|
|


