|
|
|
Mar 15, 2019 19:10:00 GMT
|
Again the photos of todays progress don't do the amount of effort any justice 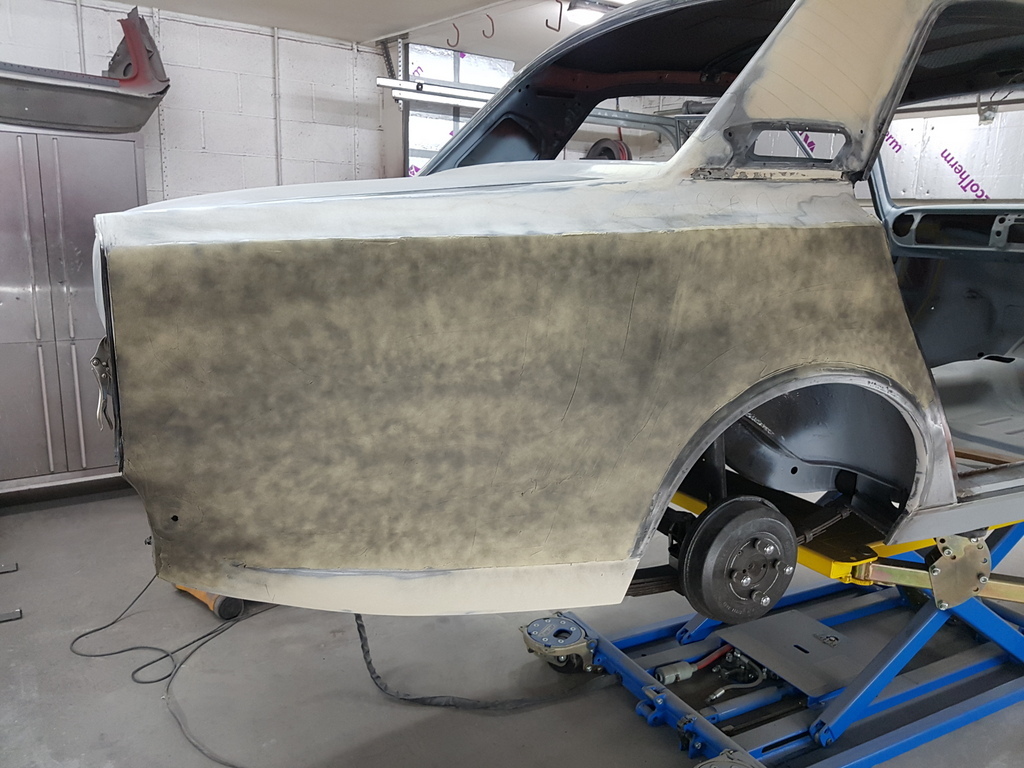 Got through a couple of skims on the offside rear wing 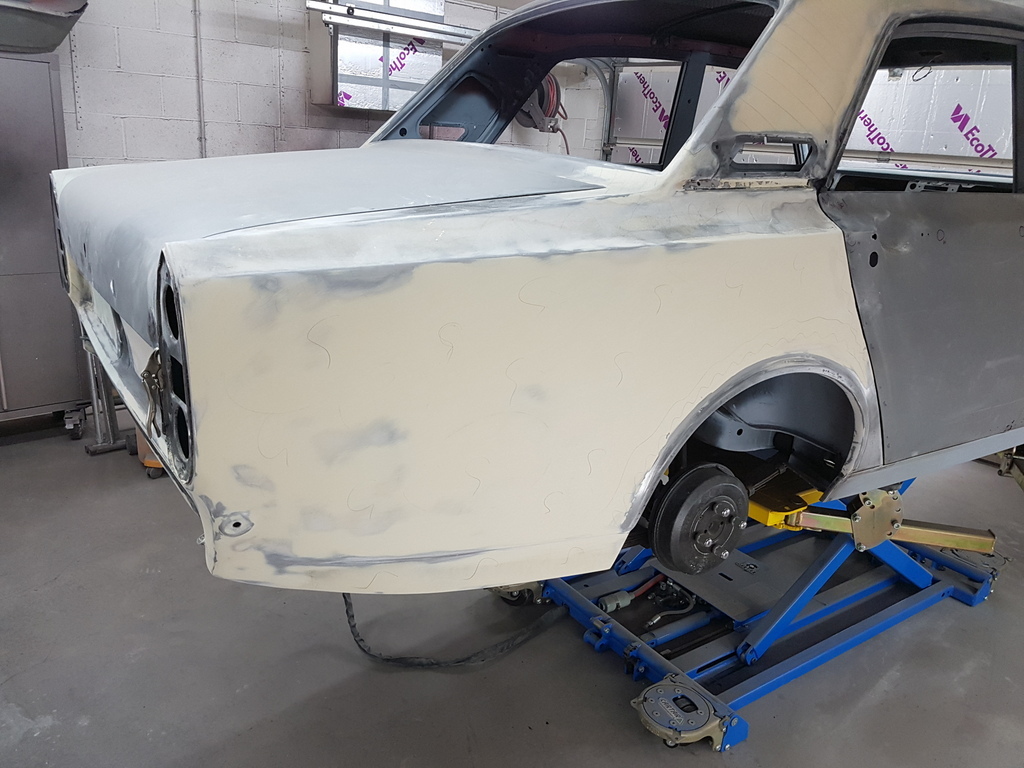 The profile is now quite close - still needs some detail work to the wheelarch area prior to a final skimming of glaze 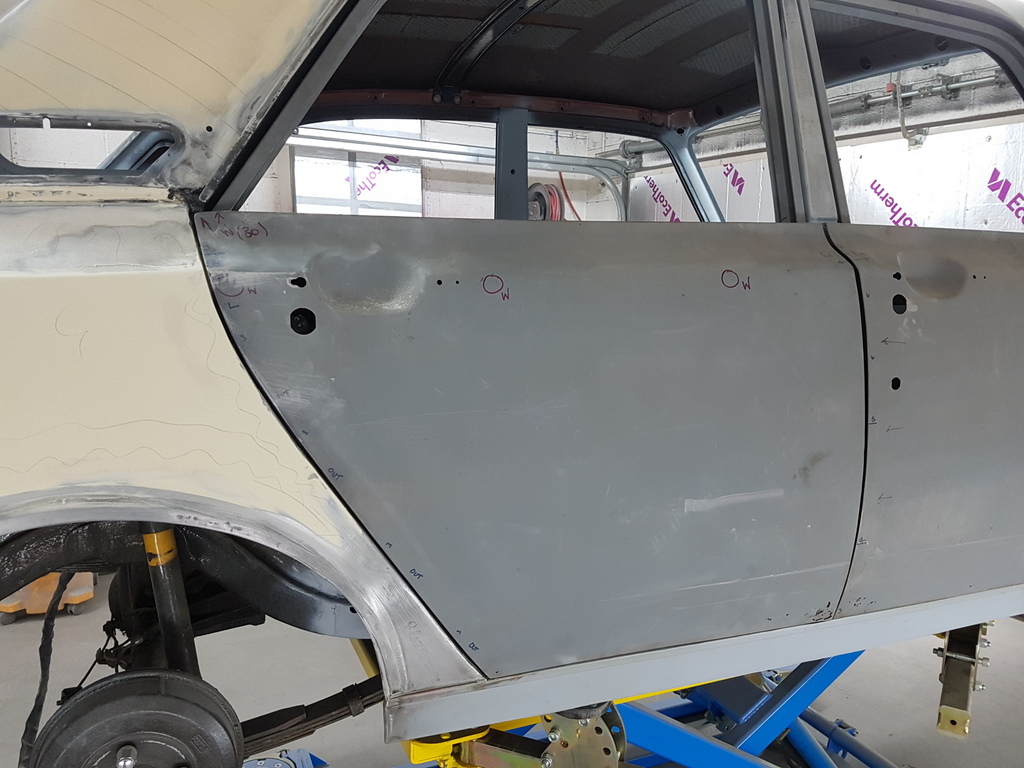 I also need to consider & start working on the gapping & profile of the wing in co-ordination with the rear door 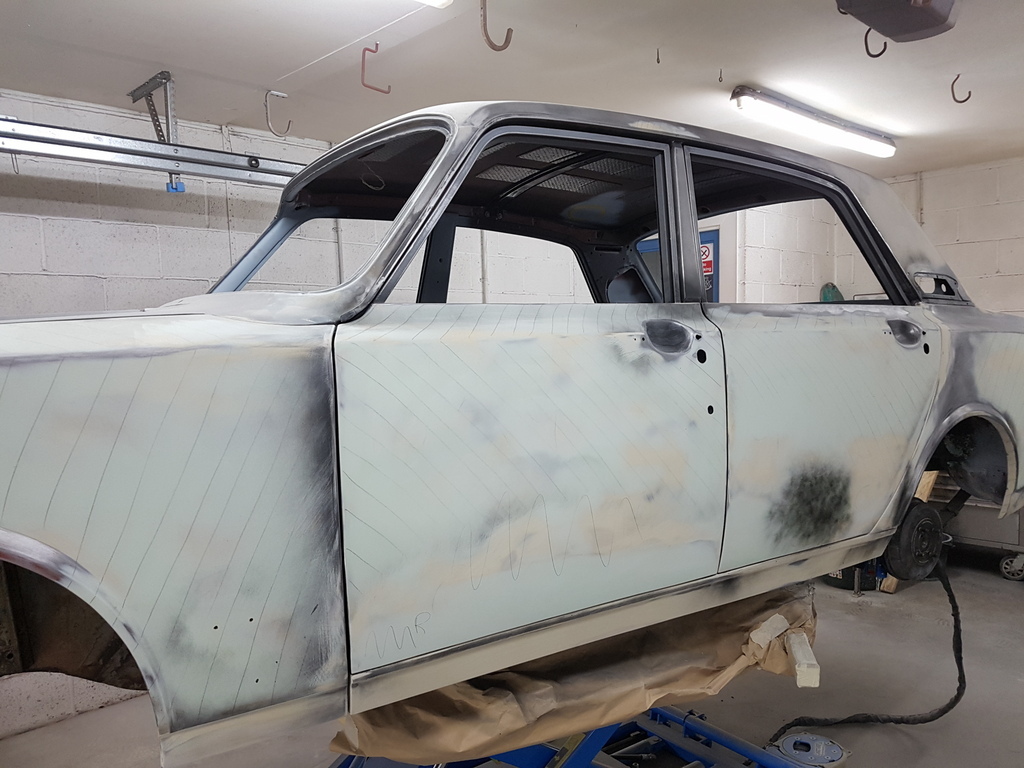 Now happy that both of door bottoms on the nearside are within a suitable alignment & gapping tolerance of the sill - but a few minor details to just profile back on the rear door and wheelarch of the wing 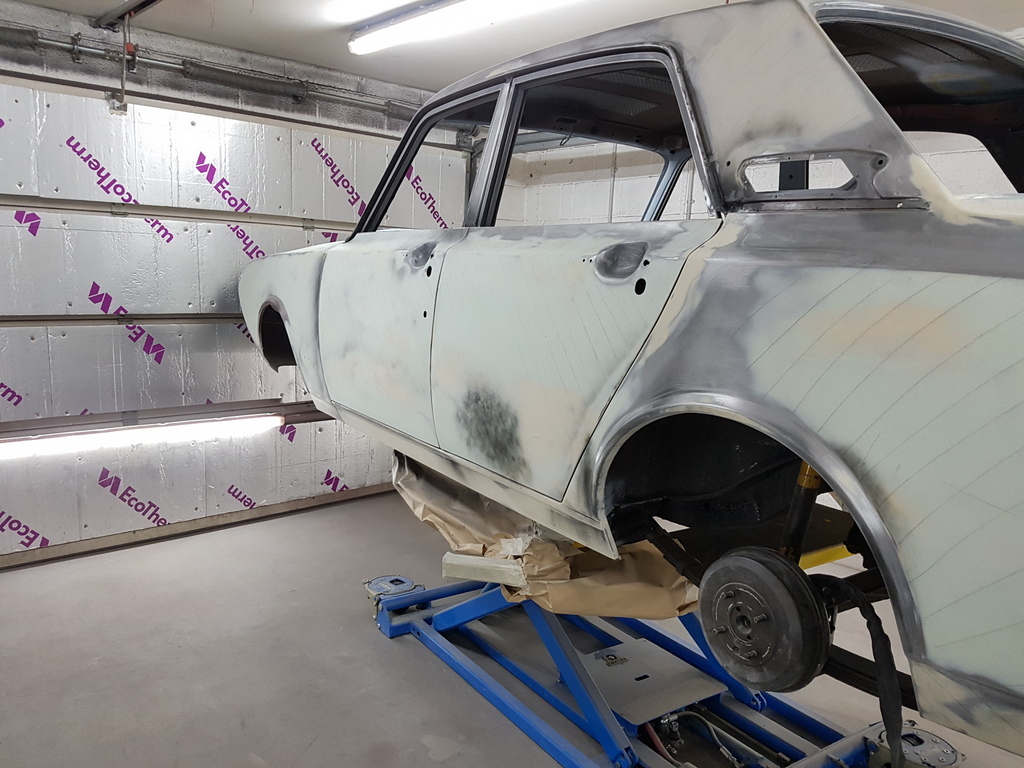 Once I have these done tomorrow - the doors can come back off to allow access to the door apertures on the body shell & the door frames which require preparing for polyester primer |
| |
Last Edit: Mar 15, 2019 19:13:23 GMT by Deleted
|
|
|
|
|
|
|
Mar 15, 2019 19:29:39 GMT
|
|
Do you avoid the spray on polyester contour fillers for some reason? Other than the mess of spraying?
|
| |
|
|
|
|
|
Mar 15, 2019 19:36:00 GMT
|
Do you avoid the spray on polyester contour fillers for some reason? Other than the mess of spraying? No - exactly the opposite - I use them all the time but only has a final profiling process - in other words I don't apply them that heavy that it starts to cancel out some of the physical profile details of the vehicles panels |
| |
Last Edit: Mar 15, 2019 19:36:23 GMT by Deleted
|
|
|
|
|
Mar 15, 2019 19:49:02 GMT
|
|
Been reading bits of this thread but really need to sit down and go through it all again again fantastic work like you say photos don't show how much goes into the profiling of the body work
|
| |
|
|
|
|
|
Mar 15, 2019 22:28:16 GMT
|
|
Bravo mate, outstanding work. It's a real credit to you. Just seen this thread last night and read through it between then and now.
1 Quick question, what is the pencil lines drawn on the panels at 45 degree odd?
|
| |
|
|
glenanderson
Club Retro Rides Member
Posts: 4,328
Club RR Member Number: 64
Member is Online
|
|
|
|
1 Quick question, what is the pencil lines drawn on the panels at 45 degree odd? It’s a quick visual reference to show that the prep work on that area is complete. 😃 |
| |
My worst worry about dying is my wife selling my stuff for what I told her it cost...
|
|
|
|
|
Mar 18, 2019 21:28:00 GMT
|
Despite the turmoil of the Restoration Show preparation I still find a little time to keep the momentum on the Corsair 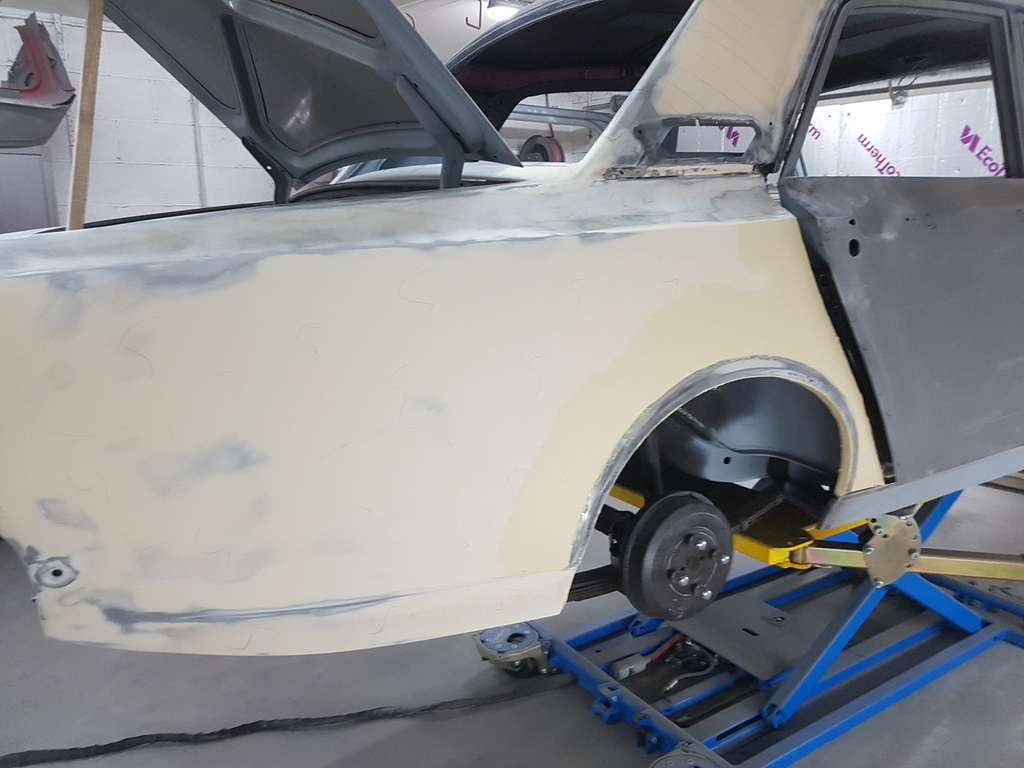 Offside rear wing now well on it way to looking like it belongs with the rest of the car 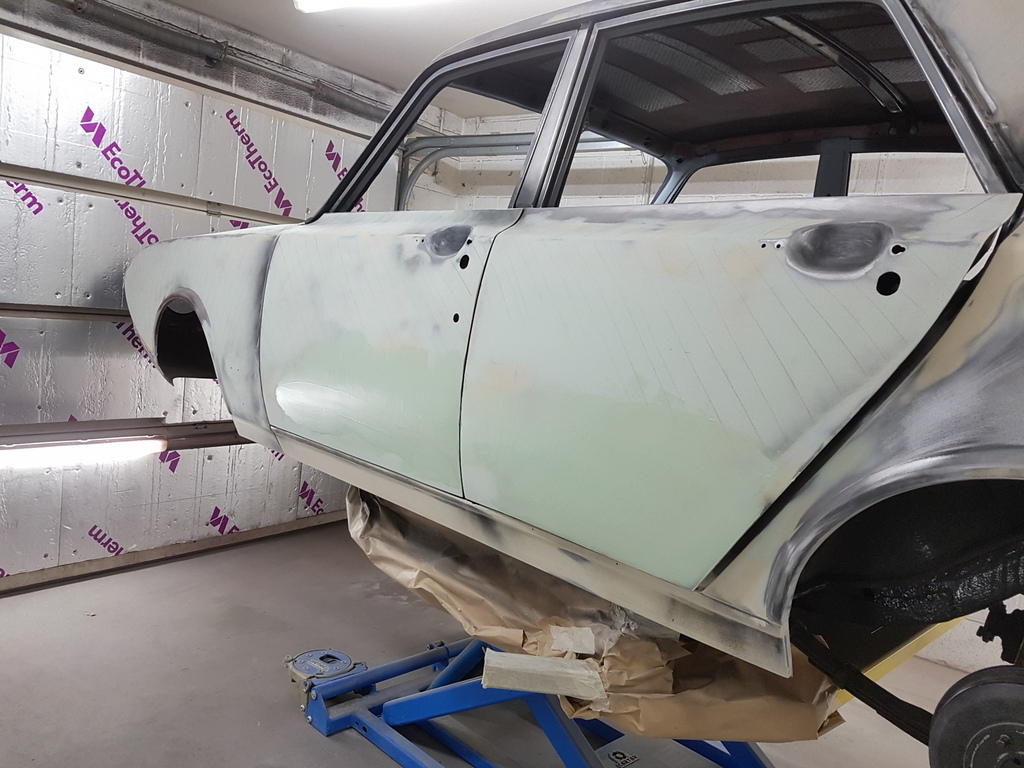 And progressed the nearside doors 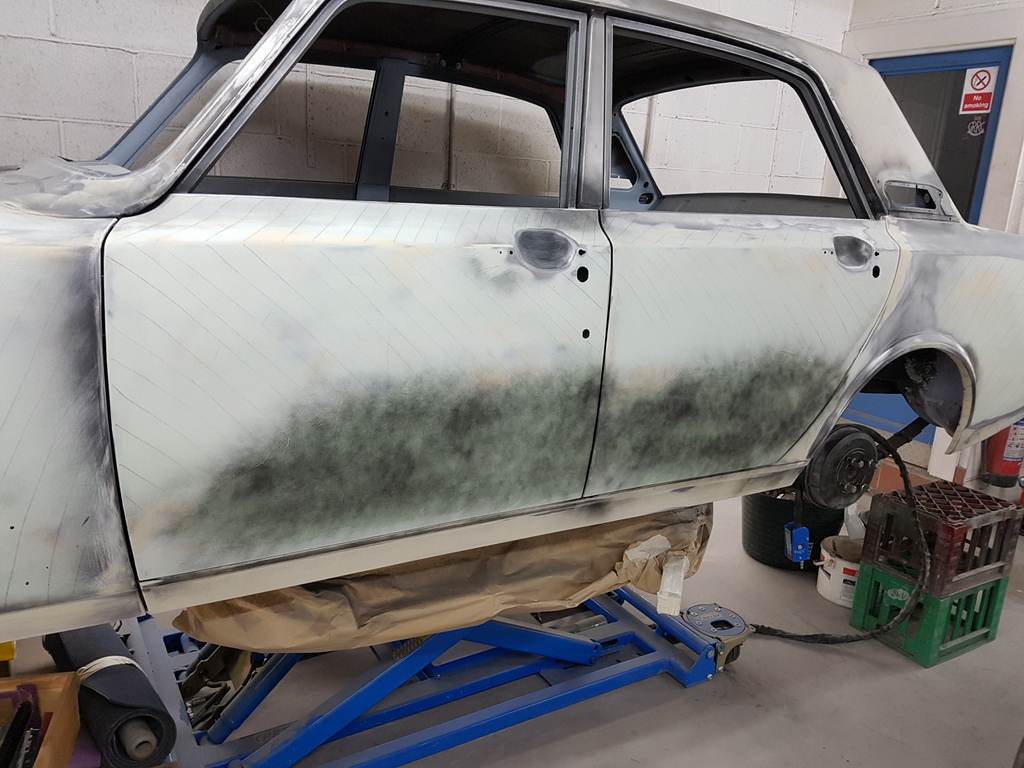 To ensure that they aligned ok with the profiles on the sill 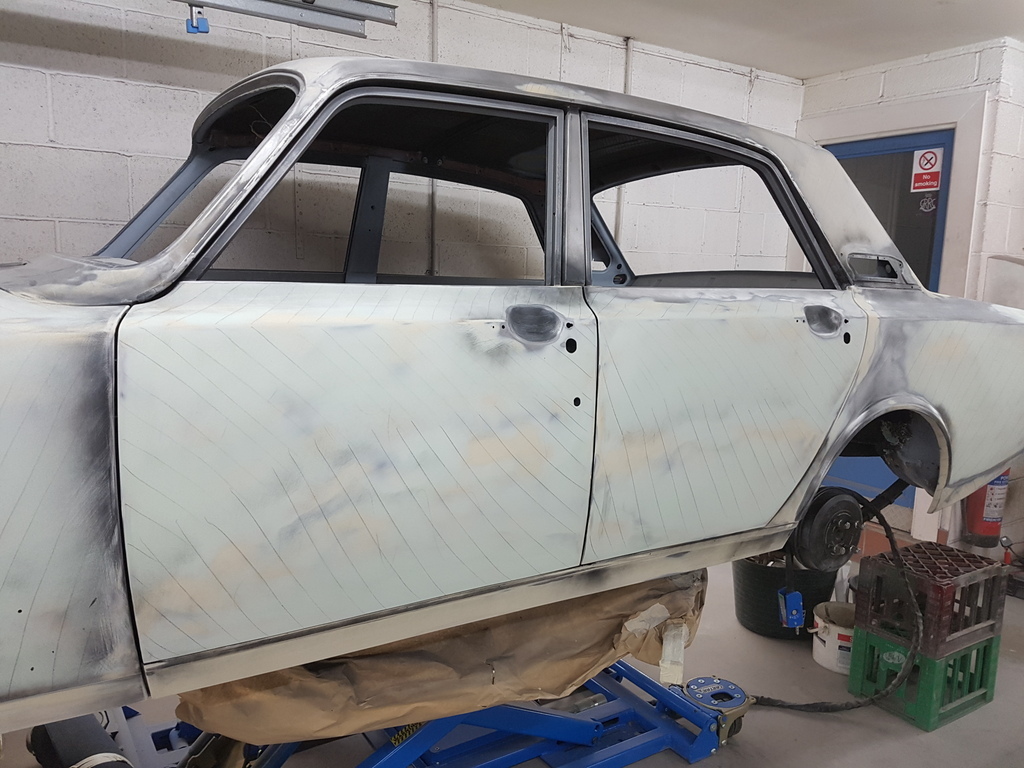 |
| |
|
|
keyring
Part of things
 
Posts: 913
Club RR Member Number: 47
|
|
Mar 21, 2019 20:59:05 GMT
|
I really do find the work you put into every car you work on unbelievable! I hate to think how many hours are just in sanding and profiling... I struggle to find the motivation some days to start working on the car, never mind do this level of work! But as always, I’m amazed with the the level of work involved, I imagine you’ll be looking forward to getting it into paint now  |
| |
|
|
|
|
|
|
|
|
.
I continue to only just look in and smile at your progress.
I have so much pain ahead of me when I start on the Chevy C10
But like all good things, it will be worth it.
|
| |
|
|
|
|
|
|
|
I hate to think how many hours are just in sanding and profiling... It would be very interesting to hear how many hours it is - if grumps would be happy to share the number? I’m sure it would be an amazing amount of time. |
| |
|
|
|
|
|
Mar 22, 2019 13:00:22 GMT
|
|
I am sure that the Grumpy guy can do it a lot faster than us amateurs, but for reference sake, it took 300 hours to get the body on the P1800 ready for the paint booth. That car was wavy and needed attention to all panels. That was using nothing but durablock sanding blocks and a LOT of sandpaper. There were inevitable backtracks where you find a spot that should have had more metal work and you re-do rather than add thickness of filler.
I will never do enough of this to get fast ( or efficient) so would love to know the estimate from Grumpy just to know how slow I really am!
Pete
|
| |
|
|
|
|
|
Mar 28, 2019 19:44:03 GMT
|
|
Apologies for the slow response but I have been tied up with the NEC Restoration Show (I manage the club stand for this show and it takes circa 2 weeks of my time to undertake the task)
So in answer to your questions has to how long it has taken to profile the panels on this (that is once all welding / panel fitting is completed) Having done the sums it's in the region of 380 hours but remember this particular car had extensive roof damage which has seen over 50 hours work alone - the offside rear wing was also quite badly deformed and this will be fairly extensive in input hours - a vehicle with strightish panels and little repairs can probably be turned around in about 50 hours and even less depending on the quality of the work that the client is paying for - the quick blow over merchants do next to nothing has far has prep work is concerned they just mask up and throw the paint on
|
| |
|
|
|
|
|
Mar 28, 2019 20:08:27 GMT
|
With the workshop cleared and everything put away from the Restoration Show I turned the Corsair around and placed it to the centre of the workshop 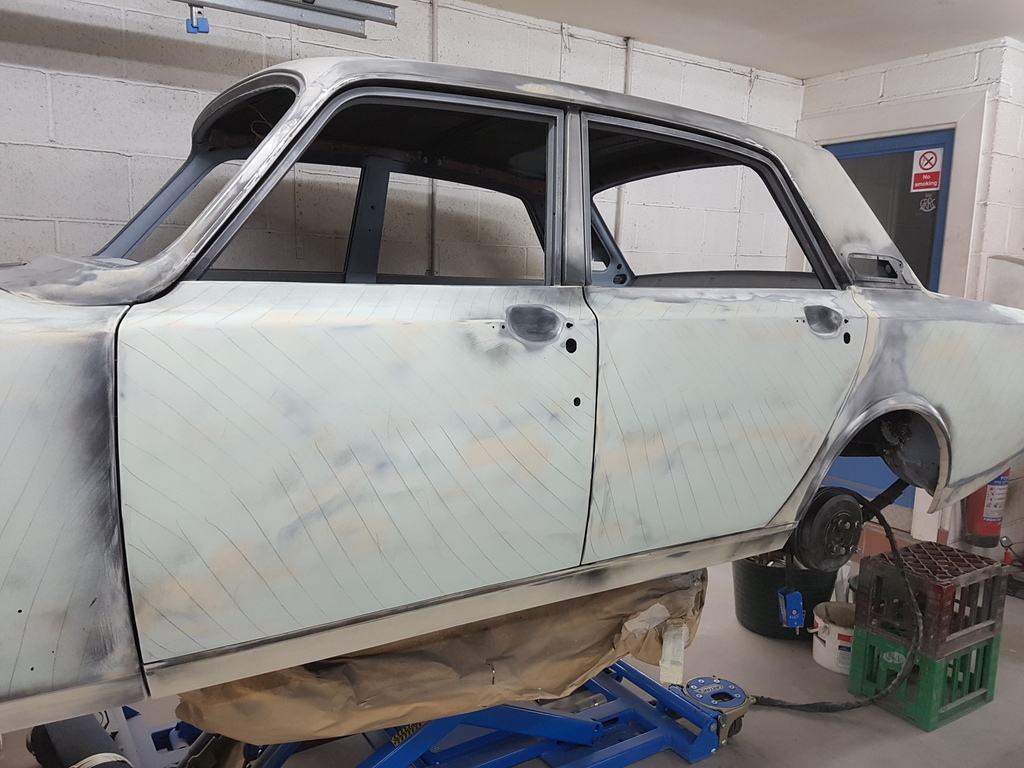 The nearside doors could now come off in order to facilitate the prep work on the door apertures of the bodyshell 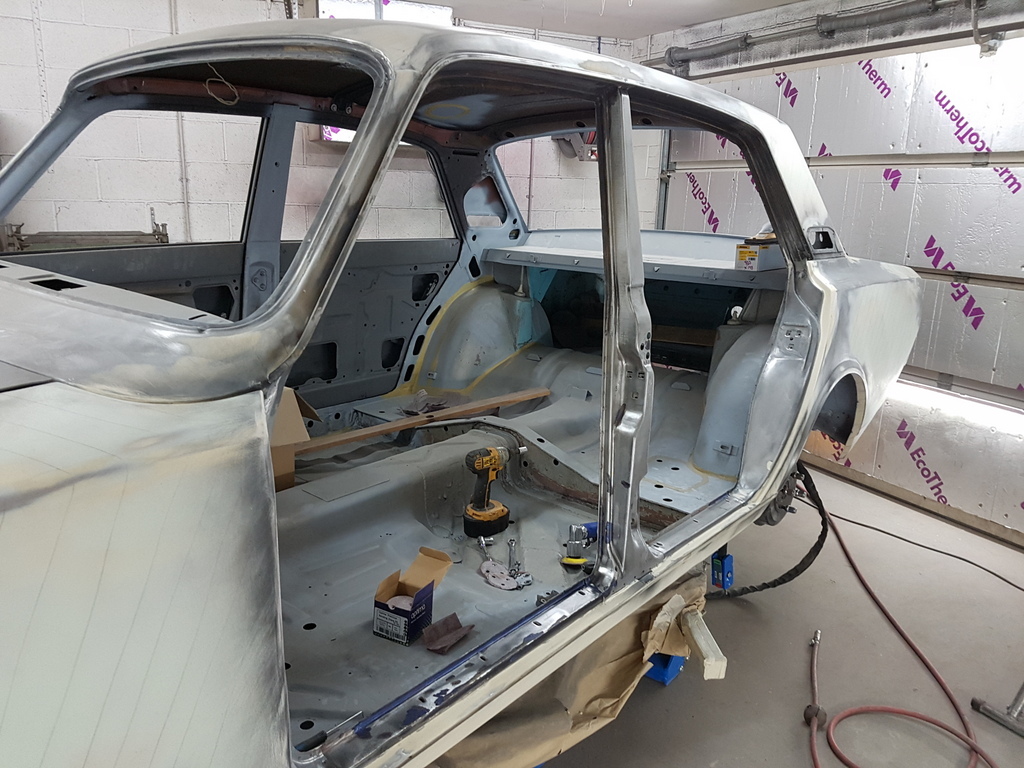 Along with the inner shells of the doors 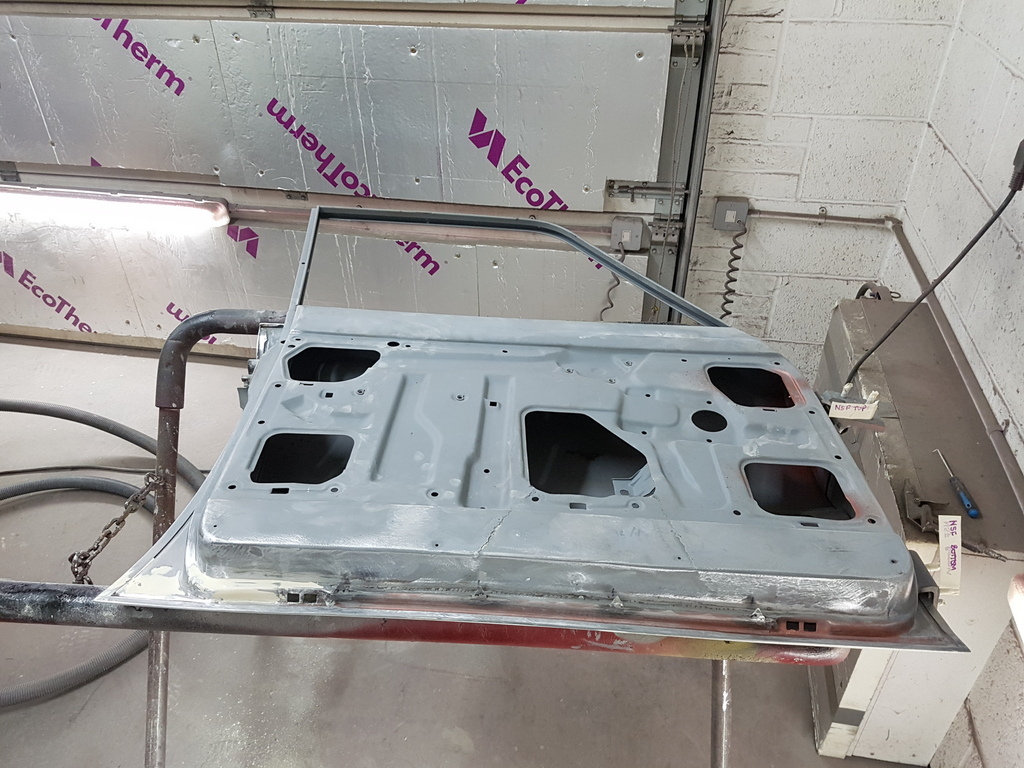 I need to remove the door hinges too to further the prep work 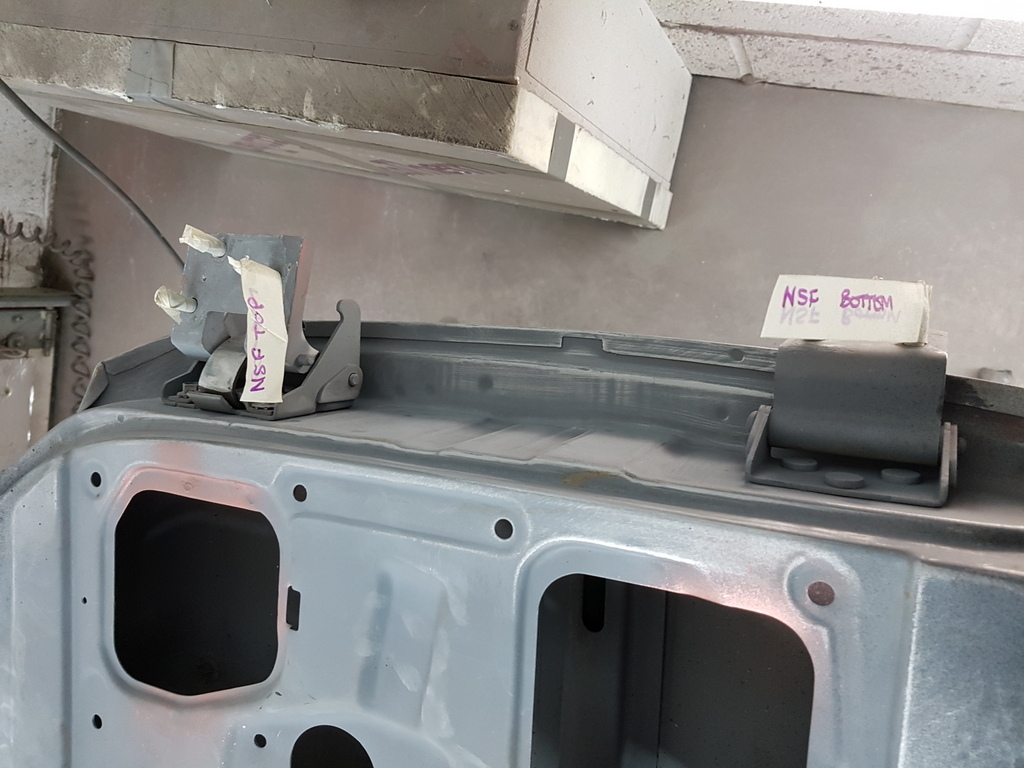 Favourite method of referencing hinge locations on doors 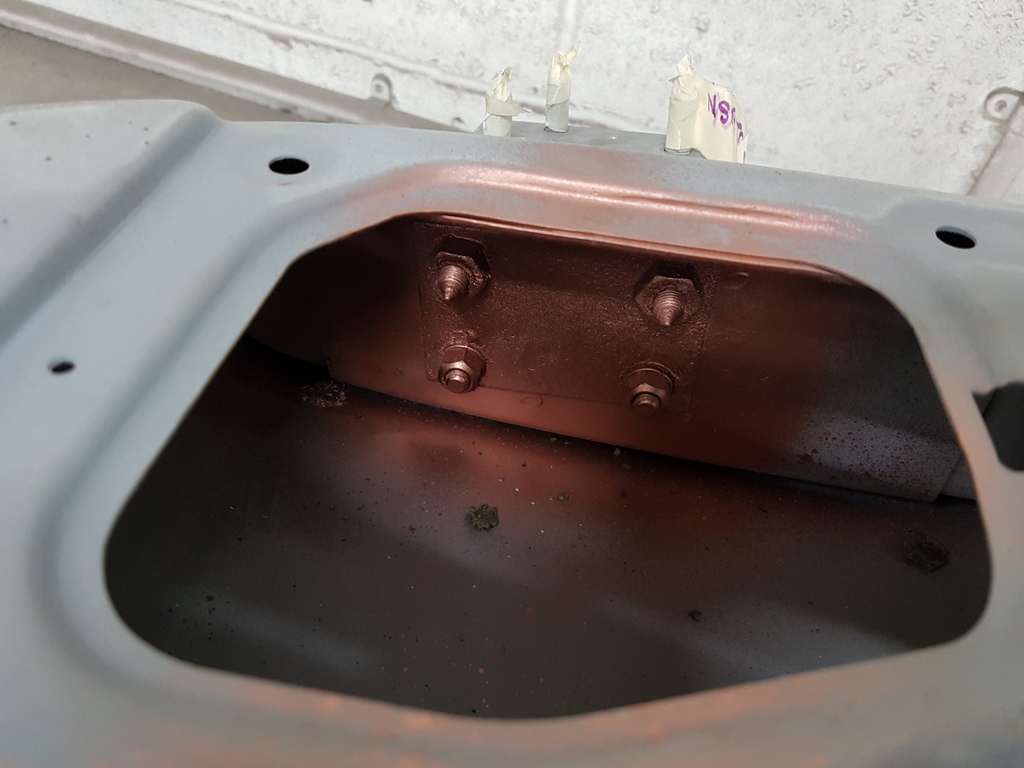 Squirt of a different colour aerosol paint - then unbolt the hinge 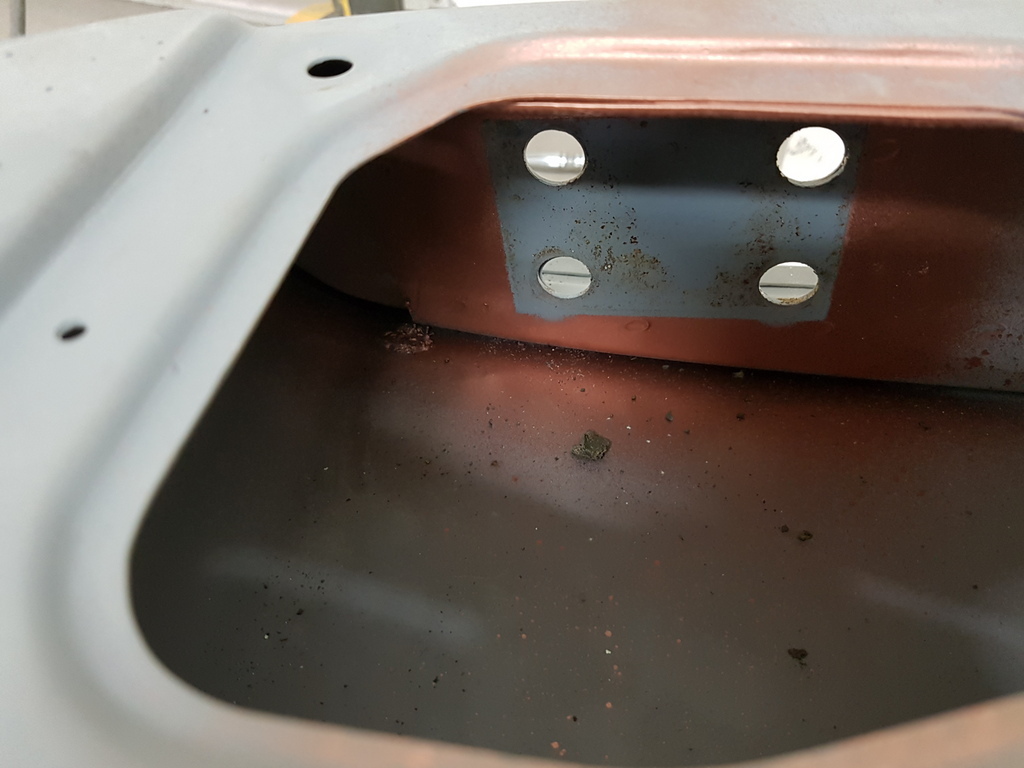 Just some detail work around the frames - much of it goes unseen once the door is refitted and has the door seals in place - likewise for the apertures 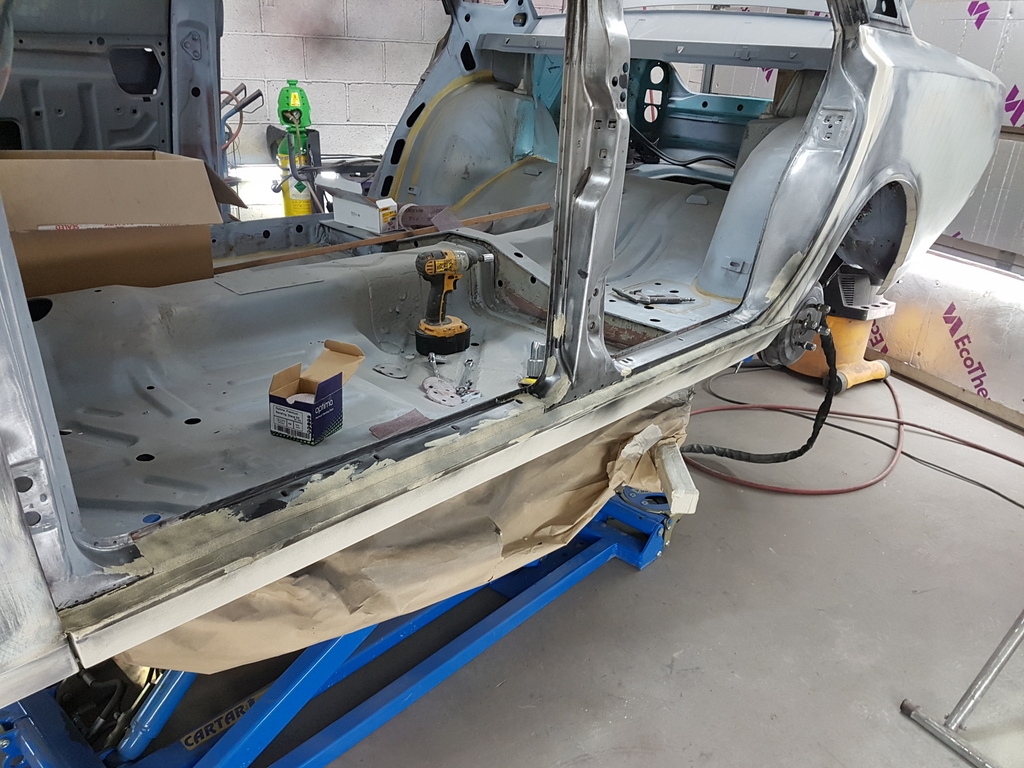 Not too much to do but next to impossible to access some of the areas with the doors hung 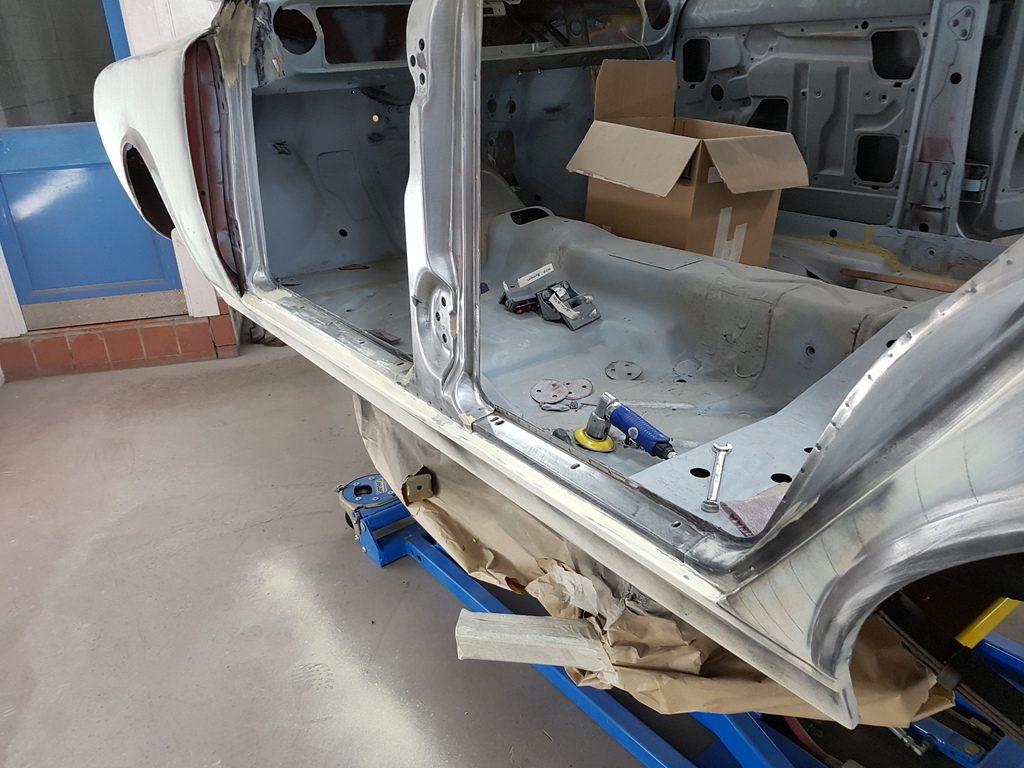 Meanwhile I am continuing to work the aperture area of the offside rear light 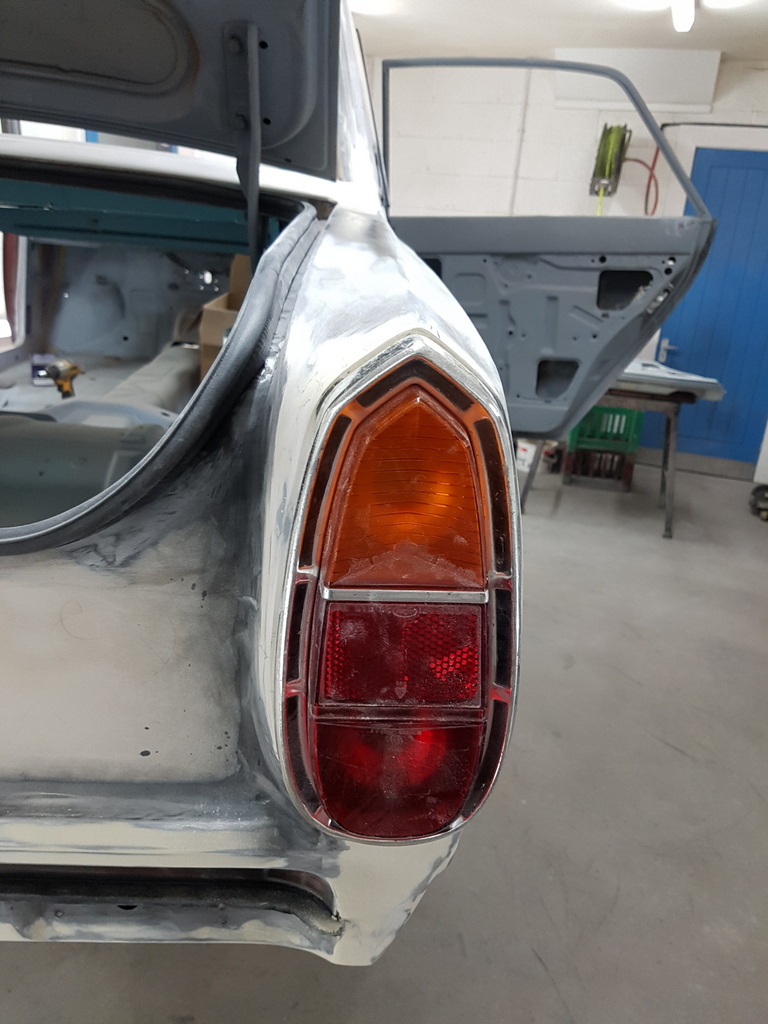 Which needs to not only match the profiles of the lamp 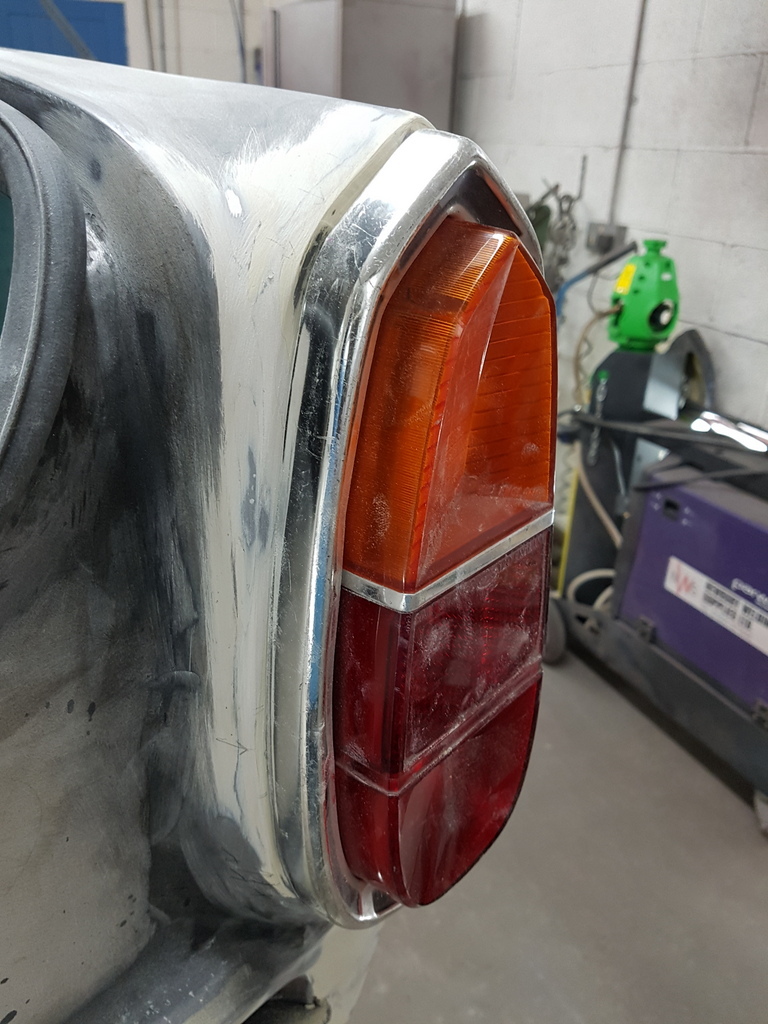 But also match the profiles achieved on the nearside rear lamp aperture 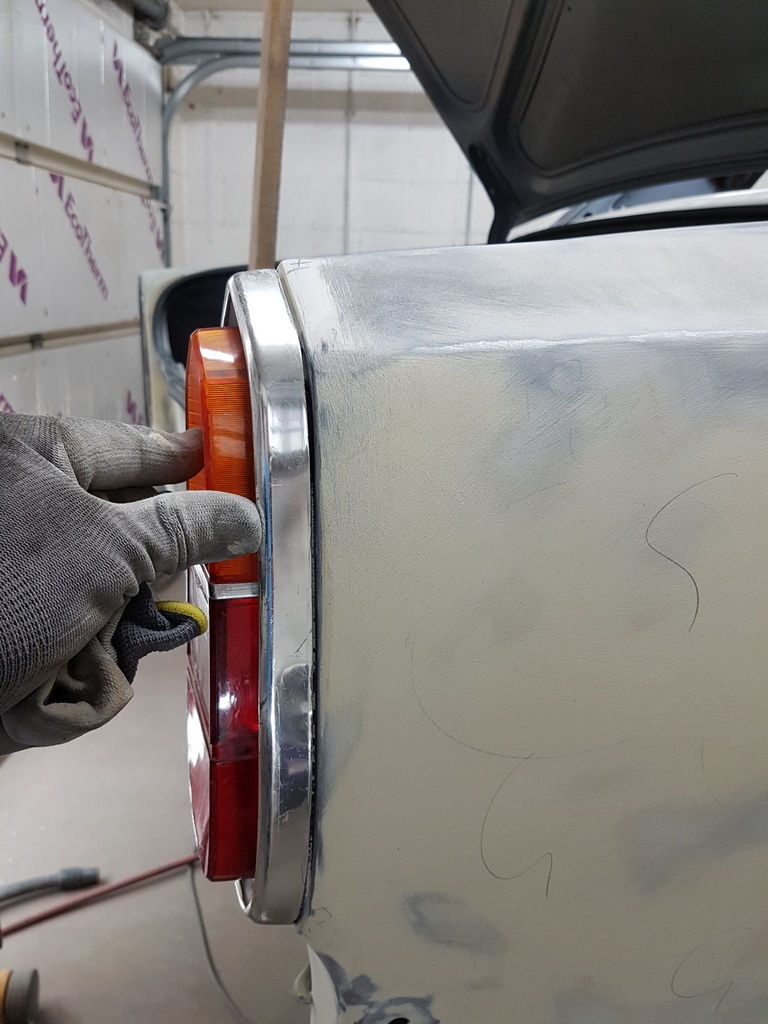 |
| |
Last Edit: Mar 28, 2019 20:12:35 GMT by Deleted
|
|
|
|
|
Mar 29, 2019 20:22:33 GMT
|
Another really exiting day of profiling (Not) Its at this stage of preparation that a lot of people start to rush towards getting some paint on the car and when they do they miss out certain detail that normally takes minutes to sort at this stage or goes towards ruining the job if forgotten about and then attempted after the car is painted and I hate drilling holes through fresh paintwork 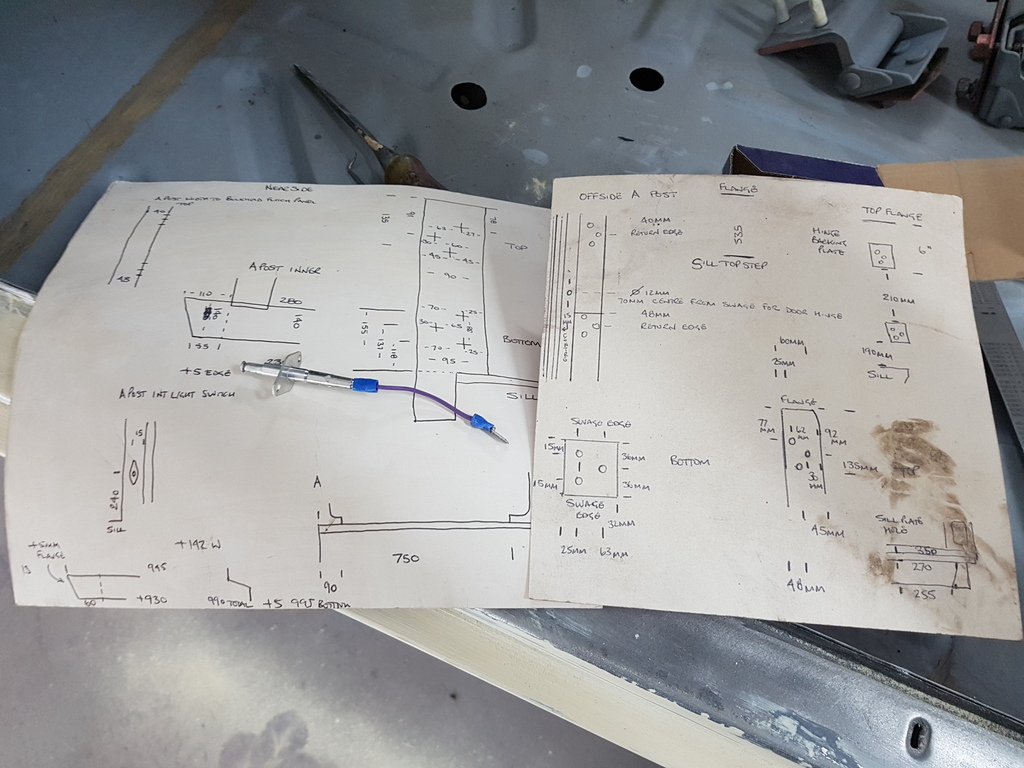 So remember the notes I made 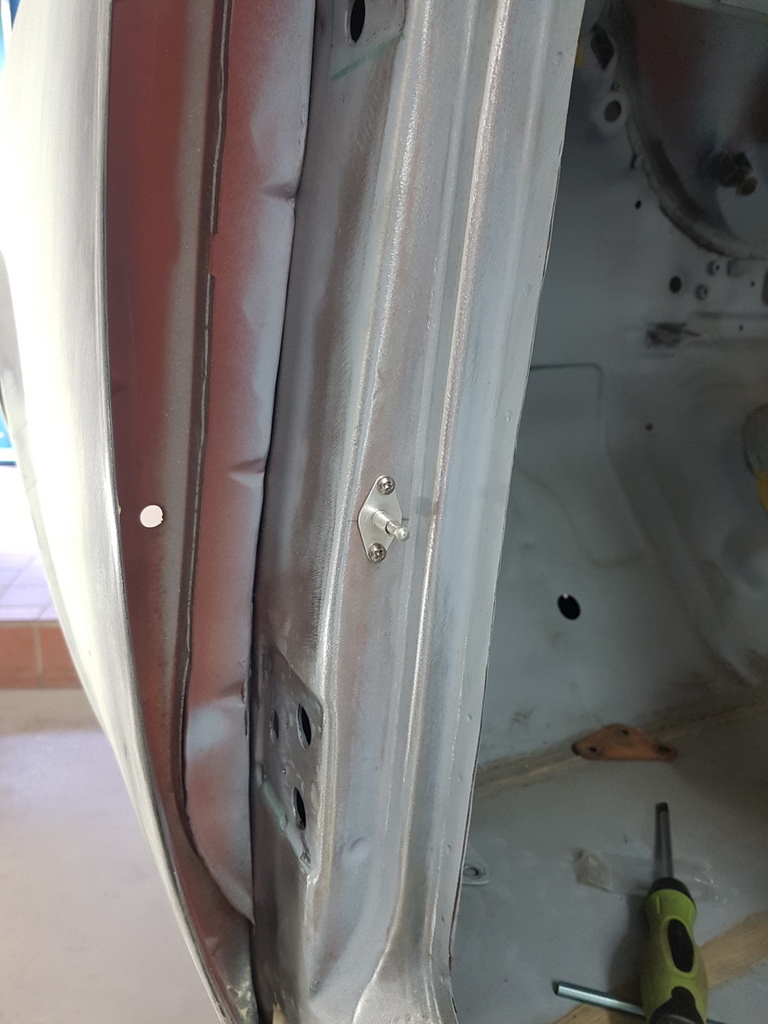 The new panels came without any of the factory aperture holes drilled in them - but this is soon remedied 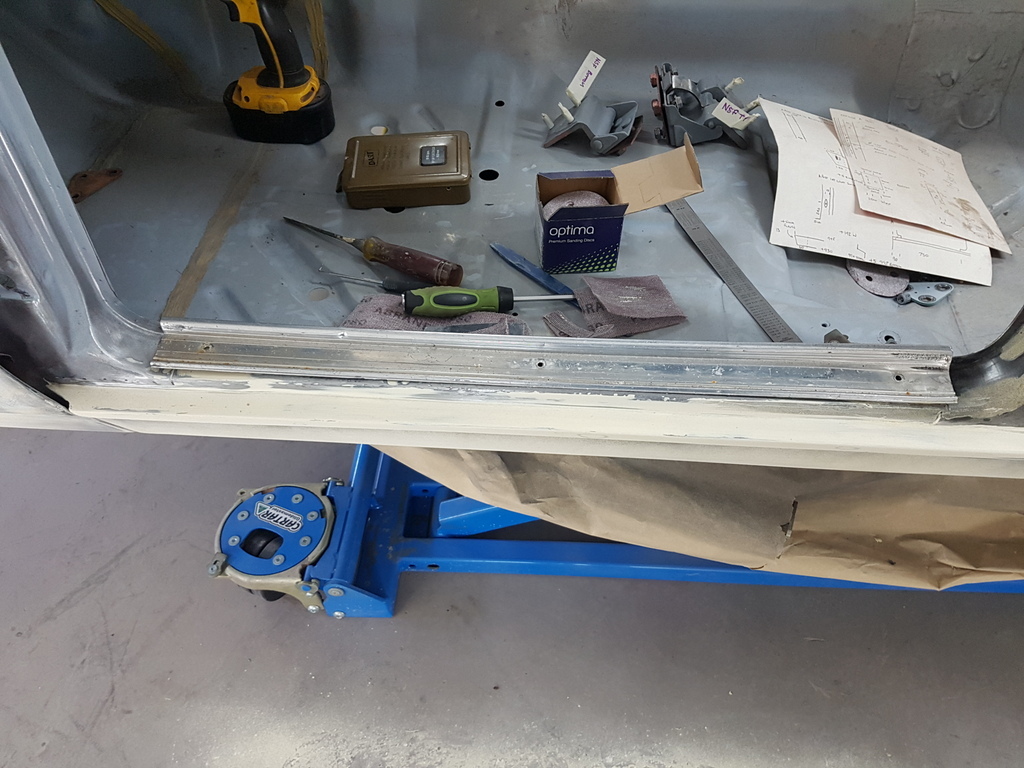 Then checked the sill tread plates has I was aware that I had replaced the front section of the sill step and a new hole would require drilling - note the tread plate has only 3 screw fixing points 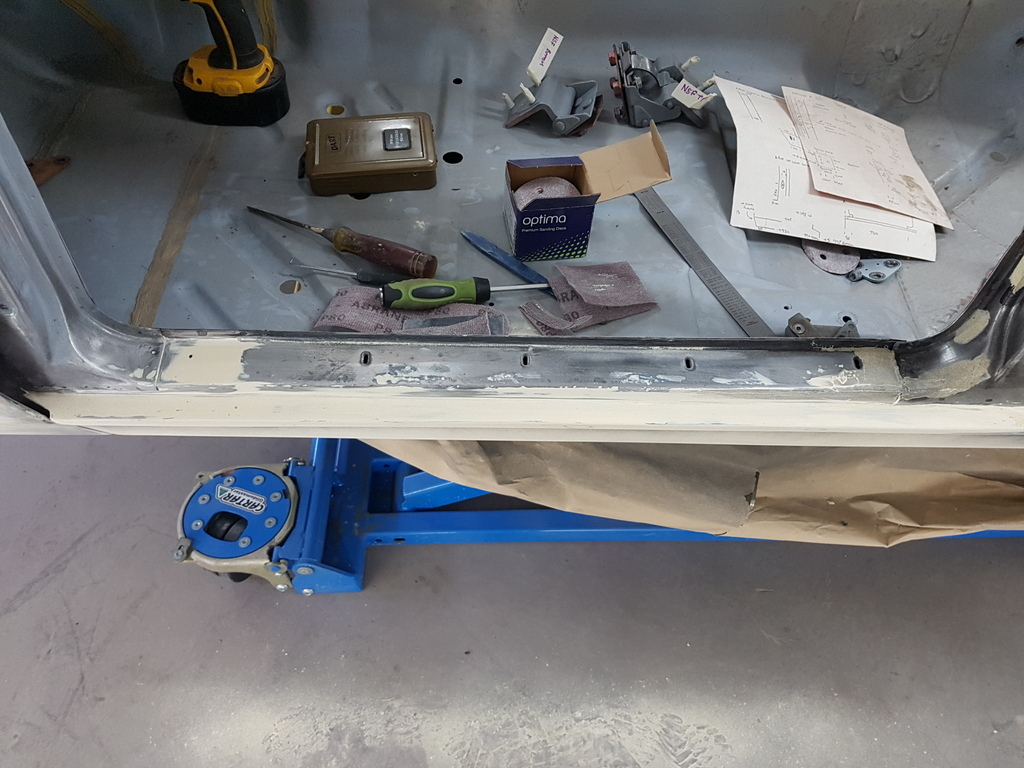 But the factory sill step carries 5 holes 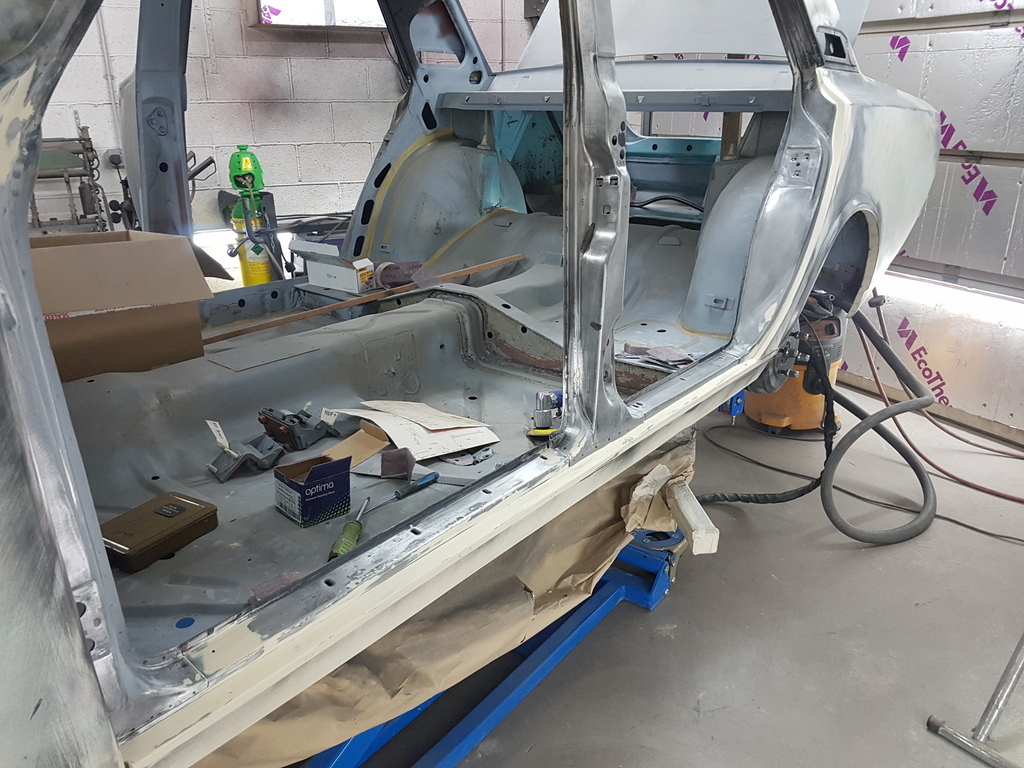 Just more profiling progress in the apertures 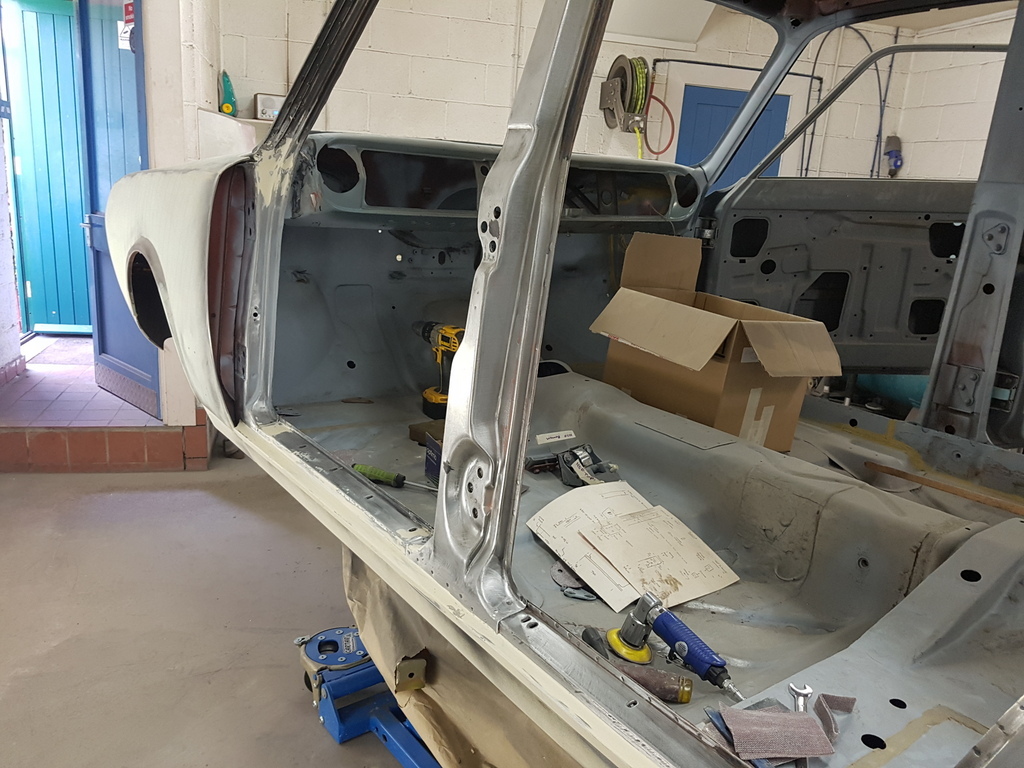 With the sun out Sid ventured into the workshop for a quick glance but did not like the dust so he went off to sunbathe 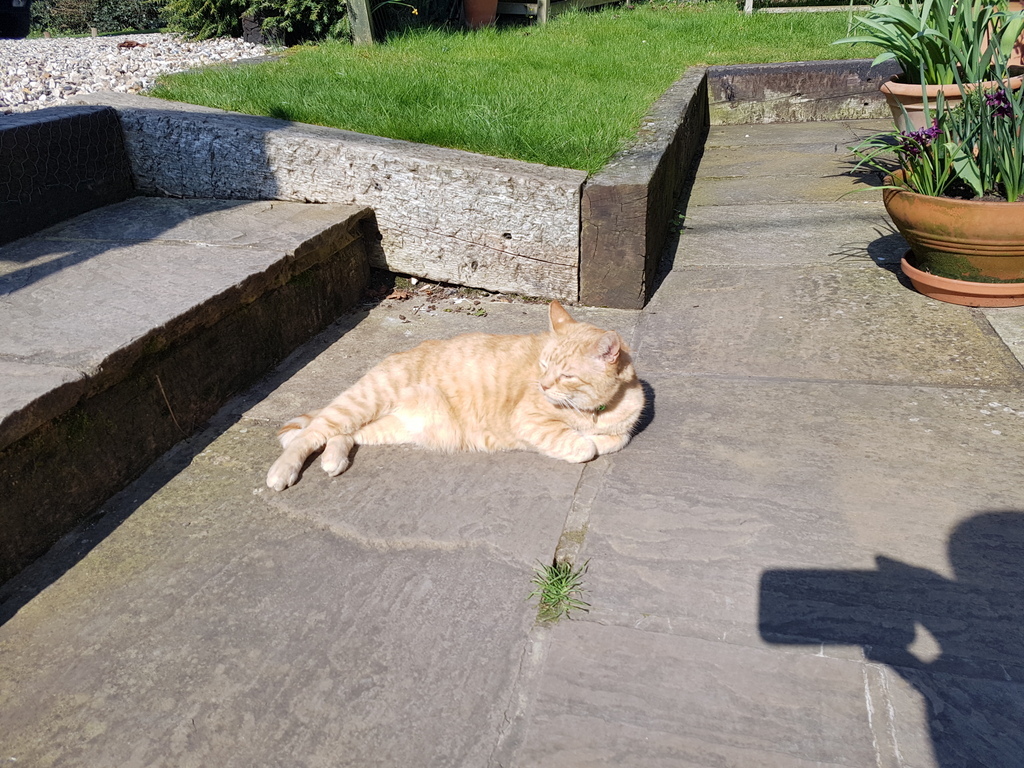 Whilst I continued to make more filler dust 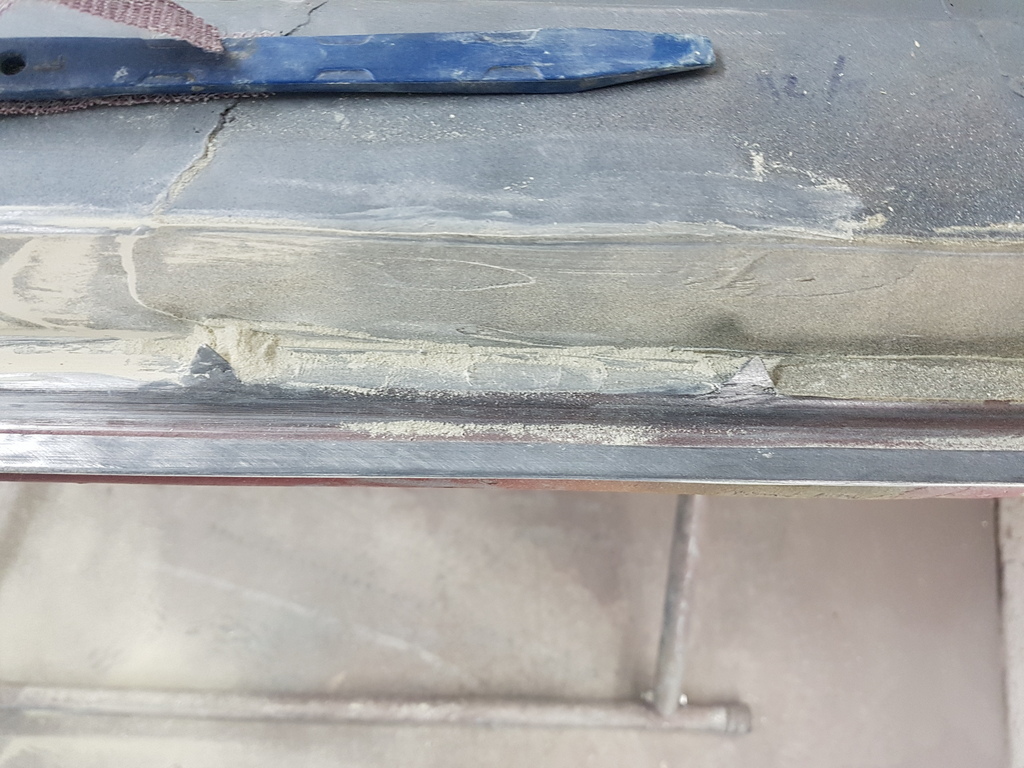 A few tips for saving your fingers being ripped when sanding by sharp edges such has these door seal retainers 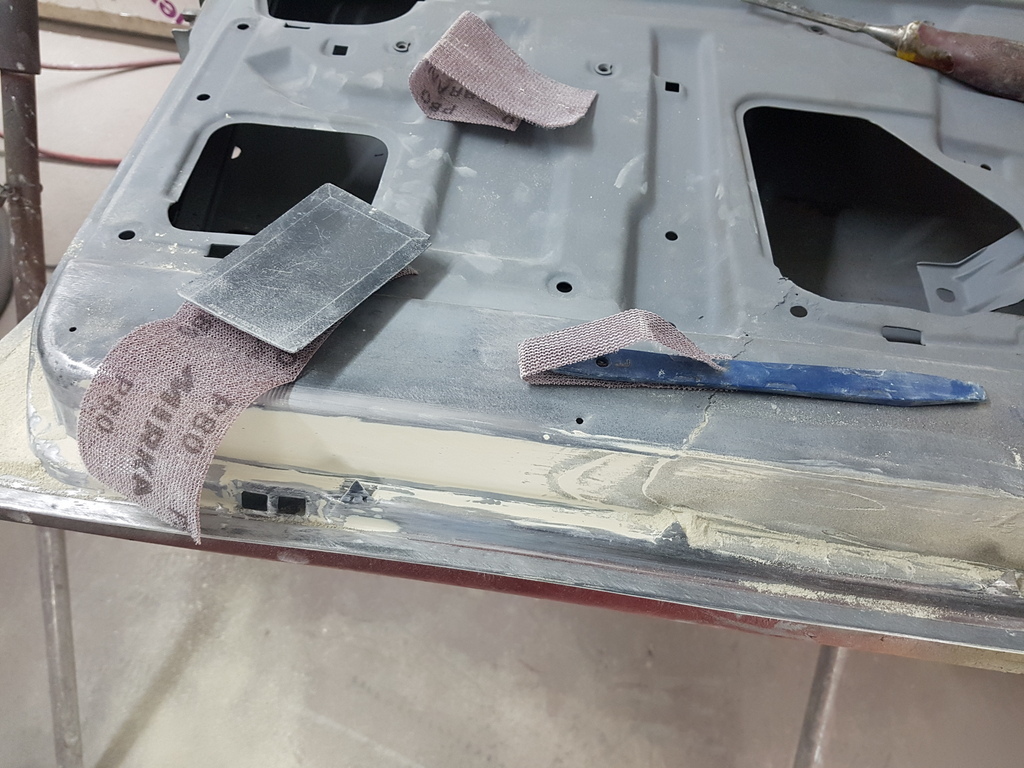 A filler spreader with your sanding paper wrapped over it or a plastic push stick used to the same effect keeps your flesh well out of the way 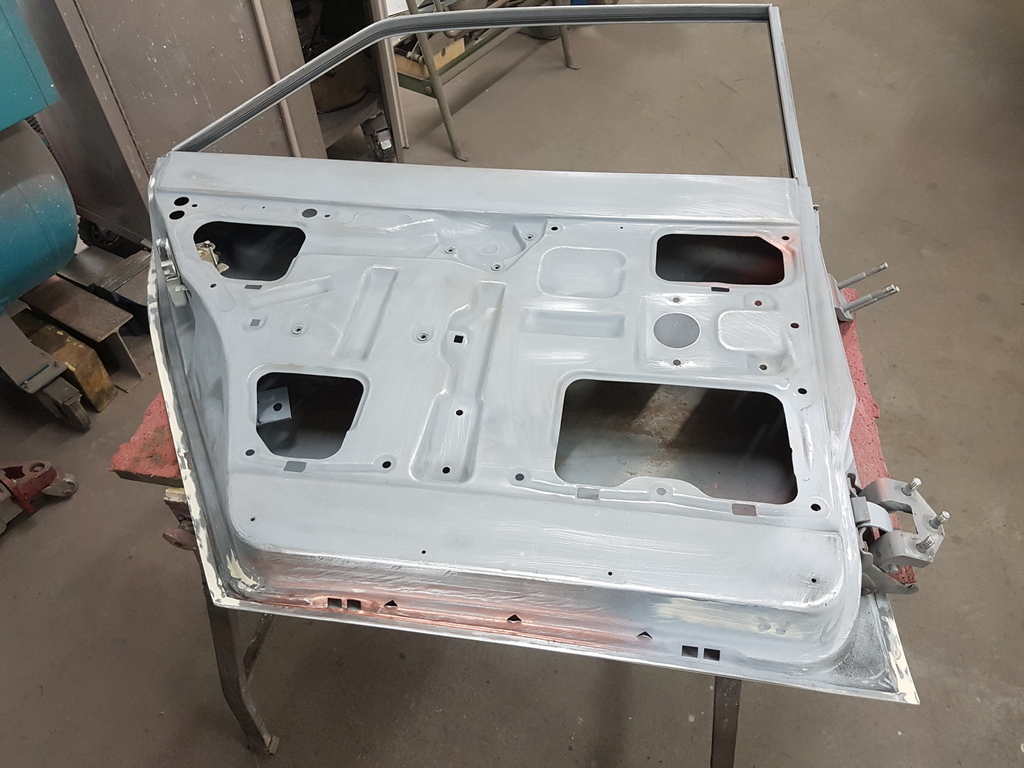 Rear door required very little work when compared to the front one 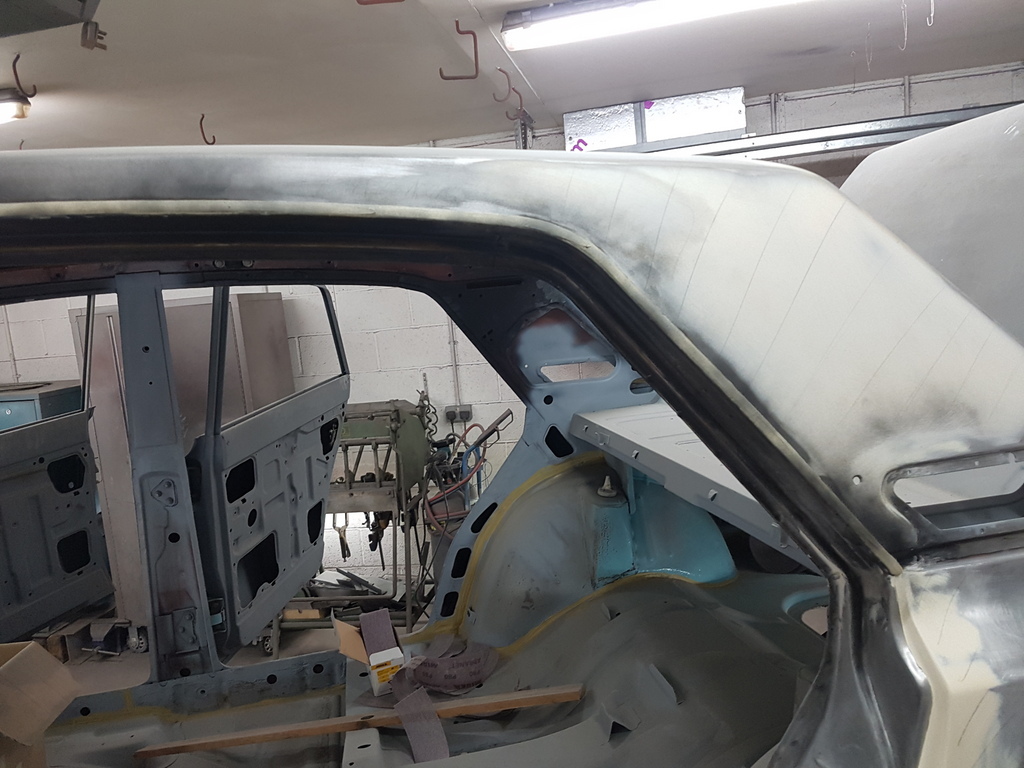 Roof rain gutter channel requires some minor profiling work but none of the face of it is seen at all 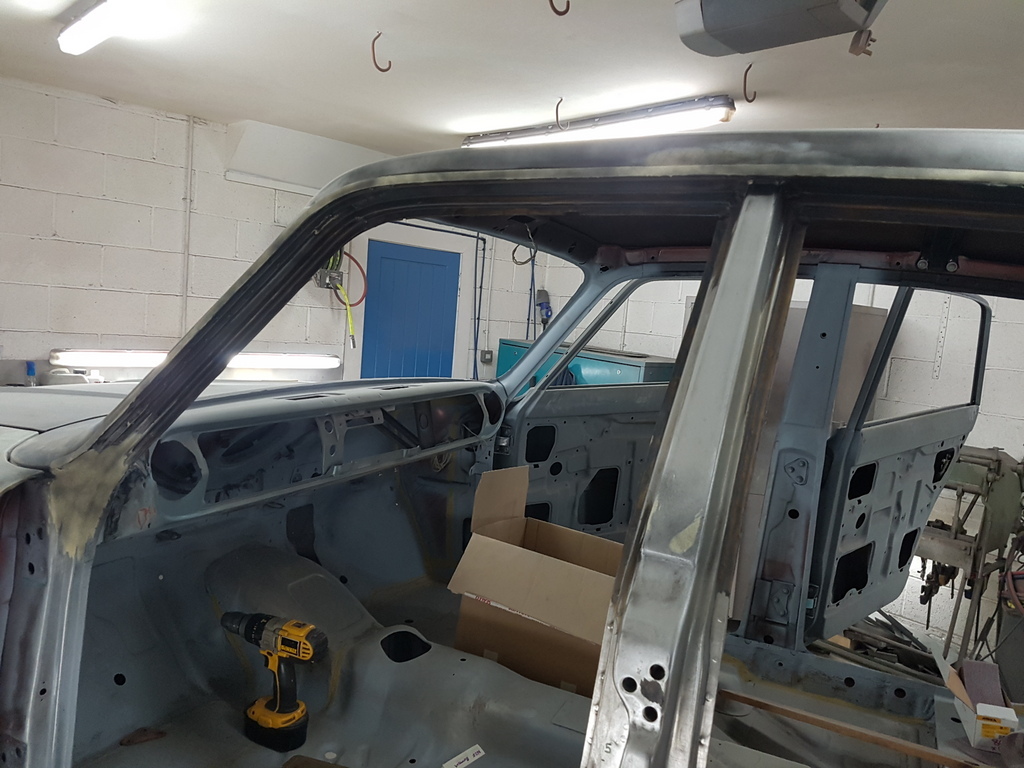 Its all faced with a stainless trim once the car is fitted back up 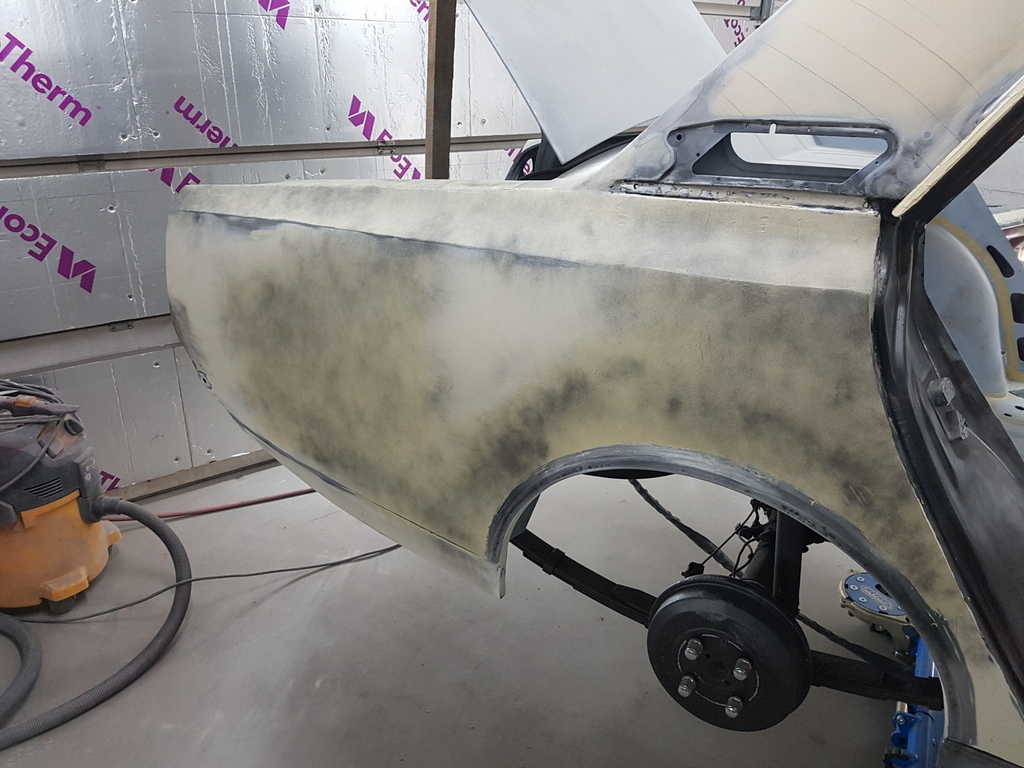 With the nearside apertures & doors virtually complete bar some very minor areas I turned my attention again to the offside rear wing during the profiling curing times 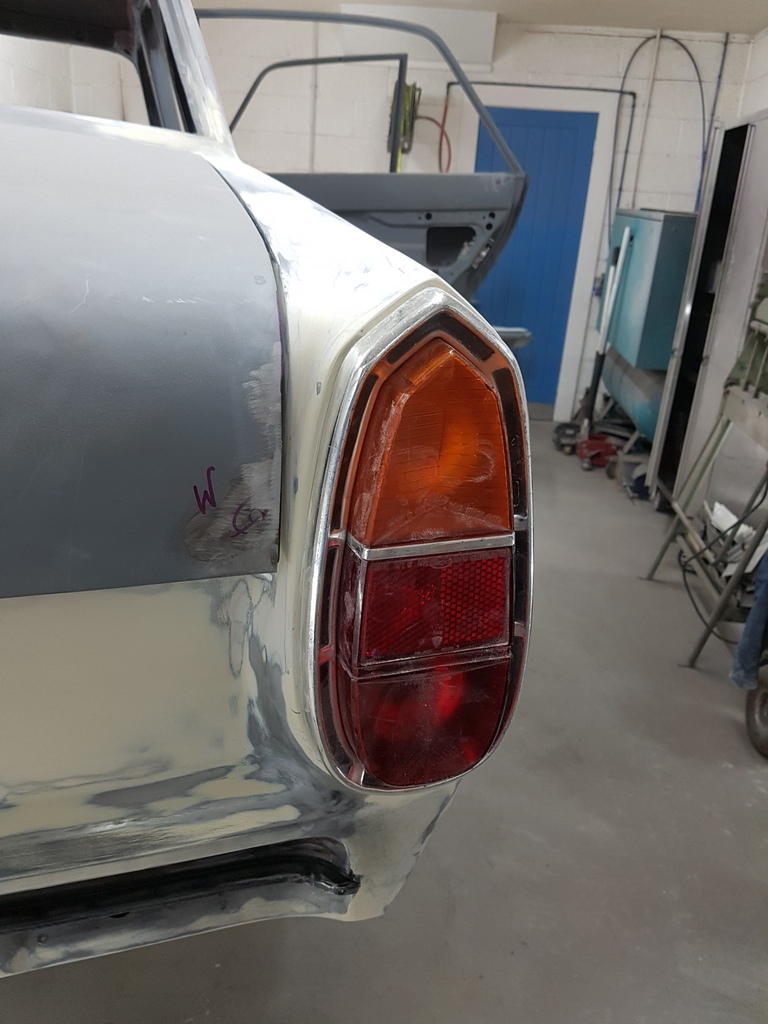 Rear lamp aperture all about there 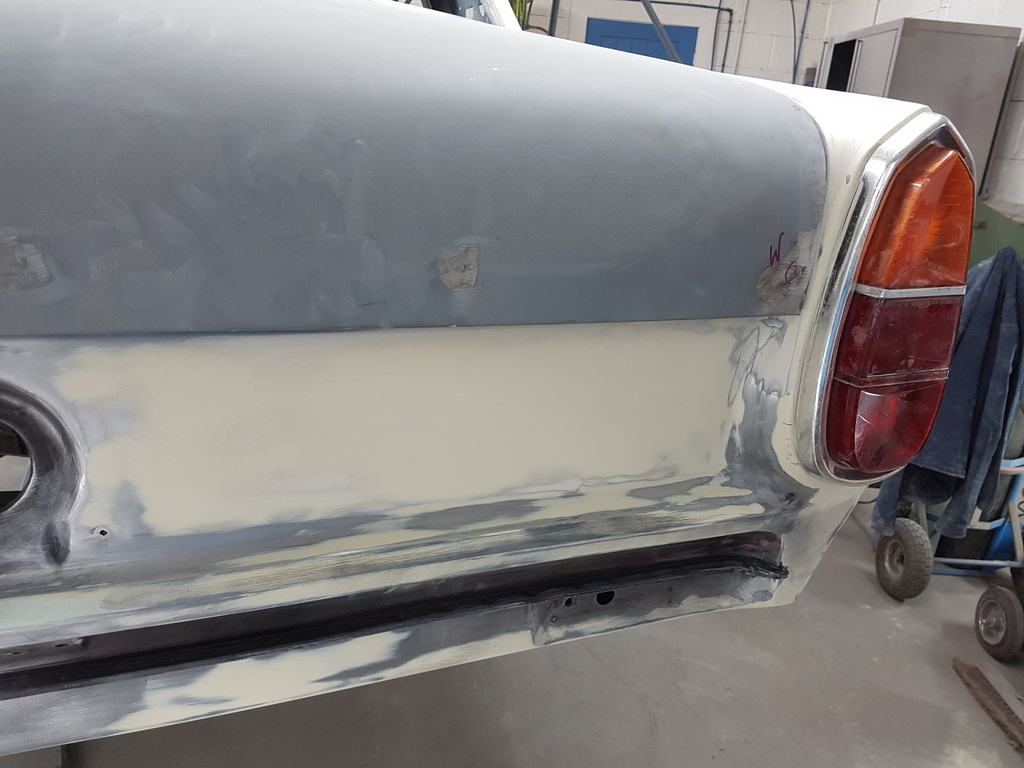 Has is the offside section of the rear panel 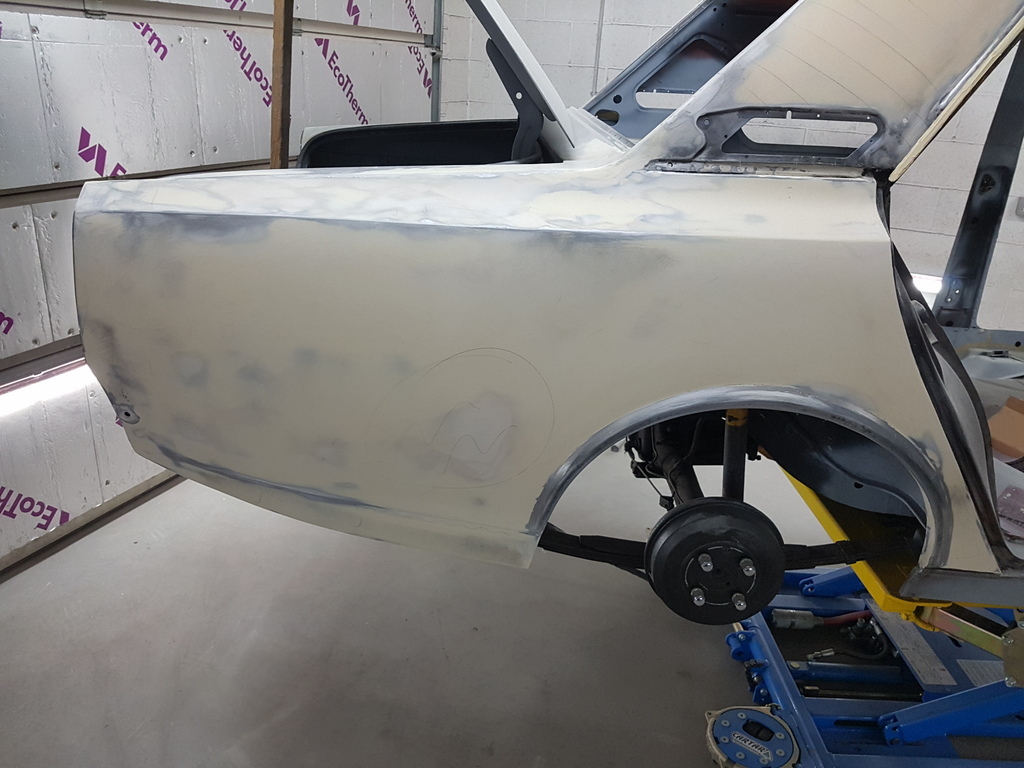 Main profile of the rear wing is close too and just requires some profile work to the wheel arch area prior to layer of glaze over the whole panel |
| |
Last Edit: Mar 29, 2019 20:27:21 GMT by Deleted
|
|
keyring
Part of things
 
Posts: 913
Club RR Member Number: 47
|
|
Mar 29, 2019 20:53:34 GMT
|
|
Yet again, amazing work!
I certainly know what you mean with regards to starting to rush when you feel the end is in sight, but at this stage of the work, I bet the drawings are a god send, especially with having other projects/events in between!
|
| |
|
|
|
|
|
Mar 29, 2019 21:12:37 GMT
|
|
Excellent work again and a great tip with the holes as I missed a few and at to re drill them its not fun
|
| |
|
|
|
|
|
Mar 29, 2019 21:35:31 GMT
|
Excellent work again and a great tip with the holes as I missed a few and at to re drill them its not fun There are ways of preventing the drill from slipping when drilling through paint - masking tape over the area of the planned hole is the simplest - its more the fact that had you drilled it before hand and it then gets protected by the primer & paint - holes drilled in paint tend to rust from the edge unless correctly treated which is a pain to do |
| |
Last Edit: Mar 29, 2019 21:37:18 GMT by Deleted
|
|
|
|
|
Mar 29, 2019 23:17:14 GMT
|
|
Getting there slowly but surely.
|
| |
|
|
|
|
|
Mar 31, 2019 13:52:13 GMT
|
|
I look forward to all your posts. Question: if cost/time were no object, would you use lead rather than filler to build up that work around the offside tail-lamp for greater durability, or is that not a concern? Thank you, John.
|
| |
|
|
|
|
|
Mar 31, 2019 14:55:25 GMT
|
|
Incredible how much work it takes to put one of these right, when I bet Ford slapped a shell together in about 20 minutes.
|
| |
|
|


