cregs1
Part of things
 
Posts: 119
|
|
Dec 26, 2017 15:26:38 GMT
|
|
I’ve remade side stripes copying an original set from bmw
Not inkjet printed. But thermal than a clear guard applied
All in the exact peices as originals
£75 posted
|
| |
|
|
|
|
ChasR
RR Helper
motivation
Posts: 10,309
Club RR Member Number: 170
|
BMW 2002 - The Tii (ish)ChasR
@chasr
Club Retro Rides Member 170
|
Dec 28, 2017 20:05:08 GMT
|
This build just keeps on getting better and better. I am loving the meticulous detailing! Regarding the battery I take you you will have it on a smart charger when the car is not being used  . |
| |
|
|
scotto
Part of things
 
Posts: 44 
|
|
Dec 30, 2017 15:48:34 GMT
|
Interesting that you mentioned Max Heidegger. He lives about a half hour from me, in Ireland now. I have yet to meet him, but my best mate often did milling and turning for him. Didn’t know that, interesting! Their BMW dealership is still on the go too! I’ve remade side stripes copying an original set from bmw Not inkjet printed. But thermal than a clear guard applied All in the exact peices as originals £75 posted Not for me, thank you. Not my intention to create a turbo rep. This build just keeps on getting better and better. I am loving the meticulous detailing! Regarding the battery I take you you will have it on a smart charger when the car is not being used  . Thanks, appreciate it! I stuck it on one when I first got it but as long as they aren’t hooked up to anything they are supposed to have a long ‘shelf life’, gets checked time to time! |
| |
|
|
|
|
|
|
|
|
absolutely stunning
|
| |
87 Fiesta xr2
90 Escort xr3i Convertible
08 Mercedes C Class
13 Range Rover Sport autobio
20 Focus St
couple other odds n sods
|
|
|
|
|
|
|
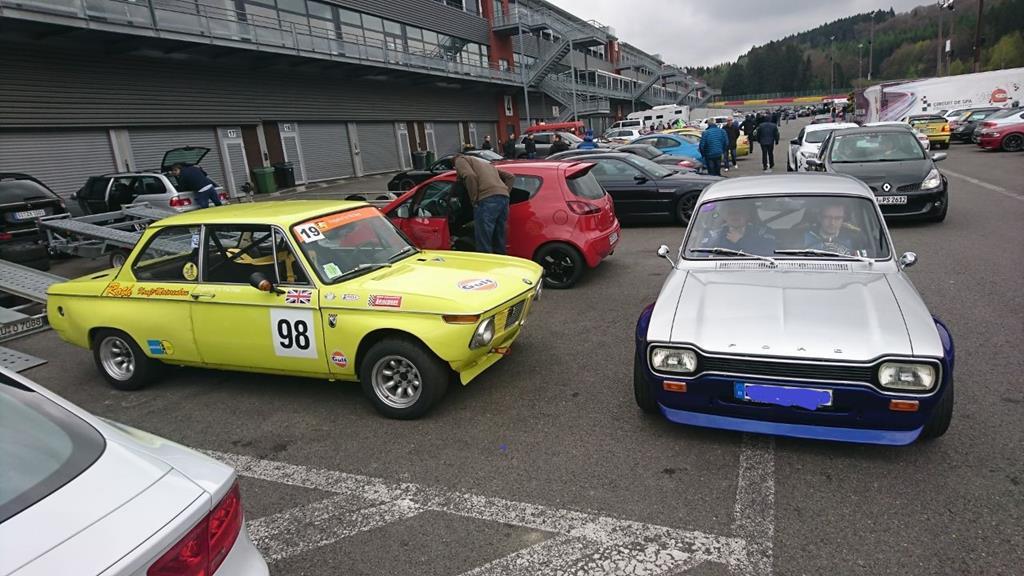 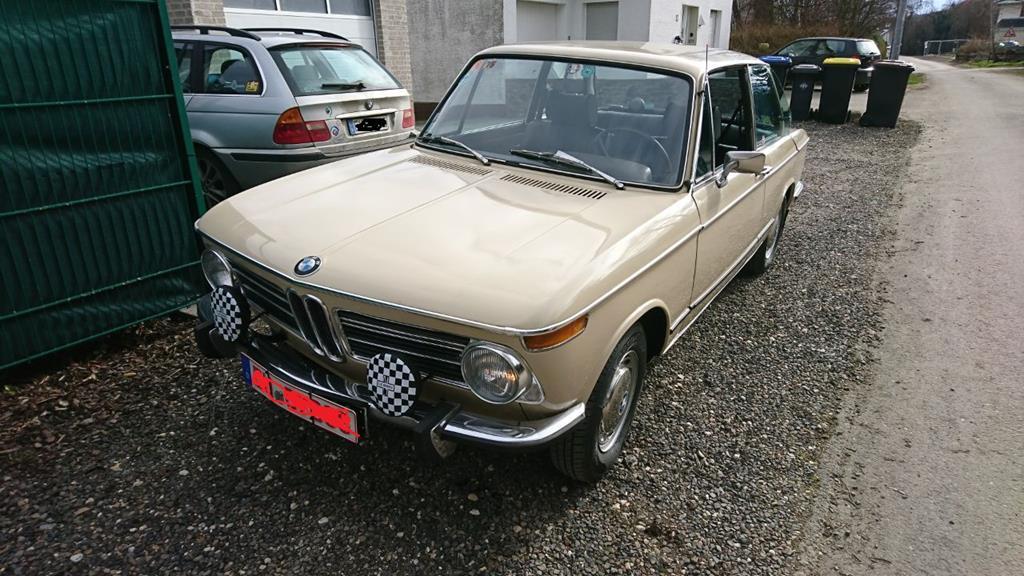   Hi there Scotto, nice project a lot of work and not cheap. I have been down that lane with my two 02 1970 1600-2 race car and 1972 2002 Automatic, one for the track and one every day 1600/2 at Spa in May 2017 with my mate´s Mk1 BDA replica. Regards |
| |
|
|
scotto
Part of things
 
Posts: 44 
|
|
|
|
|
Thanks buddy, i was at spa in April last year so missed you by a month! Shame as seeing an 02 get lashed round there may have made my holiday! It's a dream to drive Spa in mine once its running!
|
| |
|
|
|
|
|
|
|
|
Really enjoying the progress,
Seem to remember crankshaft pulley had
to be very, very tight, think I borrowed
a bigger torque wrench at the time.
|
| |
|
|
scotto
Part of things
 
Posts: 44 
|
|
|
|
Really enjoying the progress, Seem to remember crankshaft pulley had to be very, very tight, think I borrowed a bigger torque wrench at the time. Yeh its quite tight from memory, i've got a little torque wrench and a larger one for wheel nuts and bits like the crankshaft pulley nut. Quite a lot to update but want to get a few jobs finished first rather than post half-finished updates. Brief one below anyhow! Parts have been showing up thick and fast, most importantly my seats and my wheels! I've only had time to mock the seat up on the driver’s side but need to find time to bolt it in on the mock strips of steel I cut, then I can draw up a proper sub frame cad drawing to have cut. Ill experiment in seating position too, whether I move it more towards the centre tunnel or not and whether I hard mount to get the seat lower or keep it on the runners. Ideally I’d like to keep it on the runners so my other half can have a go! Few pics of the chosen seats below, over the moon with them! 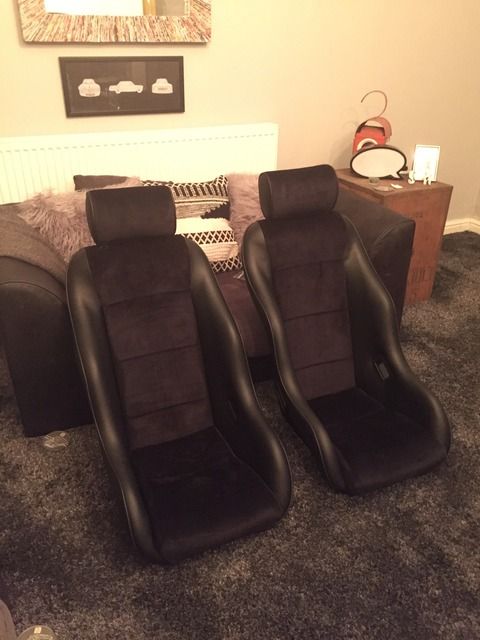 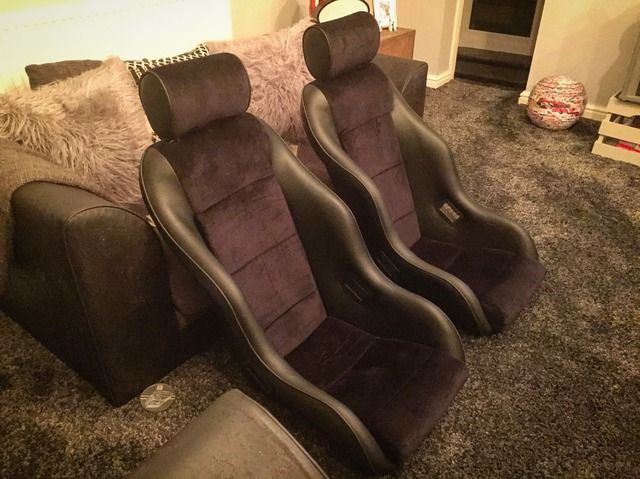 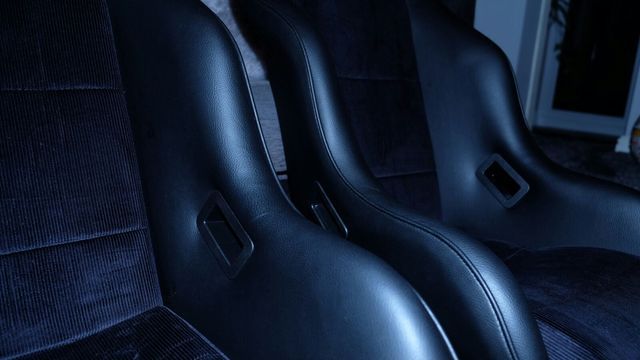 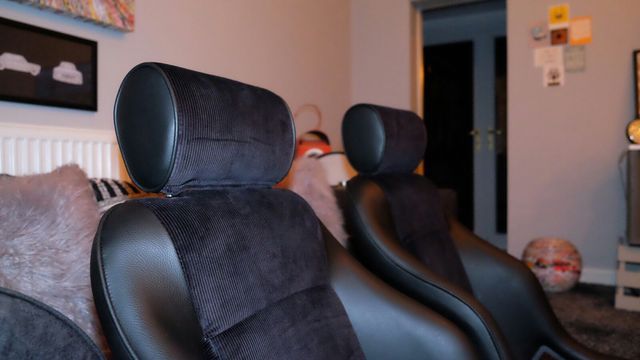 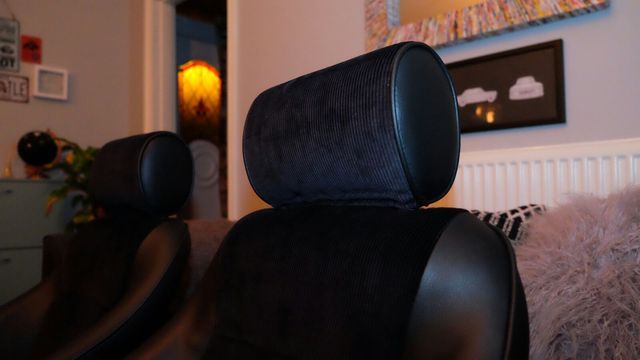 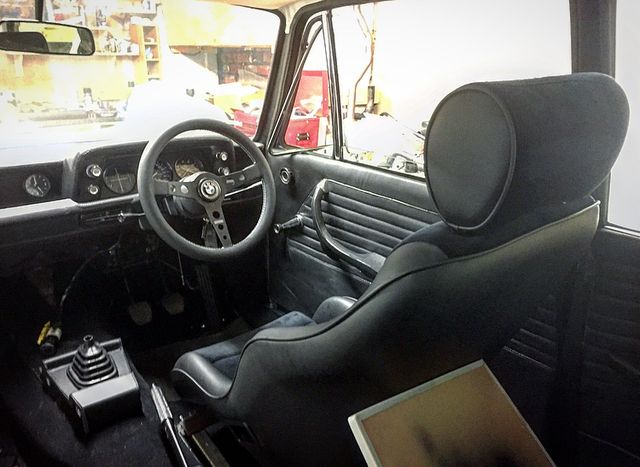 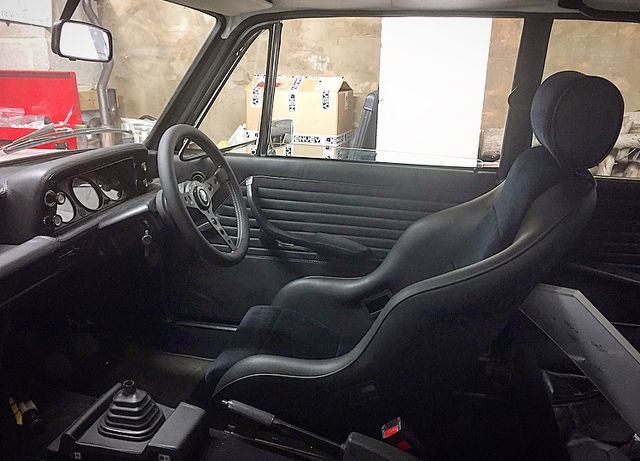 My tyres showed up a good few weeks ago and the wheels have taken around 8 weeks at least, worth the wait and they are exactly what I wanted. I played it safe with a 195-50 all round and with the rear tyres being 8 inch wide they are a tiny bit stretched, in hindsight I should have just risked it with a 205-50 out back as there’s plenty of clearance, the fronts sit perfect! Some pics below, you’ll be able to tell which ones were by the better half! (She’s a photographer) 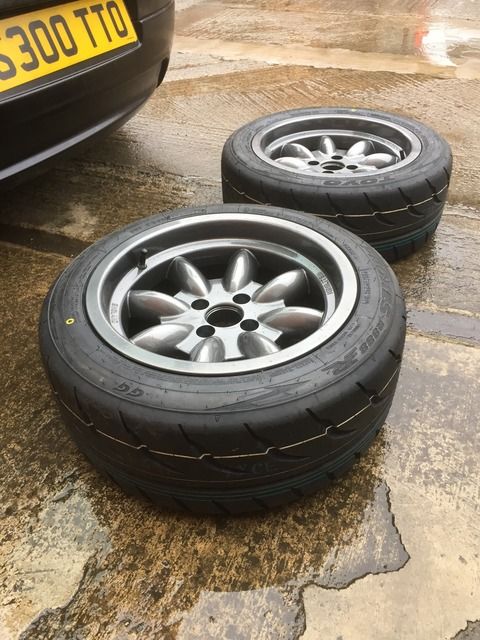 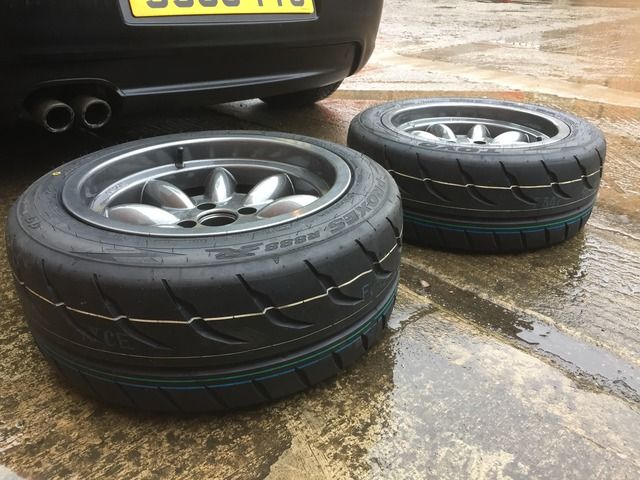 Sensible daily coming in handy! 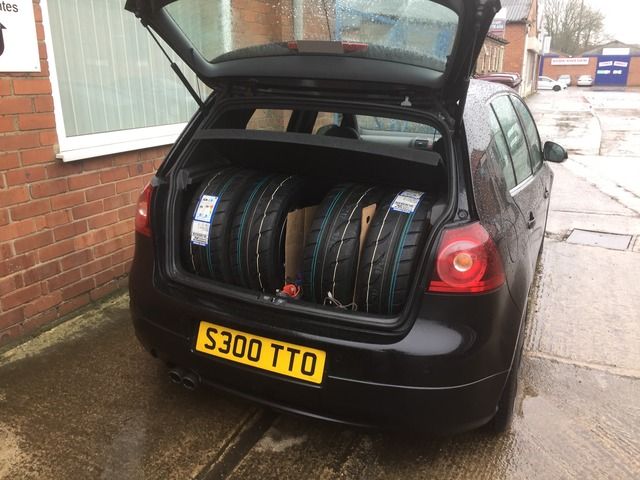 On the car: 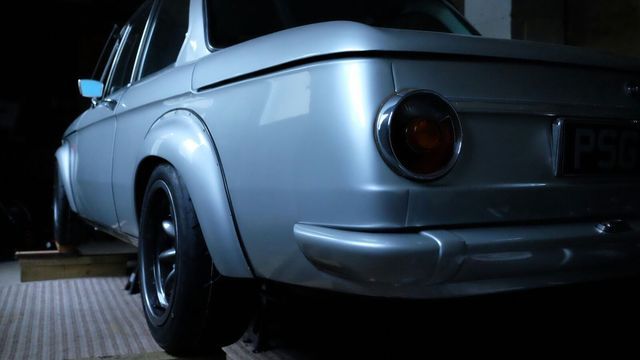 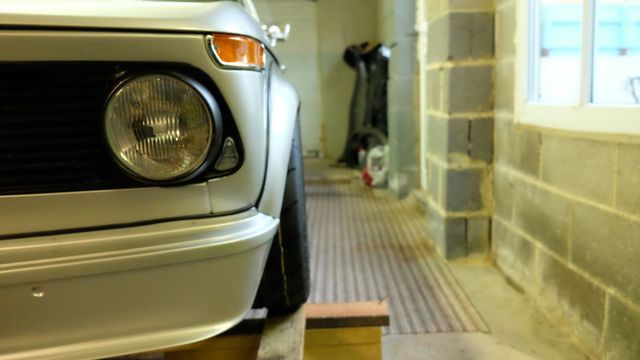 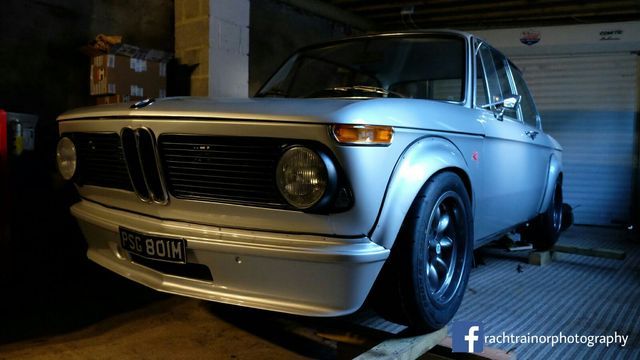 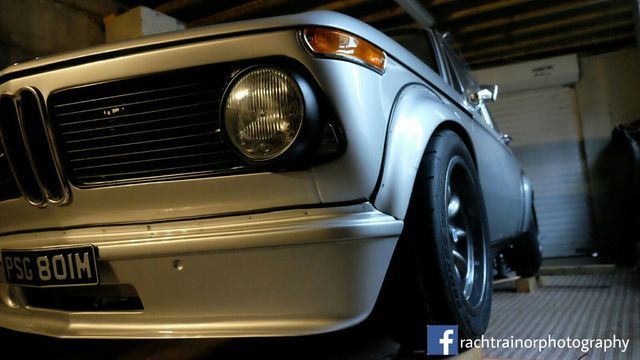 With the engine as it stands: 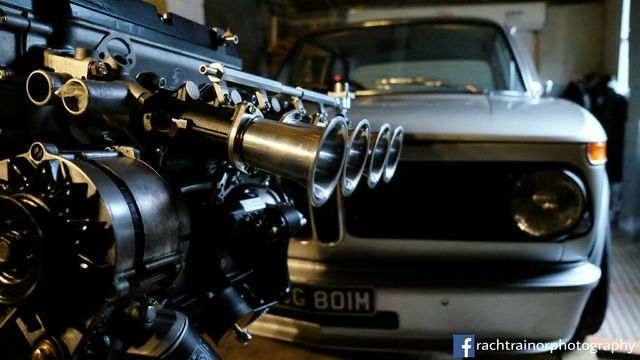 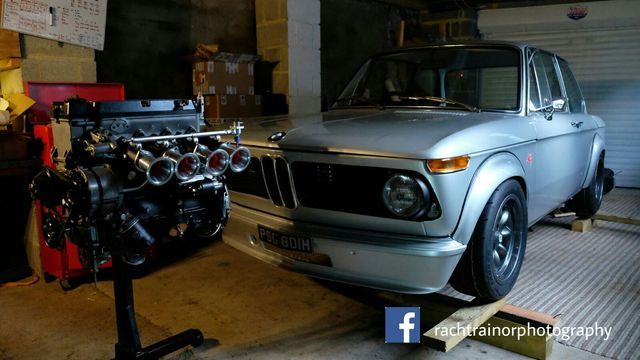 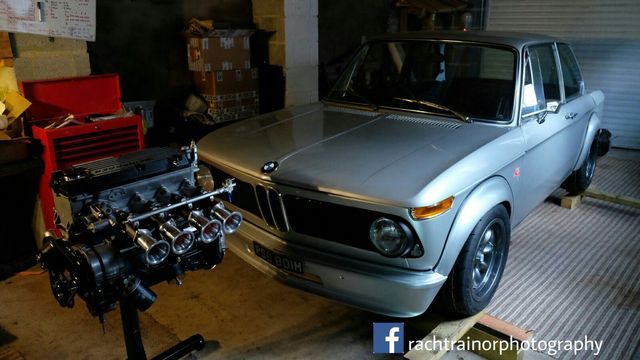 Manifold, oil pump, windage tray are all due to show up this week and then I can get my engine buttoned up at last. I’ve a few little bits and bobs to have made, gauge take off adapters and the like and then we can start on getting all the sensors and injectors ordered up and do an engine wiring loom whilst it is out of the car. I’m also looking to bin off the servos whilst the engine is out and it’ll be easier to do the kunifer lines. Does anyone have a rough schematic of how I should run the lines off the master cylinder? I’ve seen it done a number of ways is all, some seem to split up the dual lines to the fronts between the two cylinders on the MC, some seem to do 1 line to them with a T nearer the calliper? Also where’s the best place to get fittings/ the correct size brake pipe? I’ve never looked made up or even looked into brake lines before really. Thanks for reading, Scott |
| |
|
|
|
|
|
|
|
|
Davey
Posted a lot
   Resident Tyre Nerd.
Posts: 2,350
|
|
|
|
|
Cor blimey that's a good looking thing with those wheels. Lovely.
|
| |
K11 Micra x3 - Mk3 astra - Seat Marbella - Mk6 Escort estate - B5 Passat - Alfa 156 estate - E36 compact
Mk2 MR2 T-bar - E46 328i - Skoda Superb - Fiat seicento - 6n2 Polo - 6n polo 1.6 - Mk1 GS300
EU8 civic type S - MG ZT cdti - R56 MINI Cooper S - Audi A3 8p - Jaguar XF (X250) - FN2 Civic Type R - Mk2 2.0i Ford Focus - Mercedes W212 E250
|
|
scotto
Part of things
 
Posts: 44 
|
|
|
|
I found these guys really helpful with bits for brake lines. www.automec.co.uk/Looking nice - will it drop much at the front with the engine back in ? Thanks, lots of good fittings on their site! I've got a pipe flaring tool (on car type that gets good reviews), a pipe bender and a pipe straightener so hopefully i can fashion some lines together that'll work! The car is on axle stands in those pictures and i've got the wheels chocked with wood where i'd like them to sit. I'm hoping how i've got it shown is achievable! Cor blimey that's a good looking thing with those wheels. Lovely. Cheers Davey! |
| |
|
|
adam73bgt
Club Retro Rides Member
Posts: 5,004
Club RR Member Number: 58
|
BMW 2002 - The Tii (ish)adam73bgt
@adam73bgt
Club Retro Rides Member 58
|
|
|
Thats just looking lovely all round, maybe a smidge more tyre width on the rear as you say but its looking great as it is  |
| |
|
|
|
|
|
|
|
|
Seats and wheels look spot on.
Take your time with the brake pipes, it's easy to mess up,
Stainless steel flexies area must.
BHP in Turin make excellent stainless at great prices.
Car Builder Solutions keep all the fittings. (www.cbsonline.co.uk)
Request a catalogue.
|
| |
|
|
|
|
|
Feb 10, 2018 10:47:56 GMT
|
|
My favourite BMW these and the only one I really lust after.
This one looks bloody lovely!
|
| |
|
|
scotto
Part of things
 
Posts: 44 
|
|
|
|
Thats just looking lovely all round, maybe a smidge more tyre width on the rear as you say but its looking great as it is  Thanks! I think ill run it for a bit of those tyres hen switch the backs out at some point, i think it'll look spot on with a 205-50 on. Seats and wheels look spot on. Take your time with the brake pipes, it's easy to mess up, Stainless steel flexies area must. BHP in Turin make excellent stainless at great prices. Car Builder Solutions keep all the fittings. (www.cbsonline.co.uk) Request a catalogue. Thanks, the car has goodridge braided lines already where it can. Sill collecting parts/ tools to delete the servos and run the lines but nearly there to get cracking in the coming weeks. My favourite BMW these and the only one I really lust after. This one looks bloody lovely! Cheers George! |
| |
|
|
scotto
Part of things
 
Posts: 44 
|
|
|
|
A few bits and bobs have happened, I find that as I'm getting older I'm turning into more of a fair weather person in all aspects, gym, mountain biking, working on the car… First off my care package from Jaymic turned up, this included one of their race manifolds, an e21 oil pump (the one I had was on its wear limits), a windage tray and a few other bits and bobs. This all allowed me to get my engine buttoned up! 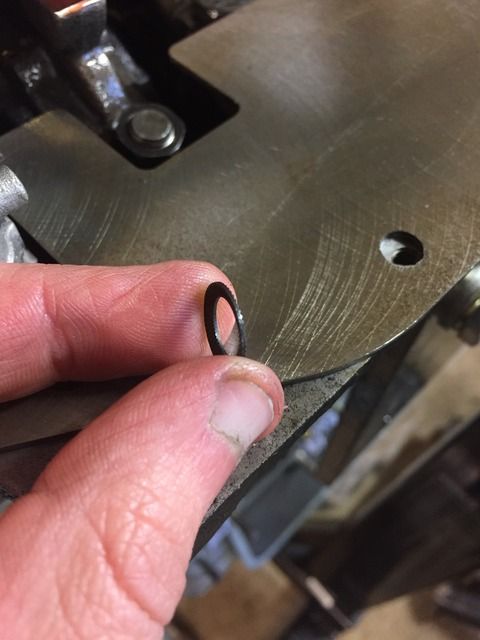 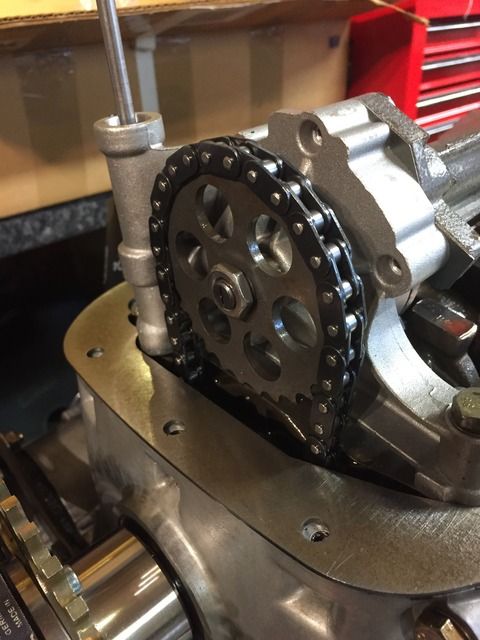 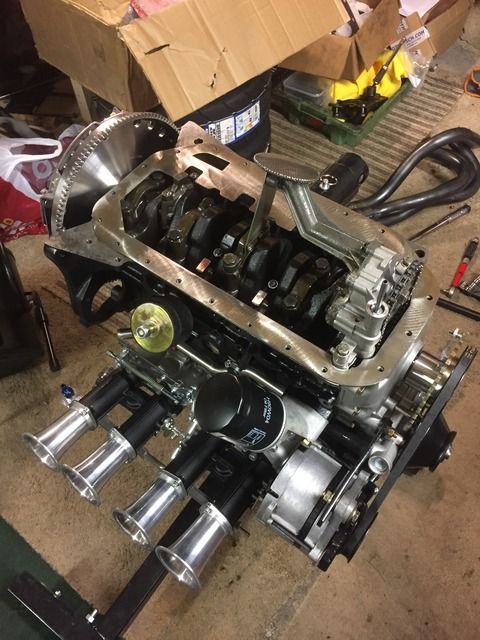 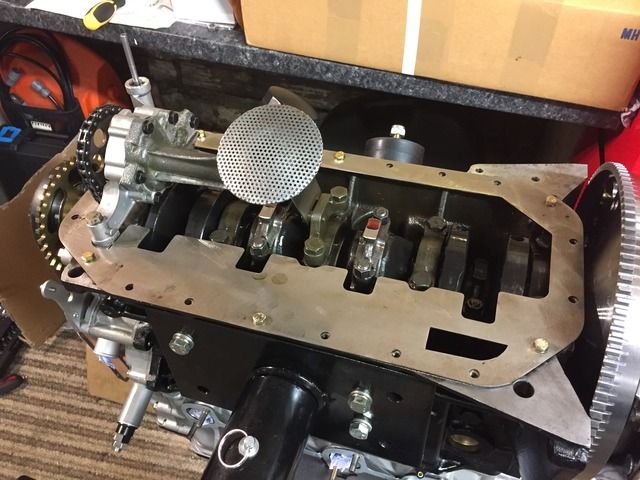 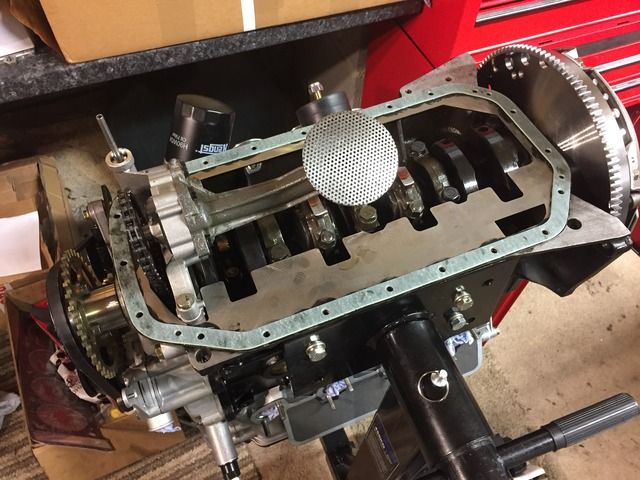 The manifold is going to be tricky to fit once the engine is in, shorter studs were in order but these seem like hens teeth to find but there was 8 on a shelf at the engine builders I help out at, very handy! It needed new studs anyway but these saved me lots of sawing time! 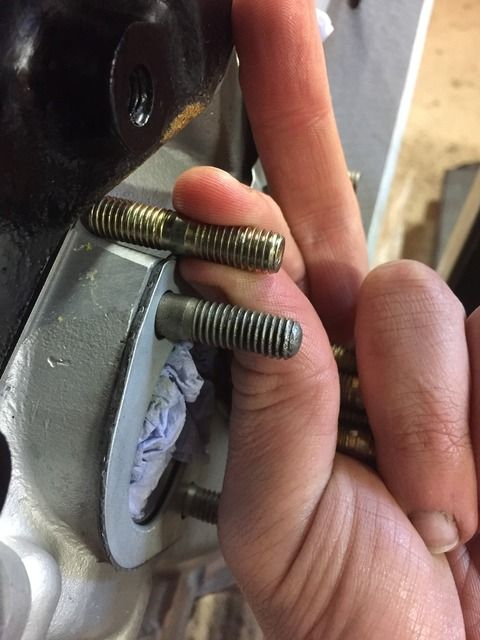 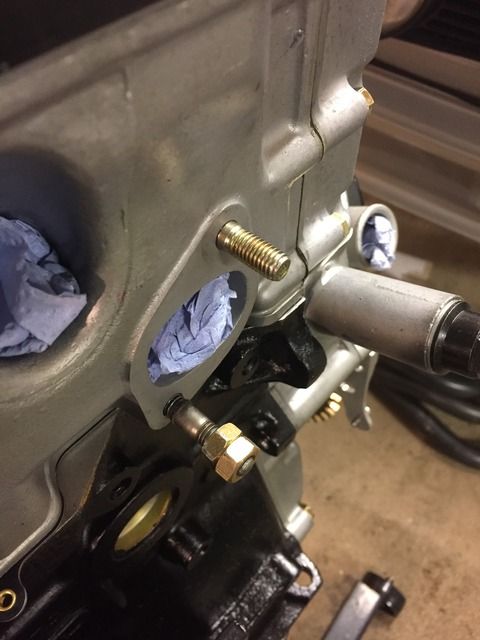 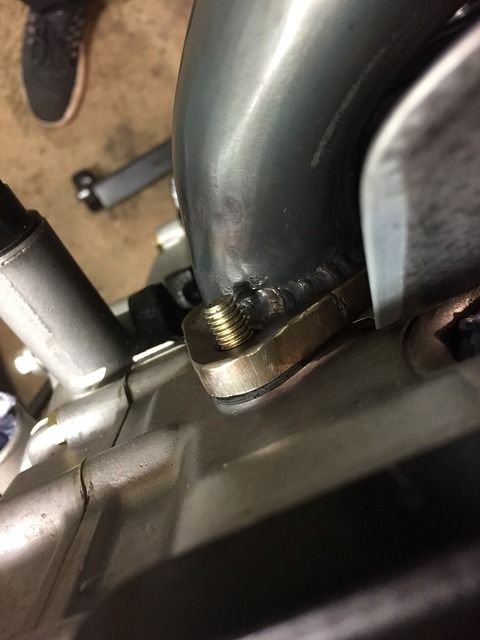 The money shot! 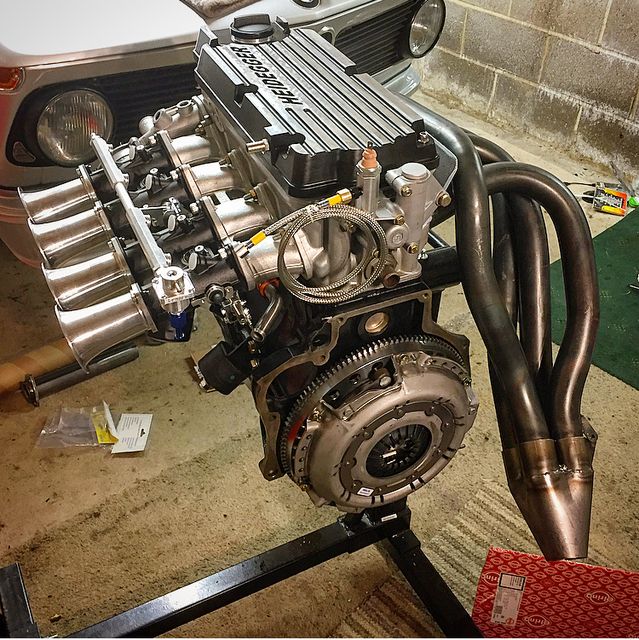 Finally getting the gearbox back together too, 4 new gears and all new syncro’s plus a rebuild kit with gasjets and seals etc. 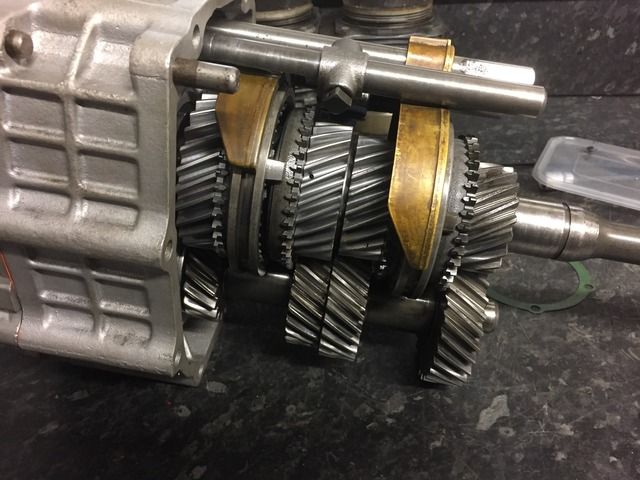 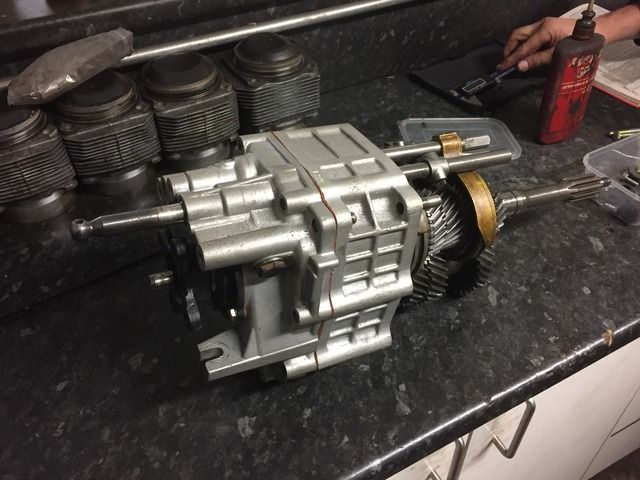 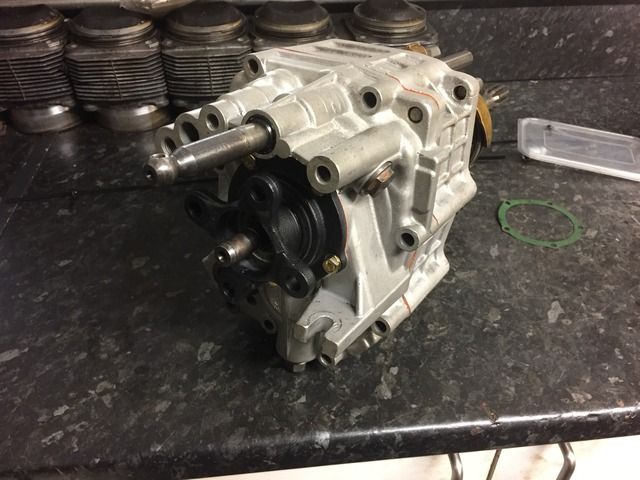 All was going great until we noticed the clutch pivot pin was bent, on closer inspection the casing has cracked too. Turns out these clutch pivot pins were only steel in really early boxes and doubly hard to find! I’ve got the measurements as I was going to have one machined, if anyone struggles in the future then let me know and I could get one made. 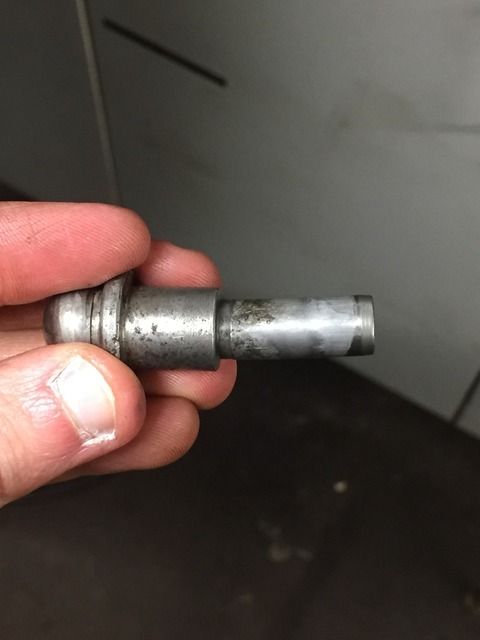 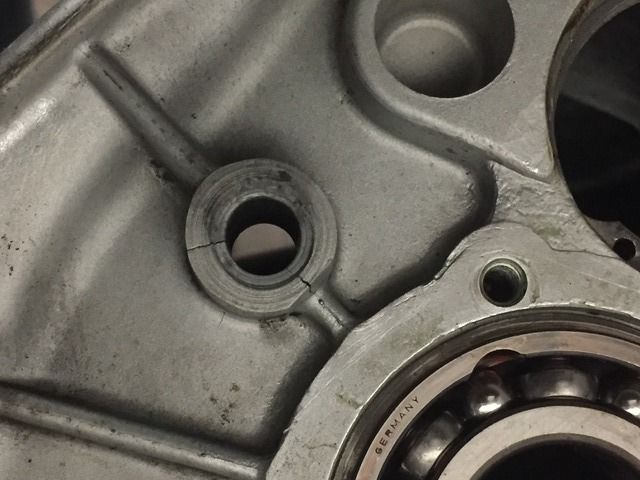 The casing it being welded up/ machined this week or next then we should be back in business! Hugely thankful to a great fella called Luke who sent me a clutch pivot pin FOC, stating a donation to a charity would suffice! I like to try and donate monthly to some form of cause anyway so was only too happy to oblige. Received in quick time and was chuffed with how well it dressed up, it even still has the oiling felt intact! 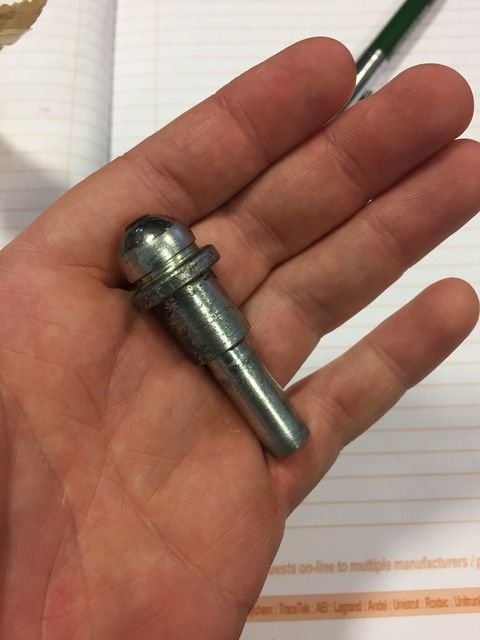 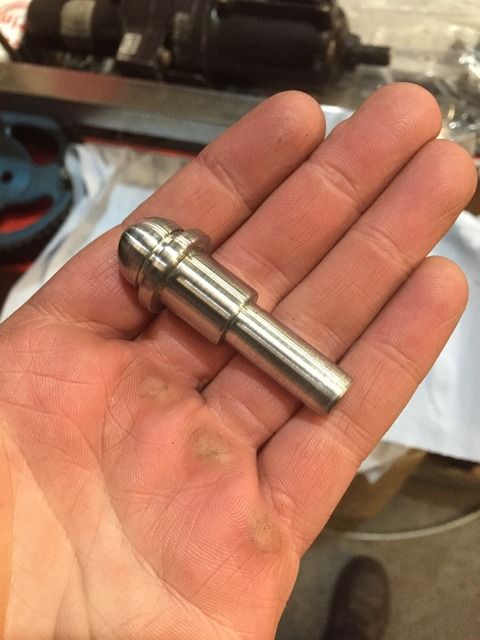 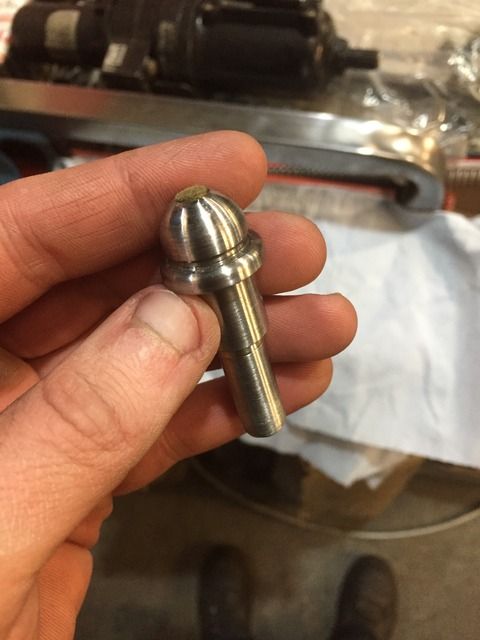 The sump I got with the car had already had a boss welded on when I got it so I got an adapter and had it machined to accept the temp sender for the gauge I’ve got. You may notice the oil pressure adapter/ braided line off the back of the cylinder head in the full engine shot too. 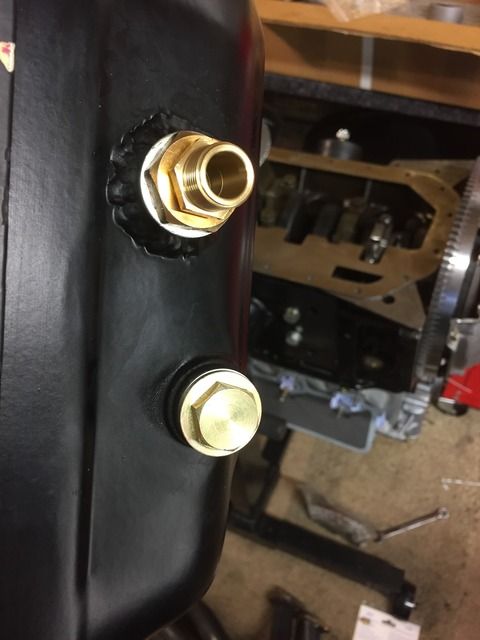 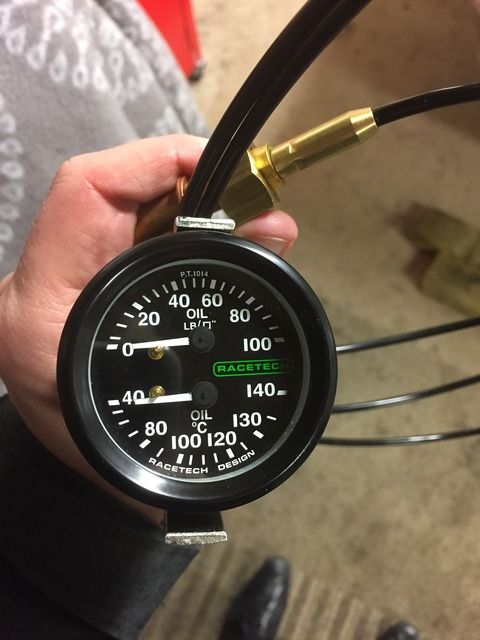 I'm going to fit this where the Tii clock should be, sacrilege to some I know but my clock is quite scruffy and doesn’t work and fitting this dual gauge there will keep the centre console less cluttered as someday I may end out doing a console delete. I need to get an adapter made up to make up the difference between the size of my Racetech gauge and the Tii clock. Another little progression was the badges on the car. A friend, Gordon, dropped some struts off a couple of months back and pointed out my badges were too new! He kindly donated some old metal enamelled badges which I was hugely chuffed with, they are nicely ‘patina’d’ and intend to leave them like this. 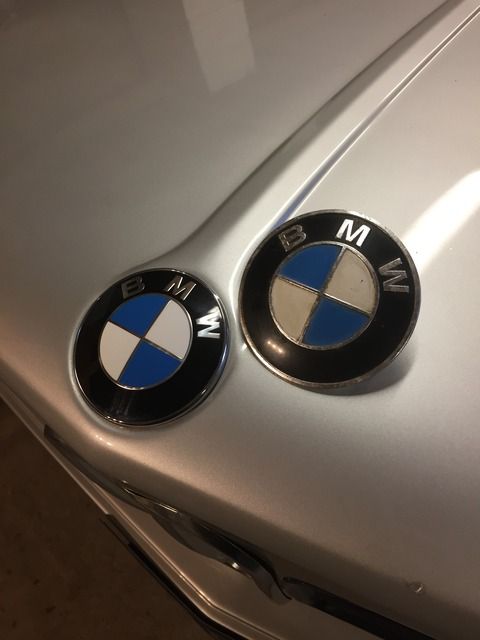 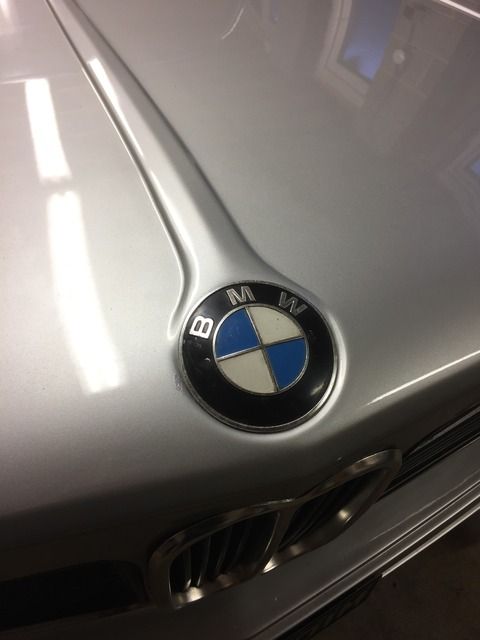 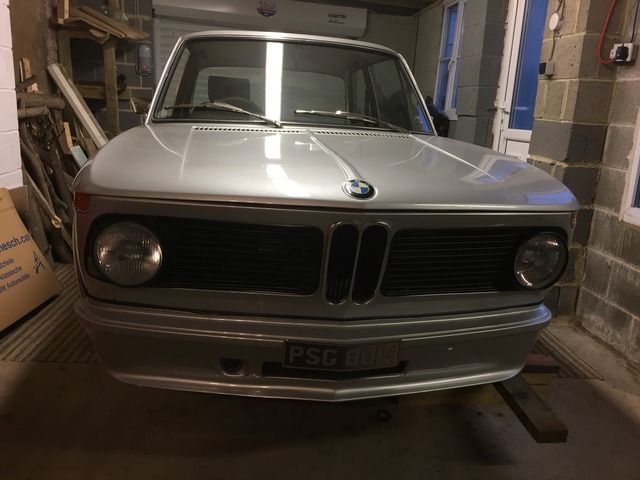 It turns out the rear badge on my car was actually the same as the front badge that had been fitted, only with the pegs taken off and blu-tacked on… The holes have been filled during previous restoration. For now I’m going to leave the car badgeless at the back. 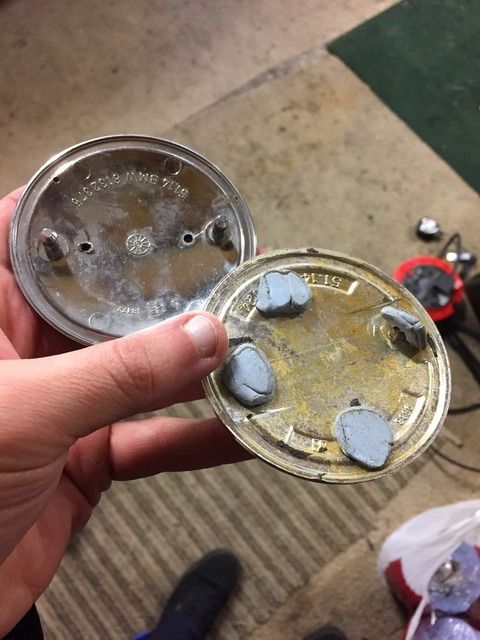 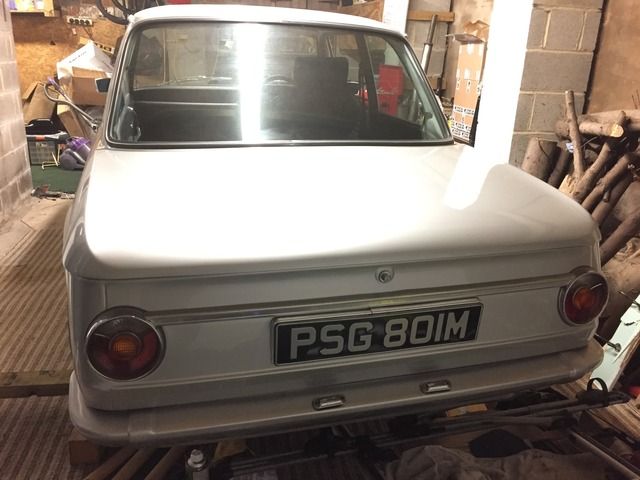 I'm currently collecting brake line parts inc a new master cylinder. I’ll be removing the servo’s so if anyone wants a working set for a not silly amount then fire me a message. Just trying to get hold of the rest of the fitting now and I can set about making the lines up and ill be running a bias valve to the rear. Other than this I’ve still got the suspension to strip off again and send away to be converted. I cant wait for the return product, really excited for that one! Plenty to do but hopefully have it running for summer in some form or another! Thanks for reading, Scott |
| |
|
|
|
|
BMW 2002 - The Tii (ish)fr€$h&m1nt¥
@freshandminty
Club Retro Rides Member 99
|
|
|
|
These have always been my favourite BMW in standard form but like this it's just wow wow wow.
I hope to see it at a show when it's finished.
|
| |
|
|
samta22
Club Retro Rides Member
Stuck in once more...
Posts: 1,276  Club RR Member Number: 32
|
BMW 2002 - The Tii (ish)samta22
@samta22
Club Retro Rides Member 32
|
|
|
|
Just played catch up on this thread - stunning work Scott and testament to your eye for detail and doing it how you want. Long may it continue.
|
| |
'37 Austin 7 '56 Austin A35 '58 Austin A35 '65 Triumph Herald 12/50 '69 MGB GT '74 MGB GT V8'73 TA22 Toyota Celica restoration'95 Mercedes SL320 '04 MGTF 135 'Cool Blue' (Mrs' Baby) '05 Land Rover Discovery 3 V8 '67 Abarth 595 (Mrs' runabout) '18 Disco V |
|
|
|
BMW 2002 - The Tii (ish)peteh1969
@peteh1969
Club Retro Rides Member 107
|
|
|
|
They will have a 2002tii on Wheeler Dealers in a few weeks if you have not seen it (which I doubt)it's worth a watch the technical bits are worth a watch.
|
| |
|
|
|
|


 .
.


