|
|
|
Feb 15, 2020 17:15:19 GMT
|
Adding a temporary garage door while the old one is off. Not ideal when storm Dennis is on it’s way and Ciara already had her wicked way and put a nice layer of surface rust onto new metal let in a week before. Doh. Cleaned up this morn and primer applied. How long before it tears! 😂 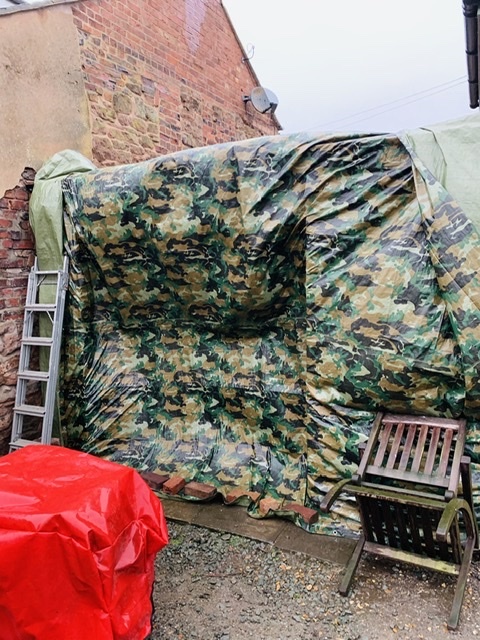 |
| |
|
|
|
|
|
|
|
Feb 15, 2020 18:46:39 GMT
|
|
Not long if its anything like as windy as it is here in Somerset. Dennis had the felt off my (better I thought) shed roof mid afternoon
Nick
|
| |
1967 Triumph Vitesse convertible (old friend)
1996 Audi A6 2.5 TDI Avant (still durability testing)
1972 GT6 Mk3 (Restored after loong rest & getting the hang of being a car again)
|
|
|
|
|
Feb 22, 2020 20:00:21 GMT
|
|
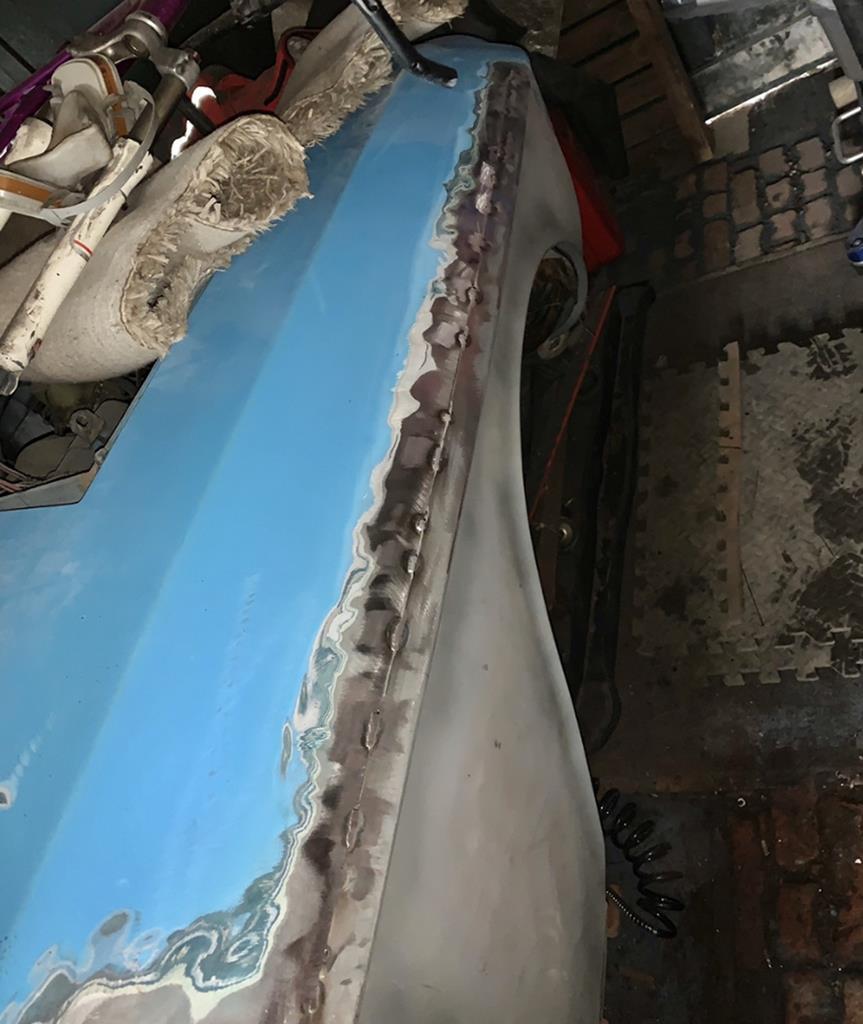
Well...some how the temporary garage door held out ok. Don’t ask me how. Anyway I’ve finally hit a landmark of getting the fourth and final wing spotted in place. Just need to address the rotten splash panel and getting the inner wing to marry up nicely. Not one of the I wings has gone on easily but you can’t expect it to. Can’t believe I’m almost onto tidying the front end and engine bay areas and welding the new subframe outrigger arms onto my subframe.
|
| |
Last Edit: Feb 22, 2020 20:01:39 GMT by crackfox
|
|
|
|
|
Feb 25, 2020 13:56:44 GMT
|
|
|
| |
|
|
|
|
|
Apr 10, 2020 18:25:39 GMT
|
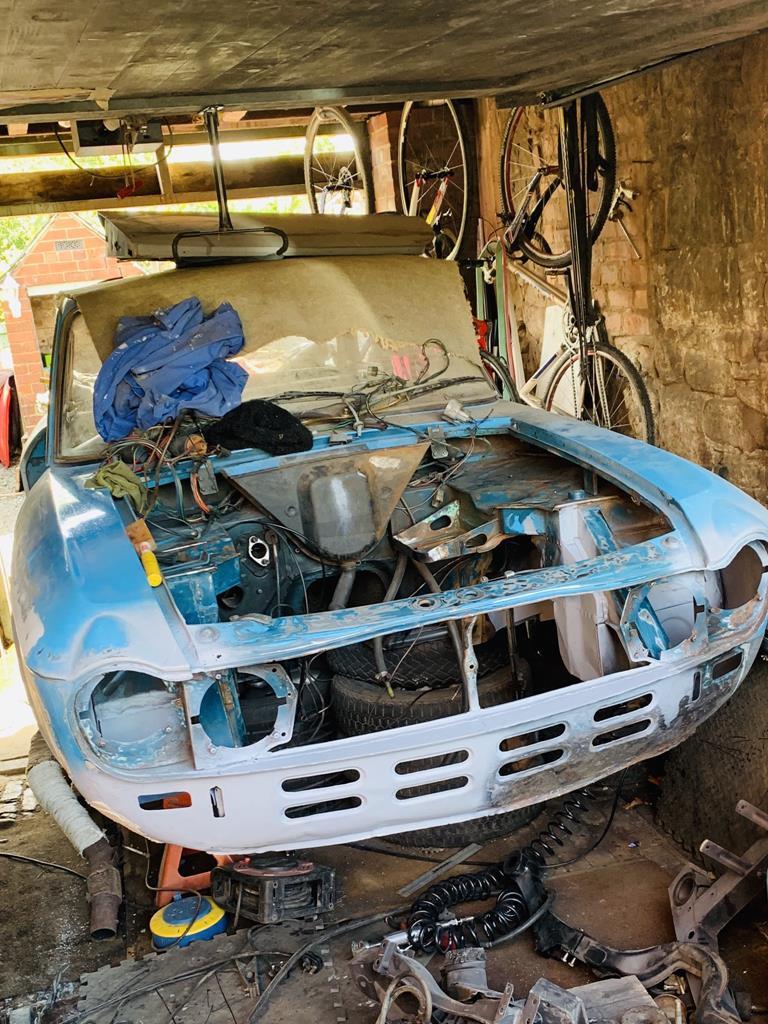
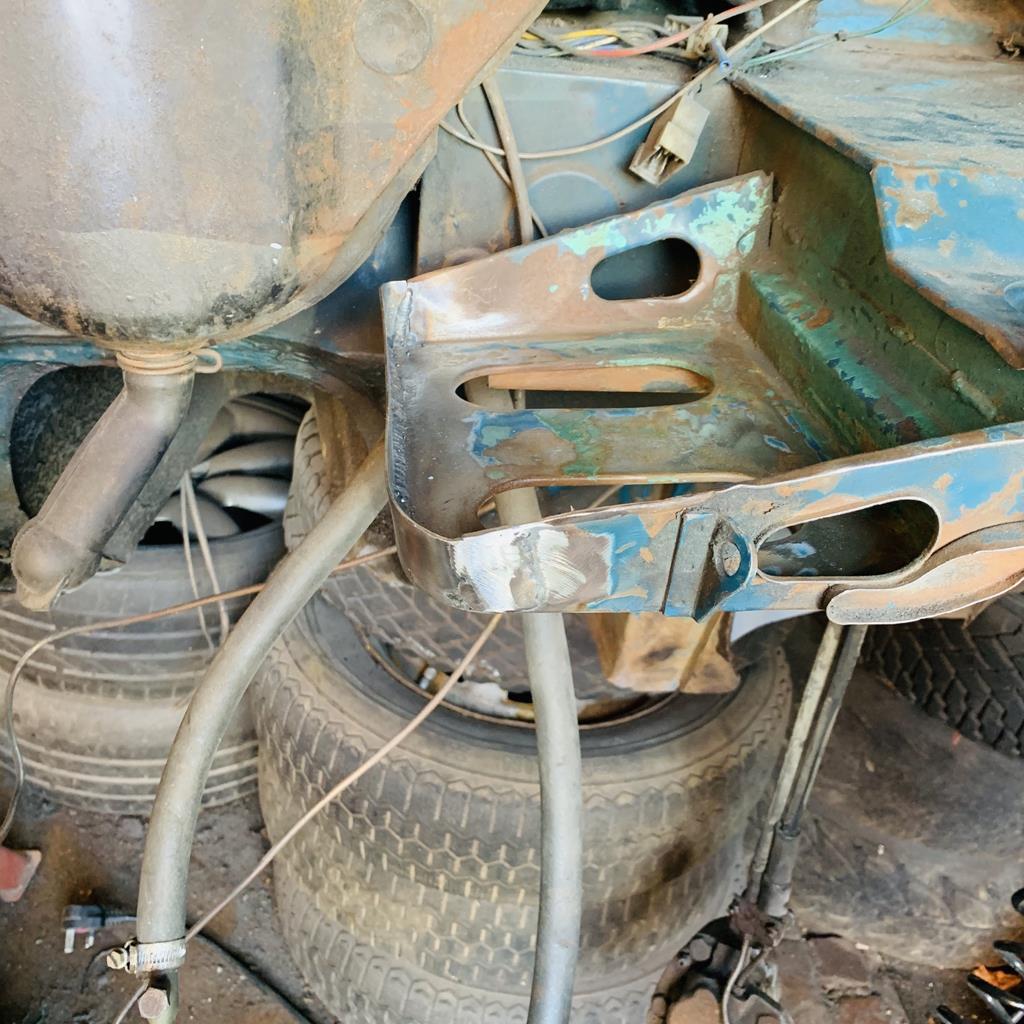
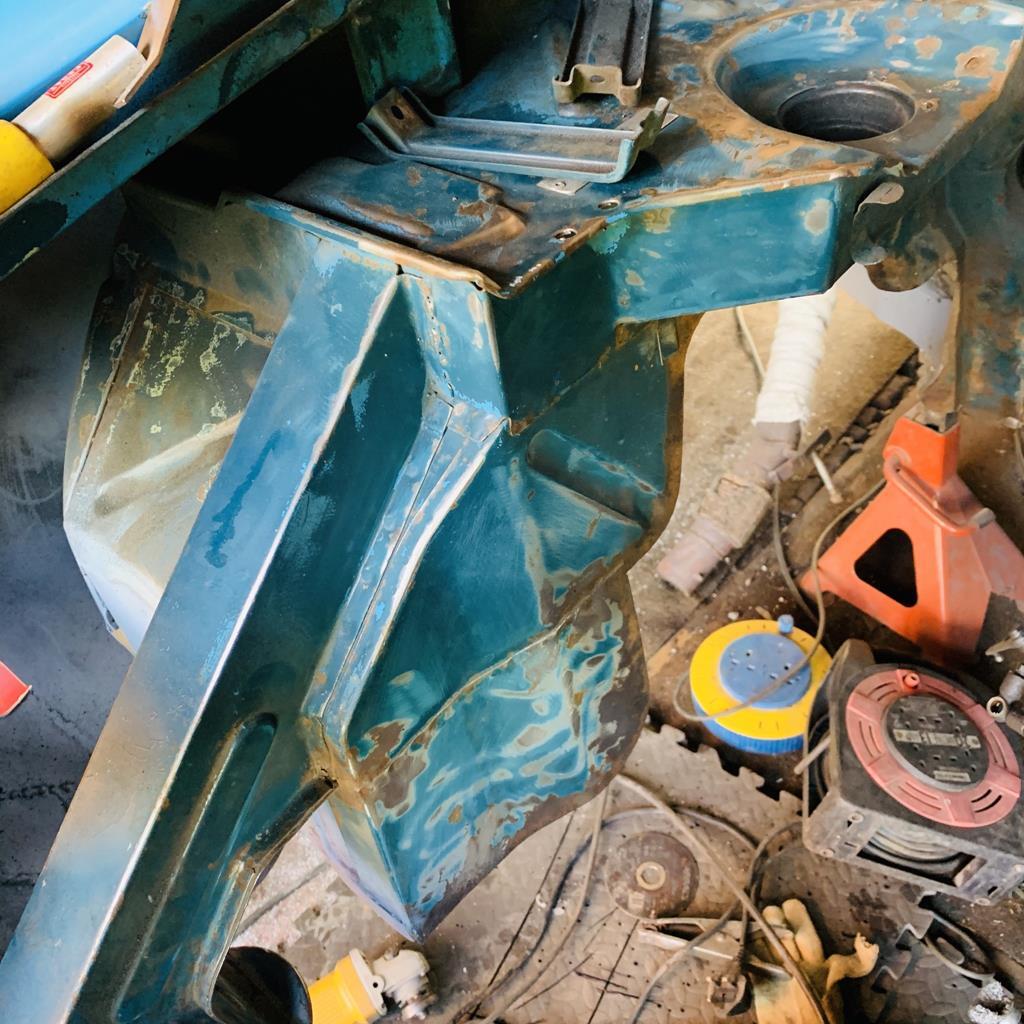
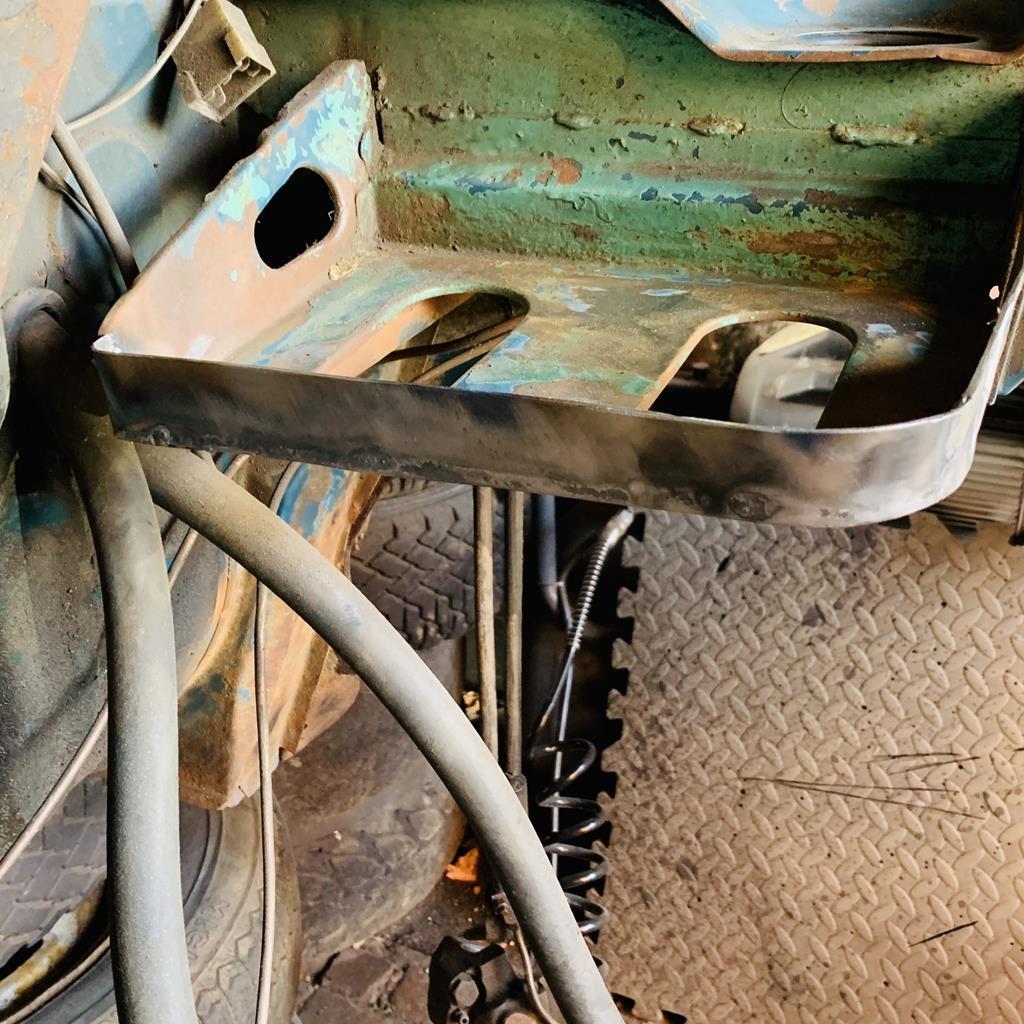
Right...well apart from a bit of work to do on the final wing and splash panel I moved across on to the engine bay and front end today. Spent pretty much a full day wire wheeling any corrosion off to expose any rot and pleasantly surprised with just how solid the front end is compared to the rest of the car. I have a few sections to sort. Small bit I’ve already managed to cut out from the off-side headlamp eyebrow and front upper valance panel which was heavily filled with curse word so I’ve cut out the majority of this also to fabricate. Battery tray was finished in a nice metallic looking green for some reason and is bent all out of shape that will require some love to. Need to remember where the subframe rubbers go also. Completely forgot it’s been that long. Of course the new outrigger arms will need sorting too. 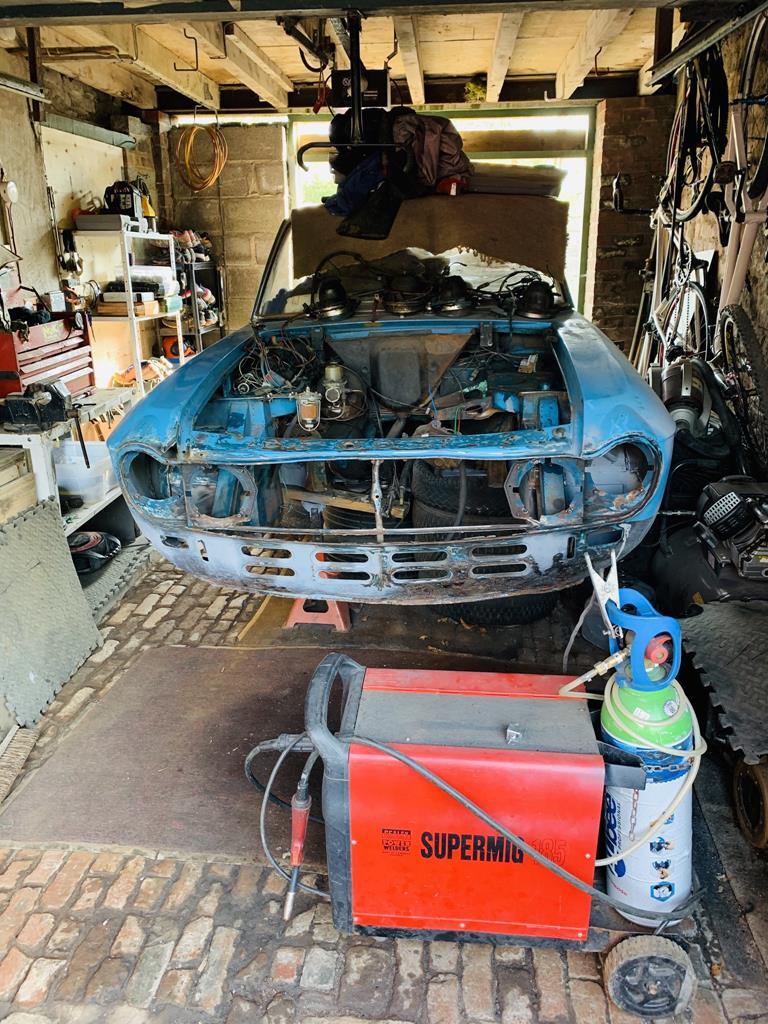 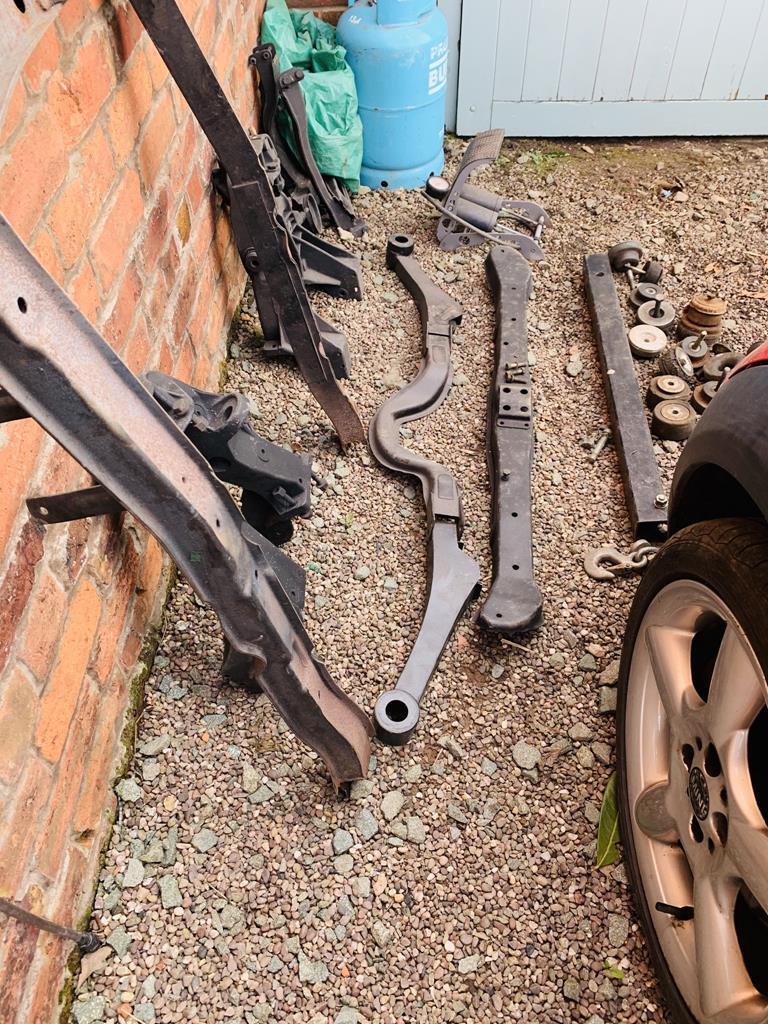 |
| |
Last Edit: Apr 10, 2020 21:47:02 GMT by crackfox
|
|
fulvia1436
Club Retro Rides Member
Finally started a thread for my Fulvia life
Posts: 343  Club RR Member Number: 63
|
Flight of the Fulviafulvia1436
@fulvia1436
Club Retro Rides Member 63
|
Apr 10, 2020 18:49:44 GMT
|
Right...well apart from a bit of work to do on the final wing and splash panel I moved across on to the engine bay and front end today. Spent pretty much a full day wire wheeling any corrosion off to expose any rot and pleasantly surprised with just how solid the front end is compared to the rest of the car. I have a few sections to sort. Small bit I’ve already managed to cut out from the off-side headlamp eyebrow and front upper valance panel which was heavily filled with curse word so I’ve cut out the majority of this also to fabricate. Battery tray was finished in a nice metallic looking green for some reason and is bent all out of shape that will require some love to. Need to remember where the subframe runners go also. Completely forgot it’s been that long. Of course the new outrigger arms will need sorting too.   Before you think about welding subframe arms back on, put the 2 crossmember and the aluminium uprights back together, and bolt it into the car. There is absolutely no chance of it ever fitting if you weld it out of the car, without serious in situ tacking!! Trust me, I'm a drummer! :-) |
| |
'59 Austin A40, '59 VW Beetle, '63 Mk1 Cortina, '57 Austin Gypsy, '68 Fiat 850 Coupe, '68 Alfa Duetto Spider, '72 Lancia Fulvia 1.3S, '73 Lancia 2000 Sedan ie., '72 Lancia 2000 Sedan, '67 Lancia Fulvia 1.3, '83 VW Passat GL5 Estate, '81 Volvo 245 Estate, '85 Lancia Thema 8V Turbo Estate, '99 Lancia Kappa 20V Turbo Estate, '00 VW Sharan VR6, '06 Fiat Multipla 1.9 JTD, '10 Fiat Multipla 1.9 JTD, '66 Lancia Fulvia 1.3
|
|
|
|
|
Apr 10, 2020 20:19:54 GMT
|
|
Thanks. Don’t worry this is exactly what I have planned. Although I’m pretty confident the rear subframe boxes I’ve welded in are pretty damn lined up spot on but I can well imagine that if you get those arms on when not in situ or without a fancy jig to hand there’s not a chance in hell they will line up nicely is there.
|
| |
|
|
|
|
|
Apr 15, 2020 19:05:03 GMT
|
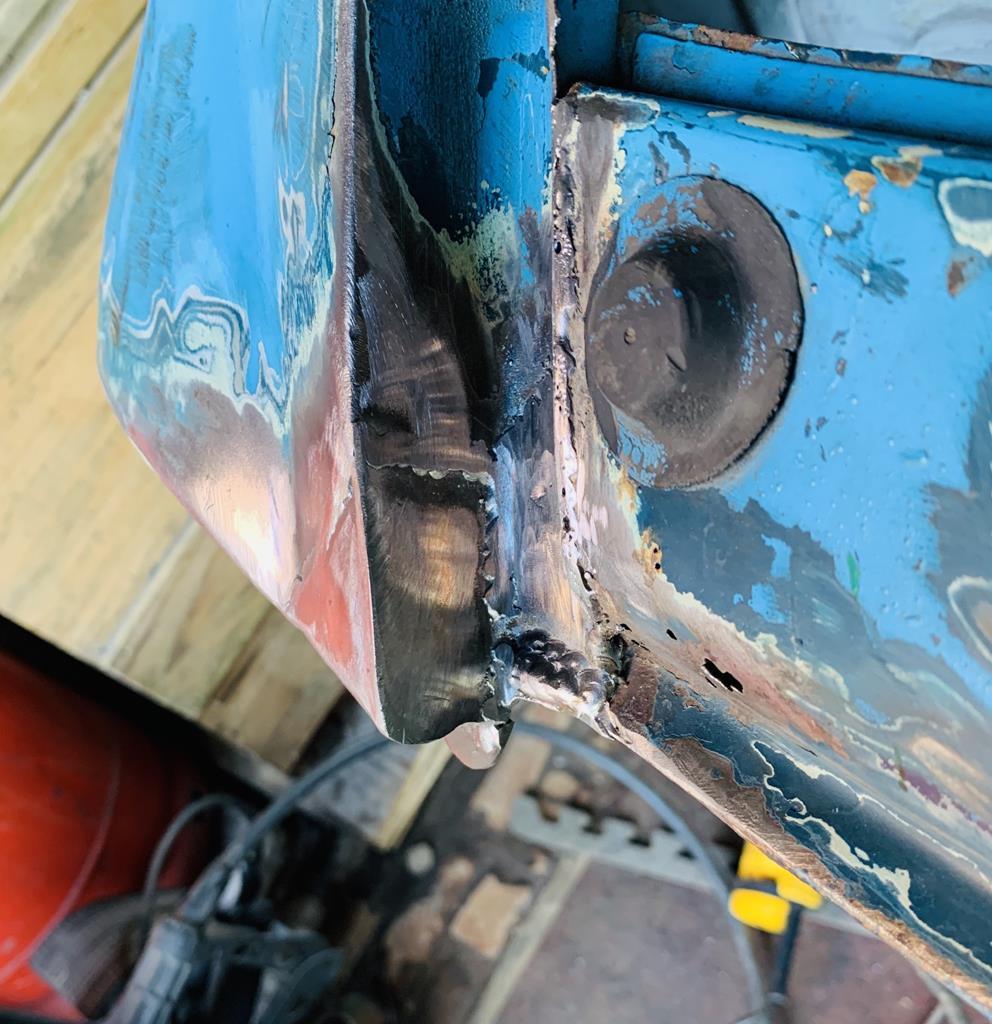
Corner piece sorted on the off-side eyebrow. A rear intricate section to sort so took up quite a few hours work. A little bit of excess weld grinding back to do but it’s turned out ok. The near side is fine after a poke around so no need to repeat the work again. Result. 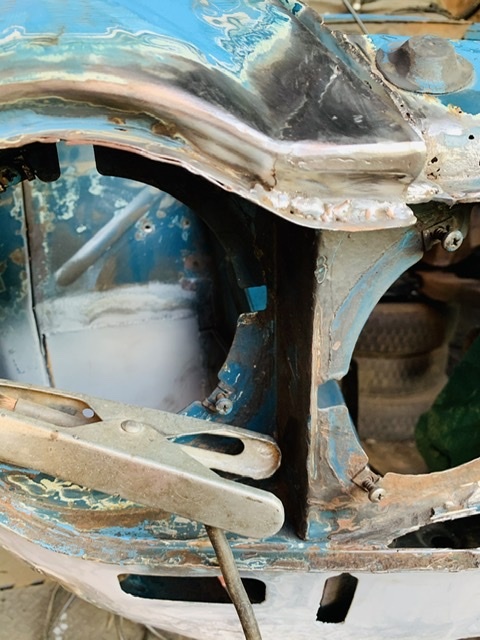 |
| |
|
|
|
|
|
Apr 15, 2020 19:07:02 GMT
|
|
|
| |
|
|
|
|
|
Apr 23, 2020 18:00:33 GMT
|
First half of the front upper valance panel sorted. I don’t usually drill plug holes and spot weld but I did with this section. 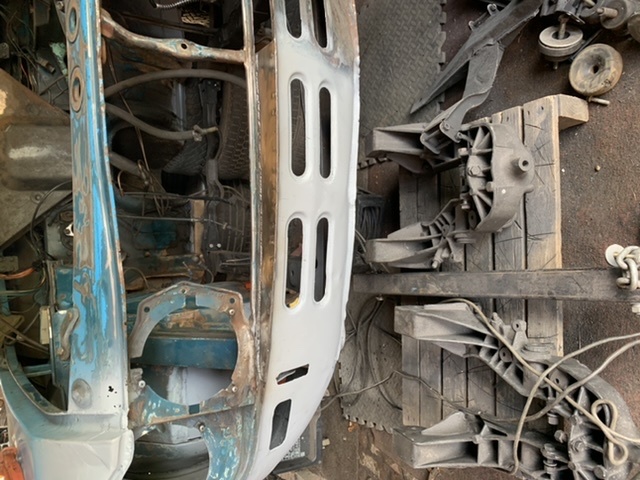 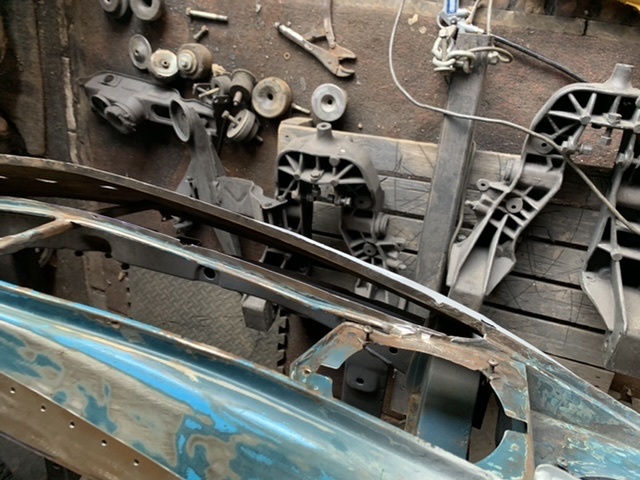 |
| |
|
|
|
|
|
|
|
|
|
Nice job on the lip of the nose. Thats a place on the fulvia that is tricky to make nice. I had to do this recently on my fulvia project car. 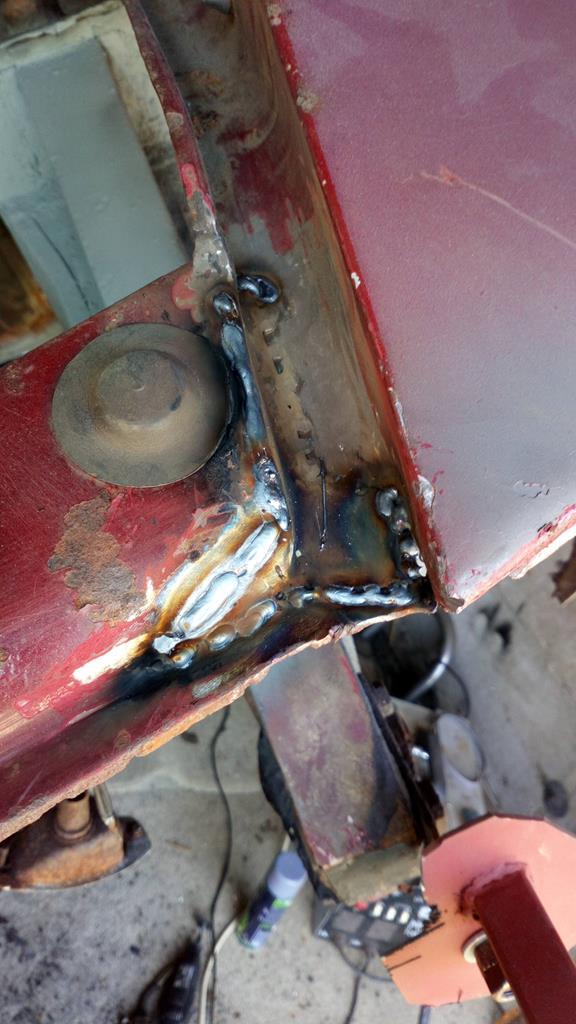 this is before the tidy up. |
| |
Last Edit: Apr 26, 2020 9:54:04 GMT by lukestew
fulvia series 1 1200. rolling restoration
fulvia series 1 1300. definitely in bits
golf Mk4 v6 4motion. weekend fun
T4 transporter. daily
|
|
|
|
|
Apr 26, 2020 19:49:17 GMT
|
|
Well done. It’s a tough area to work on yes. It took me around 4 hours in all creating the replacement section and they tidying up. A nasty hole blown through as usual just to add to the time spent just as you think all is going well. It did set in quite nicely though. Do you have a thread for the new / old project car?
|
| |
|
|
|
|
|
Apr 29, 2020 18:09:08 GMT
|
|
|
| |
|
|
|
|
|
|
|
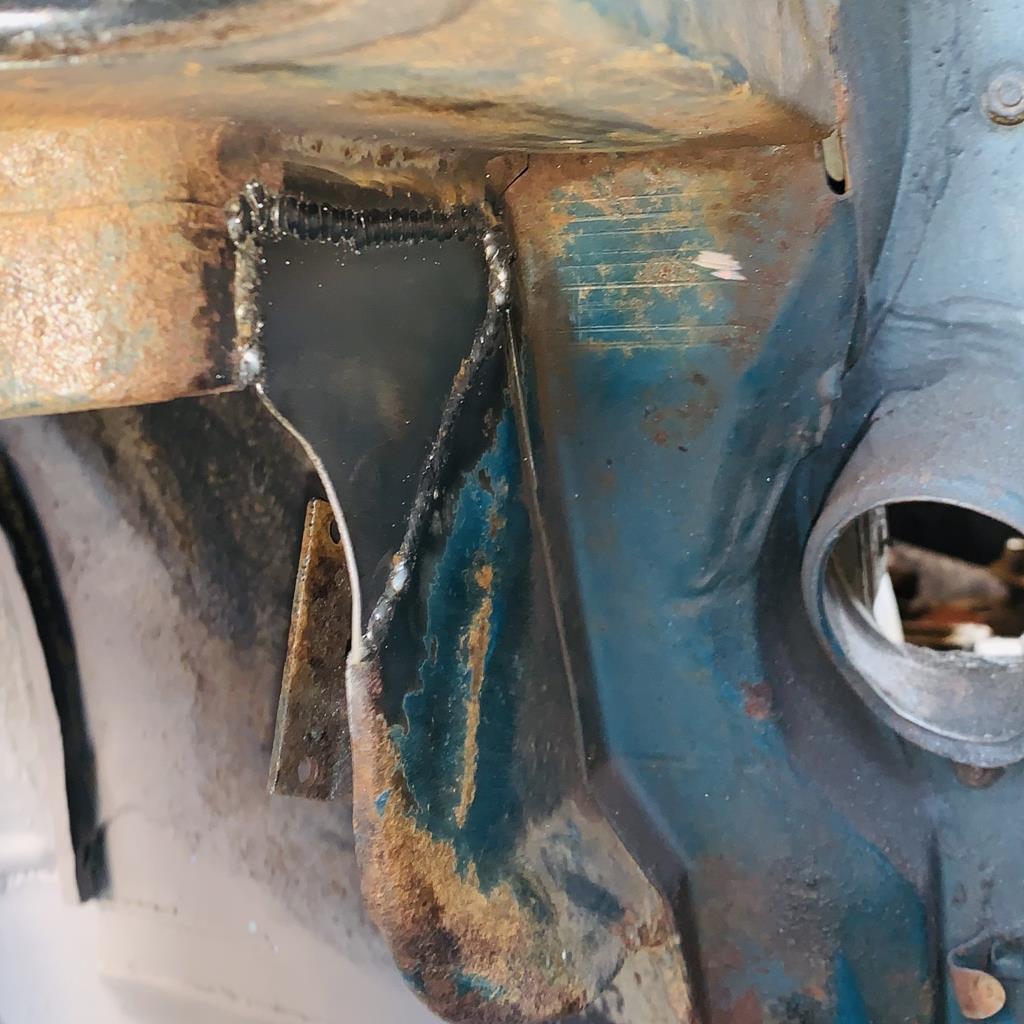
Subframe repaired. Needed to fabricate these ends for both sides to allow me to create nice clean welds / tacking when i come to getting my subframe outrigger arms in place. Didn’t want to weld lovely news arms onto rubbish metal. 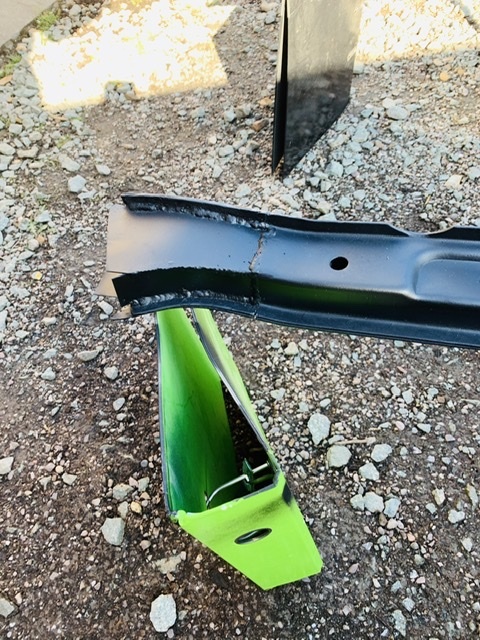 |
| |
|
|
fulvia1436
Club Retro Rides Member
Finally started a thread for my Fulvia life
Posts: 343  Club RR Member Number: 63
|
Flight of the Fulviafulvia1436
@fulvia1436
Club Retro Rides Member 63
|
|
|
Subframe repaired. Needed to fabricate these ends for both sides to allow me to create nice clean welds / tacking when i come to getting my subframe outrigger arms in place. Didn’t want to weld lovely news arms onto rubbish metal.  Your attention to these details will give you a very tidy car, when it's done .Exemplary stuff, sir! |
| |
'59 Austin A40, '59 VW Beetle, '63 Mk1 Cortina, '57 Austin Gypsy, '68 Fiat 850 Coupe, '68 Alfa Duetto Spider, '72 Lancia Fulvia 1.3S, '73 Lancia 2000 Sedan ie., '72 Lancia 2000 Sedan, '67 Lancia Fulvia 1.3, '83 VW Passat GL5 Estate, '81 Volvo 245 Estate, '85 Lancia Thema 8V Turbo Estate, '99 Lancia Kappa 20V Turbo Estate, '00 VW Sharan VR6, '06 Fiat Multipla 1.9 JTD, '10 Fiat Multipla 1.9 JTD, '66 Lancia Fulvia 1.3
|
|
|
|
|
|
|
|
Thanks Justin. Trying to make it as easy as possible when i come to tacking in these new arms once in situ.
Looking to triangulate from the arm to the frame also for extra strength.
|
| |
|
|
fulvia1436
Club Retro Rides Member
Finally started a thread for my Fulvia life
Posts: 343  Club RR Member Number: 63
|
Flight of the Fulviafulvia1436
@fulvia1436
Club Retro Rides Member 63
|
|
|
|
There isn't a lot of clearance to triangulate there, on full lock.
Barry Waterhouse just stitched his Zagato racecar arms up to the footwell 😁
|
| |
'59 Austin A40, '59 VW Beetle, '63 Mk1 Cortina, '57 Austin Gypsy, '68 Fiat 850 Coupe, '68 Alfa Duetto Spider, '72 Lancia Fulvia 1.3S, '73 Lancia 2000 Sedan ie., '72 Lancia 2000 Sedan, '67 Lancia Fulvia 1.3, '83 VW Passat GL5 Estate, '81 Volvo 245 Estate, '85 Lancia Thema 8V Turbo Estate, '99 Lancia Kappa 20V Turbo Estate, '00 VW Sharan VR6, '06 Fiat Multipla 1.9 JTD, '10 Fiat Multipla 1.9 JTD, '66 Lancia Fulvia 1.3
|
|
|
|
|
|
|
Ha did he? God I haven’t heard that name in a few years. I remember buying sound deadening for my Integrale bonnet off him many years back. Top man. Thankfully I have you for back here because that could have caused me a headache. I did wonder with clearance but because I had seen it done thought it would be ok. There isn't a lot of clearance to triangulate there, on full lock. Barry Waterhouse just stitched his Zagato racecar arms up to the footwell 😁 |
| |
|
|
goldnrust
West Midlands
Minimalist
Posts: 1,887
|
|
|
|
|
So much welding, it brings back memories! haha. I remember doing the fiddly bits round the edge of the wings wings, handily with my s2 being LHD it had the low level lights which made the front more simple.
Doing a good job there, will be worth it in the end!
|
| |
|
|
|
|
|
|
|
So much welding, it brings back memories! haha. I remember doing the fiddly bits round the edge of the wings wings, handily with my s2 being LHD it had the low level lights which made the front more simple. Doing a good job there, will be worth it in the end! Cheers buddy. I remember looking through your images getting any snippet of help i could when looking ahead with mine. You certainly also endured the love and hate these cars throw at you. It has been a long haul for sure. Welding is now 99% there apart from a few little holes, minor repairs thanks to the lockdown. Just the matter of chucking some paint at it and trying to put the girl back together. |
| |
|
|
|
|


