|
|
|
Jul 18, 2018 19:25:24 GMT
|
Hi Jim, I have done 1 show in Holland in the past 5 years so do not attend many shows. i tend to spend my spare time on the Rover, my daily P5B, the MGB and 3 classic motorbikes and there is not much time left for taking these out for a spin or visiting shows. In fact i havent driven my motorbikes for over a year. The MG i use for the summer holidays (Norway or France this year). I did go to the UK about once a year to collect parts and bought my daily P5B in the UK. I like the UK a lot so next summer, a holiday in the UK is scheduled with the MG. When the Rover is finished, i have the intention not to start another restoration but spend more time using the classics and attending a show in the UK could be an option. Peter
Peter - If you are ever in the UK and passing through my neck of the woods there is a open invite for you to call in at the workshop  - I'm 50 miles directly West of London Wheels Day is a very good venue to visit, it is early in the year though www.classicshowsuk.co.uk/classic-car-show-event-information/classic-car-show-by-date.asp?id=109You may recall viewing a u-tube film a few years ago? |
| |
|
|
|
|
|
|
|
Jul 19, 2018 21:28:51 GMT
|
Cheers Steve
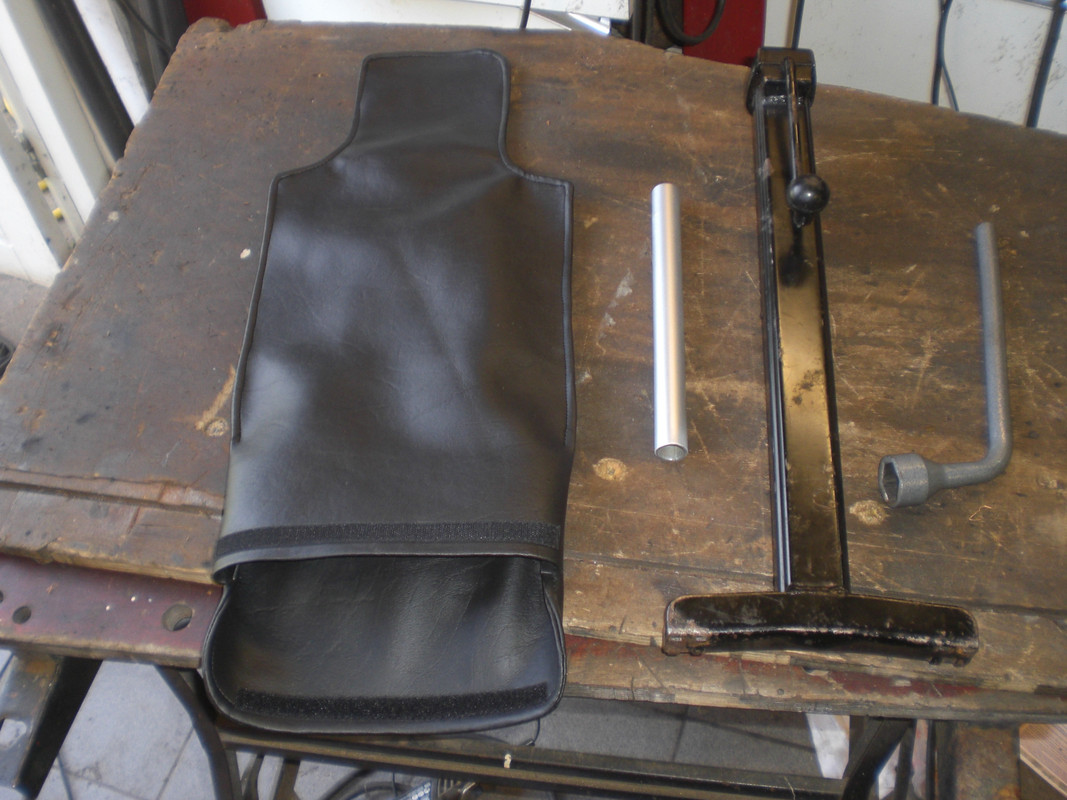
Time was spend mostly on the MG. Gave it a thorough clean as renewal of the valuation was due. Yesterday it was booked for the dutch MOT and it passed without advisorys  Also renewed the gearbox oil. The LT77 needs automatic transmission oil of a certain old Ford spec which i could not get locally anymore so ordered it online. The last job on the MG was to make a bag for the jack. This was wrapped in a piece of vinyl with the idea to make a bag for it and after over 10 year and now having my own sewing machine, there was no excuse to delay this any further
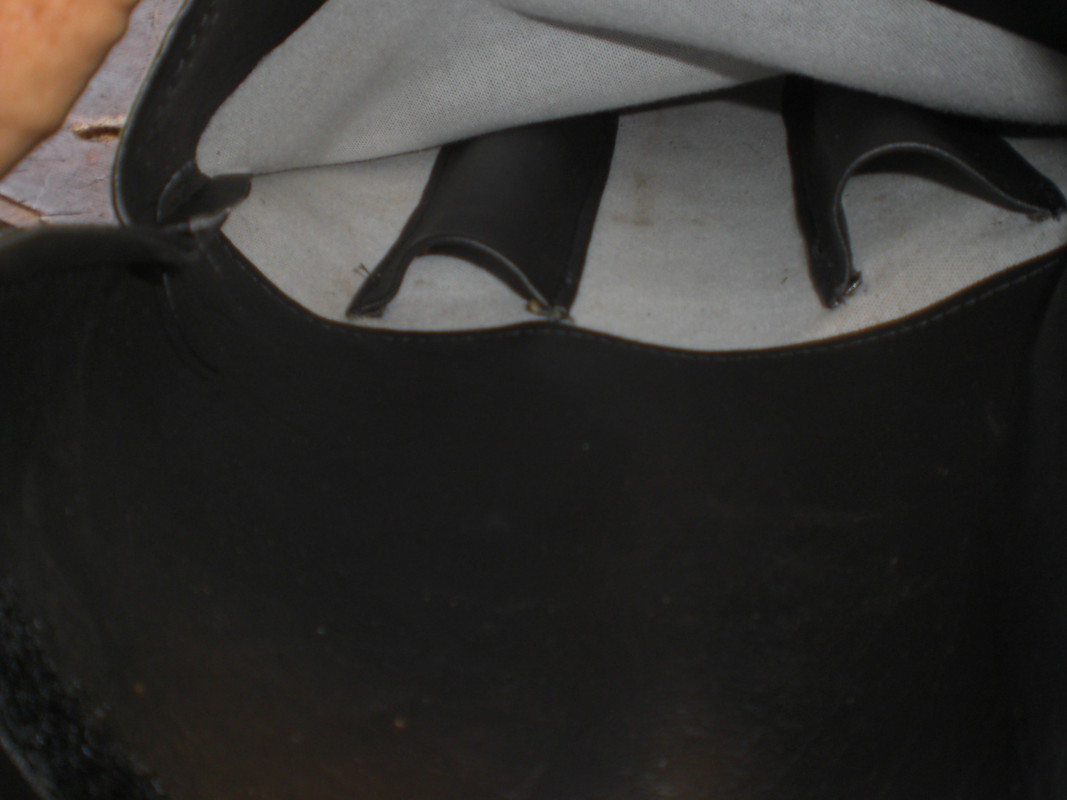
Made some pockets inside the bag for the wheel nutspanner and the piece of pipe (to increase the torque)
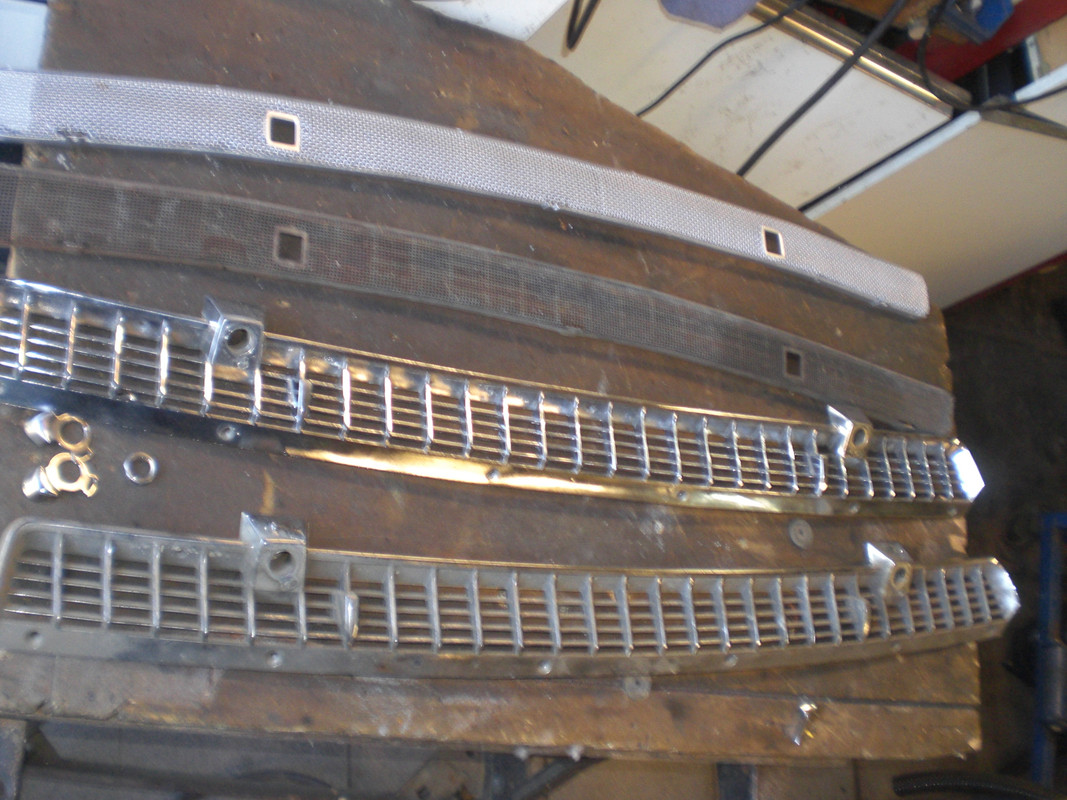
Also worked on the air intake grille on the Rover. I have 2 and one had been rechromed in the past. It is not perfect as it has a few pittings but these are difficult to rechrome as polishing is difficult. It cleaned up pretty well. Inside there is a wire mesh. I forgot to add that to a batch of zincplating so cleaned one with a small wire brush on the Dremel and gave it a few coats of primer and a few coats of wheel silver. It looks fine but will send the spare one for zincplating with a coming batch as zinc plating will last better i assume.
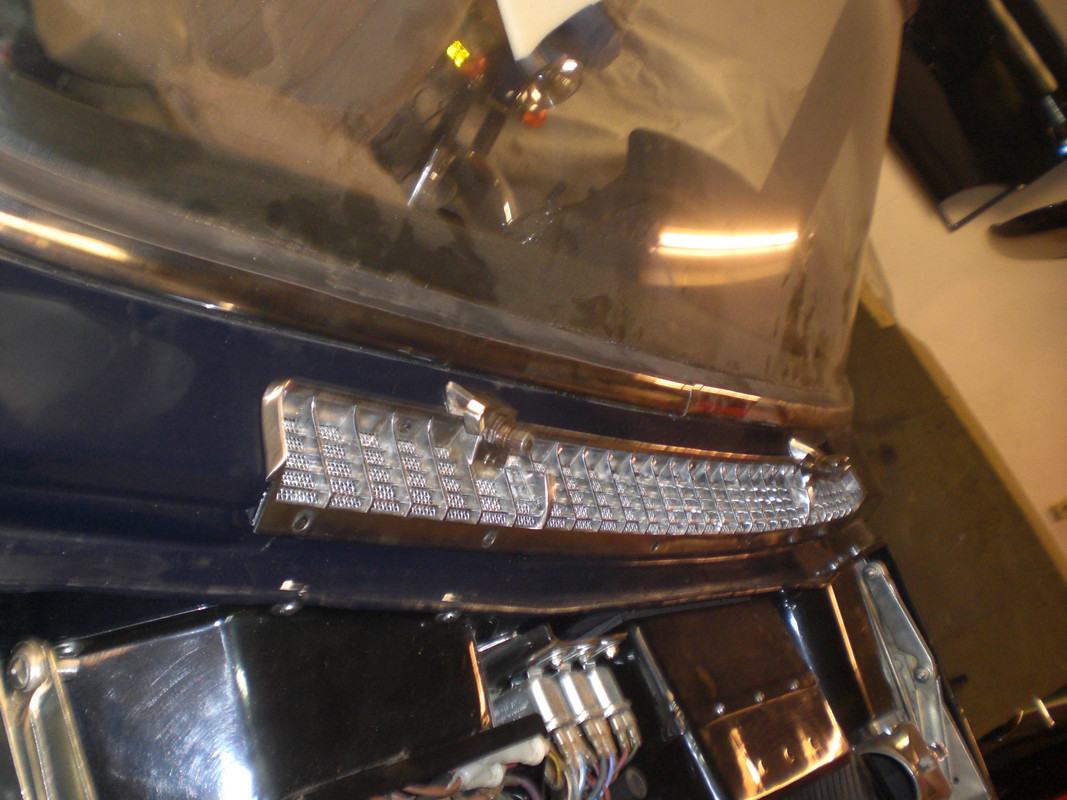
fitted the wire mesh to the grille and installed it on the car which is pretty dusty
Thats it for now
Peter
|
| |
|
|
|
|
|
Jul 31, 2018 21:32:48 GMT
|
|
Just been reading through this thread you sir are a master now I know what concourse really means very impressive
|
| |
|
|
|
|
|
Aug 17, 2018 22:08:57 GMT
|
Just been reading through this thread you sir are a master now I know what concourse really means very impressive cheers Bob!
Not much progress on the Rover as it was really hot in the workshop. Spend a fair bit of time with MG. Driving it and preparing it for the holiday. The holiday was great. Norway was too far and i did not fancy France so we decided to make a 8 days trip to the Cotswolds. A few pictures
It was a very hot day when we left with temperatur of 37 deg C. The picture shows the waiting for the ferry crossing in Calais. You can see how small the MGB is compared to todays cars
In the UK we faced some rain. The second stop was in Burton on the Water. A nice town in the Cotswold where we found a nice B#B to stay for 2 nights
Visited the Motormuseum which was nice but not very special. After touring threw the Cotswold, we went visit Oxforsd for a day which is a very nice city with lots of very nice buildings
Went down to the coast and drove along the coast to Dovers. We drove over 1700 km in 8 days and the MGB performed very well. No oil and coolant or spares needed and its a wonderfull car for these kind of trips. Its nice on country roads but also on the boaring motorway to Calais.
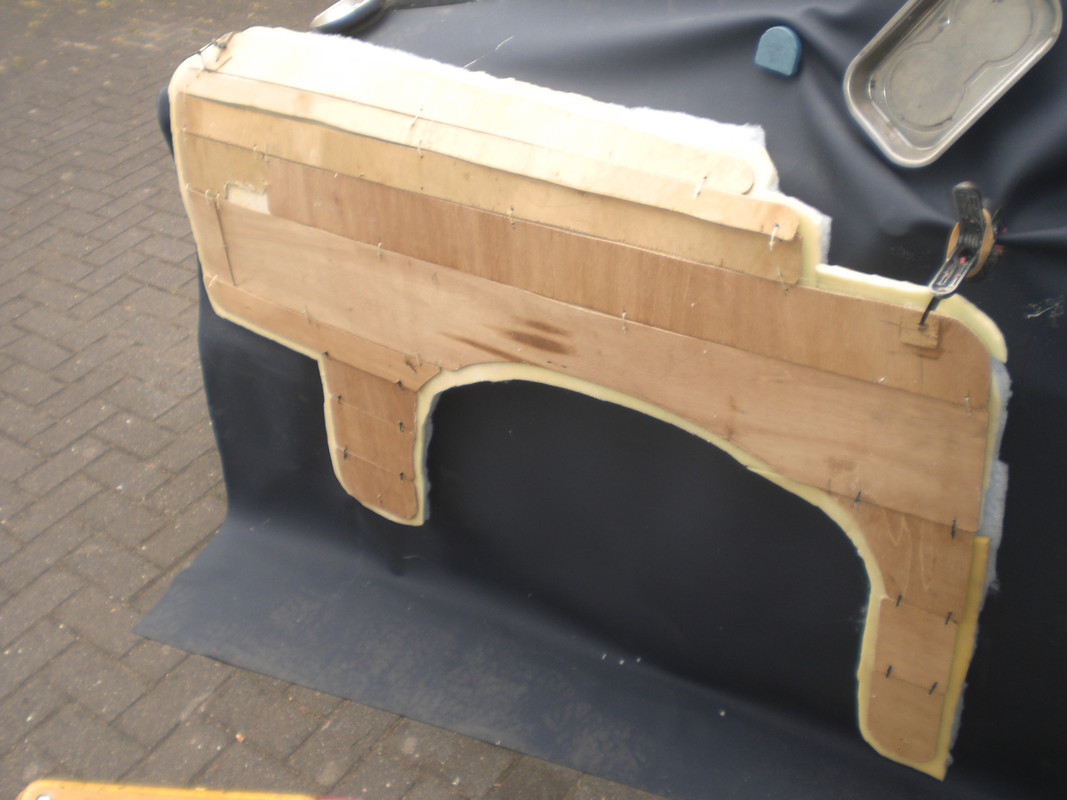
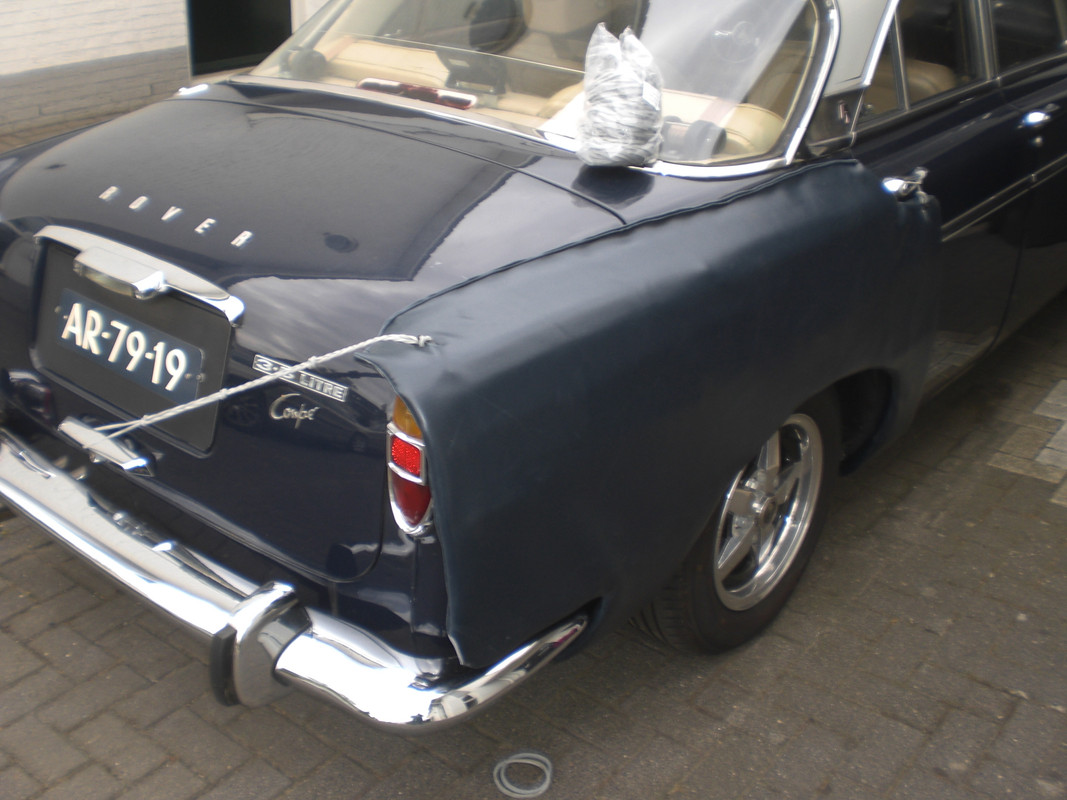
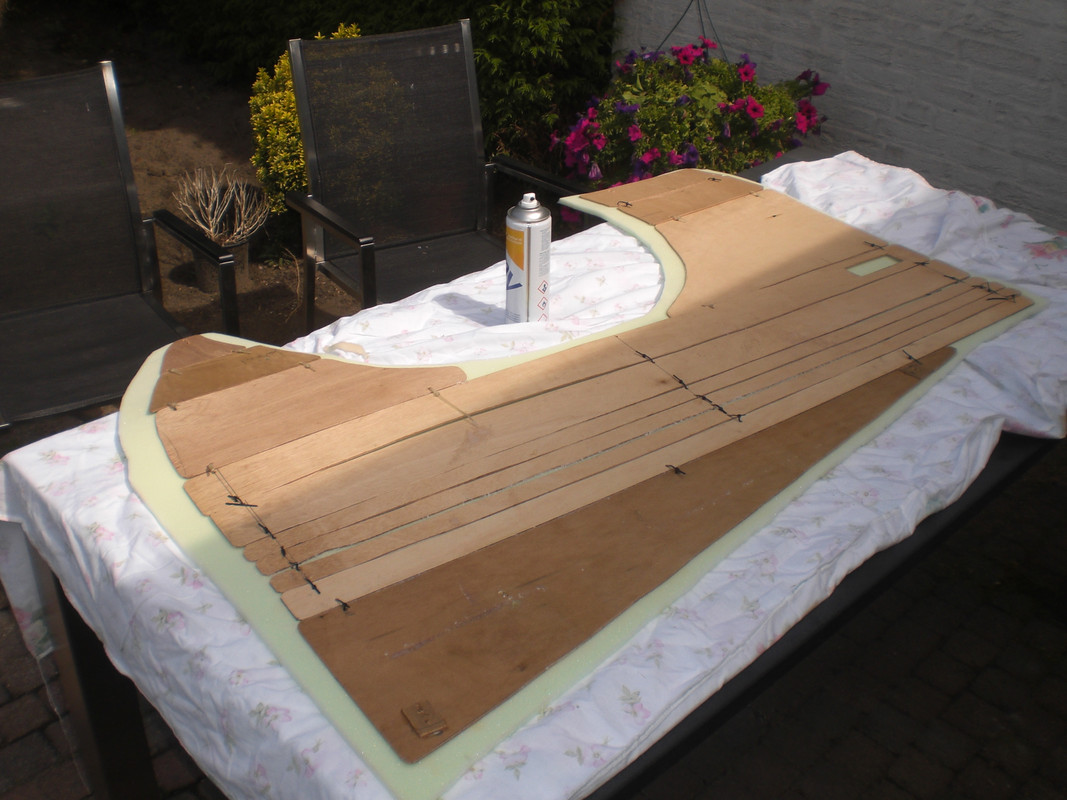
After coming home did a few things in the workshop- The interior for the Rover is ready and its time to fit doors and front and rear wings. As my workshop is full with stuff, i want to make some protection covers for the Rover to protects it against my motorbikes which are stored very close to the cars and our teenage kids with their bycicles. I also did this for the MGB andthese kept it free of dents and scracthes. The covers are made from ply wood strips connected by tieraps and on both sides covered by a layer of foam and some vinyl and are also very handy when working on the car. The covers you can buy are universal and never cover the entire wing.
Rear one being made. The daily Rover is used as a kind of jig.
And the first one is ready. The covers are held by camping elastics and can be remnoved and fitted quickly. I kept an eye on a dutch kind of ebay for a while for cheap vinyl and managed to buy a 35m roll for Euro 50,- and the color isnt to bad either.
Front one in the making. The vinyl is stitched with my trusty vintage Singer Thats it for now Peter
|
| |
Last Edit: Sept 14, 2018 6:52:18 GMT by petervdv
|
|
|
|
|
Aug 17, 2018 22:58:42 GMT
|
|
Not happy with just upholstering the interior, now you're making the outside comfy as well!
|
| |
|
|
|
|
|
|
|
Lovely B, and really well taken care of  every time I see one it makes me wish I'd bought one that wasn't a complete and utter basket case. I'm also impressed by your apholstering skills. I bought myself a 30s Singer to do some of that on my Spit but haven't got round to that yet. Any tips? |
| |
|
|
glenanderson
Club Retro Rides Member
Posts: 4,353
Club RR Member Number: 64
|
Rover P5B Coupe - MGB V8glenanderson
@glenanderson
Club Retro Rides Member 64
|
|
|
|
I’m fairly sure we saw/overtook you on the motorway as you drove through Kent at the start of your trip. There can’t be many Dutch registered LHD MGBs in that colour around. Glad you had a good trip. 😃👍
|
| |
My worst worry about dying is my wife selling my stuff for what I told her it cost...
|
|
|
|
|
Sept 11, 2018 21:13:14 GMT
|
Not happy with just upholstering the interior, now you're making the outside comfy as well! Lovely B, and really well taken care of  every time I see one it makes me wish I'd bought one that wasn't a complete and utter basket case. I'm also impressed by your apholstering skills. I bought myself a 30s Singer to do some of that on my Spit but haven't got round to that yet. Any tips? Cheers. I quess if you are looking for interior bits for your spitfire then it may be cheaper to buy these. Like my MGB, the Spitfire is a high volume car and therefore several compagny produce interior bits. If you are not happy with the quality, then you can make it yourself. I found a few Youtube posts how to adjust the Singer which were very helpfull. These Singers are simple machines and i did some testing on scrap material and soon it was good enough. Its not a quick job but doable. I got some heavy duty needles form a UK compagny and lots of parts are still available. If you have specific questions, please let me know. I’m fairly sure we saw/overtook you on the motorway as you drove through Kent at the start of your trip. There can’t be many Dutch registered LHD MGBs in that colour around. Glad you had a good trip. 😃👍 Cheers Glen. What a coincidence !
Not much progress on the Rover due to garden work and painting the wood on our house. This was due last year but i was too busy with the Rover.
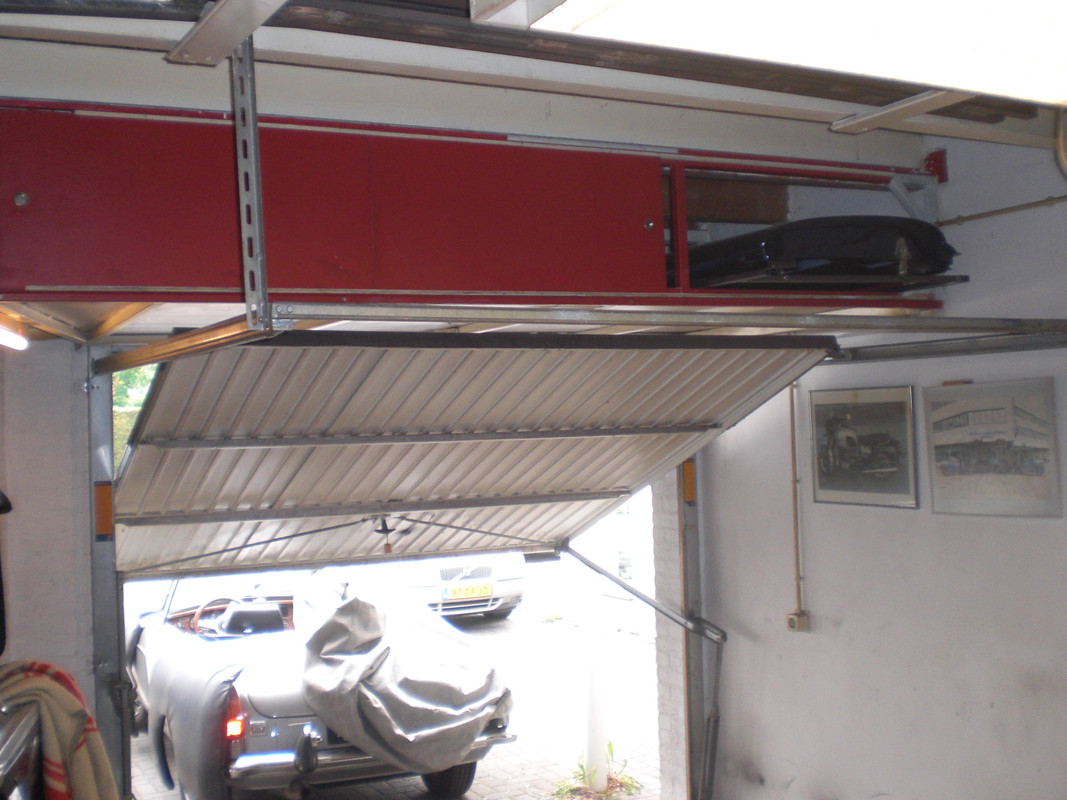
As the interior and the covers are ready, its now time to fit the doors. The painted door were safely stored in the cabinets above the doors
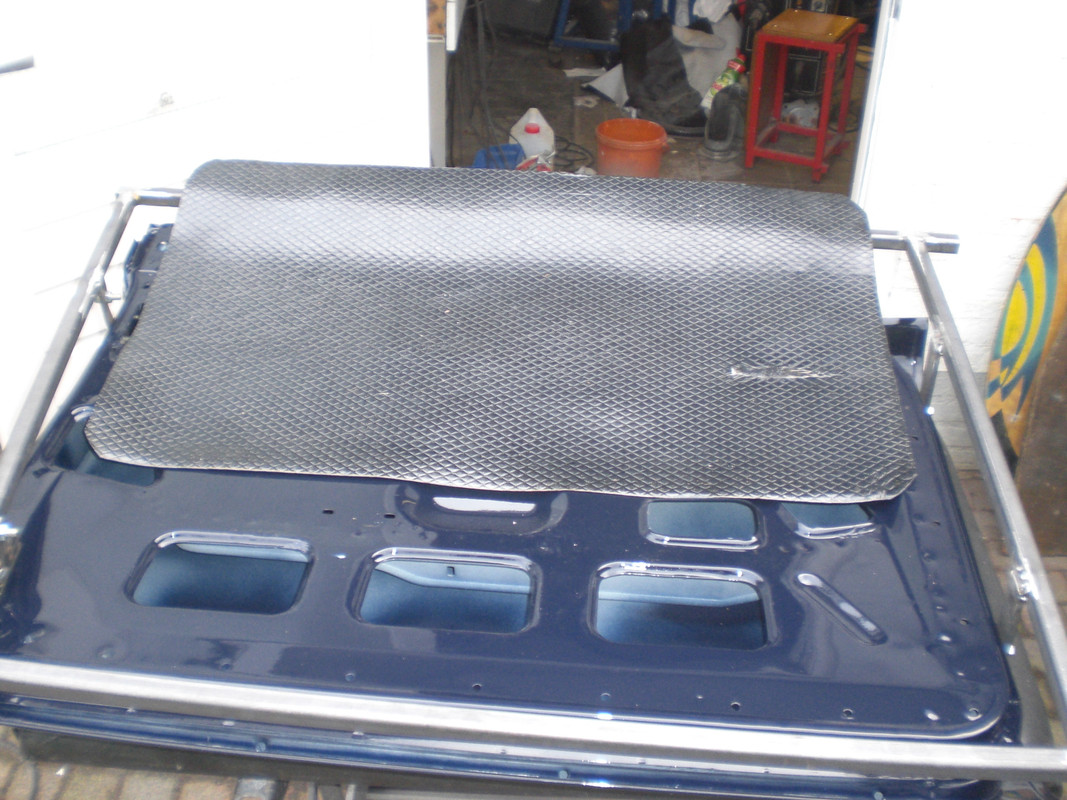
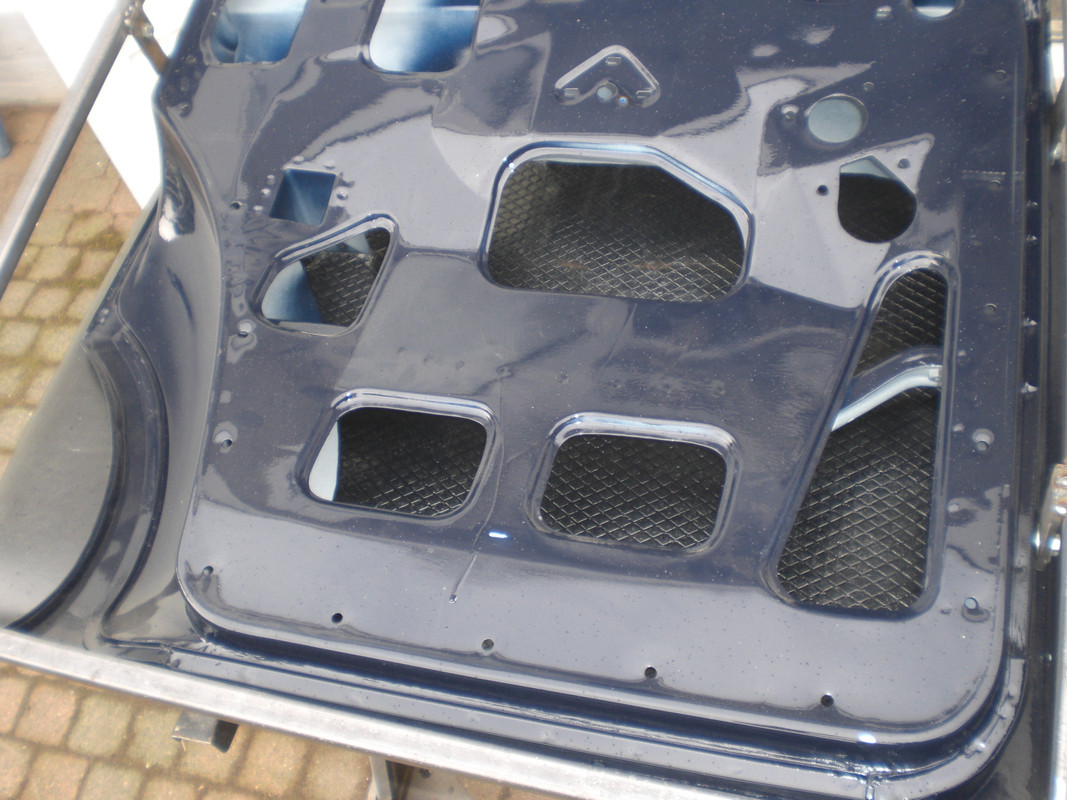
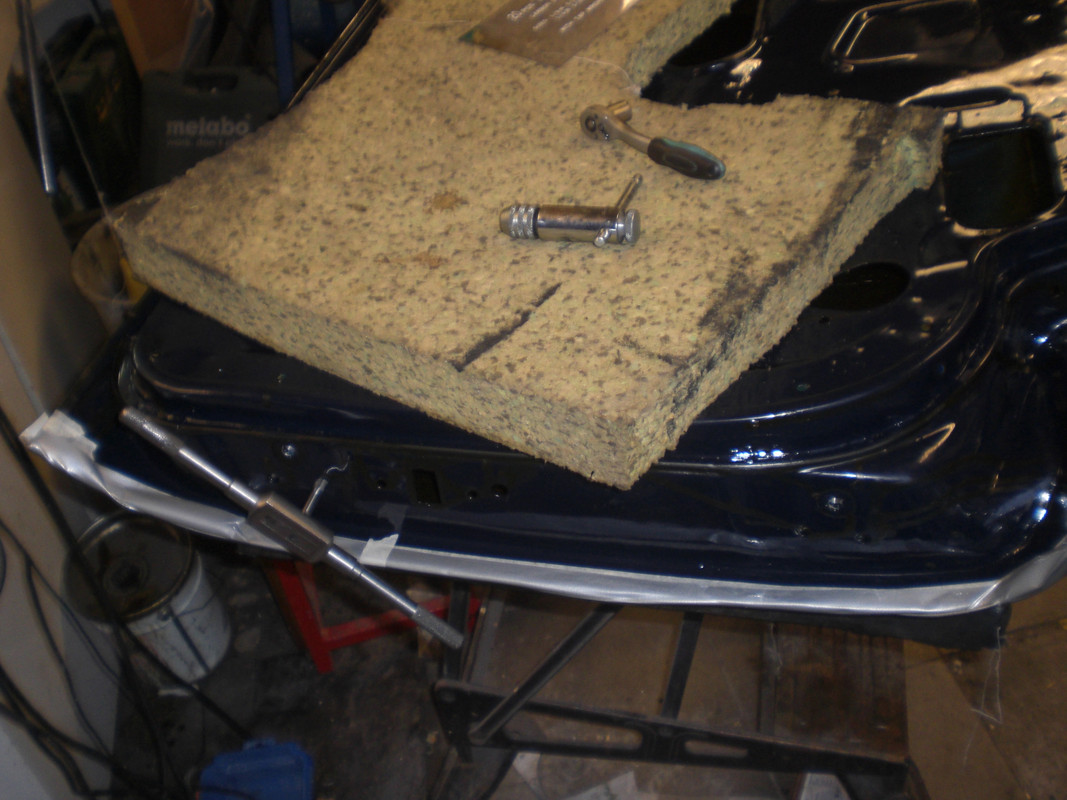
Took these all out and cut the anti drumming material to the right size
and glued it to the door skin
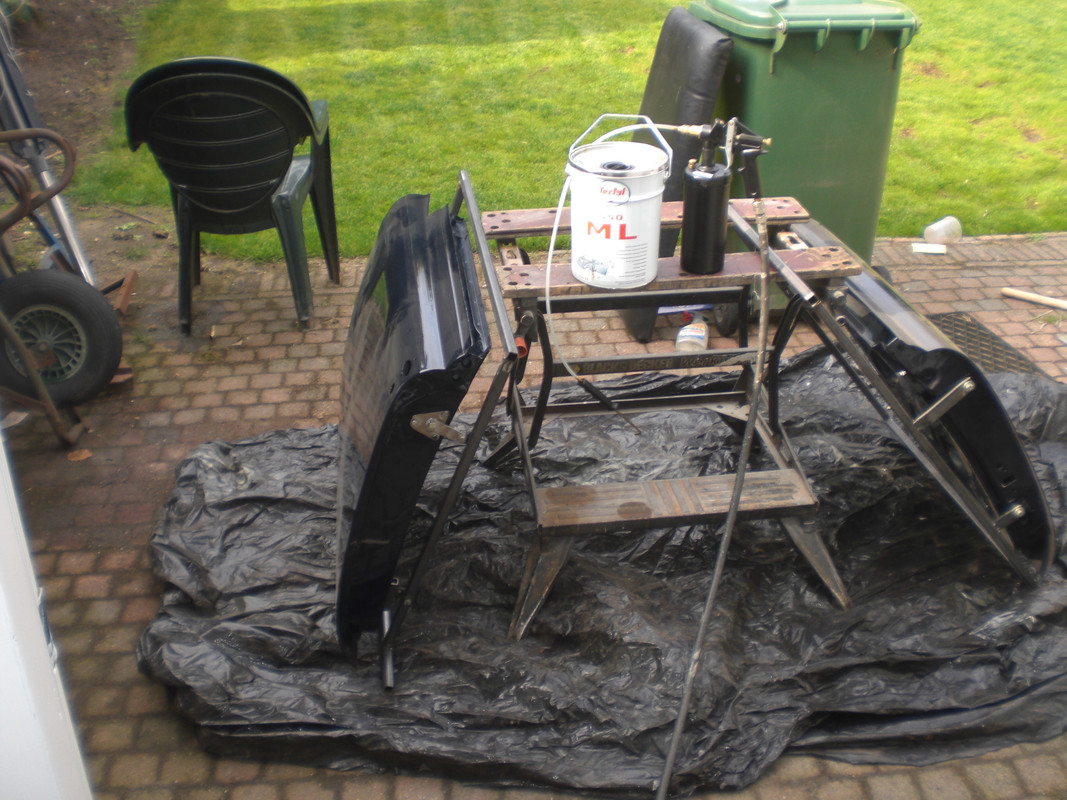
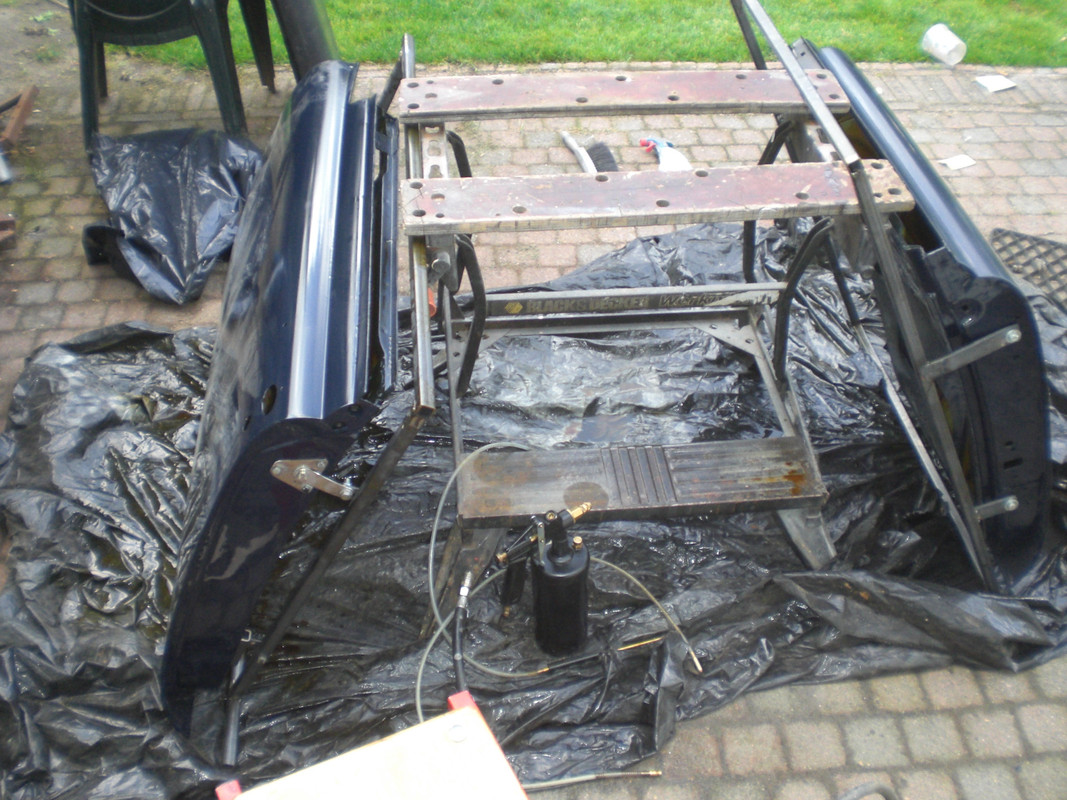
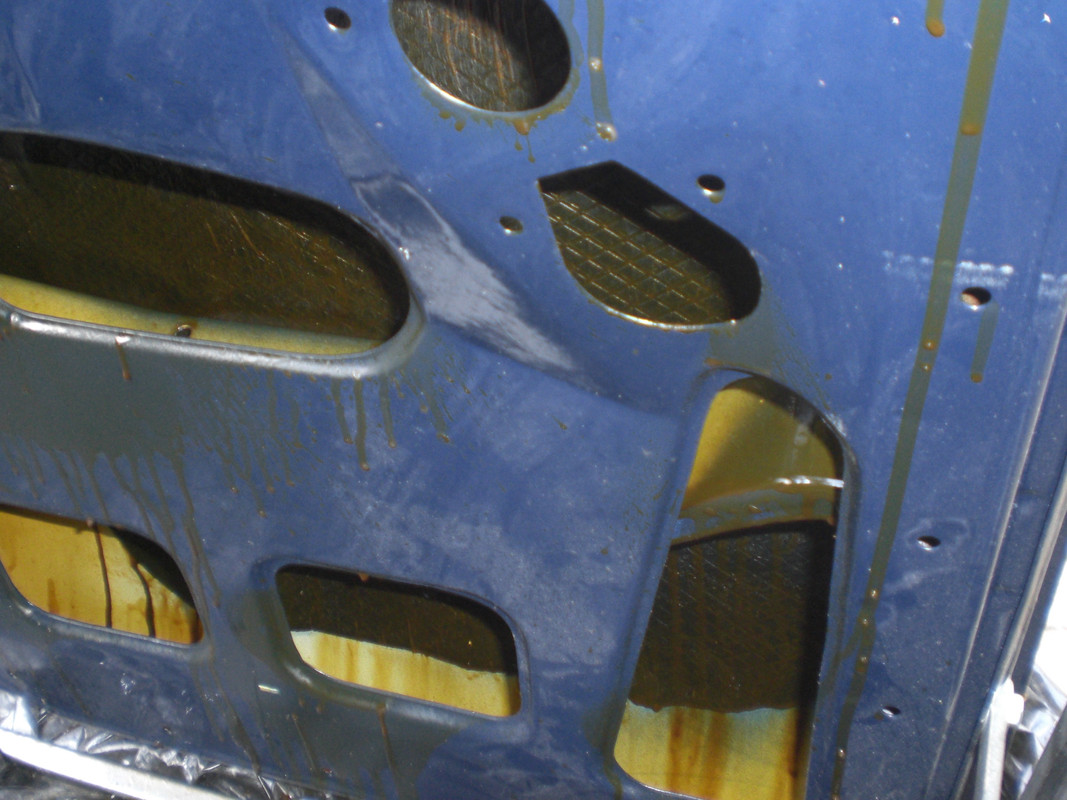
The next step is to apply Tectyl to the inner door, especially where the skin meets the frame.
the tool for this has 2 nozzles and works very well.
Its a messy job as most of the Tectyl come out again.
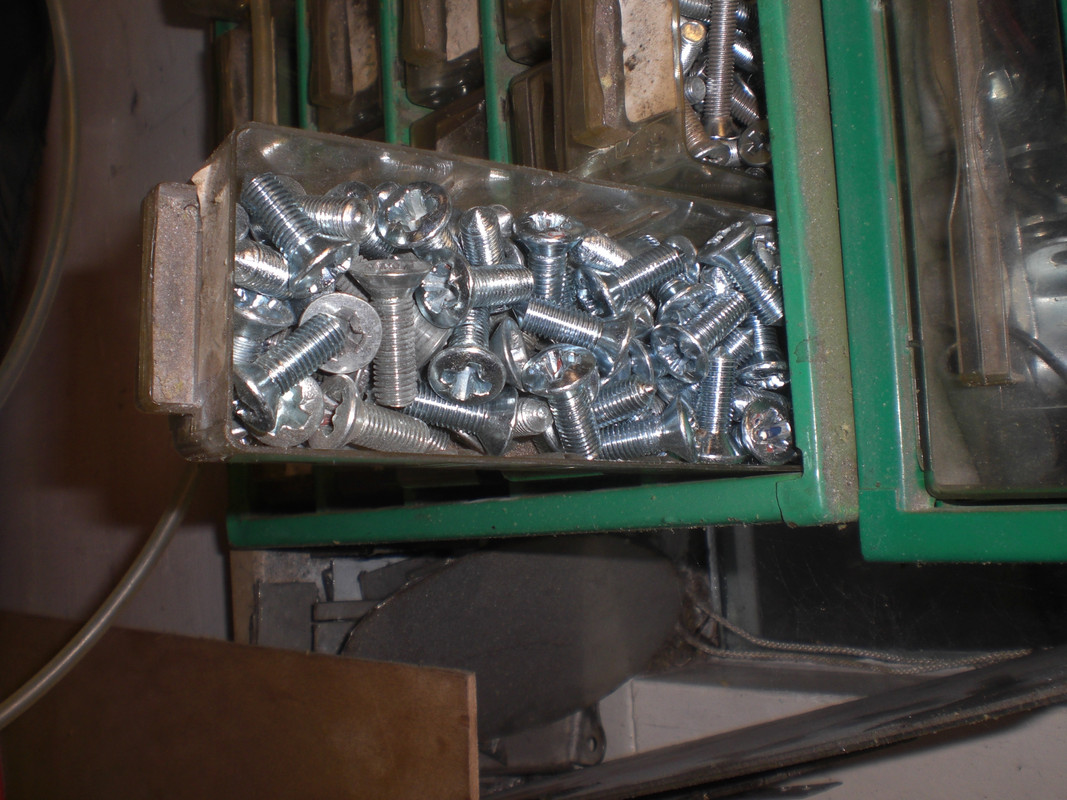
After cleaning the outside, i cleaned the threads of the hinge screw and applied some masking tape to the edge to avoid damaging it
A fair amount of hinge bolts were cleaned and zinc coated and look new
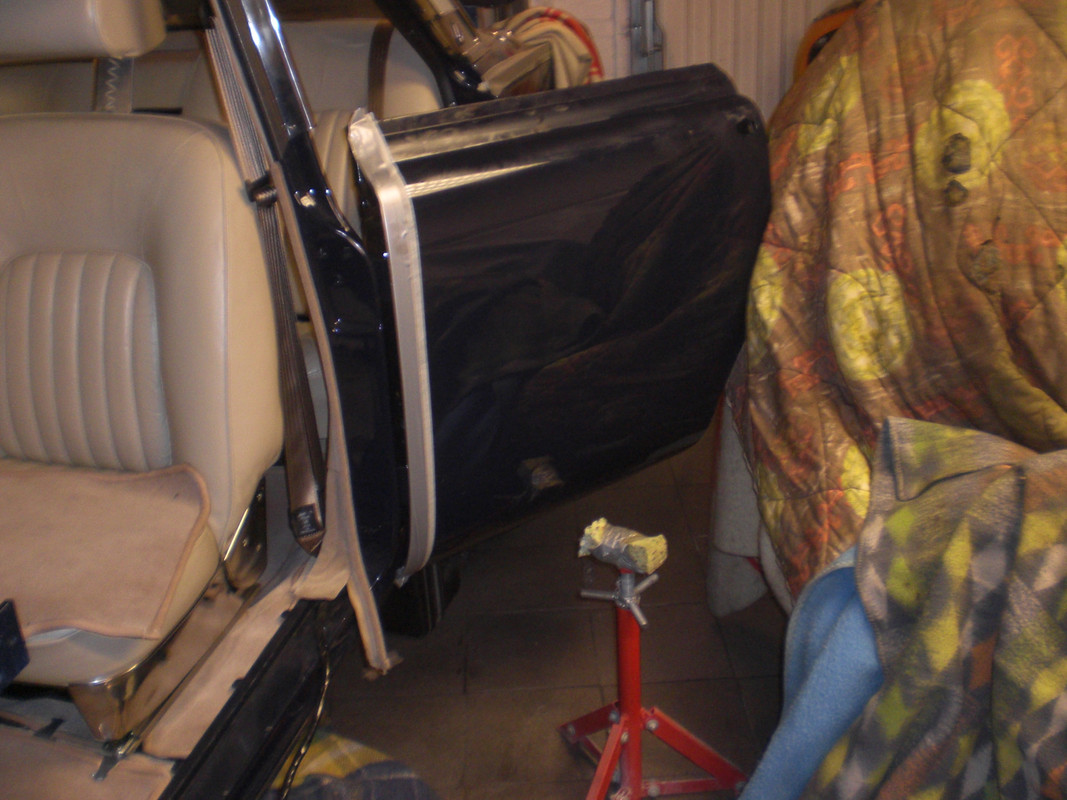
With help of a high axle stand, the rather heavy door was fitted. The hinges were fitted to the body by the body man prior to painting so no adjustment was needed which makes it a lot easier.
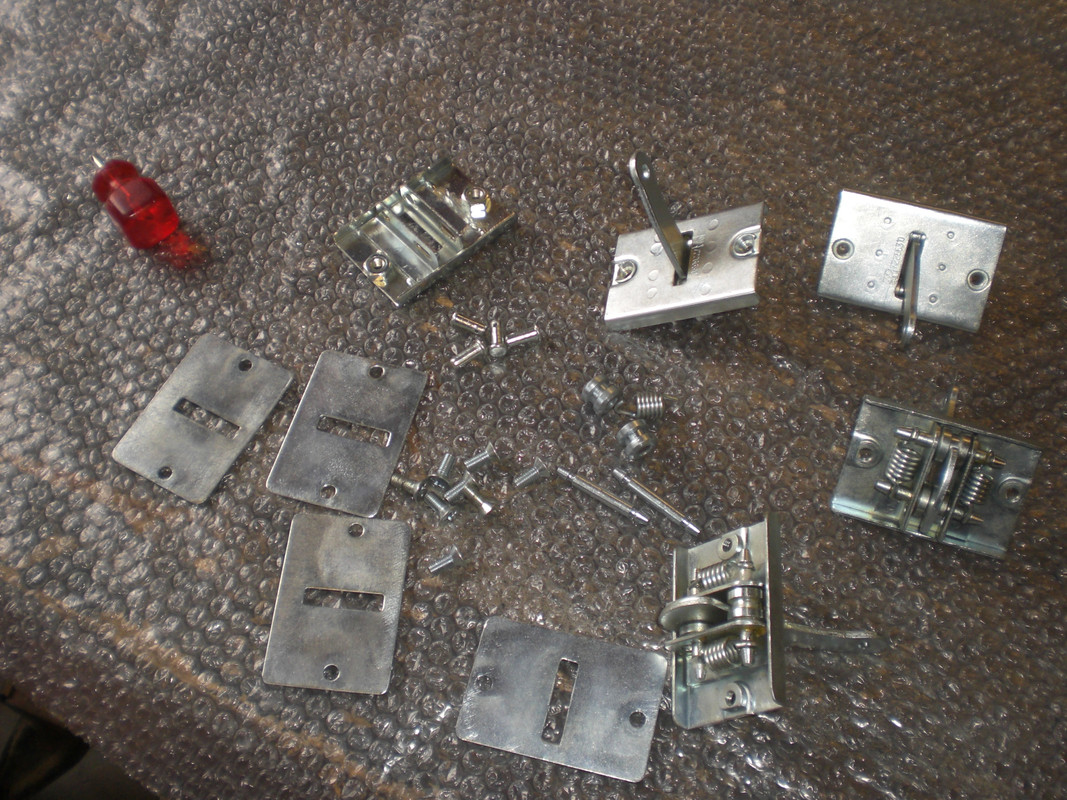
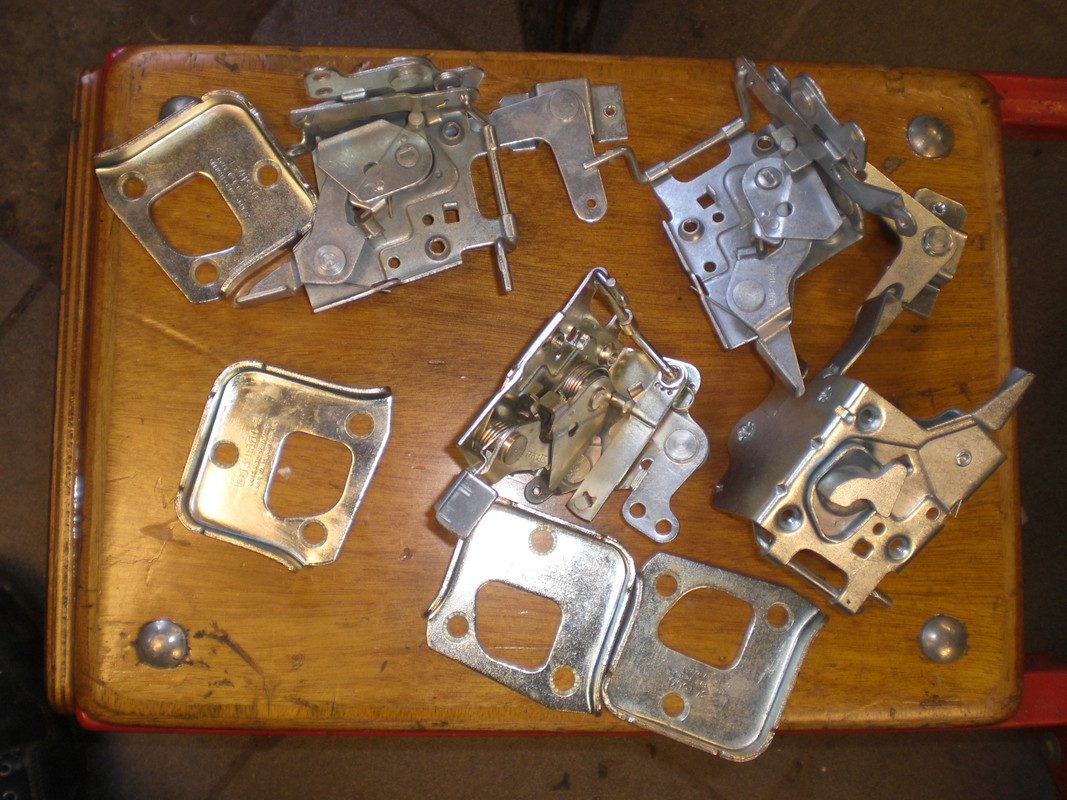
Then the zinc coated parts of the door retainers were assembled and fitted to the doors.
then the door openings mechanism were taken and lubricated with grease. These were zinc coated as a complete assembly and this works very well.
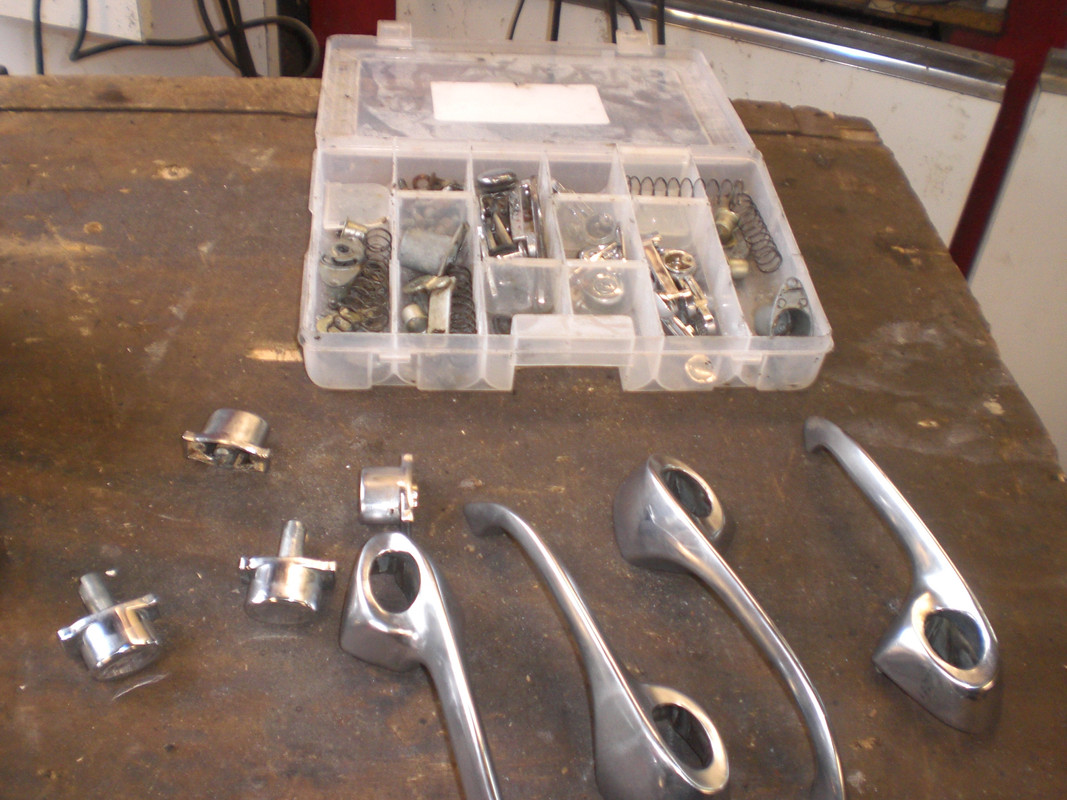
Also the door handles were opened and cleaned. There was a fair amount of old hardenbed grease in it and this was removed and fresh grease was applied. The handles show very minor pitting so its not worth to get these rechromed-
Thats it for now
Peter
|
| |
|
|
eurogranada
Europe
To tinker or not to tinker, that is the question...
Posts: 2,556
|
|
Sept 12, 2018 6:29:24 GMT
|
|
As always top quality work!
Thanks for the mag, it arrived yesterday. Hope to find time to read it today, but the Granada pre-mot stuff might be in the way.
|
| |
|
|
|
|
|
Sept 12, 2018 9:37:45 GMT
|
|
Now that is serious attention to detail!
|
| |
|
|
|
|
|
|
|
Sept 13, 2018 7:51:15 GMT
|
|
Peter - Had I known you were on your hols in the Cotswolds - not too far from me at all - you would have been welcome to call in for a visit - but there is always next time !
|
| |
|
|
820
South East
Posts: 793
|
|
Sept 19, 2018 20:06:41 GMT
|
|
I spent the last 3 evenings reading your thread from the start.
Everything I want to say has already been said but I must repeat it anyway.
Your level and variety of skills is amazing, I am so impressed by the quality and speed you achieve perfection.
When I see your pictures of the completed underside, engine bay interior it is a work of art, I think the car also helps, like you say it is so well engineered we all know when something looks right.
These are beautiful cars and probably one of the few cars everyone you talk to likes them.
Now it is getting close to completion I am worried you will take it outside, I know it is a car and should be driven but I think it deserves its own space where you can come out to the garage every now and then, to just stand and admire your work with a big grin.
|
| |
|
|
|
|
|
Sept 20, 2018 9:57:03 GMT
|
He'll just be sitting admiring his work with a big grin. As it makes loud noises and turns heads.  |
| |
|
|
|
|
|
Sept 20, 2018 19:31:16 GMT
|
Now that is serious attention to detail! cheers Jim! Peter - Had I known you were on your hols in the Cotswolds - not too far from me at all - you would have been welcome to call in for a visit - but there is always next time ! Did not realize, we were that close. Next time for sure i come by to say hello to you and Sid. I spent the last 3 evenings reading your thread from the start. Everything I want to say has already been said but I must repeat it anyway. Your level and variety of skills is amazing, I am so impressed by the quality and speed you achieve perfection. When I see your pictures of the completed underside, engine bay interior it is a work of art, I think the car also helps, like you say it is so well engineered we all know when something looks right. These are beautiful cars and probably one of the few cars everyone you talk to likes them. Now it is getting close to completion I am worried you will take it outside, I know it is a car and should be driven but I think it deserves its own space where you can come out to the garage every now and then, to just stand and admire your work with a big grin. Cheers 820. Glad you enjoyed it The speed of this restoration is not that impressive. Started working on the Rover in 2009 but had another 2 smaller projects.
The Rover will be used and will get wet and dirty and the big grin will still be there,
He'll just be sitting admiring his work with a big grin. As it makes loud noises and turns heads. 
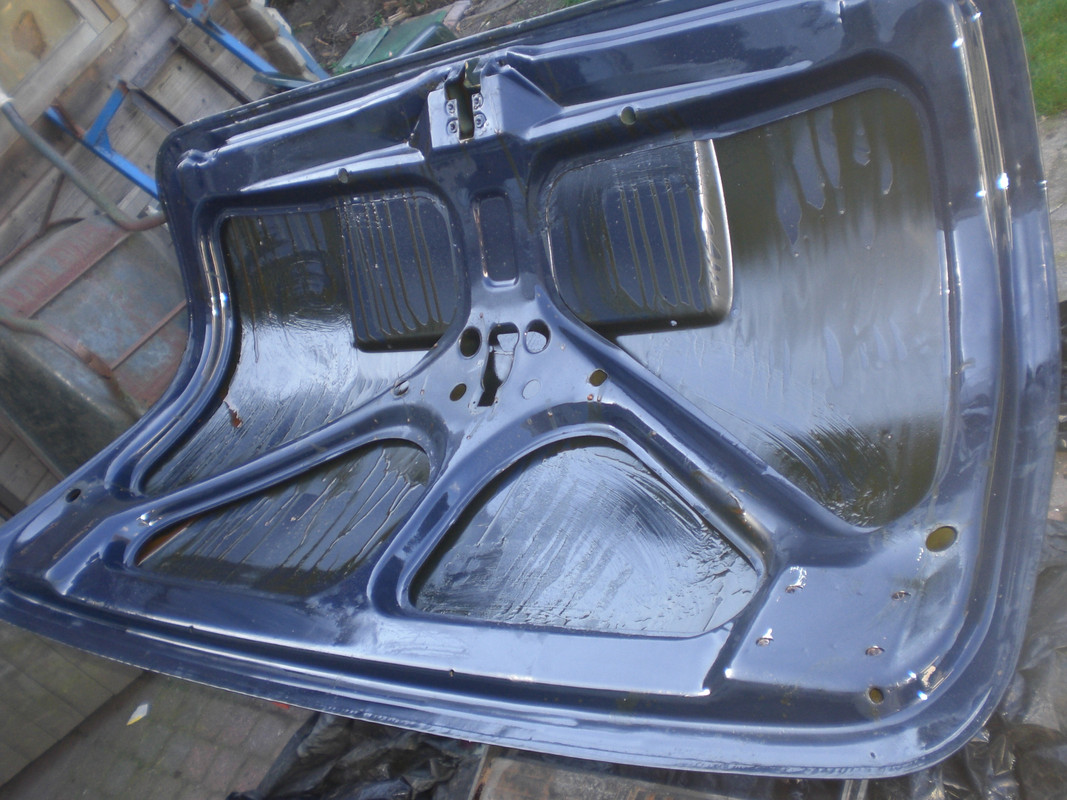
Did some work on the Rover. The bootlid was treated with Tectyl. The bootliad is the only panel on this car that did require any welding.
After fitting the bootlid to the car, i wanted to fit the bootlid lamp. Could not find in the WSM where the switch is supposed to be fitted. On my daily the switch is in a weird position and not connected or working.
Tested the bulb holder and this did not work. the two other i had also did not work so i opened it
I discovered that the device in the middle is a mercury switch which did not work on all 3 bulb holders In my stash of parts, i had a mercury switch. I bought it more then 20 years ago for making an alarm system on a motorbike but never got to it
Took a piece of SS pipe and welded a bracket to this piece of pipe
Soldered 2 wires to the mercury switch and with some thick 2K glue, i fitted the mercury switch into the pipe
Found all the newly zinc coated parts of the opening mechanism for the bootlid and fitted these to the car. It seems that 2 sets were zinc coated
The mercury switch is hidden betwwn the frame and the bootlid skin and works very well
Also fitted the 2 rear wings to the car
There are painted aluminum strips fitted between the body and the wing and these were treated with a layer of 3M sealer before fitment
Next will be the bonnet and the front wings. One of the doors is sagging a bit so i am going to call the bodyman to check this and when he is coming i want all the pannels to be fitted to the car. All the panels still have a film of Tectyl on the outside (which is not easy to remove completely) so the car looks a bit greasy
Peter
|
| |
Last Edit: Sept 20, 2018 19:33:17 GMT by petervdv
|
|
eurogranada
Europe
To tinker or not to tinker, that is the question...
Posts: 2,556
|
|
Sept 26, 2018 13:15:26 GMT
|
This made me think of you the other day... 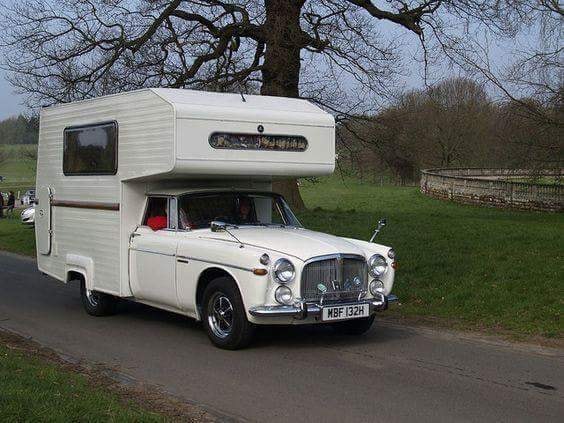 Just lovely! |
| |
|
|
|
|
|
Sept 28, 2018 21:25:54 GMT
|
This made me think of you the other day...  Just lovely! Thanks Alex. I have seen that before. It seems two (a 6 cyl and an 8 cyl) were build by enthusiasts Did some work on the Rover. Prepared the rear lights. All the bases made out a kind of alloy showed a few holes caused by corrosion. I repaired the 2 best by filling the holes with a thick 2K glue and then sanded these and gave them a coat of primer and wheel silver. The LH rear light is also holds the filling plug for the LPG system. The reflector in the middle can be popped out
Underneath a video which shows how it works
the disadvantage of the small filler is that every time you fill up, you have the fit the nipple and then remove it again but i prefer this over the ugly large filler which is ofen fitted into the rear wing-
The large SS spring came from an old pop up sprinkler i replaced a while ago in our garden Cannot fit them to the car yet as i only have 1 rubber boot as the others are on backorder. Thats it for now Peter
|
| |
Last Edit: Sept 29, 2018 6:16:18 GMT by petervdv
|
|
|
|
|
Sept 29, 2018 20:27:40 GMT
|
|
pure genious... but then , should we expect any less?!!
|
| |
'80 s1 924 turbo..hibernating
'80 golf gli cabriolet...doing impression of a skip
'97 pug 106 commuter...continuing cheapness making me smile!
firm believer in the k.i.s.s and f.i.s.h principles.
|
|
samta22
Club Retro Rides Member
Stuck in once more...
Posts: 1,276  Club RR Member Number: 32
|
Rover P5B Coupe - MGB V8samta22
@samta22
Club Retro Rides Member 32
|
|
|
|
Simple and effective - brilliant idea.
|
| |
'37 Austin 7 '56 Austin A35 '58 Austin A35 '65 Triumph Herald 12/50 '69 MGB GT '74 MGB GT V8'73 TA22 Toyota Celica restoration'95 Mercedes SL320 '04 MGTF 135 'Cool Blue' (Mrs' Baby) '05 Land Rover Discovery 3 V8 '67 Abarth 595 (Mrs' runabout) '18 Disco V |
|
|
|
|
|
|
pure genious... but then , should we expect any less?!! Simple and effective - brilliant idea. Cheers guys!
Did some work on the Rover. Was waiting for the Window U channel to arrive so fitted the LH front wing. Did not take any picture as the batttery in the camera was empty. Then fitted the light in the front wing. The direction indocators and the head lamps were ordered new and the rest was restored by treating parts with a fresh layer of zinc or powder coating
The headlamp adjusters and rims are used on a lot of British cars like MGB and are cheap but i prefer to restore the original parts as i am not always impressed by the quality of the reproduced parts.
The zinc coated parts which are not visible got after cleaning a coat of Tectyl. All lamp parts were test fitted prior to painting the body an panels so no surprises there
The headlamp rim will be fitted lated when the lights have been adjusted The RH front wing has to wait as the RH front door needs adjustment and the guy who prepared and painted the body will come by to see why it is hanging.
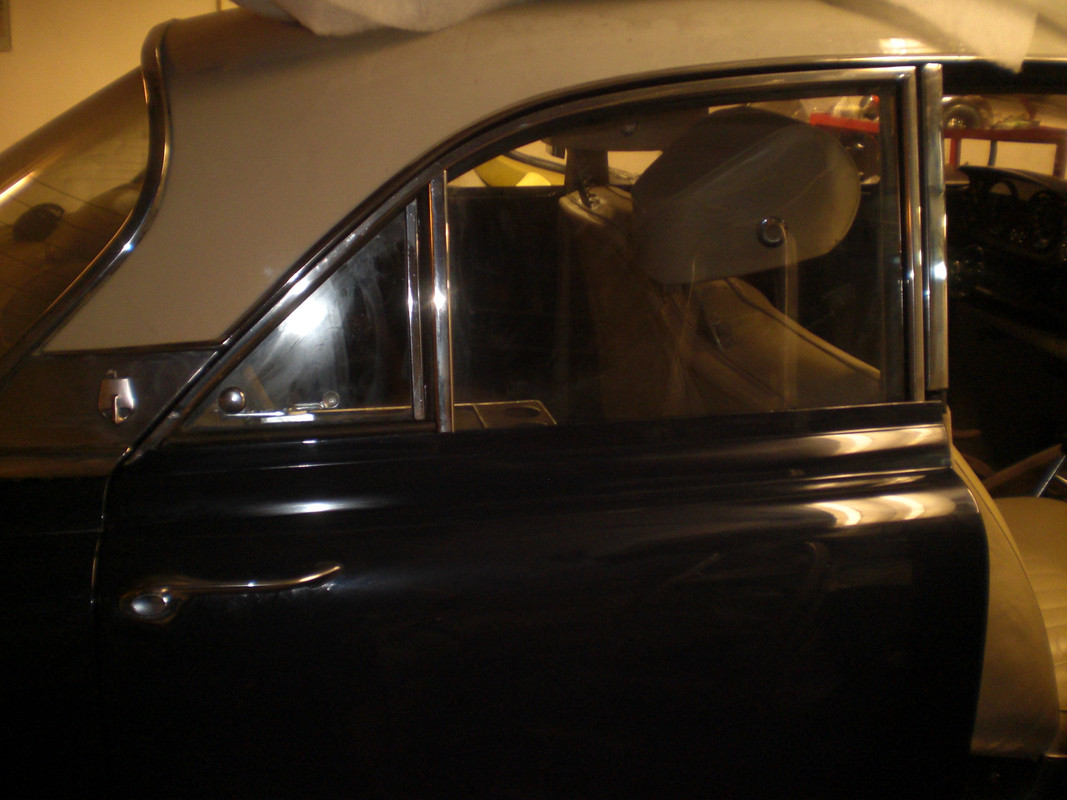
The window U channel arrived from the Uk so it was time to fit the door frames
Started with the RH rear door frame. I have 2 of each so choose the best. The frame are mainly made of SS but in the factory some plain steel bracket were welded on the frame so these do rust and rot.
Removed paint and rust from the brackets and gave these a coat of primer and wheel silver
The SS part of the frame was polished with my polishing machine which gave it a shiny surface again within minutes
Then searched for the steel parts which were galvanized and assembled the frame with fresh window channel rubber
The quarterlight seal is not available new but was in good condition and only needed a thorough clean
The steel mounting bolts were covere in copper grease before fitting these
The frame with the glass was fitted to the door with approx 20 1mm thick shims to position it properly
1 frame down, 3 more to go!
Peter
|
| |
|
|
|
|
|
Oct 22, 2018 21:13:57 GMT
|
did some more work on the Rover.
Prepared and fitted another 2 window frames which all went well. The front frames fitment to the door is in Rover style over engineered as its fitted with 10 bolts
Also gave the area between bonnet frame and skin some rustprofing and fitted the bonnet including the screen washers
Made some new gaskets for the underbonnet lights from closed cel foam which avoids cracking the plastic covers.
Also received the grommets for the rear lights but the wrong ones were supplied. The grommets only had an opening for 1 wire uinstead of 2. I was able to use these for the direction indicator so could fit 1 rear light cluster.
the fitted rear light cluster
Contacted the supplier of the wrong grommets and they will send the correct ones for free but it could take a few weeks....
Then took the box of badges and selected the best set and gave it a polish with my polishing machine
The same parts supplier send another set of wrong parts. For fitting the badges, small platic "tubes" are used and these are availabel in several dimensions. I needed these for a hole of 3mm and received these for a hole of 4mm. Luckily i could reduce the diameter with my powerfile
the 2 in the middle are the supplied one and the 2 on the RH side are the modified ones
Then fitted all the badges to the car
As you can see the panels are still covered in a film of greasy looking Tectyl which will take some effort to remove totally
Then started fitting the door seals. First applied some doulble sides tape to check if the seals had the right thickness
On the lower part of the door the seal was way too thick and on the upper part it was too thin. I could move a 1mm thick piece of plastic between the door and the body so this means water can easily get in there.
Compared the new seal from Scotts rubber with an old seal and it was obvious that the new seal was way too small
Original seal on the right side, new curse word seal on the left side. Have to order a new set of seals from another source (Wadhams). These curse word deliverys are very frustrating Thats it for now
Peter
|
| |
Last Edit: Oct 23, 2018 5:42:17 GMT by petervdv
|
|
|
|


 - I'm 50 miles directly West of London


