|
|
|
Mar 20, 2018 12:49:33 GMT
|
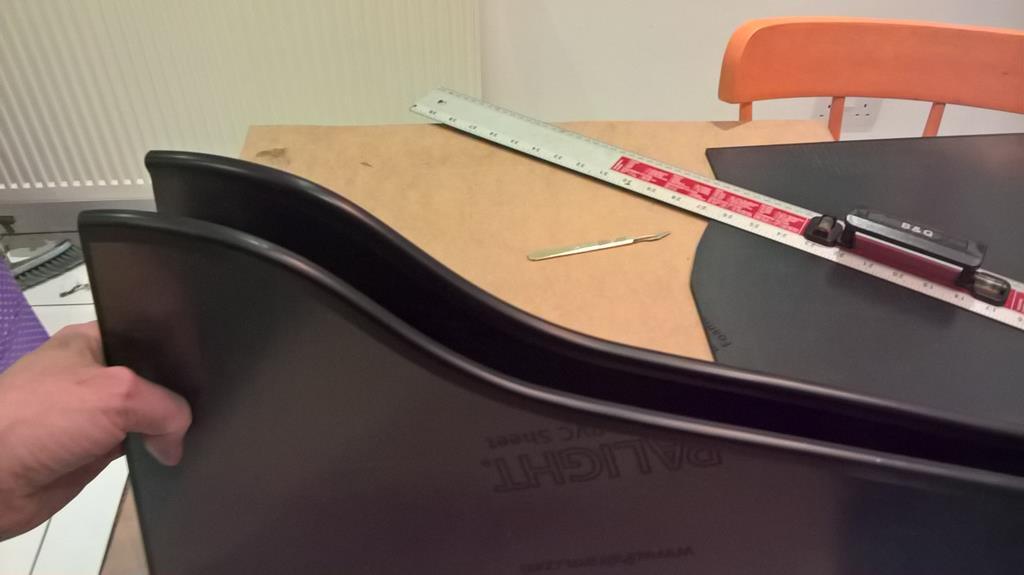
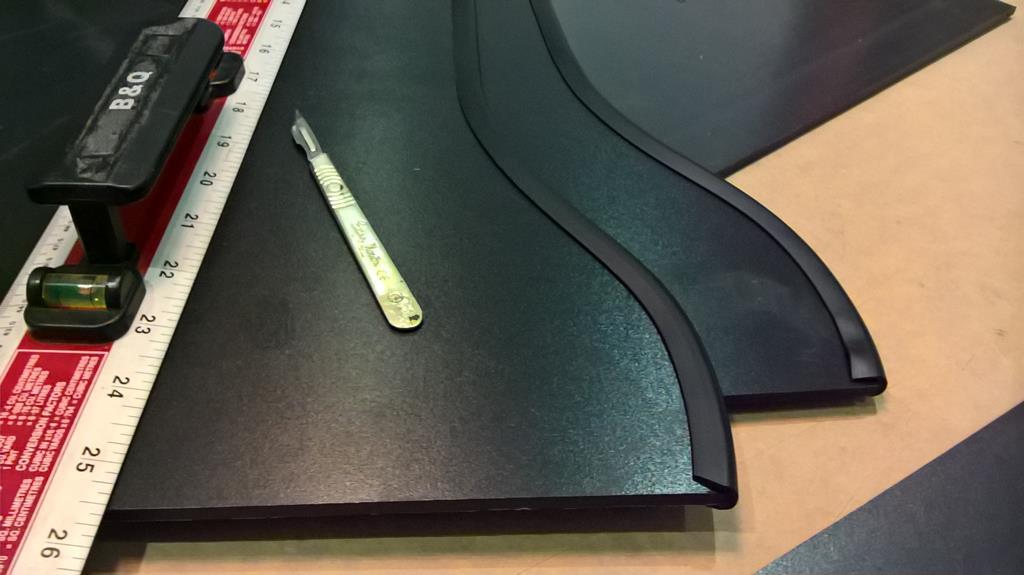
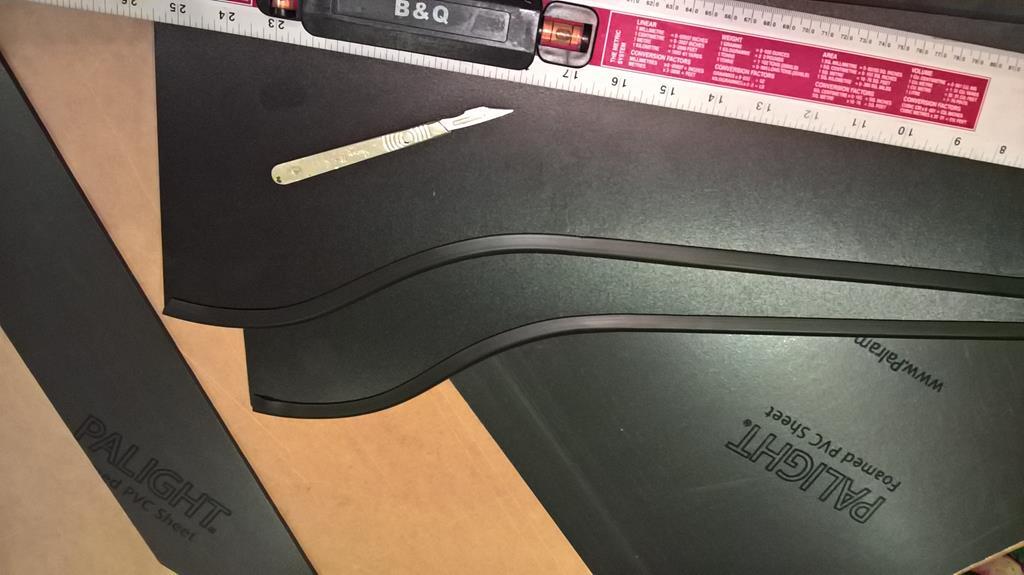
I like that - I'm assuming you'll put a side in on the drivers side too. Once that's there perhaps there's an opportunity to put a little bit of cardboard just at the bottom of the down slope so that you can put your phone there (it'll stop it moving around of course)? Maybe even put another little area in on the flat element before the gearstick for loose change/whatever too? Yes, absolutely. I'm improvising as I go and keeping it simple, but I am thinking of having some kind of compartment there once I've got the rest working. I've just cut the top piece of the tranny tunnel cover and put the two creases in it. I had one chance to get it right or I'd have to order more materials and then wait. Fortunately I got it right, and it looks good so far. I almost snapped off the one crease line but it stayed together, and I just have to be careful not to keep flexing it too much before it's all fixed down as it is now a weak point. 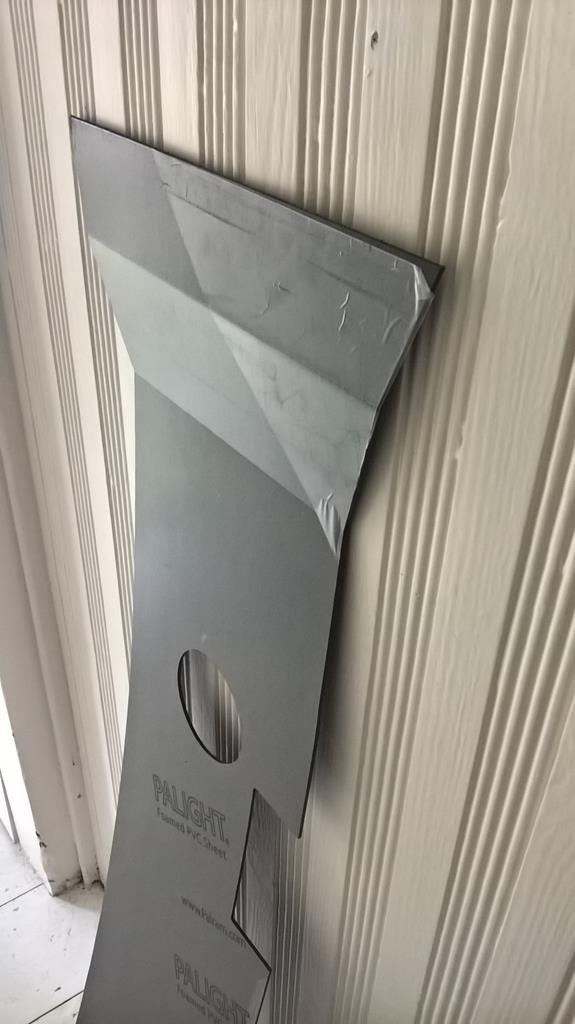 Now I have to brace myself and cut the two walls. Yes... there will be a wall on the driver's side too, although that side is by far the worst so it may well end up as being an impression of a wall but with big chunks cut out of it and plastered over with odd bits n bobs where necessary. |
| |
|
|
|
|
|
|
|
Mar 20, 2018 13:04:36 GMT
|
Just bear in mind that your left knee might knock it inwards so the side might need strenghtening in the inside etc etc. (both sides actually of course but the drivers side is the priority simply because you'll be in it more often than you will passengers). Wouldn't worry too much about it looking like a wall - it's black and functional - get it in and then you can prettify it as you see fit over time  |
| |
|
|
|
|
|
Mar 20, 2018 13:44:28 GMT
|
Rough shapes cut. I may re-do the top piece for various reasons (namely that it could do with a curve to meet the walls as opposed to creasing the walls to meet the corners currently cut into the top piece). The front end of the wall piece needs to be trimmed back with a curve downwards on the top corner so it's less visible. Otherwise, I think this will work once I've rustled up some devilish means of securing it all into place, and then found some good black edge U-channel trim that will grip the edges and stay in place just to finish it all off. 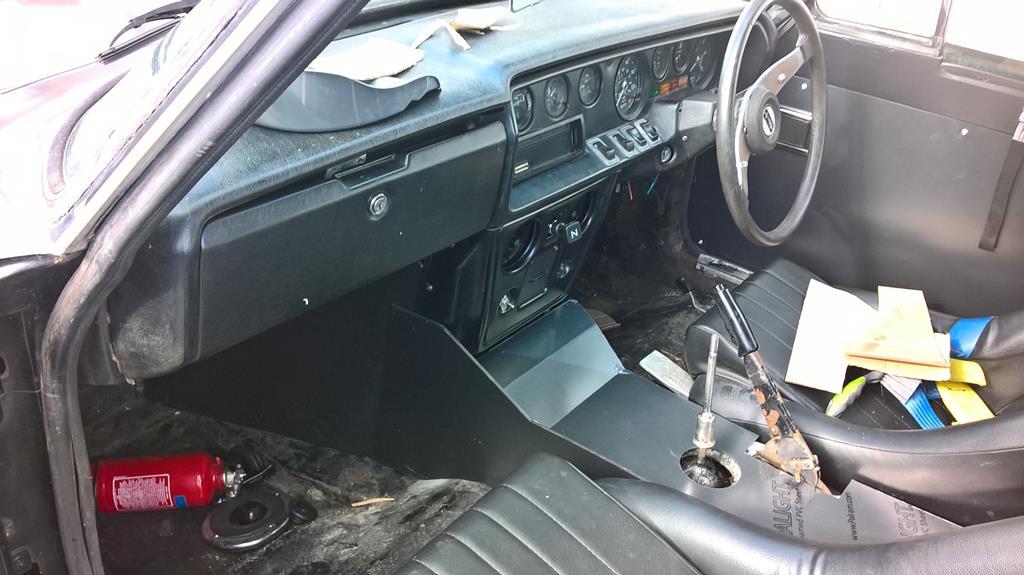 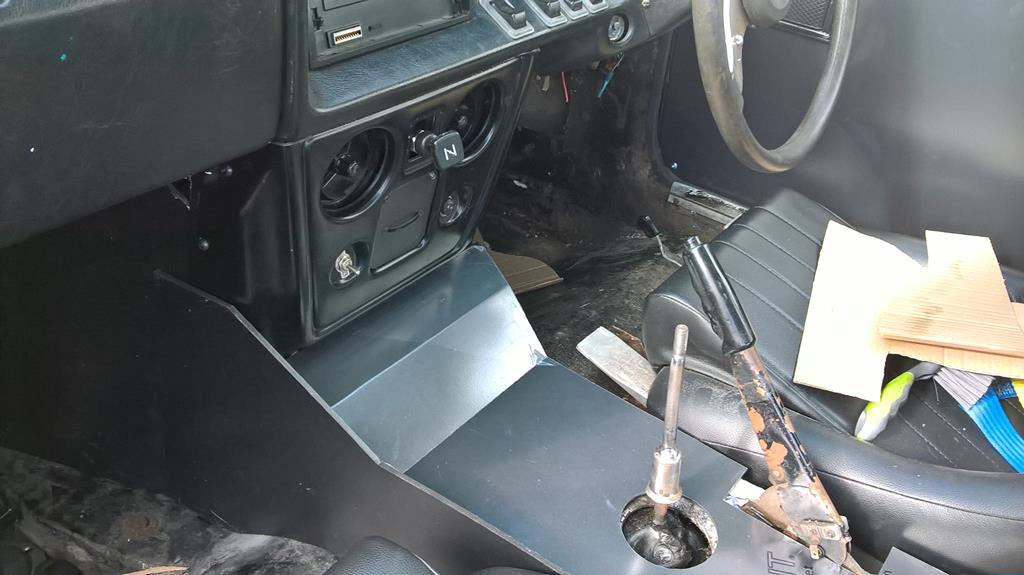 One thing I do know... I'll never get everything done for RRGoodwood that I originally hoped for. = ( |
| |
Last Edit: Mar 20, 2018 13:49:36 GMT by Deleted
|
|
CaptainSlog
Part of things
 
Posts: 510
Club RR Member Number: 180
|
This was the NAUGHTY CORNERCaptainSlog
@captainslog
Club Retro Rides Member 180
|
Mar 20, 2018 15:04:50 GMT
|
|
Please keep all the attention seeking forum whoring going on in your posts - I enjoy every word of it and want your thread to be at the top of my bookmarks so I don't have to search for it.
Sorry about dashing your hopes!
|
| |
|
|
|
|
|
|
|
Mar 20, 2018 15:27:22 GMT
|
BTW the console is looking like it belongs there, sure you will fix that! Hahahah I've got some finishing to do on that but if all goes to plan then by the time it's properly done and the console piece is fully driven home into position, it will be almost completely seamless except for the slight difference in texture and tonal blackness... but that's hard to see in situ as the car is so dark now the sunroof has gone. Always shows up on photographs, but barely visible to the naked eye. I really messed up with the choke cable though. I've considered all kinds of harebrained schemes to do keyhole surgical engineering to make something that slips into the hole then clips into the sturdy structure two inches back where the choke was originally secured. It's very annoying. The choke's pull handle is too big for the console hole. I don't want to cut the console hole and risk ruining it. Equally I don't want to get into changing the choke cable if I can help it as that just causes budget/time/project creep. The console piece is definitely not strong enough material to put up with indefinite pulling. It's quite brittle and will eventually crack if it's the only thing bracing the cable. Jury is still out on the best solution, and until then the dash has to remain bolted loosely in and unfinished. Best thought though is this... 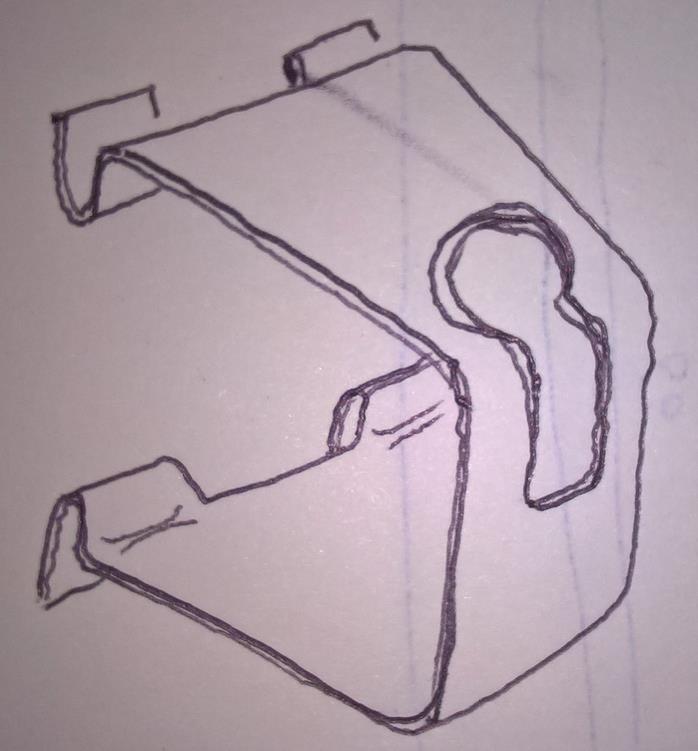 Slip it into the hole in the dash console, then once inside squeeze it and push it into the sturdy bracket hole behind so that the clip parts prevent it from being pulled forwards AND pushed backwards. Then drop the choke cable into the big hole on the top and push t into the front facing slot. It's a long shot, but it...just...might....work. (Oh damn, I got that doodle wrong, but can;t be arsed to do it again) |
| |
Last Edit: Mar 20, 2018 15:57:13 GMT by Deleted
|
|
|
|
|
Mar 20, 2018 15:58:46 GMT
|
paint the cardboard black....job done  ...DAMN late again..! |
| |
Last Edit: Mar 20, 2018 16:01:41 GMT by ivanhoew
|
|
|
|
|
Mar 20, 2018 20:22:15 GMT
|
|
|
| |
|
|
|
|
|
|
|
|
I am sorry but i am afraid that looks much too professional , make a wrong measurement RIGHT NOW. I want to see gaps ,and wonkyness like what you promised us in your manifesto .
|
| |
|
|
|
|
|
|
|
Mar 21, 2018 12:41:24 GMT
|
One of those slightly frustrating mornings this morning. But... progress was made. I decided I needed to recut the tunnel top to have a curved bell to the fat part rather than hard corners. So I had to get bodgey in order to devise a way of copying the required curve from the car interior to my template so I could draw it and then cut it. behold, the Shatterproof Ruler / Duct Tape artisan's bow... 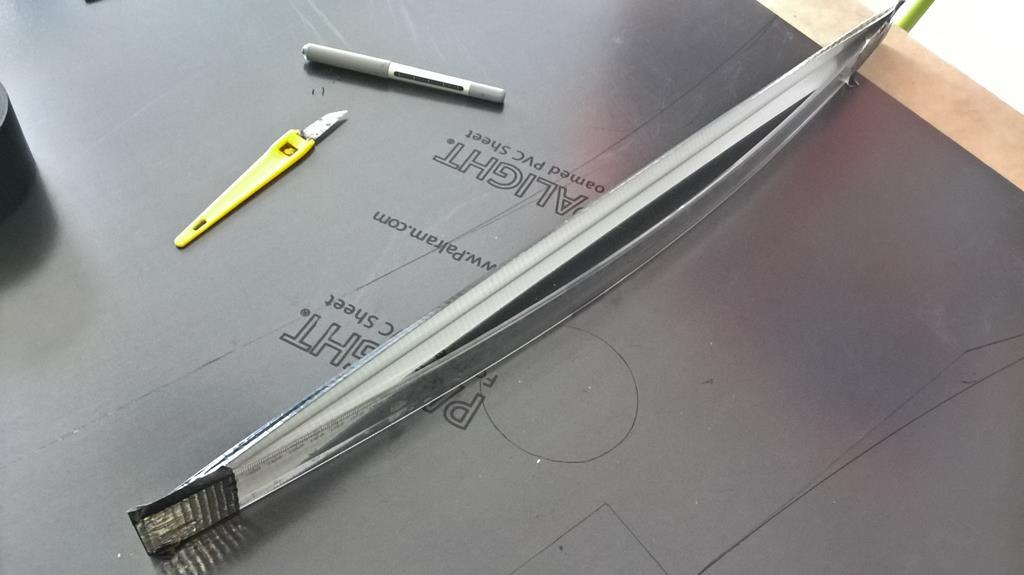 Then, despite my best pre-planning, the pre-drilled holes for fixing the walls to the tunnel all went awry, and I found myself having to improvise bravely out there in the street. But the walls went in. Not as elegantly as I had hoped but they are fixed, they work, and they wont look too bad once it's all finished. So then I started thinking about a material for the top of the tunnel, and decided it would be nice to have some texture there but also some grip. I have a new plan now regarding how to make a compartment on the top between the gearstick and the console. I need to buy some polished aluminium bar... 1" tall by 1/4" or 1/2" inch thick and then I'll just have two polished aluminium walls running across. I think that'll look nice. Drilled to fix at the ends through the tunnel walls. So for now I'm not tidying or fixing the top material, but here's a shot to get an impression of what it looks like... 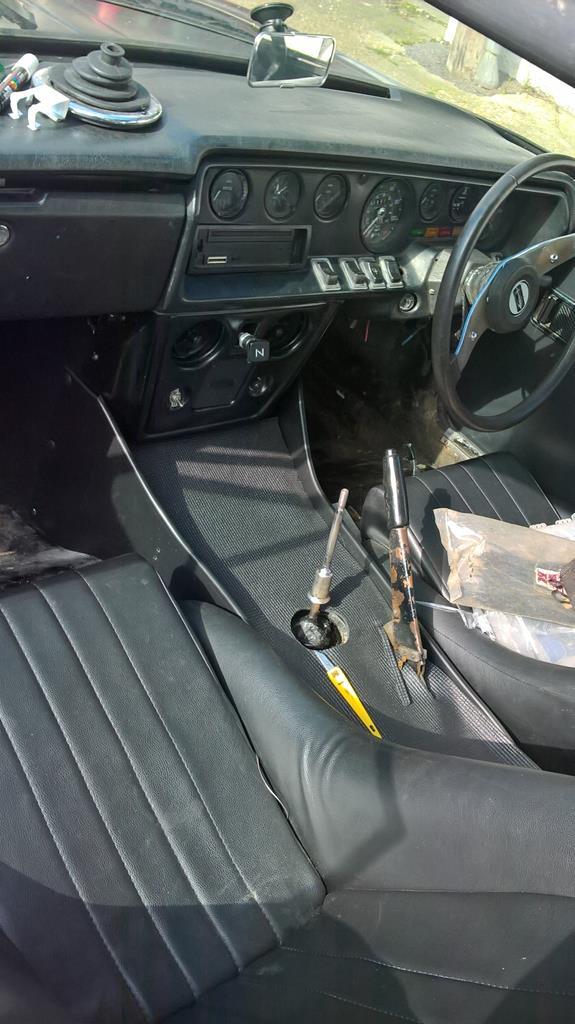 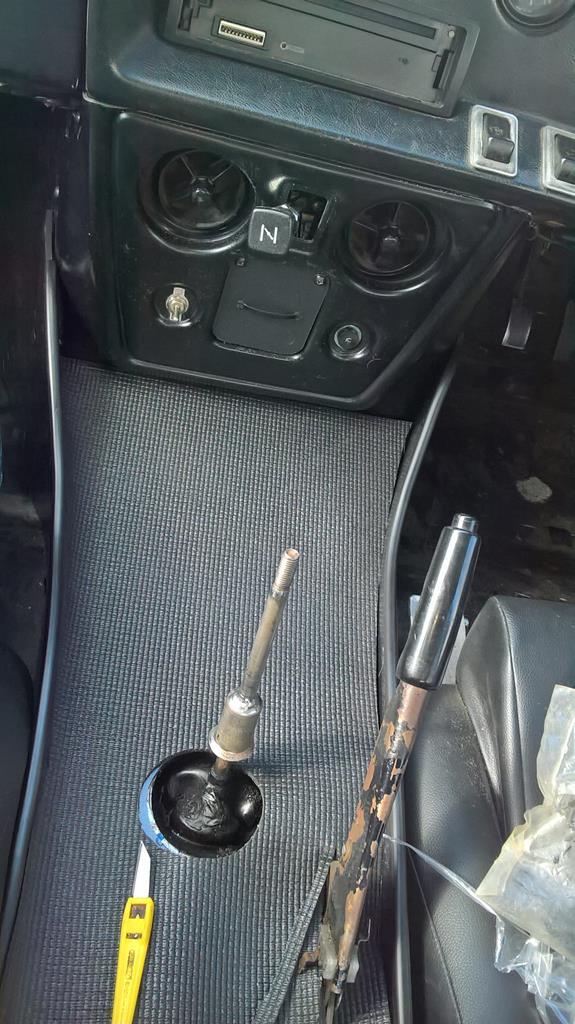 Lots of bits to finish up, lots of largely cosmetic detail piece to be made and fixed to lessen the ugly joins, but considering the mental sprints in and out of the kitchen to the street I have to endure to do anything, I'm quite pleased with progress... although also a bit bored of doing it at this point. Might be time to go for a drive instead. = ) Edit: additional... a quick powerpoint mock-up of my planned aluminium partition walls... 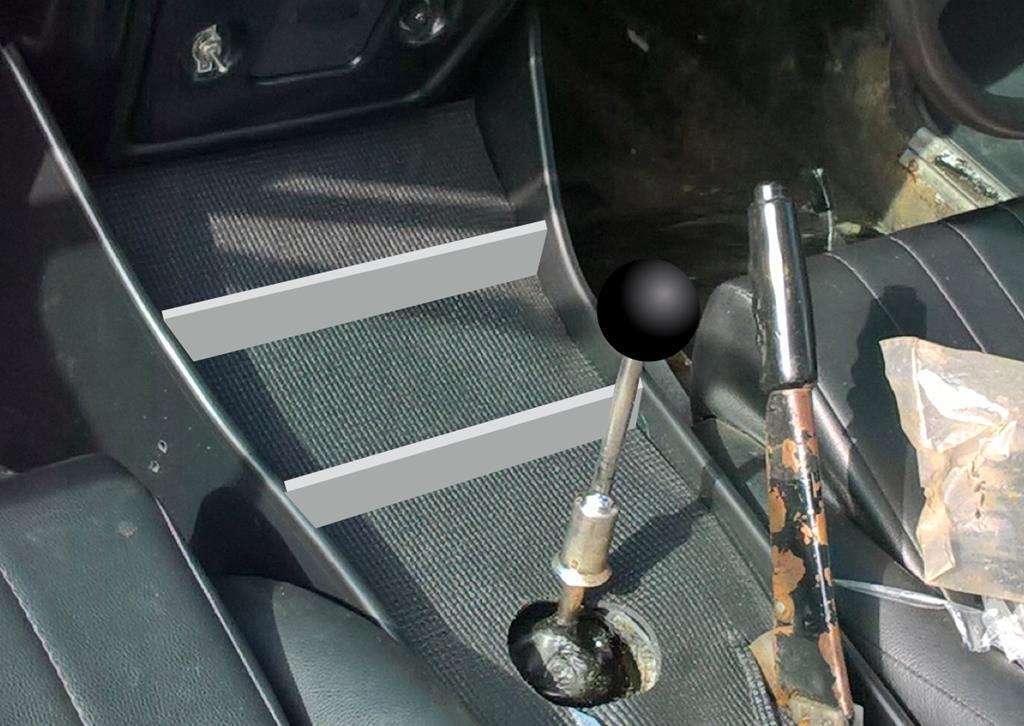 |
| |
Last Edit: Mar 21, 2018 12:48:10 GMT by Deleted
|
|
|
|
|
Mar 21, 2018 12:52:59 GMT
|
|
Next jobs...
1. Finish off the interior.
2. remove roof panel again, swage the edges down by hand with a pizza cutter wheel (tested it on an off-cut, it works).
Recover it nicely and properly this time with the single sheet of black vinyl that arrived this morning, then and refasten it with some black nylon pop rivets and some proper sealant.
3. Change the windscreen rubber.
4. Give the car a ruddy good clean and blow in some rattle can along the sides where the paint is a bit weary.
5. Wax the living bejeebus out of it and polish the heck out of the wheels
6. Go to RRGoodwood
|
| |
|
|
|
|
|
Mar 21, 2018 13:09:20 GMT
|
Forgot to mention - once you're back from RRGoodwood, take the console out and put sound deadening underneath (Dynamat I think it's called). Might make a helpful noise reduction. Or not if you can't face the prospect of undoing all your good work!  |
| |
|
|
|
|
|
Mar 21, 2018 13:20:35 GMT
|
My trans tunnel is buried in inches thick layers of sound deadening. The new bits are all fixed firmly, so I'm hopeful it will be as it was before I started. Of course... I haven't been out for a drive yet.  |
| |
|
|
|
|
|
|
|
I think just one partition piece would look good once the shifter boot is back in place... I also think this is waaaayyy to professional looking!....  nice job JP |
| |
I know its spelled Norman Luxury Yacht, but its pronounced Throat Wobbler Mangrove!
|
|
|
|
|
|
|
|
Cheers JP. It will look pretty good once I've trimmed down the matting and fitted that properly to the space.
My biggest trouble is though, once I've broken the back of a mini-project and got it to 'good enough for now' state, I tend to start getting itchy to tackle something else, and it stays in a 'good enough for now' state indefinitely. I never go back and do the final finishing touches.
It's got some ugly bits that I have plans to conceal. I need to cut a couple of pieces to sit on the walls at the front end to take the walls up out of sight beneath the dash/glovebox.
Chances of me actually doing that non-essential cosmetic finishing.... very slim.
|
| |
|
|
|
|
|
Mar 22, 2018 10:19:09 GMT
|
|
Okay so tappets next I think. A new entry to my recently compiled "things to do" list. Now I've got the makings of an interior the thing that's nagging at me is my tappets.
Trying to get as much information as I can before diving in as this will be the first time I've attempted to adjust tappets on a V engine.
This is what I *think* I know so far...
EDIT: Diagram removed as incorrect.
I think my main point of nervousness is... what constitutes 'rocking'? How do I know when I've got the opposite valve exactly in the right place to start measuring/adjusting?
I'd really like to know the movement sequence for each valve as well, just for piece of mind so I can number the actions of the valves (ie this is valve 1 this is valve 2 etc etc), but I can't find that kind of detail. Maybe that's just me overthinking as usual. Maybe it doesn't count for anything.
|
| |
Last Edit: Mar 24, 2018 11:01:08 GMT by Deleted
|
|
|
|
|
Mar 22, 2018 17:30:25 GMT
|
|
hi there
rocking is the transition point when the exhaust is just closing and the inlet is just opening.
Its not an exact science, there's a fair margin either way.
More of a problem on an Essex is rocker wear which makes setting tappet properly very hard.
Cheers - mike
|
| |
|
|
scimjim
Club Retro Rides Member
Posts: 1,503
Club RR Member Number: 8
|
This was the NAUGHTY CORNERscimjim
@scimjim
Club Retro Rides Member 8
|
Mar 22, 2018 22:29:13 GMT
|
|
Not sure where you got that drawing but it’s wrong.
|
| |
|
|
scimjim
Club Retro Rides Member
Posts: 1,503
Club RR Member Number: 8
|
This was the NAUGHTY CORNERscimjim
@scimjim
Club Retro Rides Member 8
|
Mar 22, 2018 22:31:46 GMT
|
Number one valve is an exhaust, all of your RH bank inlet/exhaust are the wrong way round. I use 12 & 20 thou cold on a standard cam. 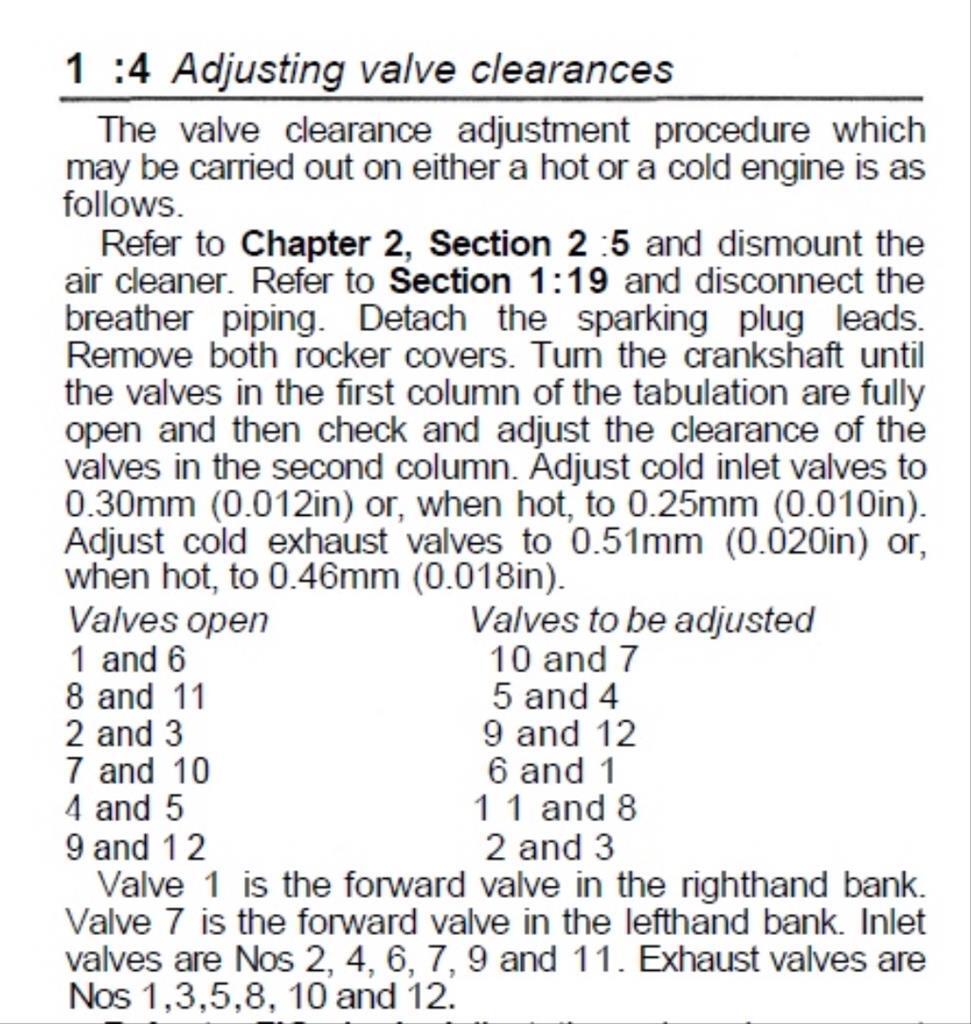 |
| |
Last Edit: Mar 22, 2018 22:34:23 GMT by scimjim
|
|


