|
|
|
Jan 18, 2024 12:01:54 GMT
|
I’m on call again. So got another couple of hours in before work. The bell housing spacer has gone to my mate to machined. So I thought I would make a start on engine mounts. I bought a kit. 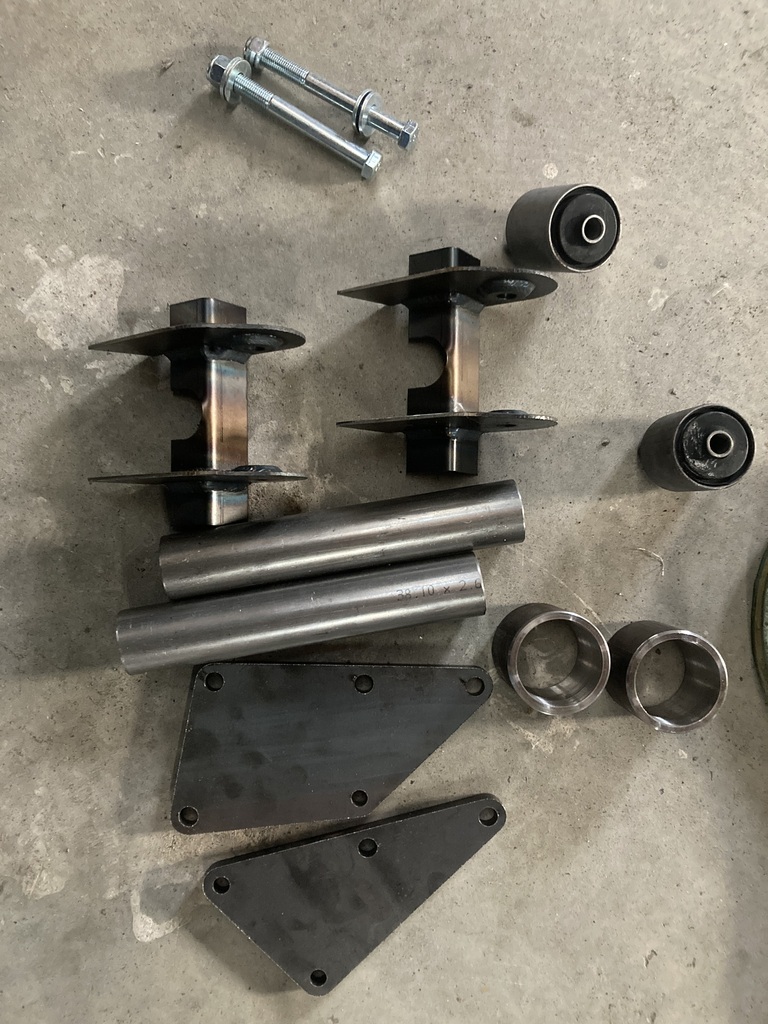 The bushes are rear leaf spring bushes. The mounts get welded to the chassis. The plates get bolted to the engine and the tube gets shaped and welded in between. The only problem is the lovely 10mm plates won’t fit. This is because they are for a Toyota 4age engine. Nobody makes a kit for the x16xe engine so I bought this as it’s the cheapest. So I need to make some plates. I’m using 8mm plate as that’s what I have to hand. To mark the hole centres, I made 3 of these things as all the cool kids do it these days. 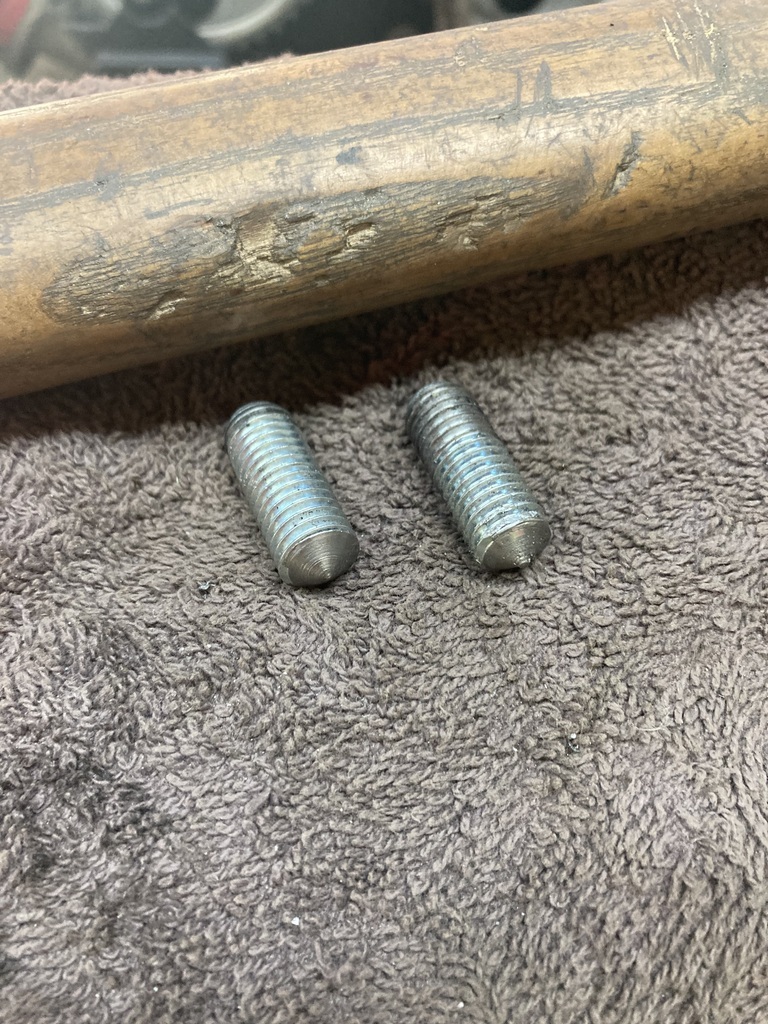 The top mounting hole is set back 37mm from the bottom 2 so the plate either needs to have a 37mm spacer on the top mount, or the plate needs to be kinked in 37mm. I opted to link the plate as it give more room for the starter and bottom hose that exits the rear of the water pump. Unsurprisingly, 8mm plate doesn’t bend very easily, even if you hit it with a big hammer, so I cut 3/4 of the way through the plate with the grinder. I then mashed it into shape with a big hammer. That left me with this 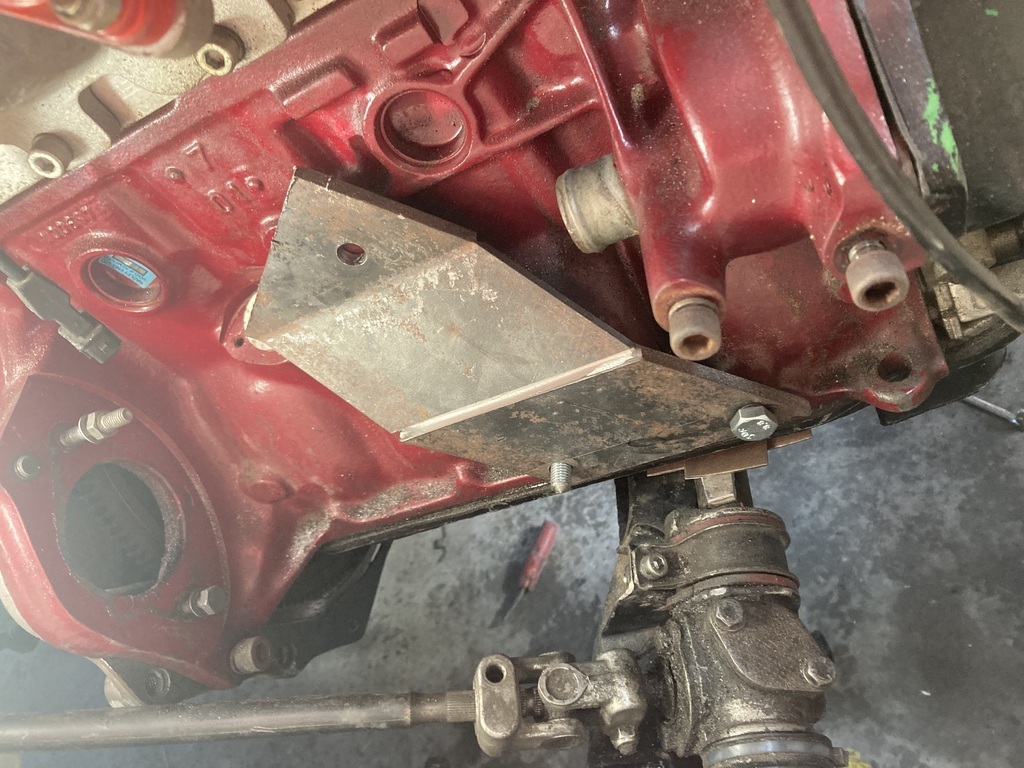 In the process of marking the top hole with those cool pointy things, I somehow marked the top hole half a hole out. 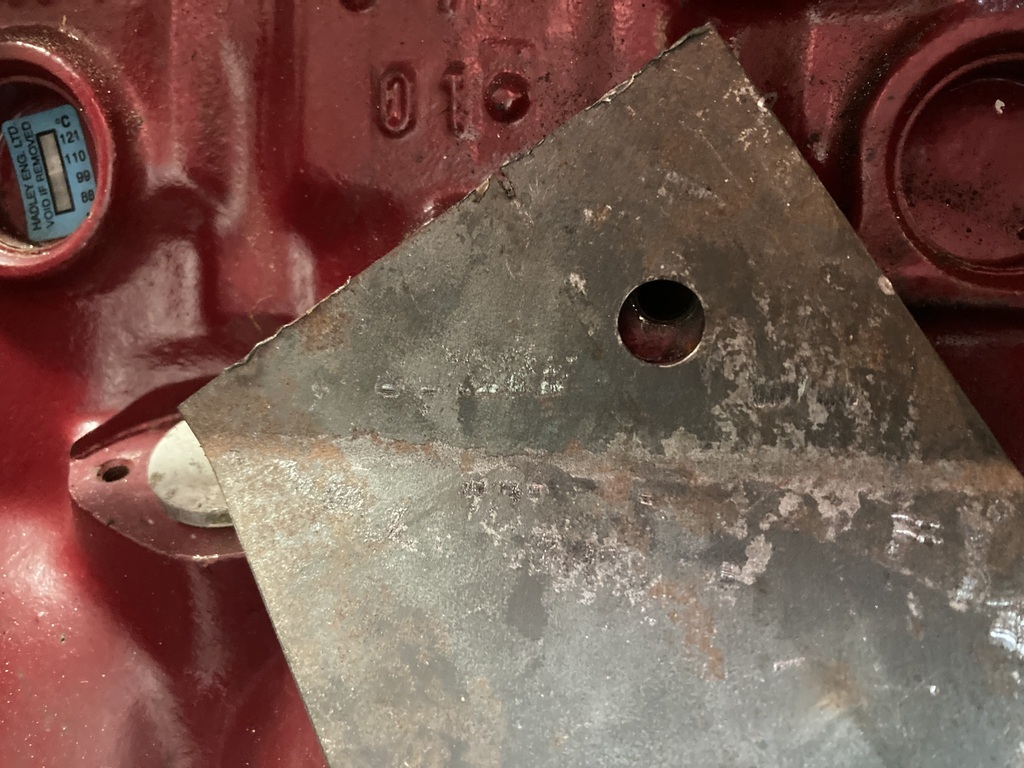 How the hell does that work? A bit of fileage later and it’s on 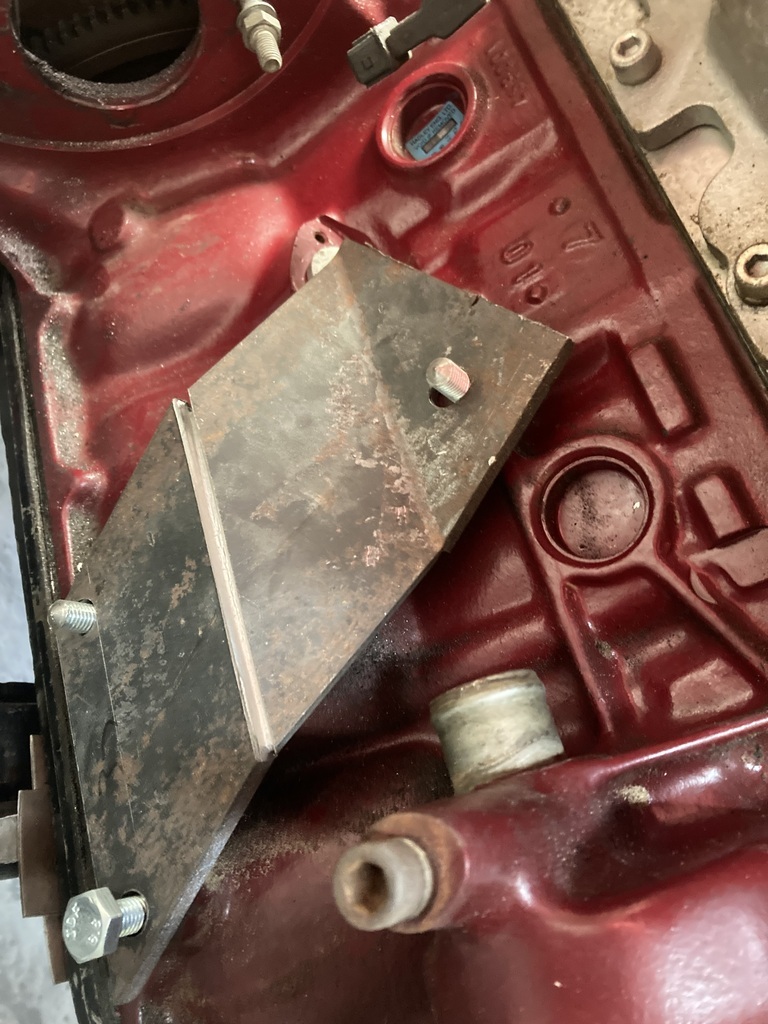 The bending cuts could then be welded up and the bit at the rear of the mount trimmed off as it’s superfluous. 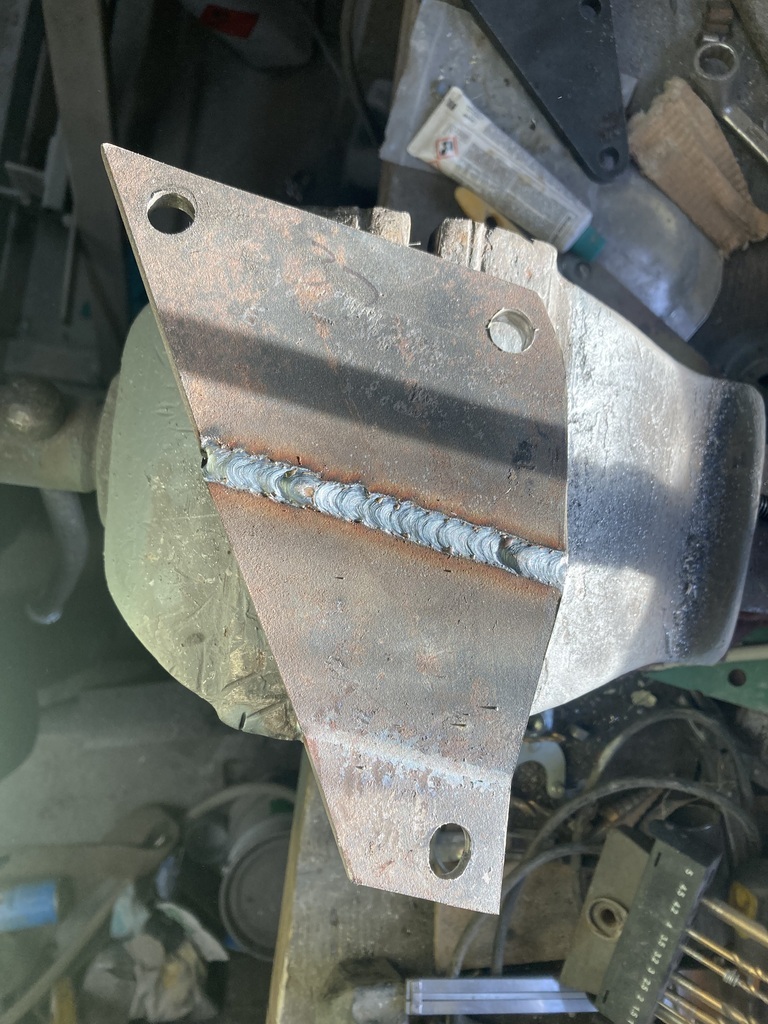 I’ll beautify the rest when I work out where the pipe is to be welded. The rest will fit something like this 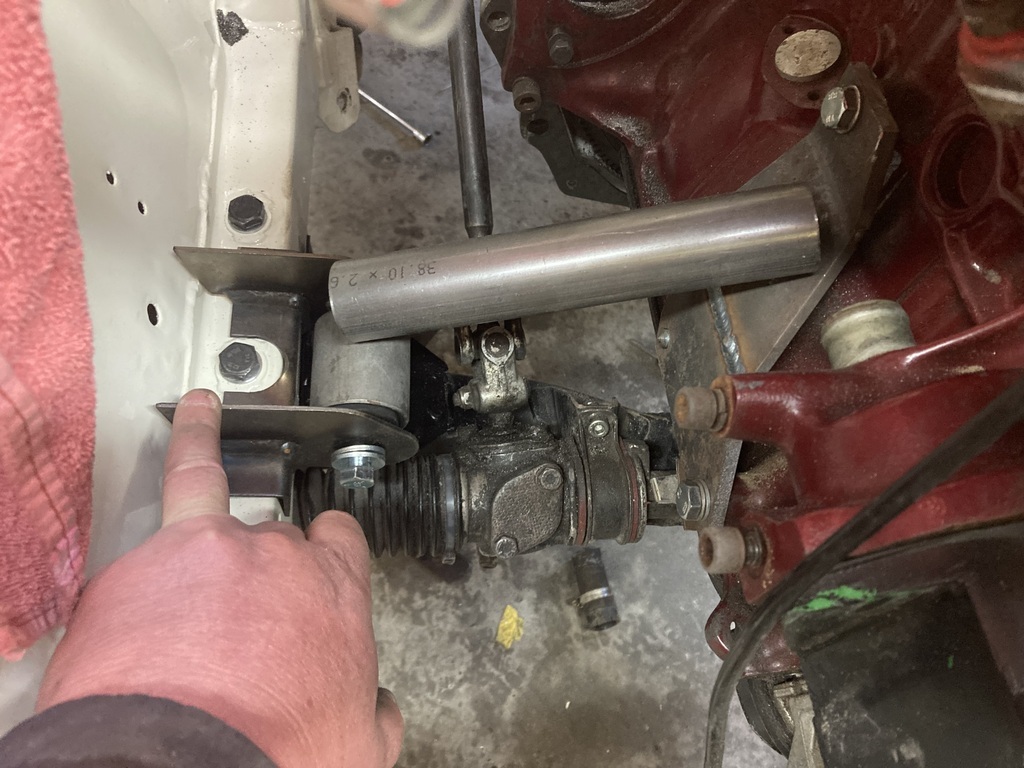 The other side has has a choice of 2 mounting points. I’ll deal with that next time |
| |
|
|
|
|
|
|
|
Jan 20, 2024 15:06:52 GMT
|
I had a slamming in work on Thursday and didn’t get home until 3am yesterday morning. And then had to go back to work at midday. So I wasn’t planning on doing a great deal today as I’m on call again tomorrow, and I’m expecting the same. But I did tackle the other engine mount plate. This is the side of the block. 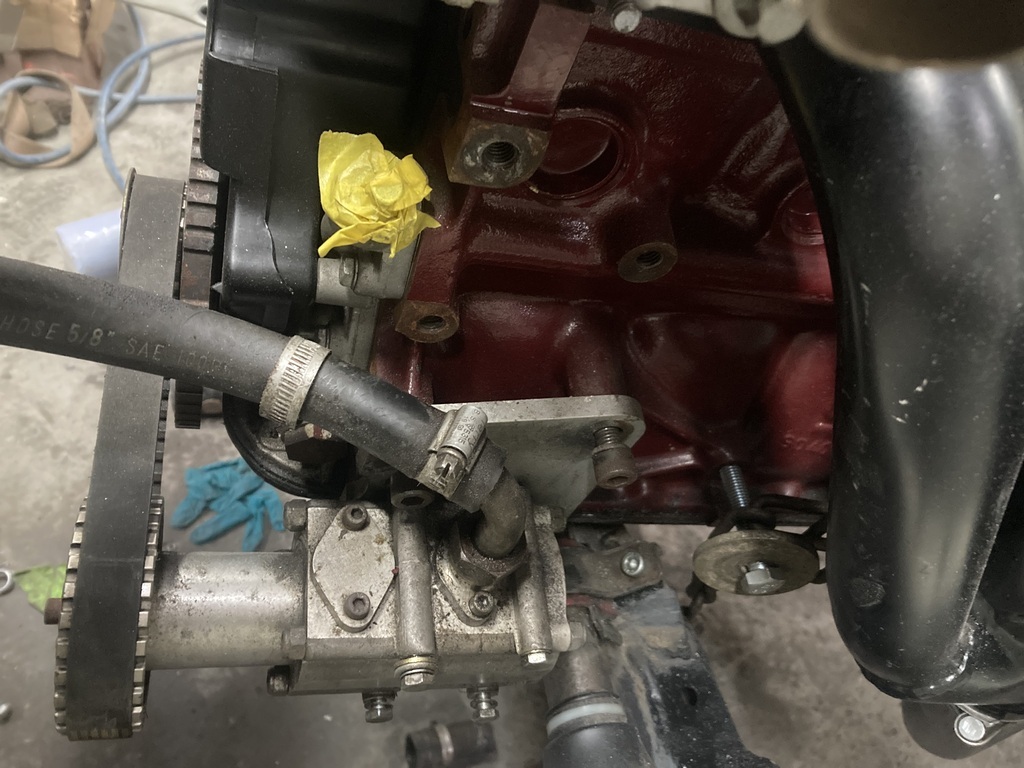 There are some mounting holes near the cross member but they are all different heights and will probably interfere with exhaust removal. So I decided to use the 3 holes high on the block. Van Diemen used these and I know others have used them in Escorts too. They are also all at the same height which makes things easier. So I got my pointy bolts out and made another plate 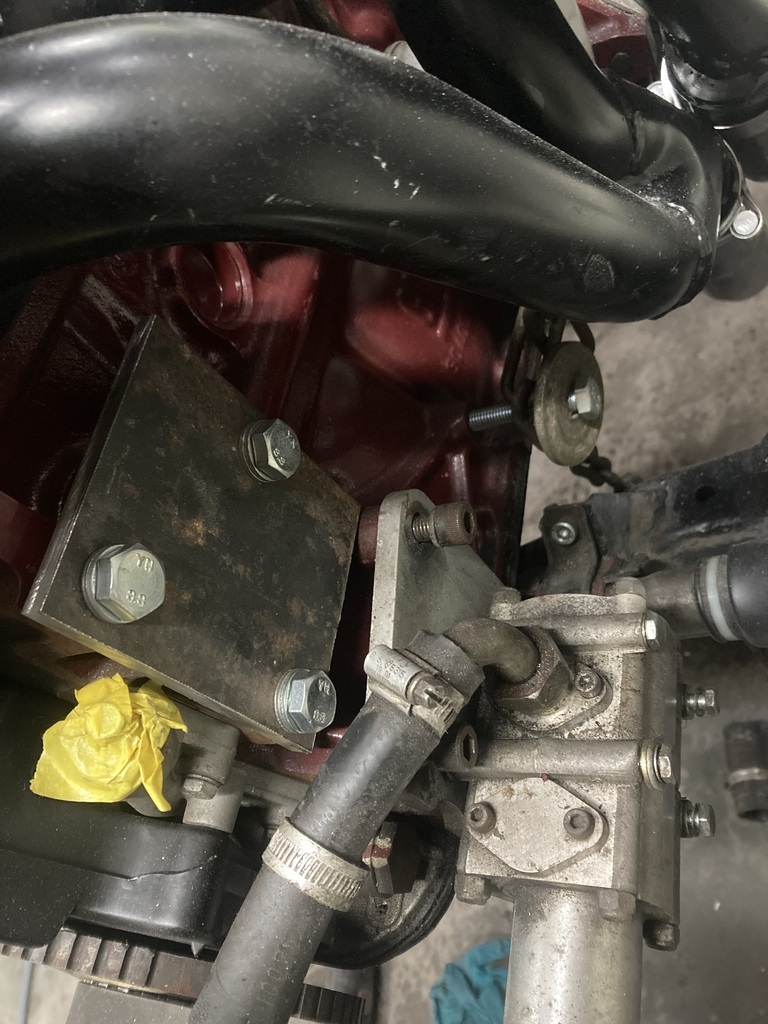 Again, it is oversized and will be beautified after the pipe is welded on. So on to the chassis side of the mount. The mounting bush slides into a pipe, onto which another pipe is welded to connect it to the block plate. I don’t want to weld the pipes with the bush in, as it will melt. So I needed a spacer to replace the bush while I tack it all up. So I machined up a piece of delren to the right length. 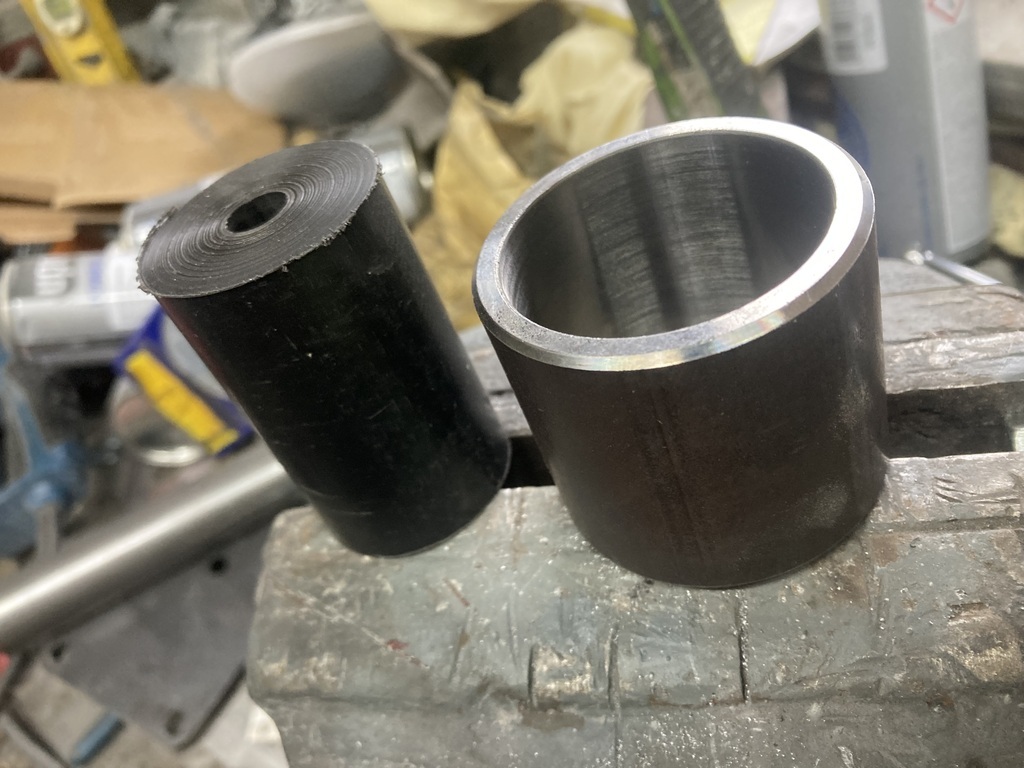 But the diameter is too small so I made it bigger with masking tape 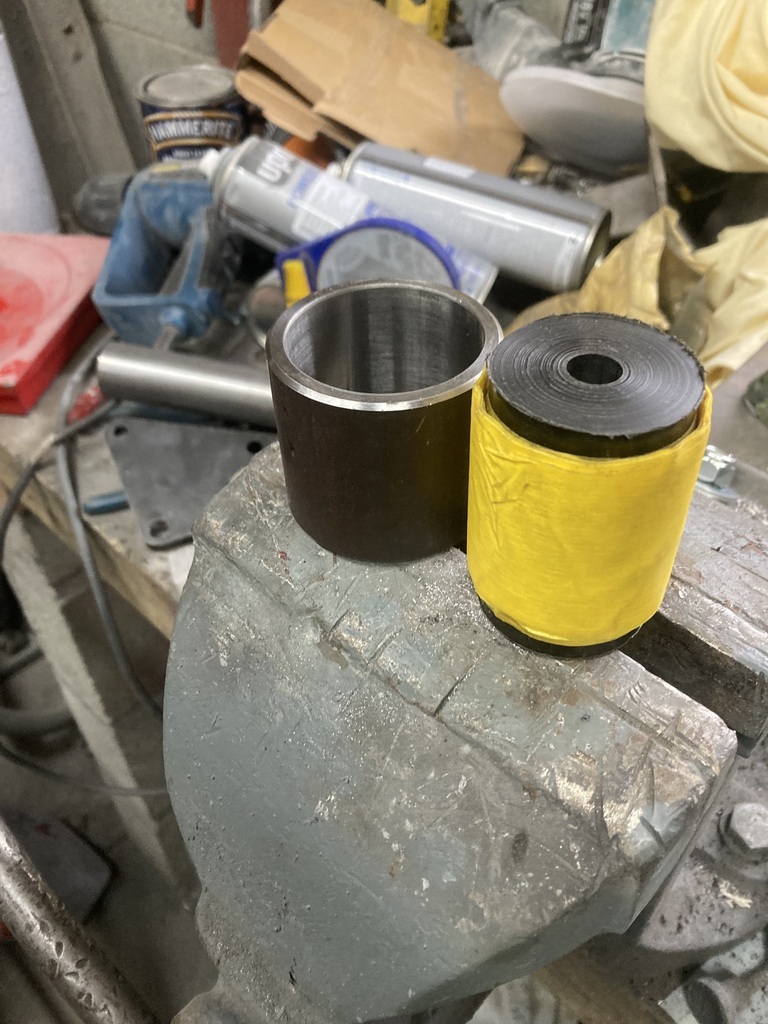 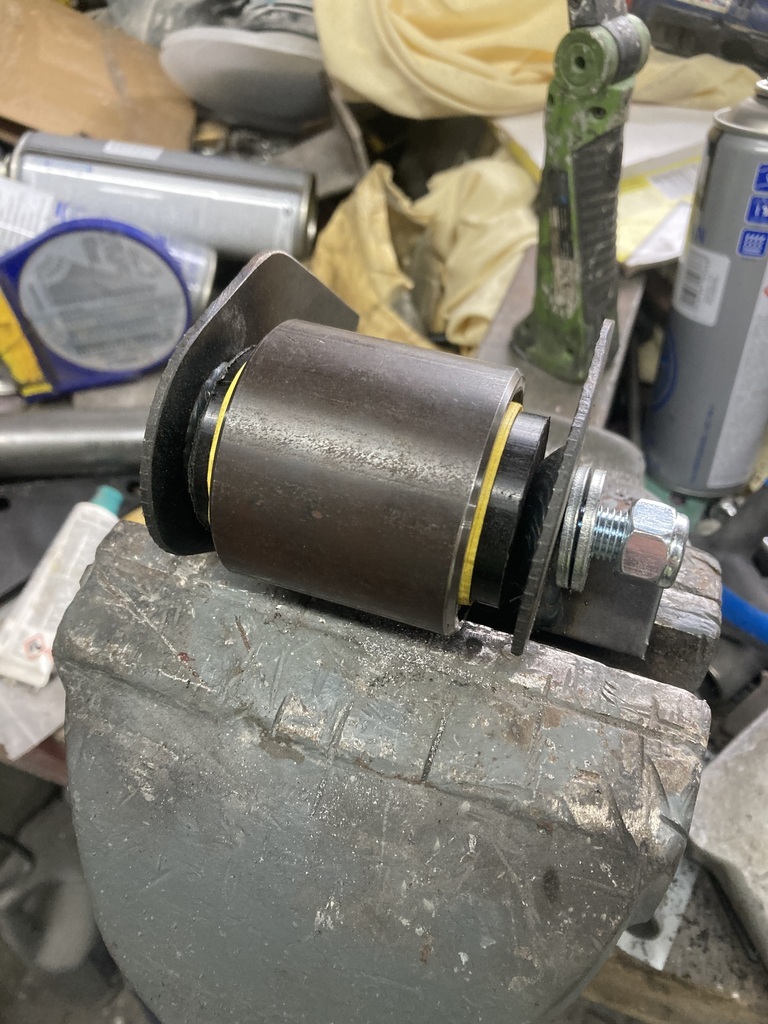 I can’t go any further with this as I need the gearbox spacer in. I could just put some 5mm bits of plate between the engine and the bell housing for now, but in all honesty I’m just building up the courage to grind the shiny paint off the chassis rails. In other news some parts have turned up. It’s nice opening all the parcels you get when you’re doing a project, not the paying part though. So I’ve got some gaskets 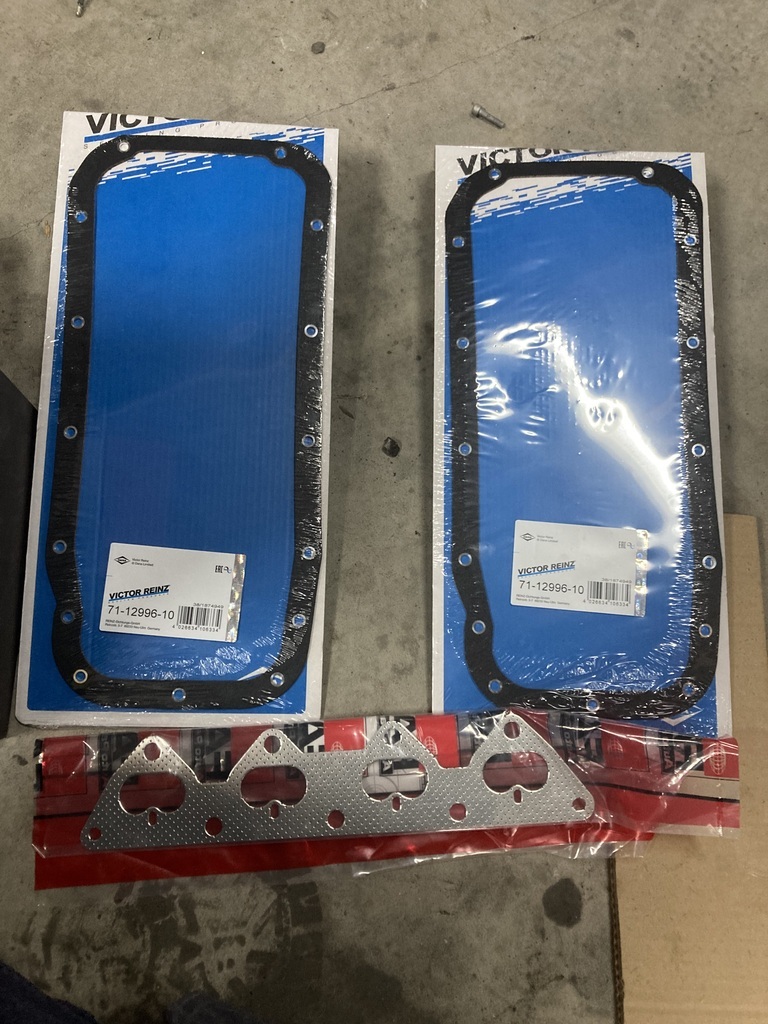 There are 2 sump gaskets as one goes either side of the windage tray, between the block and the sump. The exhaust gasket on the engine is fine, but I want to use the new one to port match the manifold. The clutch also turned up 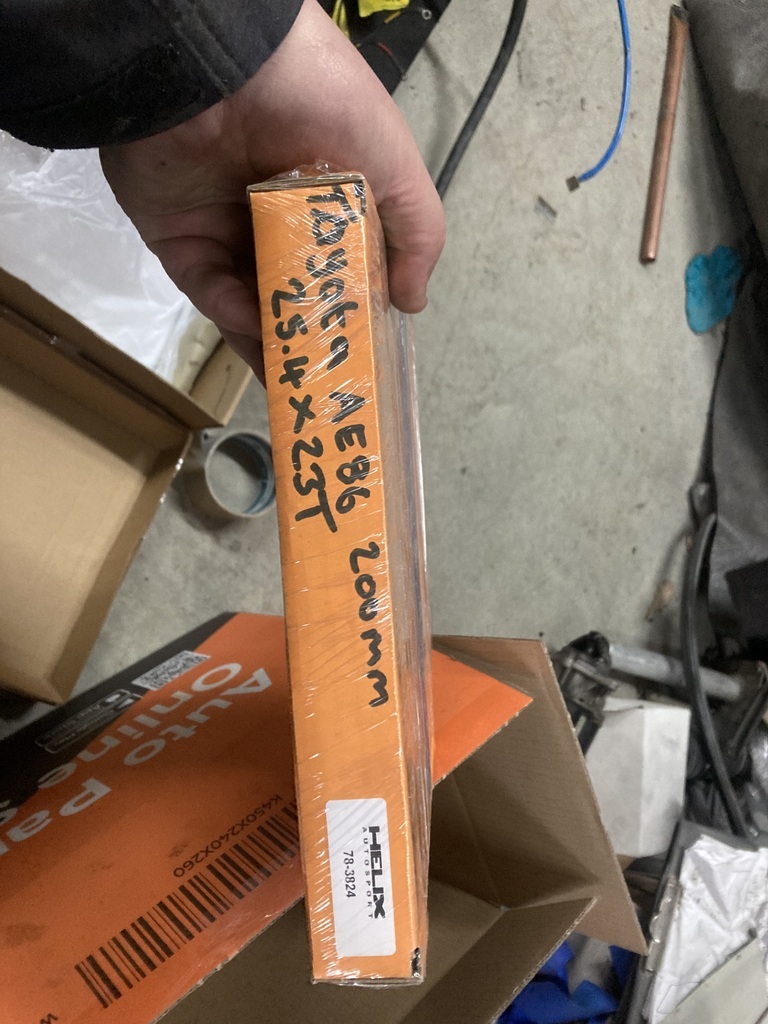 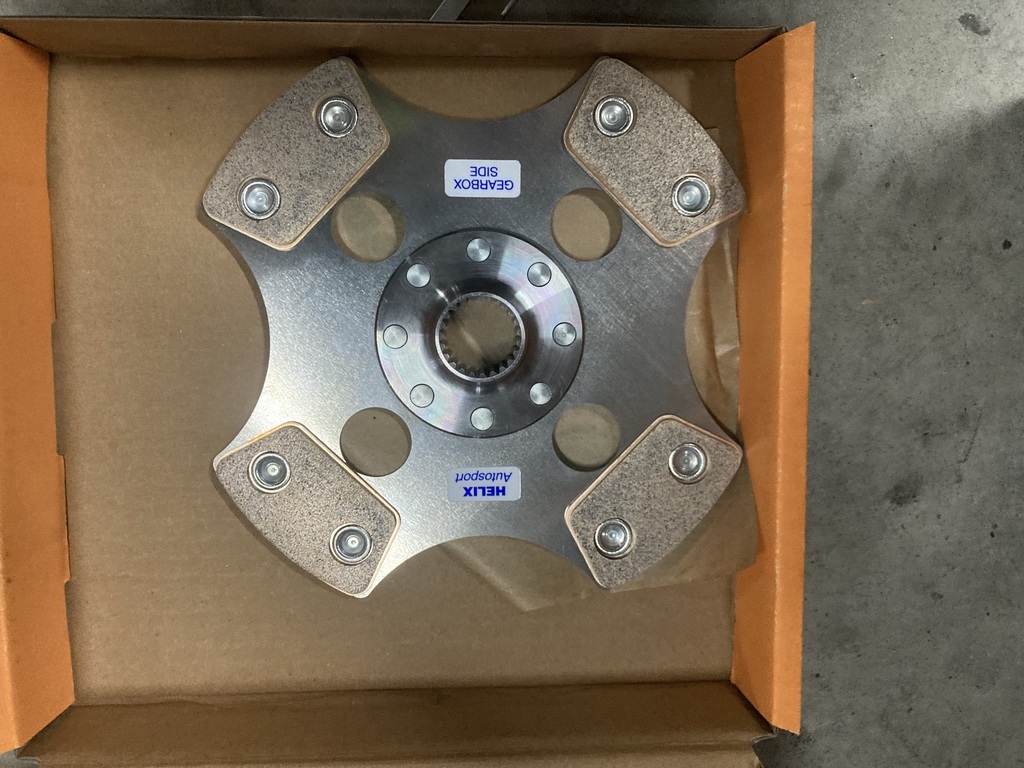 As you can see from the writing on the box it’s a paddle clutch for a Toyota 4age engine with a Ford gearbox. The diameter is 200mm - same as the Vauxhall clutch. This came from Montgomery Motorsport all the way over in Ireland. It is made by Helix who are based in Banbury. I hoped it would be cheaper if I went directly to the manufacturer, but they wanted £30 more?? It’s cheaper to ship a part to Ireland and then to West Wales than go straight to the manufacturer in England. And the guy in Ireland has made a profit too! It makes no sense |
| |
|
|
|
|
|
Jan 24, 2024 12:18:23 GMT
|
Another call shift, so that means another hour or so in the garage before work. I’ve had the gearbox spacer back from machining by my mate Ceri. But I’ve not fitted it. It took 3 of us to fit the engine without scratching the paint, so I don’t want to take it out until I need to. So instead, to bring the engine forward 5mm, I fitted some bits of 5mm aluminum between the engine and bell housing. 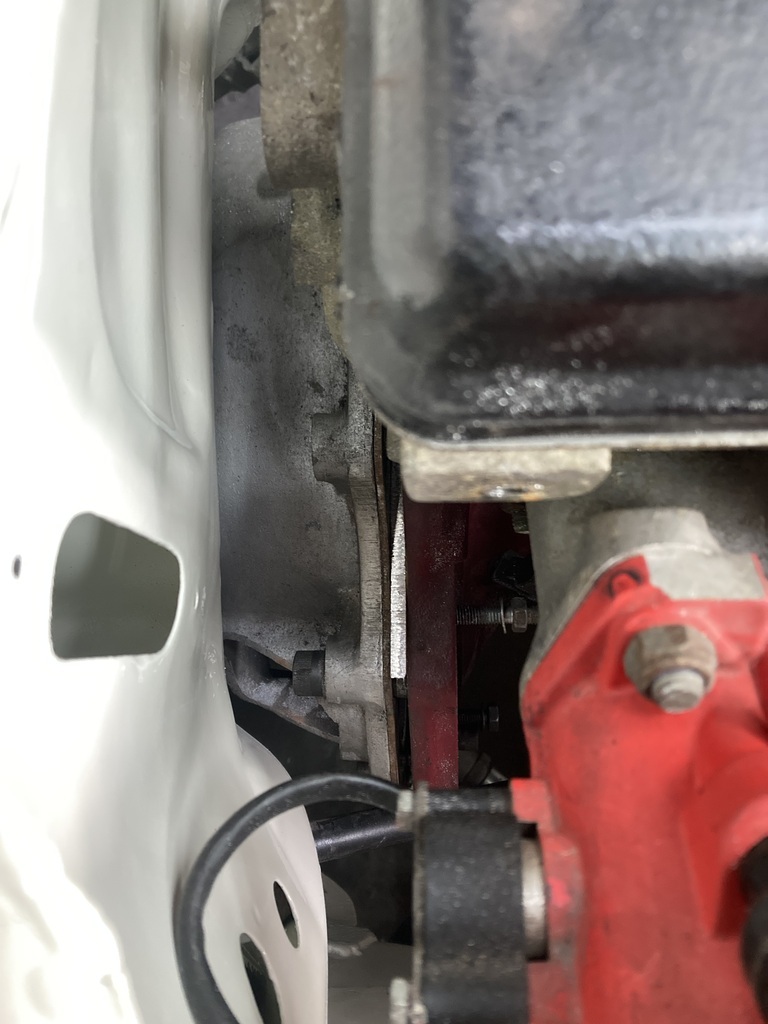 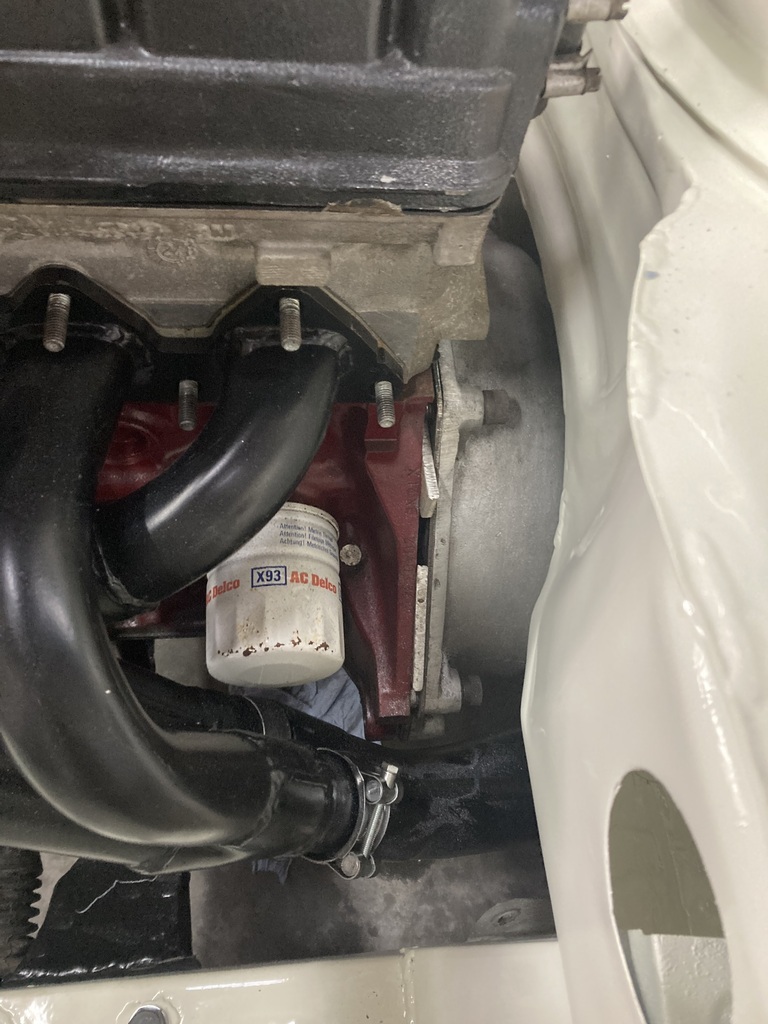 This left the engine sitting here. 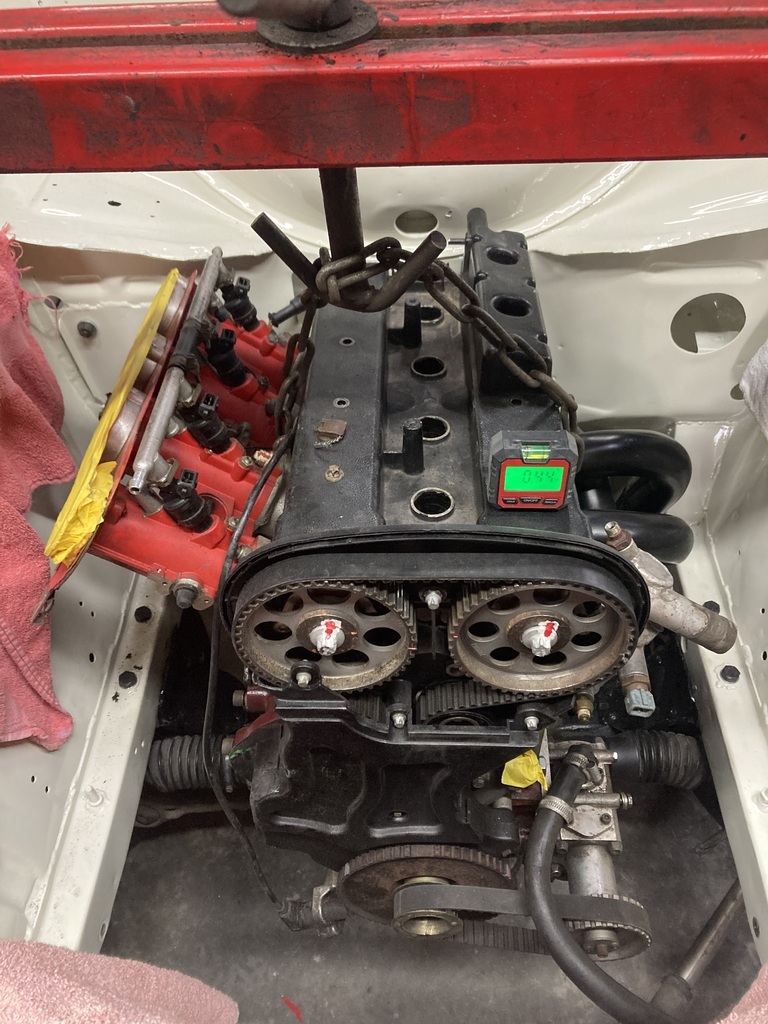 That is now dead centre between the chassis rails, at the same angle as the body shell and the 5mm further forward from the bulkhead giving vital mms. So with the engine in the right place, I marked up where the chassis mounts are going to sit 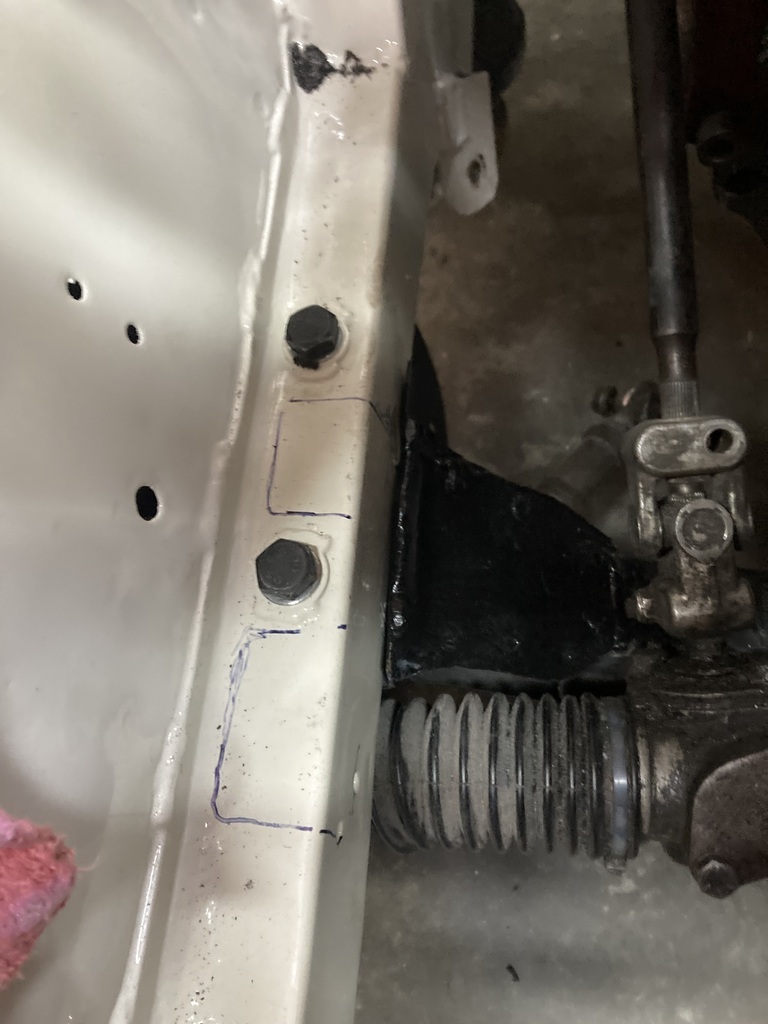 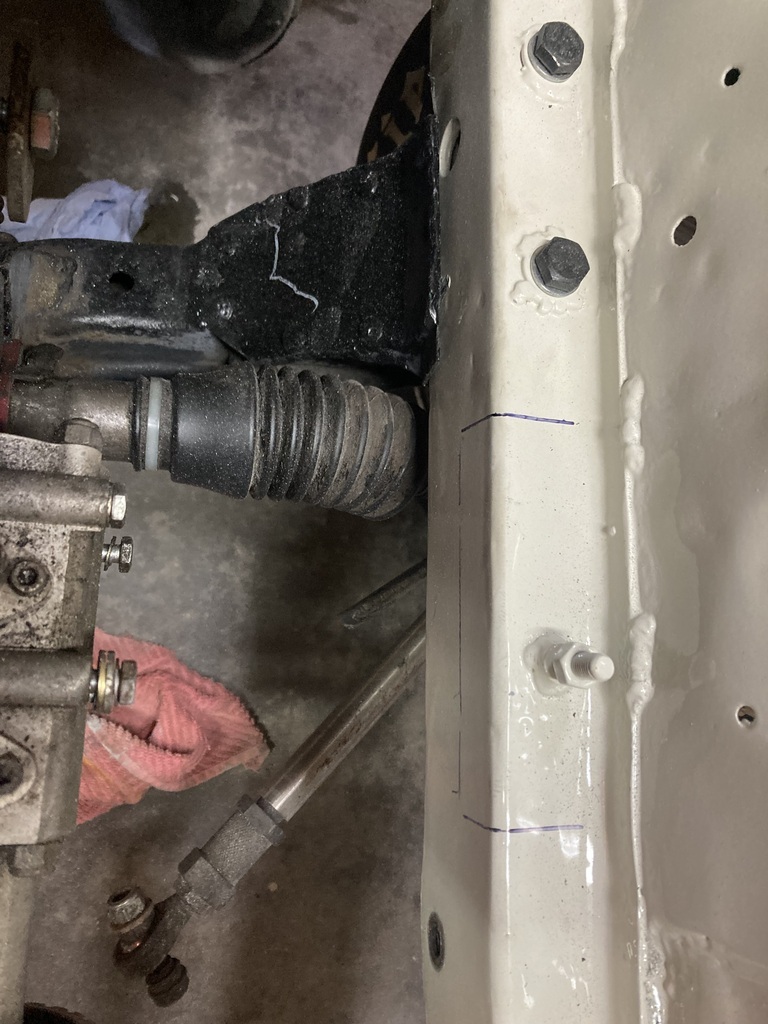 At this point, there was nothing left to do, but put on my big boy pants and attack my nice new paint with the power file 😭. 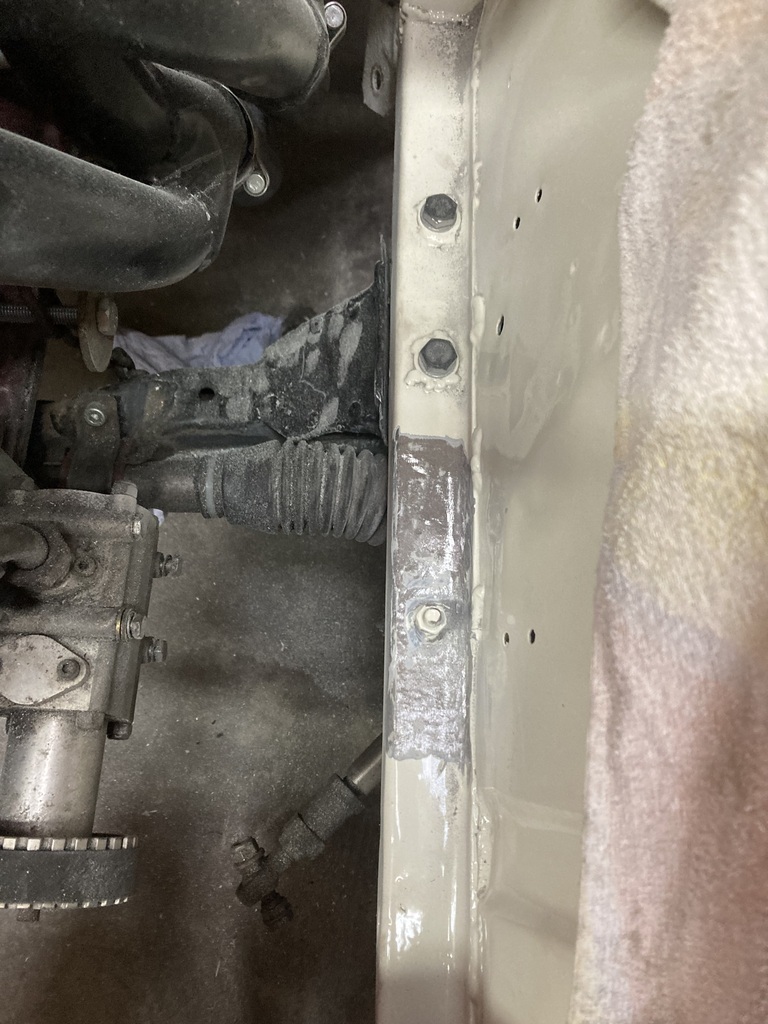 No pic of the other side. So then I broke out the mig and tacked on the mounts 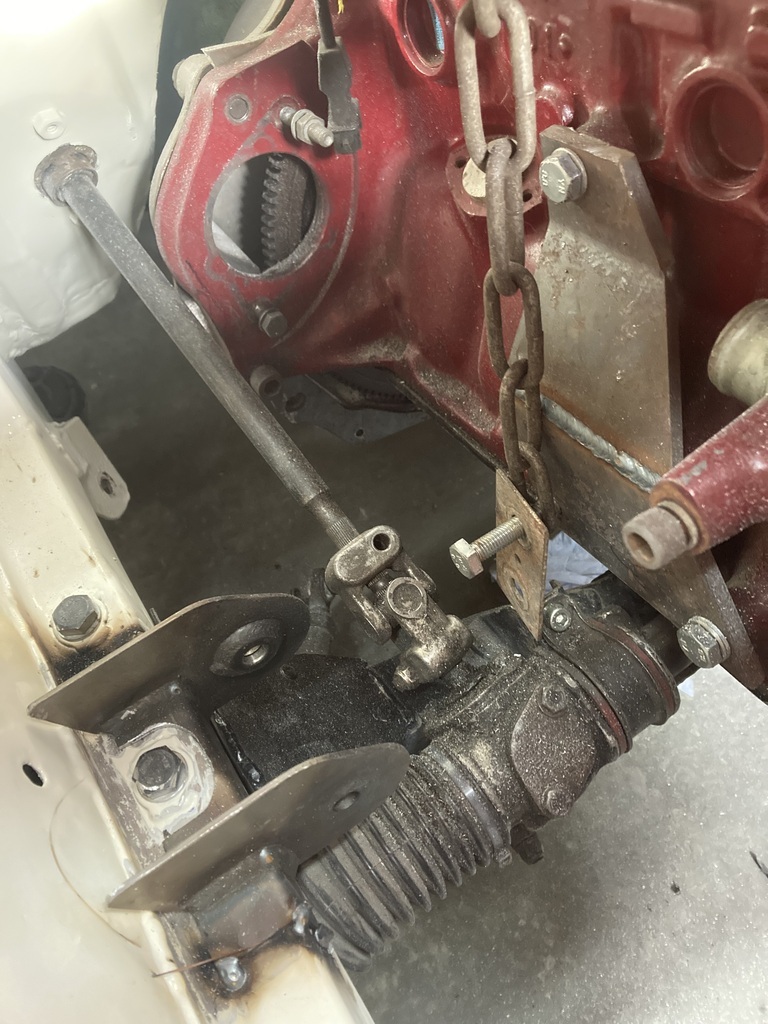 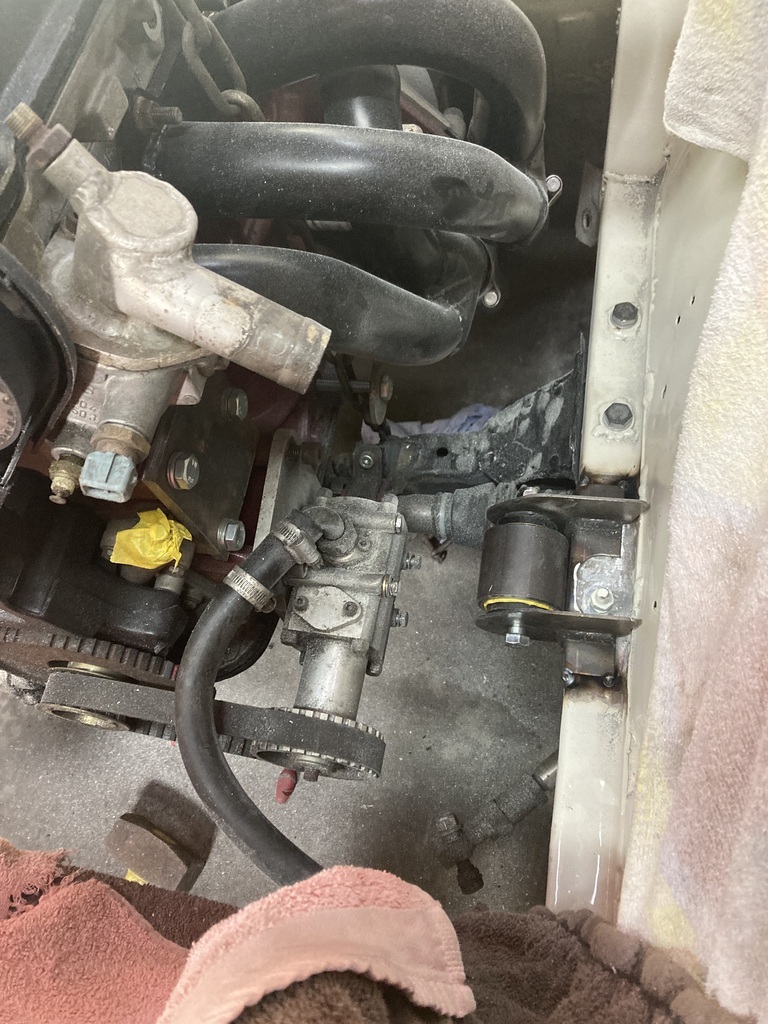 The keener eyed amongst you will notice the passenger side is a fair bit further forward then the driver side. It’s not as aesthetically pleasing like it would be if they were equal, but needs must. I might have to put a kink in the passenger side tube to clear the dry sump pump top fitting. We’ll see on the weekend. |
| |
|
|
|
|
|
Jan 26, 2024 19:24:52 GMT
|
Had a day off work today, but only managed to get an hour done on the car. Driver side engine mount- tube cut and tacked 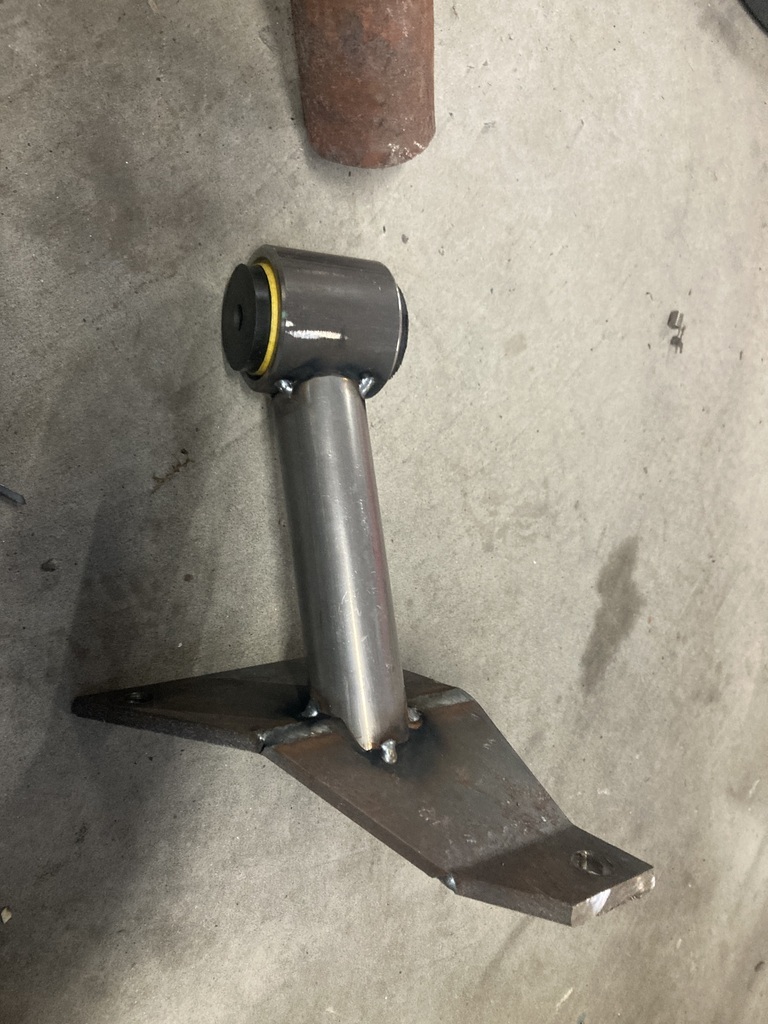 And then fully snobbed on 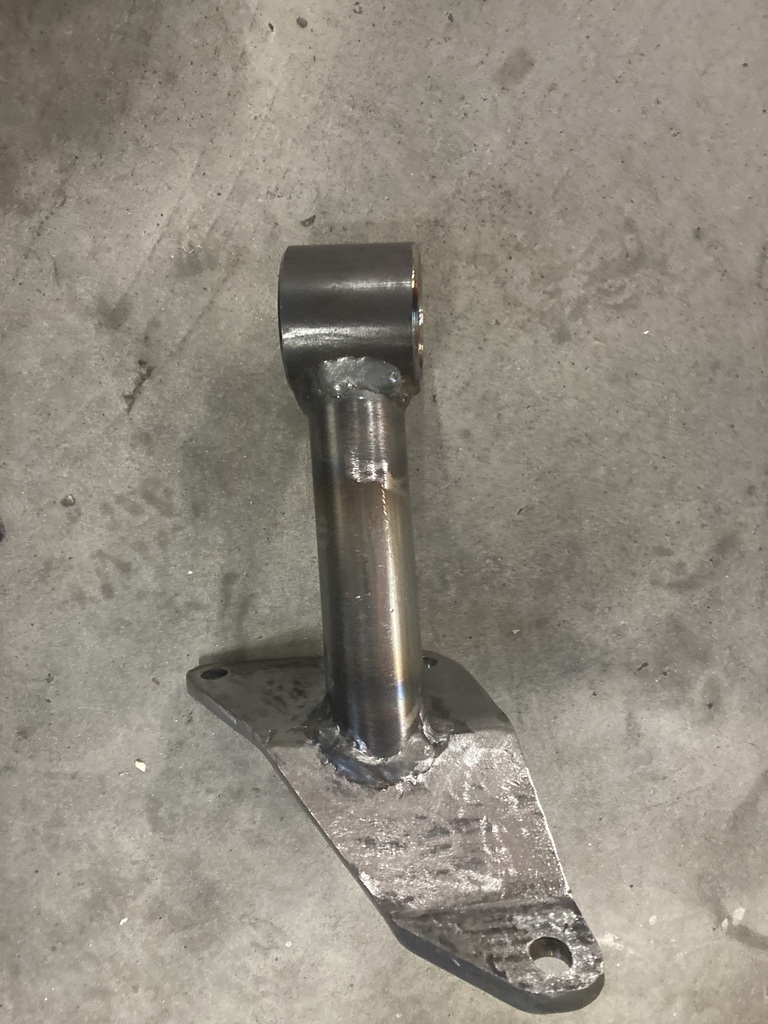 I rounded off one of the corners but may trim it more. I’ll need to borrow my brother’s press tomorrow to fit the mounting bush, then I’ll tackle the passenger side. |
| |
|
|
|
|
|
Jan 27, 2024 19:18:41 GMT
|
So I got the bush pressed into the driver side mount and got it bolted on to the engine/car. 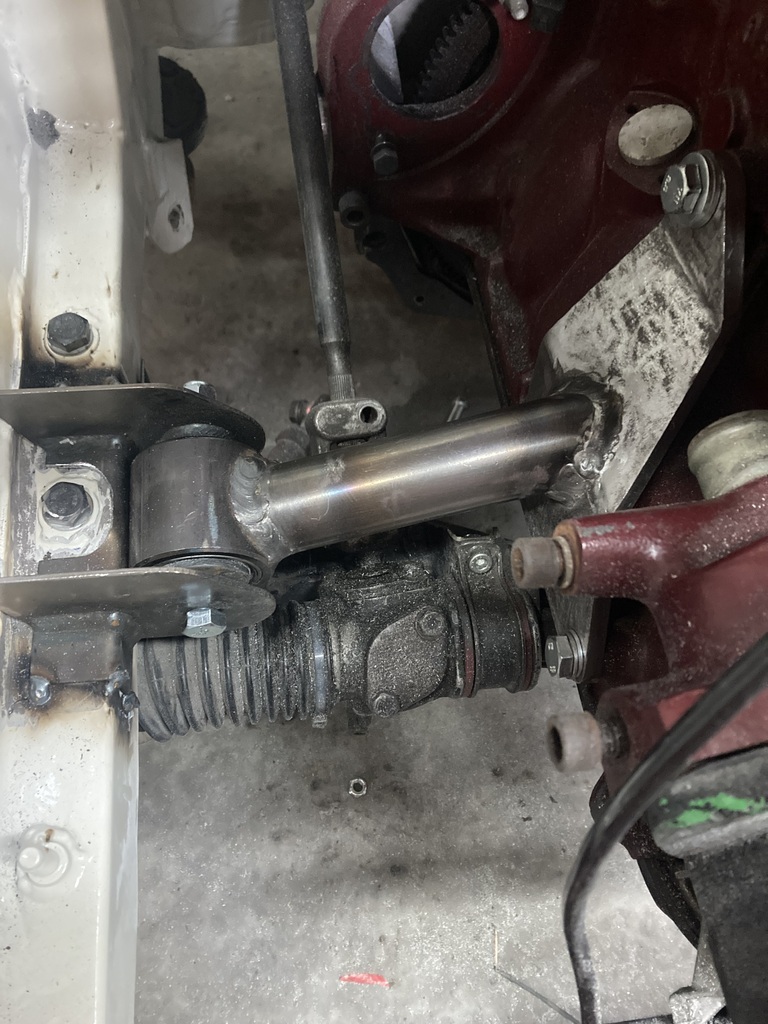 This meant I could now start on the passenger side. I got a piece of scrap bent roll cage tube from my brother . Luckily there were 2 bends as I burgered up the first attempt, cutting it to short, leaving it to close to the oil pump outlet pipe. So the second attempt got trimmed, tacked, welded, bushed and fitted to the engine/car 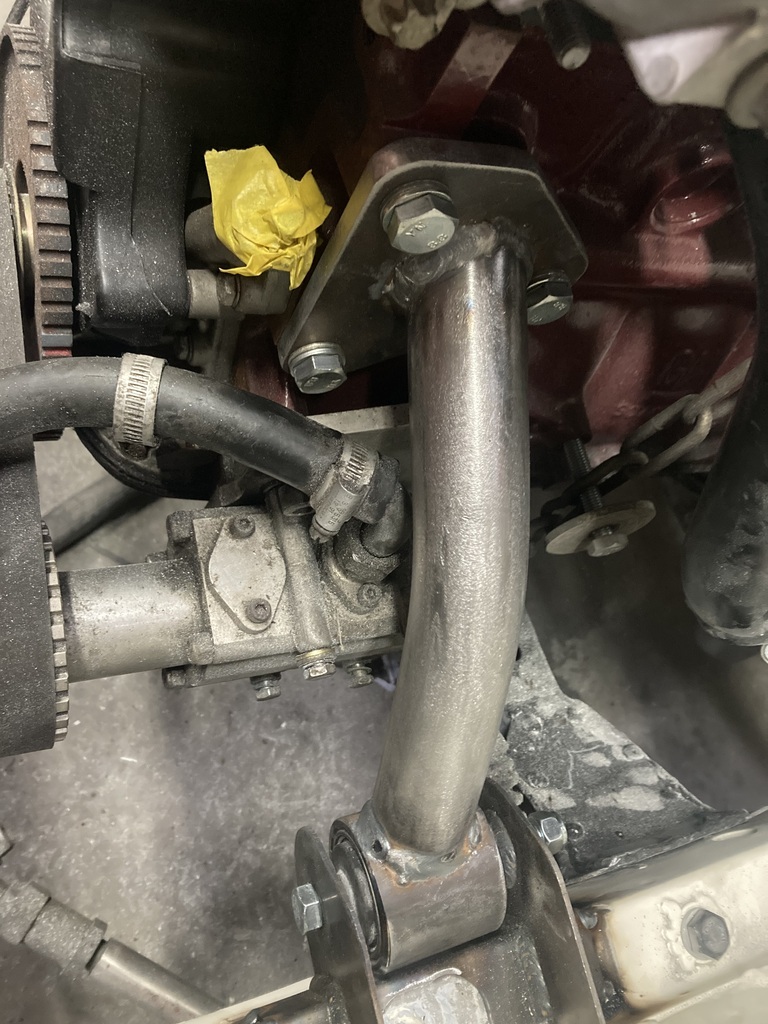 This meant I could remove the spacers from between the sump and cross member 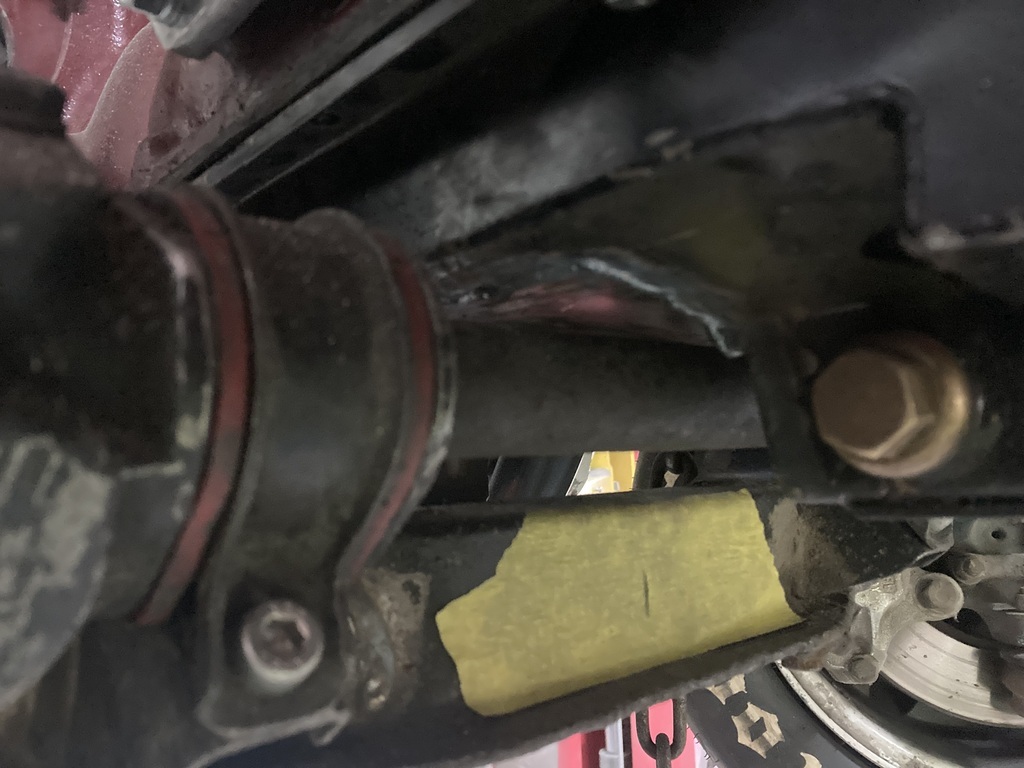 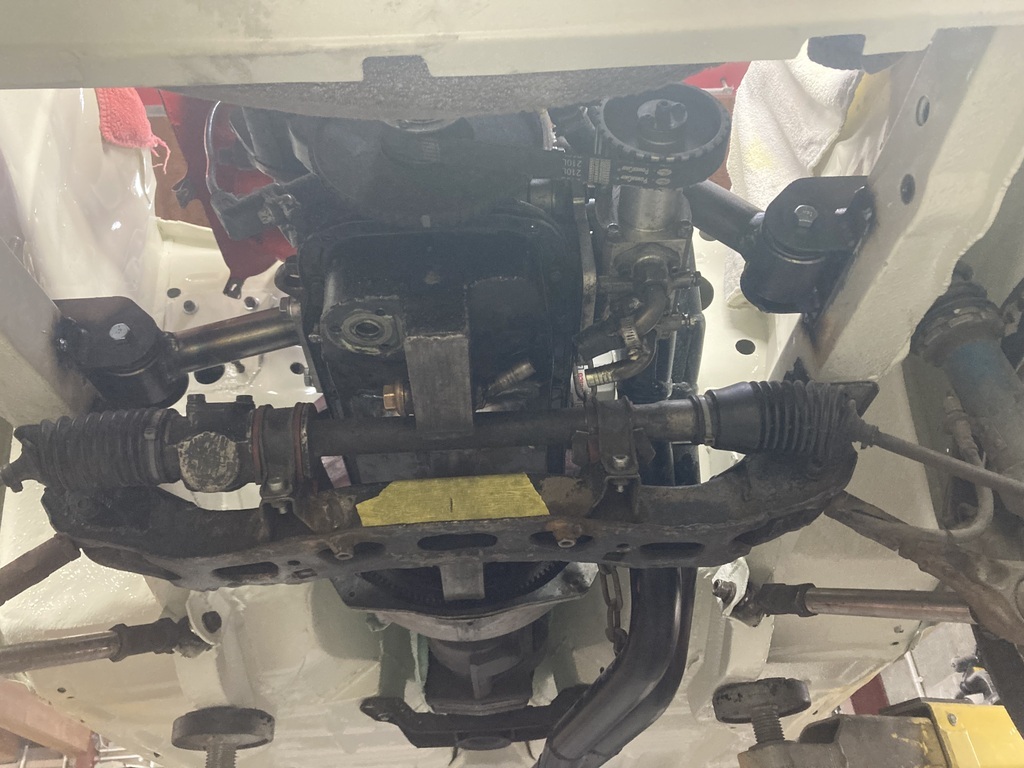 This means the engine is now fitted 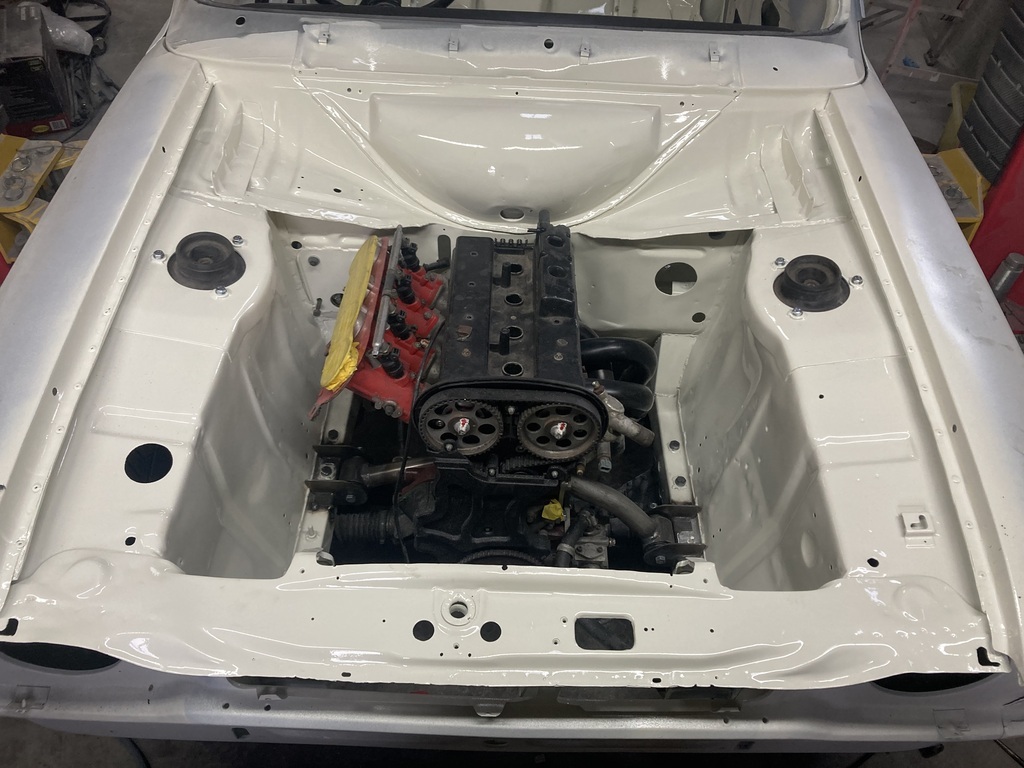 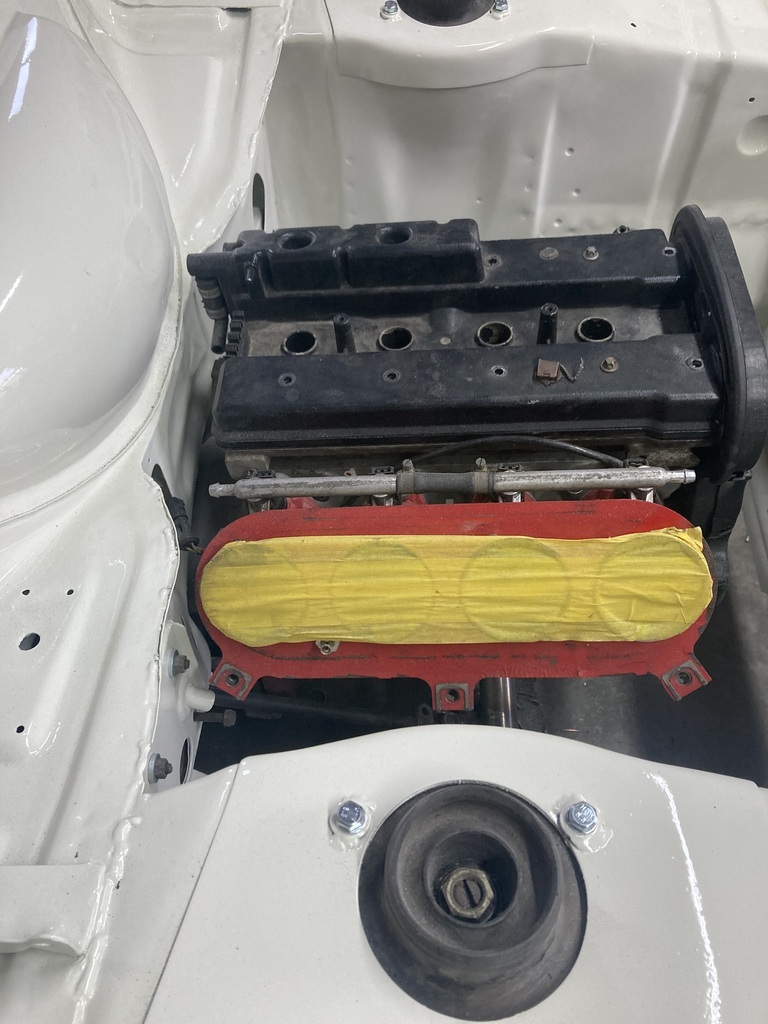 I can now remove the engine tomorrow and finish welding the chassis side of the engine mounts |
| |
|
|
|
|
|
Jan 27, 2024 19:59:34 GMT
|
|
That looks right at home, will be excellent when it's done.
|
| |
|
|
teaboy
Posted a lot
   Make tea, not war.
Posts: 2,125
|
|
Jan 27, 2024 20:47:42 GMT
|
I would be tempted to triangulate this side up towards the top bolt in the plate on the engine, particularly with the intended usage being rally type thrashing about. |
| |
|
|
|
|
|
Jan 27, 2024 23:52:39 GMT
|
I would be tempted to triangulate this side up towards the top bolt in the plate on the engine, particularly with the intended usage being rally type thrashing about. I appreciate your concern Mt T. This is how the heavier c20xe is usually mounted in an Escort. A guy I’ve been conversing with on FB who’s been rallying his Escort with a 1.6xe only has a horizontal 25mm box section onto , what looks like a 4 mm engine plate 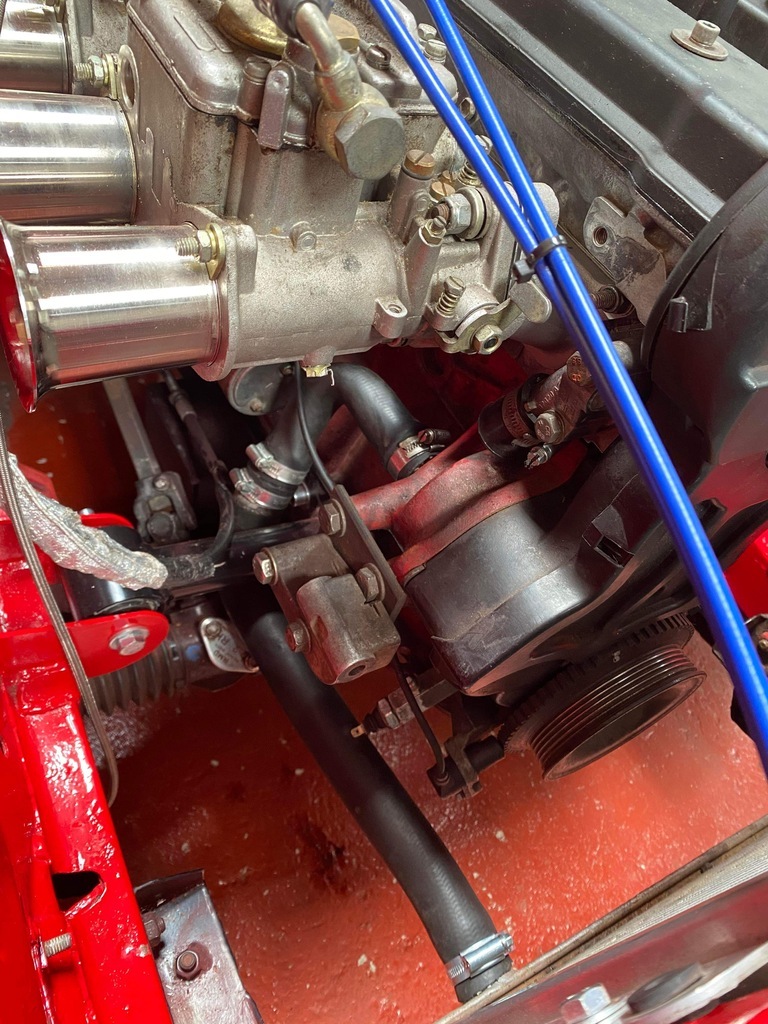 The last mounts I made for the ship’s anchor that was in the Escort were only 3mm plate with some small gussets 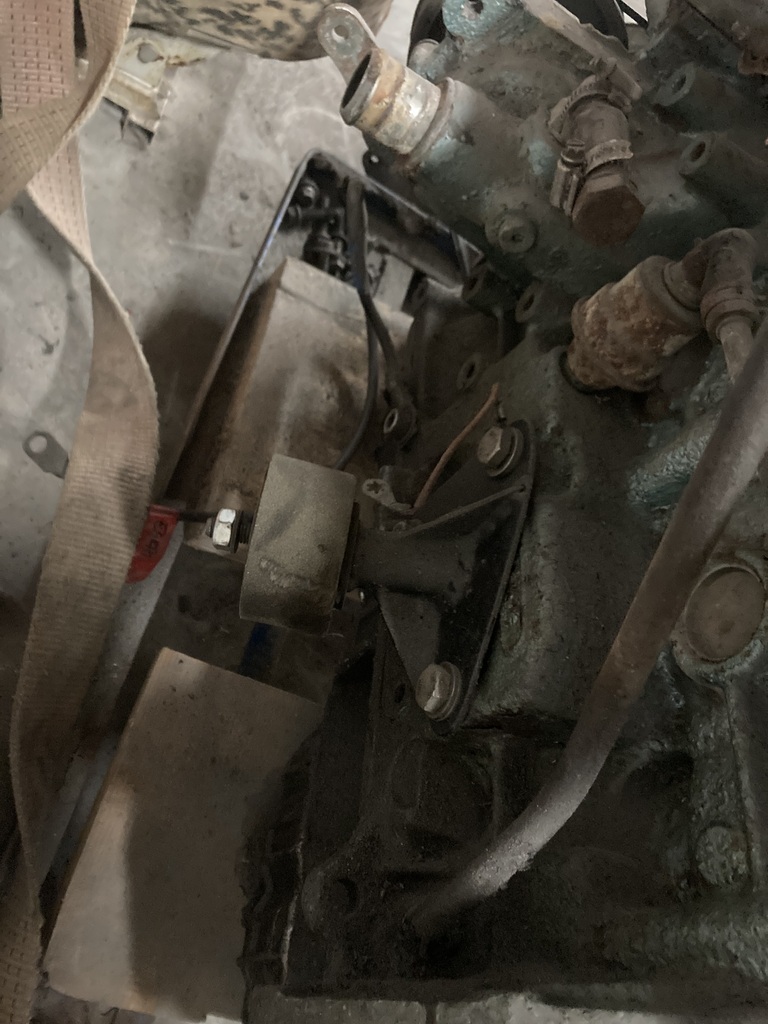 It should 🤞be fine |
| |
|
|
|
|
|
Jan 28, 2024 14:53:58 GMT
|
|
Looks good to me, did I miss what the HP difference was between this and the old engine?
|
| |
|
|
|
|
|
Jan 28, 2024 16:04:55 GMT
|
Looks good to me, did I miss what the HP difference was between this and the old engine? Thanks Mr Viva. At the moment they are exactly the same at 150bhp and 125lb/ft torque. But this engine weighs considerably less. It also has more scope for turning as it’s on throttle bodies and a programmable ecu- that’s if I can get a computer to talk to it as it is an old serial based connection. |
| |
Last Edit: Jan 28, 2024 16:06:25 GMT by jonsey
|
|
|
|
|
Jan 28, 2024 16:36:49 GMT
|
First thing to do today was to remove the engine. O just used the 2 post lift for this. 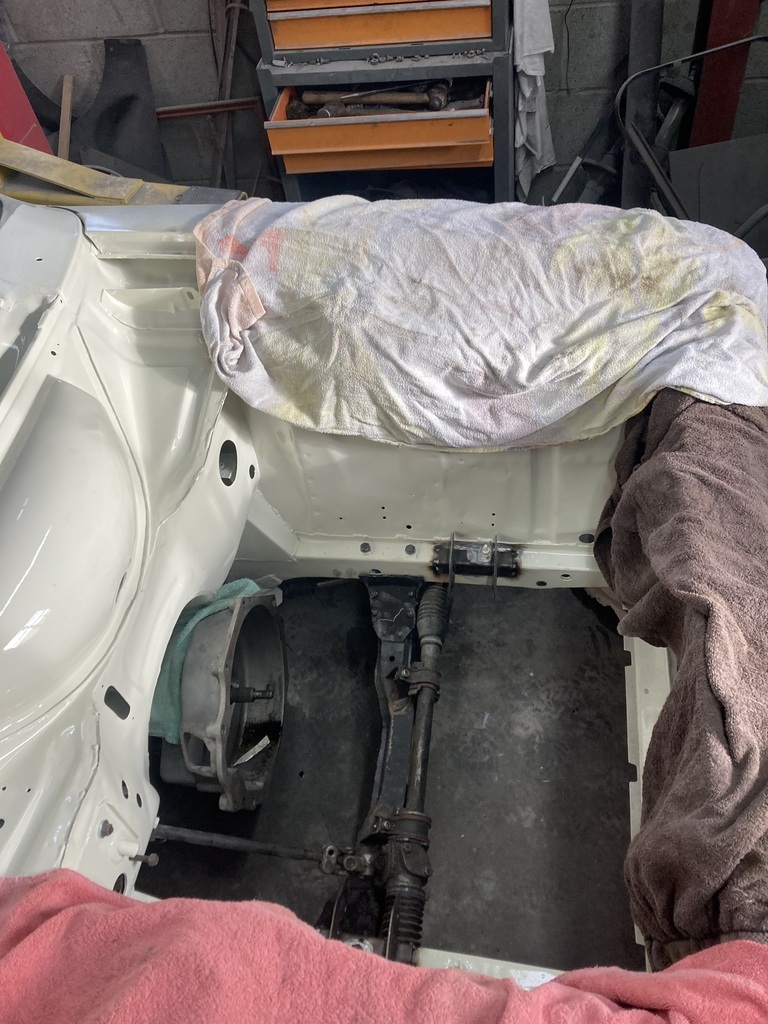 I then just dropped the gear box out of the bottom 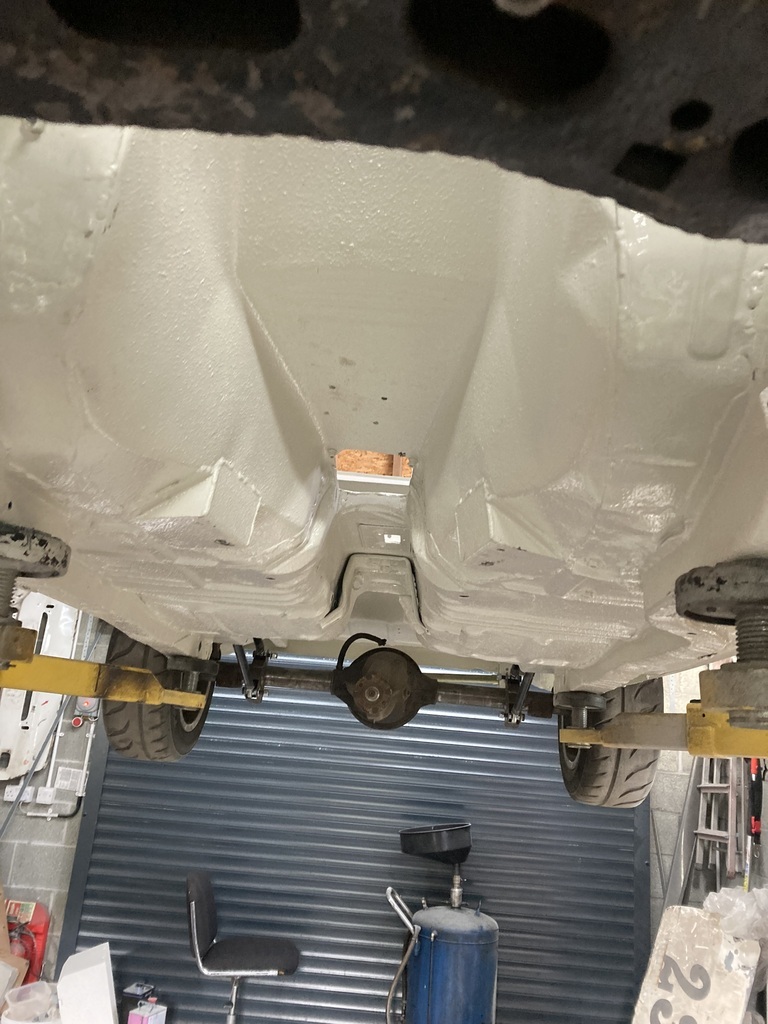 I could then set about fully welding the chassis mounts to the chassis. I welded across the bottoms first which turned out terrible (no photo). It’s properly welded but looks like poo. So when I did the tops I cranked the amps up a bit and got a better result. Driver side 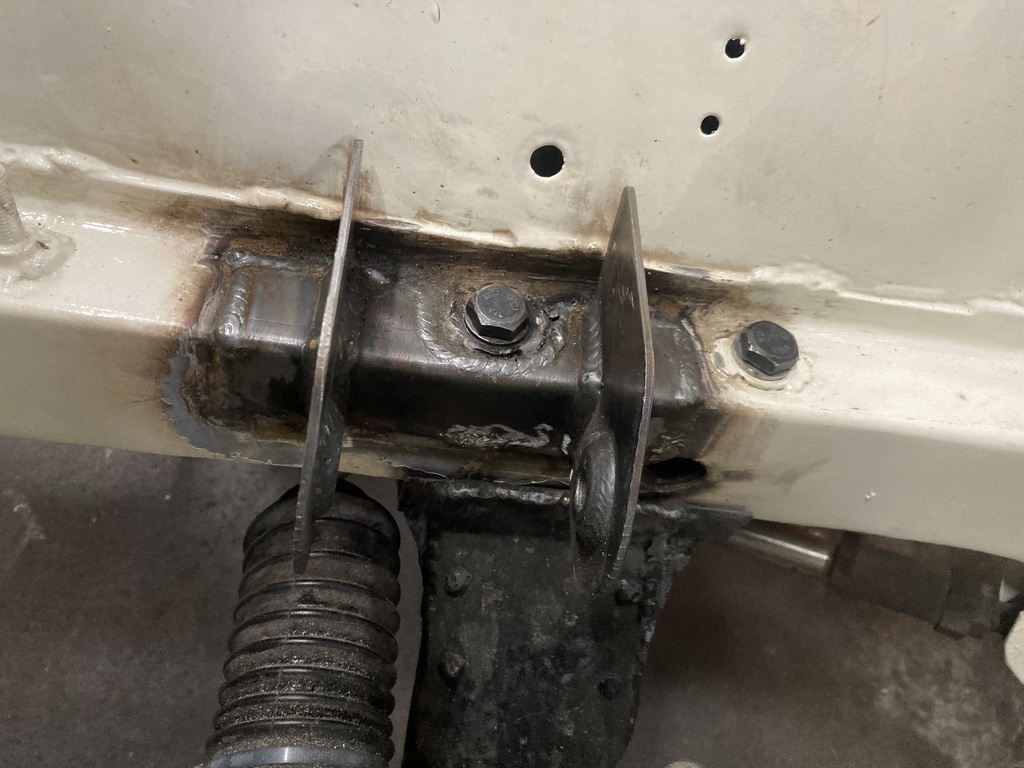 Passenger side went a bit pop next to the earth bolt as I couldn’t get the torch close enough 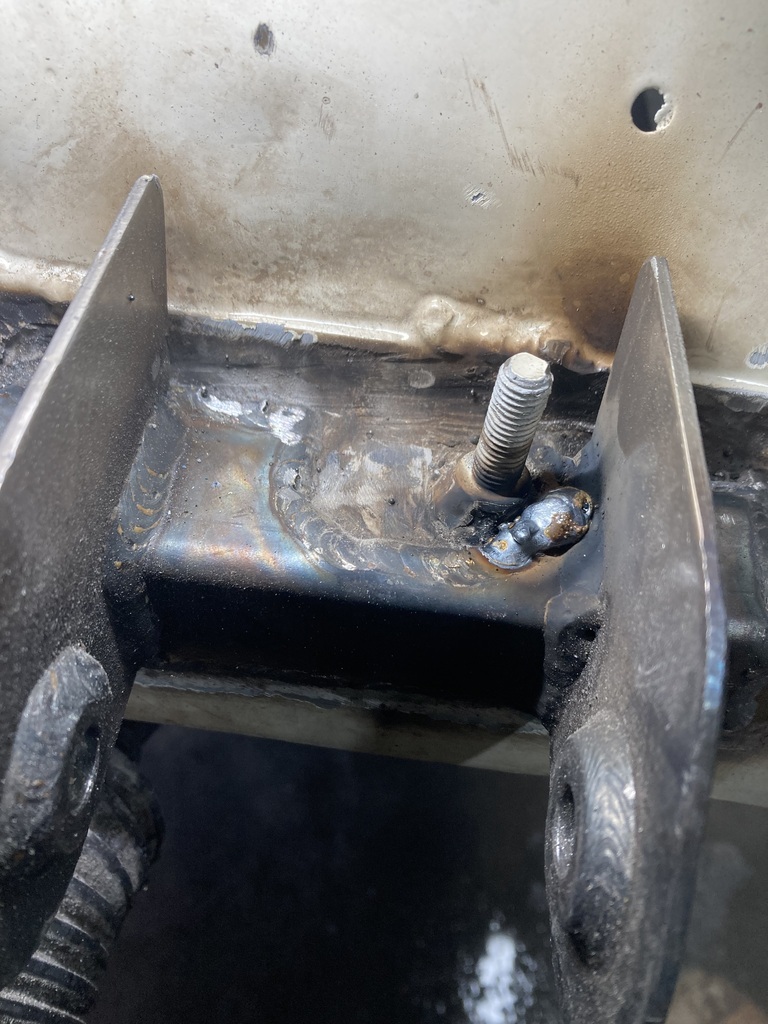 So I power filed the weld down and the bolt off 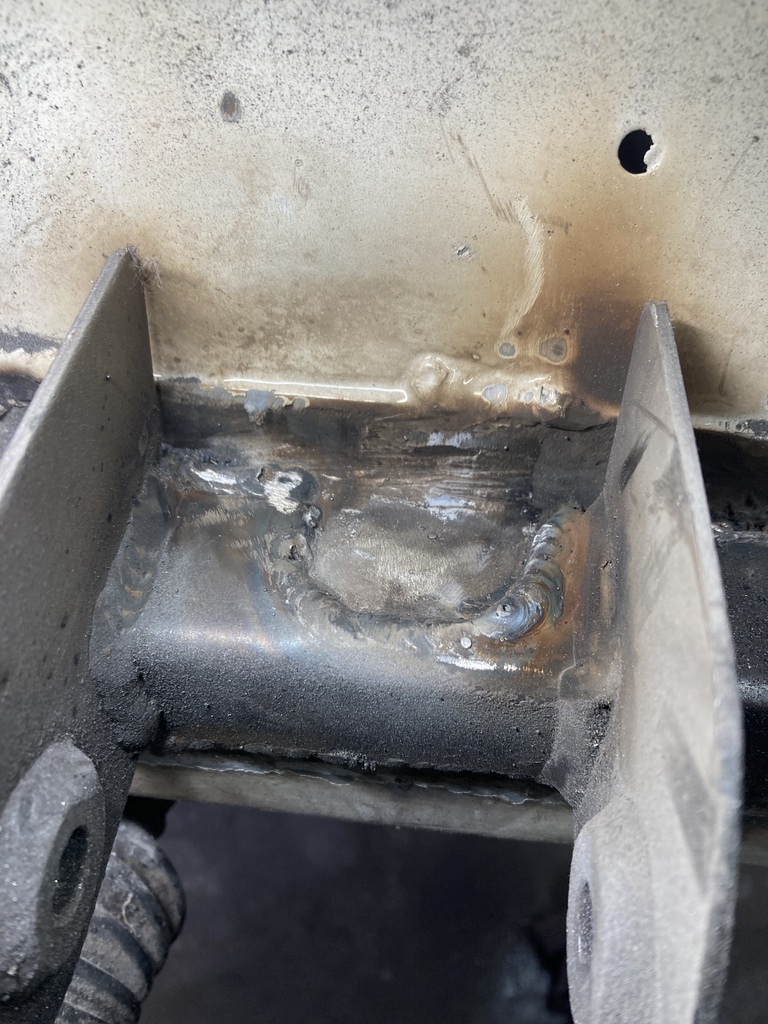 And re-welded it. 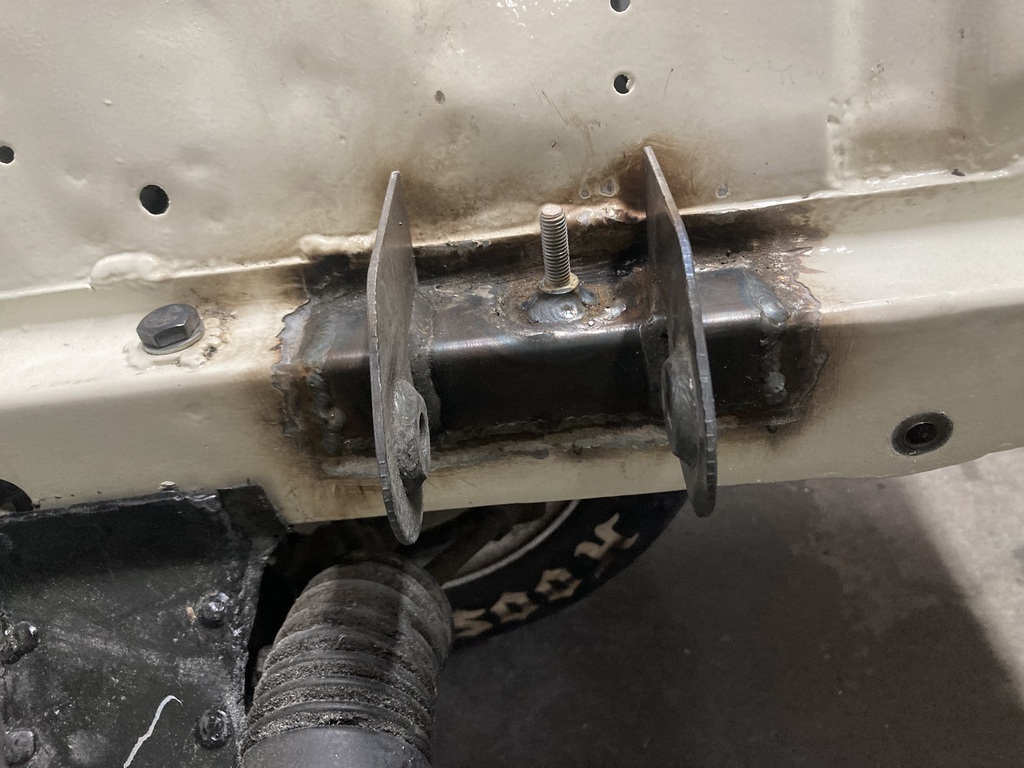 And that was that done 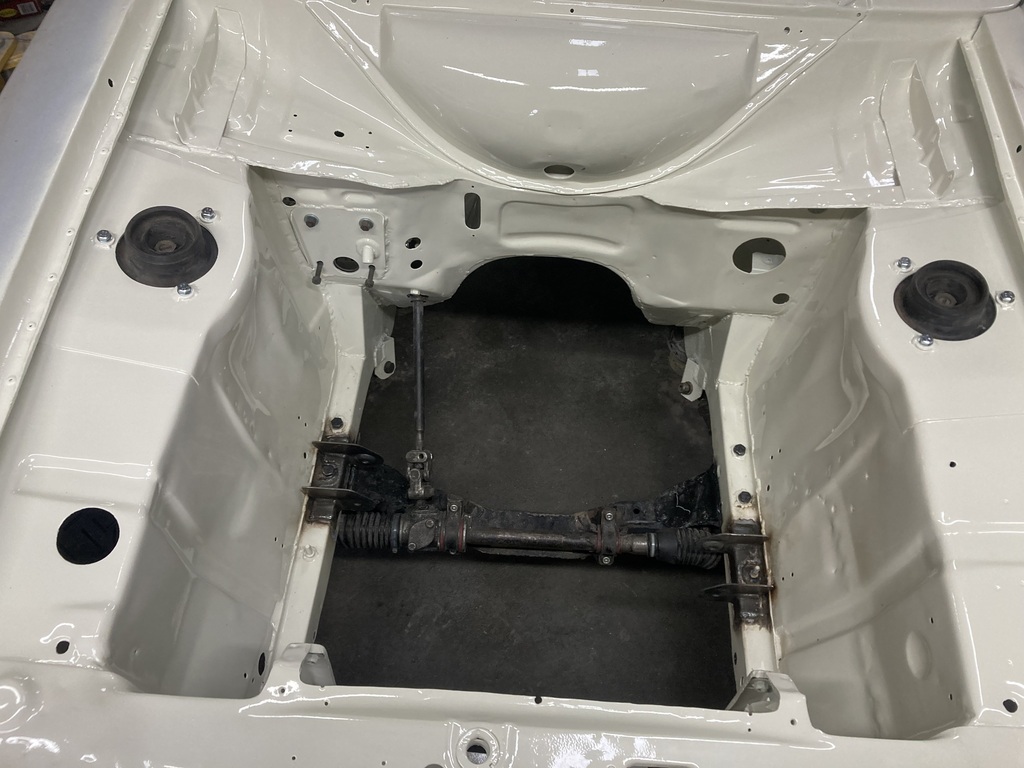 |
| |
|
|
|
|
|
Jan 29, 2024 15:40:13 GMT
|
|
great progress should handle really well with this smaller engine
|
| |
|
|
|
|
|
Jan 29, 2024 17:57:06 GMT
|
great progress should handle really well with this smaller engine Thanks Danknight. I hope so. A lot less weight to swing around |
| |
|
|
|
|
|
Jan 29, 2024 18:08:12 GMT
|
Another day off today as I’m working next Saturday. Spent the day in the garage. When the Escort was blasted last year (year before?), he didn’t blast the outside of the bonnet for some reason. I wanted all the old paint gone because of all the problems of moisture under the paint. To be fair, there wasn’t any evidence of this on the bonnet but why take the chance. So I used a stripping disc on the grinder and took it all off. What a boring job. It was so boring I forgot to take a pic of it in bare metal. So have one with some rattle can primer on instead. There was some evidence of rust spore underneath the paint so I attacked all these spots with the power file to get rid of it completely. 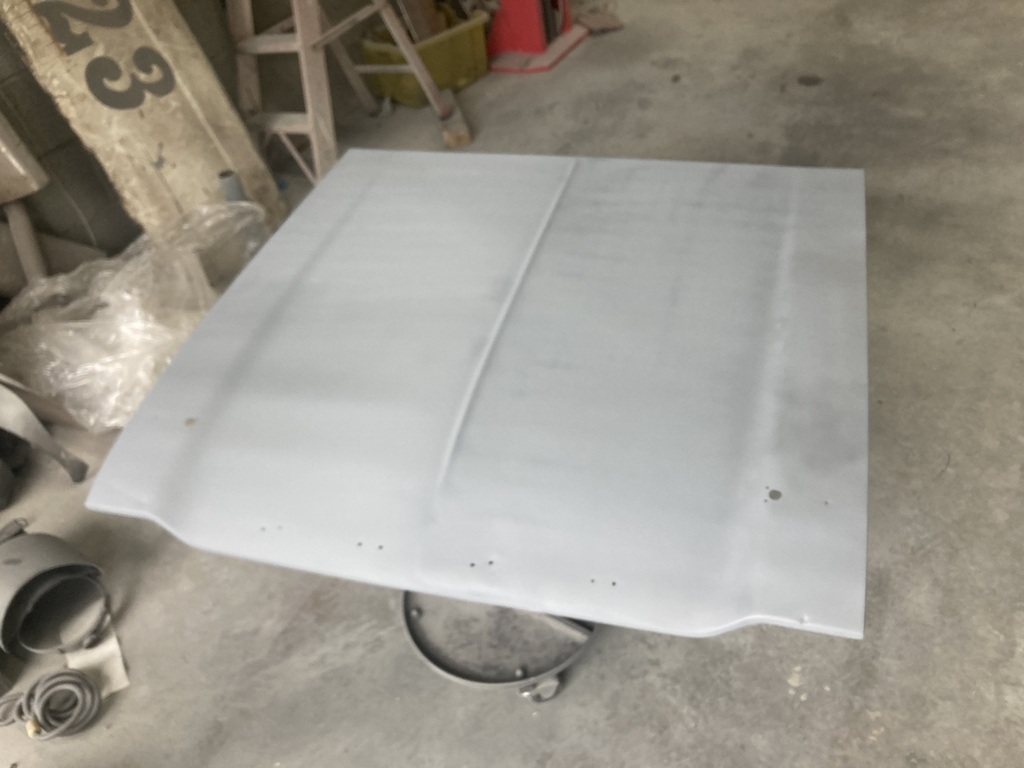 It will get some epoxy before any bodywork. Jones Junior (the elder) then gave me a hand to fit it and get the car on the trailer 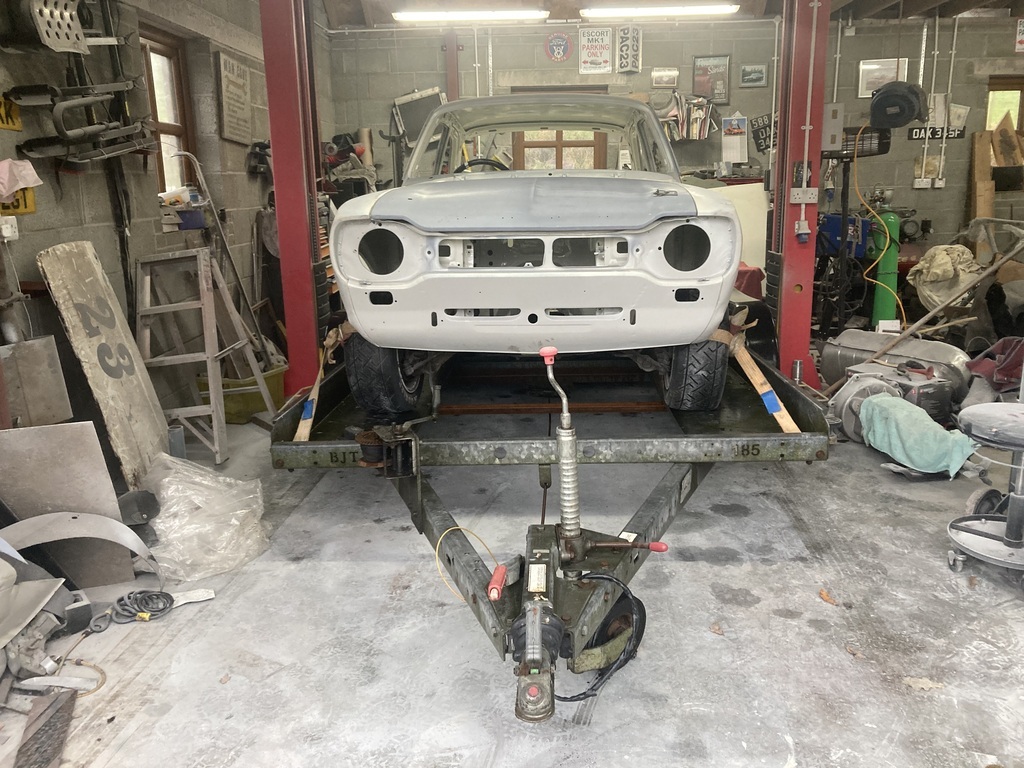 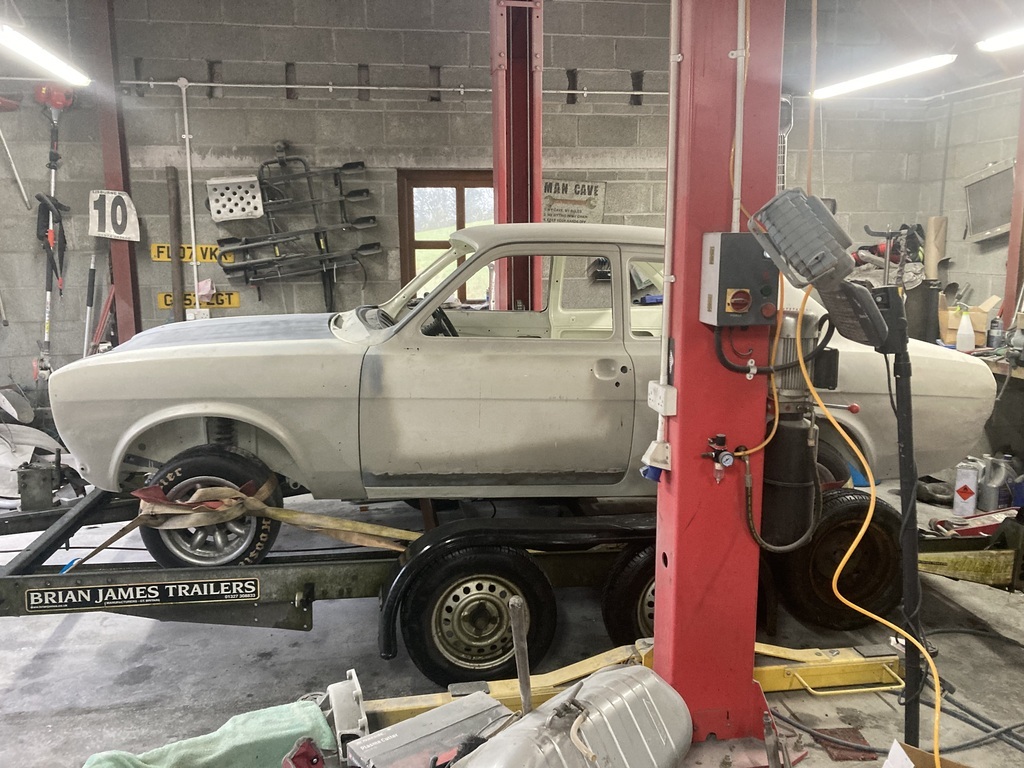 It’s off to get painted on Wednesday. Yay. |
| |
|
|
|
|
|
Jan 30, 2024 11:53:04 GMT
|
On call, so another little hour. Scuttle panel grill. 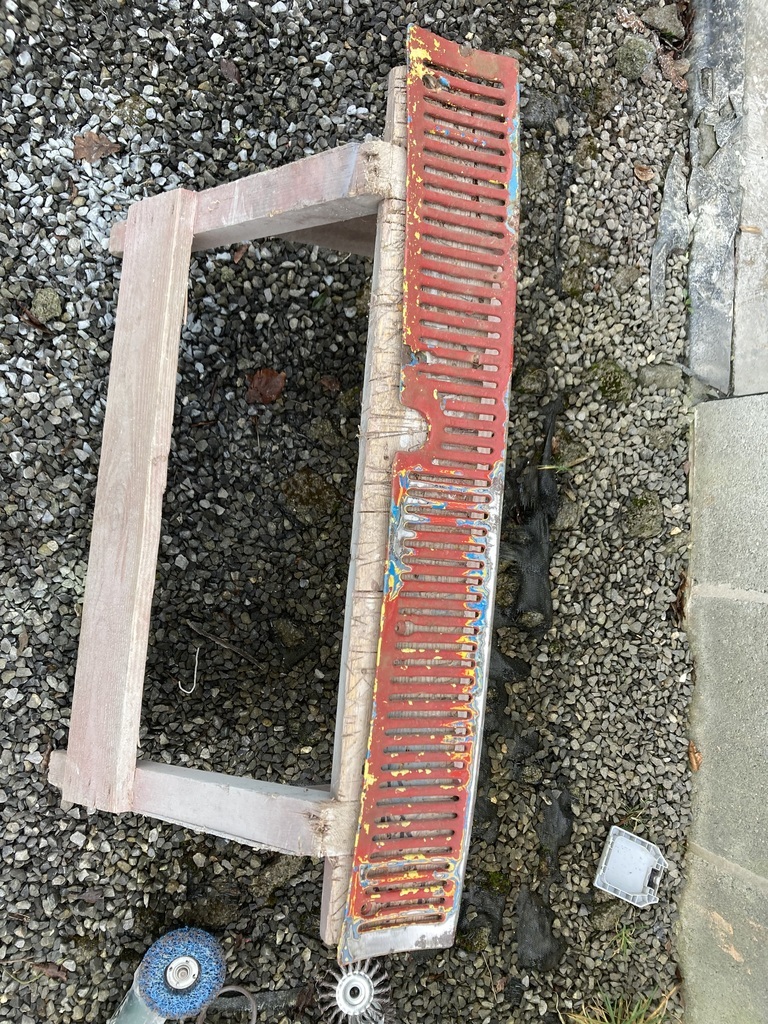 This manky looking thing is off a rotten old Autograss car I bought years ago for the rear axle. It’s actually in better condition than the one off the car but is covered in multiple layers of paint and rust. A quick going over with the wire wheel on the grinder got it looking a bit better. 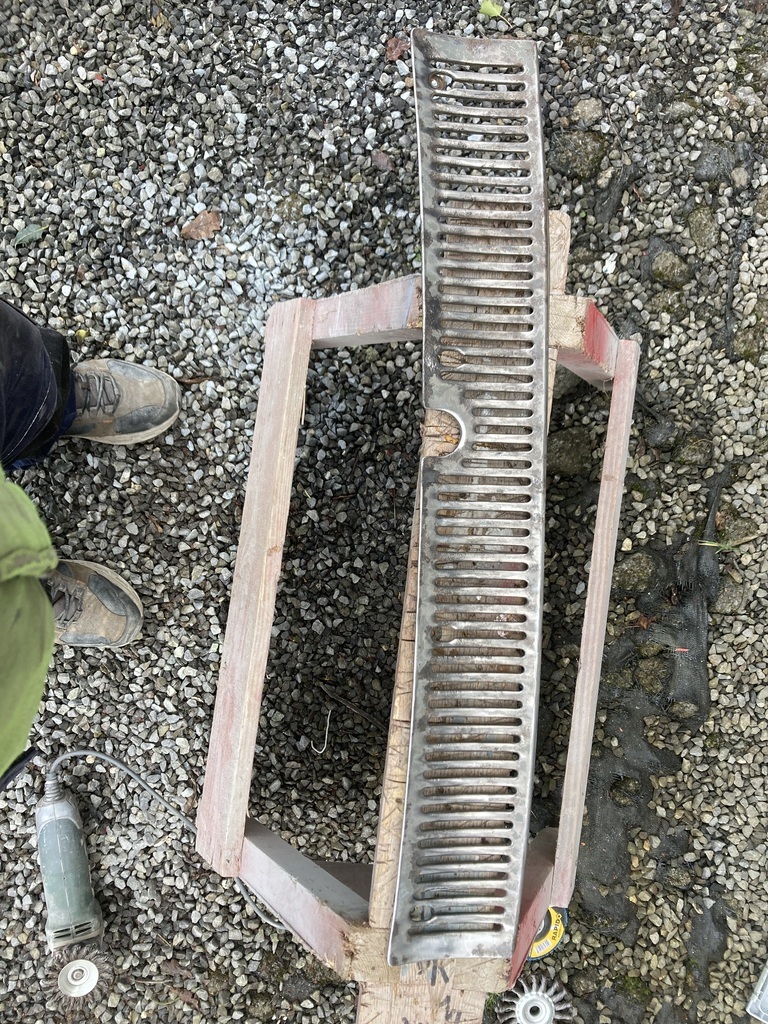 The under side has a fair bit of surface rust. 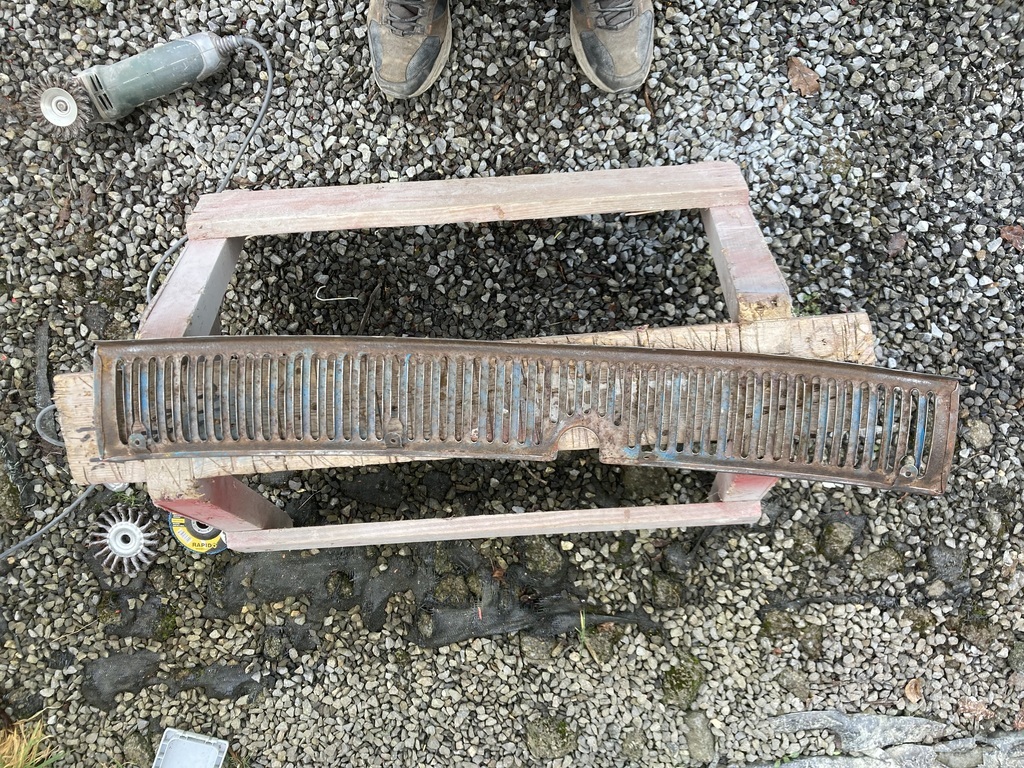 So I wanted to soak it in some rust eater liquid that I bought to clean the boot lid. The panel is surprisingly long and I didn’t have anything big enough to put it and the liquid in, but Mrs Jonsey had the idea of putting it in a bin bag. Cracking idea. 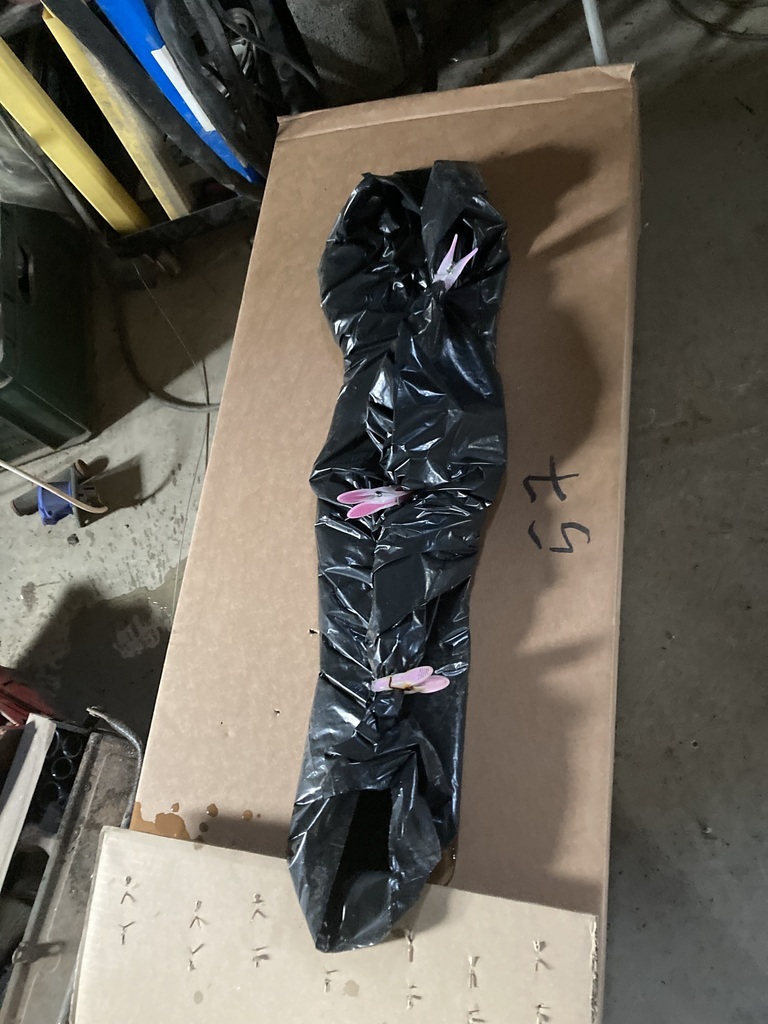 I’ll check on it tomorrow. |
| |
|
|
|
|
|
|
|
|
Paint! exciting times, how long before its back from the painters?
|
| |
|
|
|
|
|
|
|
Paint! exciting times, how long before its back from the painters? It will be longer than expected as my brother hasn’t picked it up yet! I think the painter said 3 weeks , but he hasn’t seen how rough it is yet 😁 |
| |
|
|
|
|
|
|
|
The last update was me waiting to see if my brother was going to pick up the Escort. Well, yesterday, he phoned to say drop it off today. This is no real issue, it’s only about 2 miles or so away. Before hand though, I had to go to Llandeilo to pick up an alternator and mounting bracket for the new engine. 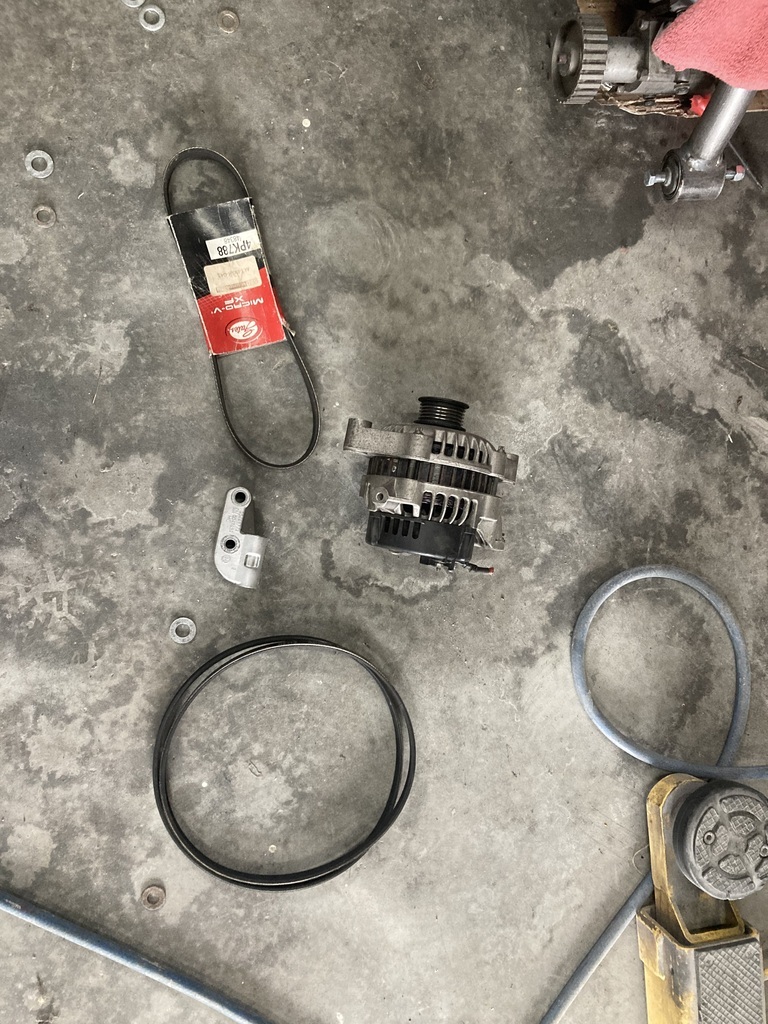 The nice gentleman also gave me a few belts to try, but as I’m using the standard crank pulley which is bigger than the alternative race pulley, and I’ve not had to lower the alternator as my throttle bodies a quite high, they were all too small. I cut down a couple of m10 bolts, and mocked it all up with a bit of pipe as a spacer for the dry sump pulley. 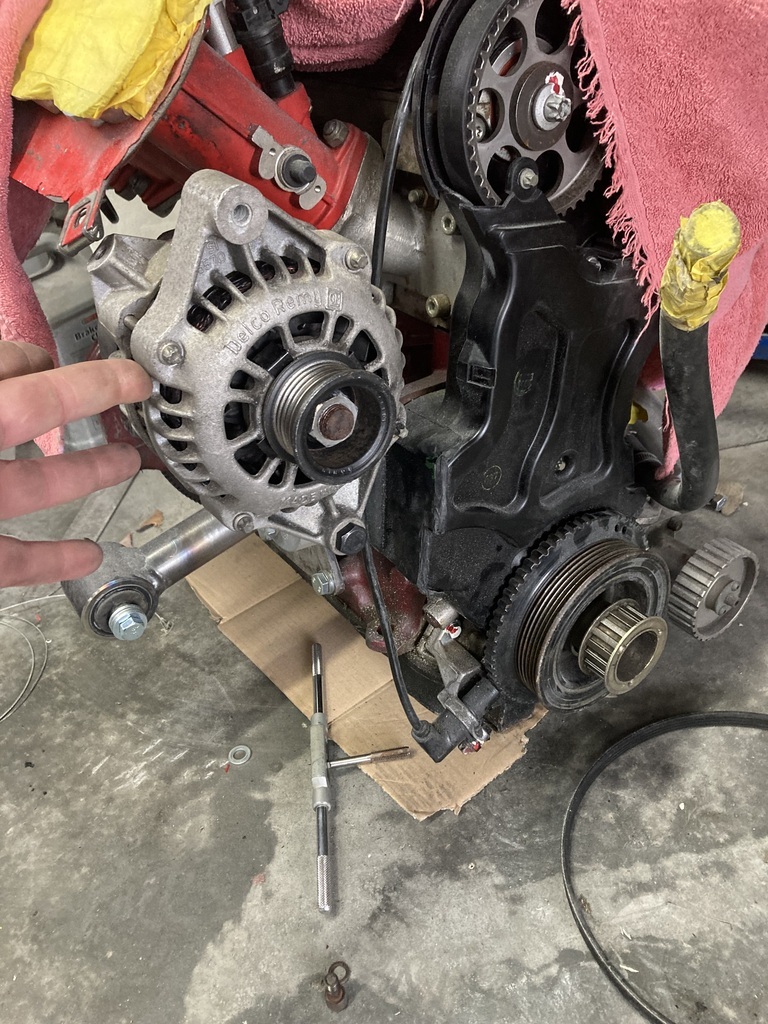 I need to purchase a turnbuckle to use as a tensioner and space out the dry sump pump to match. 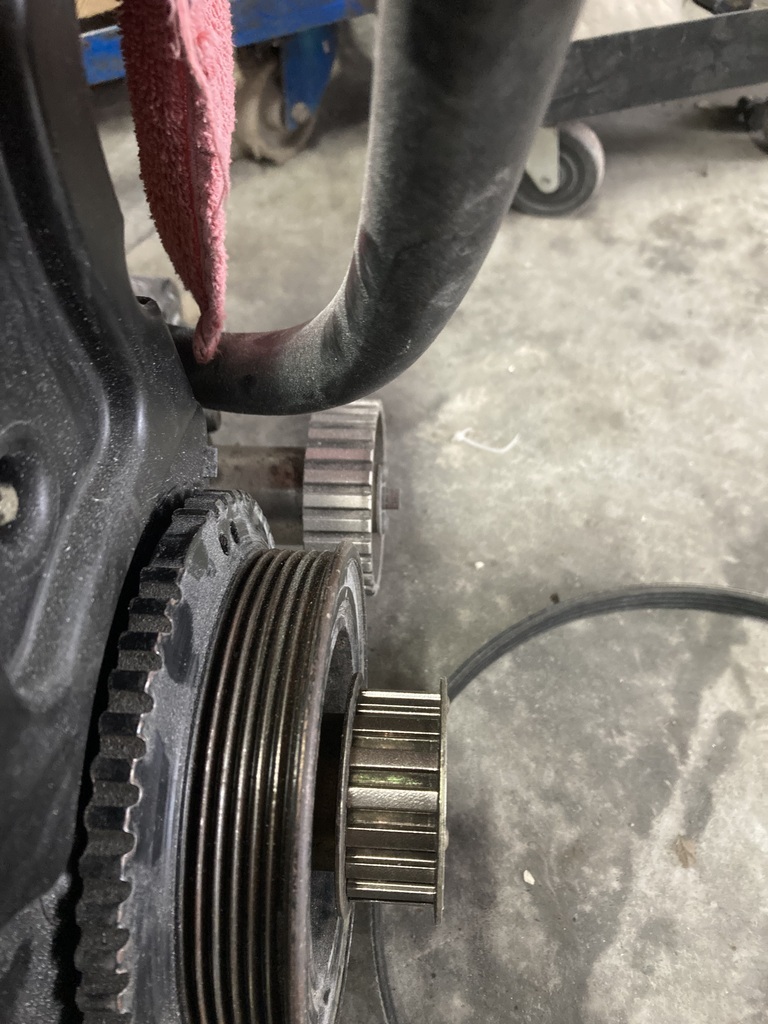 I then dropped off the Escort at my brother’s place 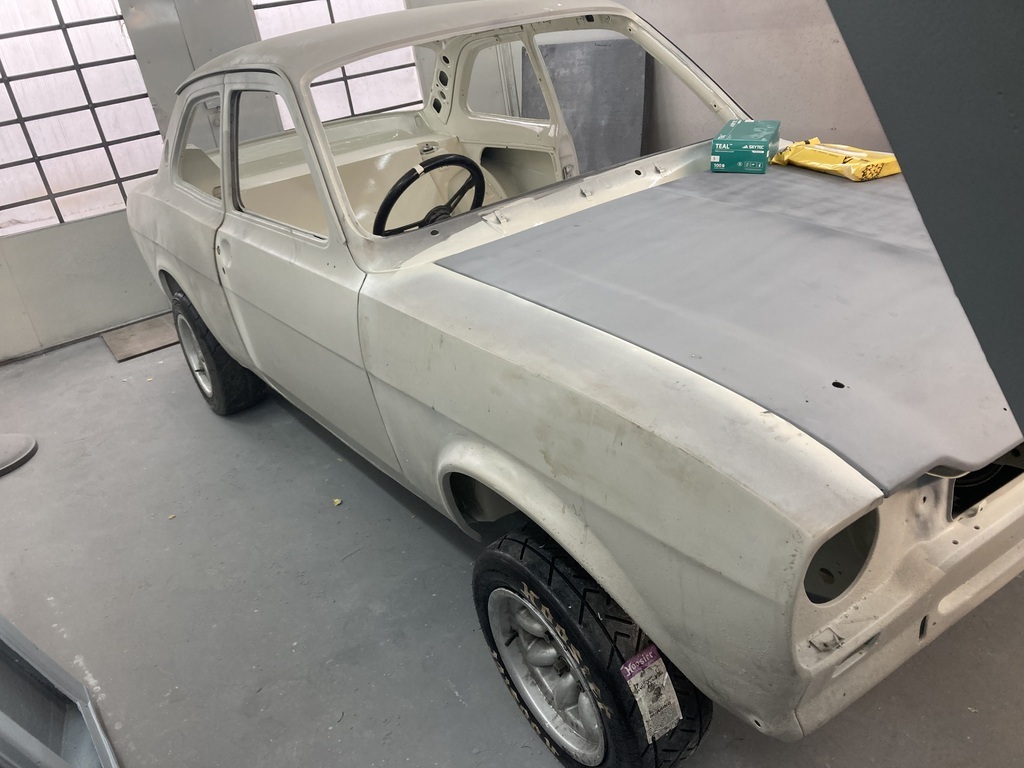 After posting this pic last week 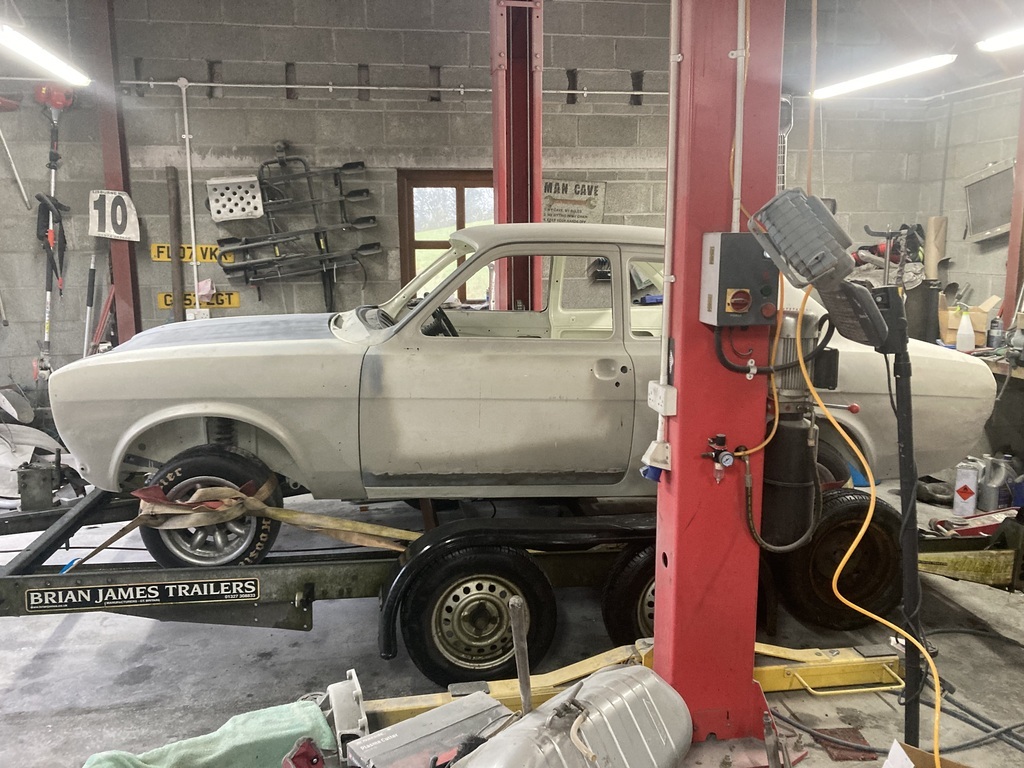 I realised that I had not taken the old paint off the passenger door. The blaster didn’t bother doing the skin as he deemed the door not worth saving. He did not realise I was not about to pay £600+ for a new door. So I brought that home and used the angle grinder and stripping disc to remove all the paint and filler. Any rust spots got a going over with the belt sander. 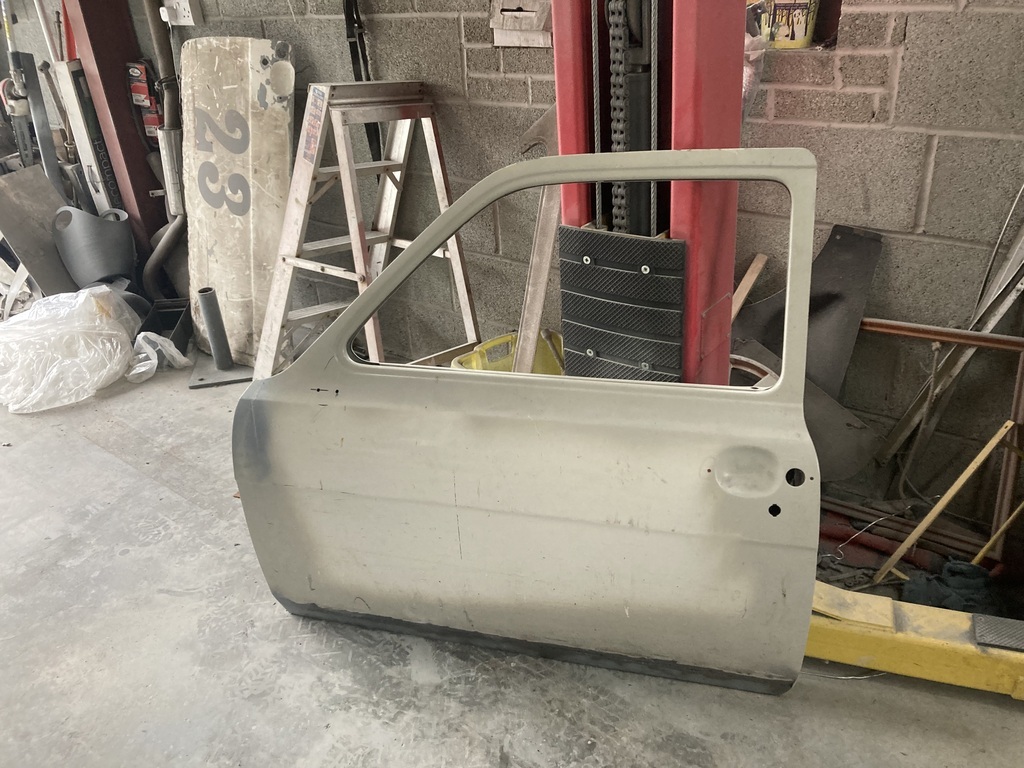 Later I called back round to his garage and refitted the door 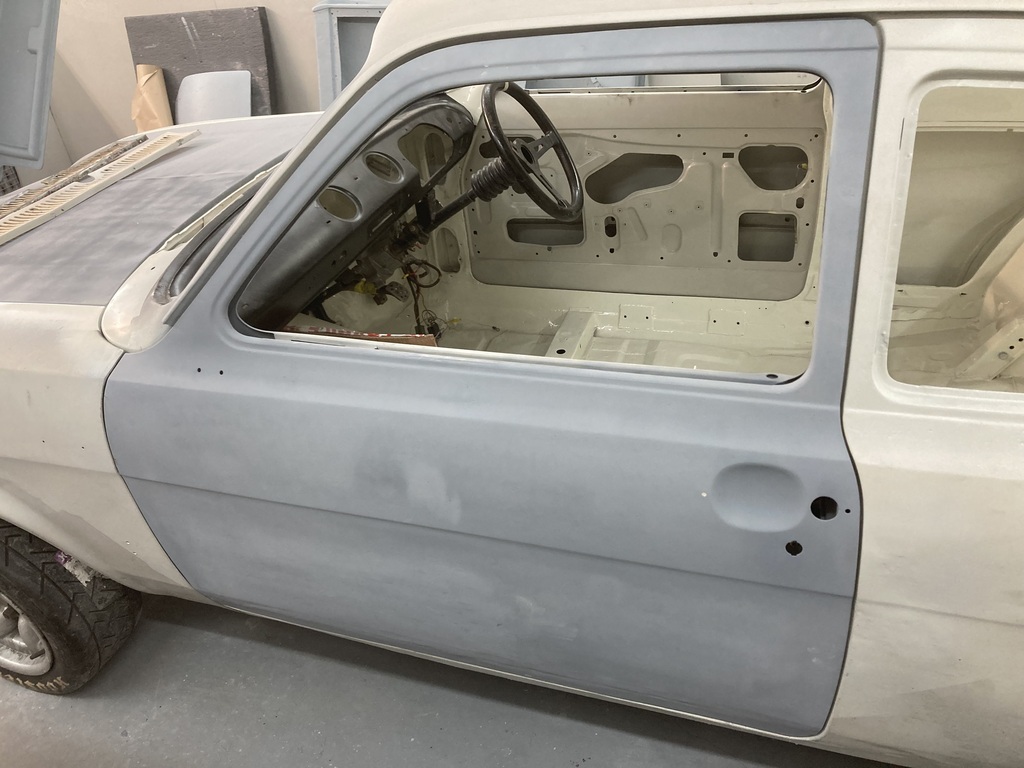 I’m dreading to think what his painter will think of it when he sees it tomorrow |
| |
|
|
|
|
|
Feb 10, 2024 19:28:19 GMT
|
So the Escort has been over my brother’s for a week and the body filler work has commenced . The boot lid fit across the rear scuttle panel is out so I took the lid home to weld on the edge to reshape. It was then I noticed the that where there had been the heavy rust patches, rust was coming through the epoxy. I took the bootlid and front scuttle panel to the blasters as the rust eater liquid stuff hadn’t been as successful as hoped. After a blast the front scuttle panel came out ok, but the bootlid still had deep rust spots. A new boot lid is £550. I’m not spending that. I could get a set of cams for that amount. The painter has hit the rust with spots with an angle grinder so hopefully this will be enough. If rust does come through, then I will have to source a new lid. No photos of any of this. The engine, whilst in the single seater, did not run a heater or thermostat. It only had top and bottom hose outlets. I will need a heater. To run the stat, an external bypass hose is required to connect the bottom hose / pump inlet. So this morning I went to pick up an outlet from the guy i bought the alternator from last week. This outlet also doubles up as the alternator adjuster mount. 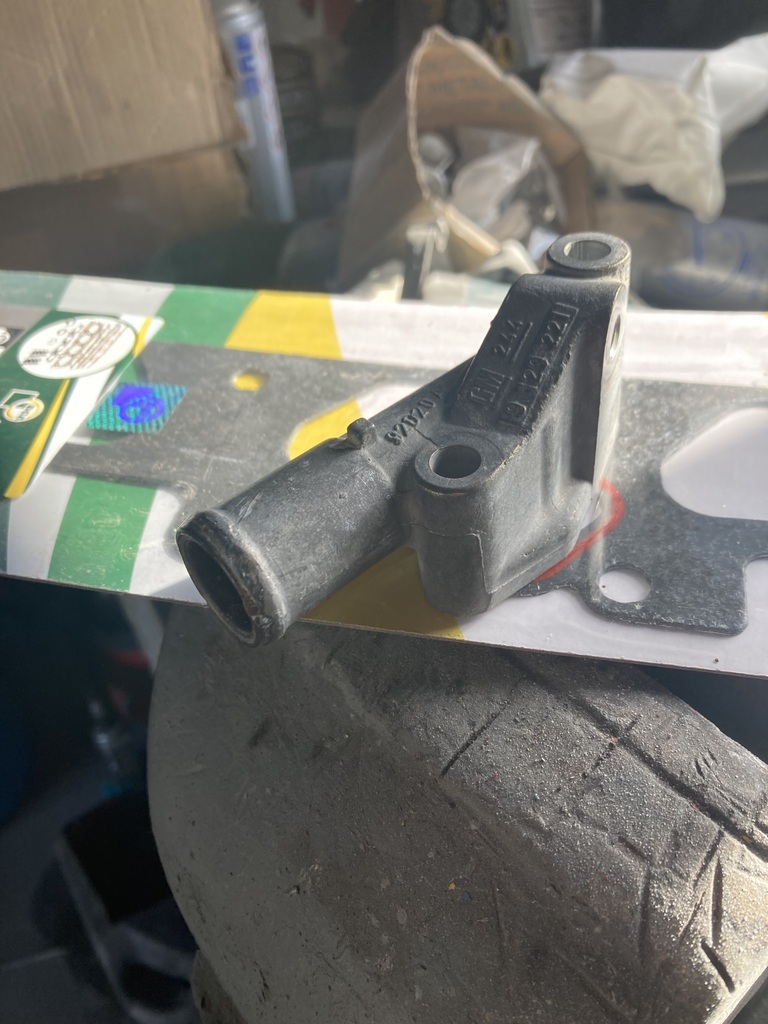 This sits here on the inlet manifold so I will need to drill a hole. 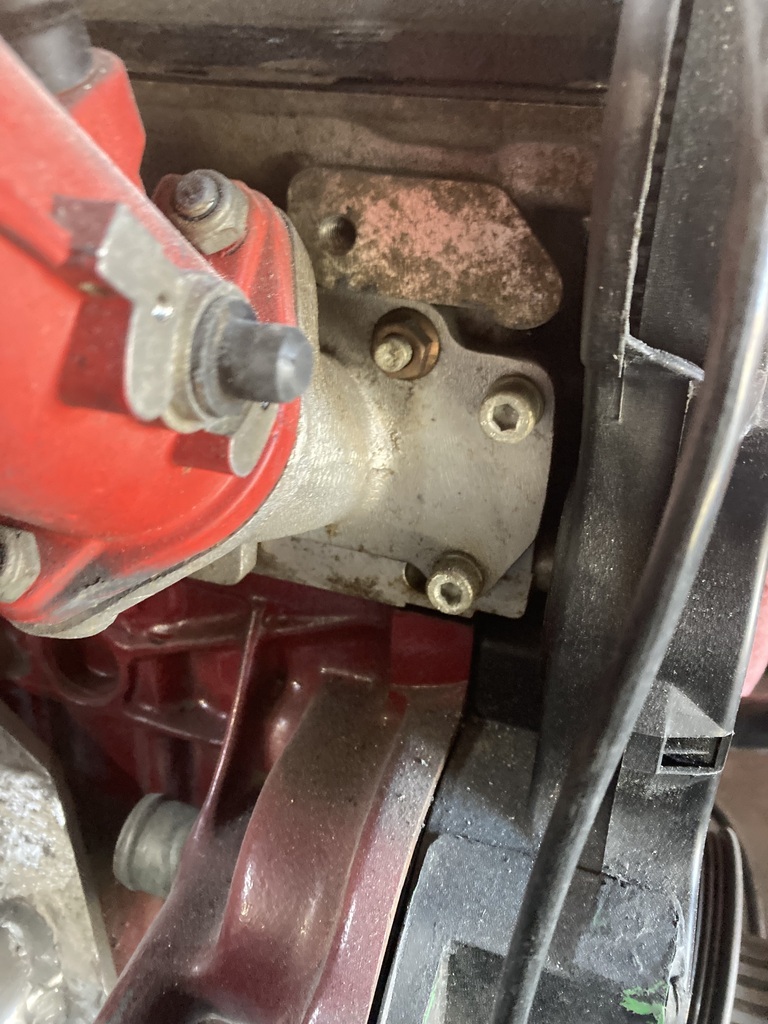 Some people with Tigras and Corsa report over heating as to much coolant flows around the bypass instead of the rad ( the stat should cut off this bypass so not sure if this is correct), so I’ll drill the hole smaller to “jet” it down a bit. Mocked up, 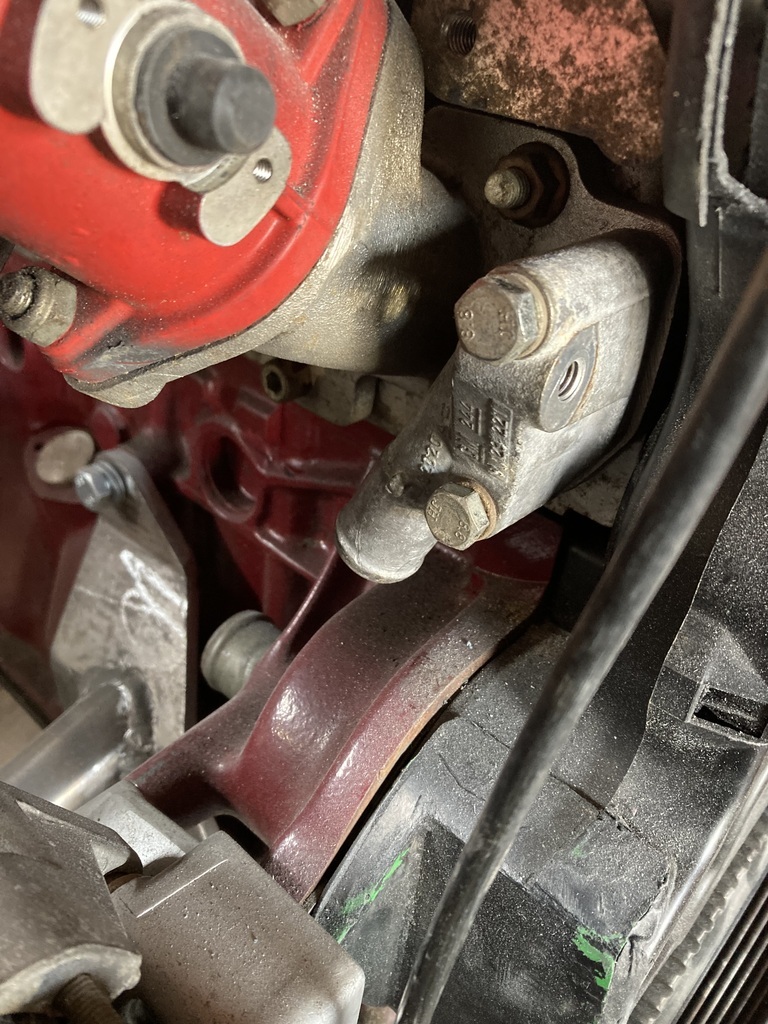 so I could measure for an alternator adjuster. I’ve ordered a rose jointed turnbuckle for this. The thermostat housing on the single seater is a fabricated item that is in the wrong orientation and the diameter of the outlet is too small 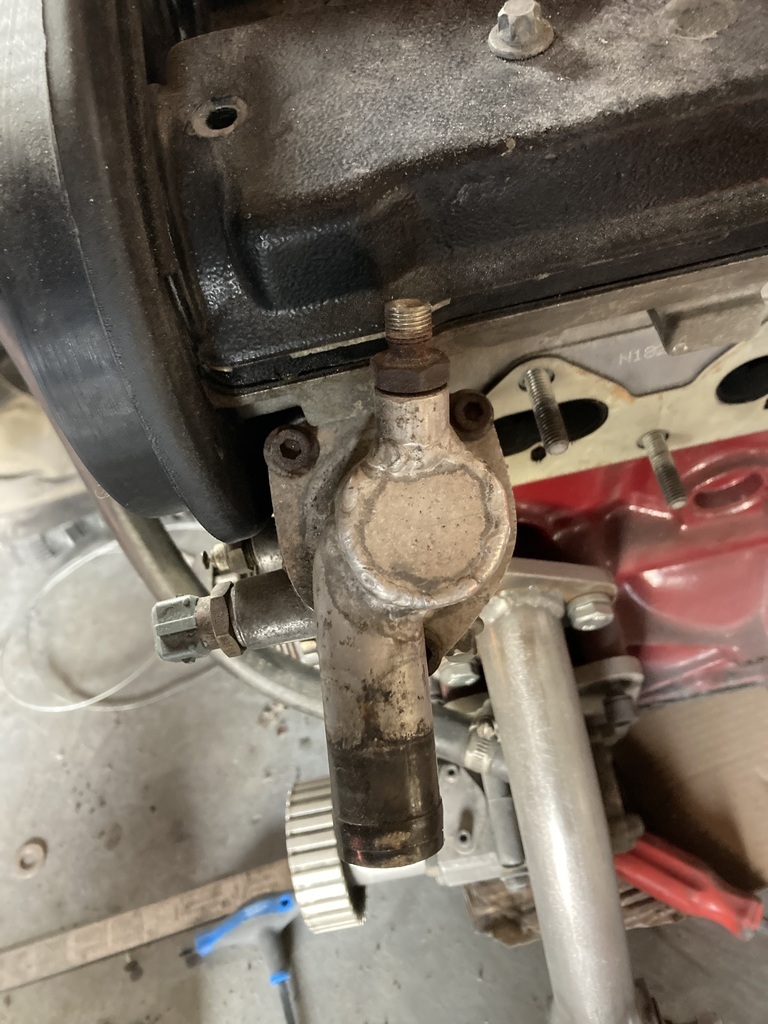 So I bought a standard item 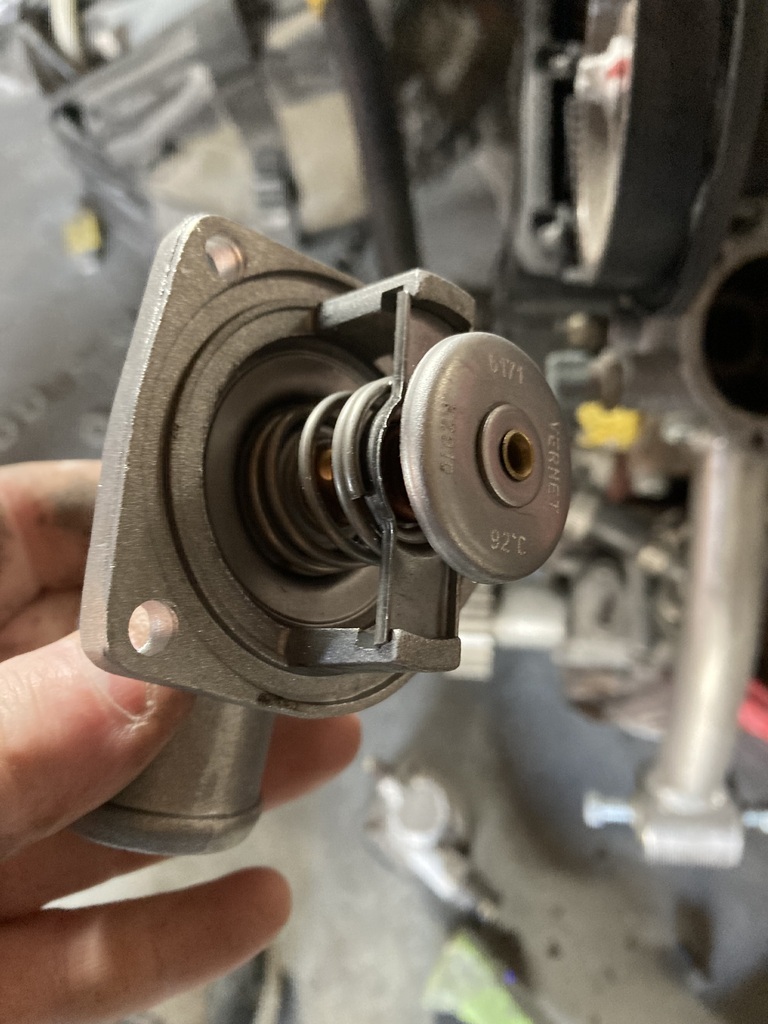 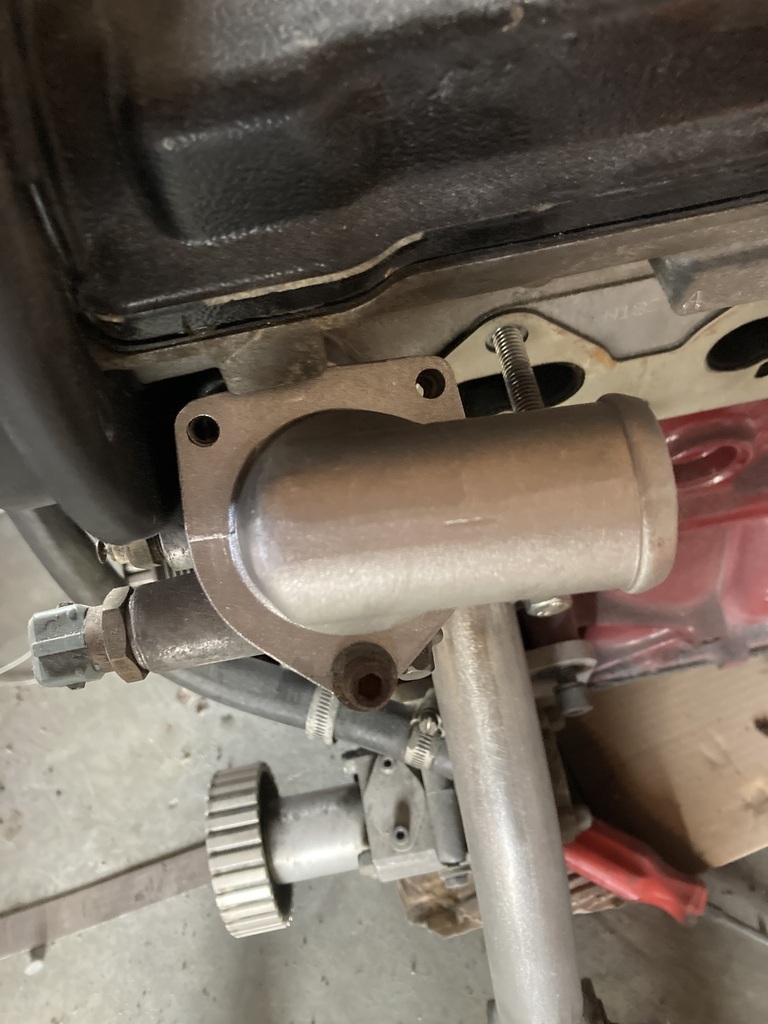 That points to the rear of the engine and not the front. So I cut it up and tacked it in the orientation I needed. 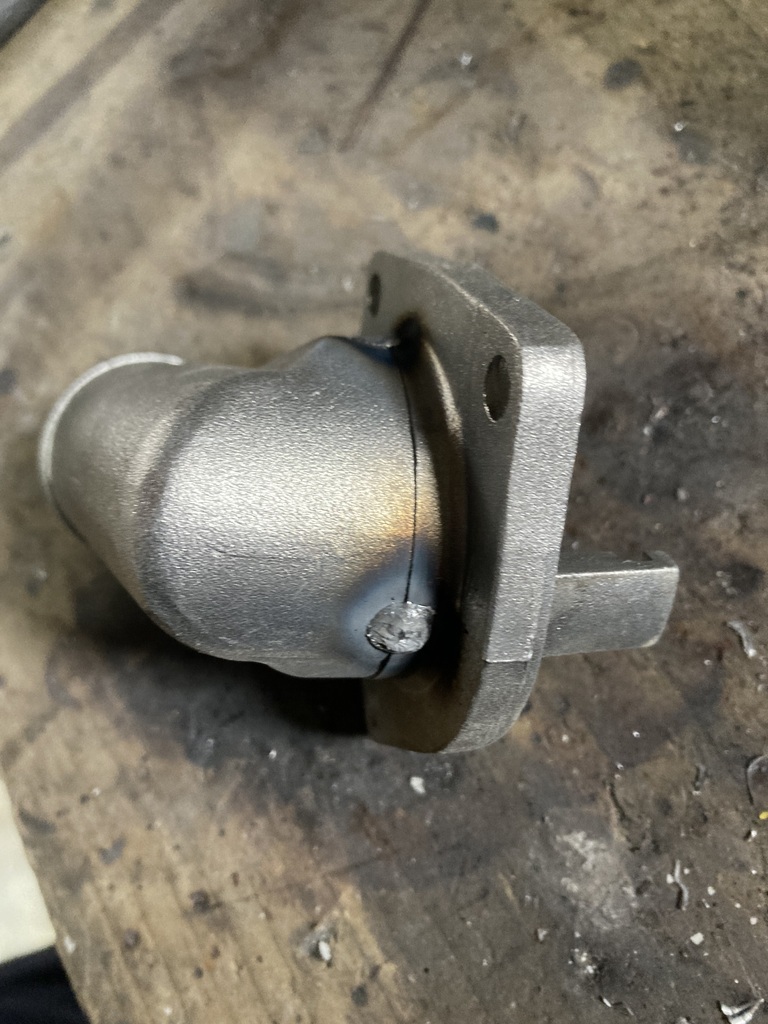 It tacked poorly so I thought there may be some lacquer or something on the aluminum. So I belt sanded it and wire brushed it and it was no different. On welding it was leaving holes and General crappyness. I guess the aluminum is full of impurities, so I just badly welded it in and out. 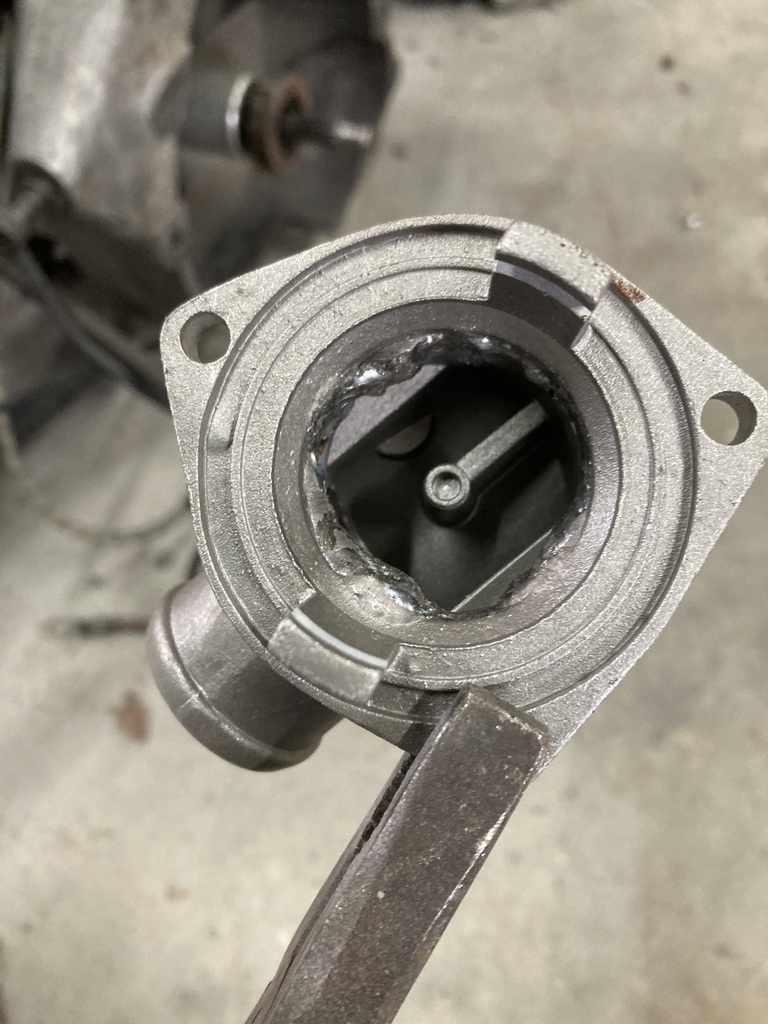 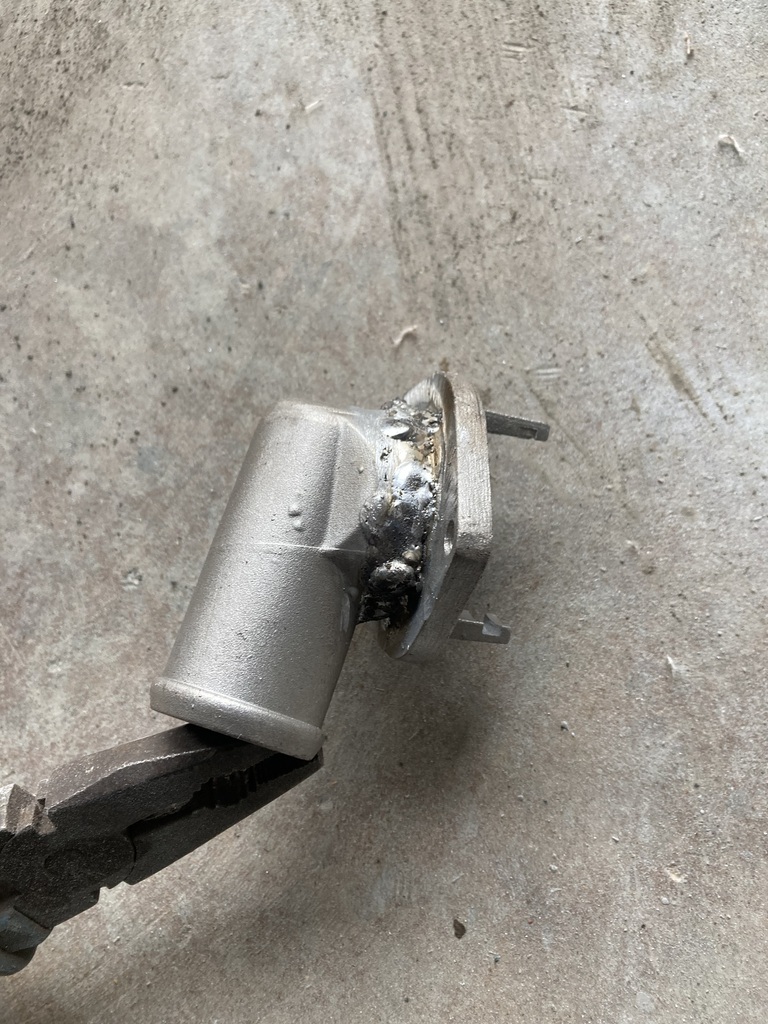 And then ground it back neat-ish 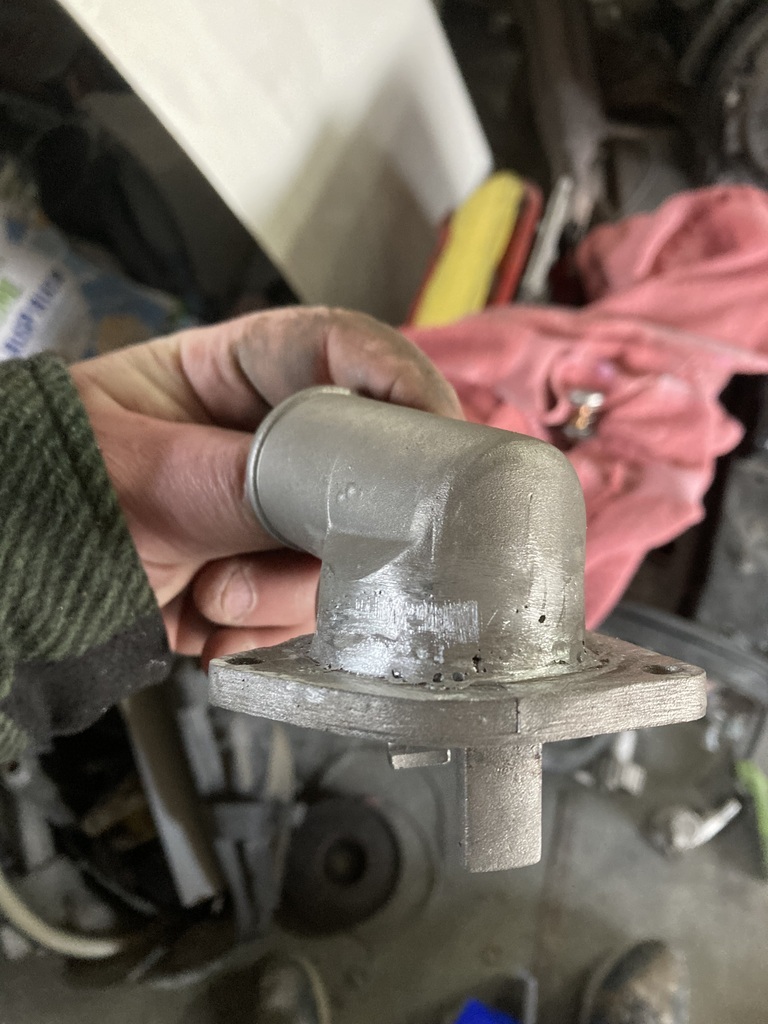 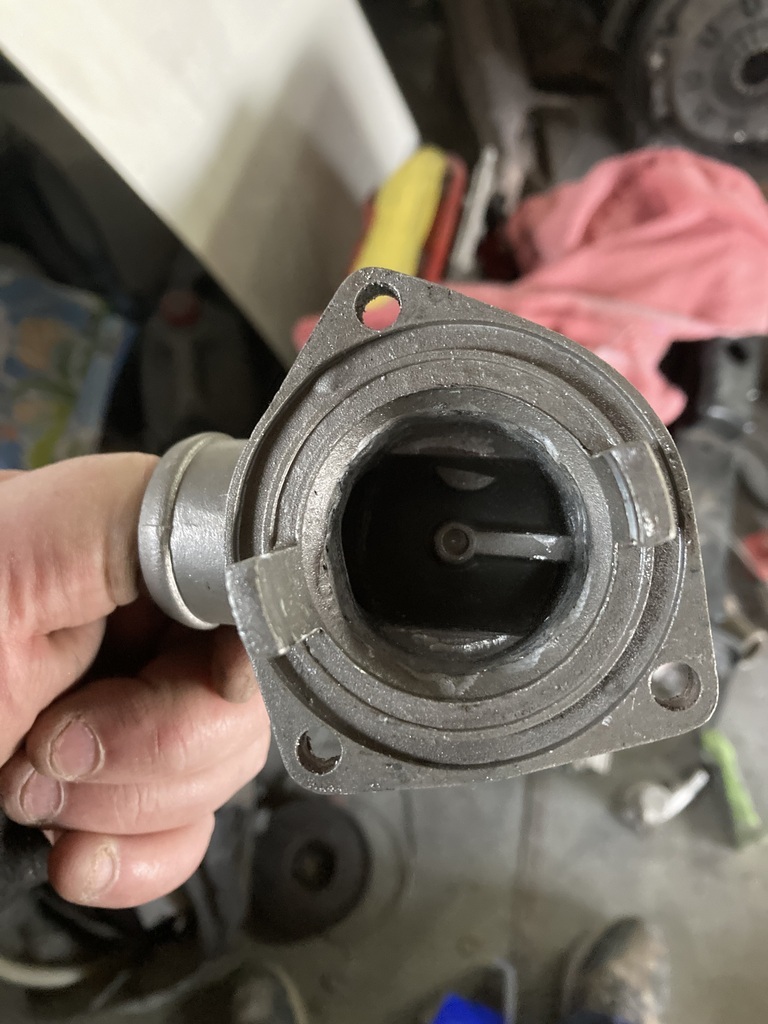 And then fitted 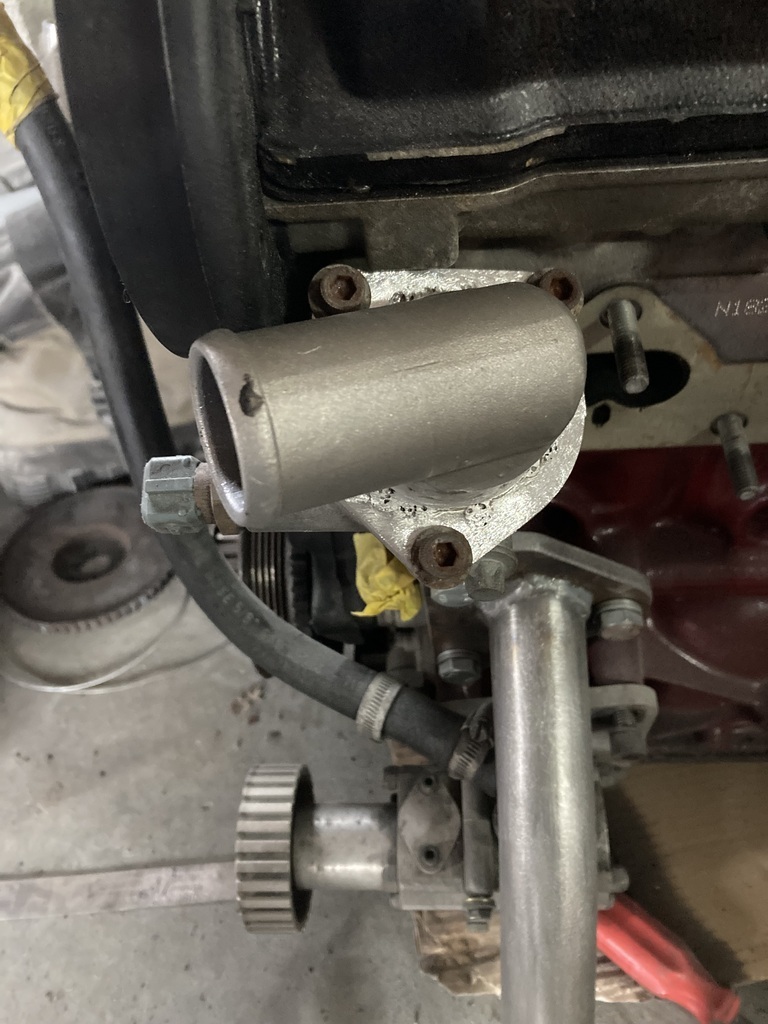 |
| |
|
|
|
|
|
Feb 12, 2024 15:52:24 GMT
|
Another call shift, so another couple of hours in the garage. Clocks as they stand 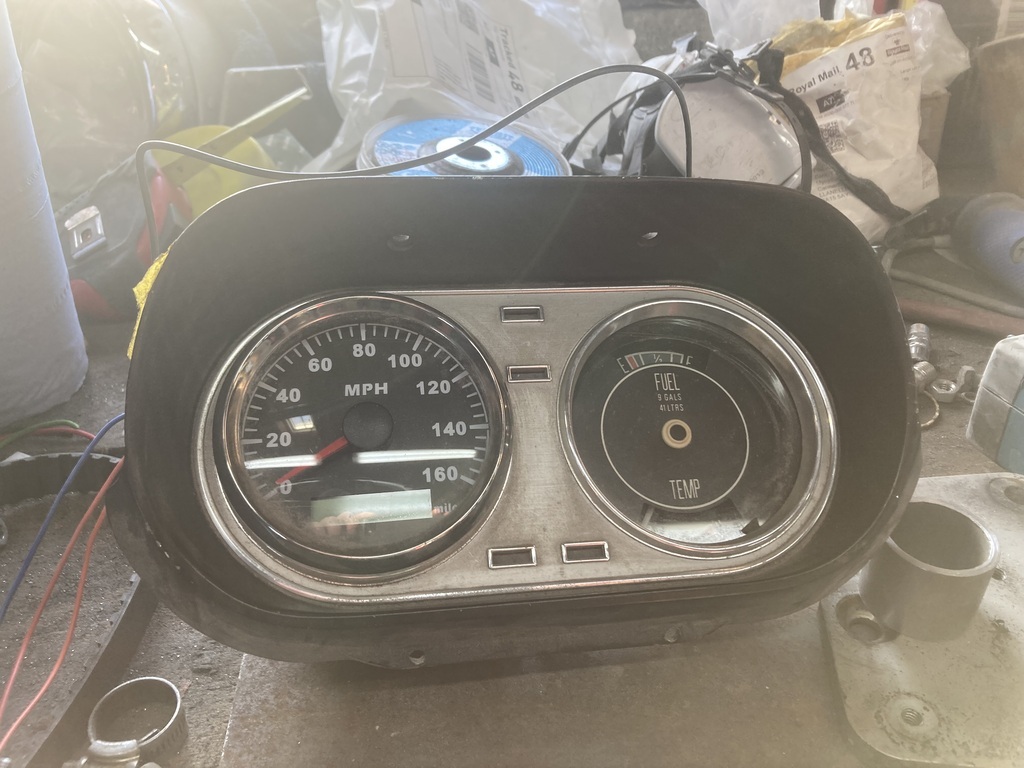 Temp and fuel gauge have never worked so can go. To fit this instead that came with the single seater 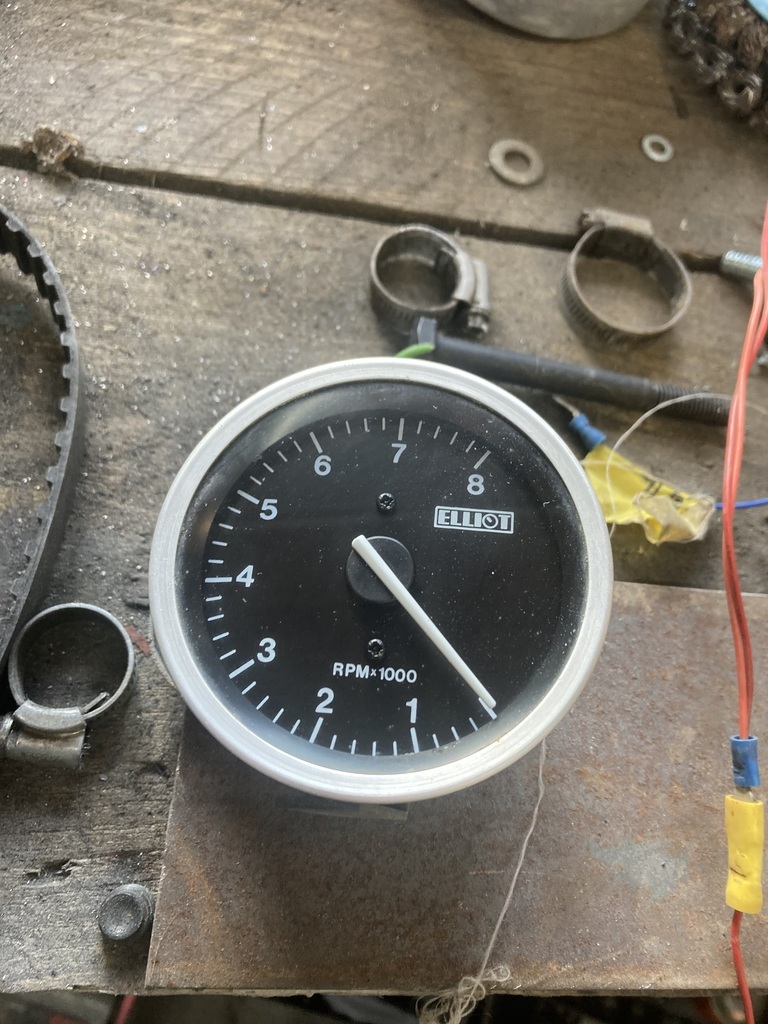 I cut a section of the rear of the binnacle out and bolted in the gauge. 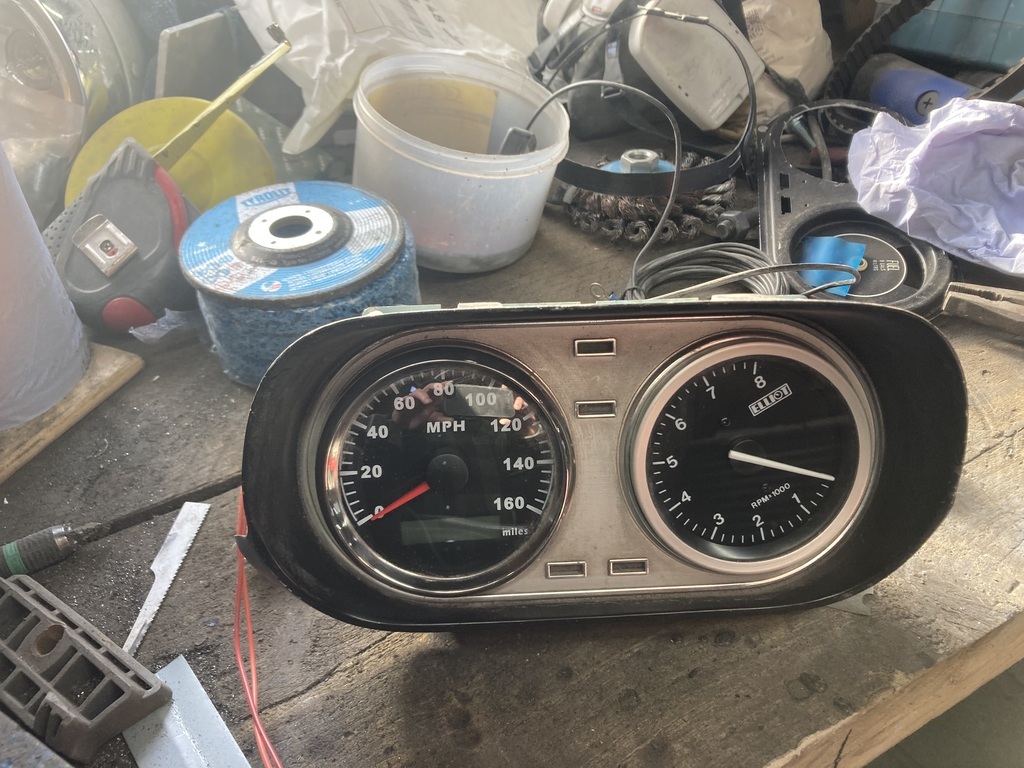 I think 7800 rpm is the max so I’ve put that straight up. Next it was onto the wiper mx5 motor conversion Holes don’t line up 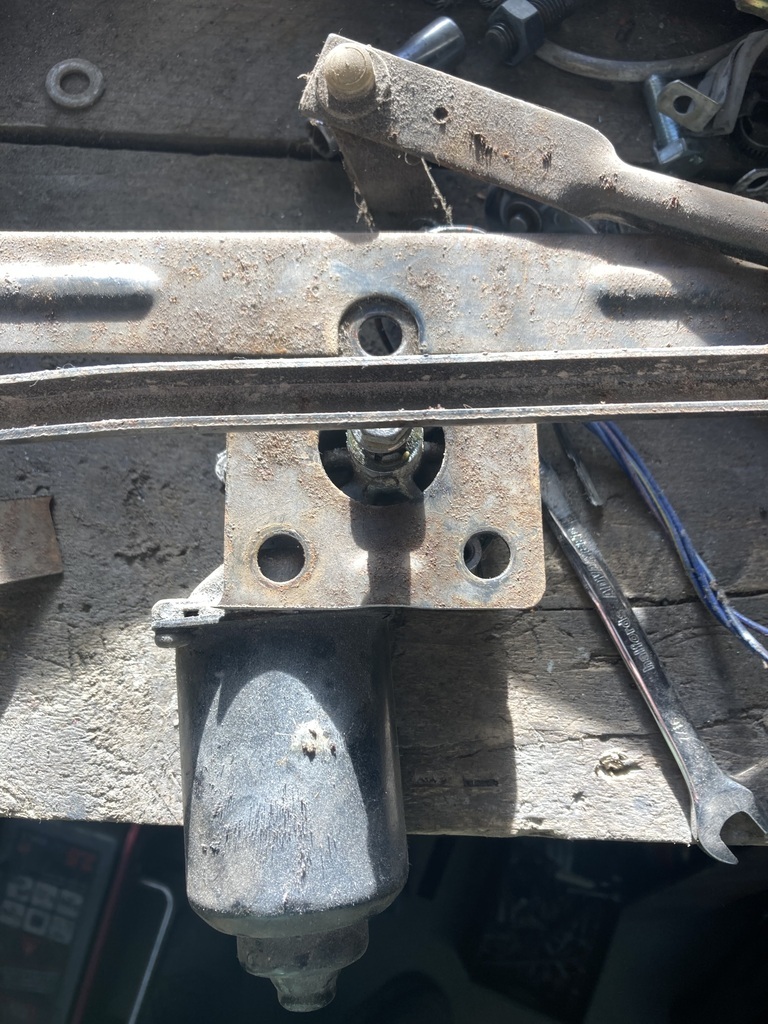 So got welded up 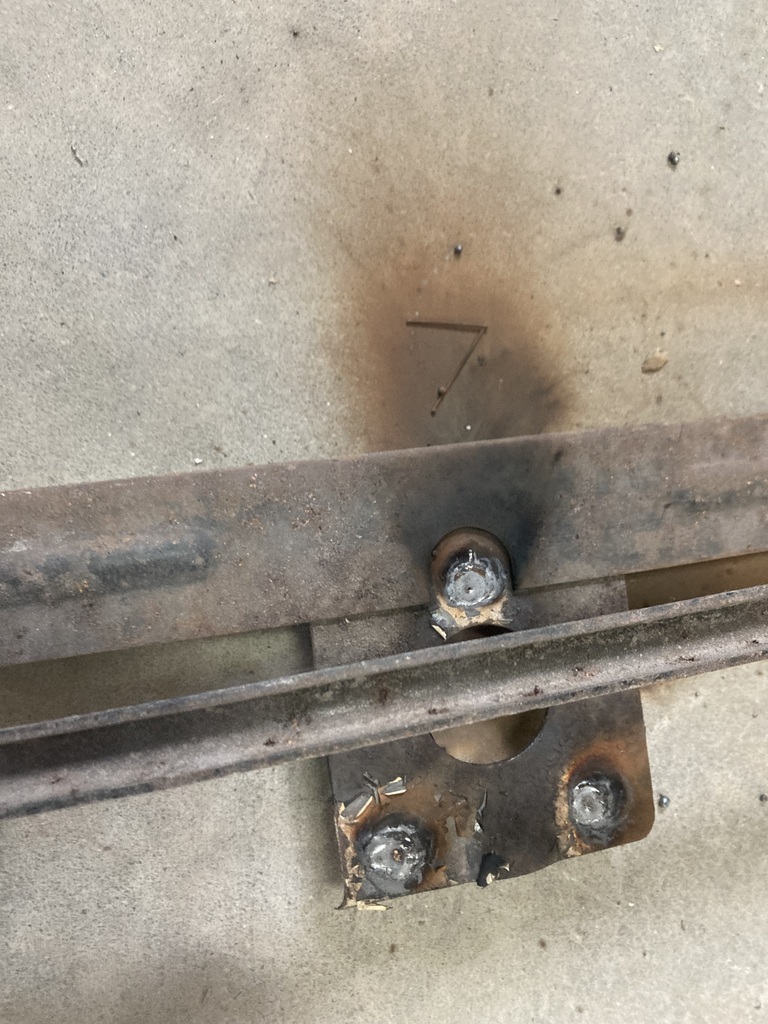 And ground back 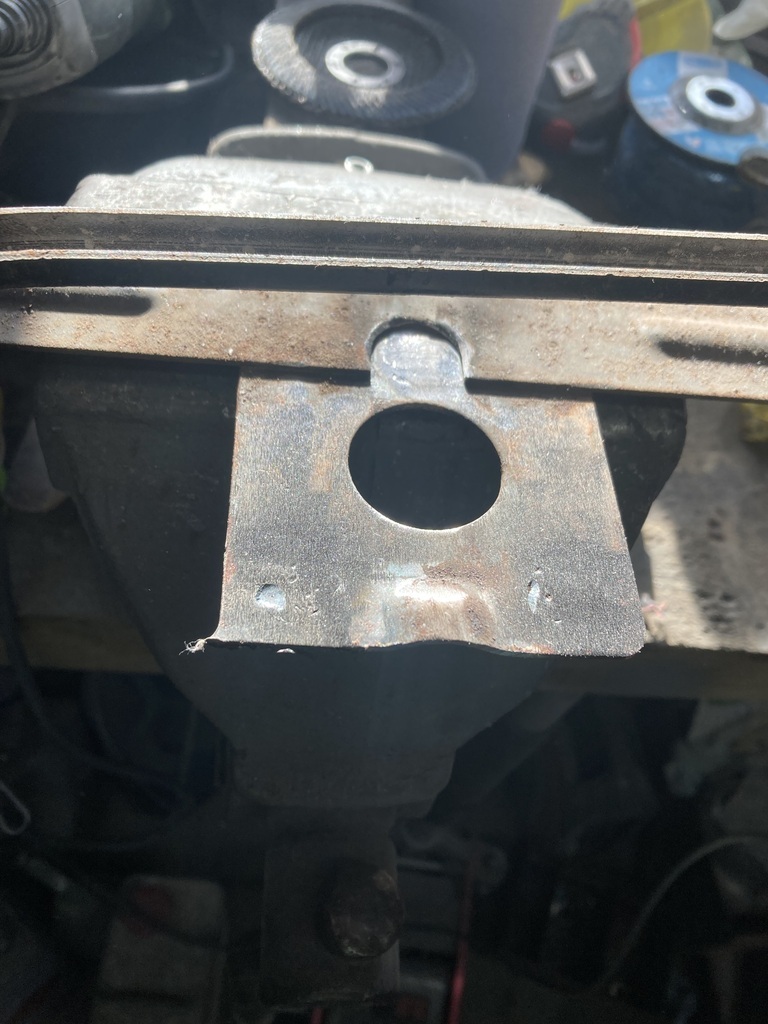 Then redrilled. The spindle was sitting too high so I made some spacers to lower the motor (may needed more) and cut and welded together the Escort and MX5 drive arms. 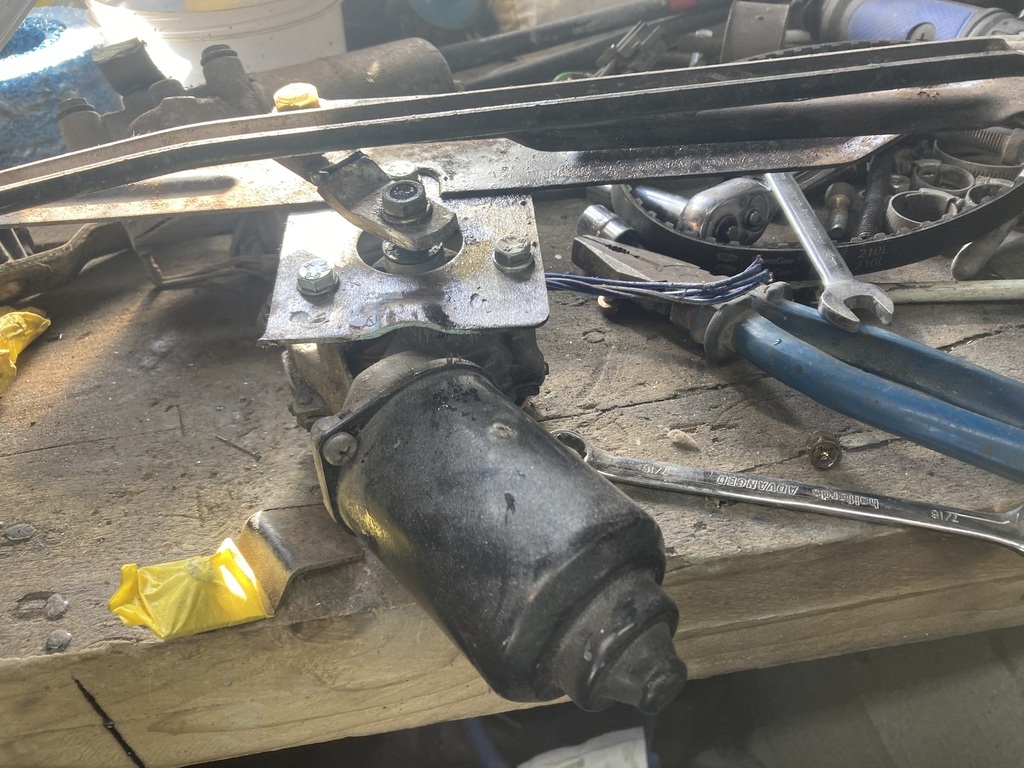 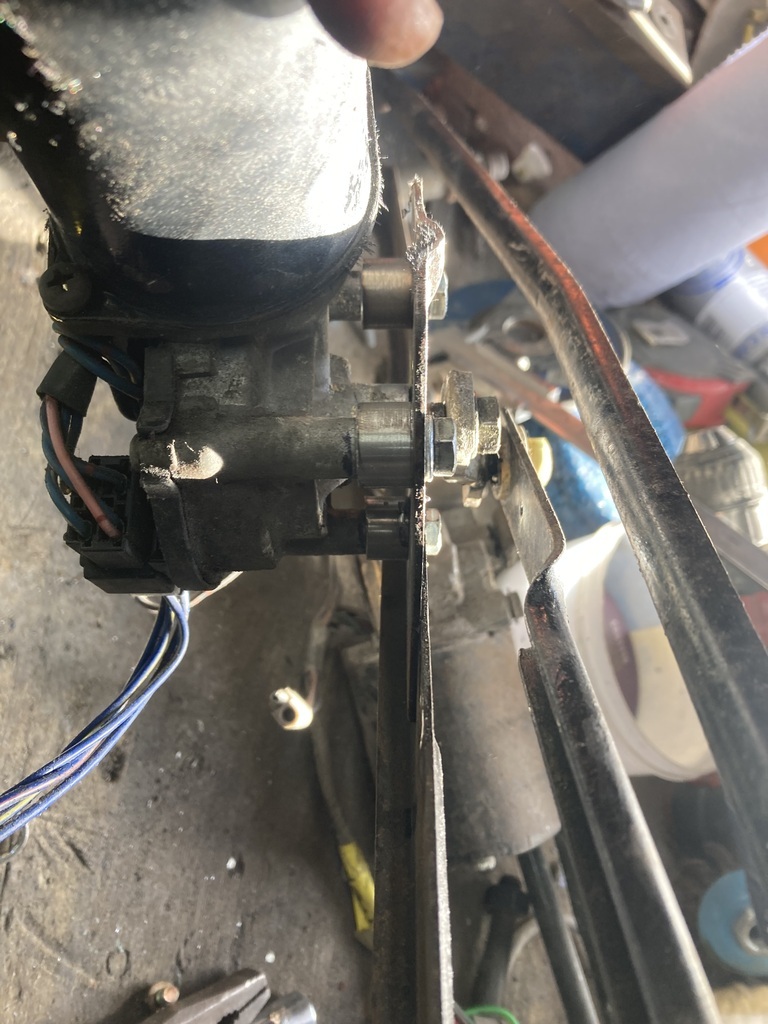 It’s all just tacked together at the moment as I don’t have the car to hand to make sure it all fits, but it’s looking promising. |
| |
|
|


