|
|
|
Jul 14, 2023 18:12:27 GMT
|
A day off again today. Went out for breakfast. A good start. Then food shopping. Then went to see Mrs Jonsey’s auntie as she’s just turned 80, and then went to see the father in law too. This took up most of the day and didn’t get back until 3pm ish 😩. So I wasn’t expecting to get much done today but did go out the garage and stared at the driver door for a bit. So I took the door off and put it on the bonnet to use it as a work bench. This is (was) the front lower corner. 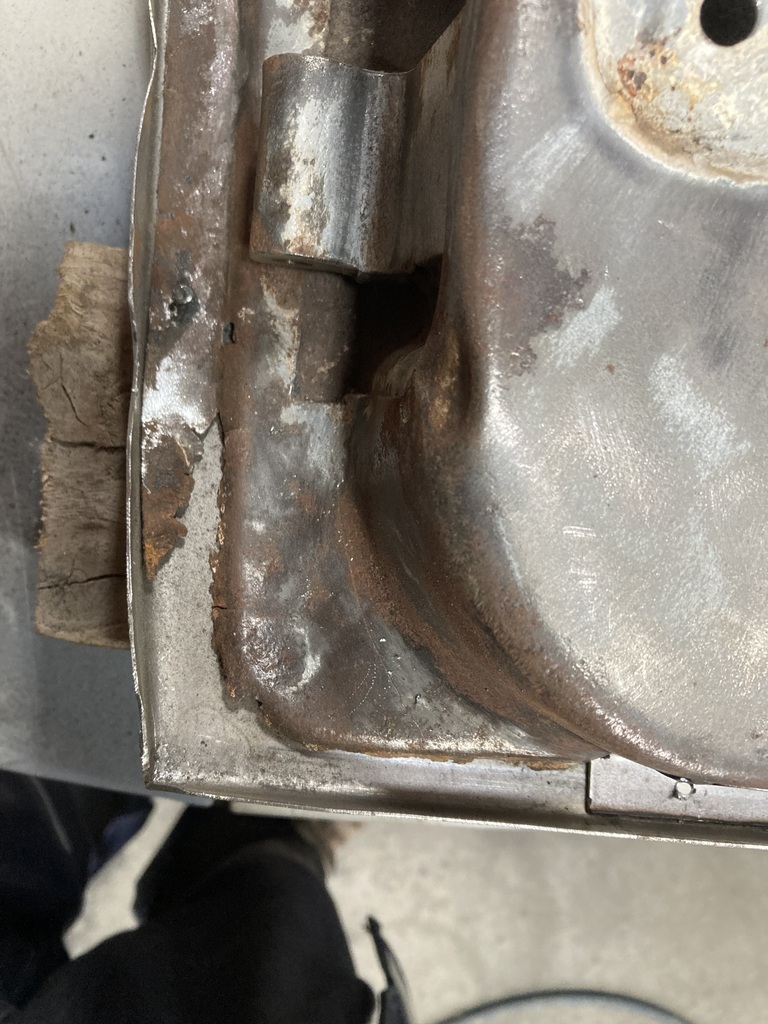 I’ve been dreading repairing this corner and the rear corner. I’m not much good at making panels. So I made a bit using the vice, a bolster, a hammer and a bit of pipe. And forget to take a picture of it. So the bad bit got cut out. 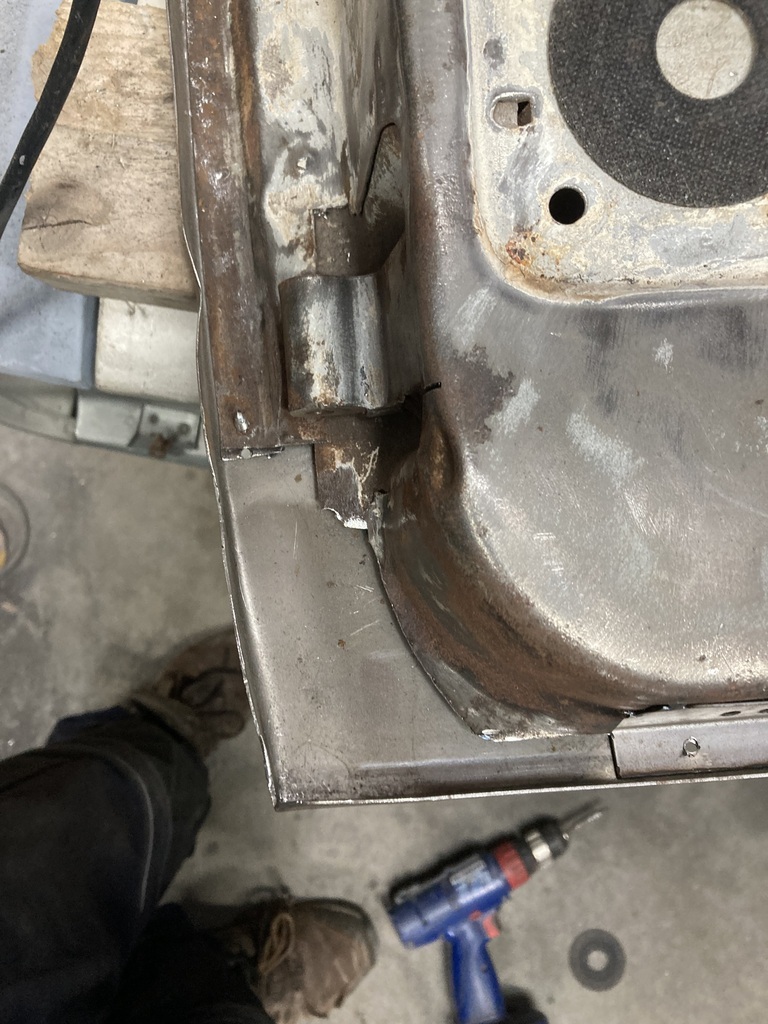 And the new bit in place 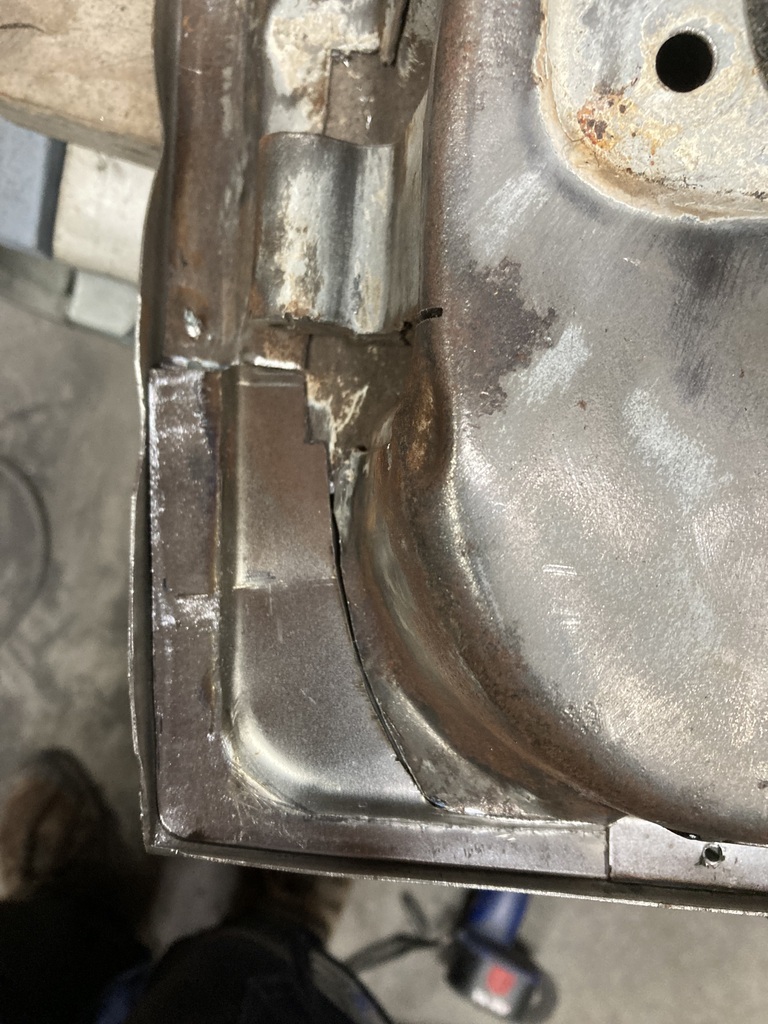 Then welded 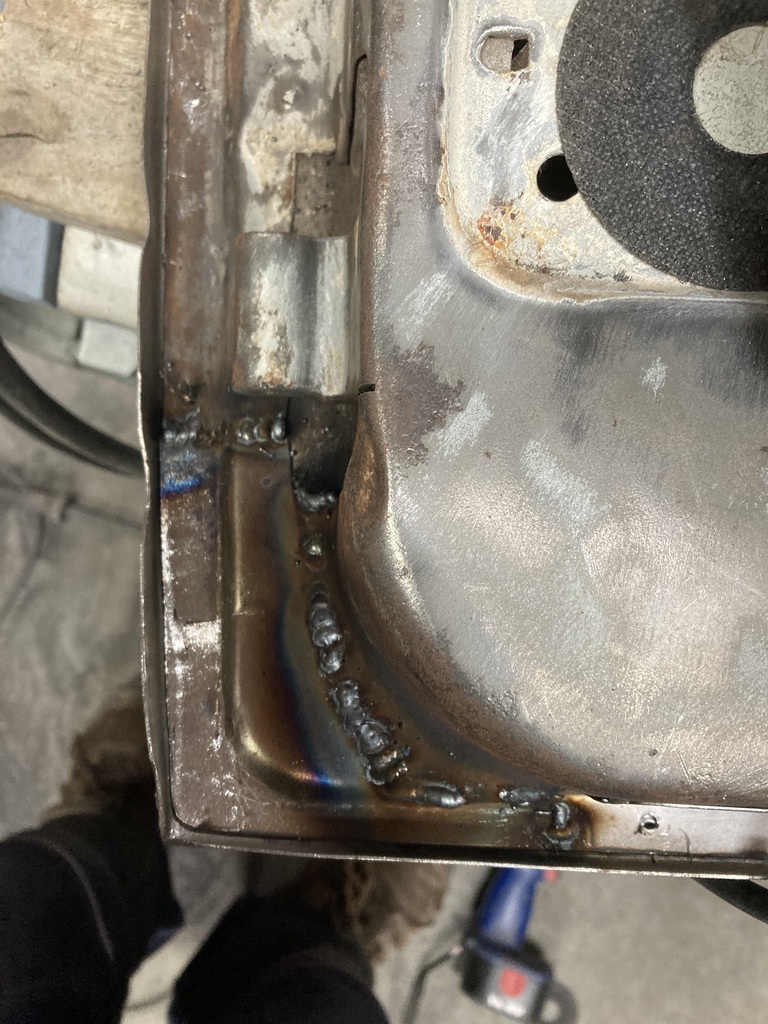 And then ground back. 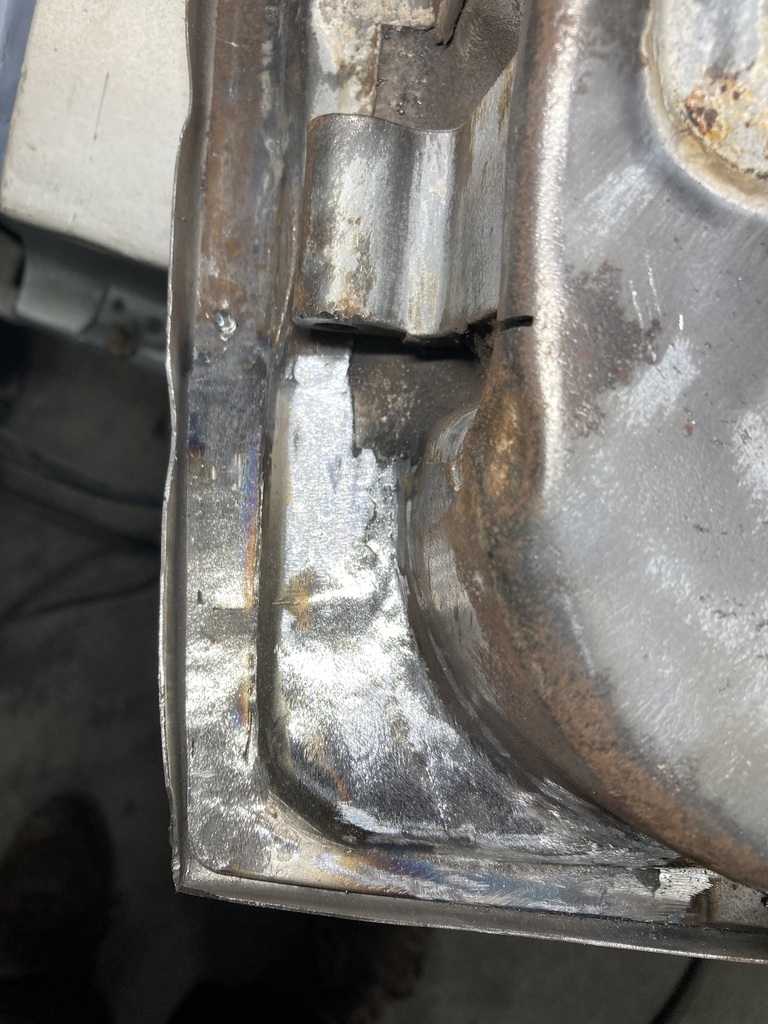 I was quite pleased with my progress in such a short time. So I took a look at the rear corner. 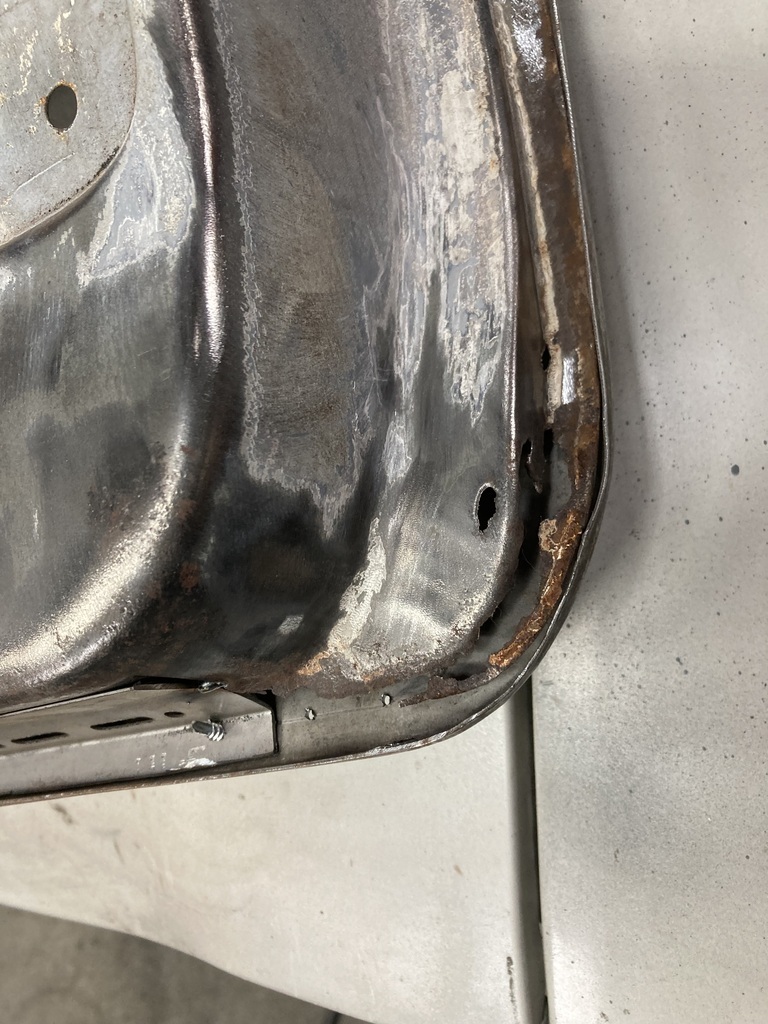 Made a bit 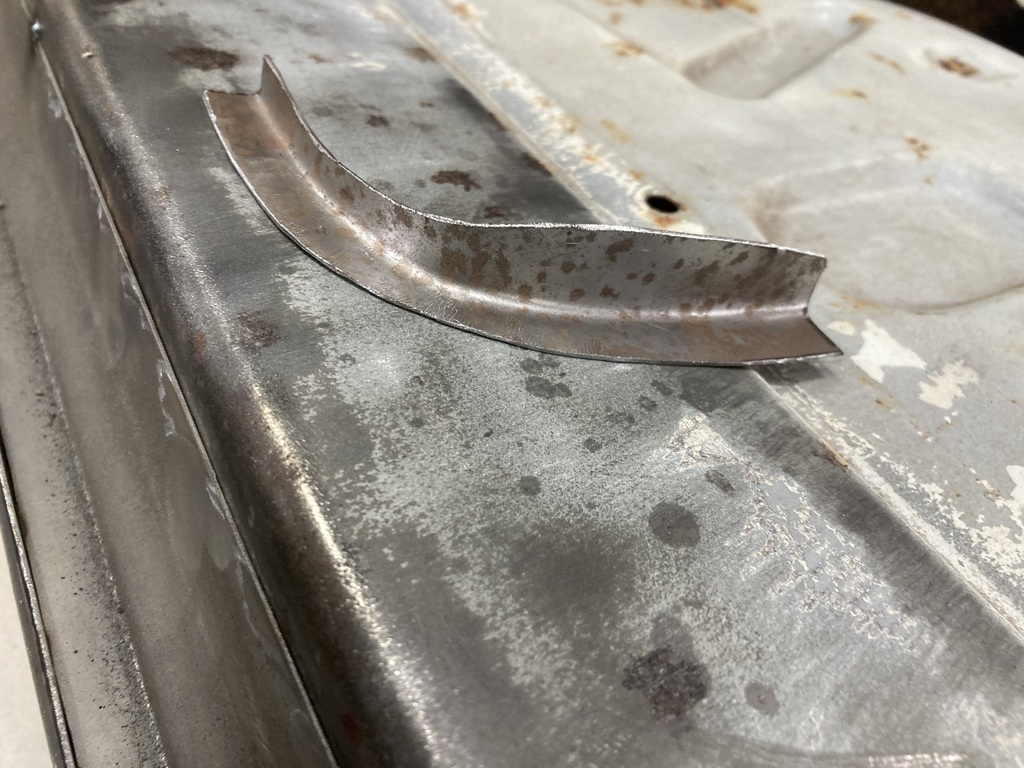 Cut a section out 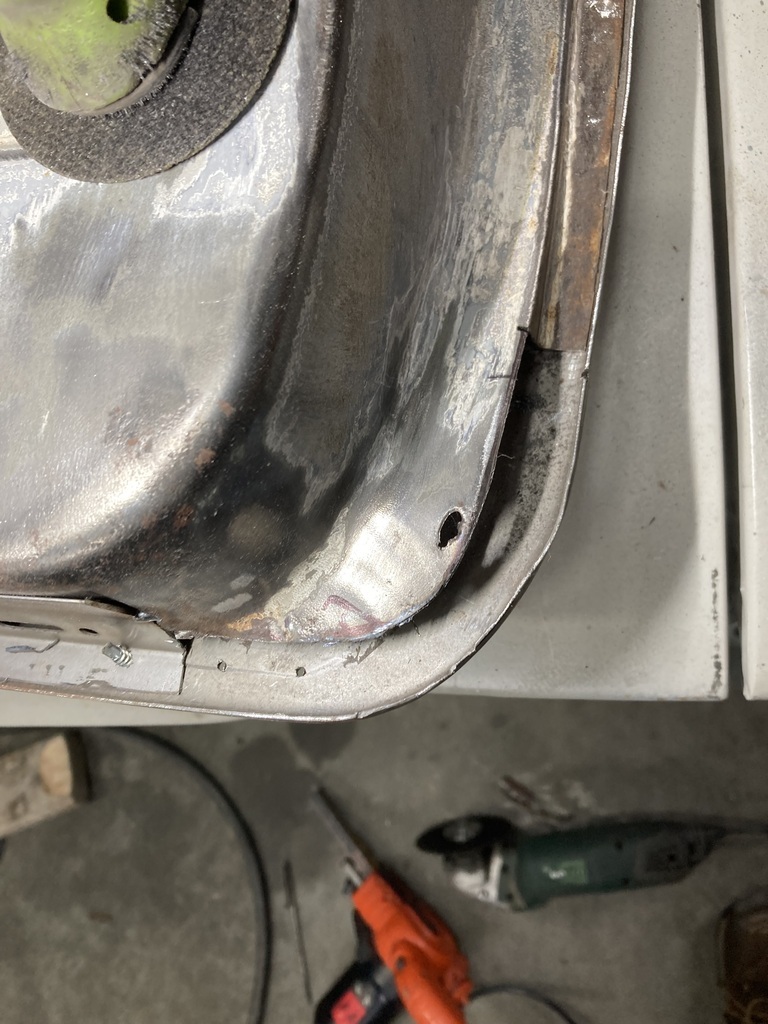 At this point I tacked the bit in. I was going to leave the top section and just fill in the little hole. However, when I started welding it was wafer thin, so I cut a bit more out 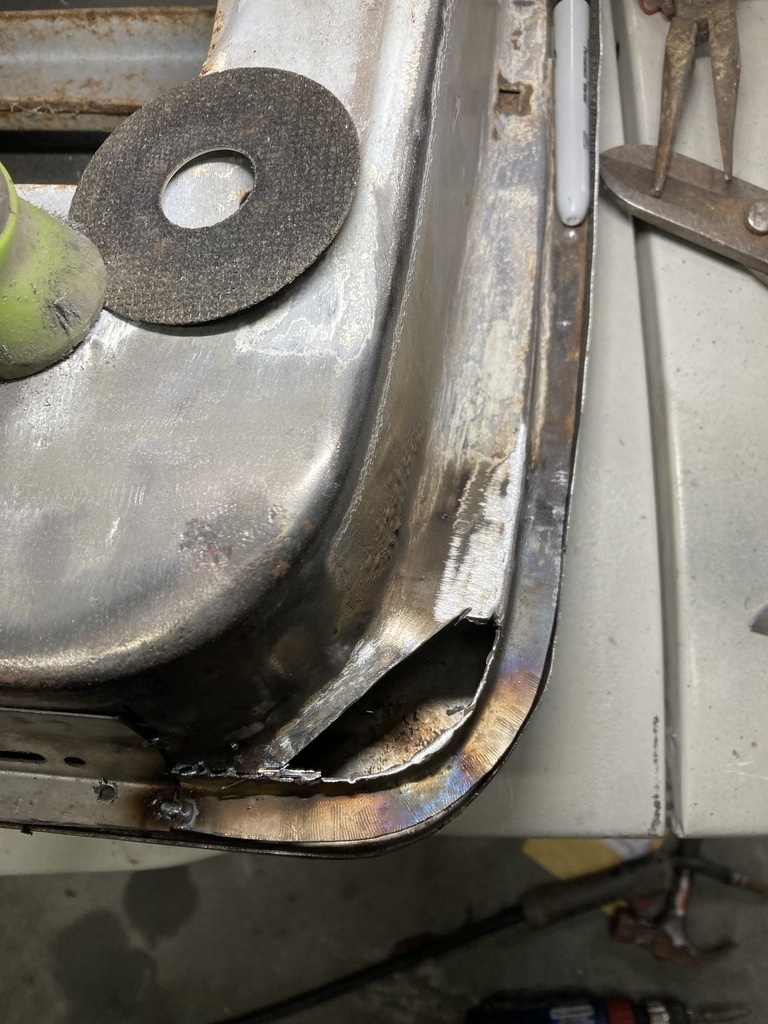 And welded in a bit more in 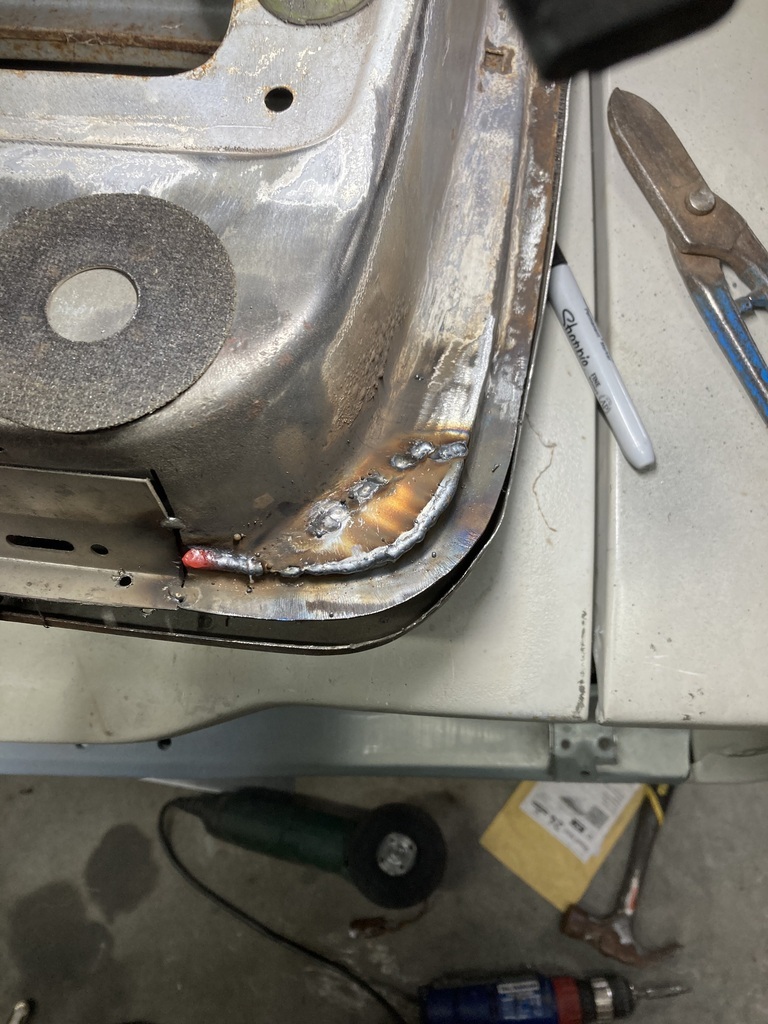 And then after a bit of grinder action it looked like this 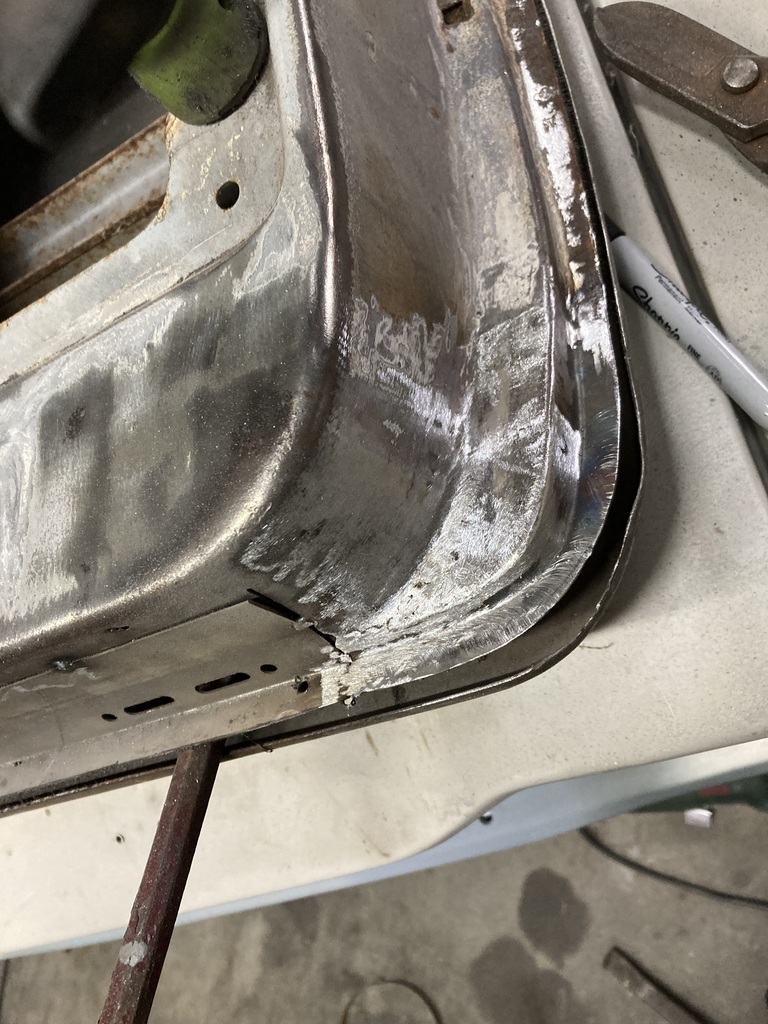 I was quite pleased with this repair also. Hopefully tomorrow I’ll get the bottom section welded in. |
| |
Last Edit: Jul 14, 2023 18:27:31 GMT by jonsey
|
|
|
|
teaboy
Posted a lot
   Make tea, not war.
Posts: 2,125
|
|
Jul 14, 2023 21:12:37 GMT
|
I’m not much good at making panels. So I made a bit using the vice, a bolster, a hammer and a bit of pipe.   I don't know about you being not much good at panels Phil, that looks good to me. And welded in a bit more in  I always try to avoid welding on a corner, I like to spend hours trying to form the radius and weld on the flat bit. And then after a bit of grinder action it looked like this  I don't know why I have to be so masochistic about it, everyone seems to get good results welding corners and the job gets done in a quarter of the time. There must be something wrong with me... |
| |
|
|
|
|
|
Jul 14, 2023 22:20:44 GMT
|
Thanks teaboy I just blasted a good bit of weld in there so that I could round the edge over. When I take the skin off I’ll take a look on the inside of the corner. If there isn’t much weld, I’ll run over it in the inside. |
| |
|
|
|
|
|
Jul 14, 2023 22:25:35 GMT
|
|
Just to add, if could have made it in one piece I would have, but I don’t possess the skillage gene to do so. I must also reinforce that this is not a “restor-ation”. It’s a “get my rally car working again before I’m too old to use it” - ation.
It’s taken far to long already.
|
| |
|
|
|
|
|
Jul 15, 2023 13:14:32 GMT
|
Door frame continued… This is where the quarter light fits 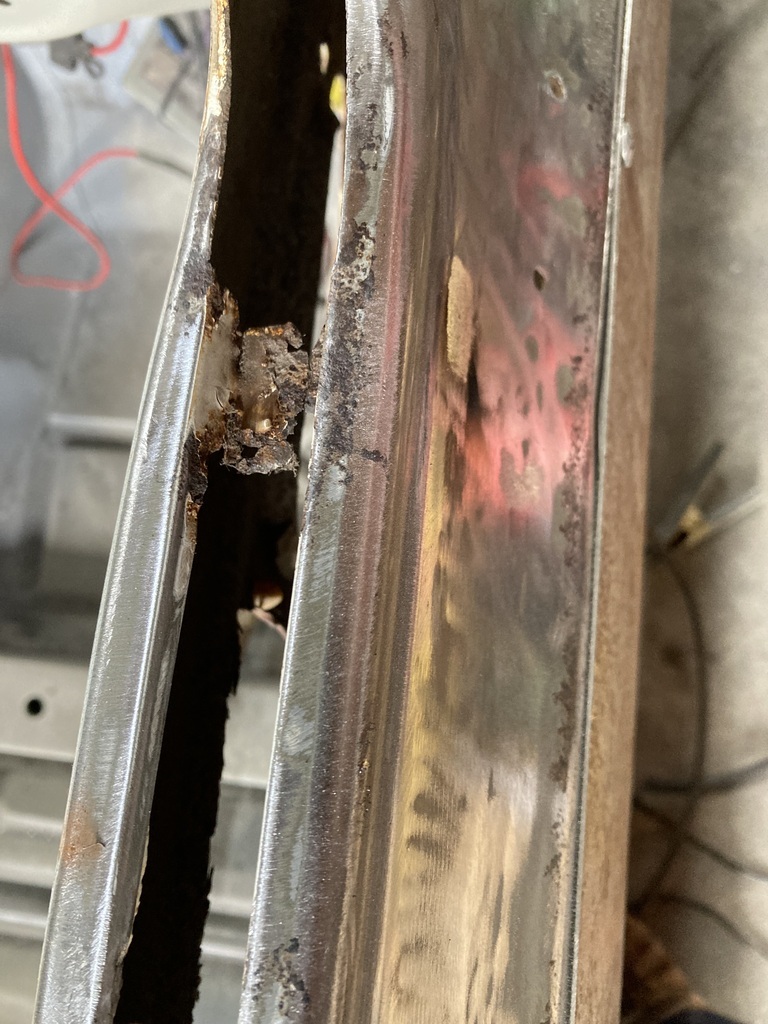 There is a tag from the skin and a tag from the frame that are spot welded together. Well they are rotten. Made some tags 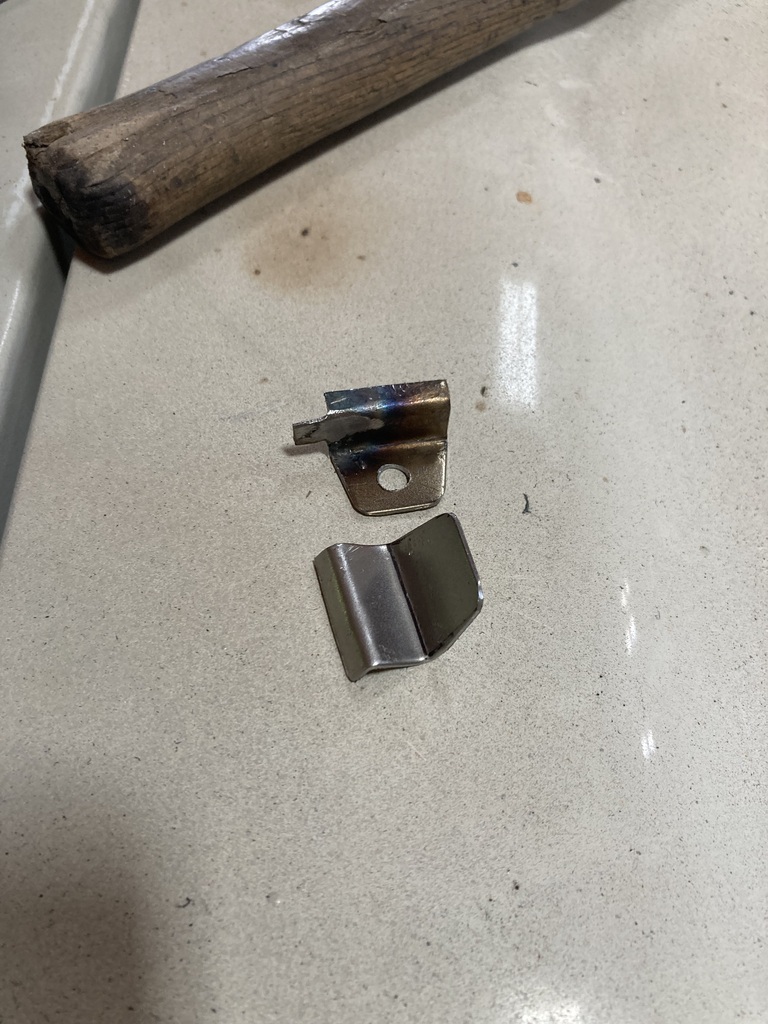 Welded them in 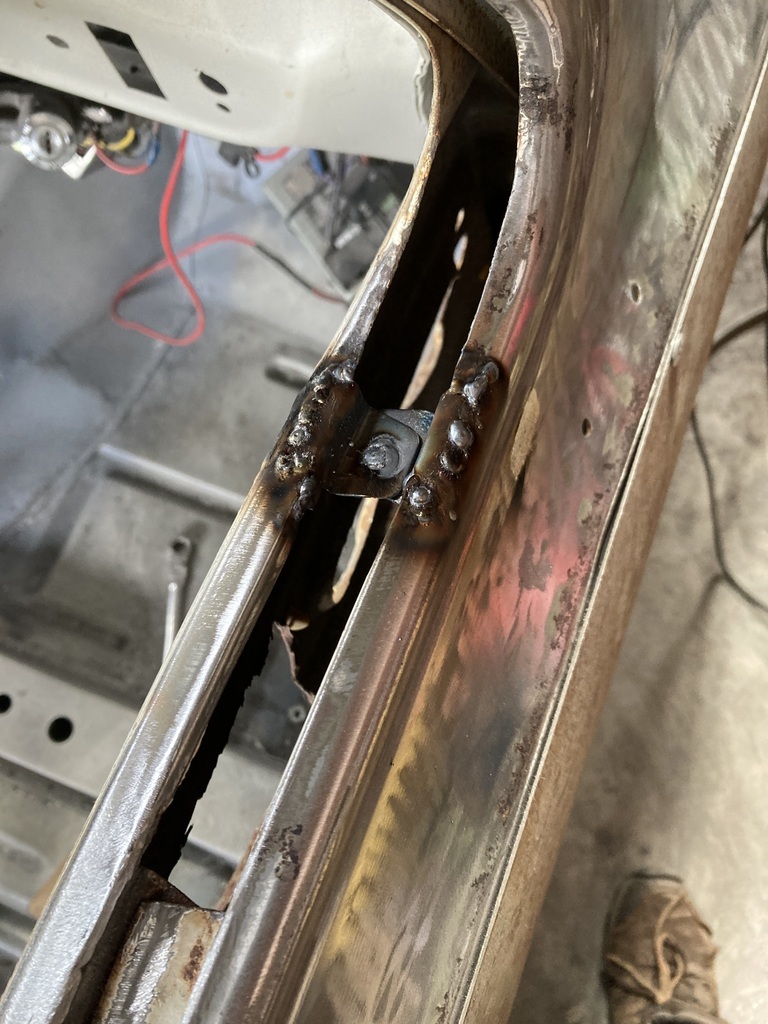 And ground them back 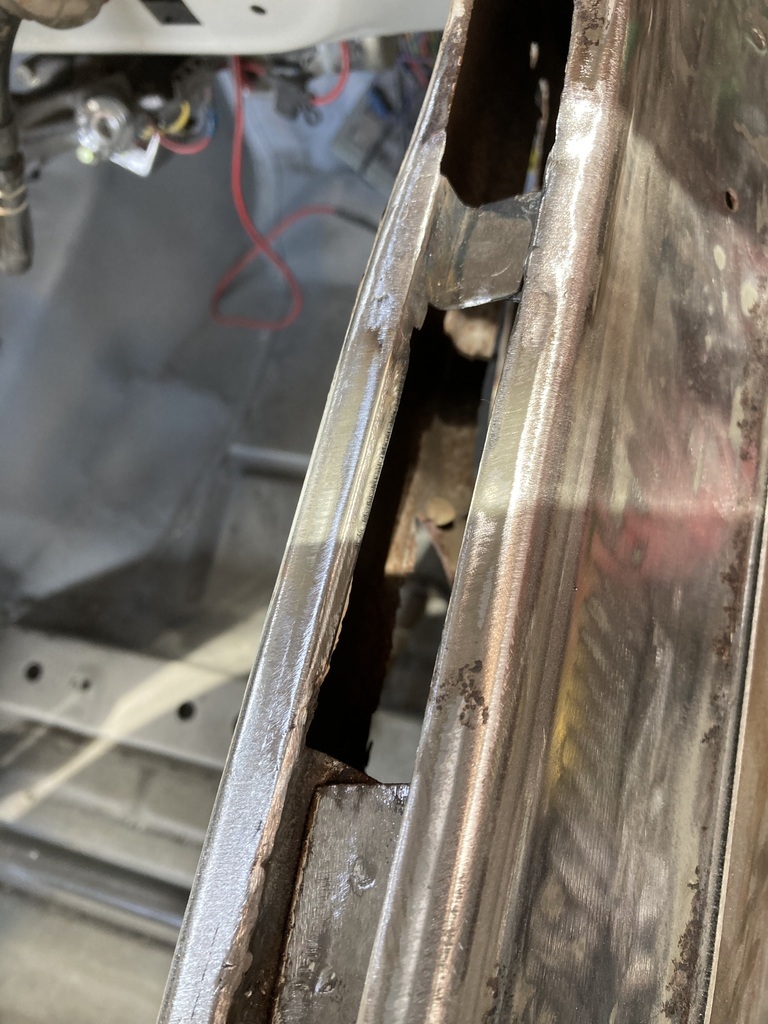 This car originally had chrome trim around the door and rear quarter windows. The plastic clips were riveted on and the rivets are still there 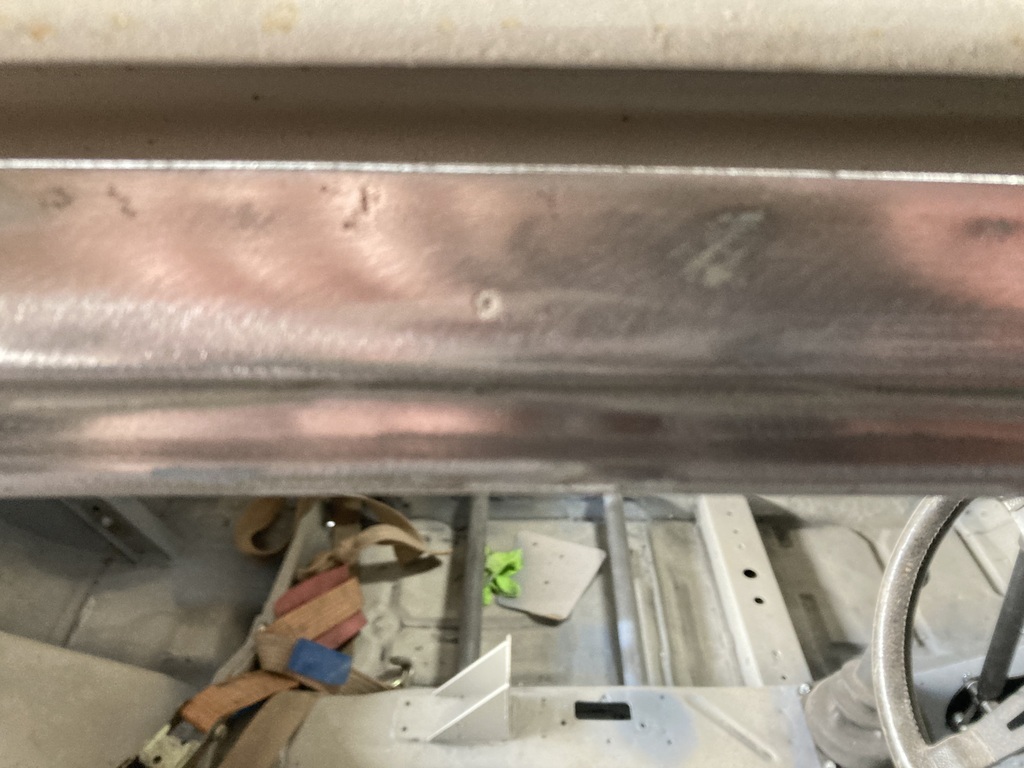 So they got drilled out 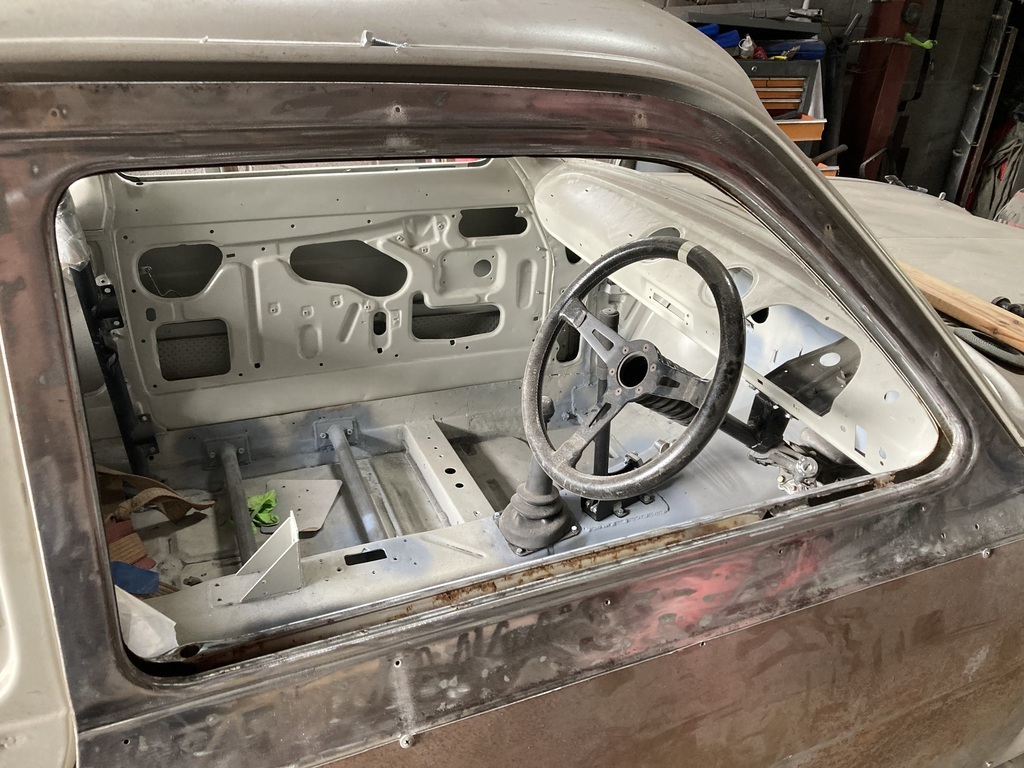 Welded up 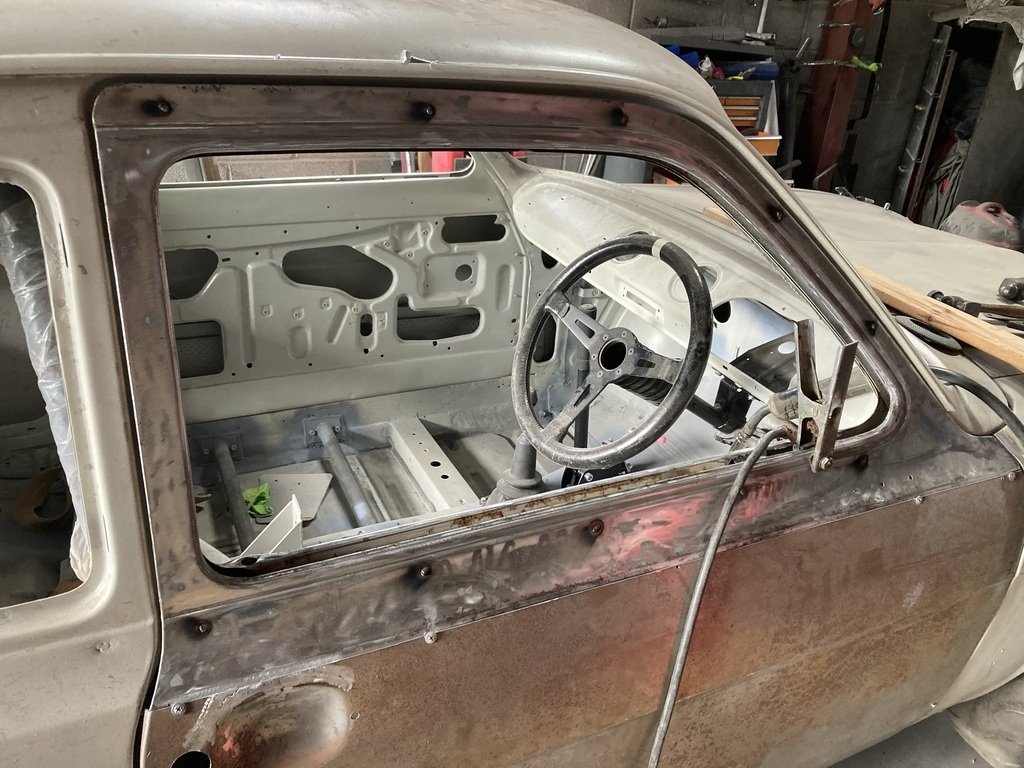 And ground back 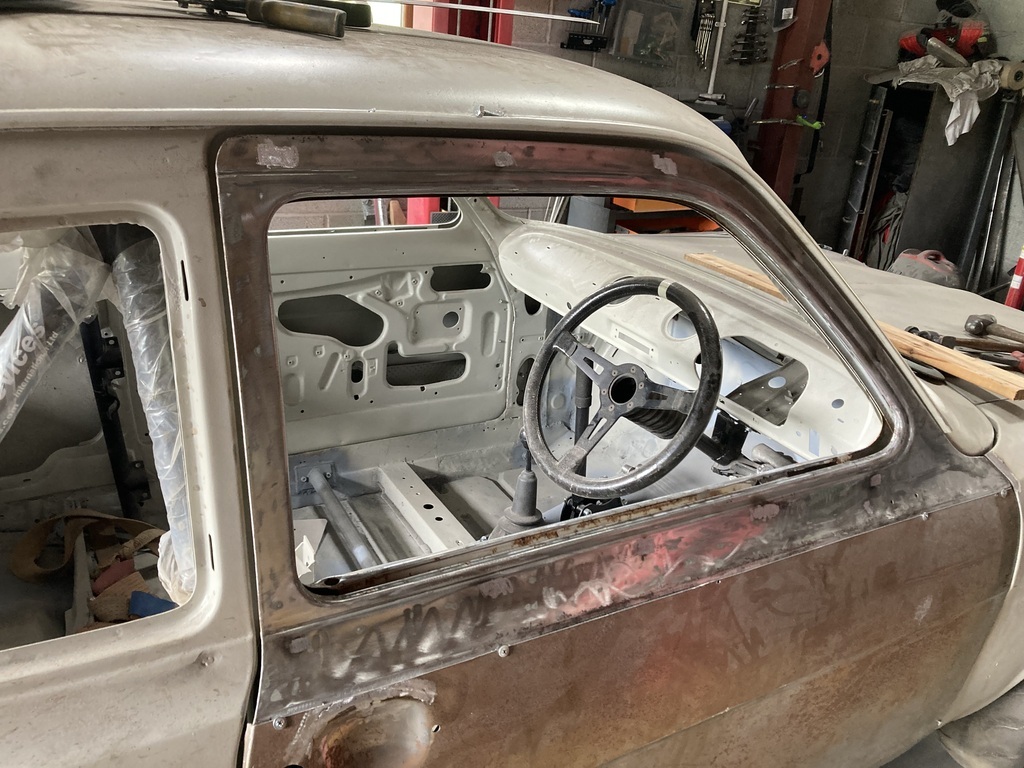 I then took the door off and remembered that I was supposed to weld in the new door frame bottom 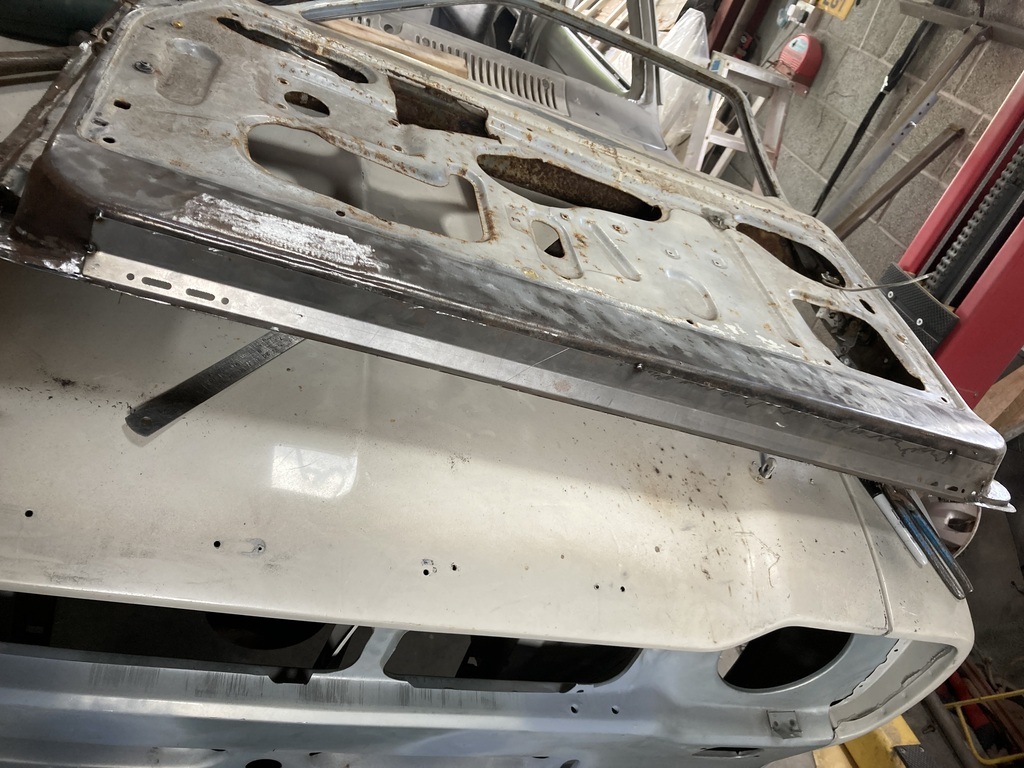 I did a “cut and butt” on it. 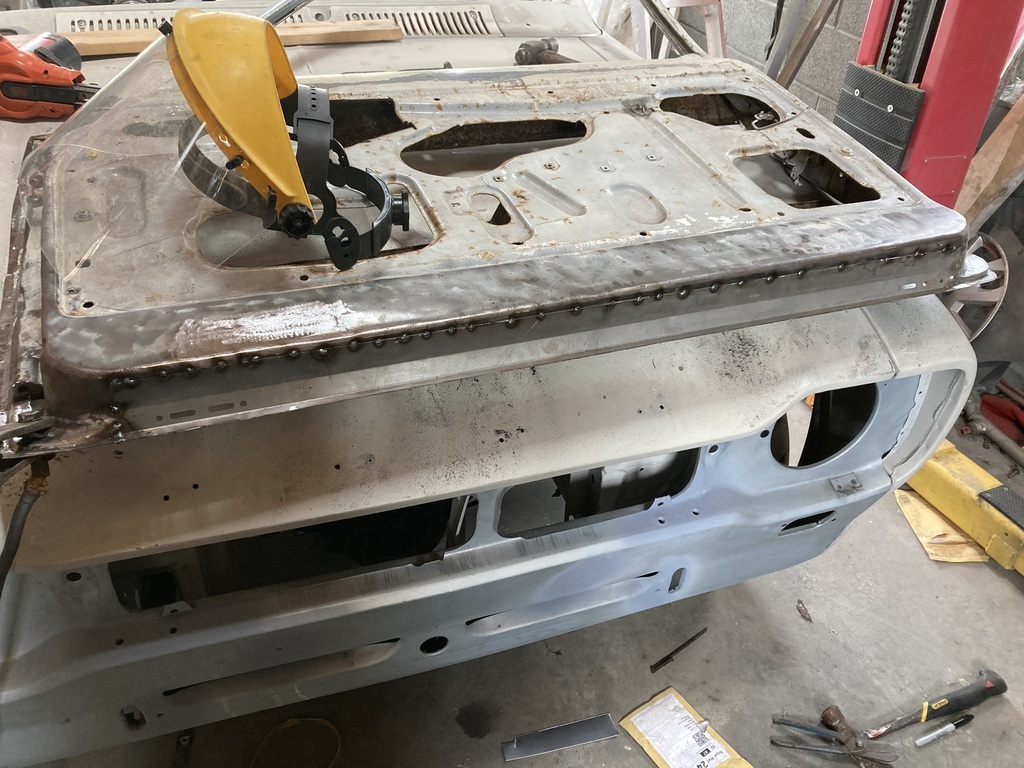 You can see the old bit fallen off inside 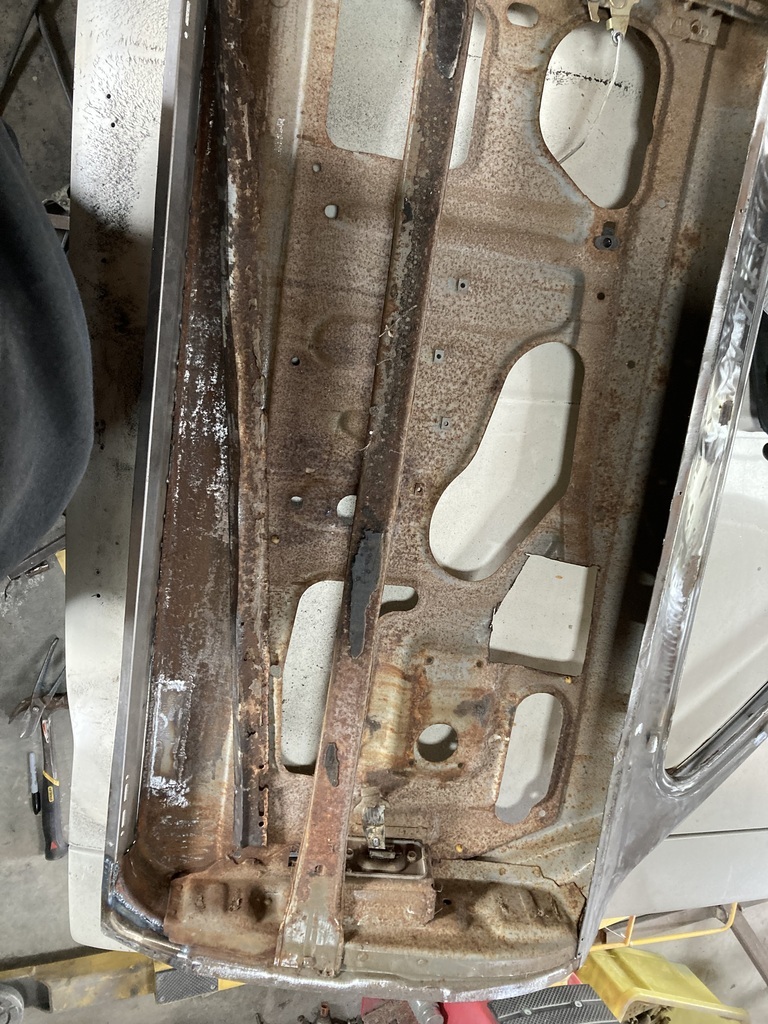 All welded up 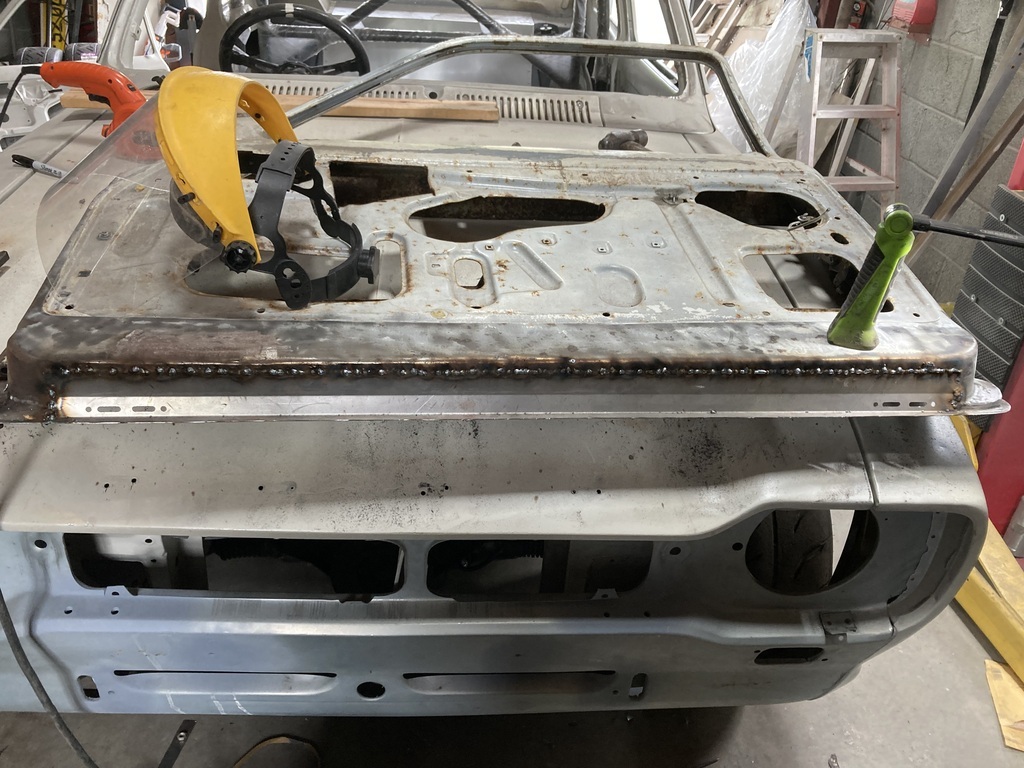 And ground back 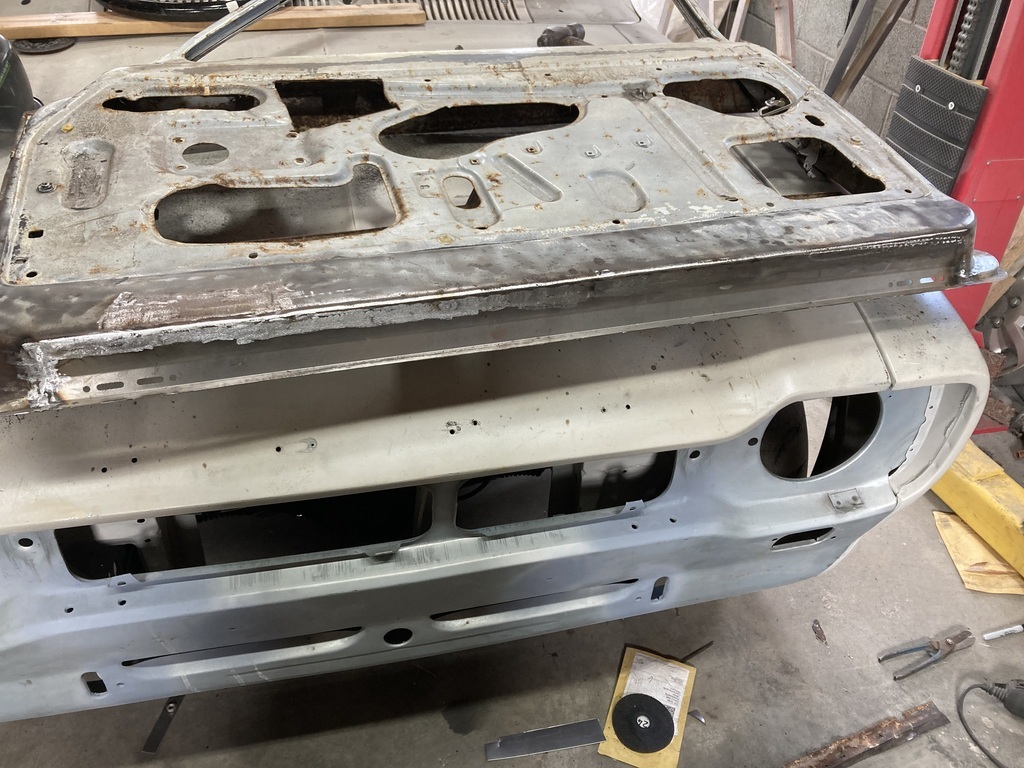 This is what the inside looked like after the cut and butt. 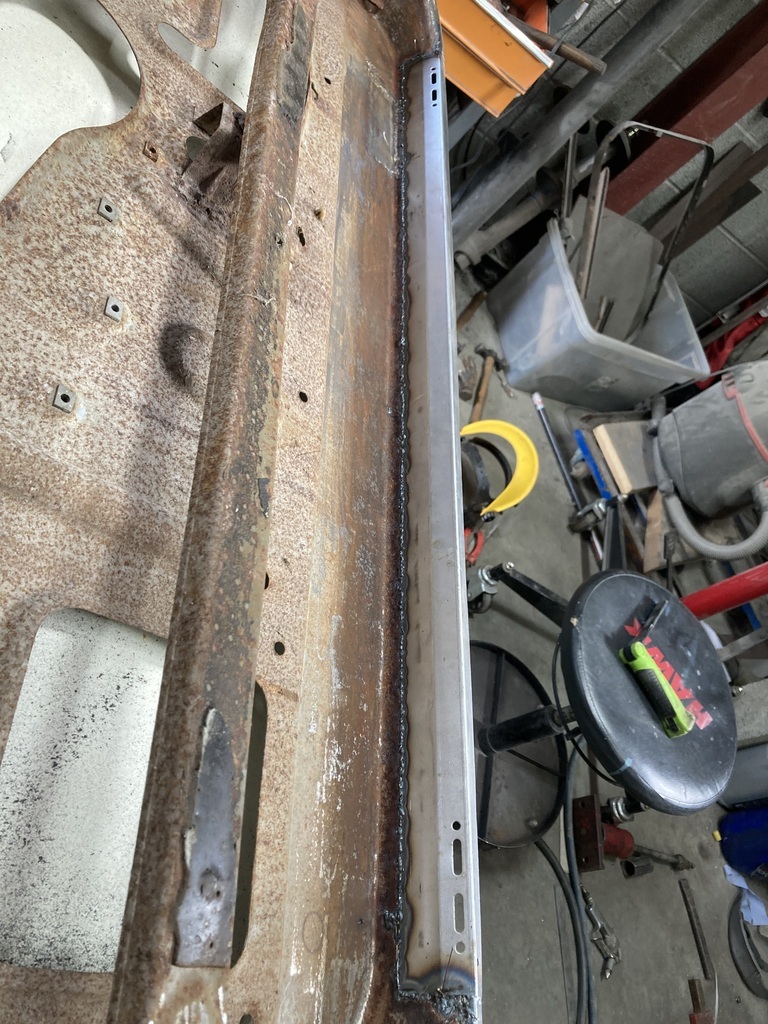 I went over the welds with the power file just to knock them back and have no water traps. The rear of the door inside got a tickle too 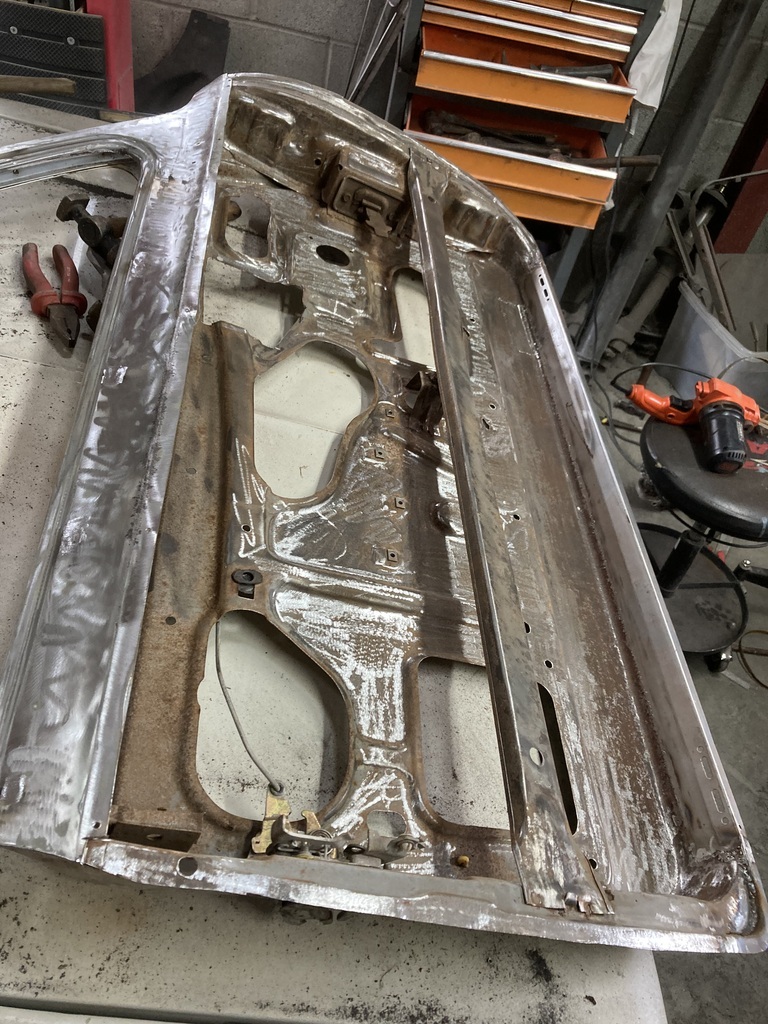 teaboy teaboy The inside of that corner I welded yesterday looked like this 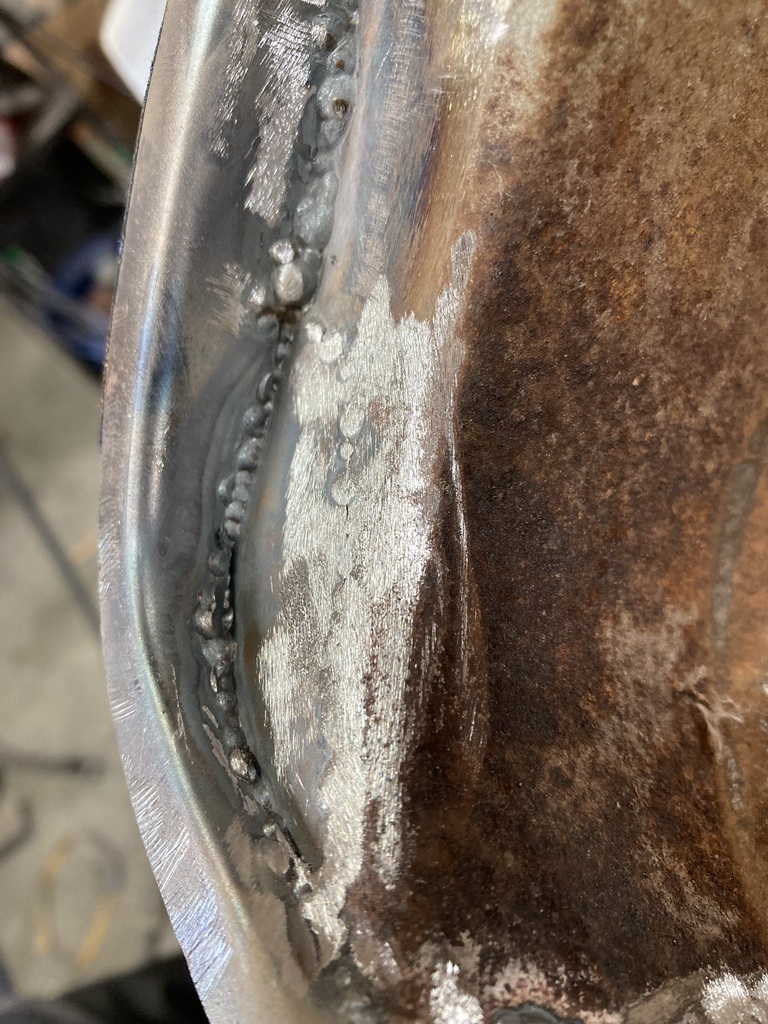 So I put a run of weld in there 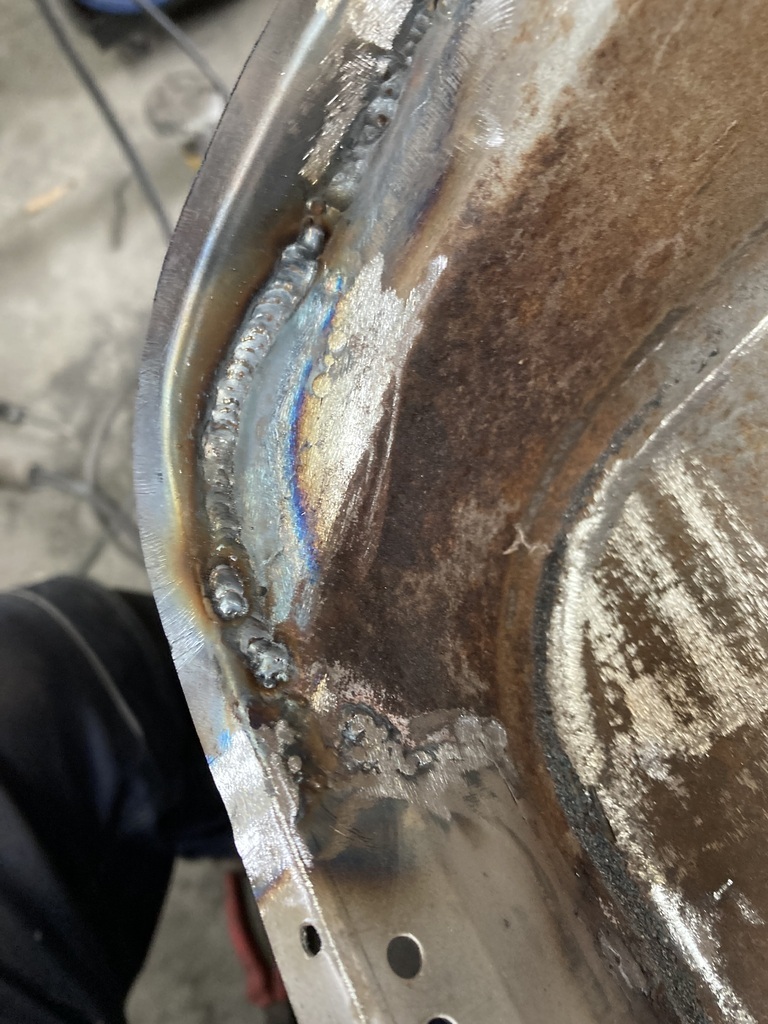 The good door is missing this 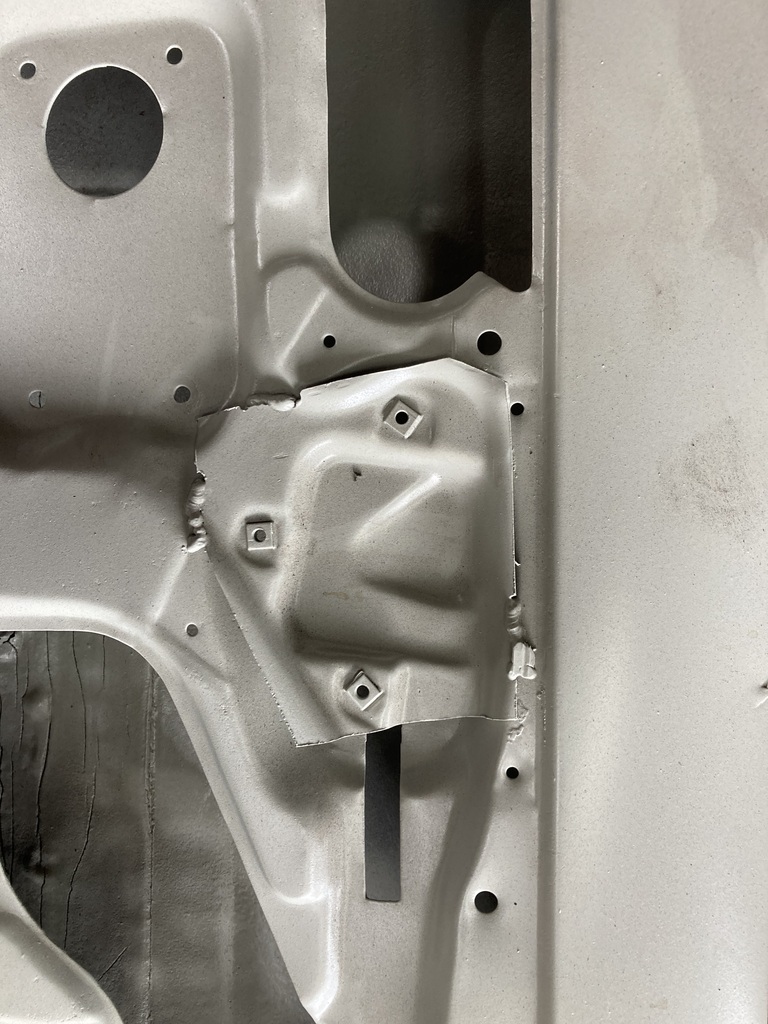 As I’d welded it to the bad door many years ago. That got cut out to welded in the good door 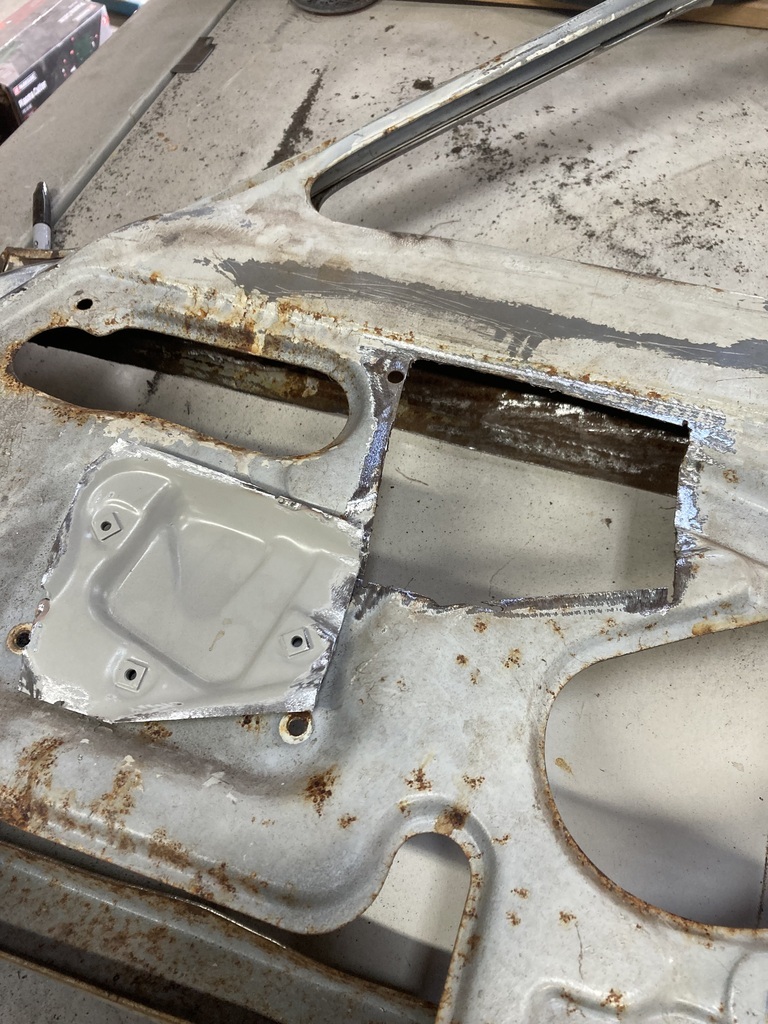 It must have been cut out with a 3mm disc as the gap is huge 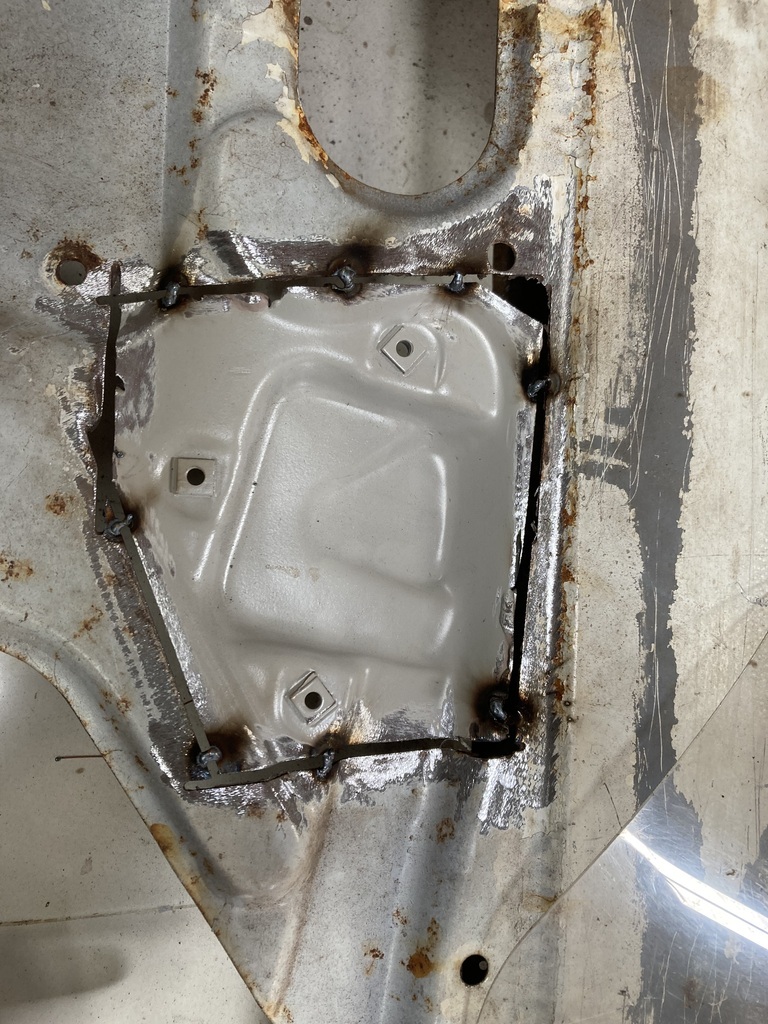 And welded up 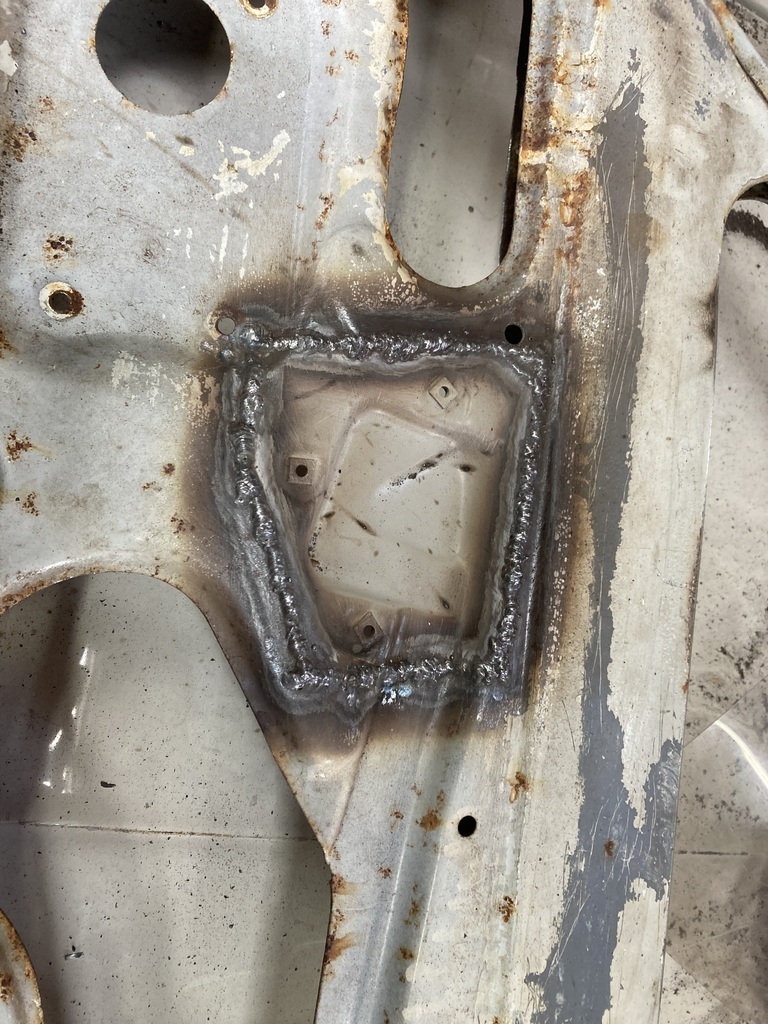 This took an age to do. If anyone knows of a better way of filling these gaps, please keep it to yourself as it’s to late now 😁 |
| |
|
|
ChrisT
Club Retro Rides Member
Posts: 1,670
Club RR Member Number: 225
|
|
Jul 15, 2023 13:25:42 GMT
|
Great work, as always  |
| |
|
|
teaboy
Posted a lot
   Make tea, not war.
Posts: 2,125
|
|
Jul 15, 2023 21:34:16 GMT
|
|
Excellent job dude.
|
| |
|
|
|
|
|
Jul 15, 2023 22:03:32 GMT
|
Great work, as always  Thanks Chris |
| |
|
|
|
|
|
Jul 15, 2023 22:04:16 GMT
|
|
|
| |
|
|
|
|
|
Jul 18, 2023 11:22:15 GMT
|
Another call shift and another couple of hours before work. First off the door handle patch. 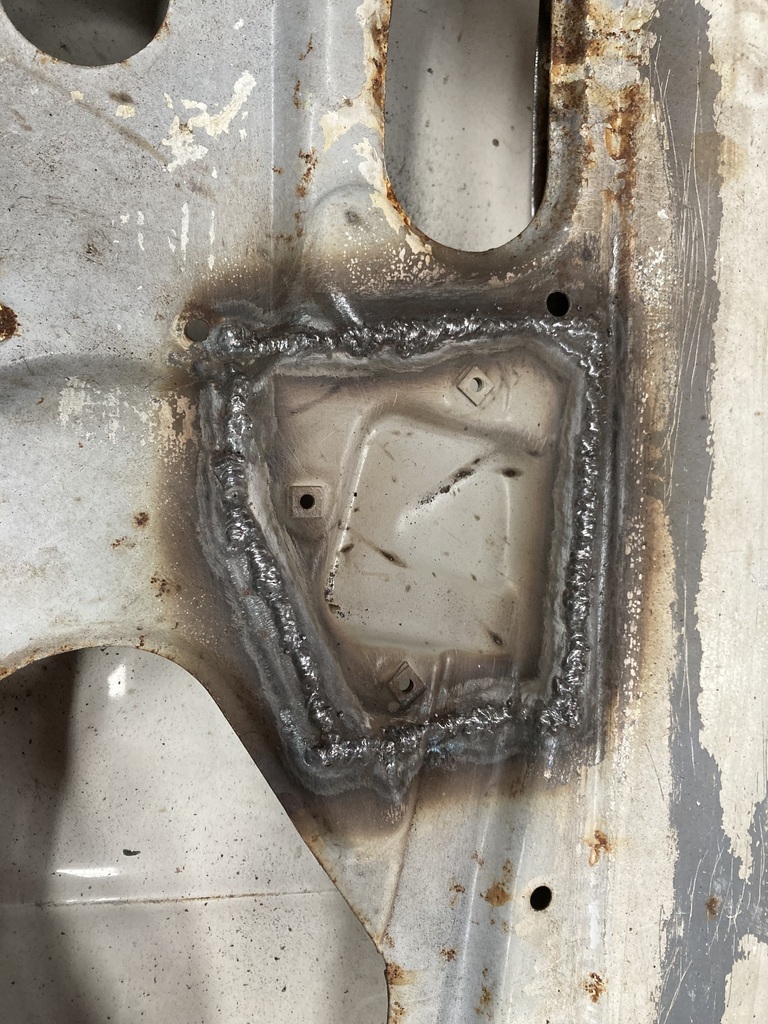 That got ground back so the door trim panel will lay flat 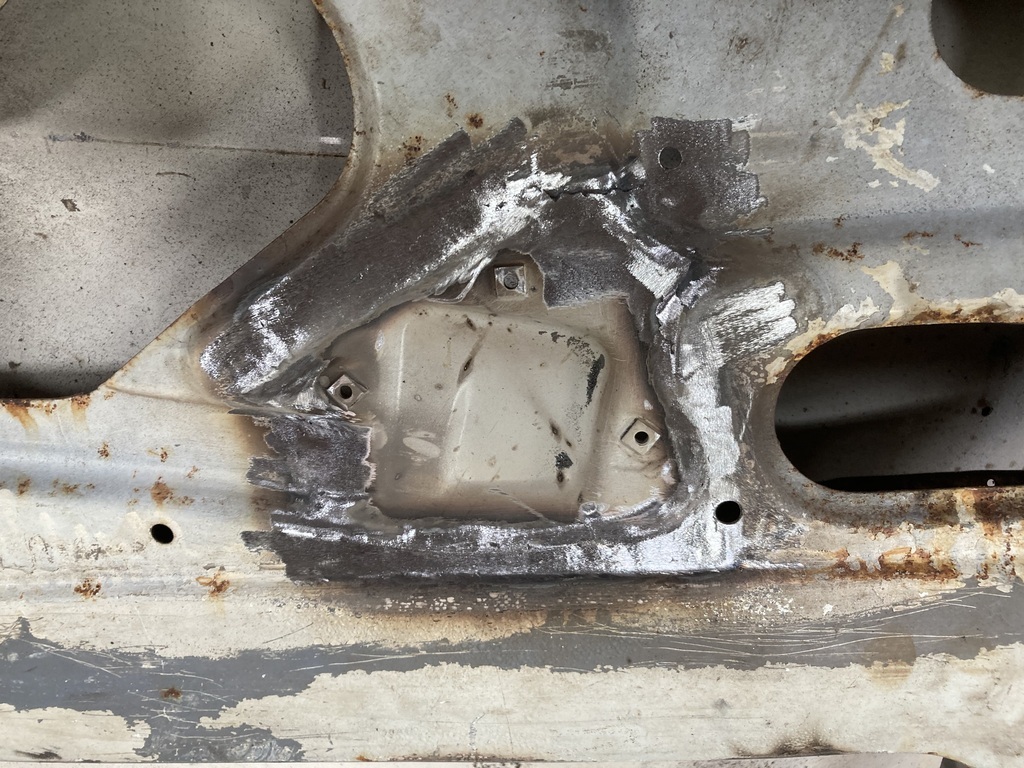 Next, this bit of the outer skin where it fold around the window frame. Rot 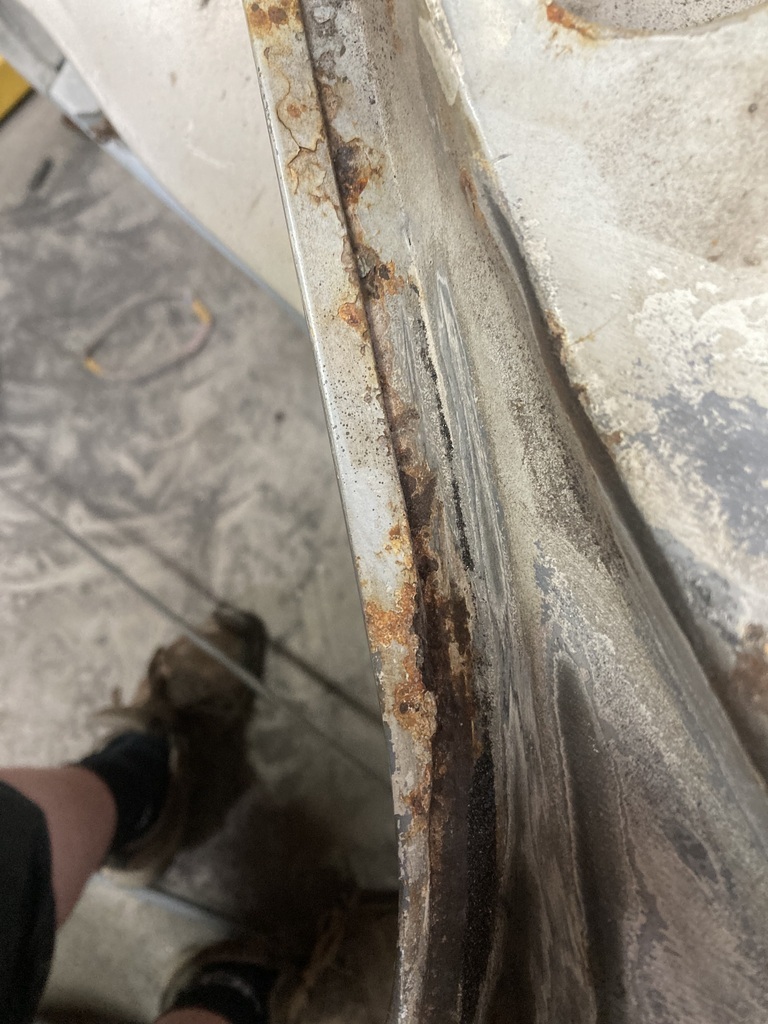 Skin cut off 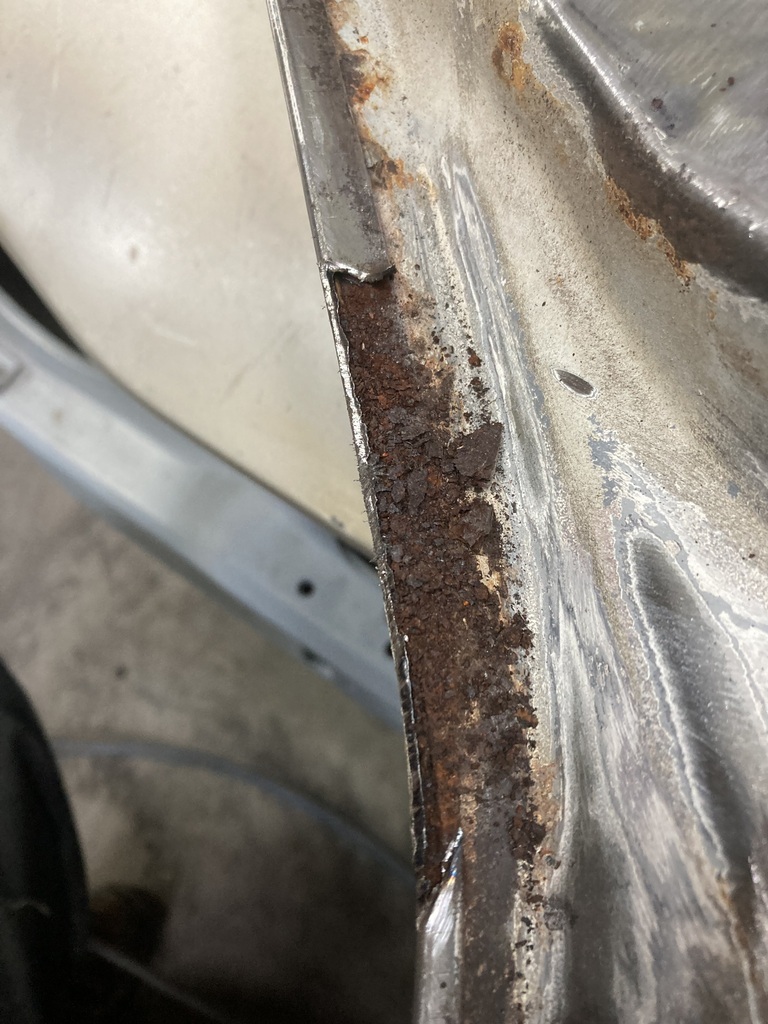 Wheel of truth used to clean up the frame 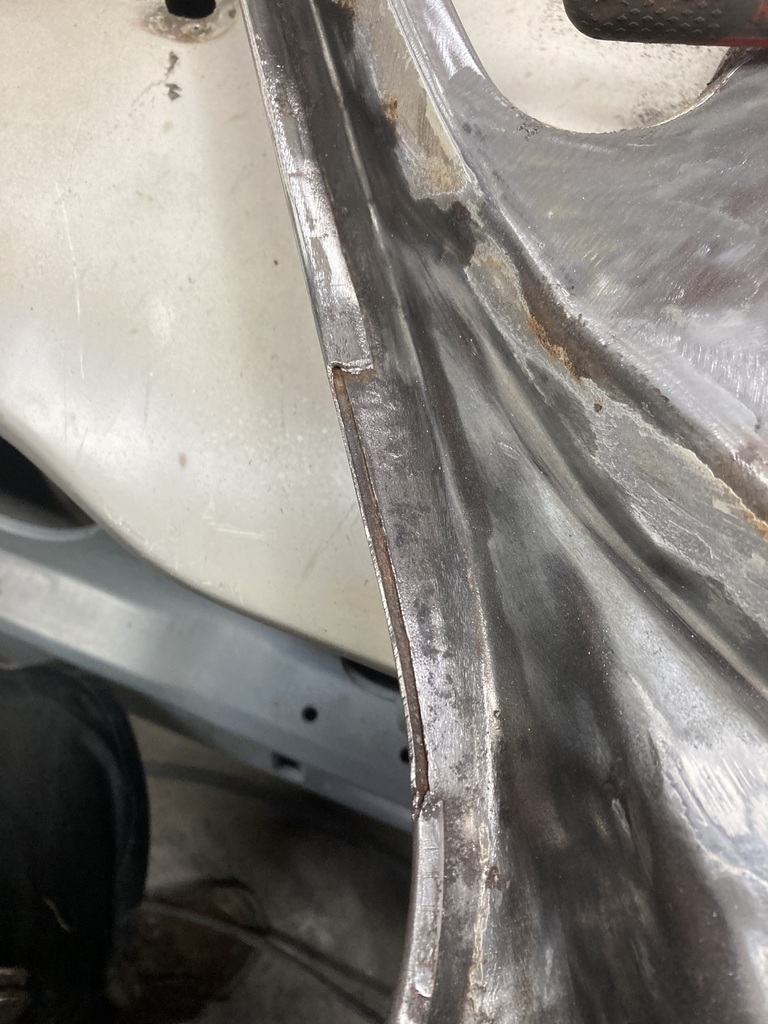 A bit cut and welded in, badly. 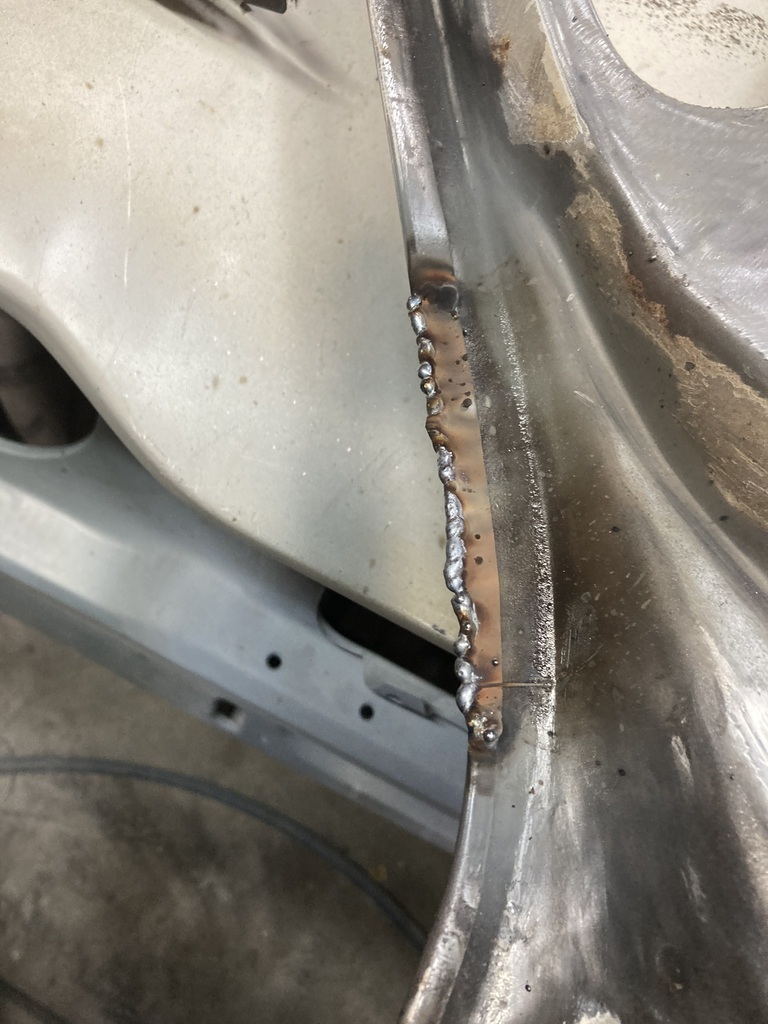 And ground back, inside 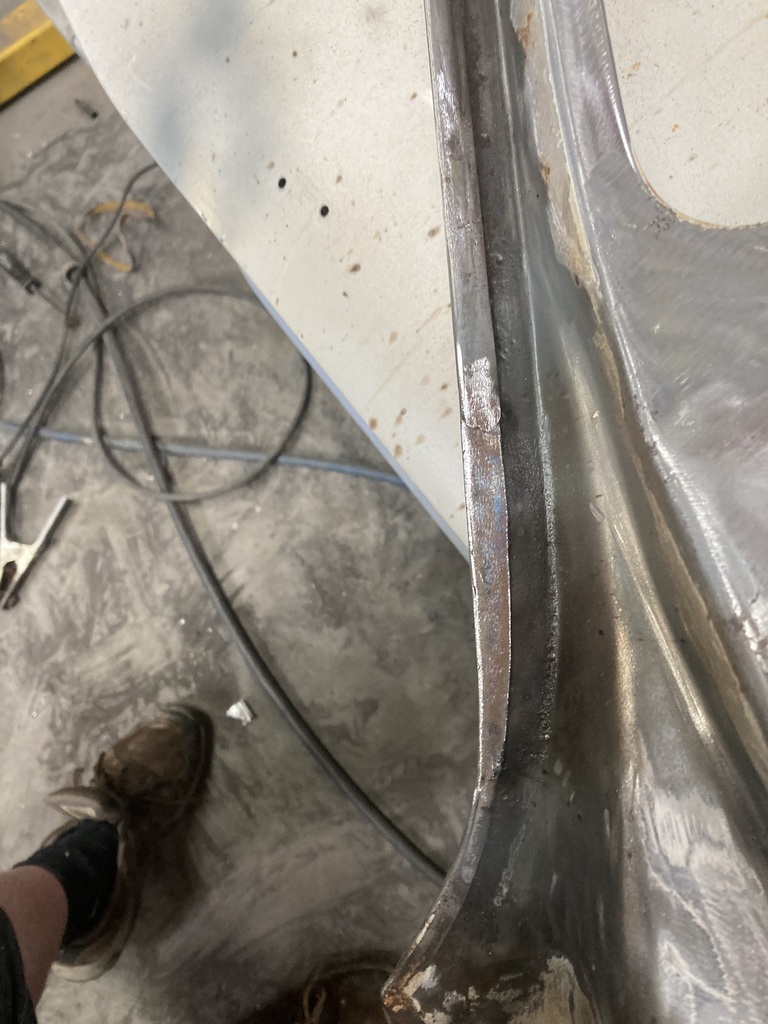 And out 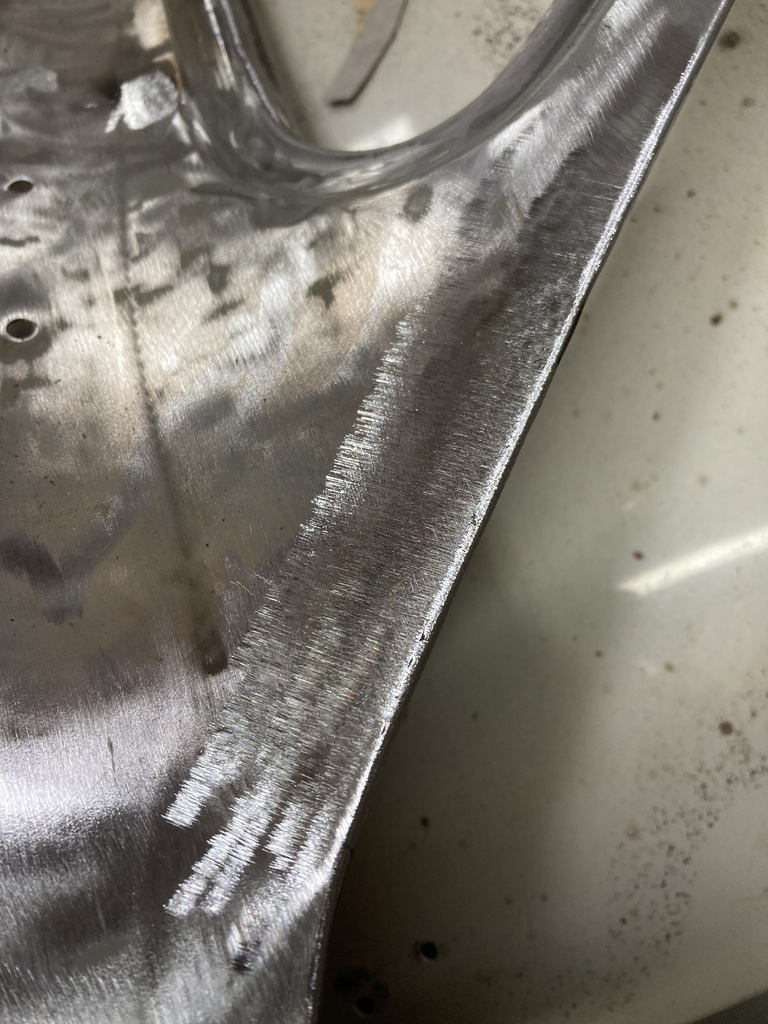 Those paying attention will remember that last week I welded up the holes where the chrome strip sat. Well the holes went to the frame also. 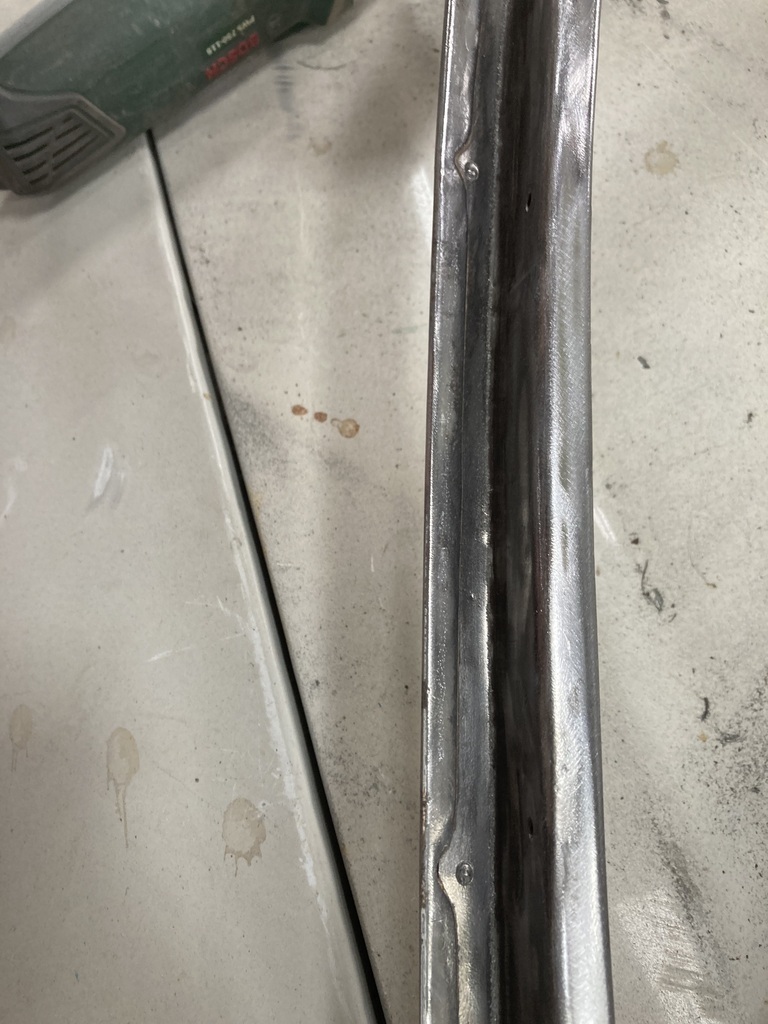 So to reduce moisture entering I welded them up too 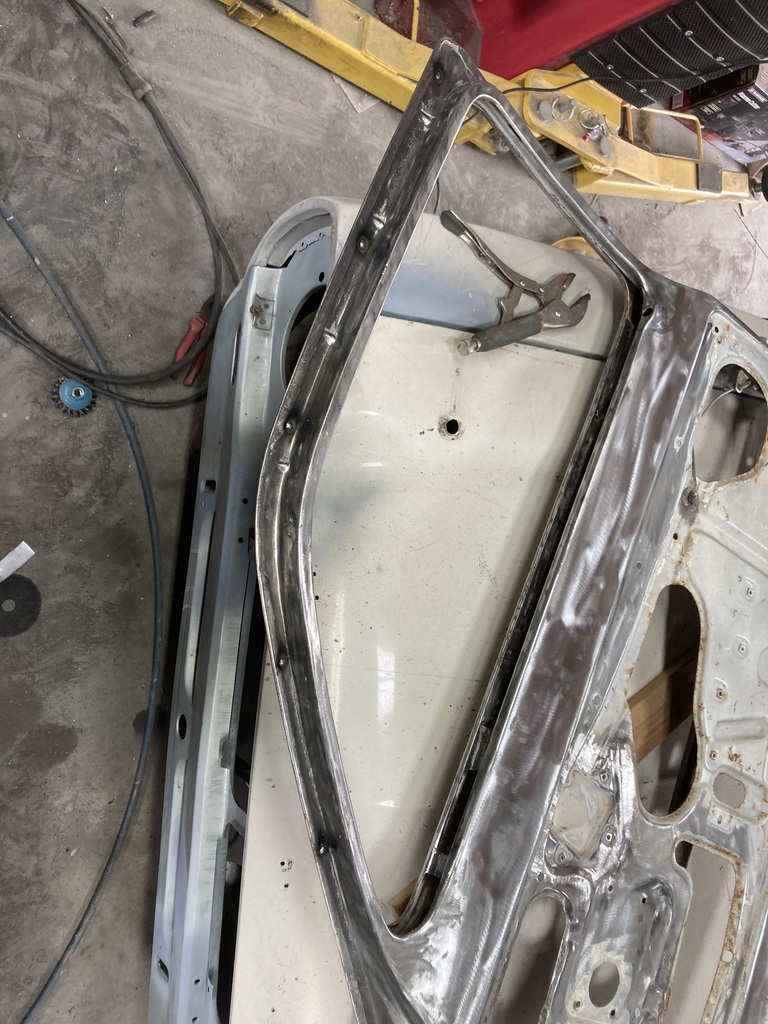 And ground back 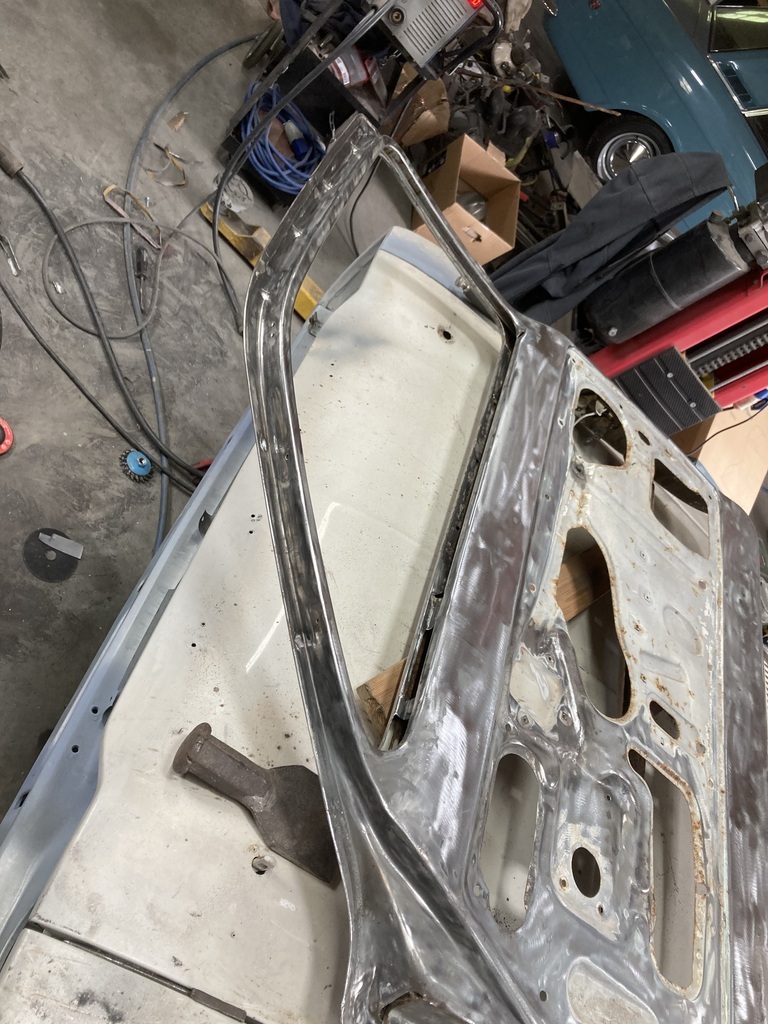 I also used the stripping disc and the wheel of truth to start cleaning all the paint and rust spots off the frame. No photos but didn’t finish as I stopped before I got white finger. I’ll finish it next time. |
| |
|
|
|
|
|
Jul 20, 2023 16:48:32 GMT
|
I had a day off work today. I thought I’d mow the grass then get a good few hours in the garage. But last night Jones Junior (the elder) informs me his car is “slow and juddering”. I phoned my brother to order a coil pack and plugs. This meant the complete morning was spent dropping him off in work then driving to my brother’s garage to sort his car. By the time I’d mowed the grass it was 14:30, leaving only an hour until I had to leave to pick him back up from work. So in my little hour in the garage I swept up a bit and got the rest of the paint off the door frame 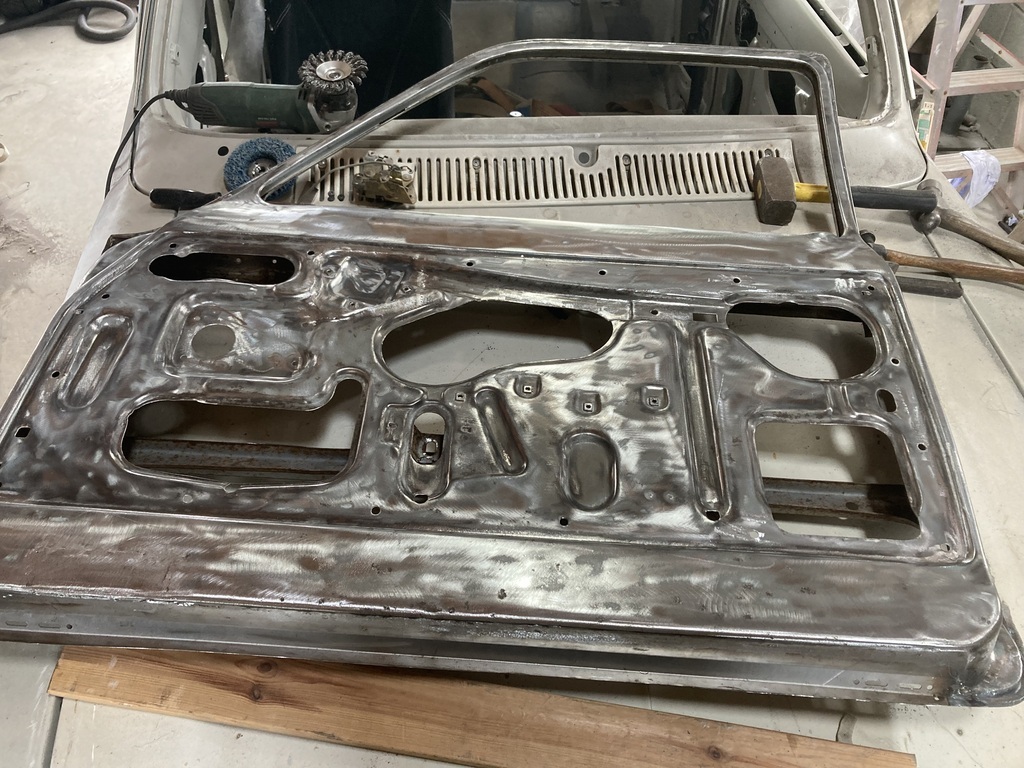 I hung it back on the car to see if it still fitted in the hole after all the welding 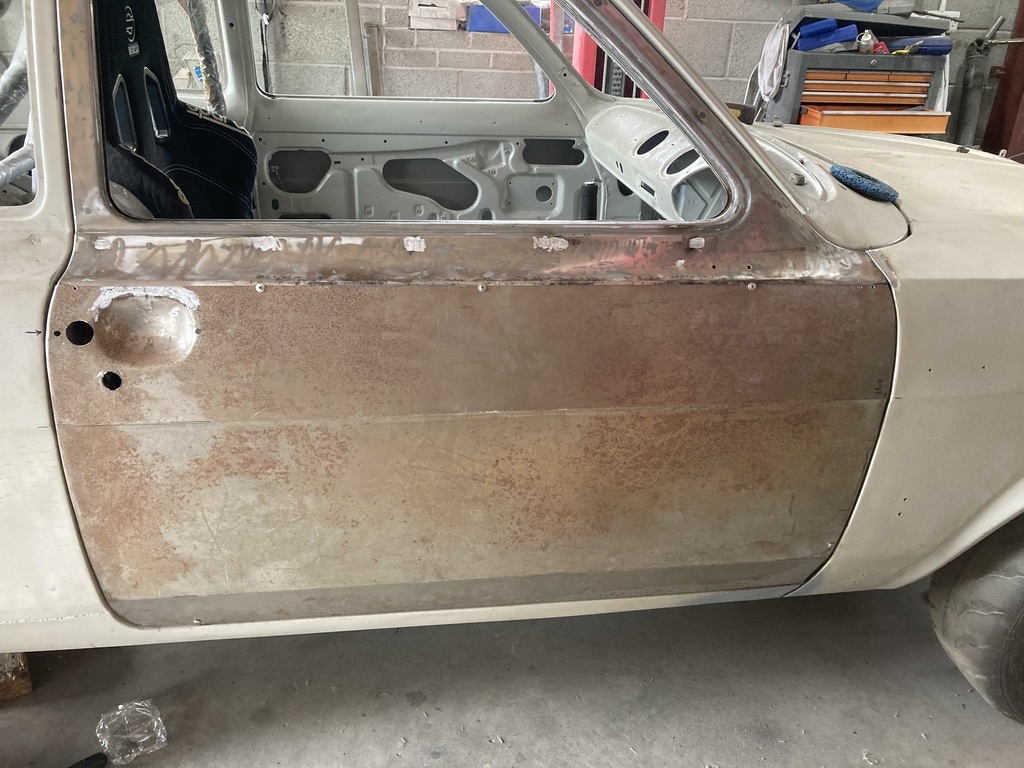 Which luckily it does. I need to put some rust converter on the inside and then epoxy it. I can then get the skin on. |
| |
|
|
|
|
|
|
|
Jul 24, 2023 15:43:33 GMT
|
I got nothing done on the weekend as I was working Saturday 😩, and navigating in my nephew’s Astra yesterday 😁 (I’ll right a report on that later). So after a shop this morning I got a couple of hours in. Door skin back off and Rust Buster stuff put on the bits with deeper pitting 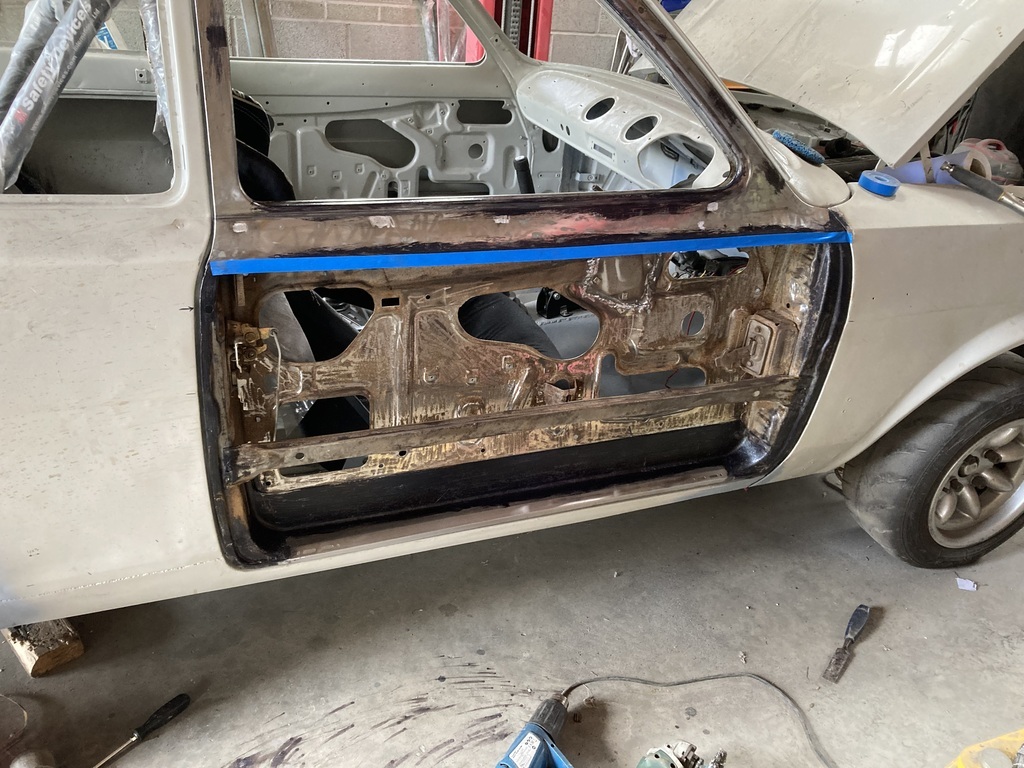 The inside of the skin got cleaned and keyed. 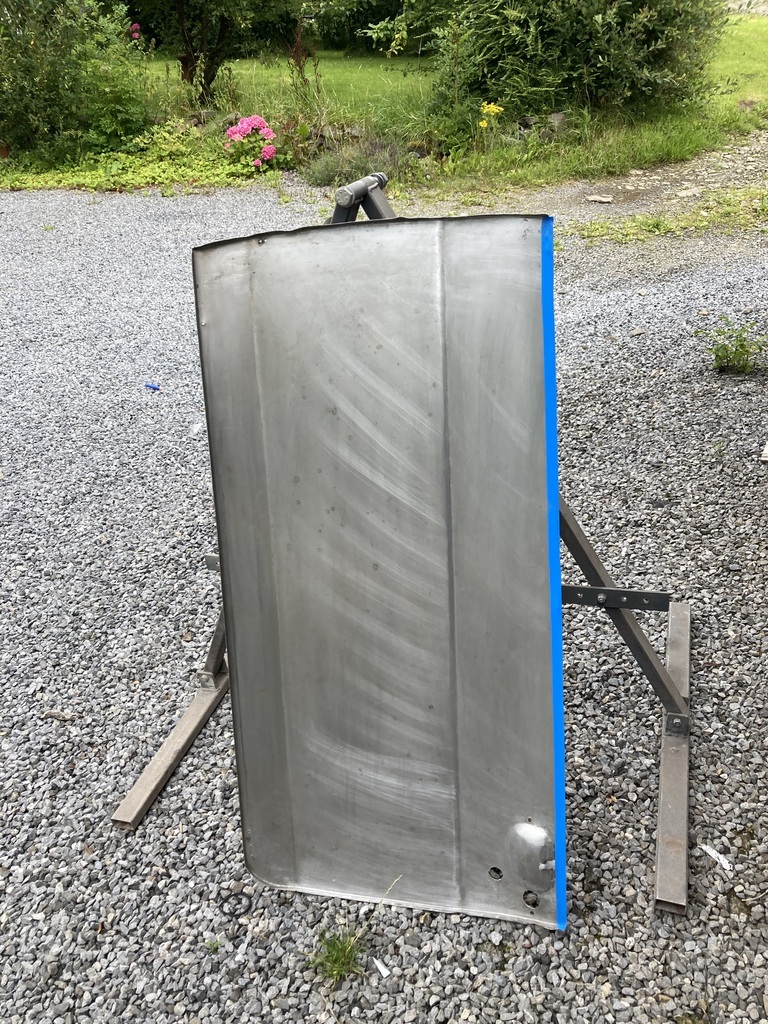 And then a decent coat of Octoral epoxy primer 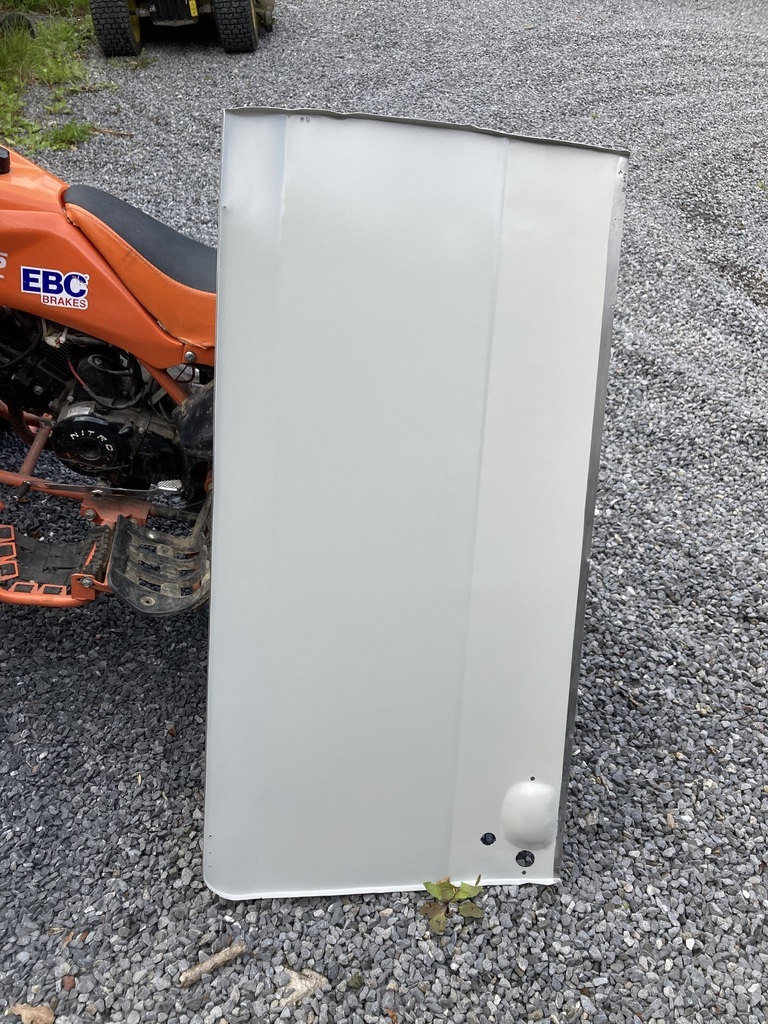 The door frame then got a good coat too Outside 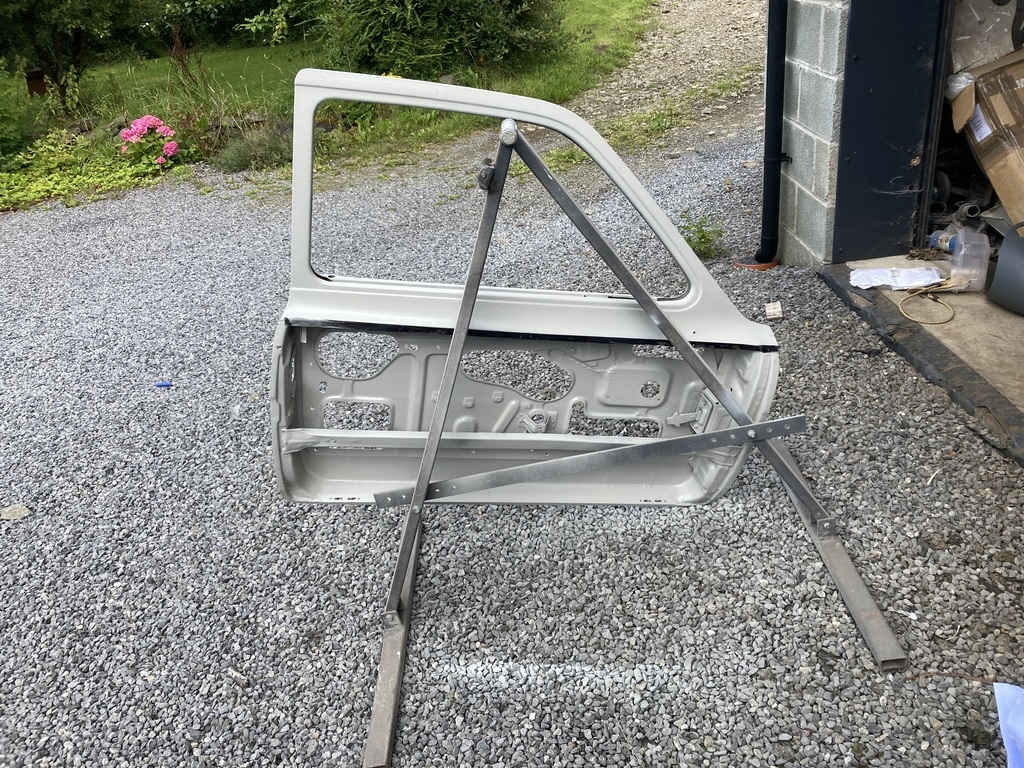 And inside 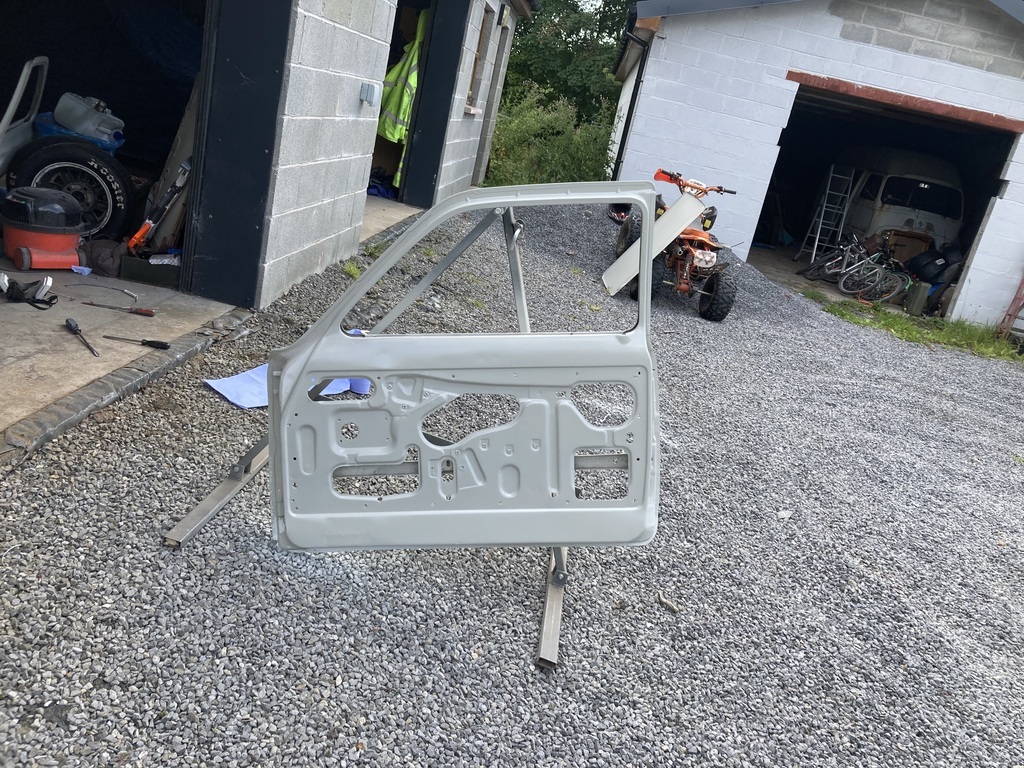 I’ve got 2 weeks off work so hoped to get a good chunk done, but Mrs Jonsey has suggested we go away for a few days which will hamper progress 😩. |
| |
Last Edit: Jul 24, 2023 15:44:38 GMT by jonsey
|
|
|
|
|
Jul 29, 2023 17:20:10 GMT
|
And so I’m back. Not from outer space, from a couple of days in Saundersfoot. And a day trip to St Fagans museum. I went in one of those “ropes in the trees things”. I’ve never been so scared in my life. Proof 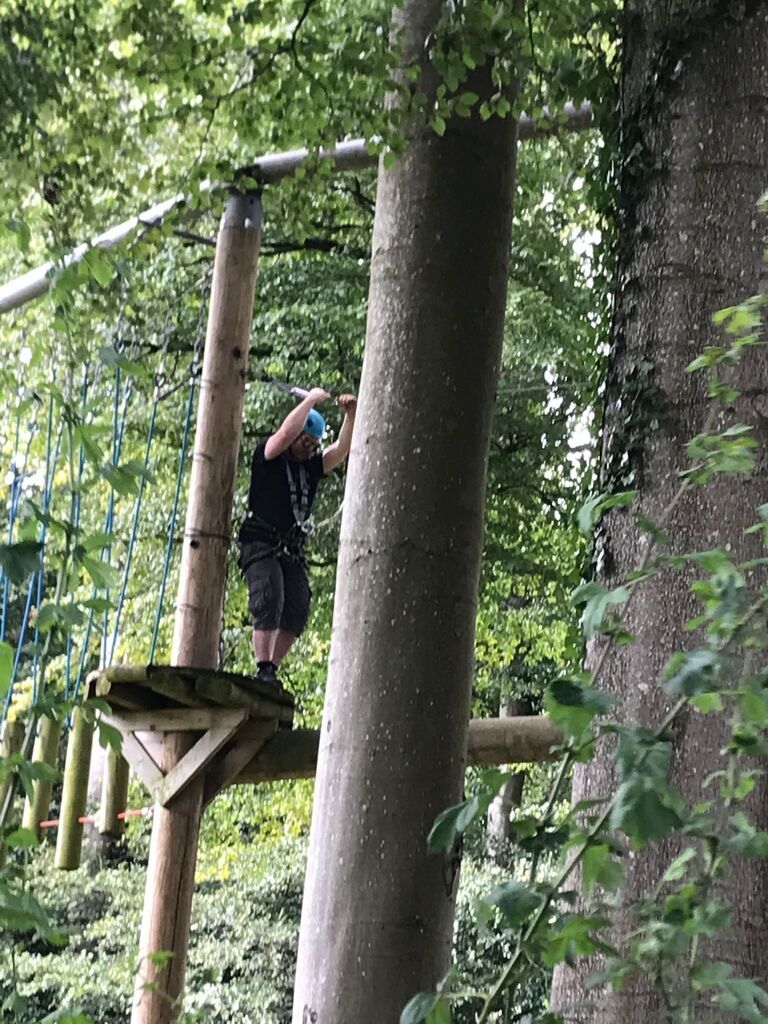 I’d love to boast it was 70’ in the air, but in reality it was only about 12’. No less scary though. So today I’m back out the garage and back on the “good“ door. Hung back on car. With the skin screwed back on inscribed a cut line - and cut it. 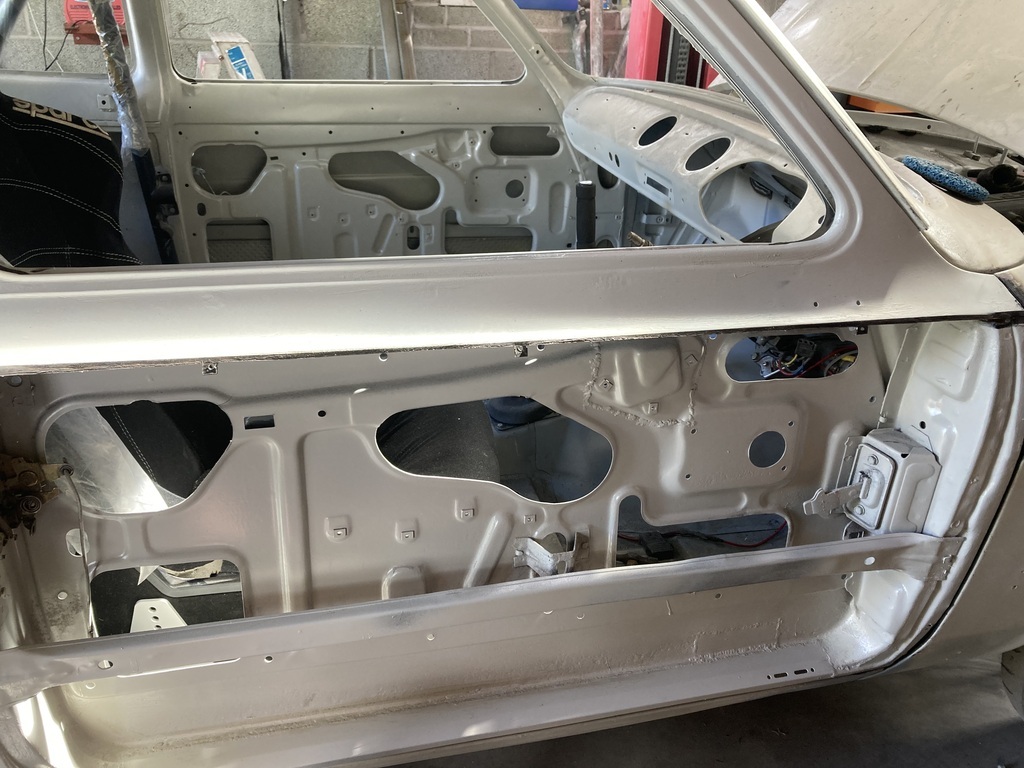 I left tabs for the screws while I tacked it. 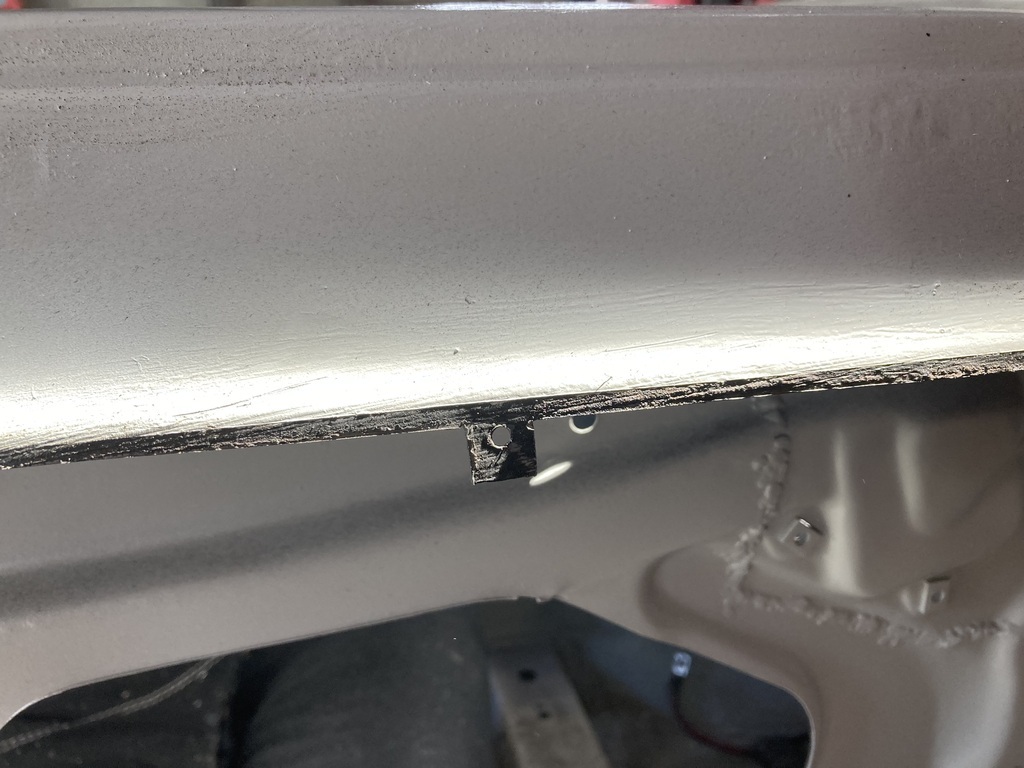 So then I put the skin back on and tacked it and cut the tabs off. Scribing gave a real neat tight join, but when I tacked it, the join would close when it cooled so the panels started to over lap. This is where you are then supposed to planish the tacks to get rid of the overlap. This was real hard work as I’ve used the mig, so I just put the grinder through the tacks to leave a bit of a gap. Much easier. 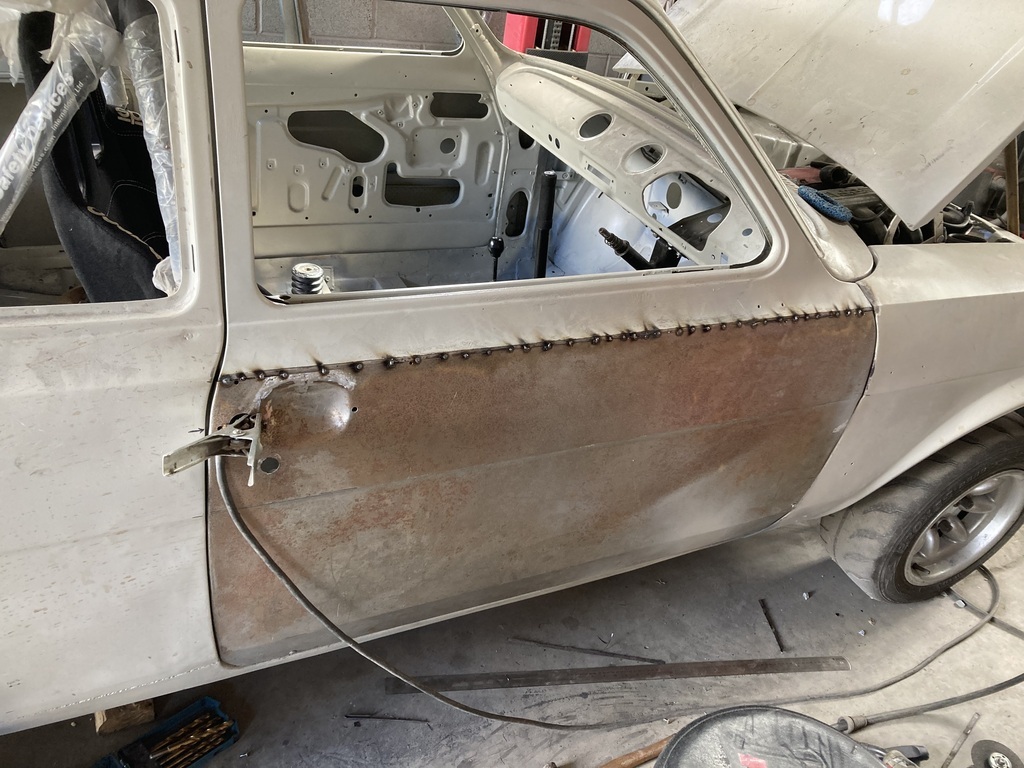 Then fully welded 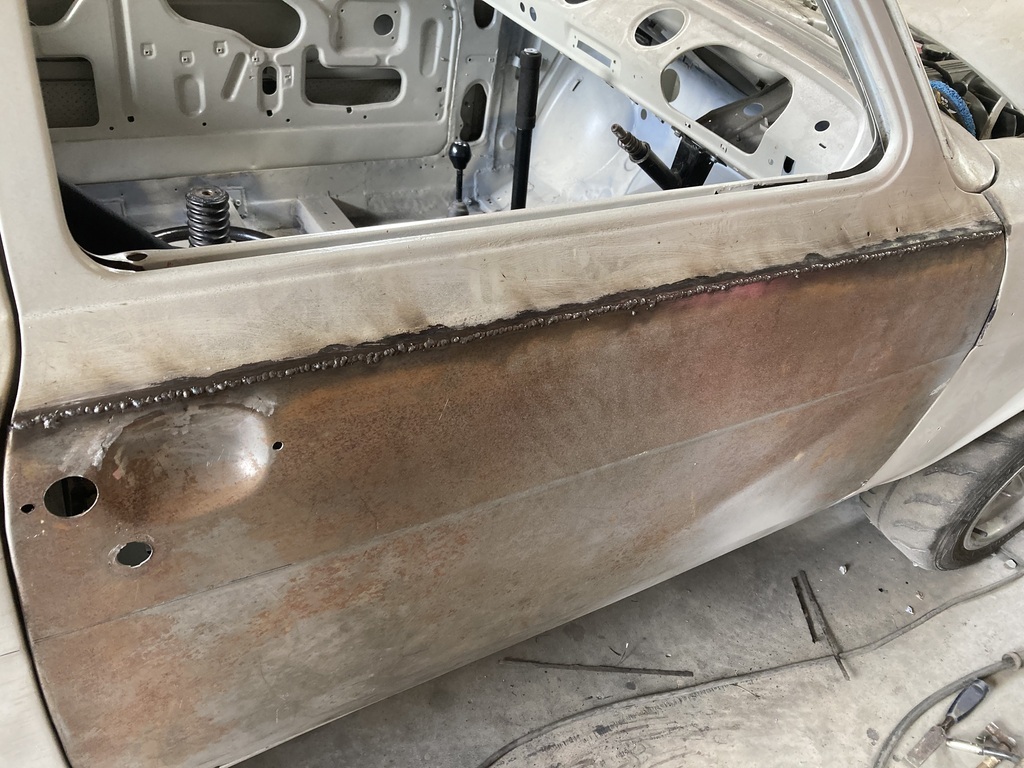 Knocked the tops off with the grinder 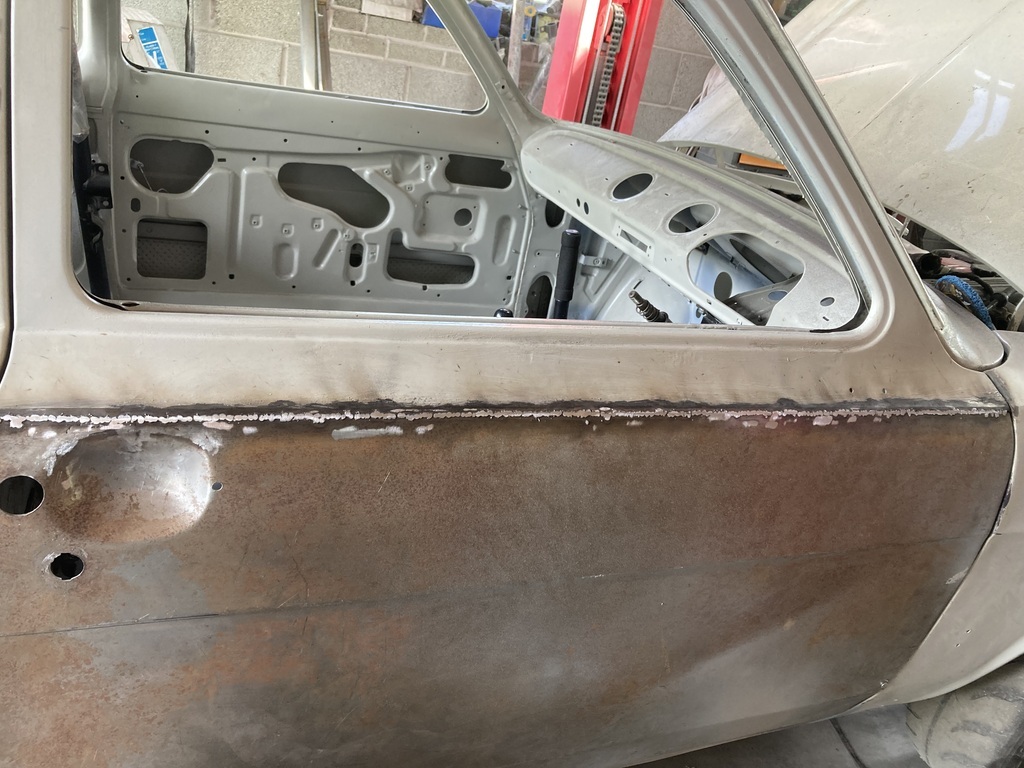 And then finished with the power file 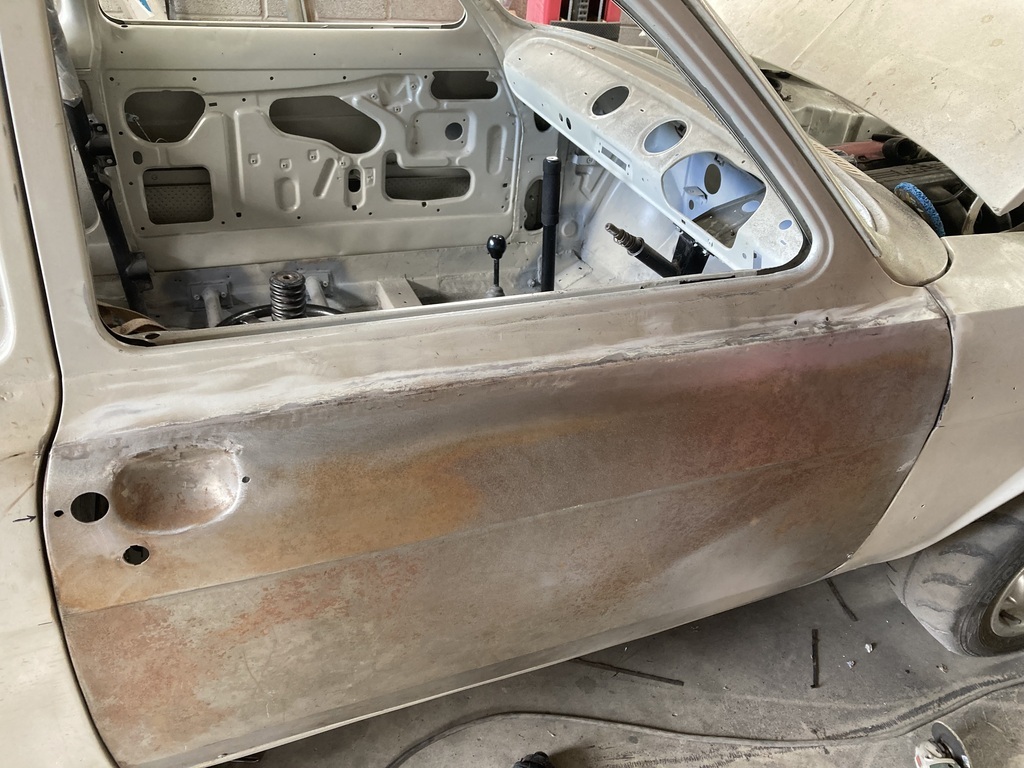 Welds from inside the frame. Impossible to buff these back so I’ll have to paint and seal them 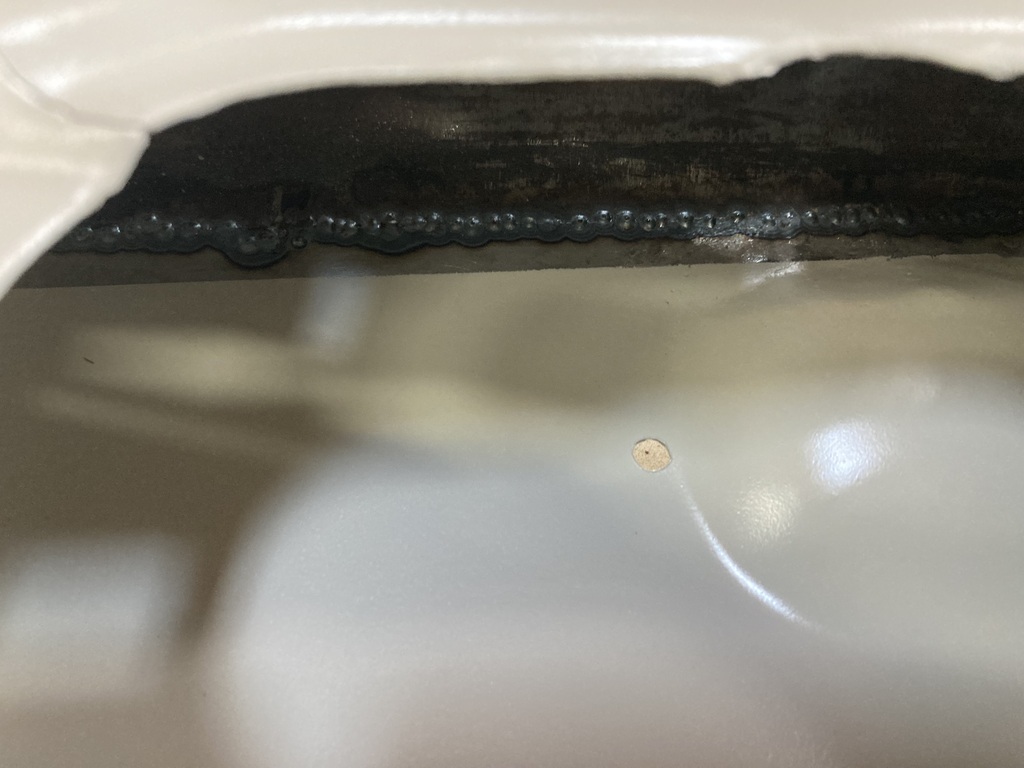 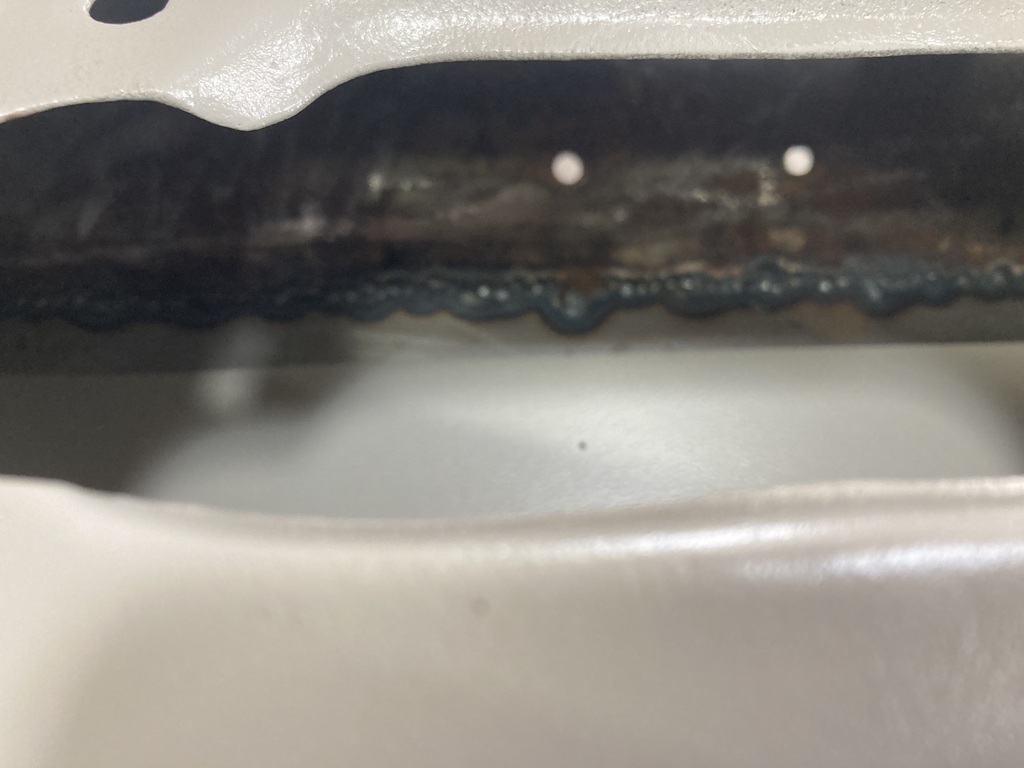 Next I had to fold the skin lip around the frame. The rear of the door got done with the door on the car 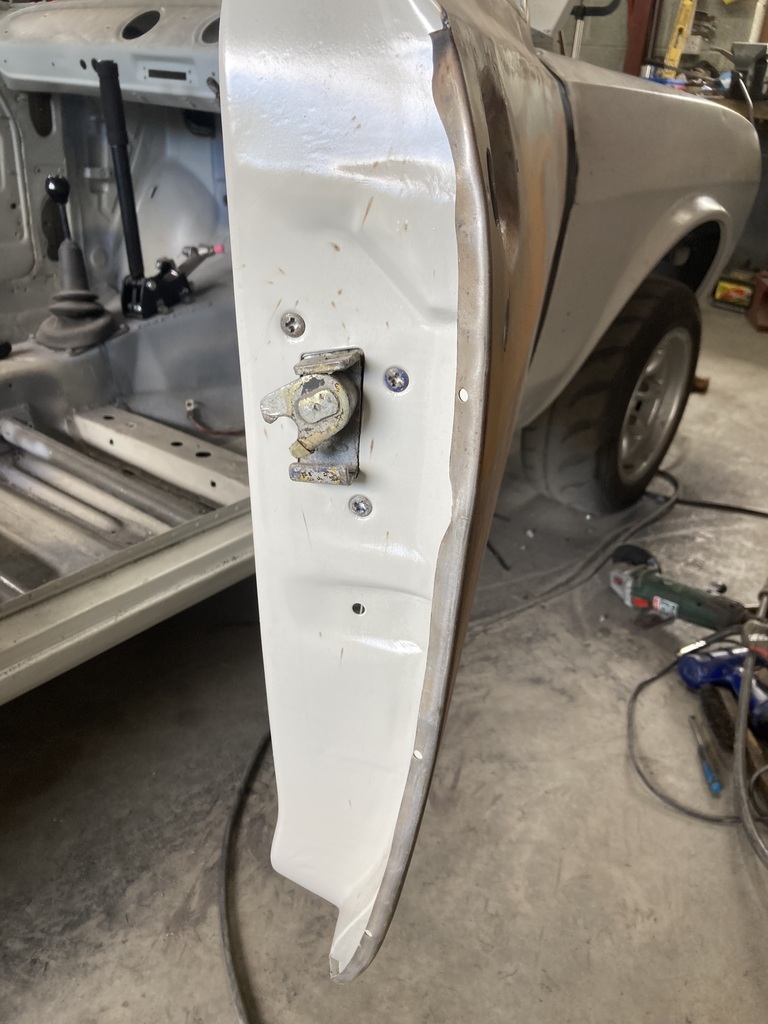 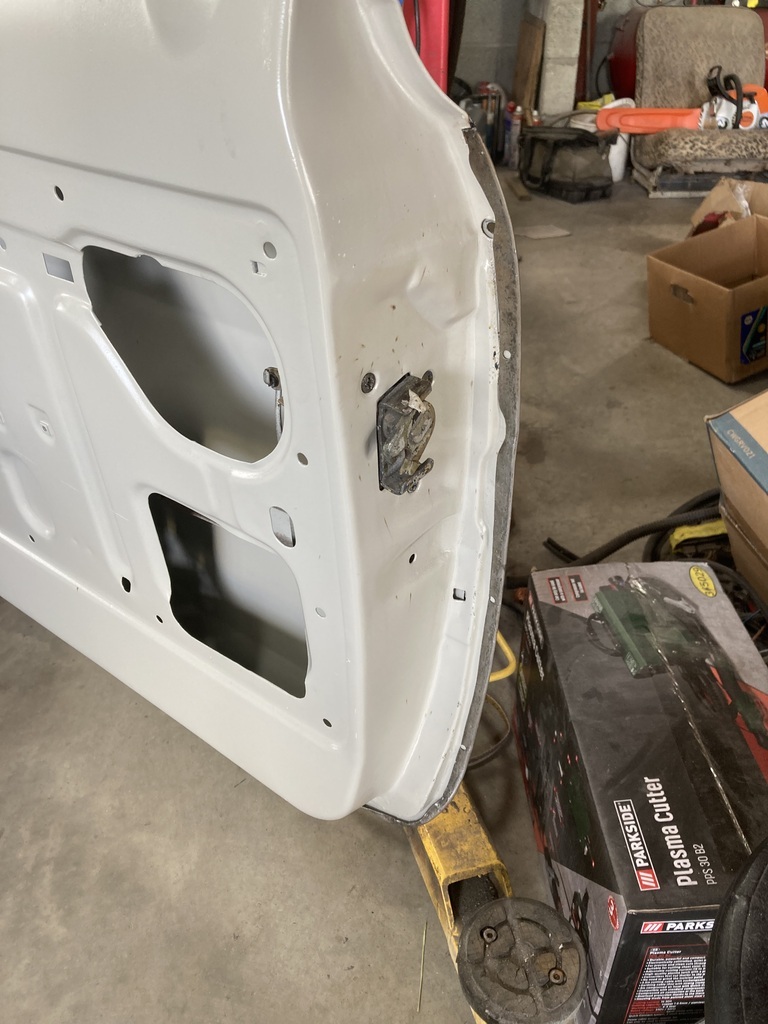 The rest got done with the door on the “bench”. After I’d hammered and dollied the lip over, I used a mole grips and a piece of wood to give it some extra grip without damaging the skin. 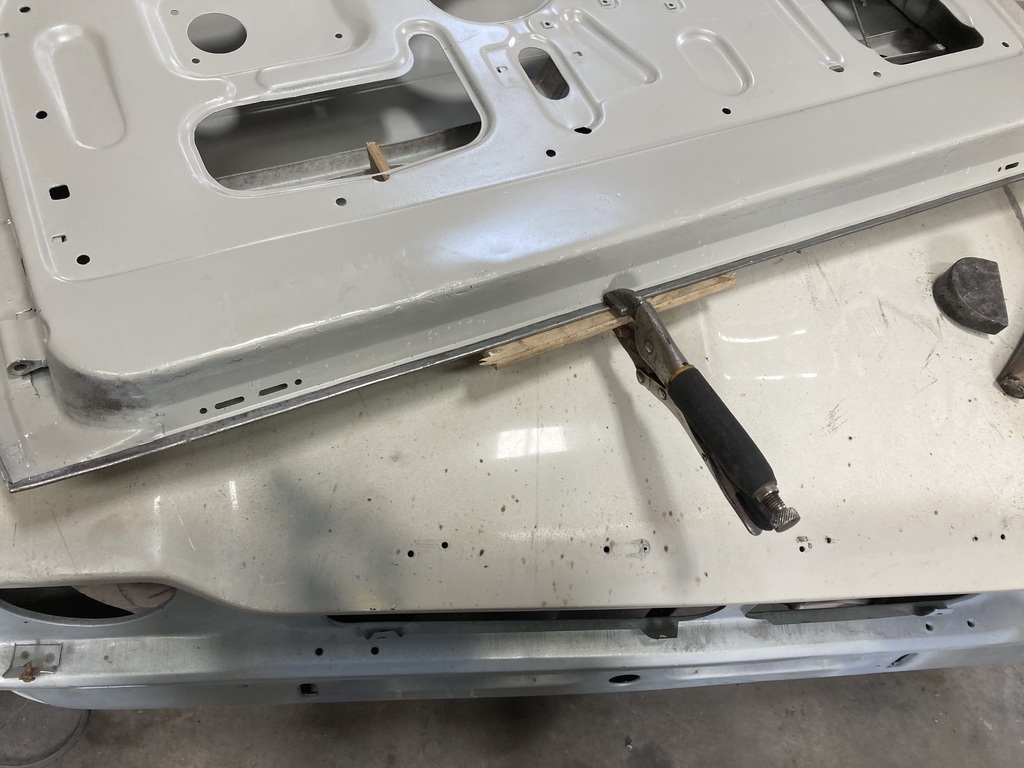 With that done the door was re-hung and the gaps assessed. 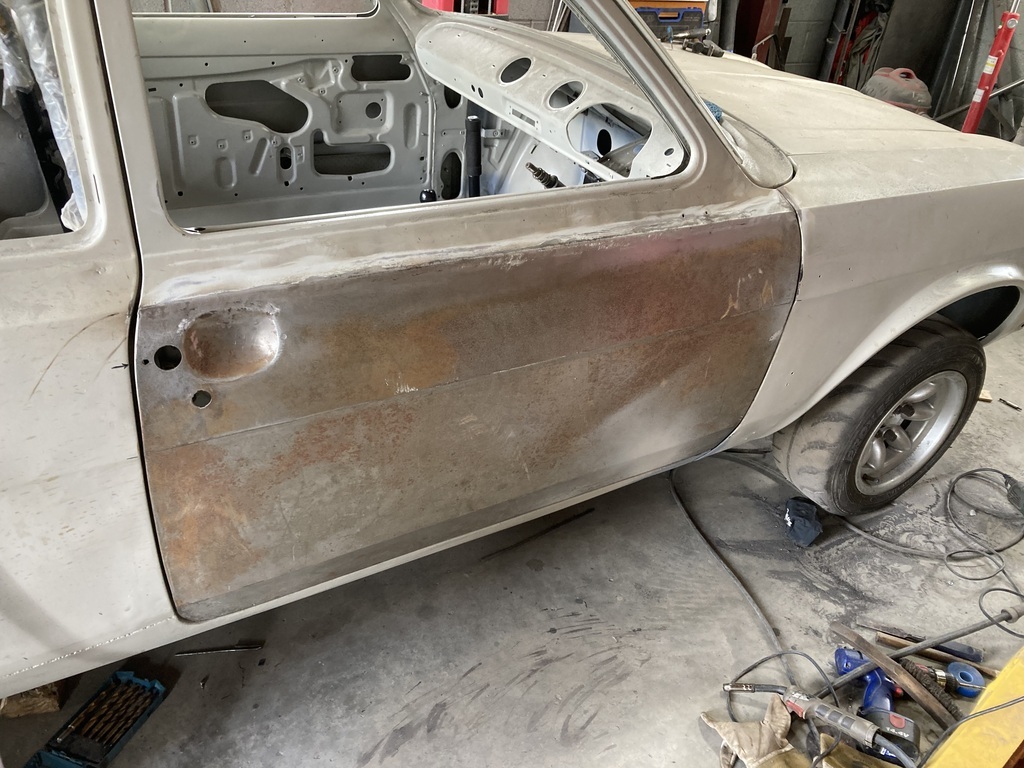 The top by the B pillar had a poor gap from the window to the body line below the door handle hole 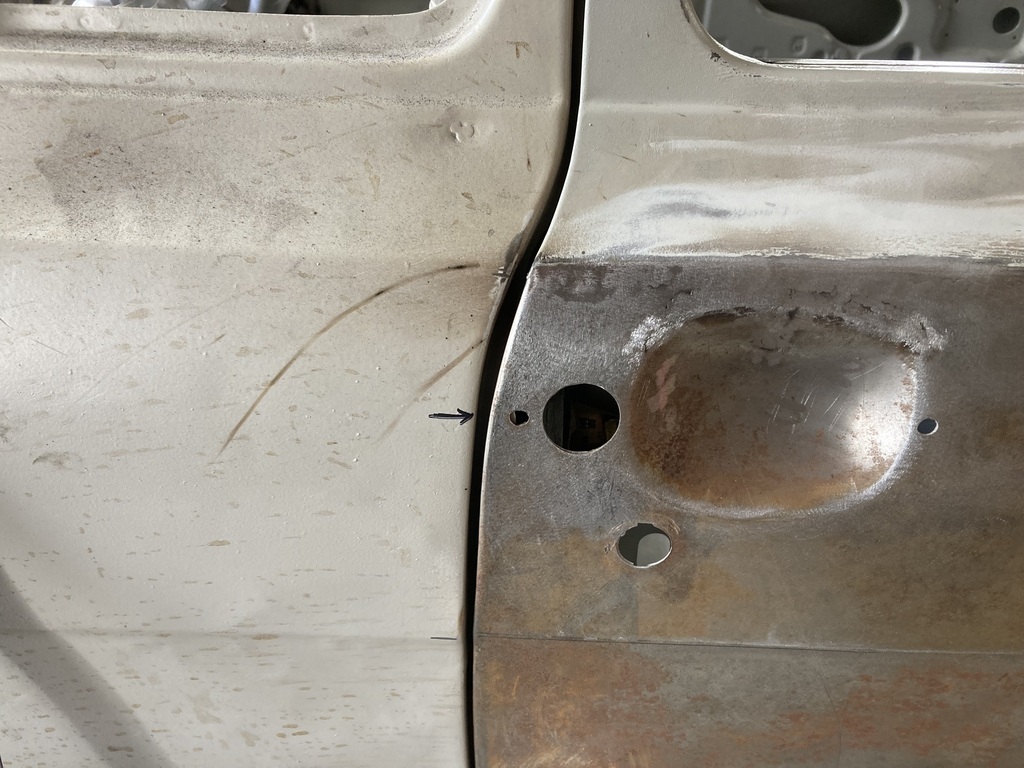 So that got welded and reground 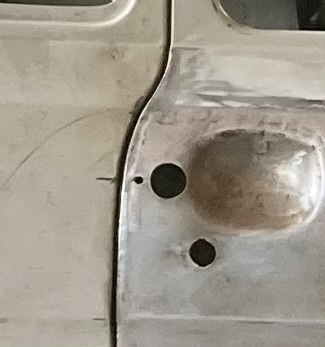 Rear bottom corner gap was huge as I previously cut the body to the shape of the old door 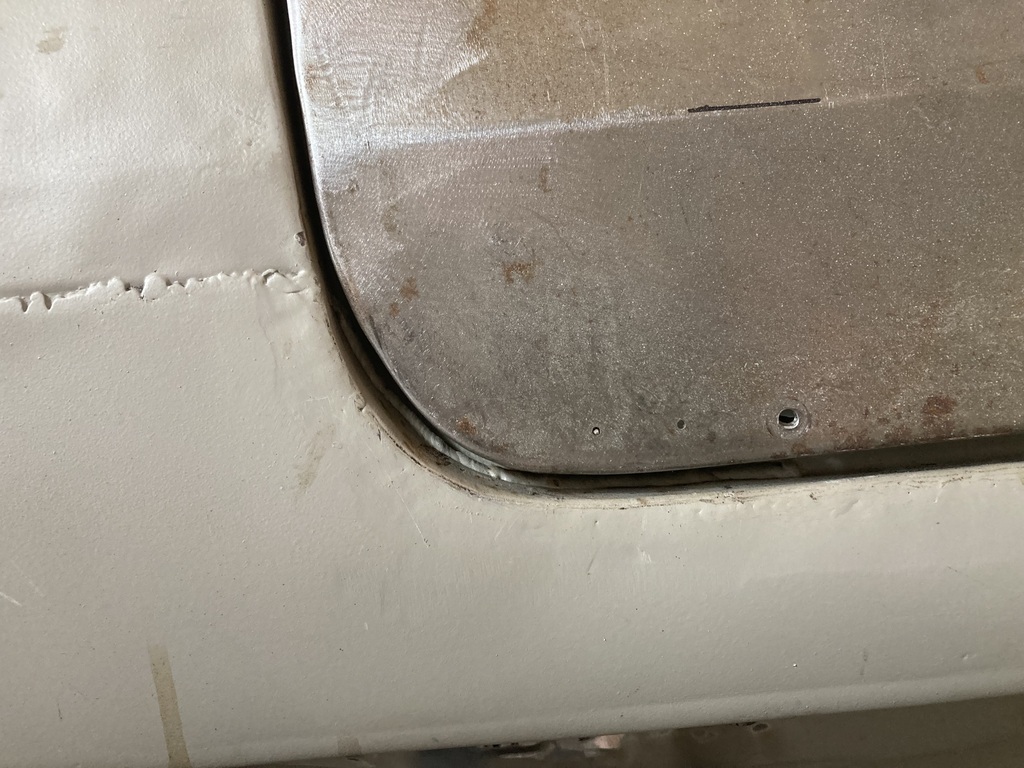 Welded and ground 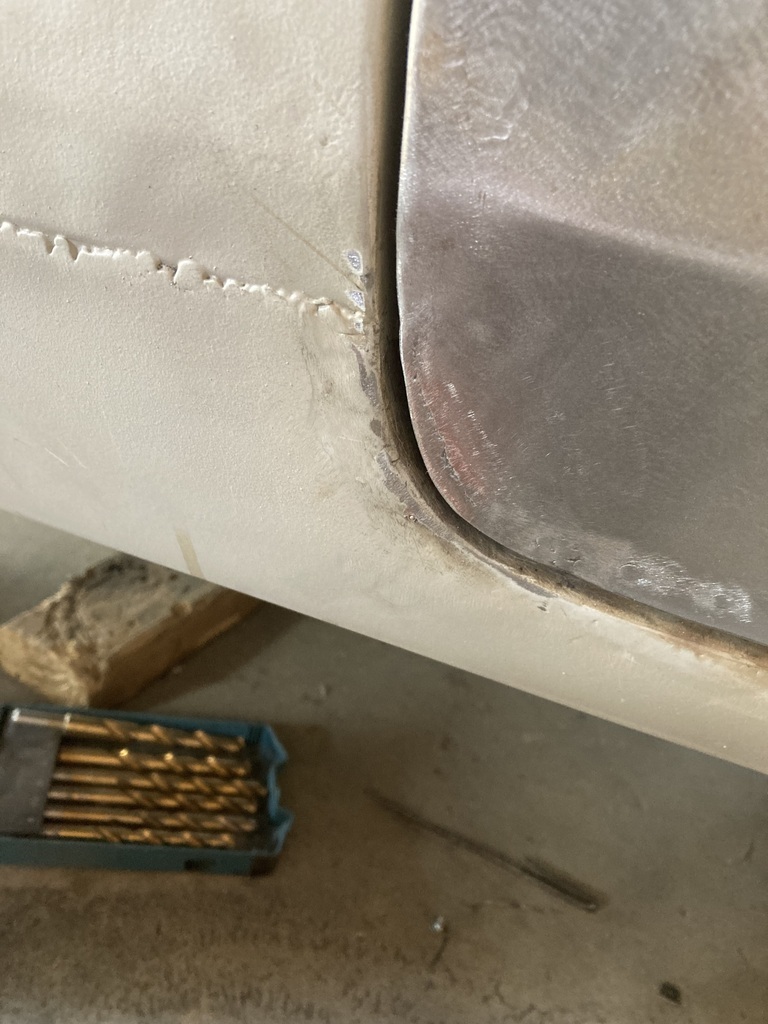 Front top gap was now non existent 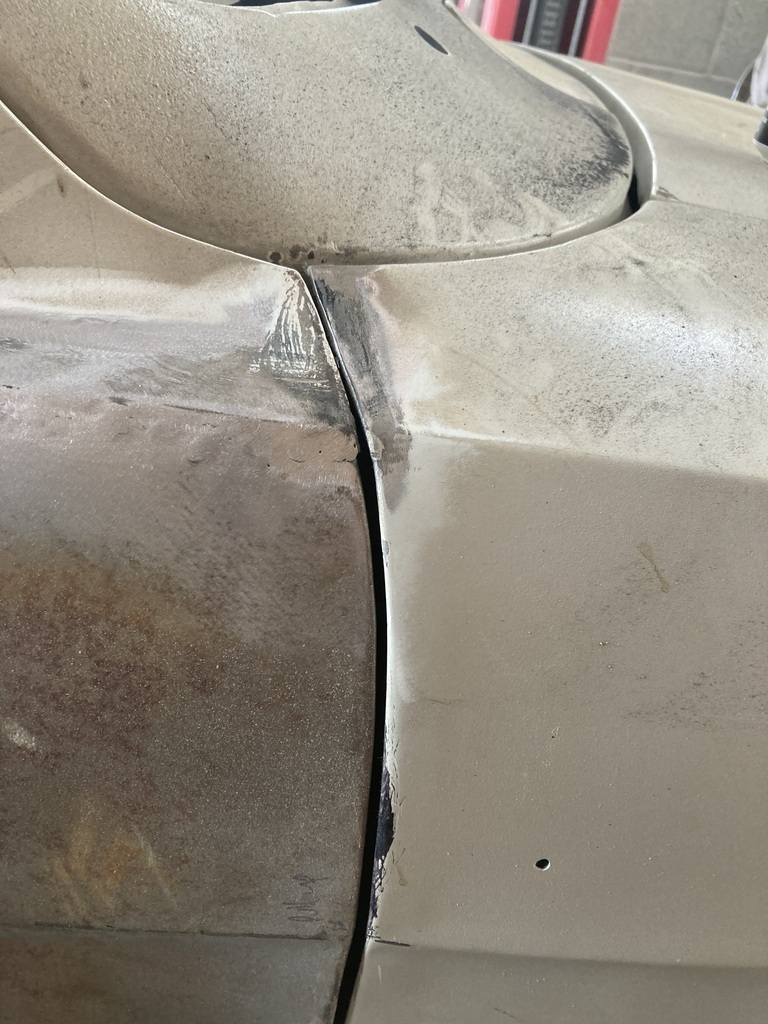 Angle grinder 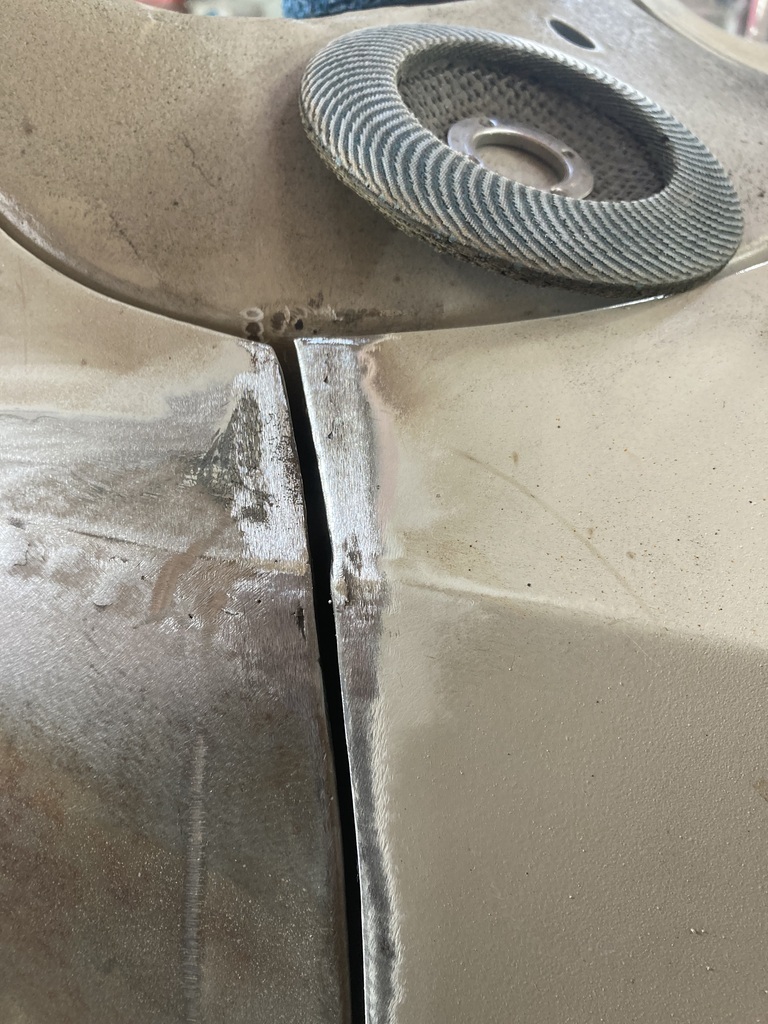 Front bottom gap was massive 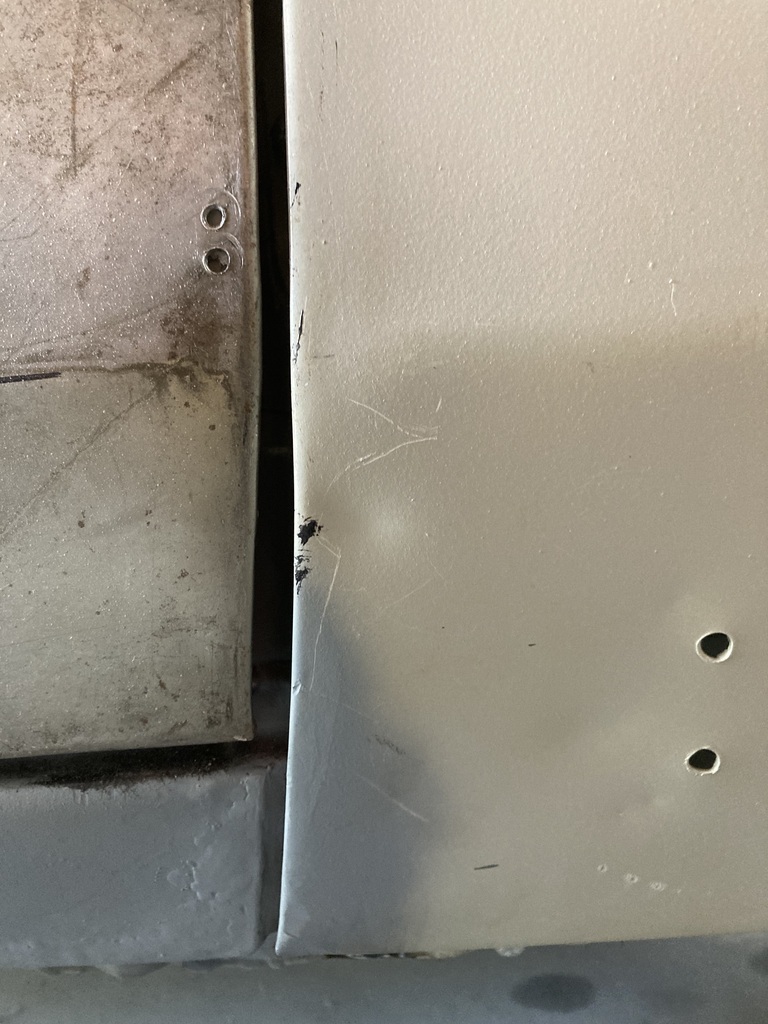 Welded 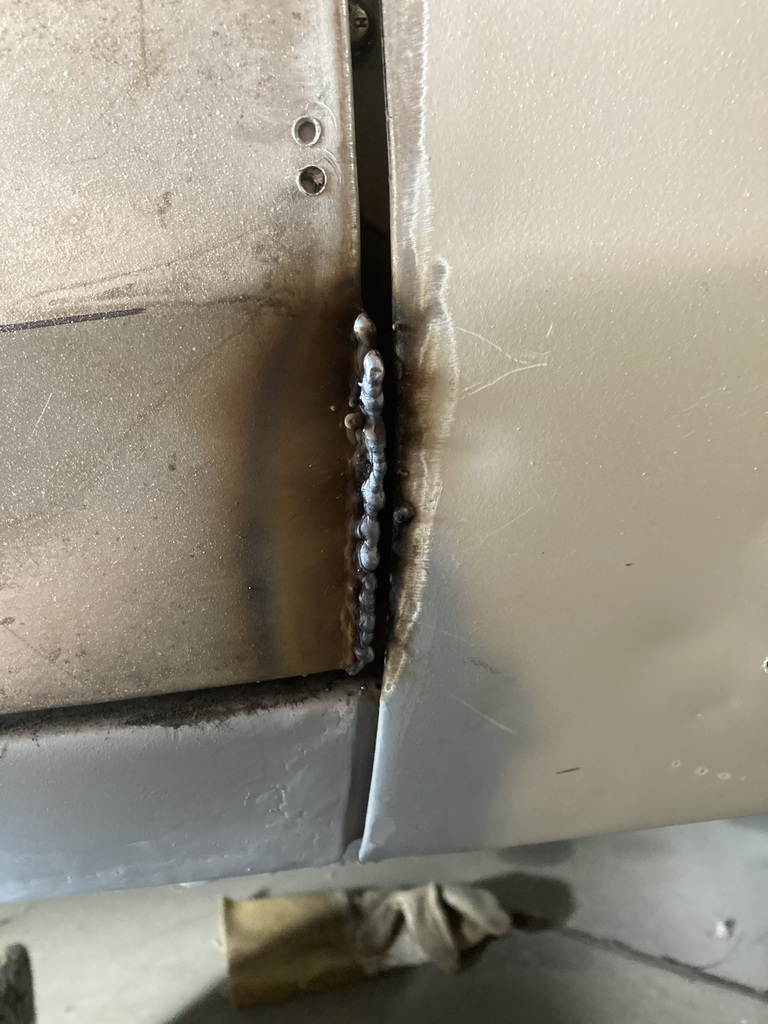 And no photo of it ground😩. The middle part of the front was also too big so I added weld to the wing as it was easier as I didn’t need to remove the door to grind 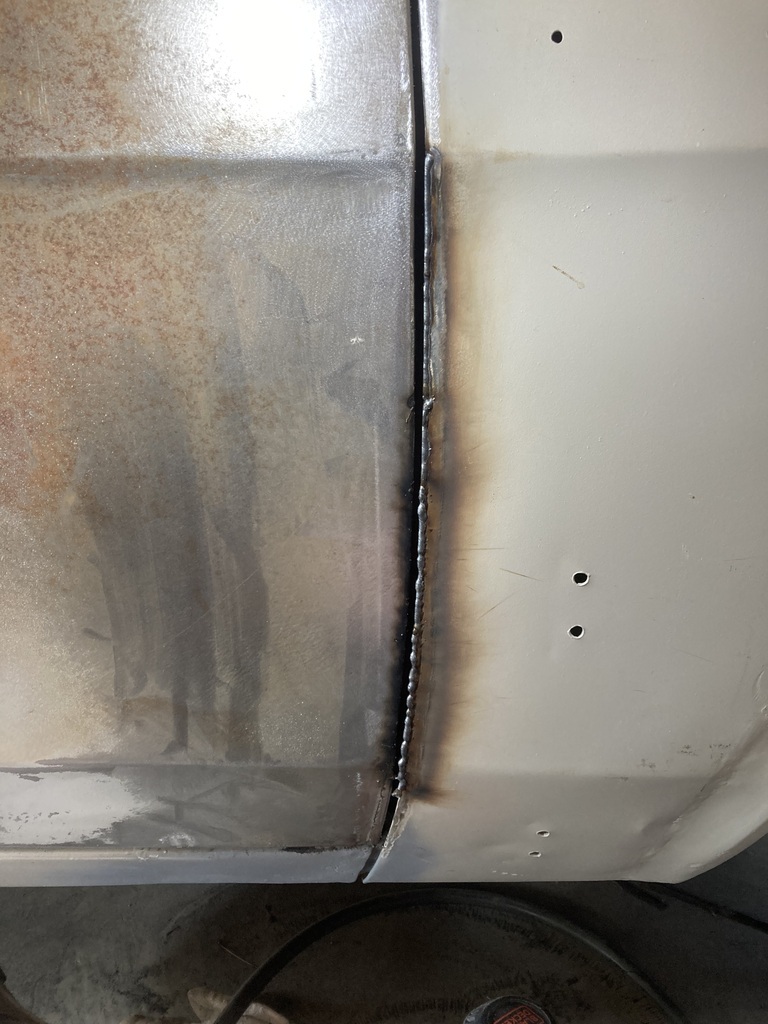 And ground back 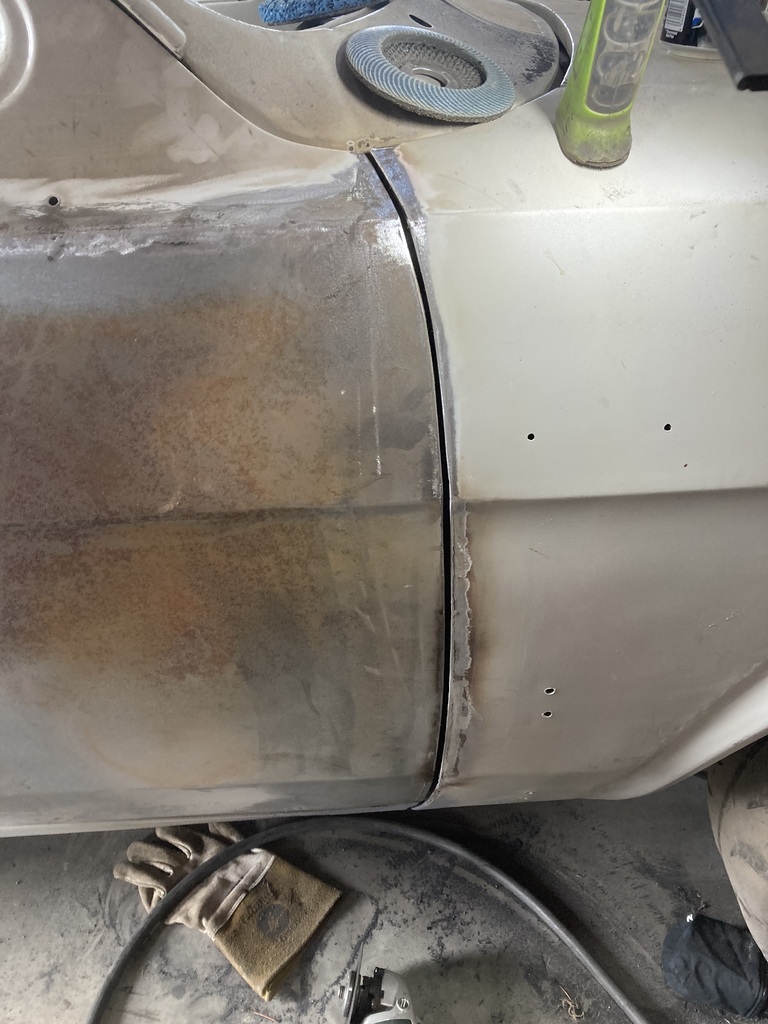 And all finished. The “good” door is now gooderer. 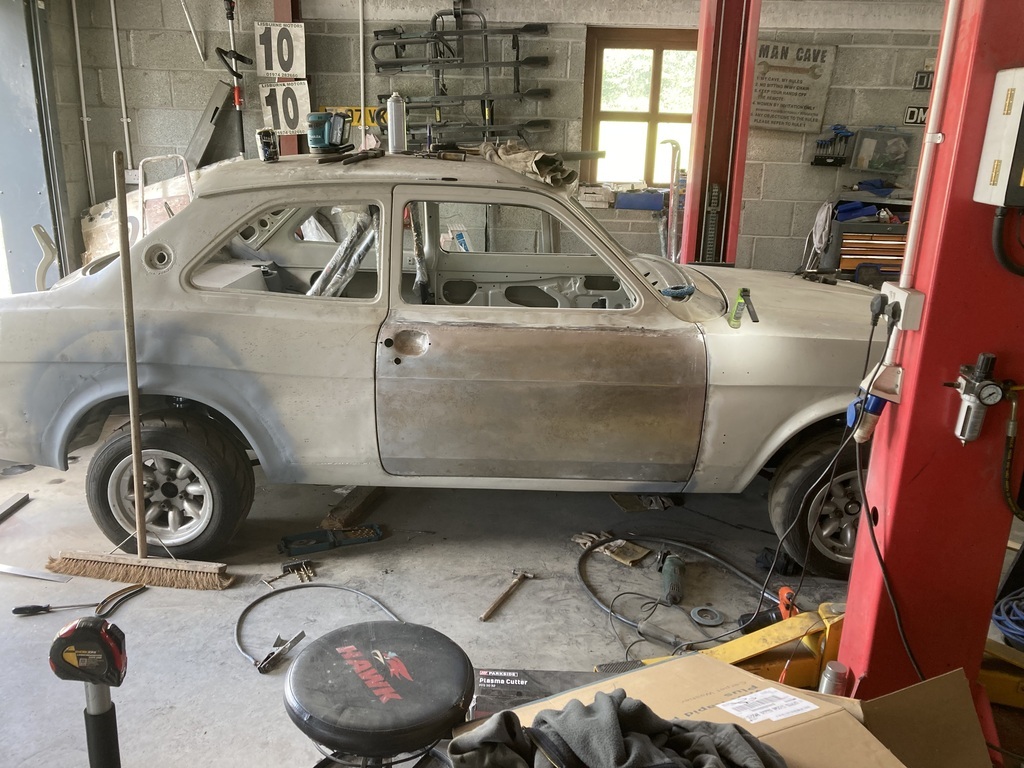 I bought myself a new toy too, just need to get some discs for it now 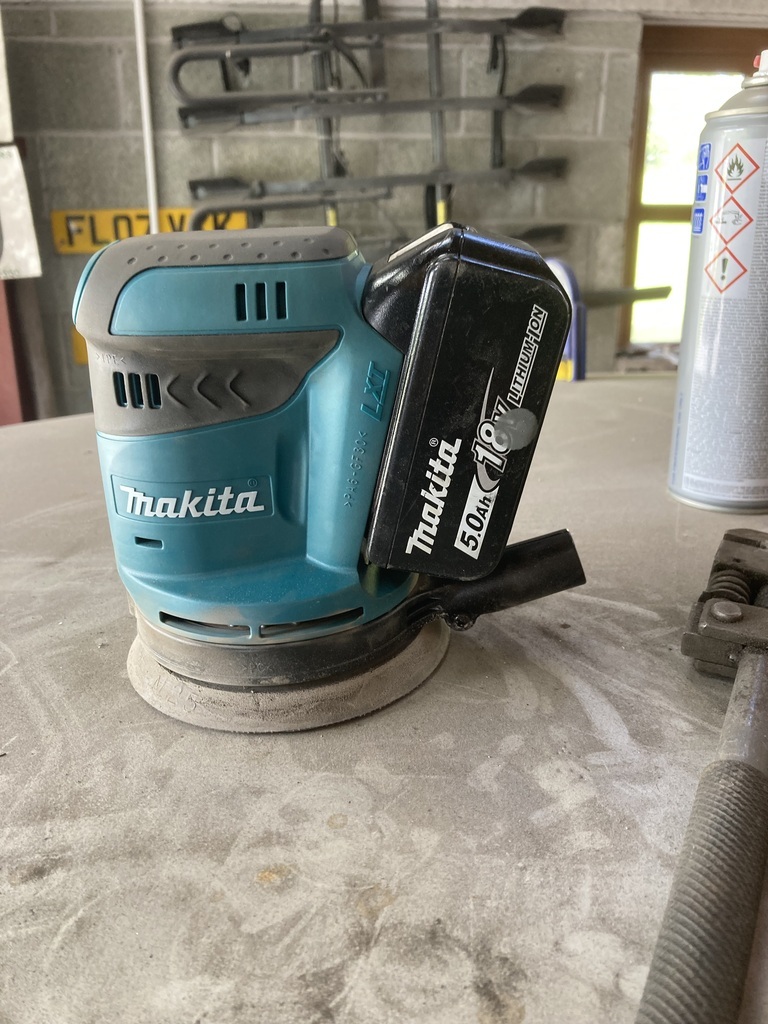 |
| |
|
|
teaboy
Posted a lot
   Make tea, not war.
Posts: 2,125
|
|
Jul 29, 2023 20:26:50 GMT
|
|
Nice work on the good door, dude.
I'm terrified of heights but I love those rope in the trees things for some bizarre reason.
|
| |
|
|
|
|
|
Jul 29, 2023 22:46:54 GMT
|
Nice work on the good door, dude. I'm terrified of heights but I love those rope in the trees things for some bizarre reason. I don’t like going up a ladder, but I did this thinking it looked ok - from the floor. As soon as I went up I was petrified. It did get easier as I went along though. |
| |
Last Edit: Jul 30, 2023 9:29:37 GMT by jonsey
|
|
|
|
|
Jul 30, 2023 15:54:15 GMT
|
Back to the driver wing. I played with this a few weeks ago and was happy with it, but then I realised the wing to bonnet gap tapered off to the back. 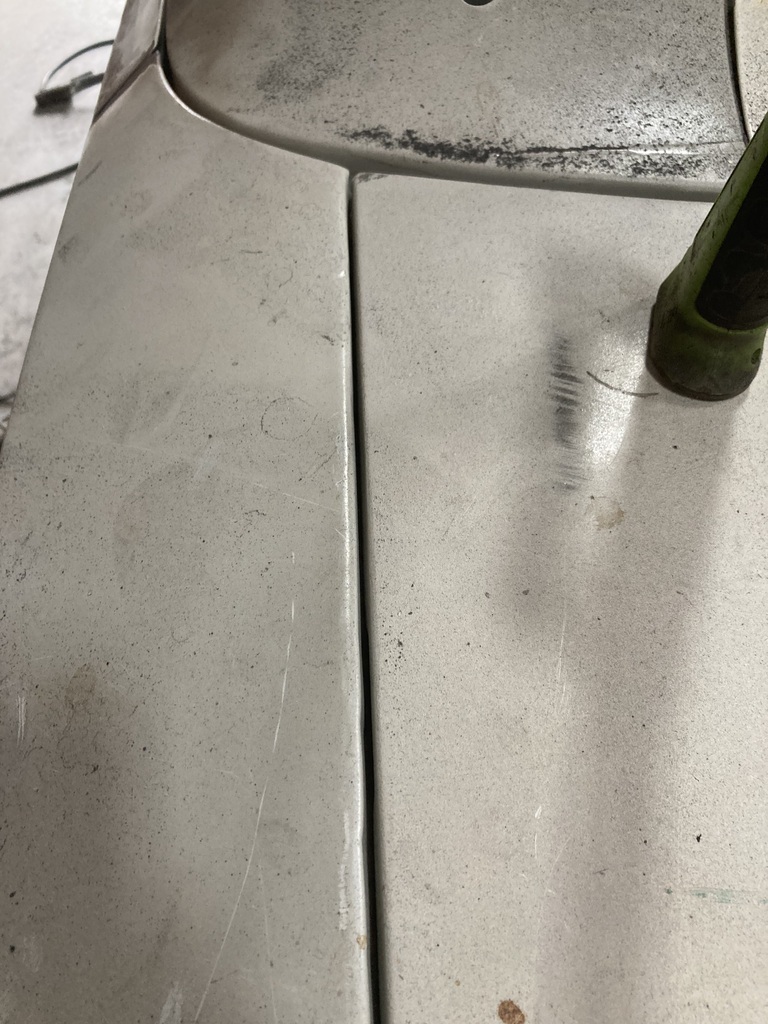 So I put a cut in it 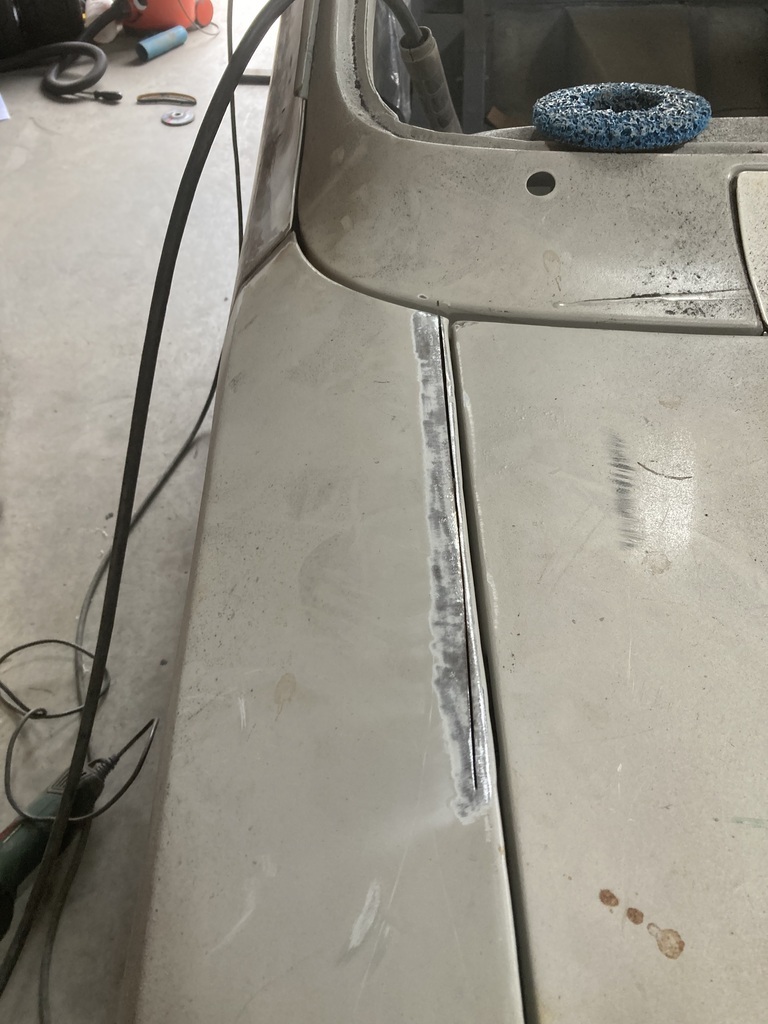 Then tacked it together and thought it needed more cutting 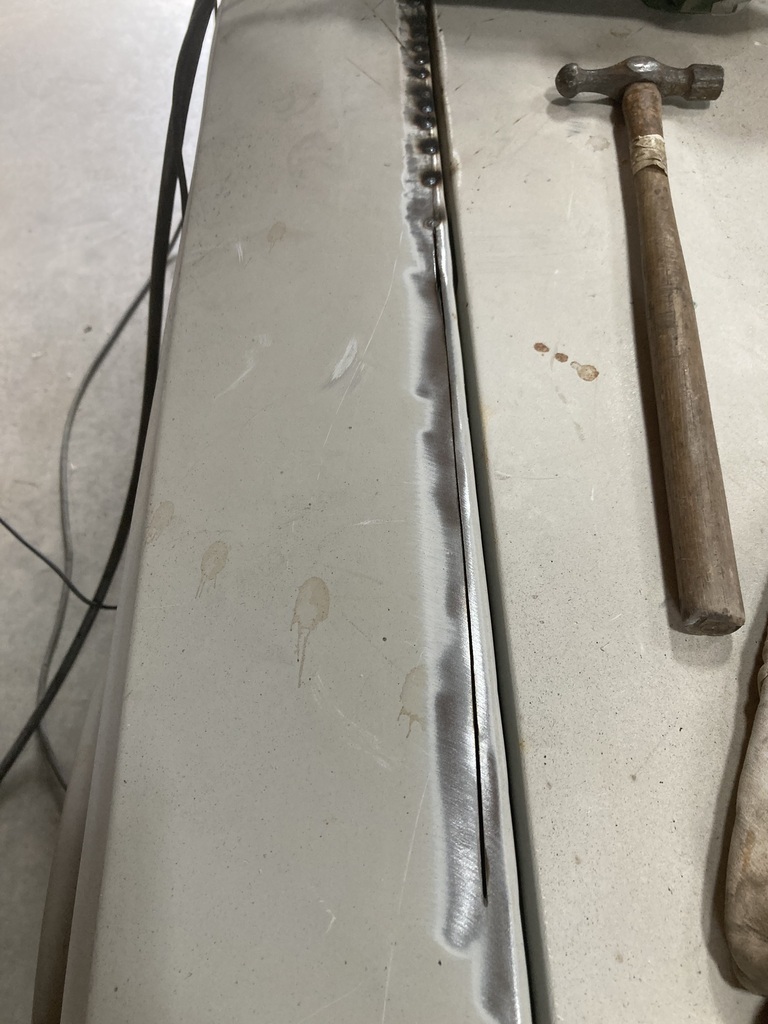 Tacked that back together 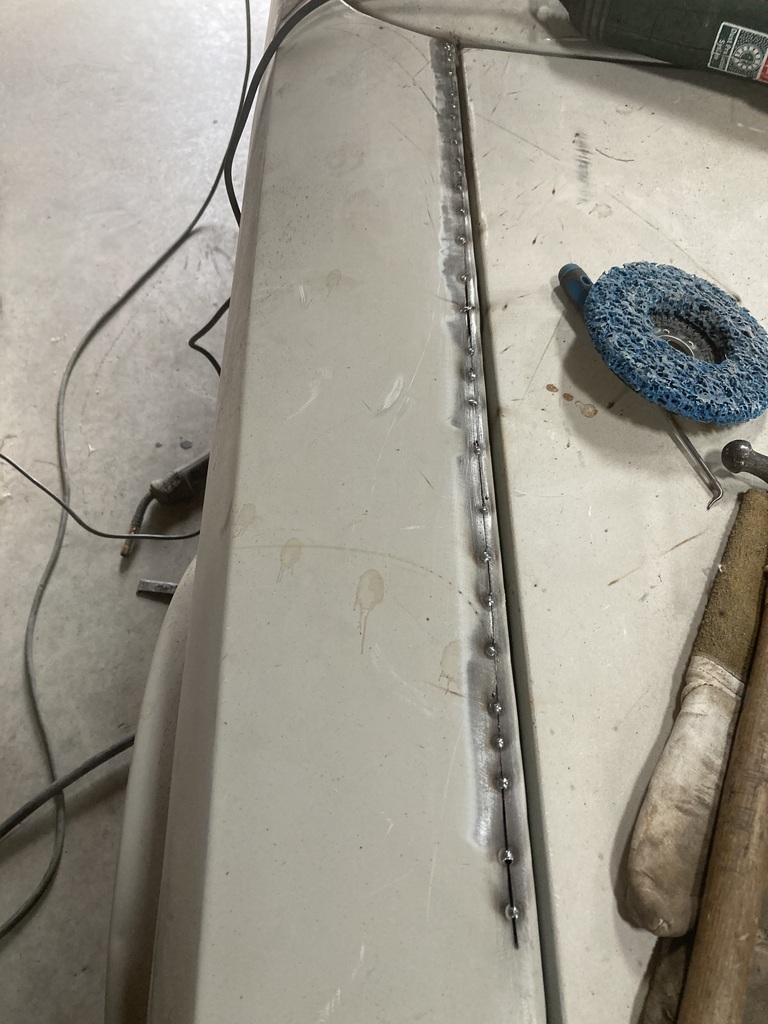 Fully welded it 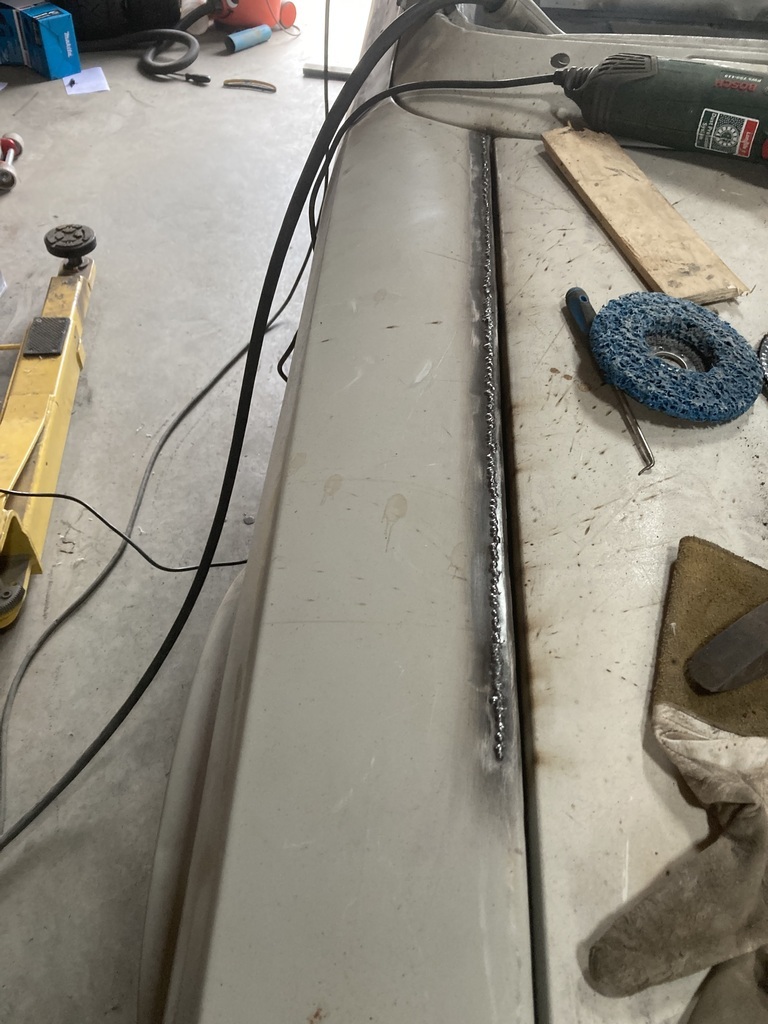 Forgot to take a photo of it ground back at the time to show the gap, so here is a photo with some primer on later 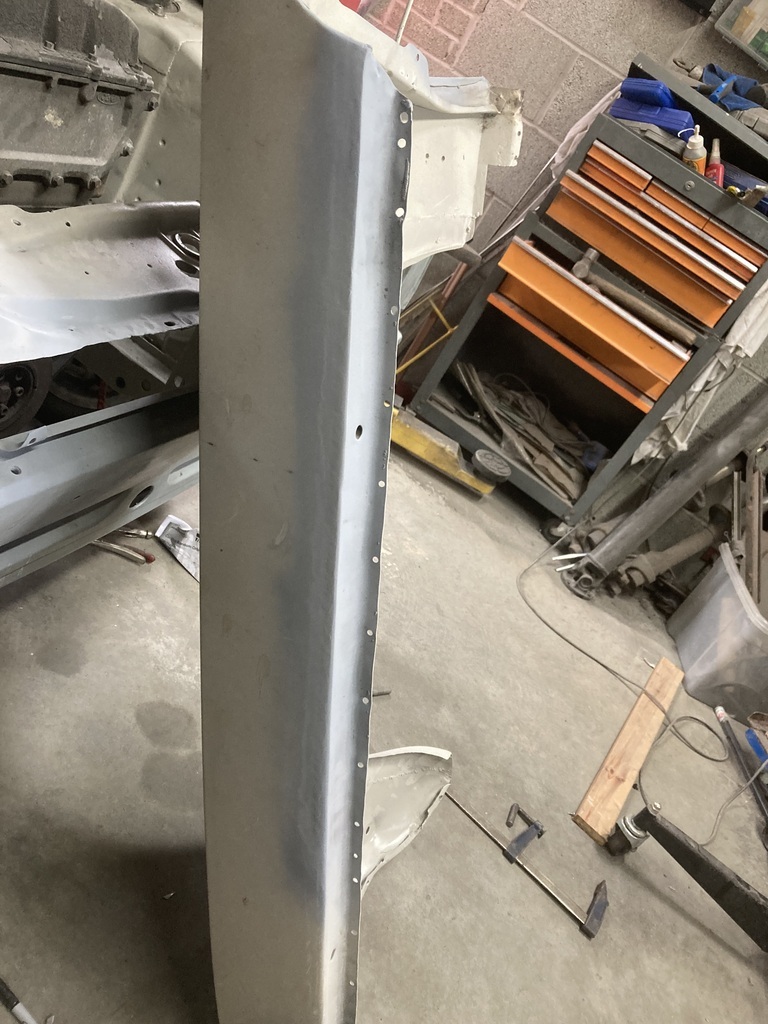 So back to the door, there was one bit of rust left in the top of the door skin where the weather strip sits 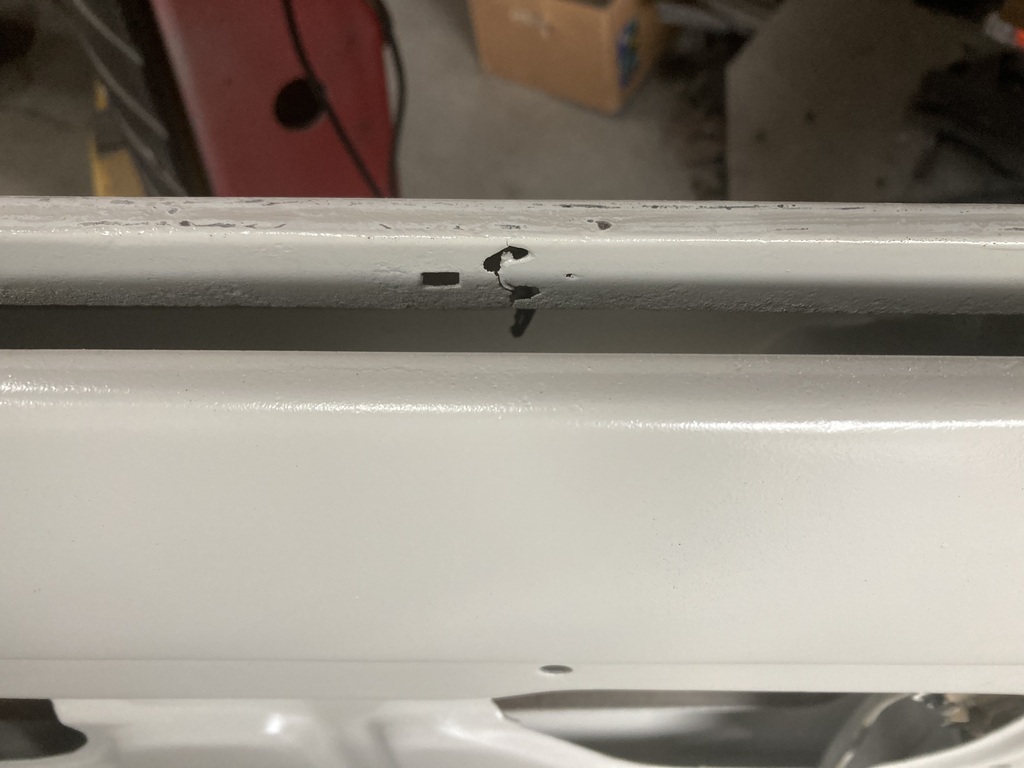 Ground the grot out by powering through it with the power file as I couldn’t get anything else in there 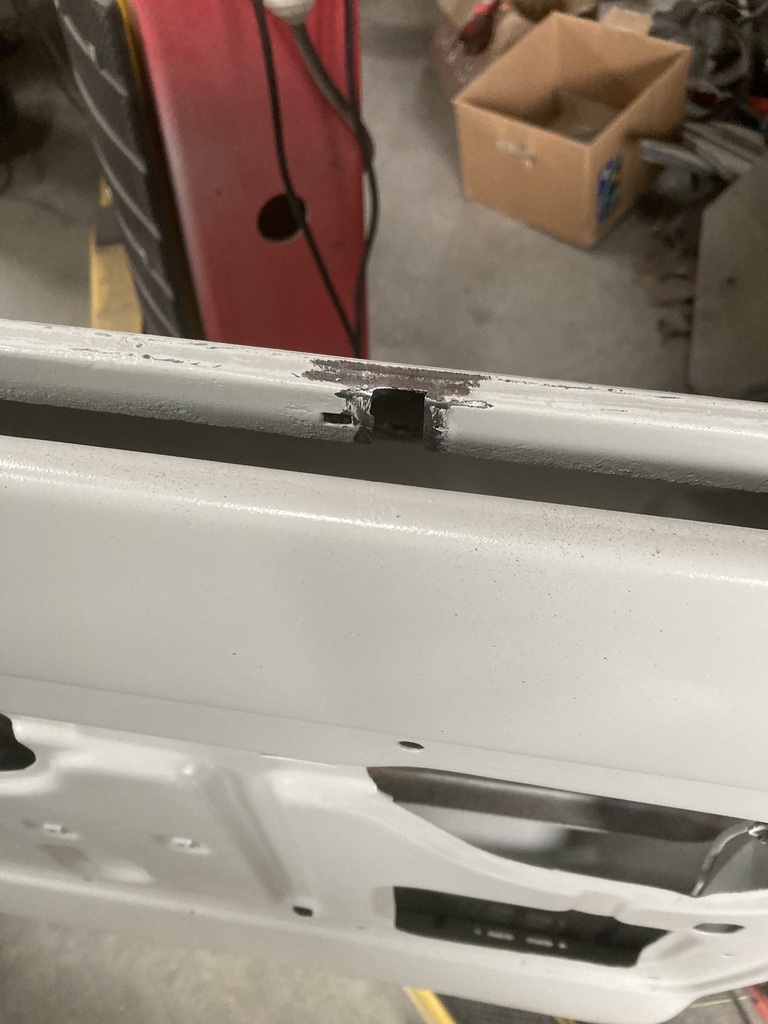 Welded a bit in and didn’t take a photo so here it is ground back 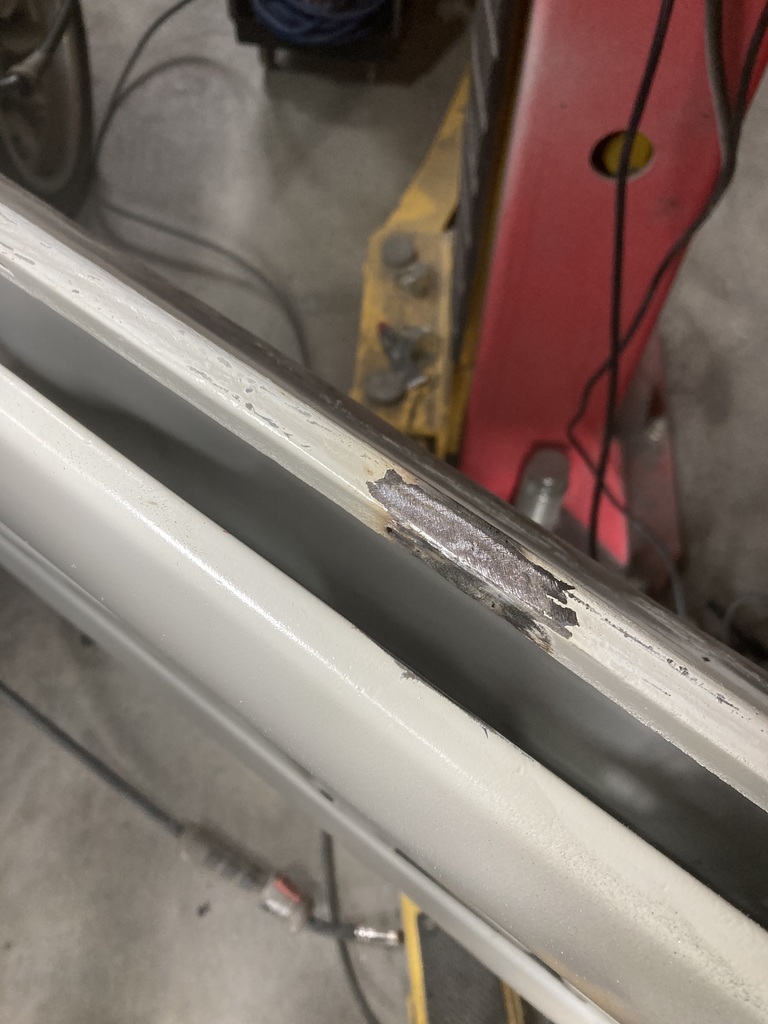 I also plug welded the door skin to the frame but didn’t get a photo of that either. Front panel was next. I wanted to finally weld it on. Everything got lined up first to check for fitment. 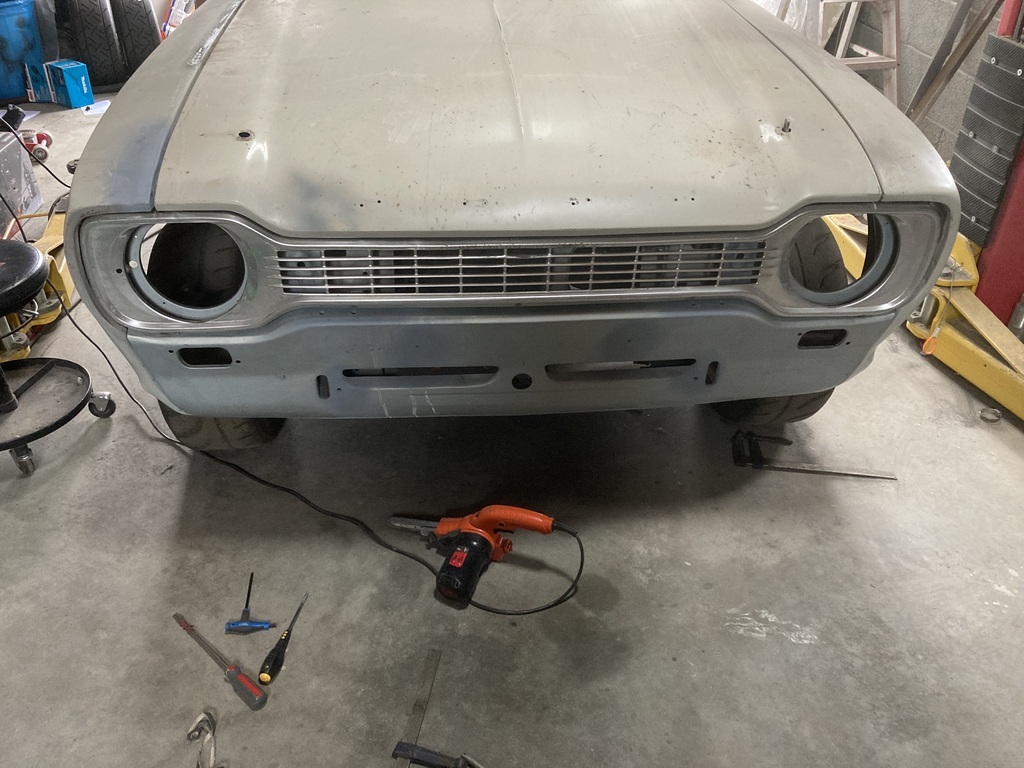 And then everything got dismantled. 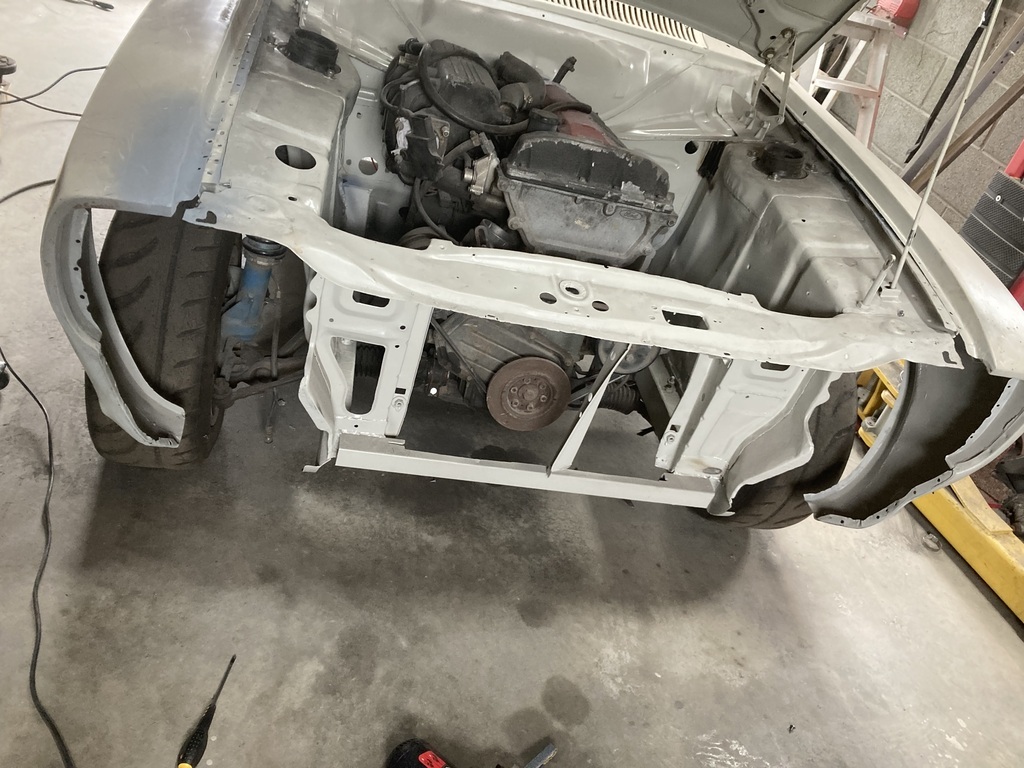 The panel was sitting slightly low. There were some parts at the top of the front panel that were sitting a bit proud where it meets the slam panel, so these got tapped down. Having a brother with a car restoration business has its benefits. I wanted to spot weld the front panel on so he brought this over. 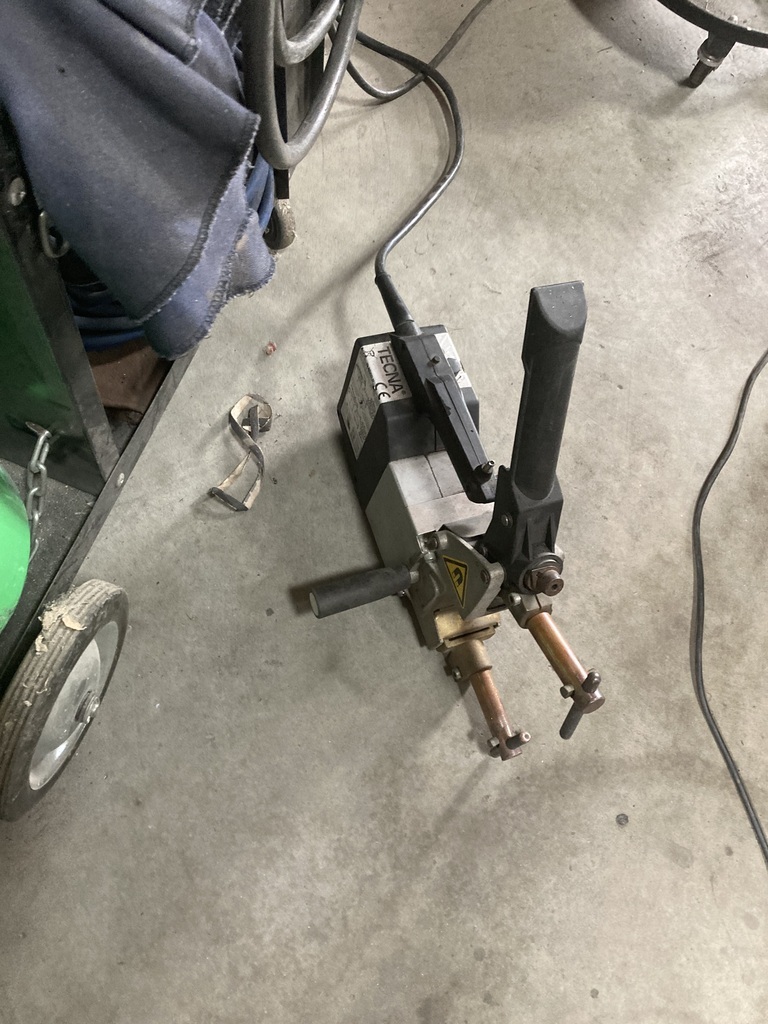 We did a few test welds to get the settings right and to check if it would weld nicely through the Halfords weld through primer 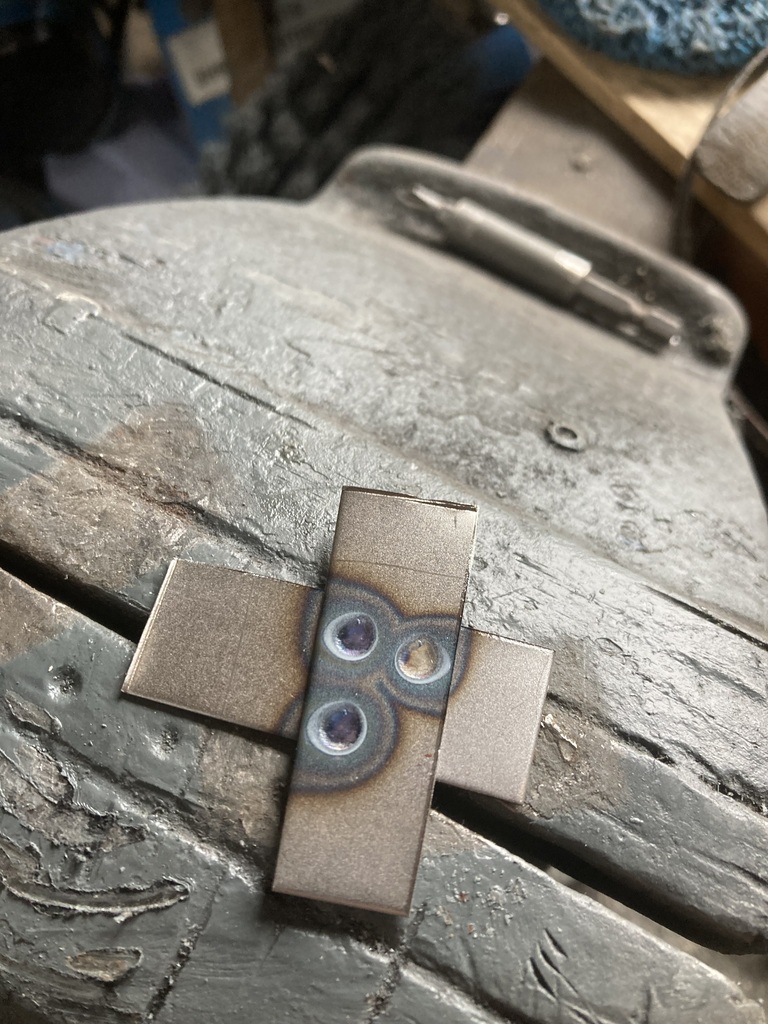 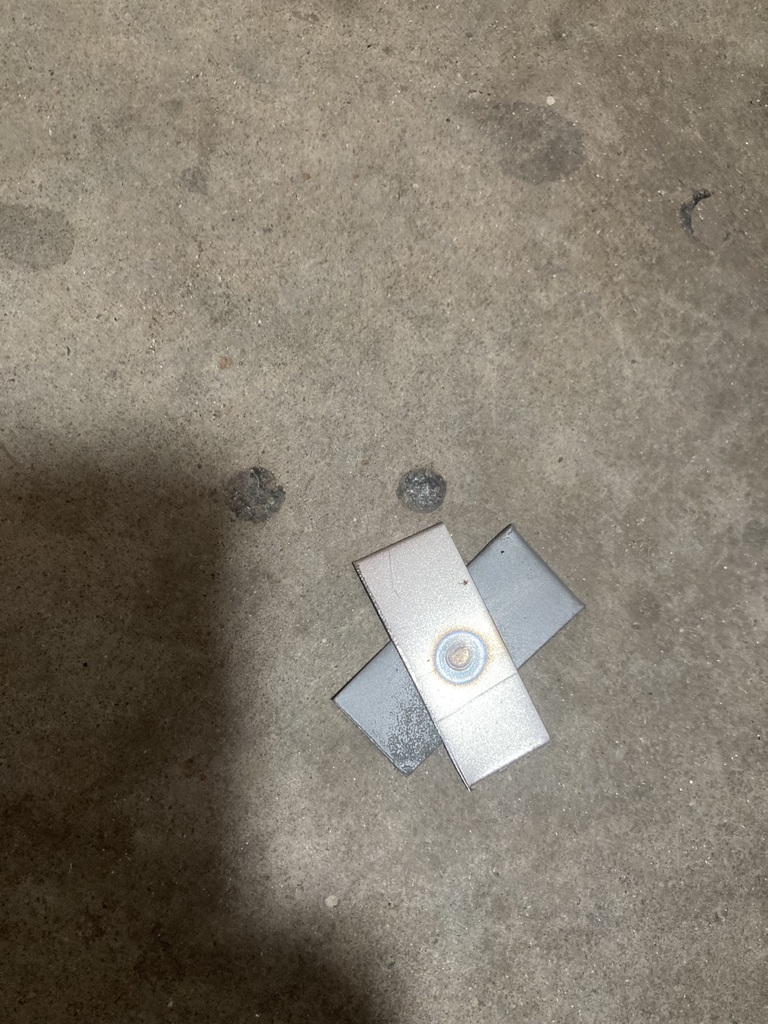 Which it did. So we welded the panel on starting from the top and working our way down. Happy with that. 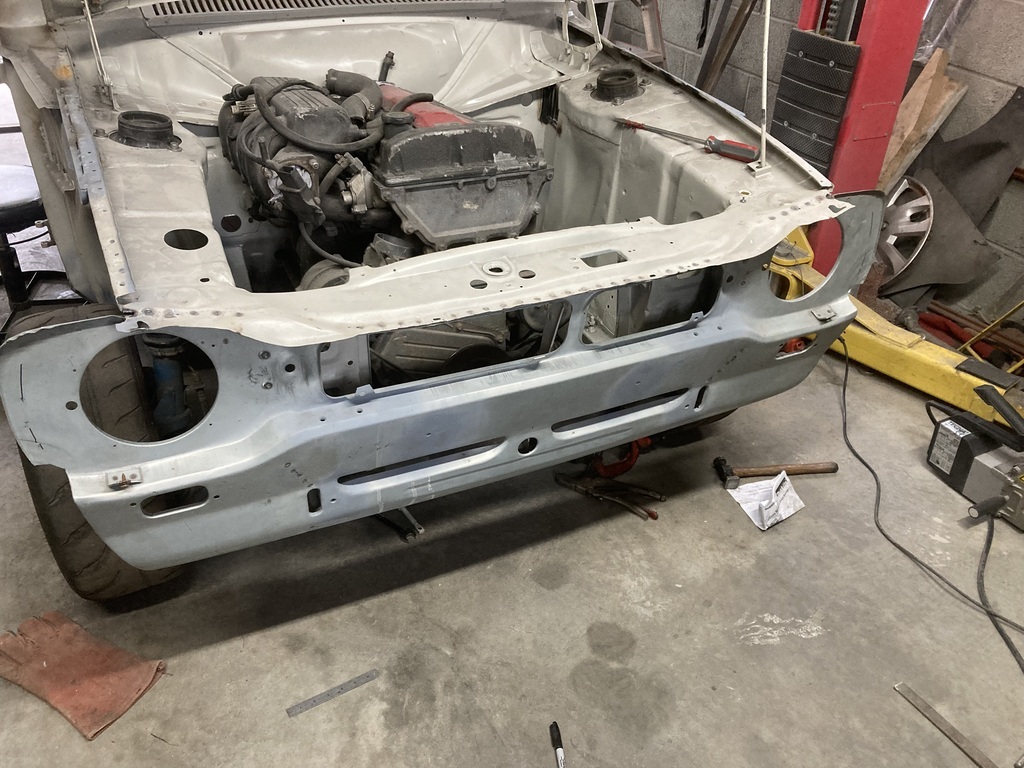 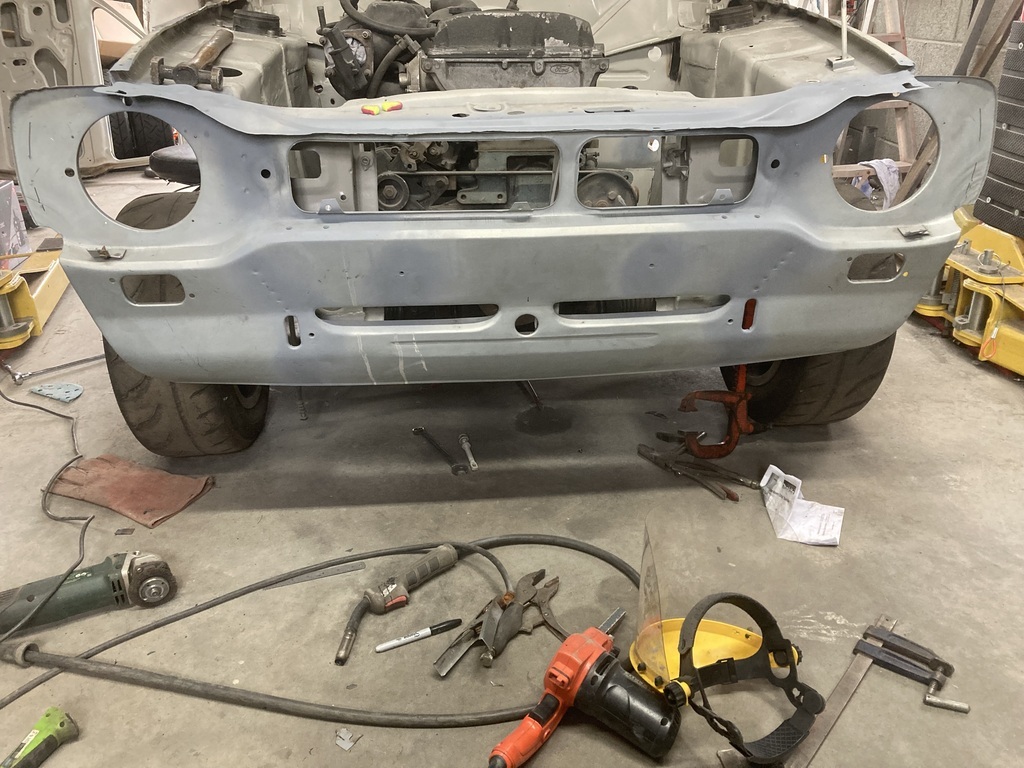 It even looks factory with the visible spot welds 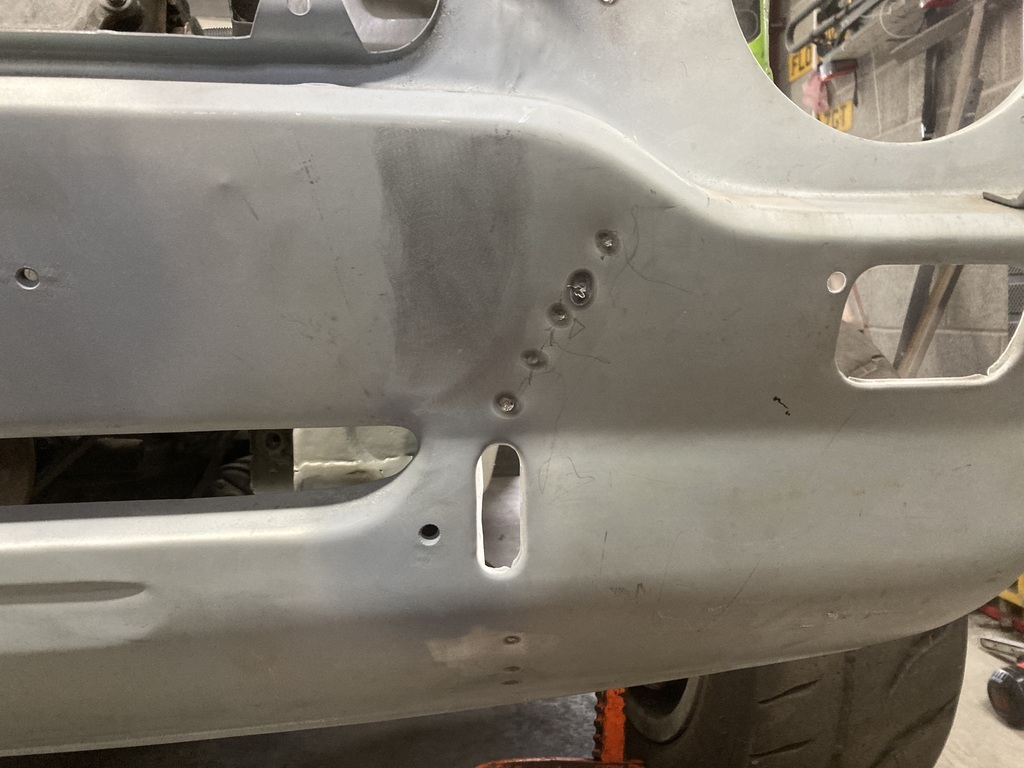 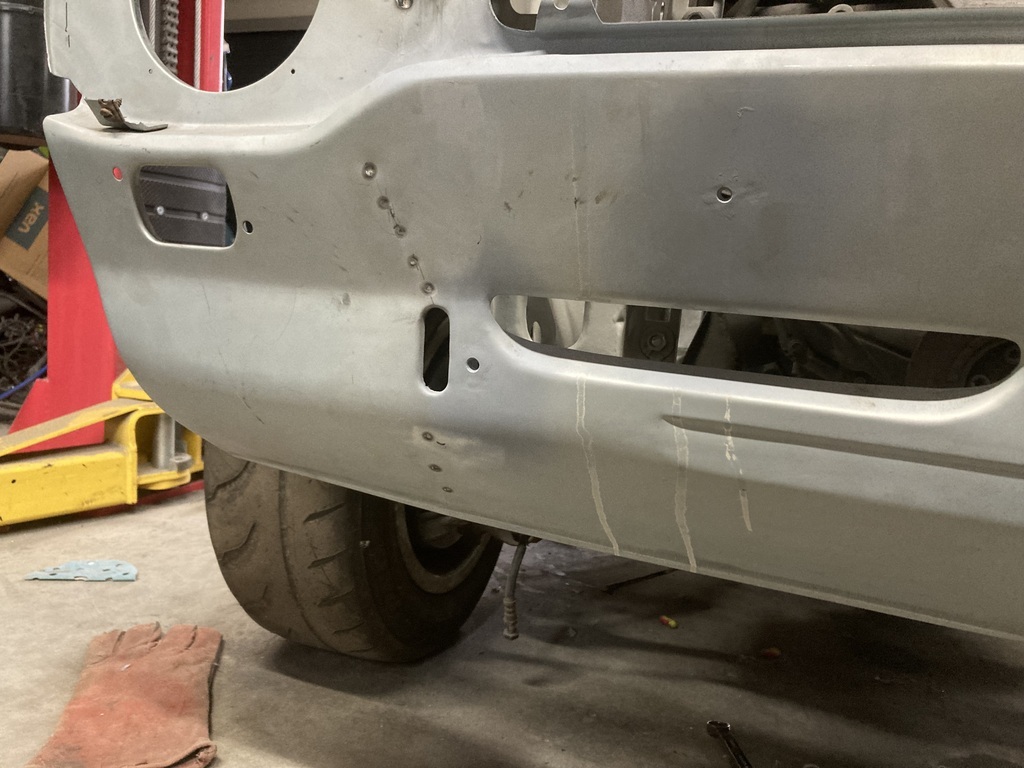 Don’t know if they’ll get filled during the paint process though. I was happy with it looking like a car again yesterday, but now it look like this 😩 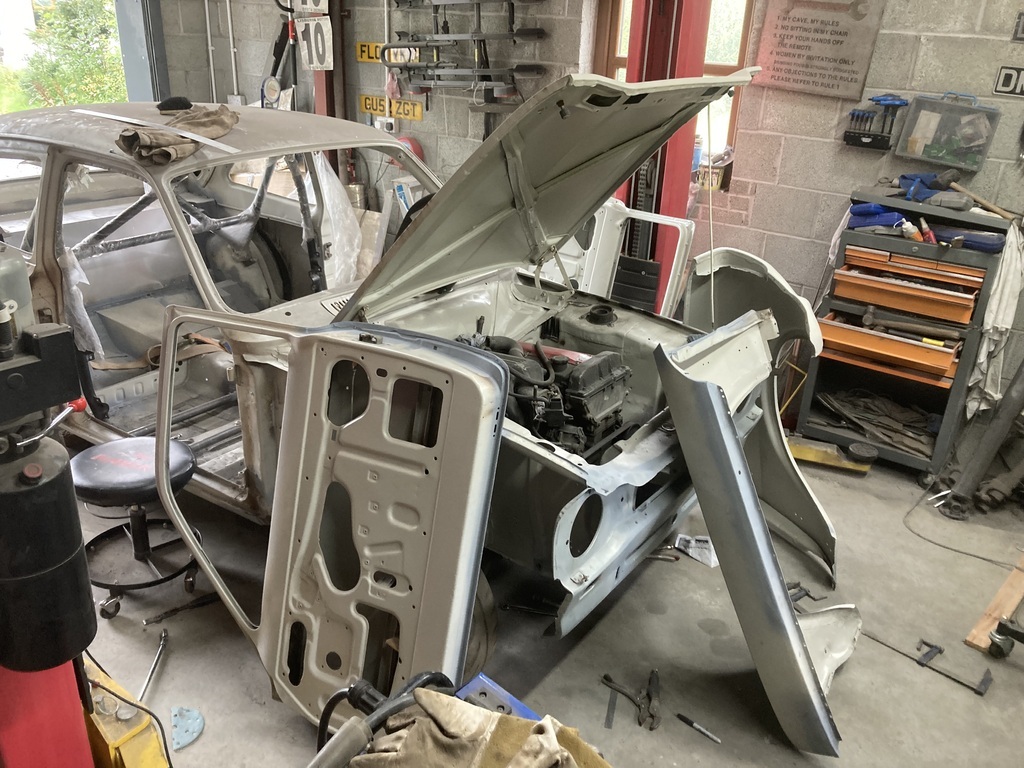 |
| |
|
|
|
|
|
Jul 31, 2023 16:29:37 GMT
|
Another day in the garage. Not a lot done, but it did take me all day to do it. Passenger door rear, more grot 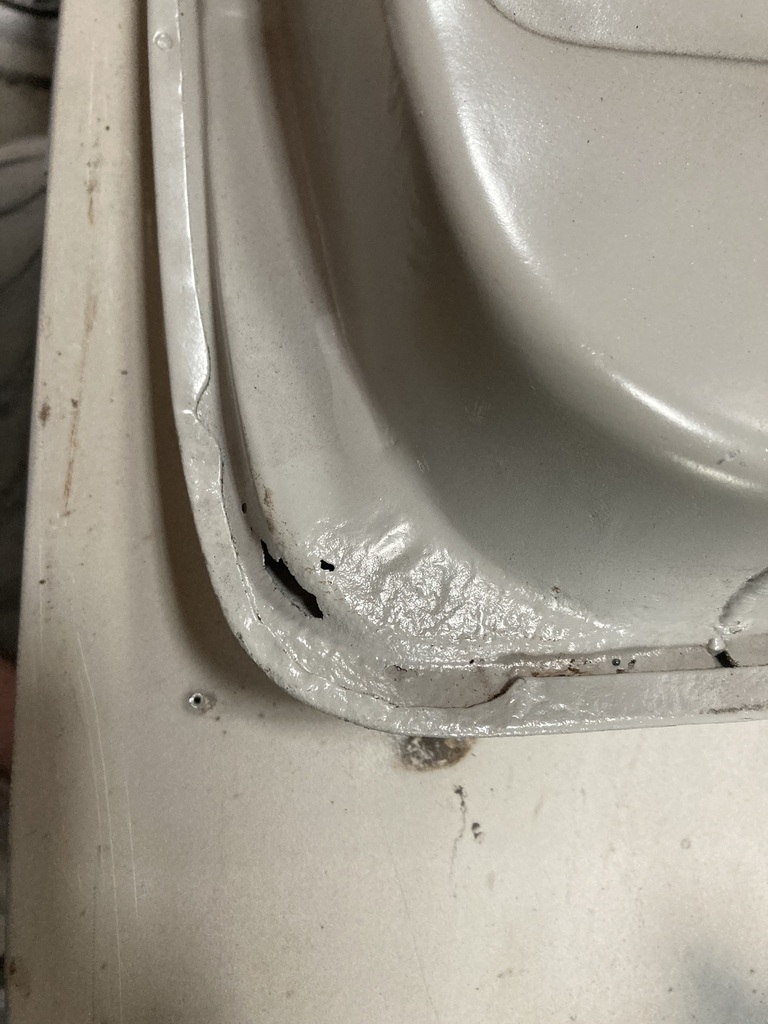 Cut out a bit and unfolded the skin. It was easier to unfold with the grot gone. 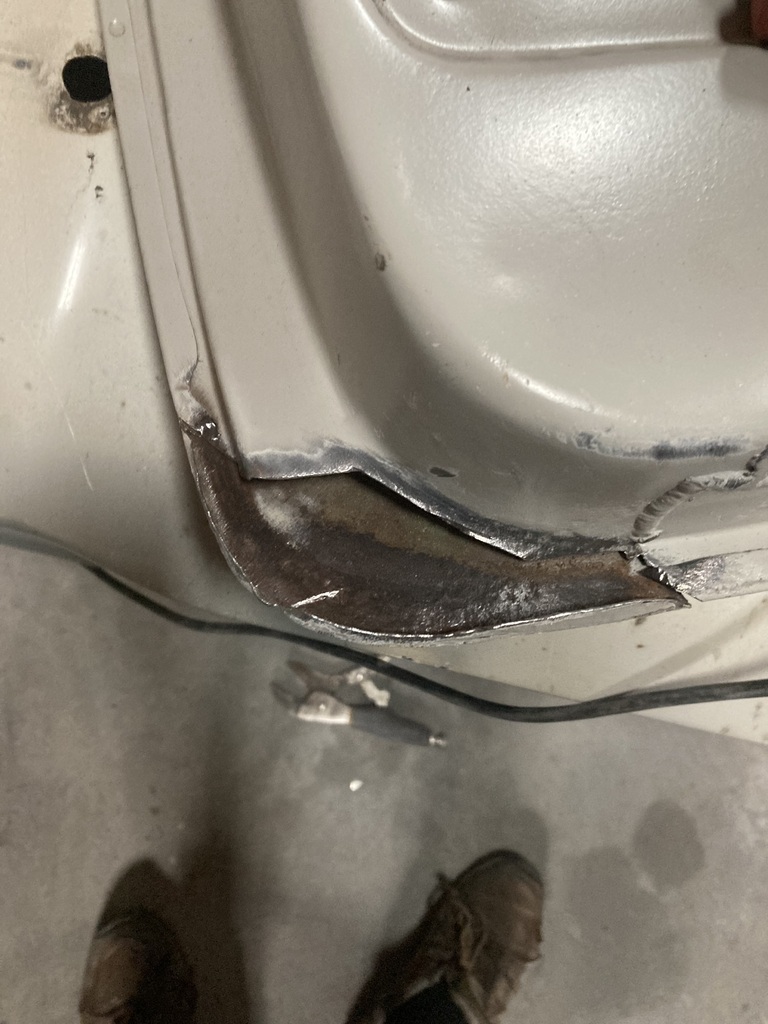 Made the lip section 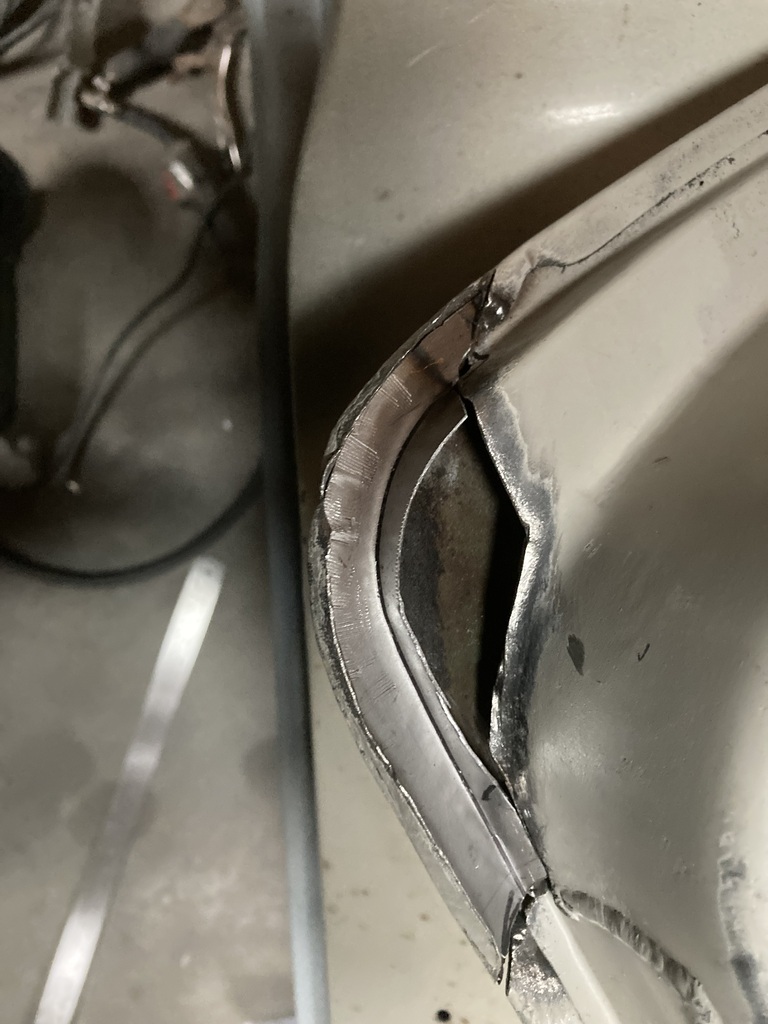 And welded it 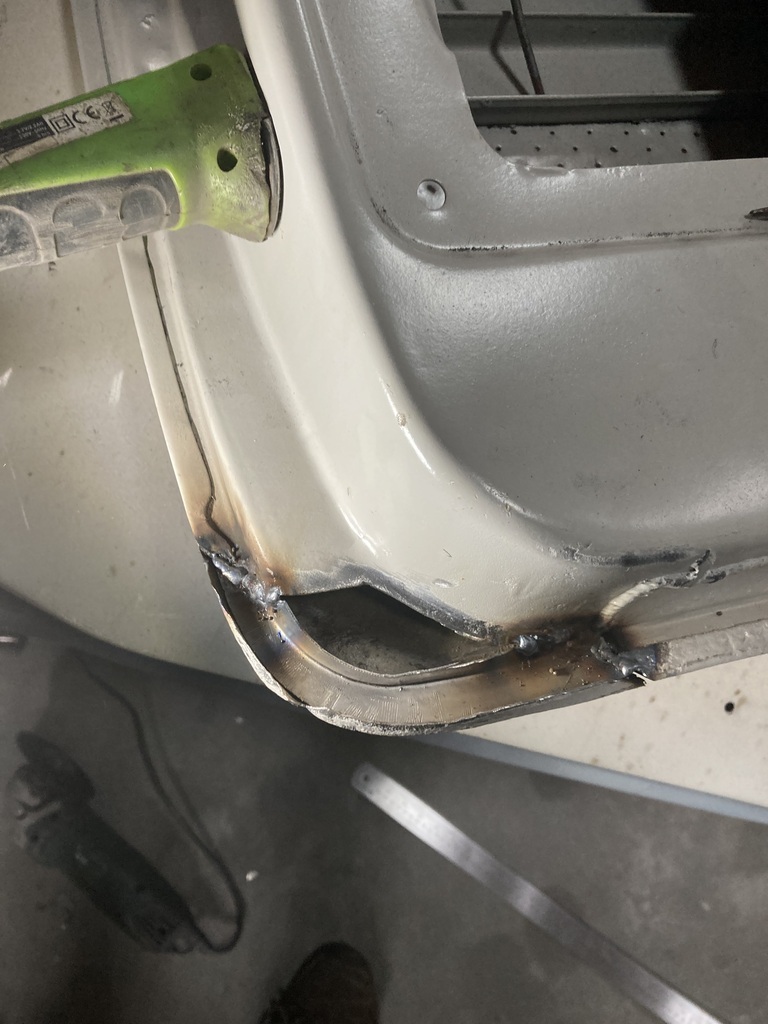 Made a top section, tacked it in and folded the skin back around 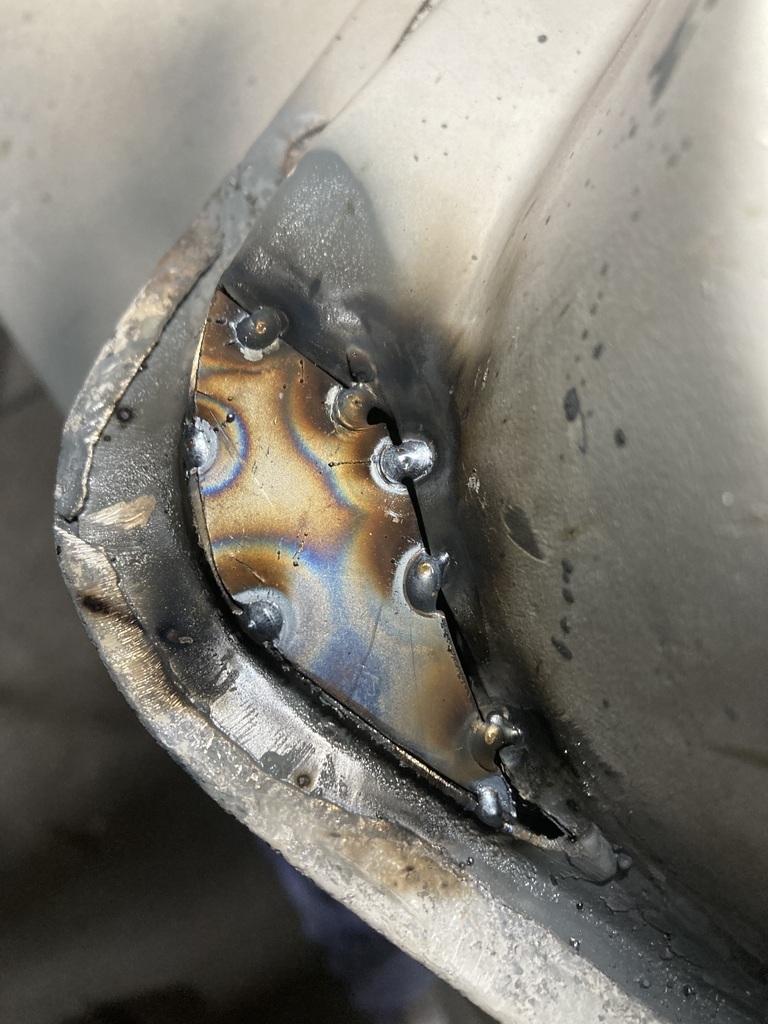 The fully welded it and ground back 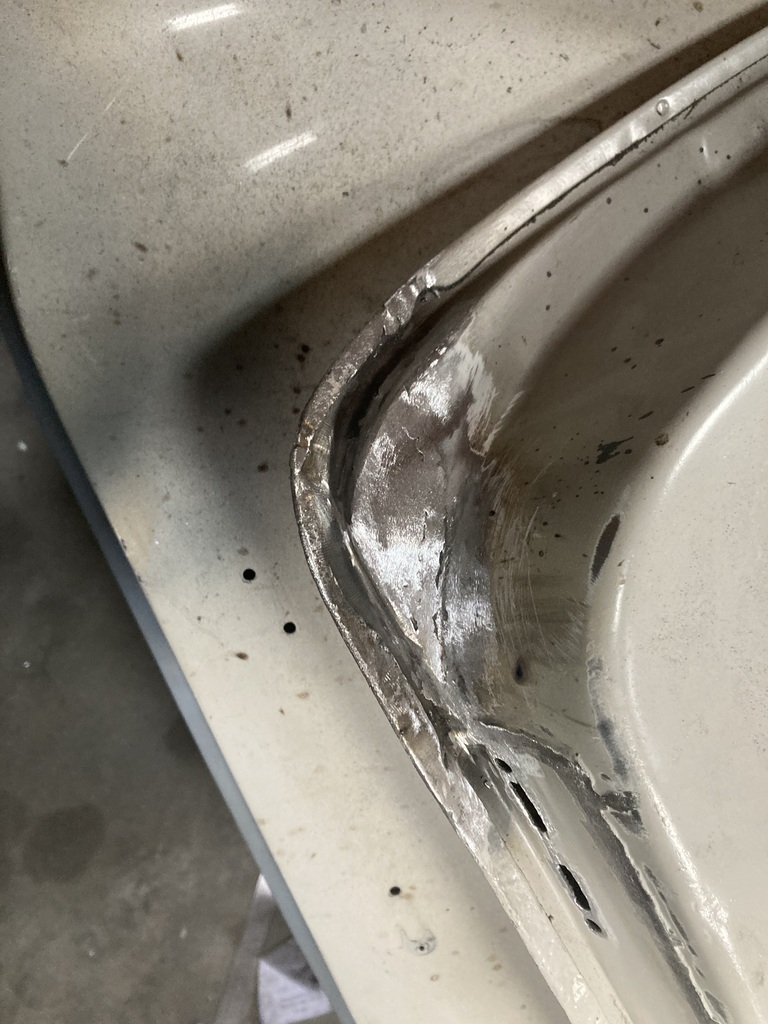 The front had a couple of pin holes 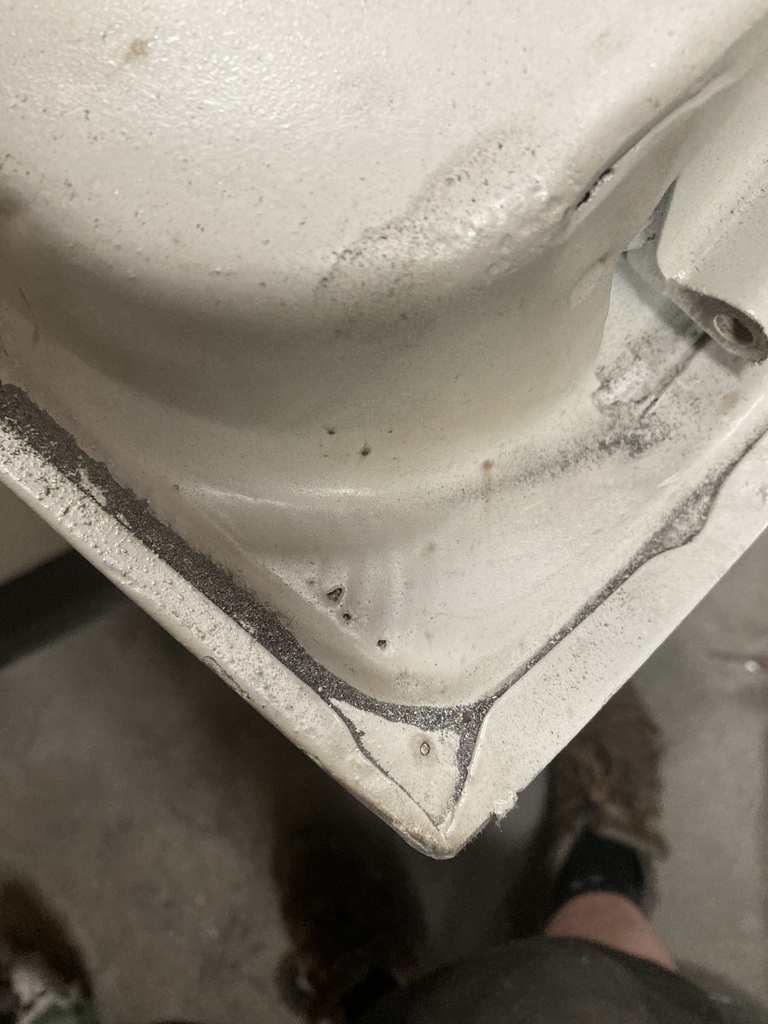 Grot cut out and a new bit welded in 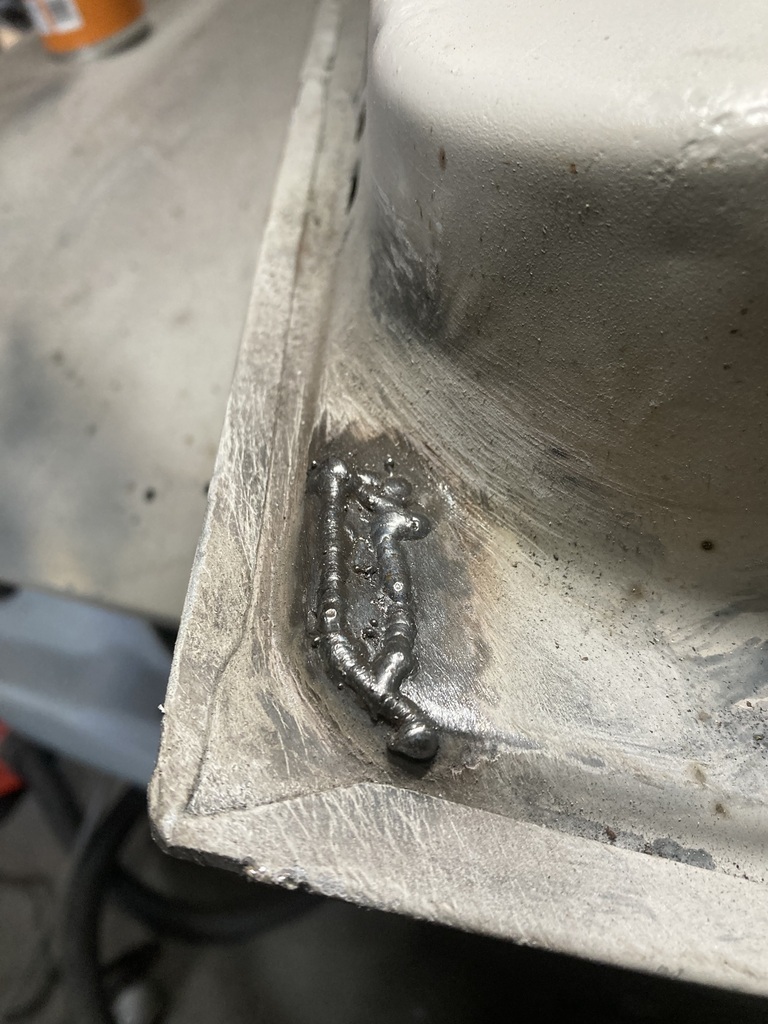 And ground back 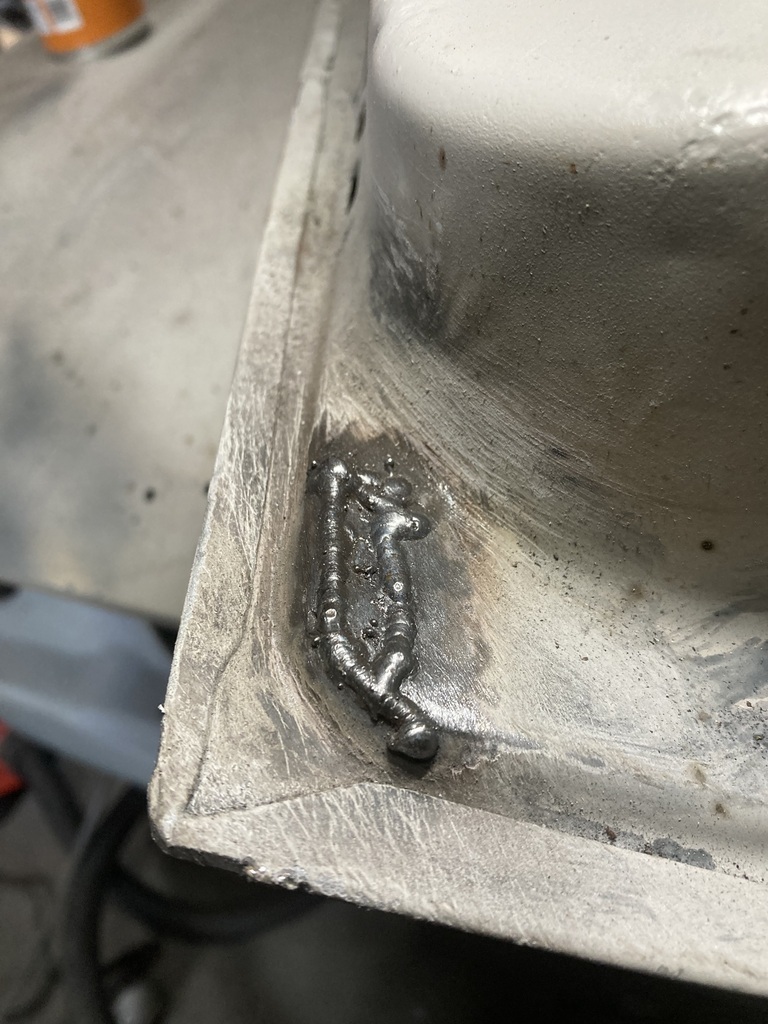 I had repaired this door bottom lip back in 2006 and had not ground the welds back. It had also been welded on with a slight overlap. Perfectly acceptable then, but highly frowned upon in this day and age. Should I cut it out and redo? No. I just ground the weld back and added a bit of primer. #not a restoration. 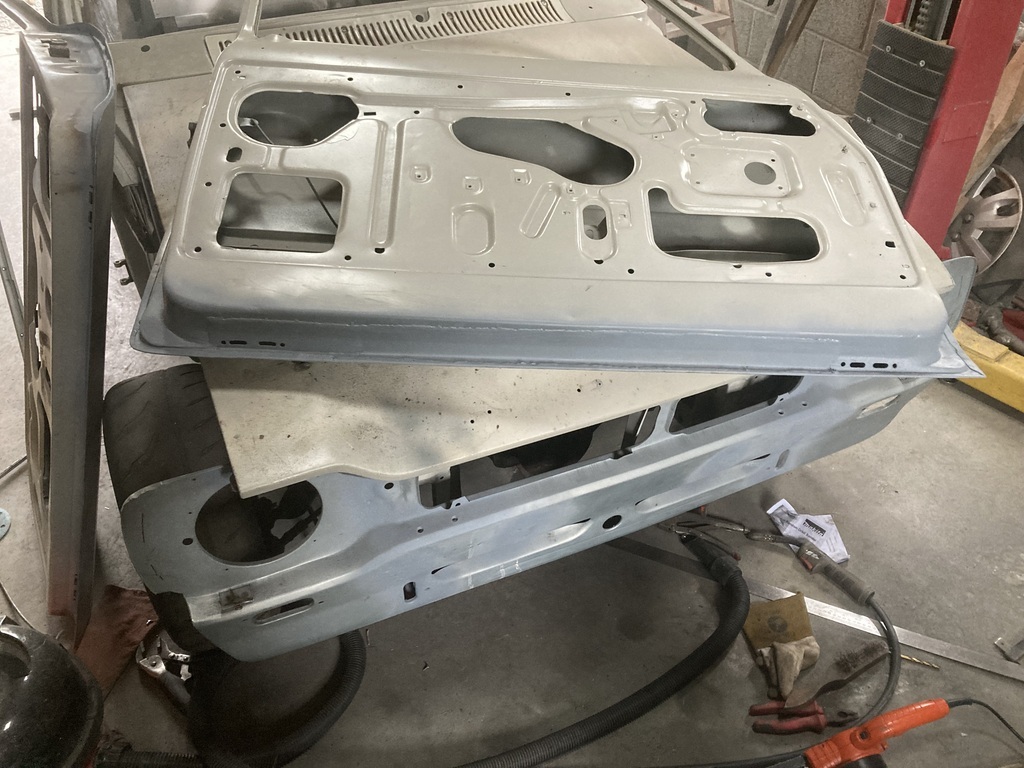 The driver door and wing got rehung. The top kicks out slightly and the bottom kicks in. 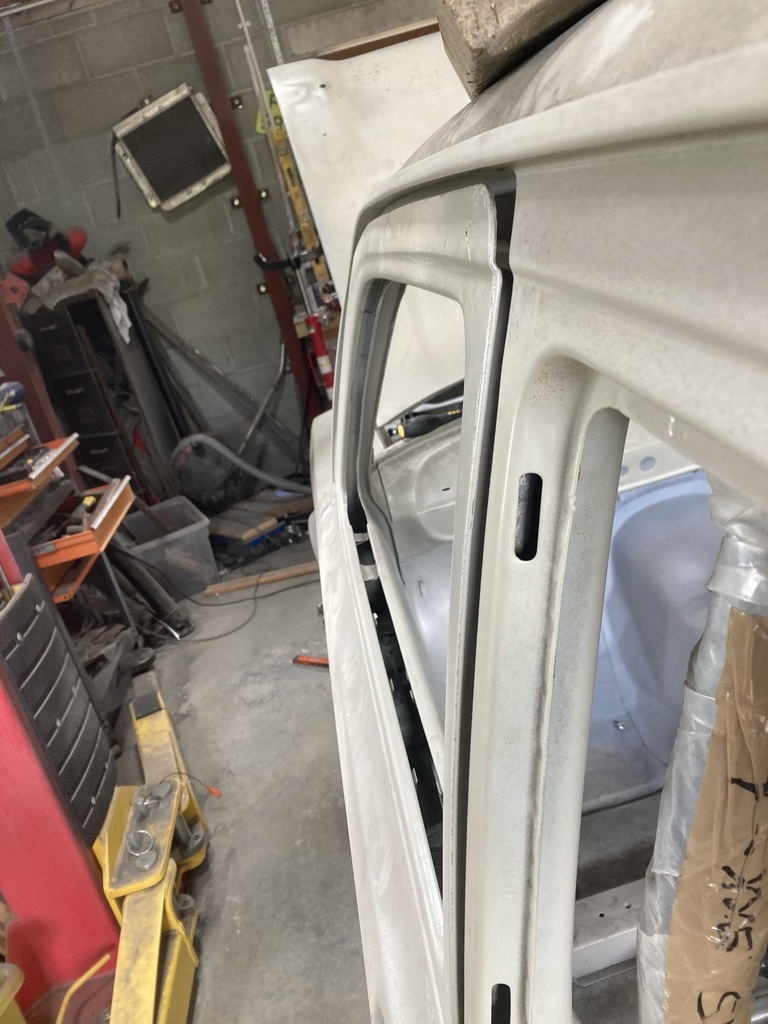 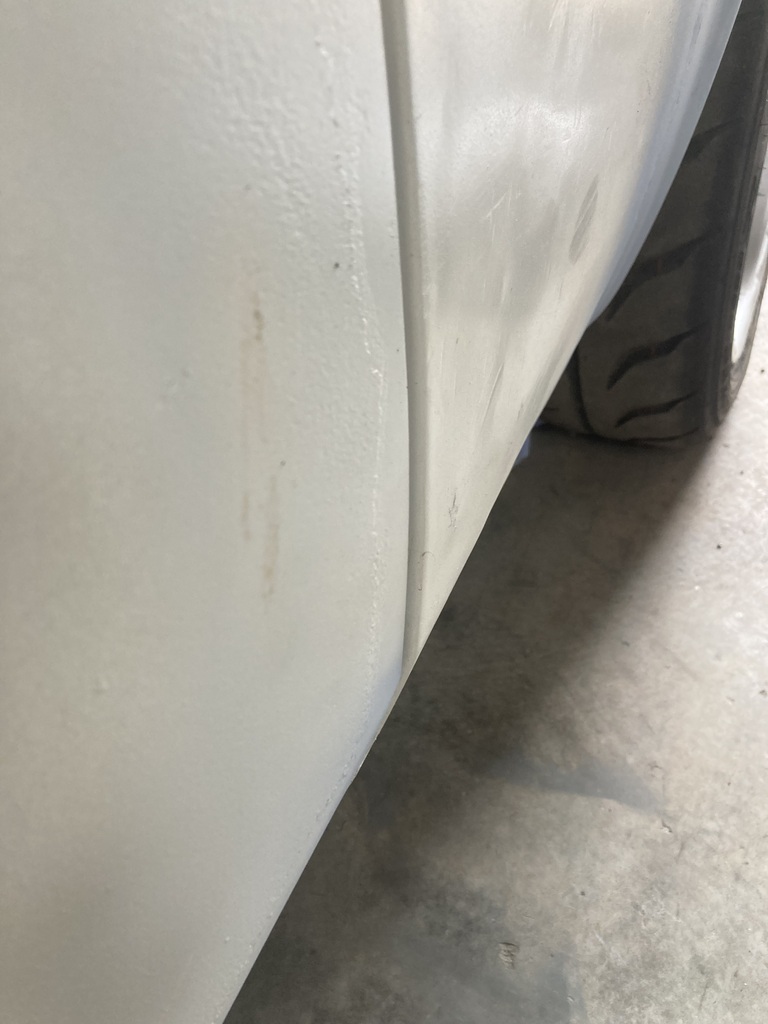 I put a bit of 4x2 wood in the rear bottom of the door and gave it a bit of a push closed at the top. After a few goes I had this 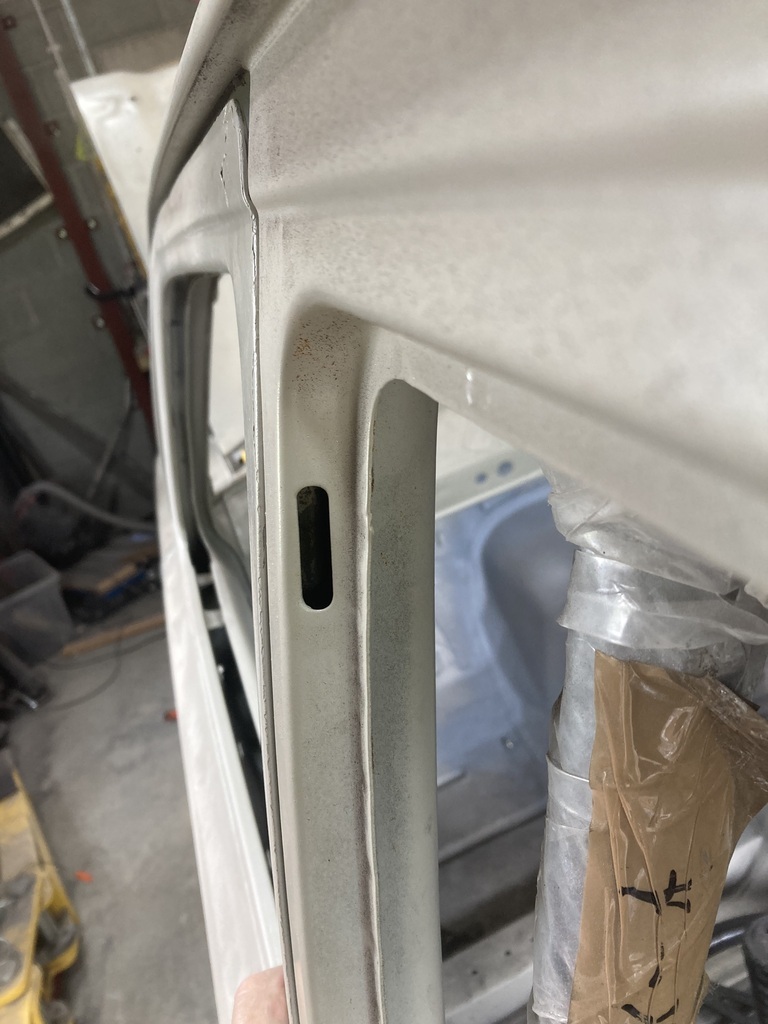 The door to wing gap looked ok except for one tight bit on the curve 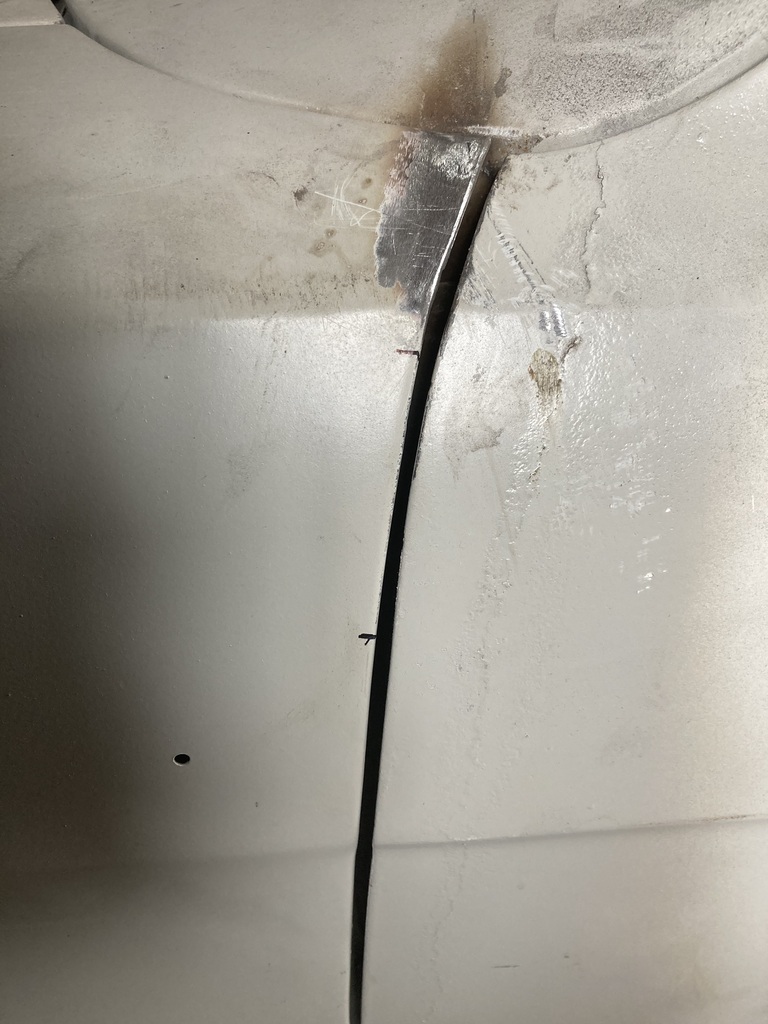 Ground it back and rewelded it 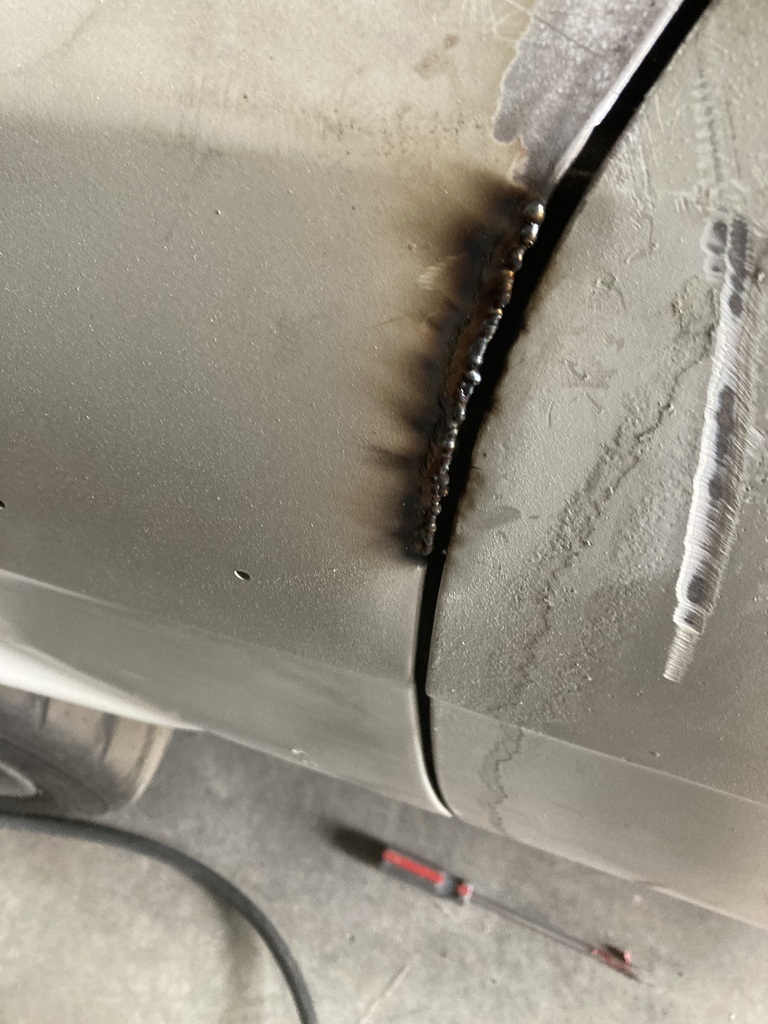 Then ground it back again 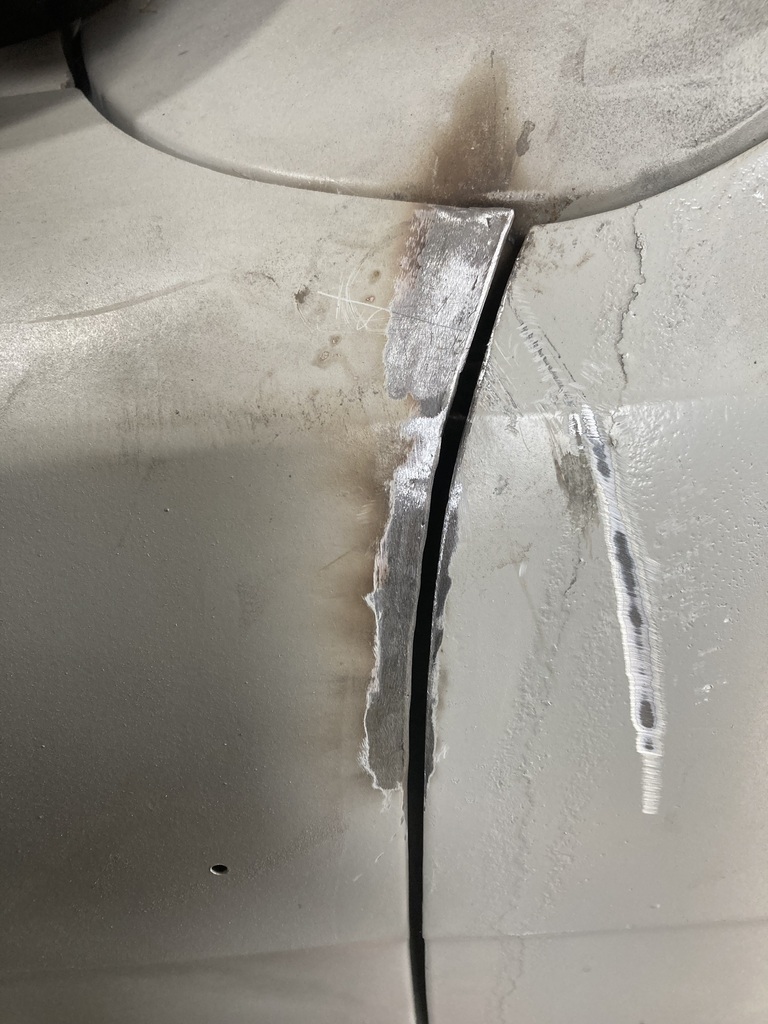 And that was that no time left Just noticed wrong photo for front door repair 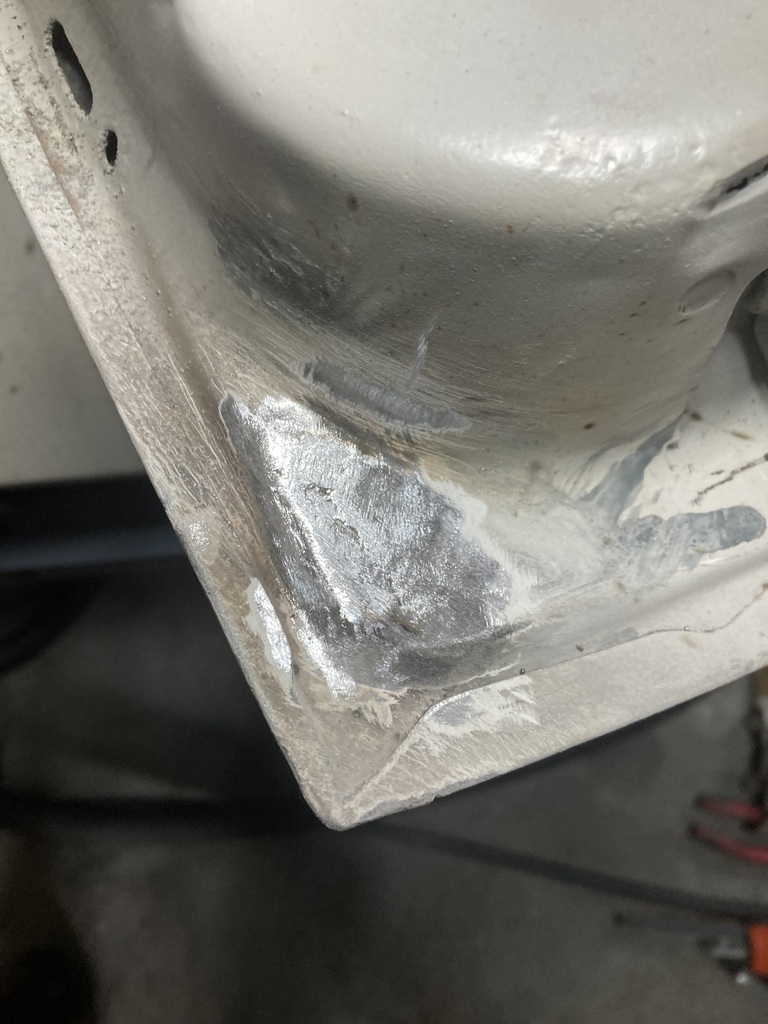 And missing photo of new door / rear quarter alignment after 4x2 “refinement”. 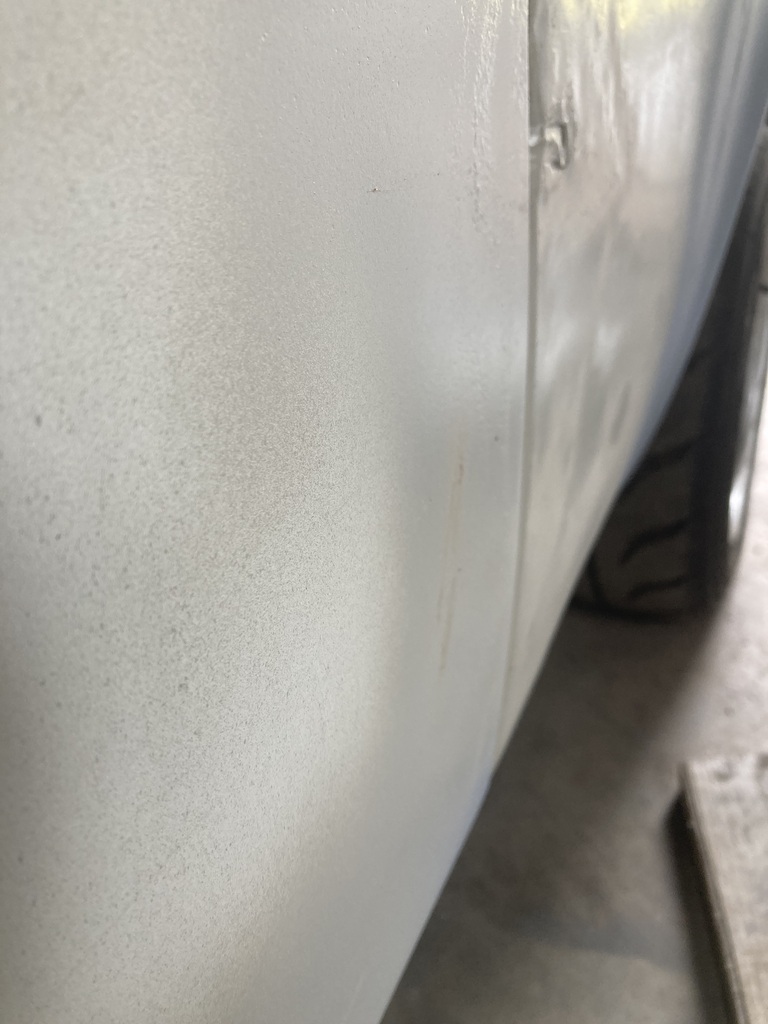 |
| |
|
|
|
|
|
|
|
After mowing the grass and chopping up 2 jumbo bags of decking for the log burner, I couldn’t be bothered doing anything on the Escort. I did pick up all the tools used recently as they were strewn across the garage floor. I even swept up all the grinding dust. I then thought I’d dig out the boot lid as it’s nearly ready for some repair action. 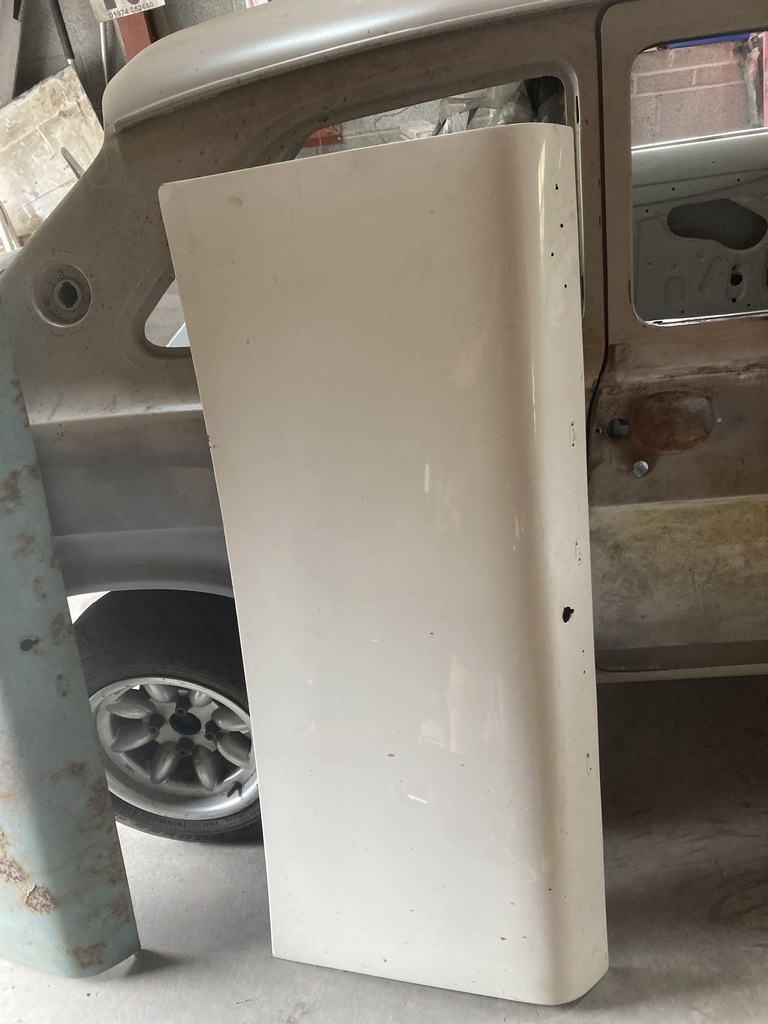 This side wasn’t blasted, I think i did some repairs on the trailing edge back in 2007, but doesn’t look to bad. The other side however: 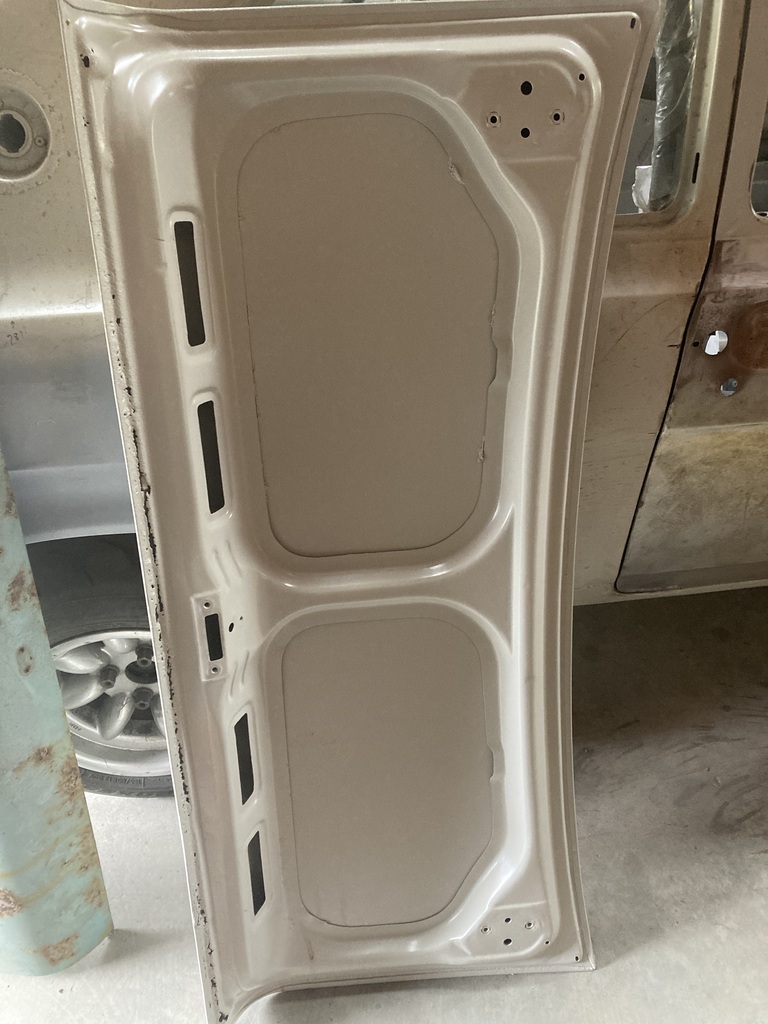 On the whole it’s not too bad, but the trailing edge of the frame is shot along its whole length. 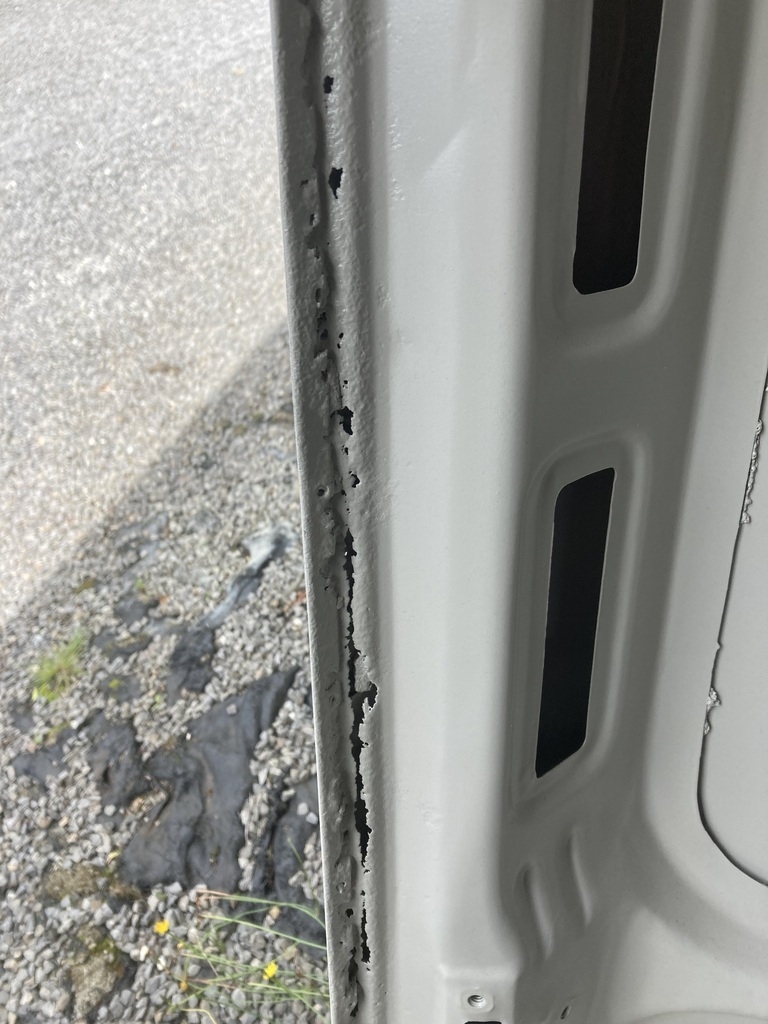 I do have another boot lid though. I paid £10 for this a few years ago. Inside: 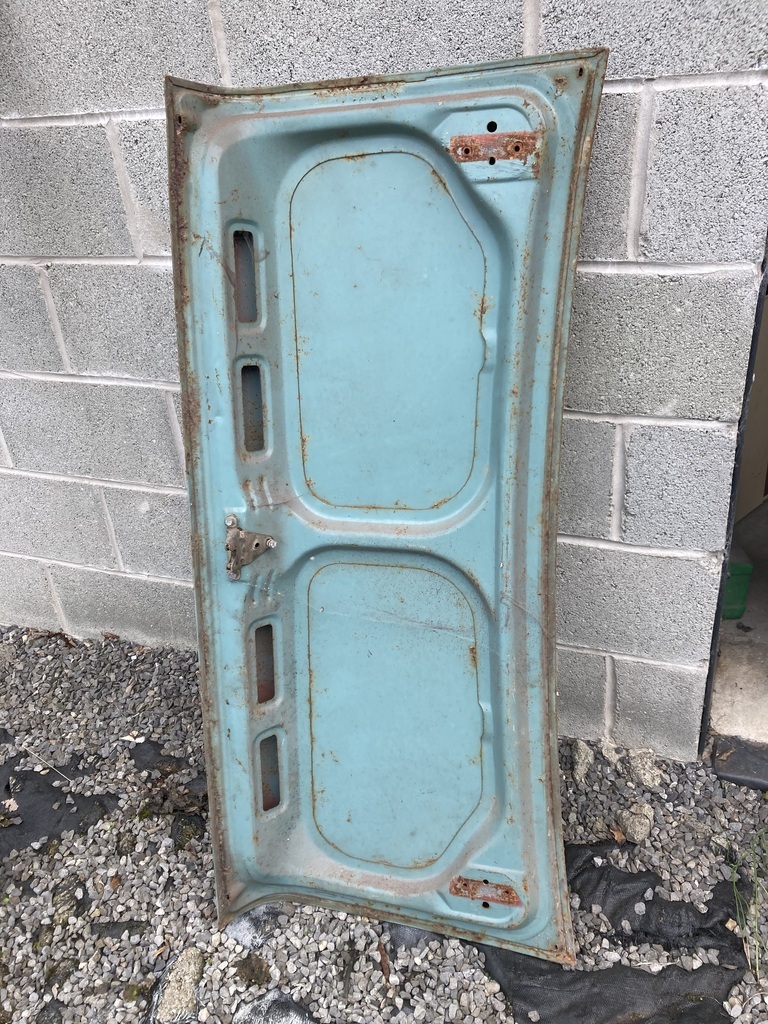 Looks pretty good on the whole. A bit of surface rust here 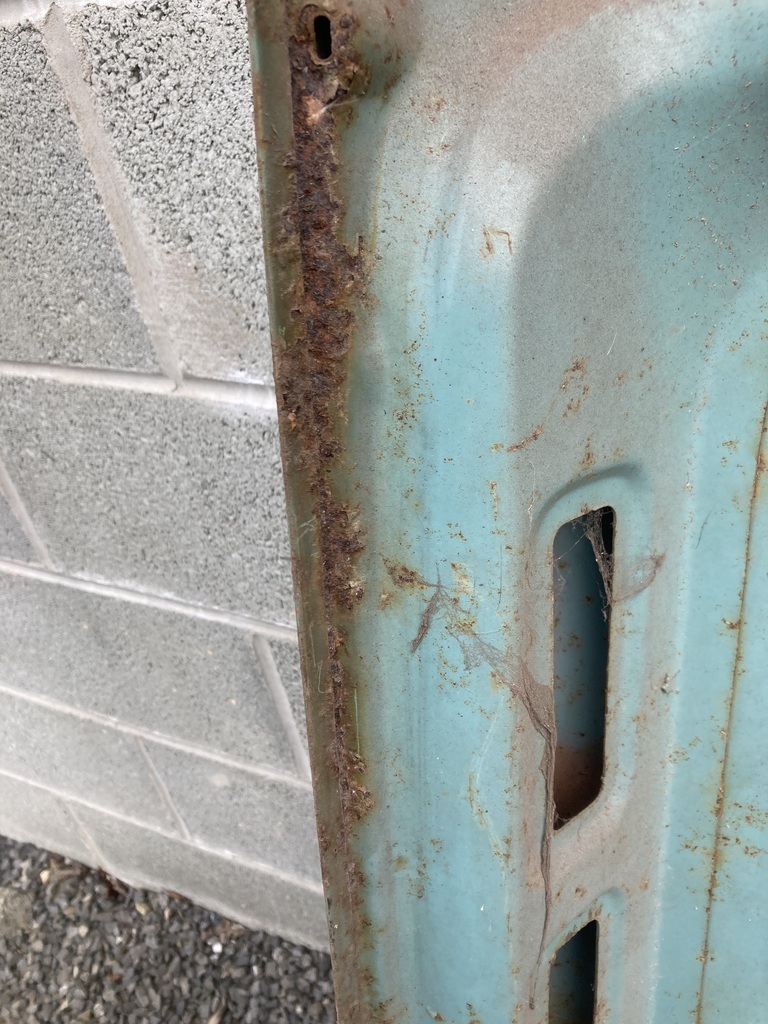 The outside however 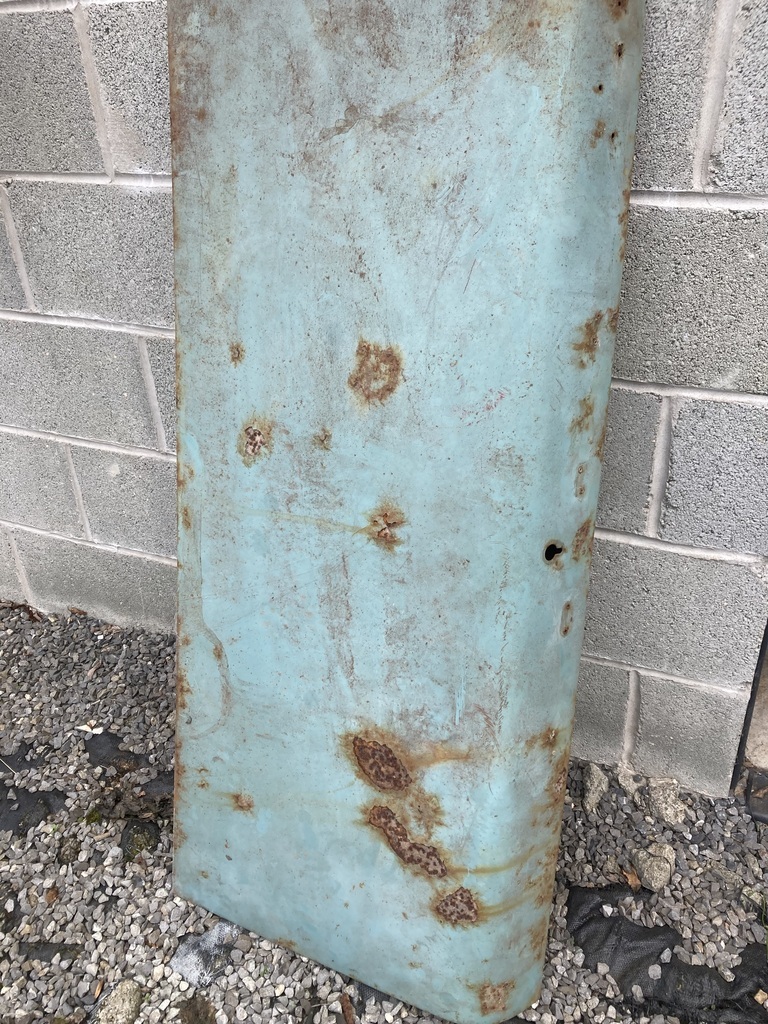 Some big scabs 😩. I |
| |
Last Edit: Aug 1, 2023 15:16:45 GMT by jonsey
|
|
|
|
|
|
|
Another day on the coal face. With the front panel now on and holding the wing where it should be, the driver wing/bonnet gap had closed up. (Should have done that first really). 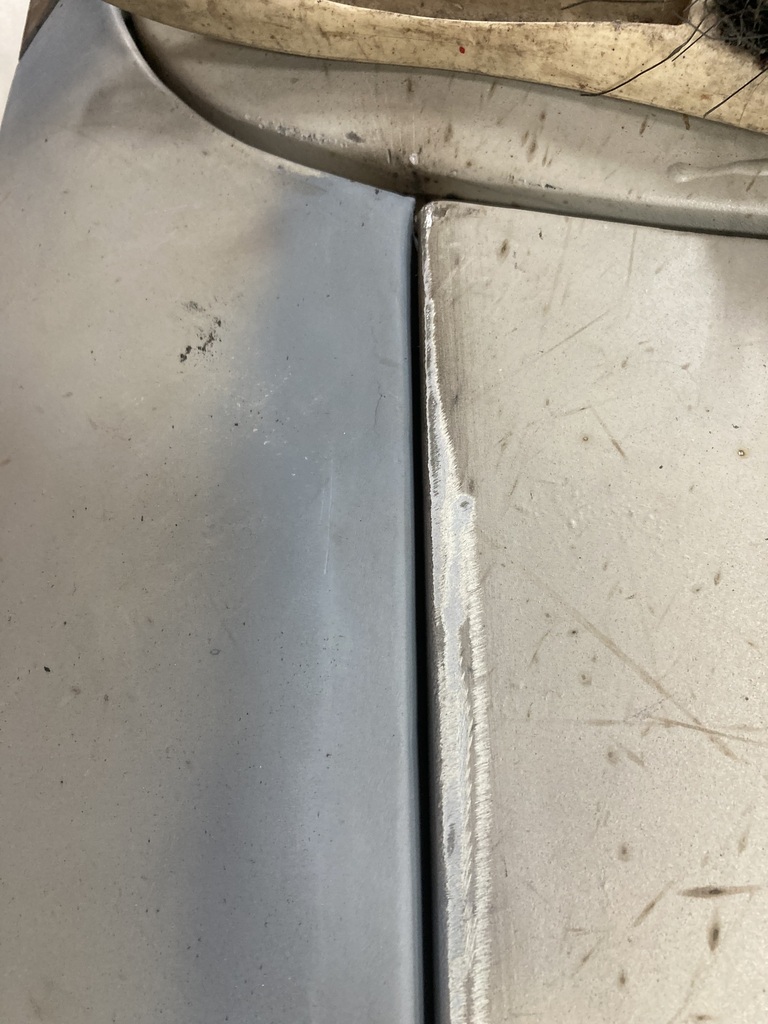 So out with the grinder again 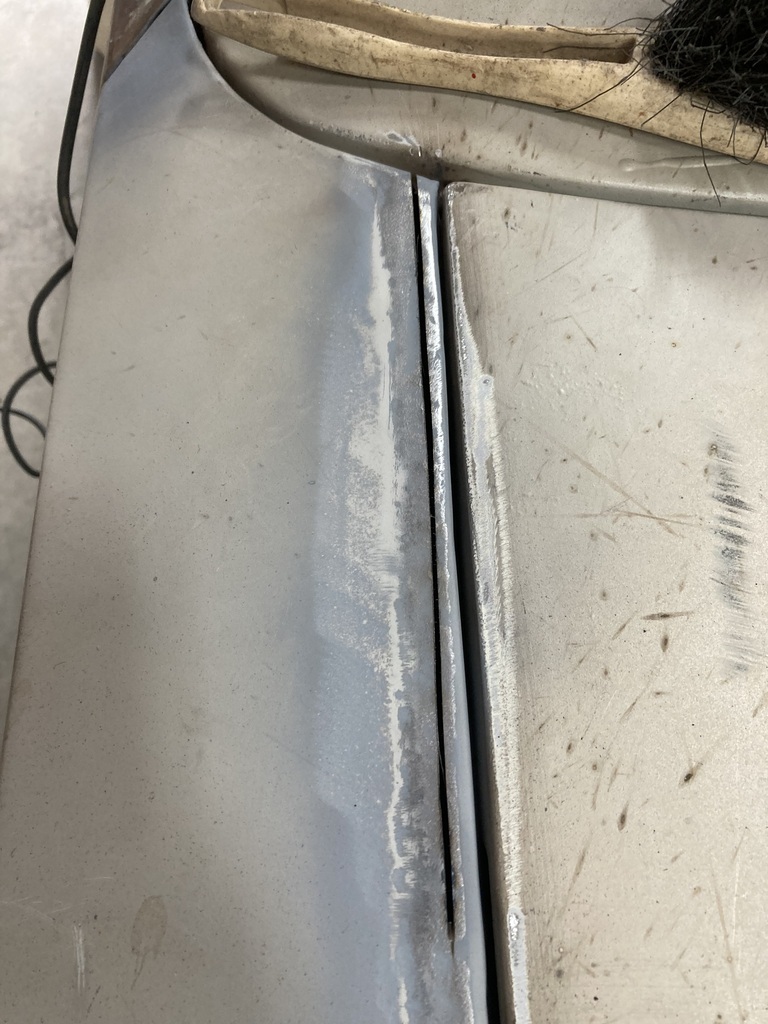 Close the gap and tack 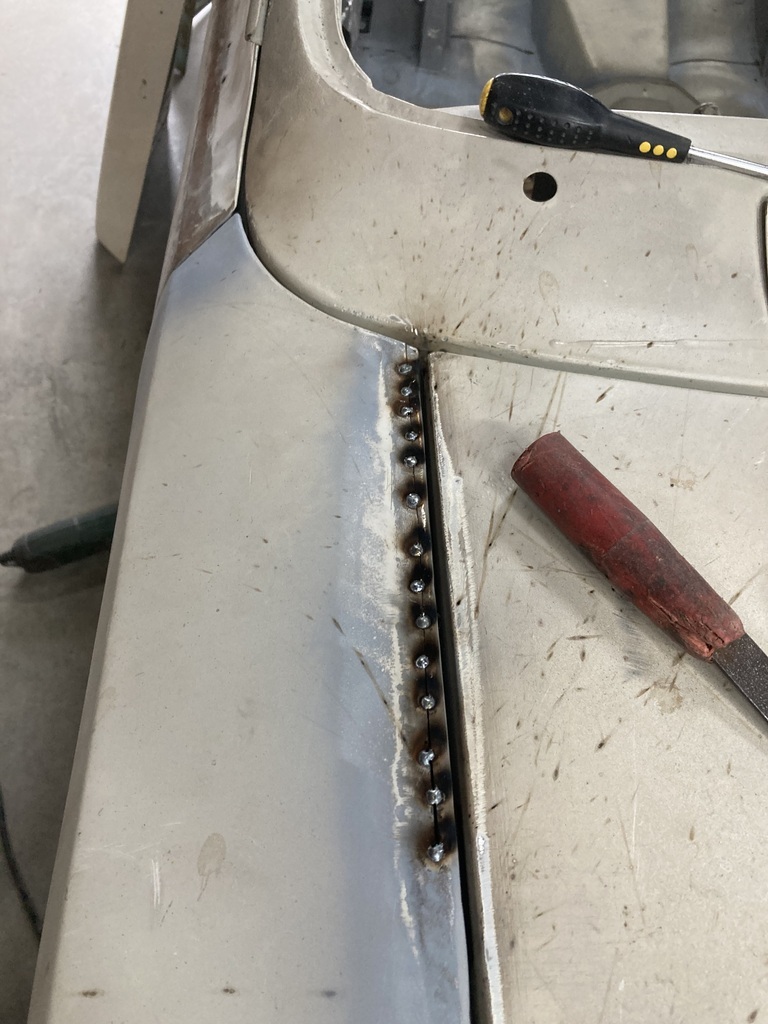 And evidently forget to take any more photos. The door wing gap had also closed near the top so I cut that back and rewelded really badly. Kept blowing holes for some reason 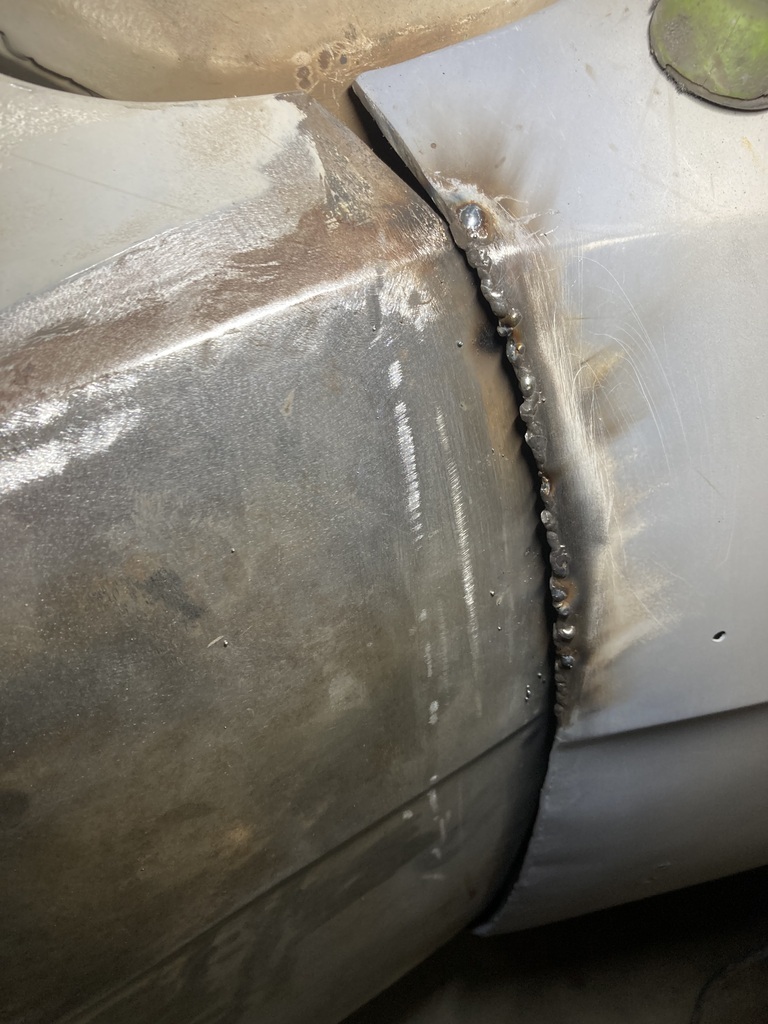 And ground back 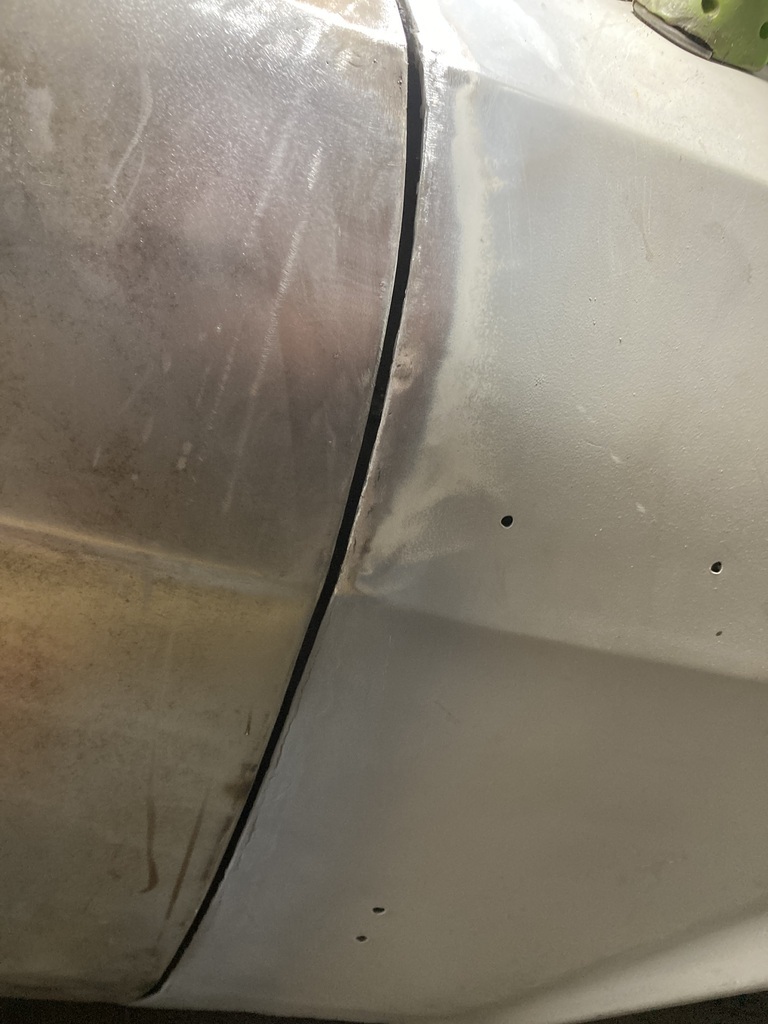 Next there was a tear in the metal of the passenger rear quarter where it meets the door 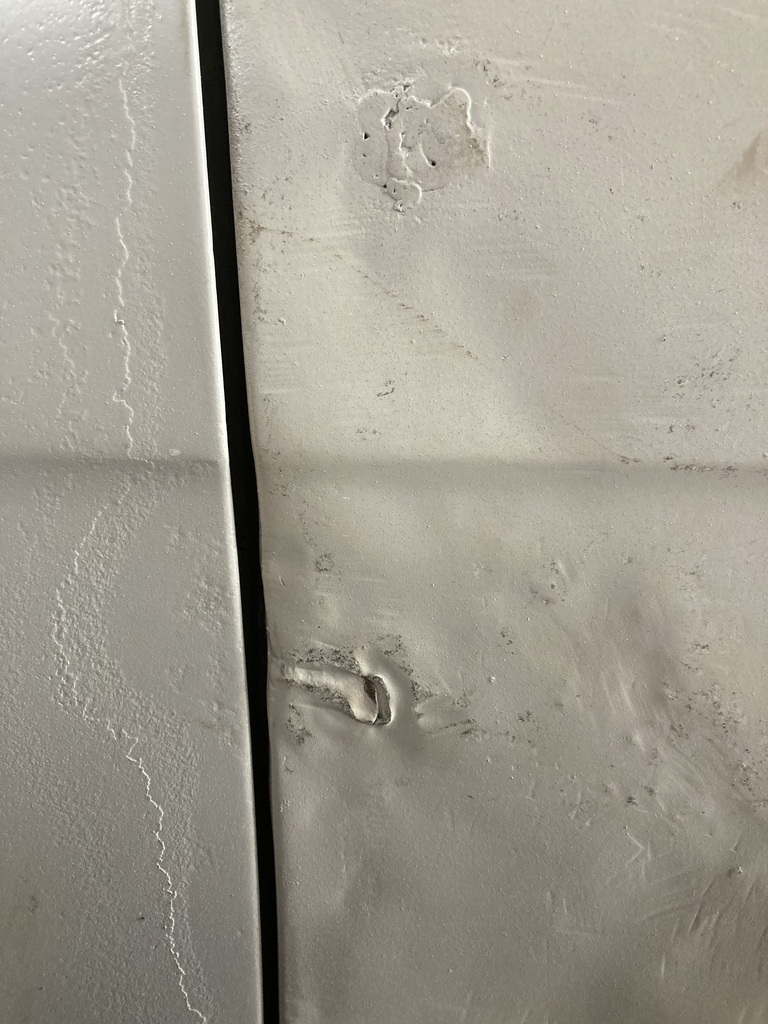 It was a lot worse than this and I had tried straightening to re weld but with little success. So I cut it out and welded a bit in. 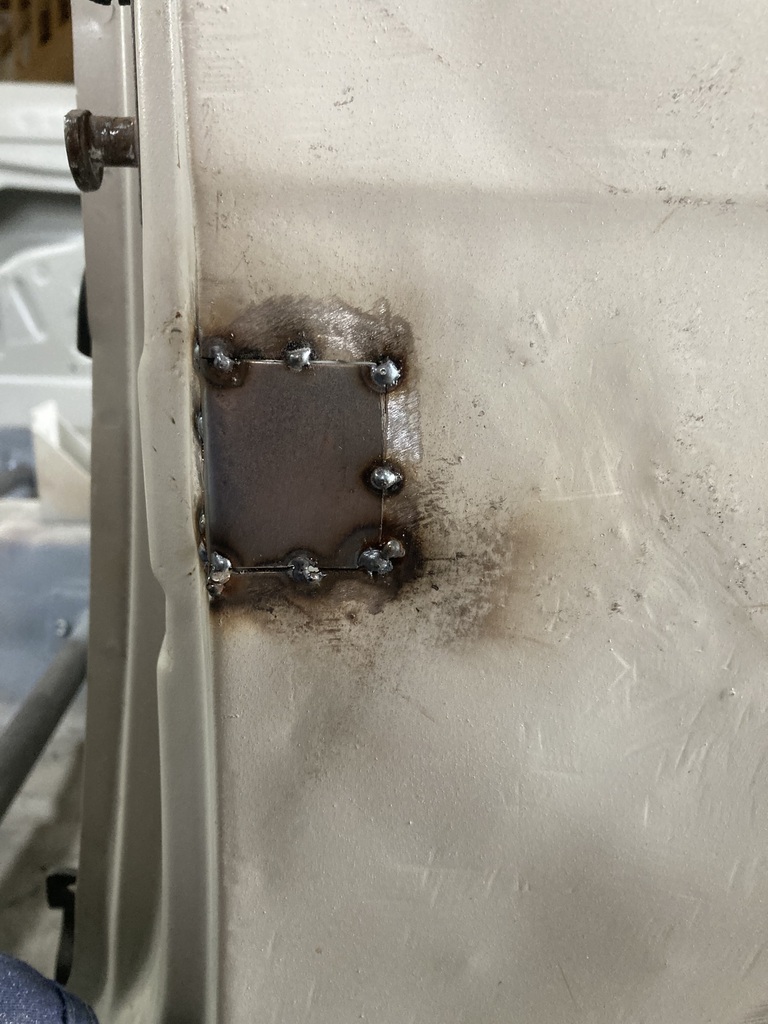 I had to weld the with my fathers old mask as mine has stopped working. Ground back 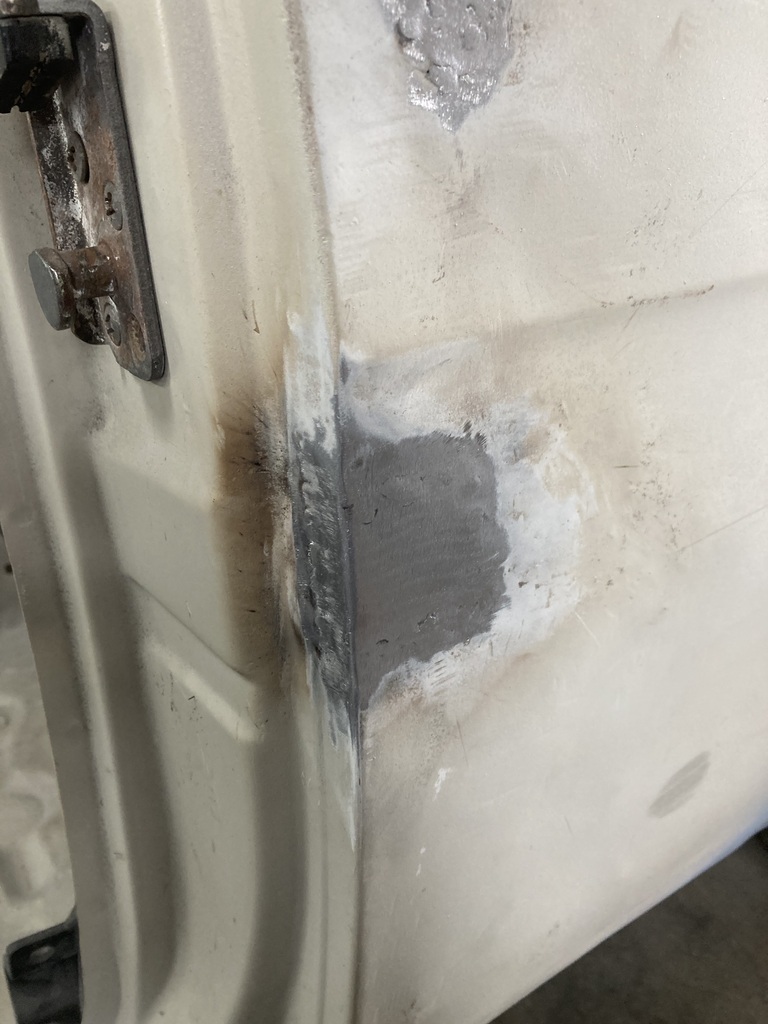 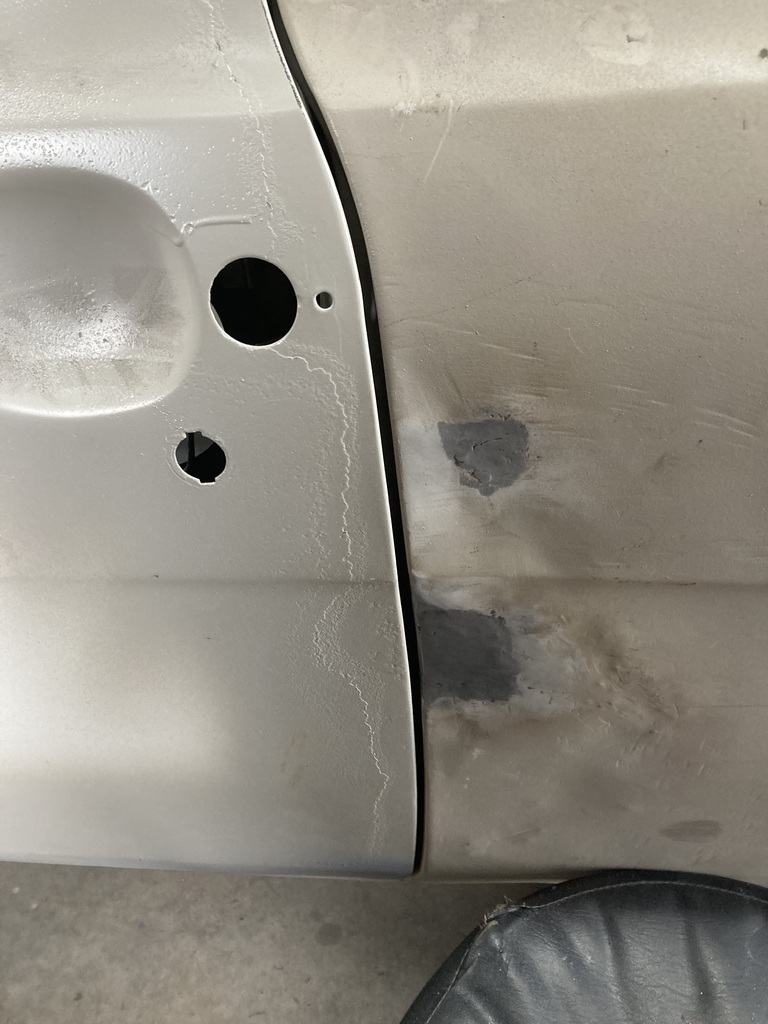 Next is the rear bumper bolt holes. The Escort has 2 in the rear panel and one in each rear quarter panel. I don’t use the ones in the quarters as when the bumper catches something, it rips the quarter panel apart. Without the bolts, you only bend the bumper. So I’m going to fill them. Driver side 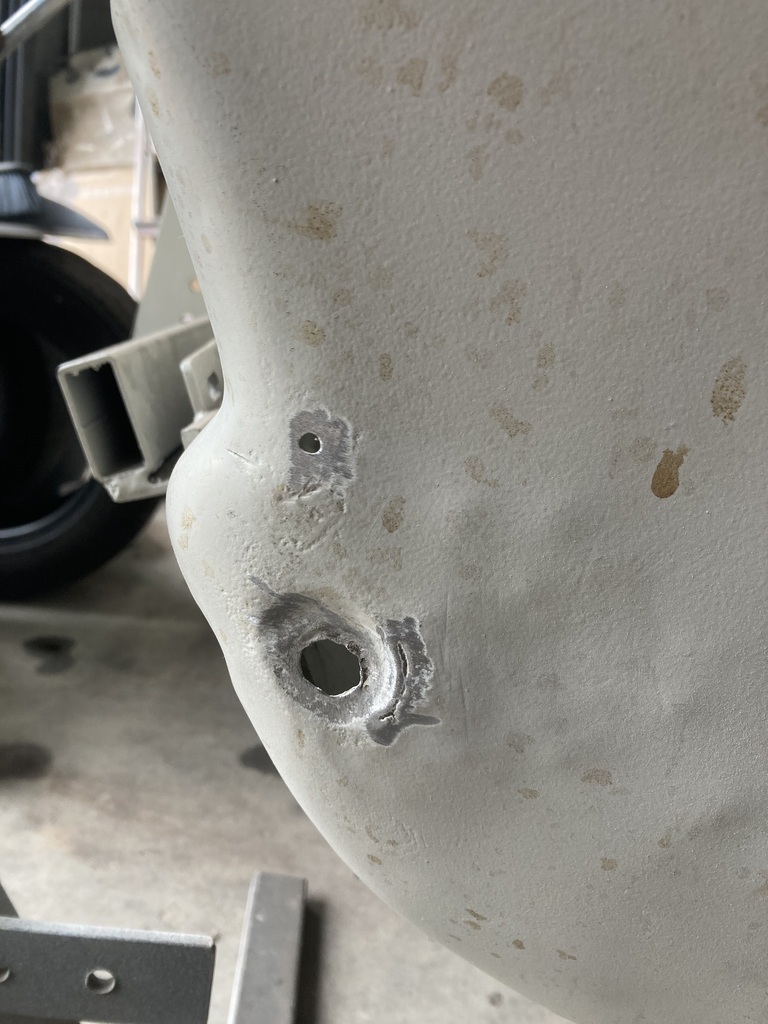 Made a bit, tacked it in, welded it, ground it, primed it and took no photos of it😁. Imagine that but filled. Passenger side This is what happens when you use the bumper bolts and it catches on something 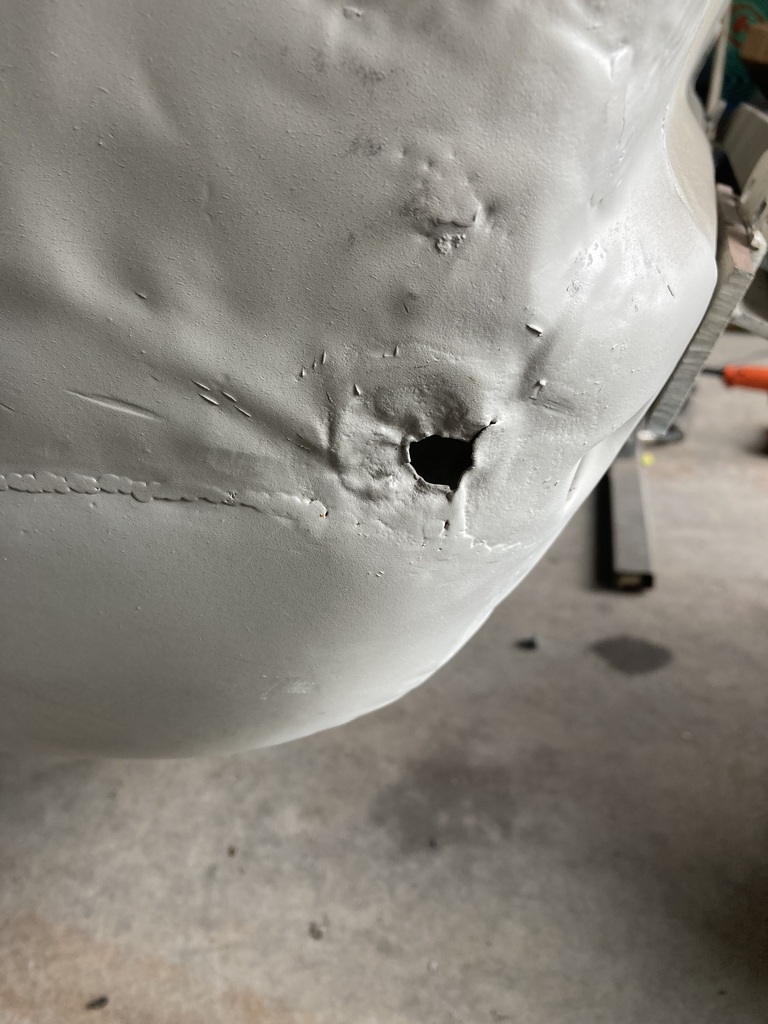 It’s mullered. Even though it’s behind the bumper. I still want to keep the dimple, ‘cos I’m stupid. The lower rear quarter I welded on last year had one, but as it’s a mk2 panel the dimple was huge. 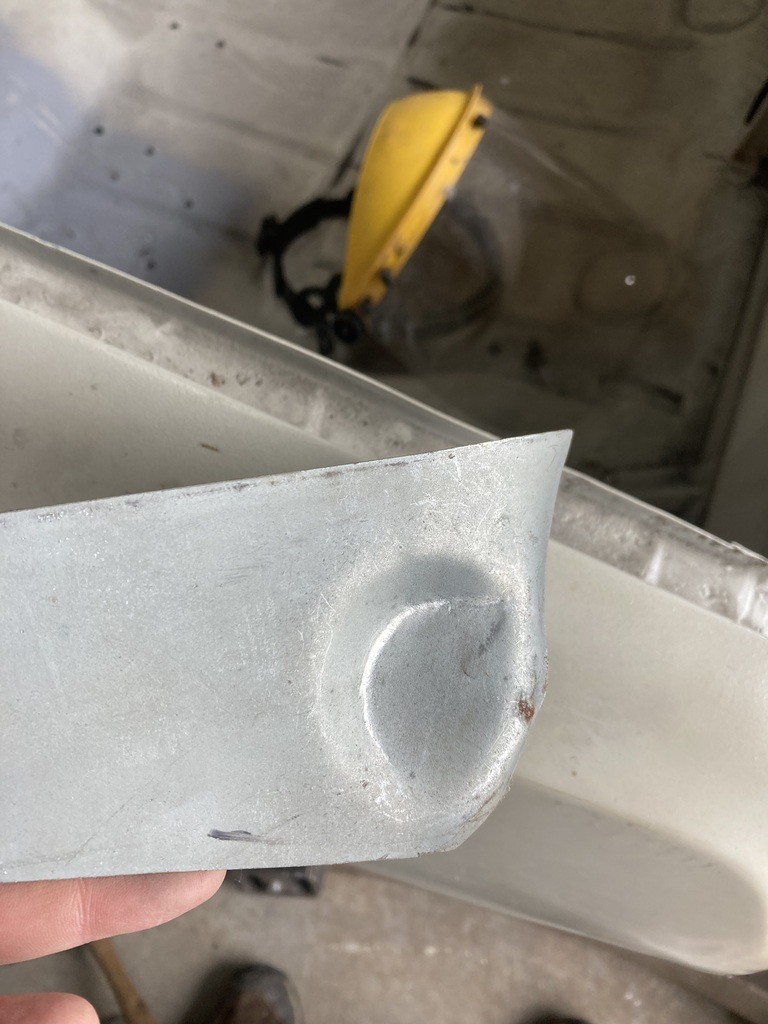 So no good. So I got my dimple making kit out and made one 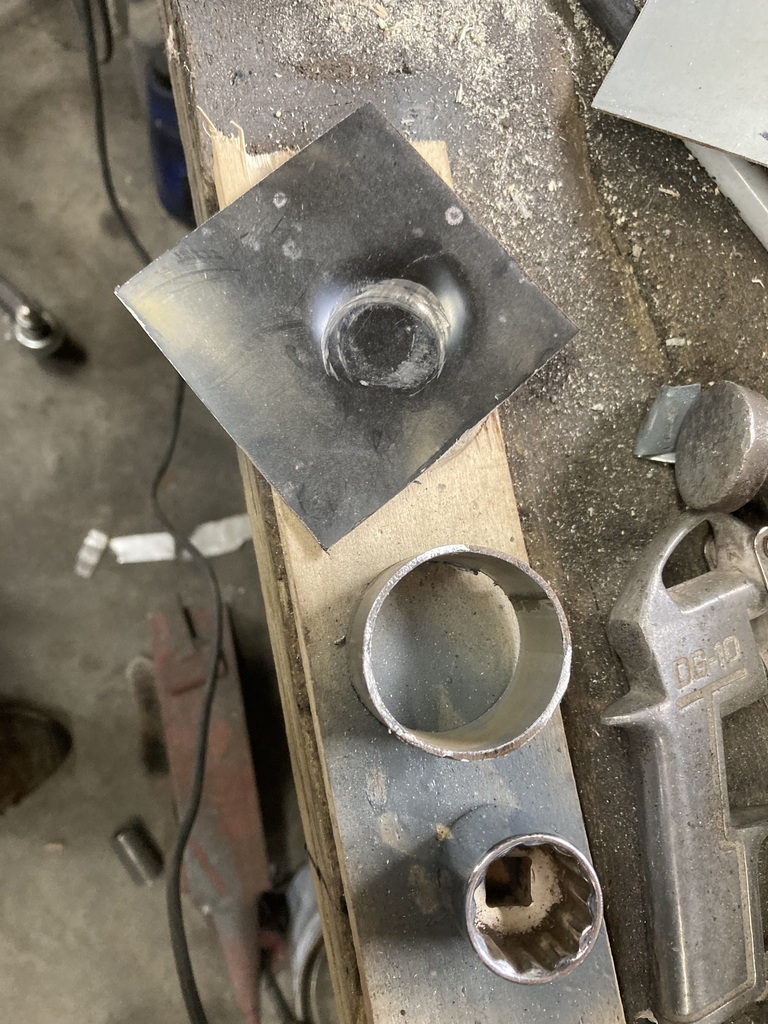 Trimmed it 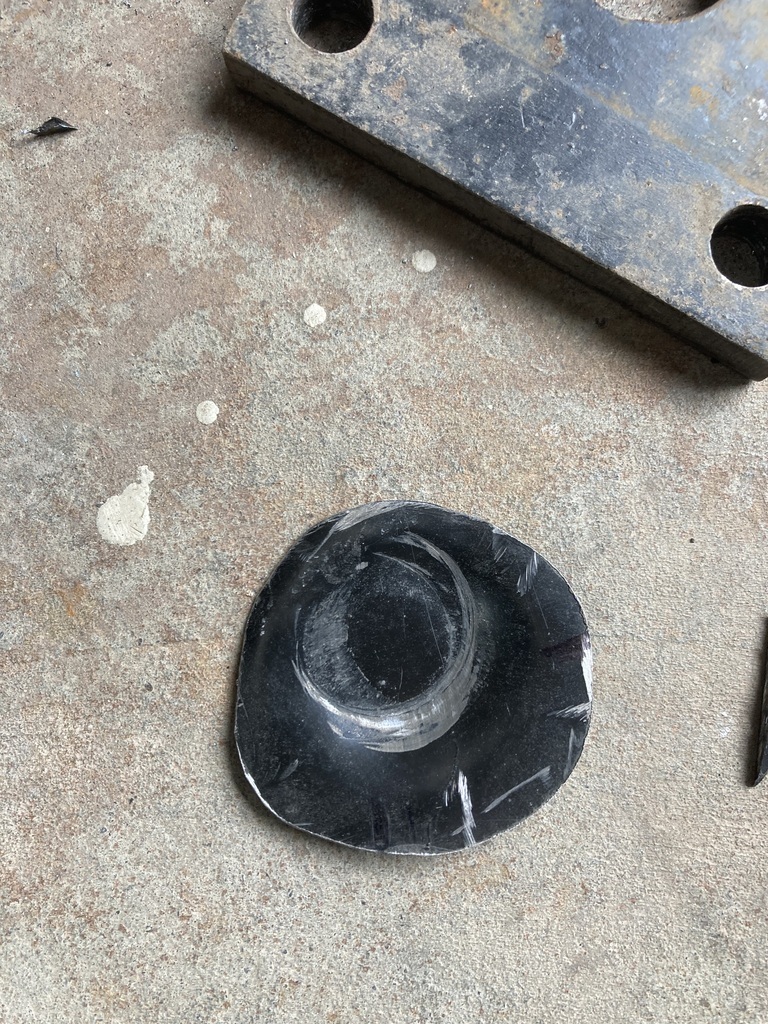 Cut a bit out 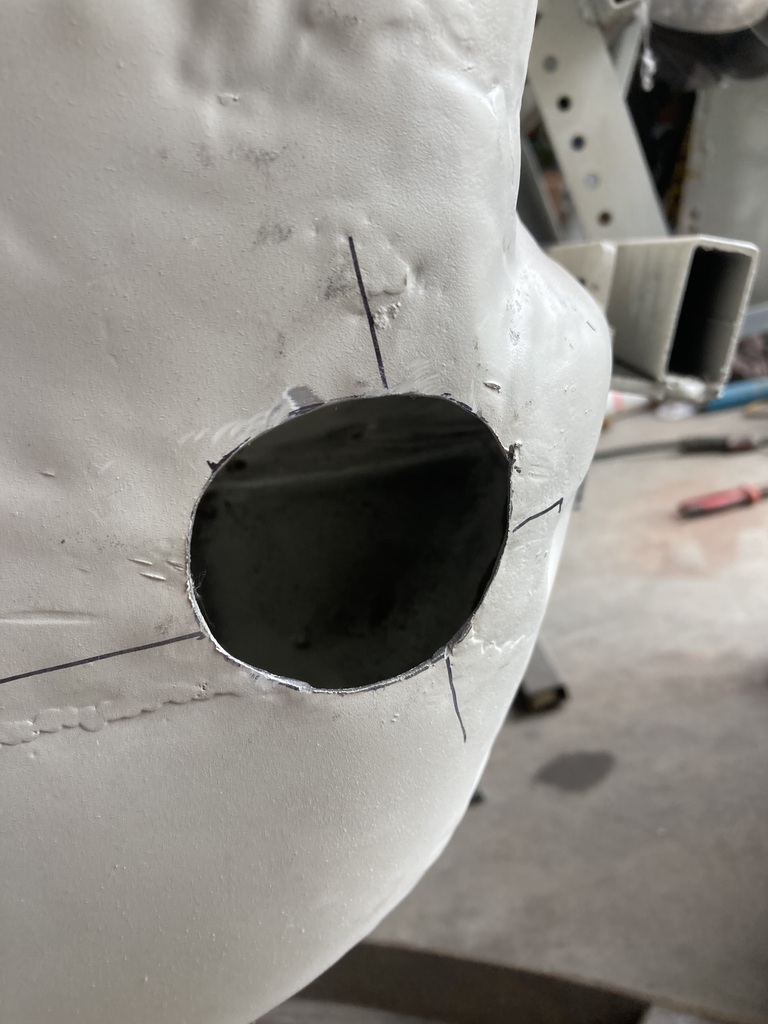 Tacked in the new bit 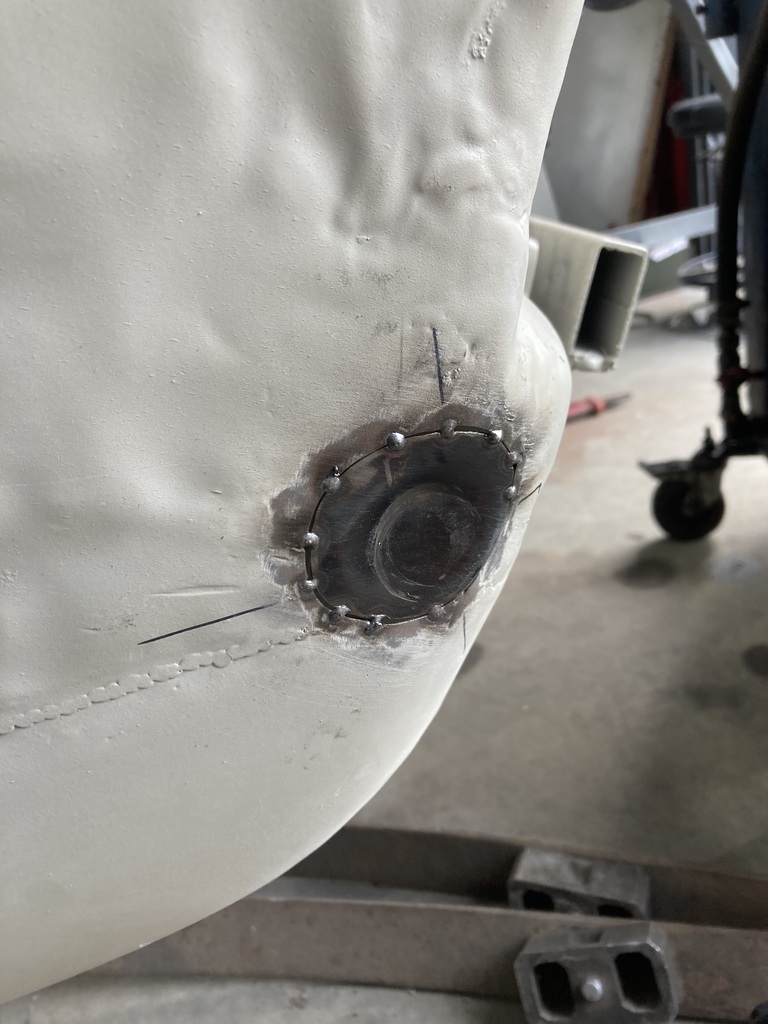 Welded it in blowing loads of holes again, ground it and primed it 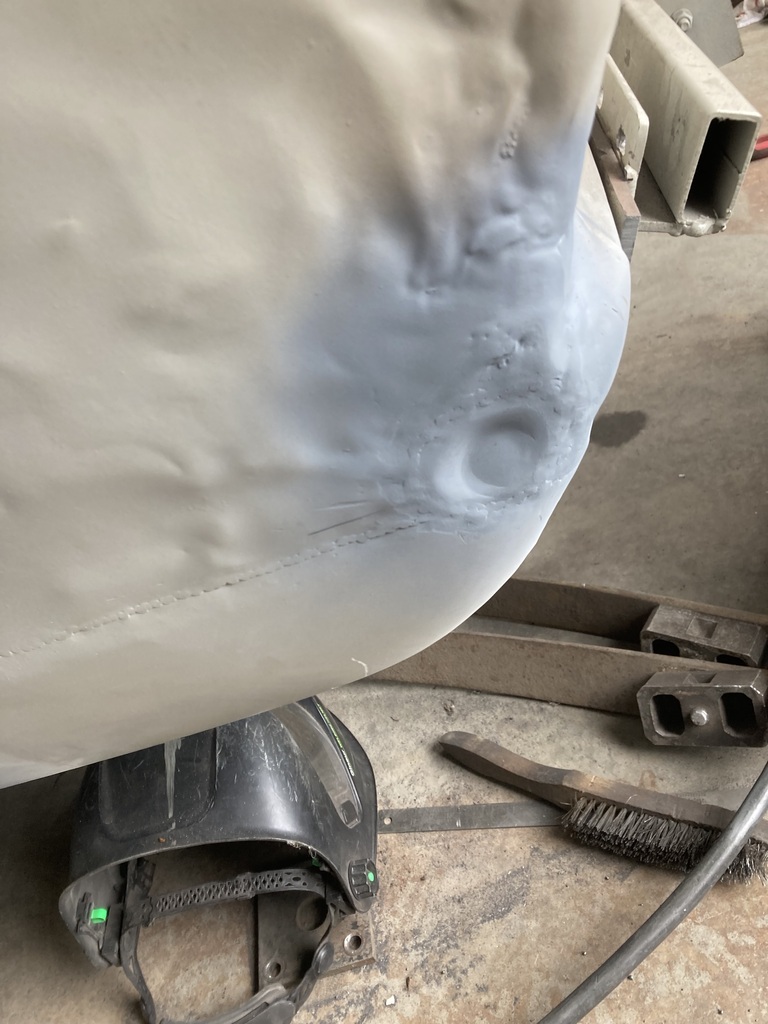 Don’t look at the state of the rest of the panel. Pretend it looks nice. I realised after this the I had somehow knocked the powe up on the welder, hence all the problems. Anyway, the rear number plate light was held on with welded on captive nuts, but these had fallen off. 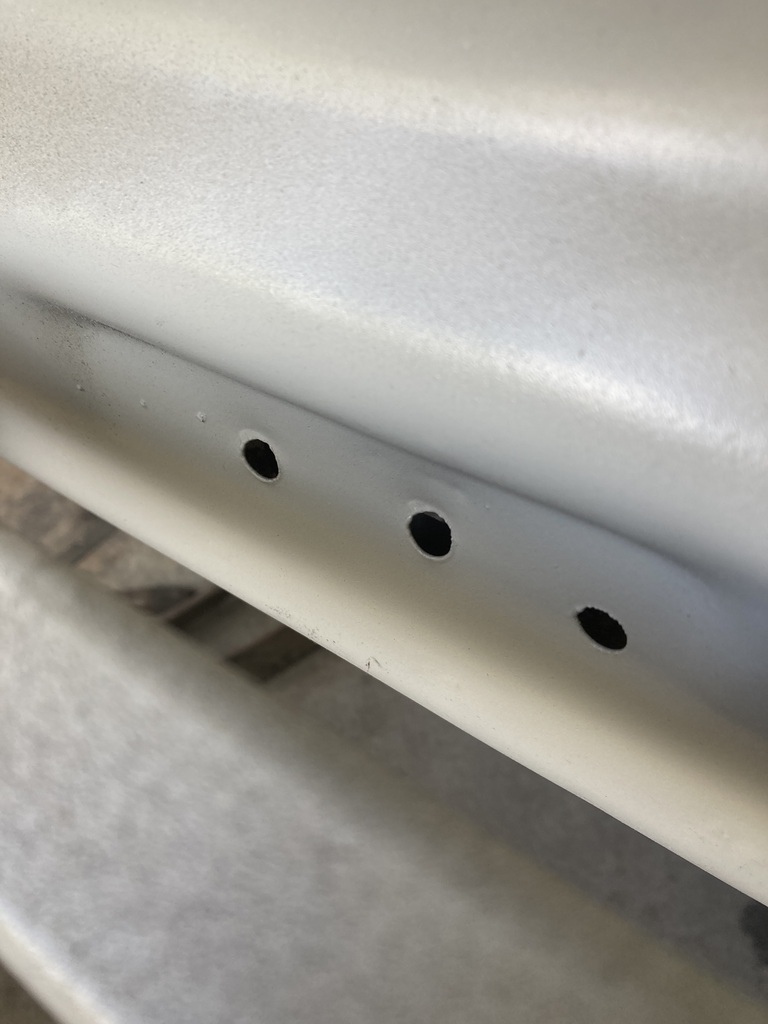 So put some riv nuts in, again no photo. The boot lid catch is the same, and one of these fell out also, so more riv nuts added 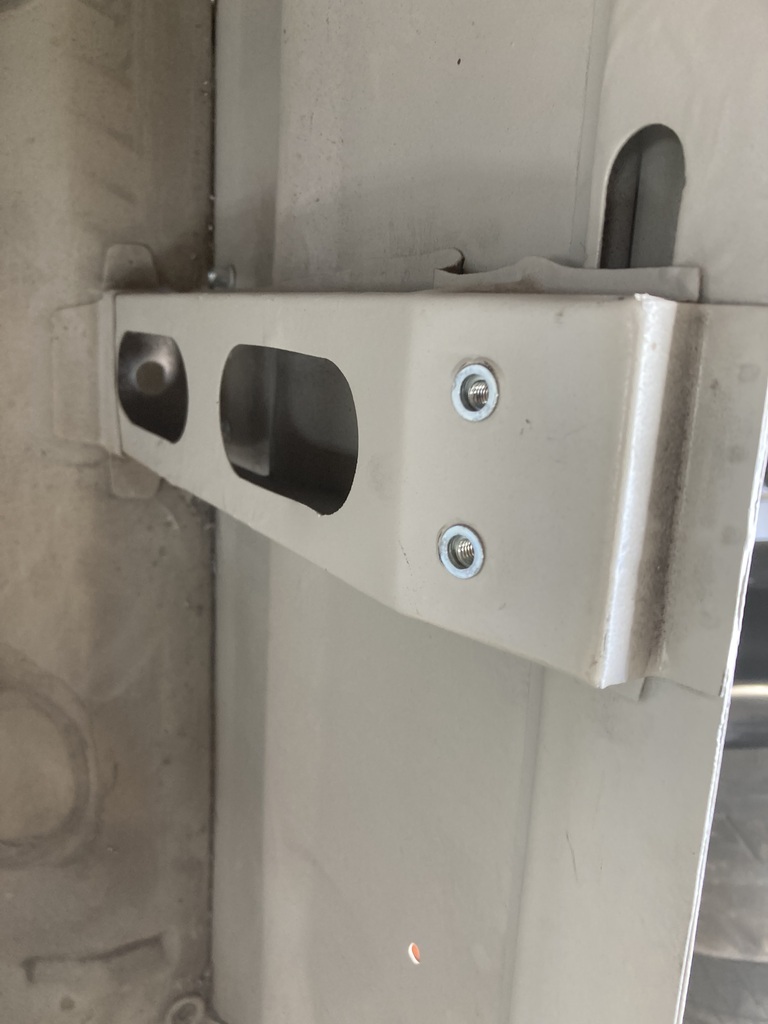 So remember the good boot lid? 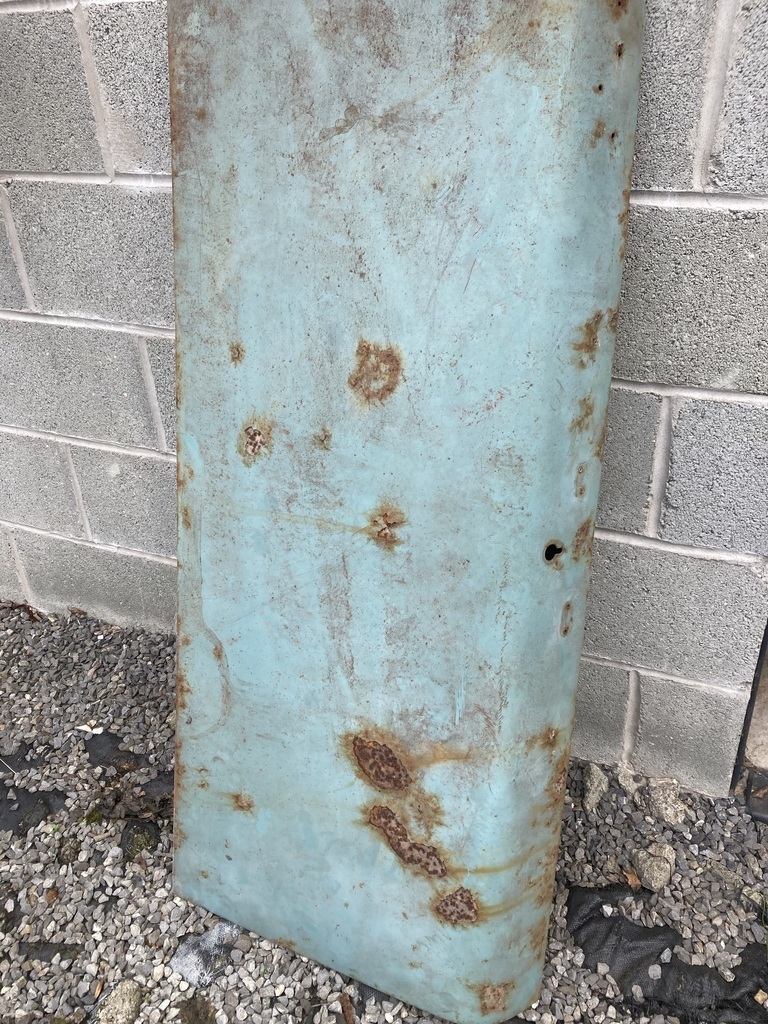 I attacked it with the wheel of truth on the grinder. The frame is really good with just a few pin holes to contend with 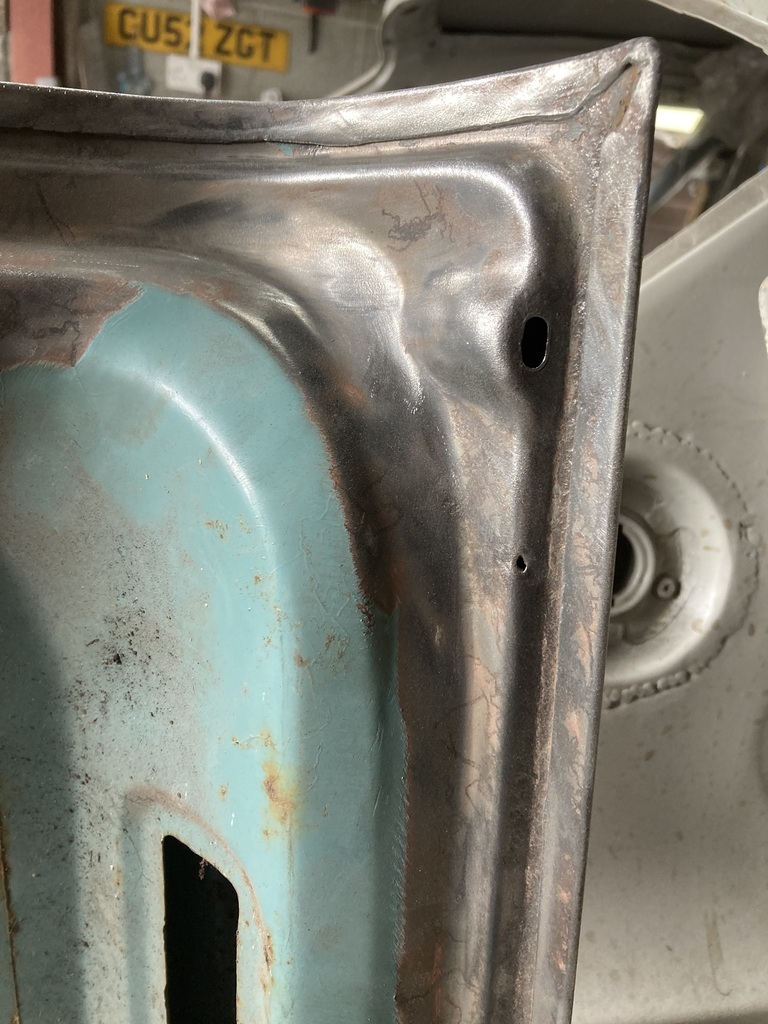 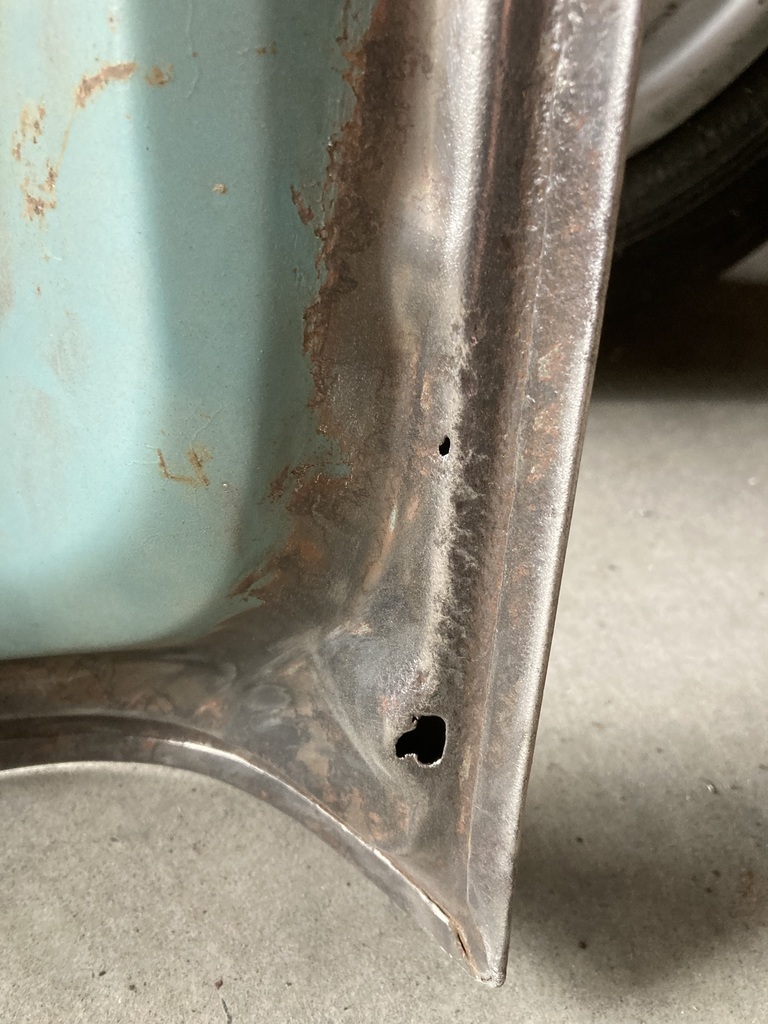 The skin got a going over too. The scabs aren’t as bad as they look so have started going over it with the stripping disc 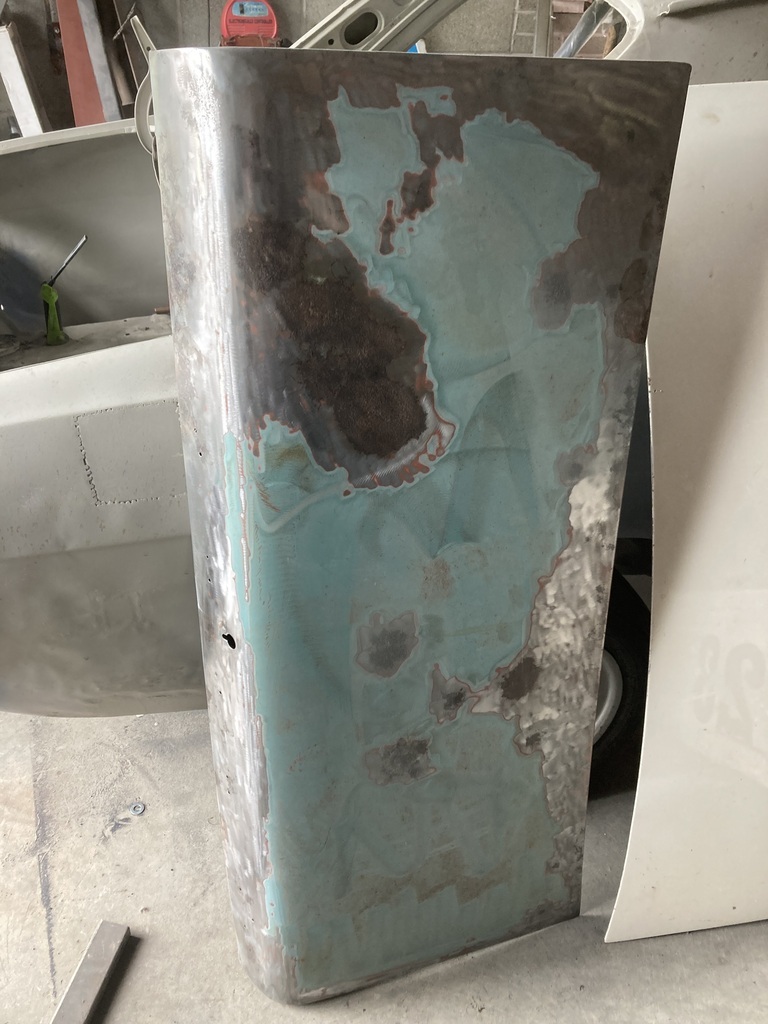 Then Mrs Jonsey came out and stopped play😩. I need to buy some rust eater type stuff to put over the potted areas. |
| |
|
|


