dikkehemaworst
Club Retro Rides Member
Posts: 1,636
Club RR Member Number: 16
|
|
|
|
Thanks Grumpy. That's cheap enough to give it a go. For me of was a couple of years ago, but we did it with small tins and a tiny paintbrush. Similar to these: ://www.google.com/search?q=revell+enamel+paint&client=ms-android-samsung&source=android-browser&prmd=sivn&source=lnms&tbm=isch&sa=X&ved=2ahUKEwiJoeamxOrgAhUDJFAKHcVXBzsQ_AUoAnoECAwQAg&biw=360&bih=512&dpr=4#imgrc=-mzi_3xsE_l2BM Just carefully brush it on in a couple of goes. Of your not happy with the finish , Just brush another layer on top again. Got the idea when i heard a story of an old bus mechanic. This is the way they painted old busses and coaches in the days. Really worked out on mine. |
| |
|
|
|
|
|
|
|
|
|
Thanks Grumpy. That's cheap enough to give it a go. For me of was a couple of years ago, but we did it with small tins and a tiny paintbrush. Similar to these: ://www.google.com/search?q=revell+enamel+paint&client=ms-android-samsung&source=android-browser&prmd=sivn&source=lnms&tbm=isch&sa=X&ved=2ahUKEwiJoeamxOrgAhUDJFAKHcVXBzsQ_AUoAnoECAwQAg&biw=360&bih=512&dpr=4#imgrc=-mzi_3xsE_l2BM Just carefully brush it on in a couple of goes. Of your not happy with the finish , Just brush another layer on top again. Got the idea when i heard a story of an old bus mechanic. This is the way they painted old busses and coaches in the days. Really worked out on mine. My painting skills are none existent. Perhaps I'll get Mrs Jonsey to do it as she's the one with an art degree. |
| |
|
|
|
|
|
|
|
For me of was a couple of years ago, but we did it with small tins and a tiny paintbrush. Similar to these: ://www.google.com/search?q=revell+enamel+paint&client=ms-android-samsung&source=android-browser&prmd=sivn&source=lnms&tbm=isch&sa=X&ved=2ahUKEwiJoeamxOrgAhUDJFAKHcVXBzsQ_AUoAnoECAwQAg&biw=360&bih=512&dpr=4#imgrc=-mzi_3xsE_l2BM Just carefully brush it on in a couple of goes. Of your not happy with the finish , Just brush another layer on top again. Got the idea when i heard a story of an old bus mechanic. This is the way they painted old busses and coaches in the days. Really worked out on mine. My painting skills are none existent. Perhaps I'll get Mrs Jonsey to do it as she's the one with an art degree. Does that mean that you will have to be on your best behaviour  |
| |
Last Edit: Mar 9, 2019 20:14:33 GMT by Deleted
|
|
|
|
|
|
|
|
|
[/quote]Does that mean that you will have to be on your best behaviour  [/quote] It'll probably cost me. |
| |
|
|
|
|
|
|
|
Does that mean that you will have to be on your best behaviour  [/quote] It'll probably cost me.[/quote] Same at my place - it never changes ! |
| |
|
|
teaboy
Posted a lot
   Make tea, not war.
Posts: 2,125
|
|
|
|
|
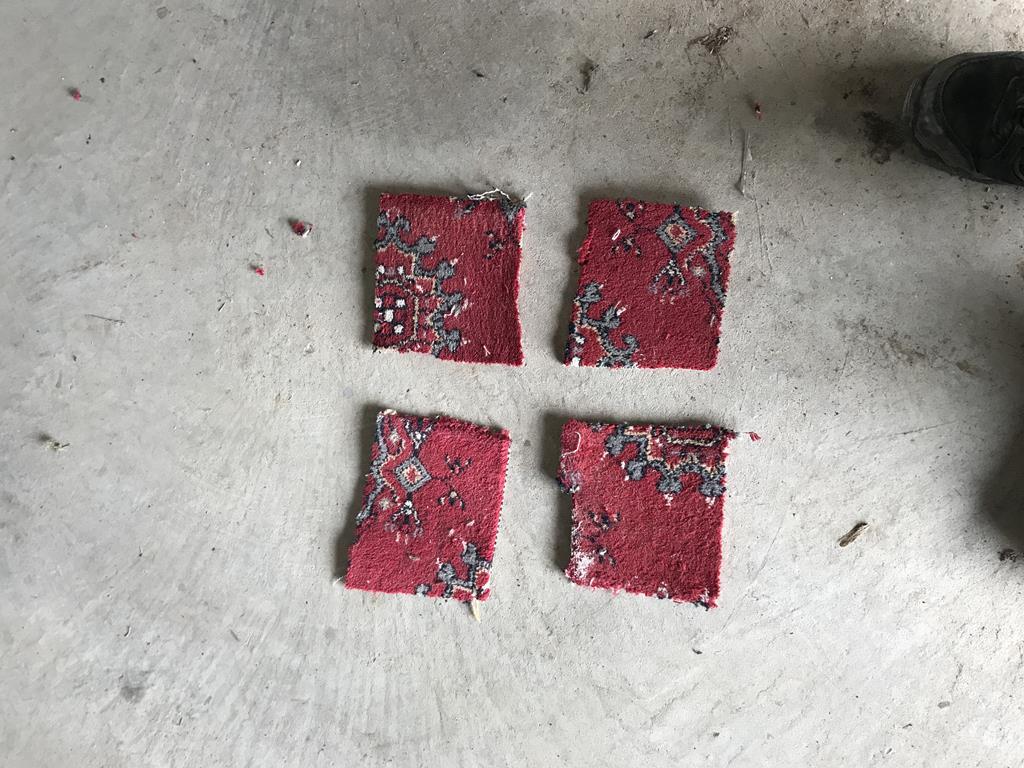
Nice carpet, Wilton presumably? 😀
|
| |
|
|
|
|
|
|
|
Nice carpet, Wilton presumably? 😀 I hope so. I don't want some cheap synthetic mix touching the paint😁 |
| |
|
|
|
|
|
Mar 10, 2019 14:11:51 GMT
|
|
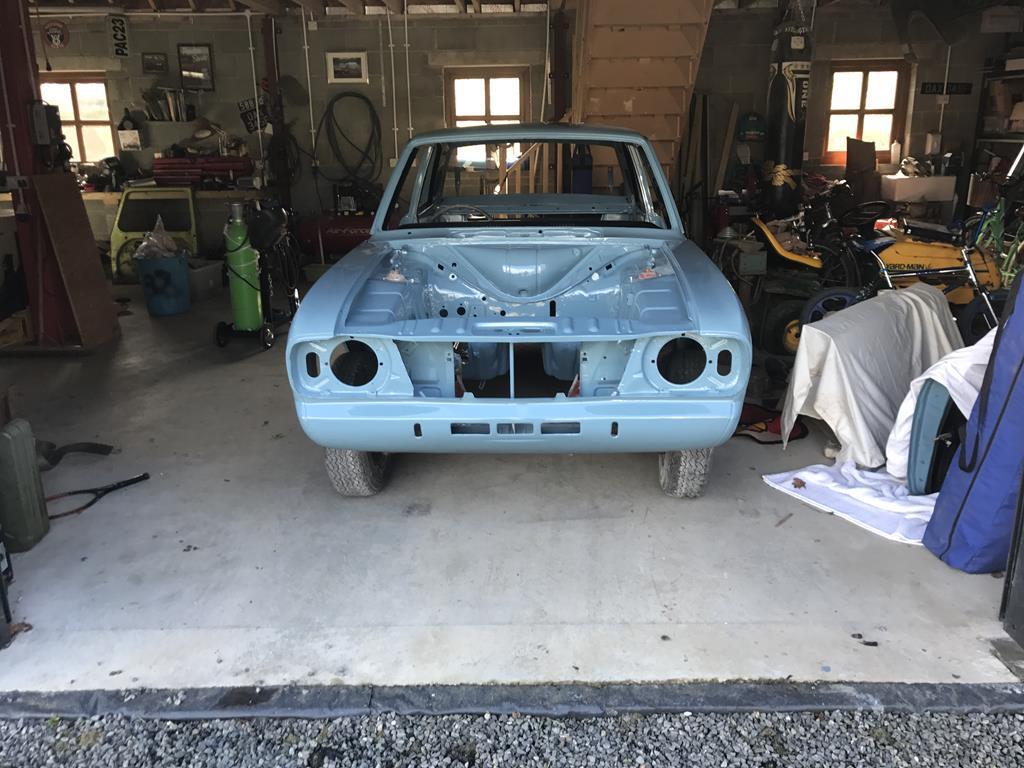
Nice looking car and although i have a double garage, i am jalous about your workshop
|
| |
|
|
|
|
|
Mar 10, 2019 18:36:14 GMT
|
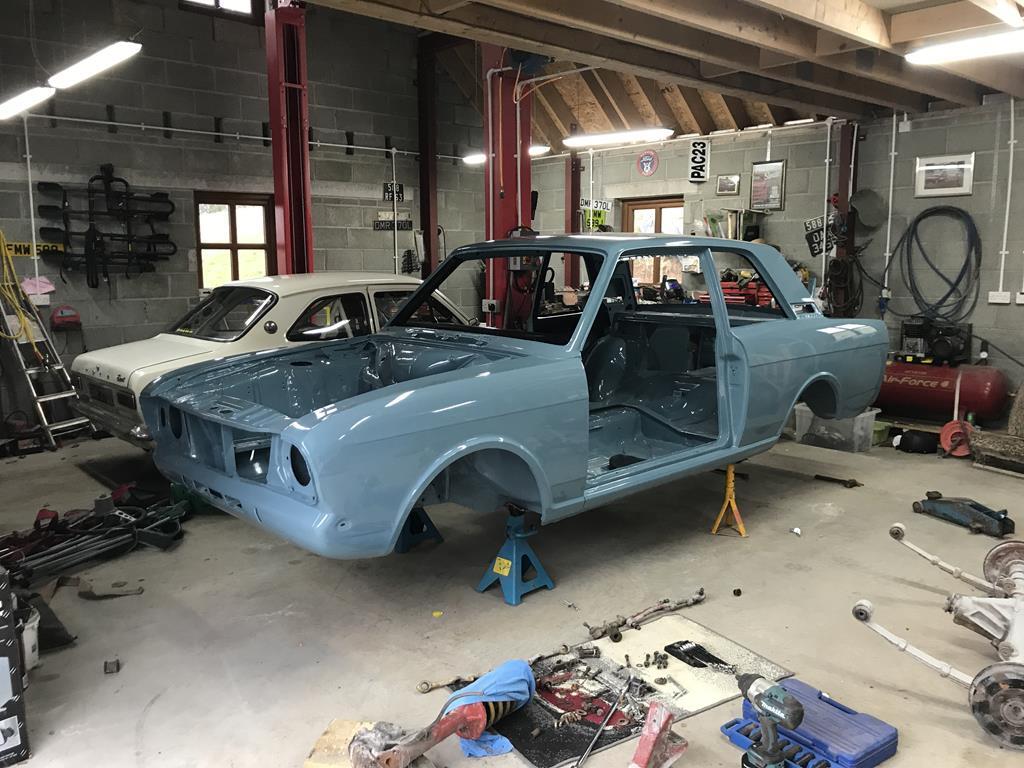
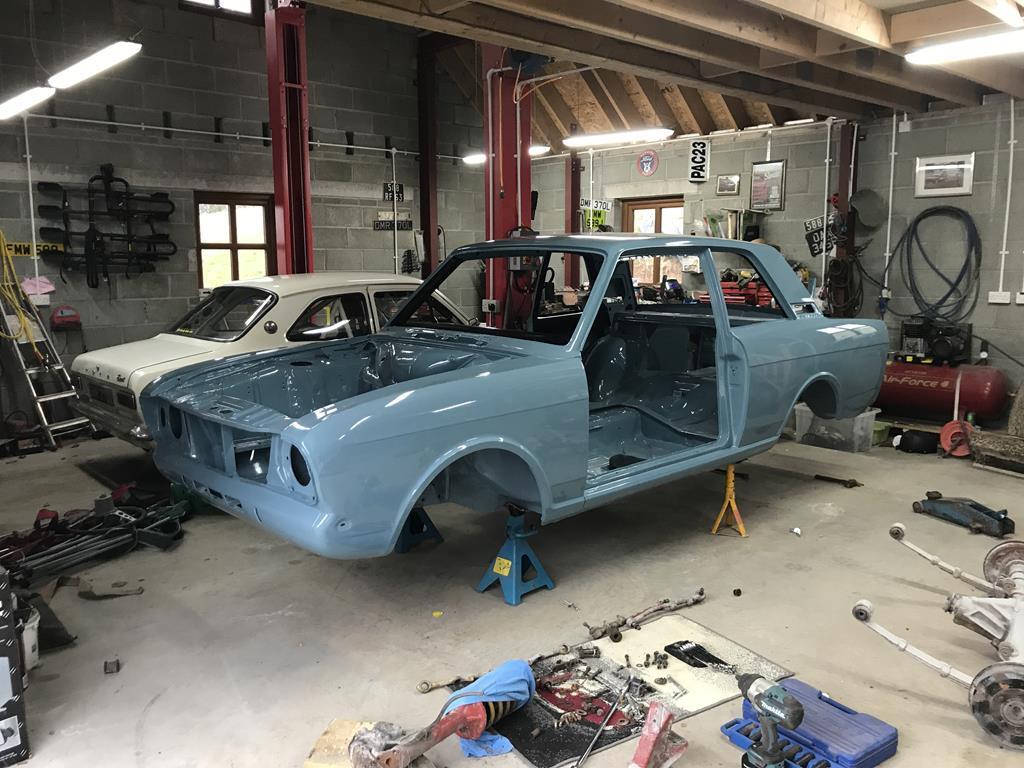
Nice looking car and although i have a double garage, i am jalous about your workshop Thanks Peter. The garage has been my dream. I've had it built with insulation everywhere so that when I'm to old to be playing with cars it can be converted to a bungalow. I've spent more than I needed to try and future proof it. If you look closely the joist holes are already in the wall and the end truss by the ramp is a triple to take the upstairs floor when the ramp is gone. |
| |
|
|
|
|
|
Mar 10, 2019 18:39:35 GMT
|
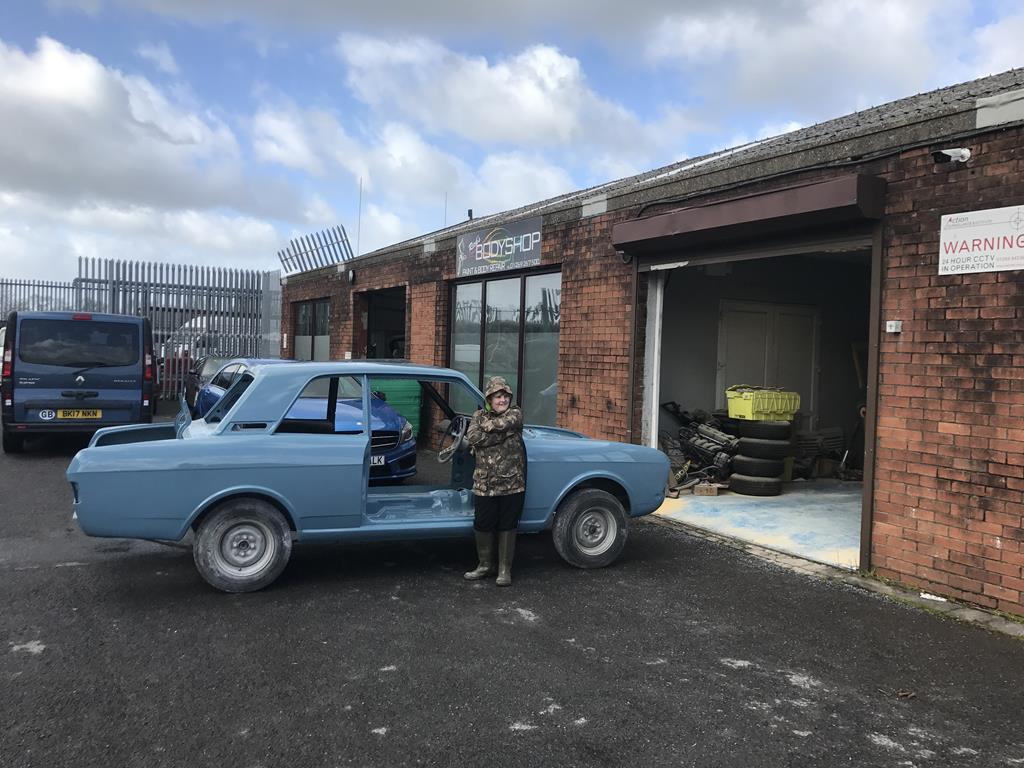
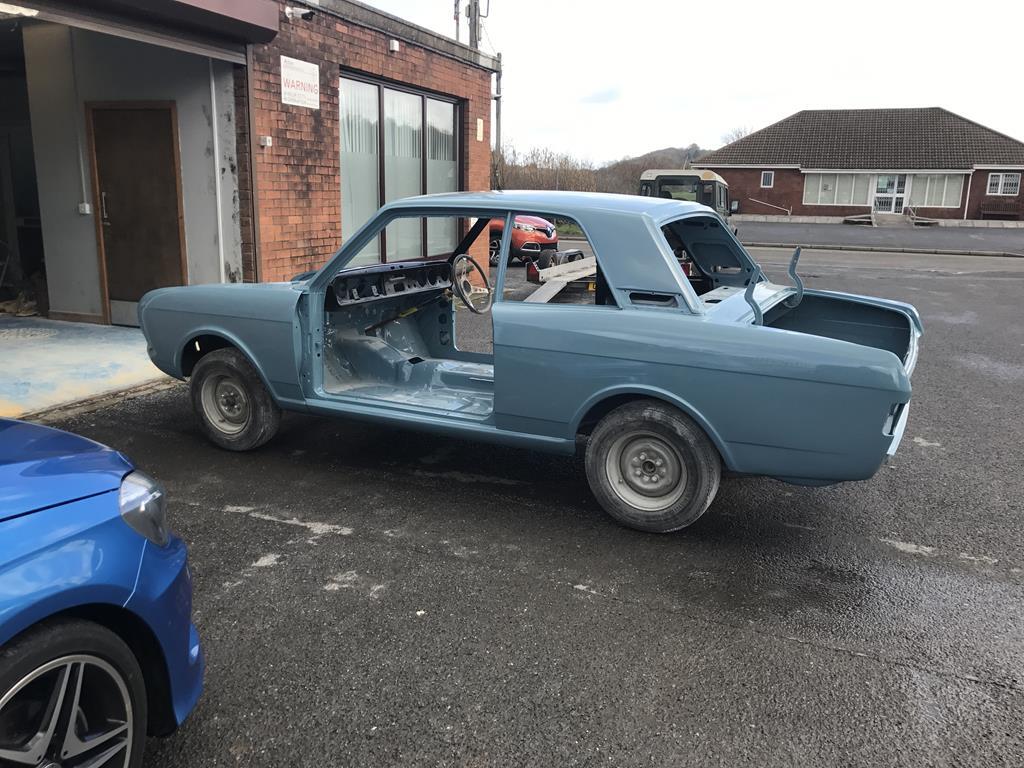
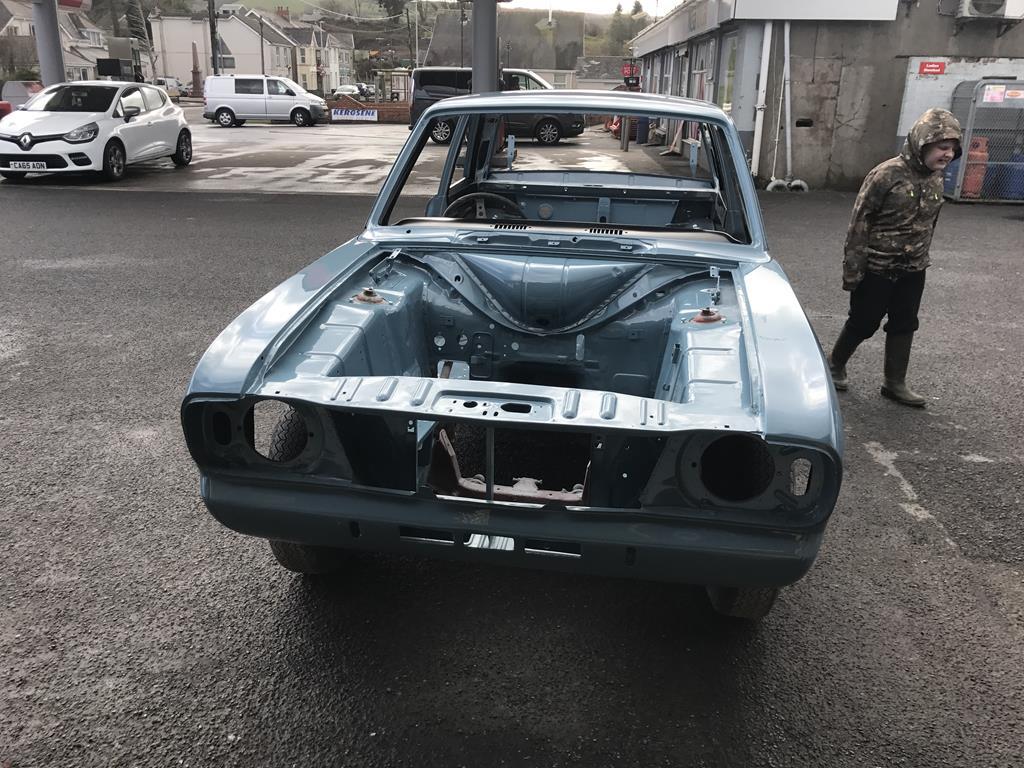
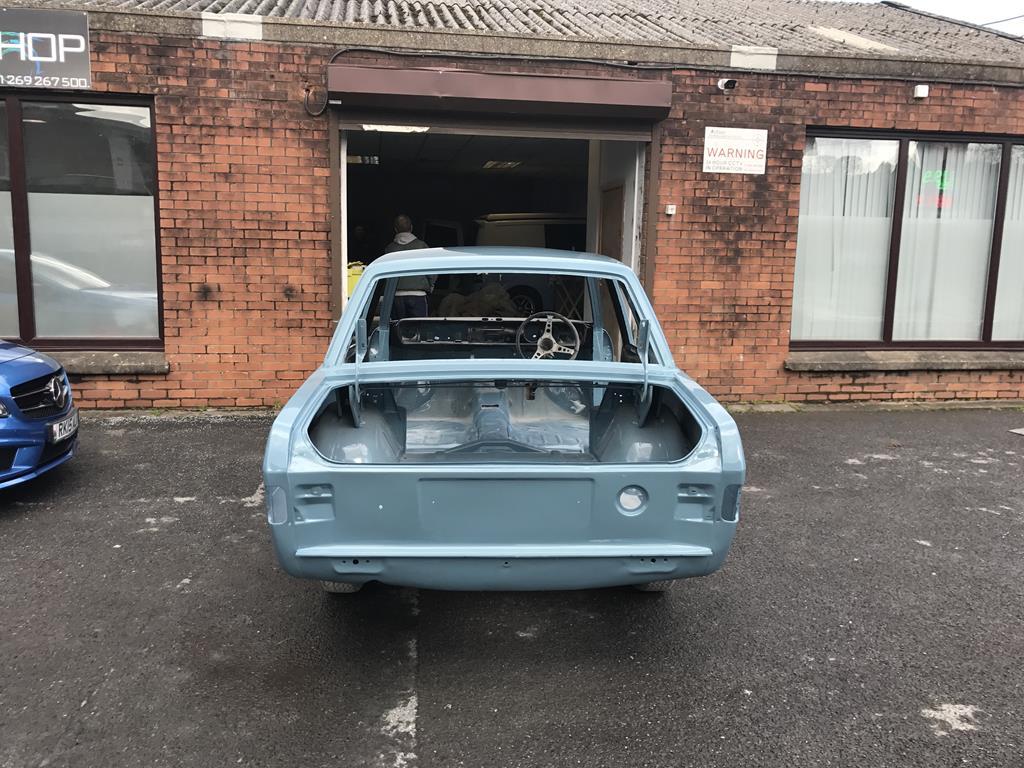
I'd planned to fit the doors today but the bolts are still at the painter's 😩. I did manage to fit the rear c pillar inner vents, a few other little bits and the bootlid. 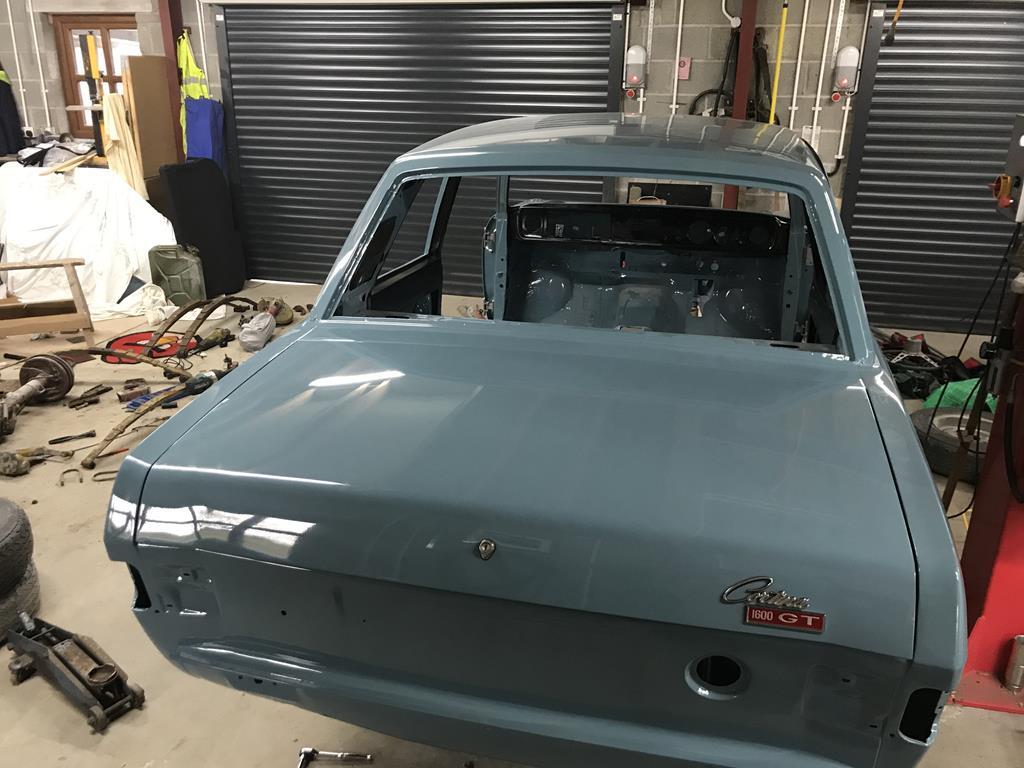 |
| |
|
|
|
|
|
Mar 10, 2019 18:51:15 GMT
|
Very nice looking Mk2 there.
A few familiar parts there.
|
| |
|
|
|
|
|
Mar 10, 2019 19:38:10 GMT
|
|
Thanks Pete. There's probably a few parts that cross over. I'll sort posting the badges tomorrow 👍
|
| |
|
|
|
|
|
Mar 10, 2019 19:46:46 GMT
|
|
There is a few I'm sure.
That's great thanks.
|
| |
|
|
|
|
|
Mar 16, 2019 20:40:56 GMT
|
A few little jobs done on the Cortina. Door hinges have been bolted to the body. I'd made templates up before I took them off to make it easier to rehang the doors. B pillar striker plates also fitted. I fitted the courtesy light switches to the A pillars and realised I have two 20mm holes drilled there that shouldn't be there. I think these are remnants of a 1980's alarm system as I welded up a similar hole in the drivers side rear wing that I think was for the alarm key switch. I don't know how I missed these. 2 blanking grommets will now be fitted. 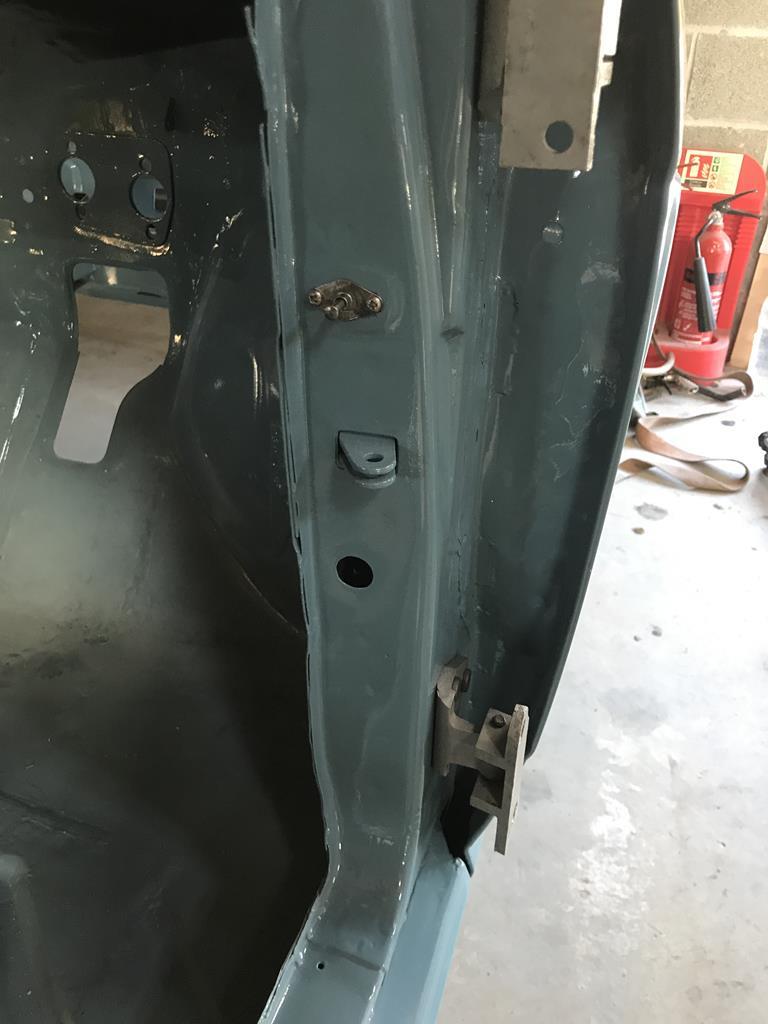 I've also fitted the rear number plate, spaced off with a couple of rubber washers to protect the paint, a period Lucas reverse light and the petrol tank filler. The rubber for this had gone so hard it was like plastic. I put it in front of a fan heater for a few minutes and this softened it up a treat. It fitted with ease after that. 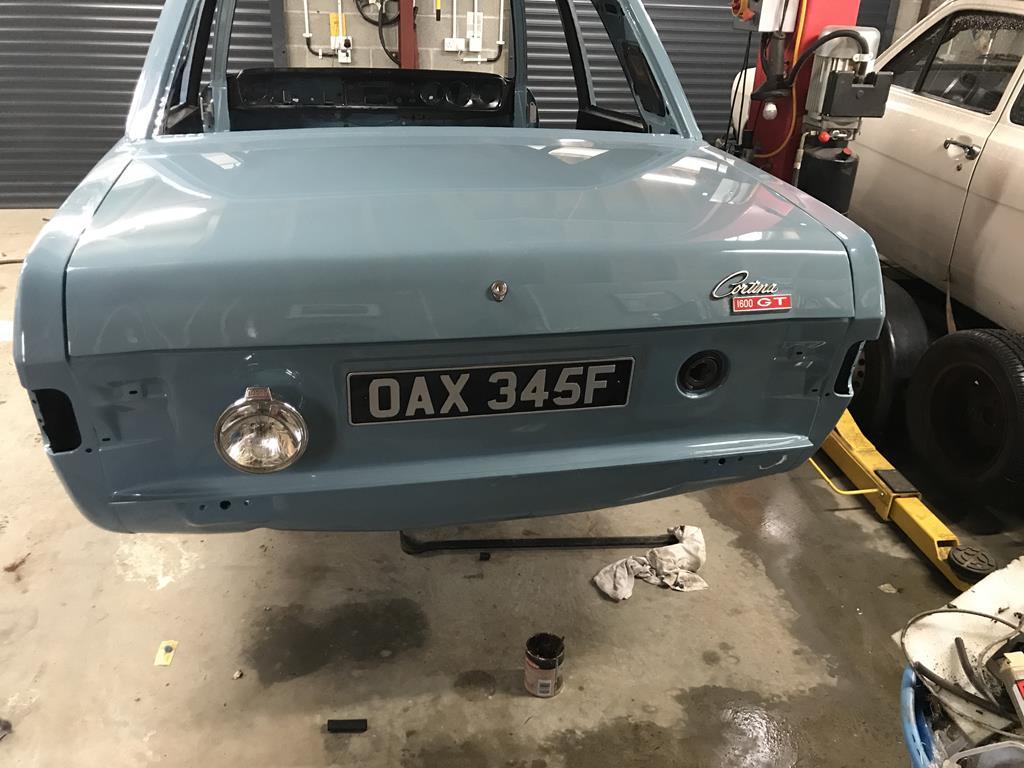 I'm racing tomorrow so will hopefully get a bit more done during the week. Ciao. |
| |
|
|
teaboy
Posted a lot
   Make tea, not war.
Posts: 2,125
|
|
|
|
|
Just say that you left the holes to apply cavity wax. 😀
|
| |
|
|
|
|
|
Mar 17, 2019 21:47:41 GMT
|
Just say that you left the holes to apply cavity wax. 😀 That's what others in the owners club have suggested. Only issue is the A pillar is completely open inside the car so people would think I'm daft to drill a hole. |
| |
|
|
|
|
|
Mar 26, 2019 20:31:05 GMT
|
I left fo work this morning, sun blazing, when my boss phoned me and said after my first job I can take the rest of the day off😁. I was home by 09:45 and straight out the garage. I fitted the 2 side windows into the Cortina which to my surprise was done in about 5 mins each. 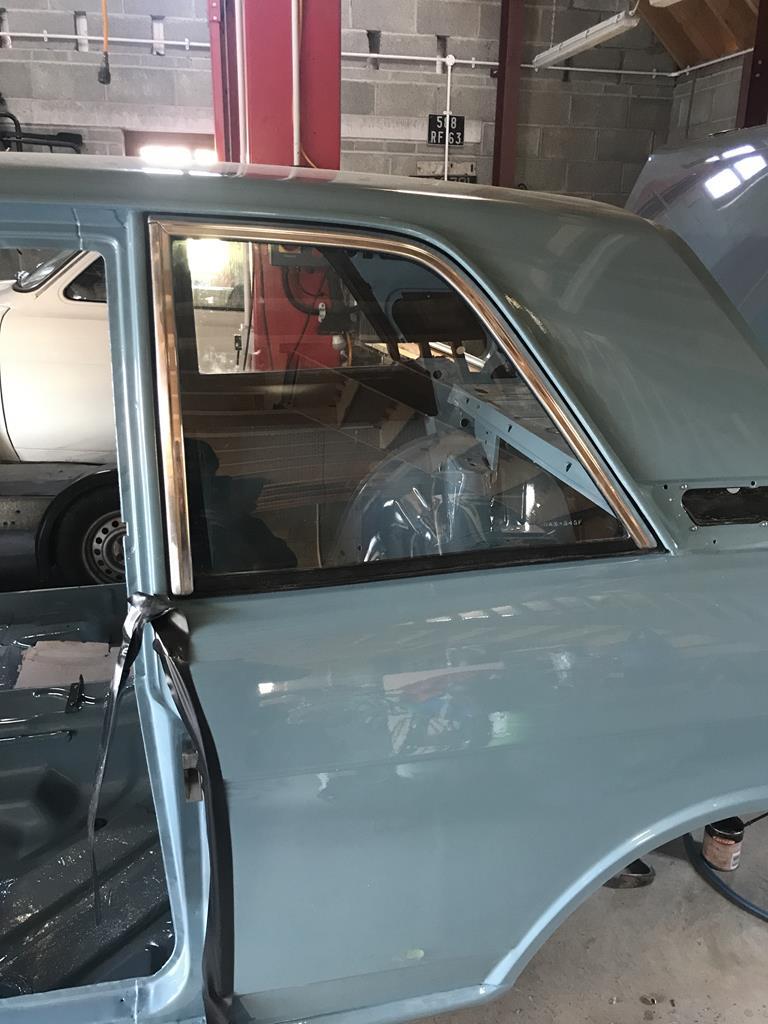 I then stripped the rear lights down into the separate components and cleaned them with a toothbrush in the kitchen sink as the Mrs Jonsey was in work ( I did phone her to tell her I was having the day off😁). I rebuilt them with new foam gaskets and stainless screws and fitted them too. 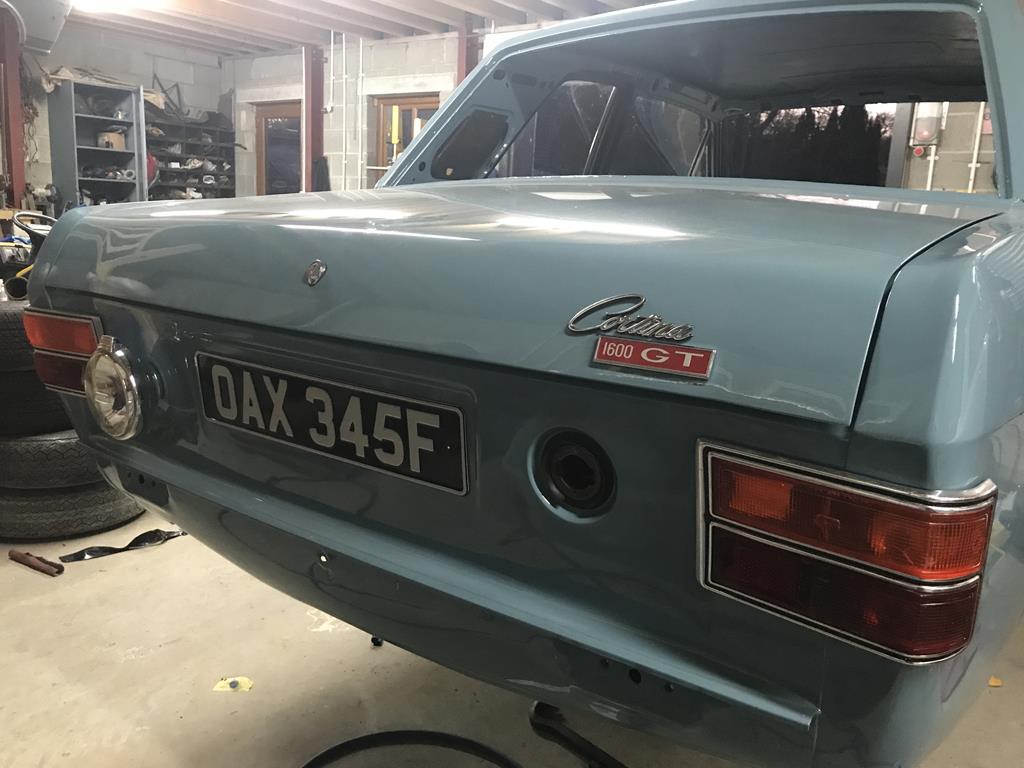 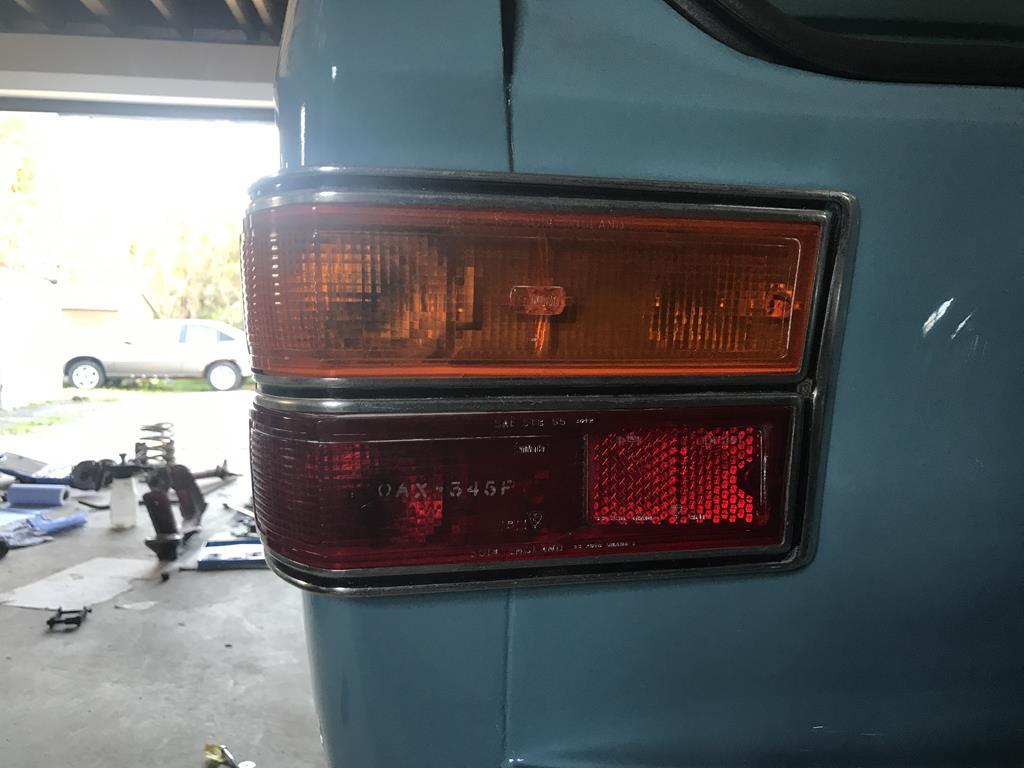 I love the fact they've still got the number plate etched in them from back in the 80's. Then this evening my brother called round to give me a hand to fit one of the doors. First attempt failed as I'd fitted the bottom hinges to the wrong sides. The second attempt saw the door fitted without scratching it. 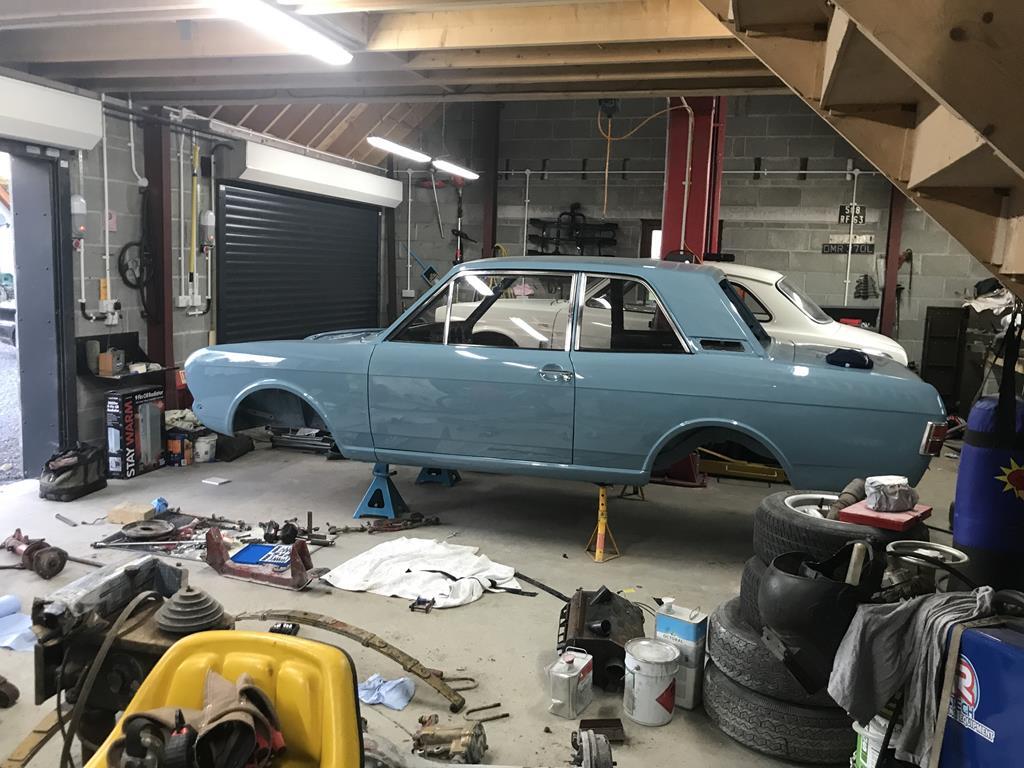 Hopefully I'll get the other door fitted later this week. |
| |
|
|
|
|
|
Mar 27, 2019 12:53:53 GMT
|
|
You cant beat a bonus day off work!
"I then stripped the rear lights down into the separate components and cleaned them with a toothbrush in the kitchen sink as the Mrs Jonsey was in work ( I did phone her to tell her I was having the day off😁). I rebuilt them with new foam gaskets and stainless screws and fitted them too."
Hope you didn't use Mrs Jonsey's tooth brush!!
|
| |
|
|
|
|
|
Mar 27, 2019 13:26:20 GMT
|
You cant beat a bonus day off work! "I then stripped the rear lights down into the separate components and cleaned them with a toothbrush in the kitchen sink as the Mrs Jonsey was in work ( I did phone her to tell her I was having the day off😁). I rebuilt them with new foam gaskets and stainless screws and fitted them too." Hope you didn't use Mrs Jonsey's tooth brush!! My youngest has just had one of those ultrasonic toothbrushes so I told him I used that as it did a better job. He was not amused. |
| |
|
|


