|
|
1985 Honda Acty Show Truckfr€$h&m1nt¥
@freshandminty
Club Retro Rides Member 99
|
|
|
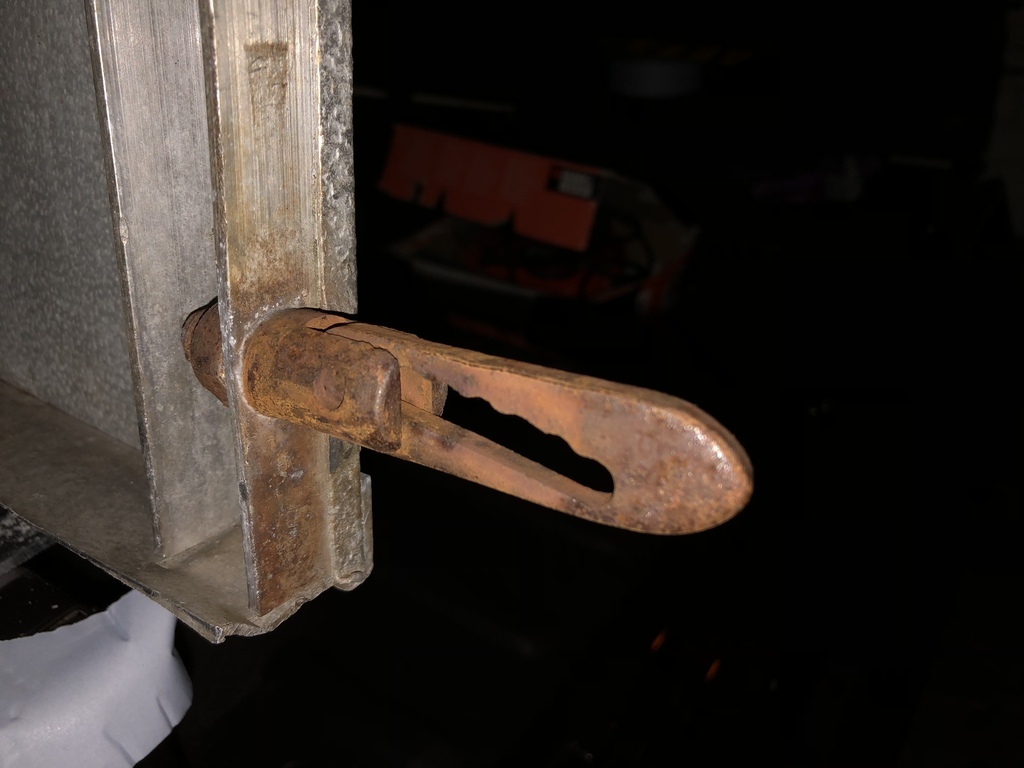
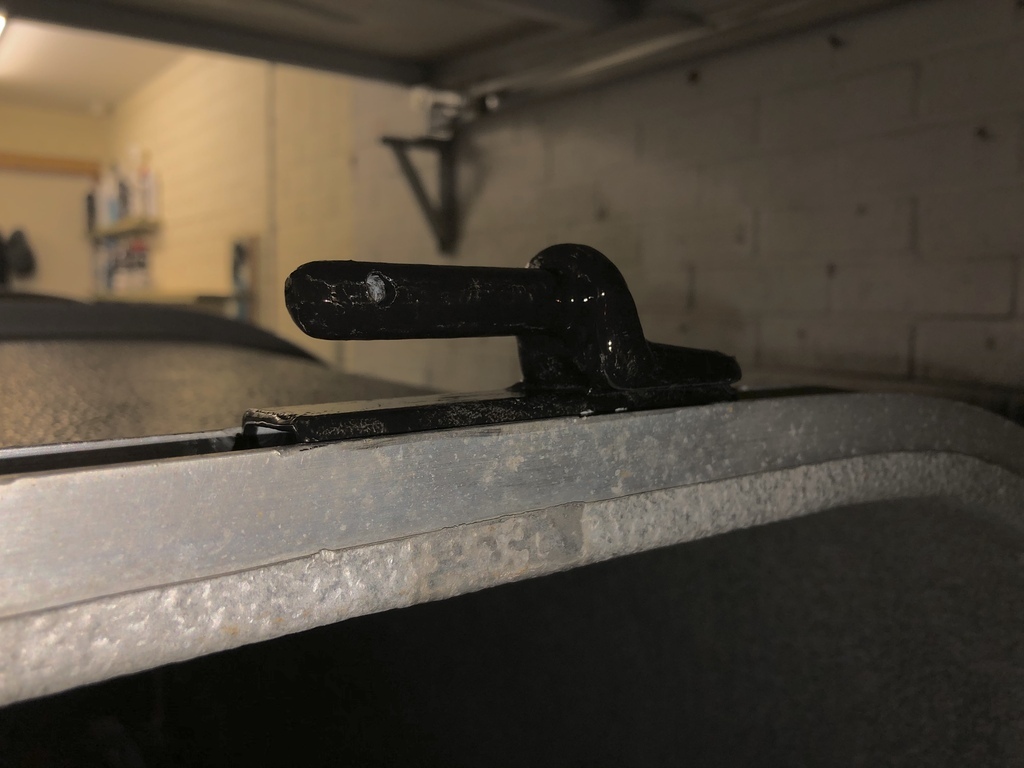
Yes I see what you mean, there’s always the danger that the show organisers will think one of the catering vans has turned up if it’s too shiny but what a catering van.  The ribs WILL be staying on outside for a couple of years at least I think. If I removed the ribs I was thinking a full body colour match and a smooth back panel with bubble windows etc for a boogie van look. That can always be a future twist.  You might need the ribs to stop it being a bit , well, floppy (no singgering at the back !) ... could they be reftted on the inside ? oh yes ribs are definitely needed and the only thing holding it together - i think i posted further up in the thread that my intention would be to get internal ribs fitted in place of external but I've decided against that now. |
| |
|
|
|
|
|
|
|
|
|
Sept 2, 2020 13:15:23 GMT
|
|
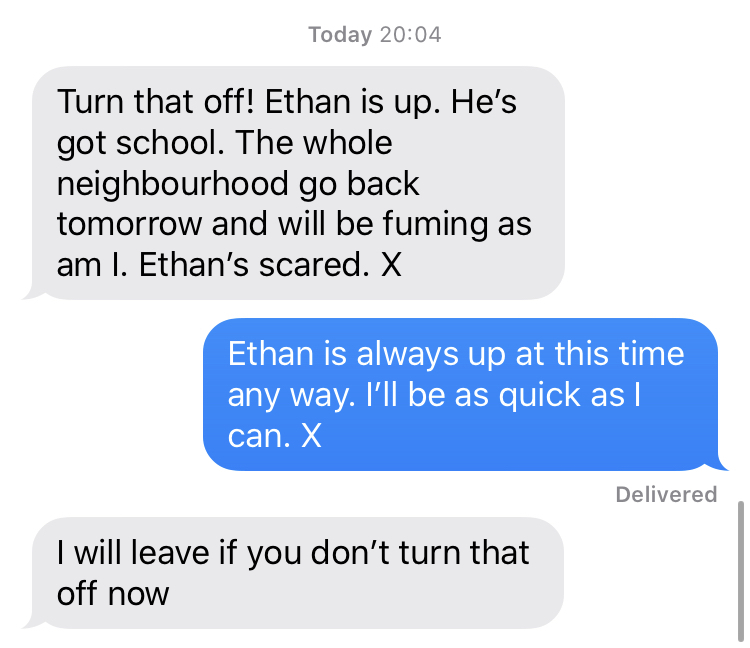
The rigid cover looks great! The donor looks like it's seen some salty roads, the striped colour scheme is pretty cool though.
Your partners messages made me laugh, how late was this! When she says she will leave I presume you can't interpret it as she's going to pop out for a couple of hours to let you carry on in peace?
|
| |
|
|
|
|
1985 Honda Acty Show Truckfr€$h&m1nt¥
@freshandminty
Club Retro Rides Member 99
|
Sept 2, 2020 13:35:57 GMT
|
The rigid cover looks great! The donor looks like it's seen some salty roads, the striped colour scheme is pretty cool though. Your partners messages made me laugh, how late was this! When she says she will leave I presume you can't interpret it as she's going to pop out for a couple of hours to let you carry on in peace? Not so much salty roads but left in a garden to become one with nature between 2007 when it failed it's last MOT and 2019 when the previous owner died. Only 8:10PM - Luckily only 7 minutes had past between receiving the last message and me seeing it to stop the noisy stuff! |
| |
|
|
|
|
|
Sept 2, 2020 14:03:57 GMT
|
|
Personally I quite like the exposed ribs, it lends an air of industrial rigidity and contrasts with the smooth paint etc.
My favourite view currently,,weirdly, is the 1/4 rear view.
|
| |
|
|
|
|
1985 Honda Acty Show Truckfr€$h&m1nt¥
@freshandminty
Club Retro Rides Member 99
|
Sept 2, 2020 14:39:35 GMT
|
Personally I quite like the exposed ribs, it lends an air of industrial rigidity and contrasts with the smooth paint etc. My favourite view currently,,weirdly, is the 1/4 rear view. I’m torn between front quarter and rear quarter. My current phone background is both of them.   |
| |
|
|
|
|
1985 Honda Acty Show Truckfr€$h&m1nt¥
@freshandminty
Club Retro Rides Member 99
|
Sept 3, 2020 11:32:45 GMT
|
Custom car Japan magazine is available now with my Acty in... www.amazon.co.jp/exec/obidos/ASIN/B08FKSFJWJ/geibunamazon-22/It’s a kei truck / van / car special  You can download it as a kindle ebook for the kindle or any device with the free kindle ebook app. Not sure if you can get the printed version in the U.K. as I’ve tried previously, they’re sending me a copy as I have the feature.  |
| |
|
|
MiataMark
Club Retro Rides Member
Posts: 2,971
Club RR Member Number: 29
|
|
Sept 3, 2020 11:41:00 GMT
|
|
Is the top a little bit too long for the truck bed? It looks like it overhangs a bit but that could be the angle of the photo.
In one of the images above the ribs look as if they're gold which looks good, polished aluminium and gold ribs...
|
| |
1990 Mazda MX-52012 BMW 118i (170bhp) - white appliance 2011 Land Rover Freelander 2 TD4 2003 Land Rover Discovery II TD52007 Alfa Romeo 159 Sportwagon JTDm
|
|
|
|
1985 Honda Acty Show Truckfr€$h&m1nt¥
@freshandminty
Club Retro Rides Member 99
|
Sept 3, 2020 11:48:14 GMT
|
Is the top a little bit too long for the truck bed? It looks like it overhangs a bit but that could be the angle of the photo. In one of the images above the ribs look as if they're gold which looks good, polished aluminium and gold ribs... Yes it does overhang by a couple of inch - i guess it's because it's a universal back for the various different micro trucks - it's good in that I can put a padlock on the latches and they won't swing into the tailgate. If / when I get the back gate panelled rather than the mesh I can get a curved bottom put on to meet the top of the tailgate and echo the curve on the custom lower panel. |
| |
|
|
MiataMark
Club Retro Rides Member
Posts: 2,971
Club RR Member Number: 29
|
|
Sept 3, 2020 11:51:34 GMT
|
Is the top a little bit too long for the truck bed? It looks like it overhangs a bit but that could be the angle of the photo. In one of the images above the ribs look as if they're gold which looks good, polished aluminium and gold ribs... Yes it does overhang by a couple of inch - i guess it's because it's a universal back for the various different micro trucks - it's good in that I can put a padlock on the latches and they won't swing into the tailgate. If / when I get the back gate panelled rather than the mesh I can get a curved bottom put on to meet the top of the tailgate and echo the curve on the custom lower panel. Could you move the rear rib in a bit and cut the canopy shorter? |
| |
1990 Mazda MX-52012 BMW 118i (170bhp) - white appliance 2011 Land Rover Freelander 2 TD4 2003 Land Rover Discovery II TD52007 Alfa Romeo 159 Sportwagon JTDm
|
|
|
|
1985 Honda Acty Show Truckfr€$h&m1nt¥
@freshandminty
Club Retro Rides Member 99
|
Sept 3, 2020 11:57:17 GMT
|
Yes it does overhang by a couple of inch - i guess it's because it's a universal back for the various different micro trucks - it's good in that I can put a padlock on the latches and they won't swing into the tailgate. If / when I get the back gate panelled rather than the mesh I can get a curved bottom put on to meet the top of the tailgate and echo the curve on the custom lower panel. Could you move the rear rib in a bit and cut the canopy shorter? Something I'd considered but these are pretty much built around a build once basis - there'd be about 40 rivets to drill out and the sheet metal section is hammered around the final rib so that would need to be prised apart too. If the ribs are universal and still current I could get a new rib, drill and rivet each fixing point with it 2" further in, then cut the sheet metal between the old rib and the new rib and then hammer the sheet metal around. Would it be worth all that extra work to go 2" shorter? Personally I'd say no at the moment but I've been known to change my mind.  |
| |
|
|
|
|
1985 Honda Acty Show Truckfr€$h&m1nt¥
@freshandminty
Club Retro Rides Member 99
|
Sept 5, 2020 18:44:25 GMT
|
Good progress today, my task list completed. First up I marked where the window needs to go whilst it was still on the truck... 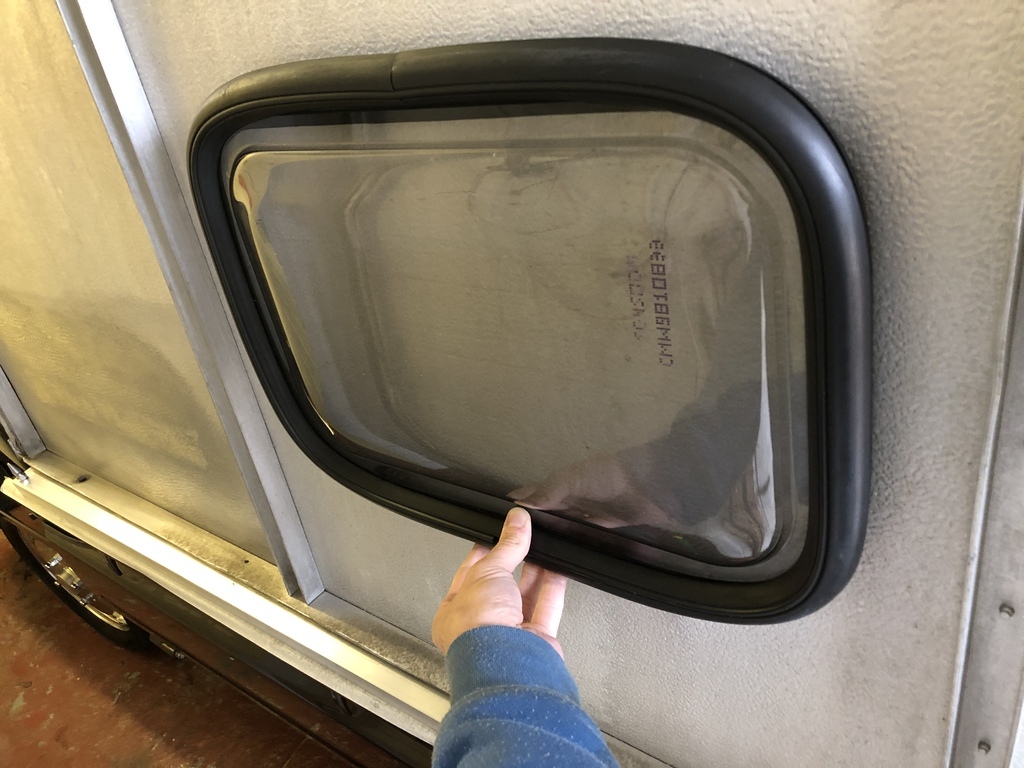  Then I used my wheelie bins as a stand and cut off the side of the angle I didn’t get to do in the week. 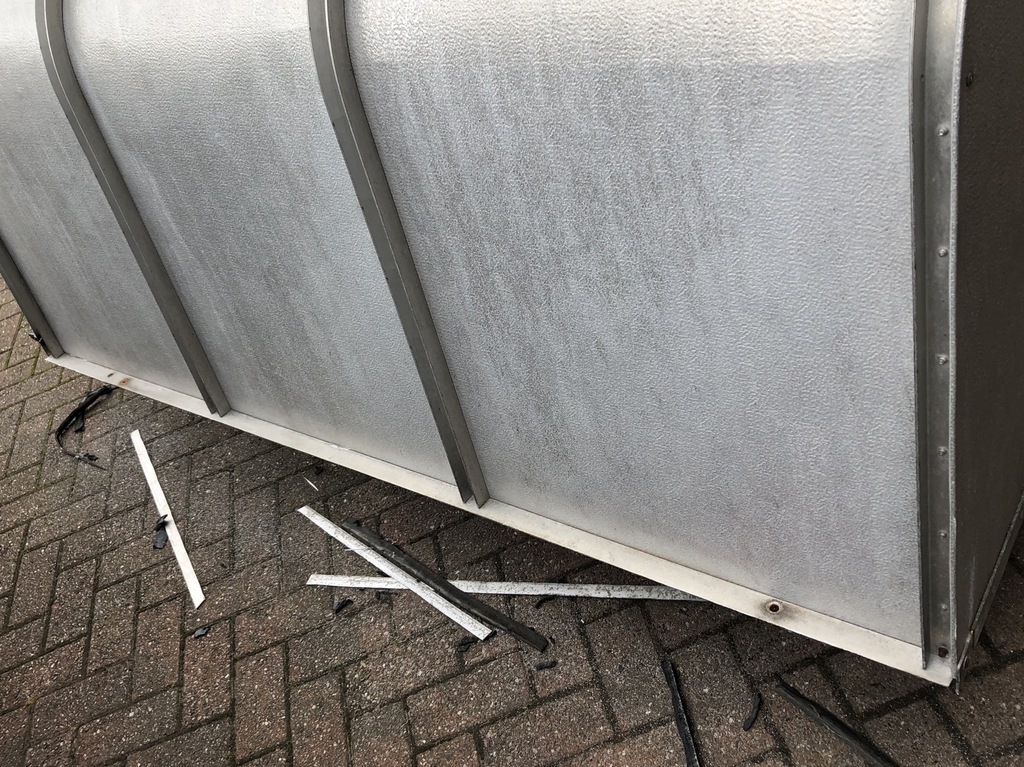 Next up was drilling a new box section for the drivers side as I messed up the original one last Saturday. 10 holes predrilled with 5mm drill bit then bored out with a 10mm bit, all water cooled with a spray bottle...  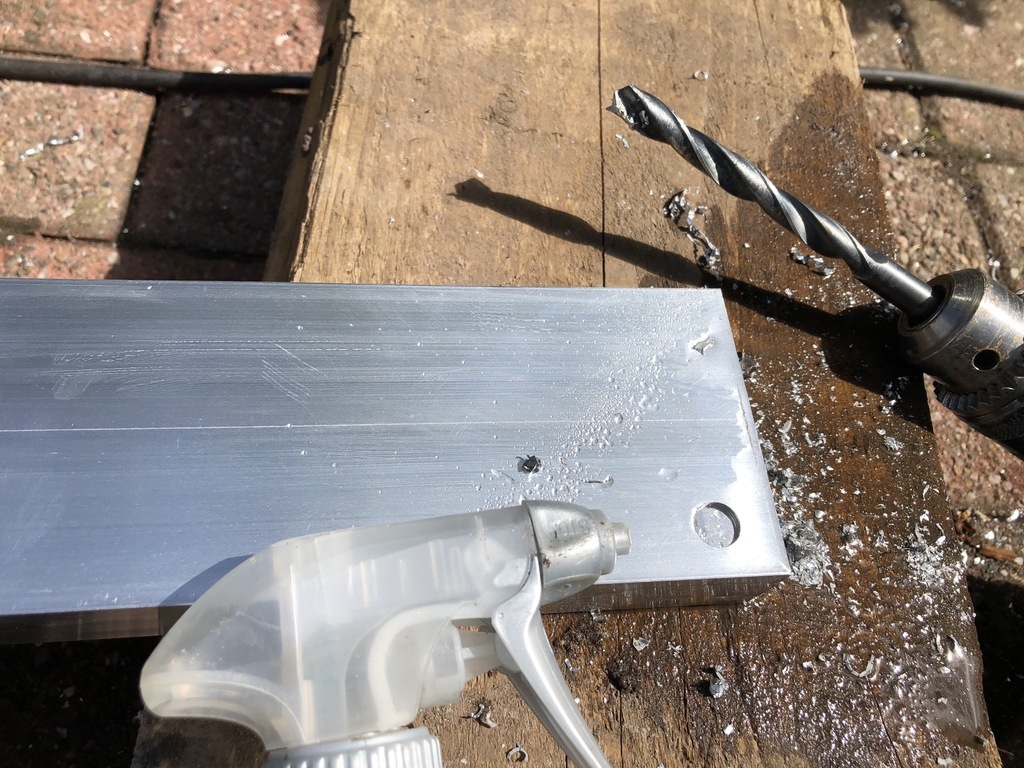 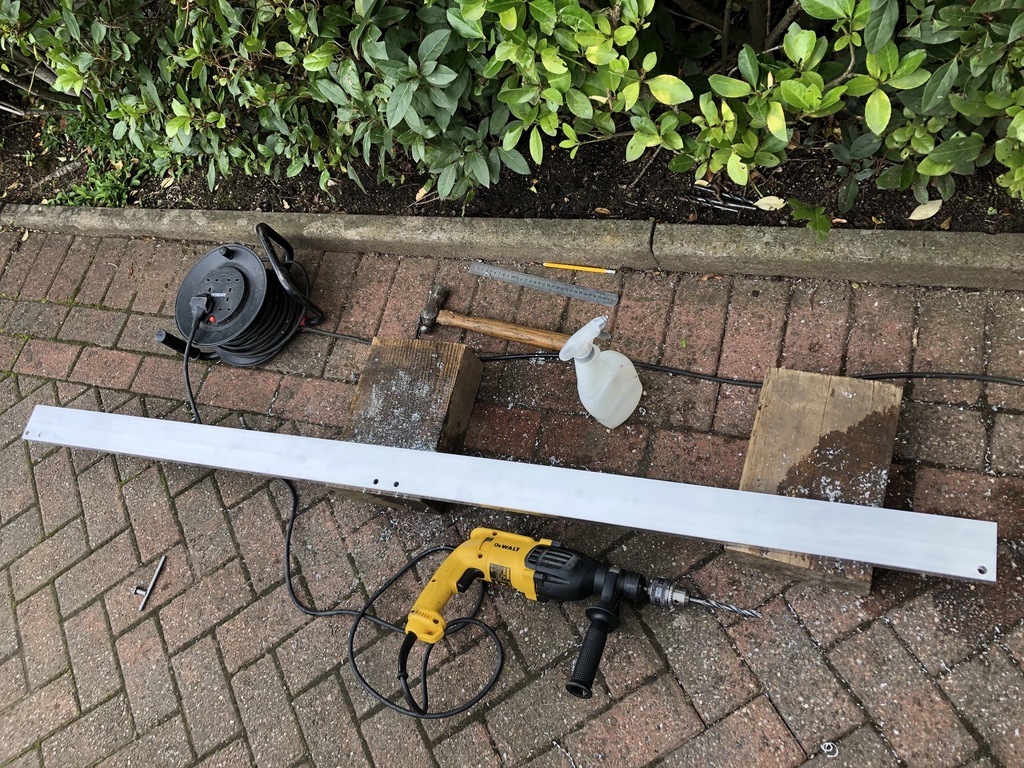 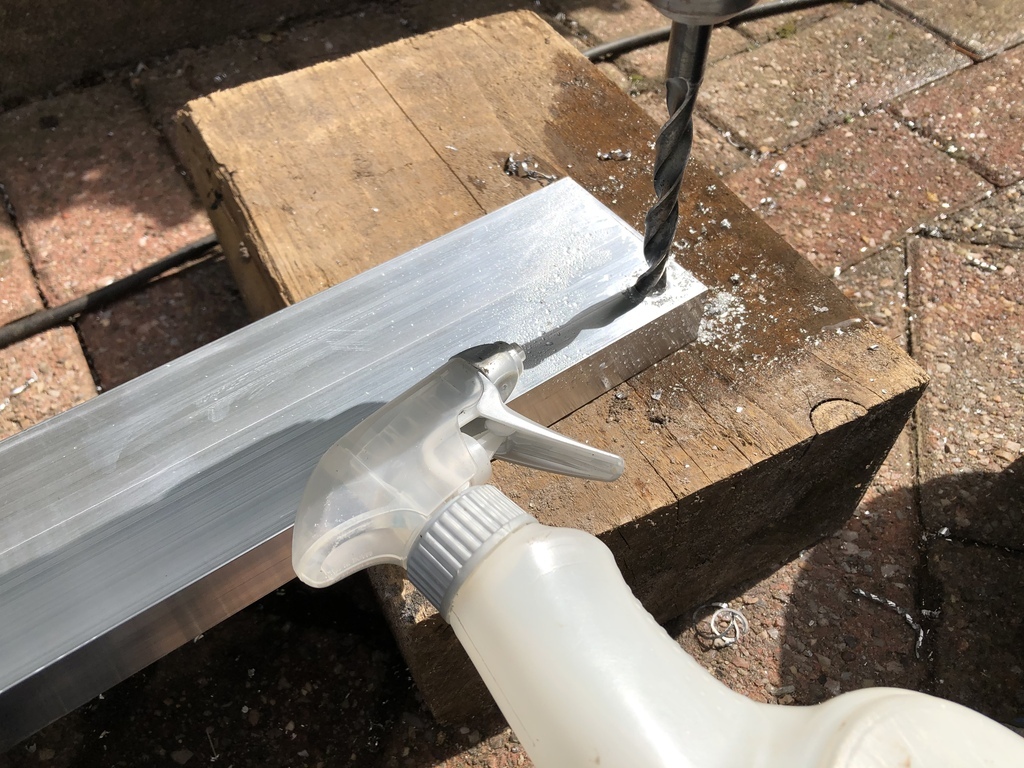 Then bolted in place... 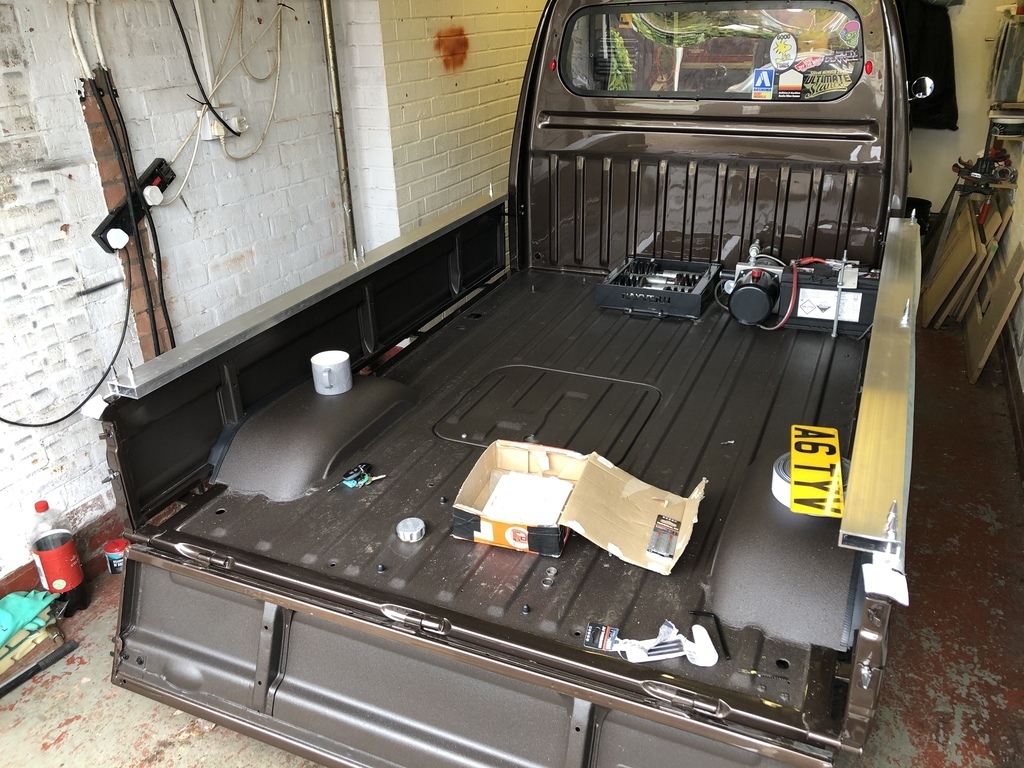 Canopy slid back into place and gate fitted to bring the rear end tight in together...  Holes marked in box section... 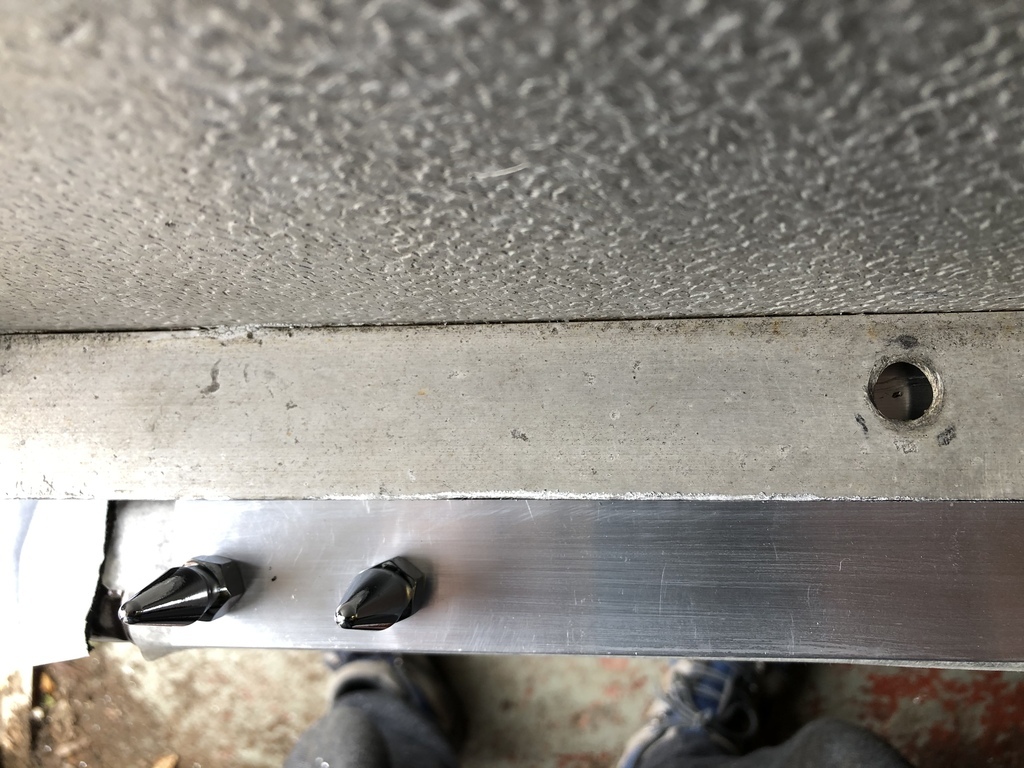 ... and drilled through... 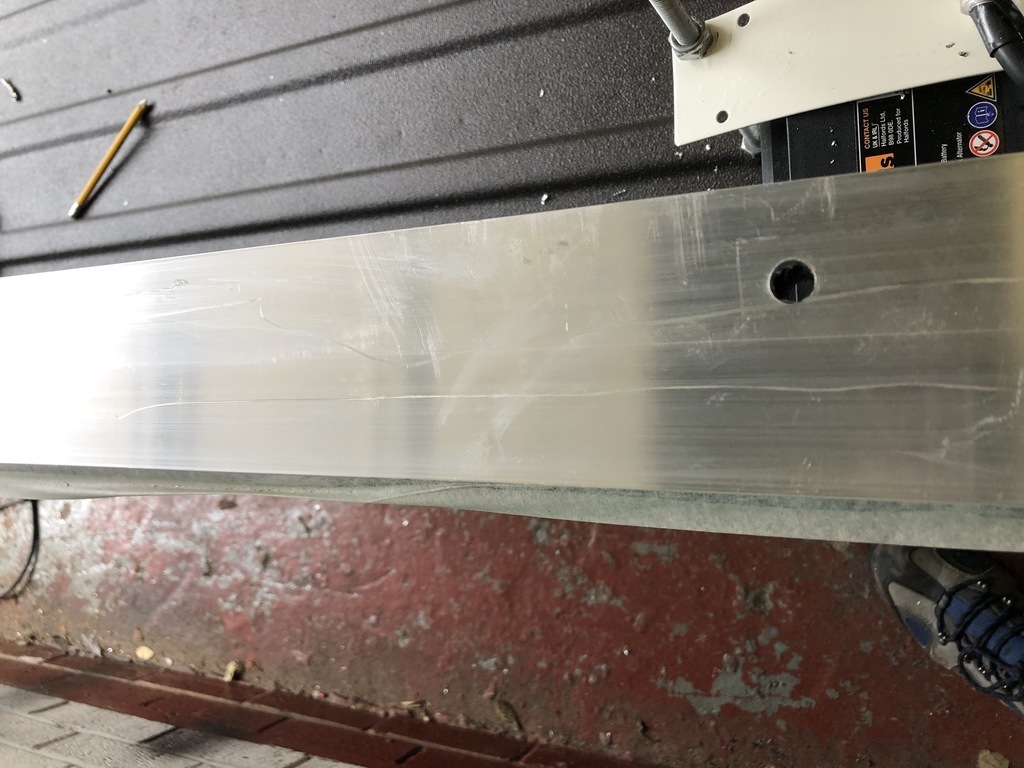 I also added two extra holes either side too - in the middle but not photographed those yet. More tomorrow hopefully.  |
| |
|
|
|
|
|
|
|
Managed to sit through a podcast, never again though, and heard a comment around your Acty. Saw this........ 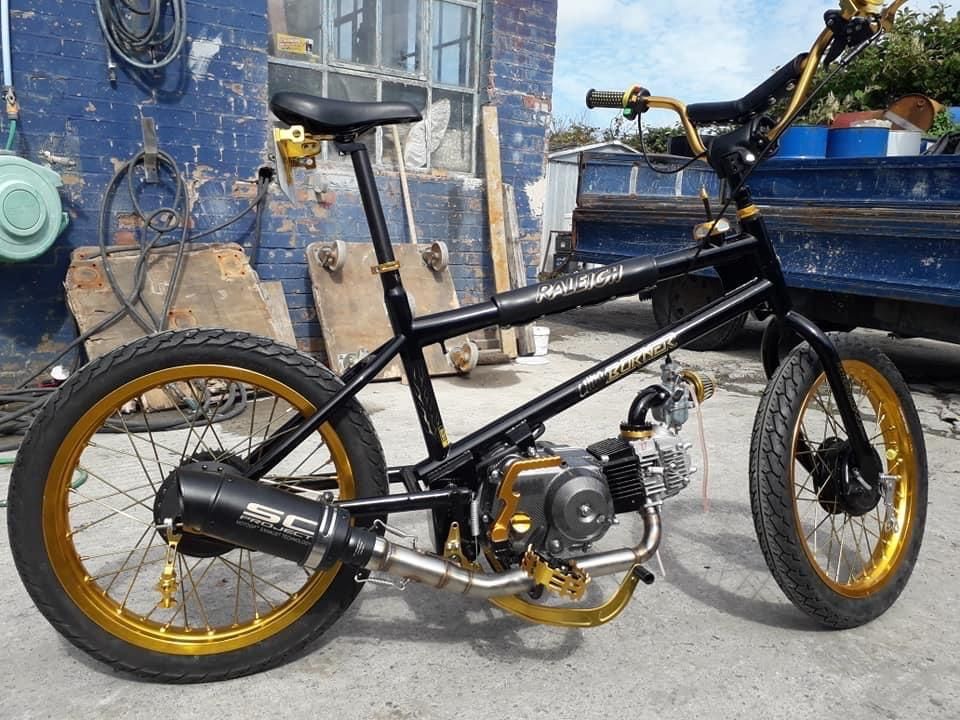 Maybe a bit more imaginative and creative. Would certainly create a stir. |
| |
|
|
|
|
1985 Honda Acty Show Truckfr€$h&m1nt¥
@freshandminty
Club Retro Rides Member 99
|
Sept 6, 2020 21:23:28 GMT
|
Managed to sit through a podcast, never again though, and heard a comment around your Acty. Saw this........  Maybe a bit more imaginative and creative. Would certainly create a stir. I’ve got a mini bmx but it’s minty so would need to go brown and also needs a motor as I can’t push the pedals all round. Something like this ... 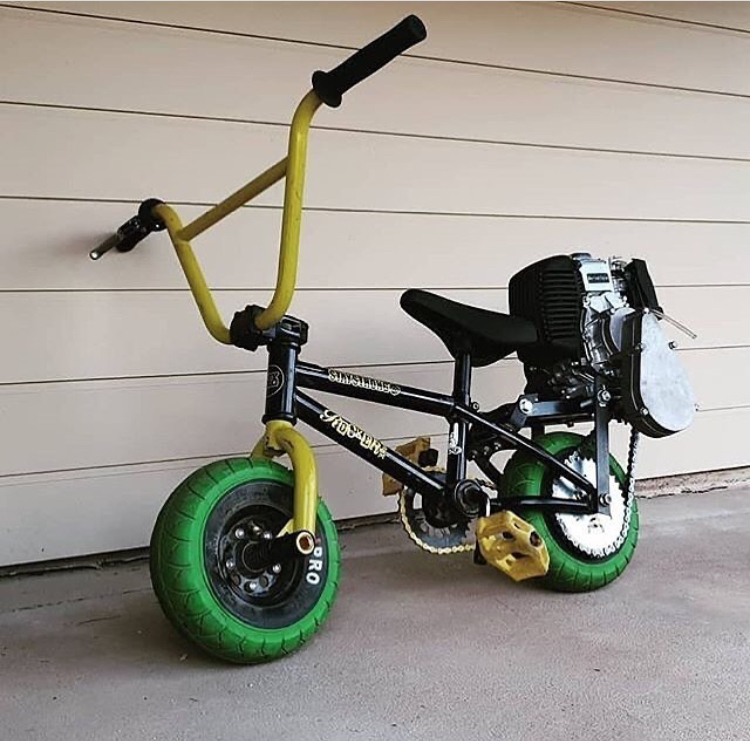 Why never again about the podcast? I’ve found them all entertaining! |
| |
|
|
|
|
1985 Honda Acty Show Truckfr€$h&m1nt¥
@freshandminty
Club Retro Rides Member 99
|
Sept 6, 2020 21:30:44 GMT
|
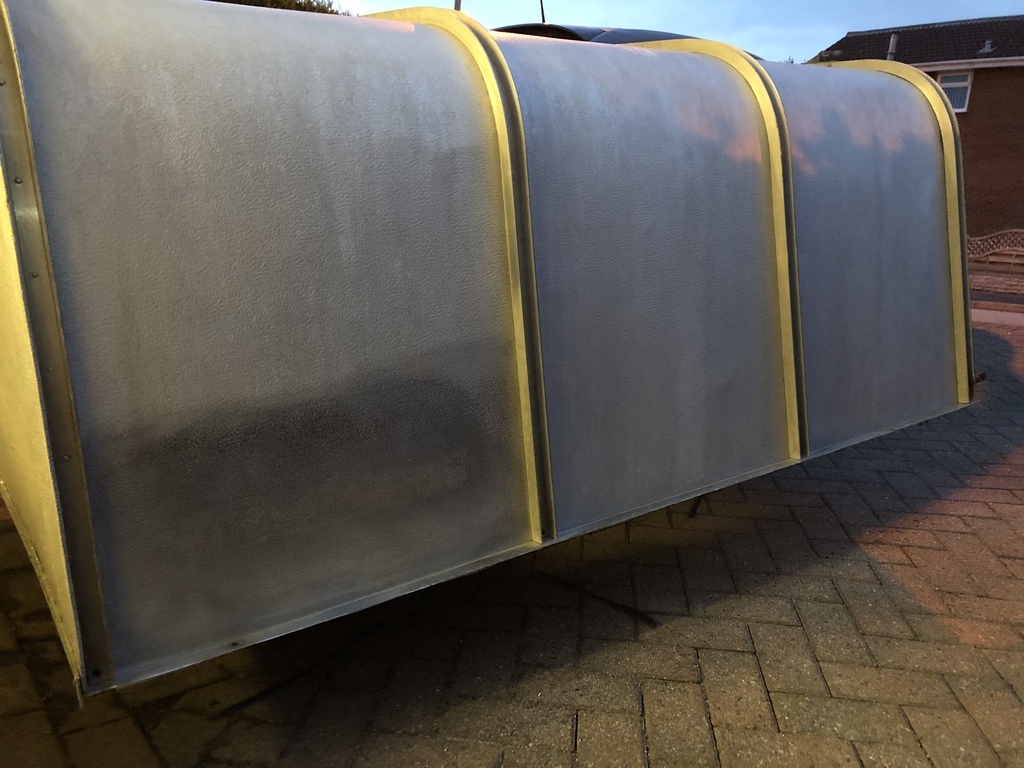
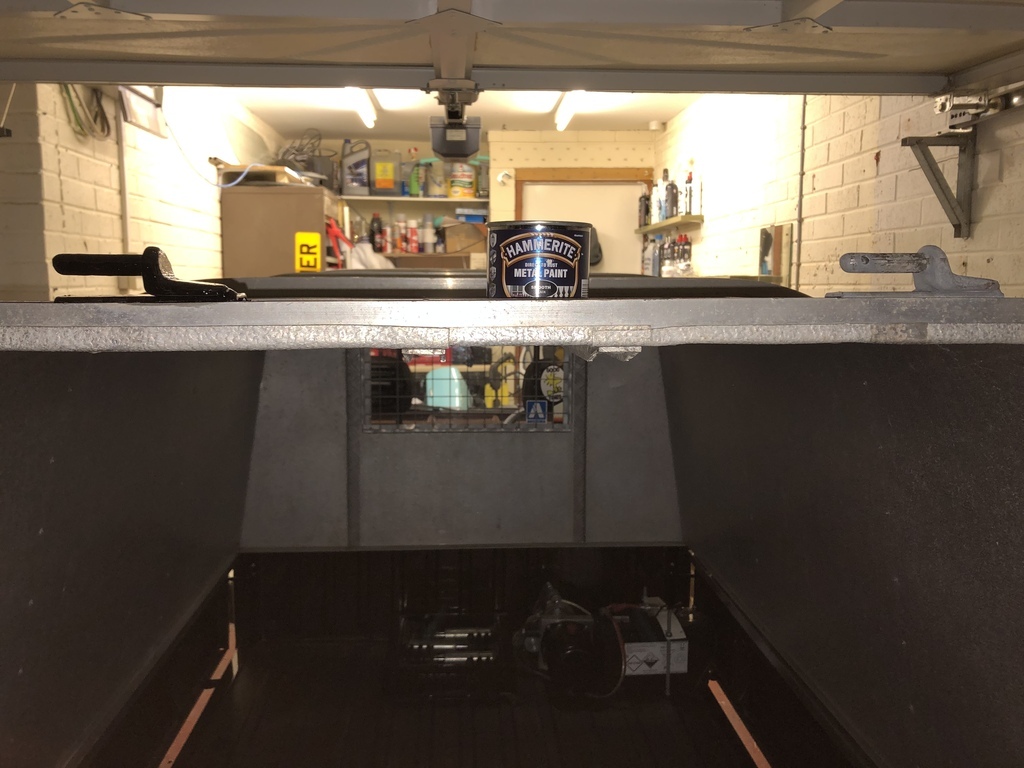
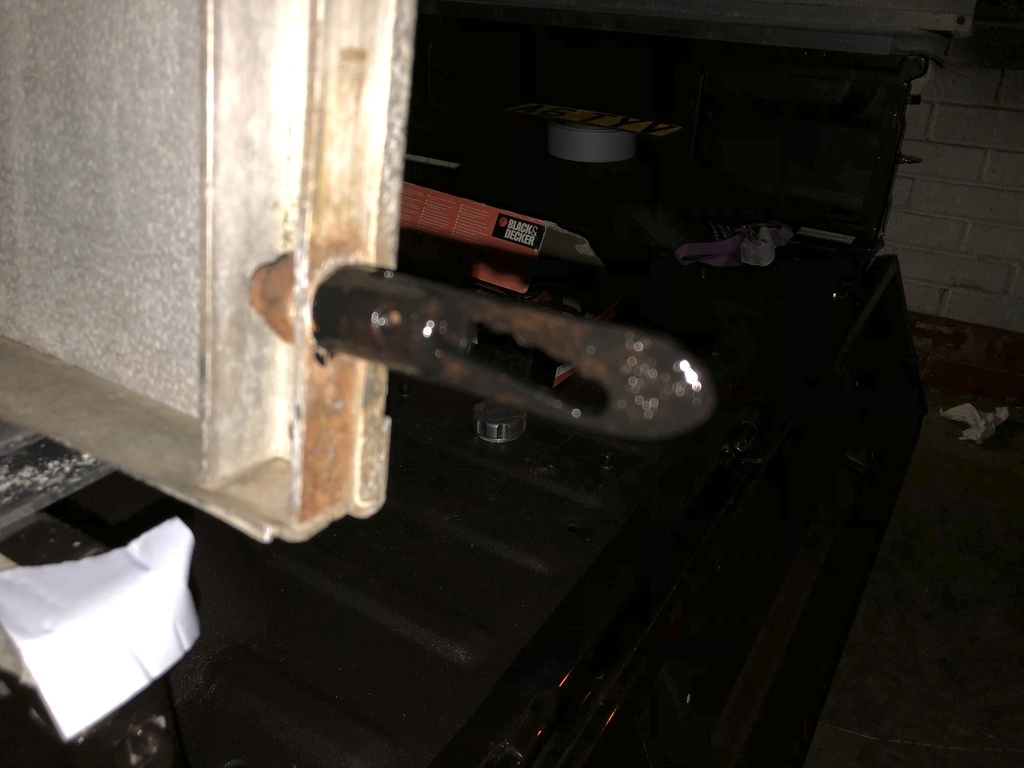
Good progress made today although I did spend more than a working day on the truck!!  Text to be added when I get chance. Too early to make noise so started off with drawing out the template for the window, the curved corners are made easier by the fact that the taper of the rubber matches the recess so I could just draw around them at the position the seal meets the board... 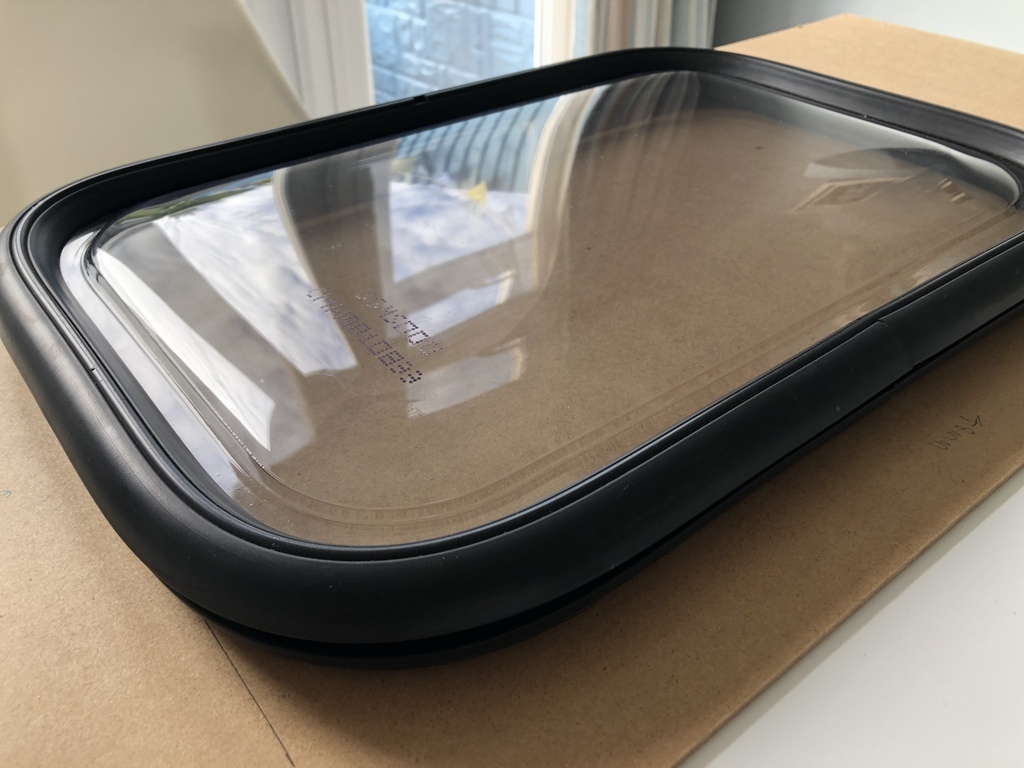 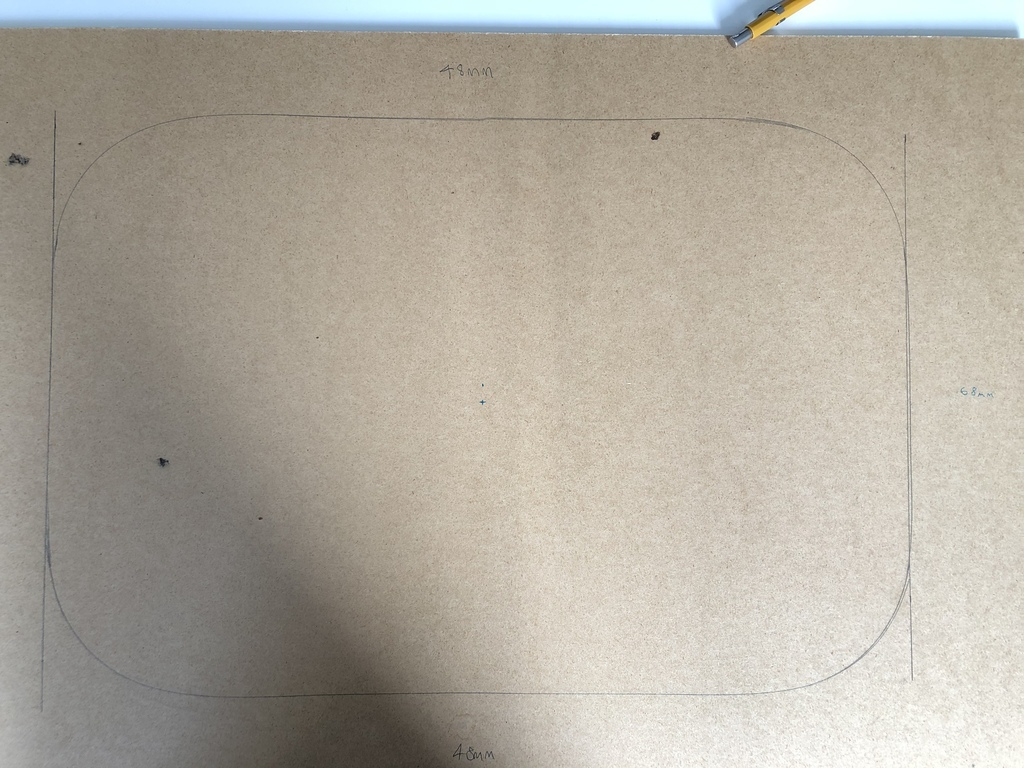 Canopy back on the wheelie bins...  Box sections removed again and central canopy mount holes drilled through... 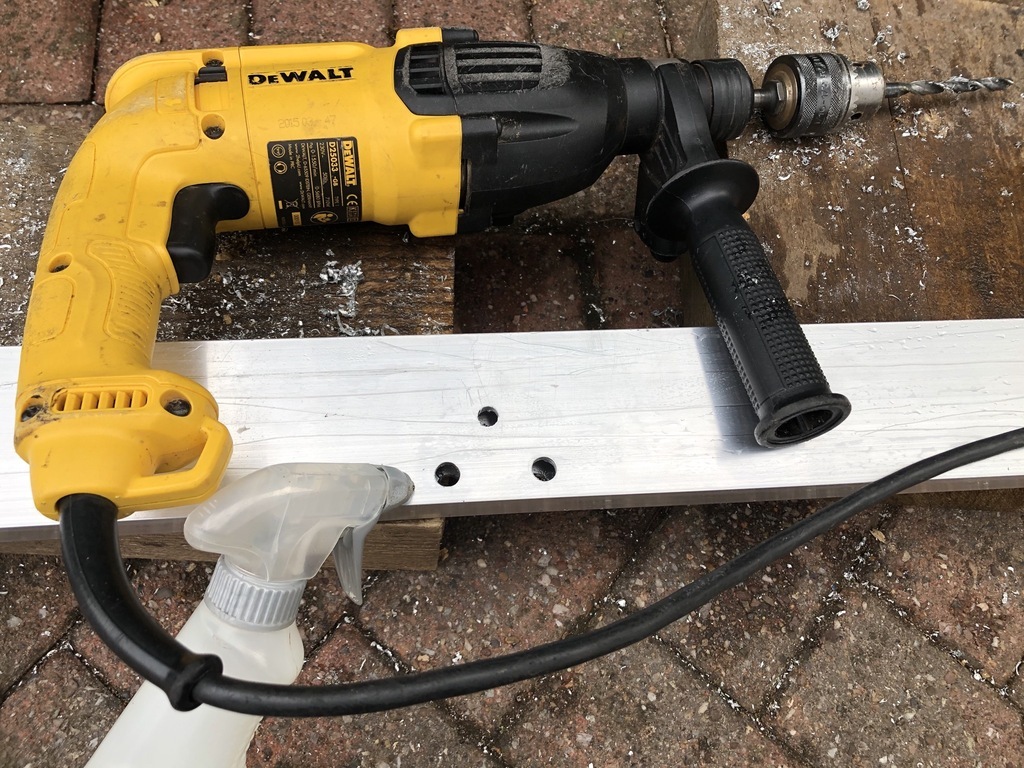 First coat of hammerite on the box sections... 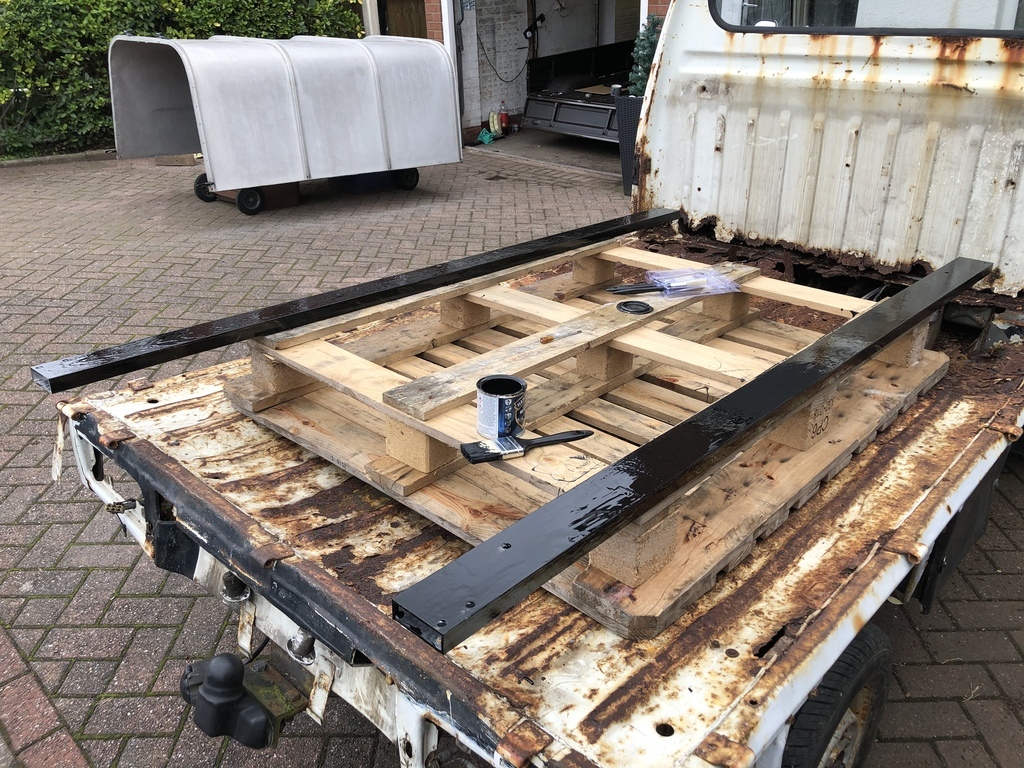 Template cut out... 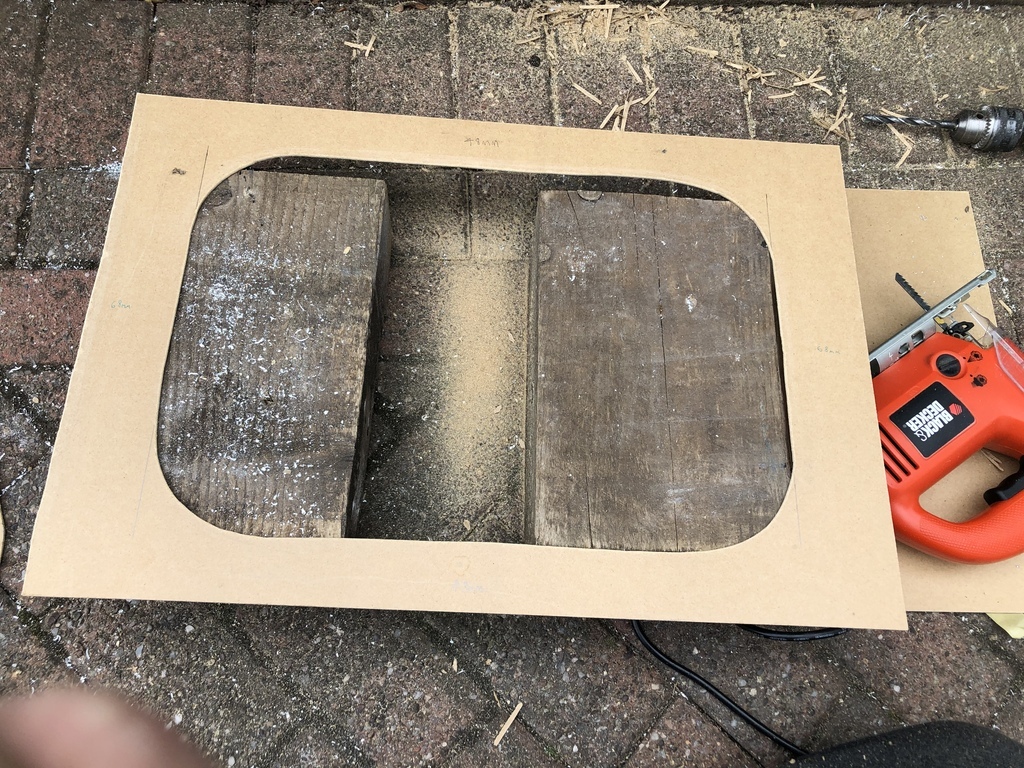 Test fit of window into template... 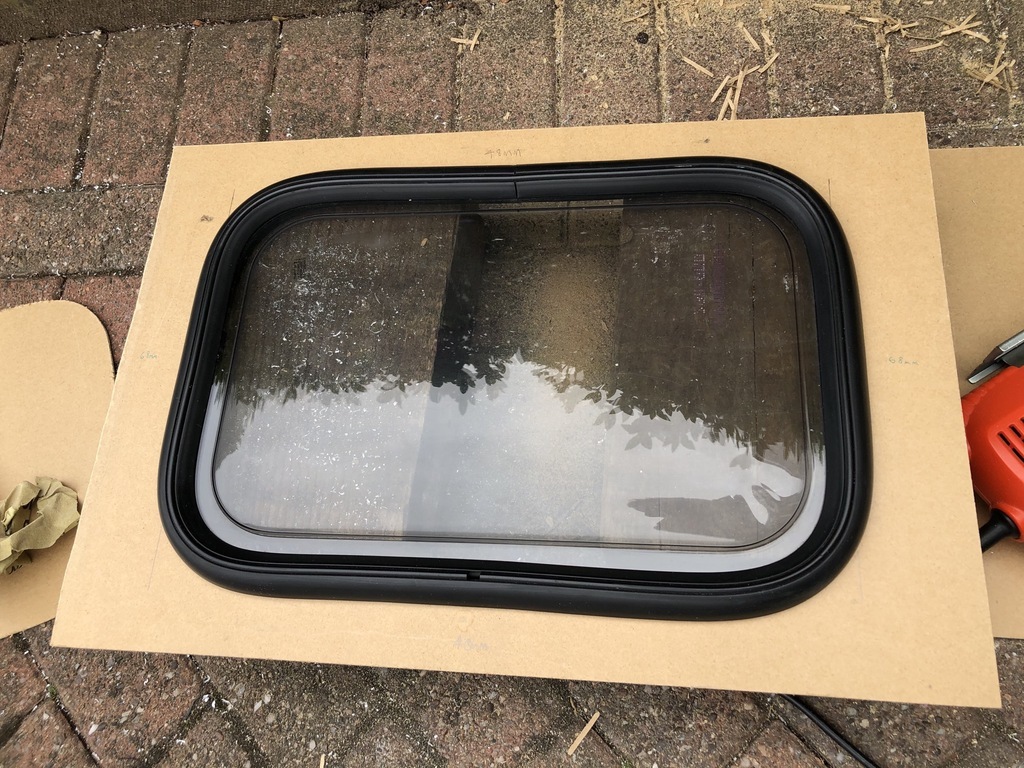 Centre points marked on template and the canopy... 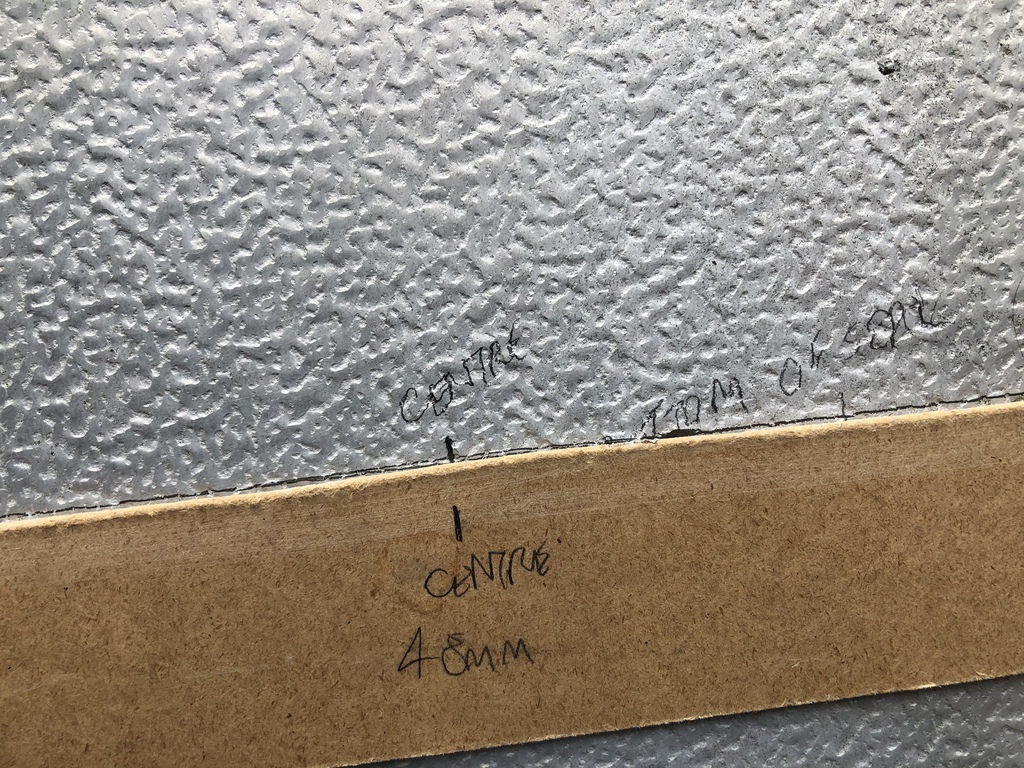 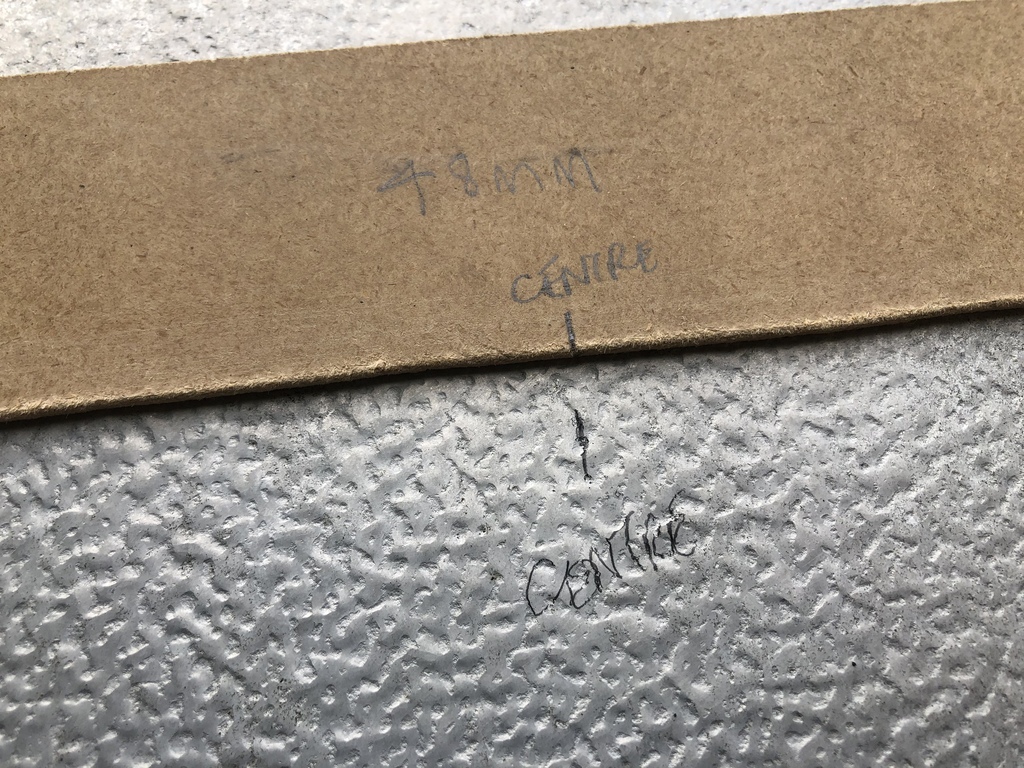 Full template drawn around... 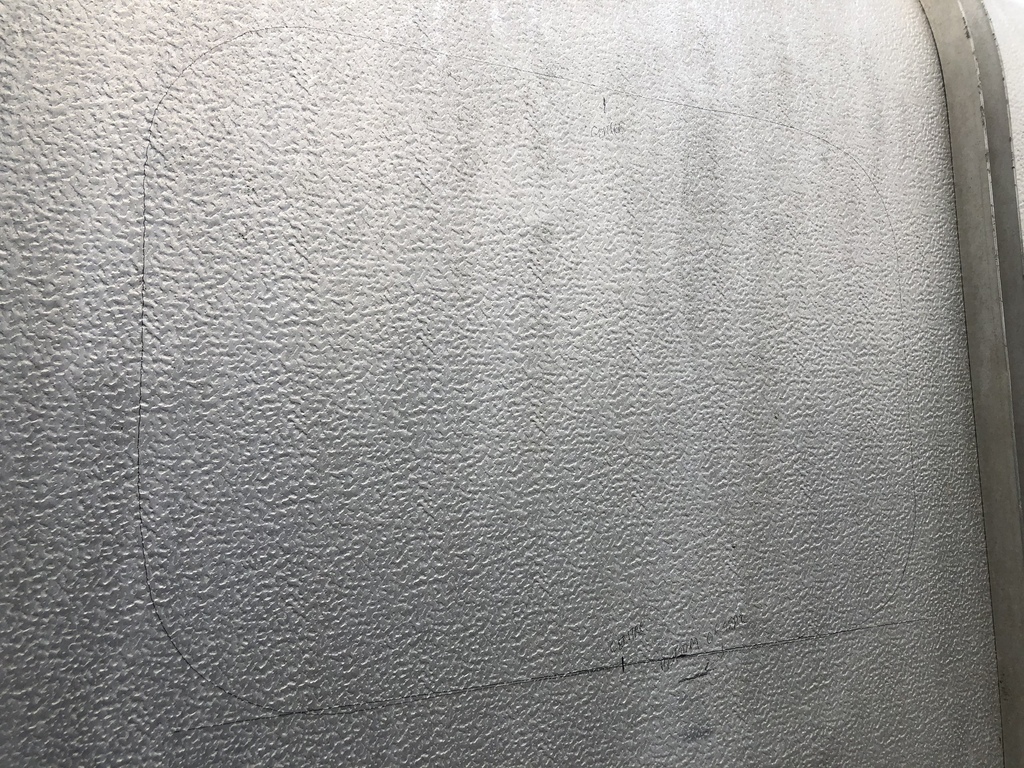 Hole cut with a inital 8mm drill hole and then all round with the jigsaw and metal cutting blade, cut like a hot knife through butter... 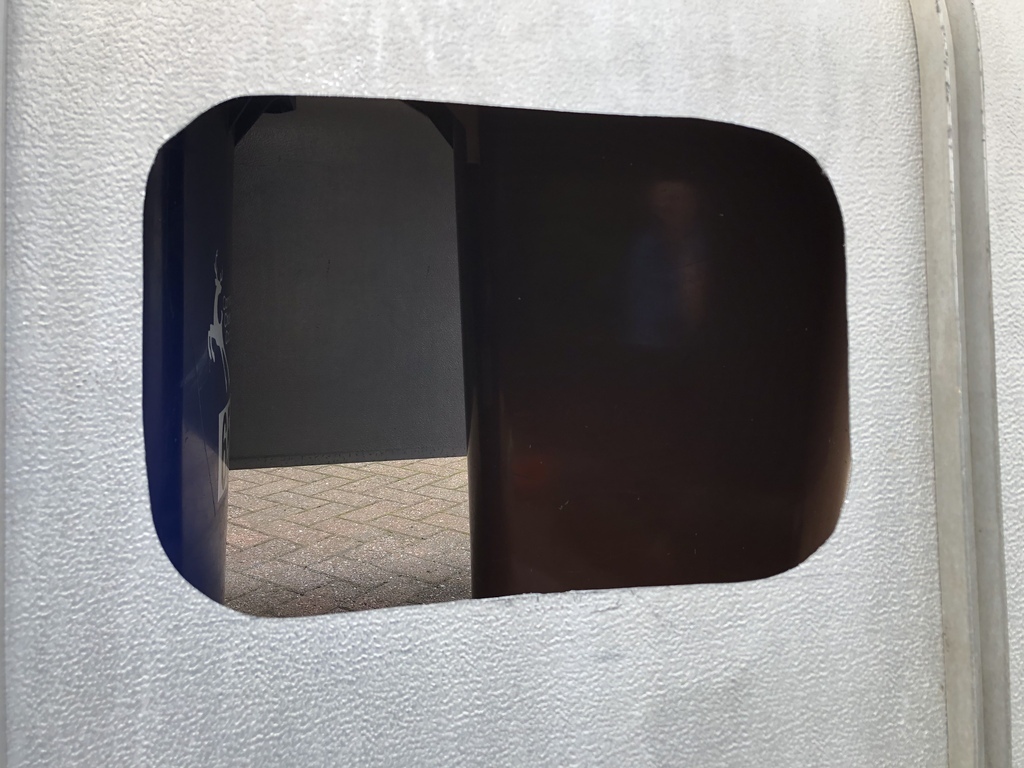 Test fit of windoow...  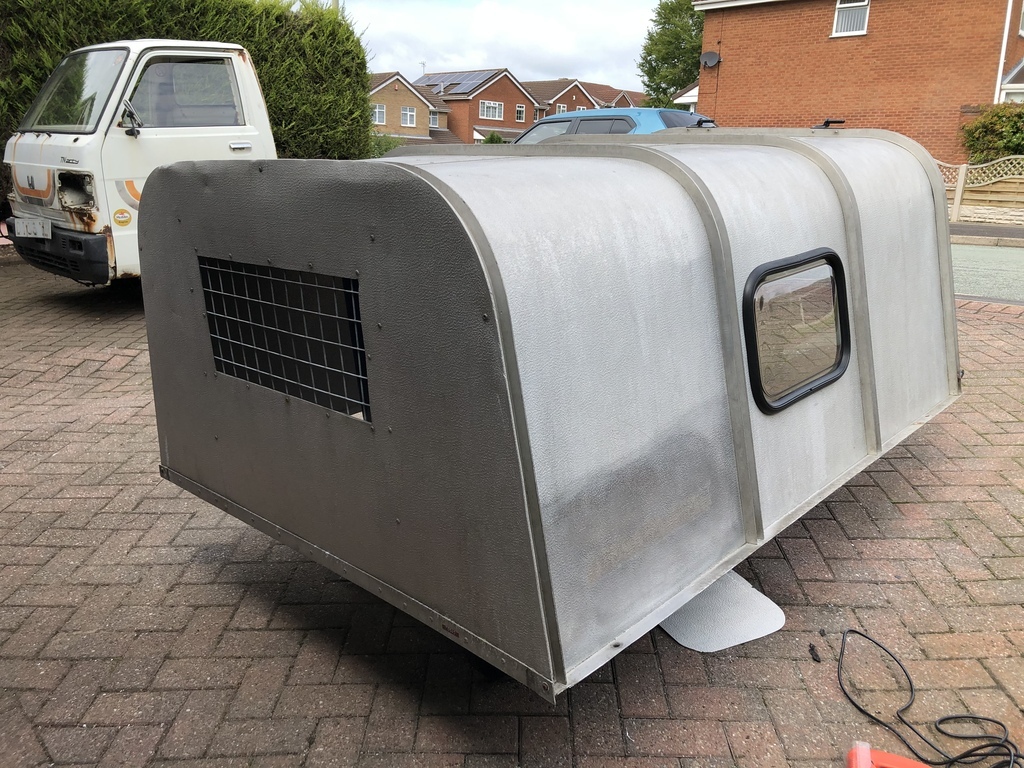 Let's see how clean I can get it without using cleaing products... 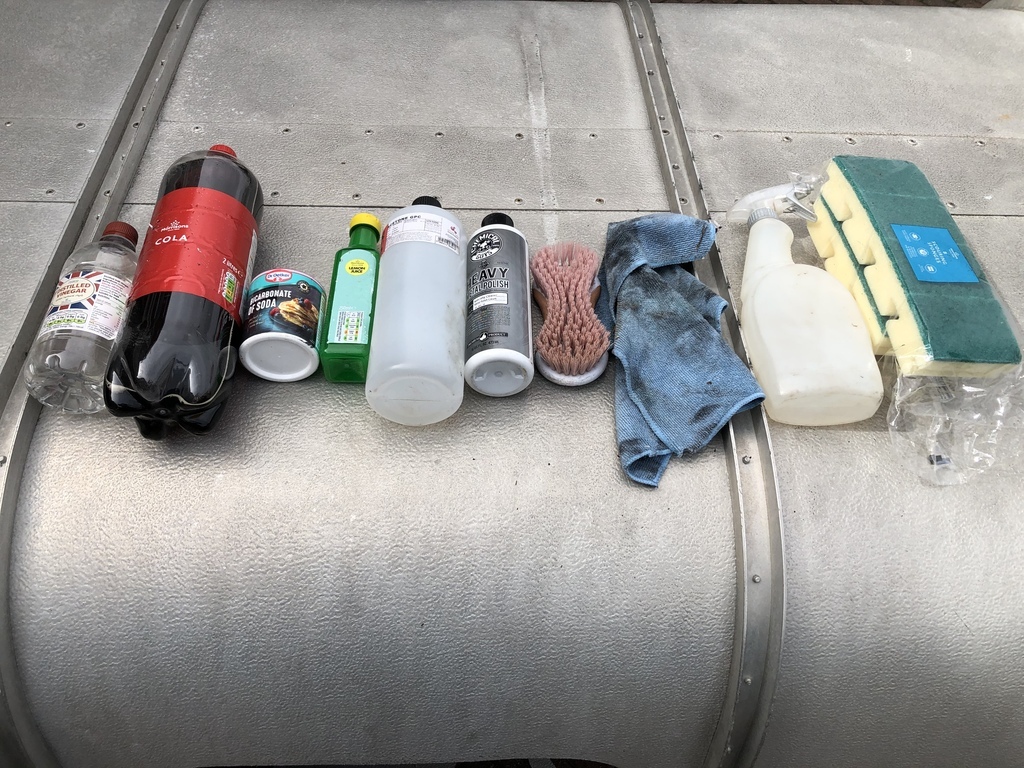 The next two shots are with the near side section cleaned using a scrubbing sponge and white vinegar through a spray bottle and bicarbonate of soda sprinkled on, the lower section of the panel is shinier as that's where i'd tested the metal polish by hand using a microfibre last week... You could definitely see the dullness had gone in person, maybe not as obvious in the photos so it was cleaner but not shiny as such...   Cleaned all over using the method detailed above... 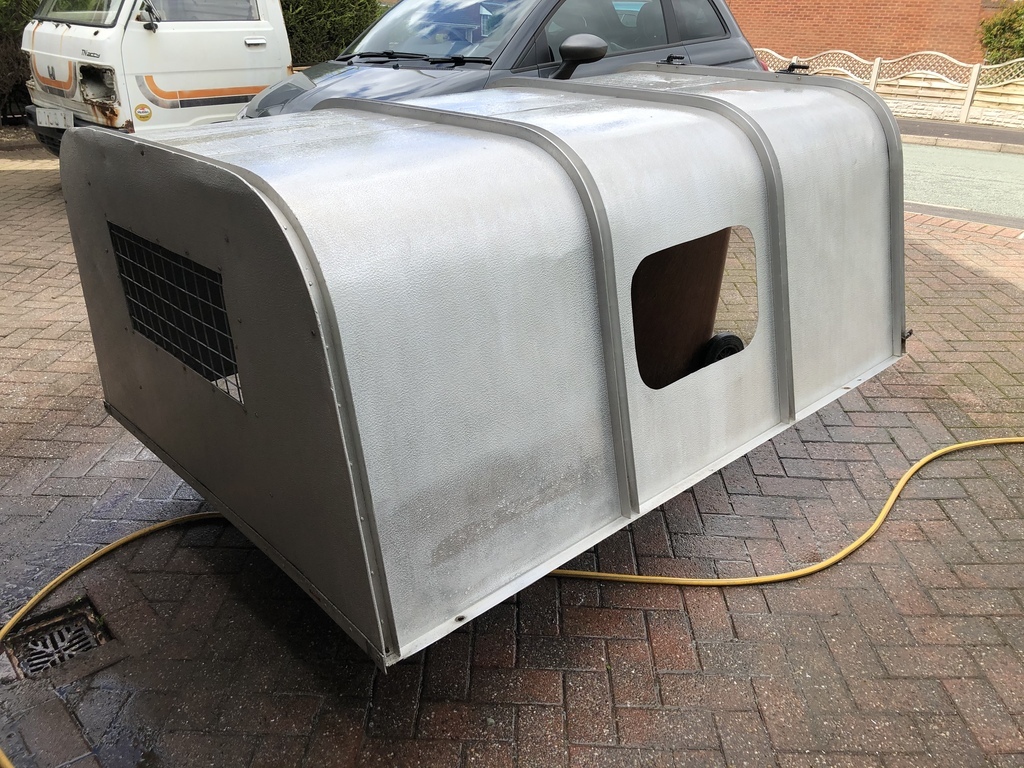 Snow foam applied, which i then scrubbed over with the scrubbing brush just to see if there was any more dullness i could remove by standard cleaning... 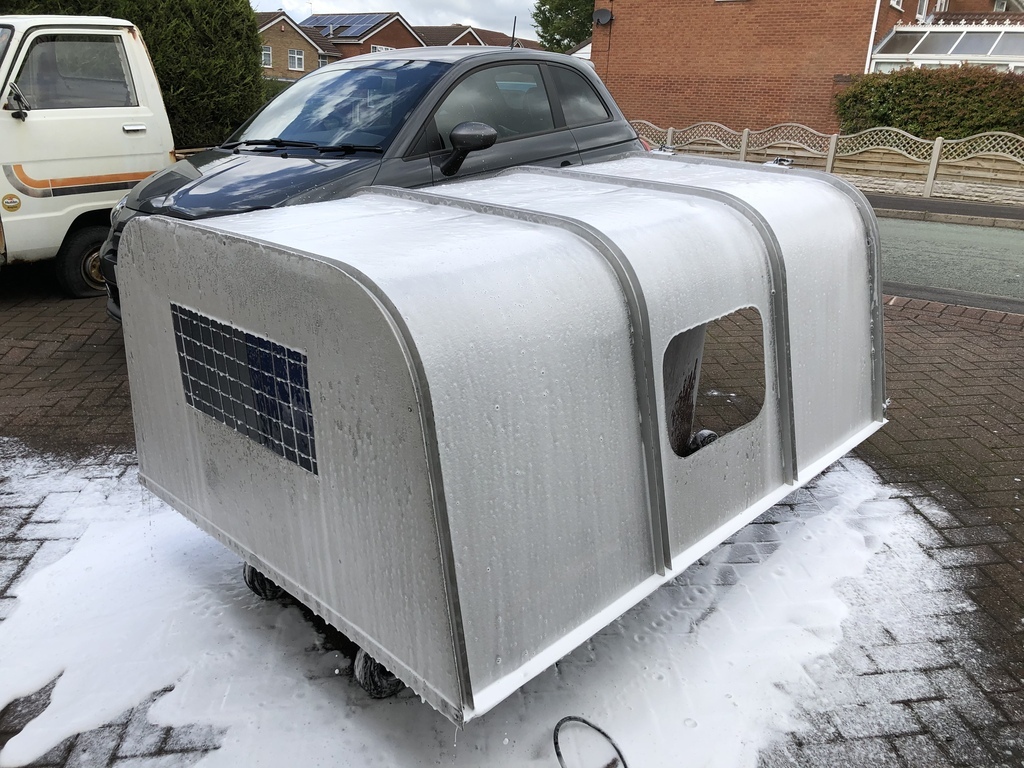 Rinsed off..,  Dinner time and then second coat of hammerite, I'm not happy at all with the finish and will end up vinyl wrapping the side that's exposed, i should have gone down the spray paint route really ... 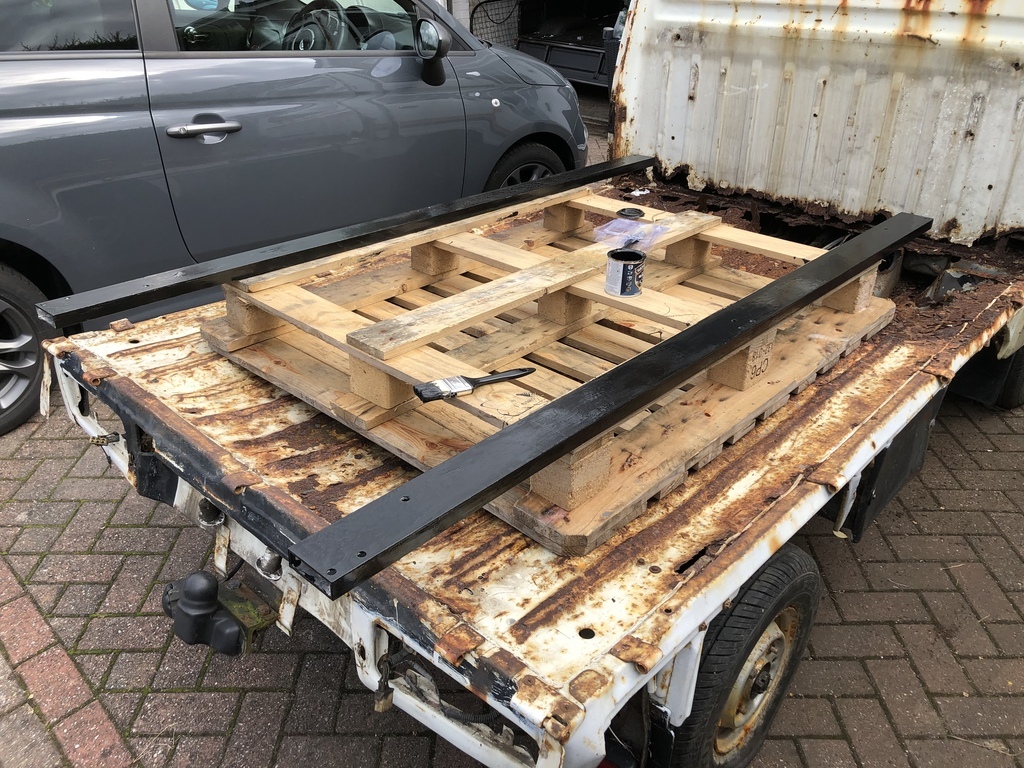 I cracked open the DA machine polisher which I'd originally bought to perfect the hand paint on the proton in 2019 but never got round to using it back then. This first shot is with chemical guys heavy meatl polish applied to the first panel with the DA and then the black residue buffed off by hand with a microfibre...  The next two shots are with the first section polished all over and then second and third sections polished on the nearside only, and the front panel with the grid window in not polised at all... 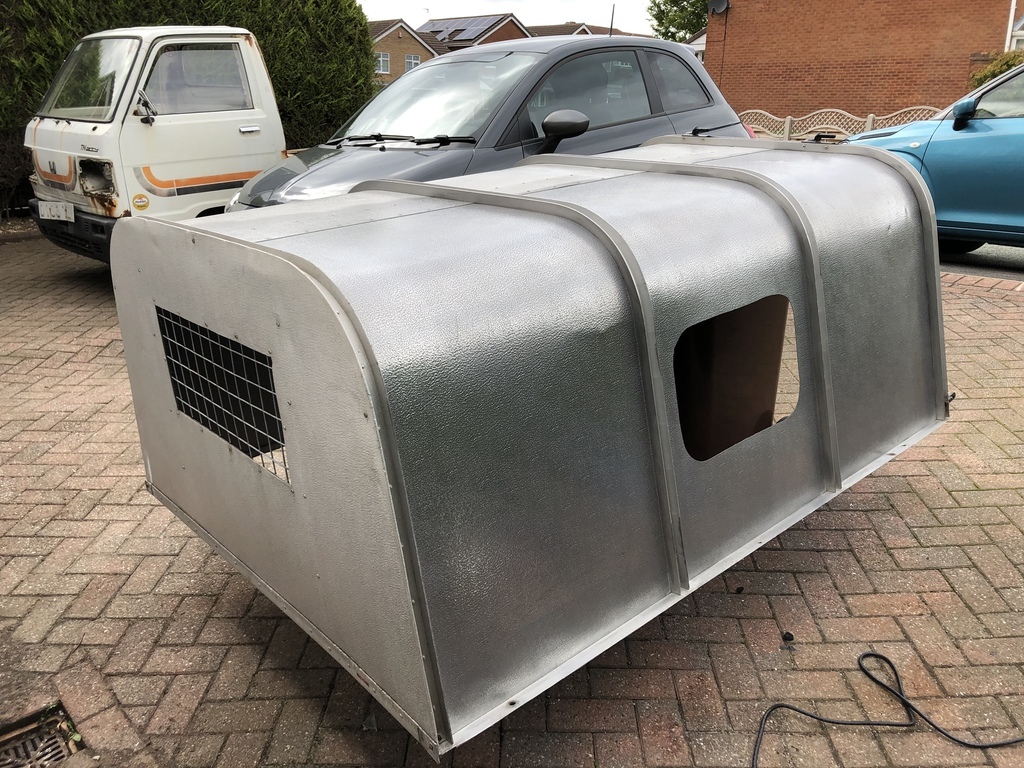 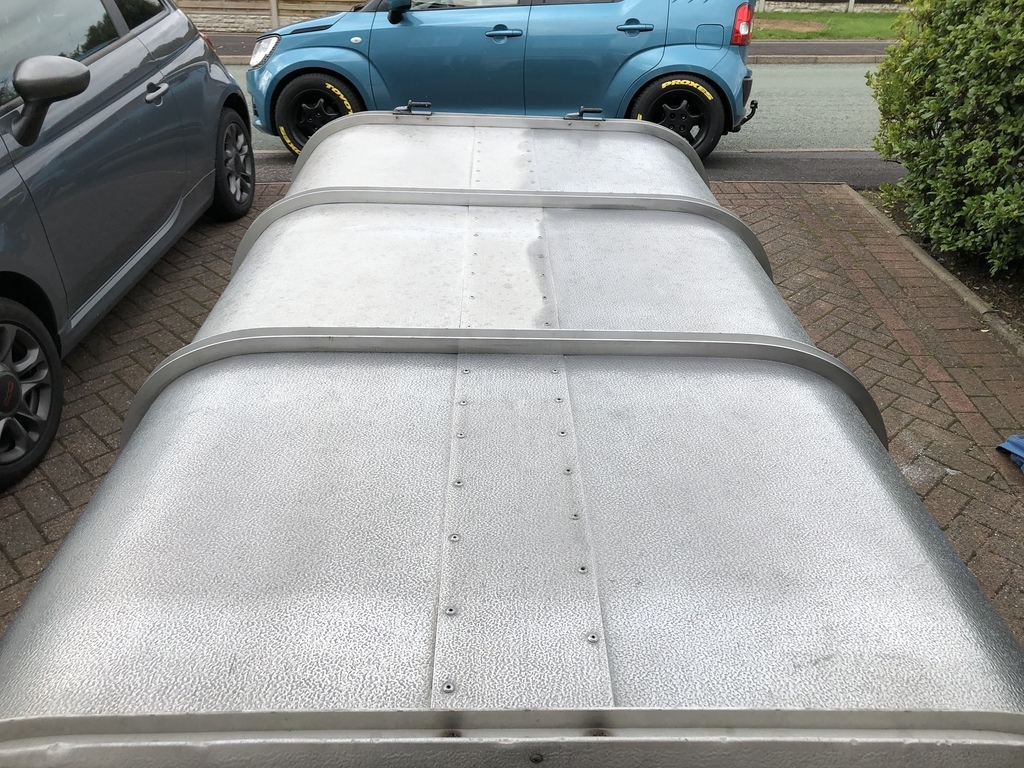 On to the other side... 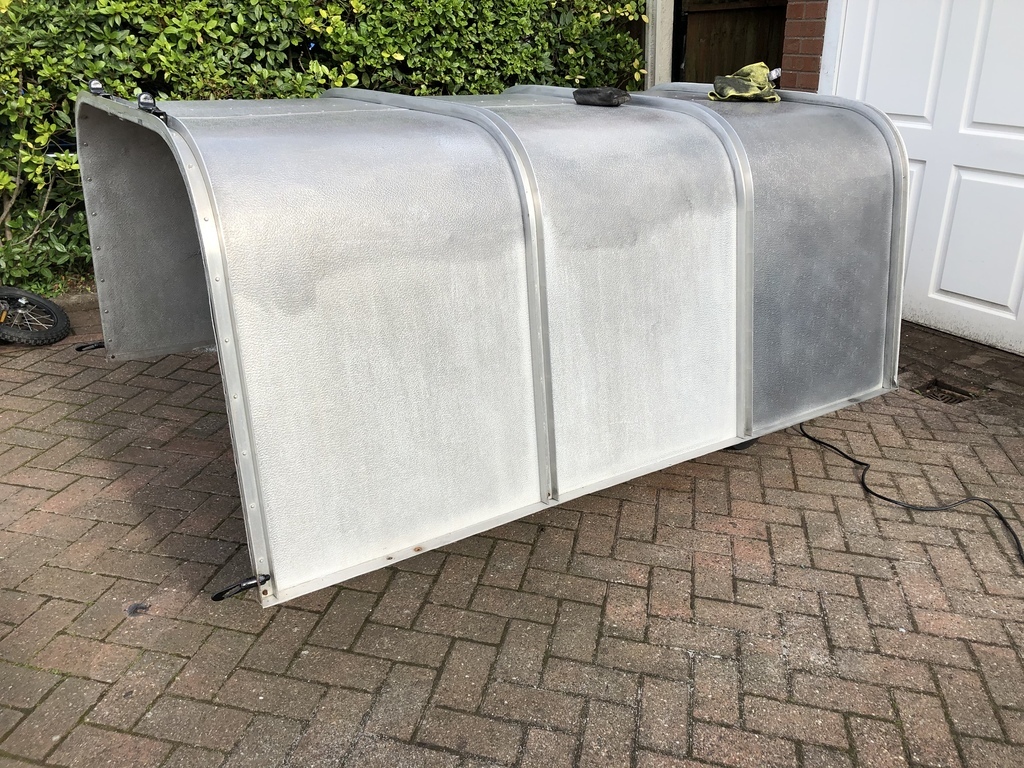 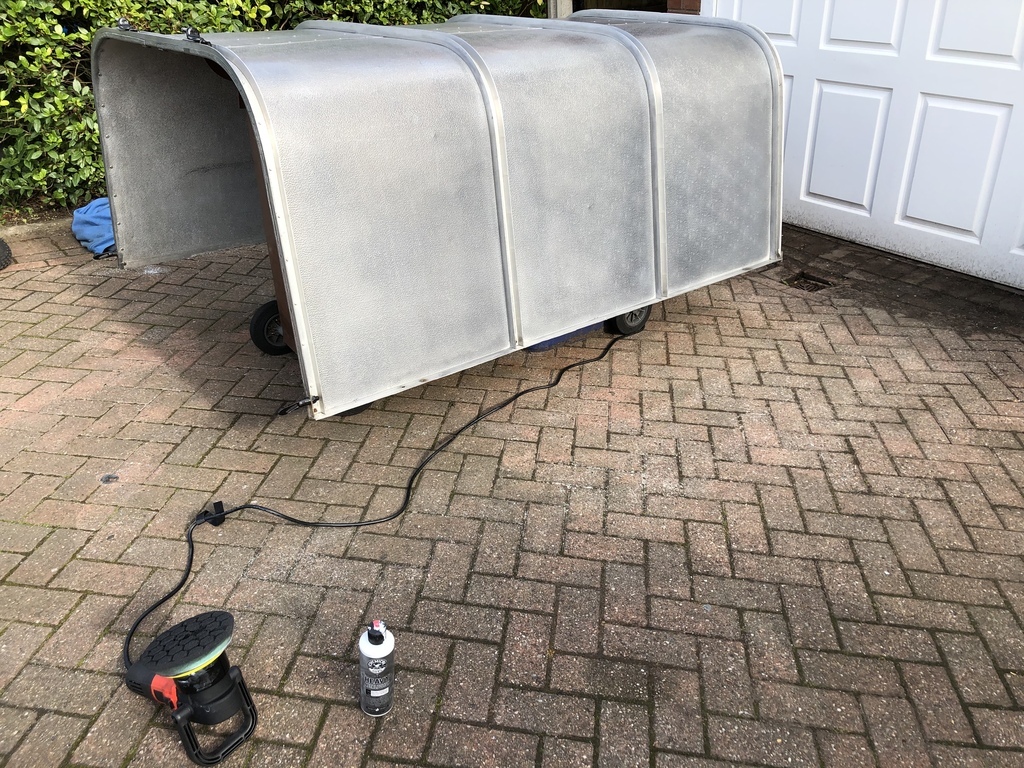 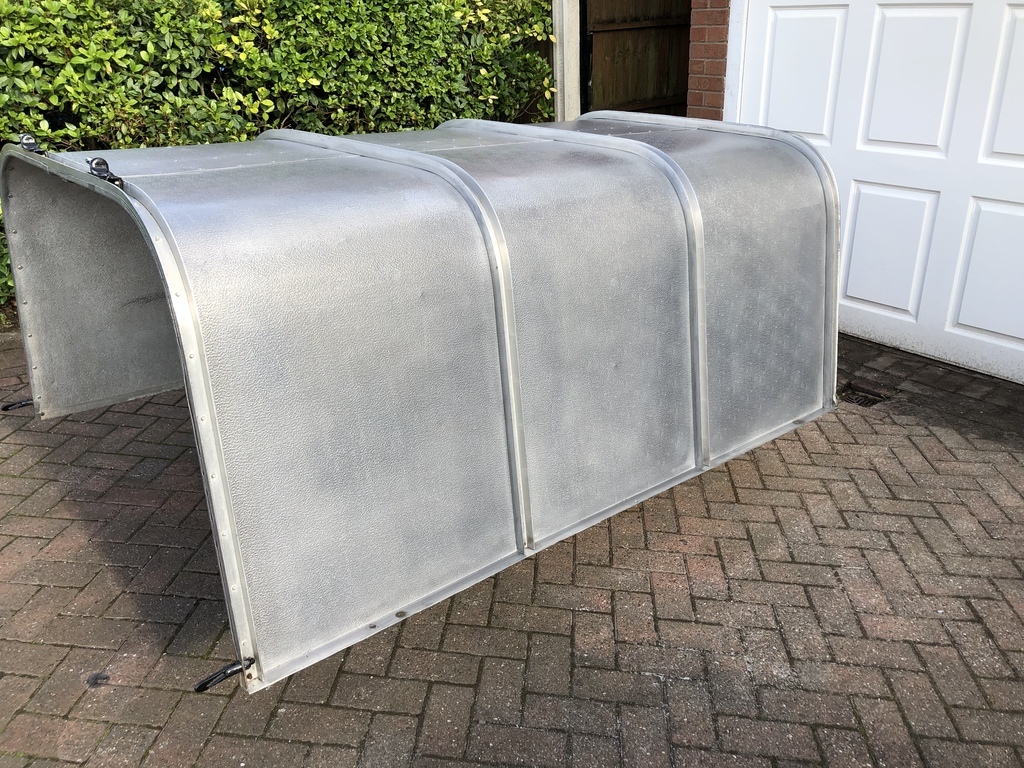 Complete and window fitted in again...  Box sections fitted to the canopy, I thought this would make it quicker to fit to the truck but this was a massive misakte and I should have stuck to the routine I'd done evey other time of bolting the box sections to the truck and then positioning the canopy in place afterwards. 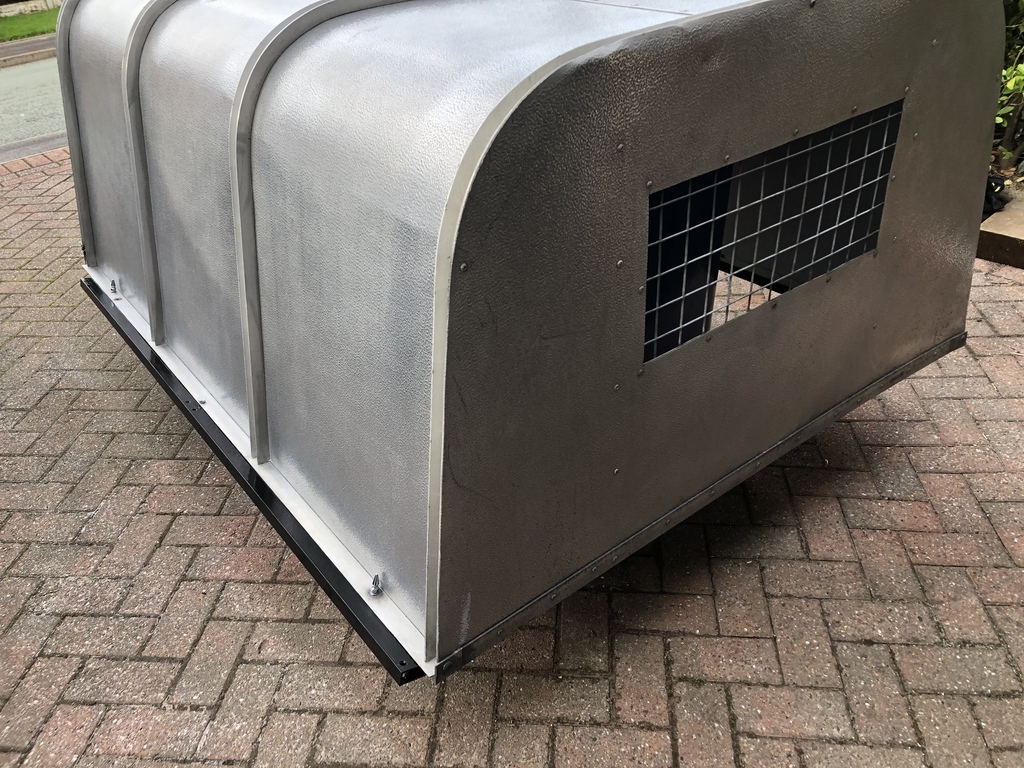 Foam tape applied to the underside of the box sections... 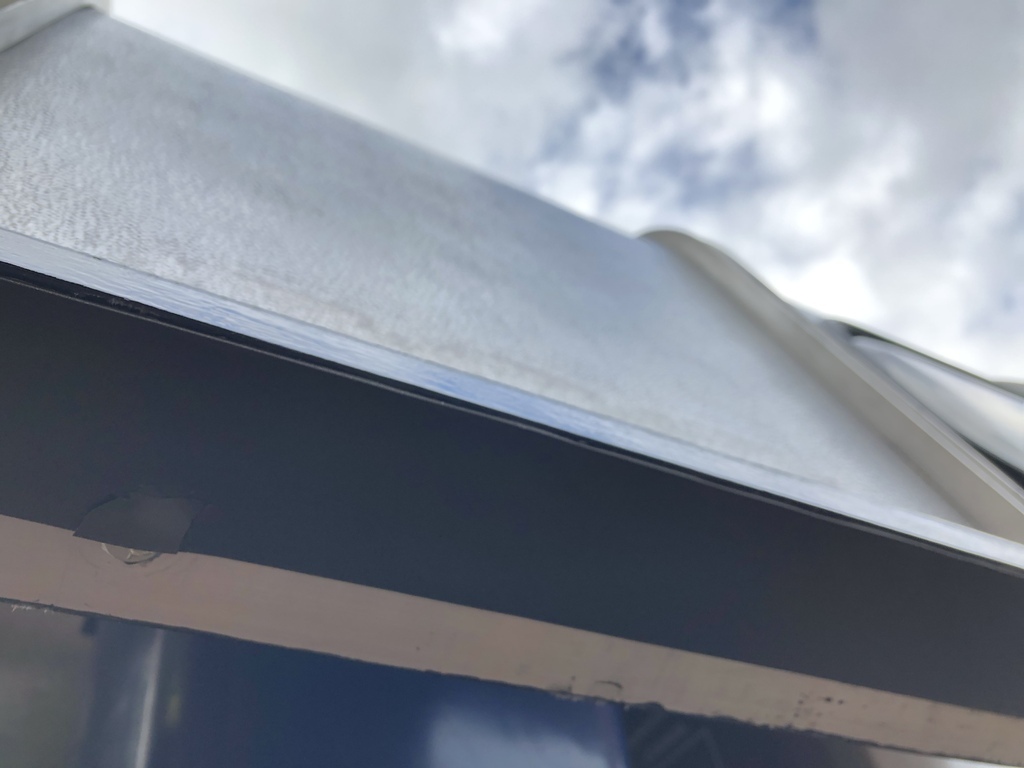 Finally fitted onto the truck... 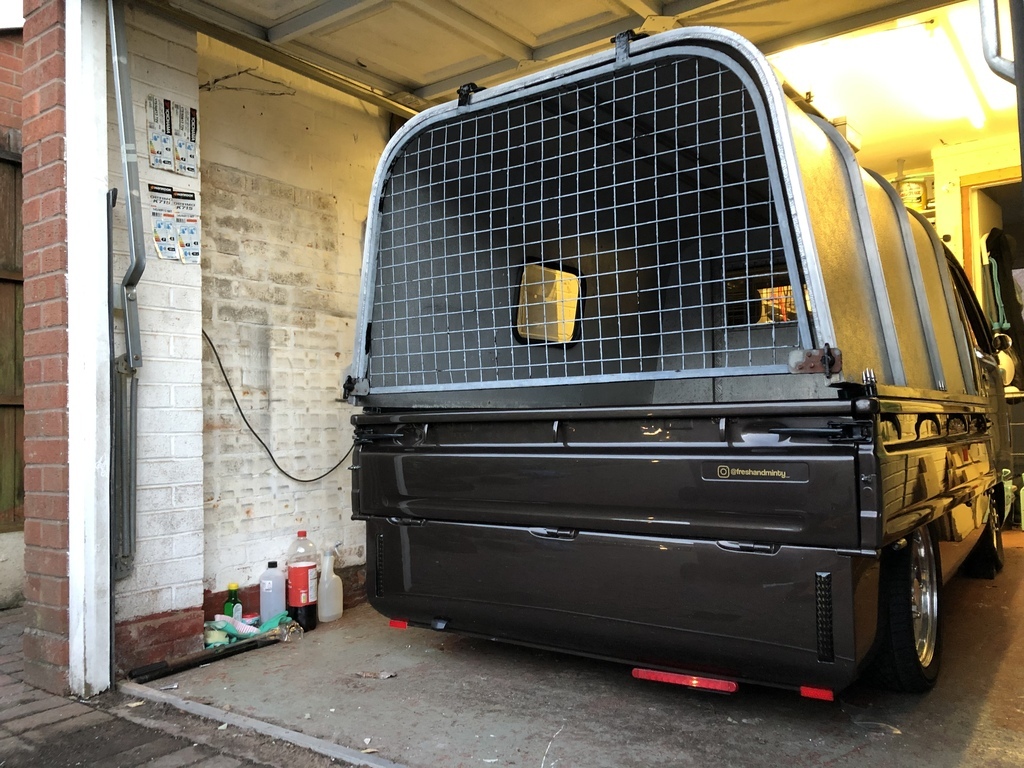 |
| |
|
|
|
|
|
|
|
|
That looks really good.
I think what I'd do, if the shape and size are the same, is take the rear glass out of the donor truck and put that in the canopy so it lines up with the truck's glass.
|
| |
|
|
|
|
1985 Honda Acty Show Truckfr€$h&m1nt¥
@freshandminty
Club Retro Rides Member 99
|
|
|
That looks really good. I think what I'd do, if the shape and size are the same, is take the rear glass out of the donor truck and put that in the canopy so it lines up with the truck's glass. That's in the plan, think i mentioned it back up there somewhere ^^^  |
| |
|
|
|
|
|
|
|
|
Lovely result.
That’s a whole load of work.....
Despite machines, once you commit, you have to complete it.
Looking good. That side window to create a semi-blind will save you loads of hassle.
I have driven fully-blind and semi blind, plus minibus, and fully blind just adds a smidge of challenge.
|
| |
|
|
|
|
1985 Honda Acty Show Truckfr€$h&m1nt¥
@freshandminty
Club Retro Rides Member 99
|
|
|
Lovely result. That’s a whole load of work..... Despite machines, once you commit, you have to complete it. Looking good. That side window to create a semi-blind will save you loads of hassle. I have driven fully-blind and semi blind, plus minibus, and fully blind just adds a smidge of challenge. With how straight forward the window was I think I'll end up getting another 2 for the other sections on the nearside, getting the same size ones so I can re-use the same template and get a uniform row of windows. |
| |
|
|
|
|
|
|
|
Lovely result. That’s a whole load of work..... Despite machines, once you commit, you have to complete it. Looking good. That side window to create a semi-blind will save you loads of hassle. I have driven fully-blind and semi blind, plus minibus, and fully blind just adds a smidge of challenge. With how straight forward the window was I think I'll end up getting another 2 for the other sections on the nearside, getting the same size ones so I can re-use the same template and get a uniform row of windows. ...............So Now the question arises. If you add more,,do they go exactly horizontal or do you add step wise progression, from high to low so you can see where you are reversing into, as well as create some visual interest? And do you do it before you cut it shorter? (So the wrong question) 😉 |
| |
|
|


