|
|
|
|
|
That tank breather is not going to work in so many ways, theres no way to stop water/rubbish getting in for a start and it really needs to be higher than the tank ideally in a bit of a loop The dowty washers don't work with those fittings either Sorry not being negative just trying to help! No way to stop water / rubbish getting in?! You don’t think it’s just a hollow hose do you? I guess you do. It’s one of these fitted in the end that you can see the top of poking through the hole ... rover.ebay.com/rover/0/0/0?mpre=https%3A%2F%2Fwww.ebay.co.uk%2Fulk%2Fitm%2F292706655710And the end is higher than the tank? Isn’t that visible from the photo? I used thread sealant as well as the dowty washer so that should be enough. Are dowty washers designed for another kind of fitting? Looked like just an open end pipe in the picture, if its a one way valve does it let air in or out?
Dowty washer are used with 2 flat faced flanges or fittings so the rubber bit get squished
|
| |
|
|
|
|
|
|
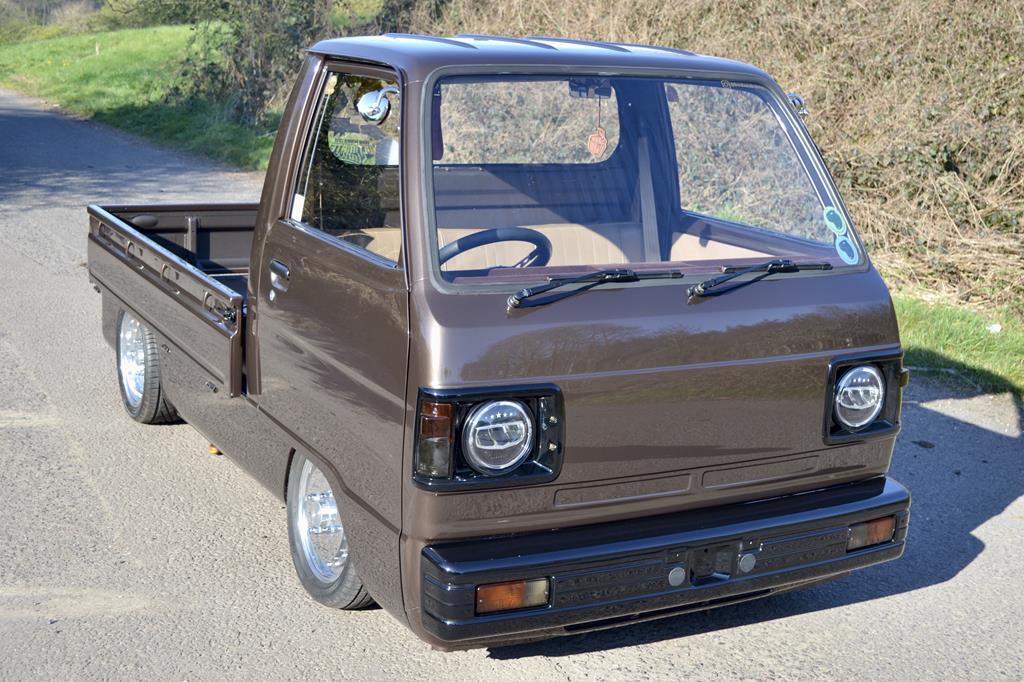
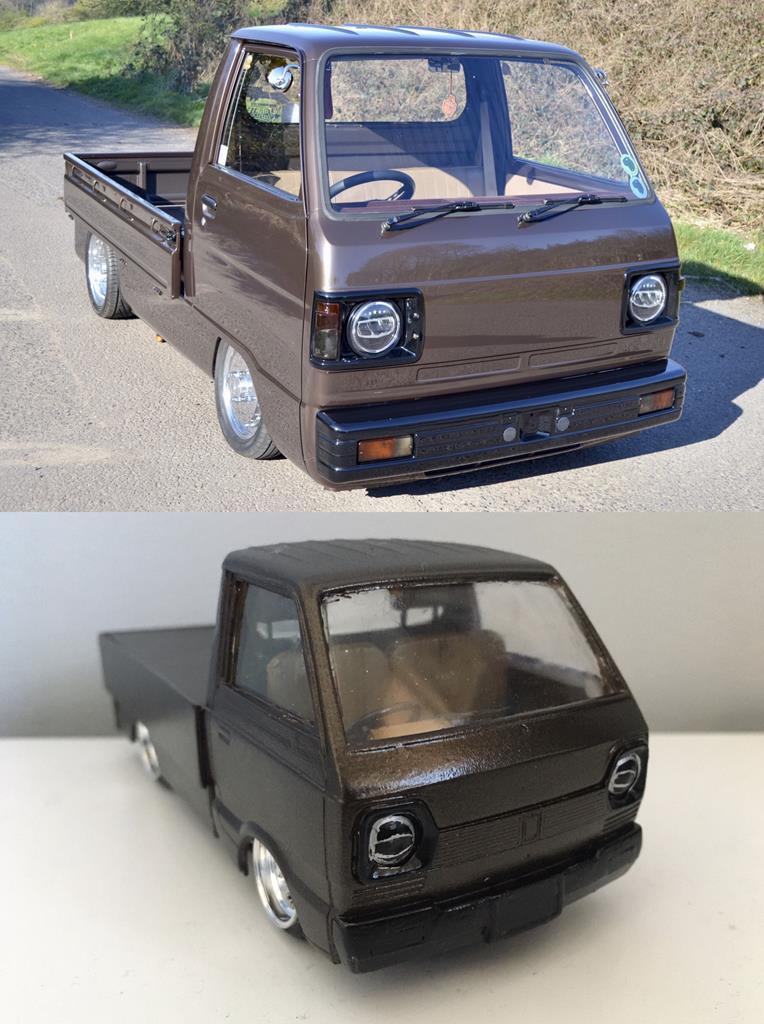
1985 Honda Acty Show Truckfr€$h&m1nt¥
@freshandminty
Club Retro Rides Member 99
|
Mar 22, 2020 20:50:53 GMT
|
|
REALLY boring photos I’m afraid but I finally pulled together the motivation to wire in the new fuel pump.
Existing pump and system is all left in situ for now so i could switch back at the road side if I have problems on it’s test run with the new tank / pump.
I’m just waiting on some quiksteel to arrive in the post before I can finish my air pipe and take it out for a test drive and some photos after a wash.
Hopefully next weekend will have similar whether and I can do it then.
|
| |
|
|
|
|
1985 Honda Acty Show Truckfr€$h&m1nt¥
@freshandminty
Club Retro Rides Member 99
|
Mar 29, 2020 14:03:14 GMT
|
I joined the reducer pipe to the right angle with my level of welding yesterday, quiksteel... 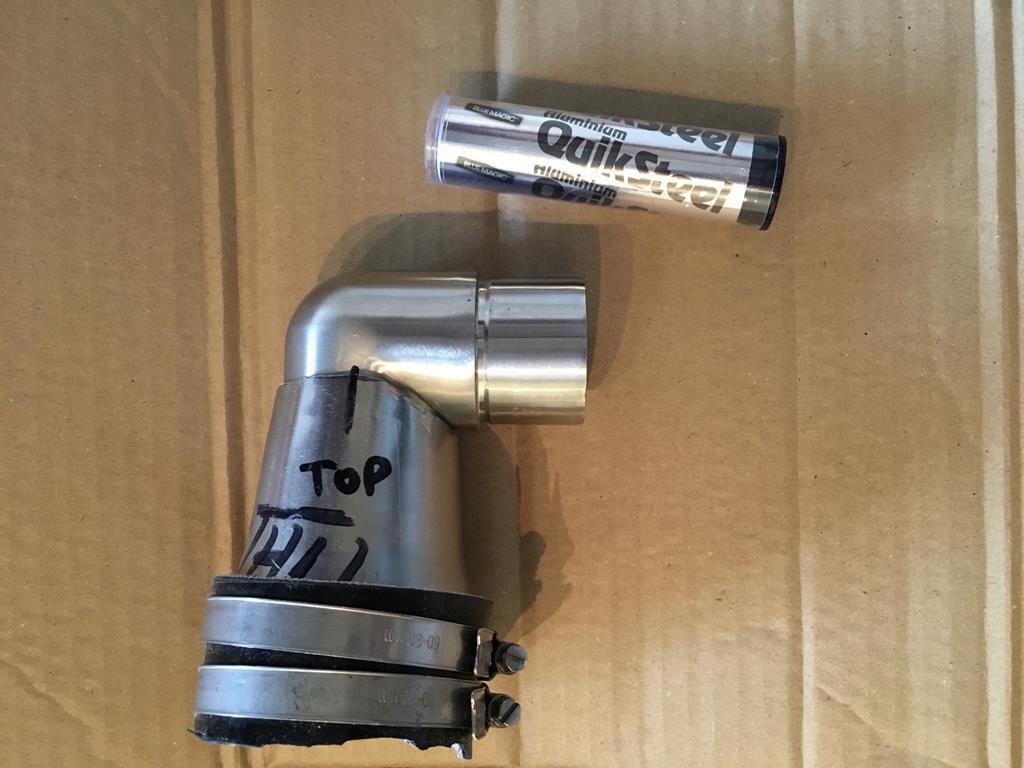 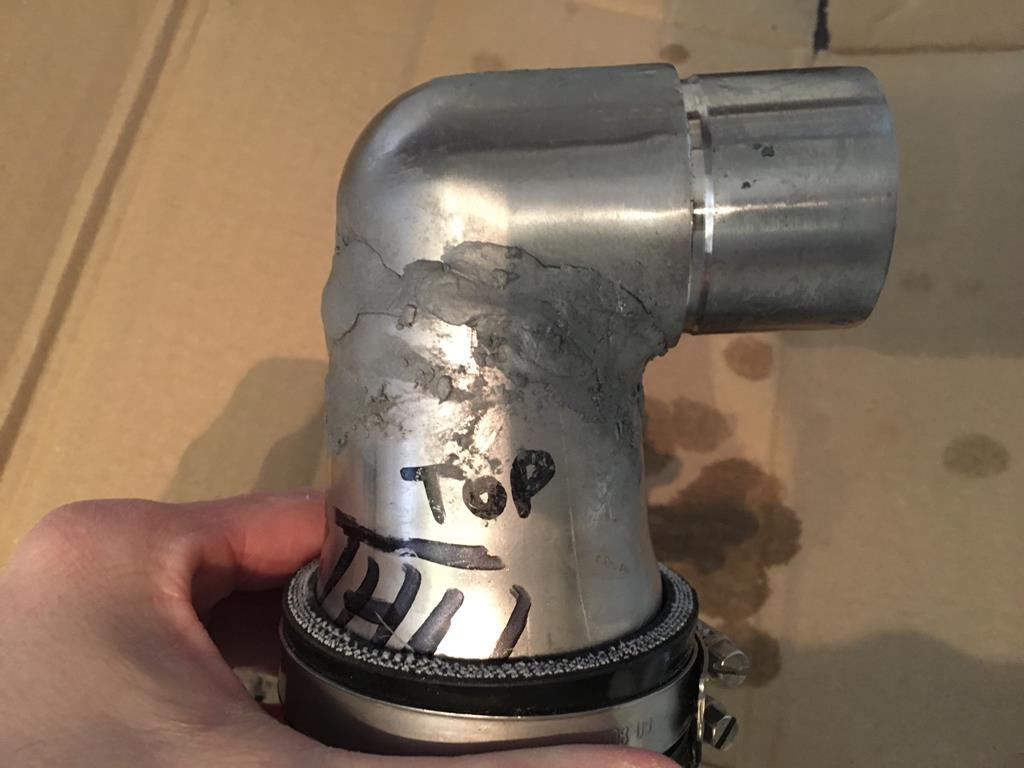 The view from the inside... 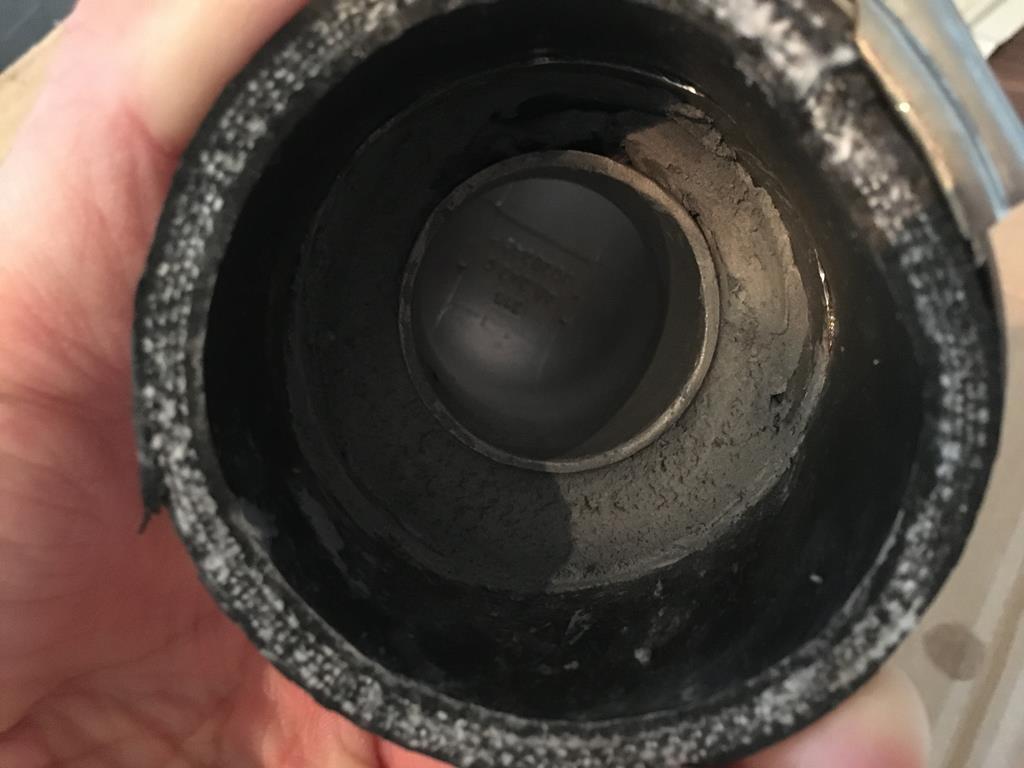 I sanded down the quiksteel a little bit, it needed more really but my fingers were ice cold in the deceptively cold day, my raynauds syndrome was kicking off and I had one of those why am I doing with my life moments and decided that’ll do. A few light sprays of Montana black satin black paint sprayed at wind direction adjusted angles later and the pipes were looking half decent... 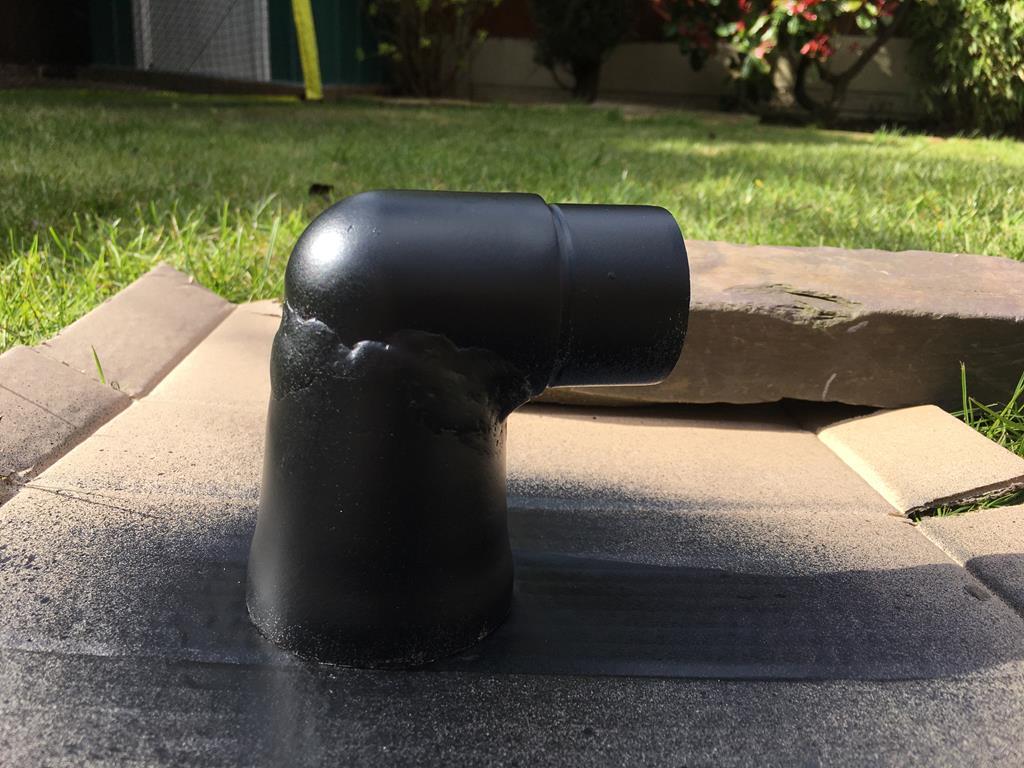 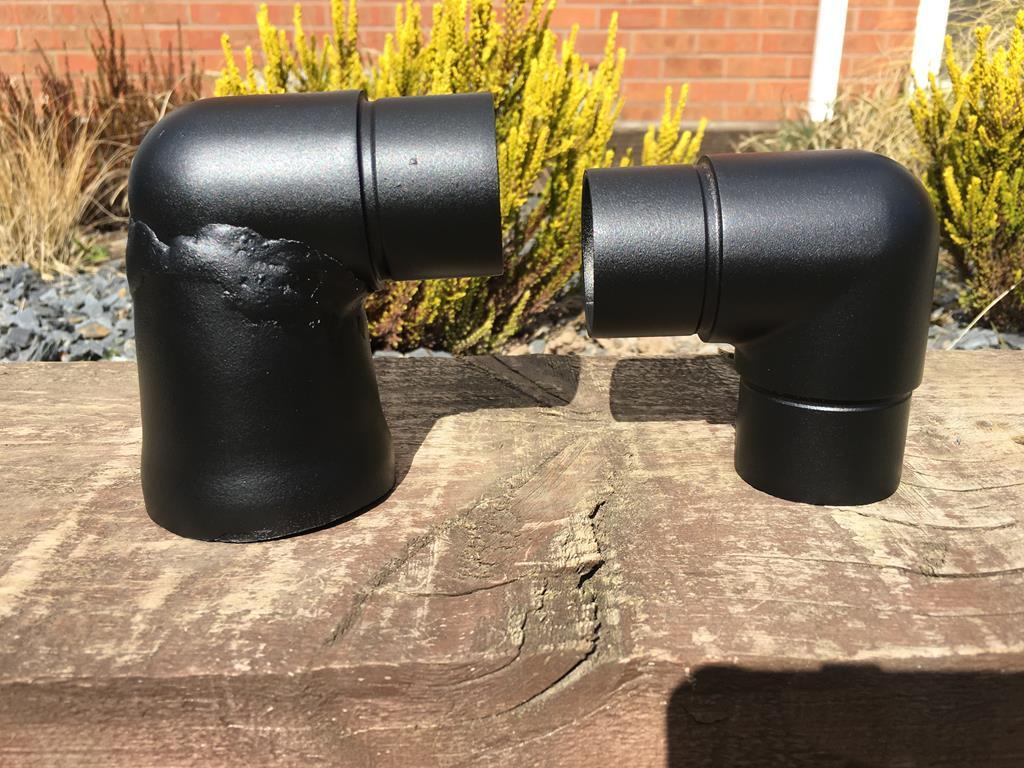 Hoses and filter added back on. I need to trim the edge of the hose that will go on the intake on the carb a little. 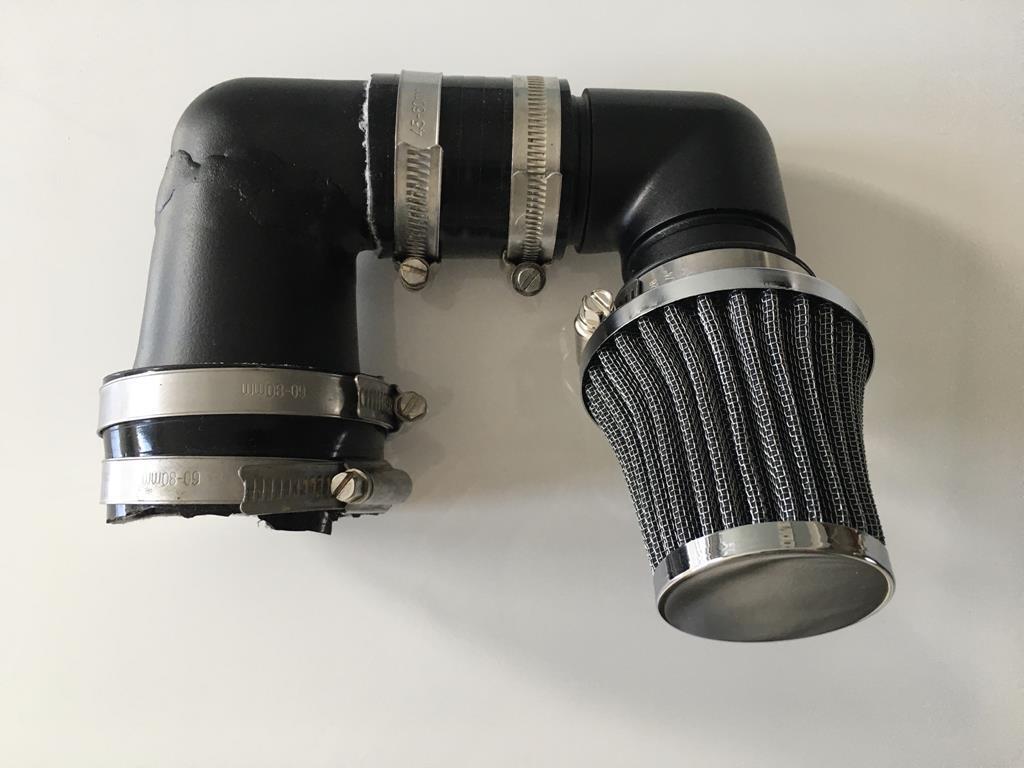 |
| |
|
|
|
|
1985 Honda Acty Show Truckfr€$h&m1nt¥
@freshandminty
Club Retro Rides Member 99
|
Mar 30, 2020 20:29:49 GMT
|
After spending ages trying to squeeze the intake pipe into the right position and getting the hose over the end of the carb I gave up, removed the adaptor / bracket from the carb end and started measuring up for a new pipe to run without the bracket - as the bracket also increases the diameter from 56mm to 63mm. 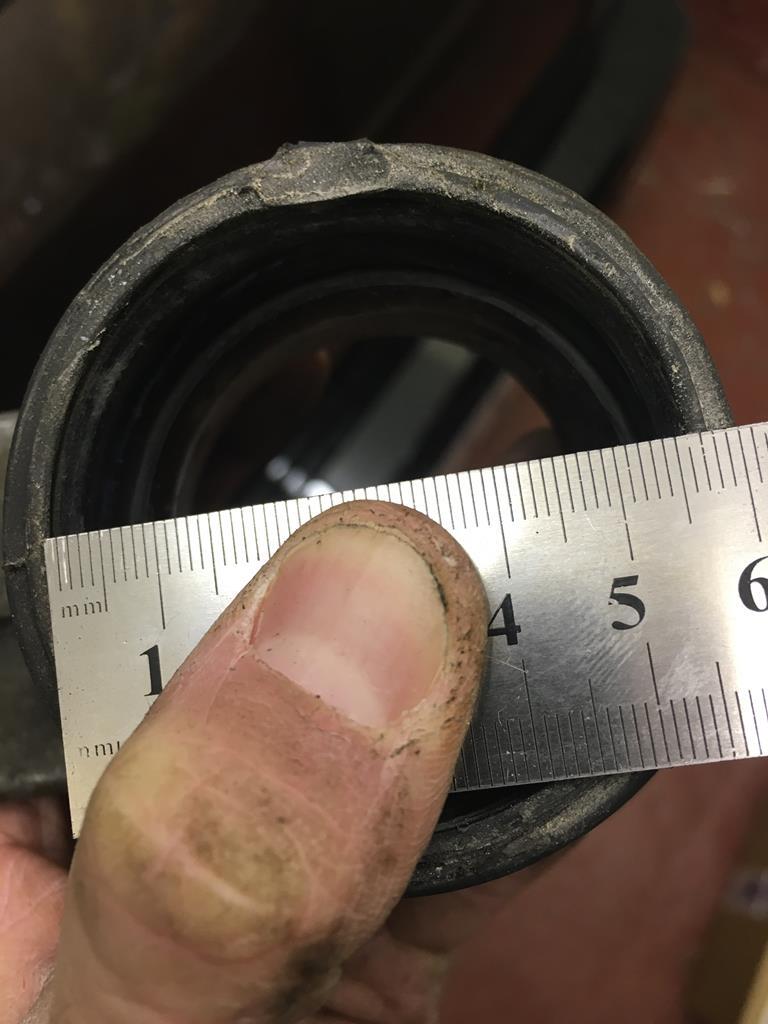 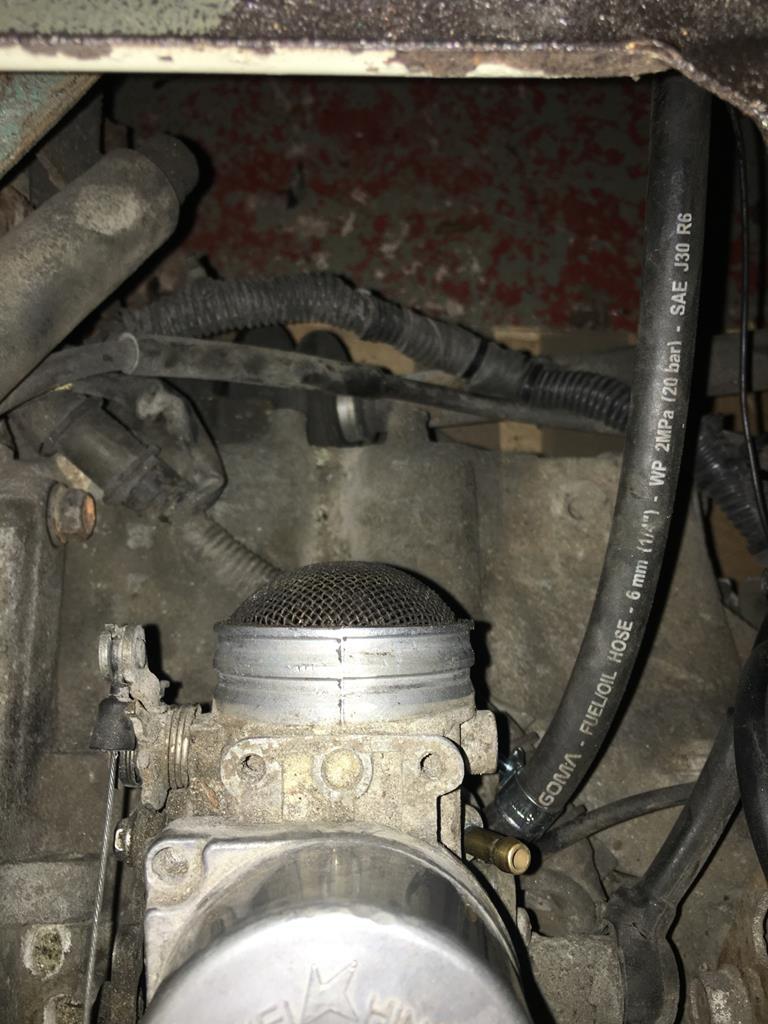 It wasn’t until after I’d scored a mark line on the tapered pipe for where to cut it down to the 56mm diameter point that I decided to give it one last try and fit the pipe to the adaptor / bracket with it off the truck and somehow I managed to get it all fitted and secured piece by piece in position. 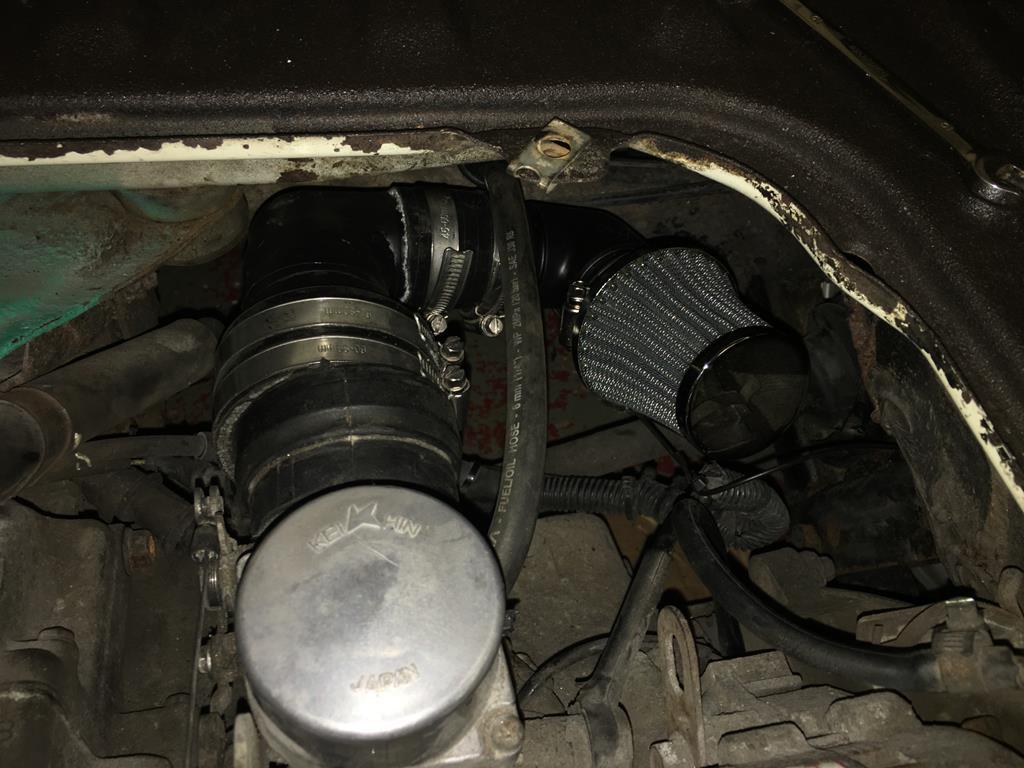 I covered the score line up with an old sickspeed sticker lying around. The struggle was worth it now it’s on, a little frustrated I didn’t try fitting it in that sequence before scratching the pipe but satisfaction is overall feeling now I’ve covered scratch with a sticker. 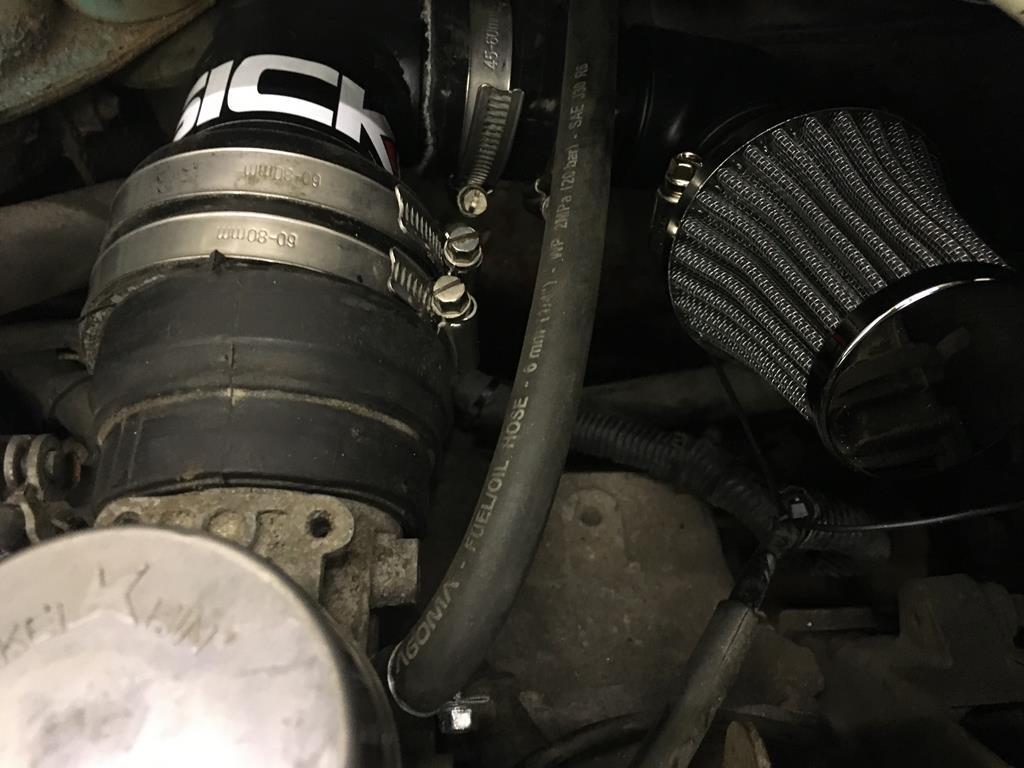 Next step - probably at the weekend - is to add fuel to the new tank and run it on the drive for a while to check everything works as it should. |
| |
|
|
|
|
1985 Honda Acty Show Truckfr€$h&m1nt¥
@freshandminty
Club Retro Rides Member 99
|
|
|
£5.50 for 5 litres of Tesco’s finest 95 RON... 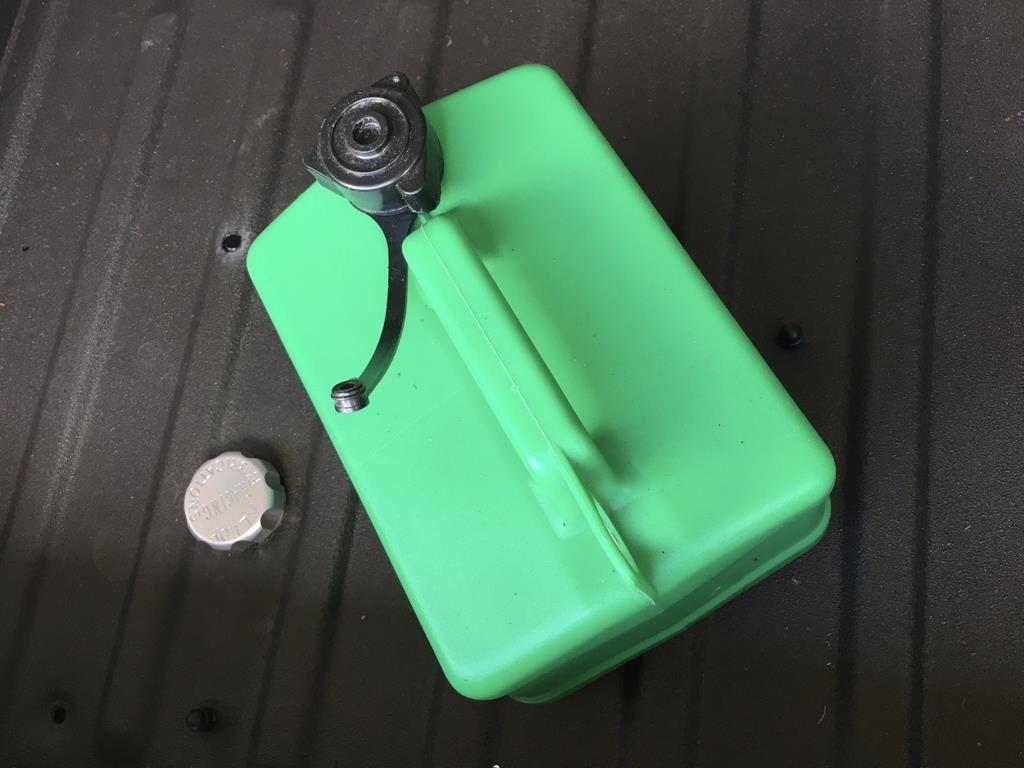 Fire extinguisher at the ready... 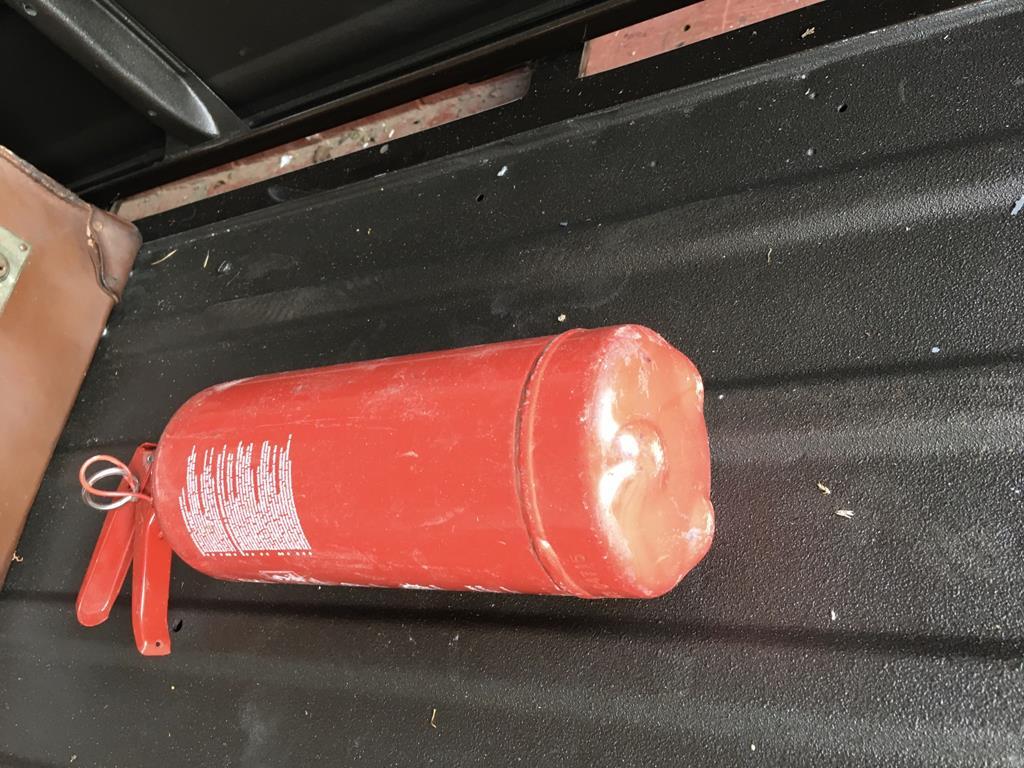 Ready to pour... 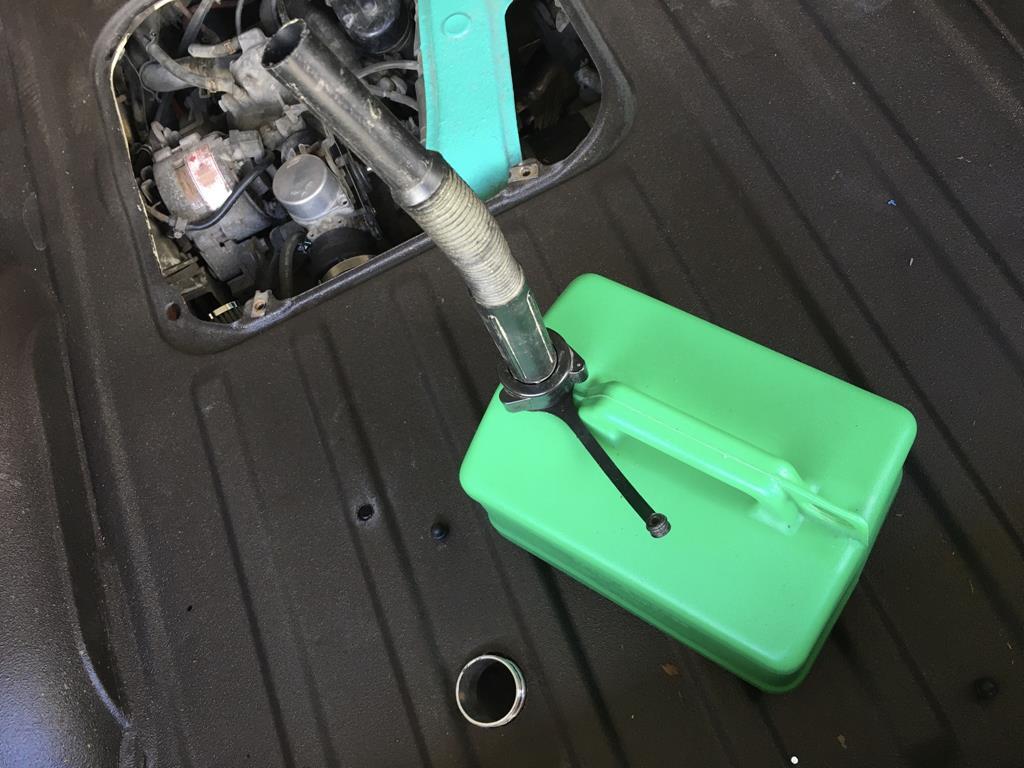 Petrol added and tried to fire her up, cue thirty seconds or so of panic until I realised that the fuel hose / new pump needs to flow through a bit before it reaches the carb, tried again and she purred into life. Outside... 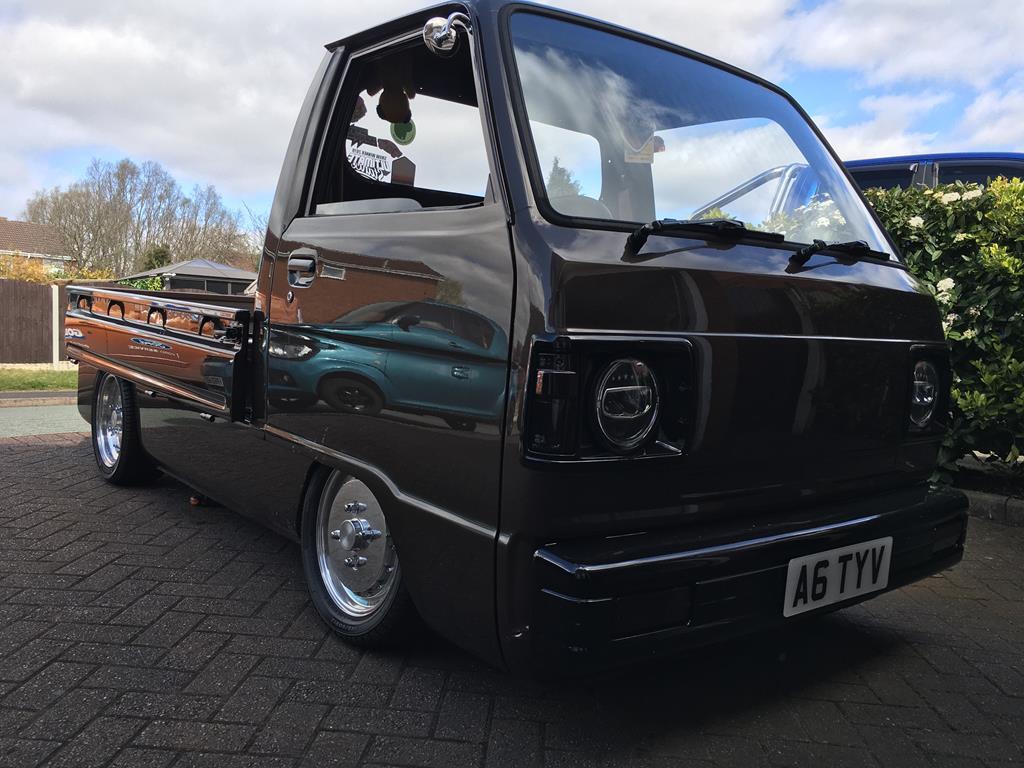 A wash on Saturday and some Sakura photos on Sunday all being well. |
| |
|
|
|
|
1985 Honda Acty Show Truckfr€$h&m1nt¥
@freshandminty
Club Retro Rides Member 99
|
|
|
Snowfoamed and quick wash yesterday... 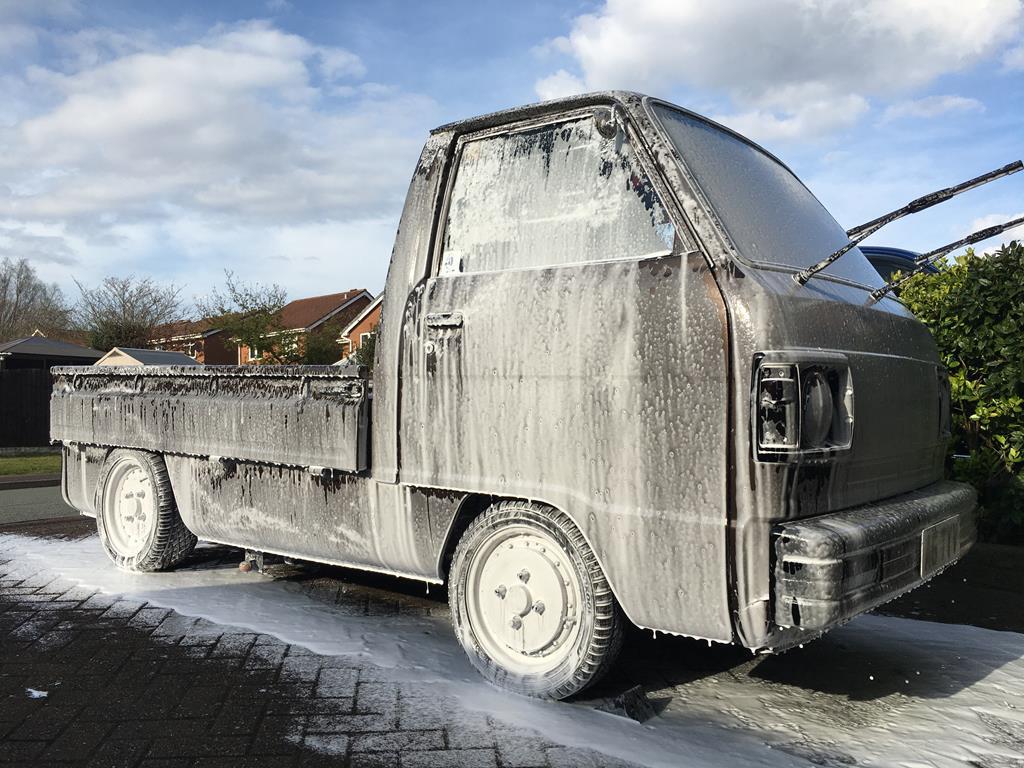 Waxed in the garage last night and a fresh photo set taken this morning, I’ll post them up gradually rather than a big hit of photos. 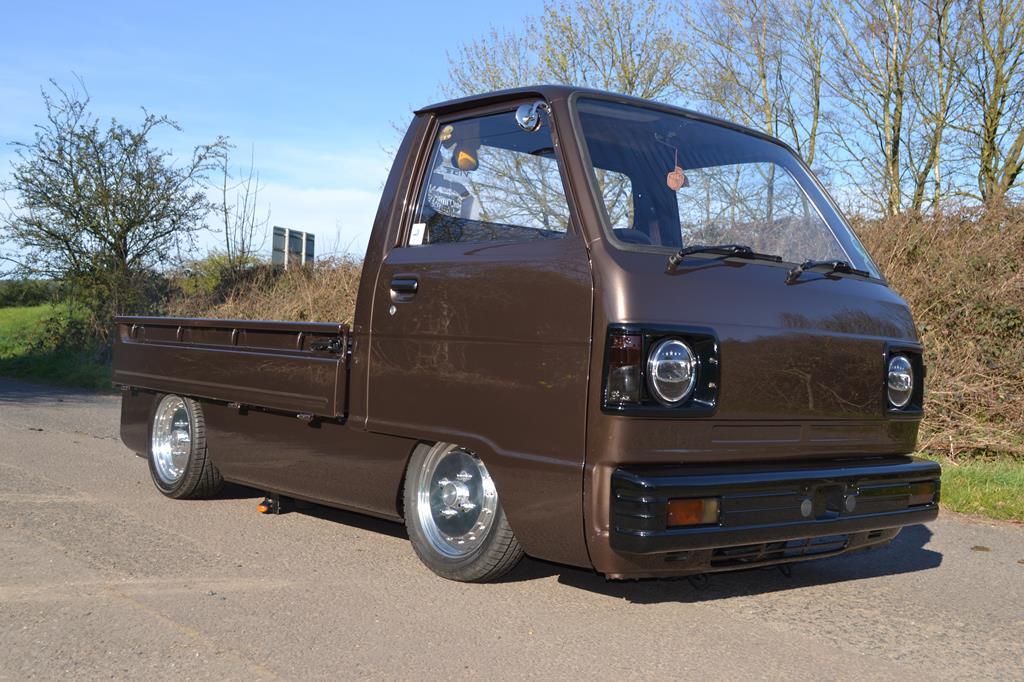 It ran all fine on it’s short trip to take the photos so next job is to remove the standard fuel tank and reroute the oil filler pipe that was compromised by the fuel tank location. |
| |
|
|
|
|
|
|
|
|
|
Very nice Phil - In that light it reminds me of a late 60's Ford colour 'Saluki Bronze' that appeared largely upon MK 2 Cortinas - just appears to share the same hues in certain lights - side by side the 2 colours would look a million miles apart  |
| |
|
|
|
|
1985 Honda Acty Show Truckfr€$h&m1nt¥
@freshandminty
Club Retro Rides Member 99
|
|
|
Very nice Phil - In that light it reminds me of a late 60's Ford colour 'Saluki Bronze' that appeared largely upon MK 2 Cortinas - just appears to share the same hues in certain lights - side by side the 2 colours would look a million miles apart  Thanks, yes it does look similar in that light - that would have been on my short list if I’d seen that colour in the metal before deciding colours.  |
| |
|
|
|
|
1985 Honda Acty Show Truckfr€$h&m1nt¥
@freshandminty
Club Retro Rides Member 99
|
|
|
Another one from my batch of photos... 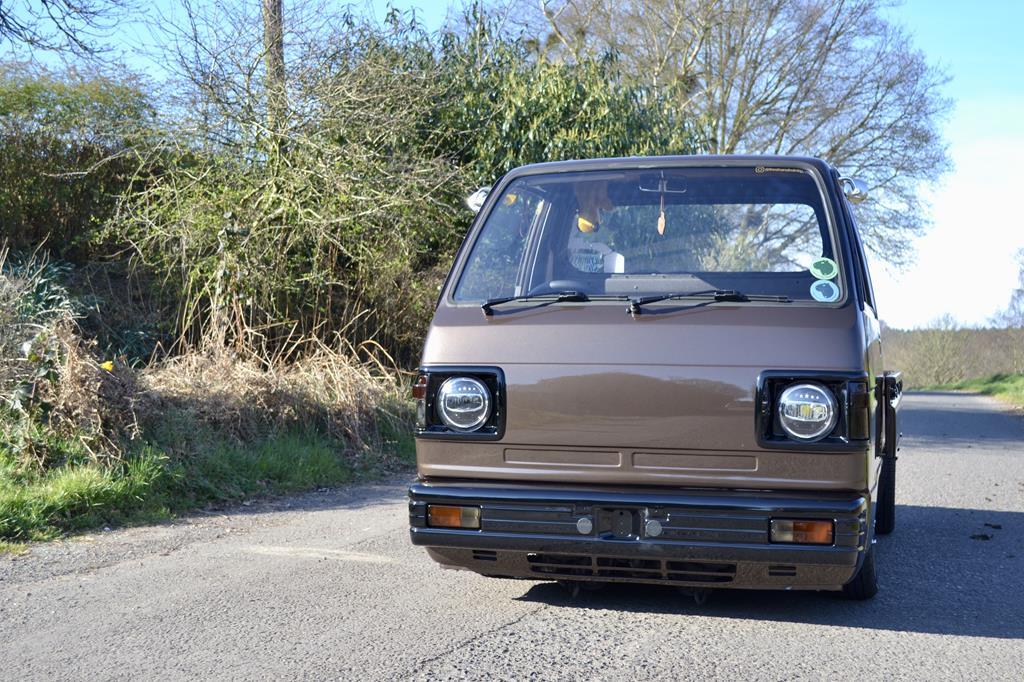 In other news, on my lunch break yesterday - working from home during the covid era has its benefits - I decided to sort out the peep mirror issues that have plagued me since I fitted them. There was never enough space for the bracket to slot over the door top enough to gain access to the grub screws so they were grazing against the a pillar. Not visible with doors closed but I wasn’t happy with them so I’ve decided to do away with the clamp bracket and bolt the arm directly to the quarter at the front of the door... Masking tape added for grip on the shiny waxed metal. Bolt measuring technique- one head width from the rear edge... 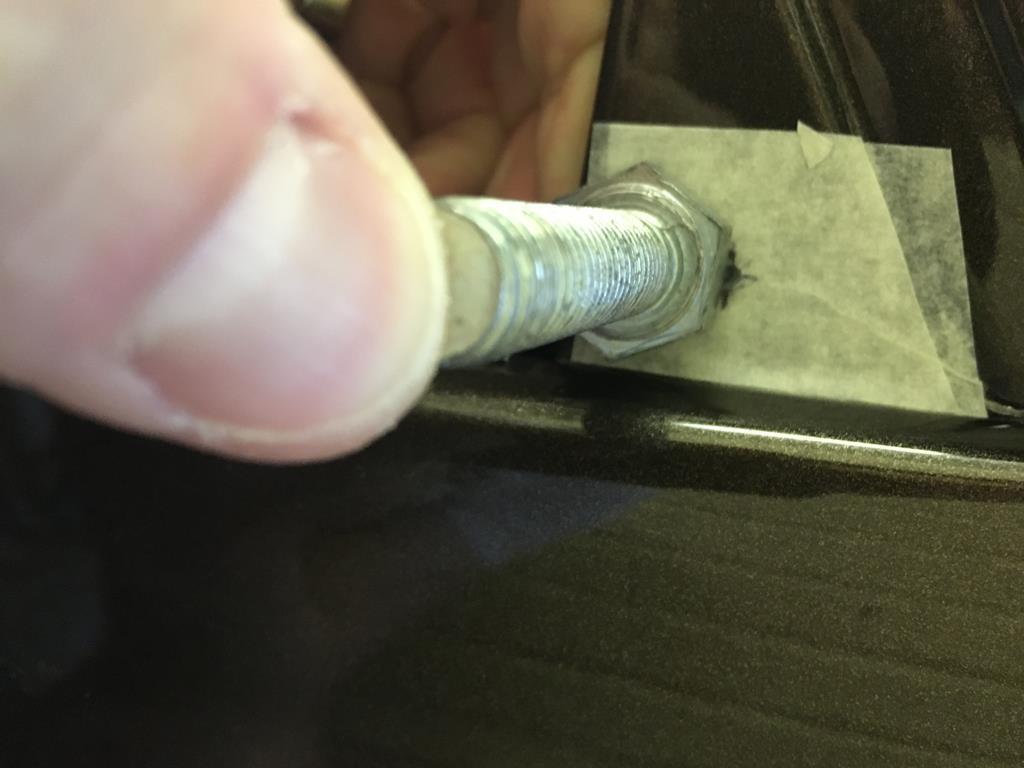 One thread width from bottom of quarter section... 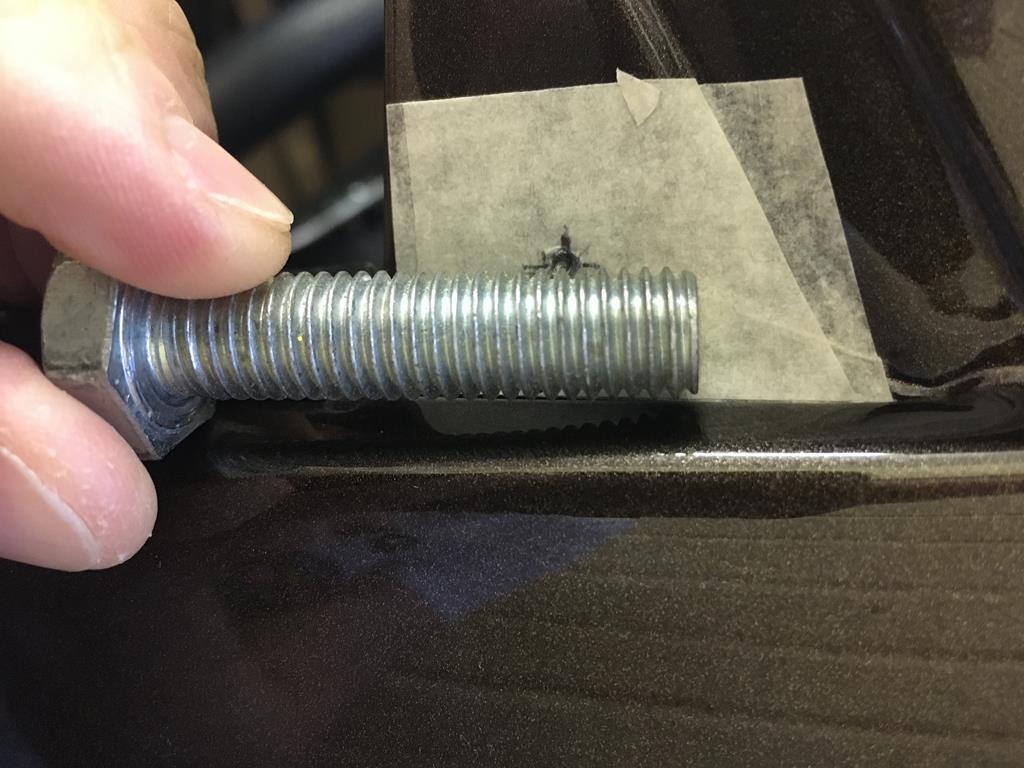 I drilled a pilot recess with my electric screwdriver with a hex-based drill bit - I do this where possible as it’s a nice speed to bite the metal without spiralling off at angles and small to handle easily. Then hole right through with proper drill and a piece of wood wedged in the gap to stop the panel bending in. 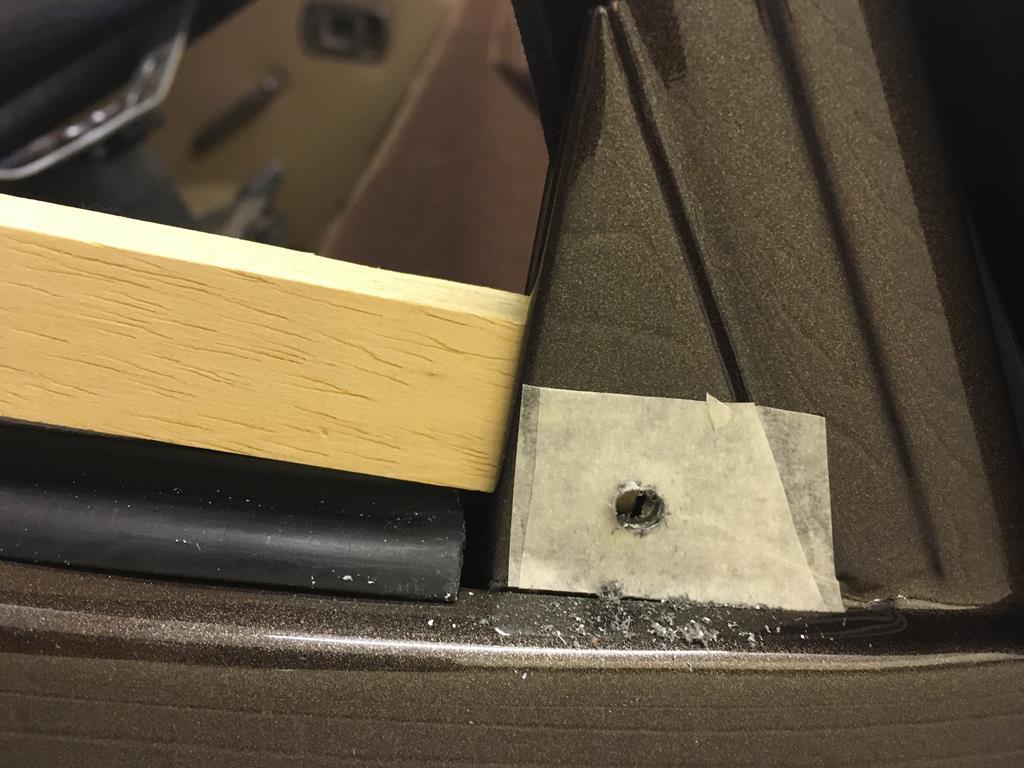 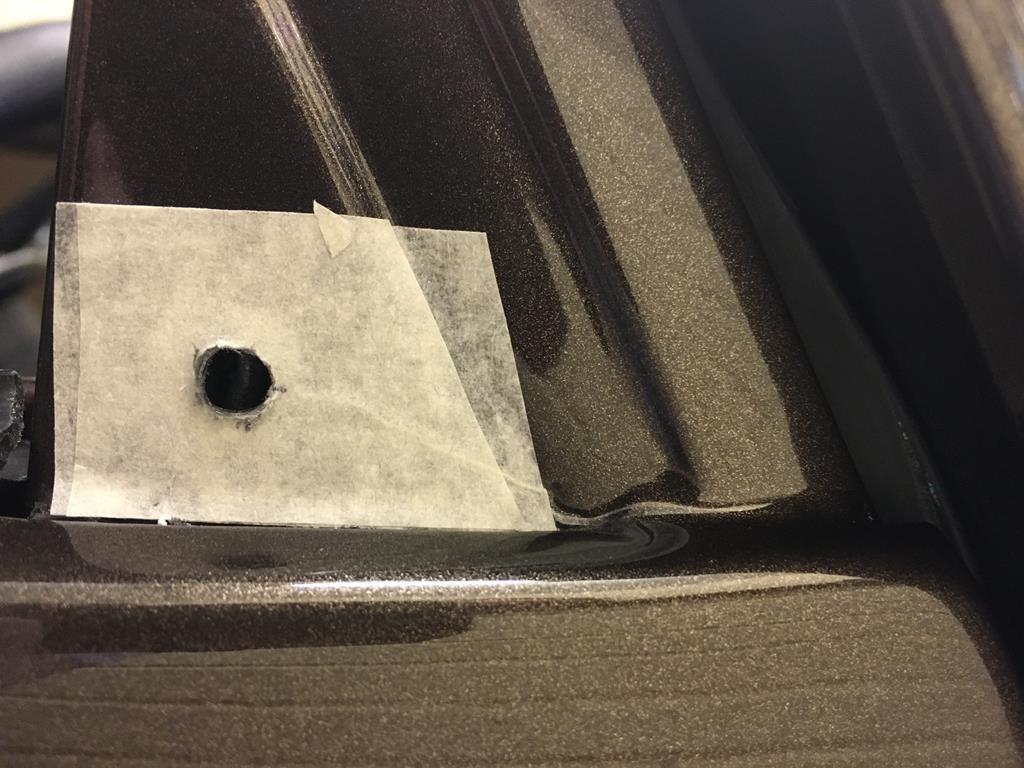 Not completely circle but it won’t be visible when the mirror is in place, hole inner to be painted and mirror fitted once my 8mm long machine screws arrive. 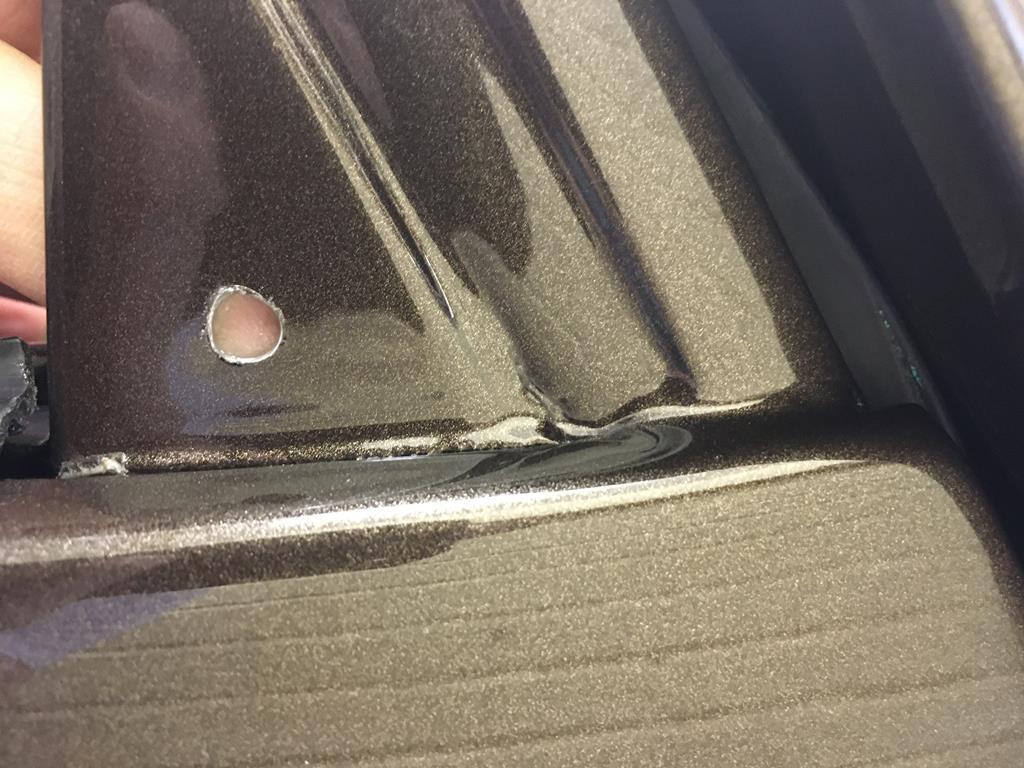 |
| |
|
|
|
|
|
|
|
Phil - In order to help me sleep on a night - please tell that you plan to put a liberal squirt of a clear cavity wax behind that mirror mounting before you fasten it up - something like this or similar: www.bilthamber.com/corrosion-protection-and-rust-treatments/dynax-ucOf course you can tell me to sod off and mind my own business because that's what you had planned to do anyway! |
| |
|
|
|
|
1985 Honda Acty Show Truckfr€$h&m1nt¥
@freshandminty
Club Retro Rides Member 99
|
|
|
Phil - In order to help me sleep on a night - please tell that you plan to put a liberal squirt of a clear cavity wax behind that mirror mounting before you fasten it up - something like this or similar: www.bilthamber.com/corrosion-protection-and-rust-treatments/dynax-ucOf course you can tell me to sod off and mind my own business because that's what you had planned to do anyway! The plan was to brush on bee metal paint in the hole and metal behind. Isn’t that sufficient? I’ve always thought from the name - probably incorrectly - that cavity wax is for blind cavities only whereas this is accessible from behind and where the glass slides behind. |
| |
|
|
|
|
|
|
|
Phil - In order to help me sleep on a night - please tell that you plan to put a liberal squirt of a clear cavity wax behind that mirror mounting before you fasten it up - something like this or similar: www.bilthamber.com/corrosion-protection-and-rust-treatments/dynax-ucOf course you can tell me to sod off and mind my own business because that's what you had planned to do anyway! The plan was to brush on bee metal paint in the hole and metal behind. Isn’t that sufficient? I’ve always thought from the name - probably incorrectly - that cavity wax is for blind cavities only whereas this is accessible from behind and where the glass slides behind. Phil - It goes everywhere on my builds - under chrome trims / behind light fittings / grilles / rubber trims / hidden flange edges / mountings & fittings - its clear / quite thin and cleans up easy - offers far more protection than paint & primer alone - although many fittings have a seal to prevent water ingress they don't always work - the ones that do don't allow for water egress so when condensation even in the smallest form builds up it cant get out - its trapped behind the moulding or seal - rust takes no prisoners regardless of how well painted something is - having expended a great deal of time / expense on anything that I undertake - I always but always protect it beyond what the factory effort would be when the vehicle was new - All on the justification that I want anything that looks that good today - to look that good in 5 - 10 years time (and disappointingly there are so many what was nice paint job that don't) But hey its your motor and you do what you want / how you want and is stated in a absolutely non critical manner (but I fully appreciate it probably sounds critical - TBH I'm not the best wordsmith) |
| |
Last Edit: Apr 9, 2020 11:29:58 GMT by Deleted
|
|
|
|
1985 Honda Acty Show Truckfr€$h&m1nt¥
@freshandminty
Club Retro Rides Member 99
|
|
|
The plan was to brush on bee metal paint in the hole and metal behind. Isn’t that sufficient? I’ve always thought from the name - probably incorrectly - that cavity wax is for blind cavities only whereas this is accessible from behind and where the glass slides behind. Phil - It goes everywhere on my builds - under chrome trims / behind light fittings / grilles / rubber trims / hidden flange edges / mountings & fittings - its clear / quite thin and cleans up easy - offers far more protection than paint & primer alone - although many fittings have a seal to prevent water ingress they don't always work - the ones that do don't allow for water egress so when condensation even in the smallest form builds up it cant get out - its trapped behind the moulding or seal - rust takes no prisoners regardless of how well painted something is - having expended a great deal of time / expense on anything that I undertake - I always but always protect it beyond what the factory effort would be when the vehicle was new - All on the justification that I want anything that looks that good today - to look that good in 5 - 10 years time (and disappointingly there are so many what was nice paint job that don't) But hey its your motor and you do what you want / how you want and is stated in a absolutely non critical manner (but I fully appreciate it probably sounds critical - TBH I'm not the best wordsmith) Thanks for that, i has always imagined that somehow inflated like expanding foam in areas it was sprayed. So its like Wd40 in terms of colour and viscosity and I can just wipe excess off the areas it’s not required like exterior panels? |
| |
|
|
|
|
|
|
|
Phil - It goes everywhere on my builds - under chrome trims / behind light fittings / grilles / rubber trims / hidden flange edges / mountings & fittings - its clear / quite thin and cleans up easy - offers far more protection than paint & primer alone - although many fittings have a seal to prevent water ingress they don't always work - the ones that do don't allow for water egress so when condensation even in the smallest form builds up it cant get out - its trapped behind the moulding or seal - rust takes no prisoners regardless of how well painted something is - having expended a great deal of time / expense on anything that I undertake - I always but always protect it beyond what the factory effort would be when the vehicle was new - All on the justification that I want anything that looks that good today - to look that good in 5 - 10 years time (and disappointingly there are so many what was nice paint job that don't) But hey its your motor and you do what you want / how you want and is stated in a absolutely non critical manner (but I fully appreciate it probably sounds critical - TBH I'm not the best wordsmith) Thanks for that, i has always imagined that somehow inflated like expanding foam in areas it was sprayed. So its like Wd40 in terms of colour and viscosity and I can just wipe excess off the areas it’s not required like exterior panels? Phil - Exactly - have fun |
| |
|
|
|
|
|
|
1985 Honda Acty Show Truckfr€$h&m1nt¥
@freshandminty
Club Retro Rides Member 99
|
Apr 14, 2020 16:39:46 GMT
|
The eagle eyed amongst you will have noticed that I removed the front plate on some of my recent photos so the white plate didn’t detract from the plain black bar of the front bumper. The two Velcro discs bugged me though so I ordered a black pressed plate for show / photo use to give a cleaner finish. It arrived today. 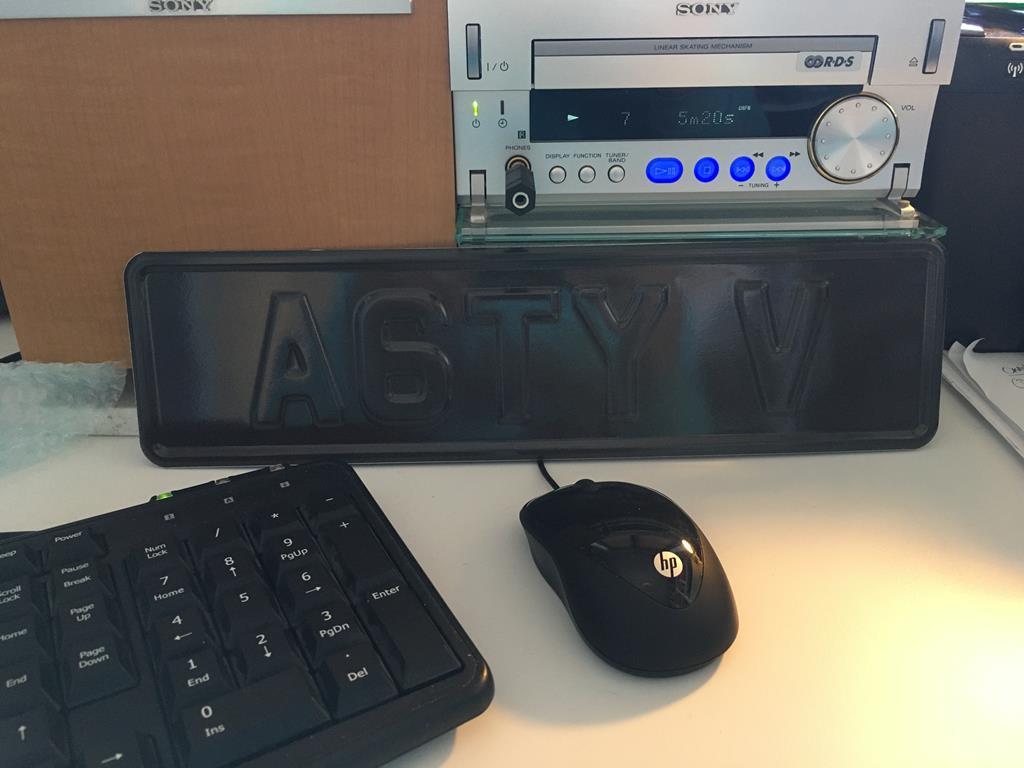 Flash on 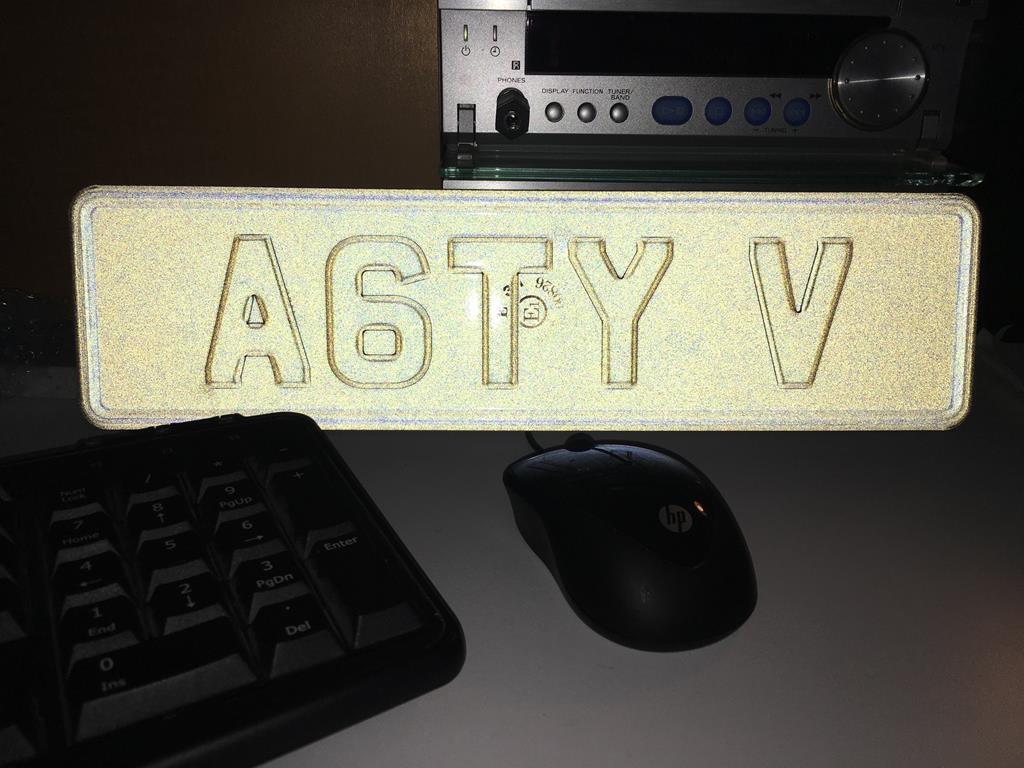 Close up fitted 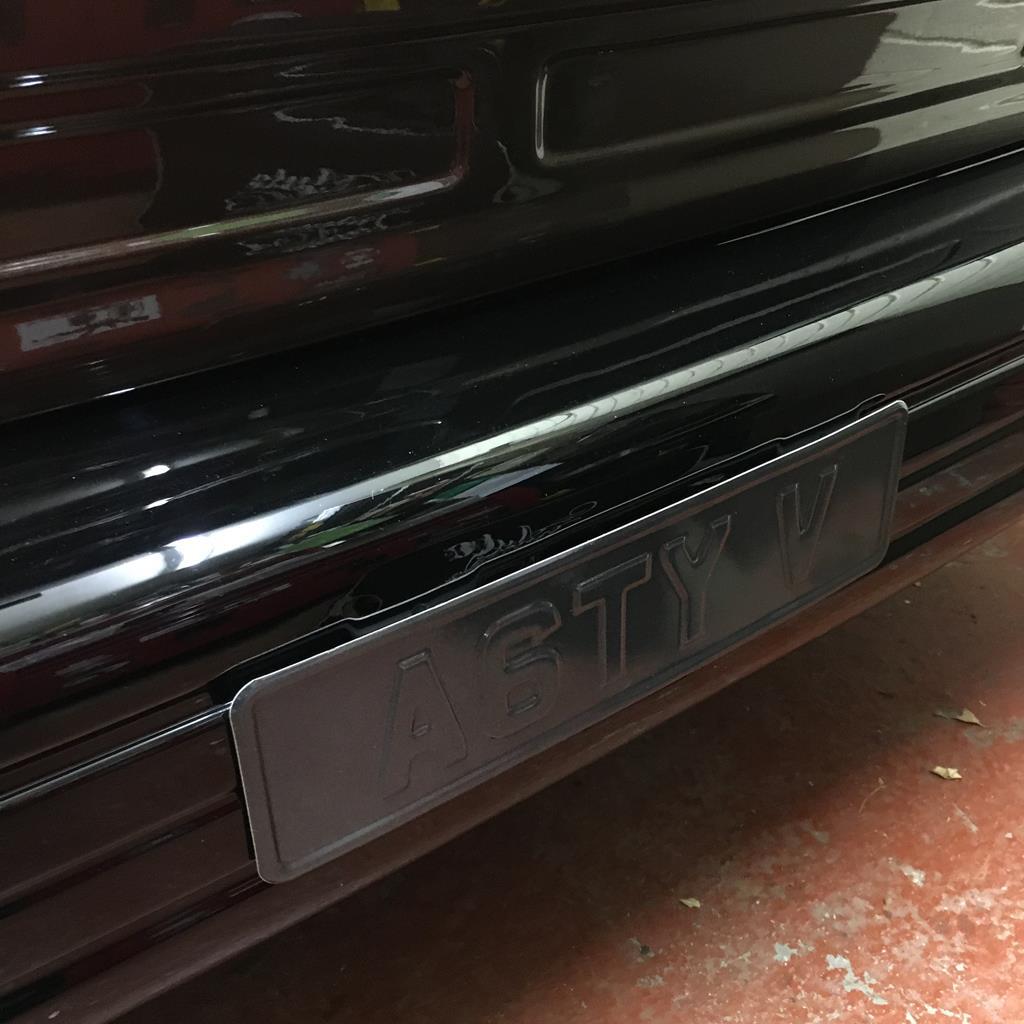 Long shot 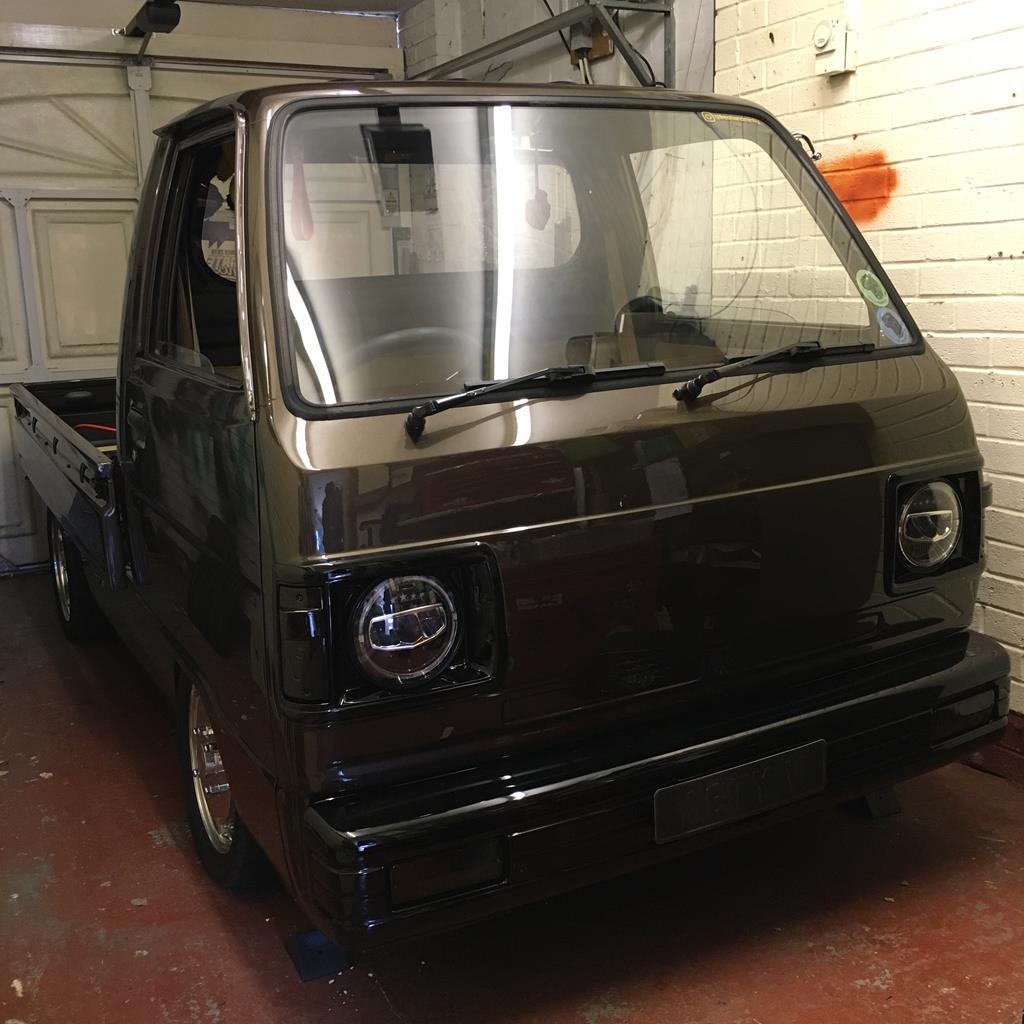 |
| |
|
|
|
|
1985 Honda Acty Show Truckfr€$h&m1nt¥
@freshandminty
Club Retro Rides Member 99
|
Apr 17, 2020 13:57:19 GMT
|
Delivery from bilt hamber . Next plan on the Acty is to protect a few places I’ve drilled and de-rust and paint the underneath with epoxy mastic. 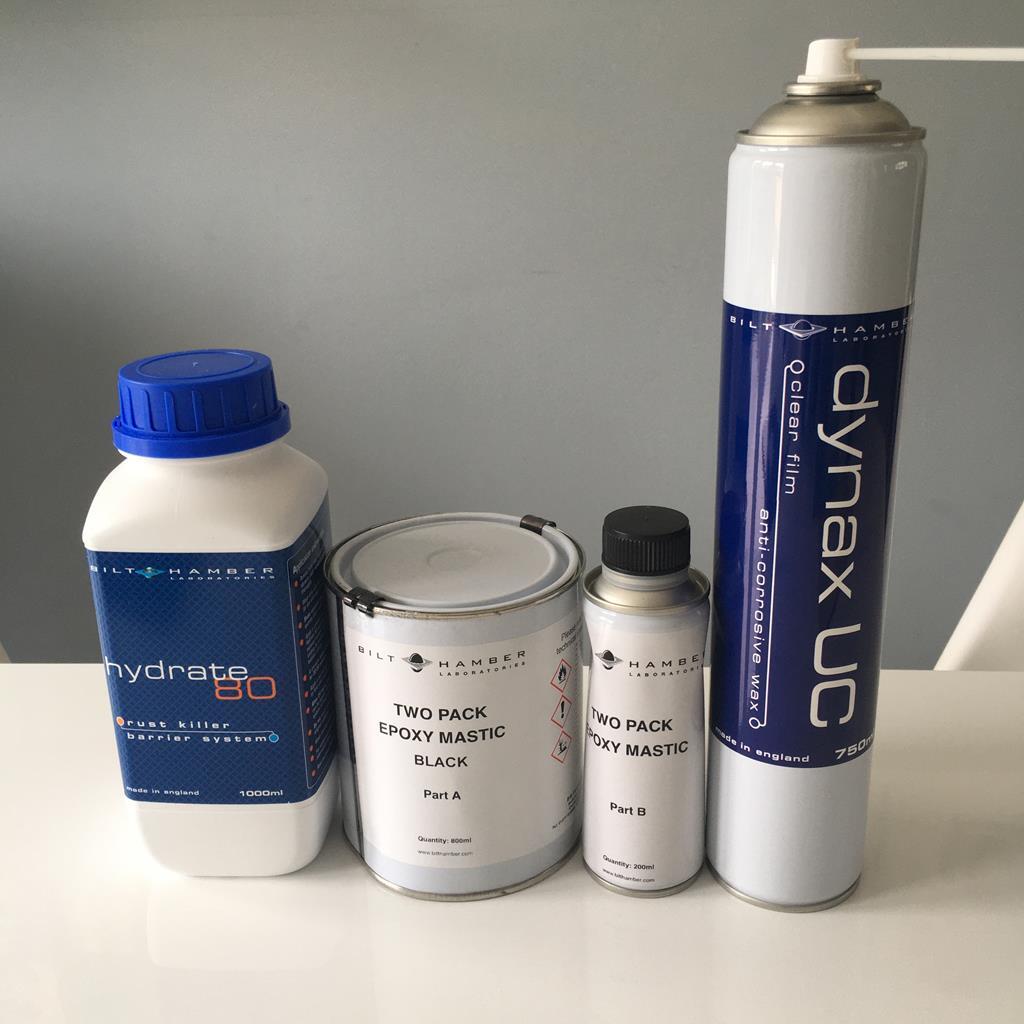 |
| |
|
|
|
|
1985 Honda Acty Show Truckfr€$h&m1nt¥
@freshandminty
Club Retro Rides Member 99
|
|
|
The short bolts and neoprene rubber washers arrived... 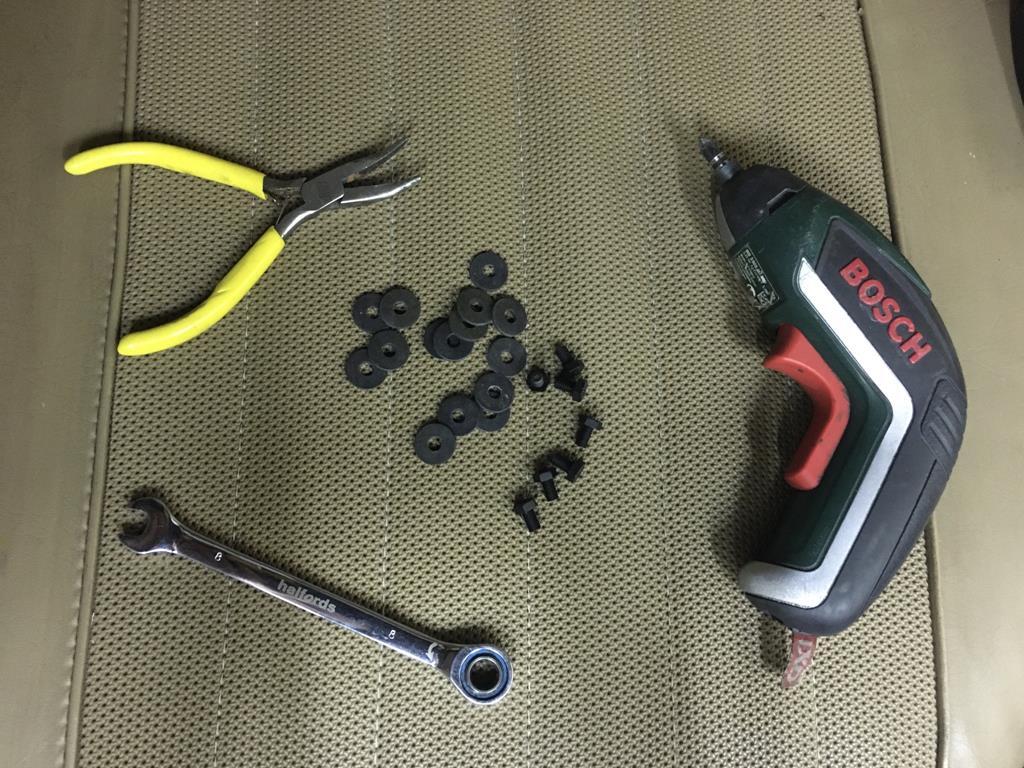 The bent pliers help to locate the bolt in position through the hole with tricky access, electric screwdriver used to take the mirror off the stem, and 8mm spanner to hold bolt whilst I turned the mirror stem around until it was tight. Test fit and all good. 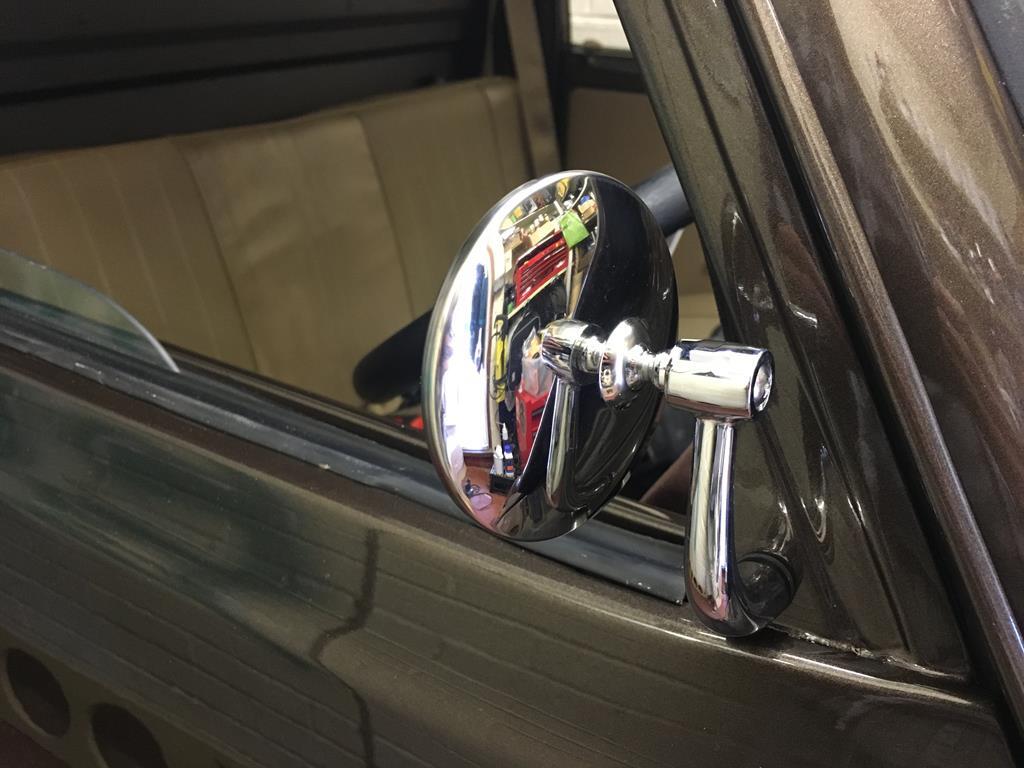 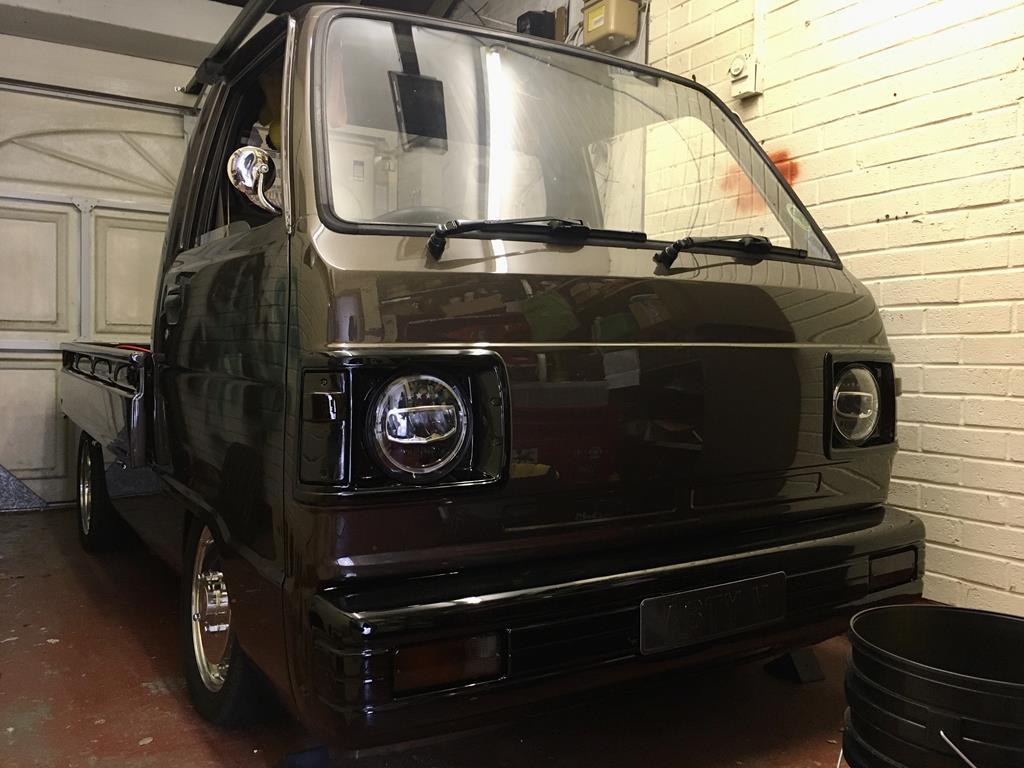 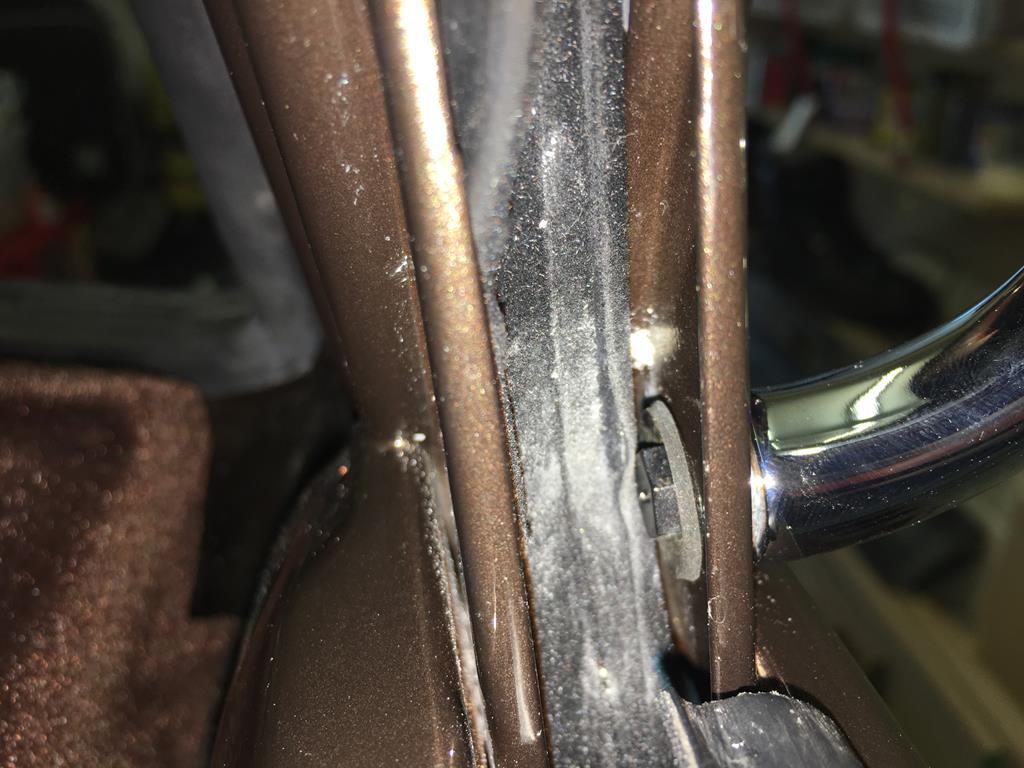 Next step is to remove the test fitted mirror, drill hole on near side, paint holes and fit permanently. |
| |
|
|
|
|
|
Apr 22, 2020 10:16:35 GMT
|
Phil - That's a very neat solution - looks factory to me - except it probably left the factory with plastic mirrors rather than chrome ones - but you know where I'm coming from  |
| |
|
|


