|
|
|
|
|
It does look like you have done a fair bit? How are you getting on with the new R Tech? is it making welding a breeze? Just about to order mine, had a chat with Daz and some discount is coming  |
| |
|
|
|
|
|
|
|
|
|
It will be finished when it’s finished. Thanks Jonsey, tis very true, when things are this frilly it's probably best not to rush and it's supposed to be about the journey right? (Although it is a certain 50th anniversary of this car next year so I do have one eye on getting it done for that... might be pushing things a little perhaps) When I got the Cortina back from paint I set a goal (loosely) in my head of getting it back together by the club National meeting. It took a lot of work to get there (as you know it’s still not completely finished) but I had not restored any of the items to bolt back on it which took most of the time. I see you sorting that out with your MG. You’ve done a massive amount and you’ve done it really well. Keep it up 👍 |
| |
|
|
samta22
Club Retro Rides Member
Stuck in once more...
Posts: 1,276  Club RR Member Number: 32
|
|
|
|
It does look like you have done a fair bit? How are you getting on with the new R Tech? is it making welding a breeze? Just about to order mine, had a chat with Daz and some discount is coming  In truth I have Mark, but when you're at the coal face for a limited amount of time for only one day a week the perspective feels somehow different. One day I hope to have a workshop/ decent garage at home, was even looking likely with the potential house we'd found but for obvious reasons everything is on hold for now. Until then I think I'll have to make peace with doing what I can, when I can. Re the welder, night and day difference, and yes so much easier than the snap on machine (which in itself is a reasonable machine for welding), but particularly welding on cars with less than ideal metal thickness in places. Settings wise, so much more sensitivity when setting up, but when you really need some power, for example when I did the chassis welds on the A35, you can really ramp it up. Just a more flexible package all round. More than happy with mine, one of the best things I've bought, you won't be disappointed, even more so if discount is available too  |
| |
'37 Austin 7 '56 Austin A35 '58 Austin A35 '65 Triumph Herald 12/50 '69 MGB GT '74 MGB GT V8'73 TA22 Toyota Celica restoration'95 Mercedes SL320 '04 MGTF 135 'Cool Blue' (Mrs' Baby) '05 Land Rover Discovery 3 V8 '67 Abarth 595 (Mrs' runabout) '18 Disco V |
|
|
|
|
|
|
|
I think you are doing great - the most important is to keep it moving. Some days you’ll see a lot for it and others not much at all - though that may well be the foundation for great progress further down the line.
.....and you are definitely not the only one to overestimate what you will achieve in a day. I do it all the time - I go in with a list of 5 things I’ll get done and I feel like I’ve achieved half of the first one.
The worst thing I’ve found it pushing when everything is saying take your time - that’s when I make mistakes or worse, damage things.
Keep going - you’ve got it going on 👍🏻
|
| |
|
|
samta22
Club Retro Rides Member
Stuck in once more...
Posts: 1,276  Club RR Member Number: 32
|
|
|
|
Cheers for the comment. You're right, keeping momentum is definitely key but without pushing things. There are some days however when things are fighting back that you step back to look at the bigger picture and allow that one thought to creep in 'am I ever going to finish this damn thing'  In other news I had to pop to the workshop last night to drop some bits off so did a small job to keep things ticking along and to save me literally waiting for things to dry at the weekend. remember this: 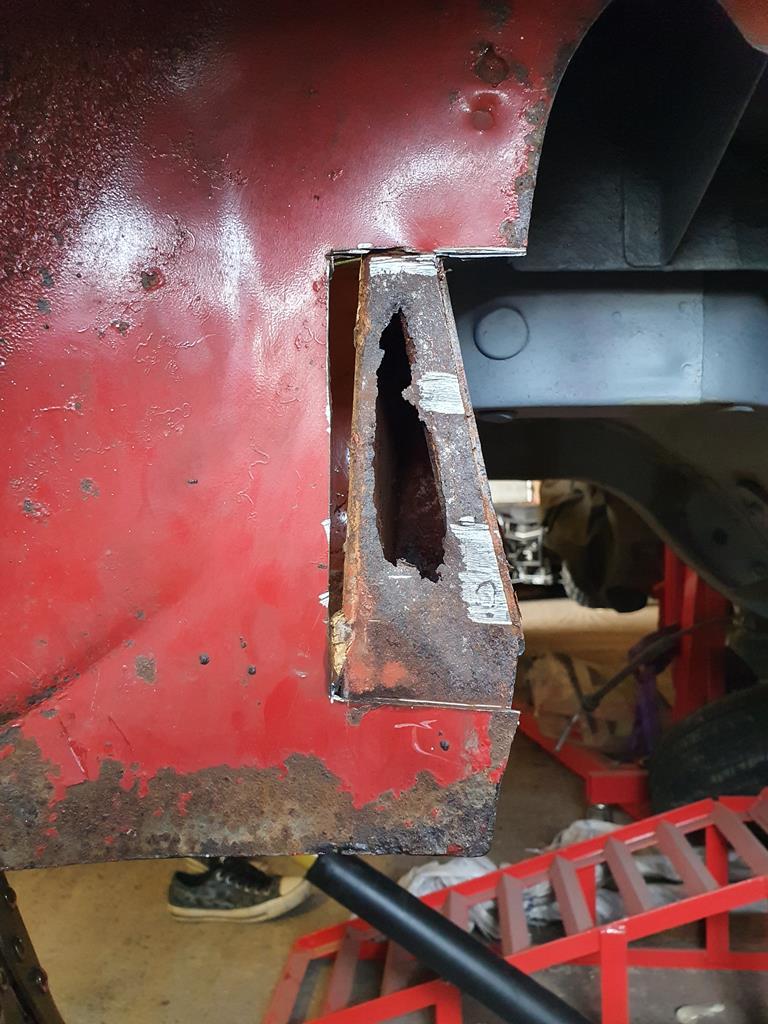 which became this 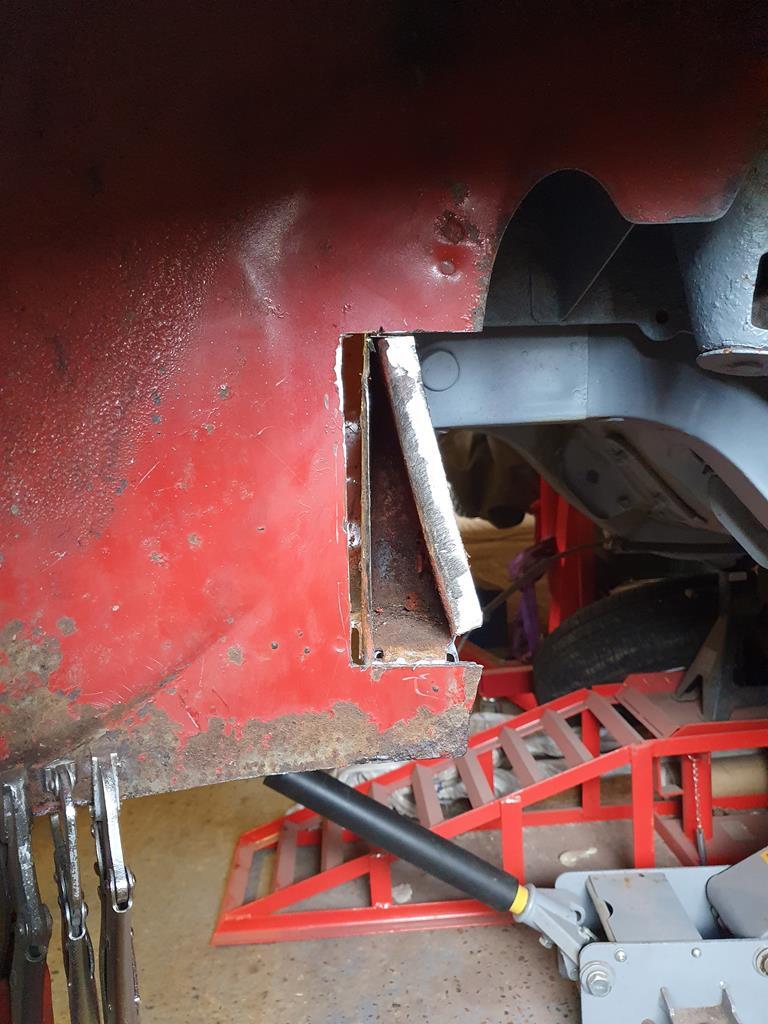 Well last night I came up with plan to clean out the cavity as best as I could so it could be treated and then painted. Due to the size of the cavity there was no easy way to get an air tool or grinder in there, so cue some faffing about rigging up some protection, and a means of catching the blast grit. Yup, I was breaking out the pot blaster that everyone loves to hate* 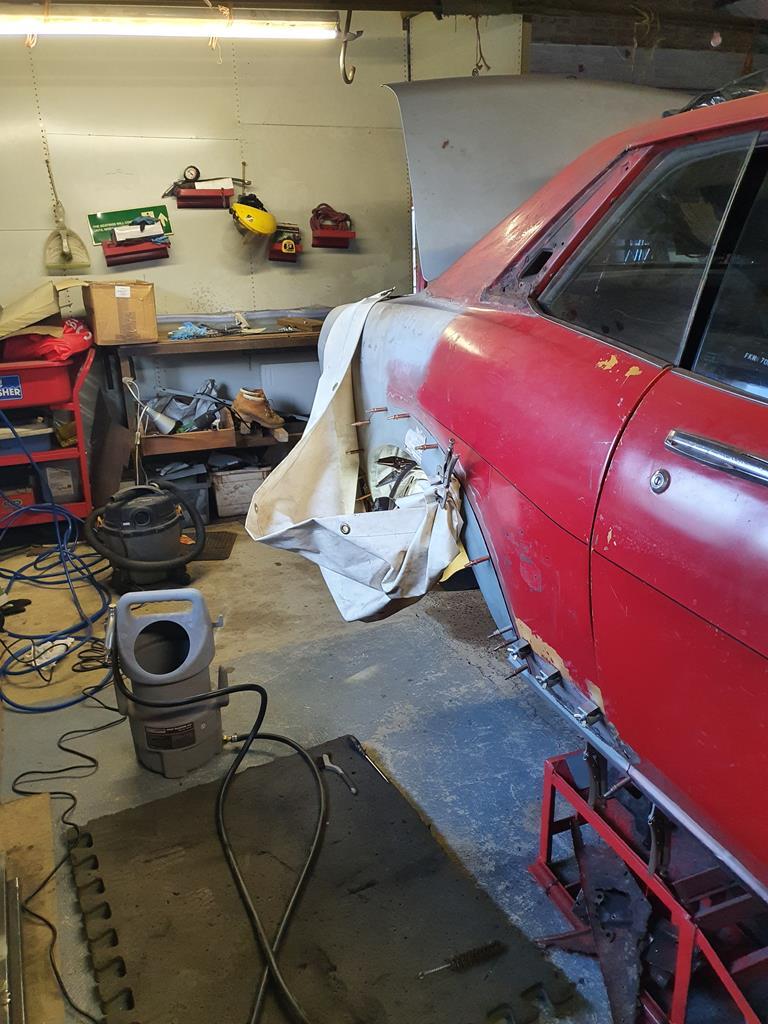 must say I was rather happy with how it all came up - and no additional holes which is a bonus! 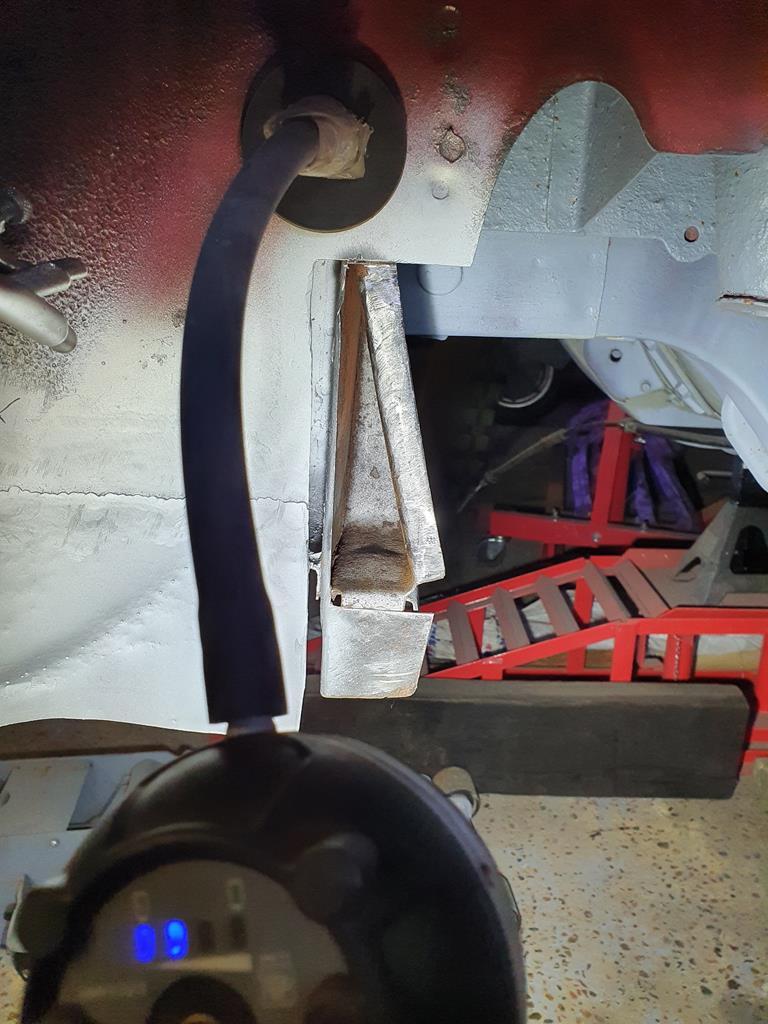 Hydrate 80 could then be applied and left to dry 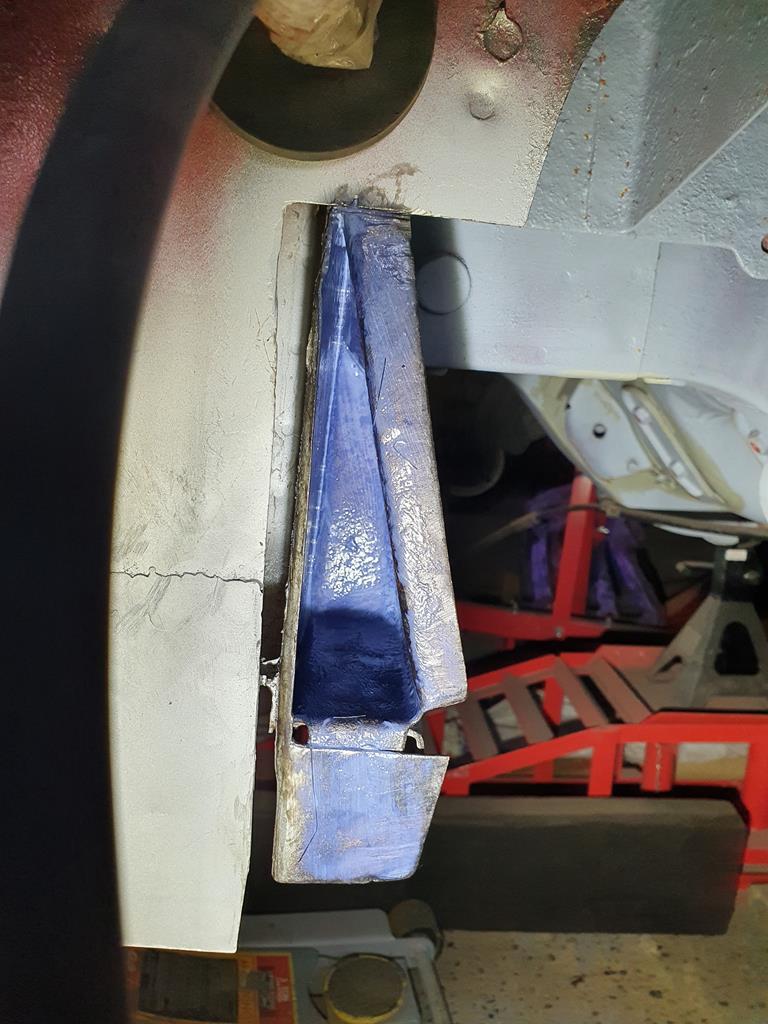 Now ready for a bit of paint as an additional protective measure and it can be welded up at the weekend. *I say loves to hate with a bit of jest as a lot of folk think these are a waste of money, however I've found it really useful for the smaller odd jobs, in this case it was the ideal solution. For blasting parts and/or bigger jobs, then like many things it's all about the right tool for the job and so granted there are much better options out there. |
| |
'37 Austin 7 '56 Austin A35 '58 Austin A35 '65 Triumph Herald 12/50 '69 MGB GT '74 MGB GT V8'73 TA22 Toyota Celica restoration'95 Mercedes SL320 '04 MGTF 135 'Cool Blue' (Mrs' Baby) '05 Land Rover Discovery 3 V8 '67 Abarth 595 (Mrs' runabout) '18 Disco V |
|
samta22
Club Retro Rides Member
Stuck in once more...
Posts: 1,276  Club RR Member Number: 32
|
|
|
|
A long weekend and a day out for the Mrs' birthday on Friday started with a little diversion as she wanted something finished... no prizes for guessing what I ended up doing... 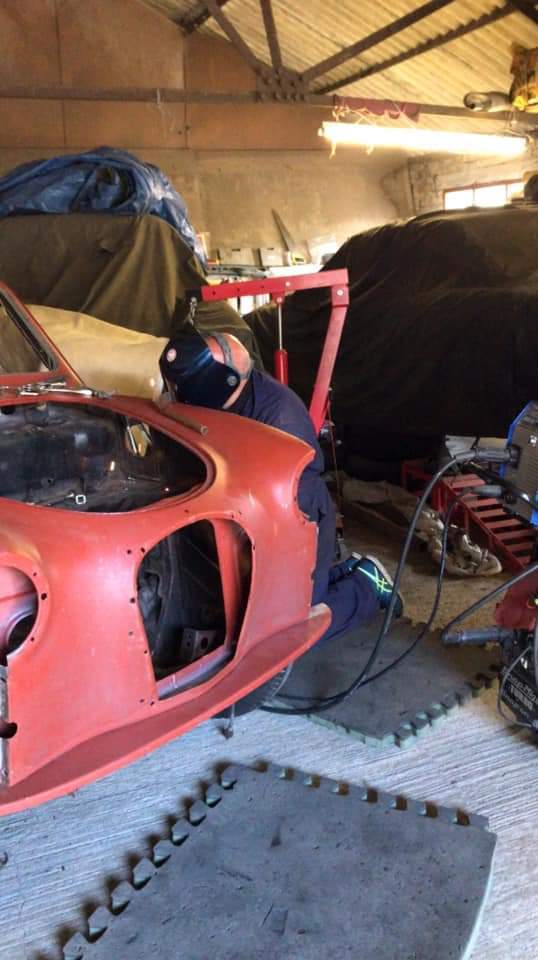 Does seem that there are a fair folk with A30/A35's who have birthdays around this time... So now seam welded down the sides and spot welded around the front 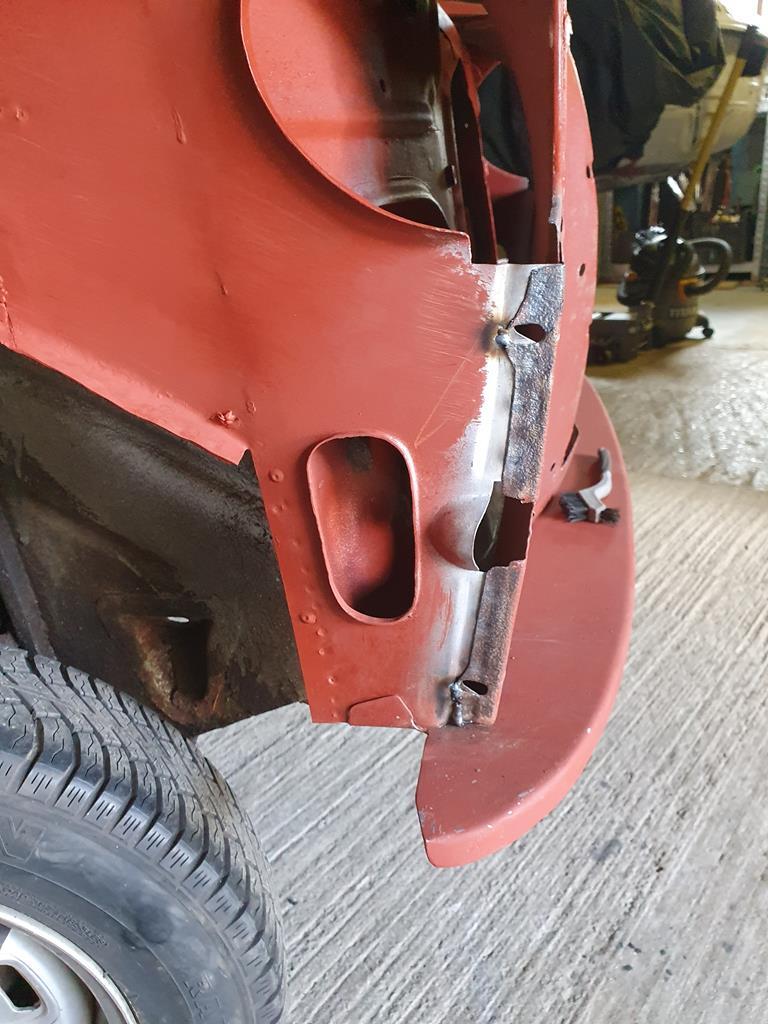 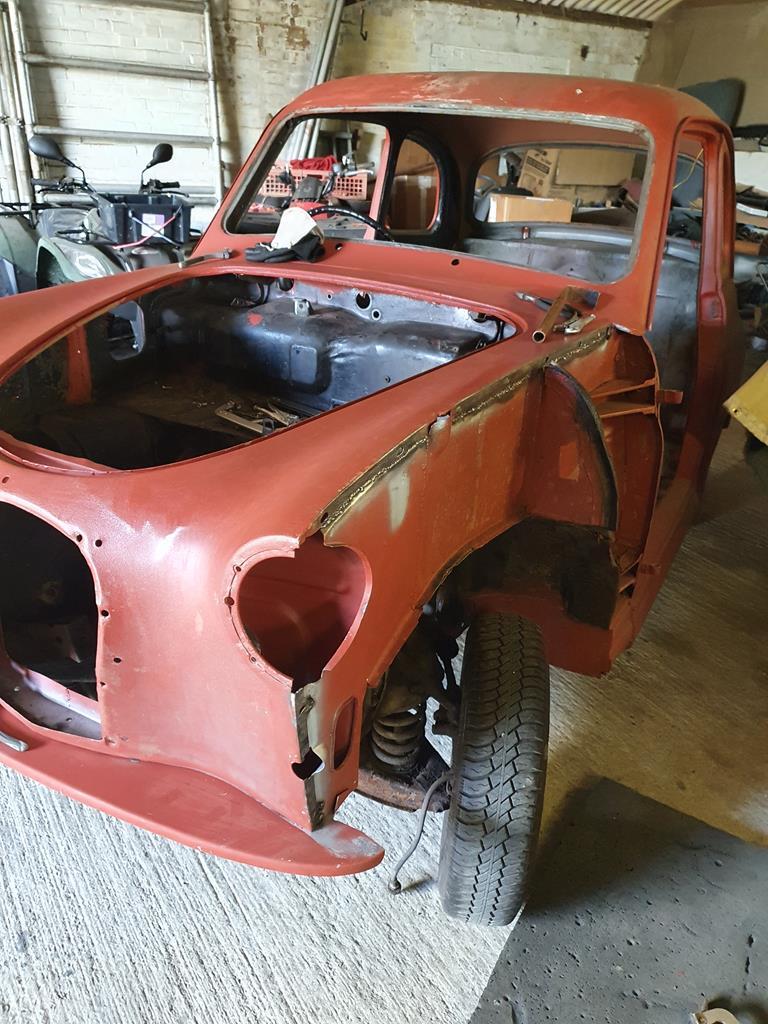 the wings and grill could then be loosely fitted to check everything lined up still - it's finally starting to look more like it should. Wheel arches are next on the to do list. 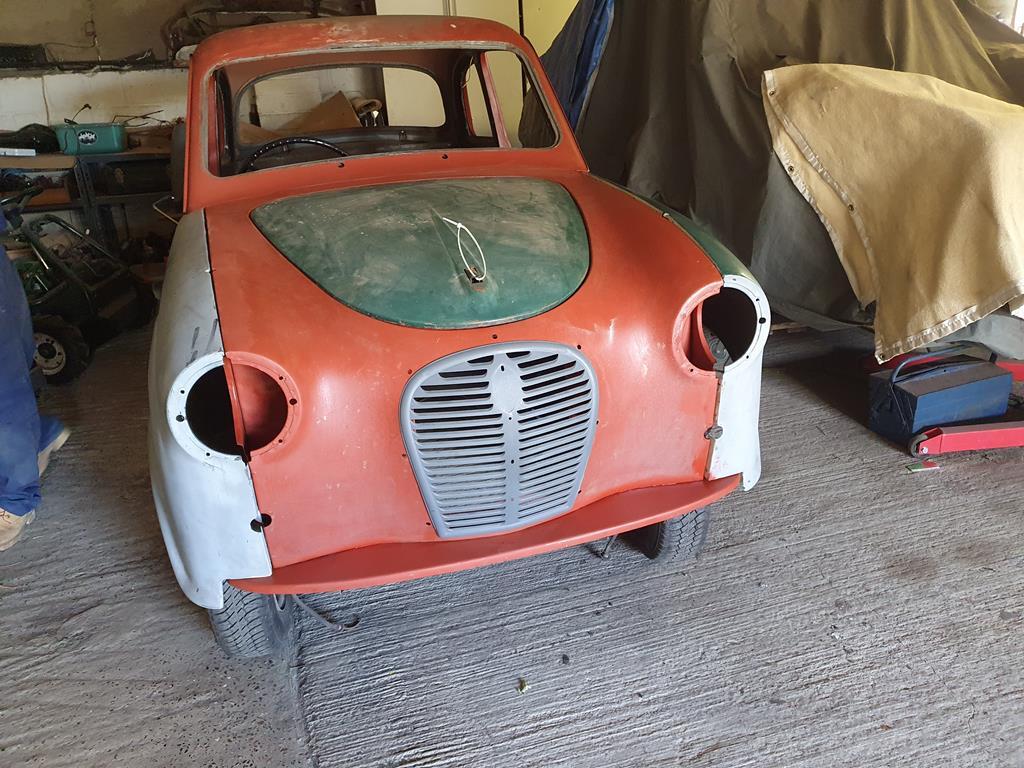 Many brownie points gained, especially as it was followed by birthday cake cooked by yours truly  So what do you do with said brownie points accrued... yup you rapidly cash them for a day on the celica the following day! starting with yet another repair to be made to the very thin metal at the front of the rear arch which I could deal with now the sill sections were all in place. 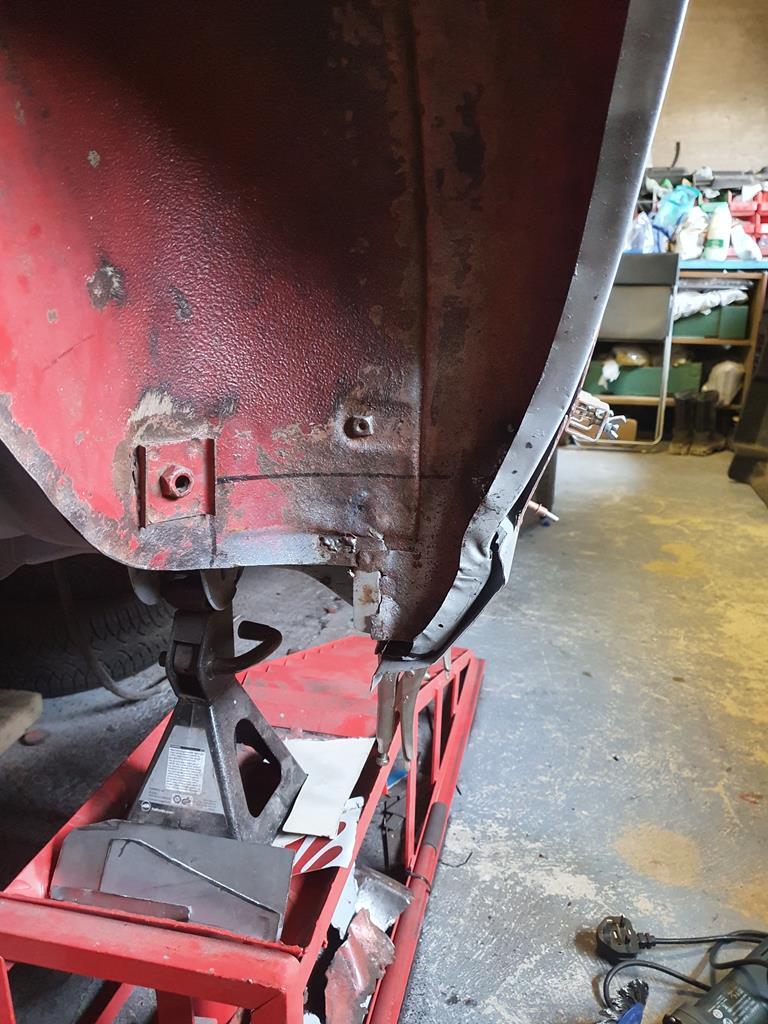 bit of the usual CAD, before slicing yet another hole and filling it with fresh metal 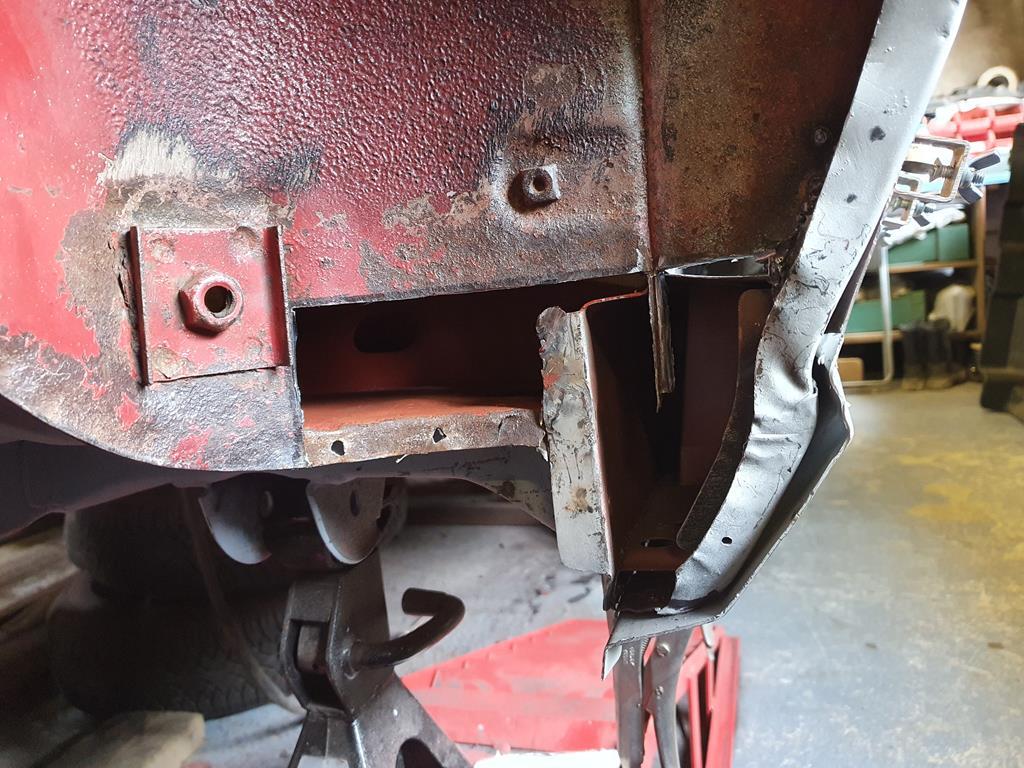 (As an aside to the above - the eagle eyed will spot the many layers building up at the bottom of the arch section with the inner arch, outer arch and outer sill all overlapping. Given my hate for finding layers upon layers when uncovering previous repairs, fear not these will be addressed/removed very soon!) I then moved onto the outer sill, spent a load more time faffing with it and then decided to just go for it 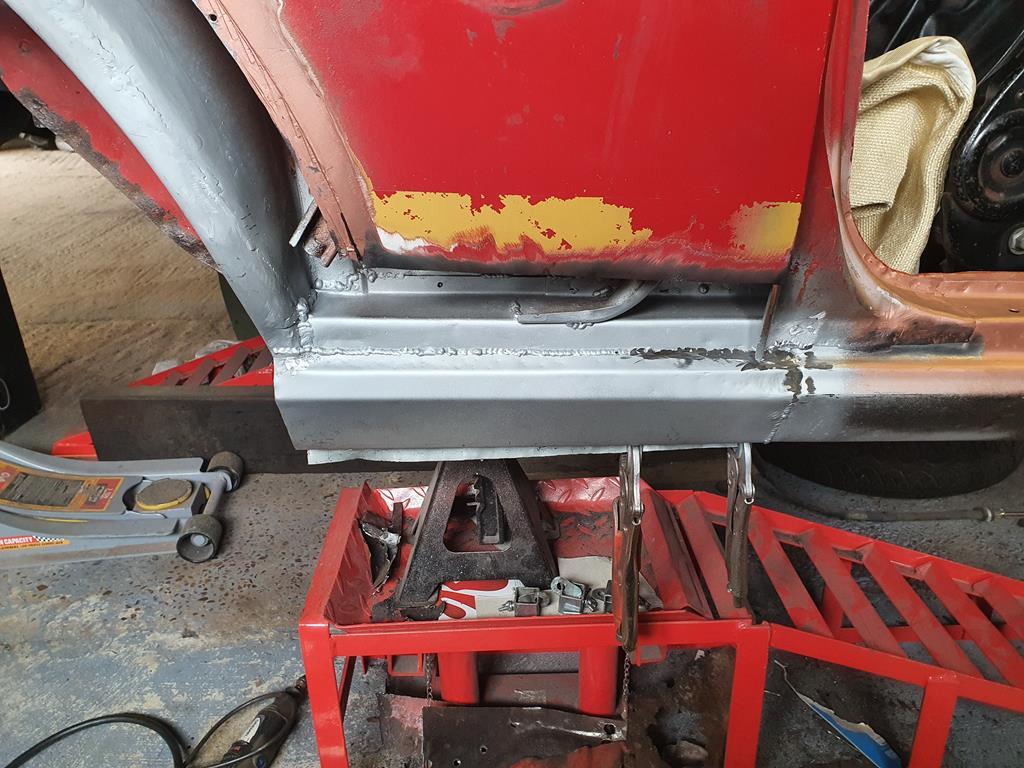 While simultaneously fitting the repair sections to the previously uncovered and treated box section which had already had a coat of paint after the hydrate 80 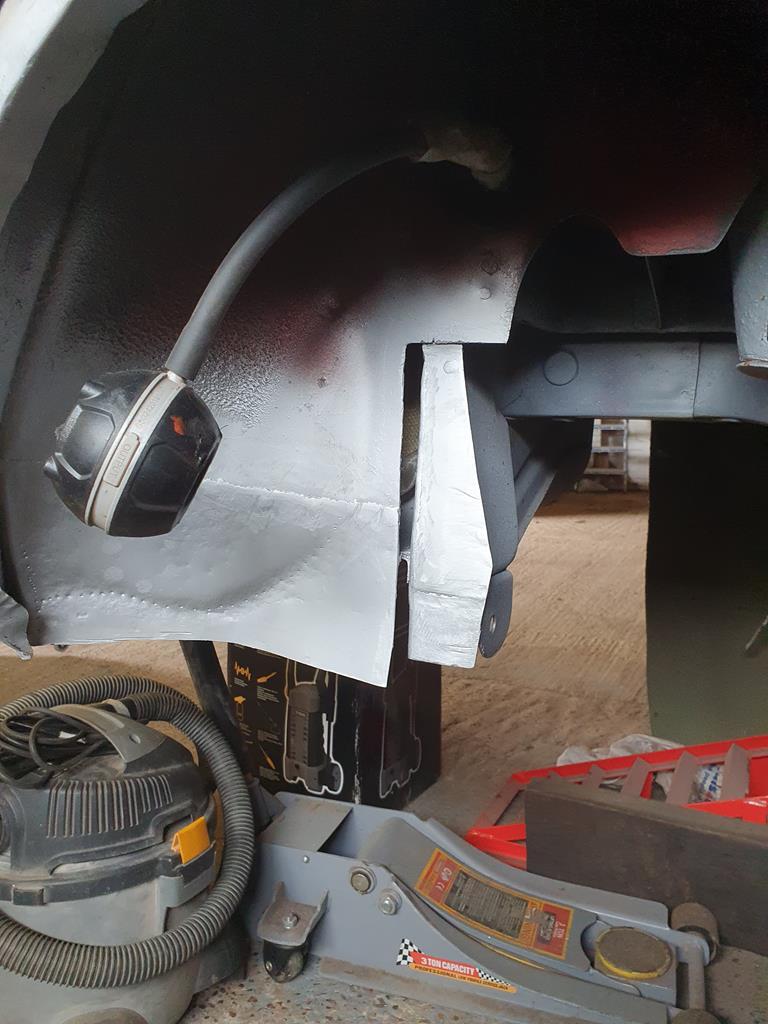 Outer sill in place and inaccessible welds dressed back, I could then very, very carefully start to re fit the outer wing panel, firstly tacking it in place 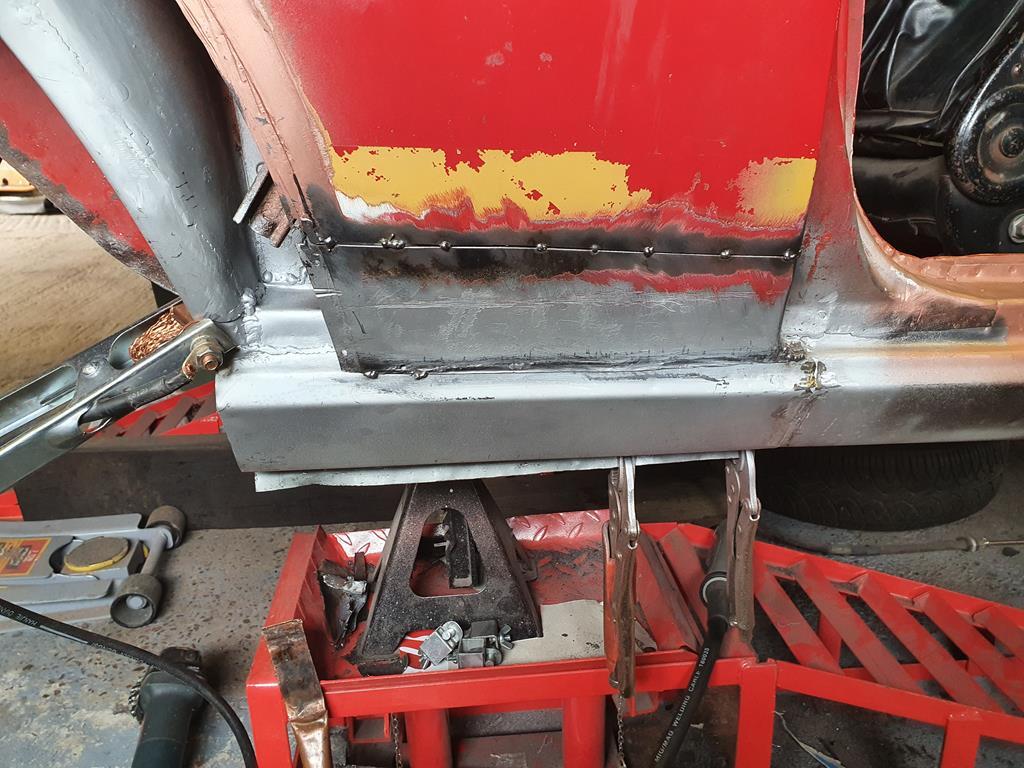 before refitting the outer arch and then carefully welding it in 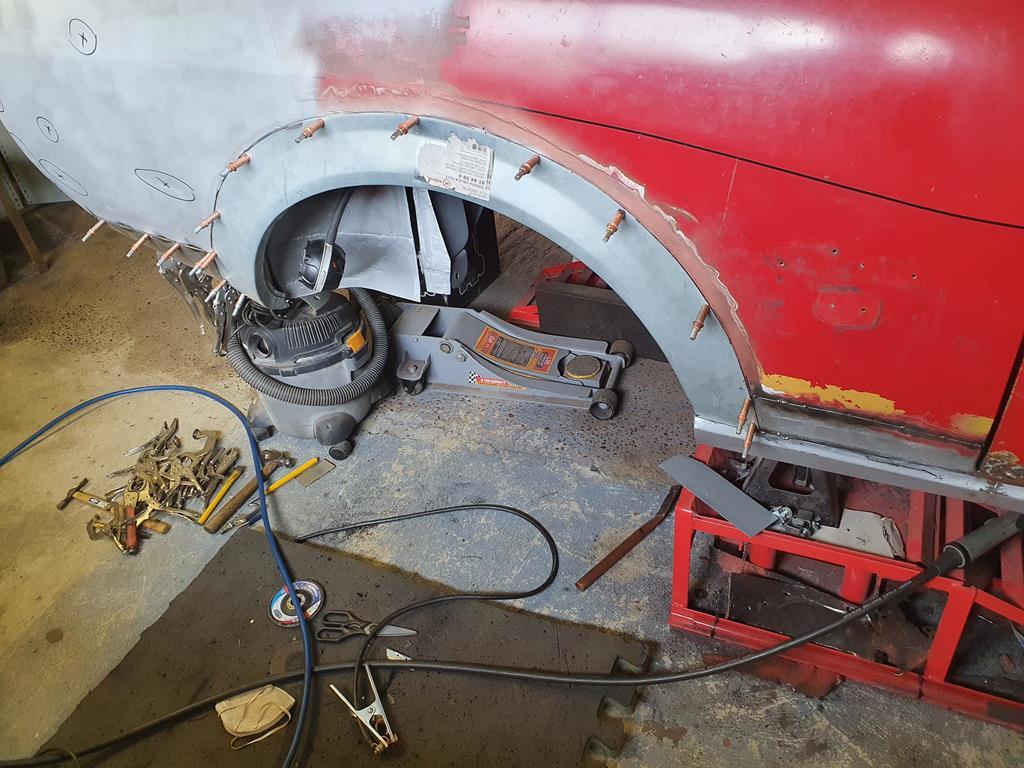 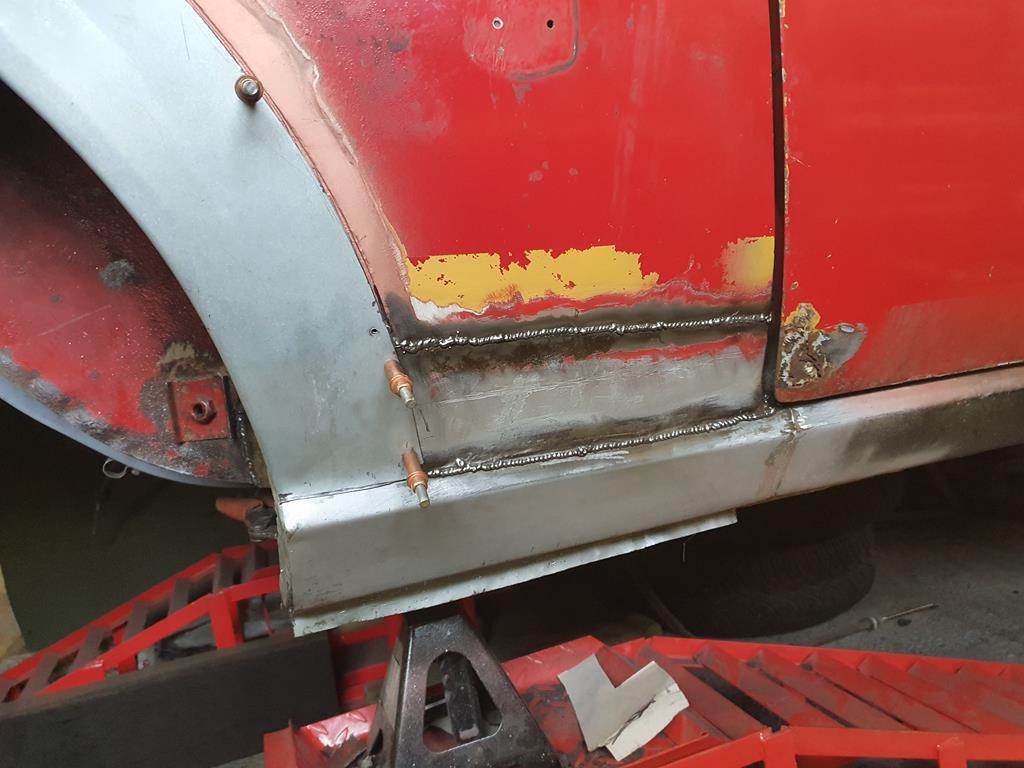 Now we're getting somewhere. Must confess I was rather enjoying myself at this point as all was coming together very nicely indeed... what could possibly go wrong?  Still riding that wave of confidence/success it was onto the rear wing repair, and this is where the fun sort of started - no matter what I tried I couldn't get the panel to sit as flush as I wanted, even where I had previously joggled the join. Nothing else for it but to break out the dremel fitted with a thin grinding disc and run a cut to butt weld it instead, which meant I could peel back the overlap on the inside. 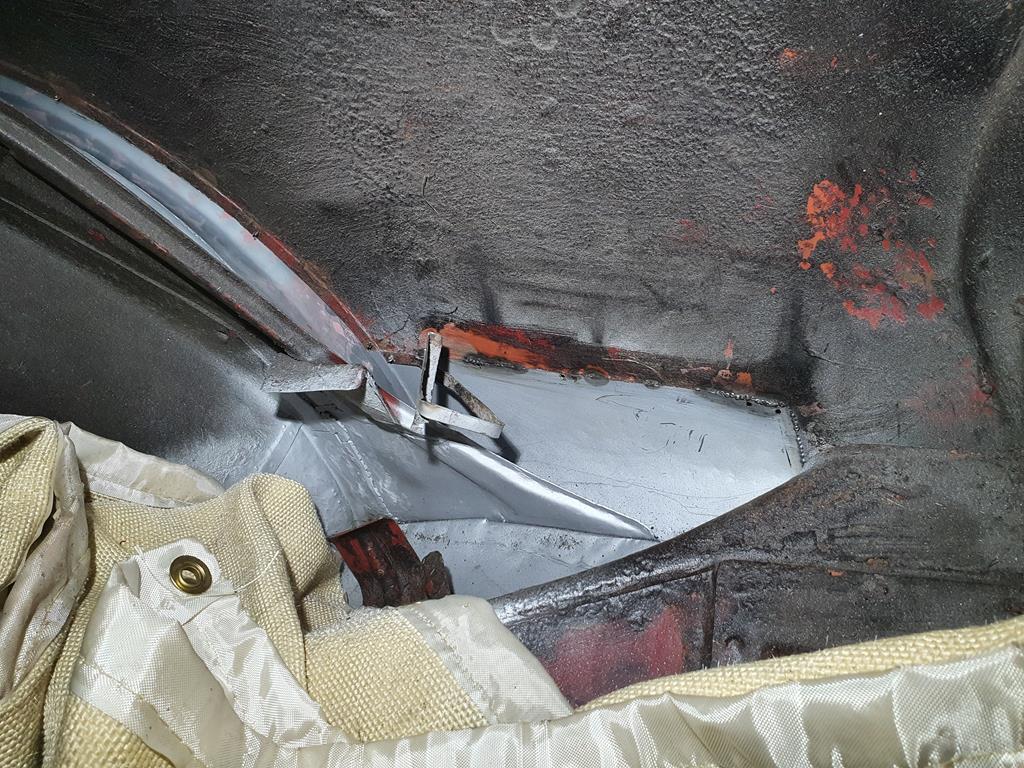 Which with the settings on the welder adjusted to suit, actually turned out to be the best way and the results were much better than I expected in terms of keeping things level and with minimal distortion 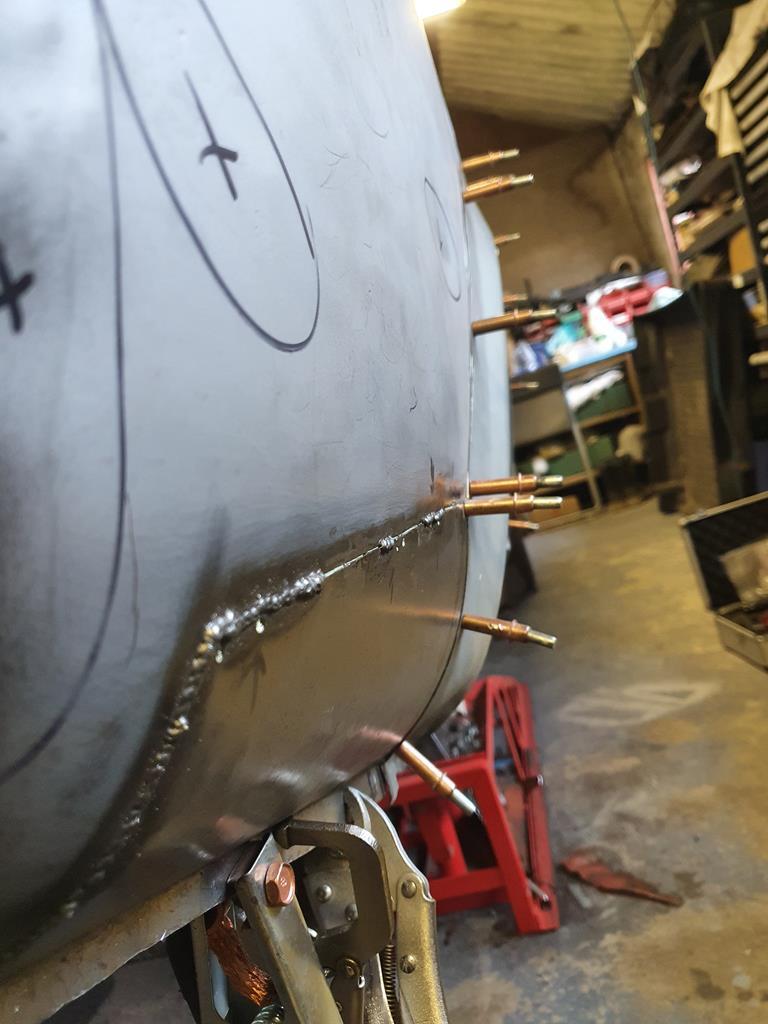 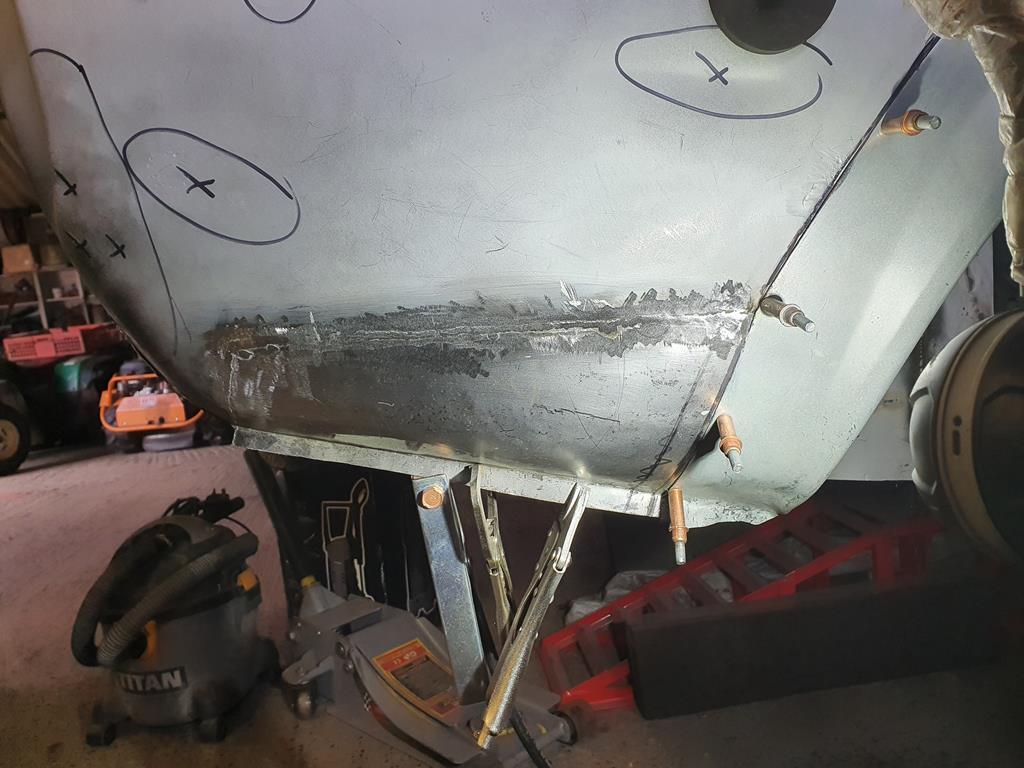 Hard to see from the pictures, but there was just one low spot where it got away from me a little which was a bit annoying, have thought about cutting it and rewelding but I don't think it will help. 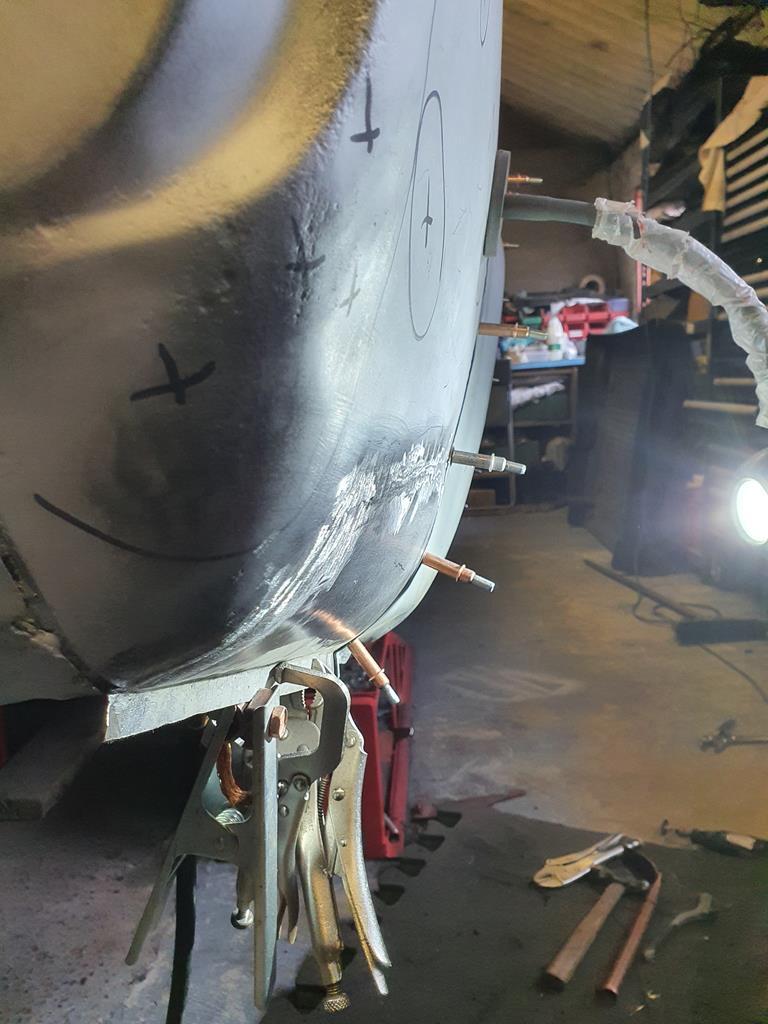 Either way was very happy overall as this metal is not the best in places... a fact I was then rudely reminded of... Decided as a last job of the day to finish welding up a few of the cleco holes where I'd pinned the panel for the floor in the rear quarter, despite using the lowest settings I could and the copper pipe, I promptly blew a load of new holes - B*gger!  Think I need to revisit the drawing board on that section as if I'm blowing holes that easily then the metal is just not thick enough to warrant leaving as it is to avoid future issues. Perhaps a blessing in disguise looking back in hindsight... didn't feel like it at the time though! So in summary, good news and bad... The good... well with the repair to the front of the arch, it means the passenger compartment is finished - bit of a milestone. The clamp drawer being full again is also a good sign! 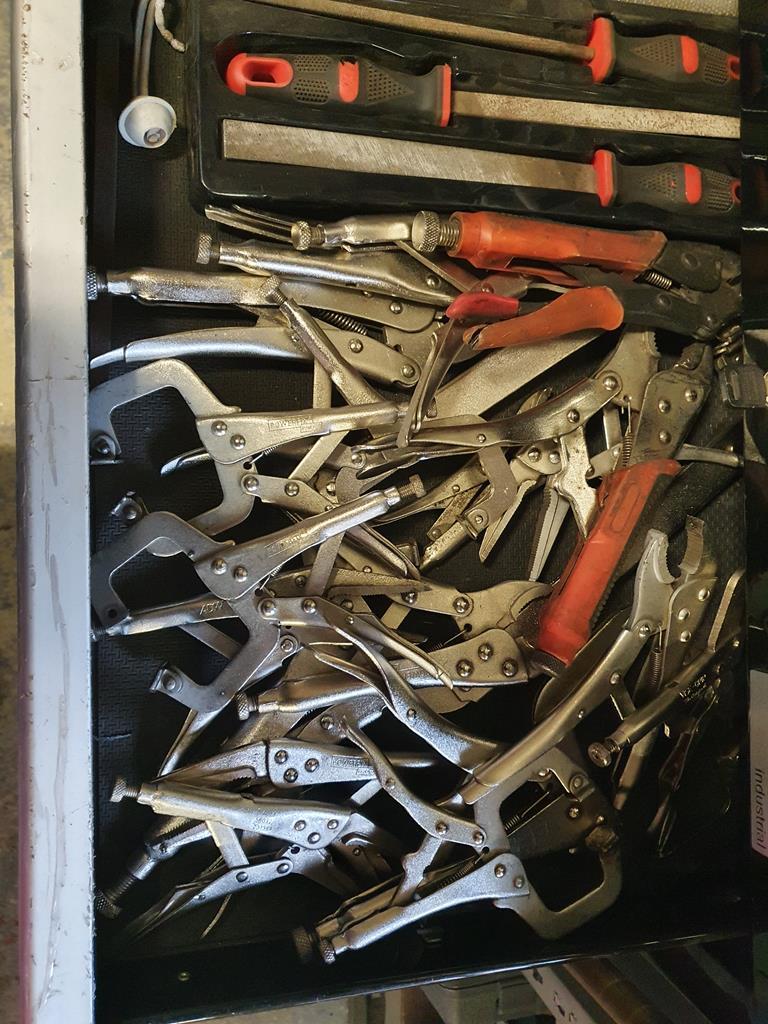 The bad... it feels like two steps back on the boot area... rather gutted after what was otherwise a really good day. So I walked away and will go again this weekend with a clear head. In the meantime I'm back on the hunt for a decent compatible wheel well. At least I can take comfort in knowing it's looking more complete... well from the outside at least  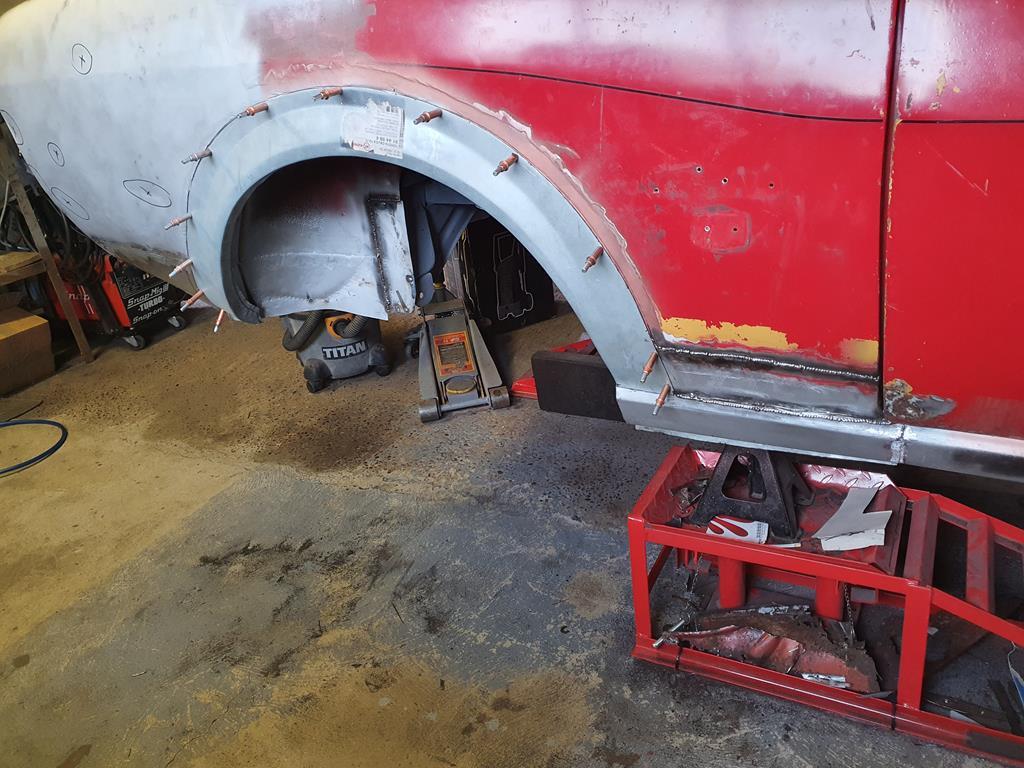 Will see what next weekend brings... |
| |
'37 Austin 7 '56 Austin A35 '58 Austin A35 '65 Triumph Herald 12/50 '69 MGB GT '74 MGB GT V8'73 TA22 Toyota Celica restoration'95 Mercedes SL320 '04 MGTF 135 'Cool Blue' (Mrs' Baby) '05 Land Rover Discovery 3 V8 '67 Abarth 595 (Mrs' runabout) '18 Disco V |
|
|
|
|
|
|
|
You certainly have the right attitude about it all. In the end, having had the perspective to do it right will be a long term reward.
The car is looking great!
JP
|
| |
I know its spelled Norman Luxury Yacht, but its pronounced Throat Wobbler Mangrove!
|
|
|
|
|
|
|
Yup, I liked the first part of the update... but it did tail off a bit towards the end  You’d have always ended up going back to it, if you’d have persevered it just would have been a few weeks later! |
| |
|
|
samta22
Club Retro Rides Member
Stuck in once more...
Posts: 1,276  Club RR Member Number: 32
|
|
Jun 17, 2020 11:03:19 GMT
|
Yup, I liked the first part of the update... but it did tail off a bit towards the end  It did... sorry about that John  Must admit after the previous weekend's efforts I wasn't really feeling another slog on the car over the weekend, in fact I wasn't feeling 100% altogether, that combined with another heavy week in the day job and things potentially picking up on the housing front and SWMBO insisting that I'd best start turning the house... err back into a house that could be viewed rather than a car restoration workshop meant I needed to sort and clear out a few things - my comment of " but it demonstrates the versatility of the space" was met with 'that look'  So I thought I'd take the opportunity to just potter and boost the mojo a little by refitting a few things into the celica temporarily... plus it served as a helpful reminder of how things actually went together - been a little while since I took things apart! Bulky rear seats out the way first, then the centre console, kick plates and map shelf 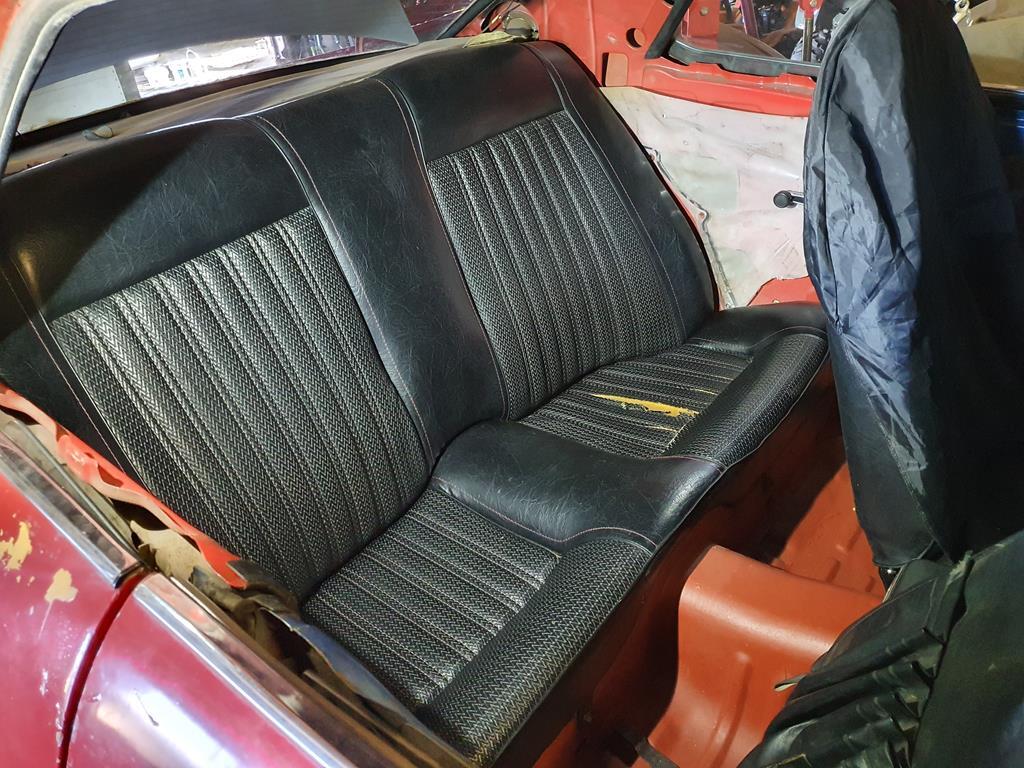 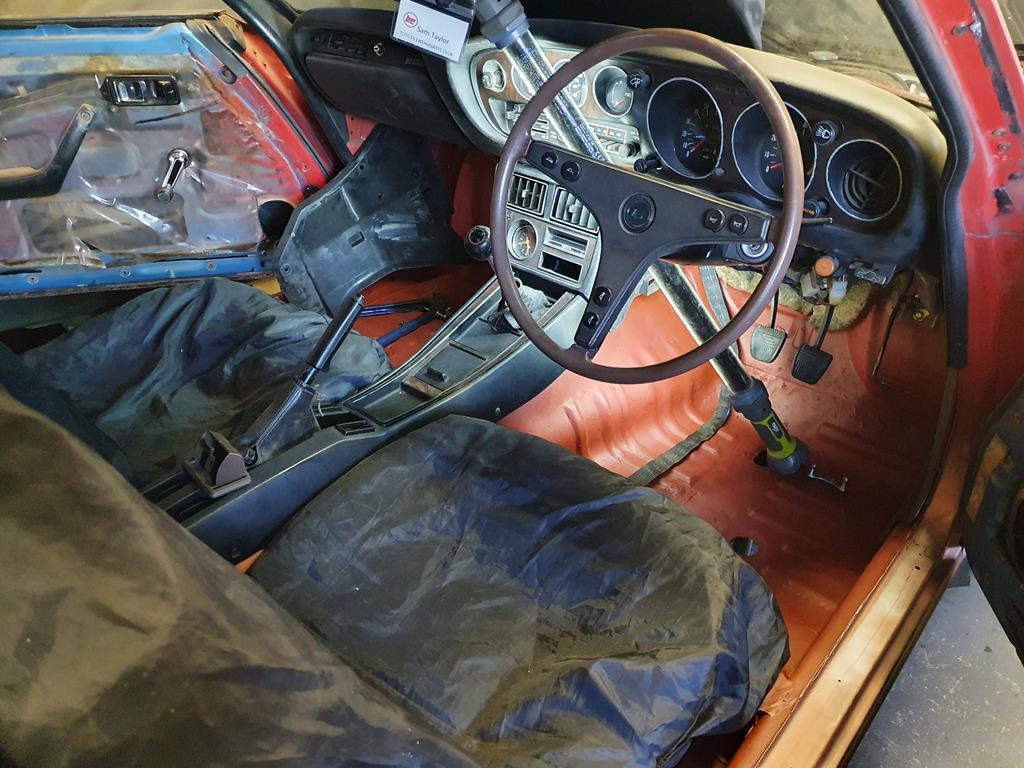 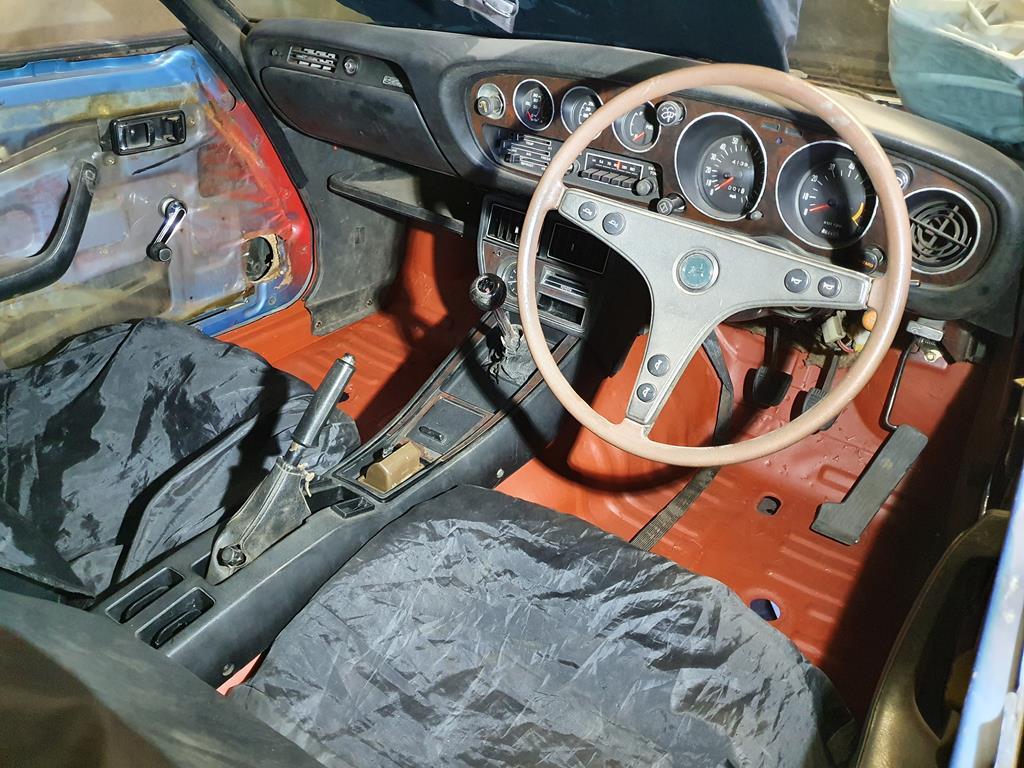 Good news is that it all still fits. Had a sort of expected issue with one of the kick plates where the bolt holes on the new sill didn't line up so had to drill two new ones, luckily they're all hidden so most folk will never know... just I will  The seats really need to go to the trimmers to get the centre inserts sorted as I want to try and keep the rare logos on the rear of the headrests intact, but we're a long way off that yet I think  I also took the opportunity to fit a relatively recent acquisition to replace the other two options I already had - the decidedly 'plastic' ST grill that this car would have come with as standard, and the rather ropey metal honeycomb GT grill that this car came fitted with... it's replacement? you'll just have to wait and see for that one  Likewise I also had a play with a few other minor upgrades, a clue to which can be seen in this update somewhere... 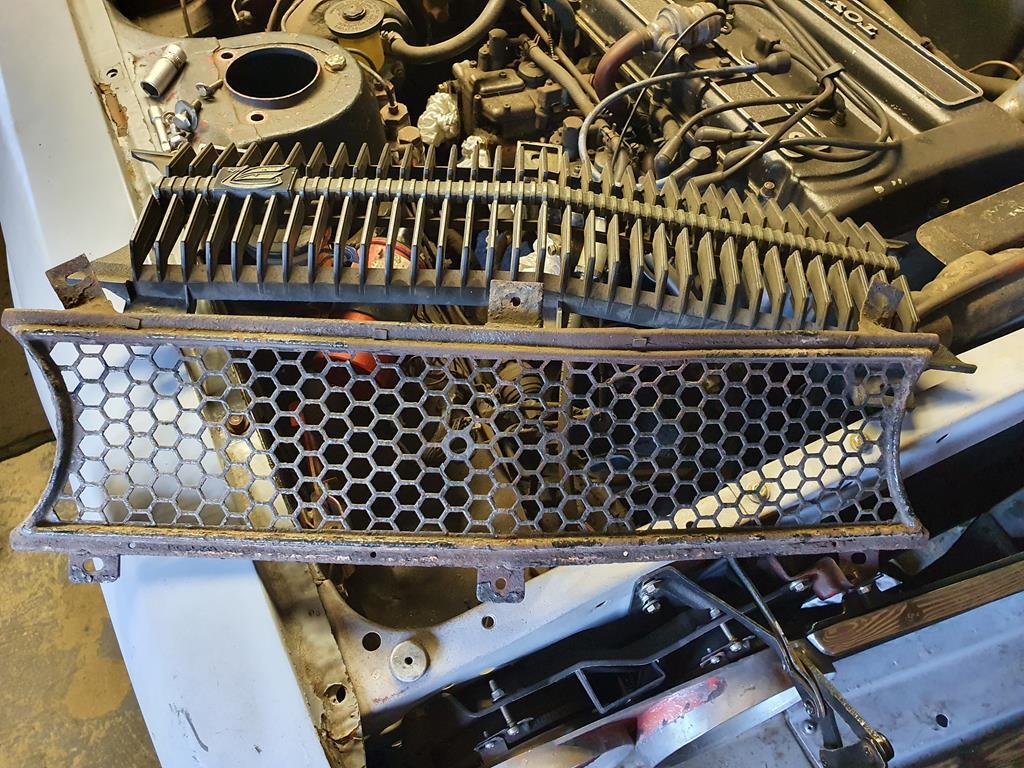 while doing so I also noticed that the bonnet hinges have a serious amount of play in the pins so will need to work out a way of either fixing them or getting hold of a replacement pair. A guy in Aus has starting making repro versions but like most things for these, they aren't cheap! 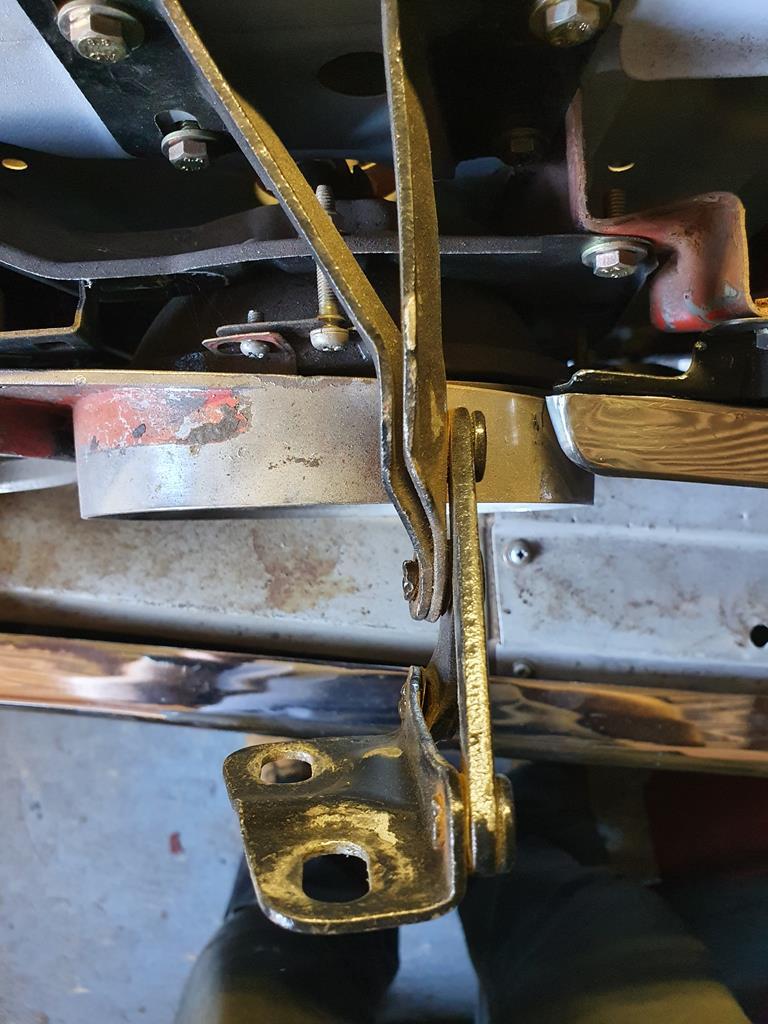 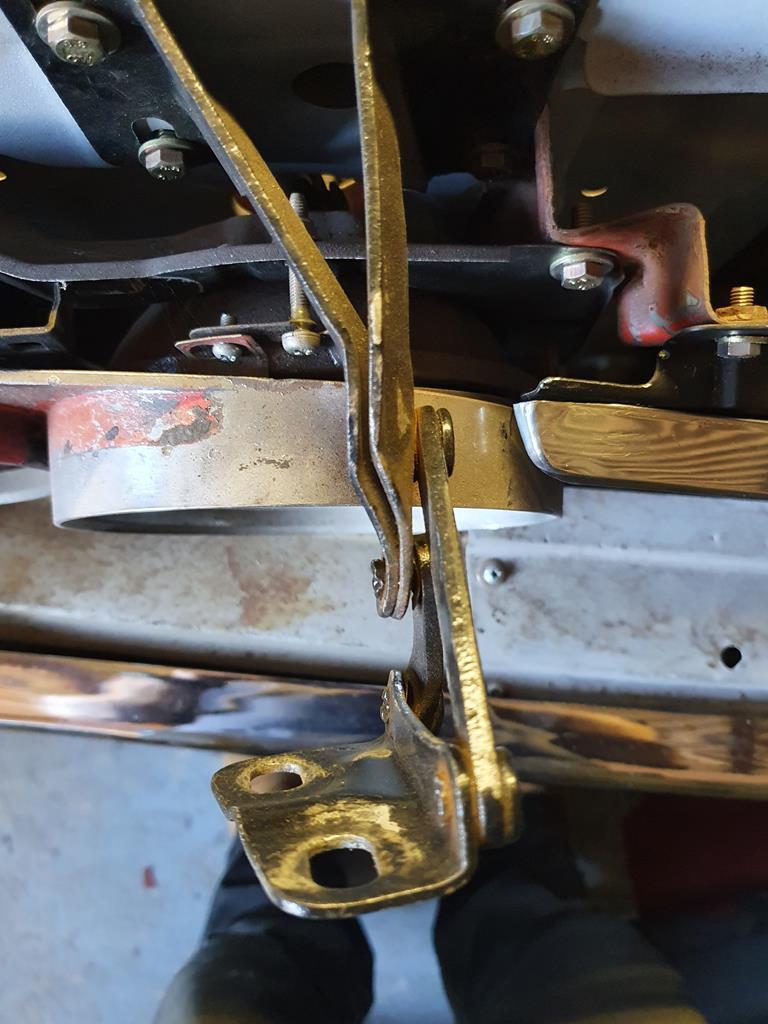 Talking of more global parts hunting, I've also bit the bullet and finally ordered a few special bits from a place over in California... should be here next week all being well  Lastly I decided I'd make a start on tidying the welds from the previous week, although I noticed I need to pick up some oil for my compressor as it's running dangerously low so could only go so far as the grinding bit, the finger sander tidying will have to wait. 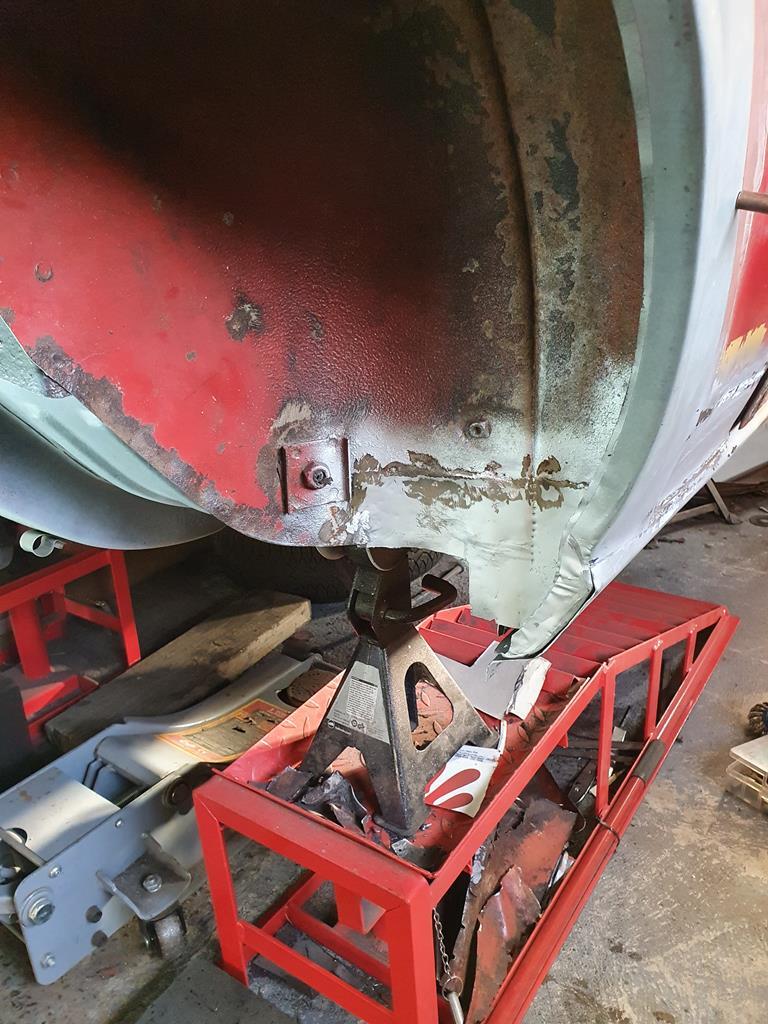 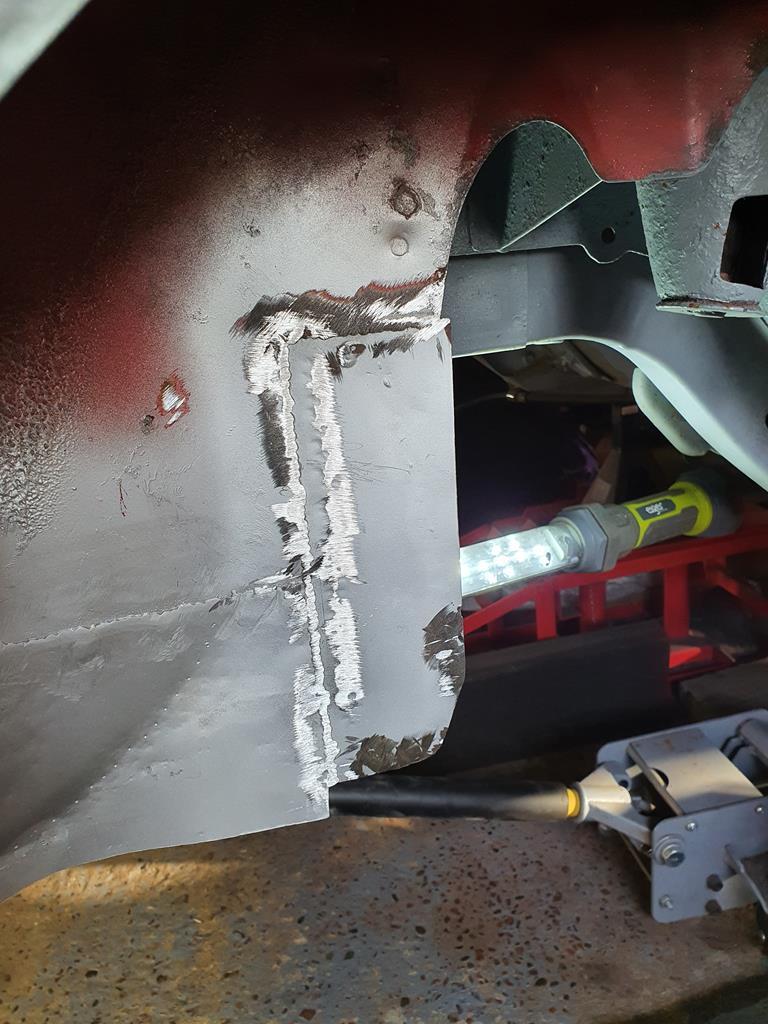 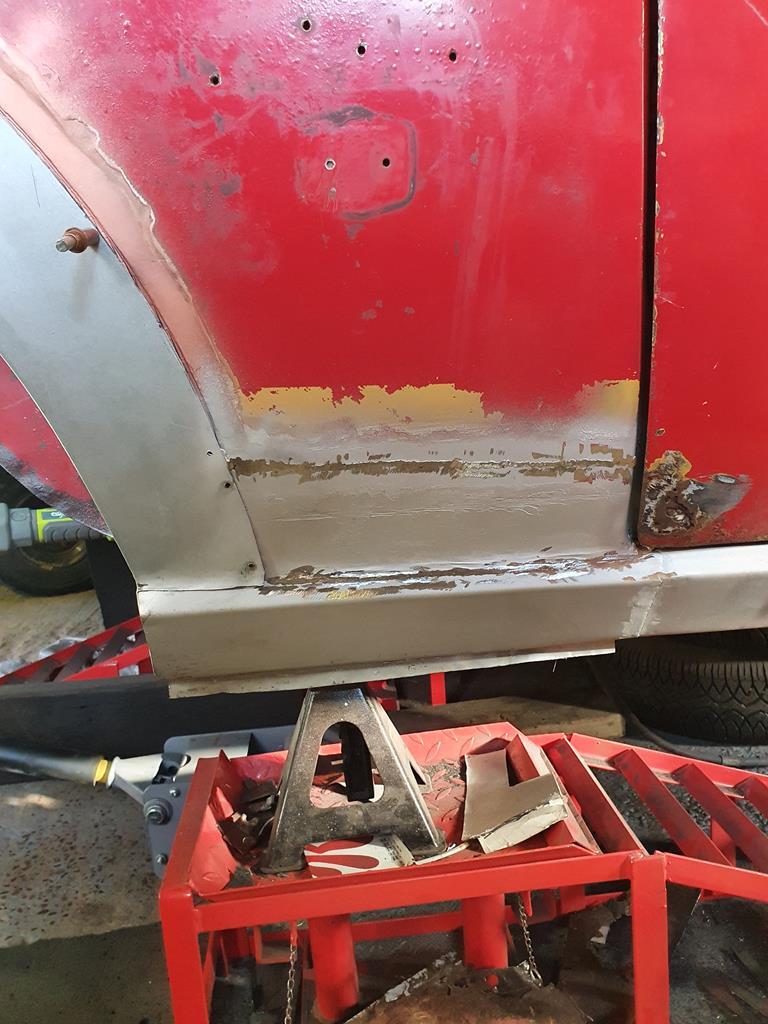 See what the weekend brings |
| |
'37 Austin 7 '56 Austin A35 '58 Austin A35 '65 Triumph Herald 12/50 '69 MGB GT '74 MGB GT V8'73 TA22 Toyota Celica restoration'95 Mercedes SL320 '04 MGTF 135 'Cool Blue' (Mrs' Baby) '05 Land Rover Discovery 3 V8 '67 Abarth 595 (Mrs' runabout) '18 Disco V |
|
|
|
|
Jun 17, 2020 11:28:15 GMT
|
See that’s better, posts where you just abuse your wallet are much more enjoyable  |
| |
|
|
|
|
|
|
|
Jun 17, 2020 12:02:35 GMT
|
|
Bonnet hinges can be tightend up with delicate adjustment from a 4Lb lump hammer to 'squash' the ends over again.
|
| |
|
|
samta22
Club Retro Rides Member
Stuck in once more...
Posts: 1,276  Club RR Member Number: 32
|
|
Jun 17, 2020 13:50:46 GMT
|
See that’s better, posts where you just abuse your wallet are much more enjoyable  will make a note - retail therapy is the way forward  |
| |
'37 Austin 7 '56 Austin A35 '58 Austin A35 '65 Triumph Herald 12/50 '69 MGB GT '74 MGB GT V8'73 TA22 Toyota Celica restoration'95 Mercedes SL320 '04 MGTF 135 'Cool Blue' (Mrs' Baby) '05 Land Rover Discovery 3 V8 '67 Abarth 595 (Mrs' runabout) '18 Disco V |
|
samta22
Club Retro Rides Member
Stuck in once more...
Posts: 1,276  Club RR Member Number: 32
|
|
Jun 17, 2020 13:52:23 GMT
|
Bonnet hinges can be tightend up with delicate adjustment from a 4Lb lump hammer to 'squash' the ends over again. Cheers Mark, sounds like a plan... shall have a 'bash' at the weekend...  |
| |
'37 Austin 7 '56 Austin A35 '58 Austin A35 '65 Triumph Herald 12/50 '69 MGB GT '74 MGB GT V8'73 TA22 Toyota Celica restoration'95 Mercedes SL320 '04 MGTF 135 'Cool Blue' (Mrs' Baby) '05 Land Rover Discovery 3 V8 '67 Abarth 595 (Mrs' runabout) '18 Disco V |
|
samta22
Club Retro Rides Member
Stuck in once more...
Posts: 1,276  Club RR Member Number: 32
|
|
Jun 17, 2020 13:56:41 GMT
|
|
Speaking of wallet bashing, anyone have any recommendations for getting hold of an Astra 'G' boot floor/wheel well panel, my usual sources seem to be non-responsive at the mo for obvious reasons and I can't visit the usual delight of Bridges in Crawley to source one for myself.
|
| |
'37 Austin 7 '56 Austin A35 '58 Austin A35 '65 Triumph Herald 12/50 '69 MGB GT '74 MGB GT V8'73 TA22 Toyota Celica restoration'95 Mercedes SL320 '04 MGTF 135 'Cool Blue' (Mrs' Baby) '05 Land Rover Discovery 3 V8 '67 Abarth 595 (Mrs' runabout) '18 Disco V |
|
samta22
Club Retro Rides Member
Stuck in once more...
Posts: 1,276  Club RR Member Number: 32
|
|
|
|
A minor distraction in the form of house tidying for estate agent purposes and a slight bit of mojo loss due to the aforementioned welder = hole creation saga meant that I've purposely left the celica alone the last couple of weeks... I definitely needed a break from it. Well almost... If I've been near then I have 'played' on the odd occasion rather than 'worked' - you've seen the seat fitting already, some of the internal panels got added to to check for alignment also - call it 'motivational tinkering' rather than anything serious like welding and panel fitting. What the hell is he on about you may ask, well as an example, one test fit involved the removal of this 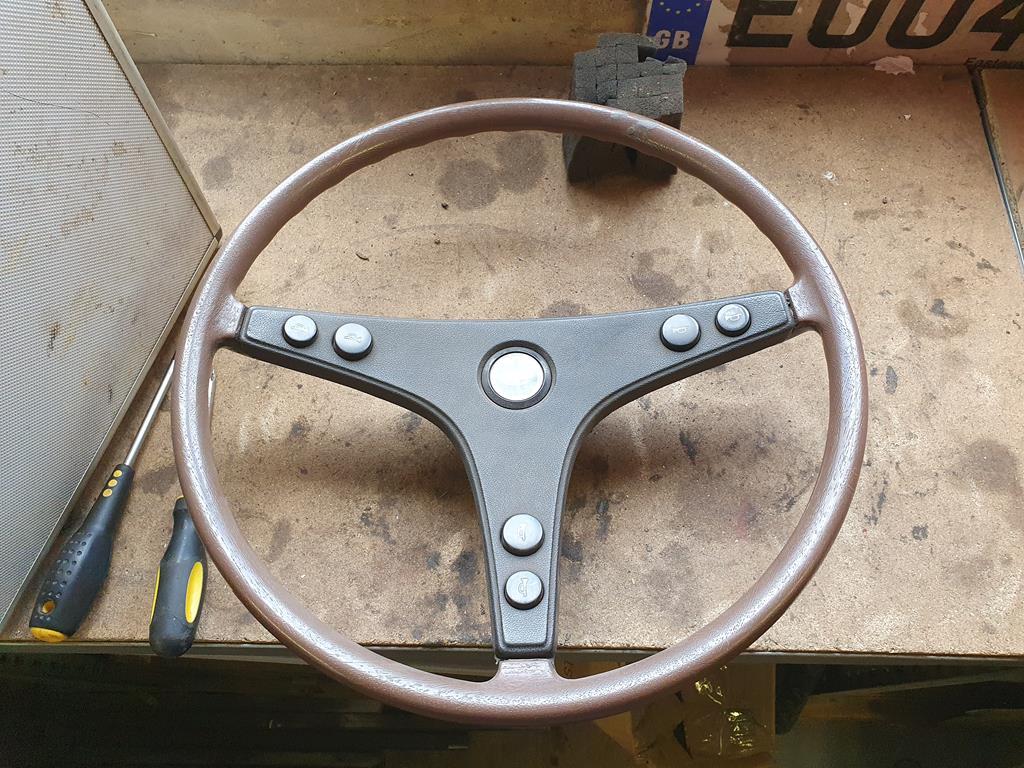 (it needed more horn buttons)  Followed by a test fit of something slightly different ( johnthesparky will be happy as it involved wallet abuse! although given his current form I think he's in another league!  ). Am very pleased with the outcome, you'll have to wait and see what that is however  . Sitting behind it and dreaming of days to come was also rather lovely until I was spotted and my moment shattered with the immortal words from her ladyship " that's all very nice but you won't be able to drive it unless it's actually finished, so stop sulking and get back on with it" Hmmmm she may have had a point. Damn it. So office tools were downed on time one eve this week, workshop clothes rediscovered from their hiding place (why do they do that?!), and I got back to it... by making yet another damn hole and peeling back more rusty layers... *sigh* 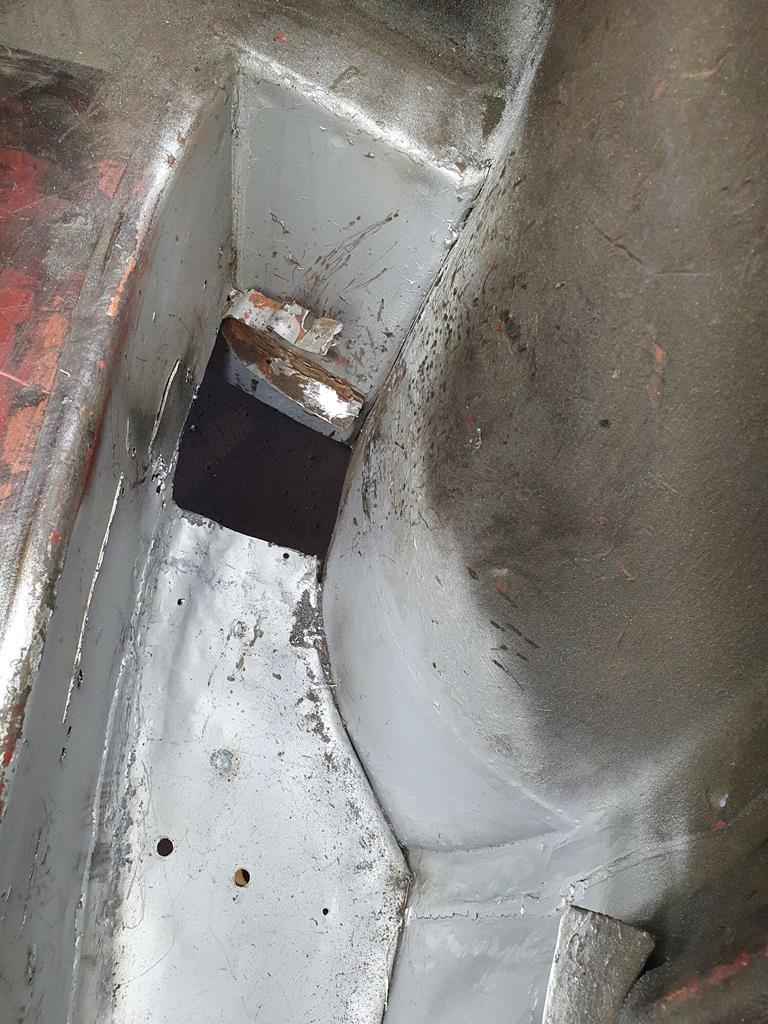 look closely at the above and you can see where I also spent a bit of time digging out a lot of well past its sell by date sealant from the seam 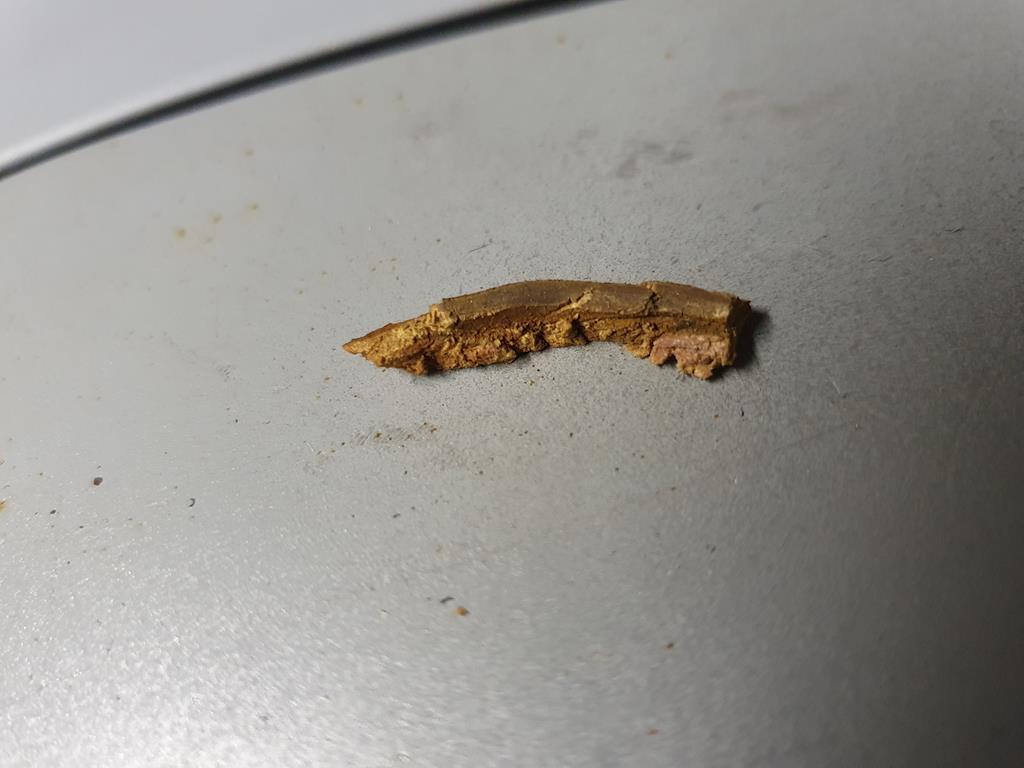 and then made up another couple of repair panels. One for the inside 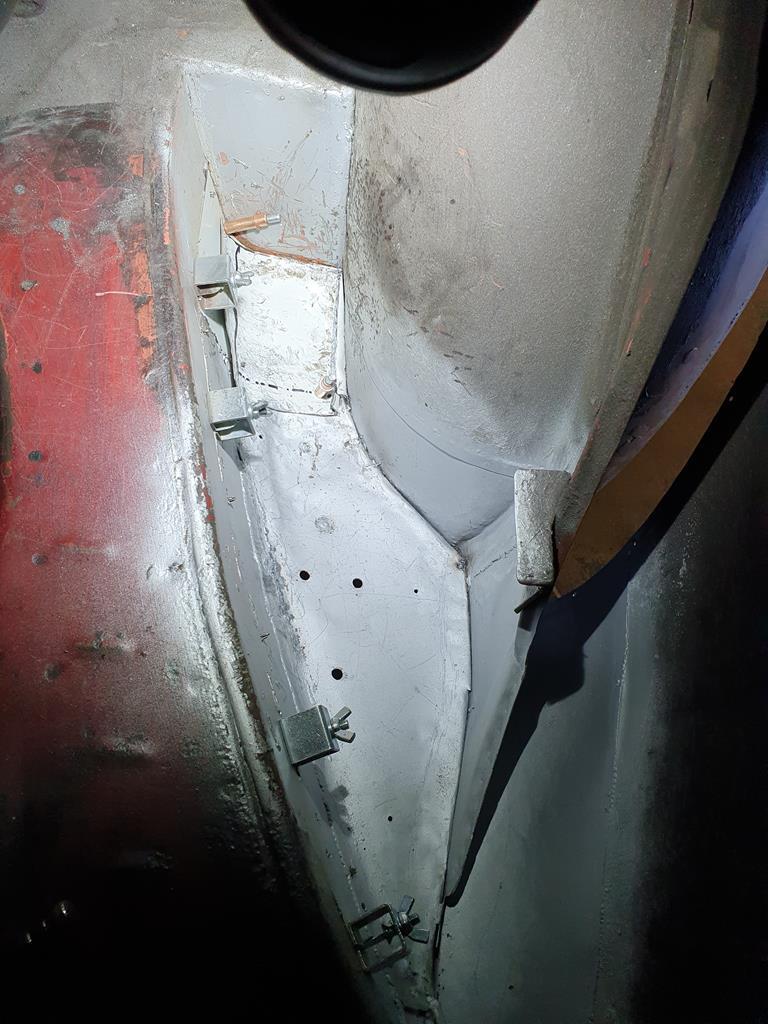 and another for the outside 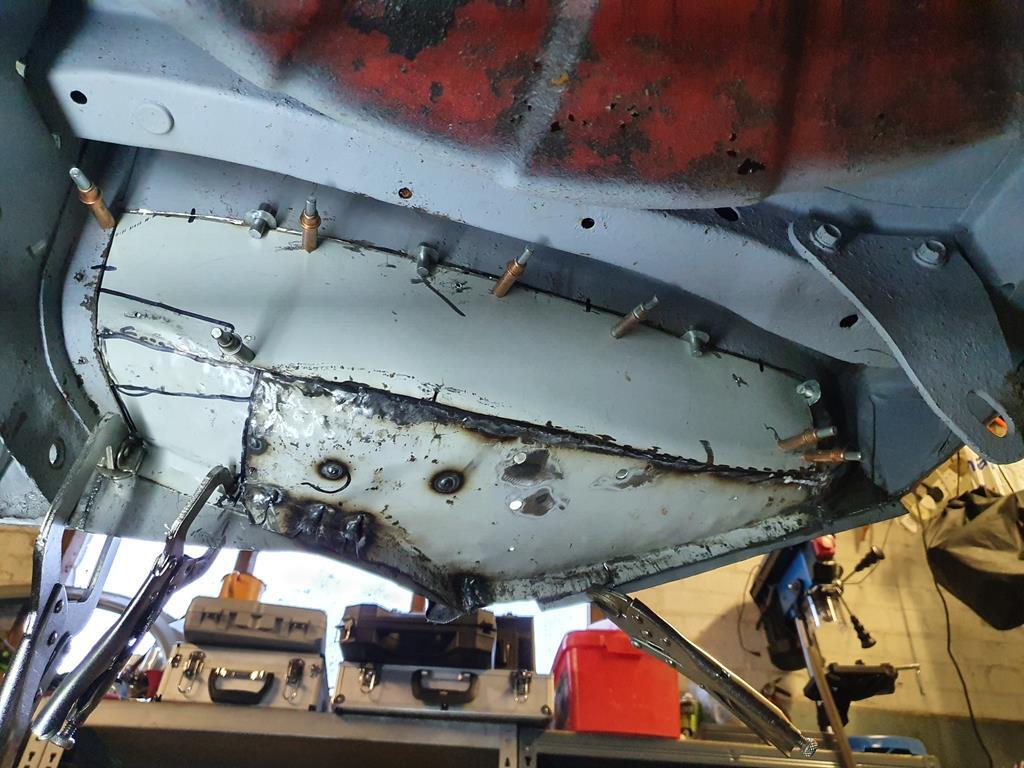 All the while trying to keep the strengthening rib that you can see behind the panhard rod mounting intact. Yes, it's not pretty with my sharpie graffiti all over it but I'm confident all will work out as intended. Alas it did not for my poor dremel* during the making and tidying of these rather awkward repairs. Thankfully it all seems to fit rather nicely so we'll try welding it up at the weekend and seeing what happens. I can then have a damn good clean up of everything and await the next piece of the puzzle to arrive... oh and there may even be some mechanical spannering for a change while I wait.  *After a dedicated and lengthy service the poor dremel finally expired in a cloud of smoke and burning plastic... not sure of the cause but it is definitely kaput. Any recommendations for a replacement greatly appreciated, I've been looking at the latest cordless versions but they look rather serious in terms of cost, happy to pay the money if they'll last as long as this one and they are worth the outlay. |
| |
'37 Austin 7 '56 Austin A35 '58 Austin A35 '65 Triumph Herald 12/50 '69 MGB GT '74 MGB GT V8'73 TA22 Toyota Celica restoration'95 Mercedes SL320 '04 MGTF 135 'Cool Blue' (Mrs' Baby) '05 Land Rover Discovery 3 V8 '67 Abarth 595 (Mrs' runabout) '18 Disco V |
|
|
|
|
|
|
I put my pants on just like the rest of you - one leg at a time.   (That’s from a SNL sketch, really funny  ) |
| |
|
|
|
|
|
|
|
|
Nothing to add but a nod and inside mouth noises as you keep on progressing, while life goes on around you.
|
| |
|
|
samta22
Club Retro Rides Member
Stuck in once more...
Posts: 1,276  Club RR Member Number: 32
|
|
|
|
I put my pants on just like the rest of you - one leg at a time.   (That’s from a SNL sketch, really funny  ) you forgot the next line John "Except, when my pants are on, I make awesome work vans" 😉🤣 |
| |
'37 Austin 7 '56 Austin A35 '58 Austin A35 '65 Triumph Herald 12/50 '69 MGB GT '74 MGB GT V8'73 TA22 Toyota Celica restoration'95 Mercedes SL320 '04 MGTF 135 'Cool Blue' (Mrs' Baby) '05 Land Rover Discovery 3 V8 '67 Abarth 595 (Mrs' runabout) '18 Disco V |
|
samta22
Club Retro Rides Member
Stuck in once more...
Posts: 1,276  Club RR Member Number: 32
|
|
|
|
Some minor progress on a few fronts, mainly as I was mostly distracted by some aforementioned spannering, except that it wasn't on what I was envisaging... instead it involved sorting this thing in preparation for hay making season 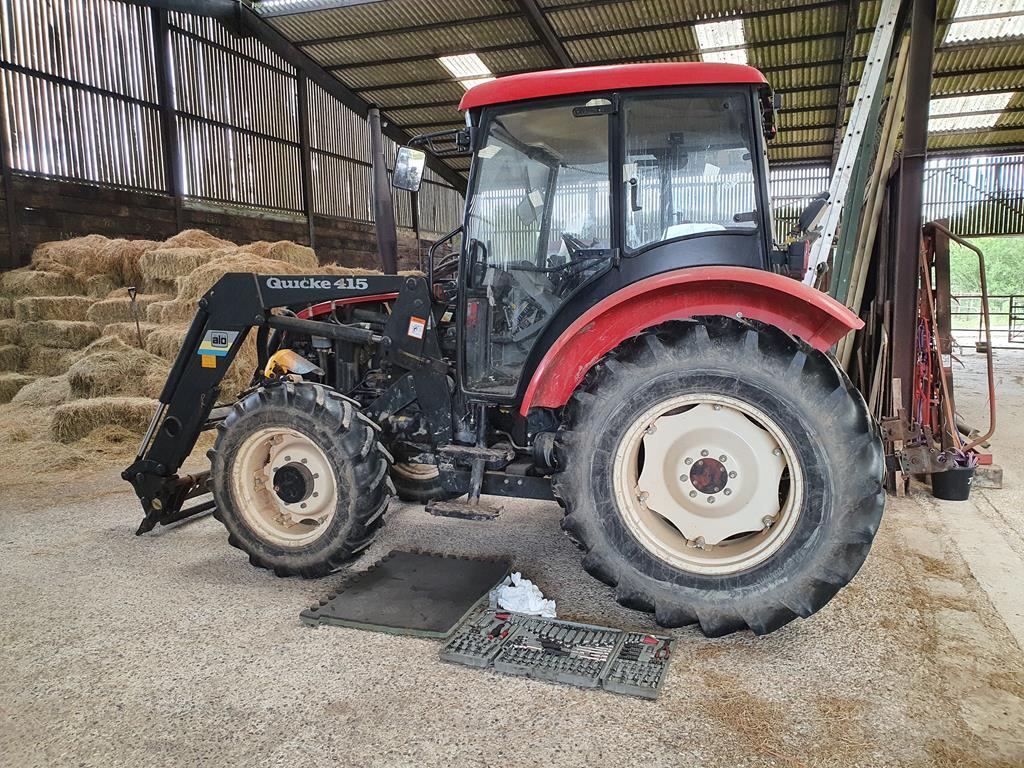 Wasn't a particularly tricky job to sort the clutch slave and check all hoses etc., well asides from the fact that the original part was rusted on. Having fought and sworn my way through getting it off, it was a 60 min return trip to pick up the rather cheap feeling replacement... which after fitting, bleeding and calling the job done, then let go thanks to a faulty internal seal. Meaning that now needs taking back off to be taken on another trip to be replaced and I need to do the whole thing over again another time.  Give me Frankenhealey 's simple steed instead any day - sure it may have attachments that would give you nightmares  , but bet it has bags more character than this thing. Anyway, away from that distraction, some cutting and welding took place. rear boot floor section came out 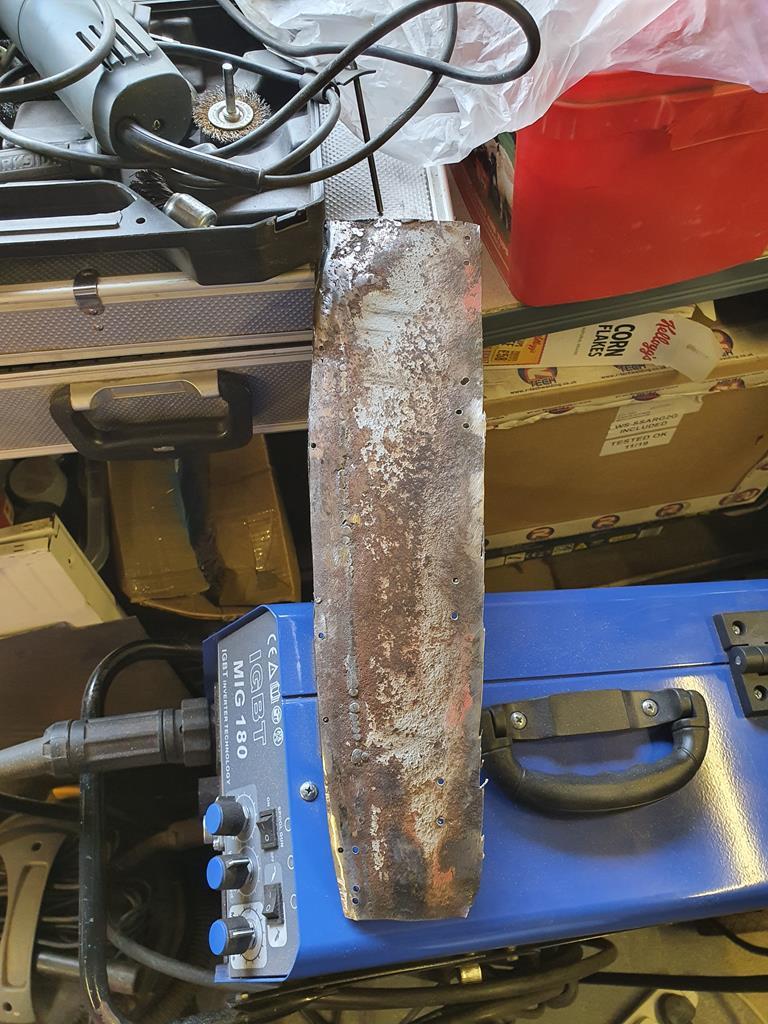 yeah that was only a matter of time... and new section got tacked in 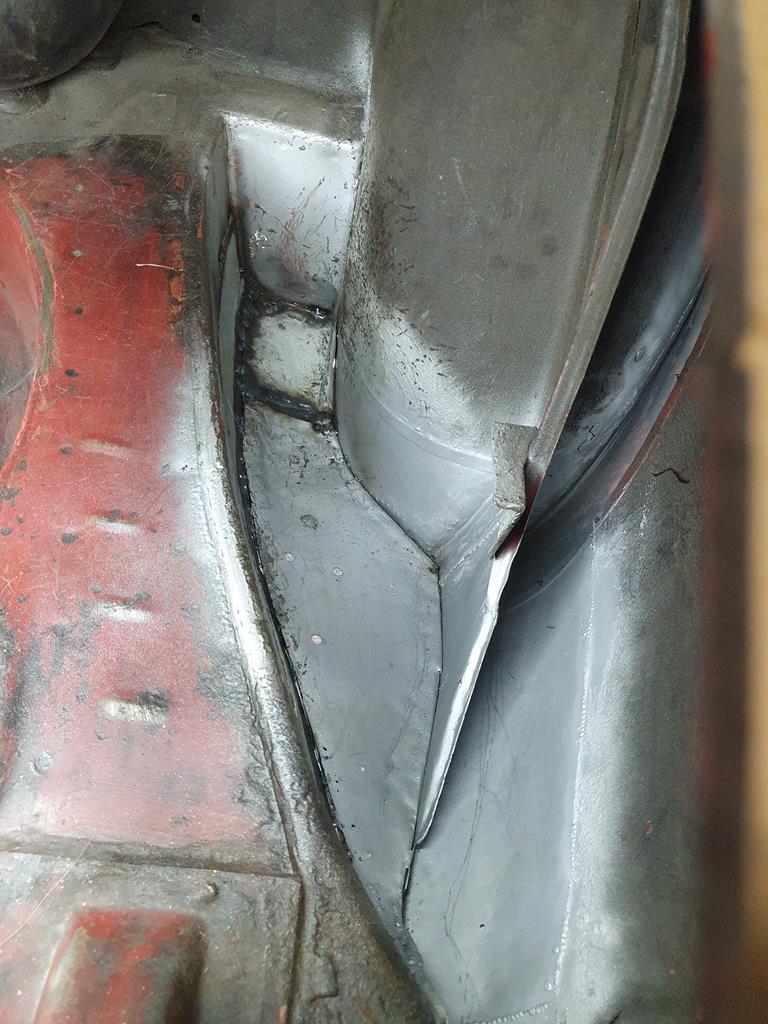 the outer arch then got refitted once more 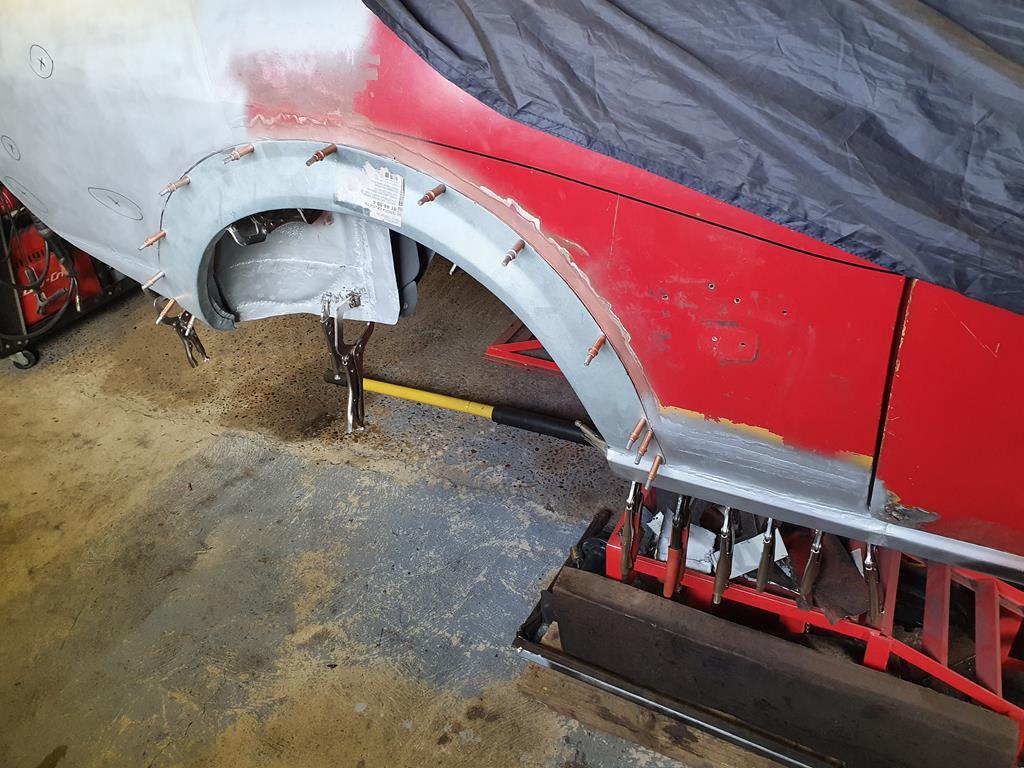 and neatly positioned within the outer sill to close it up 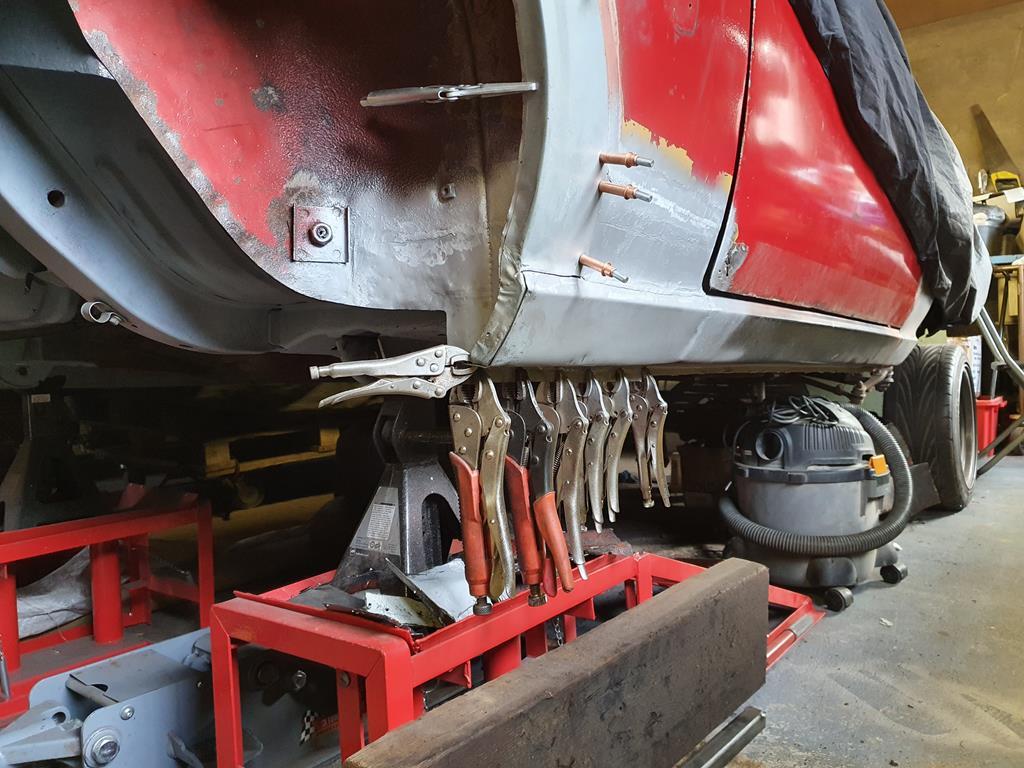 ready for finally welding 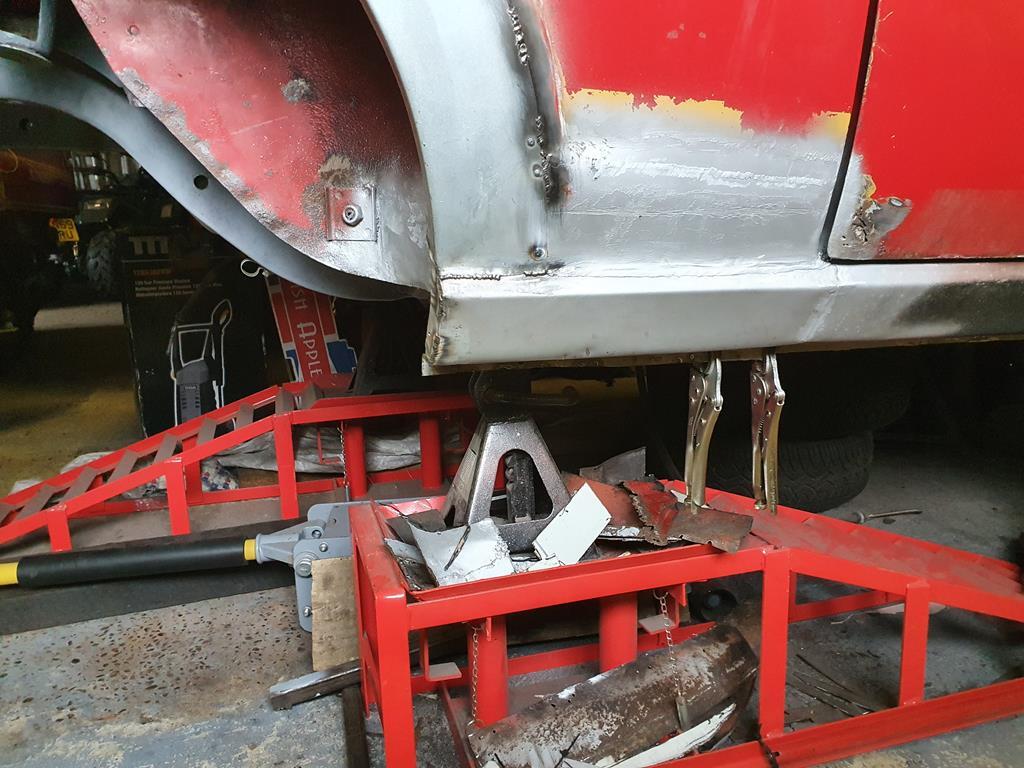 along with the arch (finally!) 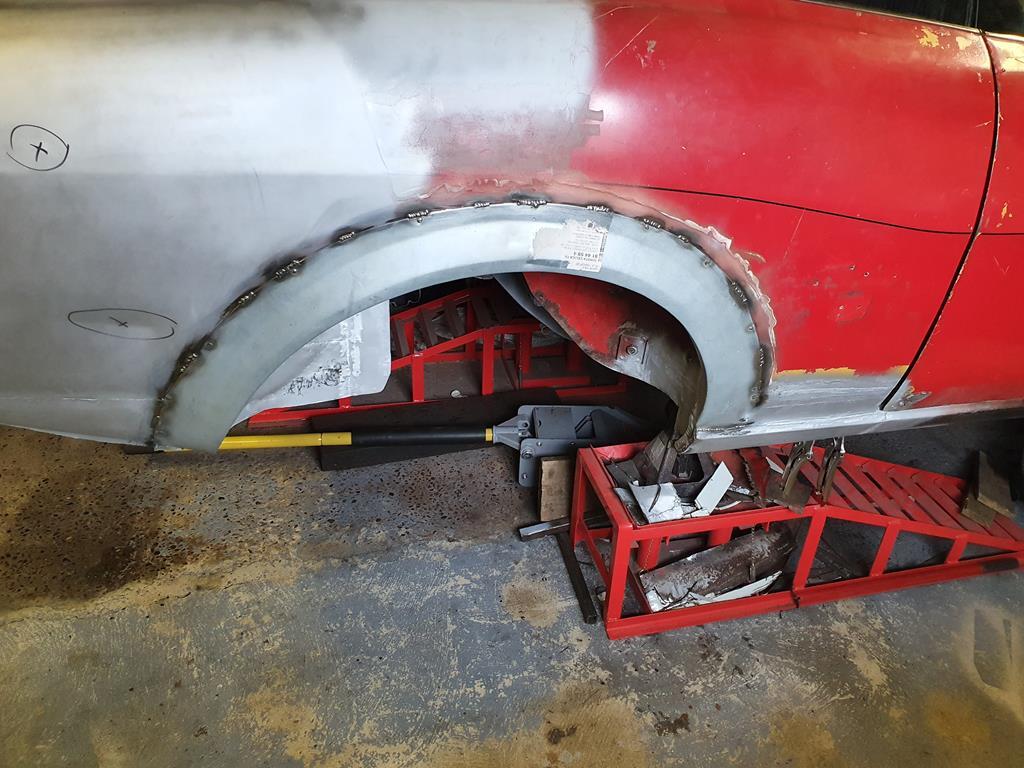 not perfect but I think we're getting somewhere. I am certainly done with all the upside-down welding! In other news I think a wheel well has been located thanks to a member of this parish getting in touch - many thanks again celicablue , very much appreciated. I feel another road trip coming on... |
| |
'37 Austin 7 '56 Austin A35 '58 Austin A35 '65 Triumph Herald 12/50 '69 MGB GT '74 MGB GT V8'73 TA22 Toyota Celica restoration'95 Mercedes SL320 '04 MGTF 135 'Cool Blue' (Mrs' Baby) '05 Land Rover Discovery 3 V8 '67 Abarth 595 (Mrs' runabout) '18 Disco V |
|
Frankenhealey
Club Retro Rides Member
And I looked, and behold, a pale horse! And its rider's name was Death
Posts: 3,885
Club RR Member Number: 15
|
|
|
|
and neatly positioned within the outer sill to close it up  Good grief Penfold, I wish I'd thought of buying a Celica to store my collection of Mole Grips  |
| |
Tales of the Volcano Lair hereFrankenBug - Vulcan Power hereThe Frankenhealey here |
|
|
|


