A wee update for some progress made recently, and some extra bits I've been working on.
Oil change done and gearbox oil change done too, so hopefully the messy bits out the way. On to more on-going problems...
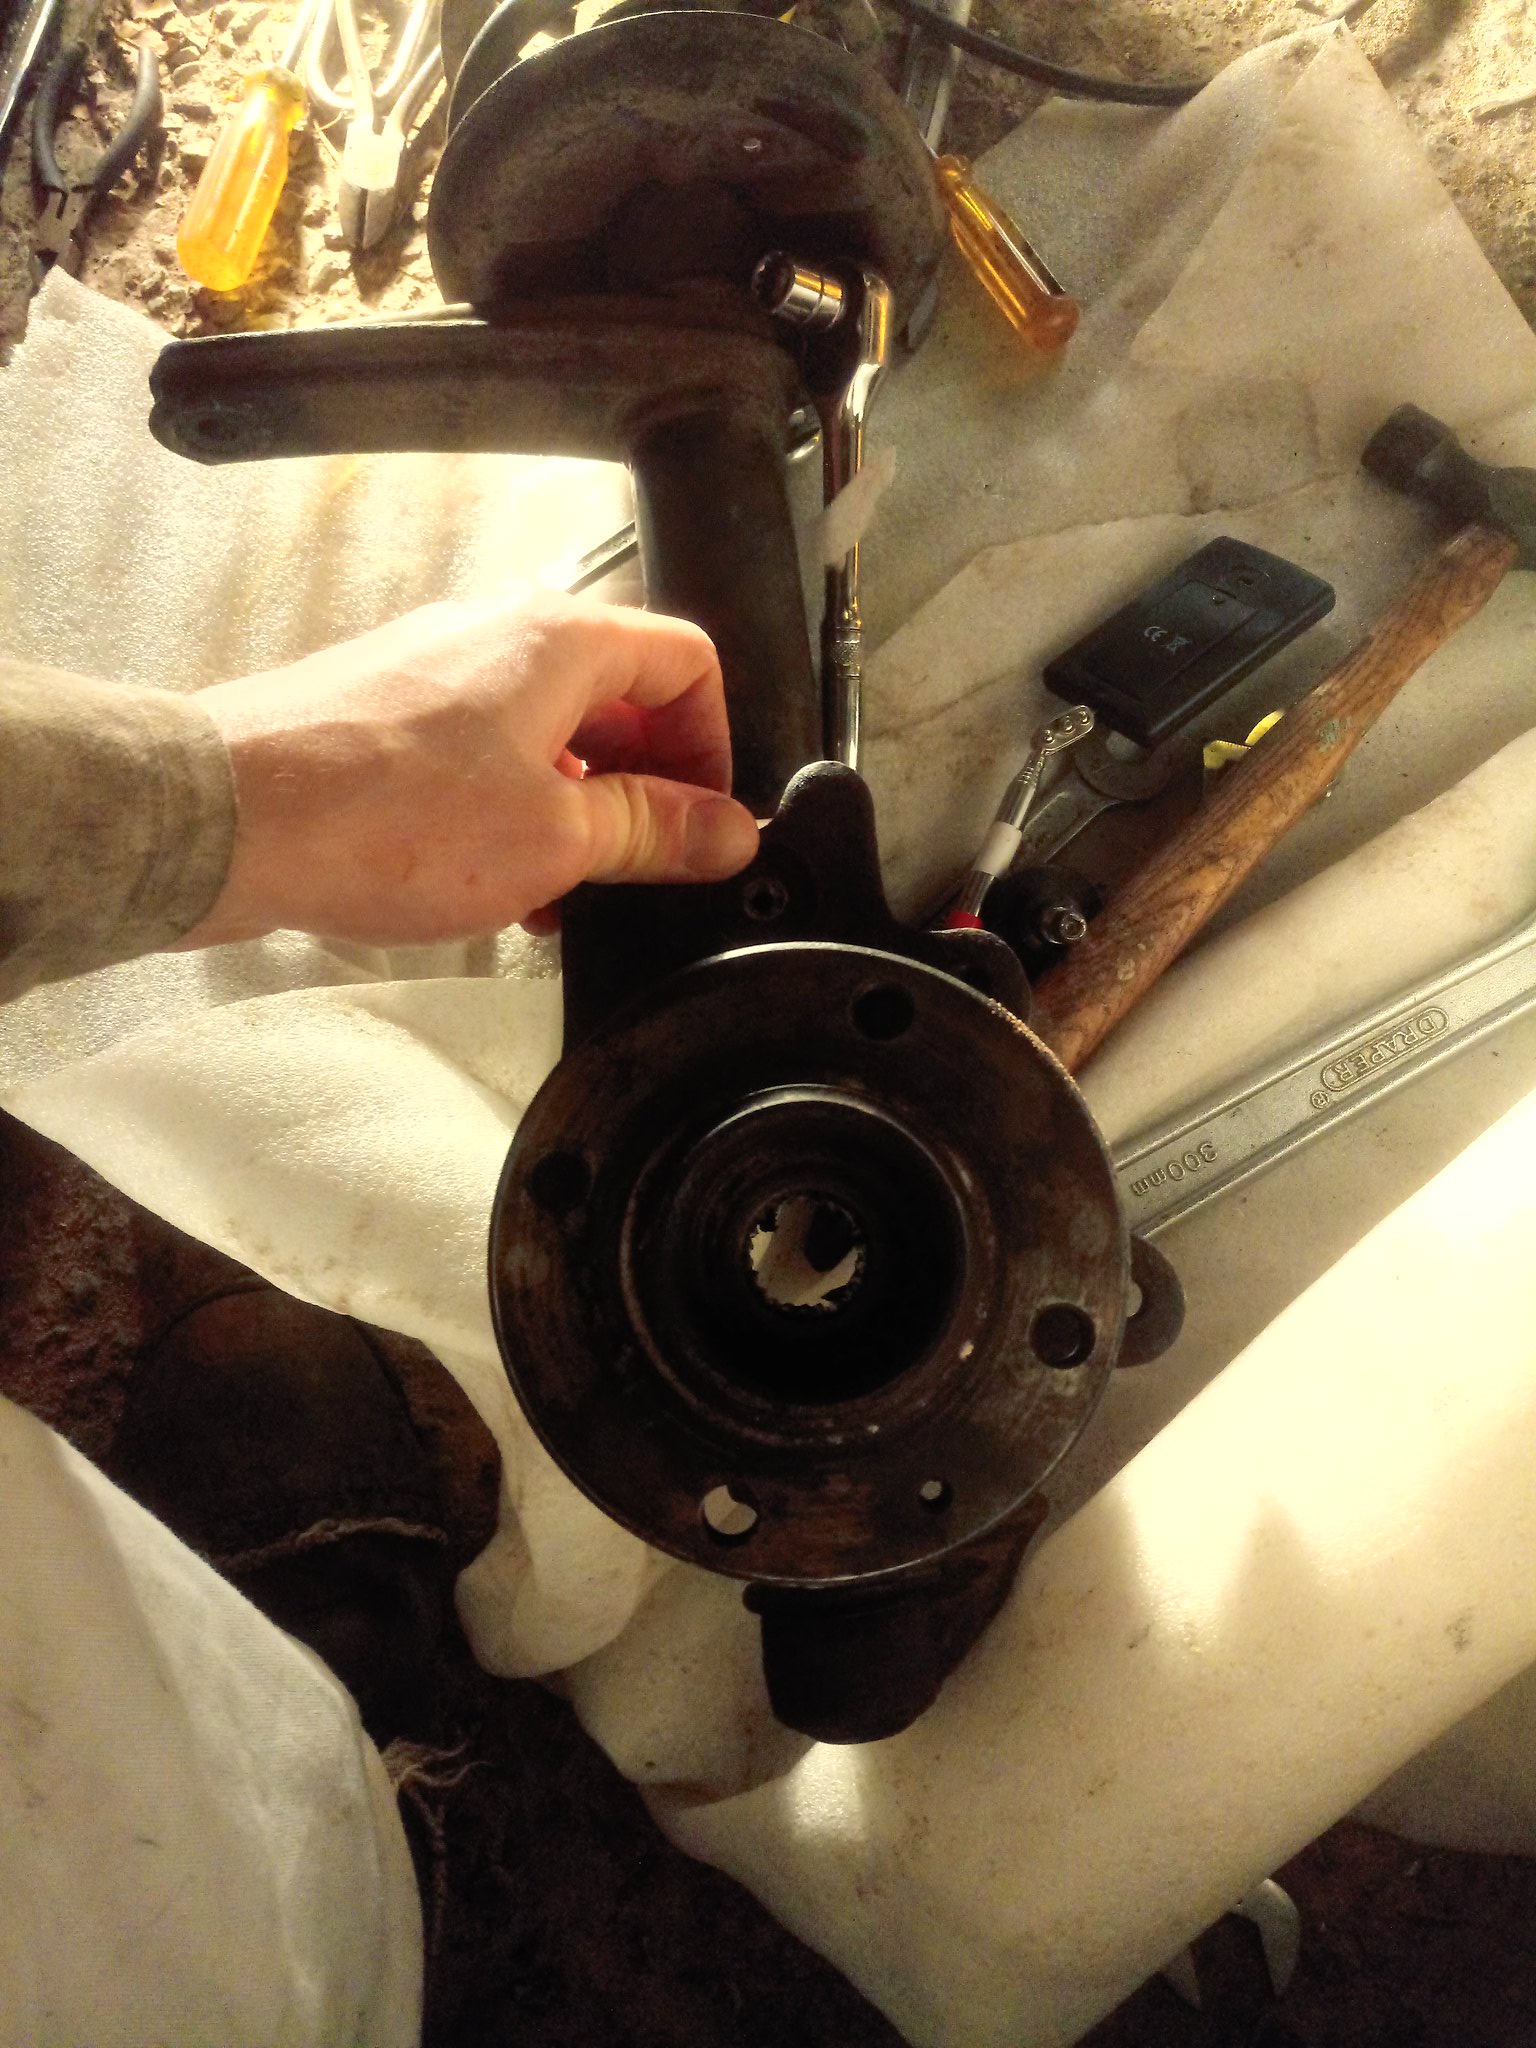
So after finally getting the strut off, I dropped off at the garage to press the old bearing out and pop the new one in (as I don't have a hydraulic press).
Correct bearing purchased (even the garage was dubious!) and pressed in.
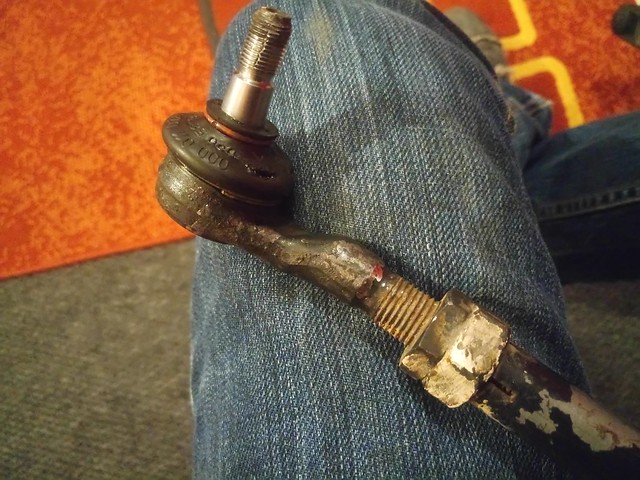
I buggered the old tie rod ball joint on taking the strut off. Managed to find a replacement at a local autofactors.
The old one was an absolute nightmare to unscrew out. Had to remove the entire rod and stick it in a vice, multiple blowtorch sessions and soaking in penetrating
fluid, and a bloody big breaker bar later, it was off.
New one back on (old posing, for reference).
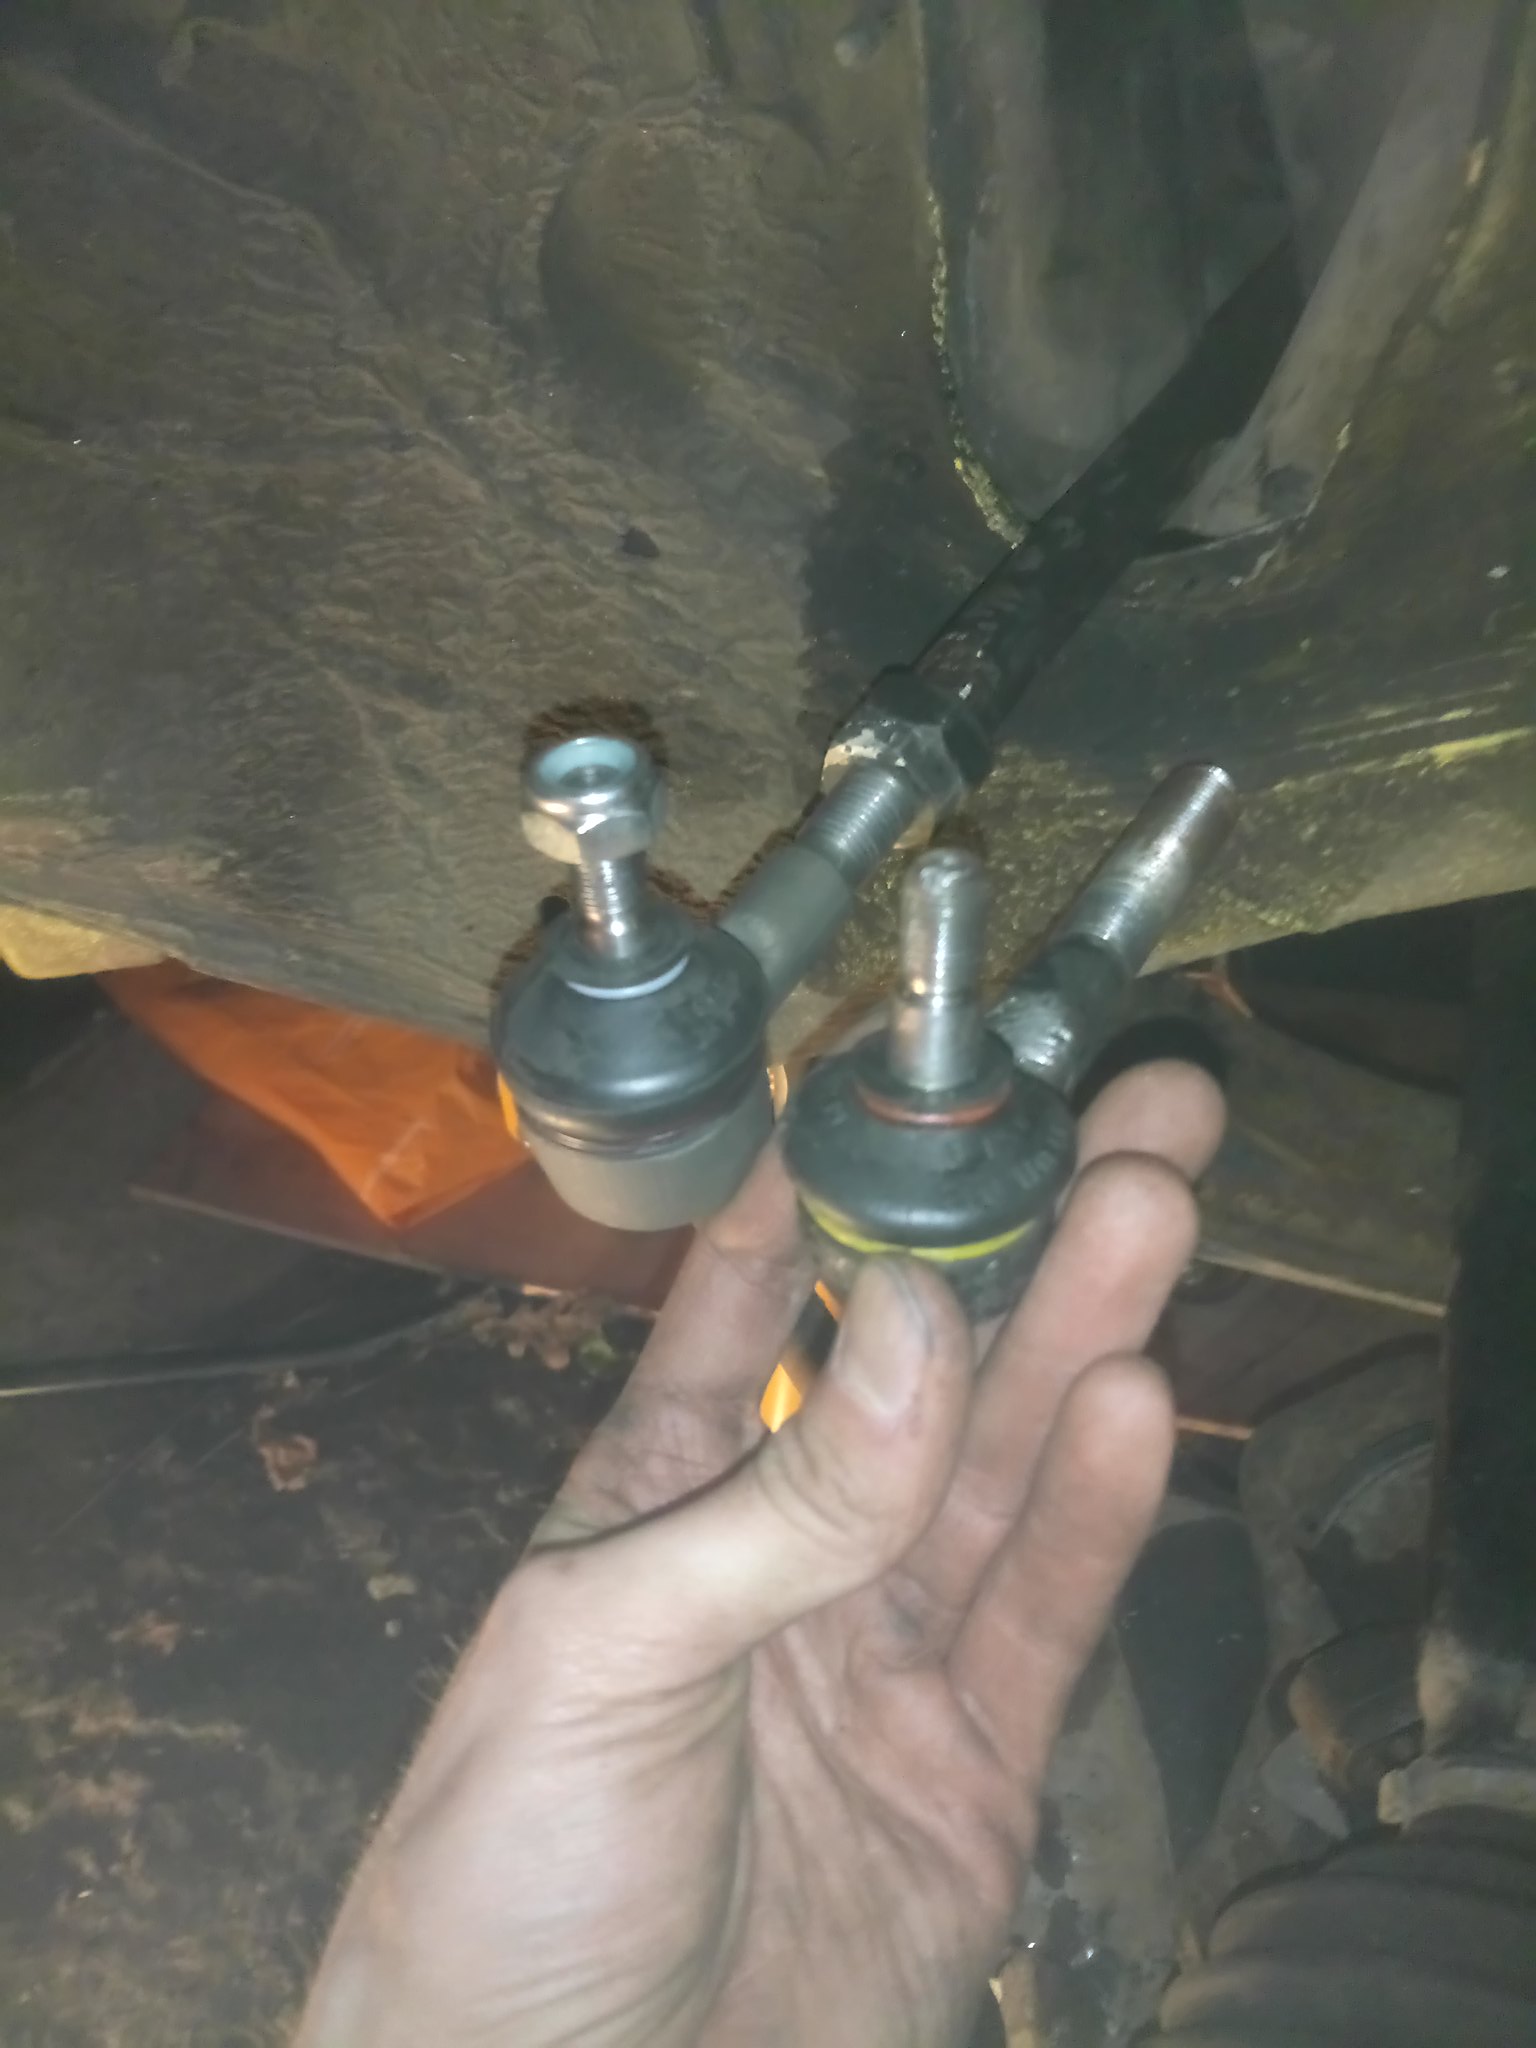
Strut, hub, ball joints, tie for, new bolts and nuts etc reassembled.

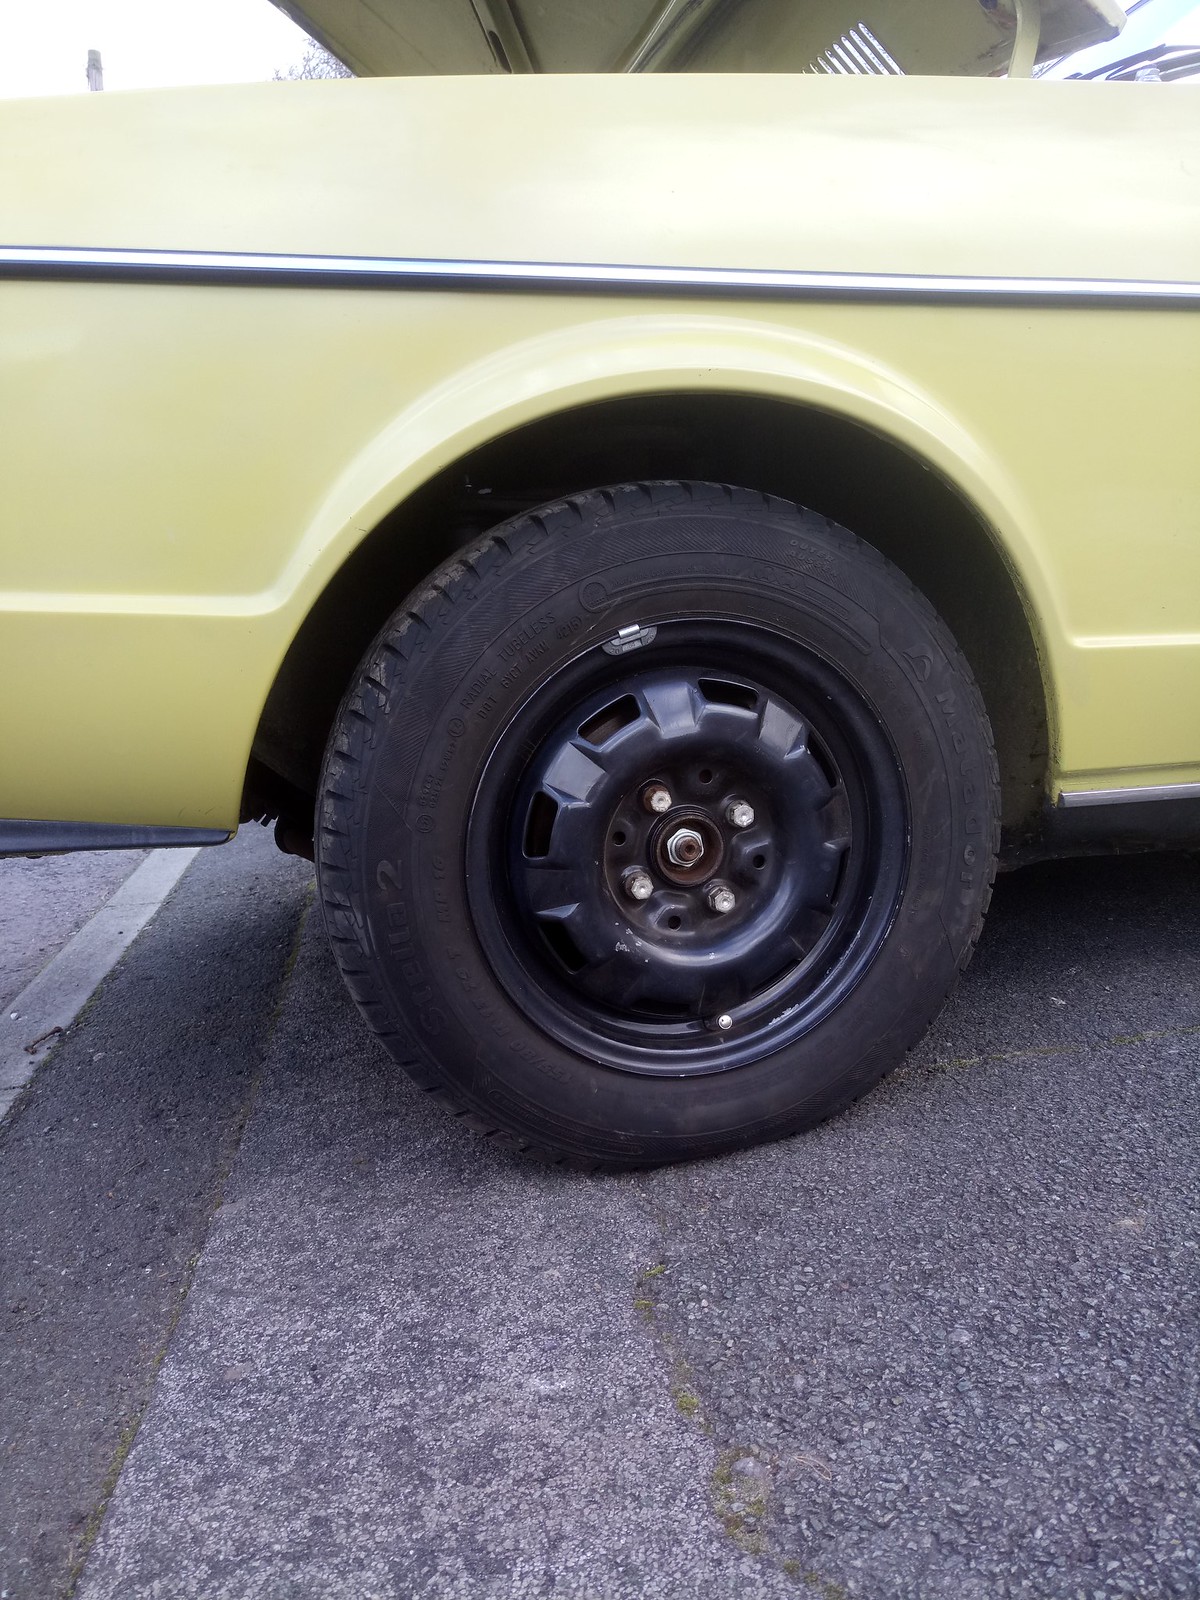
Wheel back on and torqued up. Quick test drive to make sure everything felt right. It didn't, lots of horrible squealing from the replaced brake. Jack up again, very quickly spotted my problem. Turns out I'd put a pad in back to front. DOH! No damage done, so all reassembled, quick test drive, and all good!
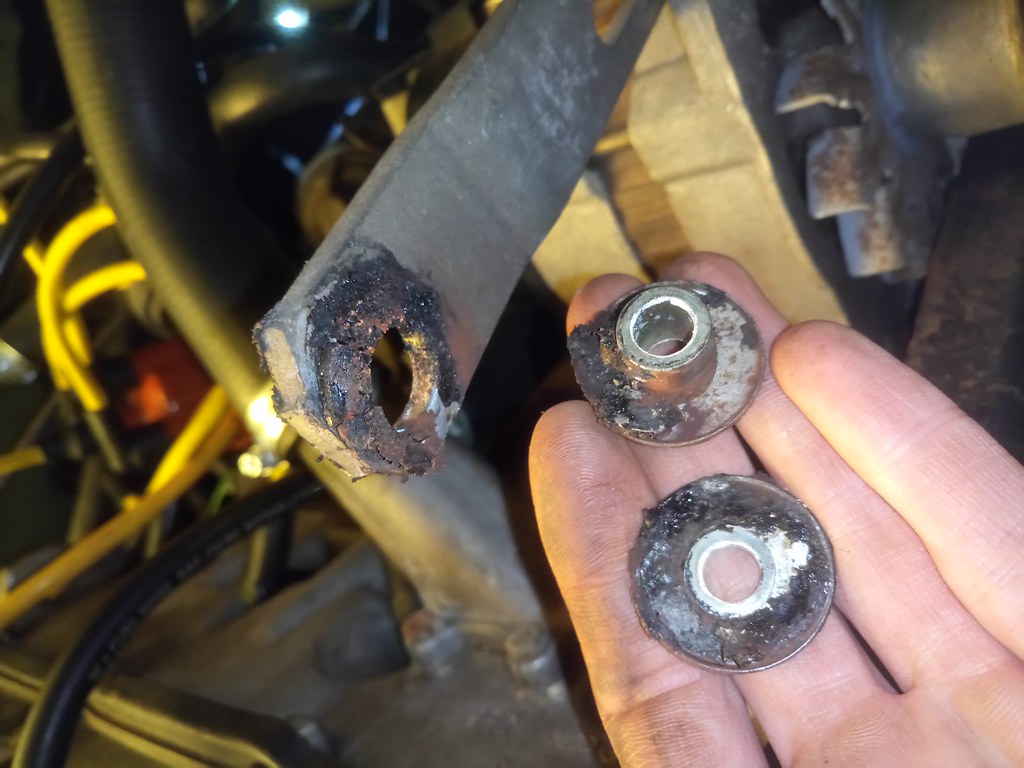
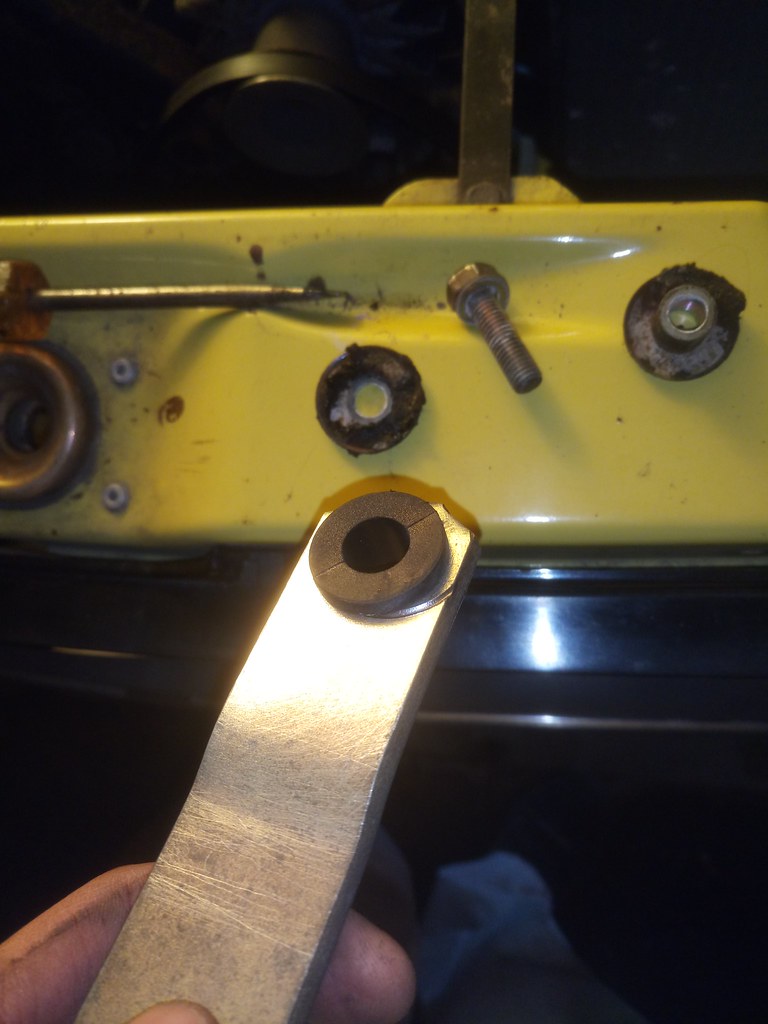
Also ordered a new alternator bushing as the old one had had it. Only available in the USA though, typical. Cue more virtual postal addresses in Delaware...
Old...

And new...

I've also been having problems since owning the car with the temp and fuel gauge reading high. I'd originally assumed the car was just overheating all the time, but it never showed any symptoms.So after much help from many of you guys, all evidence pointed towards a little voltage regulator behind the speedo cluster in the dash.
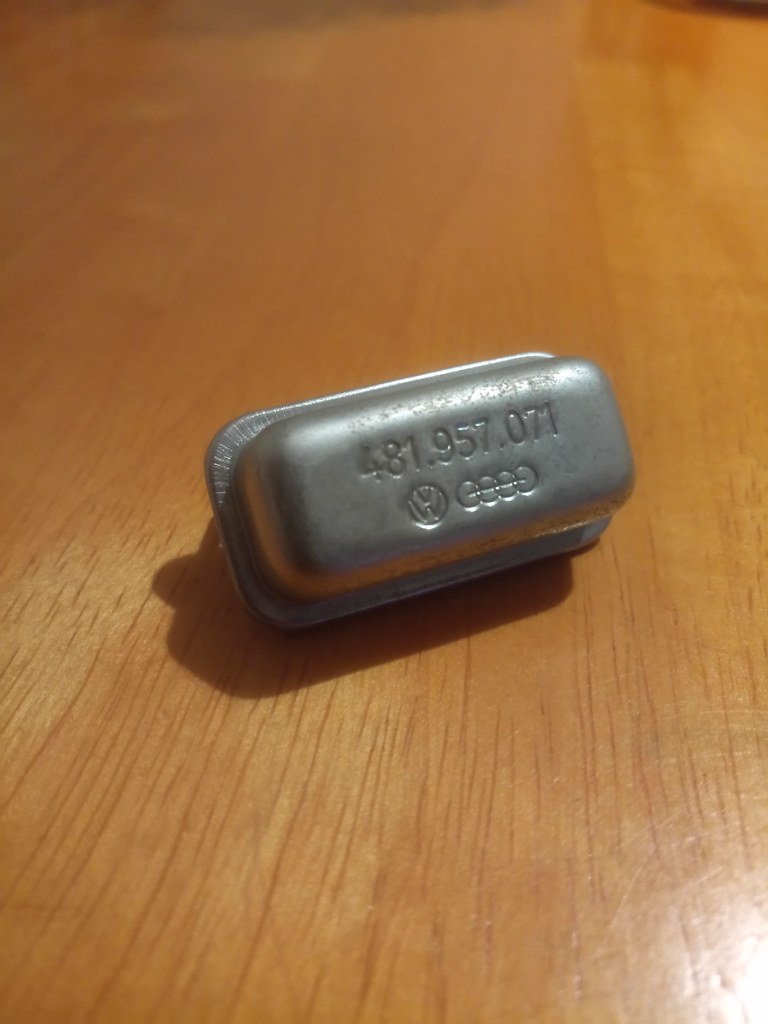
And inside.
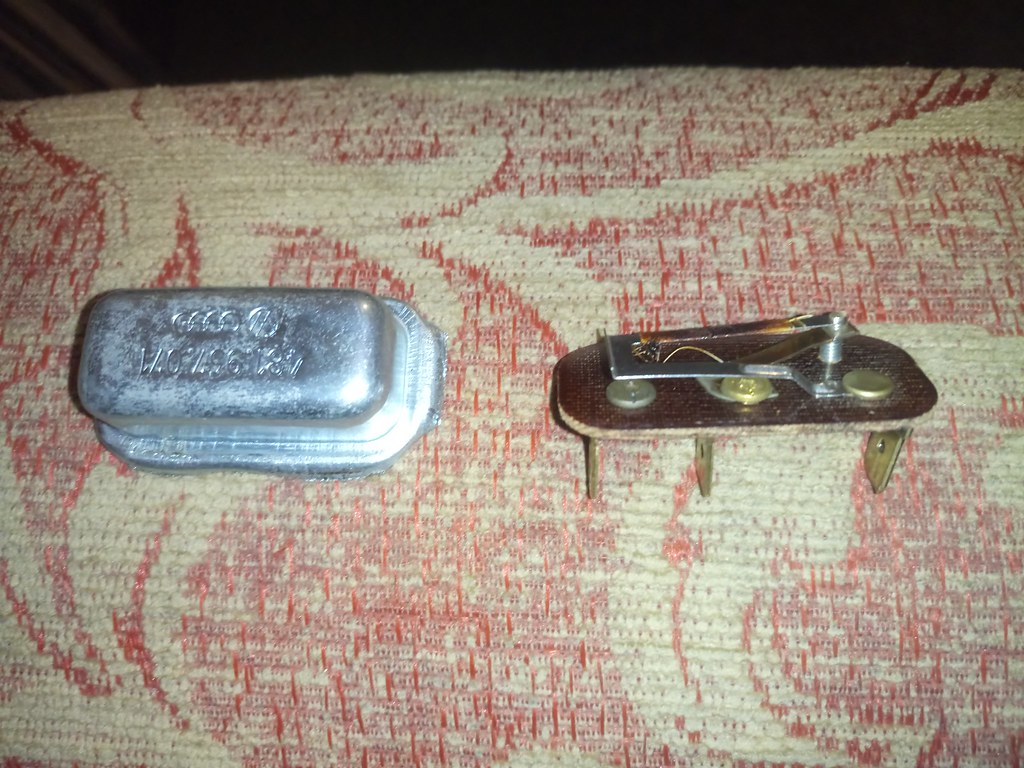
It's a 10 volt bi-metalic regulator. Essentially the coiled wire heats up as 12v passes through it, which causes the metal it's wrapped around to contract upwards. This breaks the circuit, the metal cools down, flexes back, and makes the circuit again. So in this fashion with 12v and 0 volts passing through the system, it averages out at around 10v, which allows the 10v gauges to read correctly.
However I was pretty sure mine was faulty and letting the 12v through continuously, making the gauges over read.
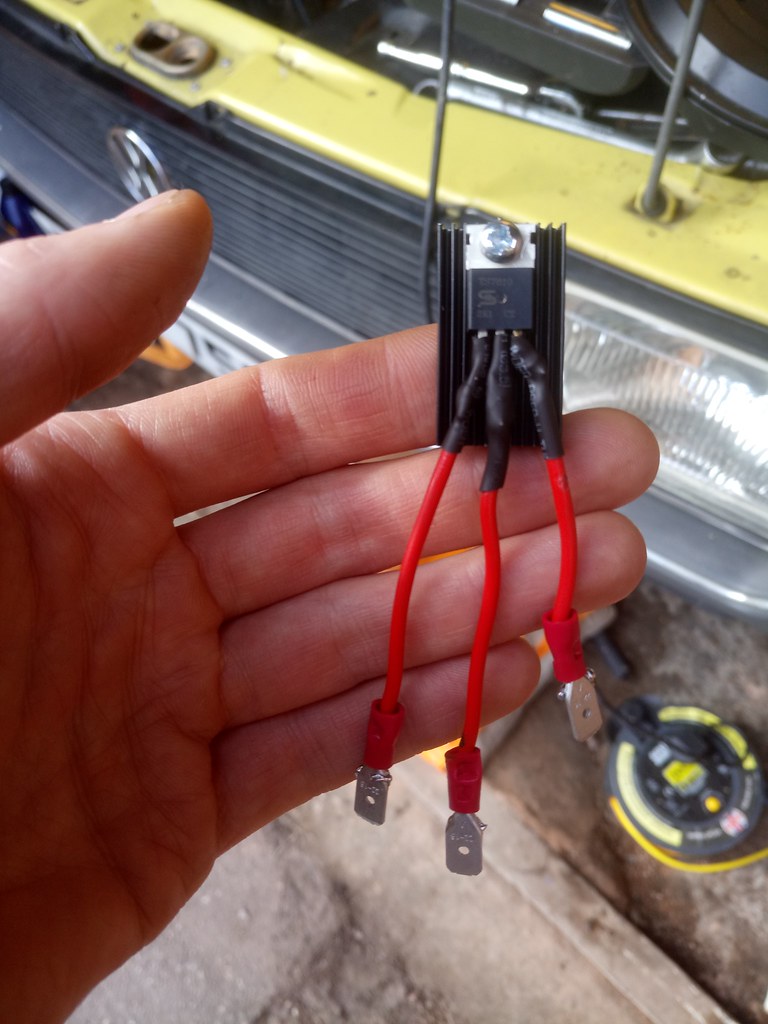
There are absolutely no more of these about anywhere, so with advice from guys in the technical bit, I decided to make a modern version.
It consists of a 10v regulator connected to a small heatsink, with Vin, Vout and ground spades soldered on.
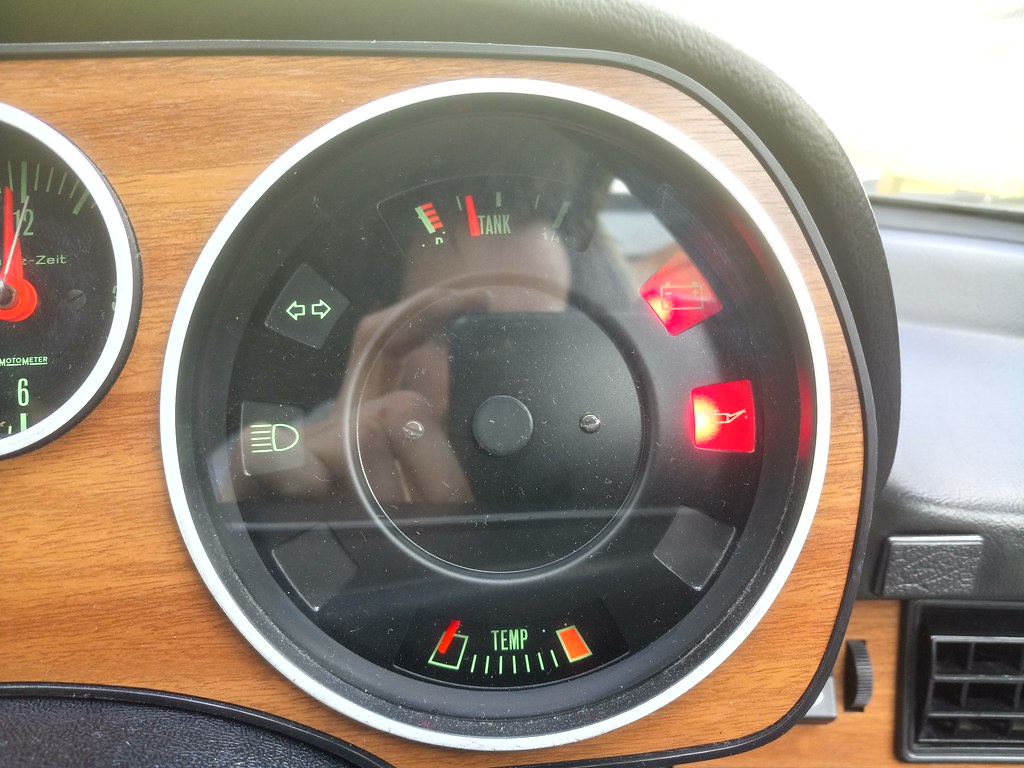
Fuel gauge with the old regulator (car hadn't warmed up, but the temp gauge would always read on red,or even over it.
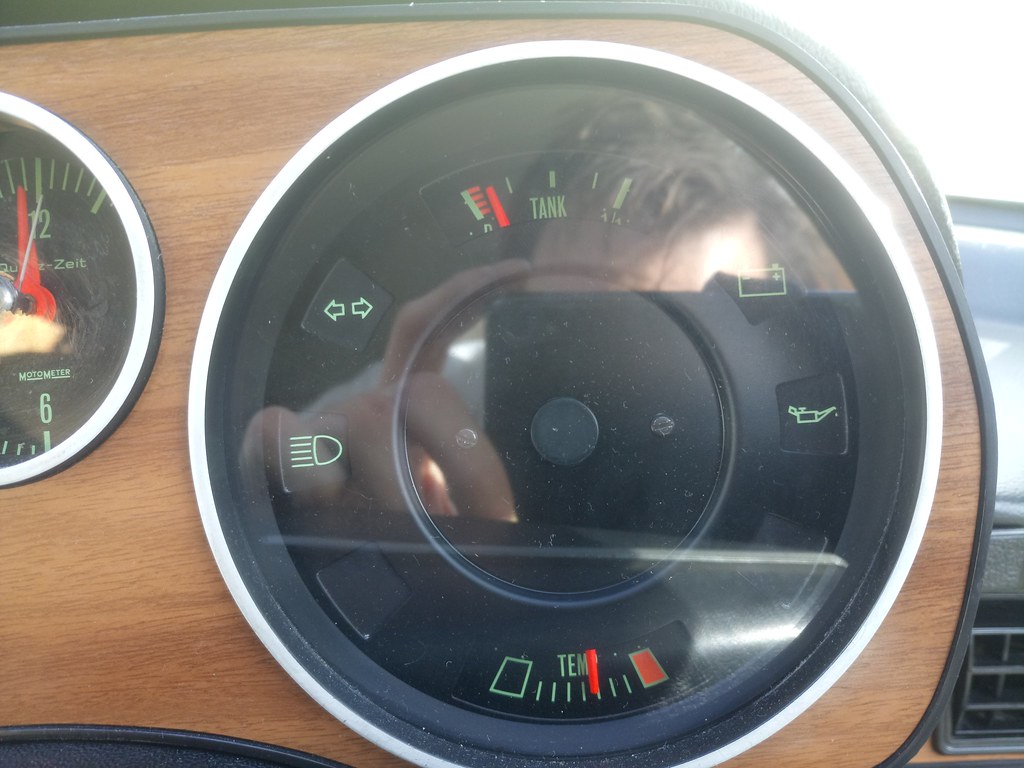
Installed...

Fuel and temp gauge with the new regulator fitted. This is the engine fully warm, with the rad fan cycling on and off. Happy days!! The best test will be when I fill the tank to full once she's MOTd. If it lands on the 1/1 mark, I know it's working fully.
One last bit I've been working on is creating a new gear gaiter frame. The original had snapped (before I owned it) which meant it continiously popped off while driving. Not dangerous or annoying at all! So I wanted to see what could be done.
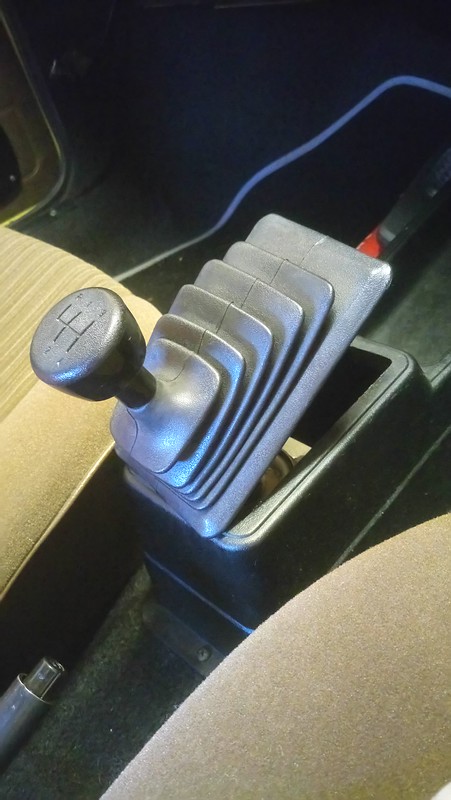
Note the missing left hand side tab.
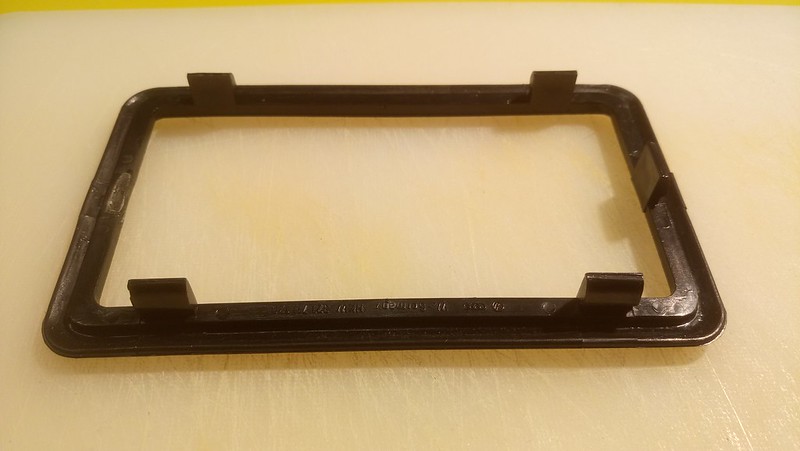
Again, these aren't available to purchase anymore. So I contacted a company to get the broken one 3D scanned, amended and re-printed.
3D scans and re-rendered with warp / inconsistencies taken out, and the new tab added.
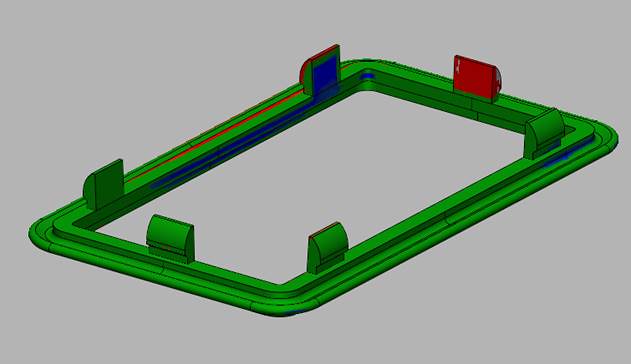

And the new 3D print next to the old broken one.

It was a really interesting project, the company is called OR3D if anyone is interested, they were really helpful and even posted this as a small case study on their website.
Unfortunately the new one snapped too after some use - it turns out the actual frame this pops into has warped significantly too, meaning any future prints would also snap too, unless printed in metal, which is waaaaay more expensive.
So, with some pretty basic tools, I decided to make my own metal and wood version.
Old aluminuium sign I had lying around

Cut roughly to shape
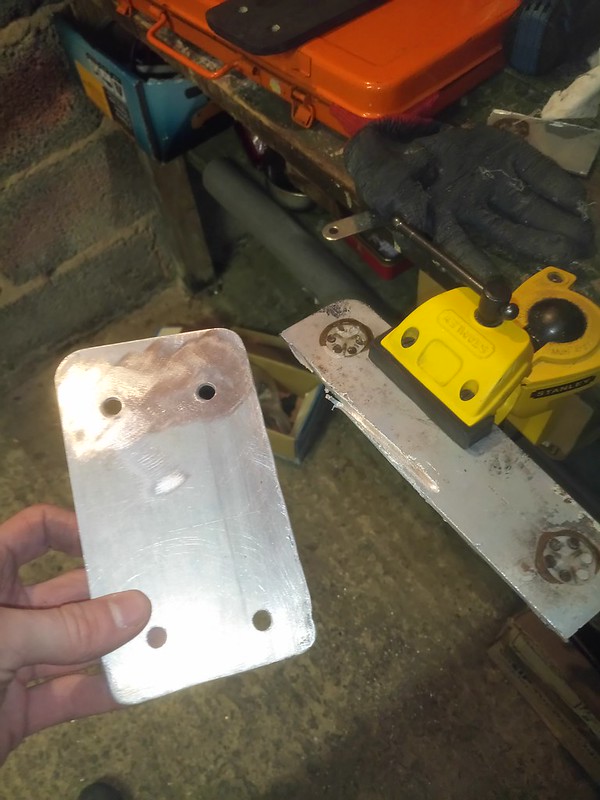
Middle cut out (so gear stick can come through and shift through gears) and bolt holes added
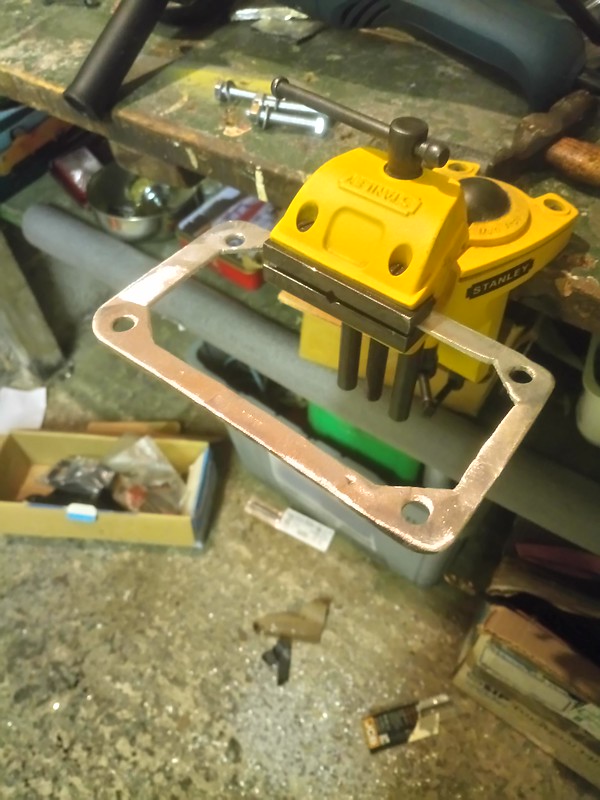
A wooden frame made for inside the centre console unit
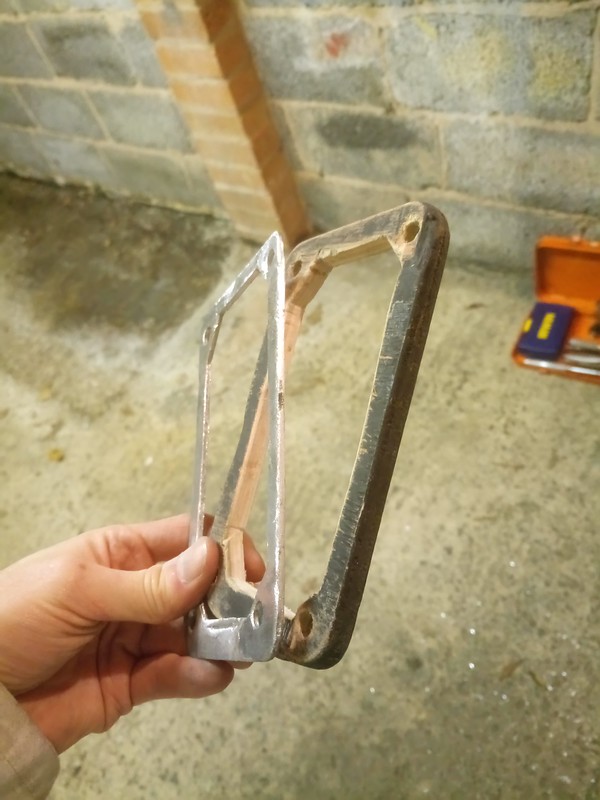
But the bolt heads were slightly too bulky and caused large bulges, which causing small tears in the old rubber boot.
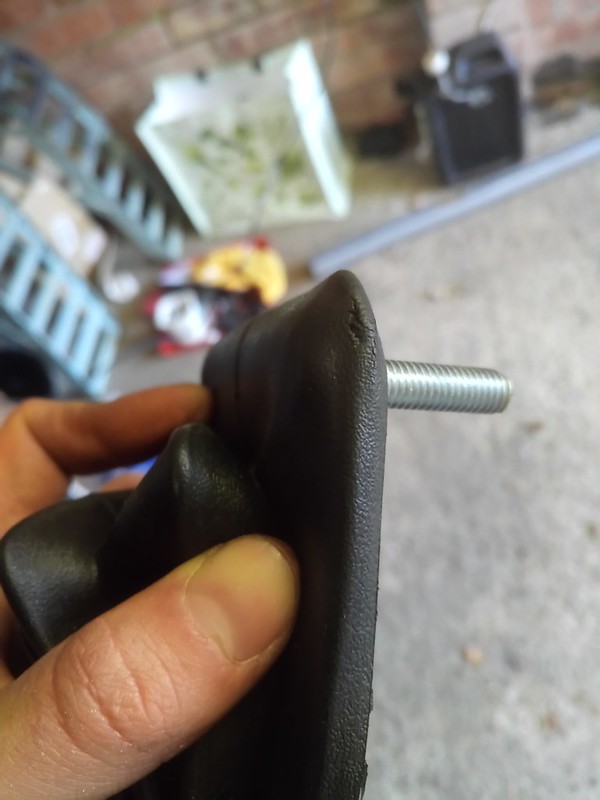
So I cut the bolt heads down so they fit snuggly (original bolt and cut down on left). Why not use flat bolts or screws in the first place, I hear you ask? Good questions, I don't really know! Lesson learnt!
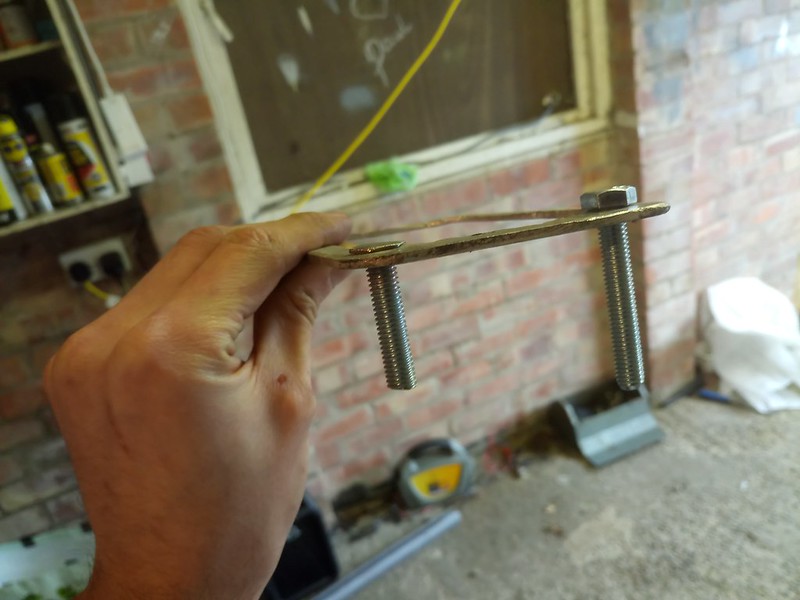
Installed into the console
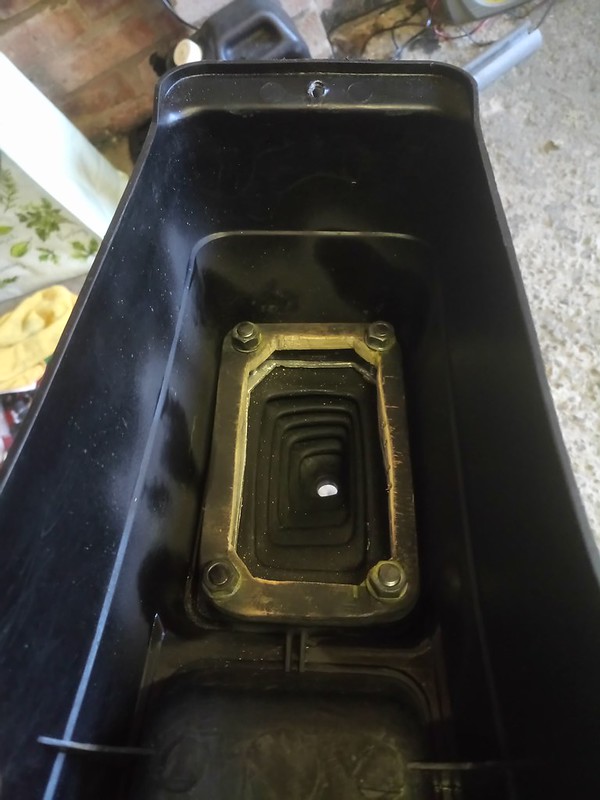
Happy days! No more popping off!
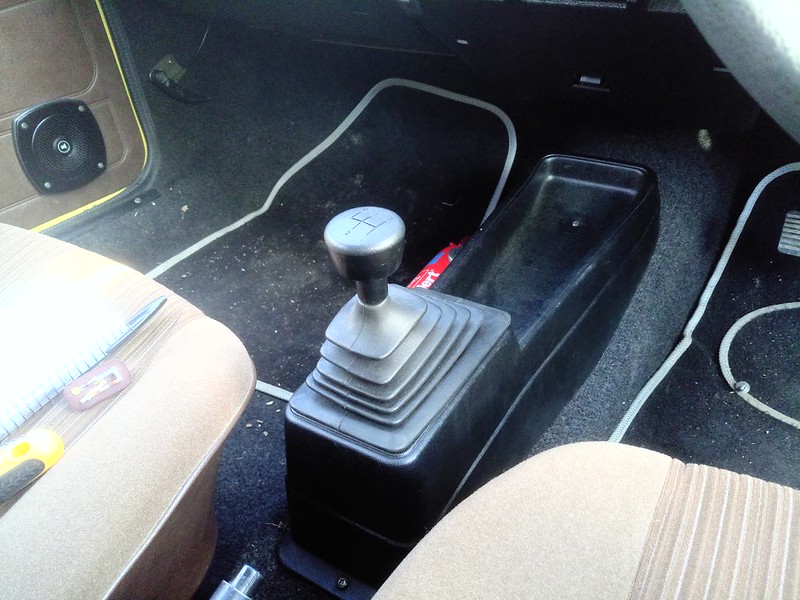
That's all for the moment! Apologies for so many boring photos!
The very last real job I need to look at now is getting the heater working again. It became temperamental recently, and in the last few days has give up entirely, seems like either no power is getting to the motor, or the motor is borked. I'll investigate tomorrow!
Thanks for reading, and again thanks for all your on-going assistance and comments / suggestions / help. I think I've come on some way since not being able to change a wheel 2 years ago!


