stevietuck
Posted a lot
   Never argue with idiots,they drag you down to their level then beat you with their expertise!
Posts: 1,350
|
|
|
|
|
Oh $hite the rust treatment has had a funny reaction! I had forgotten that your not supposed to use it below 10 degrees c, don't know what the temp was last nite but when I just went to look at it, it is dry but still white and powdery.
There is nothing I can do about it now. I just hope I can paint over it ok.
Cheers steve.
|
| |
|
|
|
|
|
|
|
|
|
|
I'd brush it off if it has gone powdery.
all 205 drum bearings are the same, however the gti drum is 40mm wide and base model 30mm, backplate and shoes are different as are wheel cylinders.
|
| |
|
|
stevietuck
Posted a lot
   Never argue with idiots,they drag you down to their level then beat you with their expertise!
Posts: 1,350
|
|
|
|
welshpug So I should use both of my old drums and shoes? how do the back plates differ? if I want to use non gti shoes, drums and cylinders will I have to swap back plates too? Cheers steve.
|
| |
|
|
|
|
|
|
|
|
yes, you have to use the complete setup.
the hole for the wheel cylinder is a different shape amongst a few other differences.
wheel cylinders on a gti don't have a pressure limiter, where base models have inbuilt limiters.
|
| |
|
|
stevietuck
Posted a lot
   Never argue with idiots,they drag you down to their level then beat you with their expertise!
Posts: 1,350
|
|
|
|
Thanks for the info welshpug. So thats even more stuff to swap over, but at least I'm finding out now and not wasting two hours scratching my head trying to fit non gti stuff to a gti back plate. |
| |
|
|
stevietuck
Posted a lot
   Never argue with idiots,they drag you down to their level then beat you with their expertise!
Posts: 1,350
|
|
|
|
Right so yesterday I painted the rear beam.I only had red hammerite left and not much of it, so I thinned it down a wee touch with some turps, and it ended up like this... 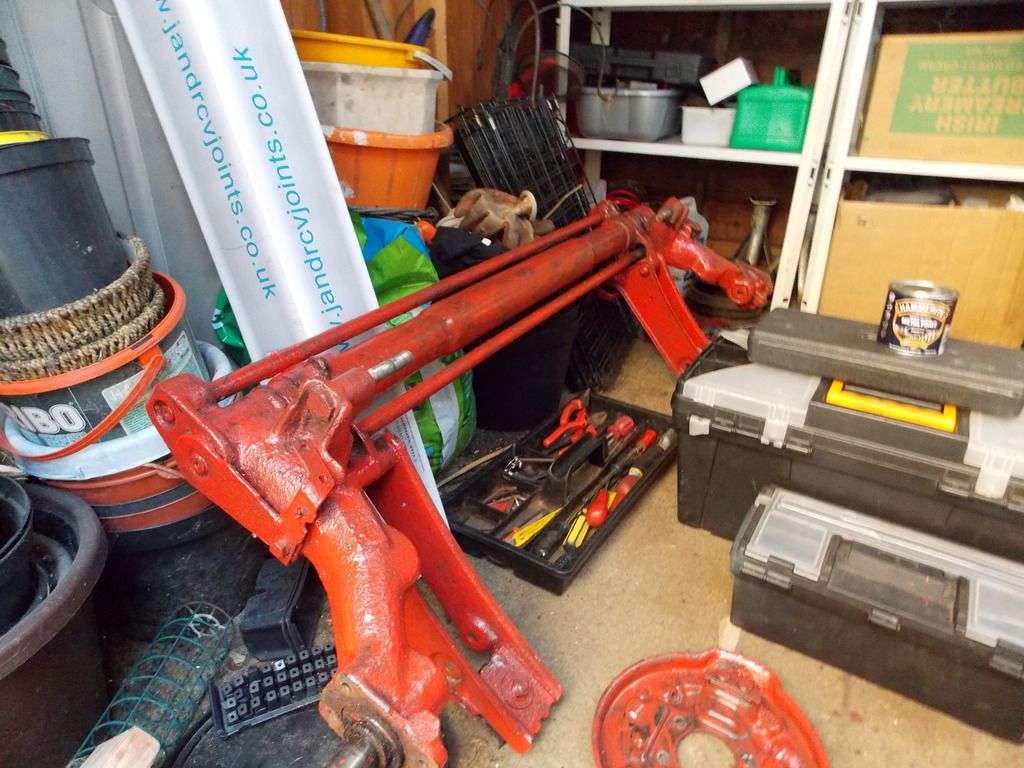 Close up you can see it looks more like embarrassed metal than painted metal! 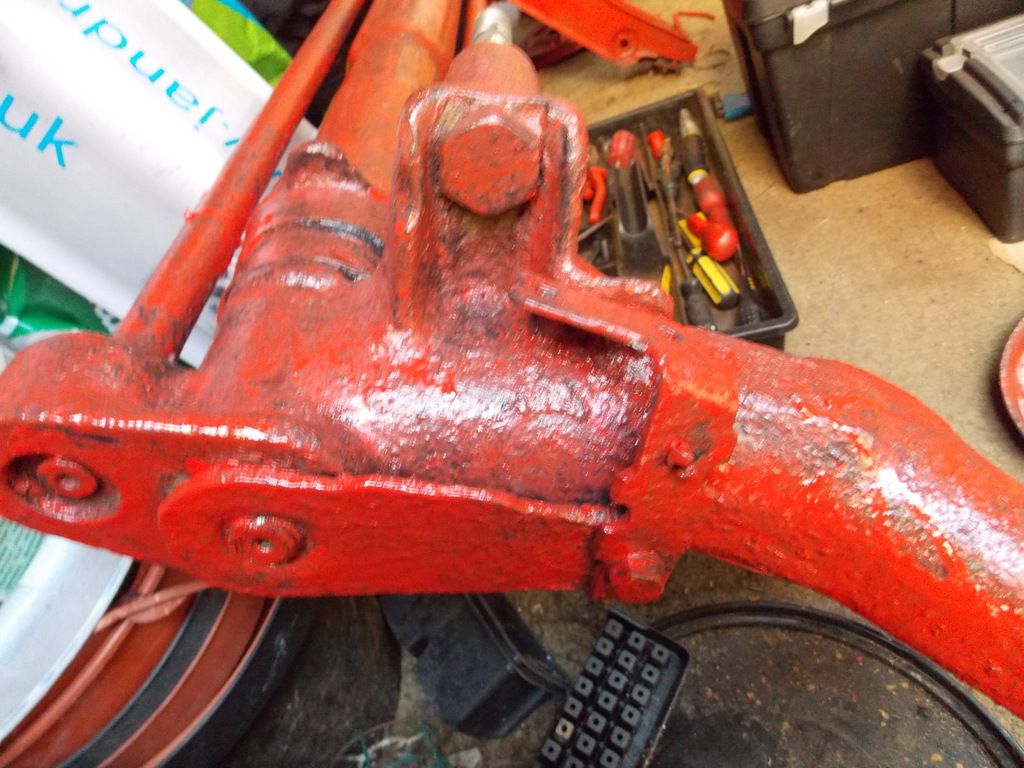 Now I know its only under the car and no one will see it, but it looks even worse in real life than it does in the pics. I said earlier in this thread that I would never buy hammerite again, well I lied, and I have lol! but black this time, so now the beam looks like this... 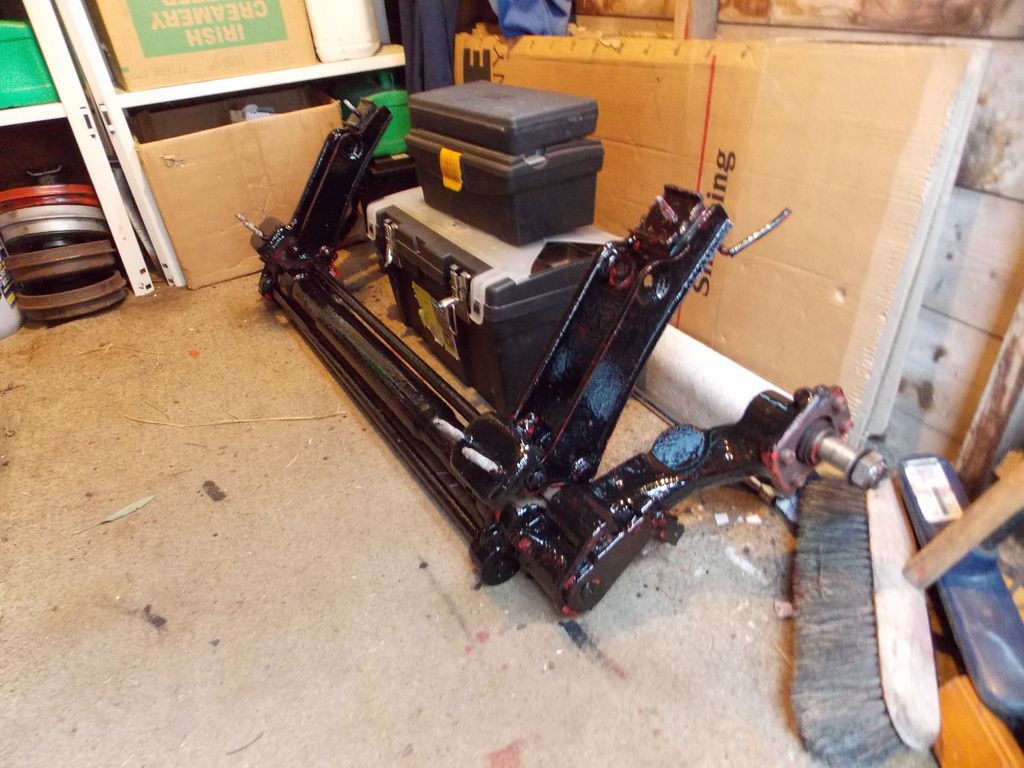 Well half of it does, I need to flip it over and do the other side tomorrow. Also looking at that pic I can see lots of red bits that I have missed! Next I have a question... welshpug if your out there? my I tap in to your fountain of peugeot knowledge again please? I stripped the back plates off earlier... 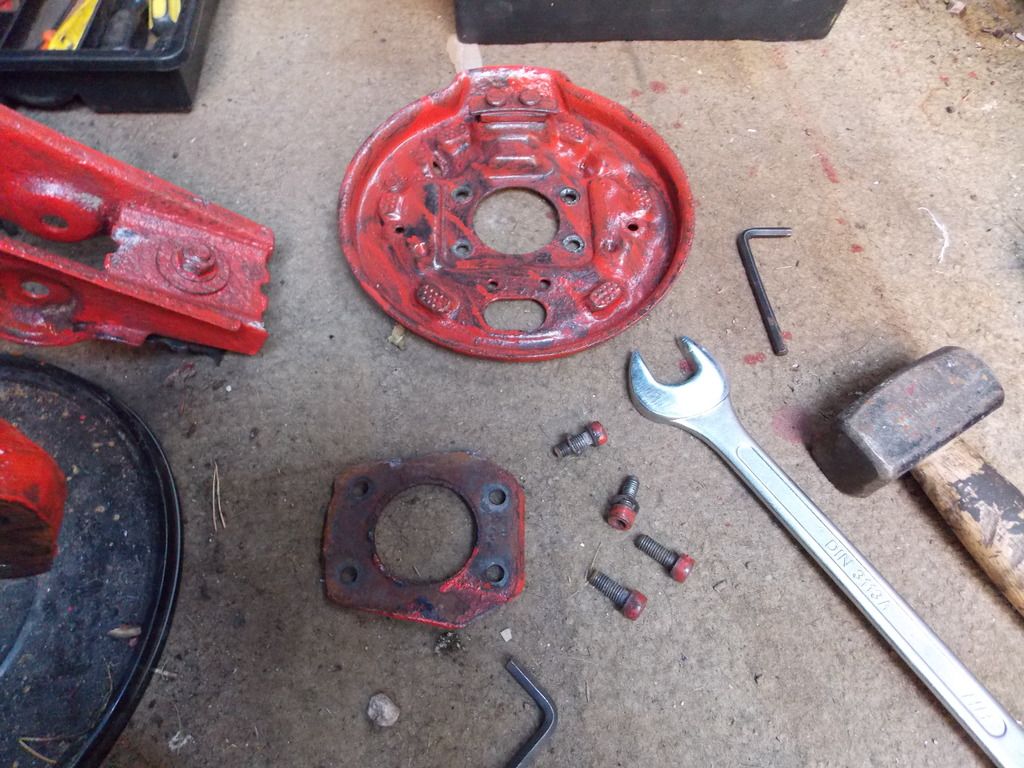 And found these behind the back plate... 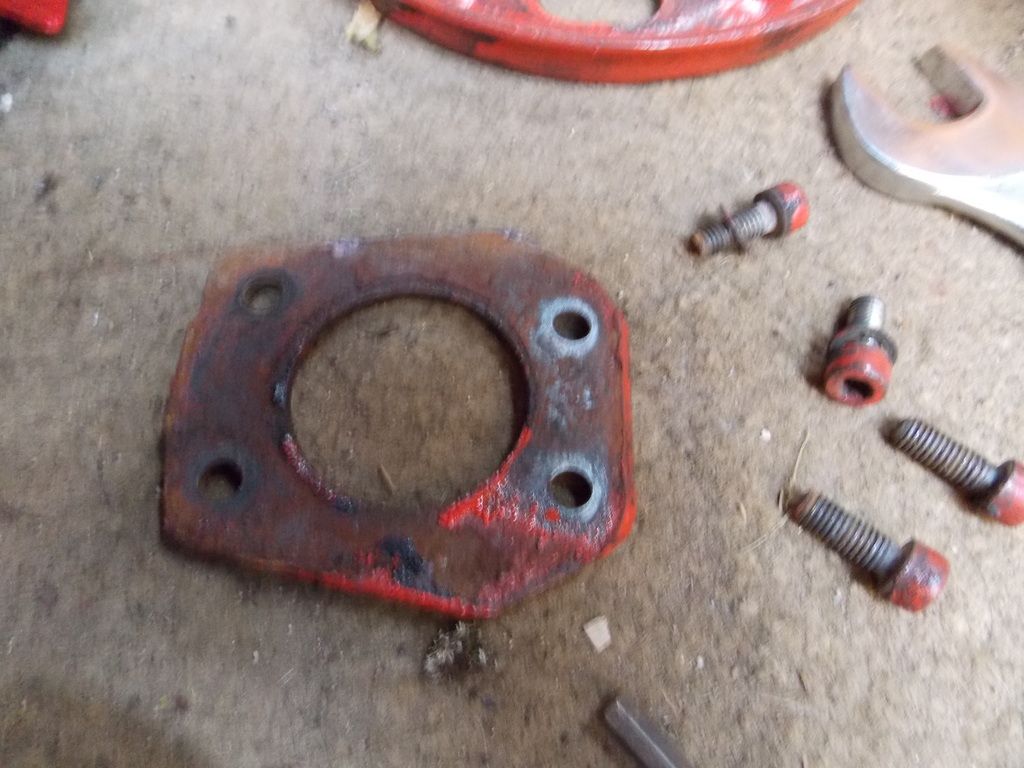 What are they? Do I need to leave them on or take them off when using non gti back plates and set up? Cheers for looking steve |
| |
|
|
stevietuck
Posted a lot
   Never argue with idiots,they drag you down to their level then beat you with their expertise!
Posts: 1,350
|
|
Dec 10, 2015 16:10:26 GMT
|
Well Doris currently looks like this.... 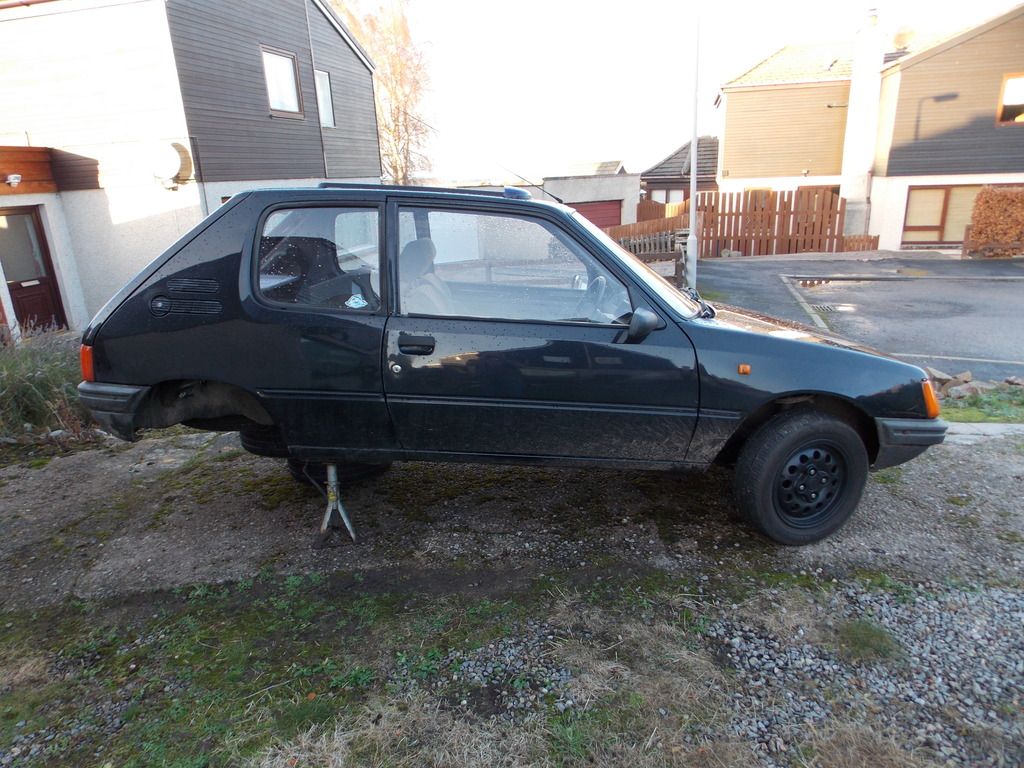 Everything bar one brake pipe played fair, so I need to nip down the local motor factors the morn and get a new pipe. Hopefully wont cost too much as its only a short piece. There didn't look to be much wrong with the old beam, but then me trying to move the trailing arm about is nothing compared to the weight of the car being on it. Anyway there is not much else that could have caused the wheel rubbing so it must be shot. Next I stripped off the back plates ( there were non of those things that I was asking about in my last post, so don't know if I should use them or not? ) drums, shoes and brake cylinders, gave them all a blast with the wire wheel ( apart from the shoes) and then a coat of paint. I also flipped the new rear beam over and painted the other side.Oh and knocked the tin of paint over twice!!! Like this.... 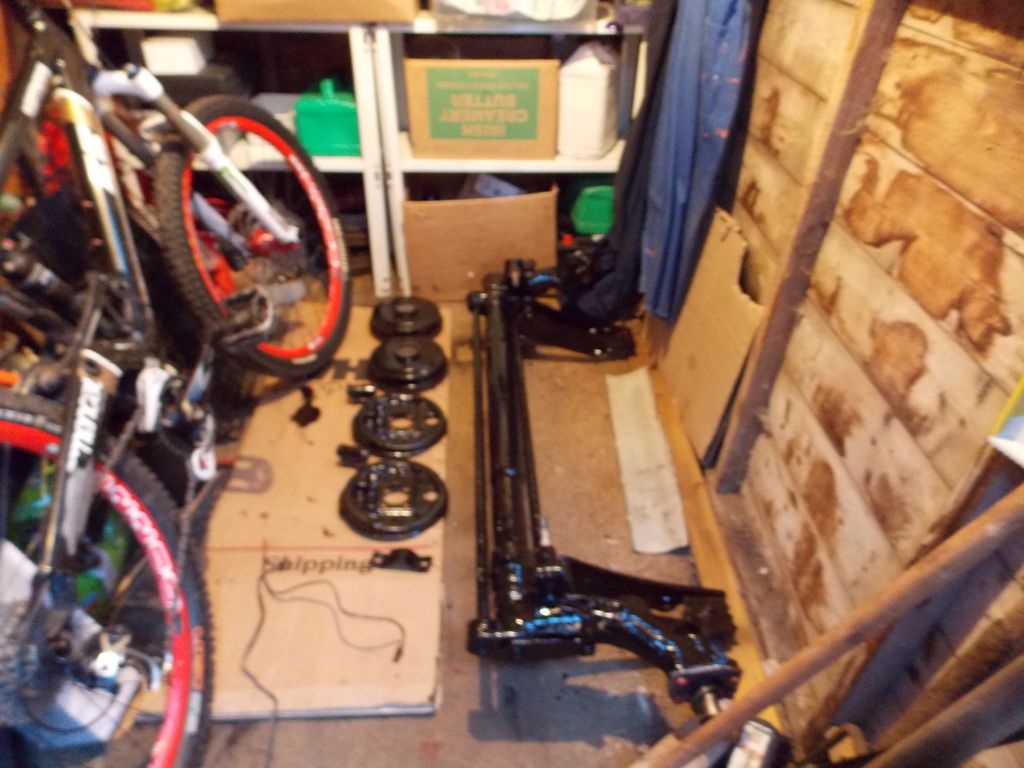 Tomorrow I,m hoping to start putting it all back together. Cheers steve. |
| |
|
|
stevietuck
Posted a lot
   Never argue with idiots,they drag you down to their level then beat you with their expertise!
Posts: 1,350
|
|
Dec 11, 2015 15:47:57 GMT
|
Today I have managed to fit the gti beam and gti shocks. I was really worried that I wouldn't be able to do this by myself, but by balancing it on the trolley jack and lots of messing about I had it fitted in about half an hour. Then started a string of mistakes/problems! First was these dam things...  I had asked on the gti drivers forum what they were and did I need to use them.I got a couple of replies saying that they didn't think they were standard and that they looked like a homemade spacer, so shouldn't need them. So I bolted on the back plates without them, then fitted the shoes, but when I went to fit the drums, they wouldn't close properly, leaving a gap between the drum and back plate. Even trying the gti drums on ( slightly wider ) there was still a gap, so off came the back plates and on went the spacers then back plates back on and gap closed. One of the hand brake mech's was seized on one side so I freed that off and gave them both a touch of copper grease. When I went to connect the brake hoses back up I noticed that I have managed to trap one under the beam mount  so I was about to start to loosen the bolts to allow the beam to drop a bit to free it off, when it started to pi$$ it down  Well I don't want my tools getting rusty lol! so I quickly cleared everything away and retired to the warmth of the living room. Weather forecast for tomorrow says its going to be 3 whole degrees woo hoo! I really hope Iv'e not damaged the brake hose or I'm in for another long walk to get a new one. Cheers steve. |
| |
|
|
stevietuck
Posted a lot
   Never argue with idiots,they drag you down to their level then beat you with their expertise!
Posts: 1,350
|
|
Dec 11, 2015 15:52:43 GMT
|
|
Sorry about the lack of pics in the above post, I was planning to take some pics once it was fitted but rain stopped play, so will take some tomorrow.
cheers steve.
|
| |
|
|
niwid
Posted a lot
  
Posts: 1,754
|
|
Dec 11, 2015 18:54:16 GMT
|
|
Our peg doesn't have those spacers either, very odd indeed. Is it possible that the beam has been modified or repaired in some way?
Don't worry, keep going. It never goes completely to plan. It's a pig of a job to do on your own, there will always be something that breaks, or doesn't fit, or needs attention. My advice is to get a bicycle for parts buying missions.
|
| |
|
|
|
|
stevietuck
Posted a lot
   Never argue with idiots,they drag you down to their level then beat you with their expertise!
Posts: 1,350
|
|
|
|
niwid Re the beam being repaired/modified, someone on the gti drivers forum suggested that it was maybe a mod to allow non gti back plates to fit? I really don't know, and to be honest, so long as I can get it all back together and working ok, I don't really care  Also you may of noticed in one of the above pics, that I do have a bike, and your right they are very handy for parts getting, depending on the size of the part 
|
| |
|
|
stevietuck
Posted a lot
   Never argue with idiots,they drag you down to their level then beat you with their expertise!
Posts: 1,350
|
|
Dec 12, 2015 15:28:44 GMT
|
Day three of the rear beam saga... First job of the day was to drop the beam enough to free the brake hose that I had trapped yesterday, luckily I hadn't damaged it so once it was free the beam mounts were tightened back up and the brake pipes fitted. Next was the most difficult job of the day, getting my girlfriend out in the cold to act as chief pedal pumper. It always makes me smile when she asks " is it the middle one"  So brakes bleed, and no leaks woo hoo! next up refit exhaust back box, I hate doing this laying on my back on a drive on my own. What you really need is an extra pair of hands, but not the person they are attached to as they don't fit under the car with you! Anyway after a few attempts and getting bashed in the face after it slipped out of my hands I managed to get it sealed up and hanging nicely. The moment of truth now then, wheels on, axle stands removed and how does she sit...... 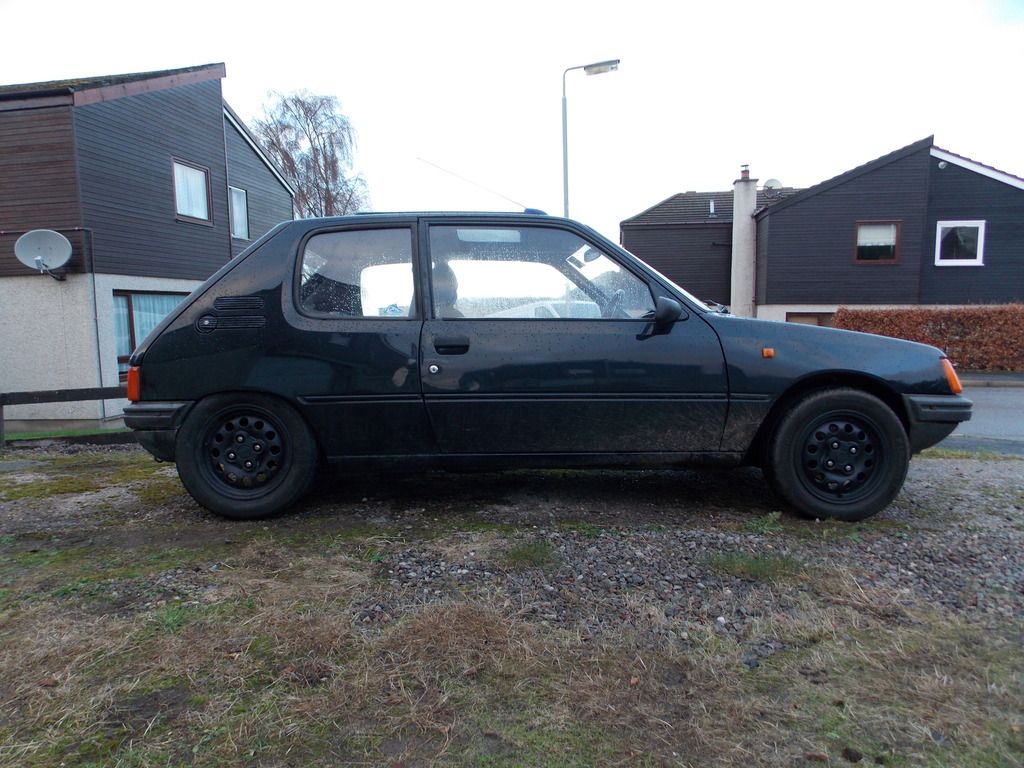 That how, may be a touch low I was thinking. Anyway start her up went to pull off the drive and oh dear the p/s rear wheel is hard against the wheel arch! So much so that it felt like the handbrake was on. Bollock$!! Here's a pic... 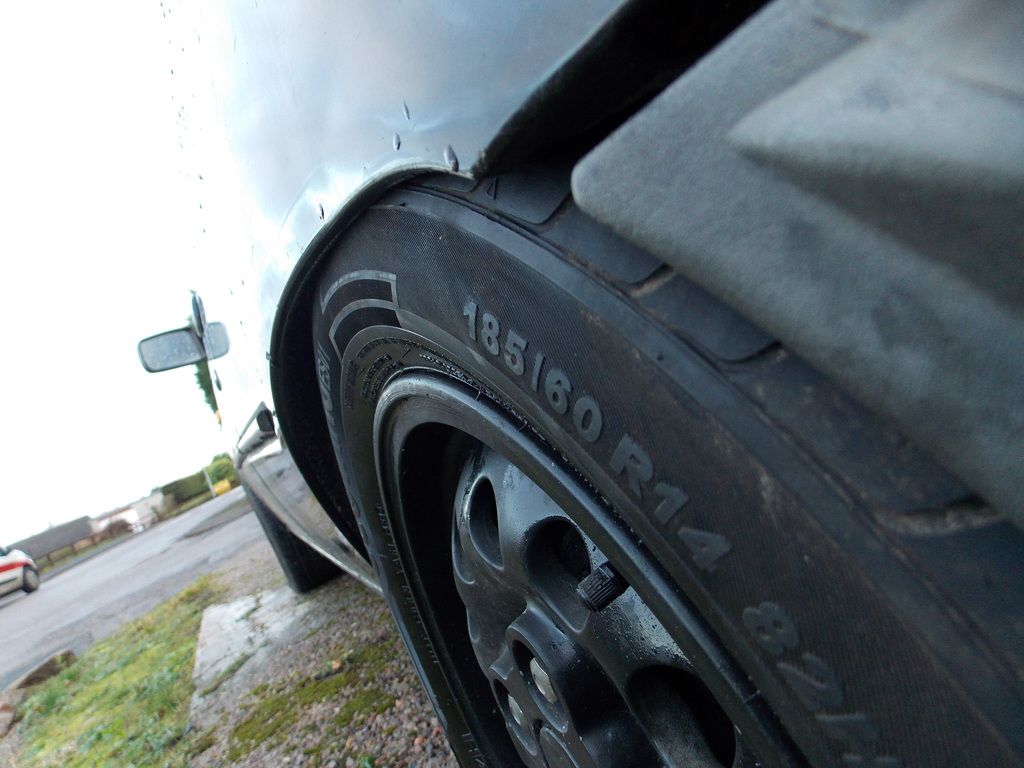 I have now given up for the day as I'm a bit pi$$ed off. Well maybe curse word off is a bit strong, lets say deflated.  What do all you people out there in retroridesland think then? Stick a crow bar is and bend the arches? or admit to myself that I'm going to have to rise the torsion bars? Please someone tell me I can do this without taking the beam back off??? Cheers for looking steve. |
| |
|
|
Rich
Club Retro Rides Member
Posts: 6,336  Club RR Member Number: 160
|
1989 205 XLD Diesel. Hello Smurf.Rich
@foxmcintyre
Club Retro Rides Member 160
|
Dec 12, 2015 18:09:28 GMT
|
maybe put some decent size tires on the wheels? They are huge.. Sorry to read about your bad luck with it all. We've all had bad days though. Don't let it get to you too much.  |
| |
|
|
stevietuck
Posted a lot
   Never argue with idiots,they drag you down to their level then beat you with their expertise!
Posts: 1,350
|
|
Dec 12, 2015 19:21:15 GMT
|
Rich Cheers mate I'm not too down about it, trying think of it as a step sideways rather than a step back  To be honest, its like this.. I cant afford new tyres even if I wanted to, and it is a little too low for my liking. The area I live is mostly country roads and when I go mountain biking/dog walking its forestry tracks. This is my only car and I need it back on the road so up she goes! cheers steve.
|
| |
|
|
stevietuck
Posted a lot
   Never argue with idiots,they drag you down to their level then beat you with their expertise!
Posts: 1,350
|
|
|
|
|
Sod it! I'm having a day off today. My body is aching in places I'd forgotten I had, from contorting myself in to strange shapes to get under the car and the like.
The weather forecast says its not getting above 0 degrees today up here.
But the main reason for the day off is I don't have some of the tools I'm going to need.
So today will be spent doing very little, apart from reading "how to " guides on lowering torsion bars. Oh and I might have a pedal down to the local hardware shop to see if they sell slide hammers.
Cheers steve.
|
| |
|
|
Tepper
Part of things
 
Posts: 381
|
|
Dec 13, 2015 12:35:51 GMT
|
Keep at it mate, you're doing well and we all know it's no fun working outside in the cold. It's been a while since I've had to play with a beam, but I think you can make a puller out of a bit of threaded bar, some washers and a big socket instead of using a slide hammer - pretty sure it's on one of the guides online. Also, it might be worth picking up a blowtorch and some PlusGas or other penetrating fluid because the torsion bars can be quite stubborn sometimes! You'll get there, just stick with it  |
| |
1989 Peugeot 205 GTi - stolen!
1983 Mazda RX7
1968 Rover P6 - also stolen.
|
|
stevietuck
Posted a lot
   Never argue with idiots,they drag you down to their level then beat you with their expertise!
Posts: 1,350
|
|
|
|
Tepper Thanks for the encouragement and advice. I'm hoping that since the beam has been lowered, so has already been apart, it won't be too bad.But it could have been done 20 years ago, so will see how it goes. I'm off down to see my mate in a wee while to see if he has a slide hammer, if not I will try the threaded bar idea.
|
| |
|
|
stevietuck
Posted a lot
   Never argue with idiots,they drag you down to their level then beat you with their expertise!
Posts: 1,350
|
|
Dec 14, 2015 15:55:19 GMT
|
So I went to see my mate sandy, and he didn't have a slide hammer, so I went to my local motor factors/tool shop and they didn't have any in stock. I could order one online but it always takes 2-3 days for stuff to arrive even when it says next day. The problem with that is, Doris is sat on next doors drive ( he works away and kindly lets me use his drive to work on my car as I don't have a drive) and he's back at the weekend, so I could be cutting it a bit fine depending on when it arrives. What I ended up doing is buying some m8 threaded bar (this is the size needed to screw in to the end of the torsion bars) and some big washers and nuts. So with this lot ... 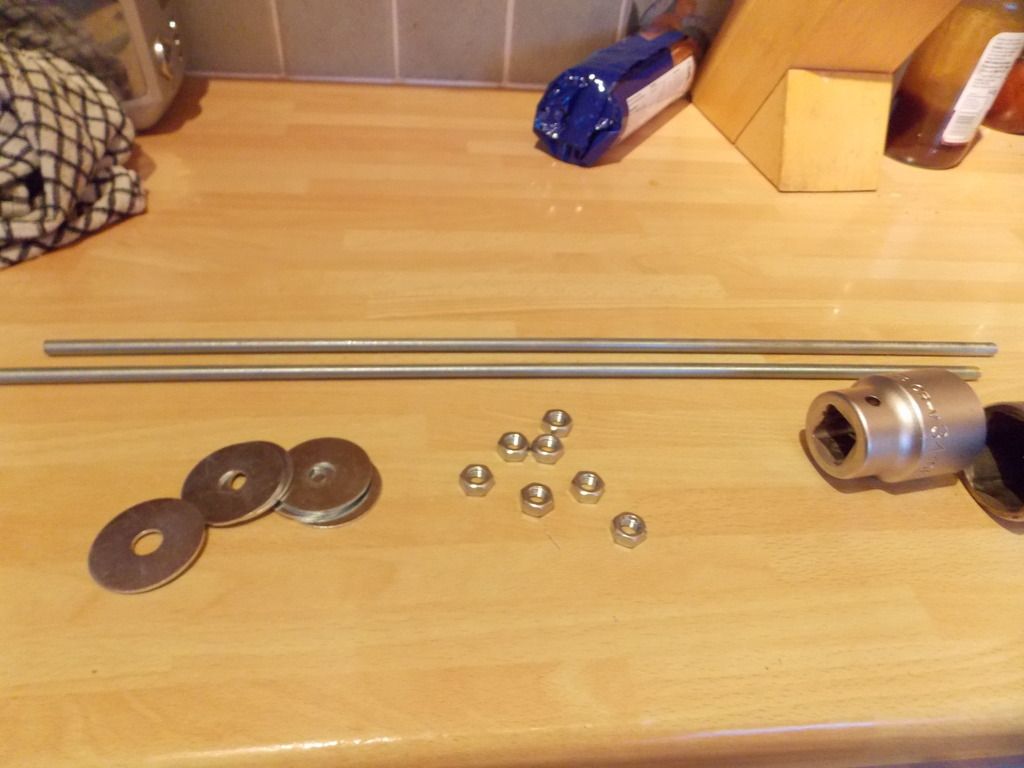 I should be able to make either a slide hammer or a puller, or both if I feel like it lol! By this time tomorrow I'm hoping to be able to report some good news. Wish me luck. Cheers steve. |
| |
|
|
stevietuck
Posted a lot
   Never argue with idiots,they drag you down to their level then beat you with their expertise!
Posts: 1,350
|
|
Dec 15, 2015 15:17:48 GMT
|
Another day, another small step forward! Today I started to try and get the torsion bars freed off so i can raise the back end. First job is to get the end caps off the anti roll bar. That took some doing, but I got there in the end. Next there is a torx head bolt and offset washer that stops the torsion bars coming out, these need to come off/out. I was hoping that since this has all been out before when it was lowered, it would come apart easy. I hadn't reconed on at the bolts being rounded  I faffed about for ages trying to get these undone but decided I was only making them worse, and that what was needed is an impact driver. So I packed up my tools and got back on my bike to see my mate to borrow one. I now have a lovely snap on impact driver set sat in my hallway, so will try again tomorrow. One thing about this old car ownership, its keeping my fit  |
| |
|
|
stevietuck
Posted a lot
   Never argue with idiots,they drag you down to their level then beat you with their expertise!
Posts: 1,350
|
|
|
|
|
Well I'm still having a nightmare with this rear beam!
Yesterday I used the impact driver I borrowed. First bolt came out first hit, woo hoo! the next one though just wasn't having any of it.I ended up using a mixture of drilling and grinding to get the last of the bolts off.
I managed to get one end of one torsion bar free, the rest are seized solid, no amount of slide hammer or puller or good old fashioned hammering would shift them.
My plan for today is to strip the old beam as I'm now thinking swapping the bearings in this could be the best option.
Once stripped ( if it comes apart ) i can asses the damage and take it from there.
cheers steve.
|
| |
|
|
|
|


 so I was about to start to loosen the bolts to allow the beam to drop a bit to free it off, when it started to pi$$ it down


