|
|
|
Oct 26, 2015 18:05:01 GMT
|
|
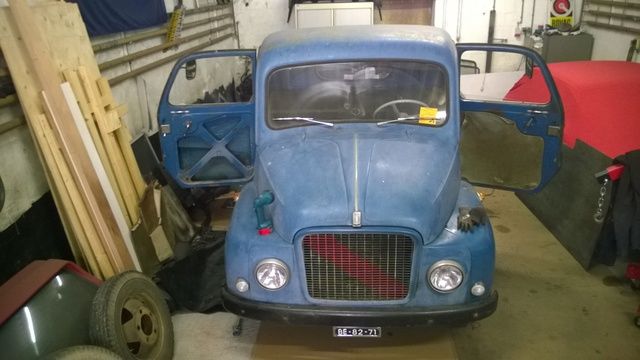
Thanks guys for all the comments! I don't have the papers yet, but the internet is way more faster then the mailman. So I checked my carpark online at the RDW, and saw a new number! The BE-82-71 is born. Because I want to have everything as oldschool as possible, I decided to order some new plates in the factory that has the first official dutch license to fabricate plates, back in the fifties. For the oldtimer and carfreaks, they still make them as they did lots of years ago. I want to share a lovely movie of the company:
When I have them mounted, there will be a next update.
|
| |
|
|
|
|
tzeph6
Part of things
 
Posts: 211
|
|
Oct 26, 2015 20:45:47 GMT
|
|
Very cool truck!
|
| |
|
|
|
|
|
|
|
New update! It took a long time, but I did some more stuff then just putting the plates on  . First things first, the plates arrived and mounted. On the front I mounted a in the Netherlands illegal plate. This one has the size of a old Italian plate, so orignal on the truck. Illegal here, because it is way smaller that a original plate. The fine for not having a original one is that about 50 to 70 euro… I can life with that  . Not the best pictures of it, but oke… a picture is always better then a lot of talking. Front 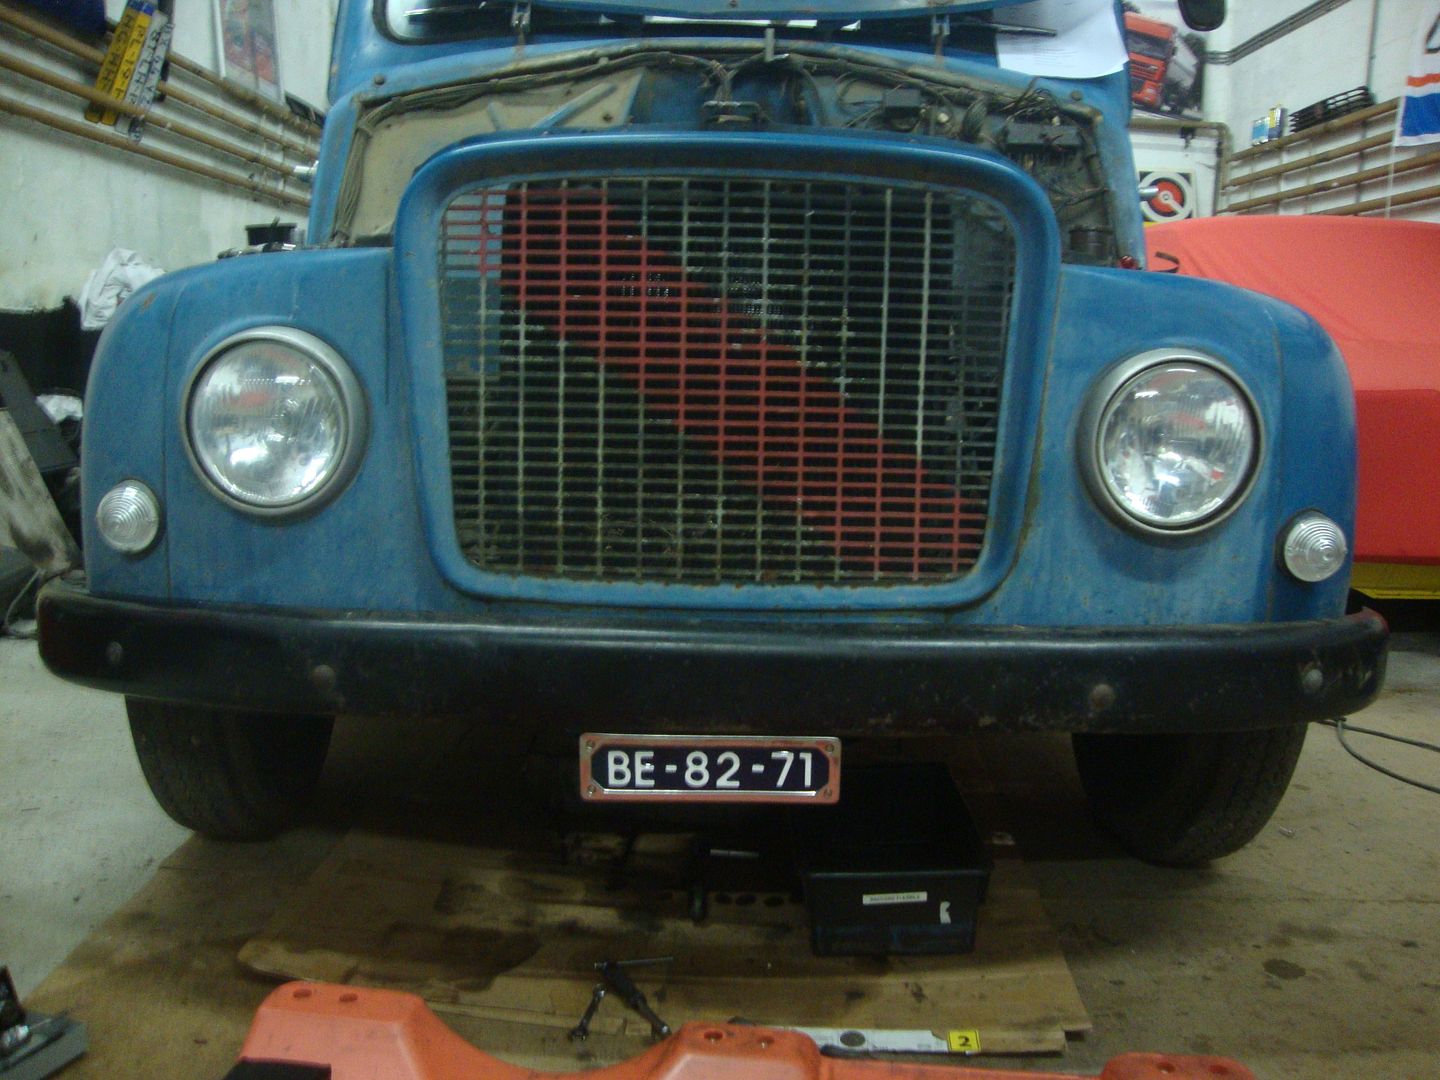 Back 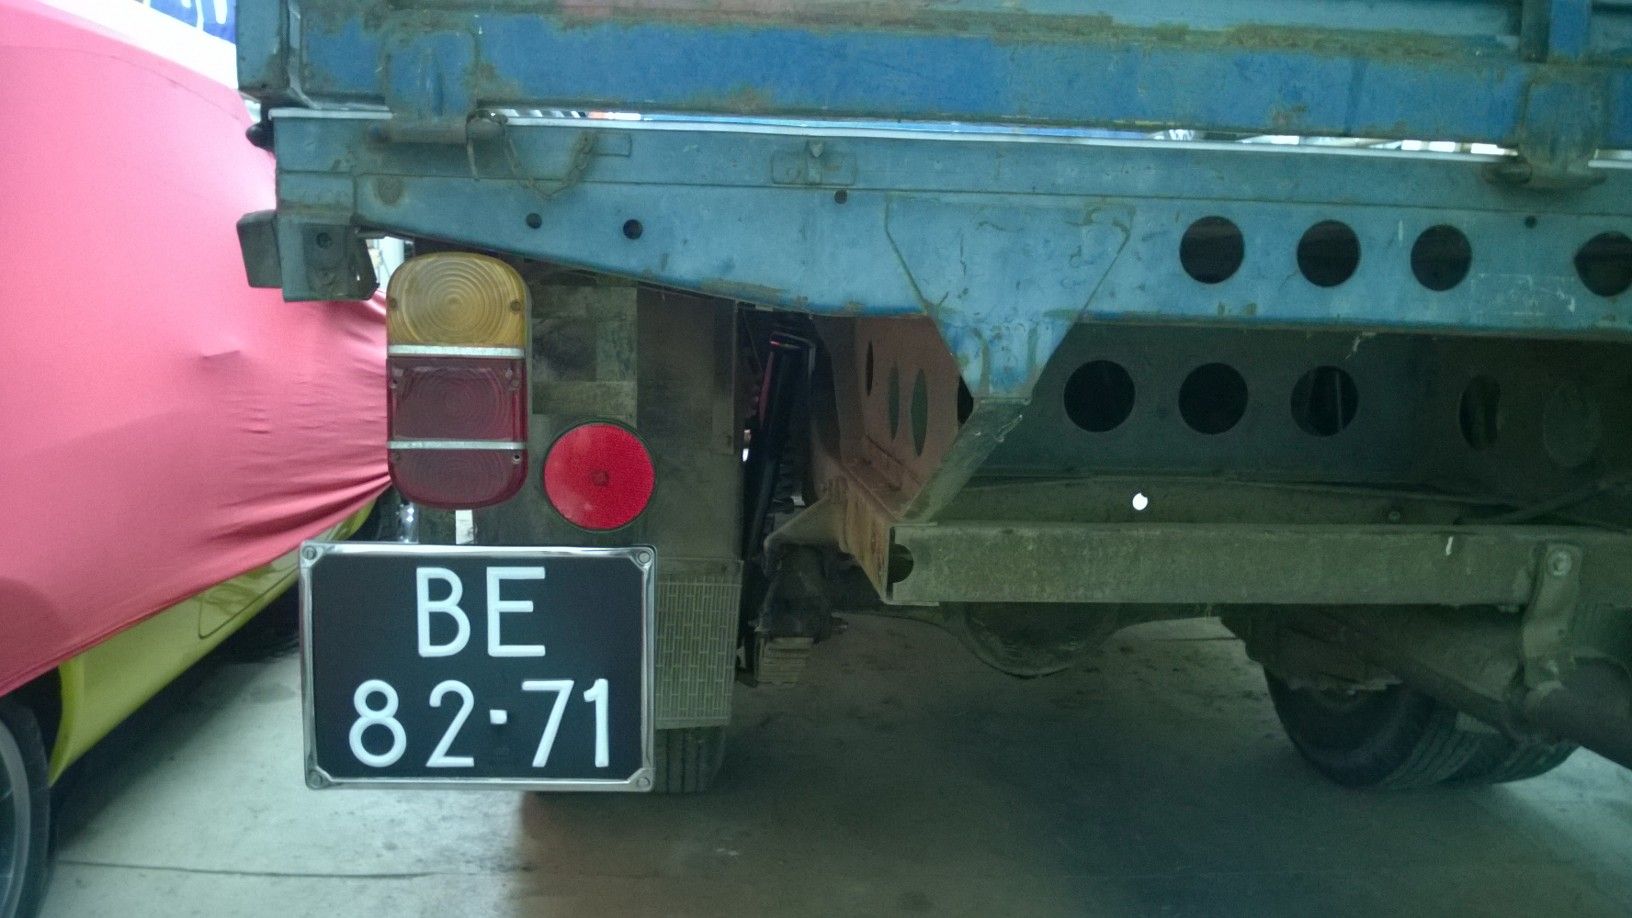 Meanwhile I started with some maintenance of the little one. Man! I think it has been 30 years ago that the 615 had a proper oil change. The oil was almost gray, with lots of water in it, I’ve made some pictures of the messy oil, and the valvecover covered in moisture. Ofcourse I wanted/needed to change the oilfilter also. That was also a complete project on it’s own, the oildrain was complete blocked caues by a lot of liquid gasket, used on the flywheelhousing on the back of the engine. The oil in the filter was very very thick, i’m very curious how long that has been sitting over there. But that was not all folks, while unscrewing the filter the previous owners decided to chang the bolt that keeps the filtercap in place. Ofcourse they changed it with the wrong thread. Oke, that could happen to anyone of us, but not when you feel it is not oke, and you just keep on turning…. The bushing in the oilfilterhousing was totally damaged, so it was quite a puzzle to find another one. Luckily our friend Ebay has the solution, and two weeks later I had another one in my hands! Valvecover 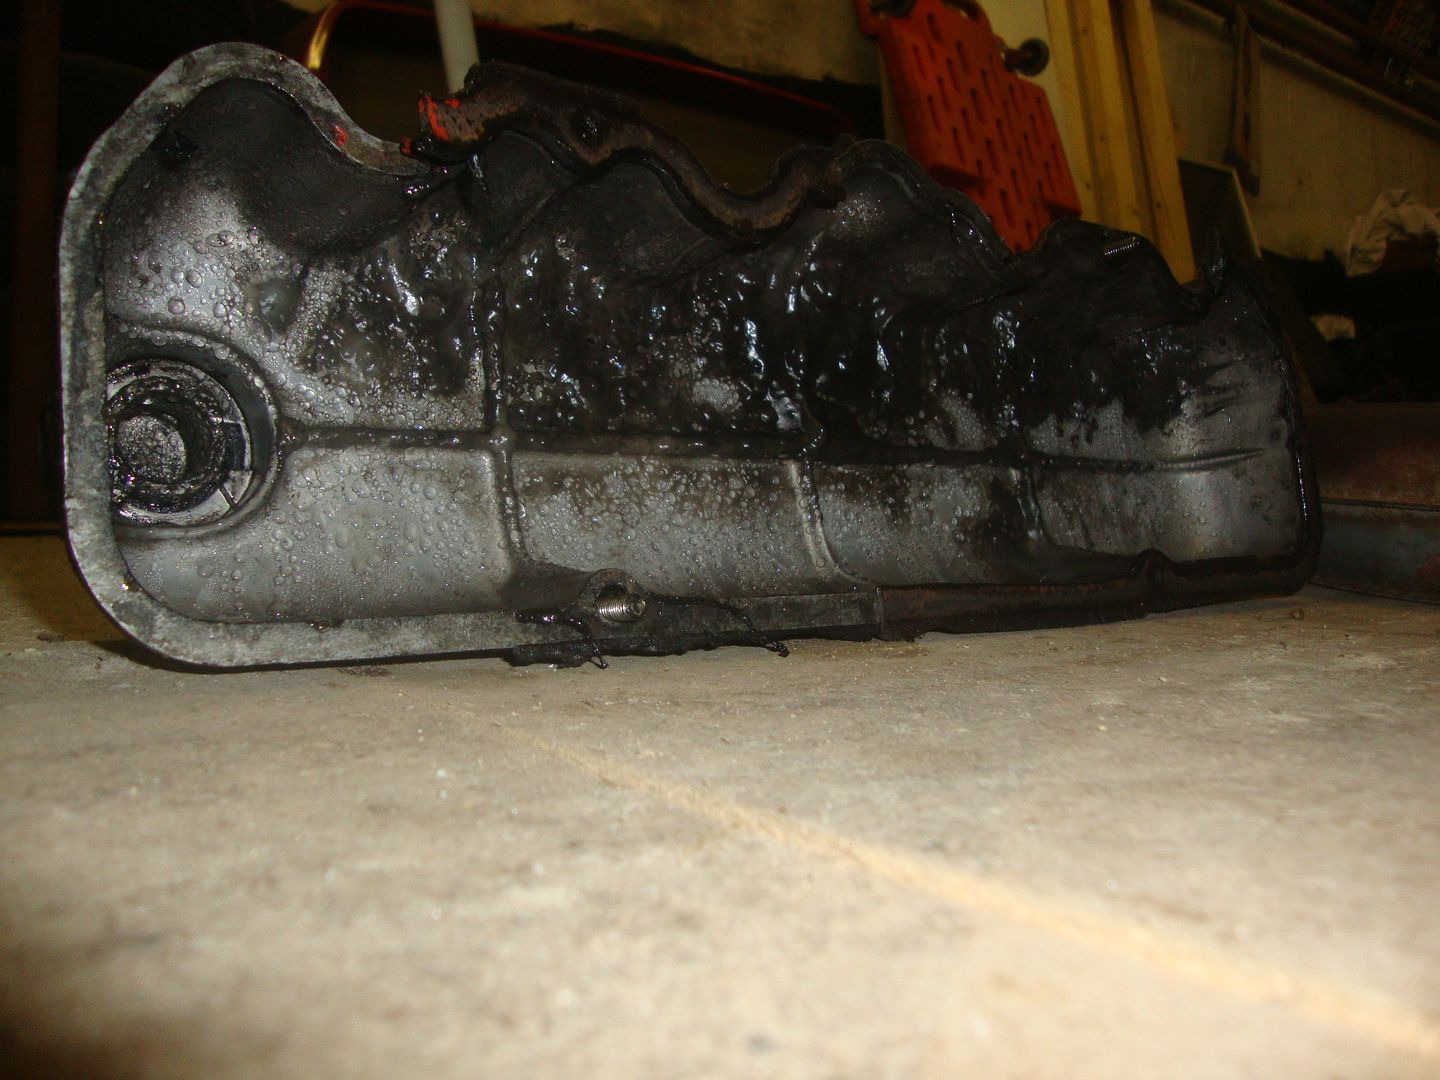 Moisture in cover 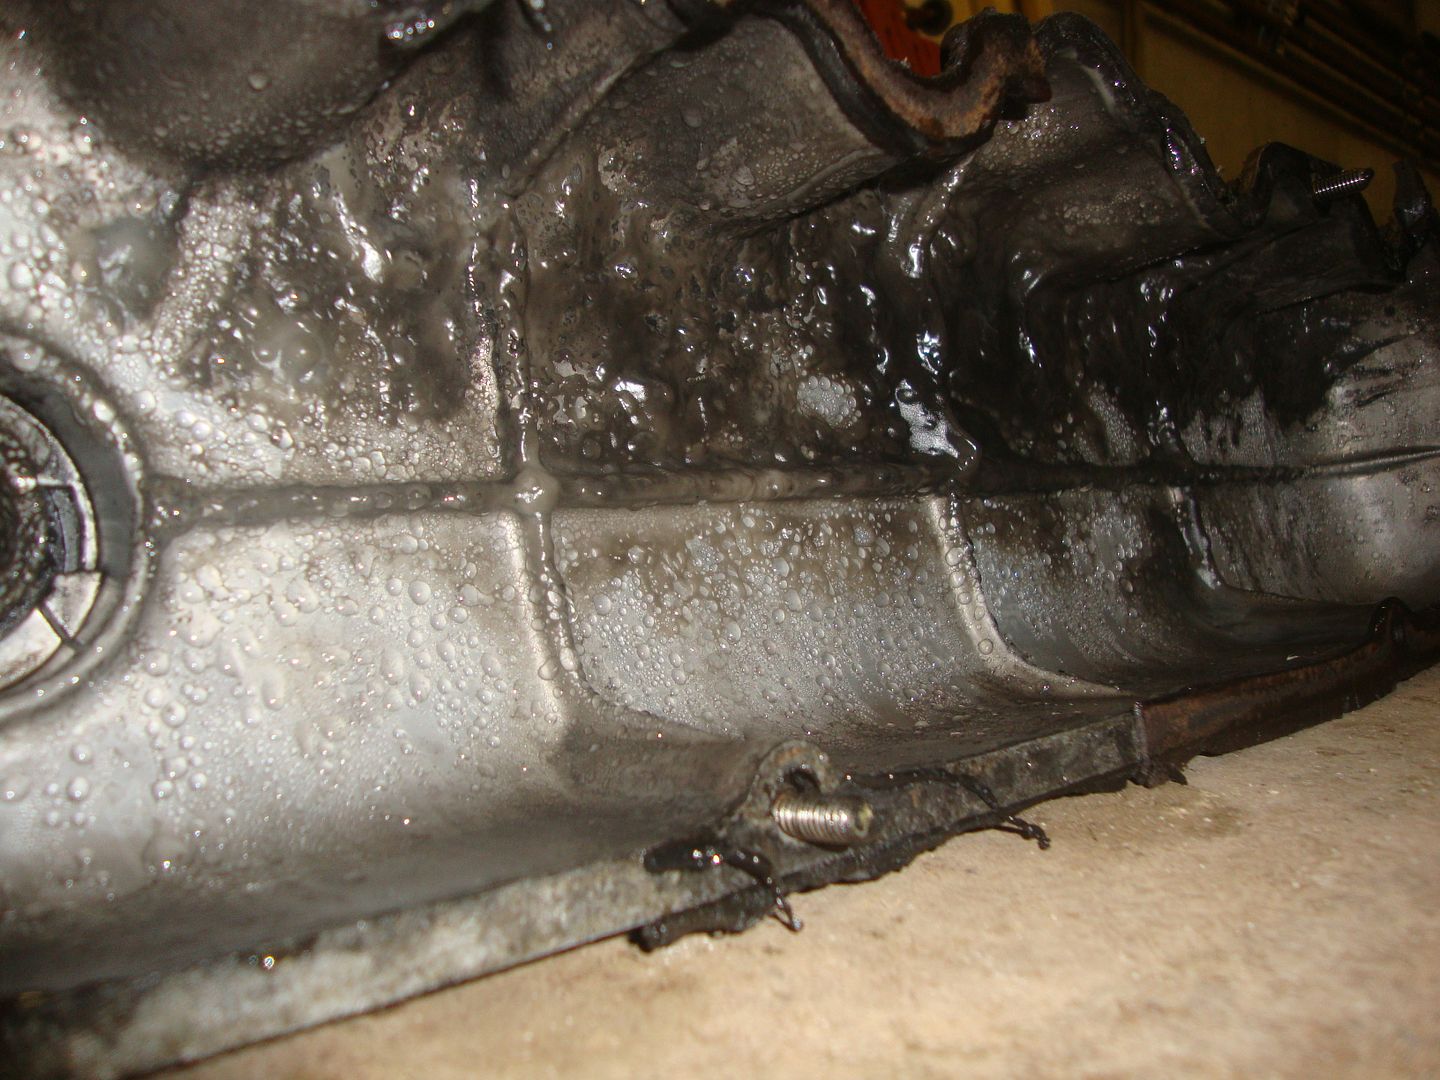 Oil between the valves, not that fresh 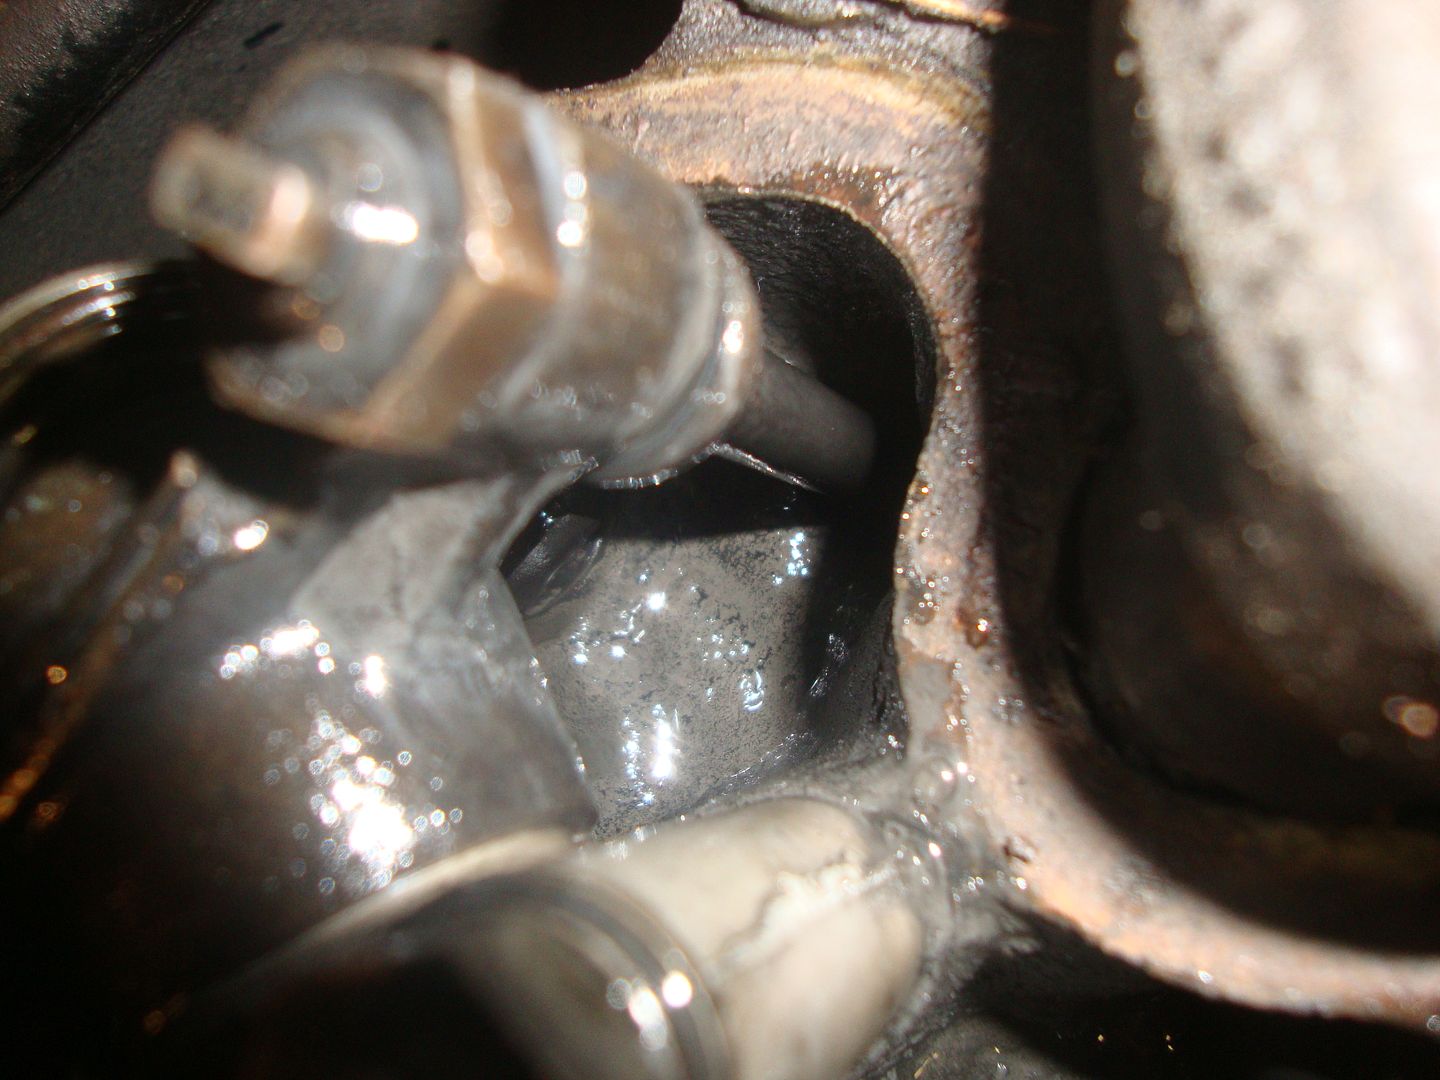 Thé oil 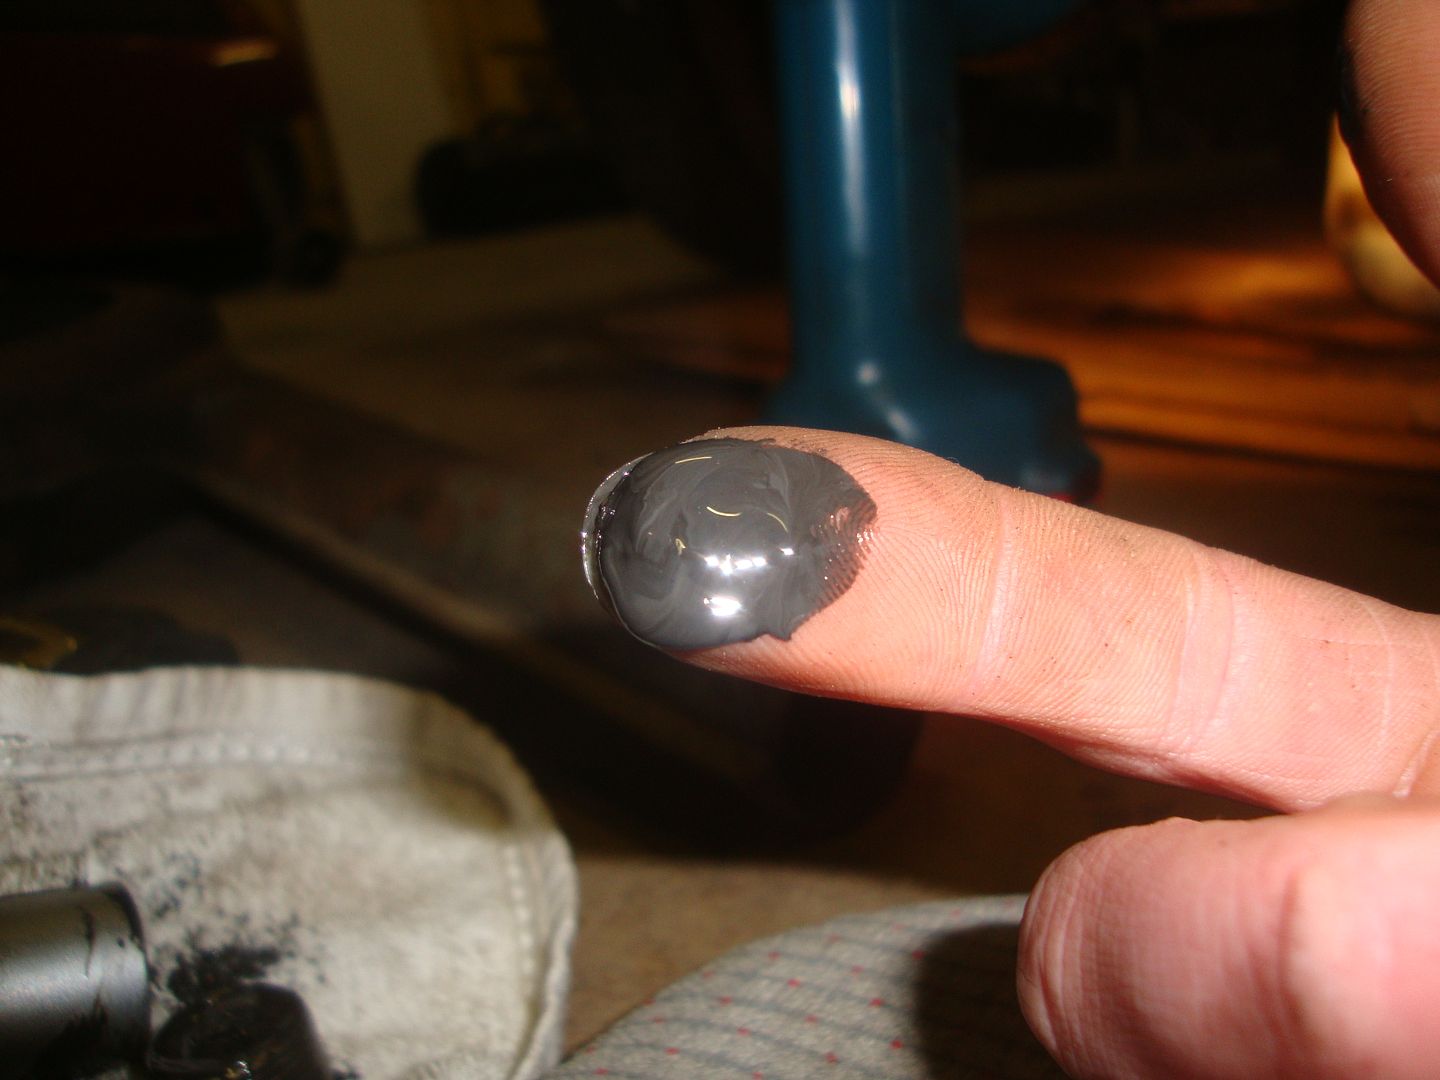 Filterhousing inside 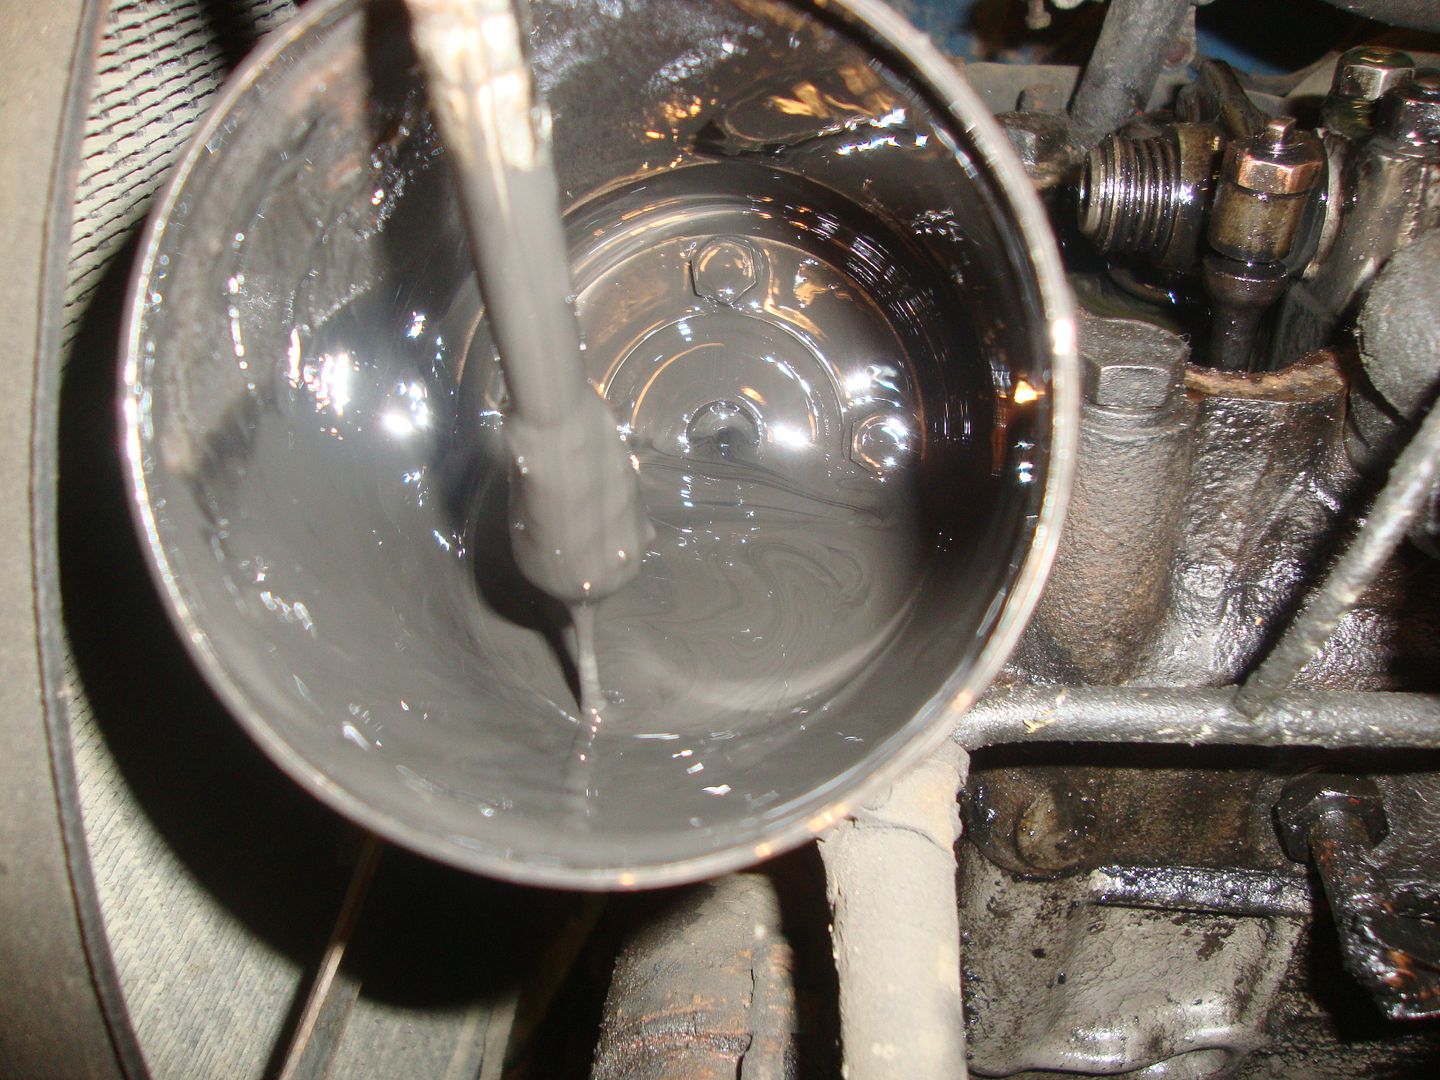 The hard oil parts  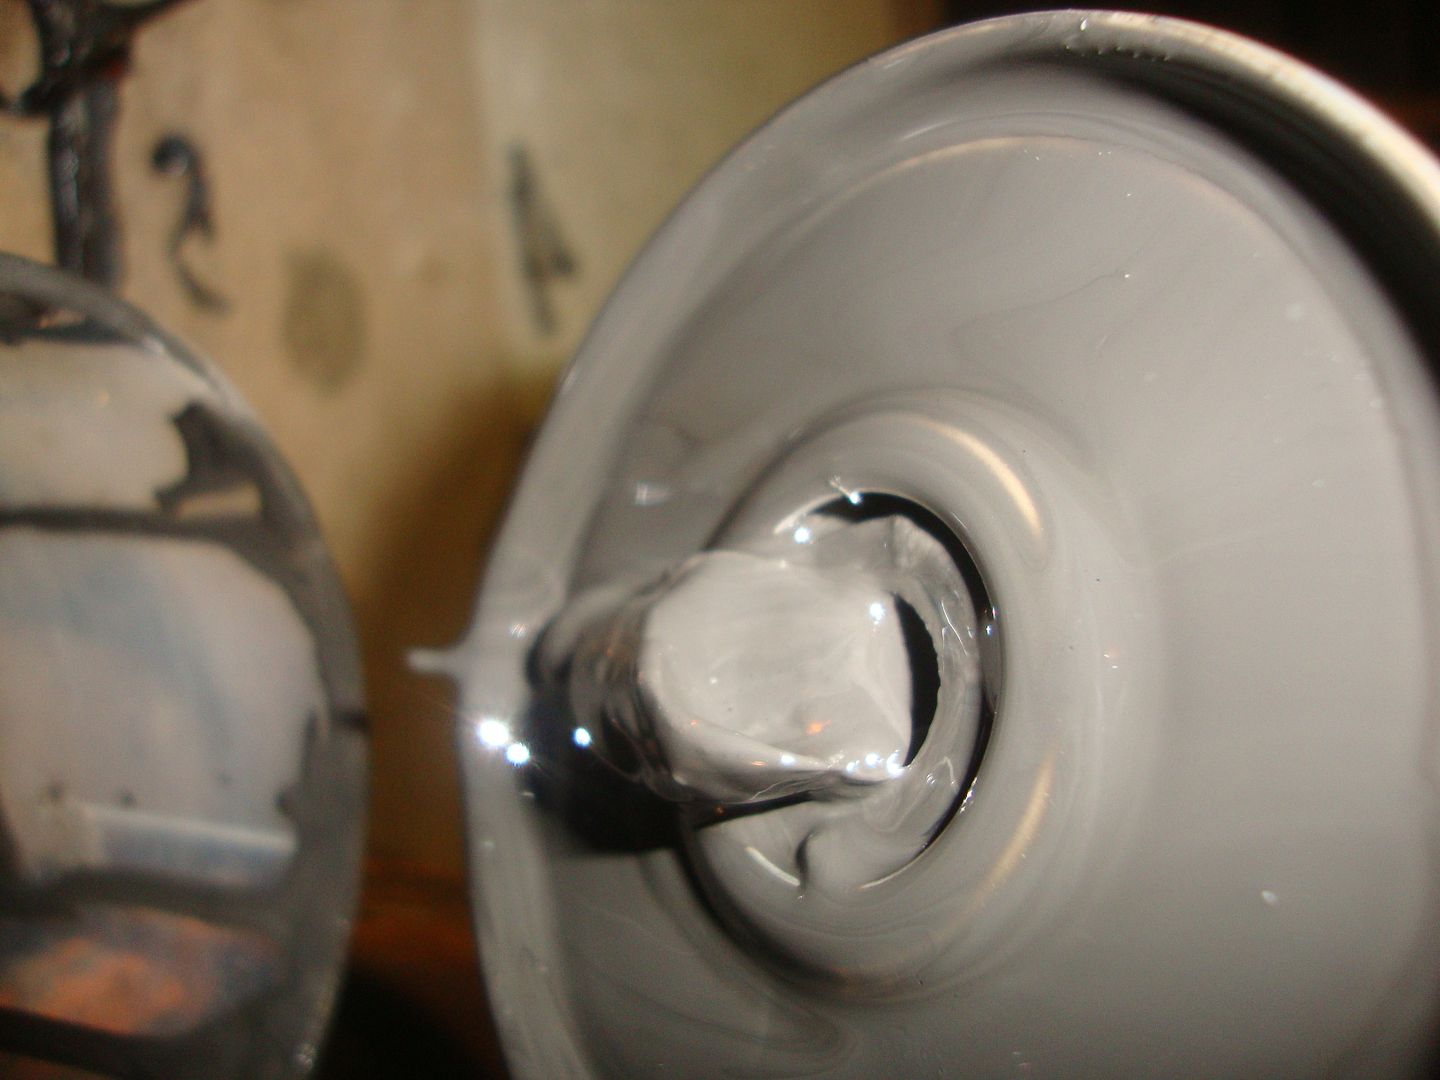 After waiting a night, it looked like this 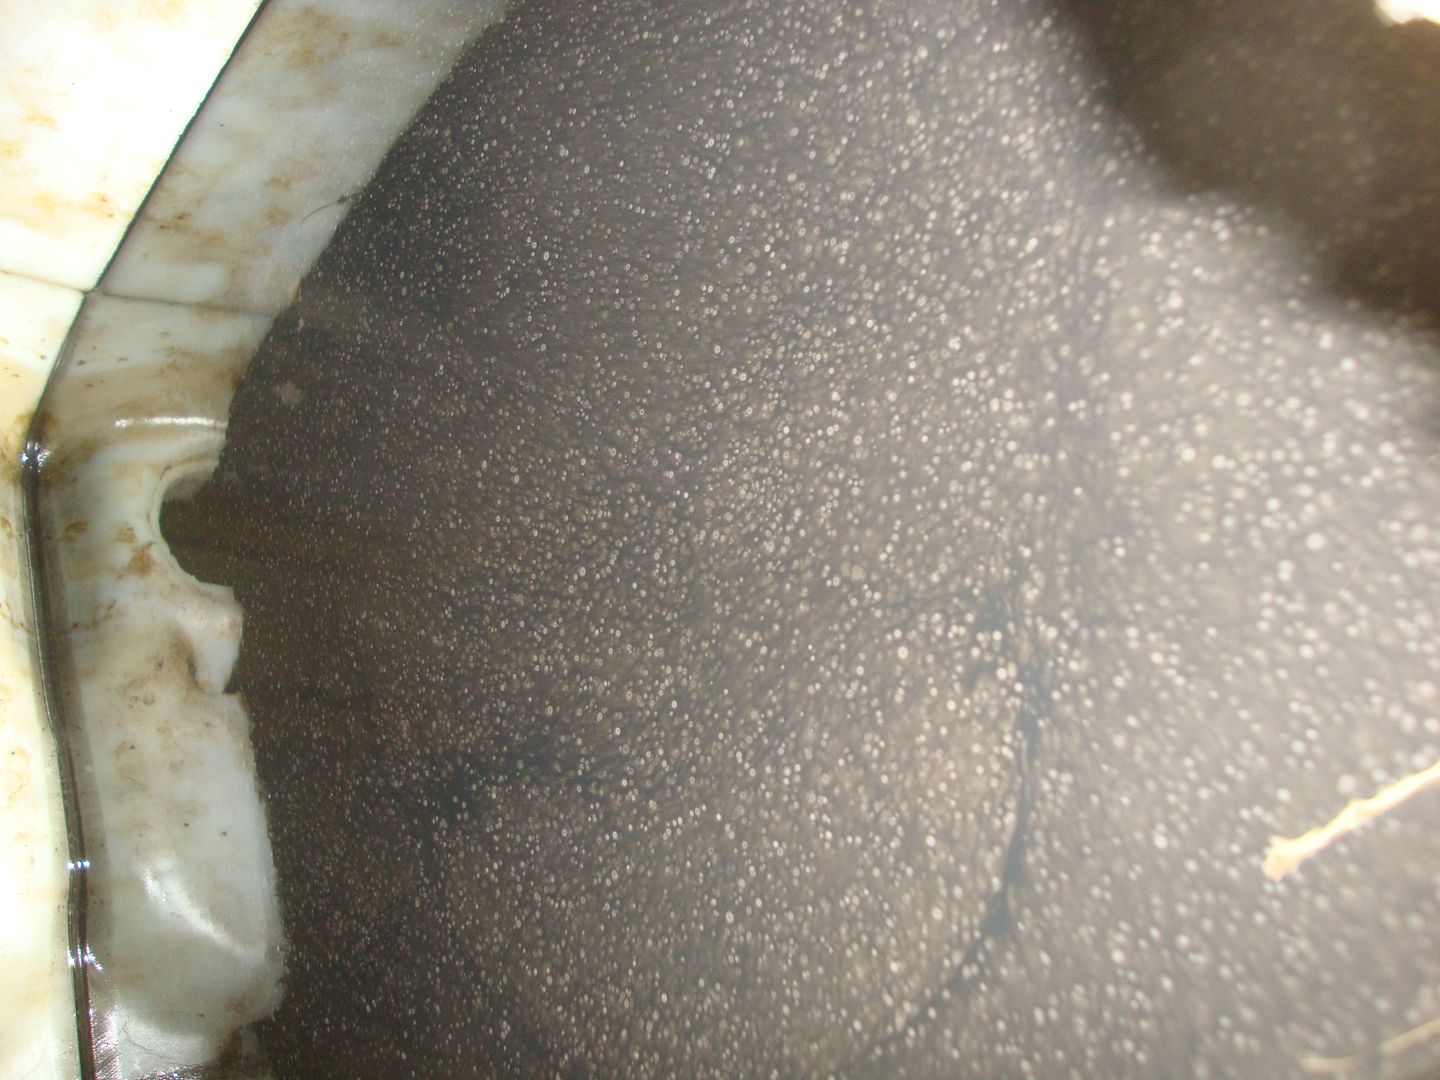 The filter housing with the screwed parts 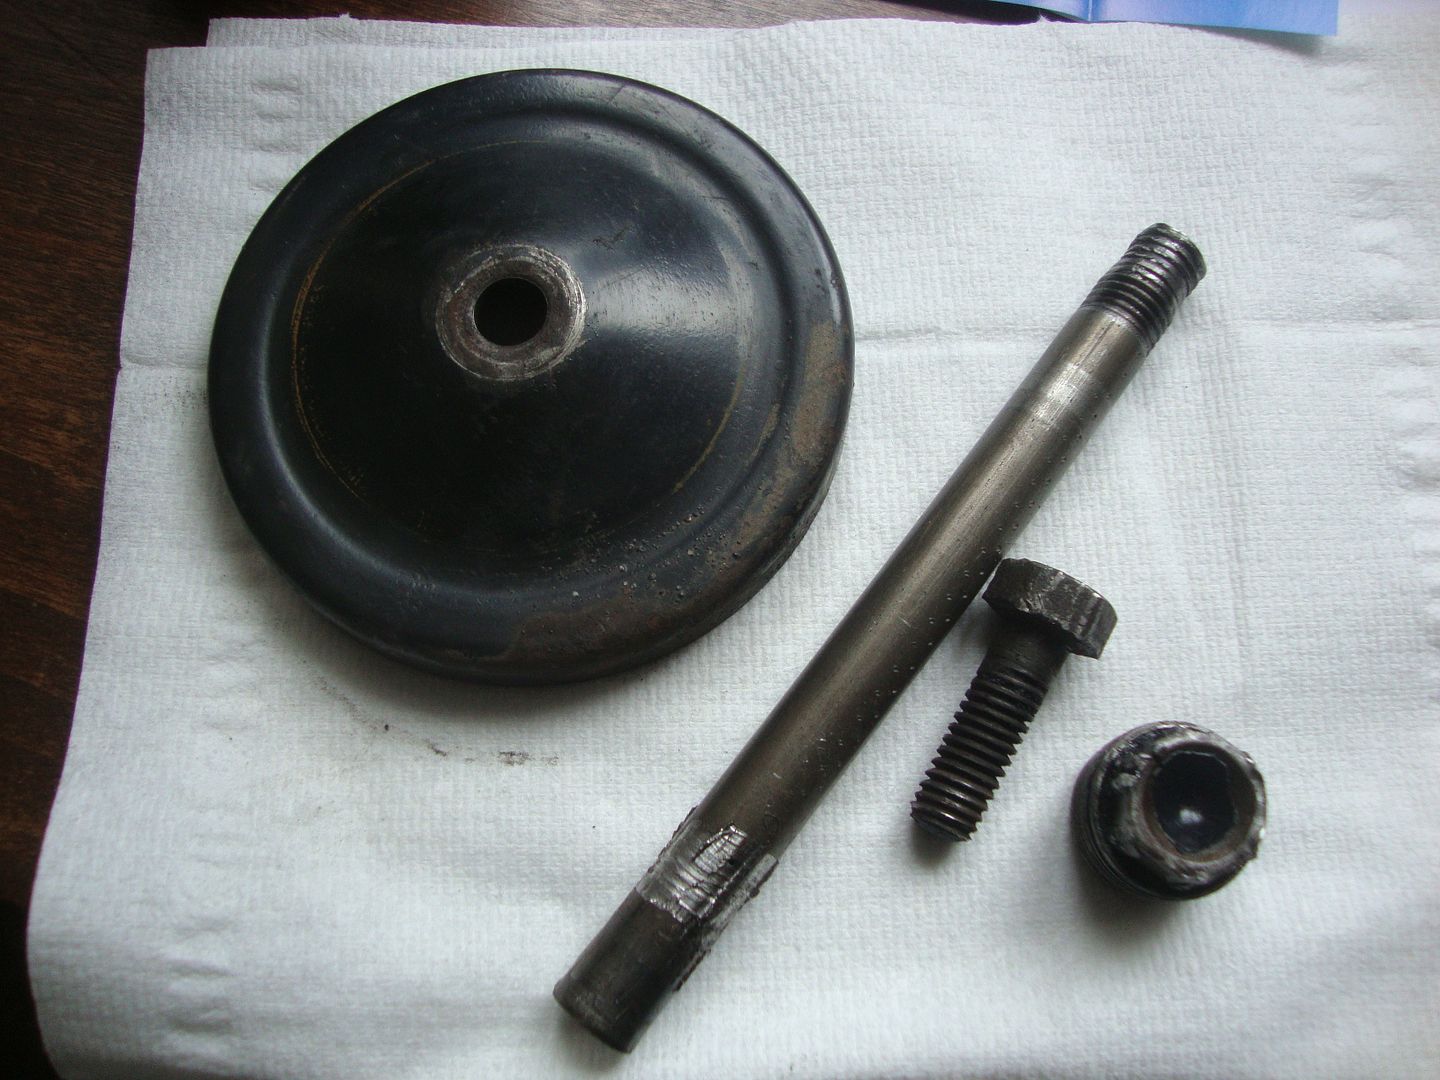 The plan for now is to change the oil fors ome cheap one, then make a good run so that the engine reaches a good temperature, and change it again with the oilfilter. Hopefully the engine flushes a little bit, so that we can put in some fresh oil, that stays fresh in the beginning. I also changed the waterpump for a new one, the old example was leaking. It was leaking so hard, I turned it by hand, and it was already dripping on the Floor  The old hose had a change also. After the pump exchange I started to replace the heatervalve. This valve is already up and running, but I forgot to take the SD card with me :S. The old pump 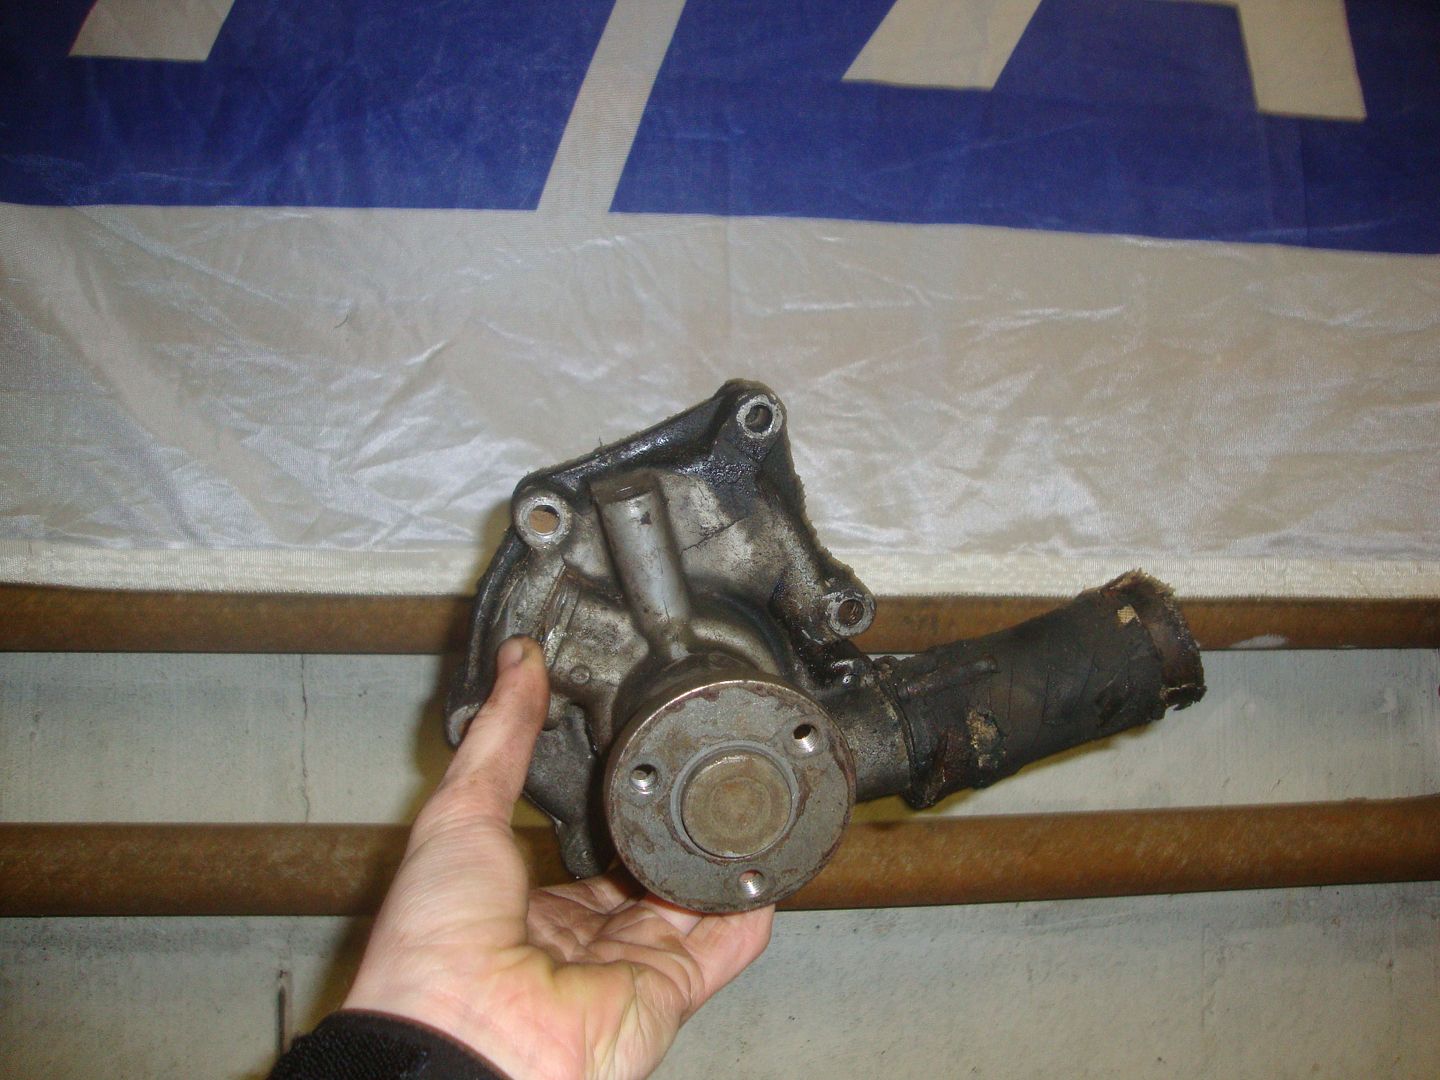 The new pump 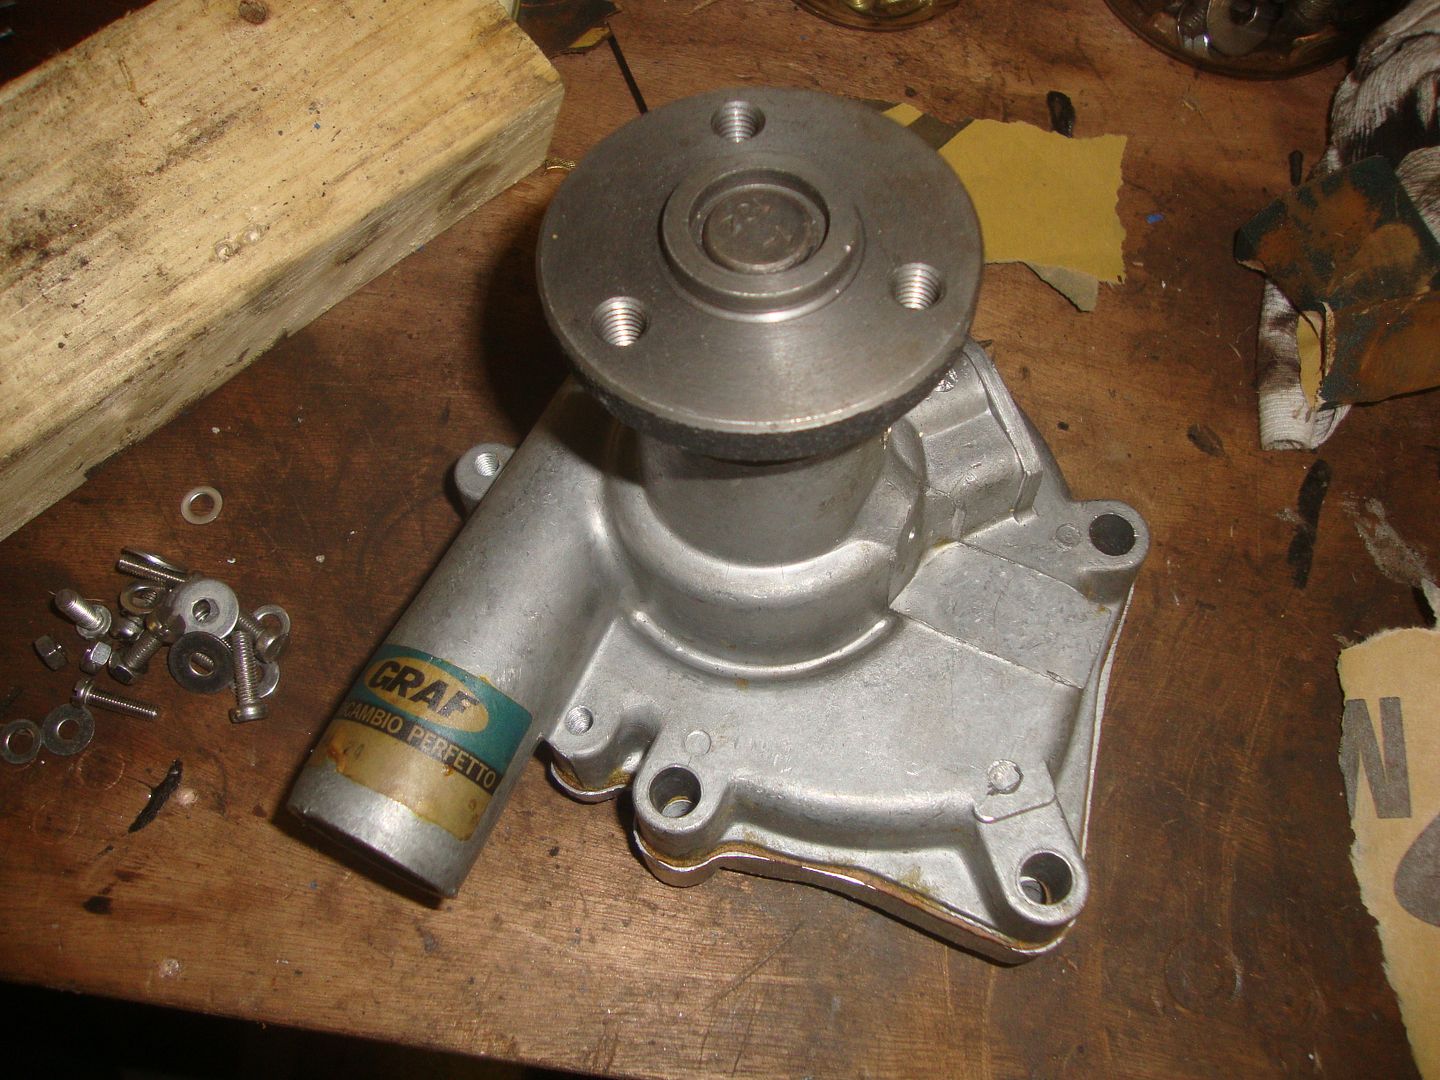 Old hose 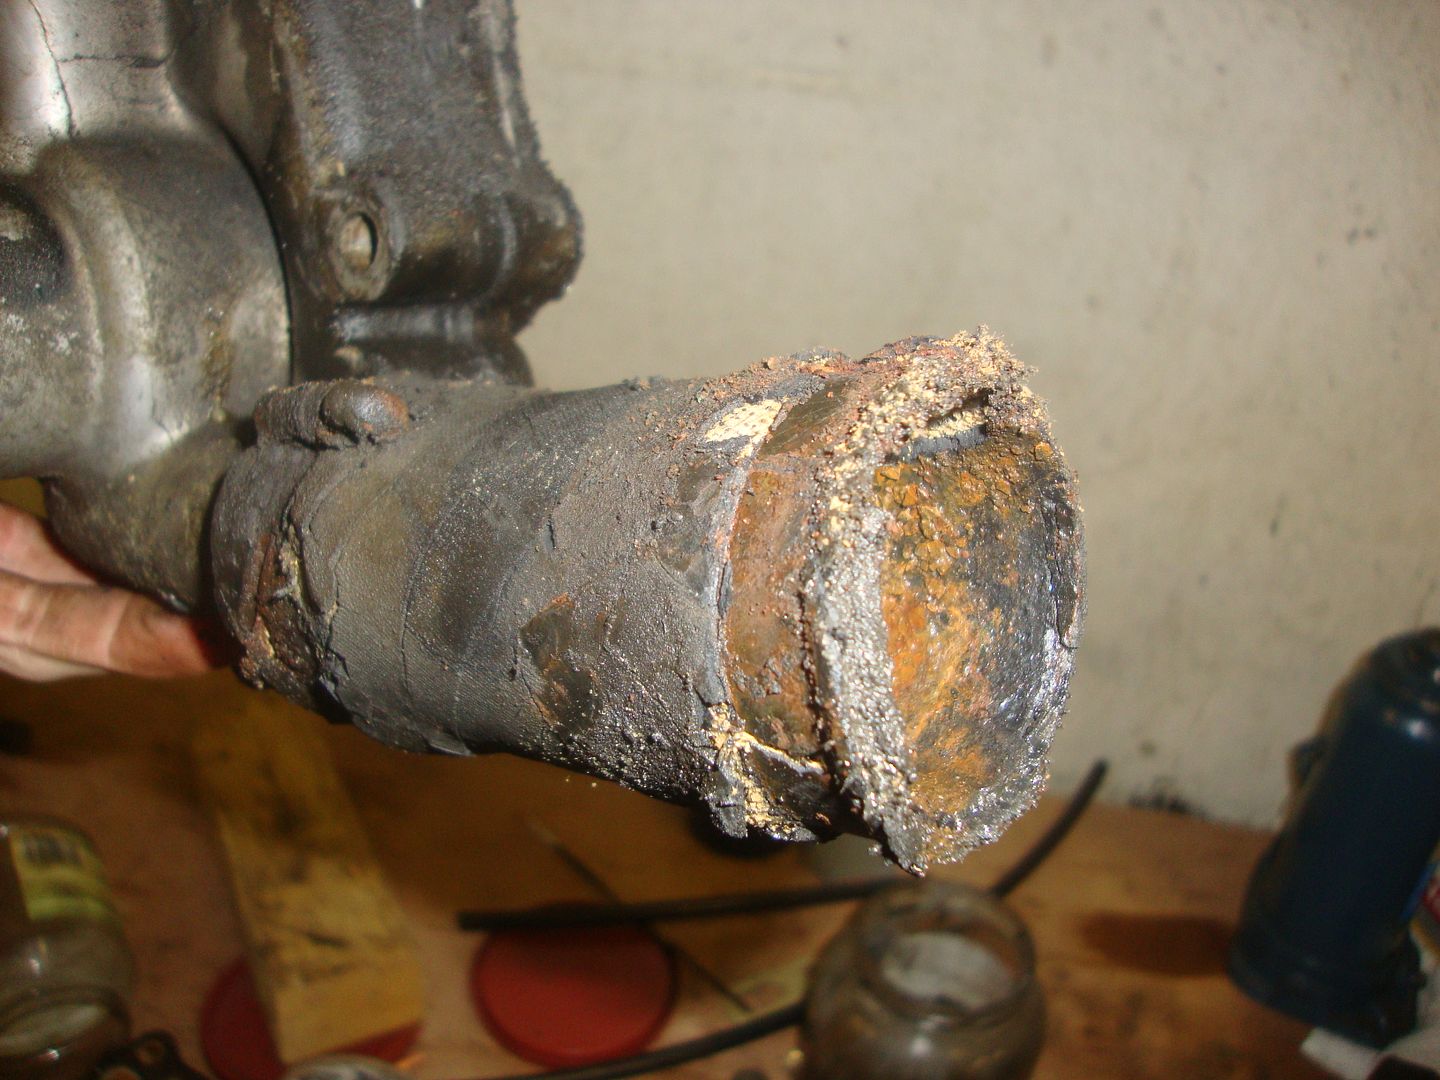 Cleaning the thread in thew engine 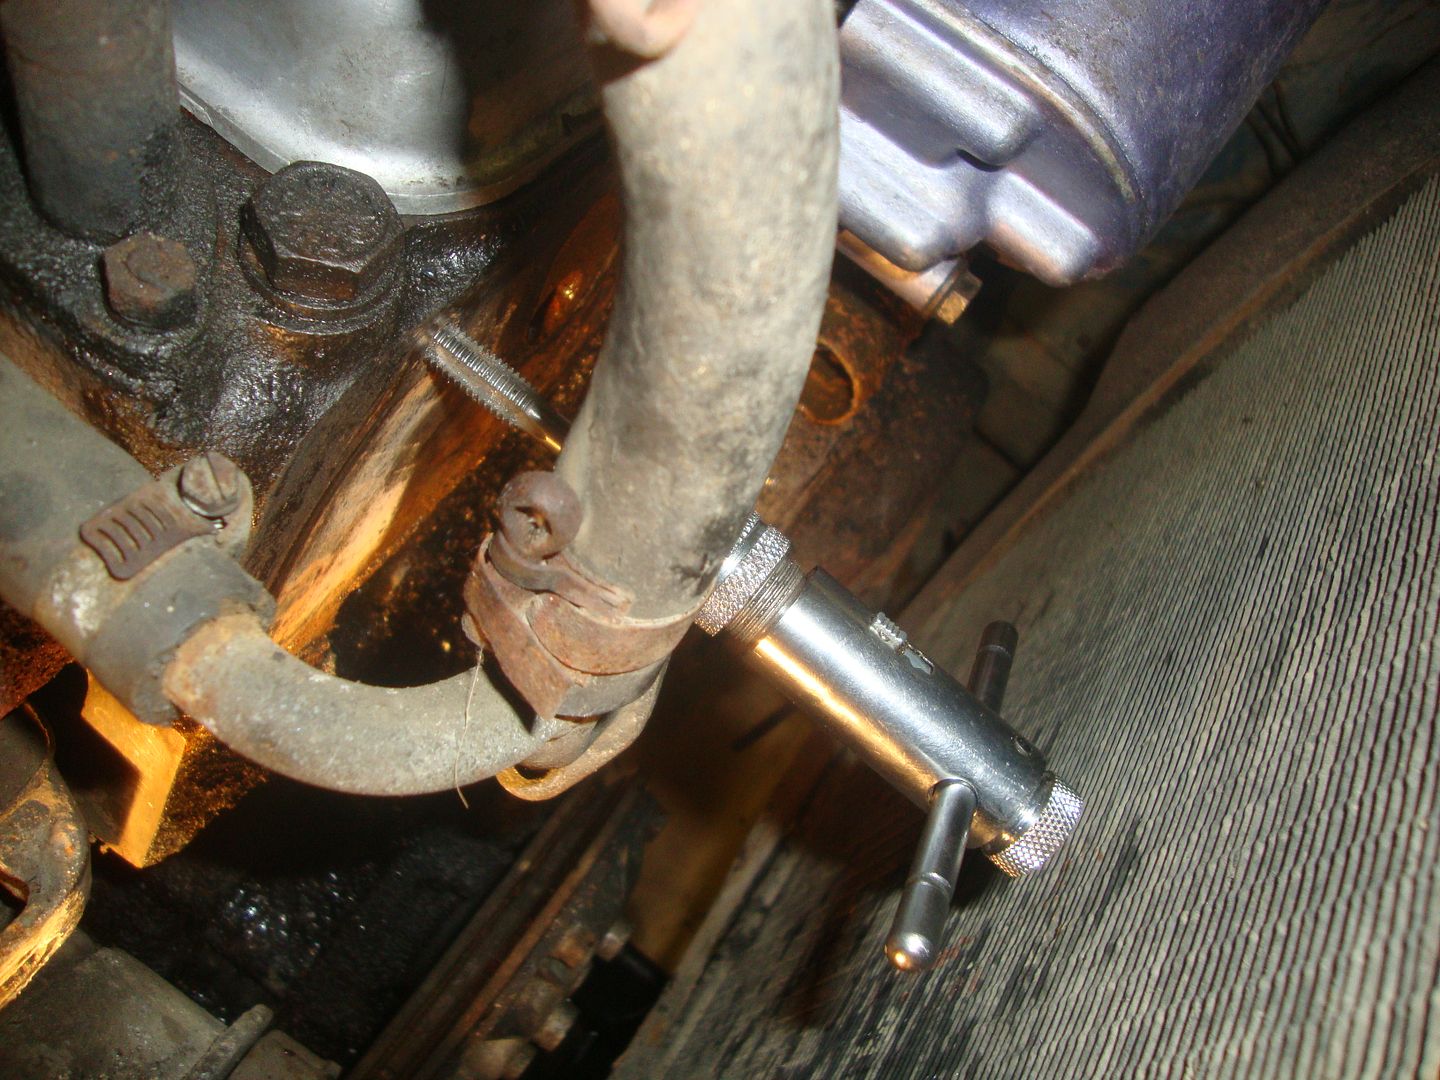 I still love these original bolts! 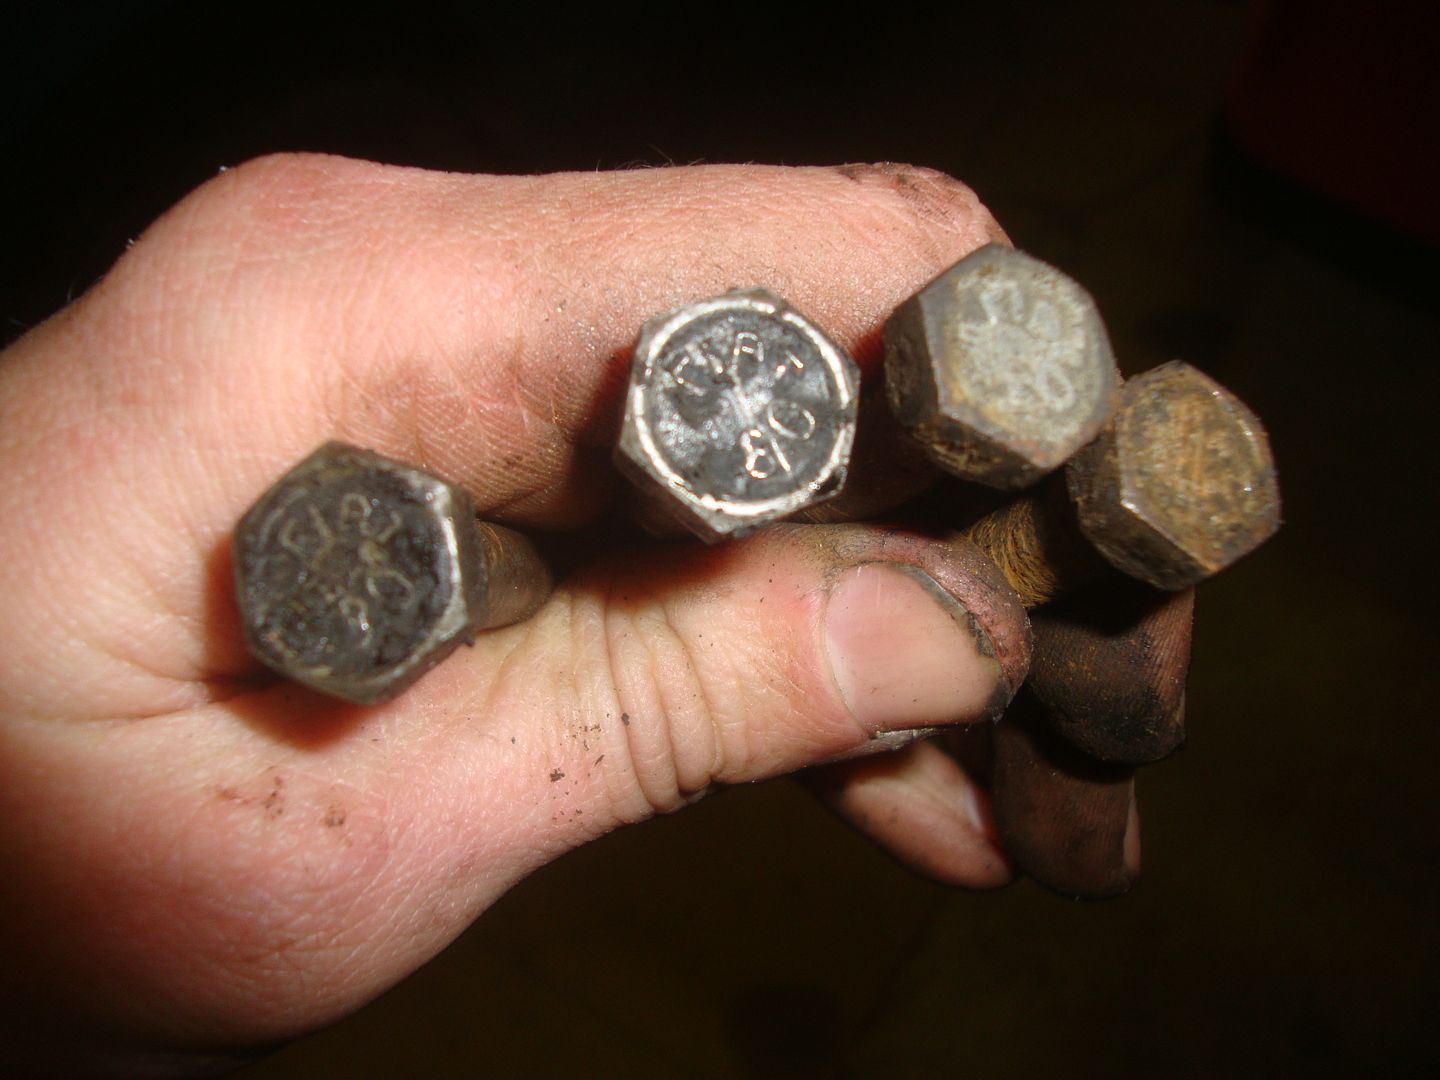 Some small parts, and a brand new gasket set. Very happy to have these! 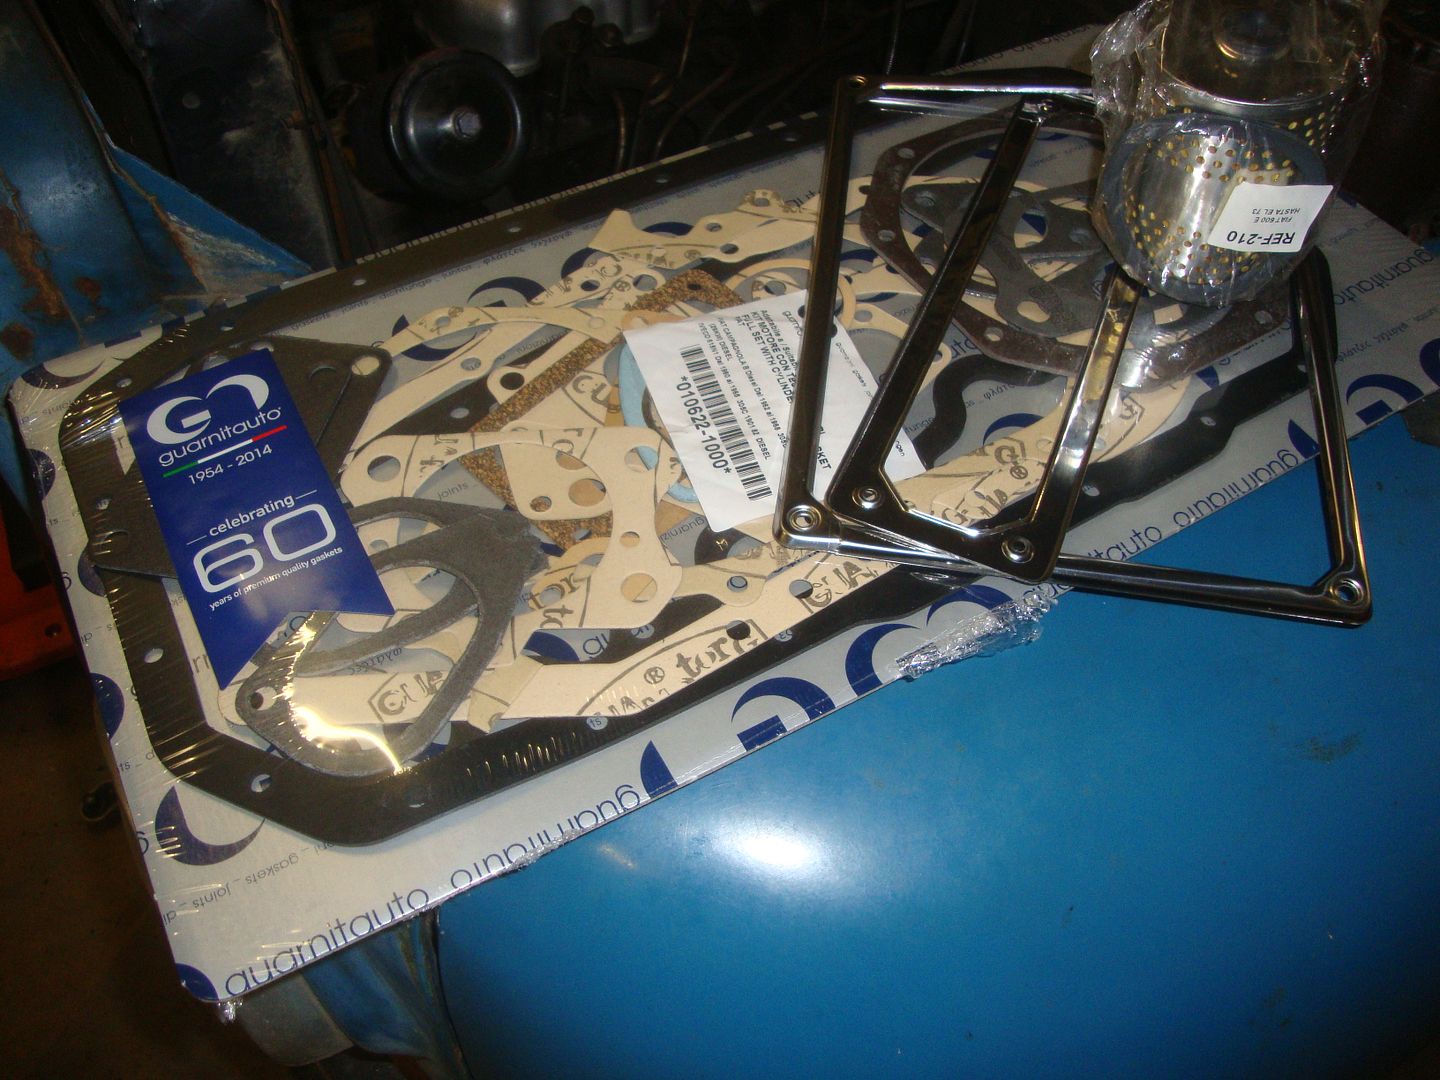 That was it for now, hopefully you enjoy the little Fiat as much as I do, haha |
| |
|
|
tofufi
South West
Posts: 1,463
|
|
|
|
Great stuff, never seen one of these before  |
| |
|
|
goldnrust
West Midlands
Minimalist
Posts: 1,889
|
|
|
|
Awesome job you're doing there  It's a very appealing little truck, will be great to have it out driving about! Will you be just using it for fun, or will it be working for a living once roadworthy? |
| |
|
|
|
|
|
|
|
Well, when the truck came here, it came here for his retirement. The weather is not that good as in his hometown, but oke  After working for over 50 years, it is time to do it slowly now. So I will only use it purely for fun, some oldtimer events and some little freights when that is necessary. By that, the 615 is too slow to drive it as a daily working-horse. In special when you need to drive it on the highways, the topspeed on the old leaflets is just 80 km/h. |
| |
|
|
|
|
|
|
|
|
Great job Martijn, nice update's , you treat Maria Luisa well.... FANTASIC F/I/A/T/ bolts...a treasure for sure !! Owww my ..that oil pfff looks like liquid silver...well much cheaper this is...
Ciao
|
| |
|
|
goldnrust
West Midlands
Minimalist
Posts: 1,889
|
|
|
|
Ah that's nice that she'll live a nice life of leisure now!  |
| |
|
|
|
|
|
|
|
Time for a little update, it has been a while since the last. Biggest thing is that we’re in 2016, so a happy new year for all car crazy guys over here! I finished the last update with the oil change. Well that didin’t work out very fine…. I drove her for about half an hour to heat up the oil, the red alternator light went on, there was a major waterleakage, and it was spilling oil all over the floor. It isn’t roadworhtly yet, haha. The water and alternator light was not that kind of an issue, it is the oil leakage that worries me. It is leaking between the cilinderblock, and the cilinderhead, so yes indeed… the headgasket is leaking. I decided to let it leak for now, I don’t want to take whole engine apart now, that’s a futureplan. The first thing that was a bit dissapointing on the 615. Luckily there are lots and lots things that needs to been done more. The knuckle that supports the wheels, steeringarms and wishbones had a huge amount of room. With the wheel mounted is was possible to move it from the left to the right a couple of centimeters! Normally there is almost no tolerance. So I took it all apart, and I think the pictures says enough in this case. I decided to only do one side, when something gets wrong or anything I can still see what the differences are. 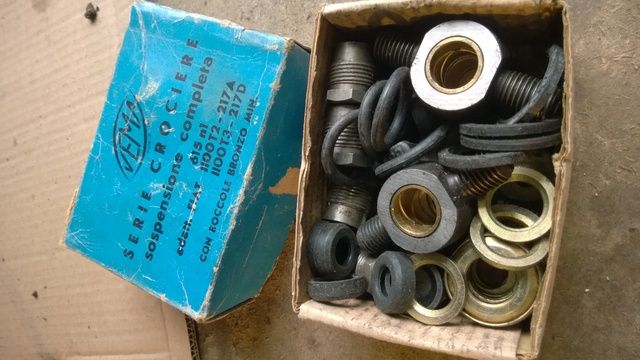 The set, in a lovely old box 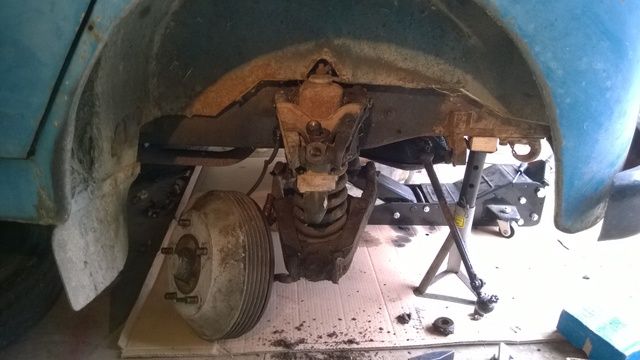 Took it apart... 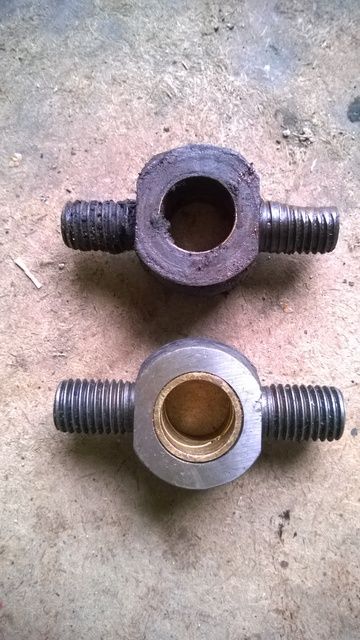 Old an new bushings... 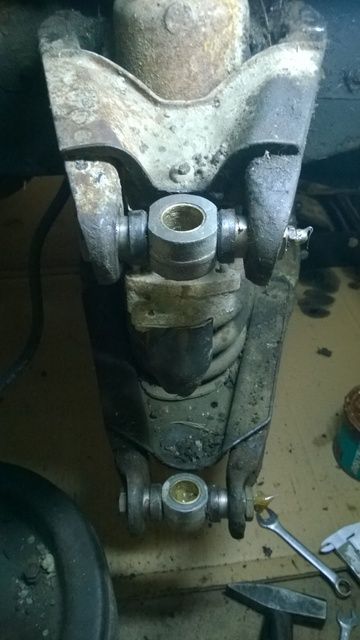 New ones mounted 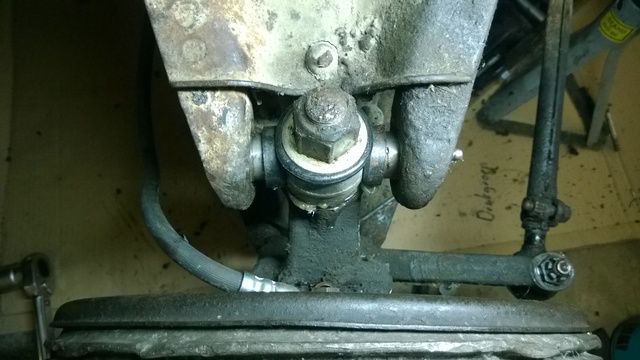 Finished 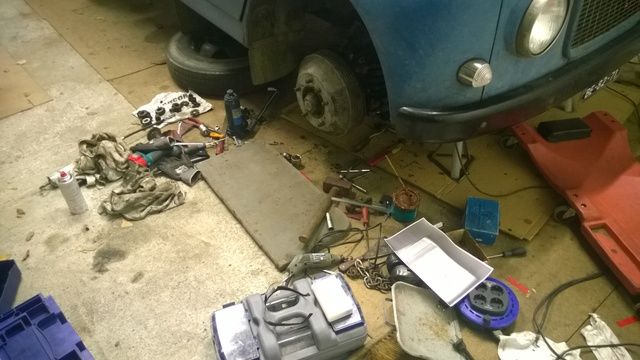 The battlefield afterwards... On the other side, one of the steeringarms had some clearance. Luckily there were parts available to repair it. It made a before and after picture, but ofcourse you can’t see the difference in clearance. 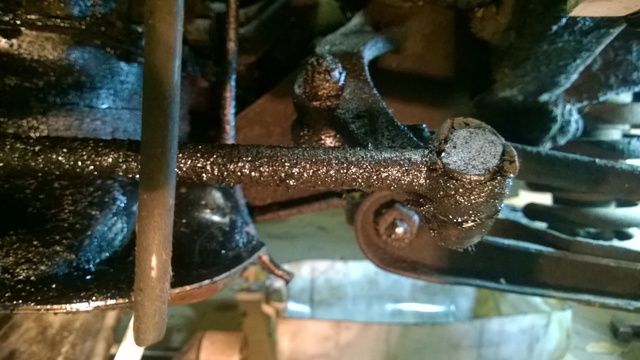 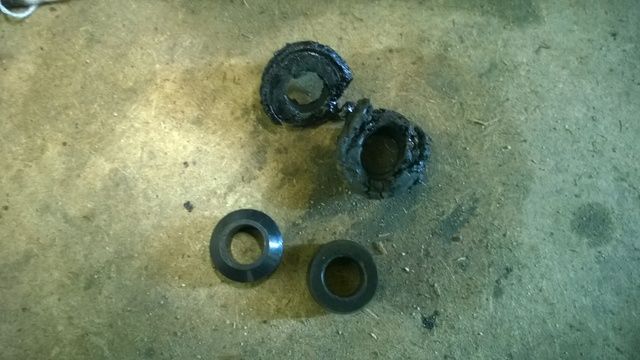 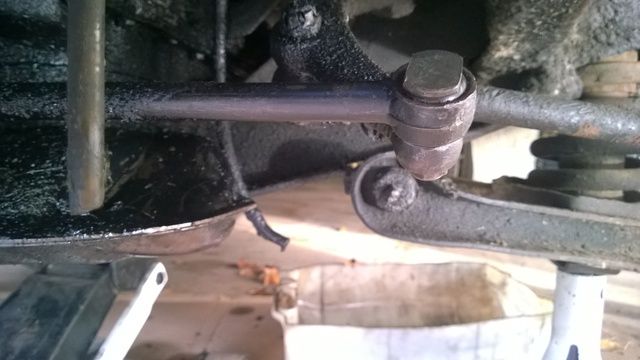 After that Luisa had still a clearance in the steering system… You must be thinking, WHEN WILL IT STOP! Well, after this, haha. In the steering house it is possible to change the distance between two of the gears. A supersimple Construction, but very very effective! So after re-setting it, the whole undercarriage on the front side of Luisa is clearance free. It must be a major improvement while driving now! After that I had some money left, so i bought the first two, of seven tires. While they were on there way to the Netherlands, I did a “quick” respray on both of the frontrims. On the pictures you can see how with looks in comparising with the old ones. Again a major update if you ask me  . The tires are not mounted yet, because the new inner tubes hasn’t arrived yet. Luisa is still standing on some jacks now. 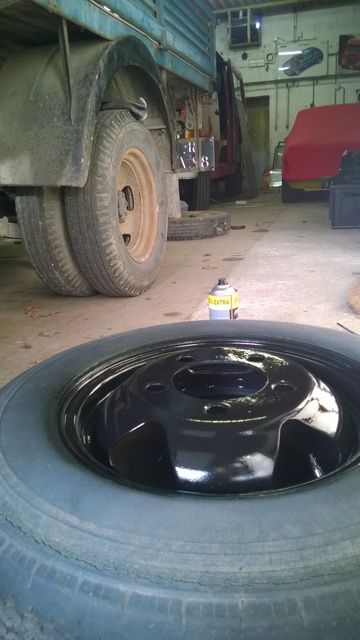 Old and new... 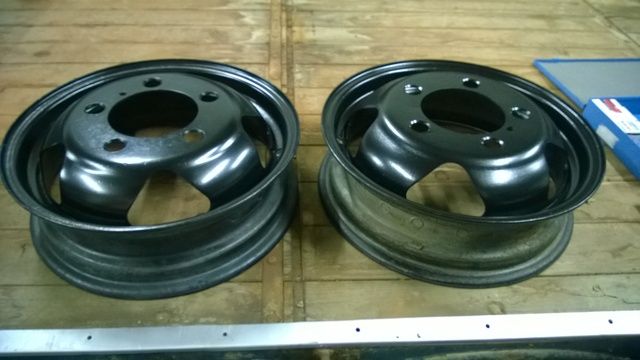 Shiny after years and years 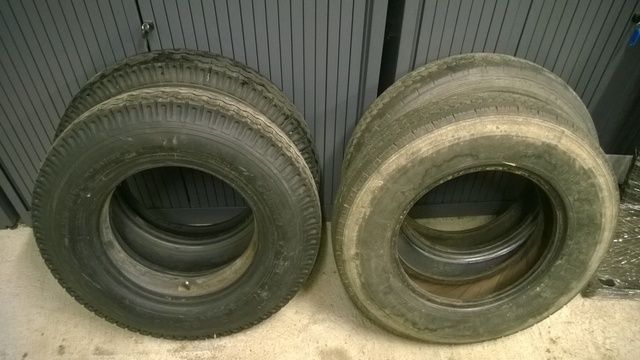 New and old tires Meanwhile I did some things on the normal maintenance of Maria, so I changed the fuelfilter: 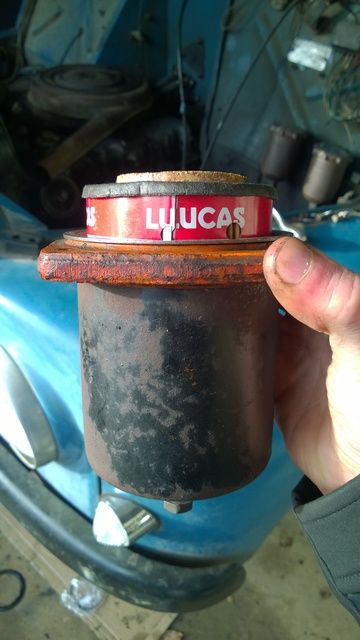 I think these old filters have a great design, I ordered one more to put in my little “showcase”  . The centrifugalfilter was next, I have never heard of it in the car industry. I knew trucks still use them like Scania and DAF. Fiat had a patent back in the days to Mount it in the crankshaftpulley. Some Fiats did only have these kind of filters, so without a normal changeable filter. On the 615 there are two oilfilters. I unscrewed it and…. 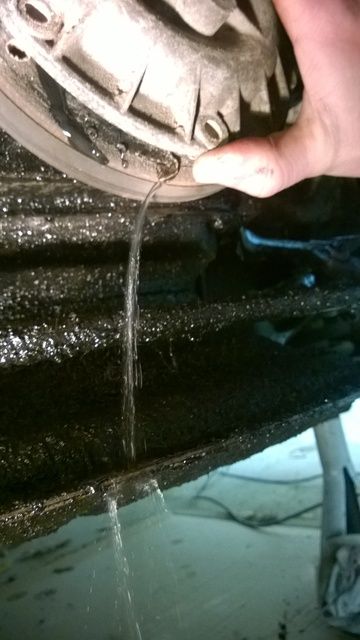 Only water? Did I took the wrong thing apart, was going on in my mind… But luckily there was some oil coming out of it. 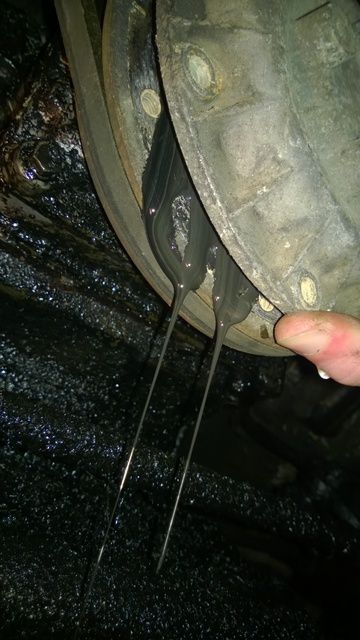 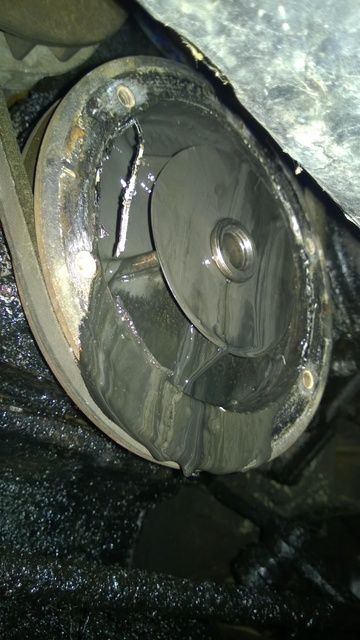 The engine was completly full of moisture, and it still is. Caused by a too low engine temperature for a long time. I hoped the filter was full of hardened oil, but there was almost nothing in it… 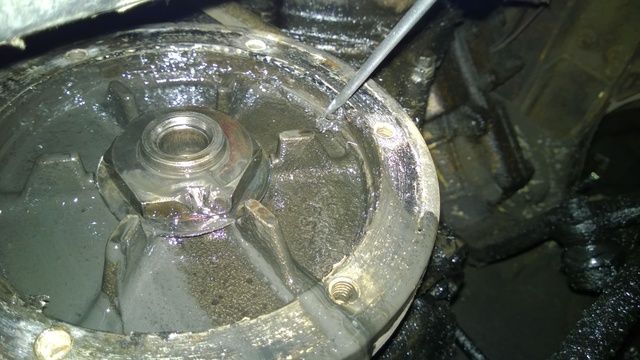 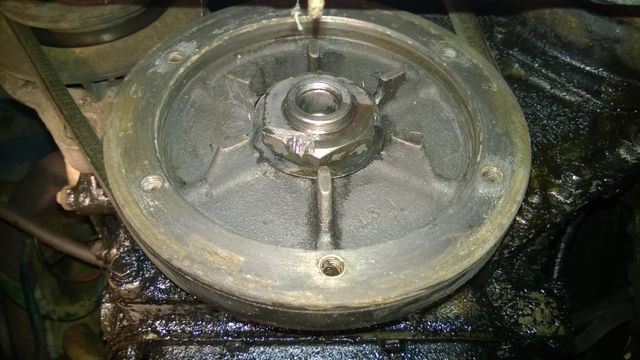 Cleaned up  I changed the airfilter with a new one, 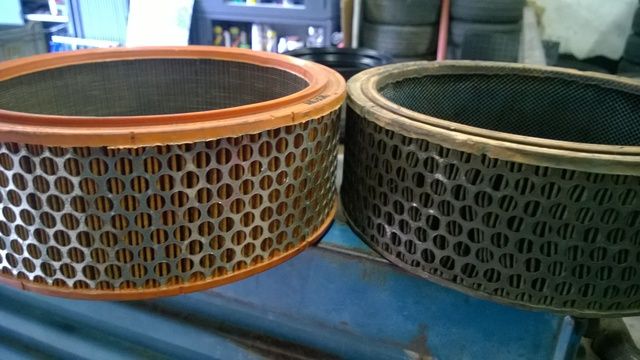 The last thing for now is one of the throttlerods of Maria, it is nice to see that is has Works for a long time! It repaired it, so it can last for another fifty years. 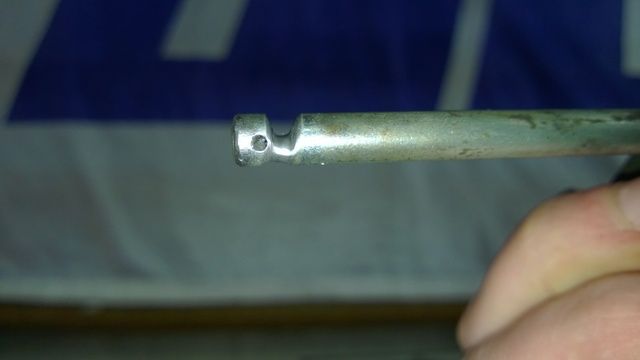 In the next update, hopefully Maria Luisa is back on her feets! Oo, and with the next update hopefully the new exhaust is mounted with the original Fiat-sixties-flat-end. The old exhaust had one of these back in the days... but it is "lost" now  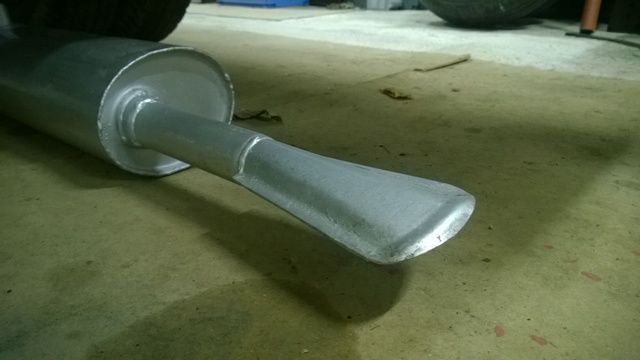 |
| |
|
|
|
|
|
Jan 10, 2016 10:22:06 GMT
|
|
Again..a great chapter added to the epic story!! Nice update,love to read it.. a lots of TLC Maria gets from you !! Well done.
Ciao
|
| |
|
|
|
|
|
|
|
Jan 12, 2016 15:11:19 GMT
|
Thanks Willem, For sure the TLC is at a high level on this project  |
| |
|
|
|
|
|
Jan 12, 2016 15:25:29 GMT
|
|
The number plate video is really nice...and it is very enjoyable to see your work on this truck . I wish you the best with that old engine and the oil issues...I'm sure with new gaskets and fresh oil it will be fine.
keep at it and thanks for sharing
JP
|
| |
I know its spelled Norman Luxury Yacht, but its pronounced Throat Wobbler Mangrove!
|
|
|
|
|
Apr 14, 2016 11:41:53 GMT
|
A update 'bout the little one. I've done quite a few things on the truck, but at other hand I didn't do that must. There was/is some more stuff that needs work also. One of the biggest things is that i'm quite busy with buying my own house. The other thing is that i have done an engine-conversion (AGAIN!) on my Fiat Uno Mk1. That is now updated to a 1500, with 75 bhp. It's way better to drive it with this engine on the highways, between the enourmous Audi's en BMWs racing by. A major difference with the past engine that's got 45 bhp.
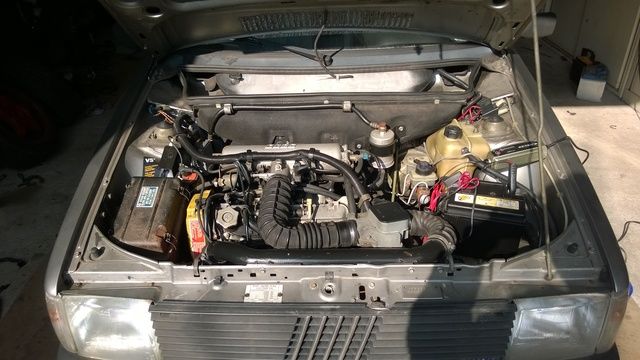
Shiny "new" engine, which added lots of power under the hood haha
But enough of the oldschool Uno, back to the classic 615. I ended the last update with the wheels. At the front axle they are mounted now, and I think it looks quite well,
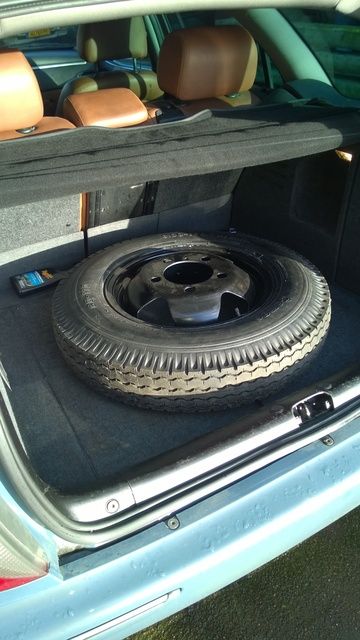
Looks got already!
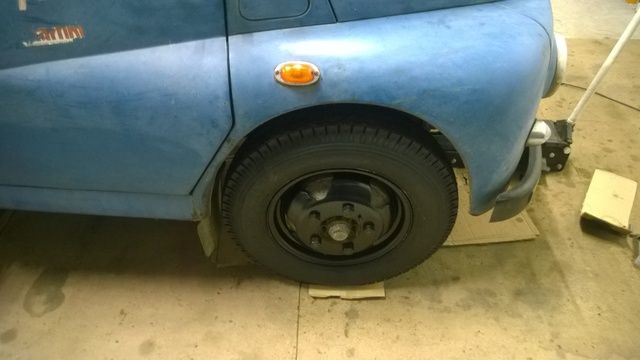
Mounted!
Also a thing that was already on the previous update, the exhaust. That one is also mounted. I think it is looking awesome! The truck is now really part of the sixties Fiat family. For example, the Fiat 1100 and the Fiat Topolino also used a flat end at the end of the pipe. I decided to use the old silencer, because it looks like that one is still the orginal, and that the original one fitted way better then the new one.
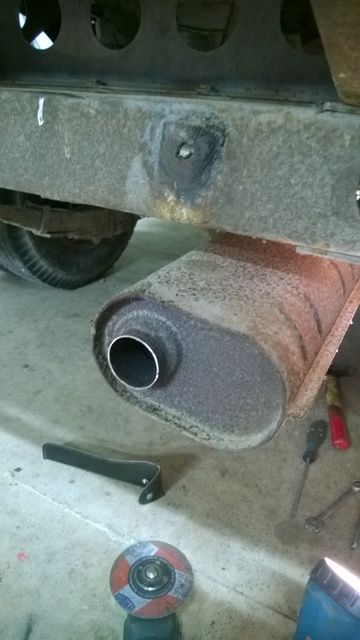
Removed the straight pipe of the original exhaust
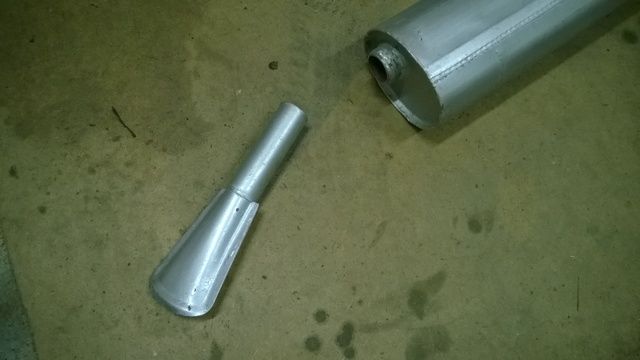
Removed the awesome pipe of the new one
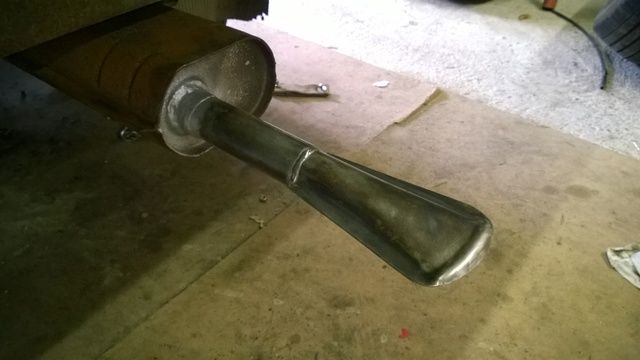
Welded it one, and made it a bit older so it looks it has never been different
Unfortunately I don't have a picture of the whole truck with the new exhaust. But is looking way better now. I didn't know that a exhaust could change the image of a car, haha. After this, I started with the rear wheels. Like the front axle I will spray them by myself, just to be sure that when I want to spray it in another colour it is not that expensive to change the colour. The quality and thickness of the paint is maybe not that great, but hey... it's still a old working horse  . The rear tires and wheels were not in that great shape. I will post some pictures, of them. (I this point I finished just two out of four rims): . The rear tires and wheels were not in that great shape. I will post some pictures, of them. (I this point I finished just two out of four rims):
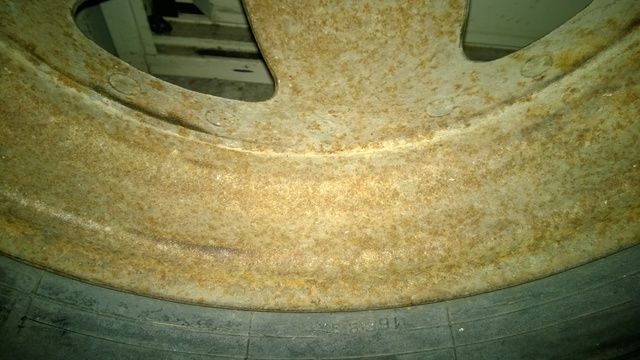
The outer rim, that had no paint left at all
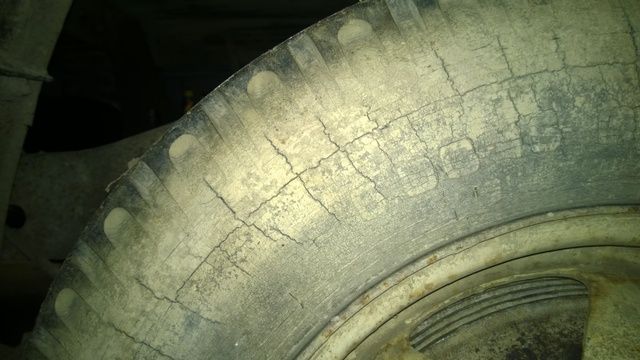
One of the inner tires, I think it's time for a pair of new ones
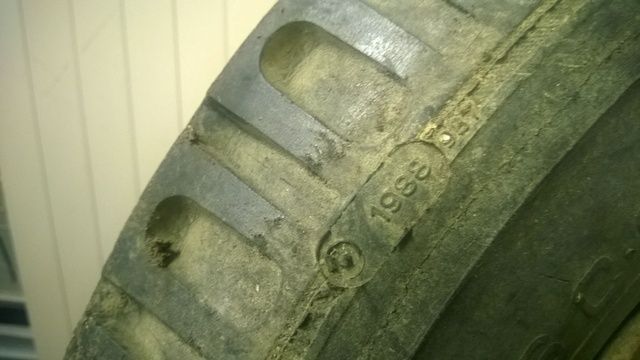
As old as I am!
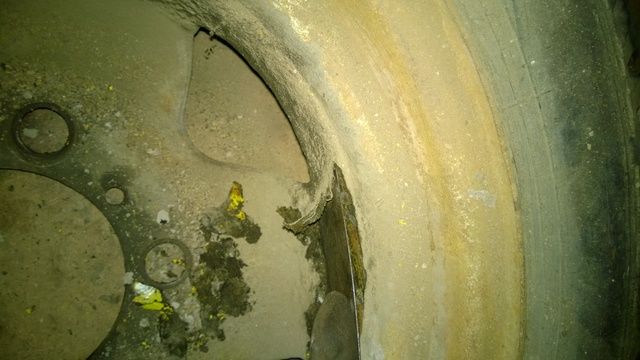
One of the inner rims, there was so much dirt on it, I started to scrape them clean with a spatula before I could do anything with it
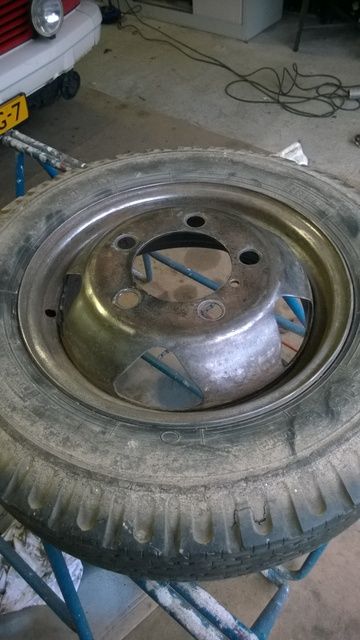
One of the four cleaned blank metal rims, ready for the primer
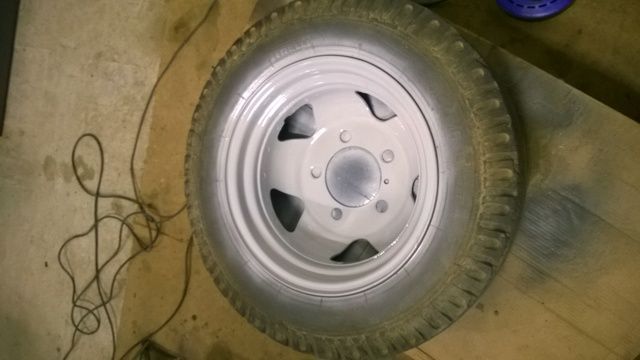
Primer is on!
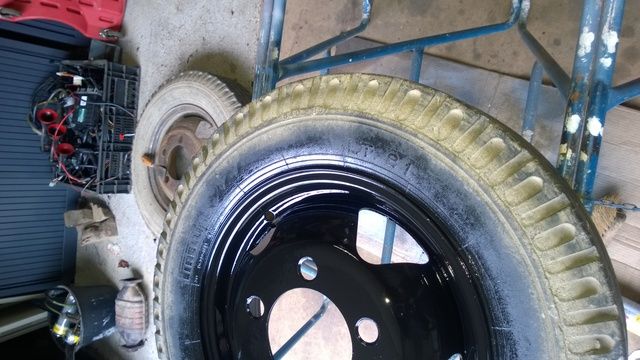
Quick paintjob done
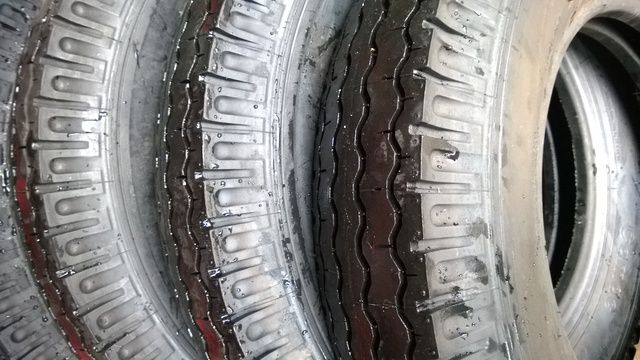
In the meantime, so new tires arrived!
As I said, I'm not finished with the wheel, so this will be it. Hopefully the wheels are on with the next update.
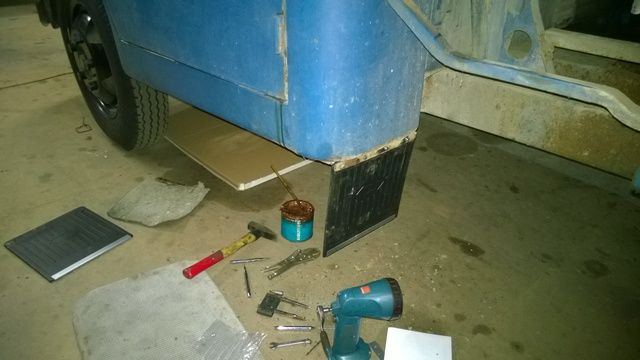
I also did some little things on the truck, one of them is changing the mudflaps. Left and right were different versions mounted, and they were so old, I think they will not survive a new year. At the rear of the pickup, mudflaps are also mounted. I ordered them also, but they are sill in backorder... Another thingy for the next update.
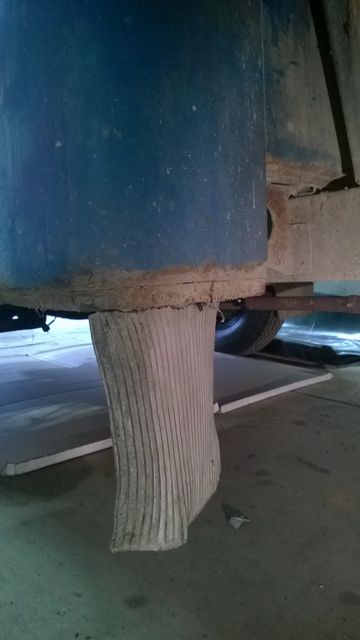
The old mudflap
The new mudflap
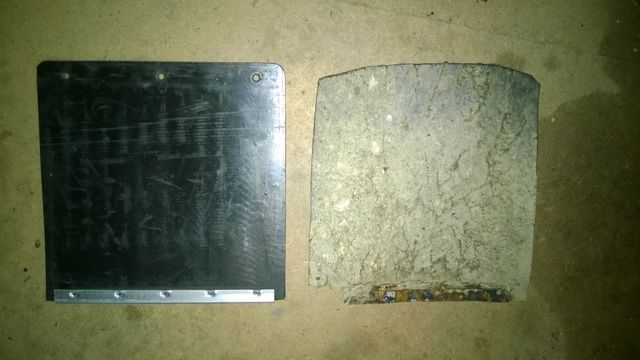
I think this one does not need any more info.
An other thing I finally repaired are the door openers. There a no (as far as I know) aftermarket parts for this one, so I had to repair them. I like to fix little thoings like this, but without replacing parts, you never know how long it will work fine. At the other side... It is not very hard to took them apart and removing them, so whatever  . When I bought the 615, the doors couldn't stay open, and felt back time after time. The construction is quite easy, as every car back in the days. There are two tiny little leafsprings and two steel "rollers" on every door. On the door itself is a metal srip who has some contour that runs through the steel rollers. When the contour is behind the rollers, the leafsprings pushes the rollers down so hard that the "contour"in strip can not go back. Pictures are better then words, so here they are; . When I bought the 615, the doors couldn't stay open, and felt back time after time. The construction is quite easy, as every car back in the days. There are two tiny little leafsprings and two steel "rollers" on every door. On the door itself is a metal srip who has some contour that runs through the steel rollers. When the contour is behind the rollers, the leafsprings pushes the rollers down so hard that the "contour"in strip can not go back. Pictures are better then words, so here they are;
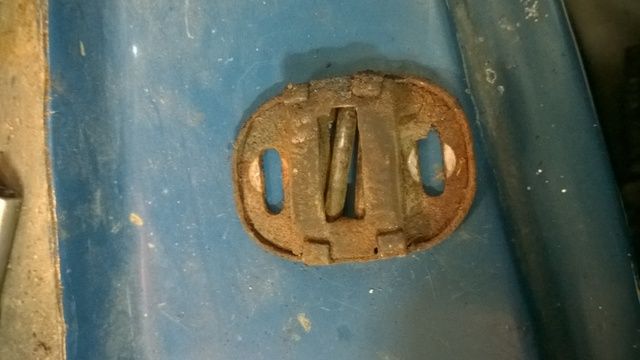
One of the openers
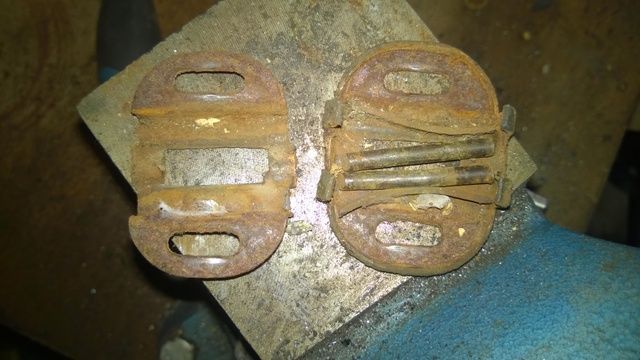
The inside of the opener
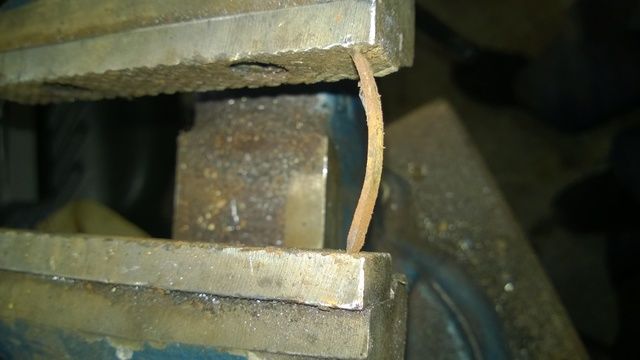
Made the leaf a bit siffer
And the are staying open!
And then the last thing for now, I drove the Fiat the last time (when it was leaking oil and water) and the truck was "bonking" constantly somewhere on the front suspension. Last week I started to investigate the cause of this sound. I founded this:
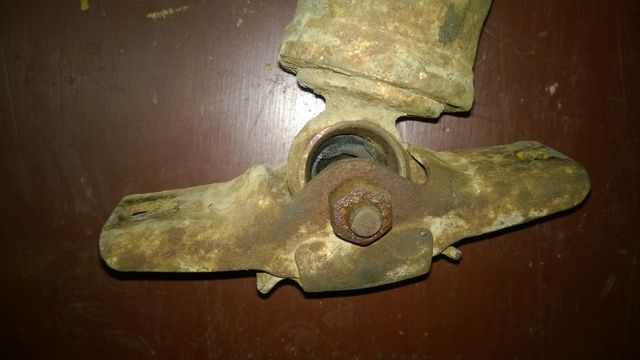
That supposed to be a bit tidier....
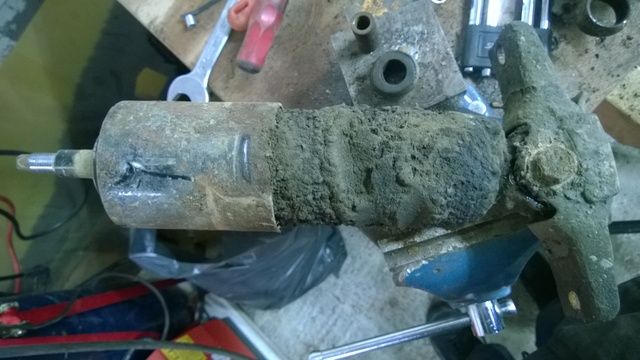
The shock on the other side doens't not look that fresh...
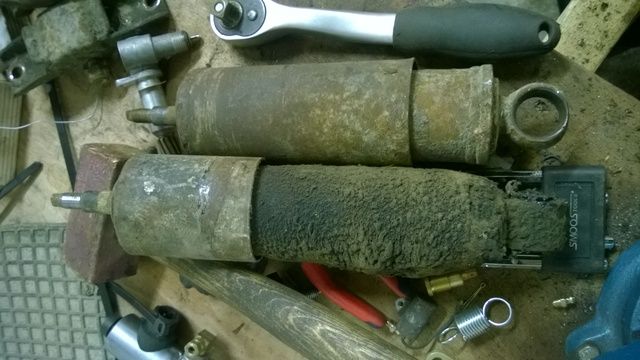
Two shocks are on there way from Italy to the Netherlands, i'm sure that will make a huge diffence while driving!
|
| |
|
|
|
|
|
Apr 14, 2016 12:21:14 GMT
|
|
HOW HOW HOW...... Did I miss this thread??
Amazing truck, I love commercial vehicles as well.
This is certainly a truck I would be happy to have on my drive.
|
| |
|
|
|
|
|
Apr 14, 2016 19:39:48 GMT
|
|
I'm quite happy to have a Fiat like this, especially in this great original condition!
|
| |
|
|
|
|
|
Apr 14, 2016 20:03:40 GMT
|
|
Love this truck and the work you're doing on it.
I think my favourite bit is the suicide doors
|
| |
|
|
lightyearman
Part of things
  GYJDM - Grimsby based Japanese car club - Find us on Facebook
Posts: 639
|
|
Apr 14, 2016 21:46:36 GMT
|
|
That is a bobby dazzler
|
| |
'89 Honda CRX siR Glassroof Flint black fully restored track beasty
'90 Nissan S13 Pignose - pass the mig wire
'86 Mini - matt orange, 13" Wellers, Project 2018
'97 LDV Convoy home built camper/tramper van
'04 Saab 9-5 Aero HOT. Anyone want it?
'91 Honda VFR400 NC30 17,000 km from new
'87 Honda XR80 4 stroke baby crosser
'03 Mini Cooper S - honestly, they are fun...
'15 VW T5.1 LWB daily brick
|
|
|
|
|
|
|
|
Way cool truck. Are parts difficult to find for it?
|
| |
|
|
|
|
|
|
|
|
Where has this thread sprung from?? How have i not seen this ...
i think this more than wins the 'what is the coolest van/ truck' debate!
Another vehicle to the 'I want' list .....
Lovely ....
|
| |
|
|
|
|
|
Apr 15, 2016 13:33:35 GMT
|
|
Thanks guys!
Well, searching parts is sometimes a issue. Luckily Fiat used a lot of parts in other models, the only problem is that you never know which model.
There are parts used, as far as I now, know from the following models:
Fiat 500
Fiat 600
Fiat 850t
Fiat 2300
Fiat 1100
Fiat 1100t
Fiat 625
Fiat 616
Fiat 616 n1/2/3
Fiat Campagnola (Millitary Jeep)
Fiat 315 (Tractor)
A lot of parts I've bought so far are coming directly from Italy, that means that sometimes the shipping costs are expensiver then the part itself. I'm glad to have thé Fiat 500 specialist in the Netherlands nearby my house so I can compare some parts. I like the search for new parts, it's becoming a part of the project. Contacting all kind of different Fiat enthousiasts in different countries is quite fun!
|
| |
|
|
|
|


 . First things first, the plates arrived and mounted. On the front I mounted a in the Netherlands illegal plate. This one has the size of a old Italian plate, so orignal on the truck. Illegal here, because it is way smaller that a original plate. The fine for not having a original one is that about 50 to 70 euro… I can life with that
  .
.


