mk2cossie
Club Retro Rides Member
Posts: 3,063  Club RR Member Number: 77
|
|
Aug 17, 2018 12:25:06 GMT
|
And there was me thinking (foolishly) that this thread was back to the top of bookmarks due to progress  Got my hopes up high, and came crashing back down again  (how is the crankshaft/E shaft making progressing though @johnnybravo?) |
| |
Last Edit: Aug 17, 2018 12:25:20 GMT by mk2cossie
|
|
|
|
|
|
|
Aug 17, 2018 16:25:32 GMT
|
And there was me thinking (foolishly) that this thread was back to the top of bookmarks due to progress  Got my hopes up high, and came crashing back down again  (how is the crankshaft/E shaft making progressing though @johnnybravo ?) E shaft is finished. Ready to install |
| |
|
|
|
|
|
Sept 5, 2018 10:35:35 GMT
|
A little inspiration for you for the Mazda?
|
| |
|
|
|
|
|
Sept 30, 2018 8:24:42 GMT
|
Follwing the links on J.B.'s other thread brought me to THAT R12 made in someone's garage which brought me to another page ( truthaboutcars.com) about the cars stored under Mazda's USA headquarters - lo and behold a 1972 RX-2 Even in a dirty and neglected garage (and with the steering wheel the wrong way around) they're beautiful 
(and apologies for getting all your hopes up for a new RX-2 update) |
| |
Last Edit: Sept 30, 2018 8:25:36 GMT by quietsailor: add in apologies
|
|
|
|
|
Sept 30, 2018 20:14:17 GMT
|
|
I’ve been watching a blokes YouTube channel where he’s restoring an old Cosmos. Keeps me entertained while JB is faffing about with his Reliant Robin.
Aaroncake is the channel if anyone is interested. Check out that mullet.
|
| |
|
|
|
|
|
|
|
Well, it's been awhile..... Went and checked if my baby is still wrapped up all snugly 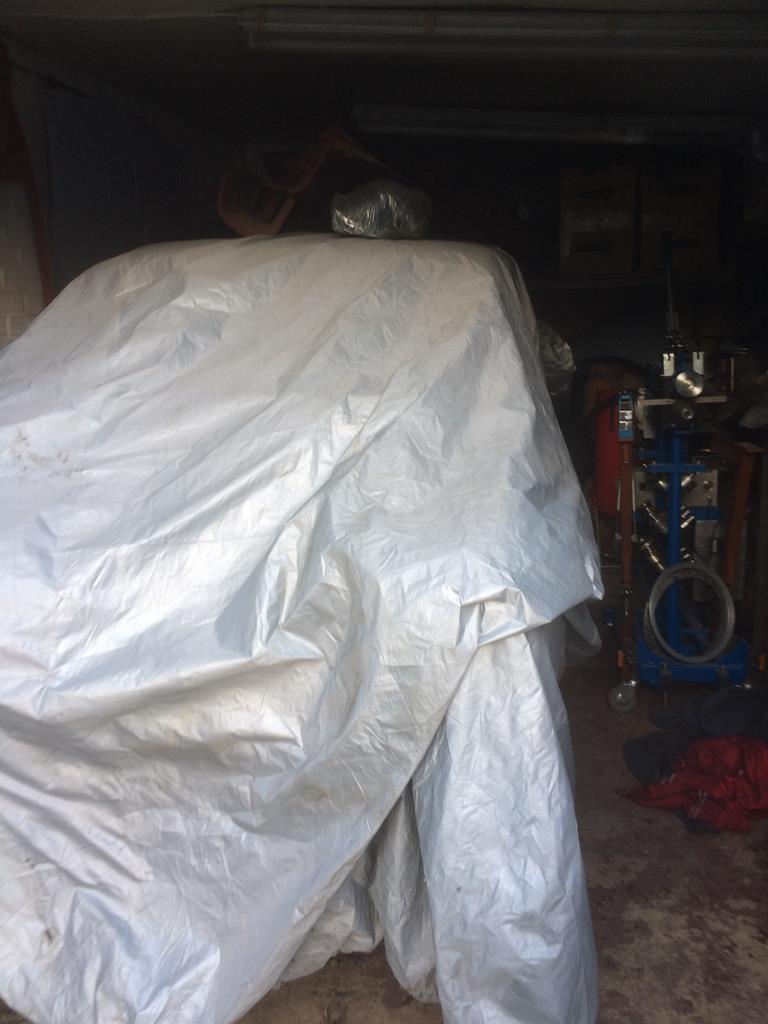 All good there 😁 What with going self employed and various other things, the Mazda has had to take a step out of the limelight. I haven't done much, but that doesn't mean to say I don't keep a constant eye out for parts. Having had time to think about the engine,(yes, a lot of time 😂), I decided that 500hp of boosted semi peripheral port engine wasn't the way forward. I want to go three rotor ,naturally aspirated,probably around 300hp but with old formula one soundtrack added. Nothing you haven't already heard,if you have managed to wade through my ramblings thus far.... What I have decided, was it would be a total waste to reconfigure my two rotor into three, as all the plates are extensively ported. These ports would land up getting filled with epoxy,with new peripheral ports straight into the rotor chamber. So plan is to keep the two rotor semi peripheral port aside for future use ,and start afresh with the three rotor. So eyes wide shut for organ donors... Monday saw a 700 mile round trip of both work and organ gathering. Came home with very unlikely bedfellows 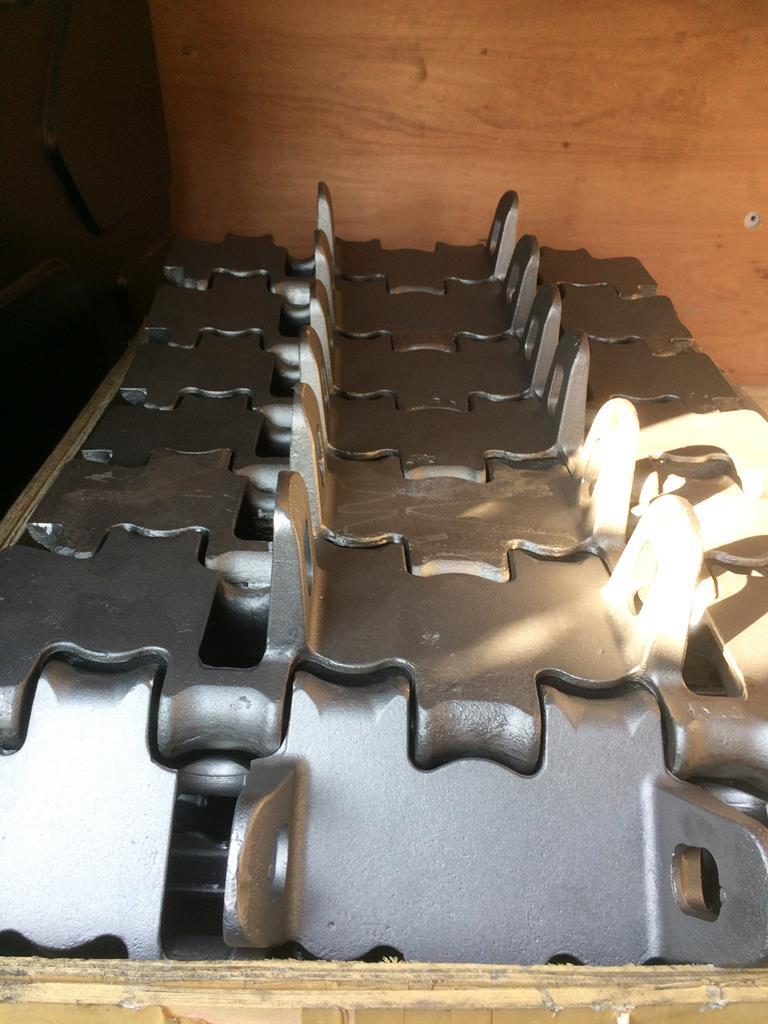 A box of track I have just had cast for the Panther tank rebuild 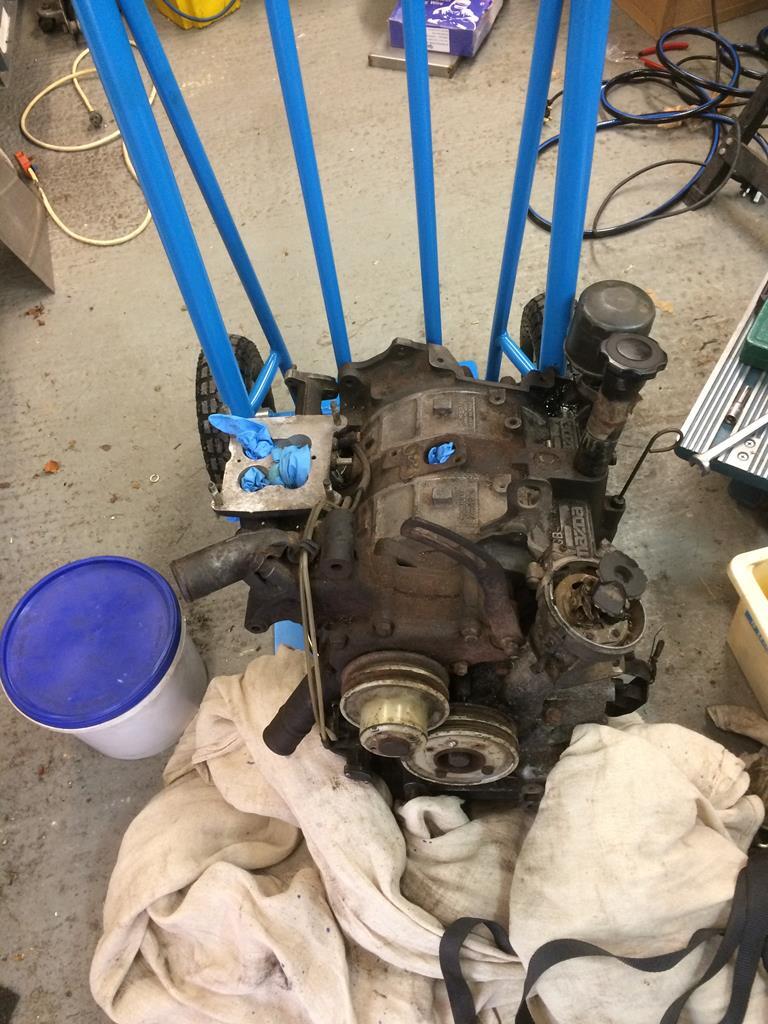 And an oldschool 13b engine/ organ donor... |
| |
|
|
|
|
|
|
|
Initial inspection shows the engine to be in a rather nice,semi unmolested state.As it turns out, the former owner/ guardian of the engine is a bit of a petrol head. No, probably better put as the ultimate petrolhead 😂 .Not one for car clubs or forums,just builds for personal satisfaction. 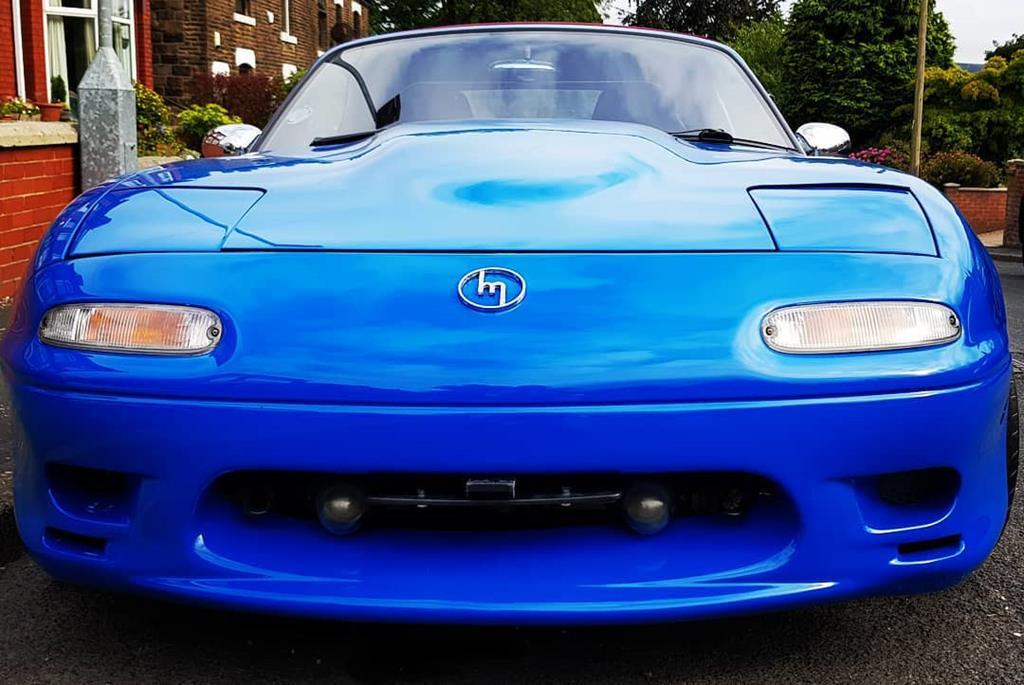 This has got to be the most immaculate modified roadster you will ever see.. Should look familiar to some, as I do believe it won best naturally aspirated at the Gathering...Its awesome 😊 And ,not one to rest on Laurels, I do believe another engine swap is on the cards...😜 Anyway, moving on. Having puked oil all over my van and garage floor, I set about doing what should have been done before removal, and that is, drained the oil...🙄 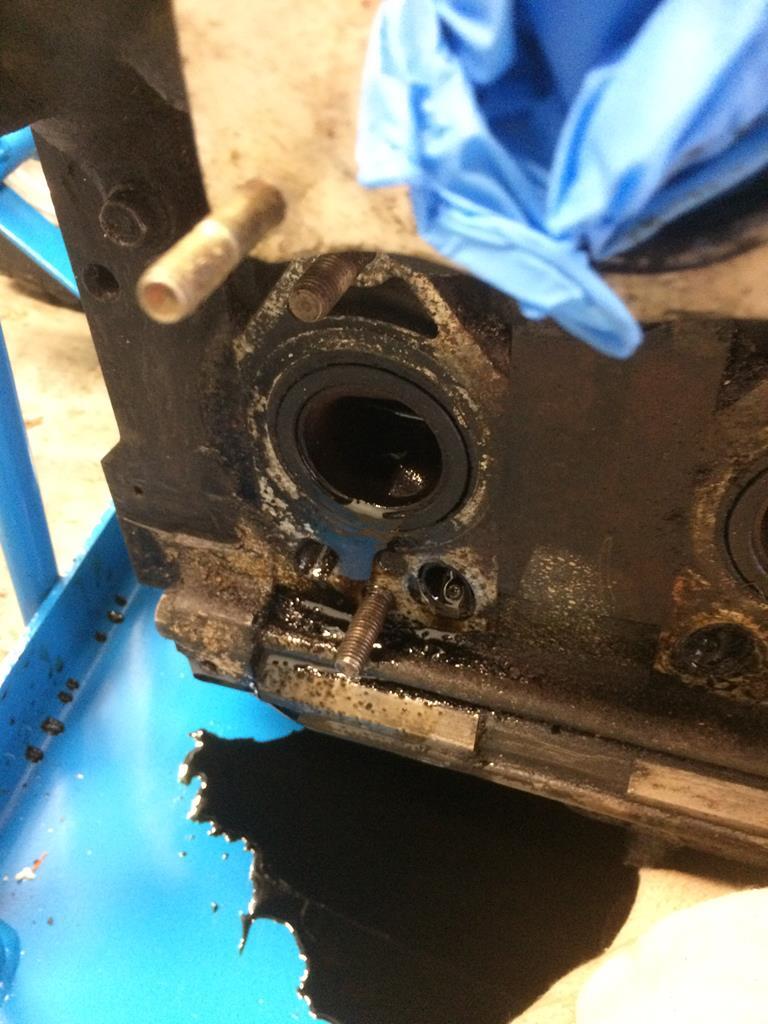 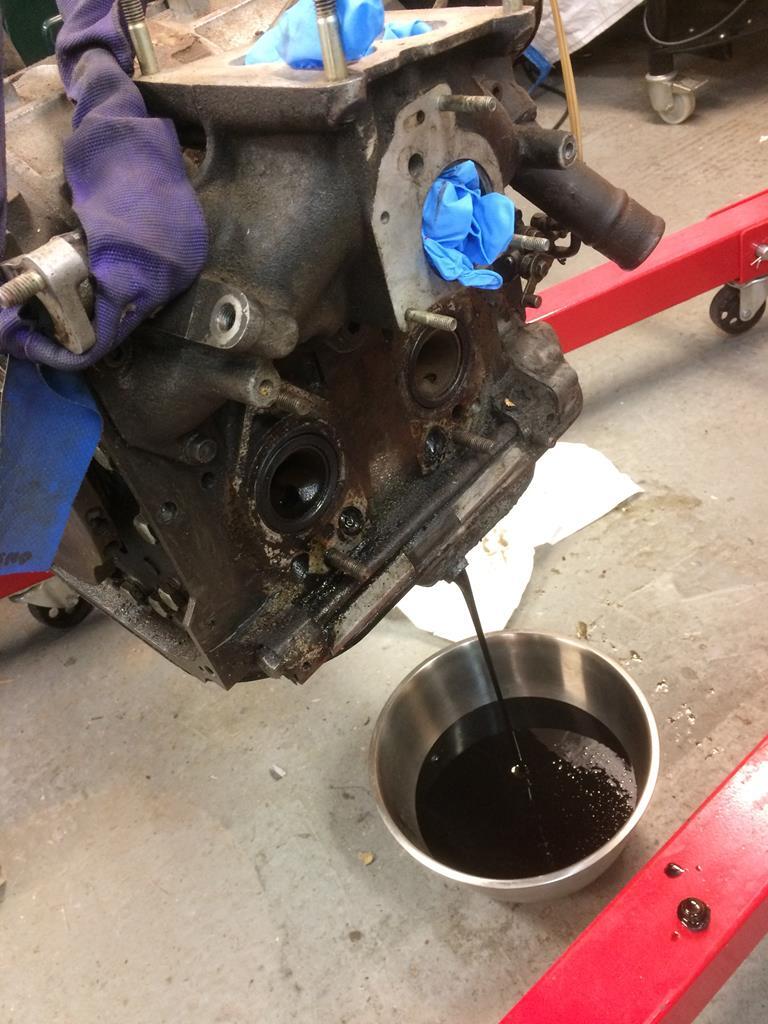 Inlet manifold off to unearth tiny little ports compared to my other motor. 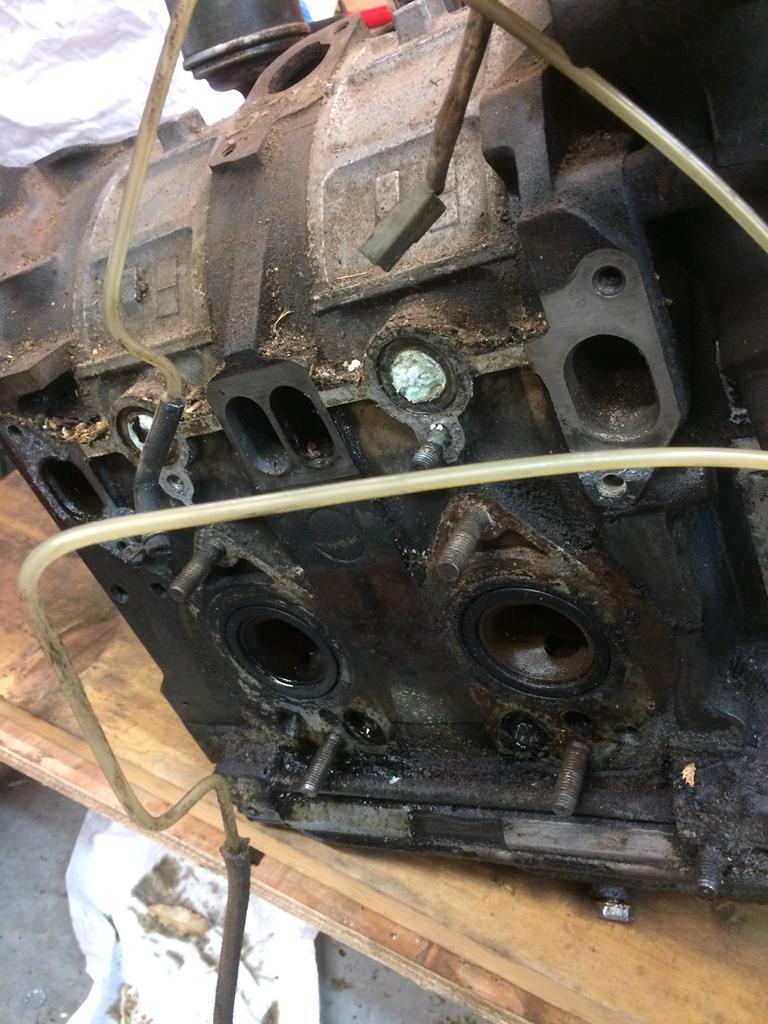 Tiny little ports are good for this application, as it means less epoxy needed to fill them in. On the whole, very happy with my purchase. Very little rust and it doesn't look like it was stored in a well...😂 One thing that doesn't bode well,is this pile of snot on the front cover 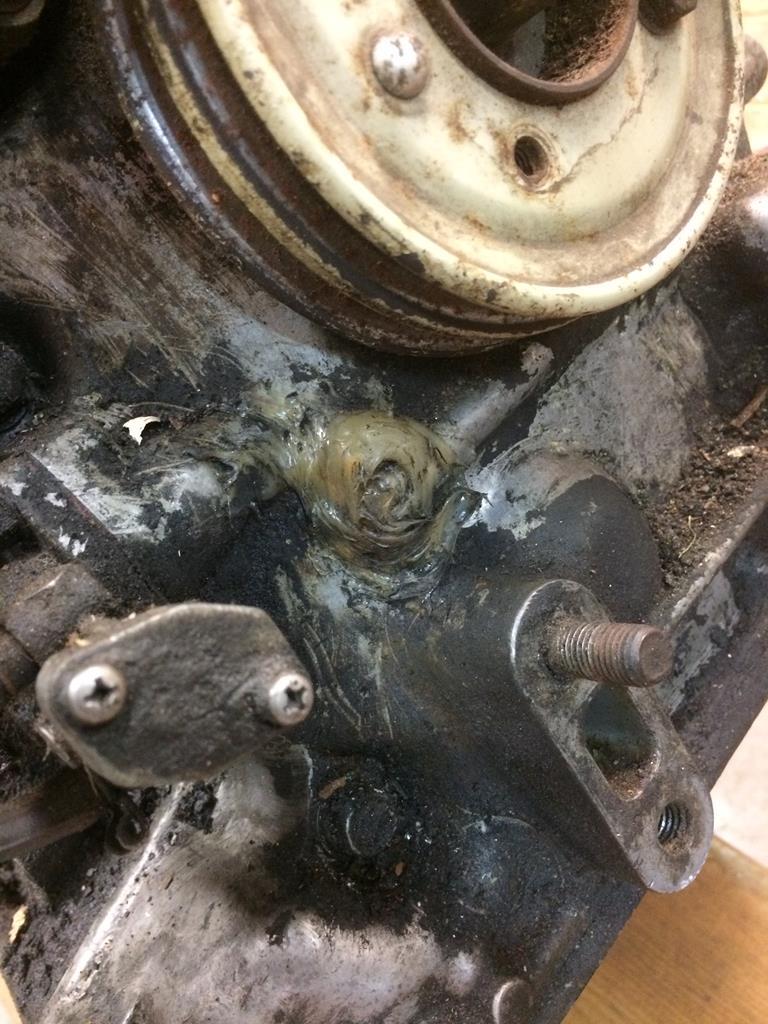 I am liking it not.... |
| |
|
|
|
|
|
|
|
This is an early 13b, oldschool. It had been in an auto,as it has the loose counterweight on the back where the flexplate would of bolted on. No use for the three rotor as the size, shape and position of the rear counterweight is totally different on a three rotor. Still, a very nice addition that can be used on the two rotor, enabling the use of a nice,light flywheel. It does however pose a bit of a challenge in how to you stop the engine turning to be able to undo the 54mm nut that holds it on to the eccentric shaft,(350-400Nm)as it doesn't have a ring gear attached that you can lock? ... 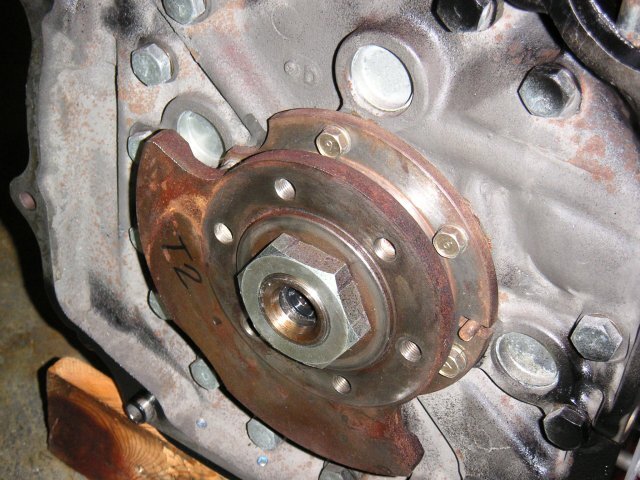 Photo shamelessly borrowed from the Internet as I couldn't be ar$ed to take a photo 😂😂 Special tool time..... Bit of plate and wizz some holes into it, before gluing it to a stick 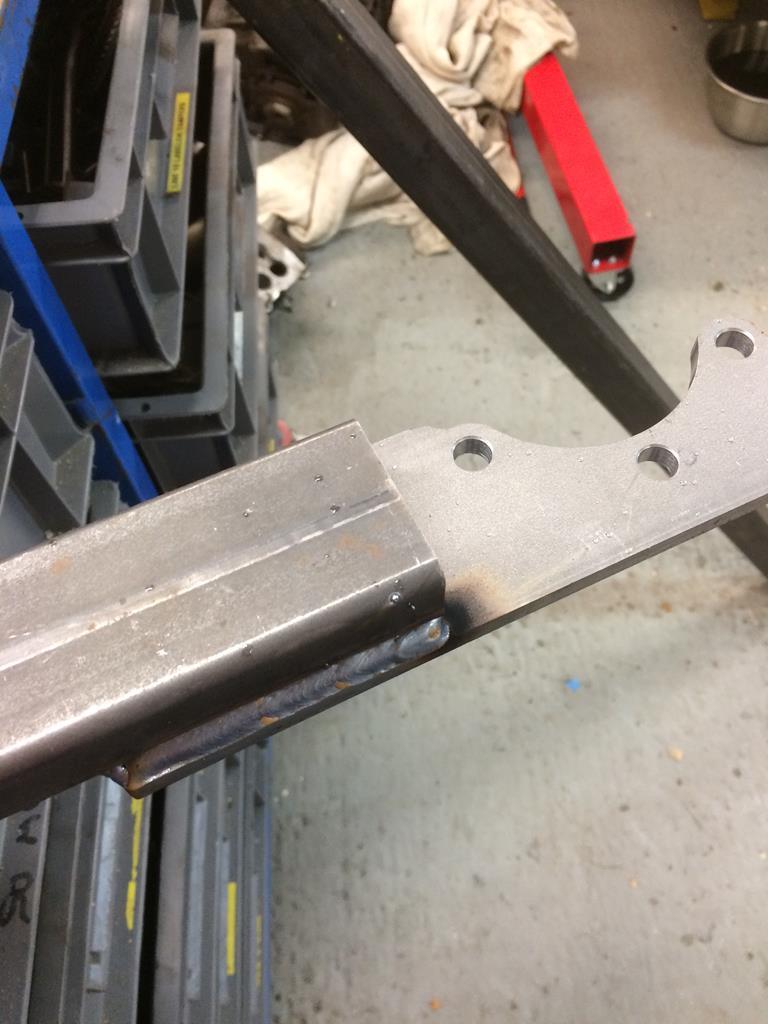 Right. Where is my 54mm socket? Not where it should be,is the correct answer 👎🏻 Two hour round trip to collect. Sod that.Quicker to make a spanner. Bit of 100mm roundbar washerised before use 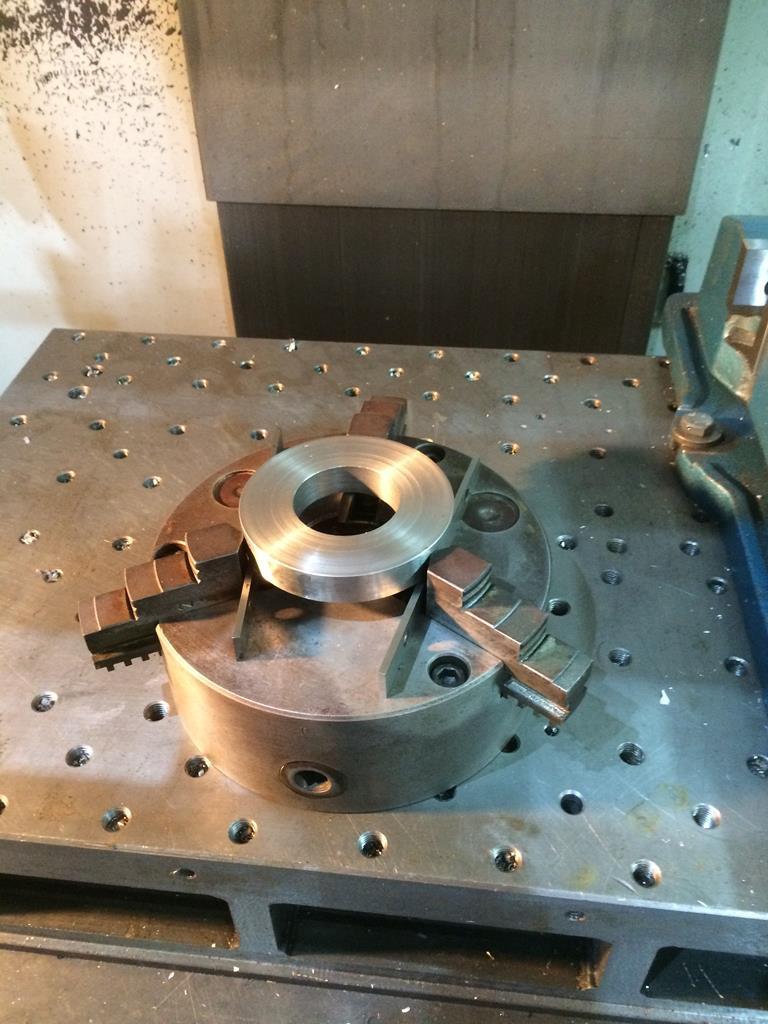 Drill some holes in strategically placed positions 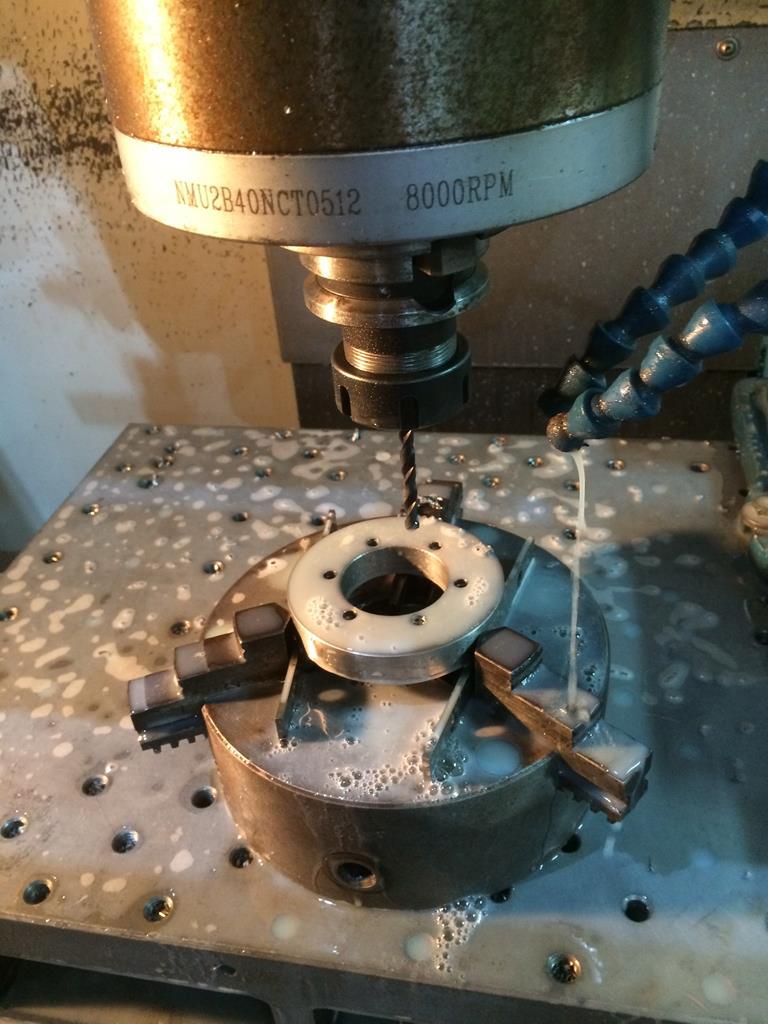 Play engineer's join the dots 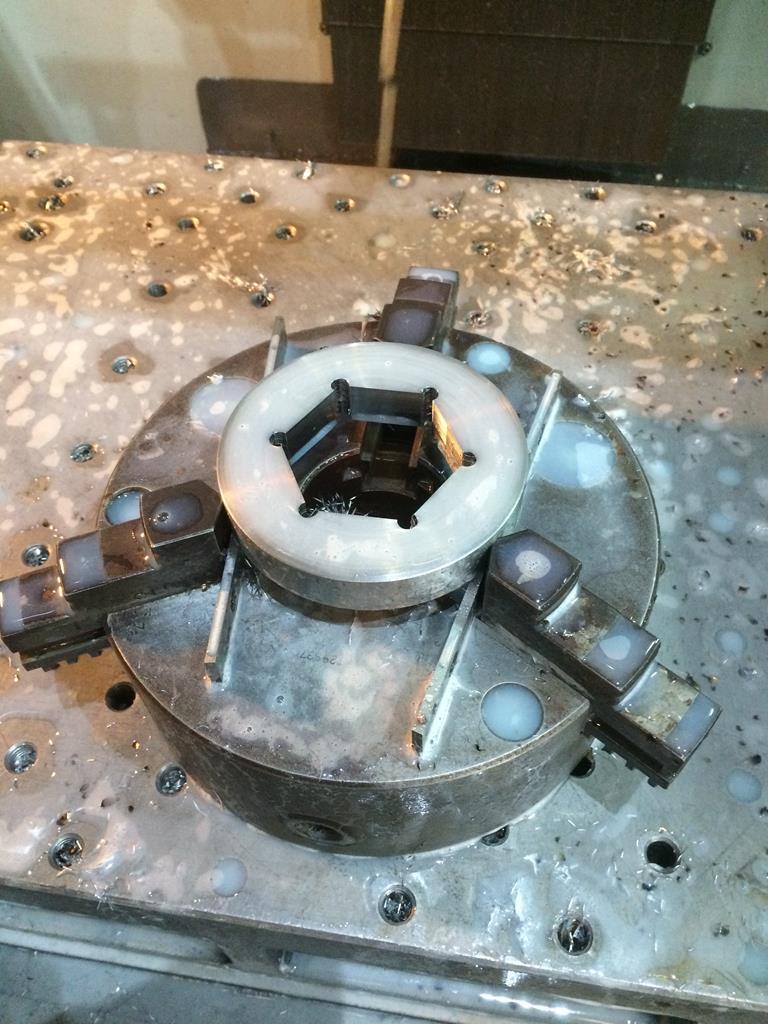 Glue that to another stick 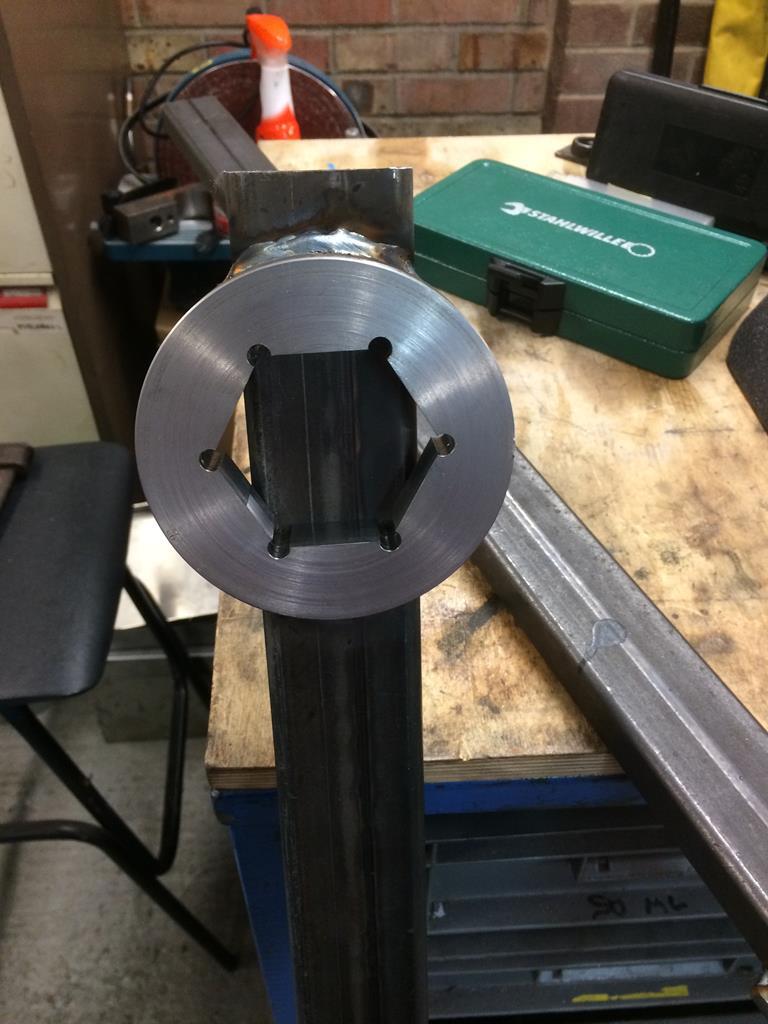 Take home only to find the two are wanting to share some common space. Bit of a tickle required... |
| |
Last Edit: Oct 13, 2018 1:38:17 GMT by Deleted
|
|
v8ian
Posted a lot
  
Posts: 3,832
|
|
|
|
|
That spanner won't work, it's not square on the stick
|
| |
Atmo V8 Power . No slicks , No gas + No bits missing . Doing it in style.
Austin A35van, very different------- but still doing it in style, going to be a funmoble
|
|
|
|
|
Oct 13, 2018 10:07:49 GMT
|
|
It's timed 4 degrees before TDC.....
|
| |
|
|
|
|
|
|
|
Things sharing the same space. Boo in this instance 👎🏻 I had thought,( thoughts are dangerous sometimes, measurements are better) , that the counterweight nut stuck out further than it did. So, with the locking bar bolted on,the socket wouldn't go on. What to do? I could introduce Mr Spanner to Mr Makita, perform a frontal lobotomy on the stick, and put the socket part back in the lathe and turn the living bejesus out of it ,before welding it back on. Or I could countersink the bolts. Countersinking the bolts is the easy way, or is it? The bolts in question are M10 metric fine. Almost impossible to find in countersunk form. So I did the obvious. Countersunk the holes in the locking bar. Then found some offcuts of En19 steel. Turned up and thread chased some blanks before screwing them into a freshly threaded arbour. Turned them around and back in the small lathe . 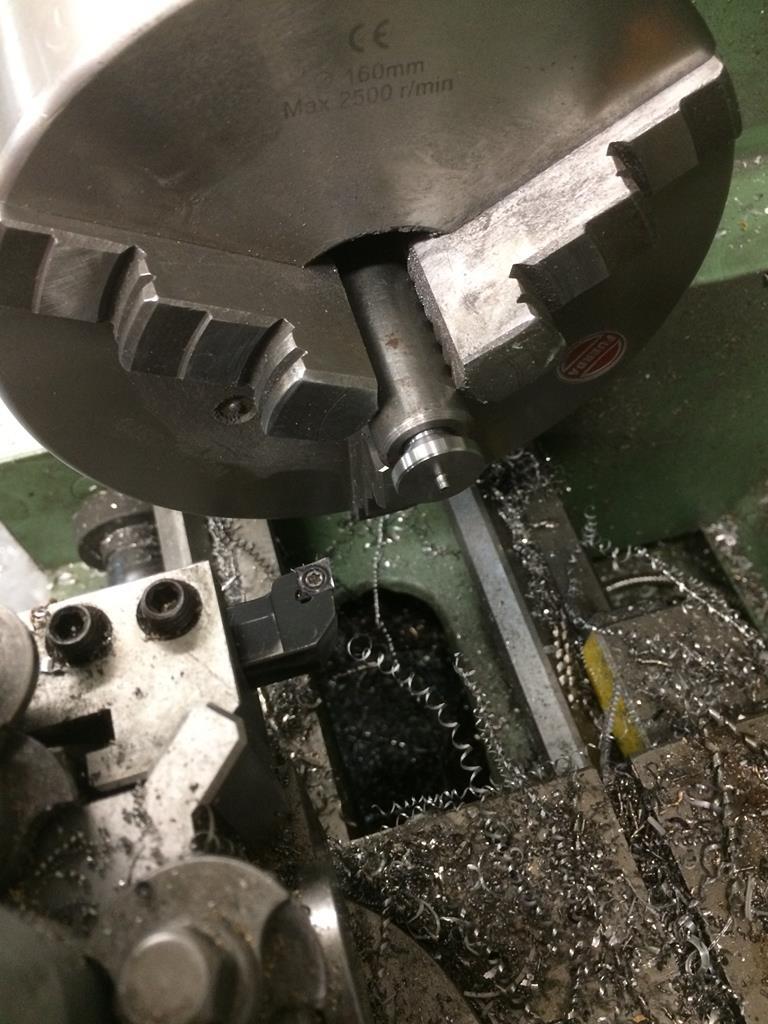 Drilled a hole 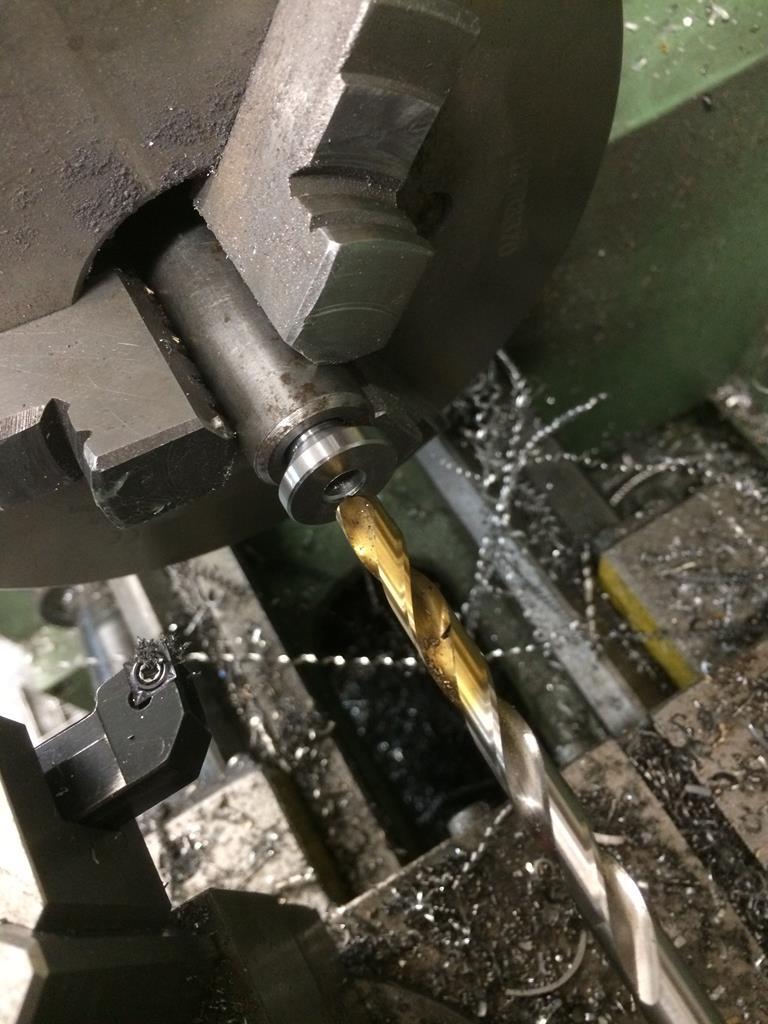 Whipped out my magic wand and practised a big of Tergeo,and voila!, the corners of the hole magically disappeared,leaving space for this 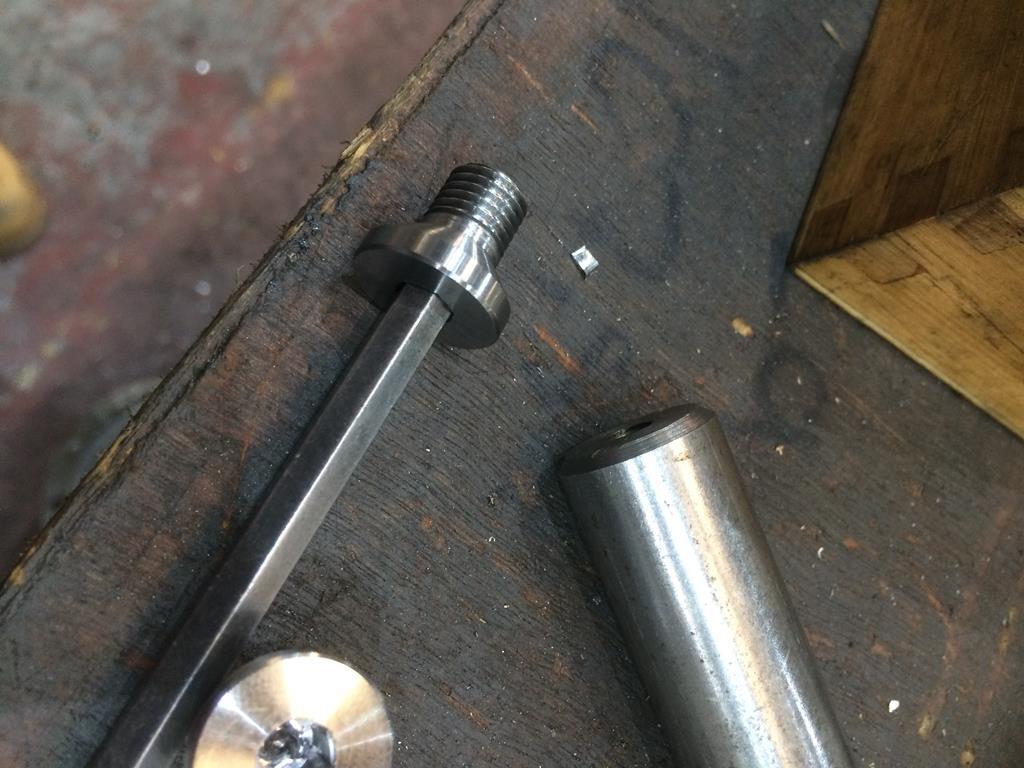 There we have it, three countersunk bolts ready to be used 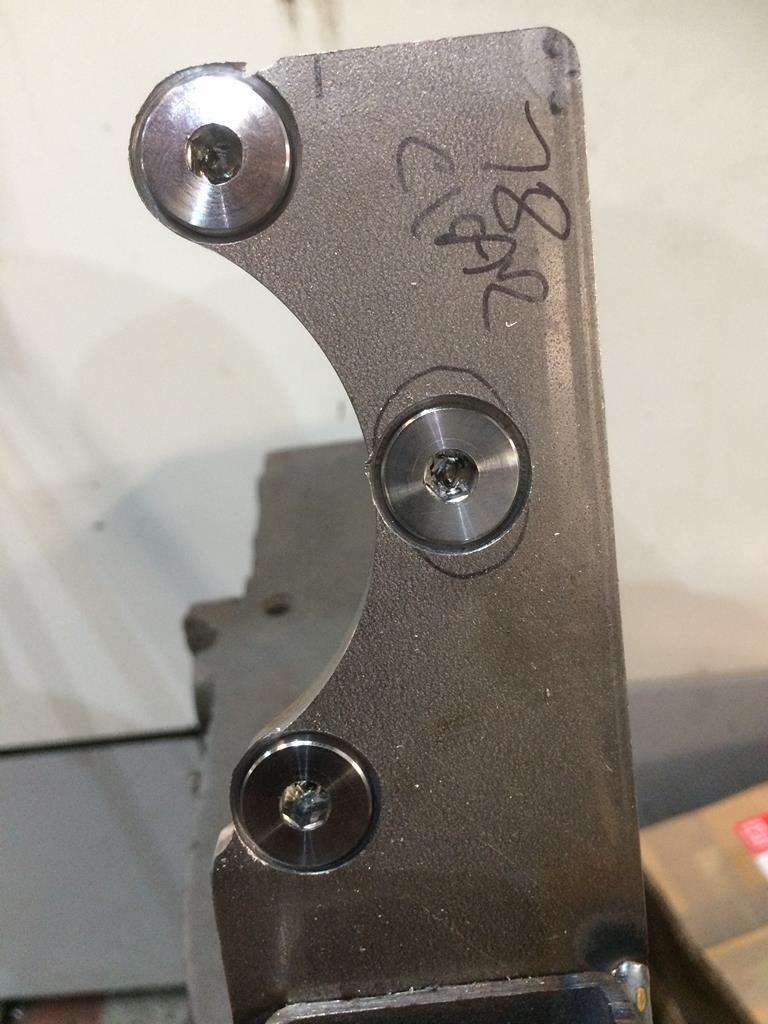 Tightened down with a 6mm allenkey 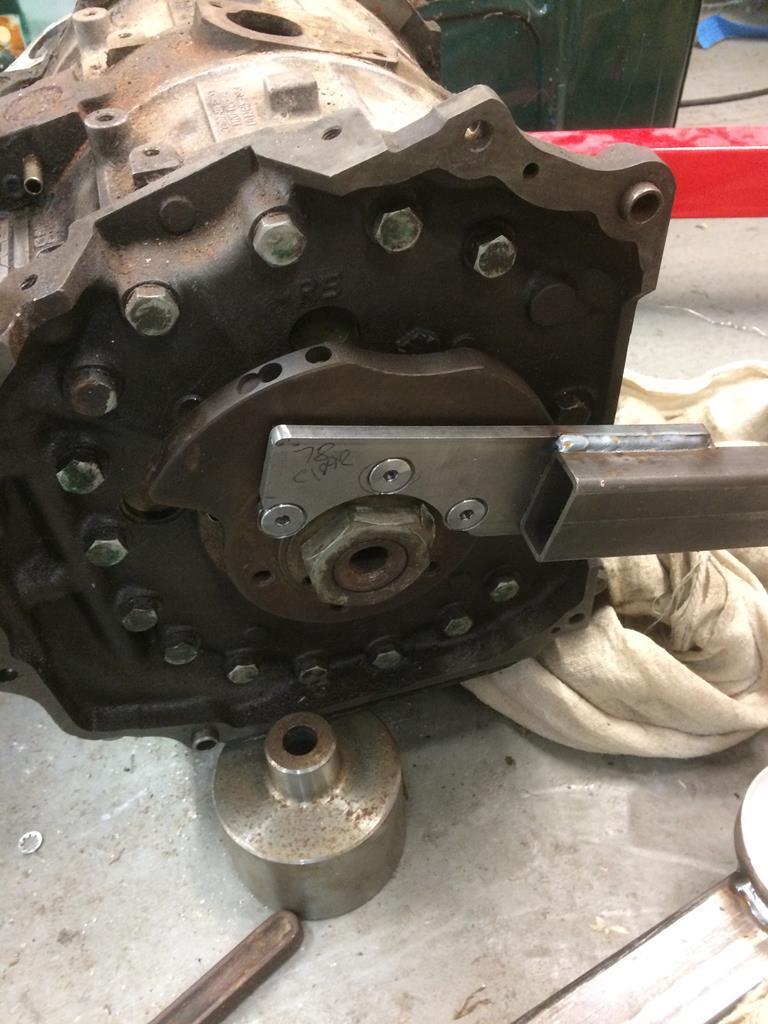 Socket Spanner stick applied 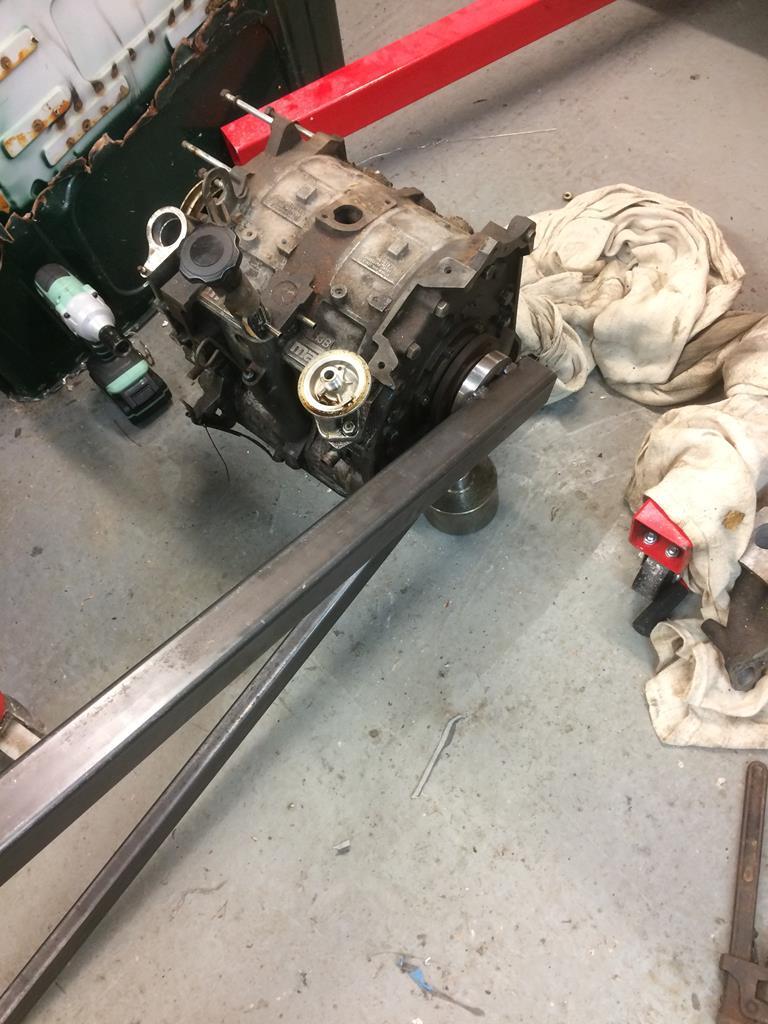 Worked a charm, hehehe 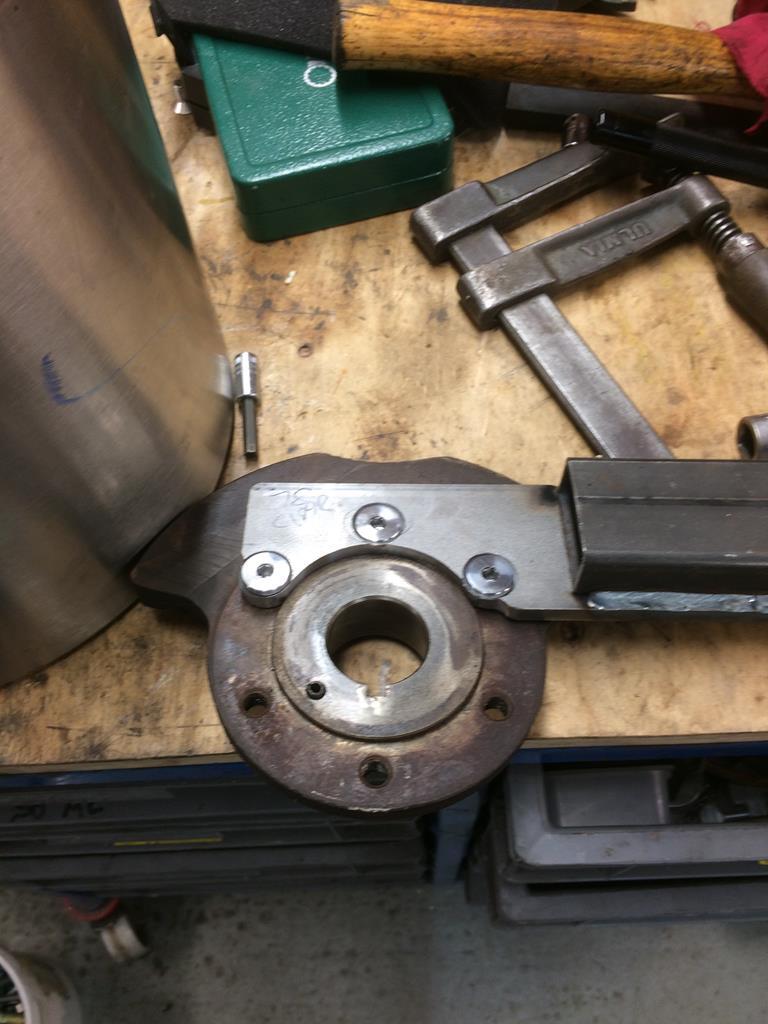 Johnnny Bravo one, stubborn 54mm nut zero... |
| |
Last Edit: Oct 14, 2018 6:07:43 GMT by Deleted
|
|
|
|
|
|
|
|
is there much in life more satisfying , other than the mrs admitting you WERE right , than a win over an awkward/stubborn fastener?!!
happy days for a rx update , however seemingly minor!
|
| |
Last Edit: Oct 14, 2018 6:39:31 GMT by strikey
'80 s1 924 turbo..hibernating
'80 golf gli cabriolet...doing impression of a skip
'97 pug 106 commuter...continuing cheapness making me smile!
firm believer in the k.i.s.s and f.i.s.h principles.
|
|
|
|
|
|
|
|
Panther tracks for Bruce?
|
| |
|
|
|
|
|
Oct 14, 2018 15:48:42 GMT
|
Panther tracks for Bruce? For the Australian Armour and Artillery Museum |
| |
|
|
|
|
|
|
|
With the locking bar still on the rear counterweight before I removed it,I cracked the front pulley nut. So much easier than chasing an engine around the floor ,or trying to bludgeon it off with a rattlegun 😂 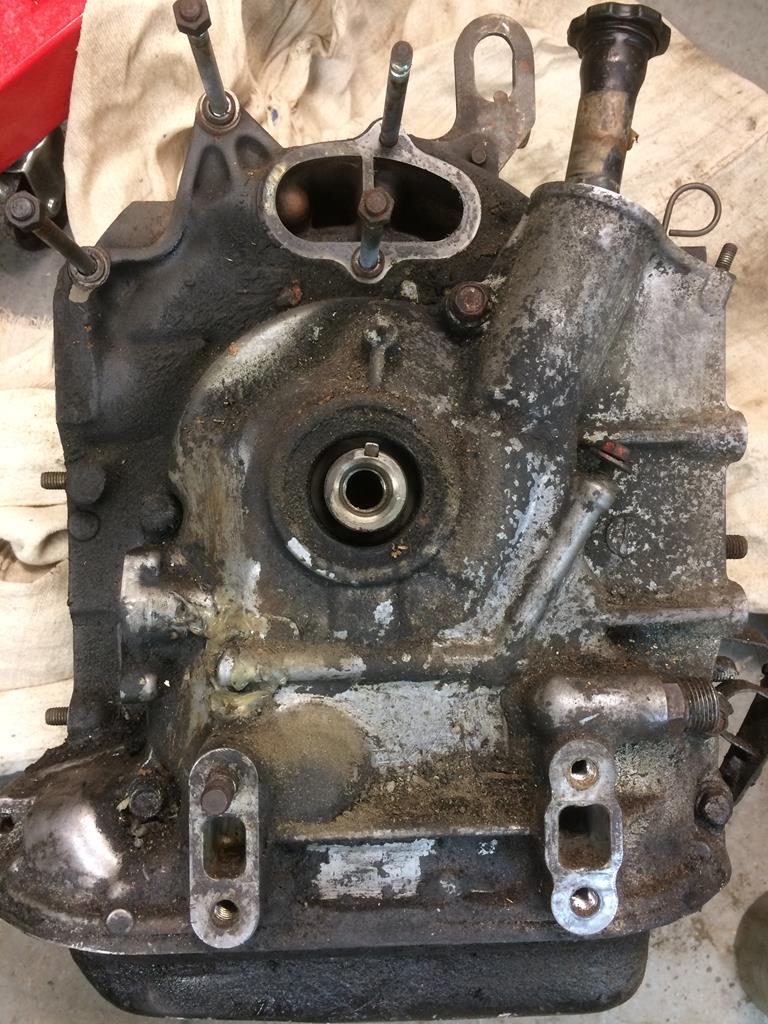 Cleaned some of the snot off the front cover to see this 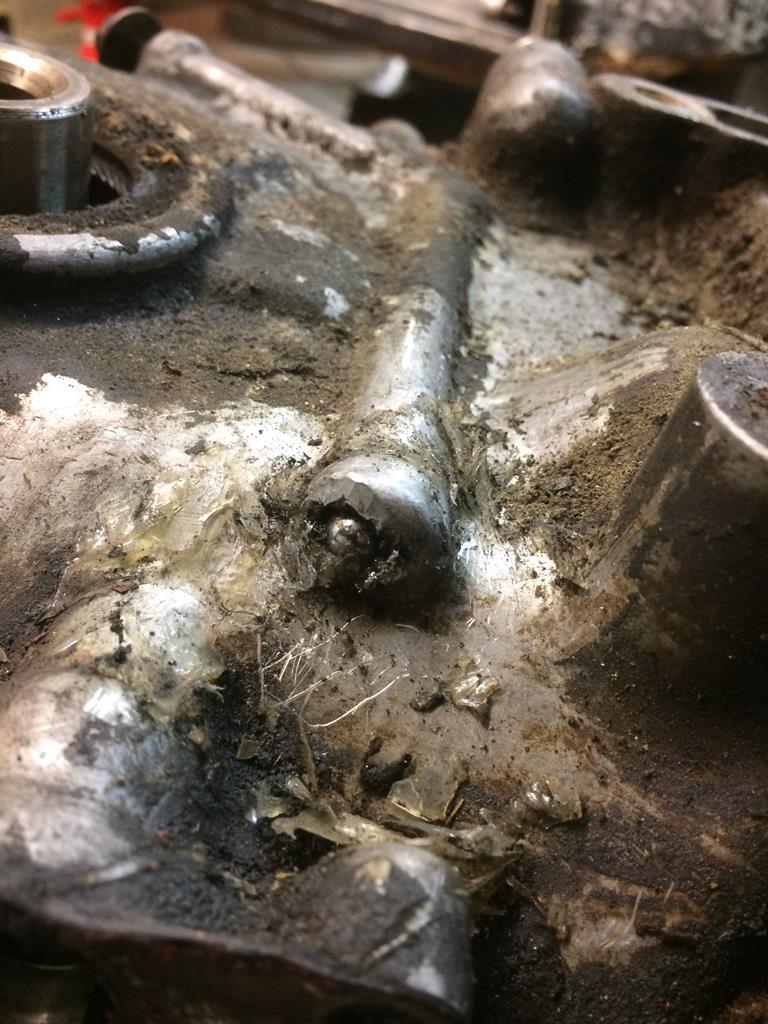 Somebody's bodged that,possibly trying to fit a mechanical oil pressure gauge. Only sign on the whole motor of any outside interference. With the front cover removed,my suspicion was verified 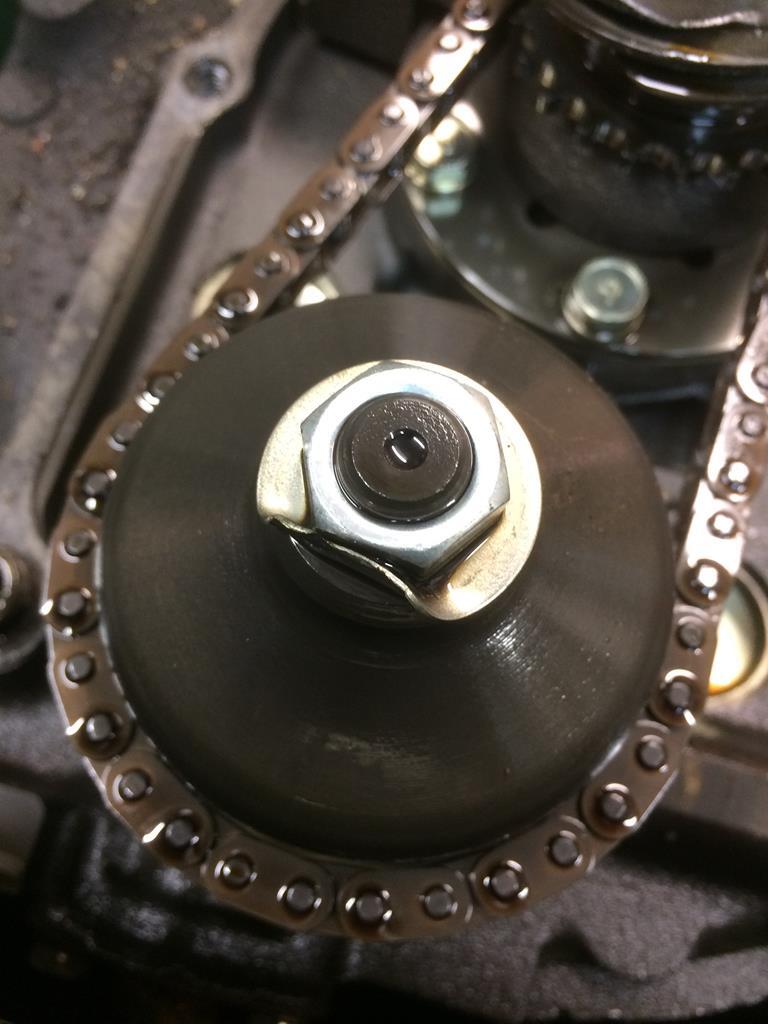 The lockwasher on the oilpump sprocket is unmolested. Good indication that this engine has never been opened 😊 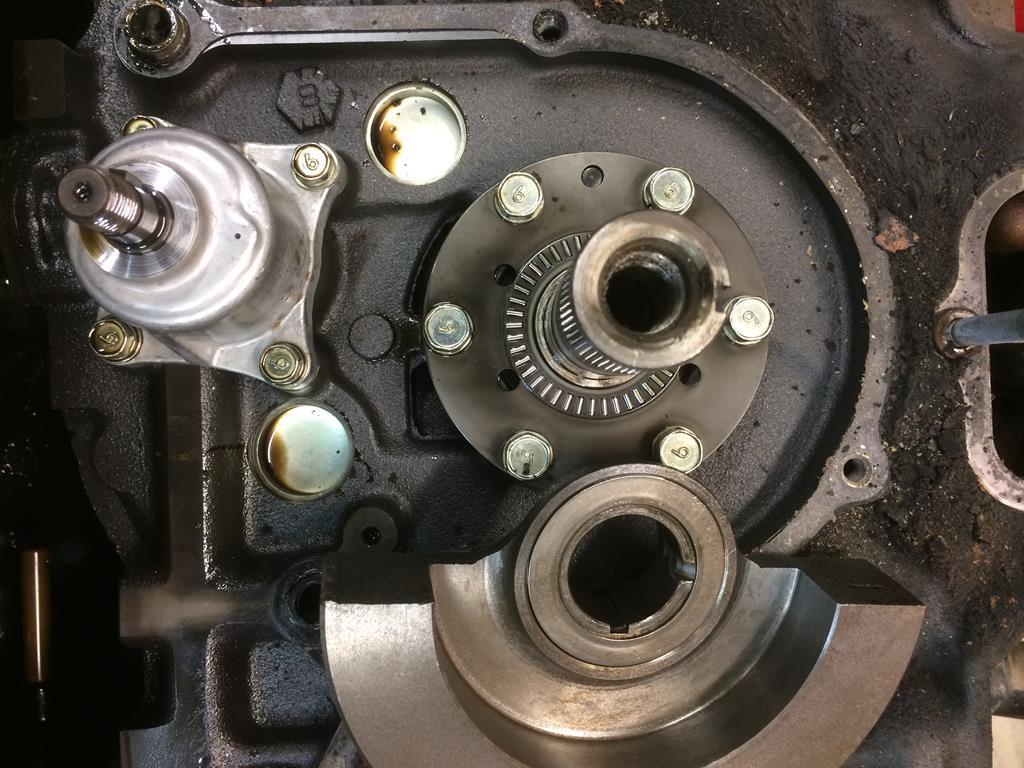 Front counterweight off to reveal thrust bearings in excellent shape. 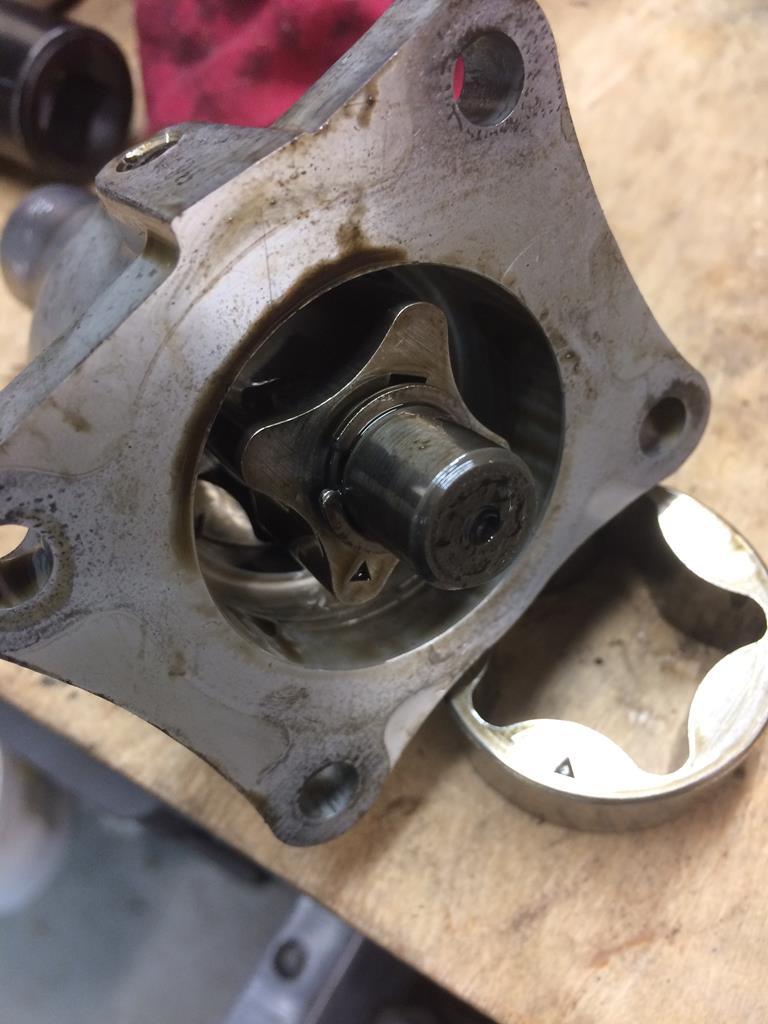 Apart from a slight score mark,oilpump looks good 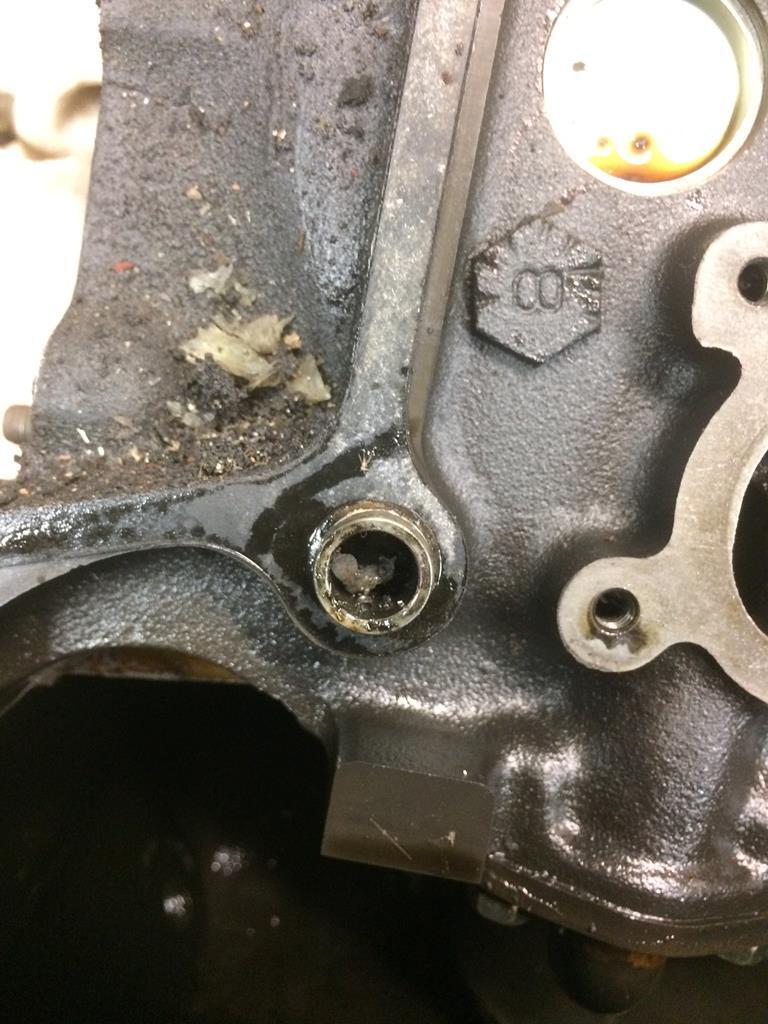 Bit of sillyc*nt sealer where it shouldn't be 👎🏻 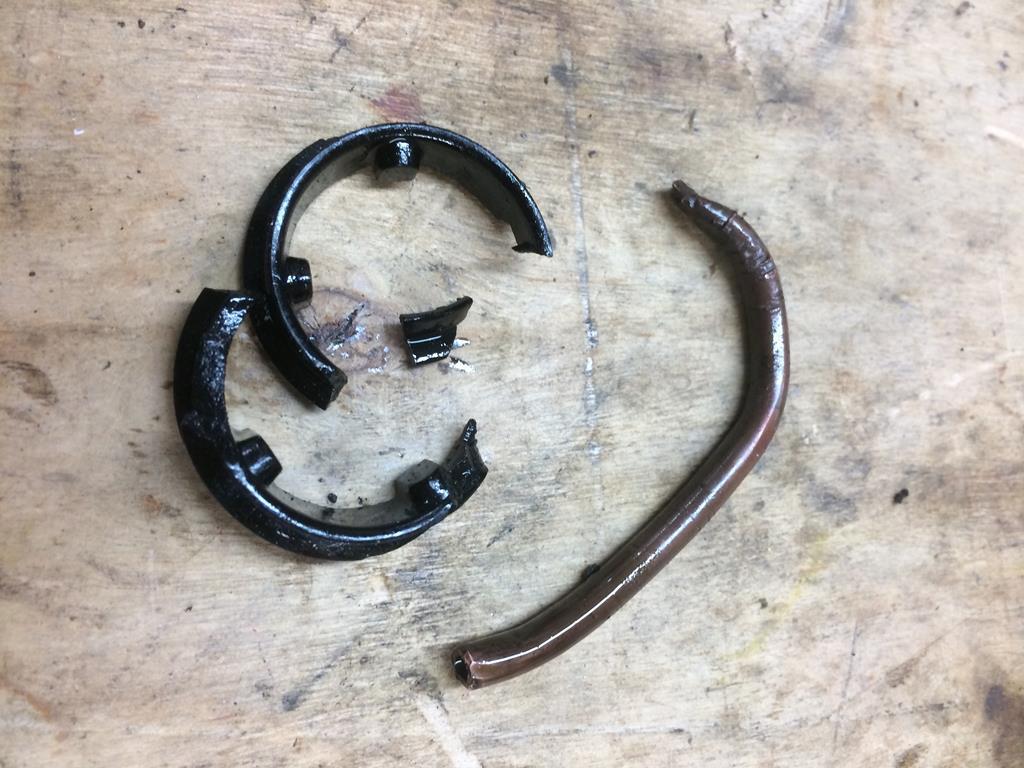 Wizzed the sump off to find these. This doesn't bode well. Plastic bits look vaguely familiar,but not an instantly recognisable part.Mangled copper pipe is more of a concern as there is no copper pipe used inside a Mazda Rotary engine. So where did that come from,and more importantly,what route did it take through the motor to get into the sump? |
| |
|
|
|
|
|
|
|
|
I have no idea what you are doing but it looks scary and the copper pipe......
Interesting
|
| |
|
|
glenanderson
Club Retro Rides Member
Posts: 4,360
Club RR Member Number: 64
|
|
|
|
|
Could the copper pipe be the result of someone’s ham-fisted attempt to fill or suck out the oil, that’s been accidentally dropped into the engine?
|
| |
My worst worry about dying is my wife selling my stuff for what I told her it cost...
|
|
|
|
|
|
|
Could the copper pipe be the result of someone’s ham-fisted attempt to fill or suck out the oil, that’s been accidentally dropped into the engine? Unlikely , unless they were sucking the oil out with a syringe 😂😂😂 Very small bore pipe |
| |
|
|
samta22
Club Retro Rides Member
Stuck in once more...
Posts: 1,276  Club RR Member Number: 32
|
|
|
|
Never under-estimate the power of stupidity, the type of person to put that in there may well have been using a syringe! Some interesting marks on that pipe though, likewise with the ends being chewed up, makes you wonder... how's your forensic analysis these days? Regardless of the questions raised, good to see some progress  |
| |
'37 Austin 7 '56 Austin A35 '58 Austin A35 '65 Triumph Herald 12/50 '69 MGB GT '74 MGB GT V8'73 TA22 Toyota Celica restoration'95 Mercedes SL320 '04 MGTF 135 'Cool Blue' (Mrs' Baby) '05 Land Rover Discovery 3 V8 '67 Abarth 595 (Mrs' runabout) '18 Disco V |
|
|
|
|
|
|
|
May be it is part of the bodged attempt to install an oil pressure gauge?
|
| |
|
|


