|
|
|
Aug 21, 2021 20:44:49 GMT
|
This. 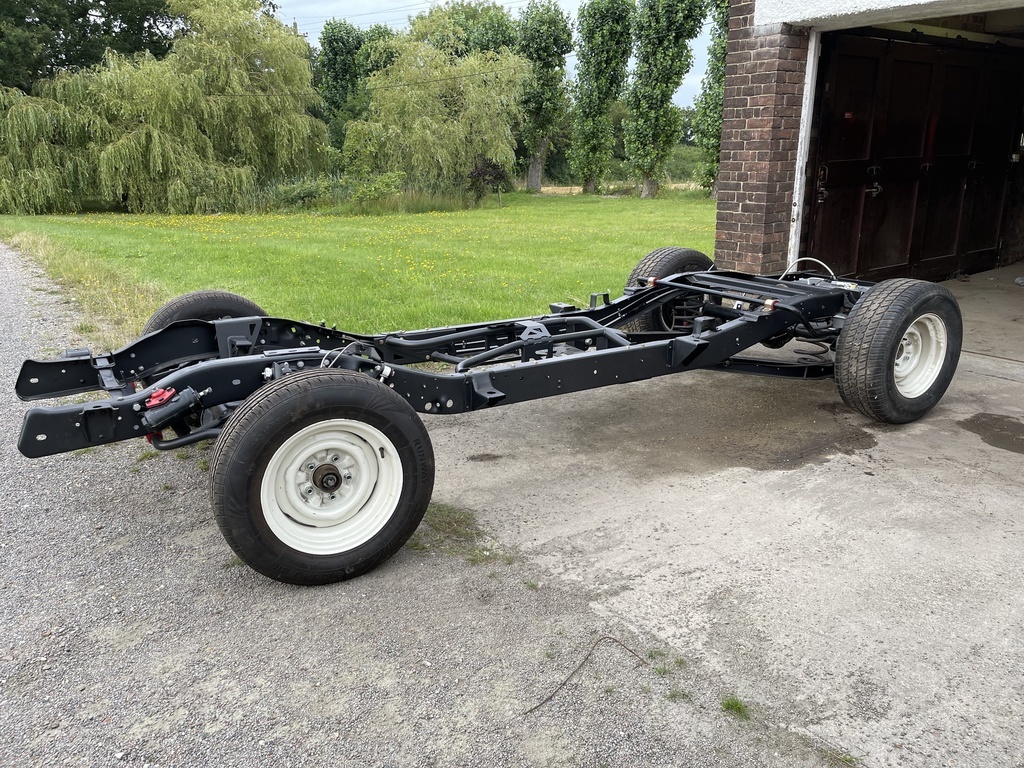 Is what 18 months of work look's like. Now I don't expect you to be overwhelmed but to me this was a huge milestone. How do I know you will not be overwhelmed? Quite simply I called Lady P to come and look at what I had achieved as Woody emerged from the garage like a rather large (and Ugly) Moth from a chrysalis. Her comment... What have you done... Good job she is a bit of a Hottie or she would have been kicked to the curb years ago. Anyway... All of the plumbing is now in place, brakes and fuel, tight and just awaiting testing - only thing left to do on the tank is to trim off the ends of the inlet and return to fit the compression fittings and put the Walbro 450 in the tank 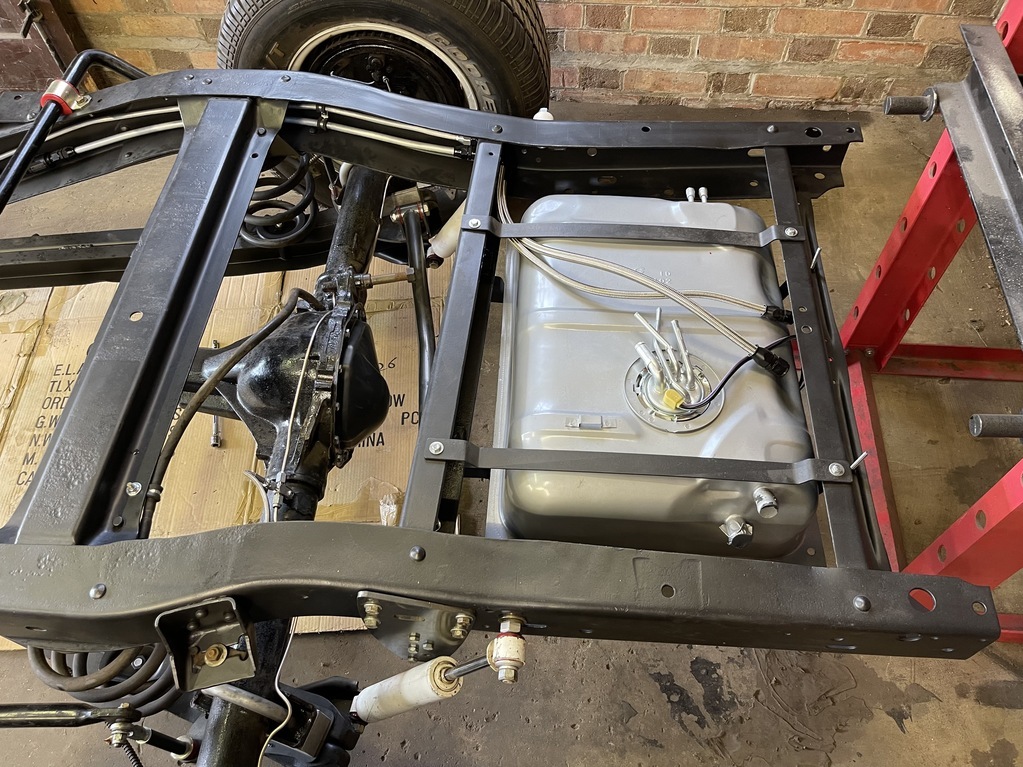 Tank is fitted but still a little loose as I start putting together the rats nest that is going to be the fill and vents etc. I have a cunning plan to conceal the filler but you will have to wait a while until I get to that stage. 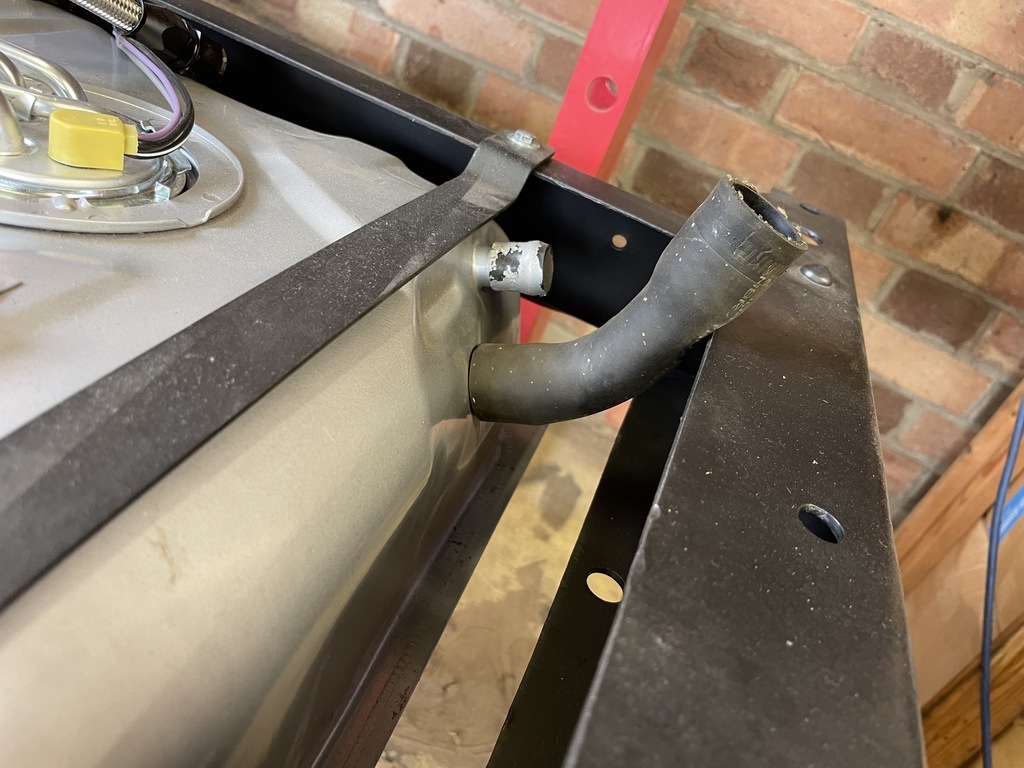 As Woody was outside the garage I took the opportunity to have a tidy up, sweep the floors and move the cab liberating some much needed space. 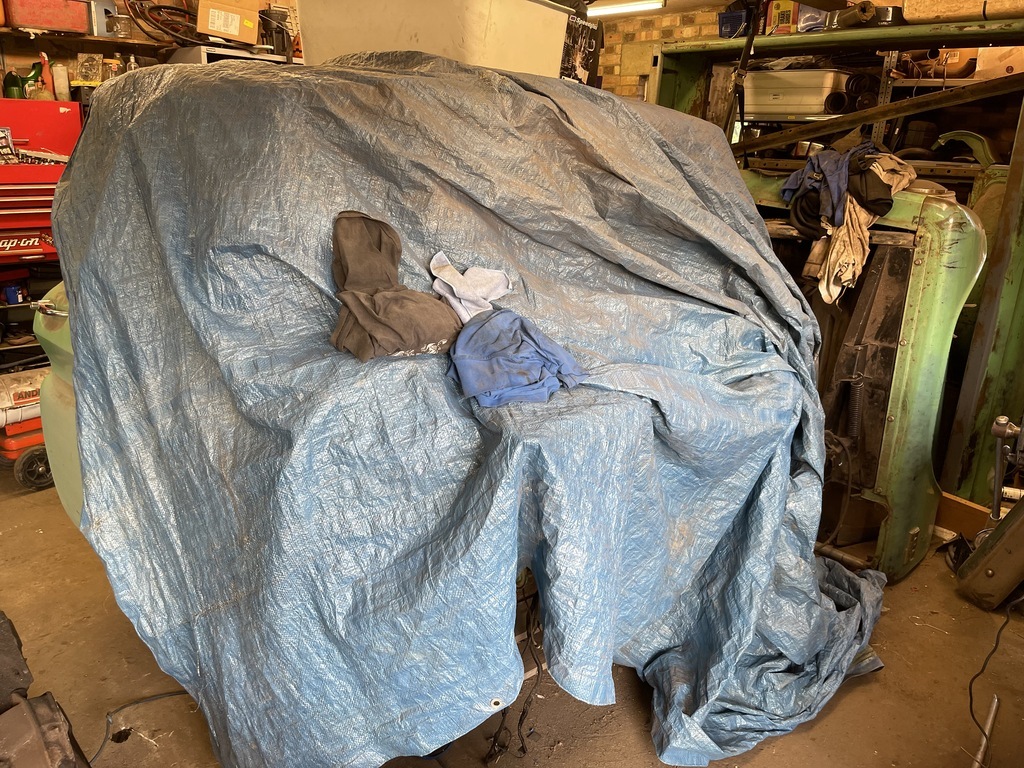 Why do I need the space? Next stage of the build is to plonk this between the rails and attempt to get it started. 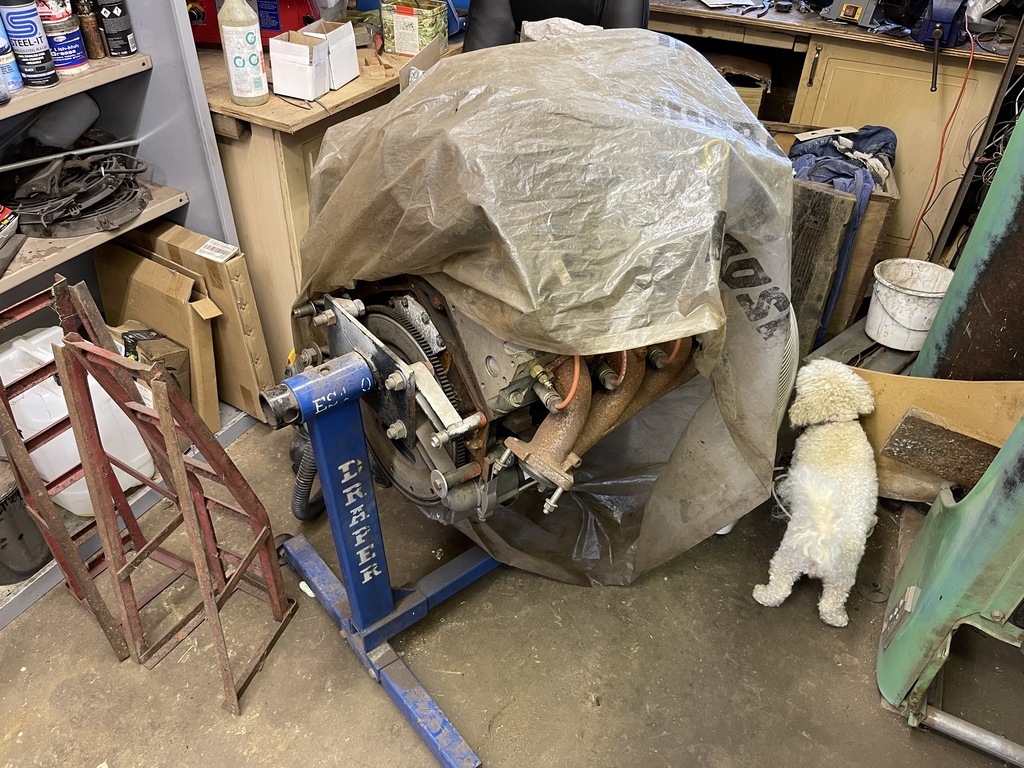 I have been doing a lot of thinking lately about what I am looking too have at the end of the build process. The plan has not changed, just the timings. So...... I am going to put the LS in 'as is' I have a Sloppy Stage 2 cam and a set of 80lb SnakeEater injectors already but if I put these in I will need to buy tuning software at a cost of $500Ish. Now that $500 I can use on a wiring loom that is desperately needed - seems like a sensible choice to me - and I would still need to buy the loom even if I get the HP Tuners software which means I could add another 3 months to the build process... I am going to paint the firewall, my pal Jay has offered to be my Yoda so feel slightly more confident about it, and Raptor the floor. I 'Might" strip the interior completely and repaint it - I will see how the firewall turns out. Still need a T56 - if anybody want to donate one to the cause!- I really want to get my tree this year in Woody, lets see how close I get. Longer term I will take the engine out to fit the cam, injectors etc and fit the turbo, at that point I might go with the Holley Terminator or stump up for the HP Tuners. That part of the plan has not changed. Tuuuurrrrrrbbbbbooooooo. Strictly for burnouts and ice cream you understand.  And with that I will bid you a good day! Onwards! P.  Thanks for the delivery yesterday in spite of the risk you ran of getting stuck on the Dartford crossing Paul. Looking forward to the next part in Rezin Rockit chassis works Your rolling chassis progress looks great. Well done !. |
| |
|
|
|
|
Paul Y
Posted a lot
  
Posts: 1,951
|
|
Aug 22, 2021 16:32:20 GMT
|
Had an hour today whilst I dodged the rain and endeavoured to cut the grass. So, whilst sheltering from the downpours I took this... 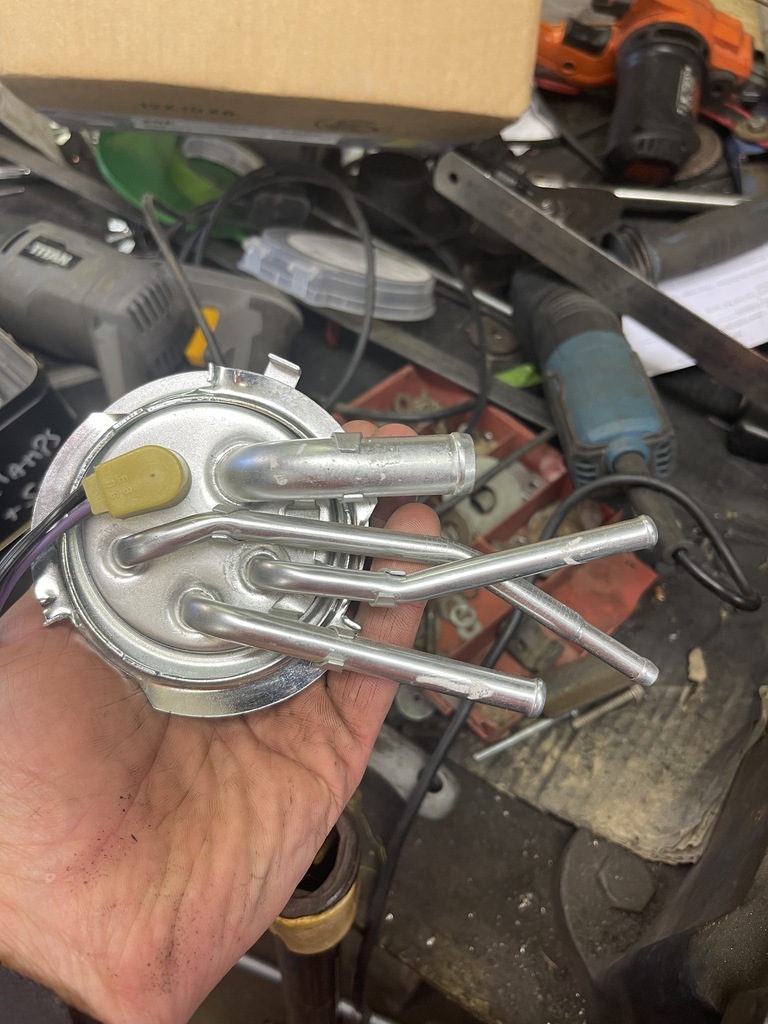 Added the compression fittings and ended up here... 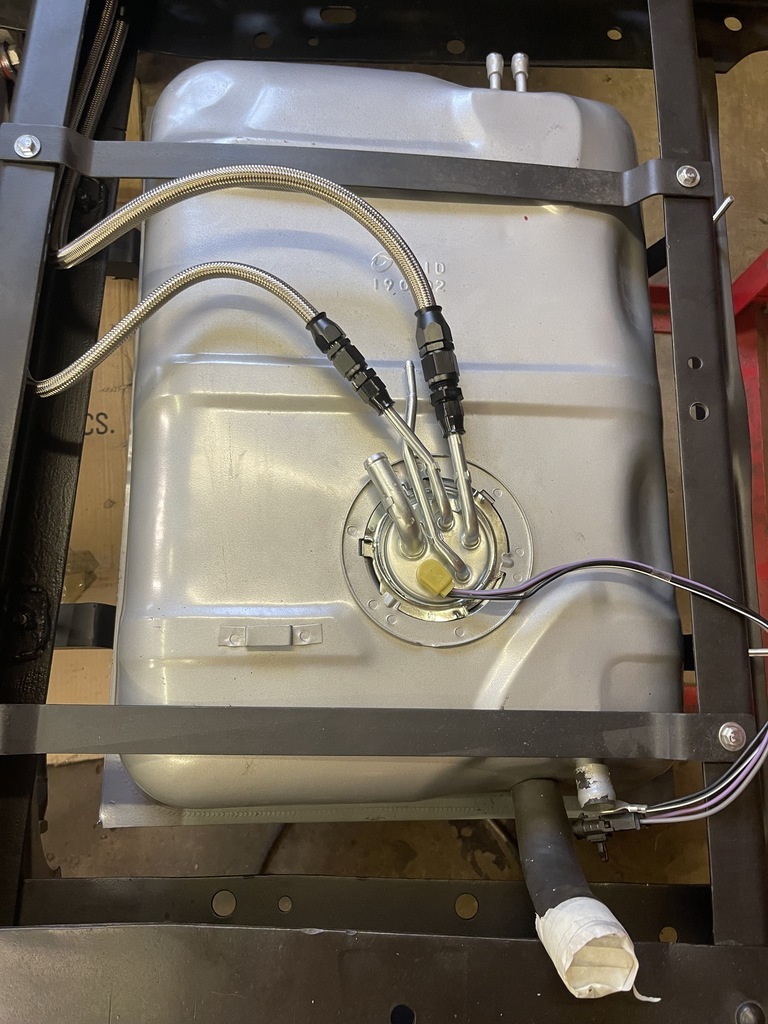 where it has become apparent that the braided hoses are slightly too long. Oh sausages... might be able to reroute them and take a little of the tension out but will revise that once I have the final position for the tank locked in. Time to turn my attention to this. 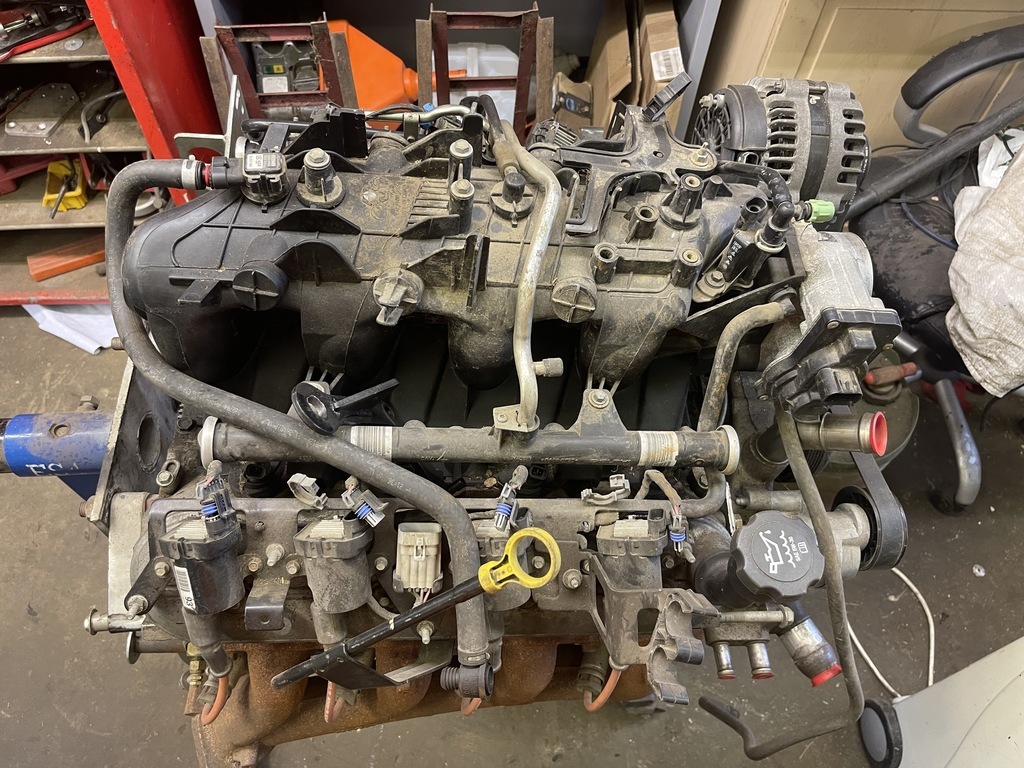 For those not in the know this is a 2005 LM7 out of a 2005 Silverado, purchased with a reported 89K under its belt, a factory race engine prime for a little forced induction... I had previously 'thrown' the sump, pick up and windage tray from a CTS-V on there as the truck sump hangs down below the crossmember on a C10. PLUS this sump set up has better oil control as I do intend to hoon Woody around once he is back up and running. 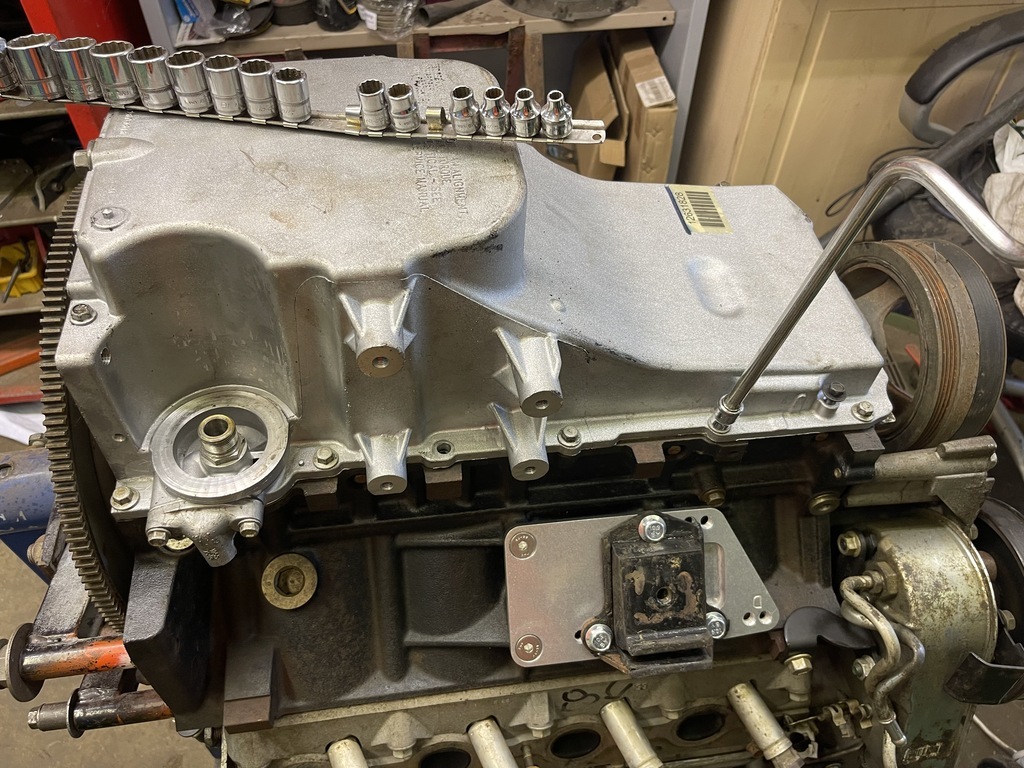 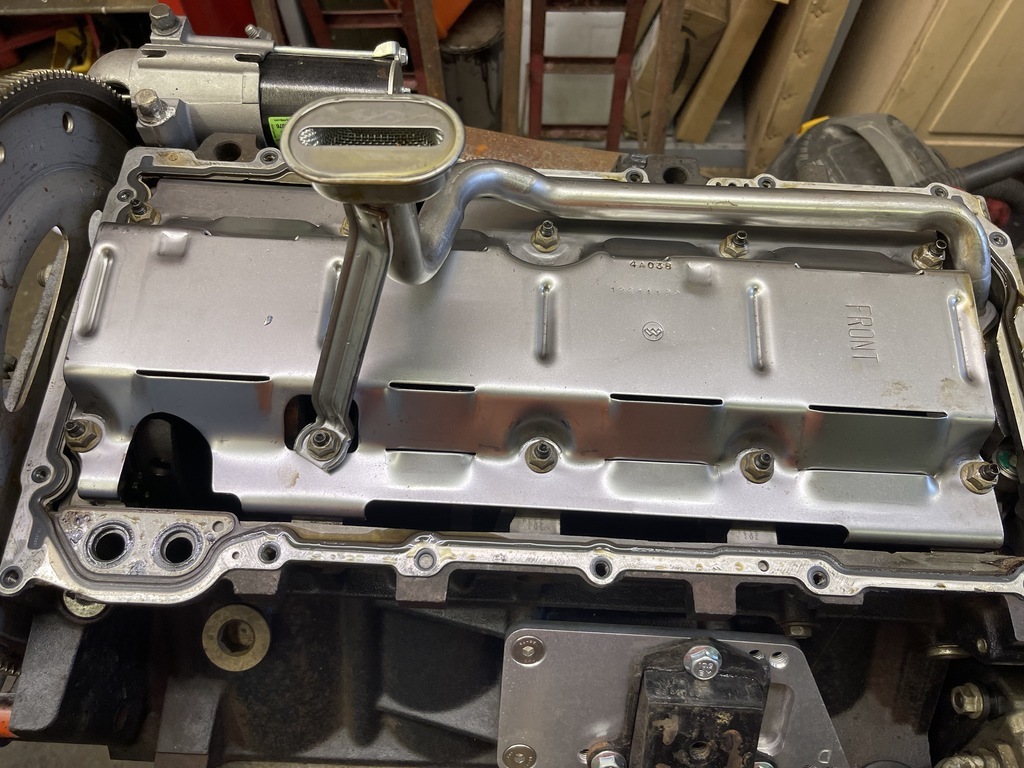 Why take the sump back off then? Two reasons. 1. I wanted to fit this little doo hicky - a brace for the pick up tube as standard the oil pump is drilled for two but only gets one. Might be nothing, might be something but it is cheap insurance 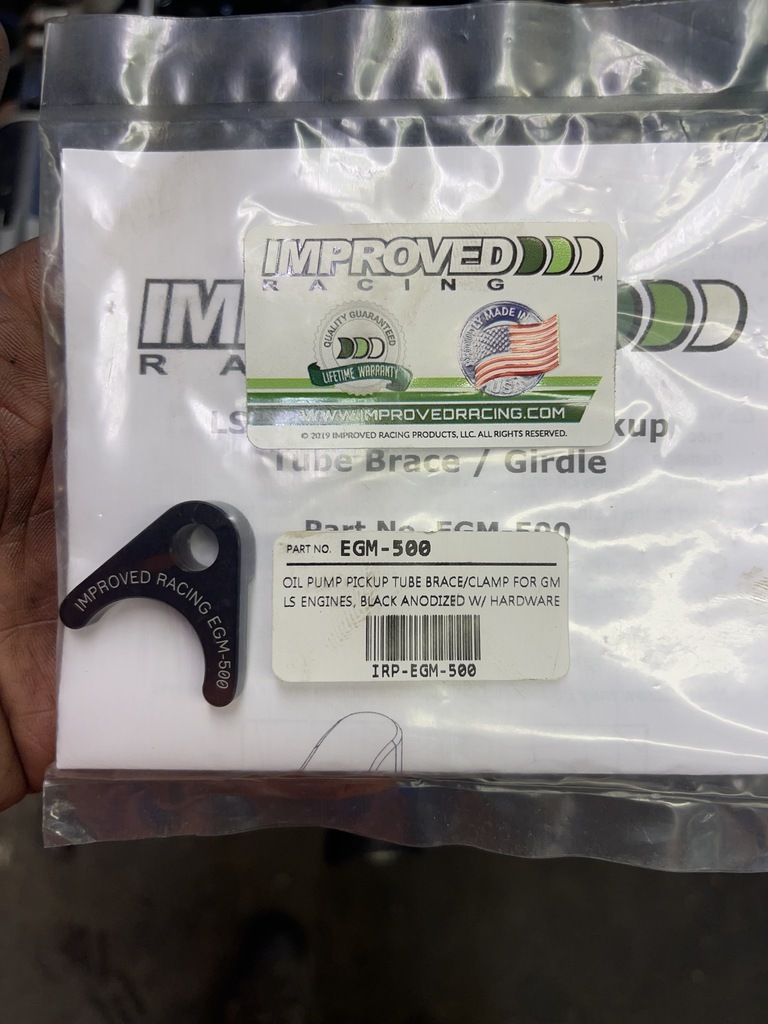 Sorry, no picture of it fitted, I forgot. 2. A friend has offered to weld in the turbo return oil bung if I get the sump over to him tomorrow and, as it is not contaminated with oil as yet, seemed like an offer I couldn't turn down. Whilst there I thought Would remind myself on the condition of the engine which is remarkably good and hold up to the theory that it is a 89K engine with regular oil changes. 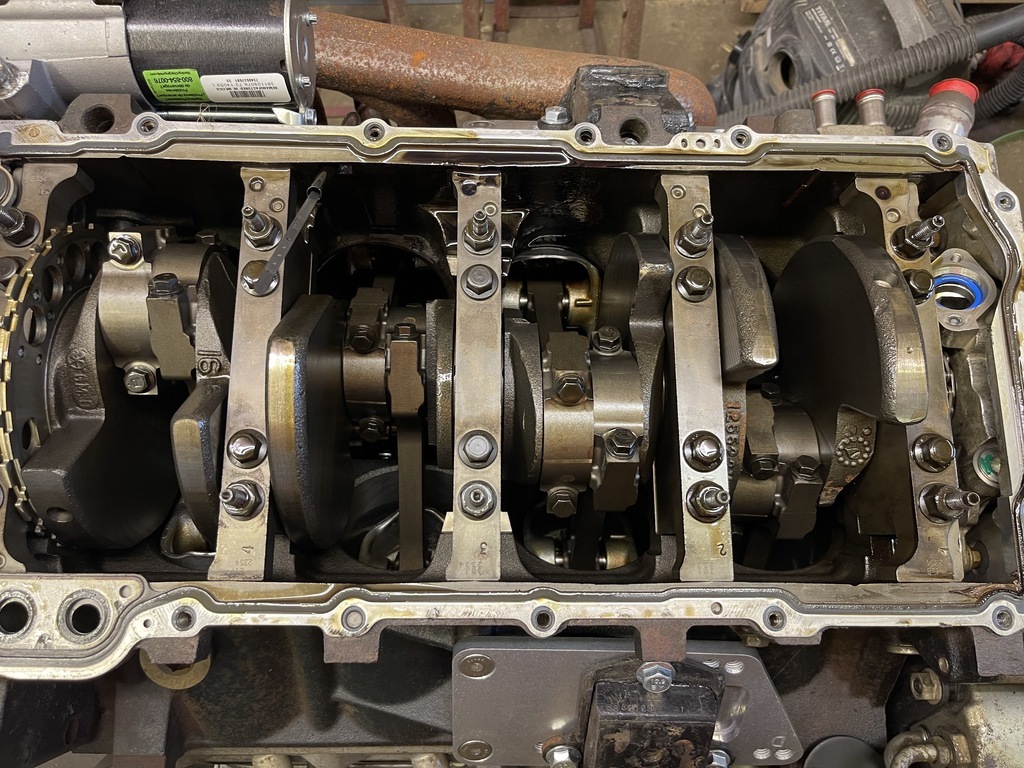 The cross hatching is still evident on the cylinder walls as well. 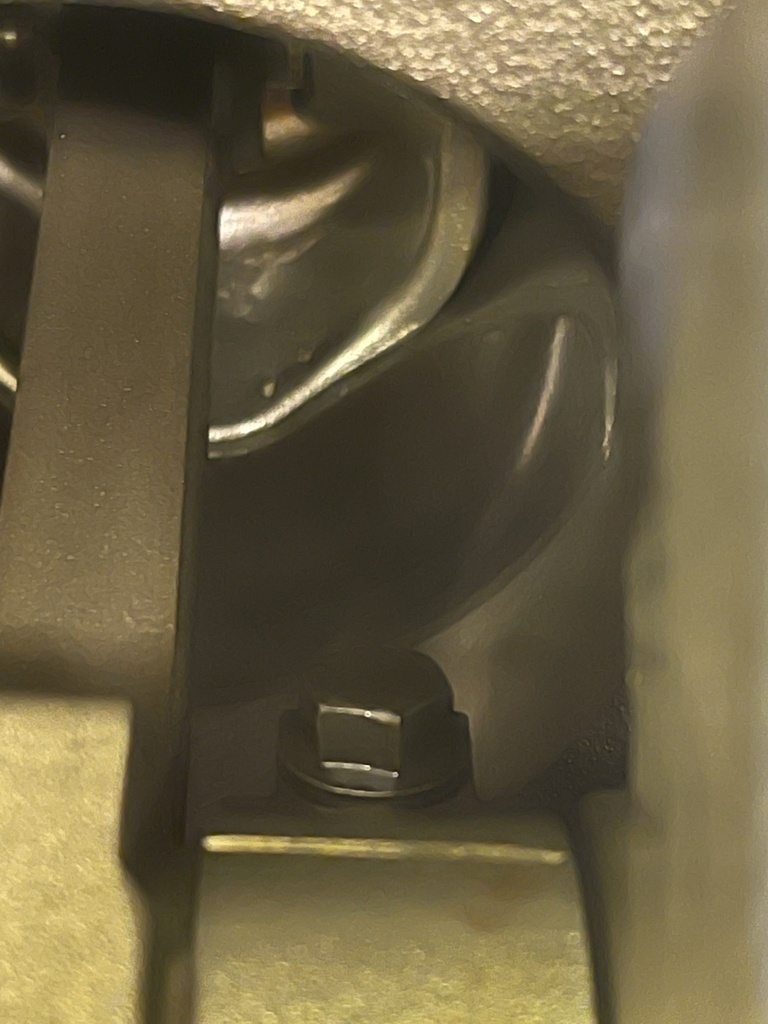 PLUS! this looks as if it is a Gen3/4 crossover engine with the better rods so even more reason to intro the Whirly Boi. And finally... 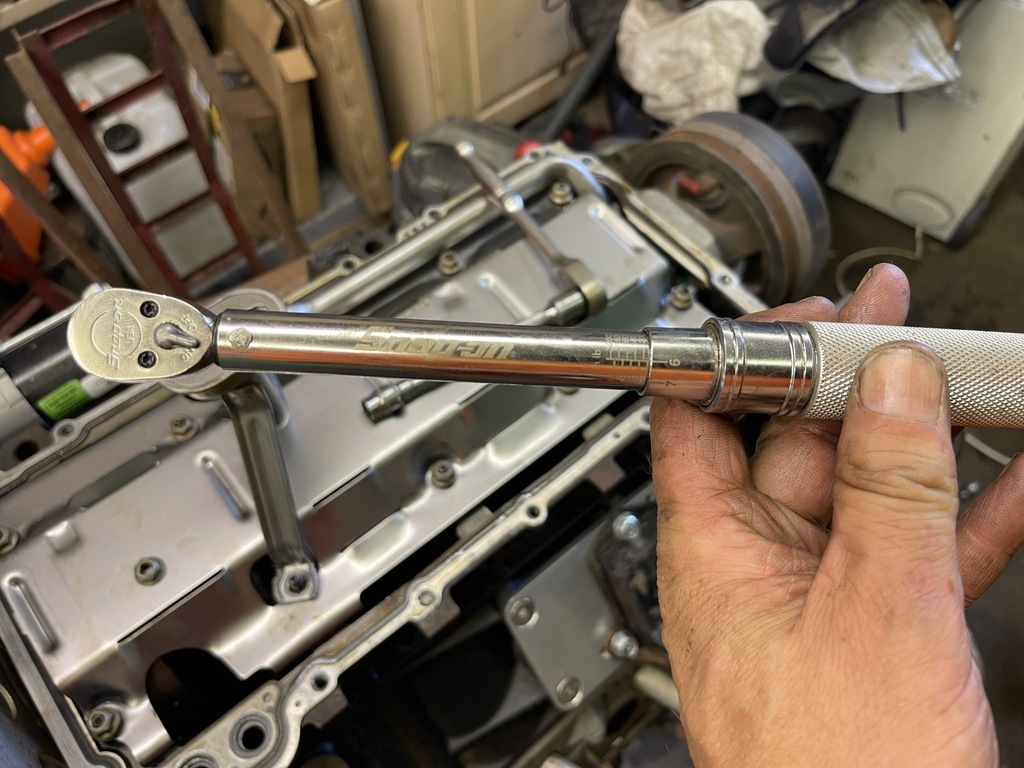 Finally took what is probably the must useless tool in my box out of its wrapper for the very first time. I have no idea why I am in possession of a lb-in torque wrench but today I used it to correctly tighten the pick up tube bolts to 8.8lbft or 106 lb-in. And that brings you up to date. Going to set another 6 week target for myself starting over the bank holiday weekend so that when my mysterious benefactor sends me a T56 I am ready to go... Yea Right.... Anyway, until the next time... Onwards! P.  |
| |
Last Edit: Aug 22, 2021 16:35:49 GMT by Paul Y
|
|
|
|
|
Aug 22, 2021 18:39:21 GMT
|
|
Glad the rain helped.
Progressssss.. !!
|
| |
|
|
|
|
|
Aug 23, 2021 11:21:09 GMT
|
|
Nice work dude, good call on keeping the motor simple to start with. 100% need to be picking up the tree with the truck this year!
|
| |
|
|
Paul Y
Posted a lot
  
Posts: 1,951
|
|
Aug 23, 2021 22:23:54 GMT
|
Nice work dude, good call on keeping the motor simple to start with. 100% need to be picking up the tree with the truck this year! My daughter has told me the same thing so no pressure! Have next week off so have agreed with Lady P that I can have 2 days ‘Woody Time’ Narf, Narf…. Short term plan is to get the engine in and running, fingers crossed that all the lines hold fuel without leaking, plus it will be another thing ticked off the list. Will definitely be out again for a tidy up but, for motivation, a good plan. Also want to get the cab floor stripped, fire wall bare metalled and any seam sealing done so that I can get it in paint by the end of September, early October. Still undecided as to if I will strip and paint the interior as yet - sort of swaying between a yes and a no. Only major things left to buy is a wiring loom, gearbox and prop shaft, set of front tyres and the paint and materials to complete the above. Better start doing the lottery! P.  |
| |
Last Edit: Aug 25, 2021 13:47:39 GMT by Paul Y
|
|
Paul Y
Posted a lot
  
Posts: 1,951
|
|
Aug 29, 2021 18:41:02 GMT
|
A very quick update and a question to those who are following along. So This.... 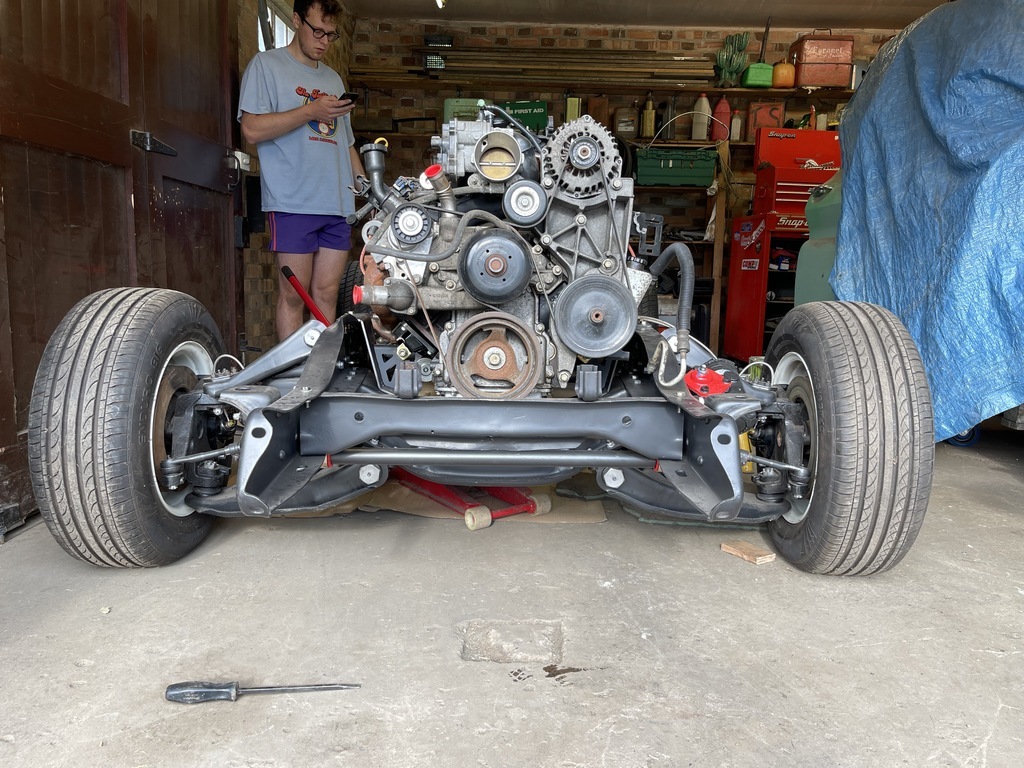 Tells me two things. 1. The lowest part of Woody is going to be the crossmember so my measuring was pretty much spot on with the CTS-V sump 2. Mr. Grinder will be making a further visit to Mrs Spring. But that is something that can be fixed...later... Why the engine test fit? Exactly that, to test the fit of the TBSS manifolds - a little trim will be required on the drinkers side. 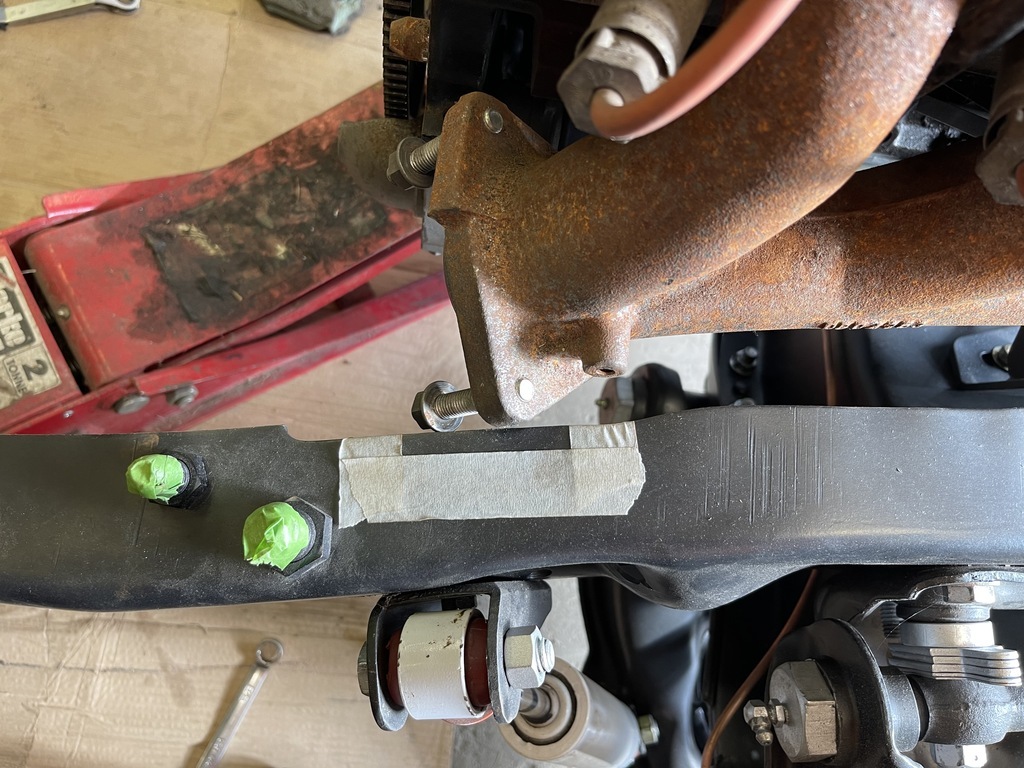 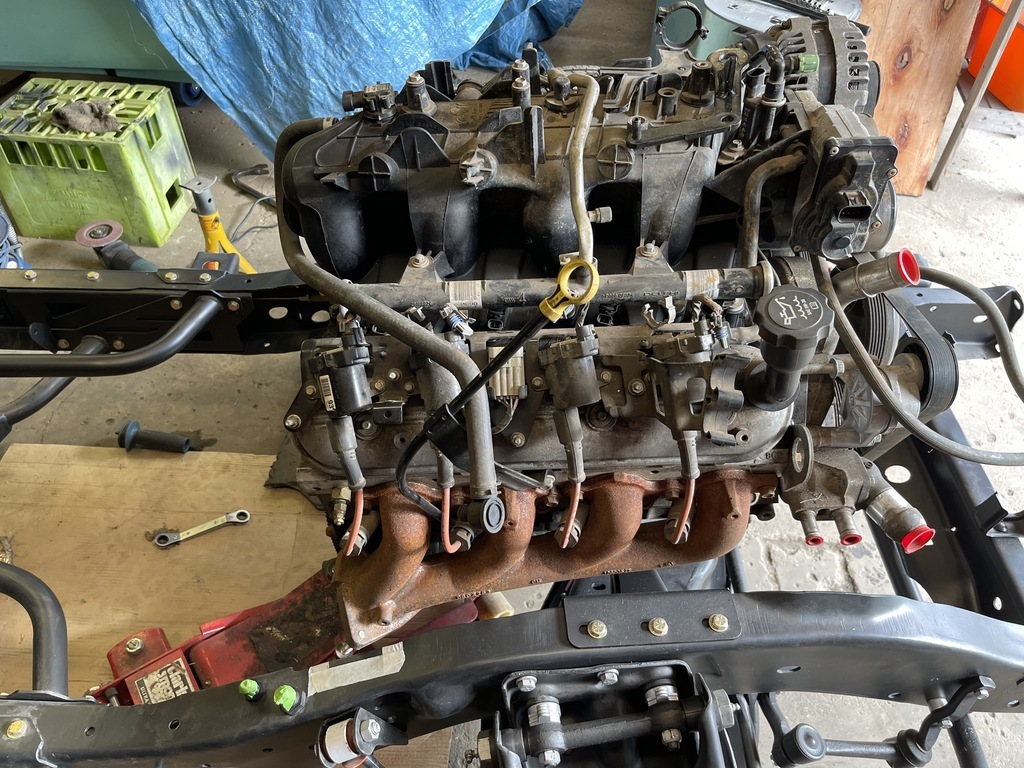 Captains side is fine. 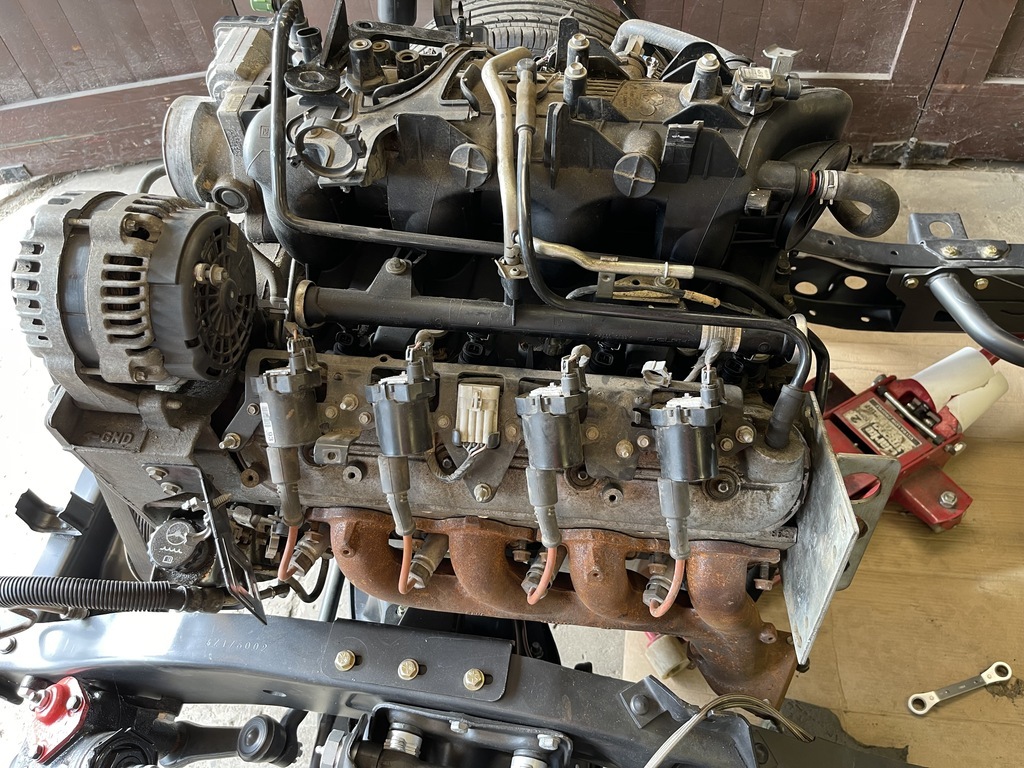 Had to do a little 'light' clearancing on the engine mounts to get it to all sit nicely but other than that really pleased with the mounting kit. Good news is that once the cab is back on I can finalise the position of the engine, I want to get it as far back and as low down as possible. Between the adapter plates and the adjustment in the stands there is lots of room for activities.... Other reason for fitting the engine was to check clearance for the turbo return. I have been procrastinating on this far more than usual, there is a part of me that doesn't want to start drilling holes in the sump but also another part of me that realises if I don't then the Choo Choo will probably not materialise. With that being said I am actually really pleased I decided to wait and test it as where I originally planned on putting the return would have meant getting the line onto it would have been a real pain. Therefore this is where I have decided to drill a hole. 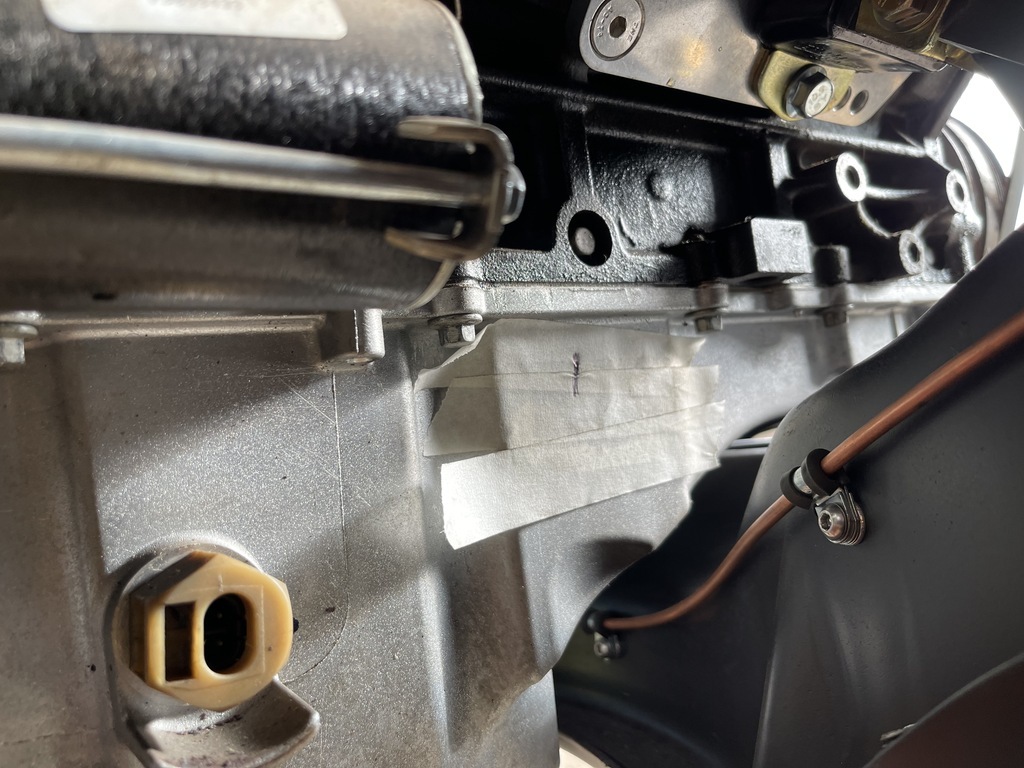 That brings you up today on todays attempts. Doesn't look like much but had to extract the crane from the darkest corner of the garage, make an engine hook and keep an ear out for if/when the Spa GP was going to start. Thats my excuse and I am sticking to it. Right. For this that have got this far you might remember that I had a question. The LS is not the most cosmetically appealing engine ever created, and I am not one for building covers, but I would like to apply a little lipstick to the pig. Question is, what? Here are the current choices, please feel free to make your own suggestions. 1. Paint the block Chevy Orange and wrinkle red the valve covers. Blast and lacquer the aluminium engine parts. 2. Paint the engine Black and wrinkle black the valve covers.Blast and lacquer the aluminium engine parts. 3. Leave it as it is - no amount of lipstick is going to get this pig a date. Until the next time... Onwards! P.  |
| |
Last Edit: Aug 29, 2021 18:46:48 GMT by Paul Y
|
|
mk2cossie
Club Retro Rides Member
Posts: 3,062  Club RR Member Number: 77
|
|
Aug 29, 2021 19:24:42 GMT
|
I would go with option 2 or 3  And before you drill a hole in the sump, could that plastic bung not be used instead on the sump?  |
| |
|
|
|
|
|
Aug 29, 2021 19:42:58 GMT
|
|
3
|
| |
|
|
Paul Y
Posted a lot
  
Posts: 1,951
|
|
Aug 29, 2021 20:25:51 GMT
|
I would go with option 2 or 3  And before you drill a hole in the sump, could that plastic bung not be used instead on the sump?  Unfortunately not as that is the oil level sensor and is below the level of the oil (what a weird sentence...) so, as a drain doesn't work. The thought had occurred to me as well - those that have used it have ended up with smokey turbo's.... If I was clever I would put up a poll but, as I am not will just go with Option 2 - 1 vote Option 3 - 1 vote P.  |
| |
|
|
stealthstylz
Club Retro Rides Member
Posts: 14,960
Club RR Member Number: 174
|
|
Aug 29, 2021 20:53:35 GMT
|
|
I did a dressed up one a while back. Had some nice rocker covers and valley cover. Painted the whole lot chevy orange and it looked OK from a distance, still not pretty but not as new looking as they are normally.
|
| |
|
|
|
|
glenanderson
Club Retro Rides Member
Posts: 4,357
Club RR Member Number: 64
|
|
Aug 29, 2021 22:54:41 GMT
|
|
I’d probably option 3.
|
| |
My worst worry about dying is my wife selling my stuff for what I told her it cost...
|
|
75swb
Beta Tester
Posts: 1,052
Club RR Member Number: 181
|
|
Aug 29, 2021 23:40:49 GMT
|
|
3 + spangly rocker covers.
Looks good
|
| |
|
|
|
|
|
|
|
|
Another vote for 3
|
| |
Proton Jumbuck-deceased :-(
2005 Kia Sorento the parts hauling heap
V8 Humber Hawk
1948 Standard12 pickup SOLD
1953 Pop build (wifey's BIVA build).
|
|
|
|
|
|
|
|
Black motor to hide as much of the detail as possible and some nice copper rocker covers.
|
| |
|
|
Paul Y
Posted a lot
  
Posts: 1,951
|
|
Aug 30, 2021 10:18:55 GMT
|
Had a rethink on the engine dress up as, having looked at multiple images overnight, it will always look like an LM7 no matter what you do UNLESS I want to spend big bucks. And as I still don't have a gearbox that seems like a rather foolish thing to do.... So. Plan is. Clean the block, the paint is pretty good on it already. Clean the rocker covers, I might relocate the coils at a later date but if I am not getting some wizzy new covers what's the point right now. Plus I would have to get new spark wires and... yea. not going to happen. Give the plastics a real good clean - I have some boiled linseed oil that I used on some outdoor furniture which gave really good results. Blast and paint the manifolds - probably going to go with that silver aluminium exhaust paint. Clean the ancillaries. Total cost less than £20, if that. Done. Onwards! P.  |
| |
|
|
|
|
|
Aug 30, 2021 14:25:12 GMT
|
|
A guy needs to vote option 2
|
| |
|
|
Paul Y
Posted a lot
  
Posts: 1,951
|
|
Aug 30, 2021 20:35:16 GMT
|
Warning! Lots of pictures of not a lot. I finally put on my big girl pants and decided to drill holes to fit this. 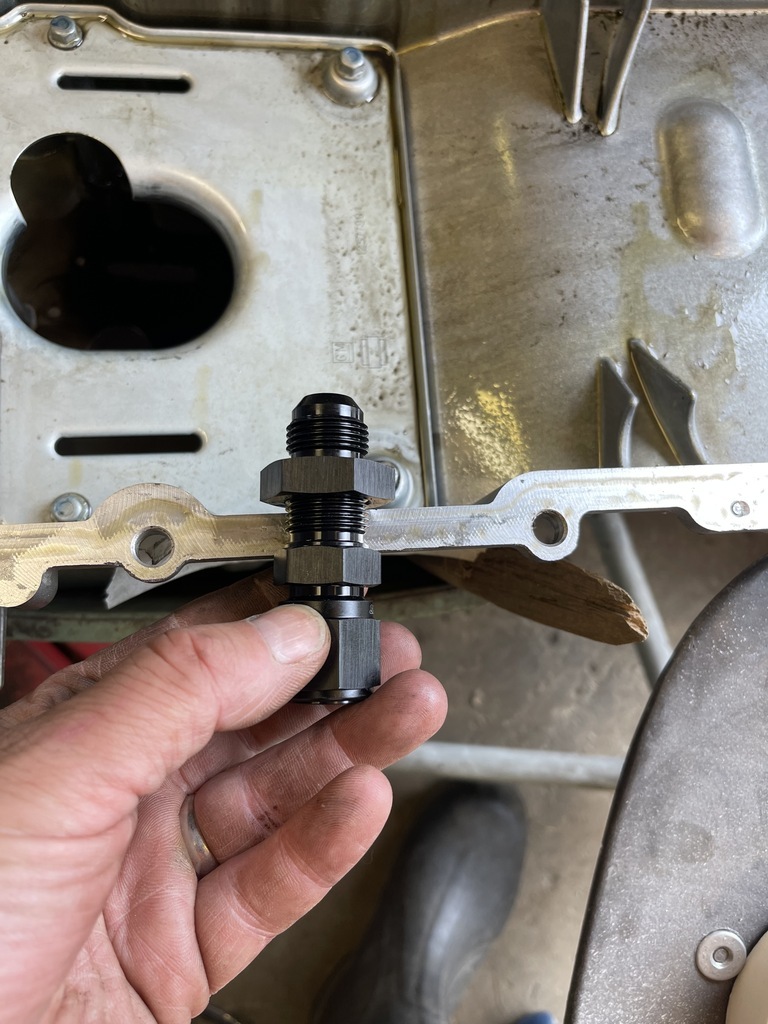 One small problem. 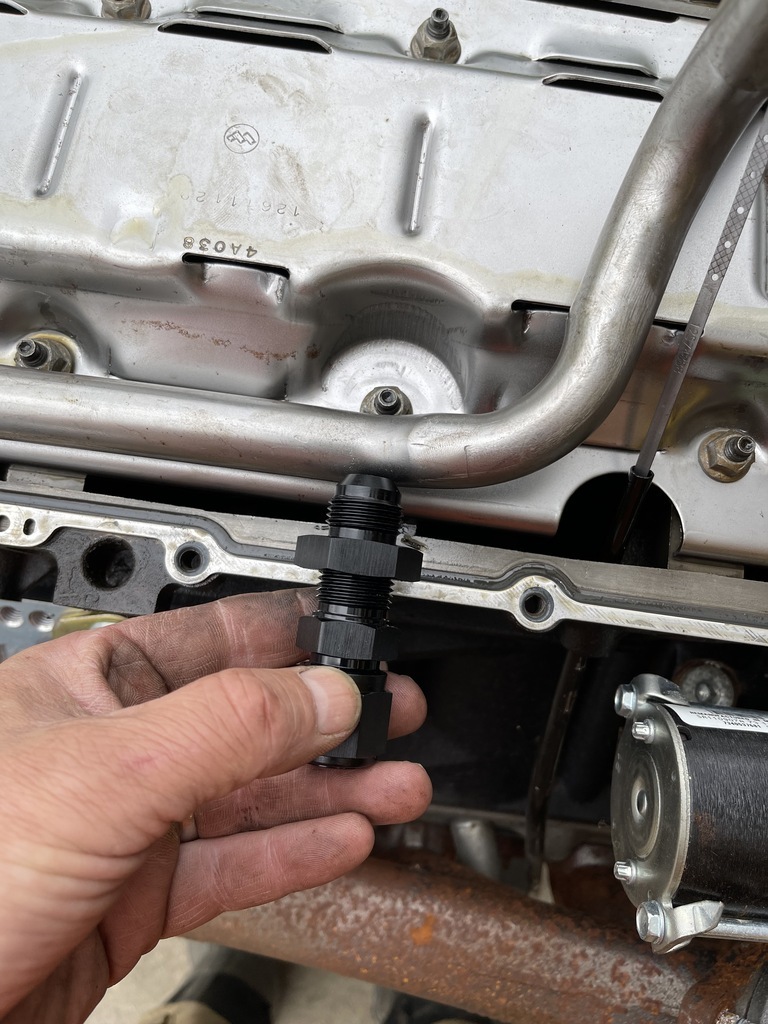 So... after a lot of measuring, re measuring sitting on the milk crate of inspiration I finally did drilling. 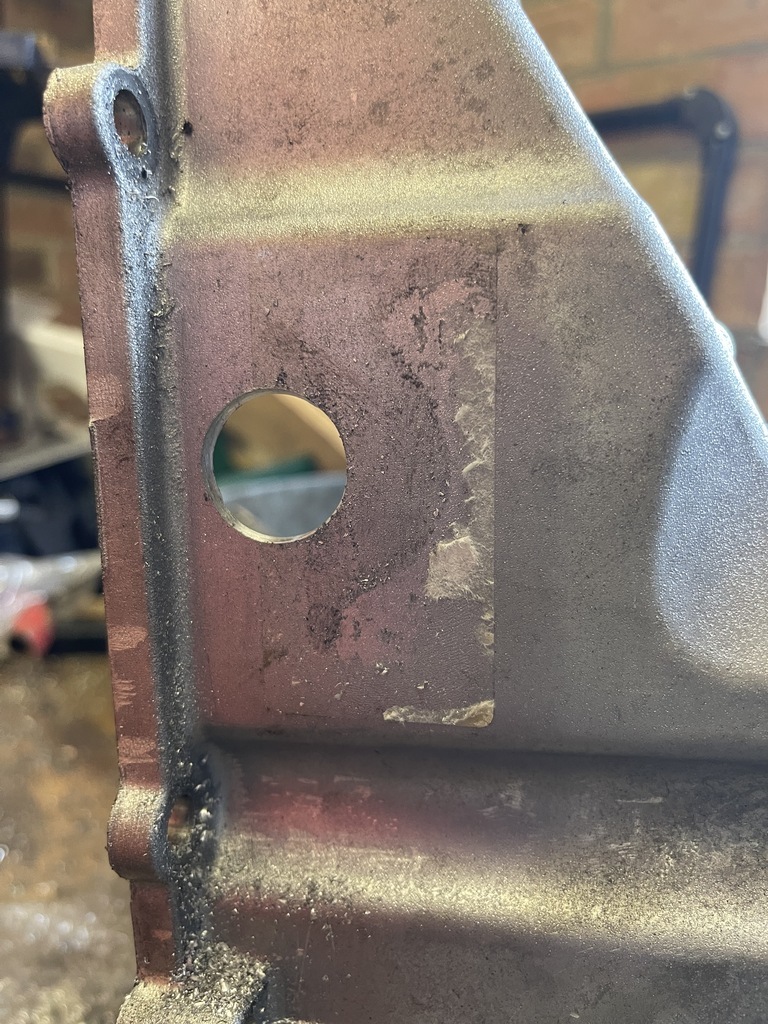 and then some cutting. 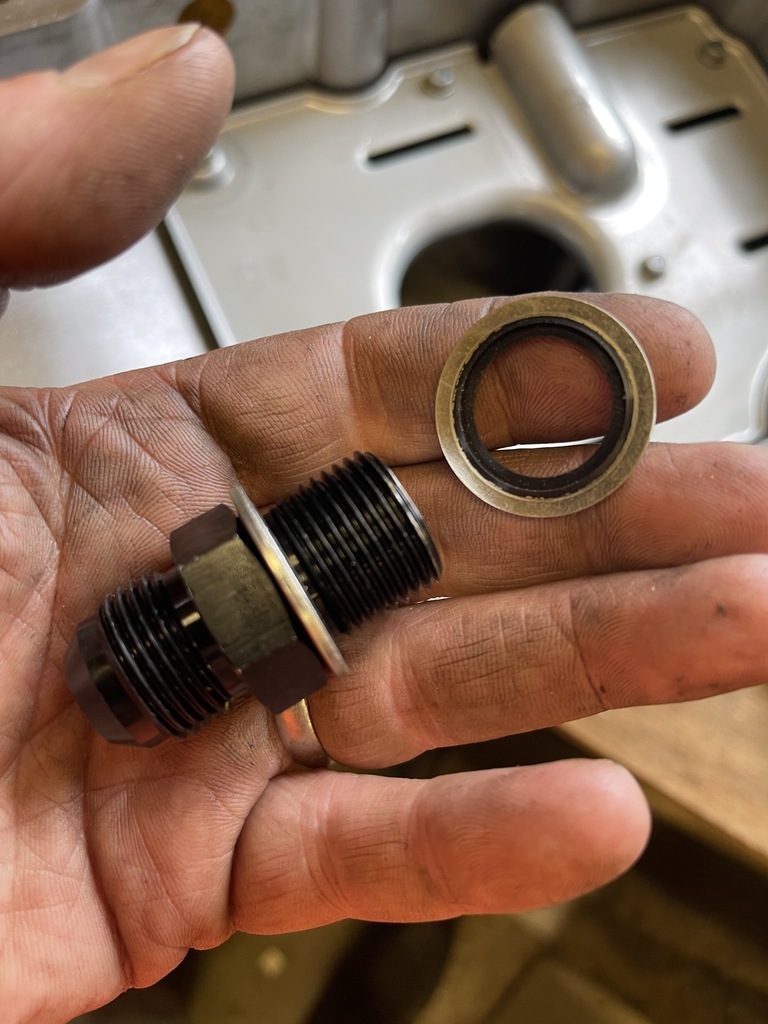 and then some fitting with the super washers that Mark gave me to stop leakage. 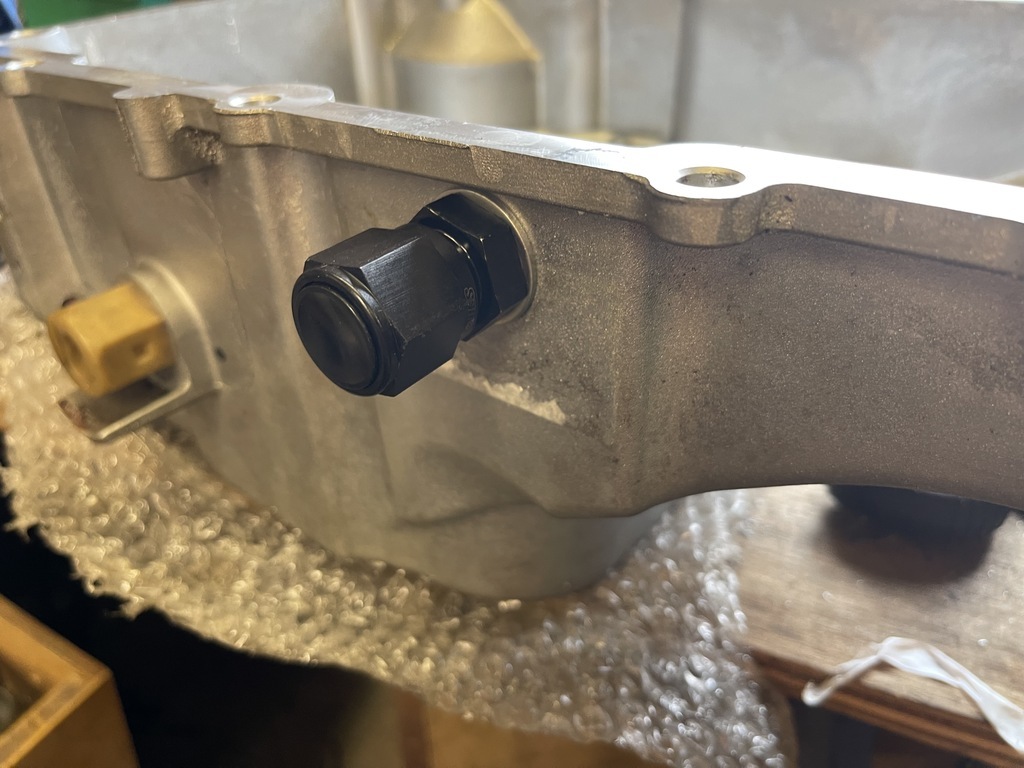 Yup, that works. Misses the oil pick up and is significantly above the level of the oil. Phew. Next job was to finally fit the sump for hopefully the last time until Choo Choo time. This is my first LS, previously had lots of small blocks and big blocks and I can already see the appeal. Things like reusable gaskets is such a nice change from the fit once, scrape off and buy another that has been my previous engine experience. A little dab of red sealer on the joints and then fit for the final time. 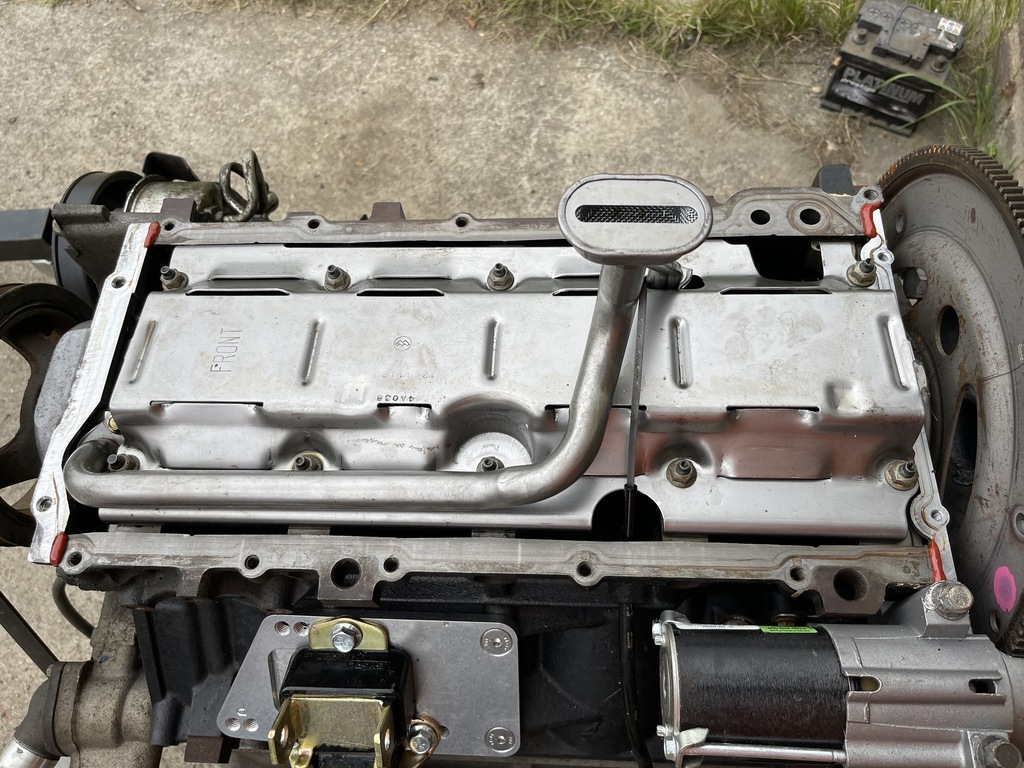 With the engine buttoned up it was time to commence operation "Lipstick on Pig". Stripped off the exhaust manifolds starter motor etc block off the exhaust ports blah blah blah and get down to a little cleaning. Before 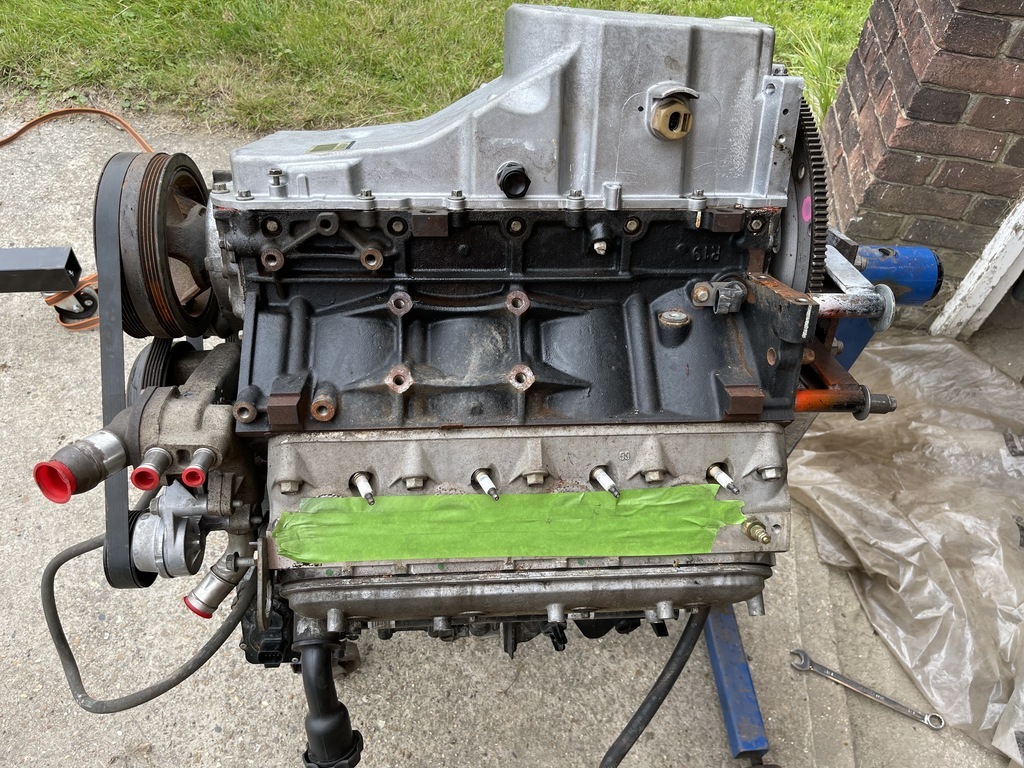 After. 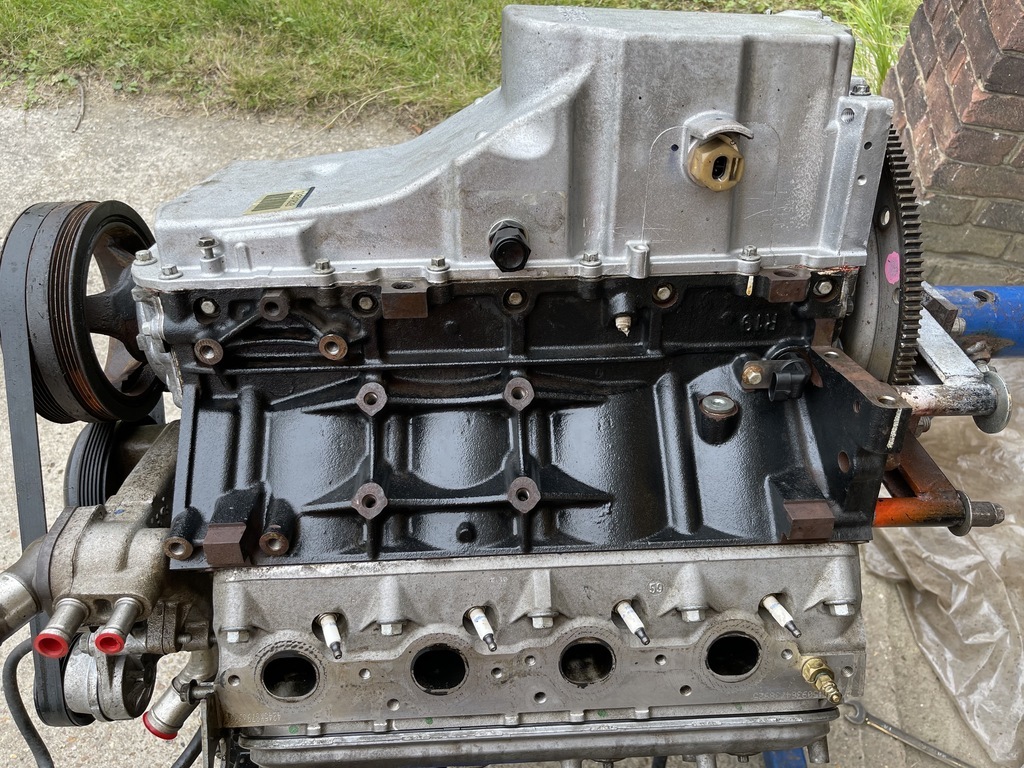 Removal of the rocker covers revealed more to support the low mileage and regular oil changes. 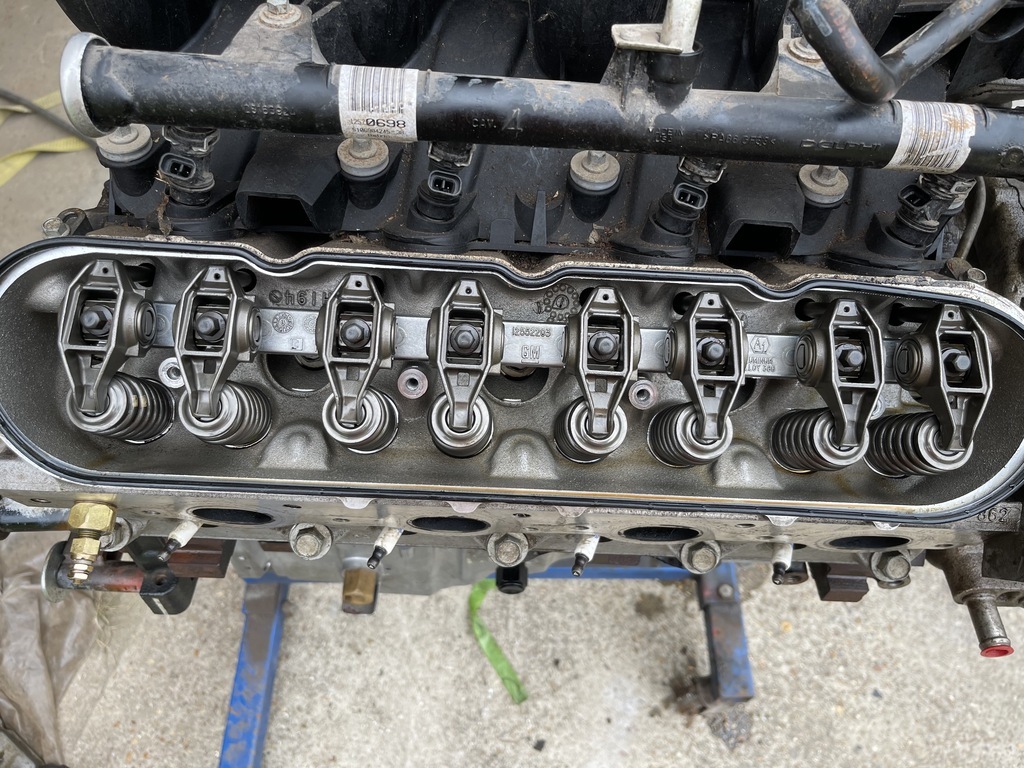 One side done. Actually looks OK. Before 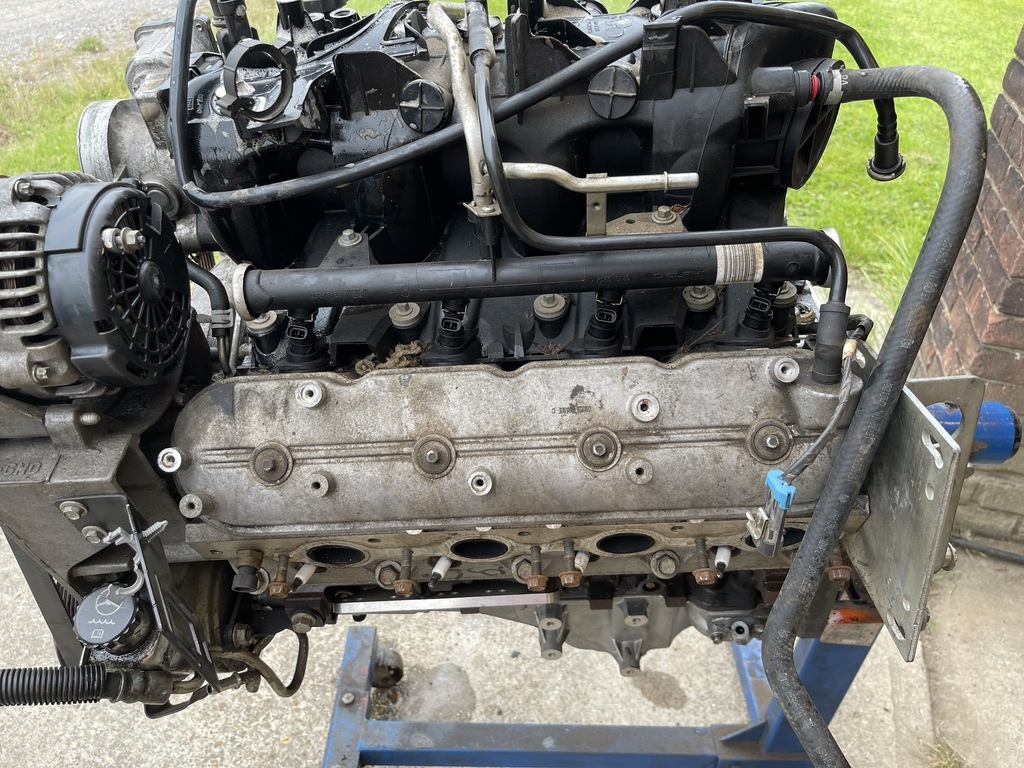 After 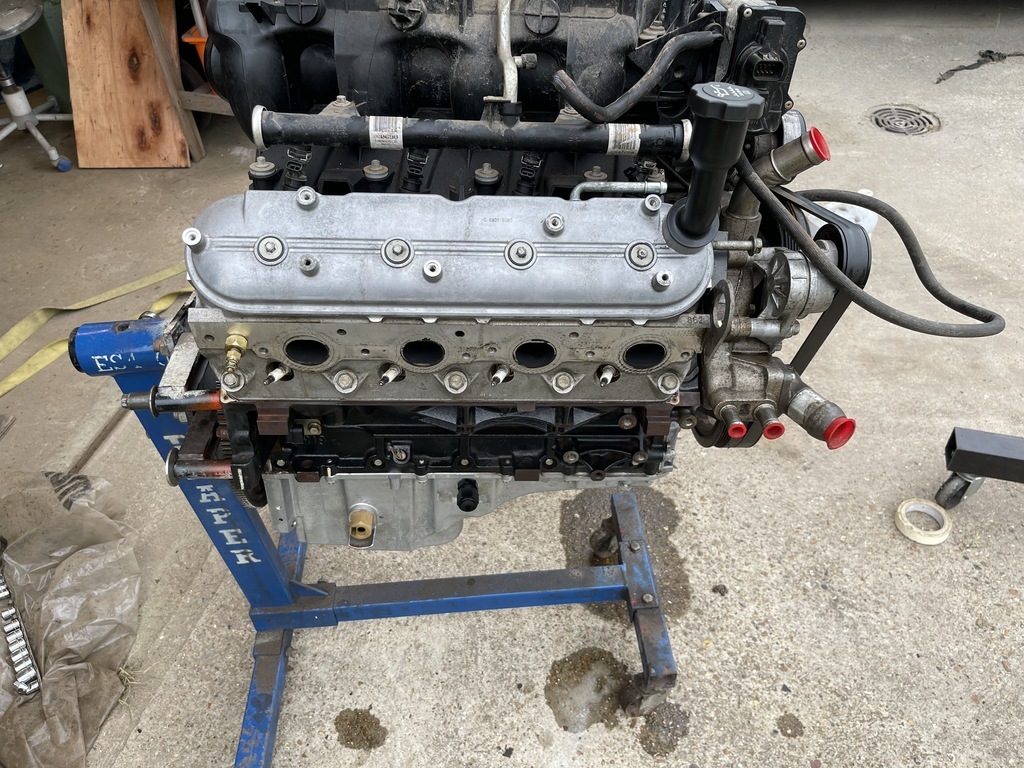 NEXT! Off with the inlet to give the underside a bit of a clean. Not too much evidence of rodents! 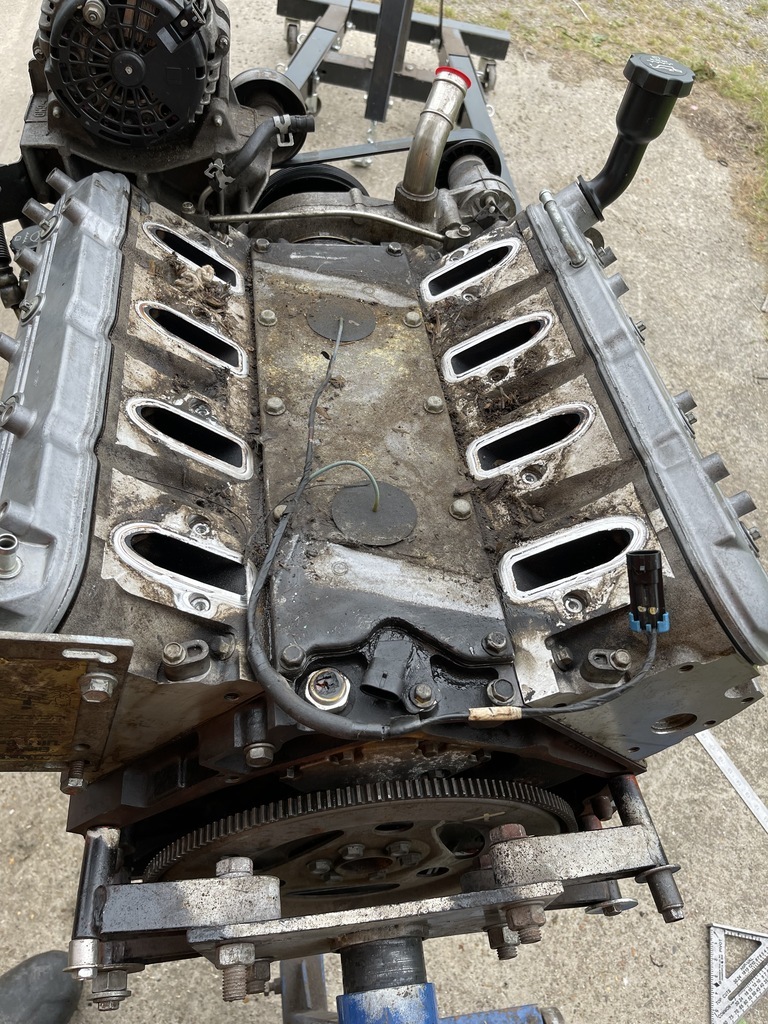 The inlet and coil pack actually cleaned up quite nicely. 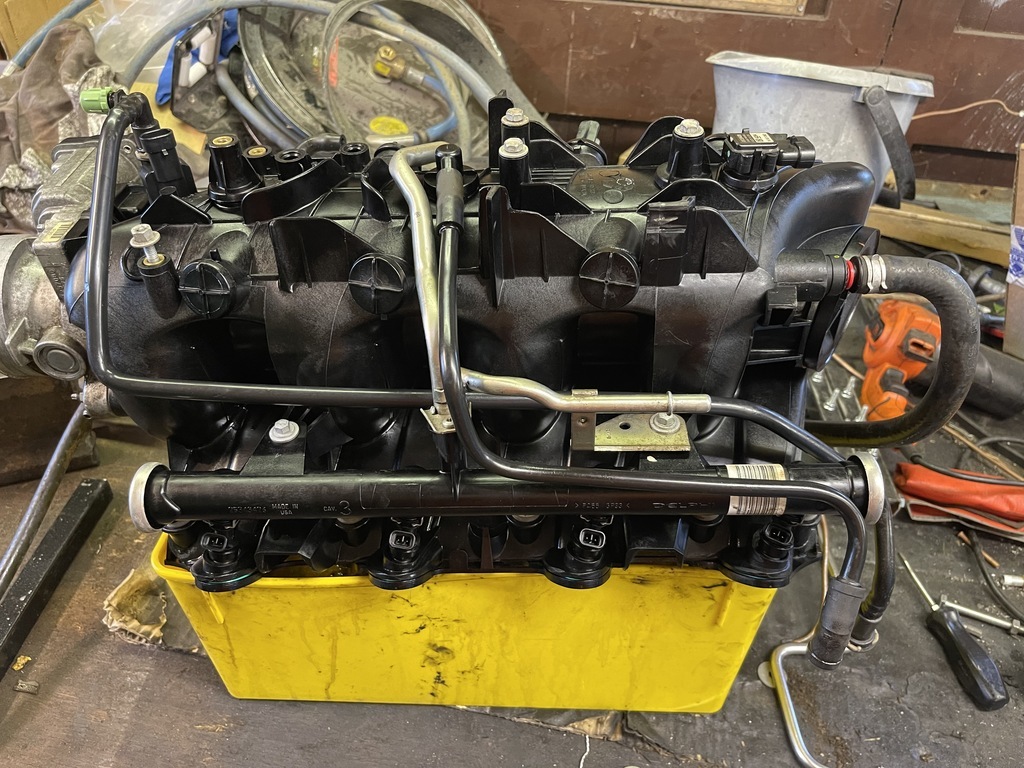 Annnndddd here it is all buttoned up. I will clean up the front accessories when I put the new cam in but for now... that will do Donkey.... 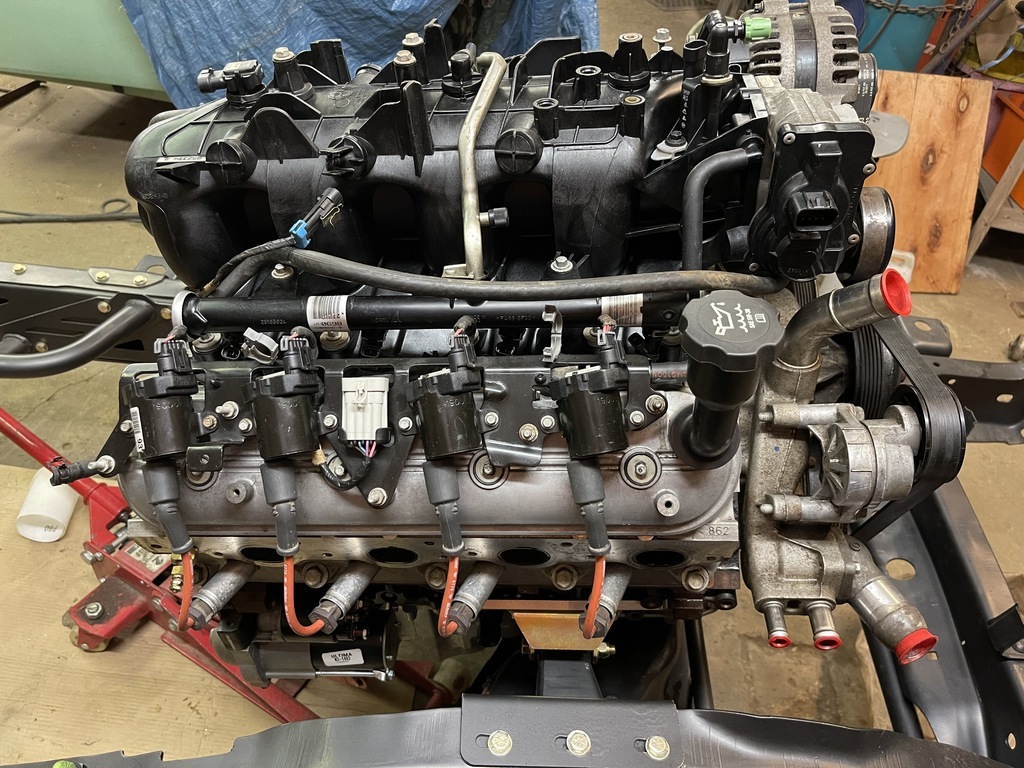 Oh, you know I said that my lb-in torque wrench was the most useless tool in my box? I take it back. Everything on an LS, well apart from the big stuff, is in lb-in. I did warn you there were a whole load of pictures... Until the next time. Onwards! P.  |
| |
Last Edit: Aug 30, 2021 20:40:42 GMT by Paul Y
|
|
Paul Y
Posted a lot
  
Posts: 1,951
|
|
Aug 30, 2021 20:43:23 GMT
|
A guy needs to vote option 2 I'll do the right thing and pretend I didn't see that.... P.  |
| |
|
|
stealthstylz
Club Retro Rides Member
Posts: 14,960
Club RR Member Number: 174
|
|
Aug 30, 2021 21:26:38 GMT
|
|
That oil drain fitting is far too posh. Not a drop of chemical metal in sight.
|
| |
|
|
Paul Y
Posted a lot
  
Posts: 1,951
|
|
Aug 30, 2021 21:45:07 GMT
|
That oil drain fitting is far too posh. Not a drop of chemical metal in sight. Let’s revisit this after I have started it up…. P  |
| |
|
|
|
|


