glenanderson
Club Retro Rides Member
Posts: 4,357
Club RR Member Number: 64
|
|
|
|
|
Progress is progress. 👍👍
I work shifts, and am continually pushing my body clock back and forth and juggling “sleep debt”. Sometimes you just have to stop and recharge, no matter what other demands are clamouring for your attention. I watched my father work himself to death, I’m dammed if I’m doing the same.
|
| |
My worst worry about dying is my wife selling my stuff for what I told her it cost...
|
|
|
|
|
|
|
May 20, 2021 16:09:25 GMT
|
While I was at the Osteopath today my phone (on silent) went mad. Twice. Once done I looked and missed calls from glenanderson and Paul Y So I called Gen and it turned out he was reversed up my drive and rummaging for timber, of course there is a load of it. He was picking up the super heavy complessor that came from craigrk in Leatherhead for Paul and some V8 parts, tools and my digital torque wrench, along with a heavy duty rubber mat for the load bed in Woody his C10 truck he is building currently. Glen will be headed cross country to pick up and deliver Land Rover parts and a rear diff that will end up in Bexley. So quite a trip. My back was absolutely knackered from the osteopath and hurting it this morning so Glen managed to load everything alone. .HEIC) And ready to rock n roll. .HEIC) Next stop Essex at Chez “y” |
| |
|
|
|
|
|
|
|
And then he escaped Kent....... Into the wilds of Essex and beyond. He managed to evade all systems and slip into Essex First stop was at Paul Y towers to drop off some stuff and pick up some tools for me. .jpg) And then he was off again..... .jpg) As always, good to see stuff going where it needs to go. (Off my site) |
| |
|
|
Paul Y
Posted a lot
  
Posts: 1,951
|
|
May 23, 2021 21:41:45 GMT
|
 The automotive circle of life was in full effect this weekend as I have finally moved from this.... 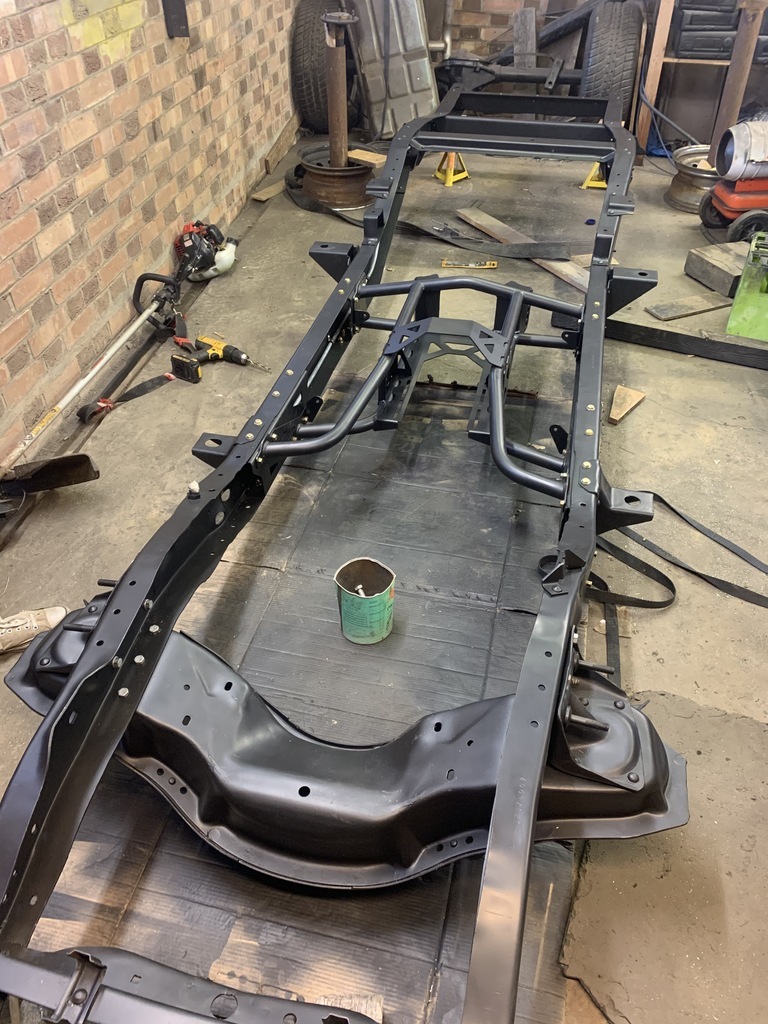 To this.... 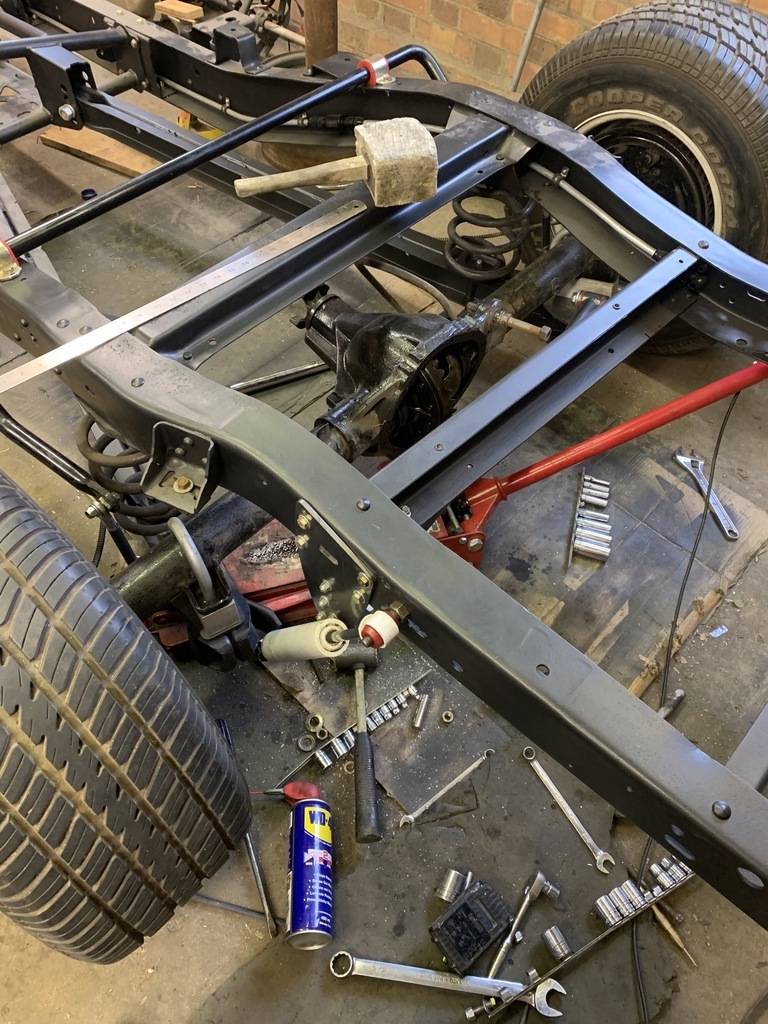 So what is the automotive circle of life? It is when you do a Google search for a picture for the correct orientation of an assembly and end up being presented with a picture of the very same assembly, you took, before disassembling of said assembly.... So, let's rewind shall we. My Saturday saw our very own Santa Claus, Glen Anderson, arriving at PY Towers laden down with gifts that had been accumulating at Grizz place over the course of the Pandemic, amongst which was the loan of a torque wrench to assist in putting Woody back open his wheels. I would like to say that I cracked straight on with assembly but the foot tall grass - the unwelcome result of the past 2 weeks rain and sun - meant that I had an appointment with my mower...Which lasted all of 10 minutes before the grass collector decided to break and then the battery went flat (probably because dumbo here left the ignition on whilst fixing the collector) Thankfully it started raining again so called it a day and retired to the comfort of my chair and a beer. Sunday started at the crack of Noon due to family commitments, first things first... How many of us have thrown bolts in a box during disassembly because "I will be putting it back together next week so will remember where everything goes..." 4 years later I am greeted with this. 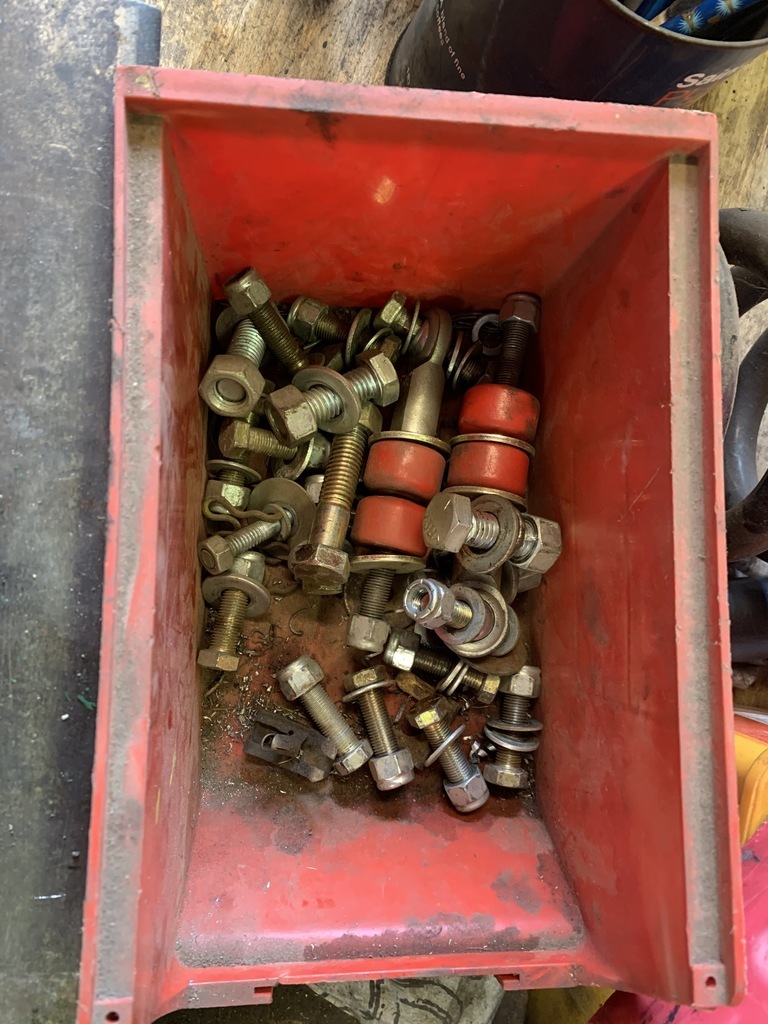 There are another 3 boxes of these so first job was to sort out the various fasteners before the 'fun' can start. First job was to put the bushes into the trailing arms. Pretty simple Lube, Lube 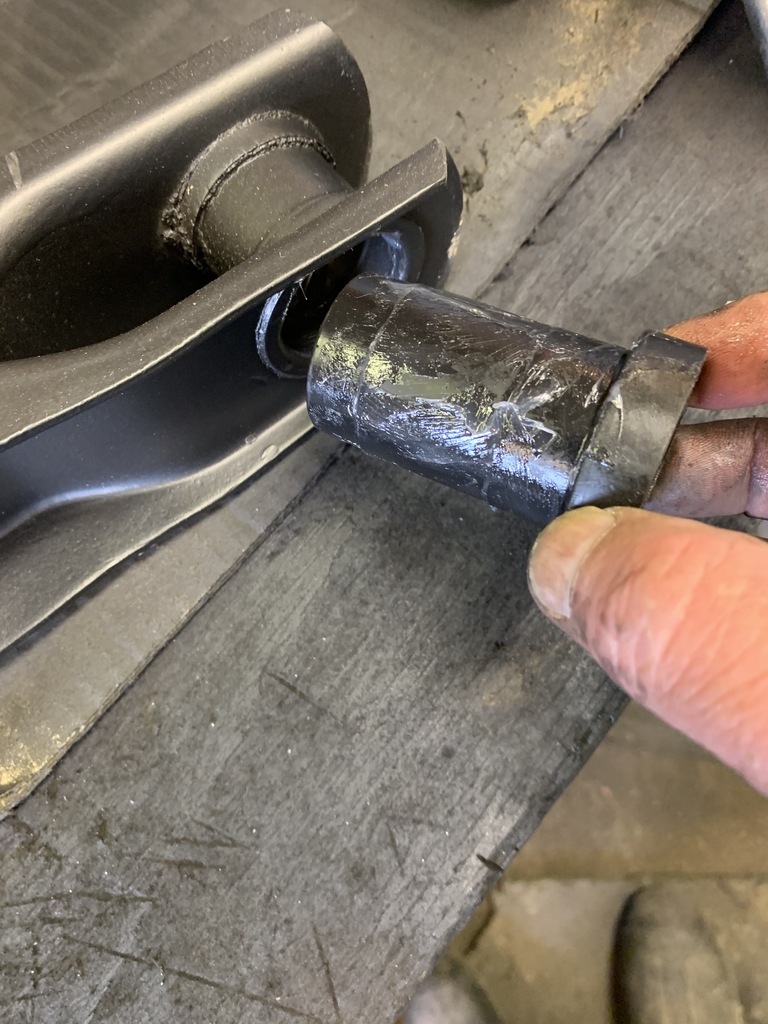 Press, Press. 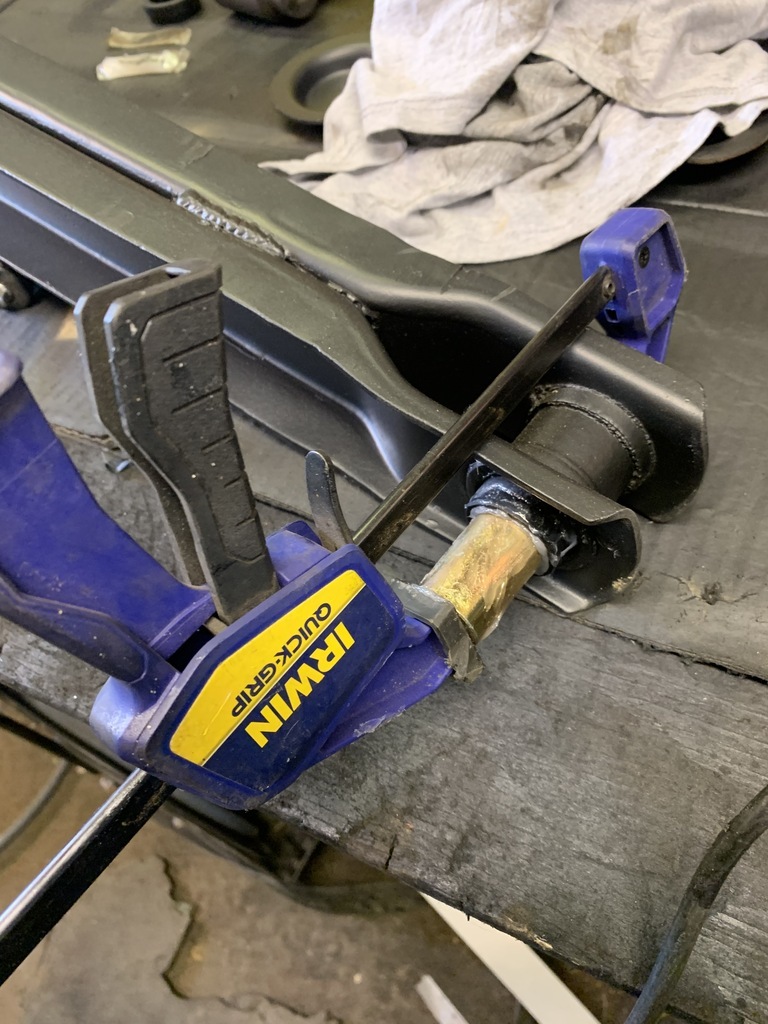 Mmm... now how to get the rather snug bushes into the mount? 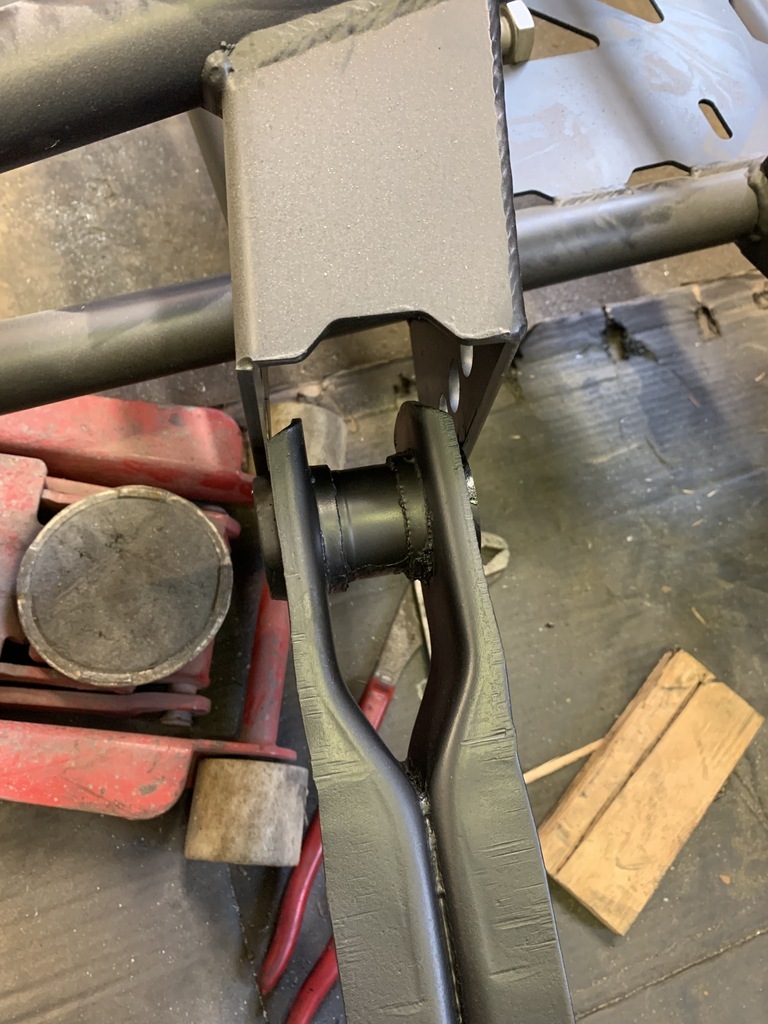 Well this involved two bits of an old oil drum, a bit of wood and a jack. 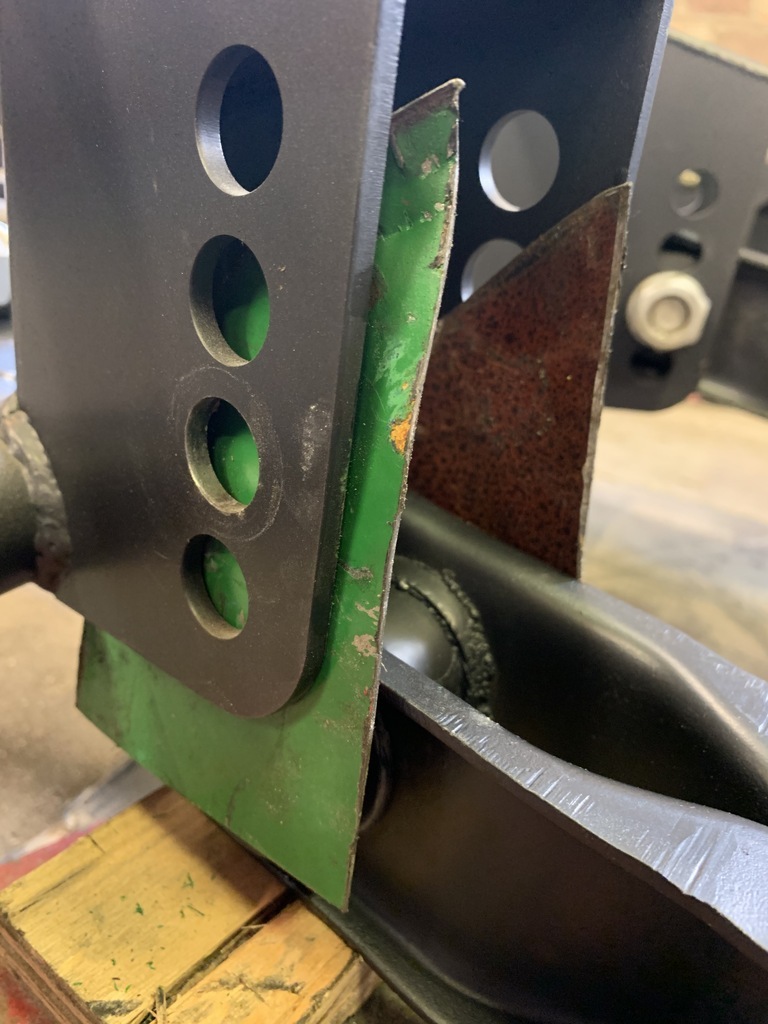 Taa Daa! 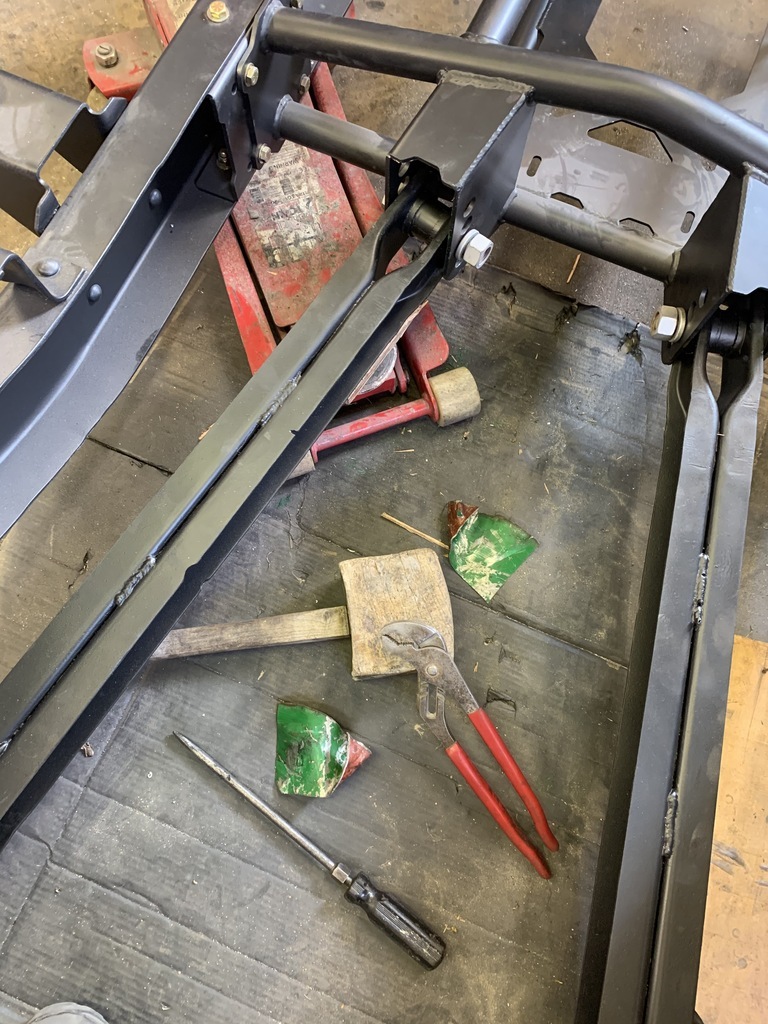 The assorted screwdriver, mallet and grips where required to remove the bits of tin that took longer than actually getting the arms into the mounting. Next job was to unearth the axle from the very back of the garage, realise that is was round the wrong way and then pull, push and swear at it until it was safely tucked under the chassis. 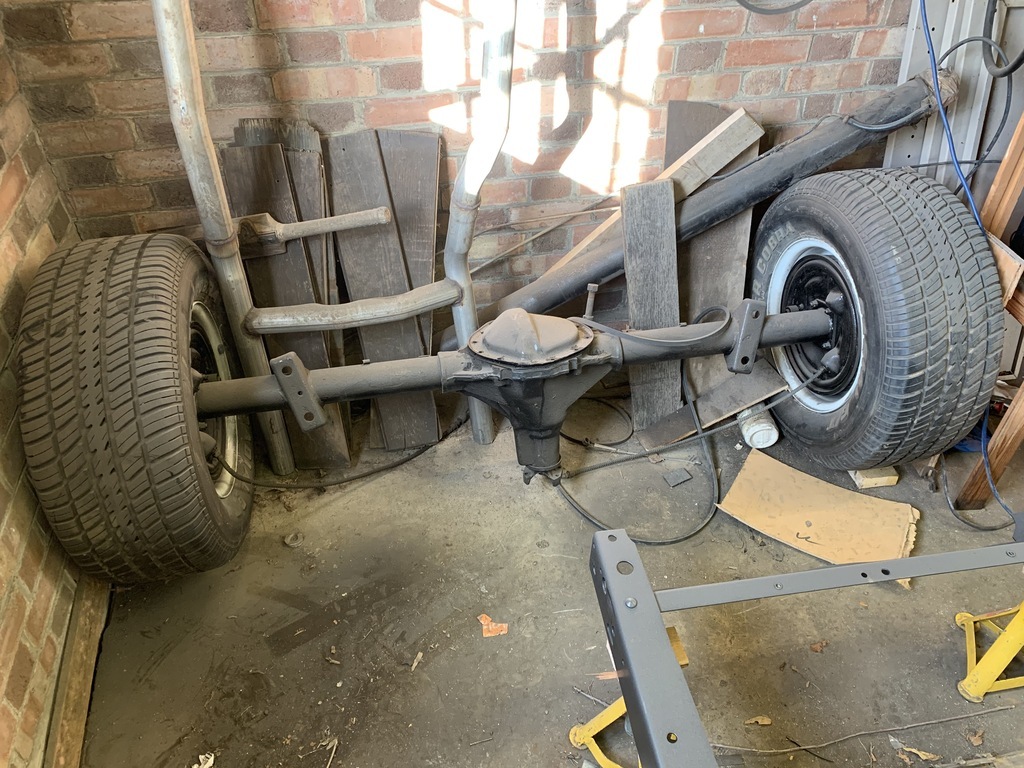 No. I am not going to show the Eiffel Tower of wood required to get the chassis high enough to make the above happen but needless to say, not my proudest moment... With the axle roughly in place time to dig out the lowering blocks and newly painted U Bolts, 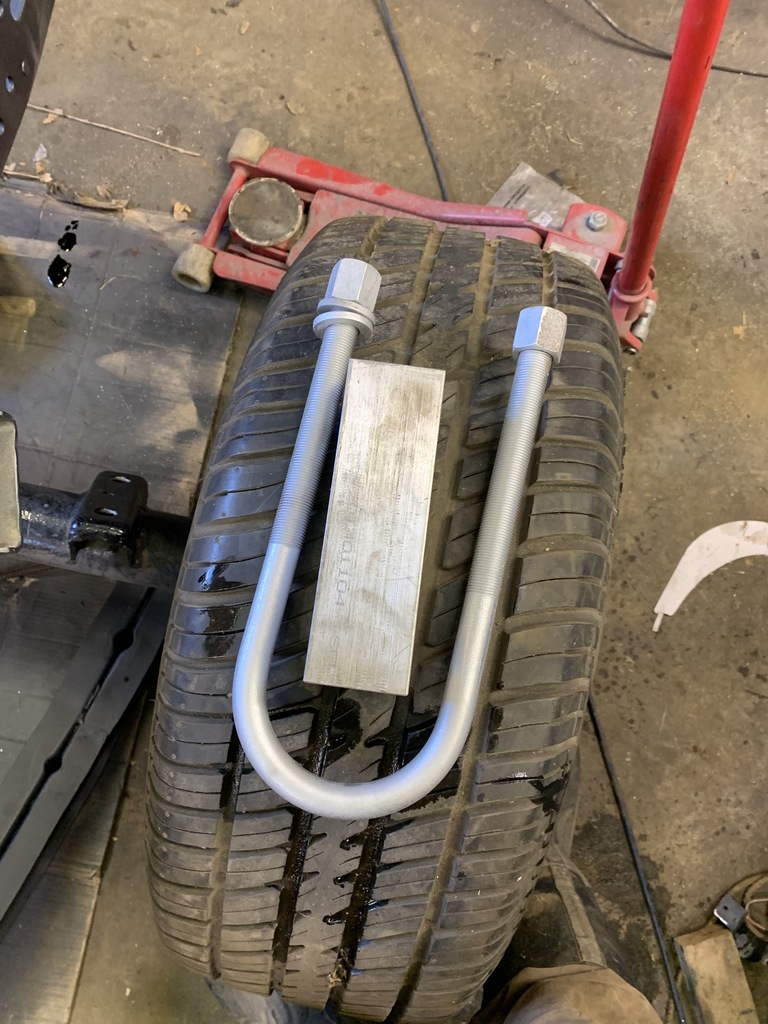 Push, push. Lift Lift. Swear, Swear. 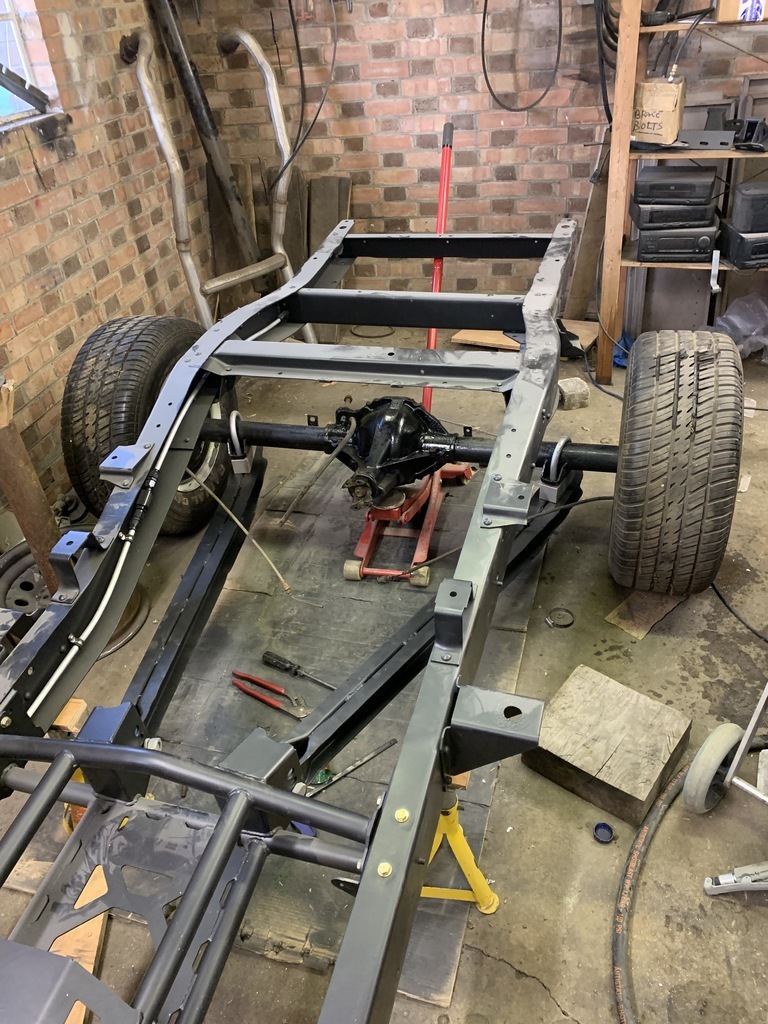 All in place...oh...hold on... 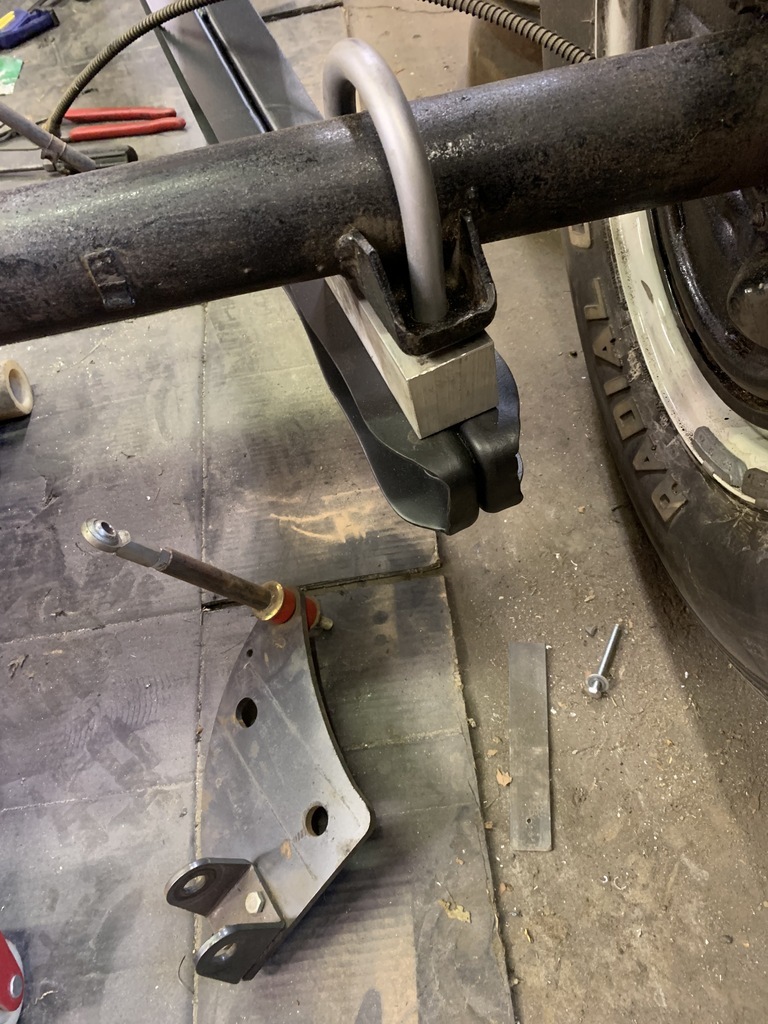 Forgot to put the mount on for the panhard and anti roll bar so a bit more pushing and we now have the things looking a little closer to being loosely assembled. Doing this for the second time made me realise that I had not done a particularly good job first time round, witness the gap between the panhard rod mount and the chassis... 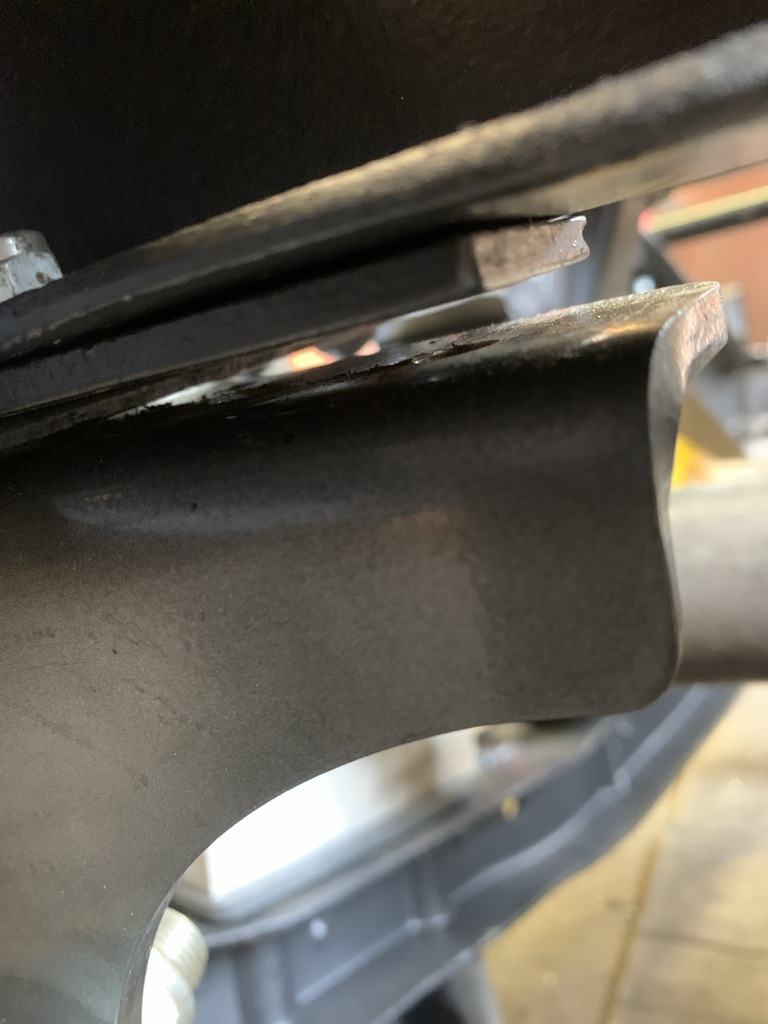 Previously I had just left it but this time made a quick spacer and we are good to go! 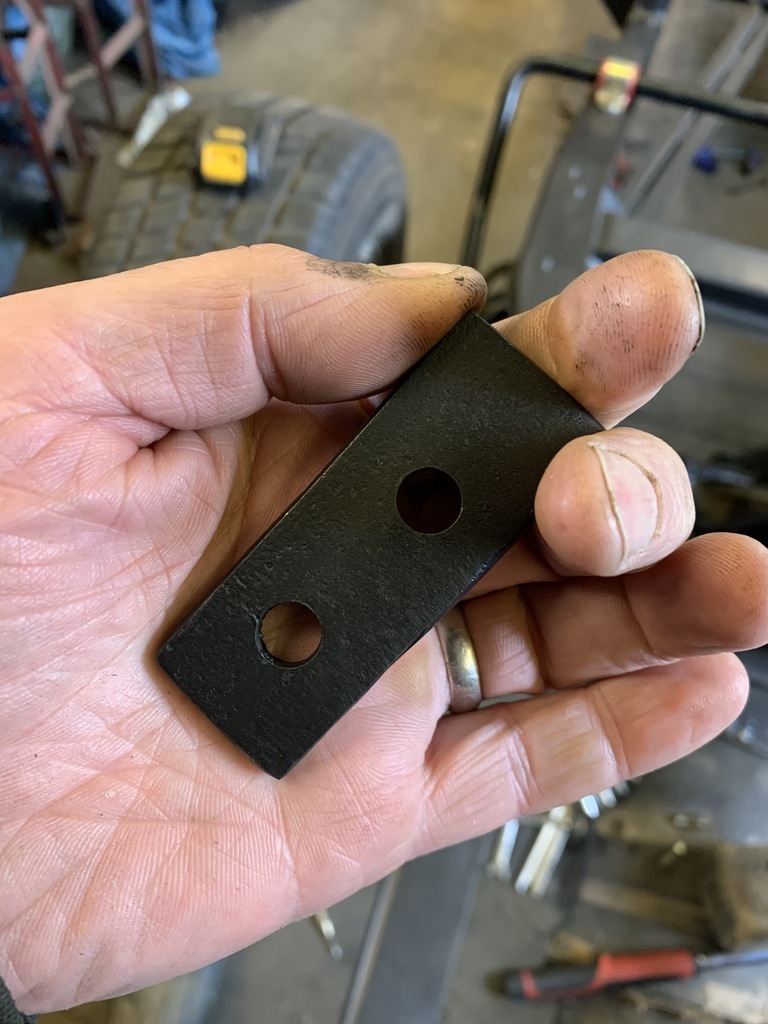 Oh Look! Its nearly level at ride heigh ( or will be with a bit more weight on the back) 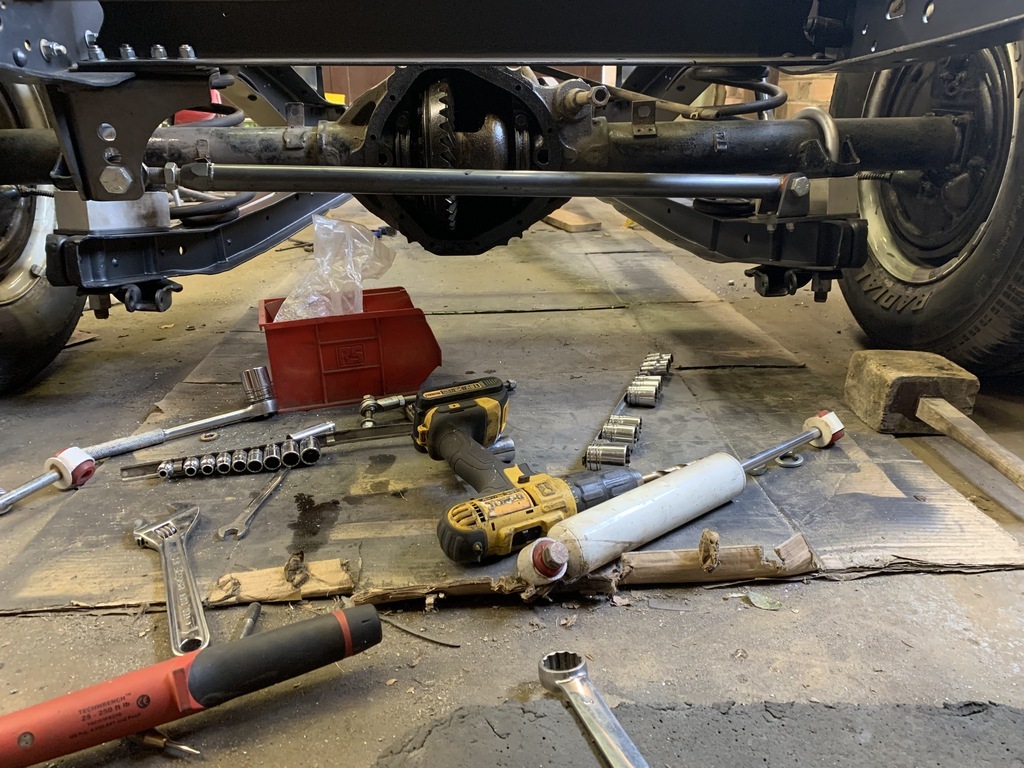 A quick bit of twiddling with the bar and we are within a 1/16th side to side. 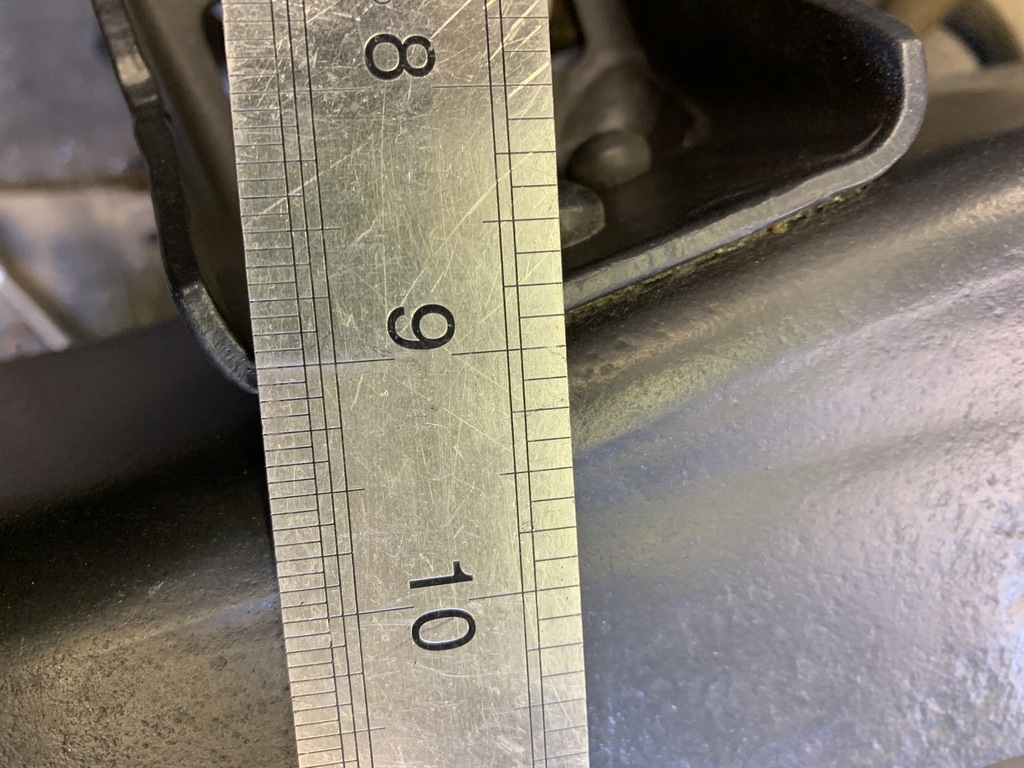 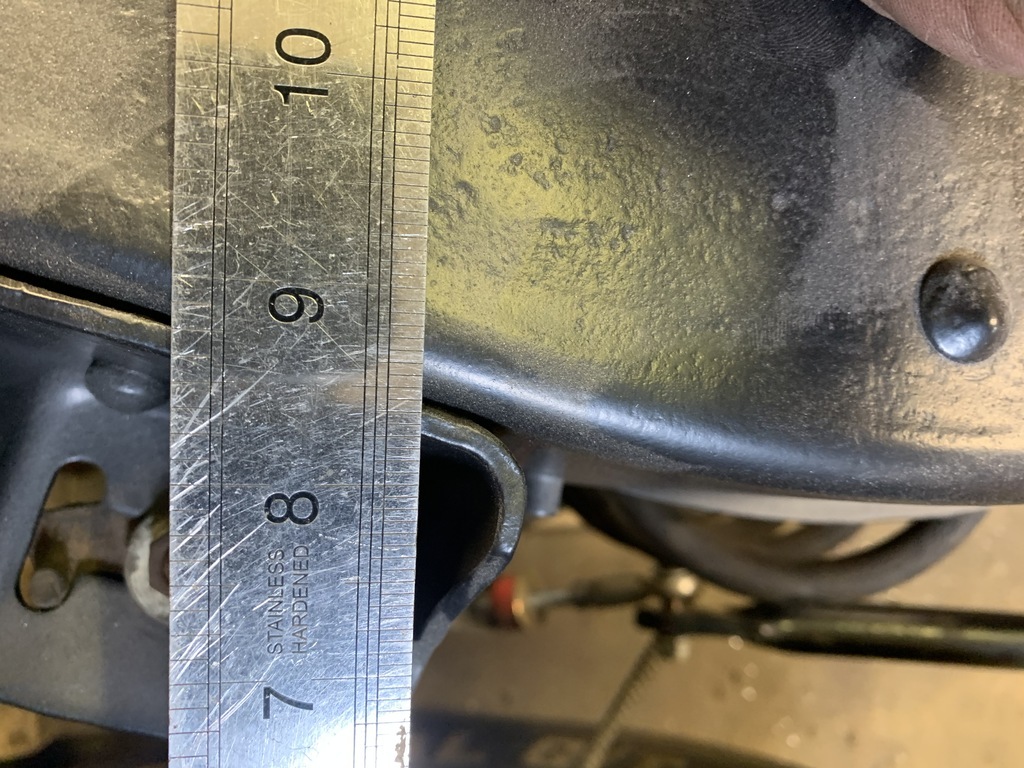 Nice.... Quick break for these and then back out.  Spent about an hour trying to work out why the antiroll bar drop links was outside the bar on one side and inside on the other even though all the measurements seemed to indicate that everything was square and true. Eventually just accepted that "it is what it is' and moved onto the shock absorbers. 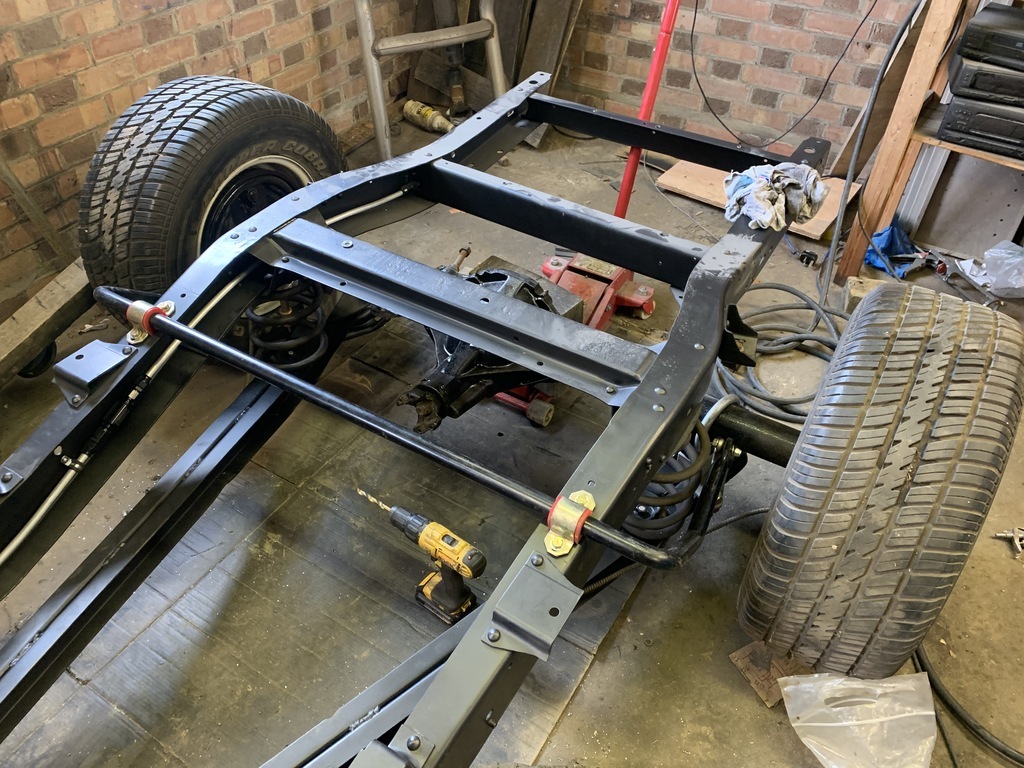 Which is where I called it a night... The shocks don't quite fit properly and the more I looked at it the more I realised that I was going to have to do a little 're engineering' to get everything to work as it should. So.... I 'think' I will meet my objective of getting Woody back on his wheels by the end of the month but you will have to stay tuned for the next thrilling instalment! ONWARDS!!!! P.  |
| |
Last Edit: May 23, 2021 21:46:37 GMT by Paul Y
|
|
|
|
|
|
|
|
Awesome! That's a solid bit of progress there!
Nice to see the rear end all bolted up again, looking smart.
|
| |
|
|
|
|
|
May 24, 2021 12:01:08 GMT
|
|
Just found this thread and read it from the beginning.
Cracking work and well done for sticking with it, not always easy.
|
| |
Proton Jumbuck-deceased :-(
2005 Kia Sorento the parts hauling heap
V8 Humber Hawk
1948 Standard12 pickup SOLD
1953 Pop build (wifey's BIVA build).
|
|
|
|
|
May 24, 2021 16:18:03 GMT
|
|
Onwards and upwards, excellent progress there must be a parachute or reserve completion date somewhere, post shakedown I suggest the 4th July. Looking forward to the next instalment.
|
| |
|
|
|
|
|
May 24, 2021 16:48:27 GMT
|
|
Good to see things come together Paul.
Also, looking at the extra chinks of steel you are adding along the way.....
You should be able to managed the gazzillions of horse powers you plan on releasing on the unexpecting.
|
| |
|
|
Paul Y
Posted a lot
  
Posts: 1,951
|
|
|
|
Well that was a surprise... Another deadline well and truly missed. BUT! Its not my fault honest Guv.... I had actually got all of the front suspension, cleaned painted greased and ready for final assembly when I decided to give the dust seals (they are actually more like grease seals) another little clean up resulting in 3 of the 4 splitting. No pictures as my phone decided it didn't like being covered in paint and grinding dust but imagine a round black rubber thing with a hole in the middle and you will not be a million miles away... Oh....Bumhats.... Now, I could have thrown them together with the split dust shields - they go on the lower A arm and keep grease in the bearing caps- but that would have continually nagged at me until I stripped the suspension to redo them at a later date. AND!! As the time scale is self imposed to ensure that I keep momentum, and a record of what I am doing, decided to order up a new set from the States. However....  The damn things have still not left the warehouse... Grrrr.... So I returned to the rear and got everything ship shape and Bristol fashion.... 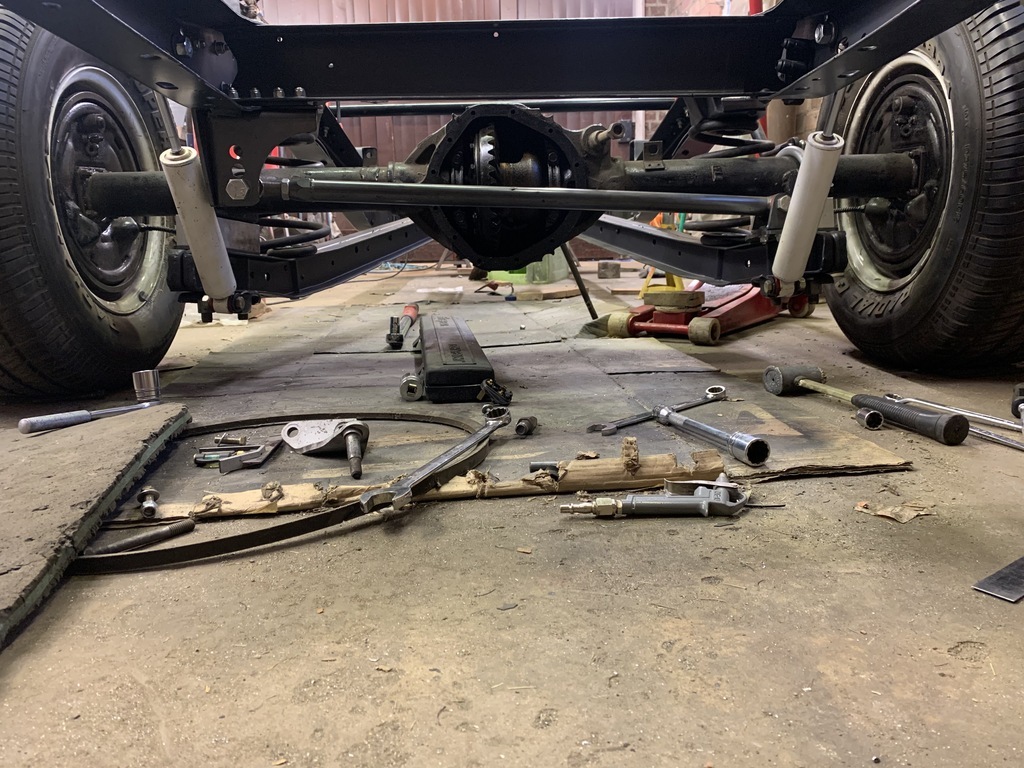 Cant find the gasket for the diff cover so something else that will have to be ordered up. Doesn't look it but a lot of time and effort have gone into making all of the fit, line up, look good and most importantly work together. 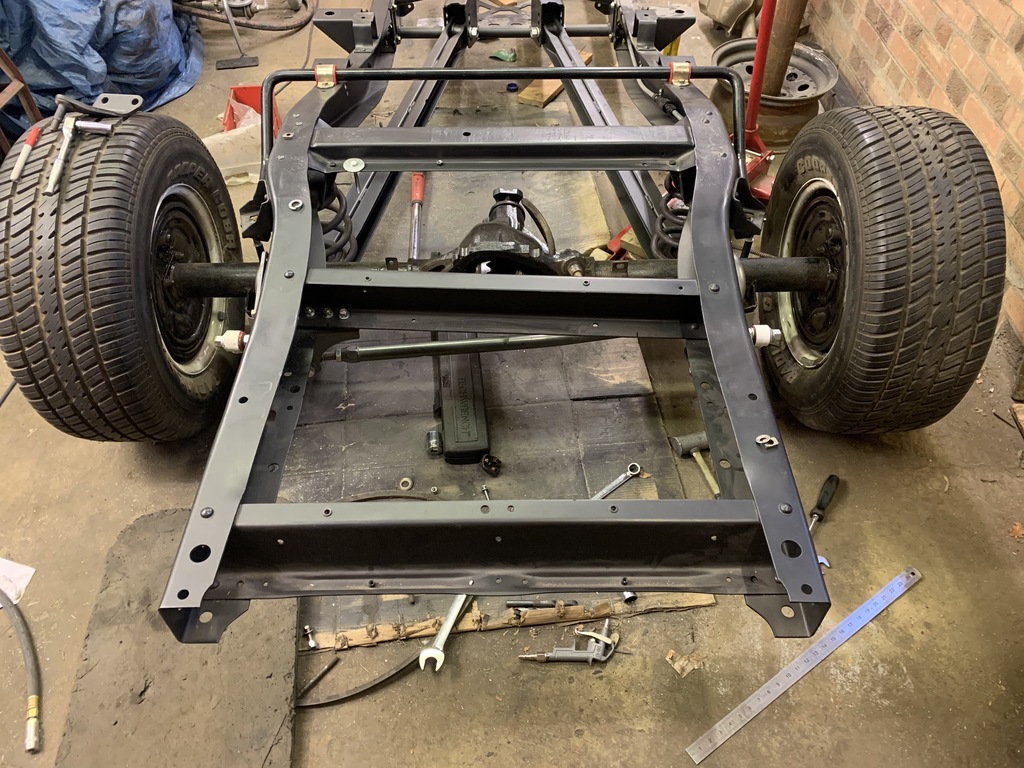 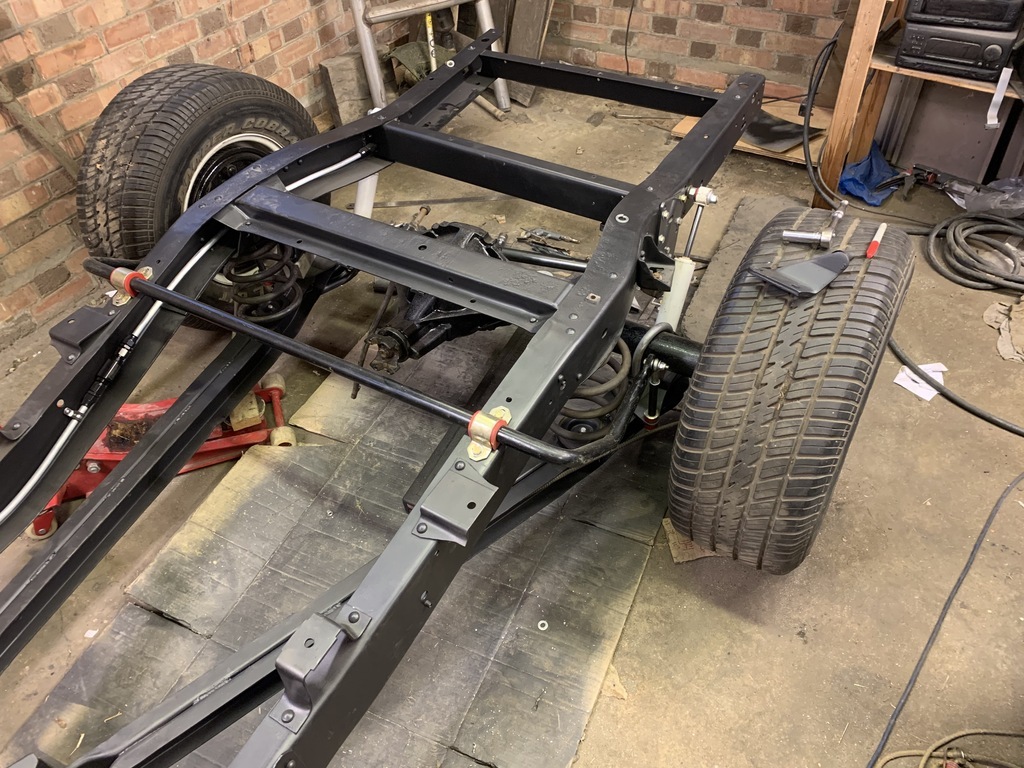 Once I get the front suspension on will pull Woody's chassis outside for a bath, the old boy is looking a bit grubby. So, in closing, still stuff to do - hopefully the olives will turn up so I can fit the fuel return line - including running the brake lines, re fitting the fuel tank, fitting the engine in the chassis so I can test fire it and erm well a huge amount more. Good news, compared to when I started I now appear to have a chassis whereas before I had a Mecanno kit... Progress will slow down for a few weeks whilst I wait for the final parts to fit the from suspension and then I have to start on the cab.... Oh dear.... Until the next time... ONWARDS! P.  |
| |
Last Edit: Jun 7, 2021 14:04:57 GMT by Paul Y
|
|
|
|
|
|
|
|
It's looking absolutely awesome though, so well worth being patient with it and not just slapping it together.
Keep at it.
For stuff like gaskets, do you always order from the states or try and UK places?
I've always had good prices back from Top Speed Automotive in Wellingborough, I can't get on with their website, but give them a call and they would likely sort you right out!
|
| |
|
|
|
|
Paul Y
Posted a lot
  
Posts: 1,951
|
|
|
|
I did a cut and paste onto the American truck forum I frequent and they have suggested Permatex or the like. Probably not going to do that so will be a call into US Automotive or, failing that Rock Auto as how they can get stuff from the State to the UK in 2-3days for less than it would cost me to buy the same part here in the UK is beyond me.... Quick edit:- USA Automotive had the gasket in stock for £6 so that will be turning up at PY Towers on Wednesday. P.  |
| |
Last Edit: Jun 7, 2021 15:14:26 GMT by Paul Y
|
|
|
|
|
|
|
|
Frosts or US Automotive have always come up trump's for me. Summit are good as well.
Chassis looks good.
|
| |
Proton Jumbuck-deceased :-(
2005 Kia Sorento the parts hauling heap
V8 Humber Hawk
1948 Standard12 pickup SOLD
1953 Pop build (wifey's BIVA build).
|
|
Paul Y
Posted a lot
  
Posts: 1,951
|
|
|
|
Doesn't time fly when your having fun... A month since my last missive might lead you to the conclusion that progress should have been made... 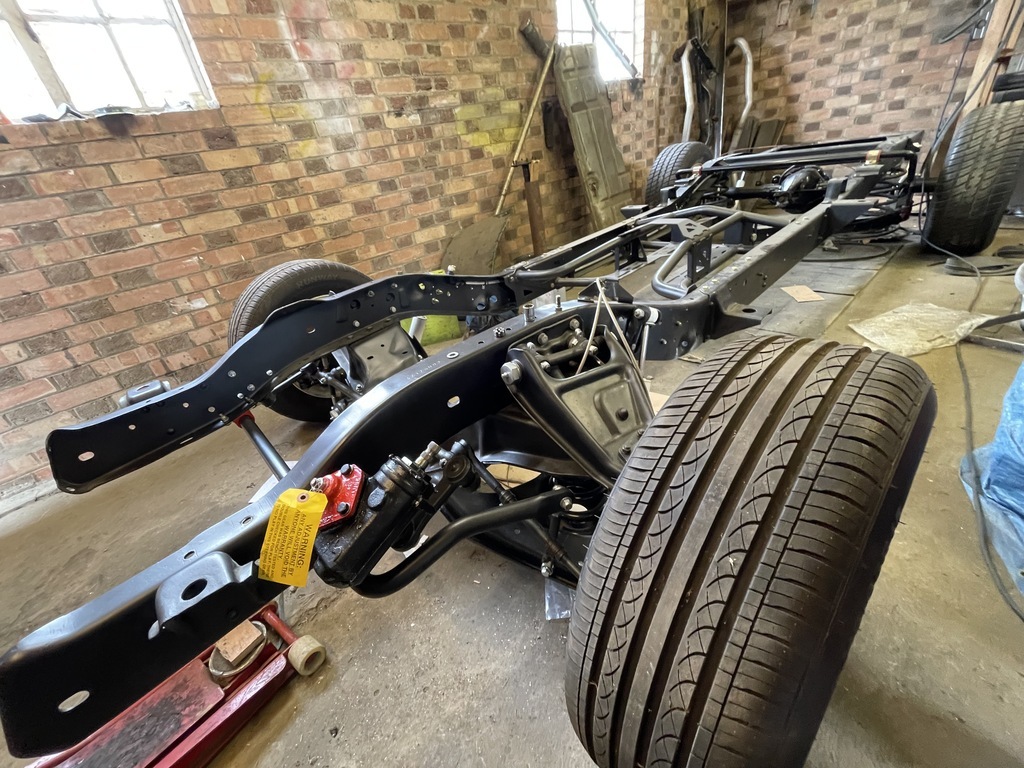 And you would be right but lets not get ahead of ourselves shall we... So, for those of you keeping up, the last time we were waiting for parts. Stupid little bits and pieces that meant that progress had come to a halt. To be precise, these stupid little bits and pieces. 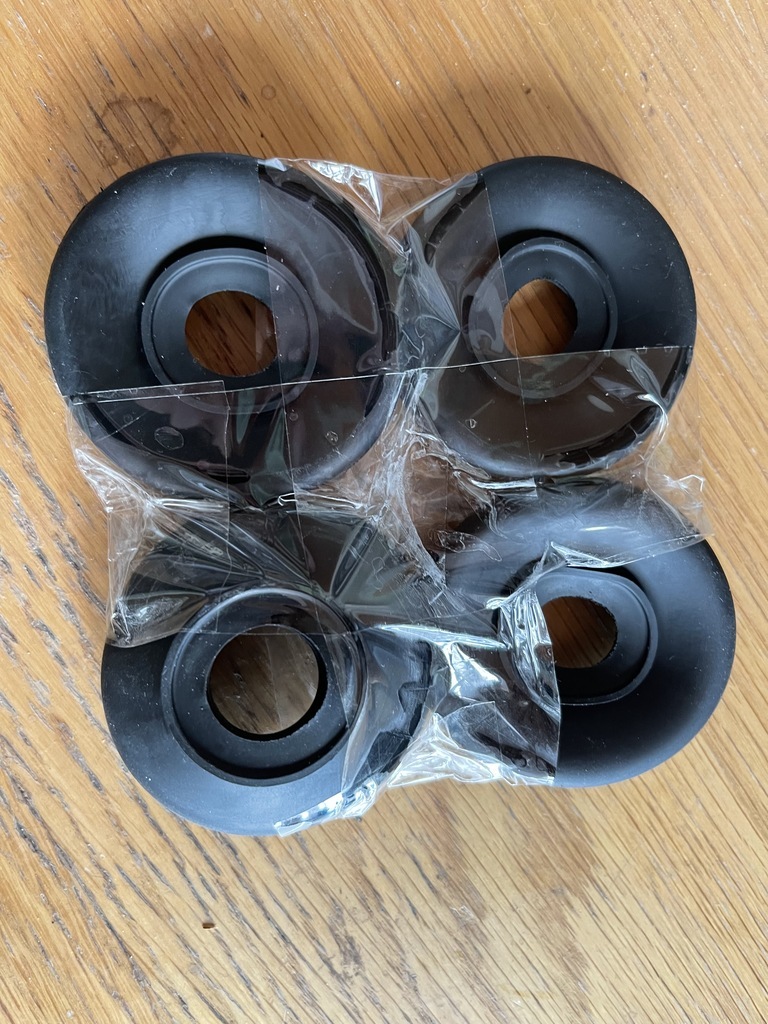 Ball joint boots that precluded me from attaching the front suspension. Grrr. However, after exchanging 4 English pounds, I was at the point were progress could be made once again. So, with the able assistance of 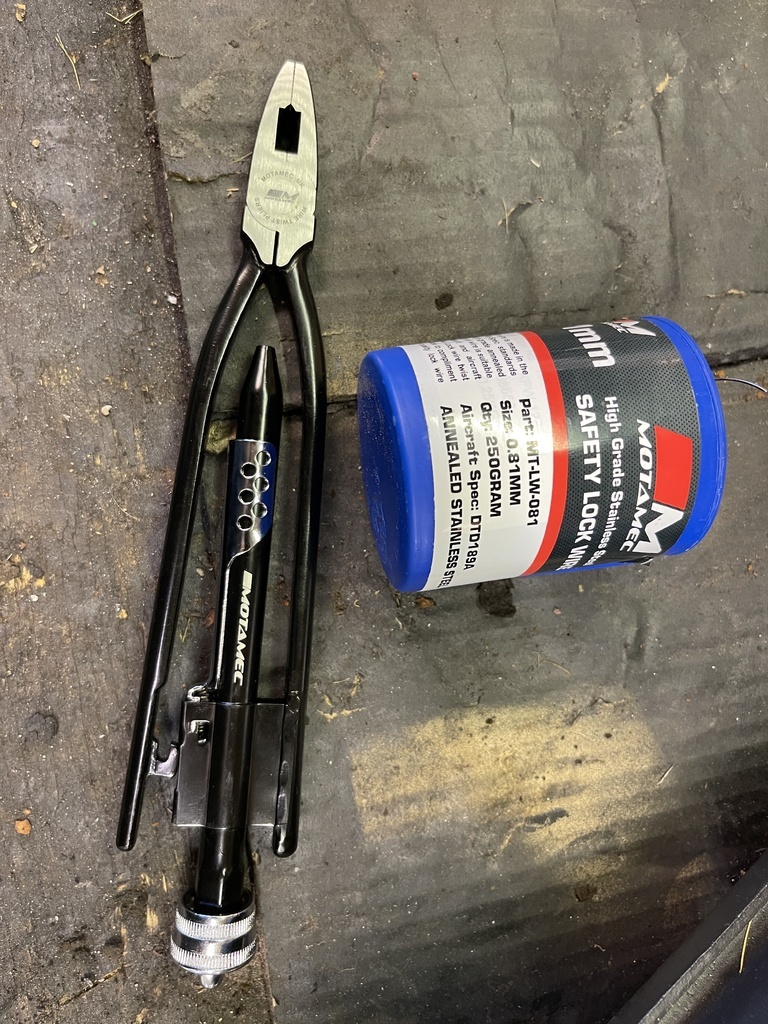 the offending articles were attached to the cleaned and freshly greased ball joints. 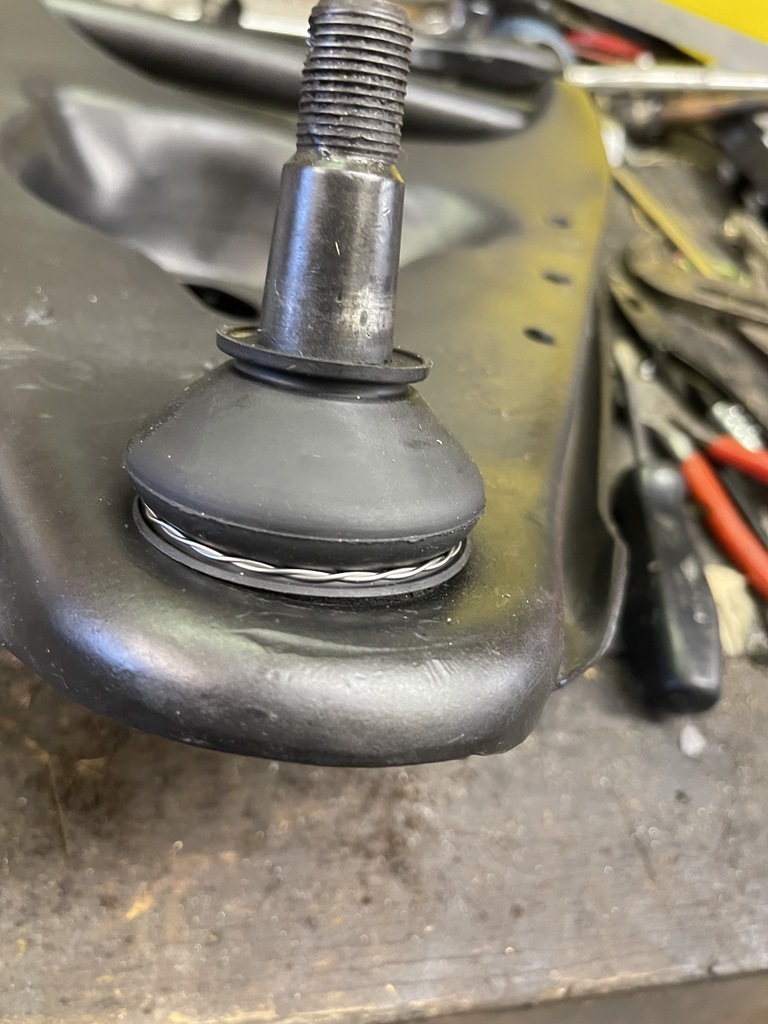 Nice. And a lot easier than trying to replicate the copper collar that affixed the originals. Plus. Race Car. With the final piece fo the assembly jigsaw done it was then a simple task of putting Tab A in Slot B. Well actually no. Obviously. When Woody originally came into my possession he was on a pair of very short front springs which had been further enhanced by having an extra coil or two cut from them. Great for the Looooowwwwsss but with the addition of 2.5" dropped spindles the crossmember, even with no engine, was so close to the floor that I couldn't get my super low floor jack under it. PLUS! every time I jacked poor old Woody up they fell out of the spring pockets. Not ideal. Looked cool though.. A quick post on the 67-72 truck forum asking for advice was answered by Skinny G who suggested a pair of 1 ton coils which could be trimmed to fit. £58 later, and 3 days, these arrived at PY Towers. 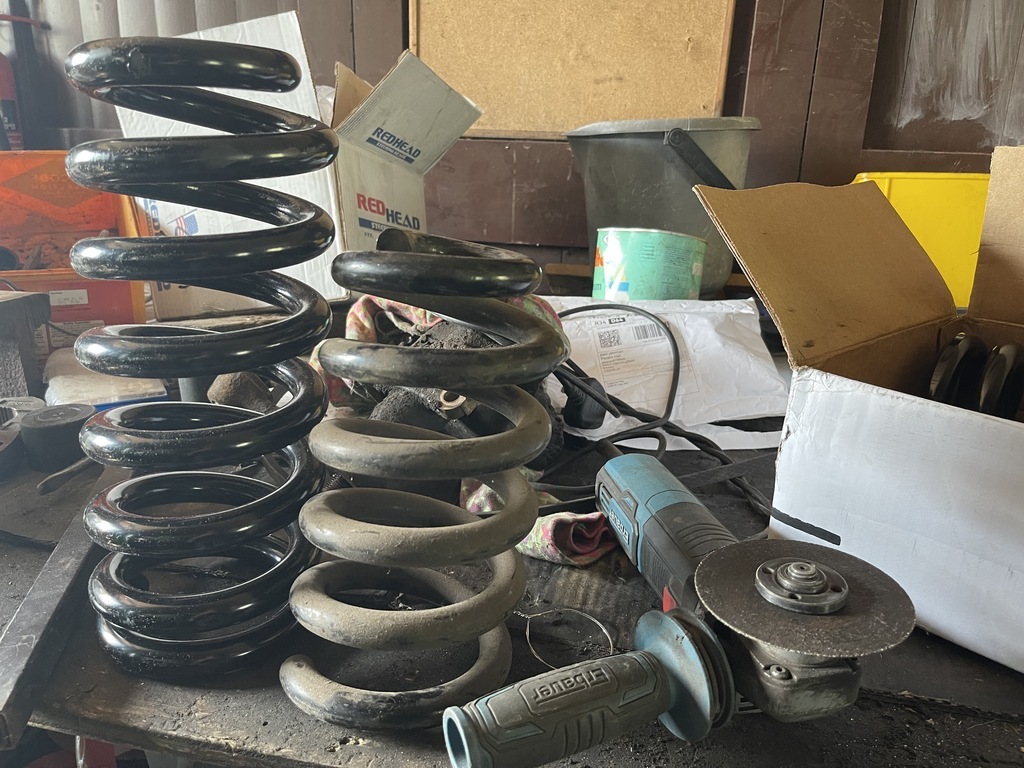 (next to the 'original' springs and Mrs. Grinder) For those of you that don't see the problem with that picture I can assure you we can no longer be friends... 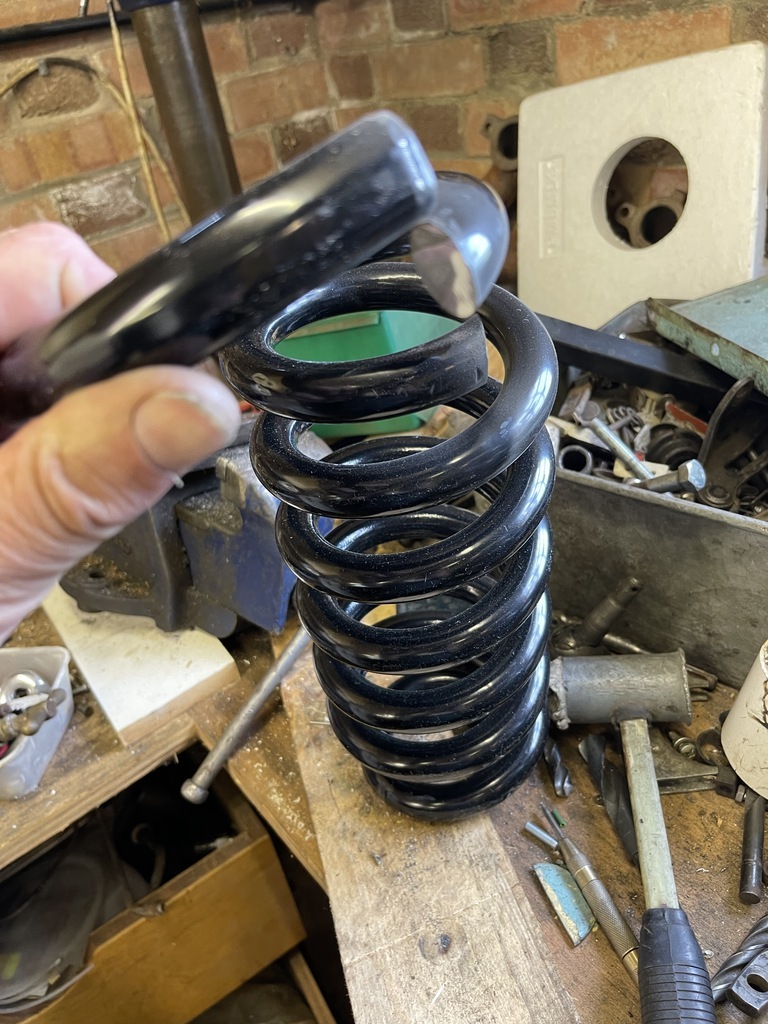 Better... 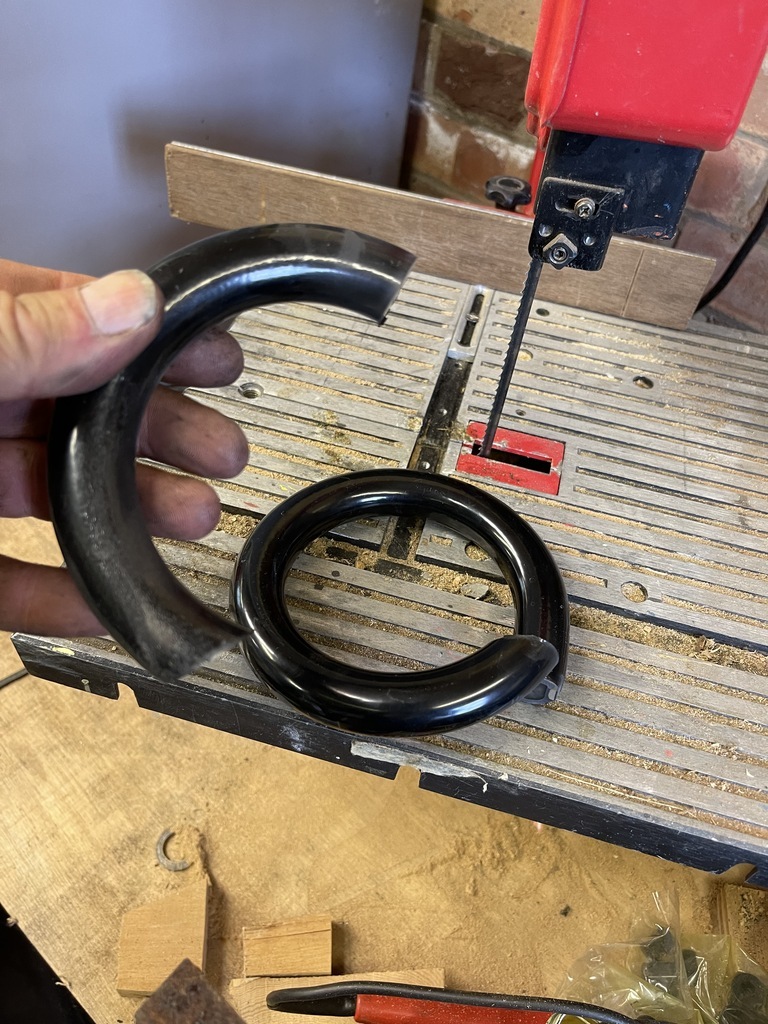 Better still! And for comparison...Which will become important..later. 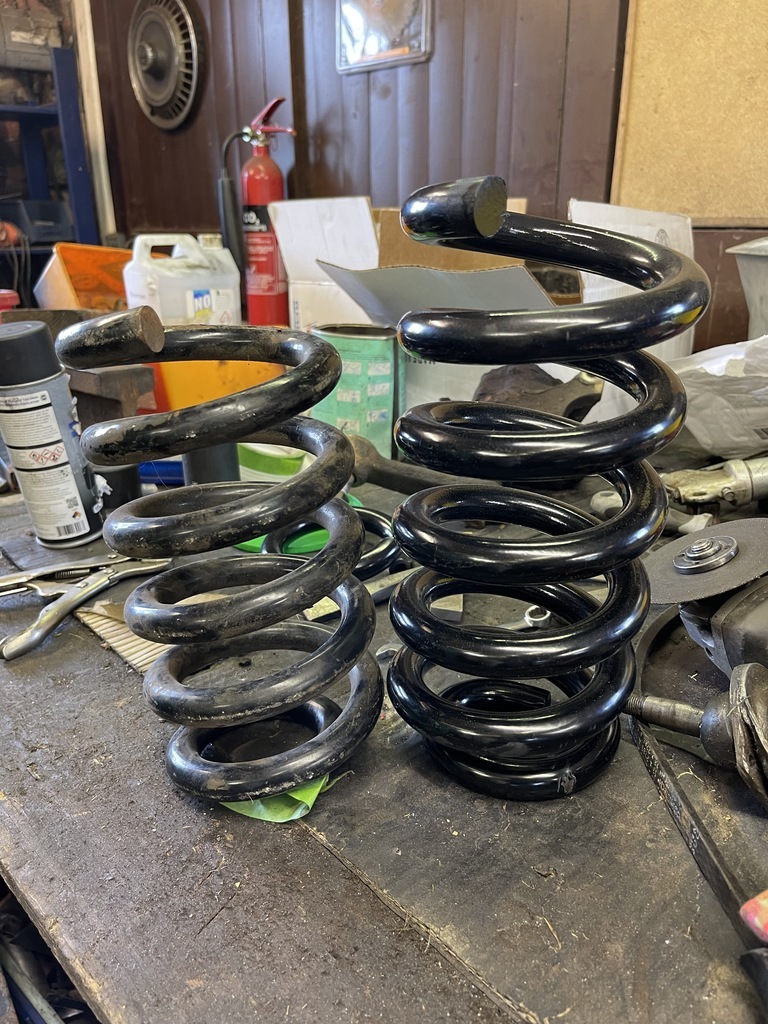 This also had the additional benefit of making it easier to get the front suspension back together, so a win/win. 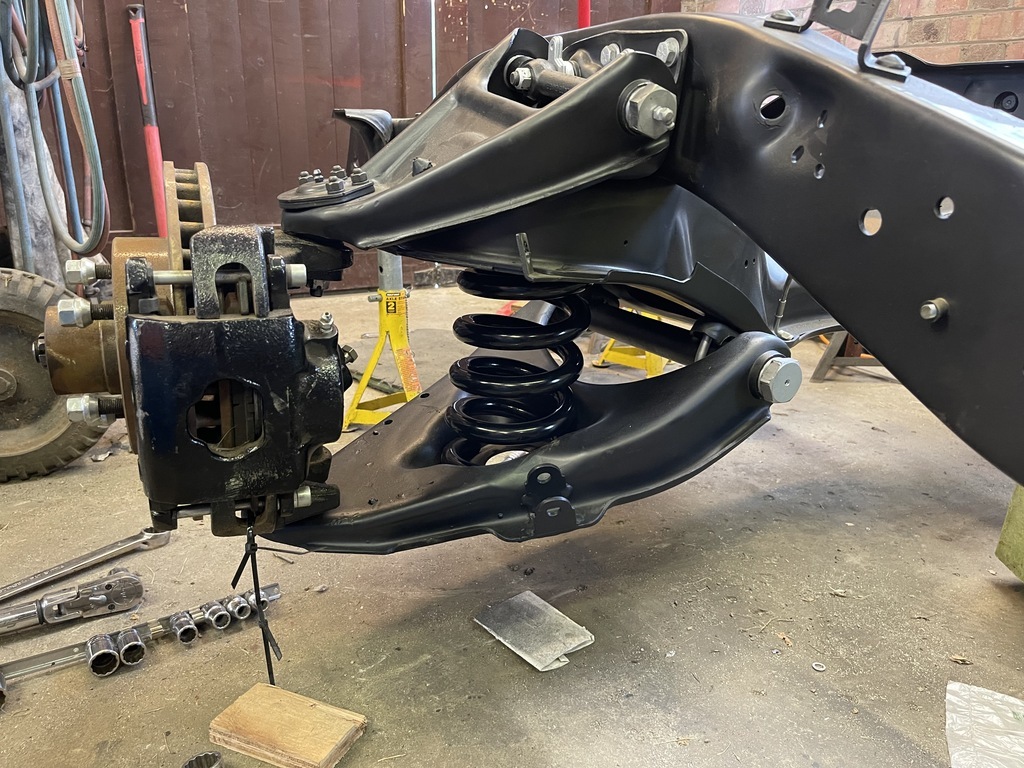 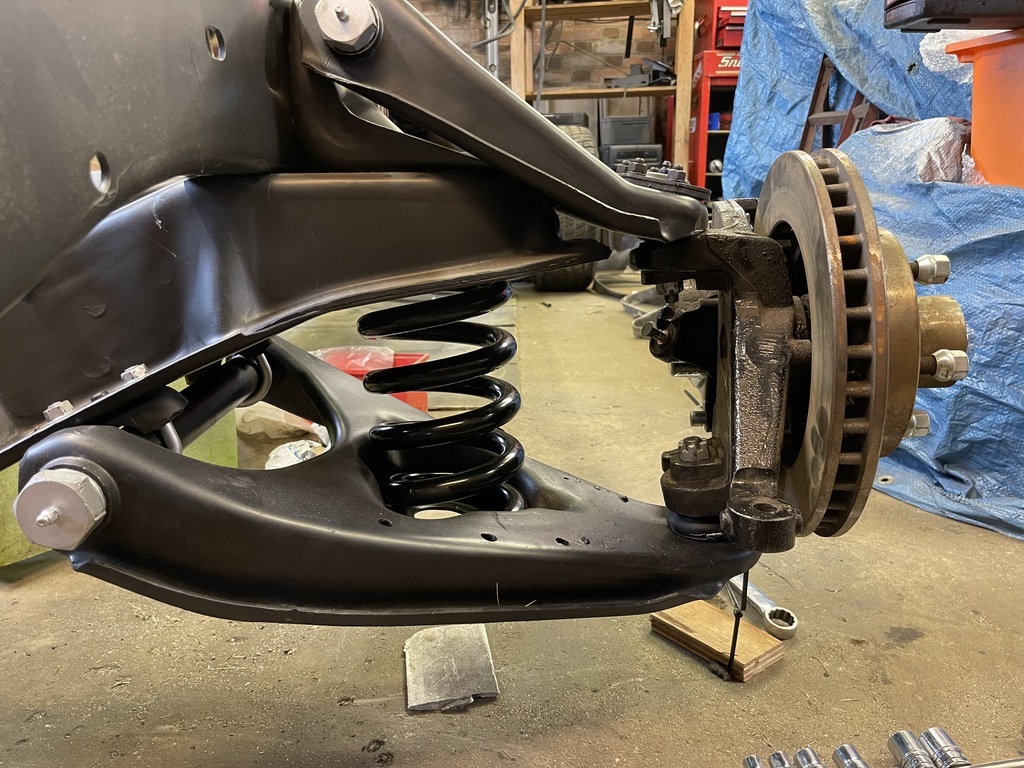 The advantage of the 2.5" dropped spindle over the 3" is that you can use 15" wheels, just, without the suspension hanging below the wheel. Picture is a bit misleading bit there is about 1/4 between the lip of the wheel and the control arm. 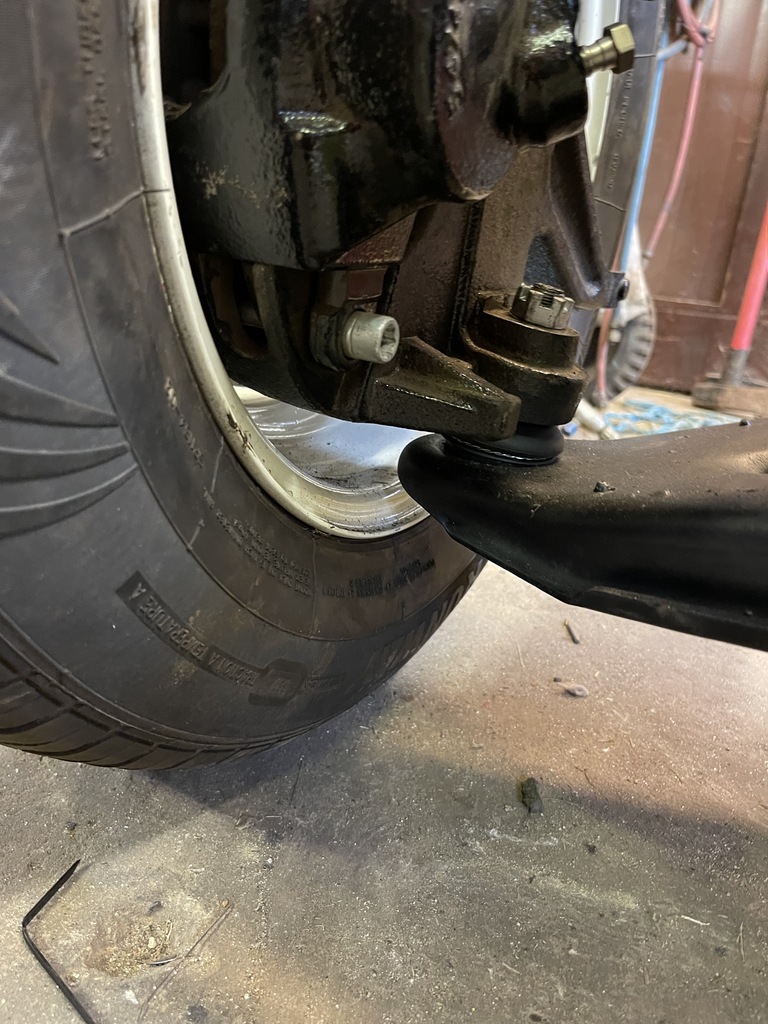 Whilst this was going on other things appeared on my door step. 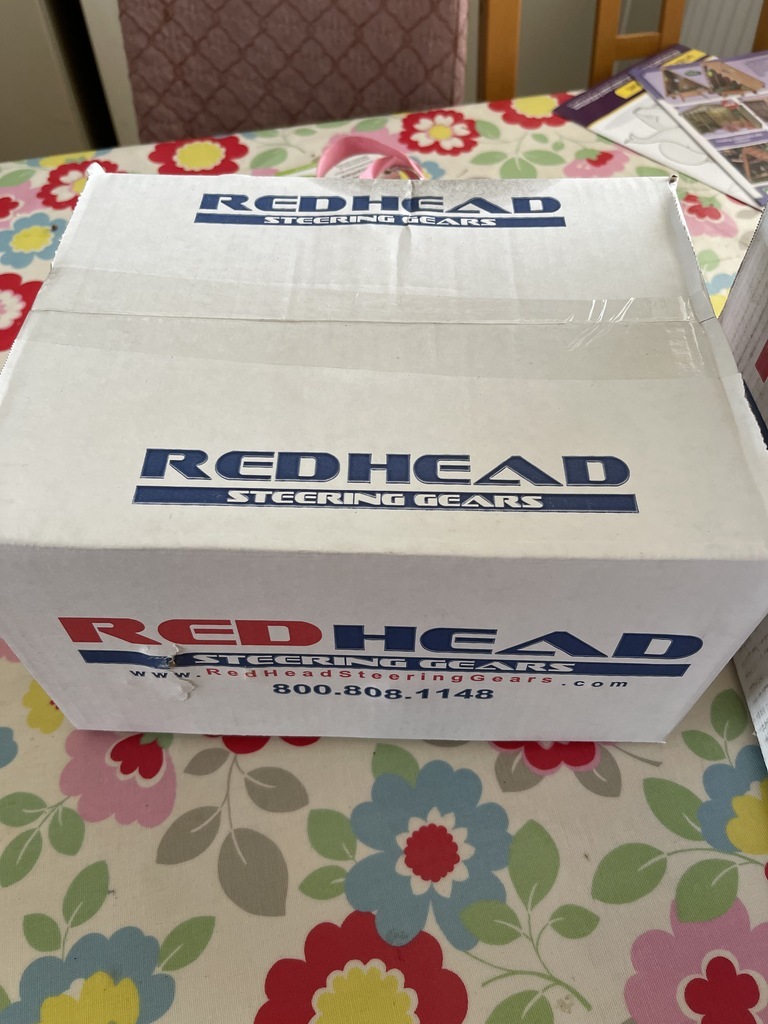 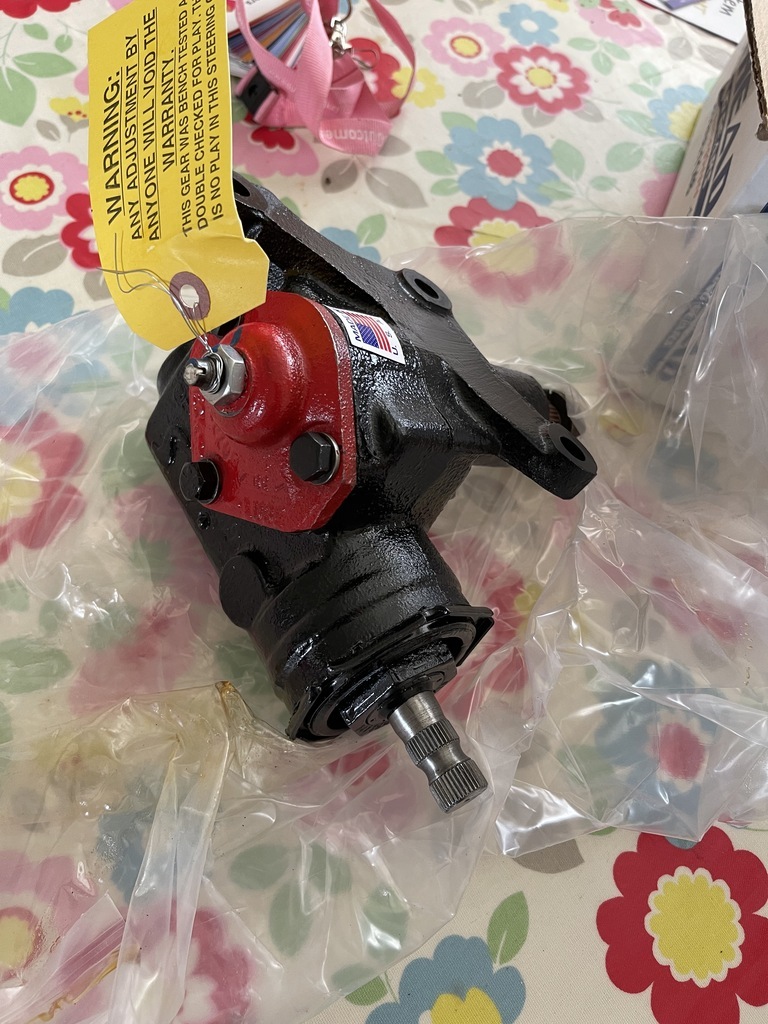 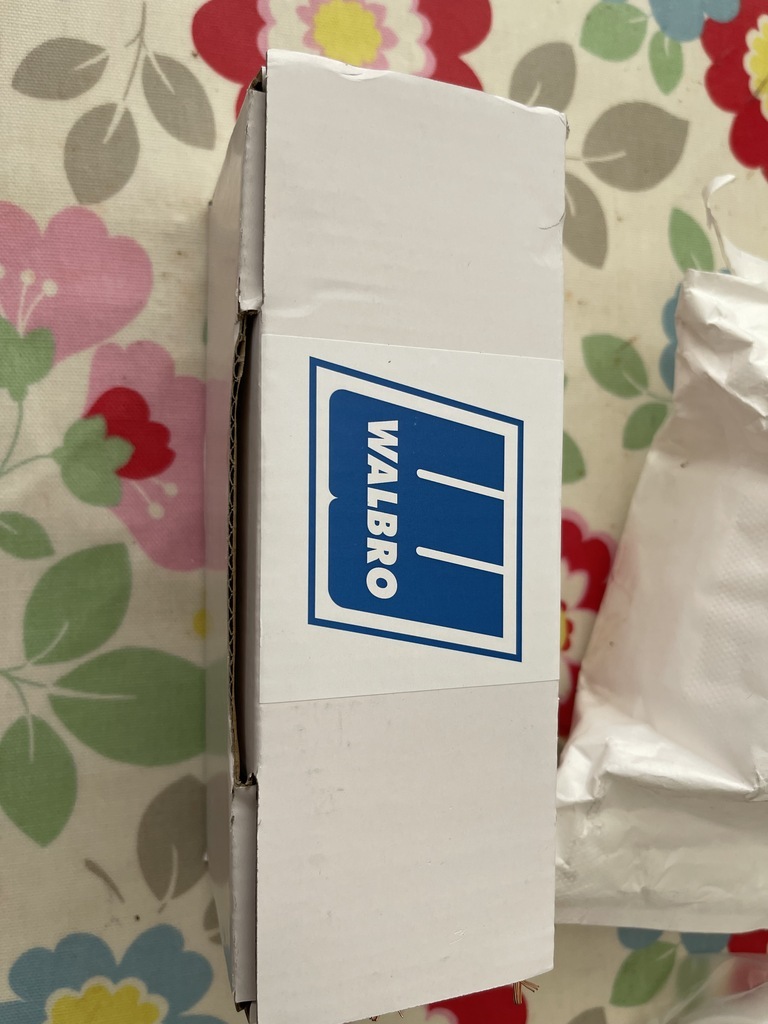 I have no idea at all how they got there.... Which lead me to the next pause as I now needed to wait for tools. P.  |
| |
Last Edit: Aug 9, 2021 19:47:42 GMT by Paul Y
|
|
|
|
|
|
|
|
Whoooop Whooop.
Progress !
|
| |
|
|
Paul Y
Posted a lot
  
Posts: 1,951
|
|
|
|
Whilst waiting for said tools to turn up I did a little living. Went to visit my very good friend Jay who now spends his day putting these sort of things together. 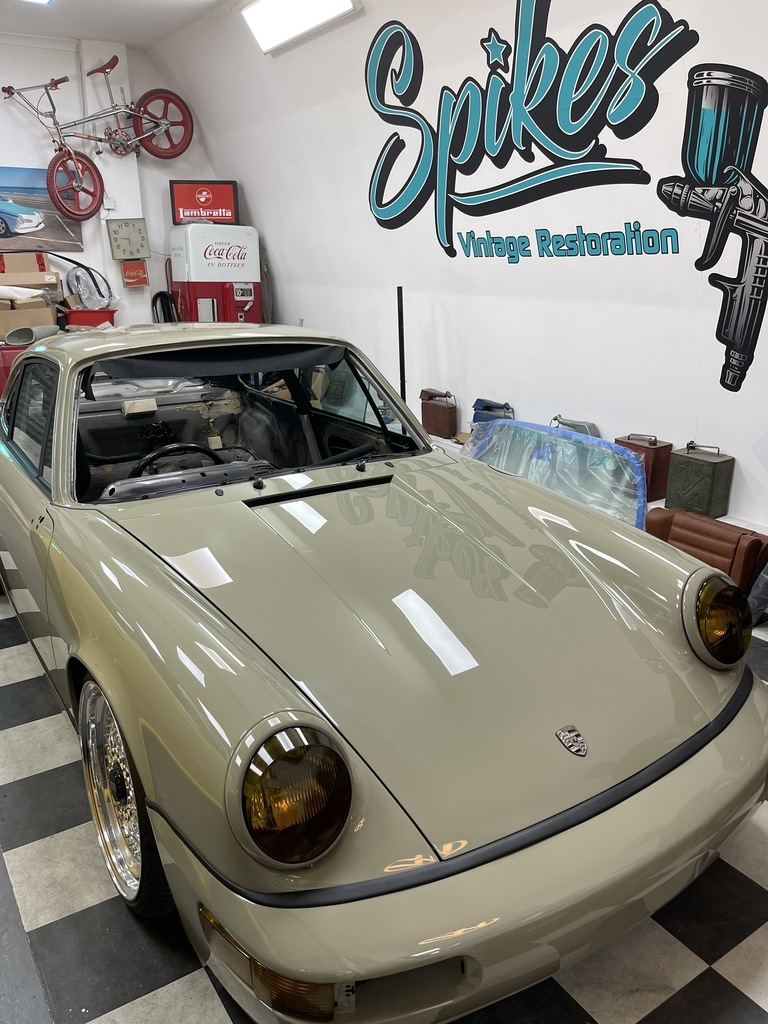 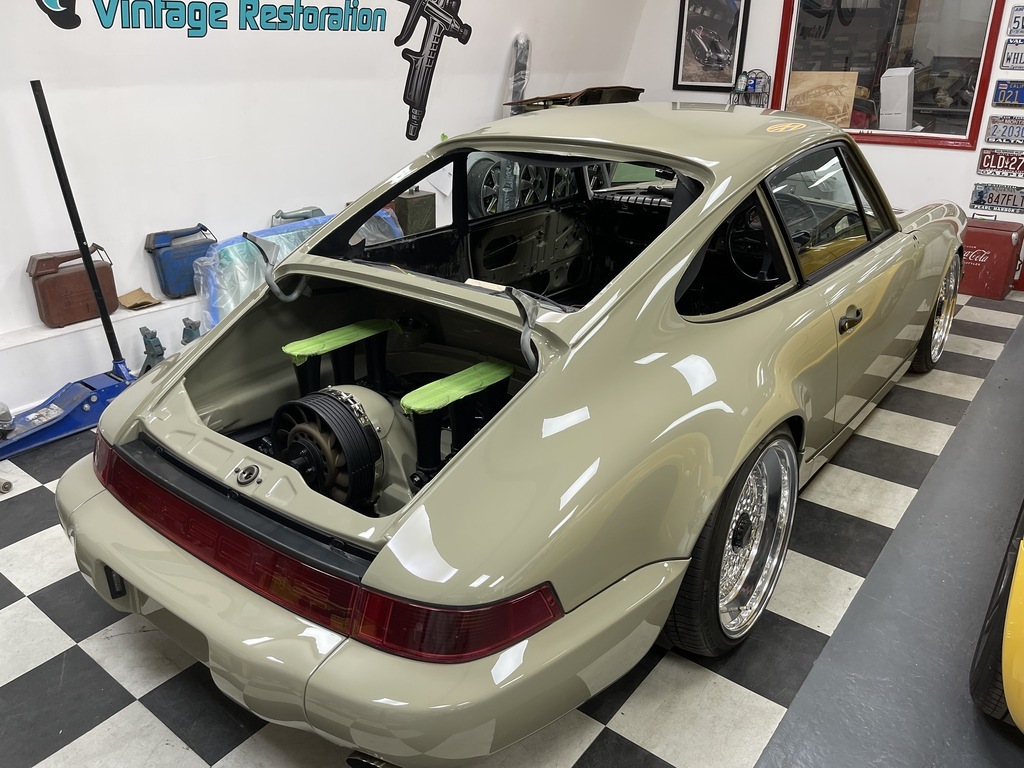 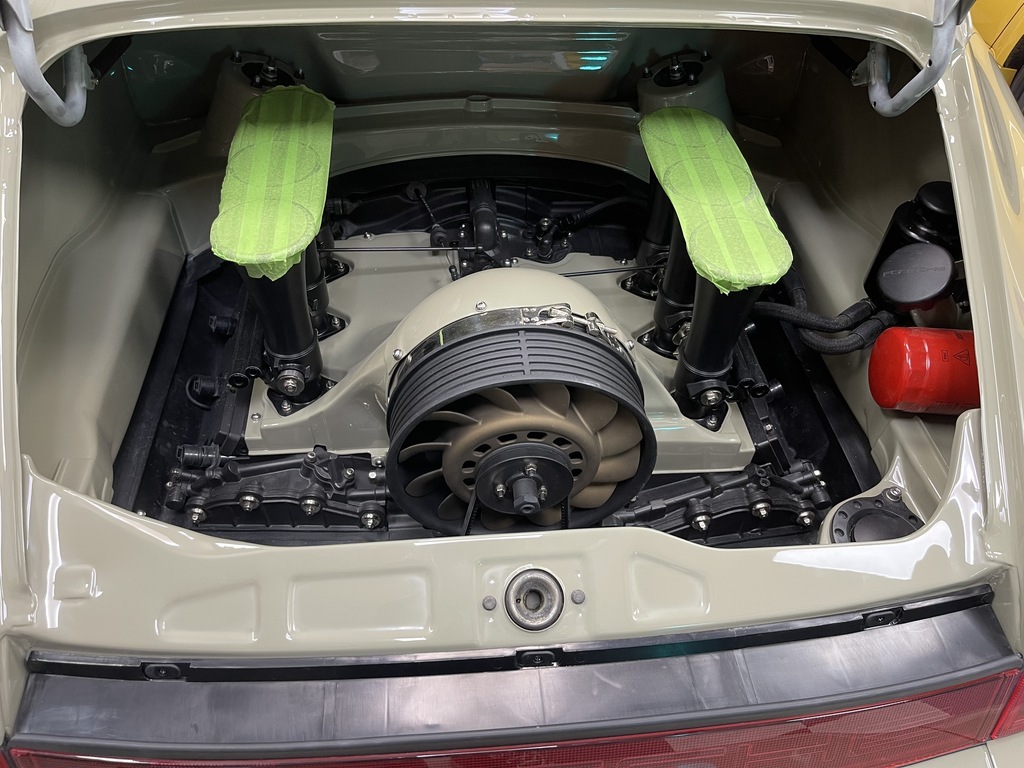 Nice. Plus in the unit next to him one of the Nova's from Death Proof. 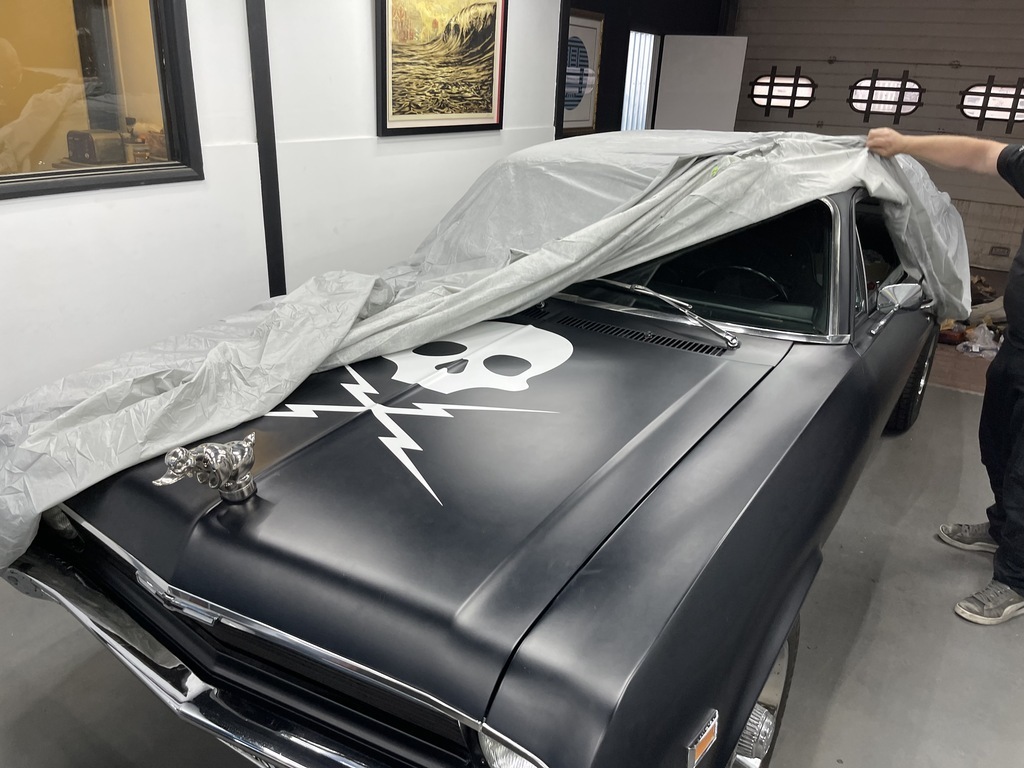 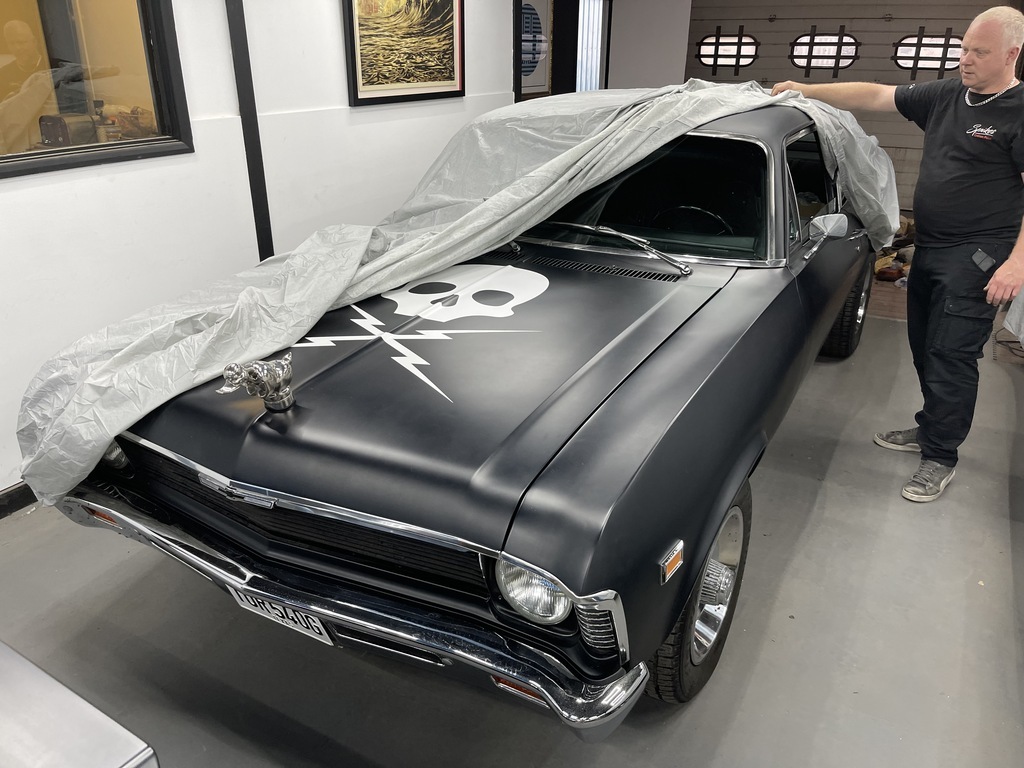 Also spent some time here with Lady P and Dog. 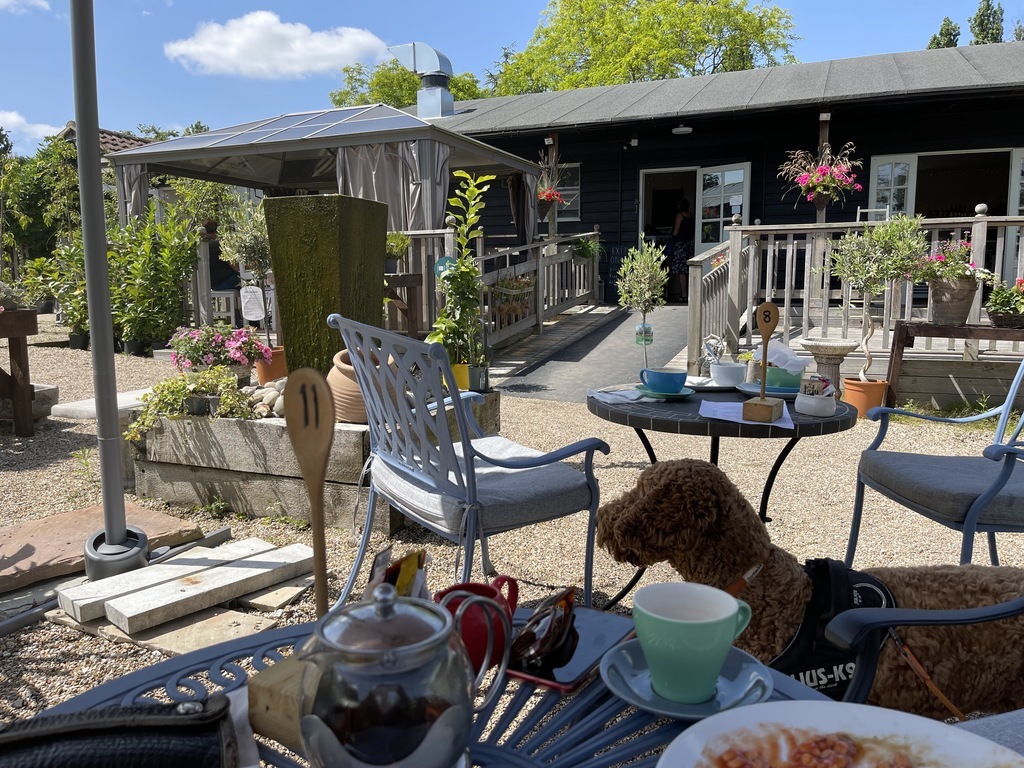 And because life is slowly getting back to normal enjoyed a rather drunken day with my oldest friend at Goodwood Festival of Speed where I spent far too much time lusting after this. 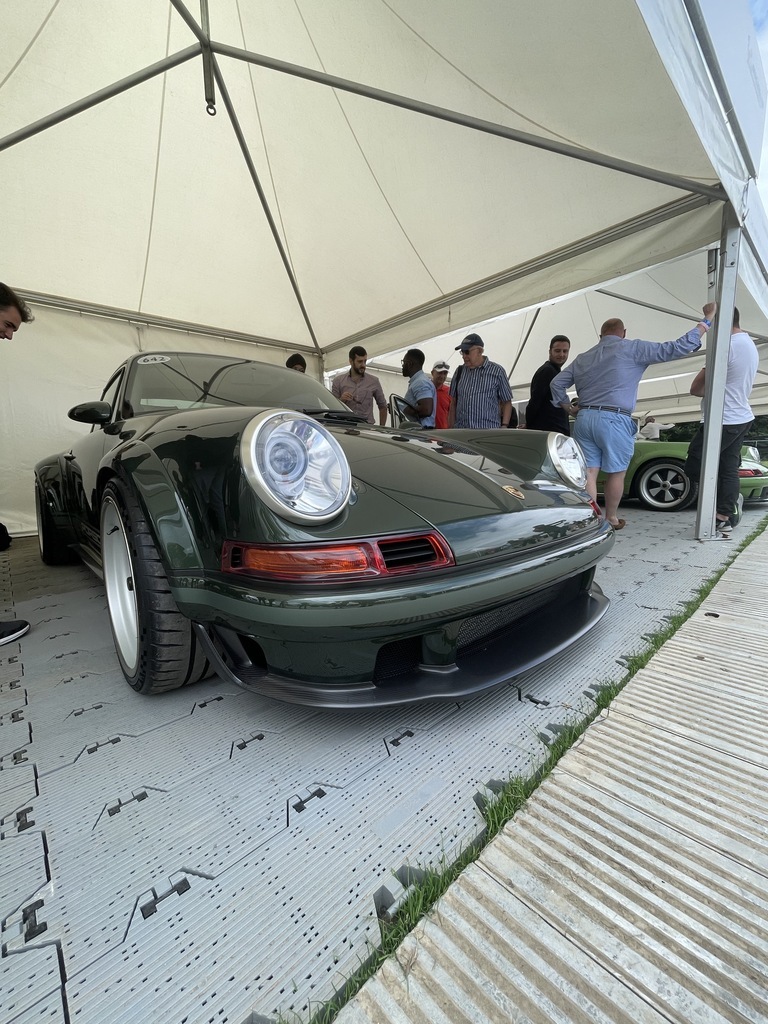 By which time other things, tools things had arrived. 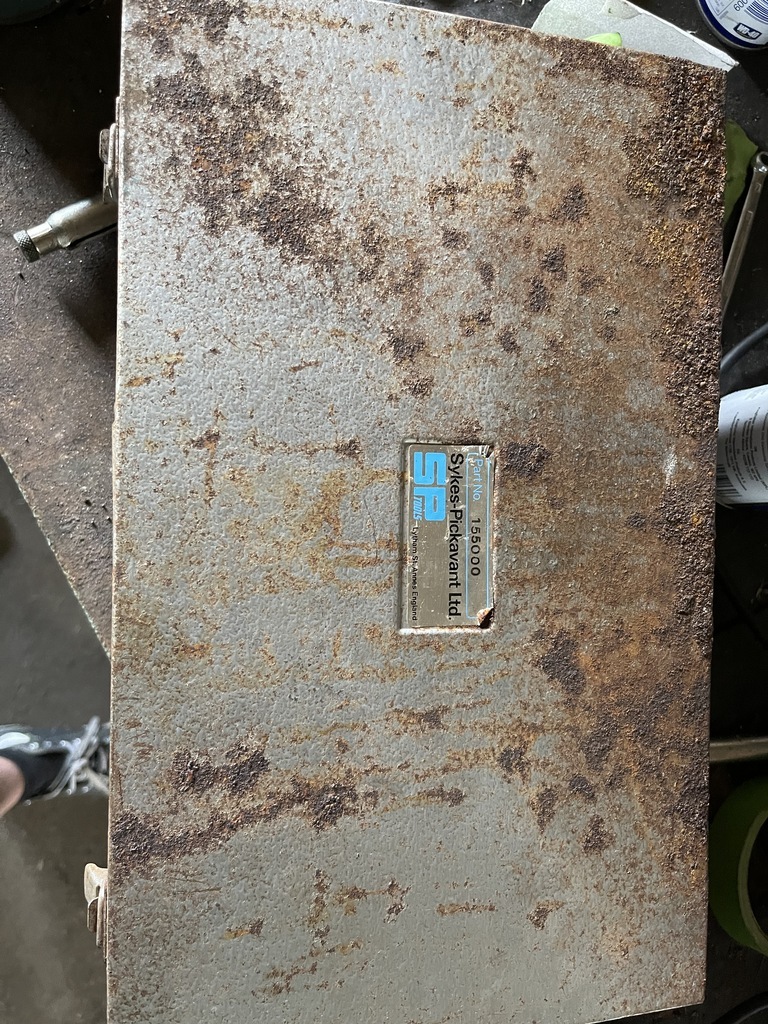 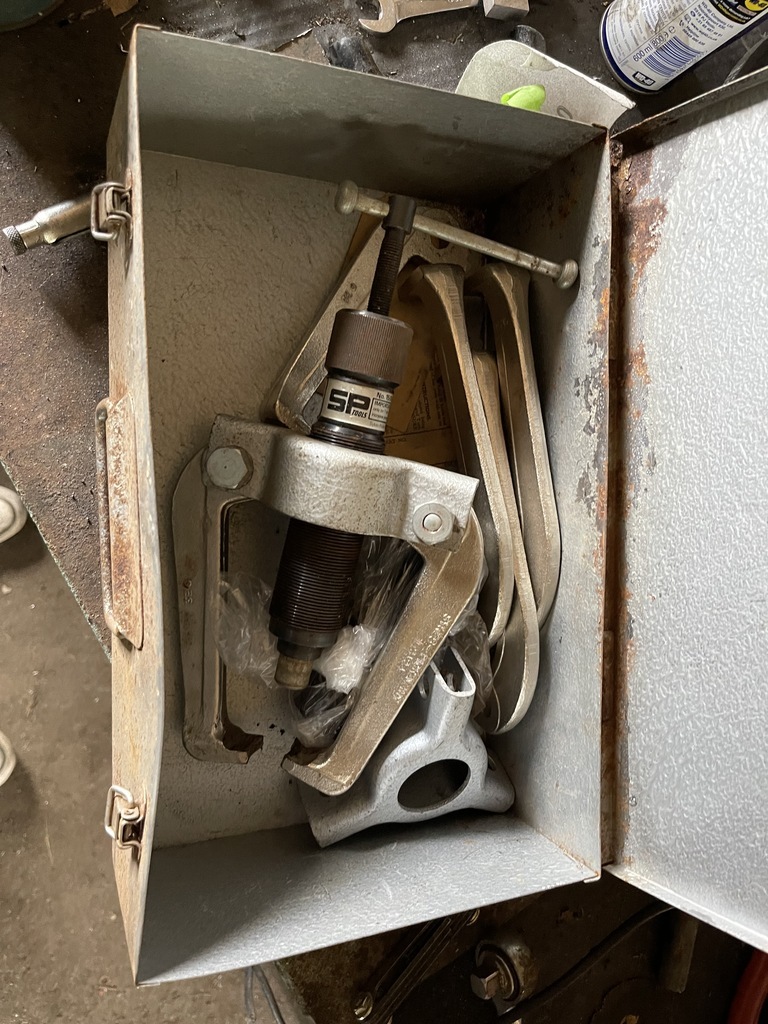 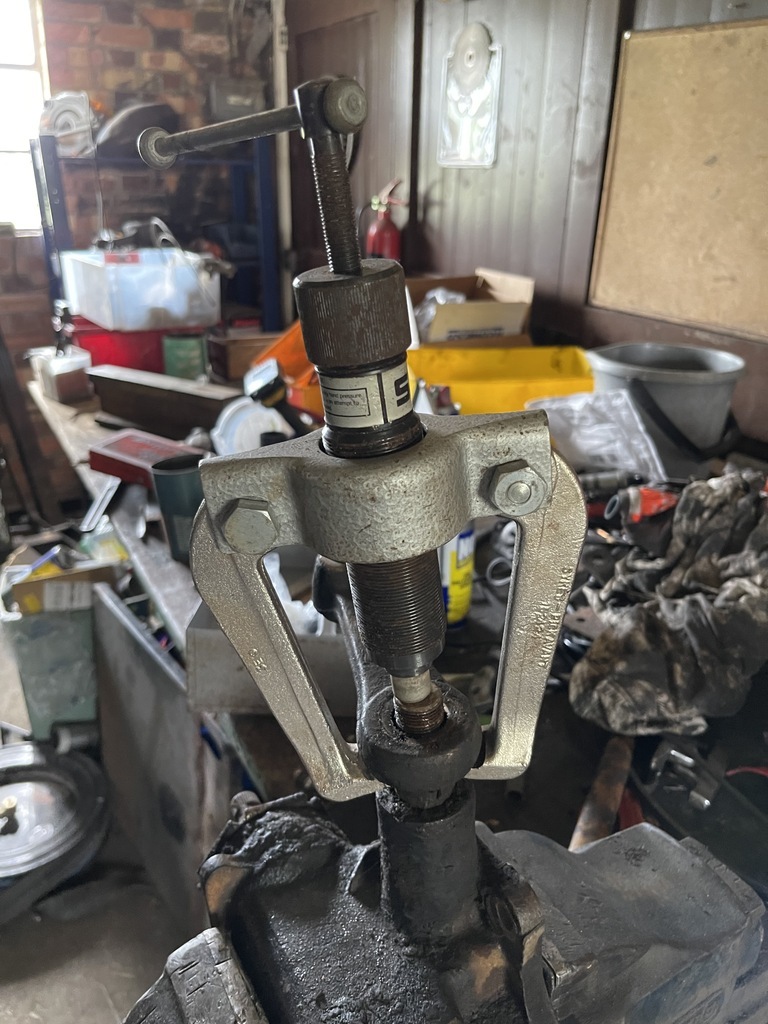 Big thanks to winchman who pointed me towards this rather fine piece of equipment when I realised that my puller had been taken in the last break in 5 years ago. That meant that the pitman arm could be taken off my old steering box and secured the wrong way round on my new one.... 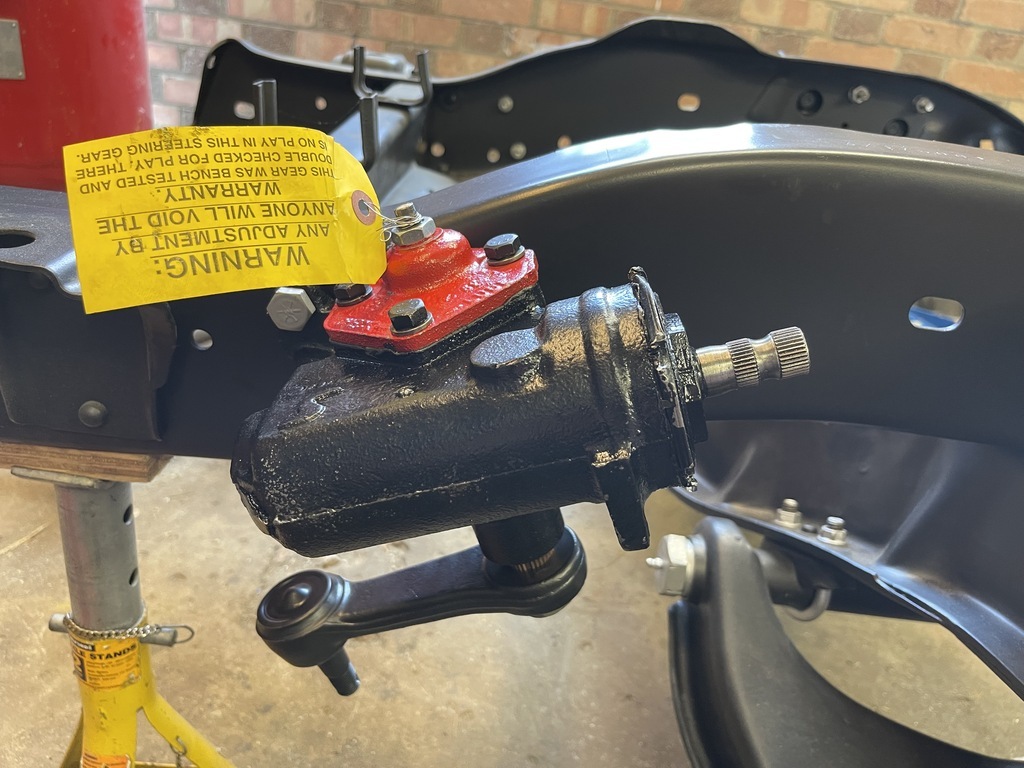 Next was instal my NoLimits from Anti Roll bar which, I realised half way through installing it that I had made a complete pigs ear of, the first time round. This was quickly brought to light and corrected by reading the instructions...ridiculous behaviour... It did highlight the problem that the crossmember, that had been bent and split during Woody's awakening from the container on his trip to the Motherland, would require some remedial attention with a large hammer. 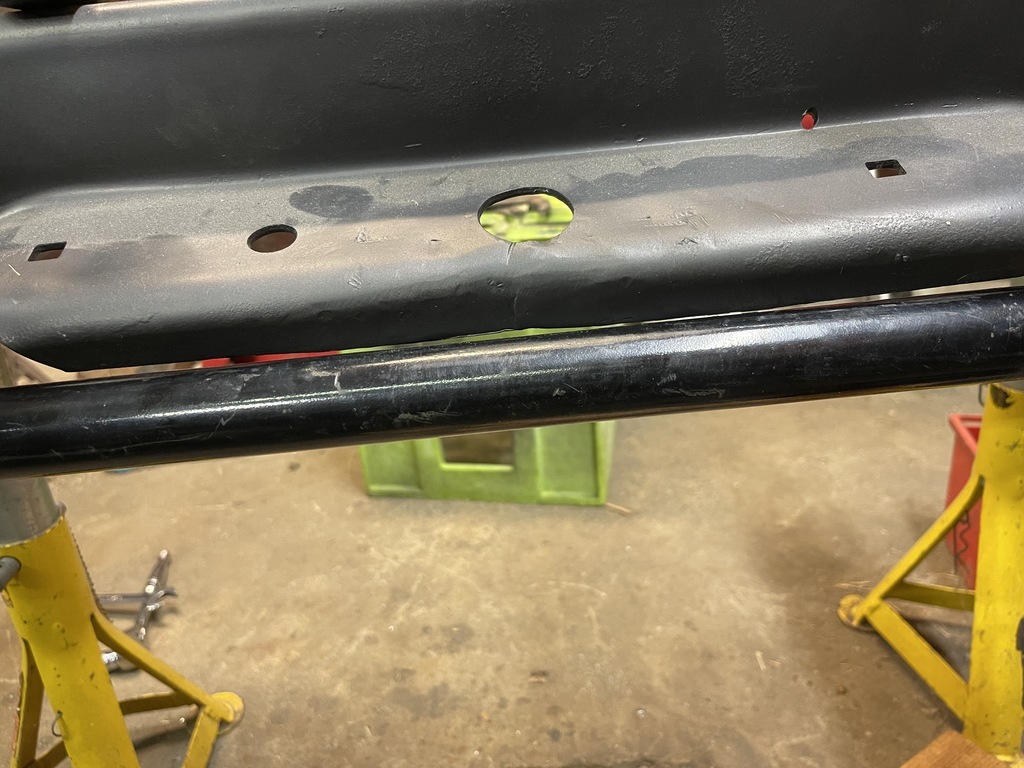 Whats next on the list then? Plumbing in the brakes. For some reason I was really not looking forward to this but, Hey Ho. Lets go! First things first, lets install the flexible hoses to the callipers...oh hold on... Captains side, not a problem. The drinkers side however... Grrrrr... The thread in the calliper to take the bolt holding the flexie line in had been damaged, which really mad me rather annoyed as I had visions of having to buy another one, an expense I really didn't fancy. However, after regaining my coooool ran a tap through the thread and, after a lot of swearing, pleased to say that it cleaned up very well. Gave it a good clean out and we are good to go. if it turns out to be a dud in the future I will probably upgrade to a set of dual piston Wilwoods but, for the moment all good. With the 'simple' job of getting the flexie pipes in time to break out my faithful brake tool... 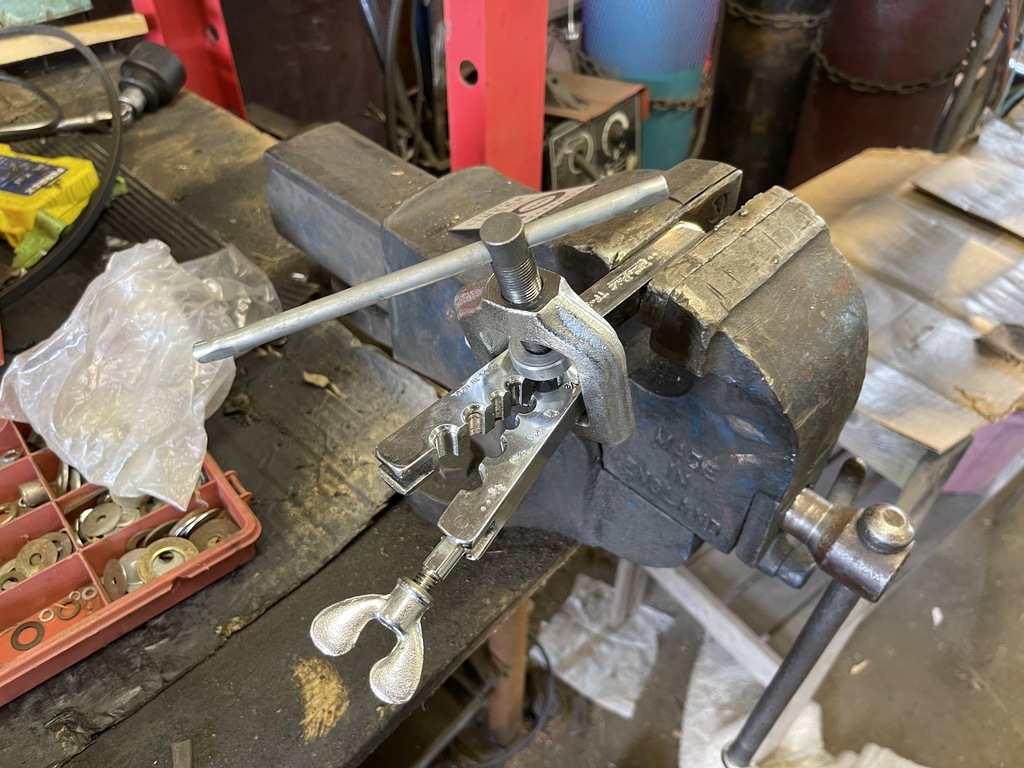 ... and remake the pipes I made 4 years ago. 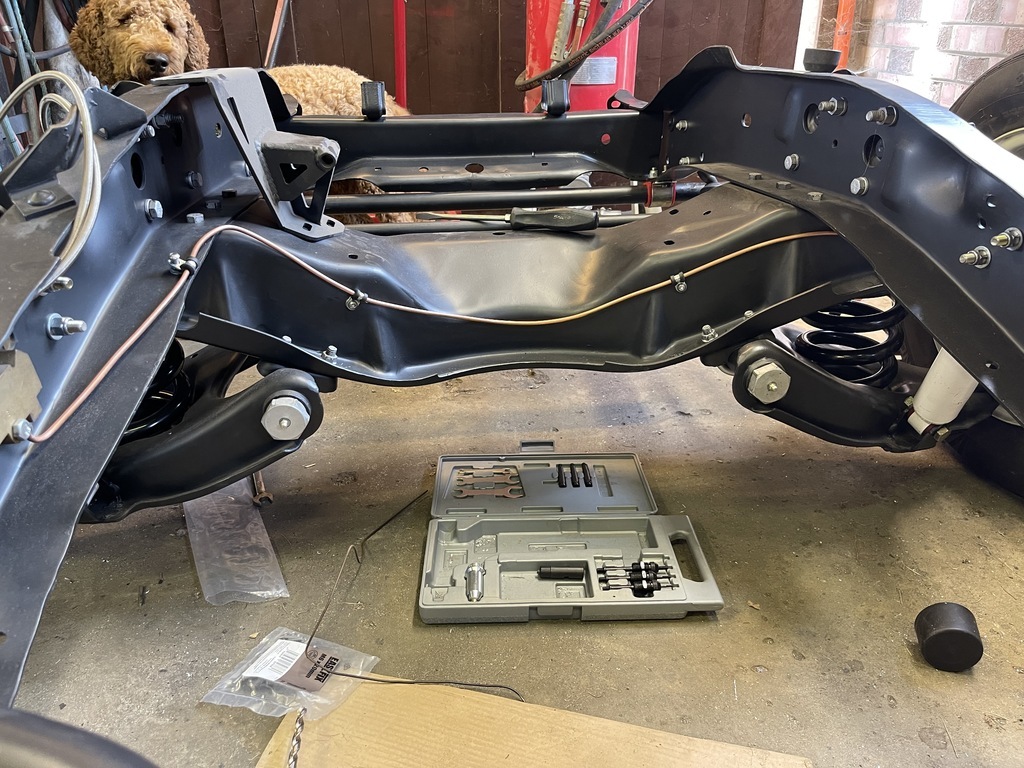 quite pleased with the way they came out. 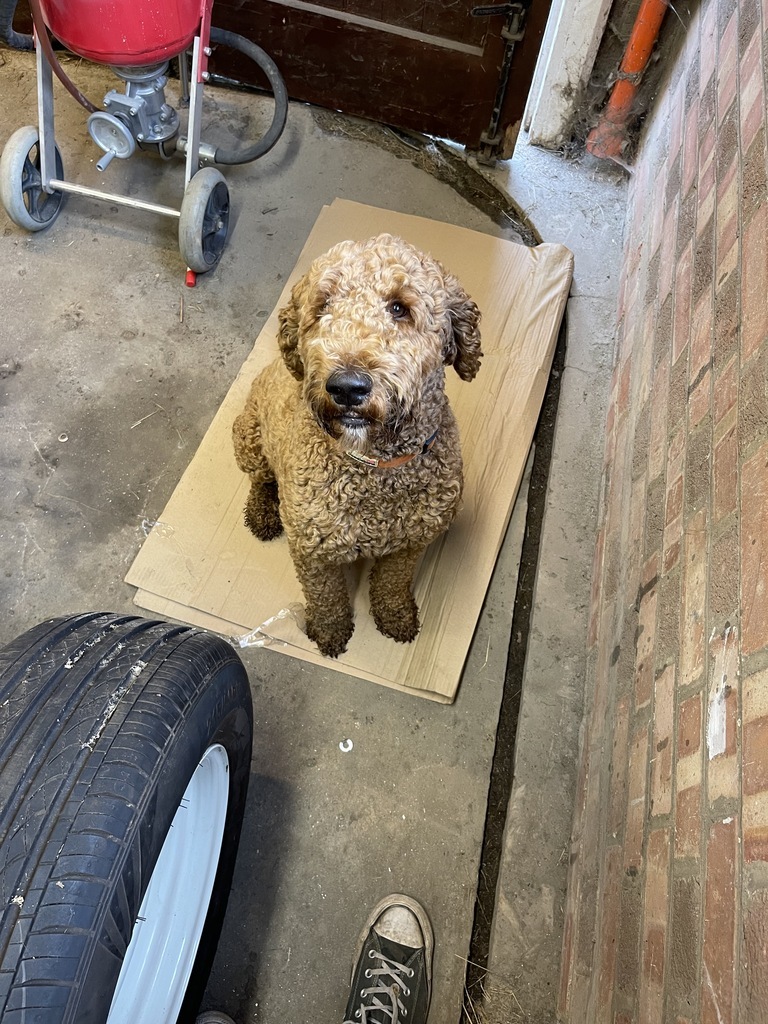 Dog approved. Now on to the backs. Quick bracket made up 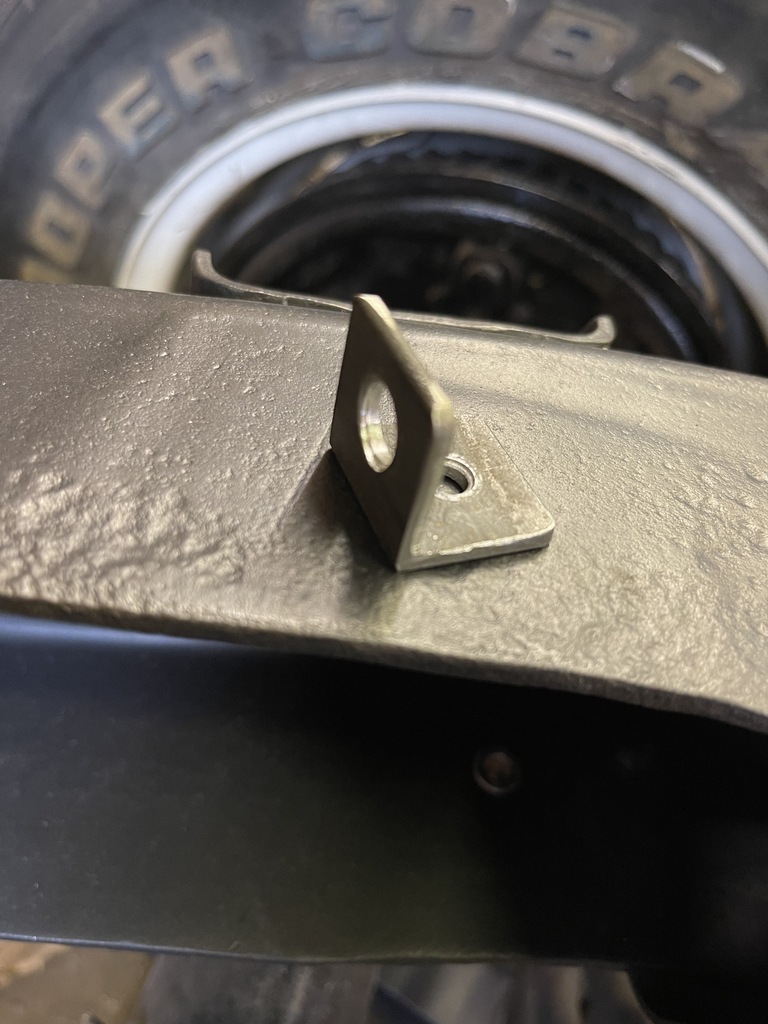 Painted and installed along with the flexie for the rears 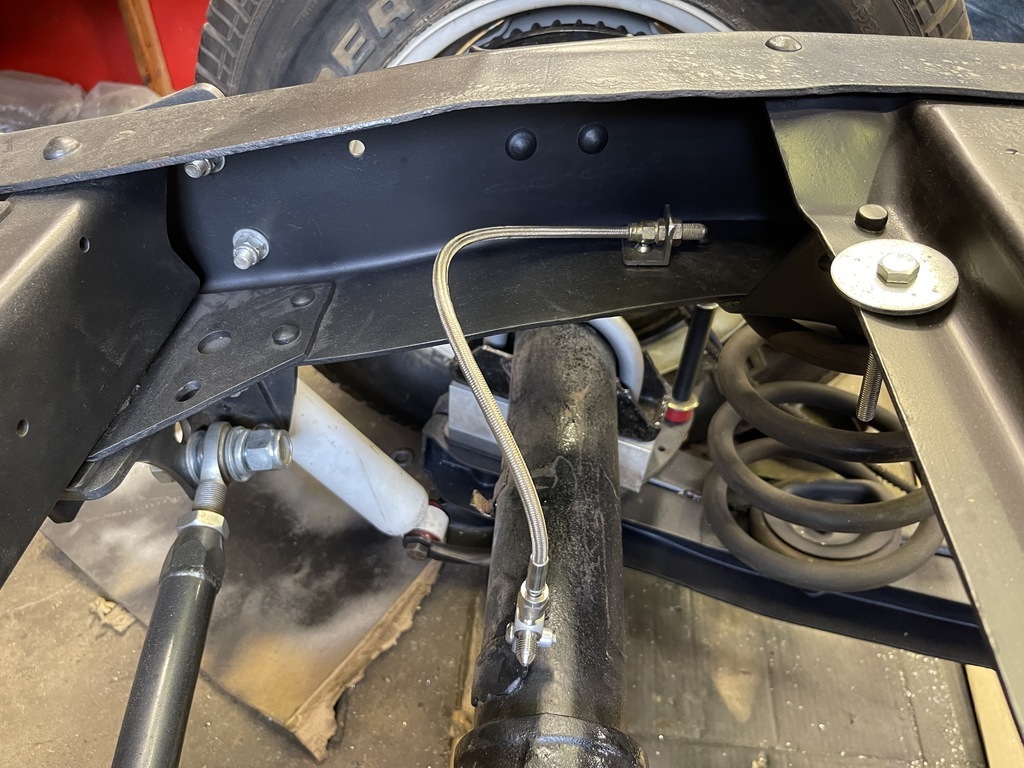 Which highlighted a potential problem for 'Next Year Paul' that of if I DO decide to do a C notch I will have to redo the brake line routing as well as the fuel lines. Bit annoyed at myself that I didn't think of it before hand but a quick look at the fuel lines shows that an additional bit of braided line will solve the fuel issue and the brake line problem I will worry about...later. Thinking ahead I was looking for fuel filler lines for my rear mounted tank when I came across this for the princely sum of £10 on eBay 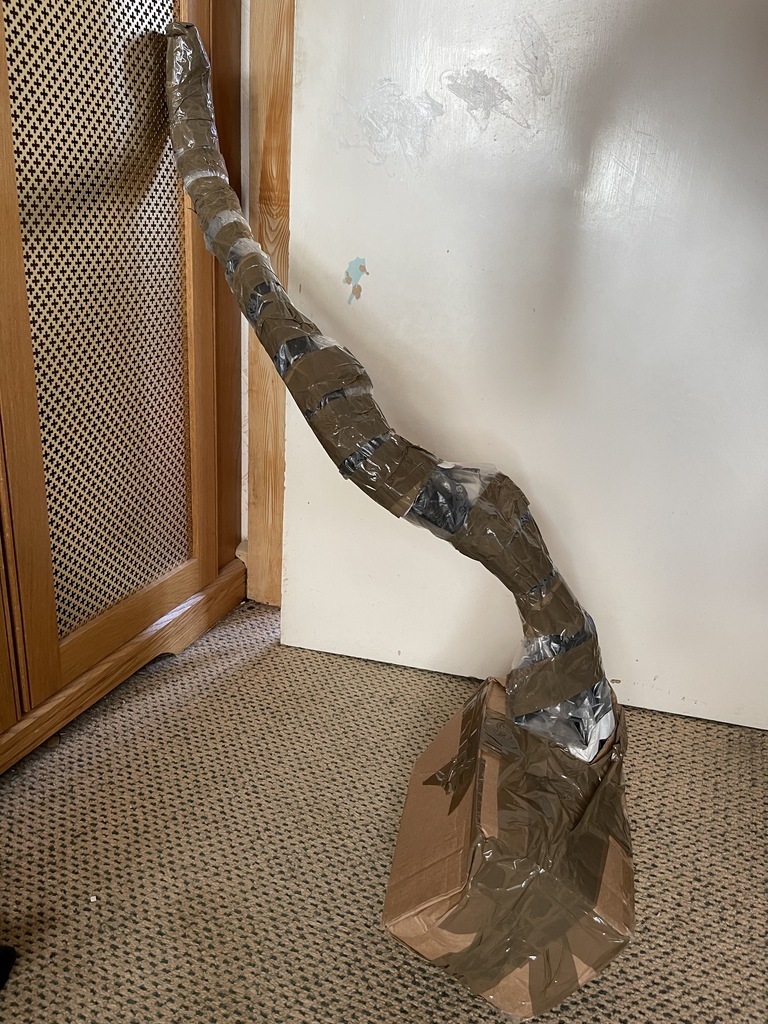 More will become clear in the fulness of time. Which leads me onto my final picture for the evening and a reference back to the springs and Mrs. Grinder. 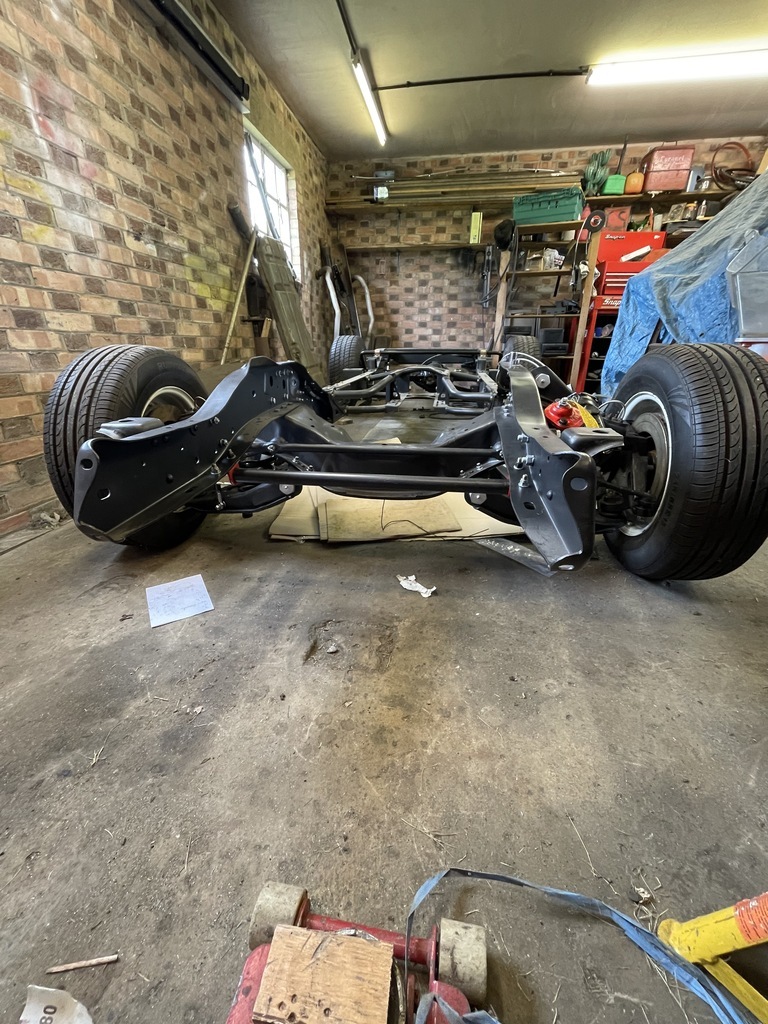 Will save the final cutting until I have Woody back in one piece and he has had some time to settle, plus I have got the right size front tyres, but can already see another half coil joining my trophy cabinet. Hope to drag Woody outside over the coming week to give him a bit of a wash off plus tidy up the disaster that is my garage. With that I will leave you to enjoy the rest of your evening. Until the next time. ONWARDS!!! P.  |
| |
Last Edit: Aug 9, 2021 20:35:05 GMT by Paul Y
|
|
|
|
|
|
|
|
B
I
G
S
I
L
L
Y
G
R
I
N
H
E
R
E
WELL DONE MATE.
THAT LOOKS VERY READY FOR BUSINESS.
.
|
| |
|
|
|
|
|
Aug 11, 2021 15:14:33 GMT
|
|
Woohoo!!! Looking tidy chap.
Don't worry about the break and fuel lines, easy to sort if you ever decide to C notch it.
If a job is worth doing, it is worth doing twice (our workshop motto haha)
|
| |
|
|
Paul Y
Posted a lot
  
Posts: 1,951
|
|
Aug 12, 2021 13:45:42 GMT
|
Woohoo!!! Looking tidy chap. Don't worry about the break and fuel lines, easy to sort if you ever decide to C notch it. If a job is worth doing, it is worth doing twice (our workshop motto haha) I am sure there are many things that will potentially have to be re done but the plan is to get mobile again from a known good base and then make updates and changes from there or else this will end up being off the road for another 5 years! Actually feel like there is a slim chance of getting the tree this year. Onwards! P. D |
| |
|
|
|
|
|
Aug 12, 2021 17:24:37 GMT
|
|
Now that would be an epic goal!
Gotta love getting an xmas tree in a classic!
|
| |
|
|
Paul Y
Posted a lot
  
Posts: 1,951
|
|
Aug 21, 2021 19:57:25 GMT
|
This. 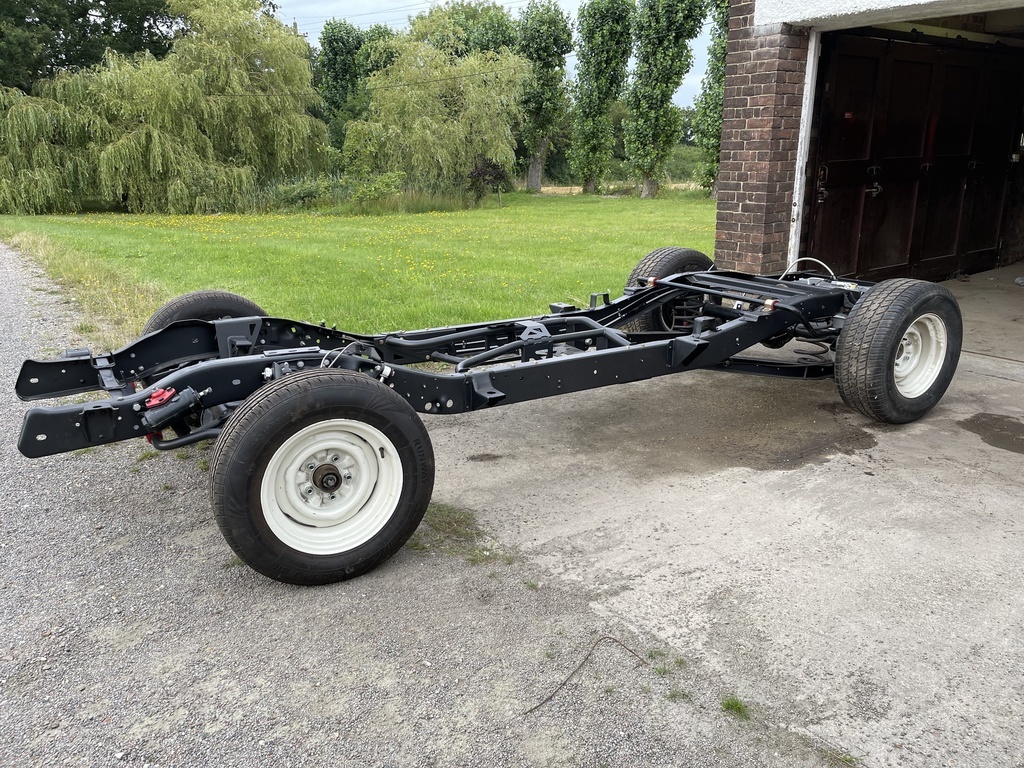 Is what 18 months of work look's like. Now I don't expect you to be overwhelmed but to me this was a huge milestone. How do I know you will not be overwhelmed? Quite simply I called Lady P to come and look at what I had achieved as Woody emerged from the garage like a rather large (and Ugly) Moth from a chrysalis. Her comment... What have you done... Good job she is a bit of a Hottie or she would have been kicked to the curb years ago. Anyway... All of the plumbing is now in place, brakes and fuel, tight and just awaiting testing - only thing left to do on the tank is to trim off the ends of the inlet and return to fit the compression fittings and put the Walbro 450 in the tank 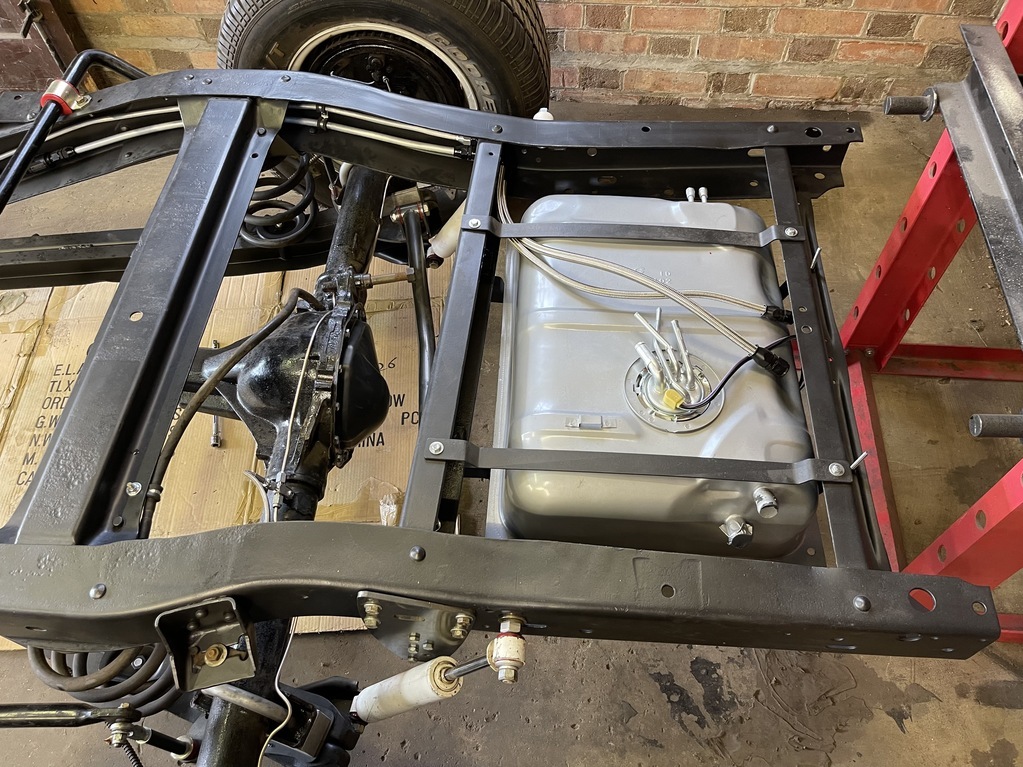 Tank is fitted but still a little loose as I start putting together the rats nest that is going to be the fill and vents etc. I have a cunning plan to conceal the filler but you will have to wait a while until I get to that stage. 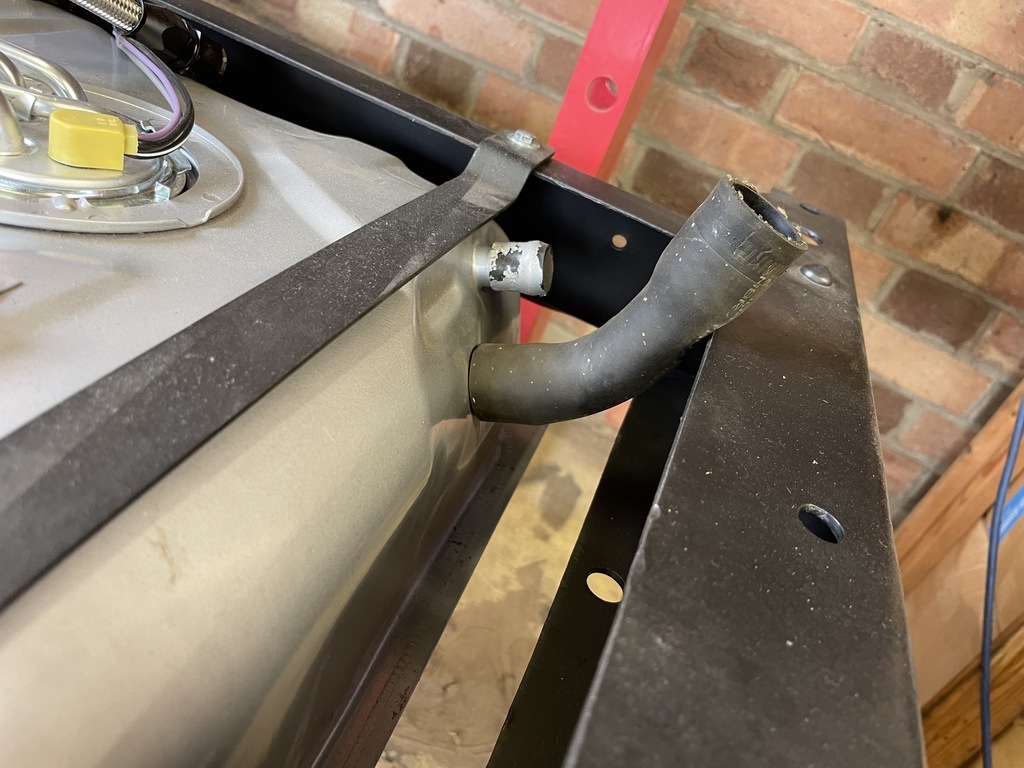 As Woody was outside the garage I took the opportunity to have a tidy up, sweep the floors and move the cab liberating some much needed space. 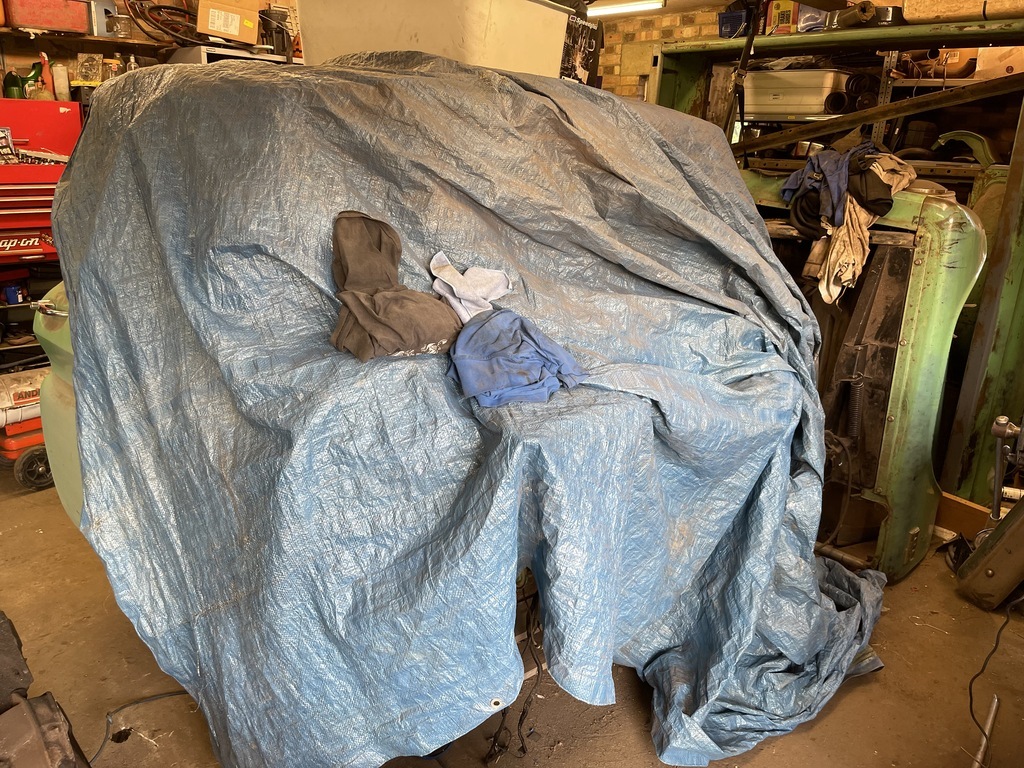 Why do I need the space? Next stage of the build is to plonk this between the rails and attempt to get it started. 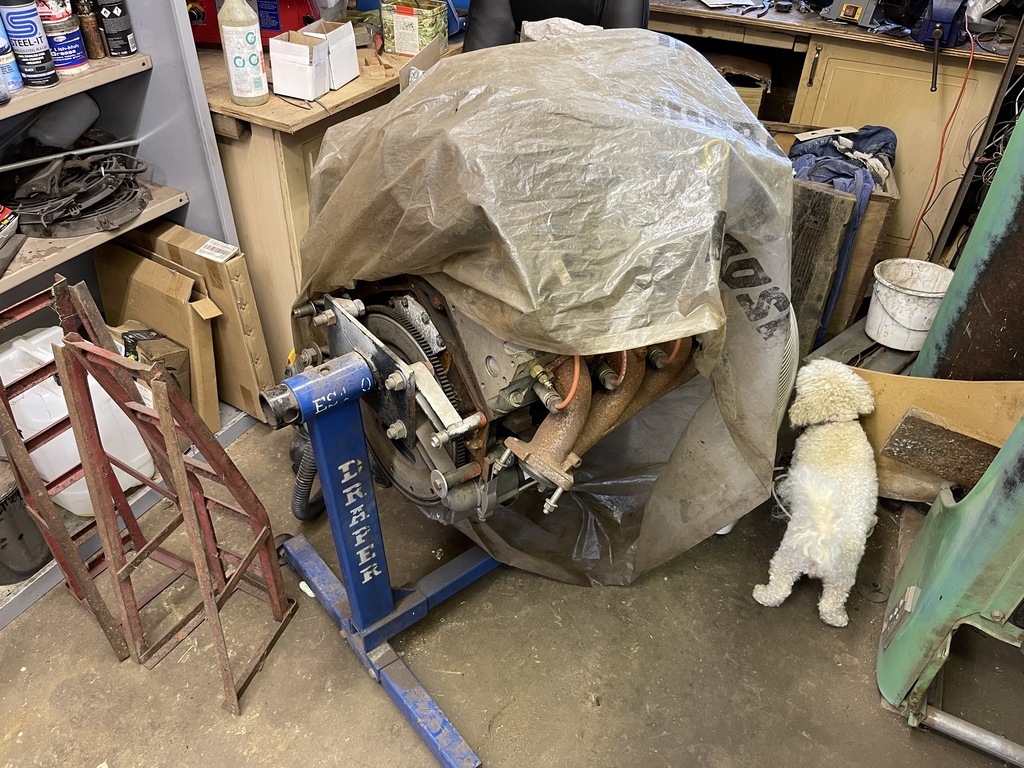 I have been doing a lot of thinking lately about what I am looking too have at the end of the build process. The plan has not changed, just the timings. So...... I am going to put the LS in 'as is' I have a Sloppy Stage 2 cam and a set of 80lb SnakeEater injectors already but if I put these in I will need to buy tuning software at a cost of $500Ish. Now that $500 I can use on a wiring loom that is desperately needed - seems like a sensible choice to me - and I would still need to buy the loom even if I get the HP Tuners software which means I could add another 3 months to the build process... I am going to paint the firewall, my pal Jay has offered to be my Yoda so feel slightly more confident about it, and Raptor the floor. I 'Might" strip the interior completely and repaint it - I will see how the firewall turns out. Still need a T56 - if anybody want to donate one to the cause!- I really want to get my tree this year in Woody, lets see how close I get. Longer term I will take the engine out to fit the cam, injectors etc and fit the turbo, at that point I might go with the Holley Terminator or stump up for the HP Tuners. That part of the plan has not changed. Tuuuurrrrrrbbbbbooooooo. Strictly for burnouts and ice cream you understand.  And with that I will bid you a good day! Onwards! P.  |
| |
Last Edit: Aug 21, 2021 20:03:19 GMT by Paul Y
|
|
|
|


.HEIC)
.HEIC)
.jpg)
.jpg)


